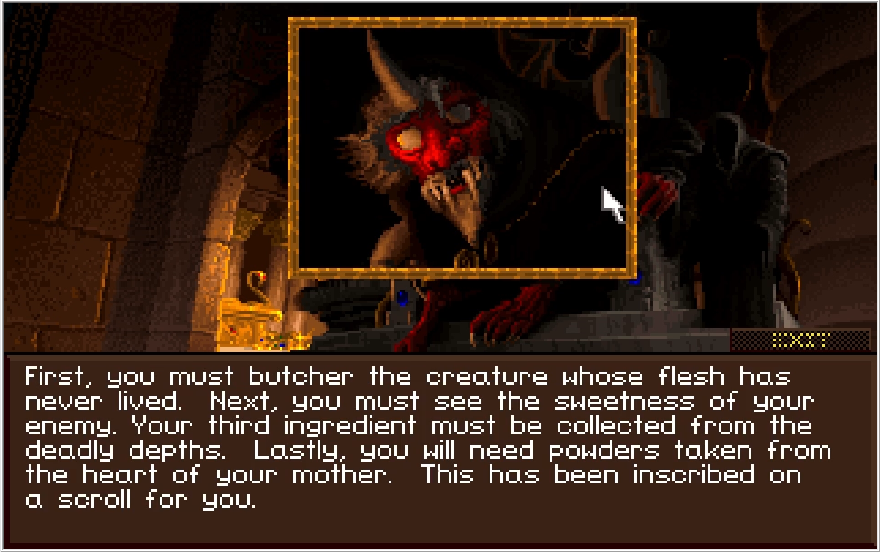
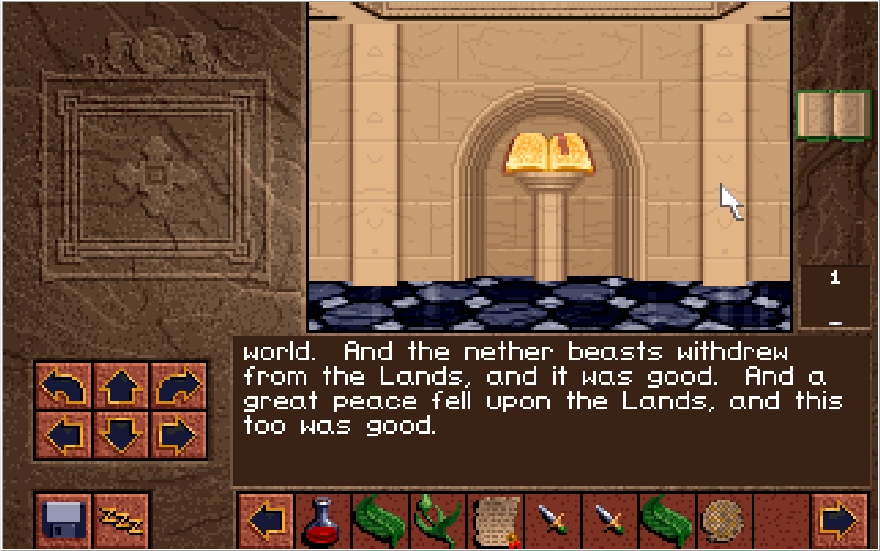
Update 7, Eyes Destroying So Sweetly
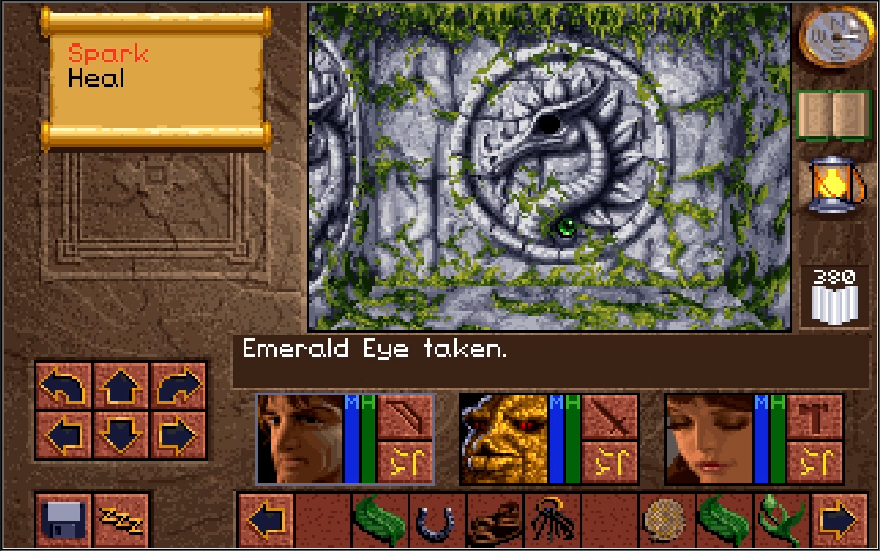
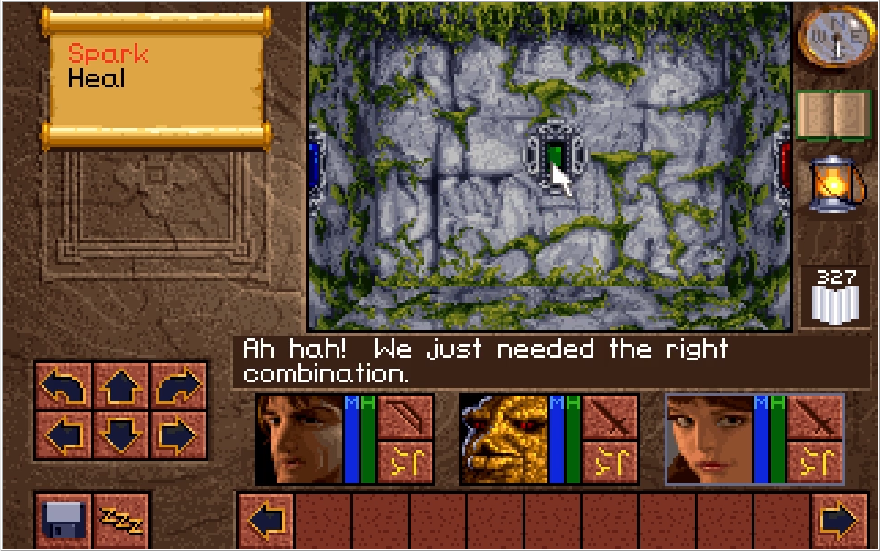
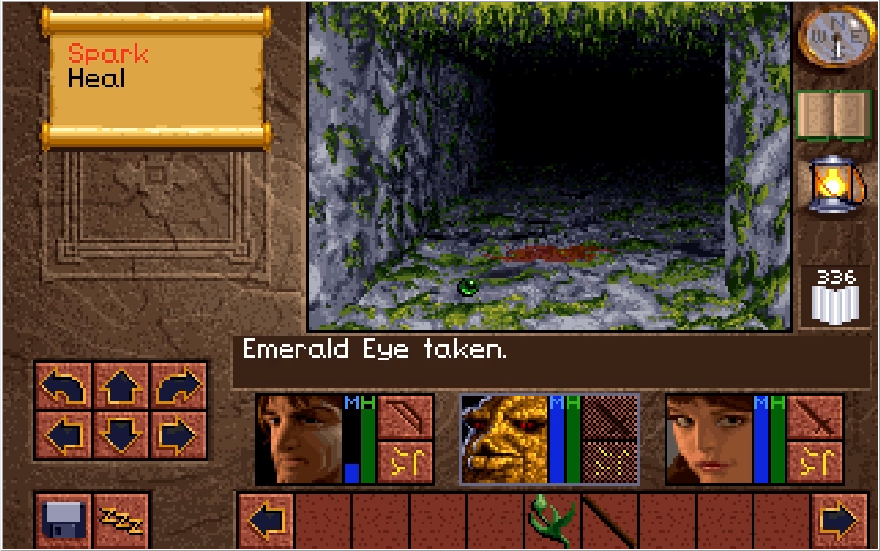
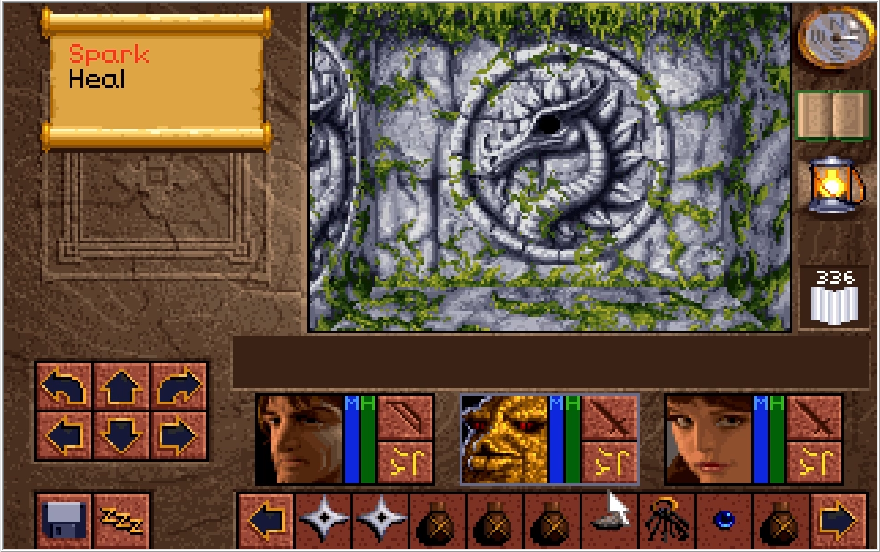
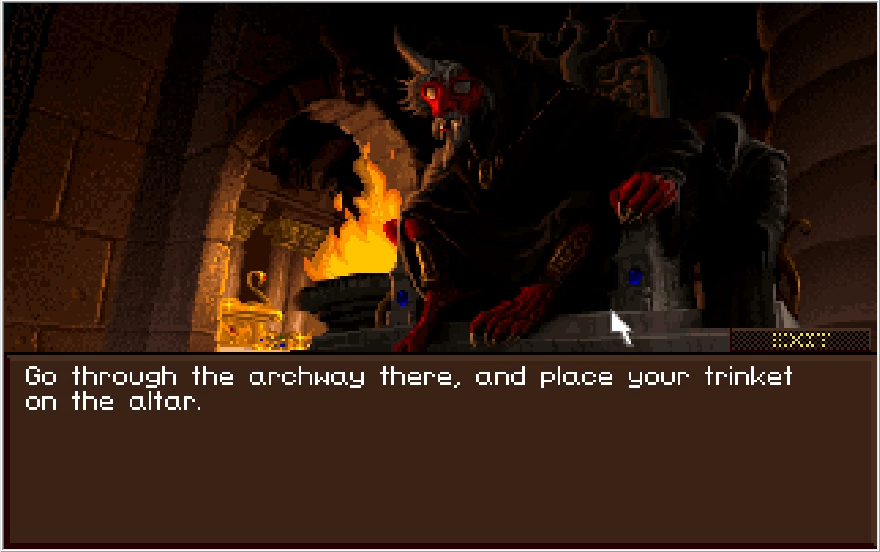
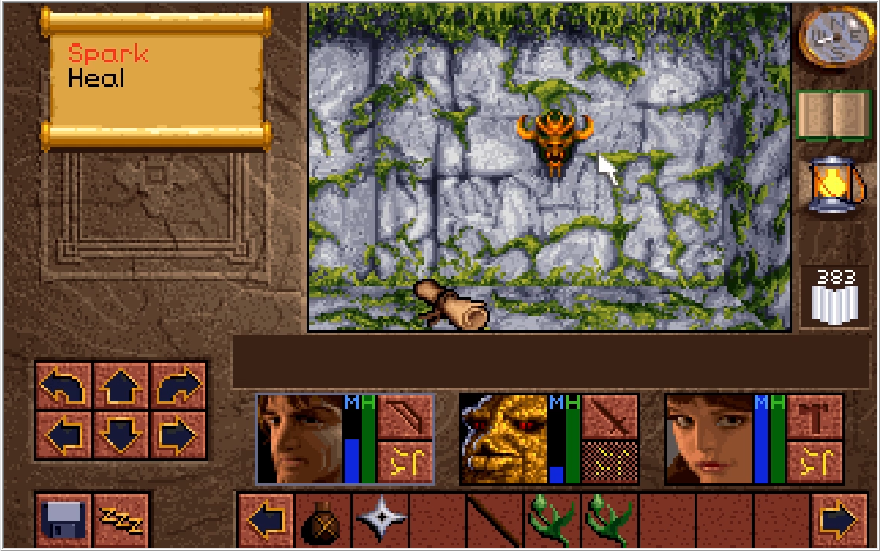
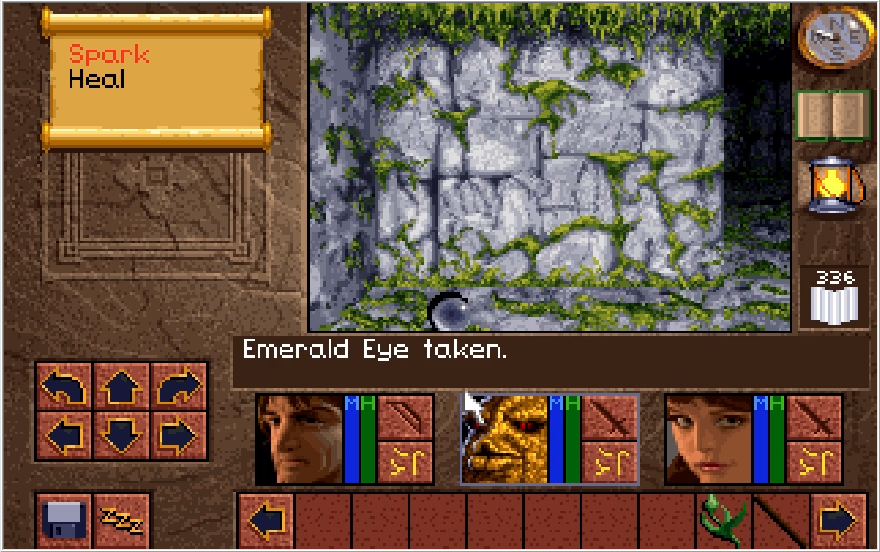
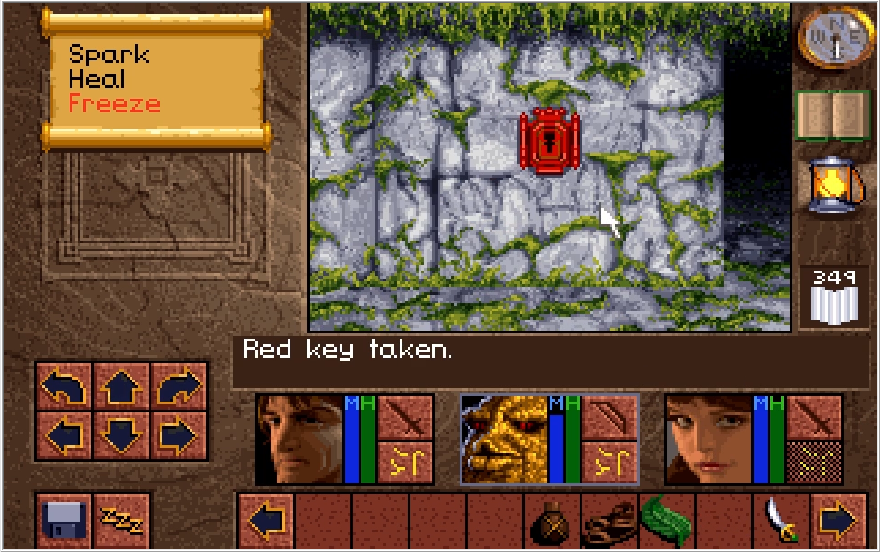
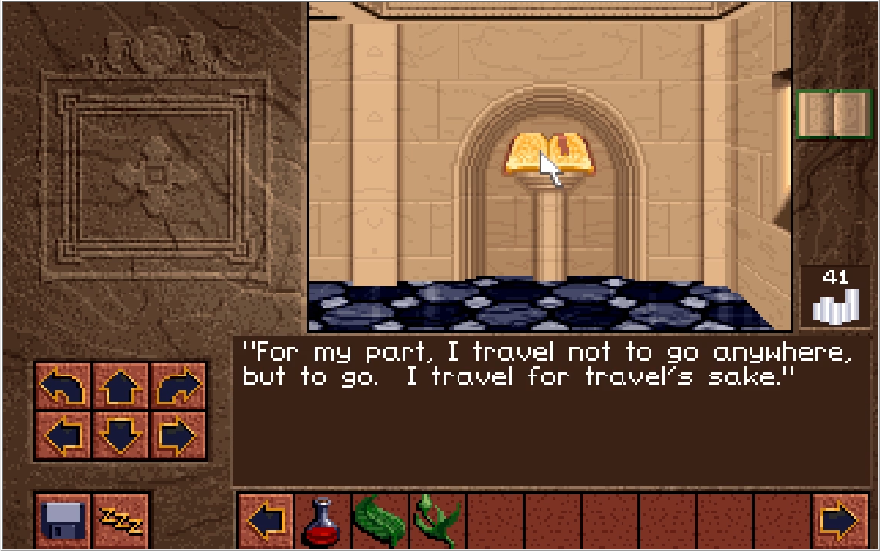
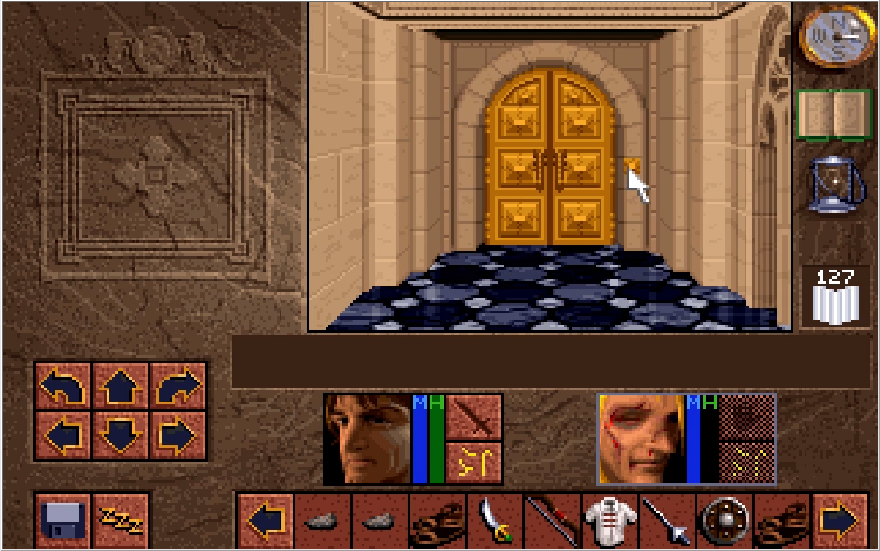
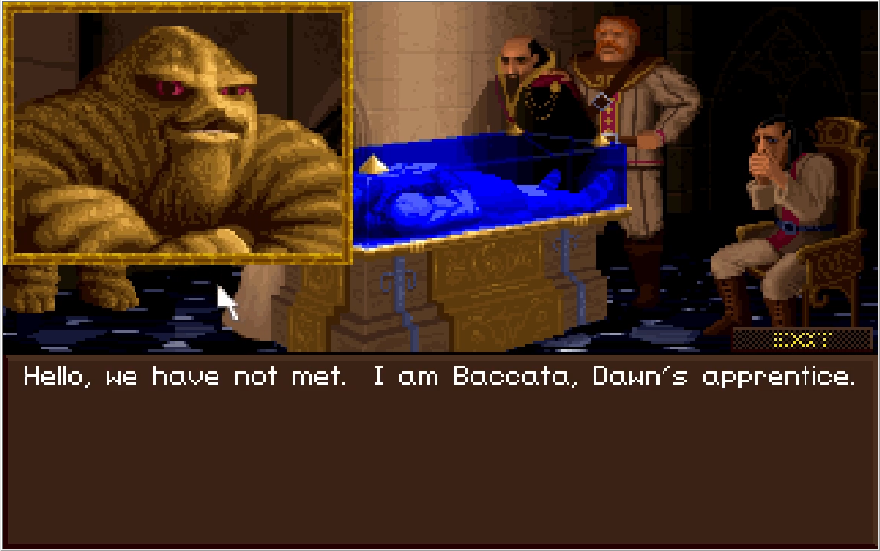
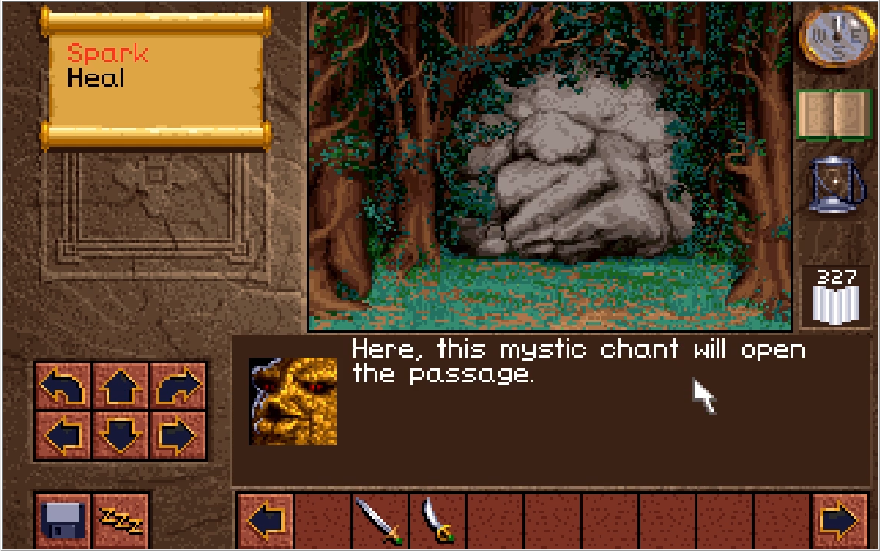
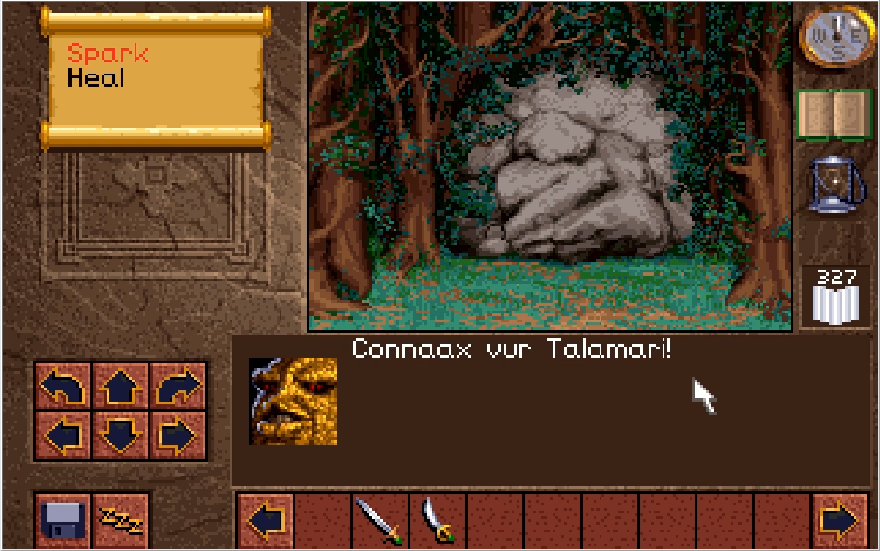
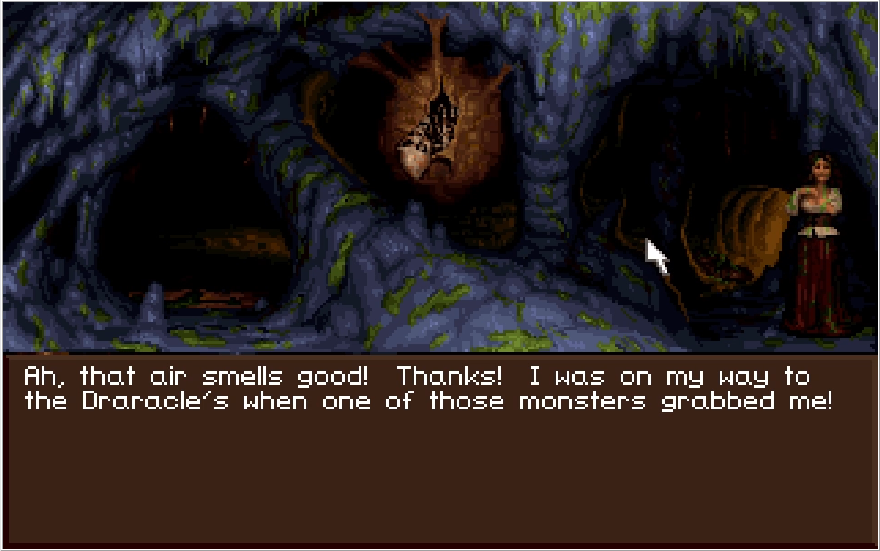
When we last left off, we were halted by these distinctive dragon carvings that just seemed to be missing something. By slotting the Emerald Eye into the eastern carving, a new path opens! Baccata thinks this is unique and splendid compared to other mechanisms we've seen. Or perhaps based on his face, he's thinking about a Thomgog baddie right now and that's what's so splendid.
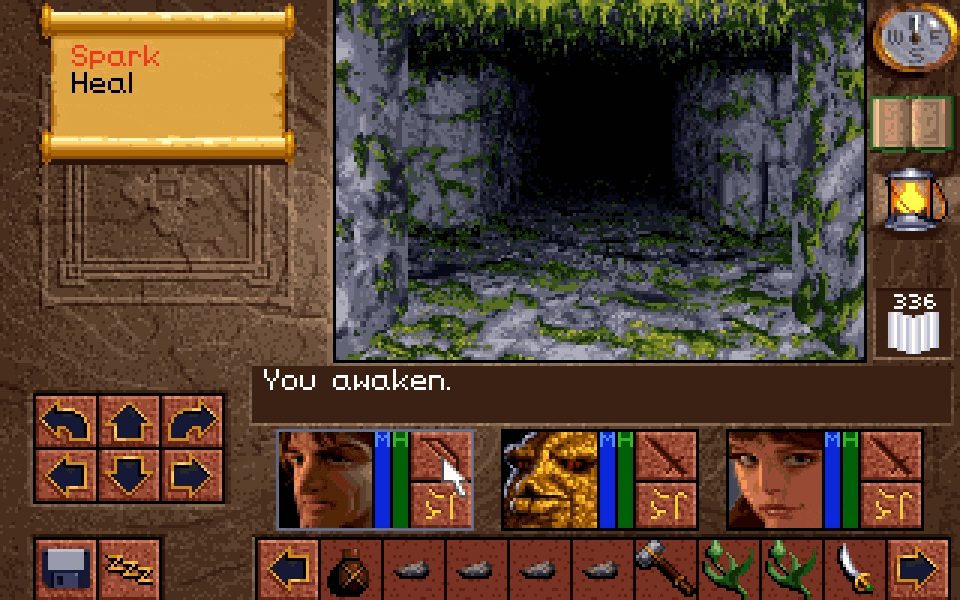
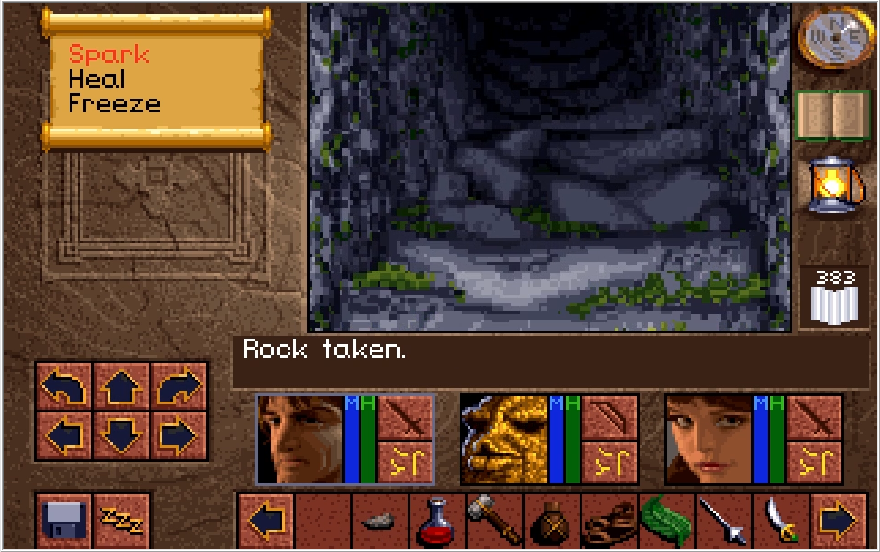
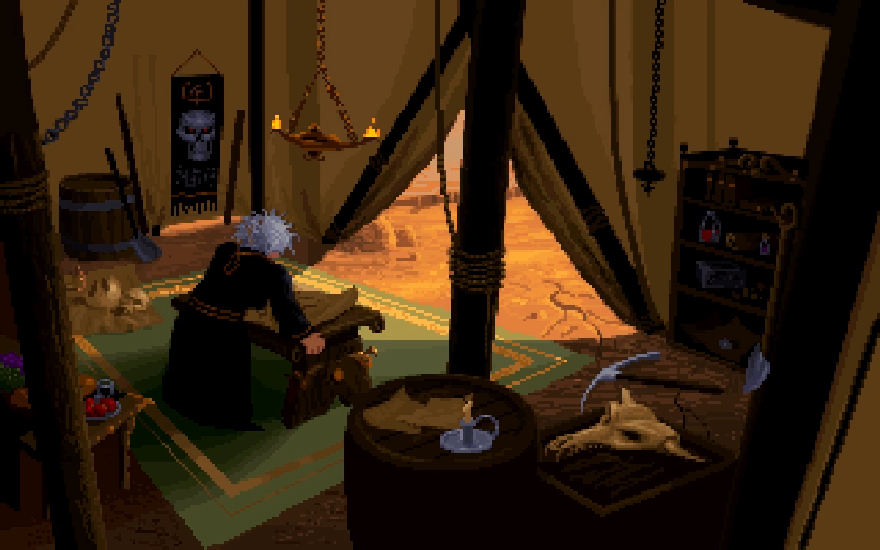
So fun fact, this segment is actually the very first thing I recorded for the LP, when I was doing my Conrad practice run. It has been approximately 12 years since I've done the Emerald Eye path and I decided to not look up any guides on how to get through here, so there is going to be some intense bumbling for the first chunk of this update.
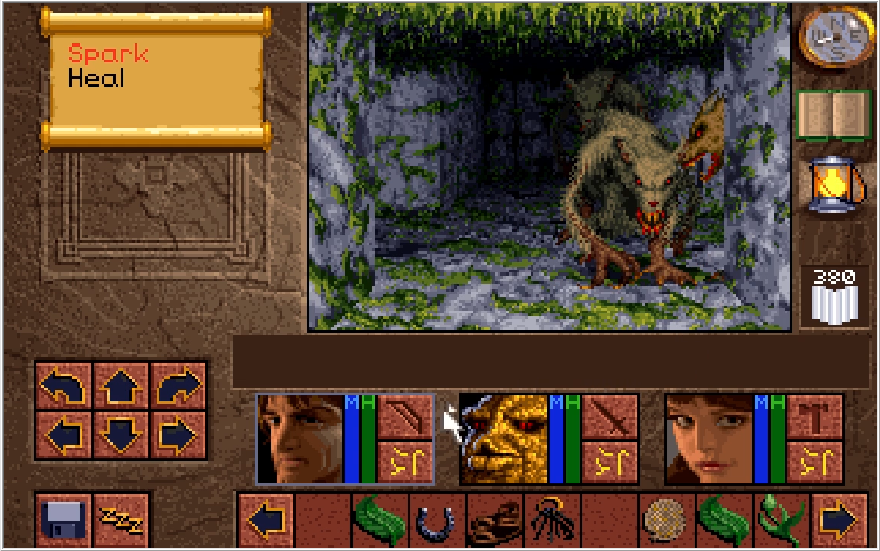
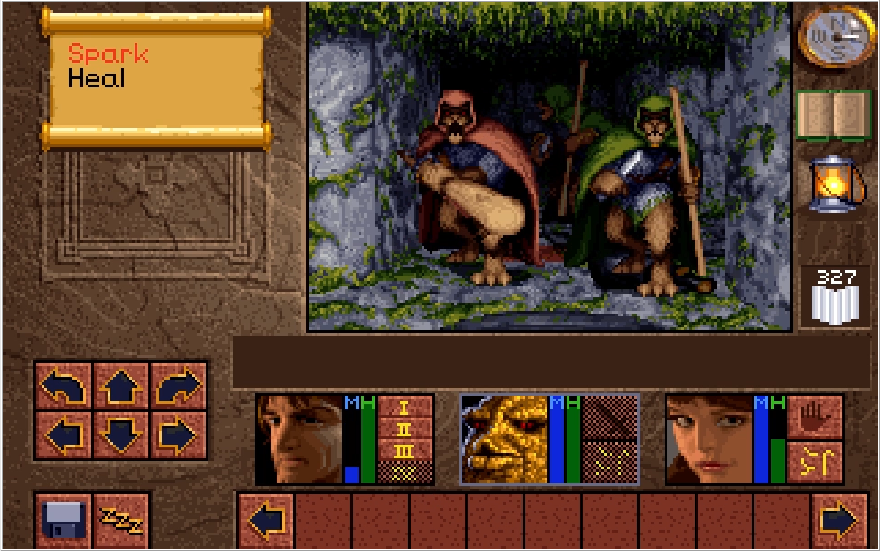
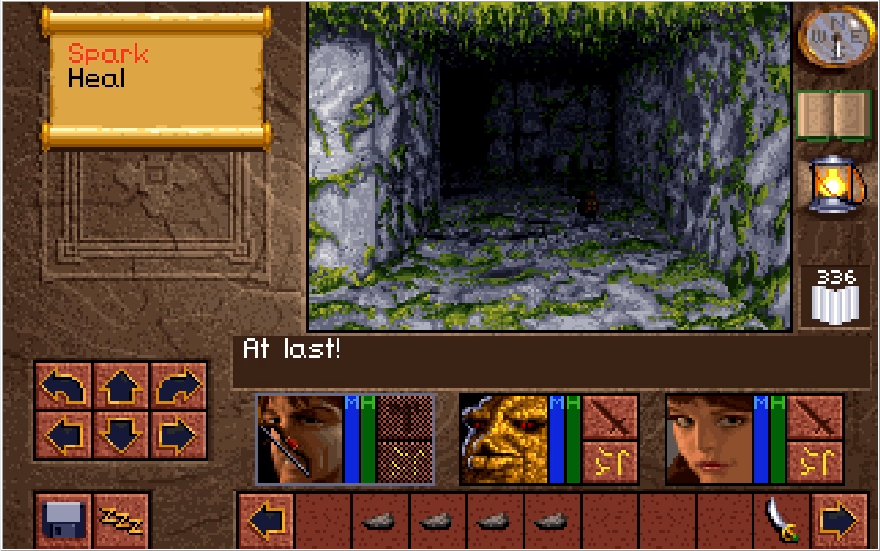
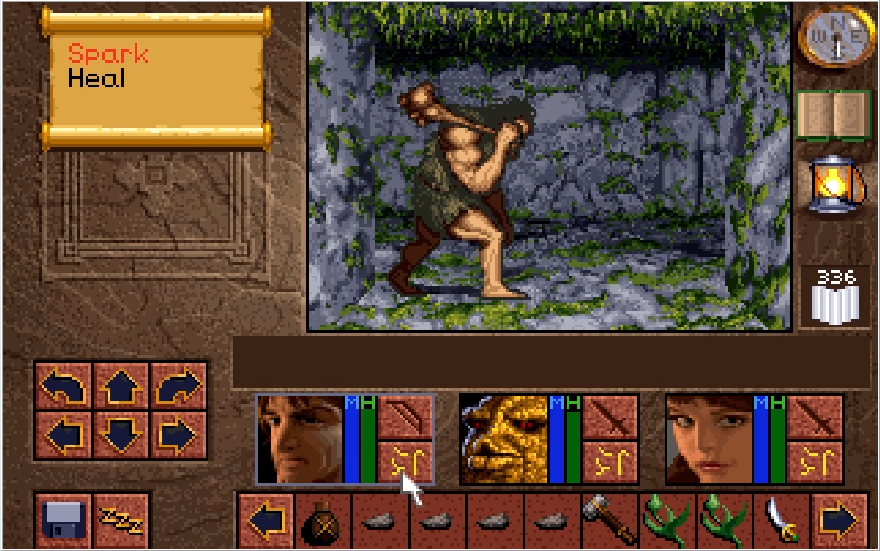
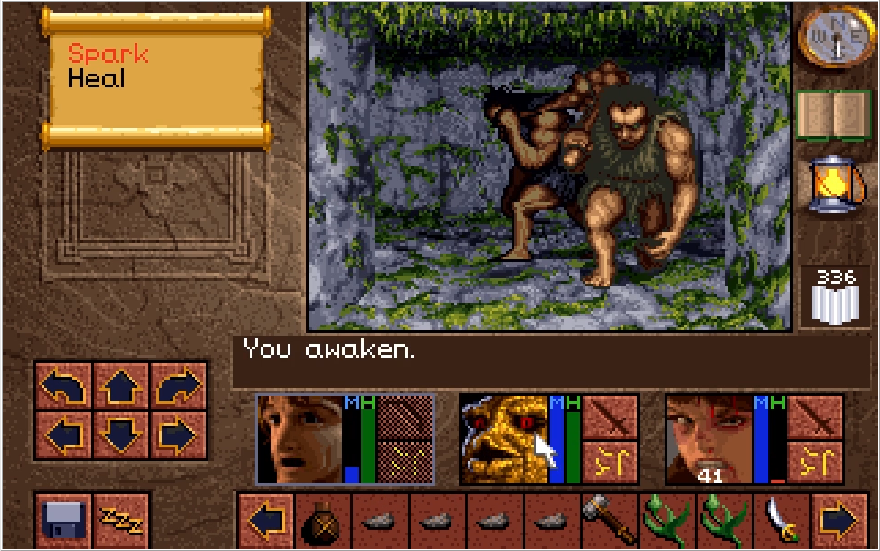
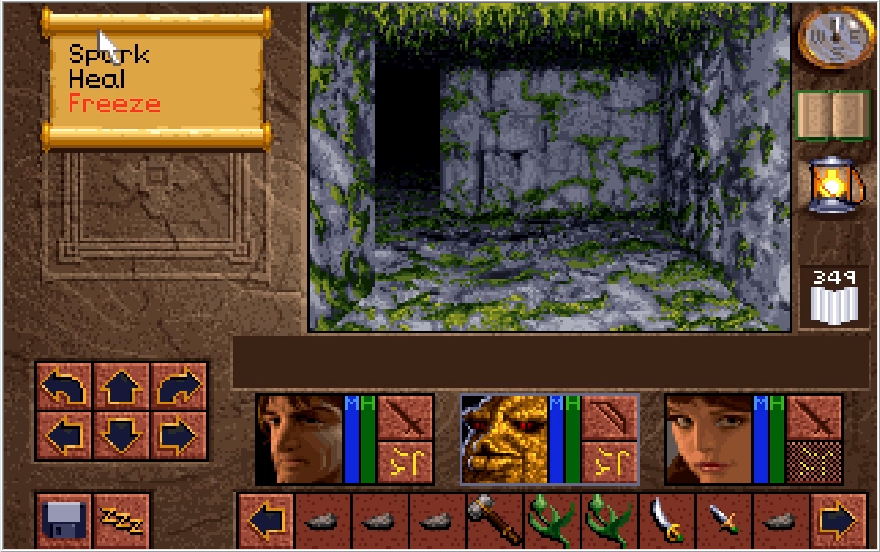
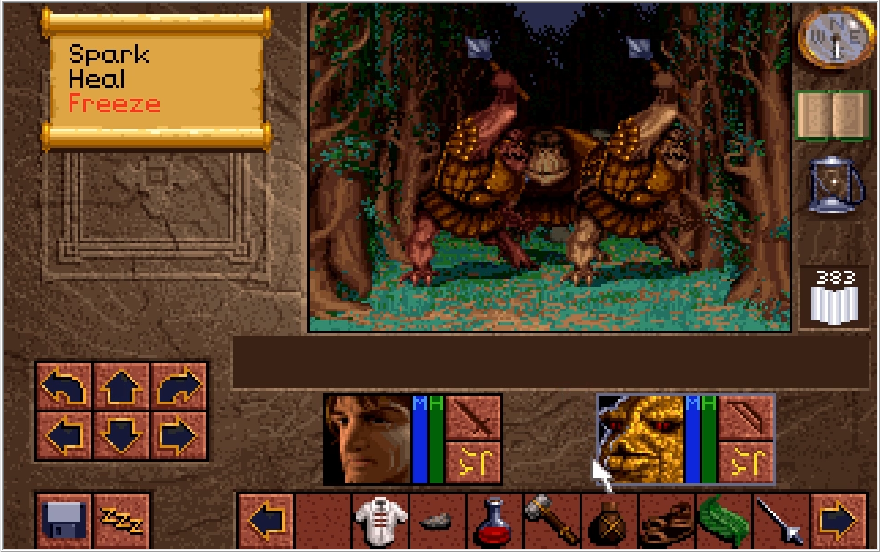
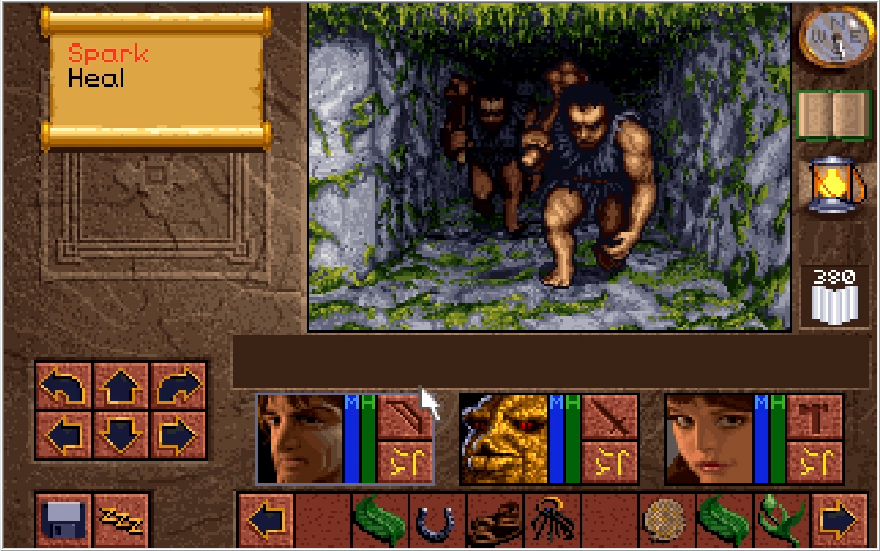
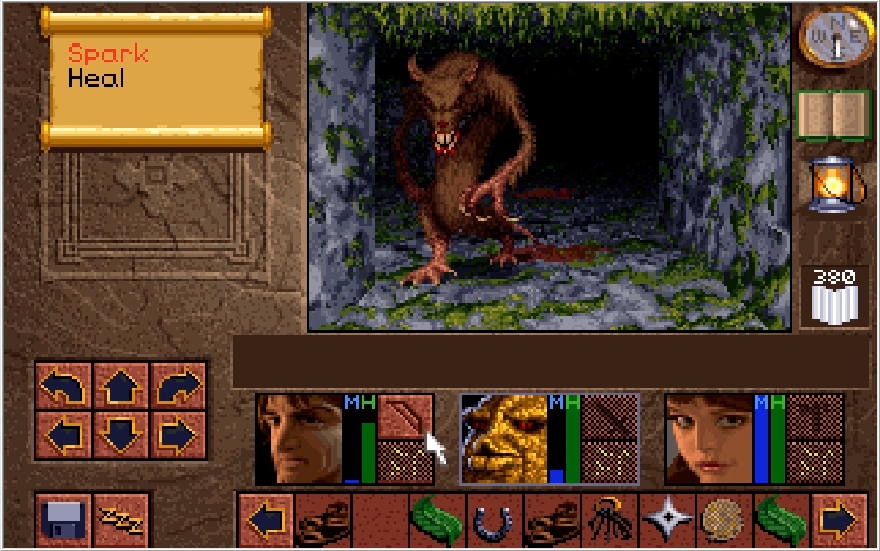
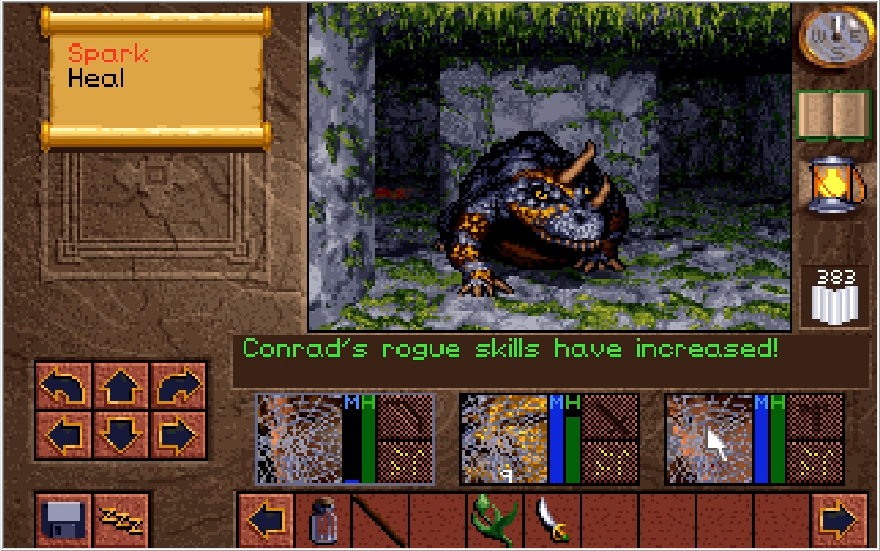
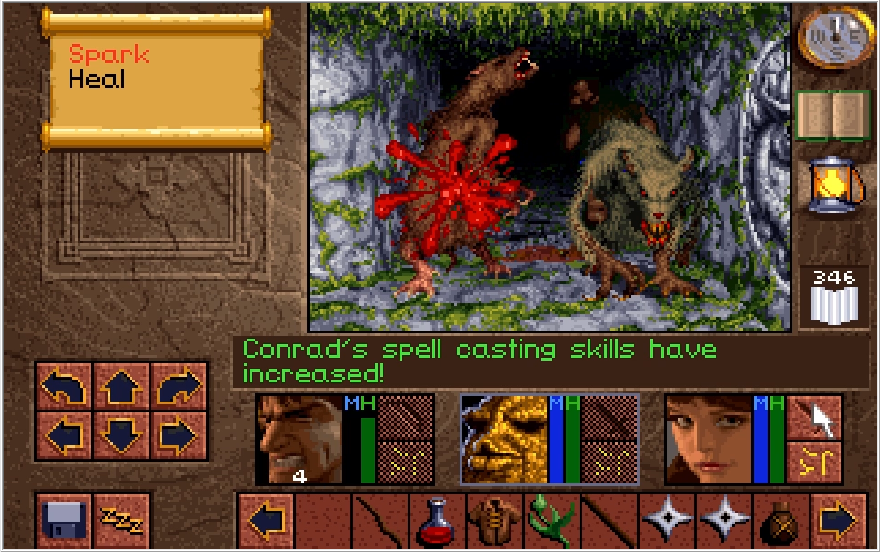
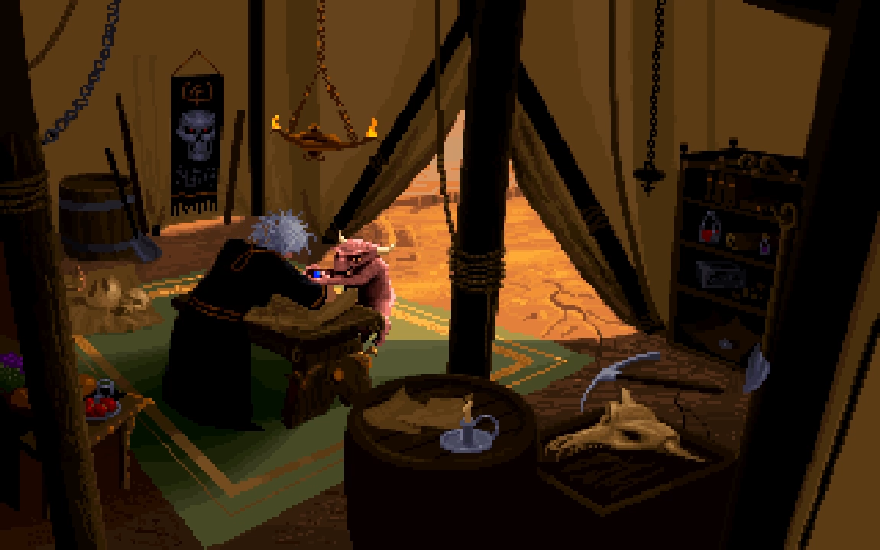
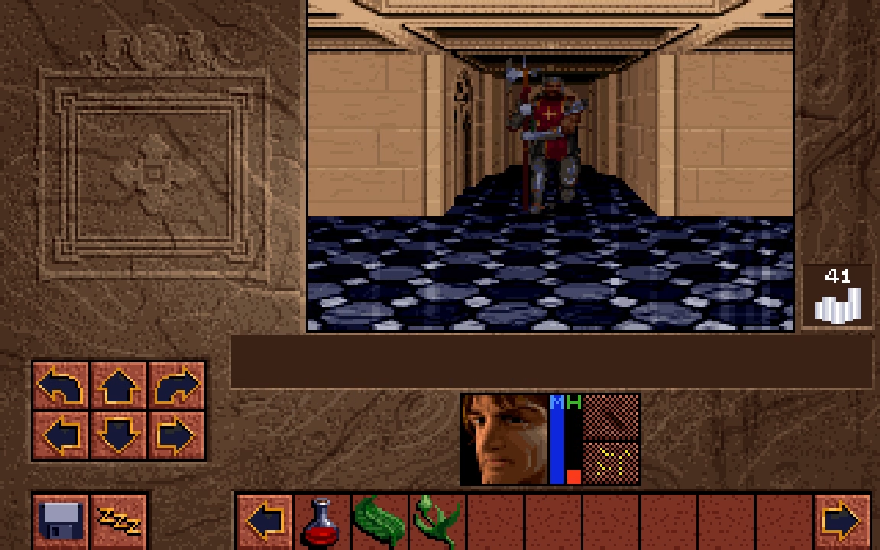
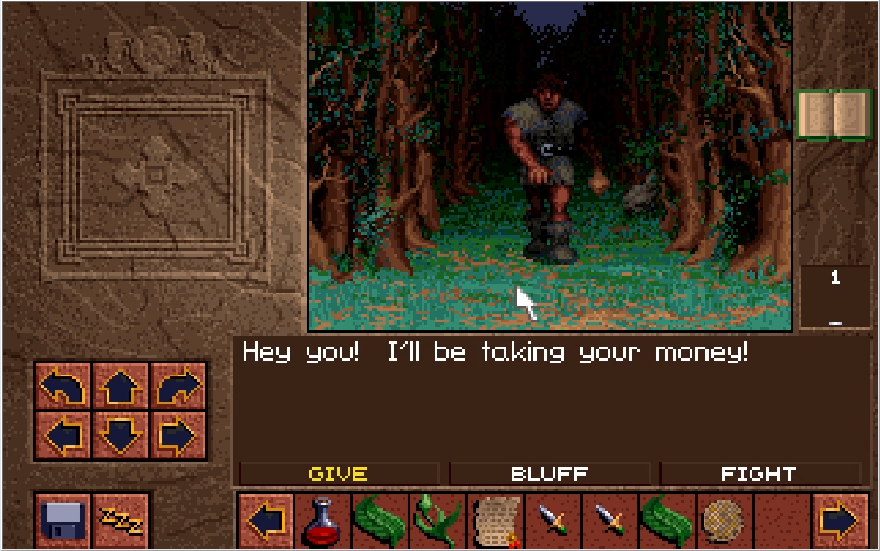
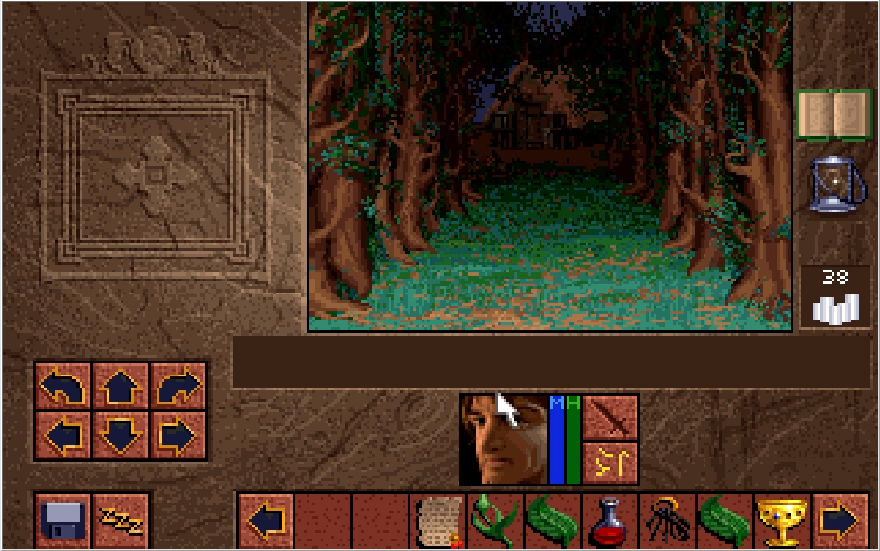
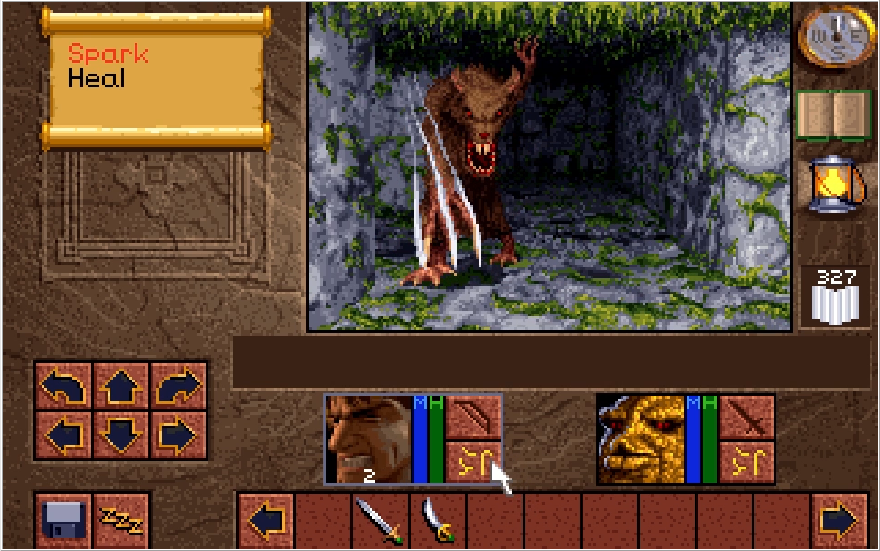
Stepping into here, we come to a large chamber splintering off into several directions. I decide to head south and then west to start, coming across a battalion of weasels along the way. Baccata and Conrad have no problem mopping them up, but Lora wasn't so lucky. In this particular playthrough, I was able to get Conrad to Mage level 3 at this point, so he has 50 MP to work with and can instantly destroy two enemies before needing to rest!
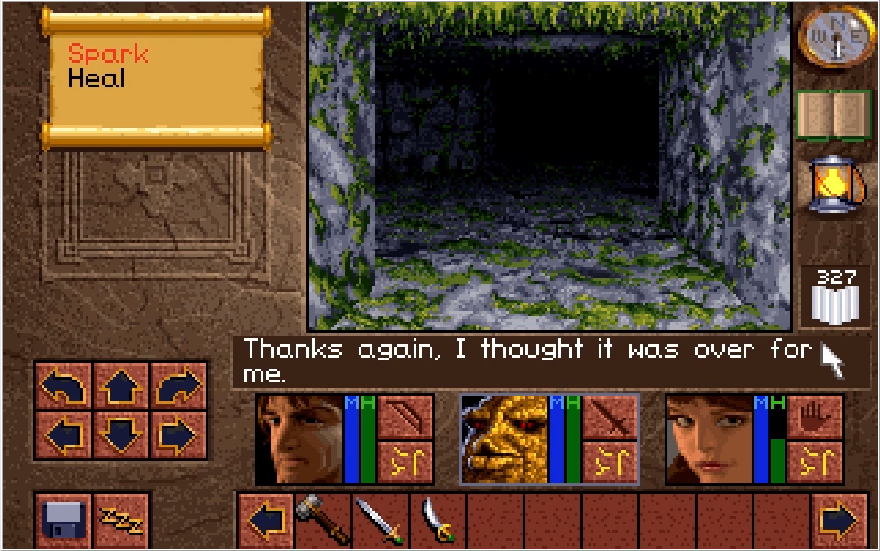
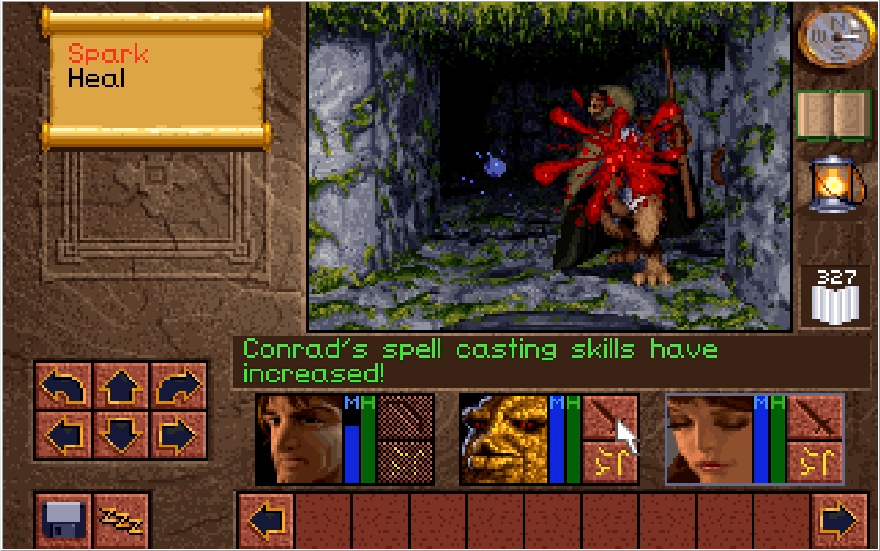
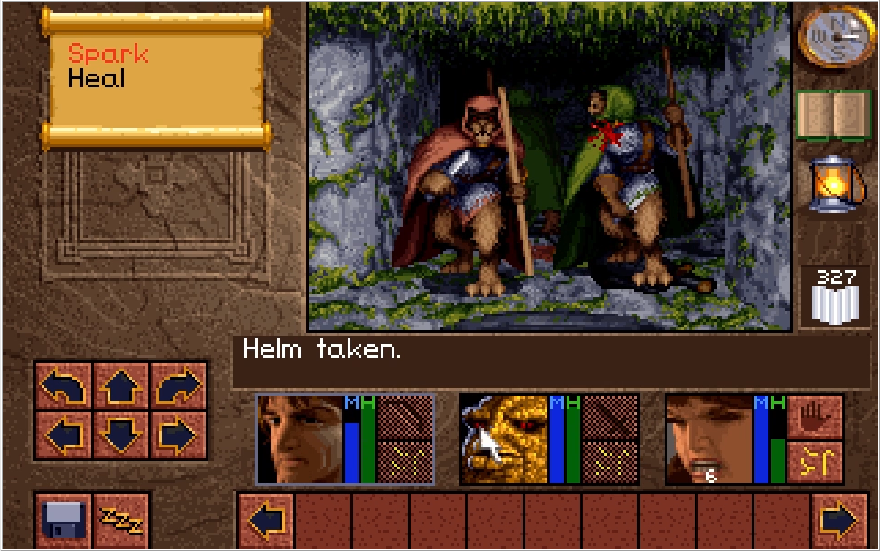
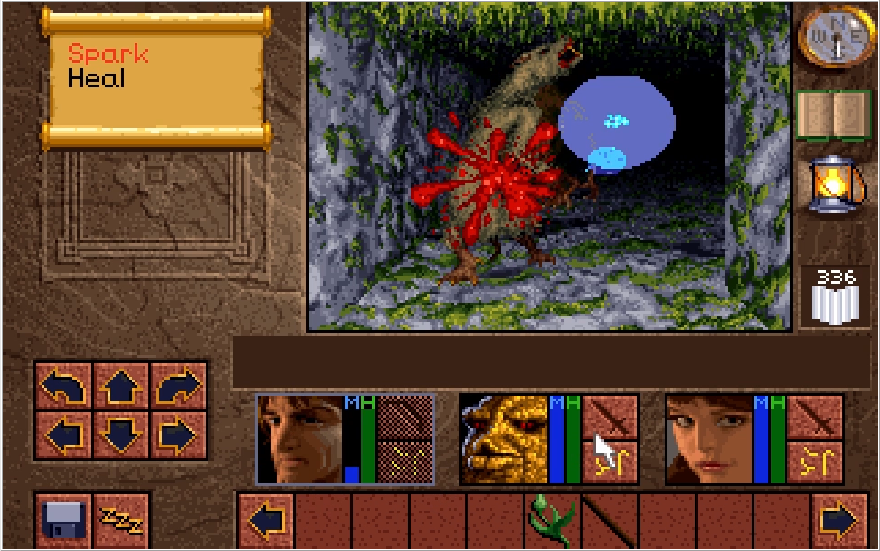
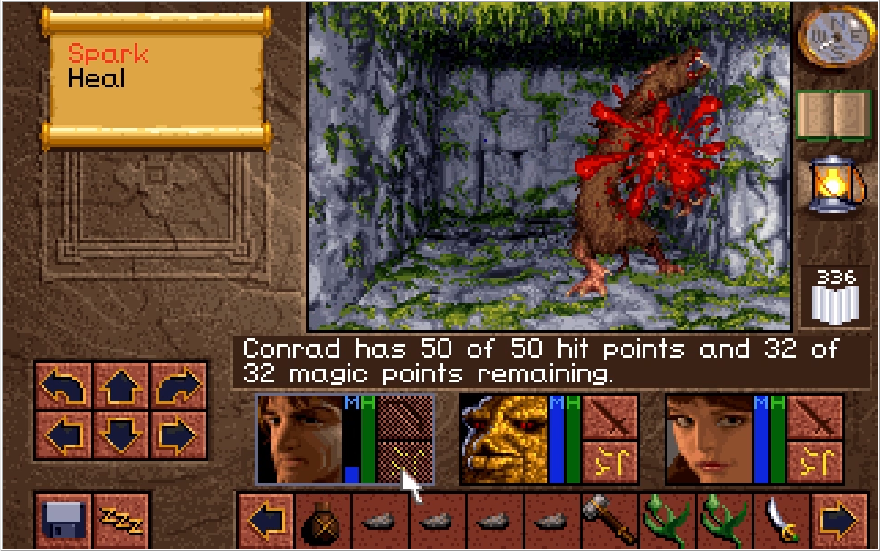
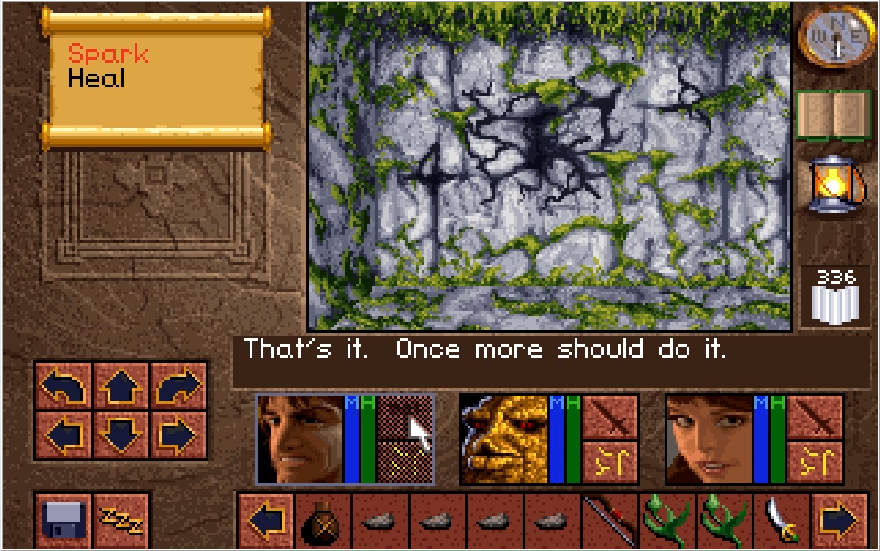
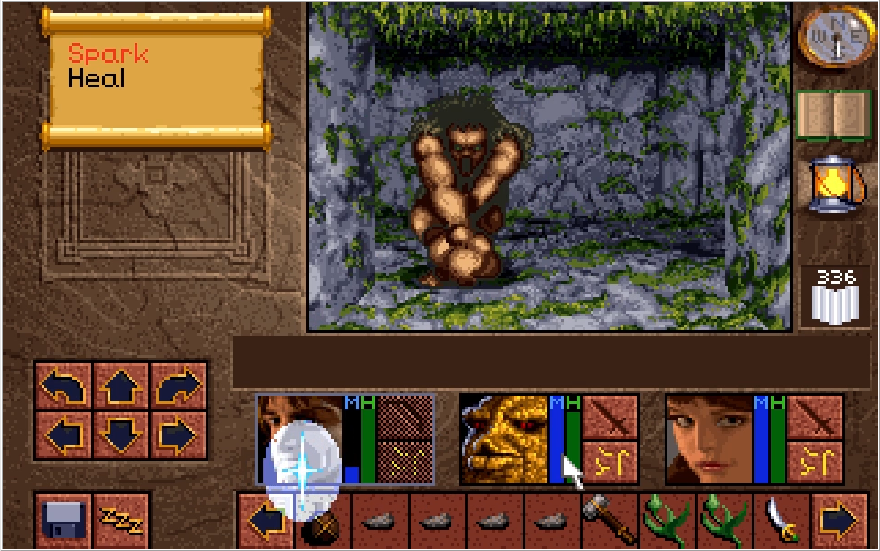
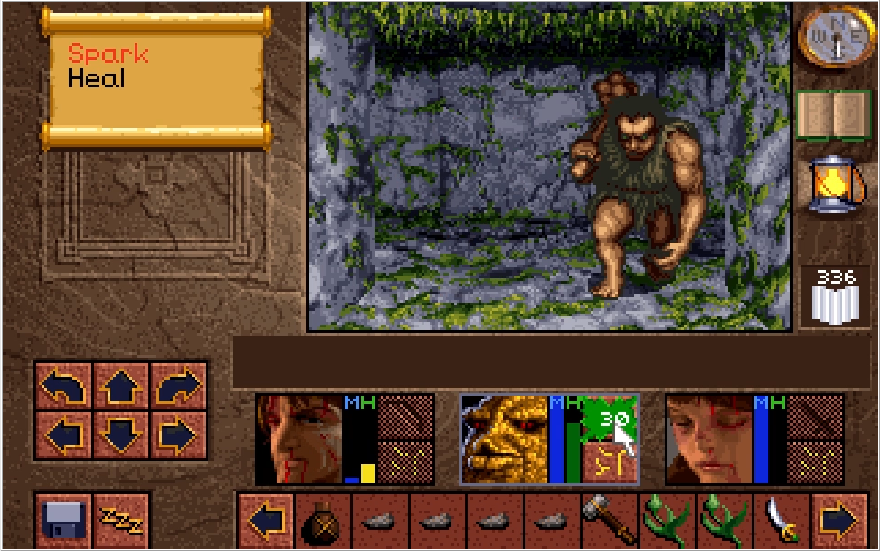
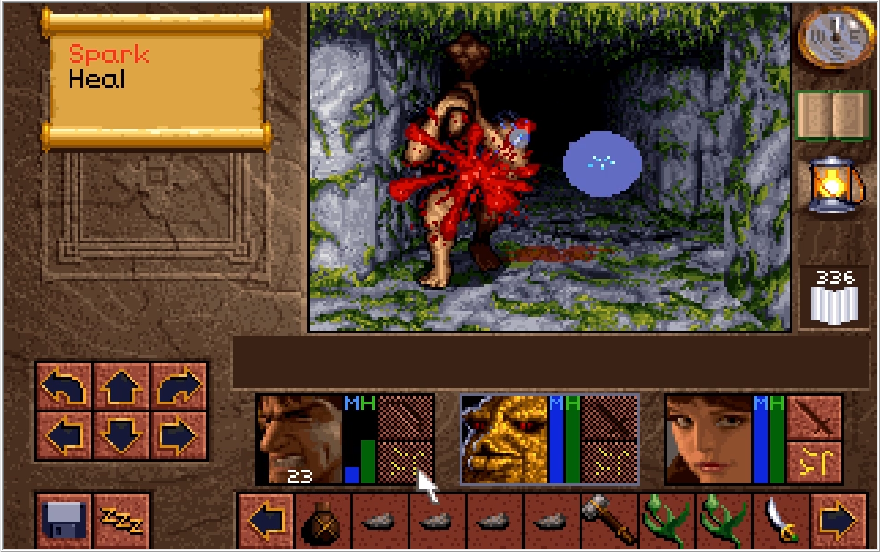
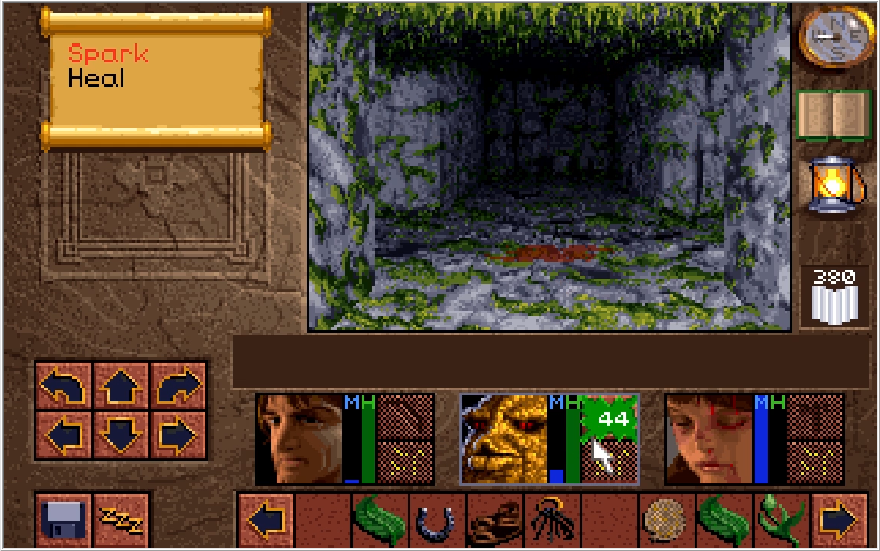
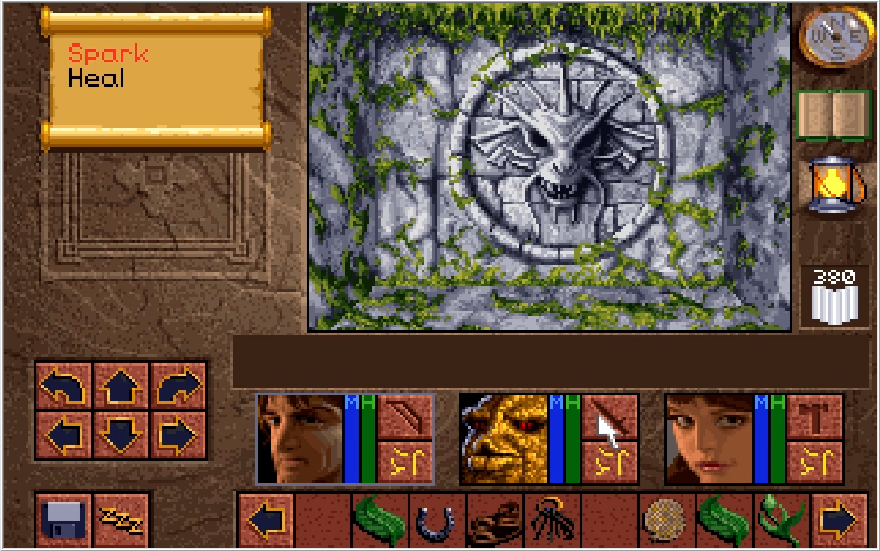
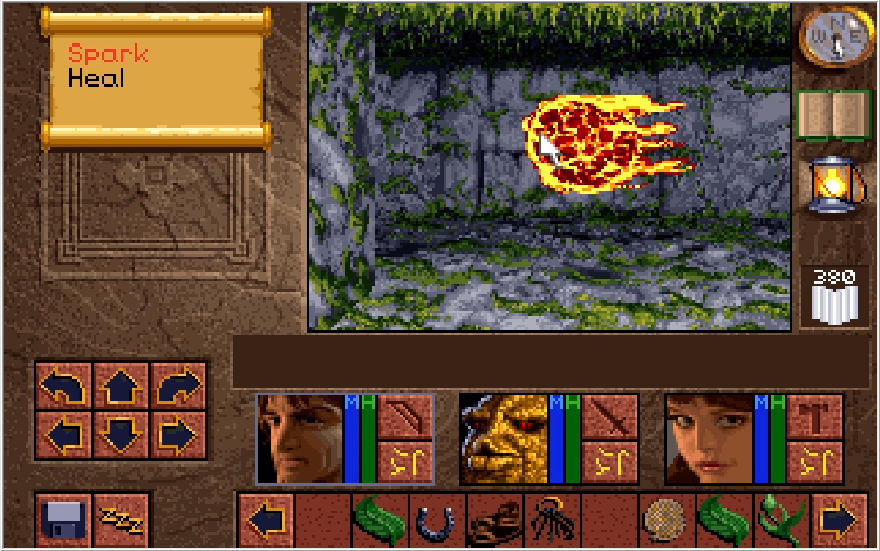
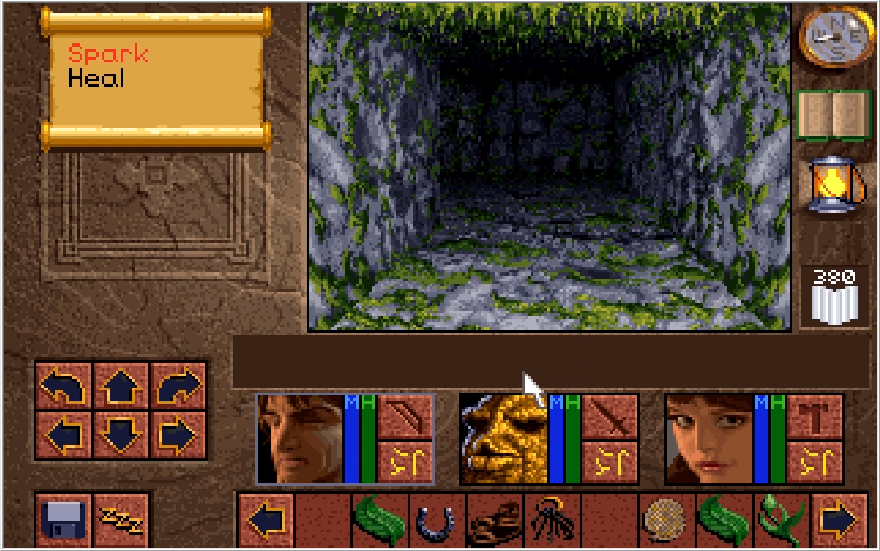
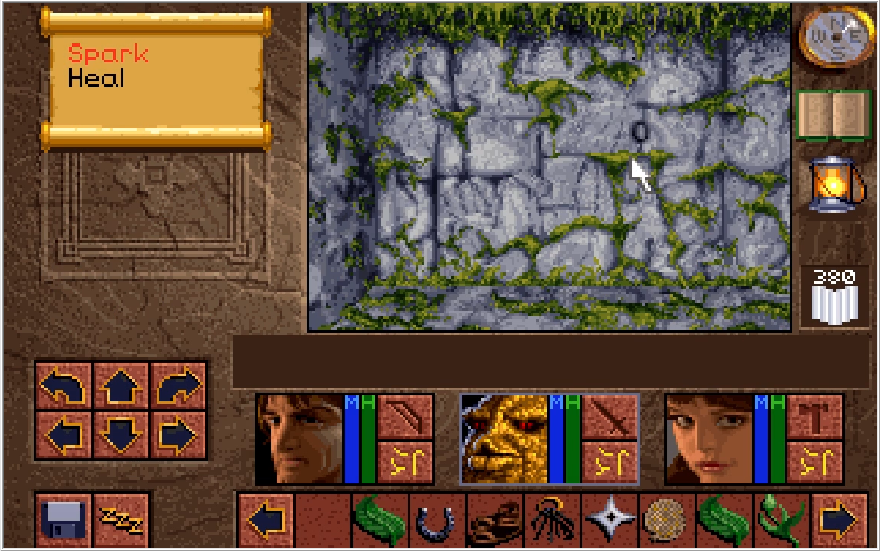
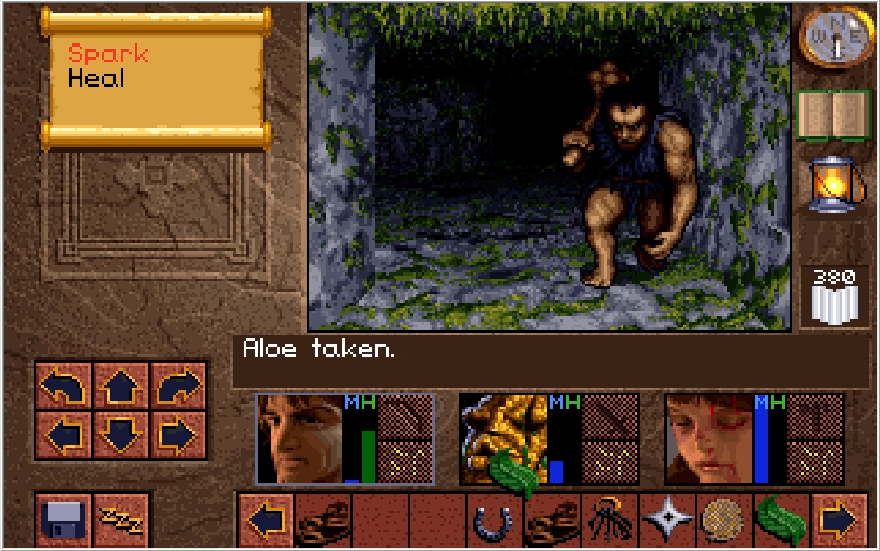
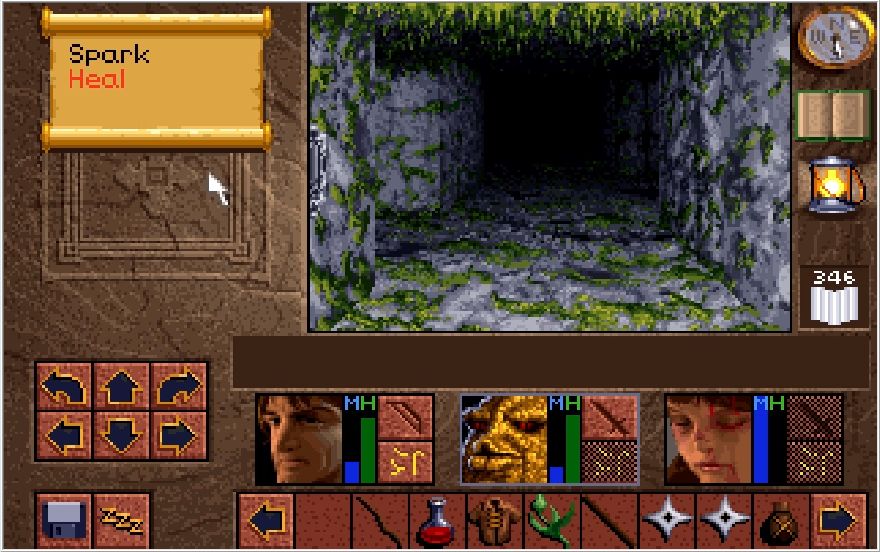
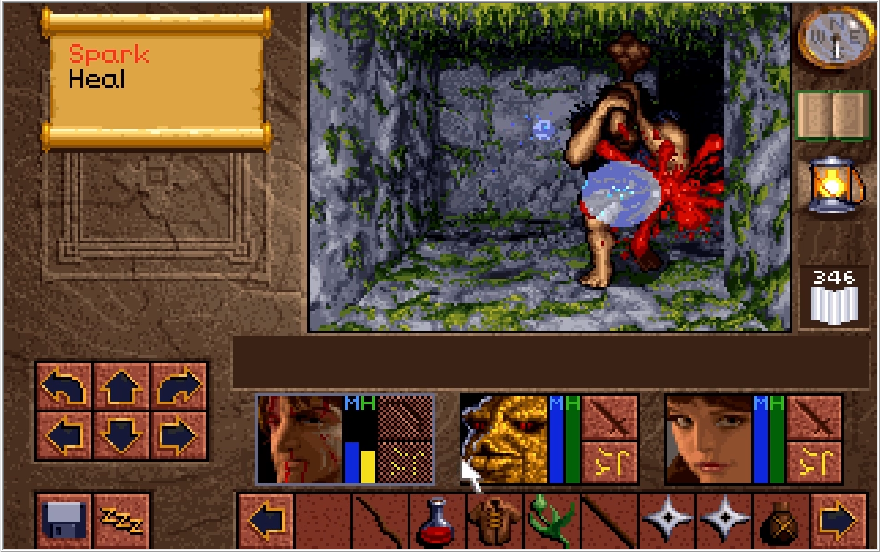
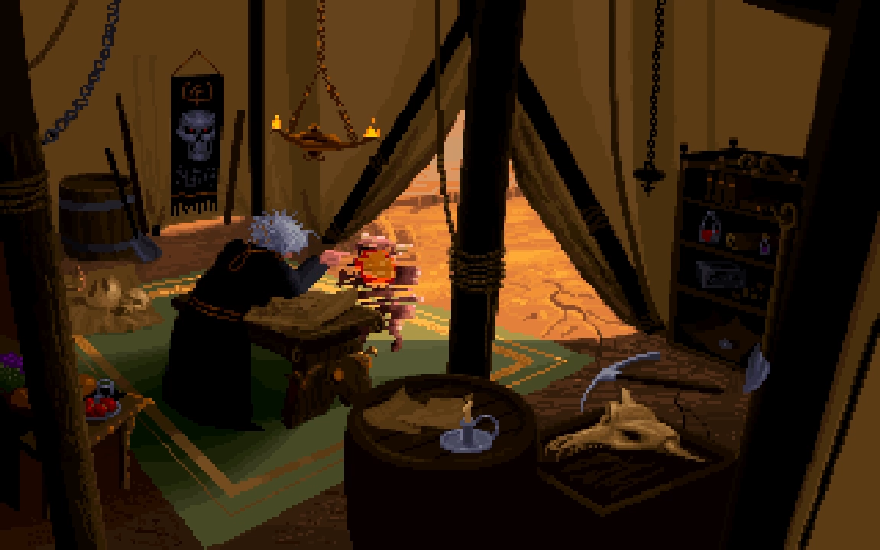
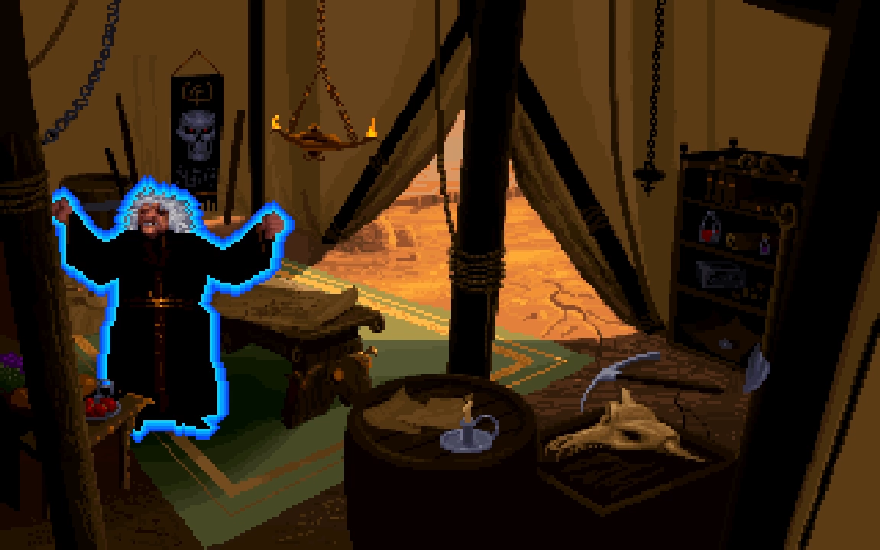
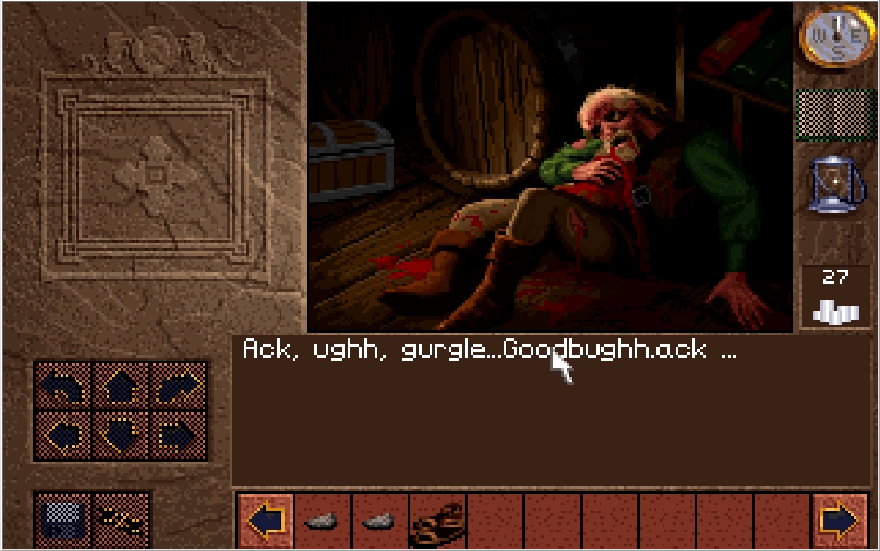
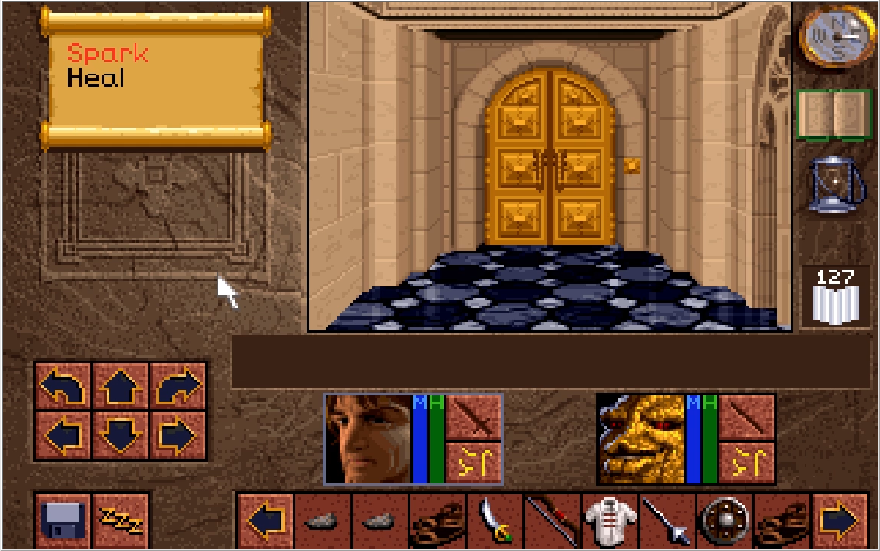
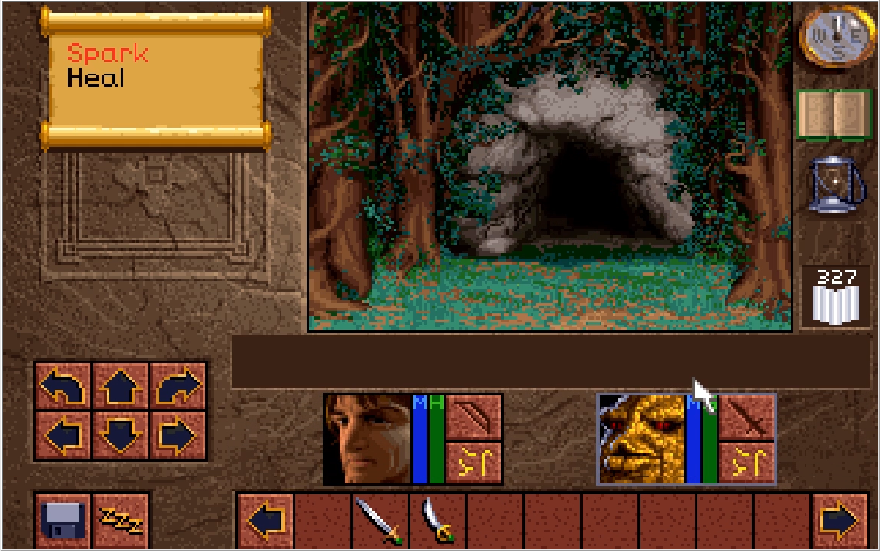
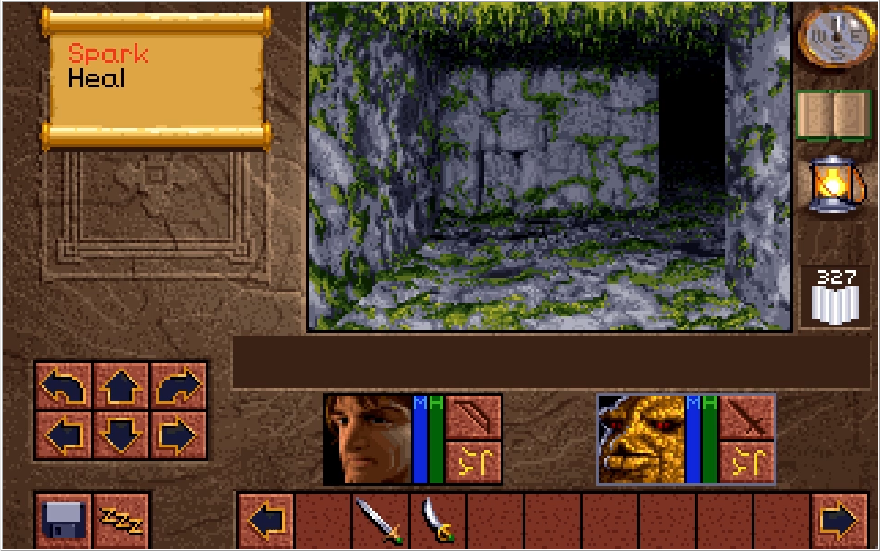
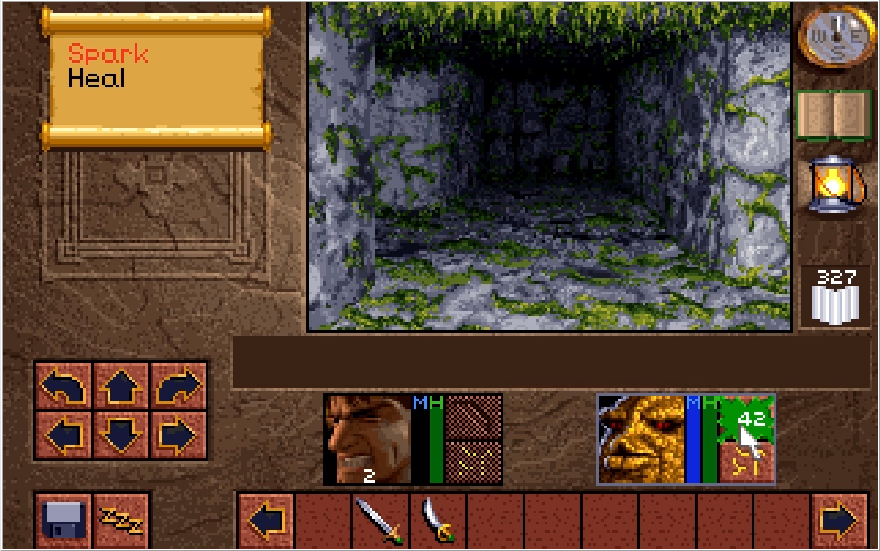
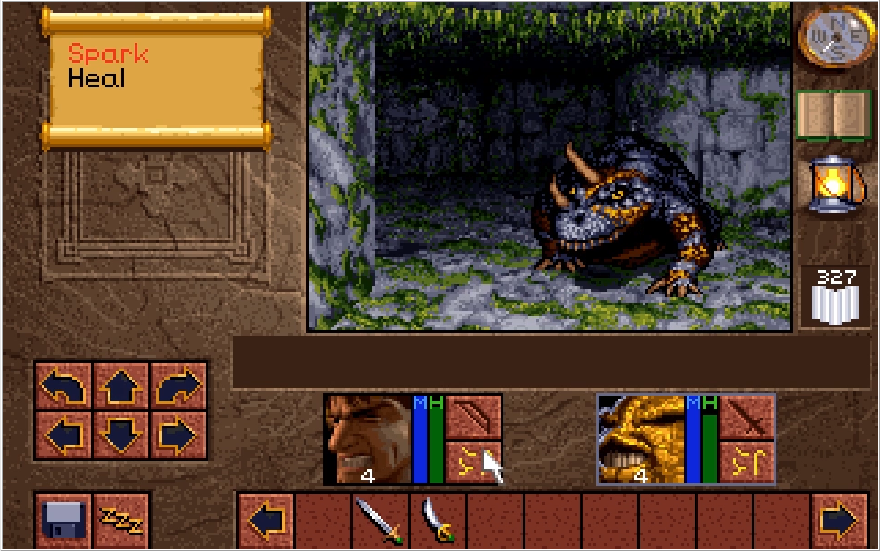
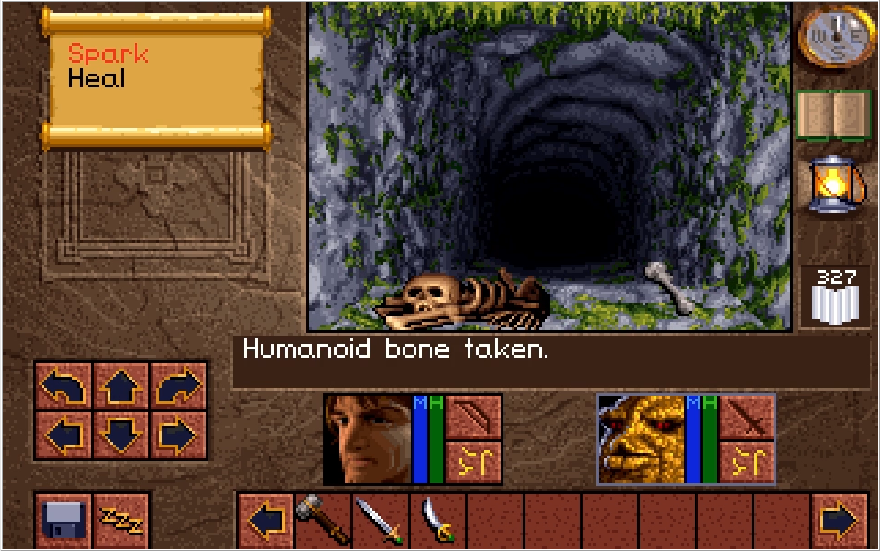
A little detail I haven't shown off yet is actually using the Heal spell. Sometimes when you bring a party member back on their feet, they get this delightful shocked expression.
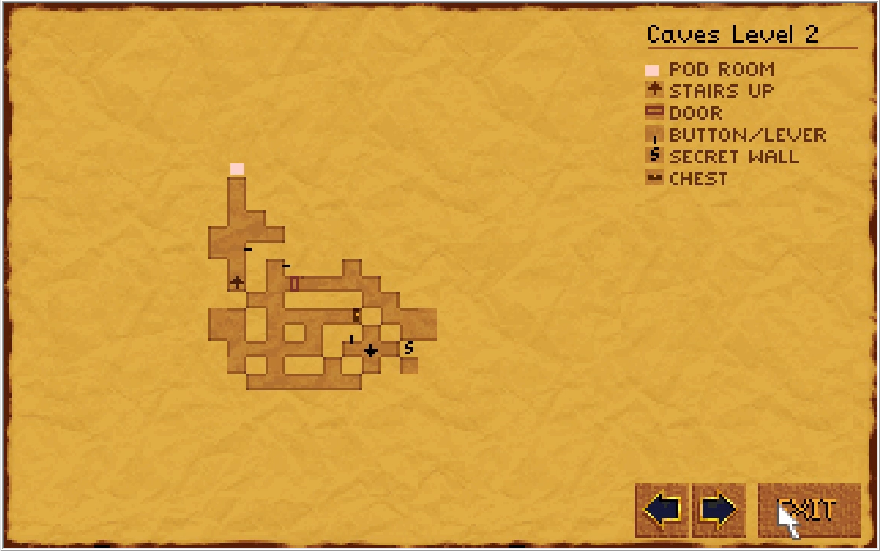
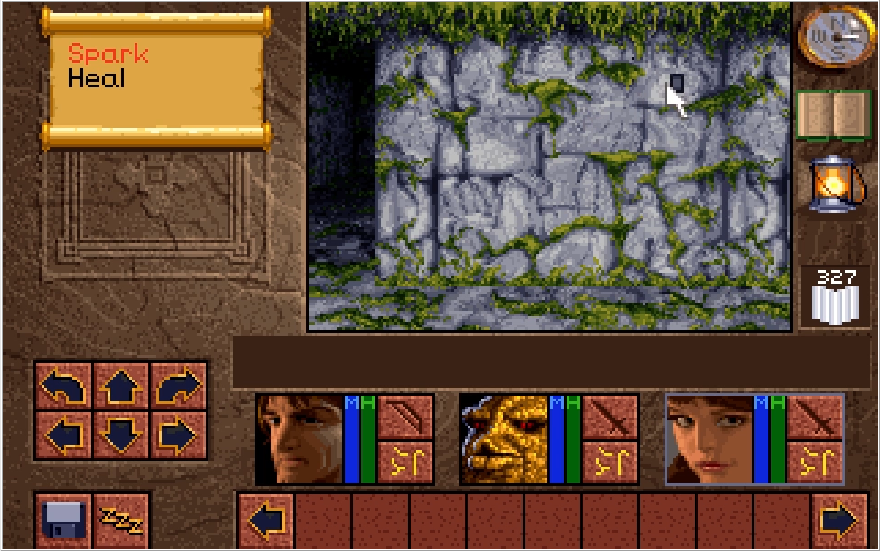
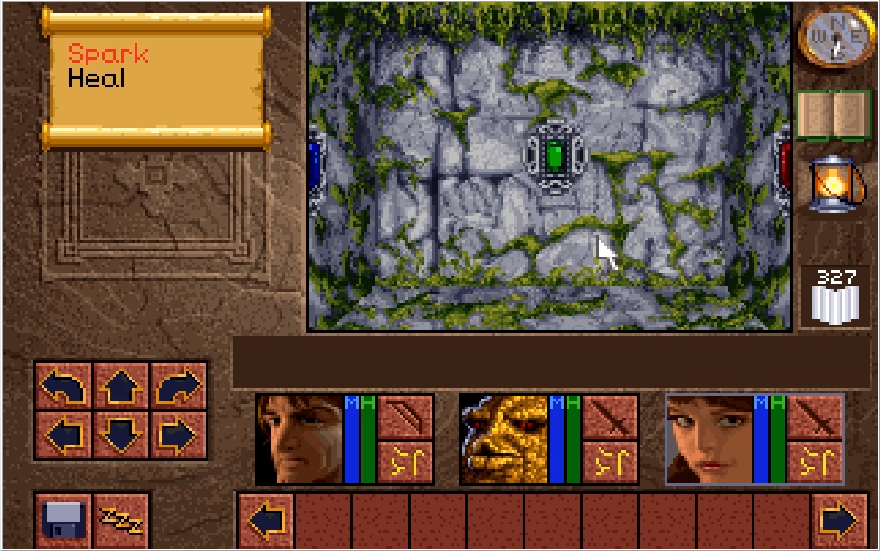
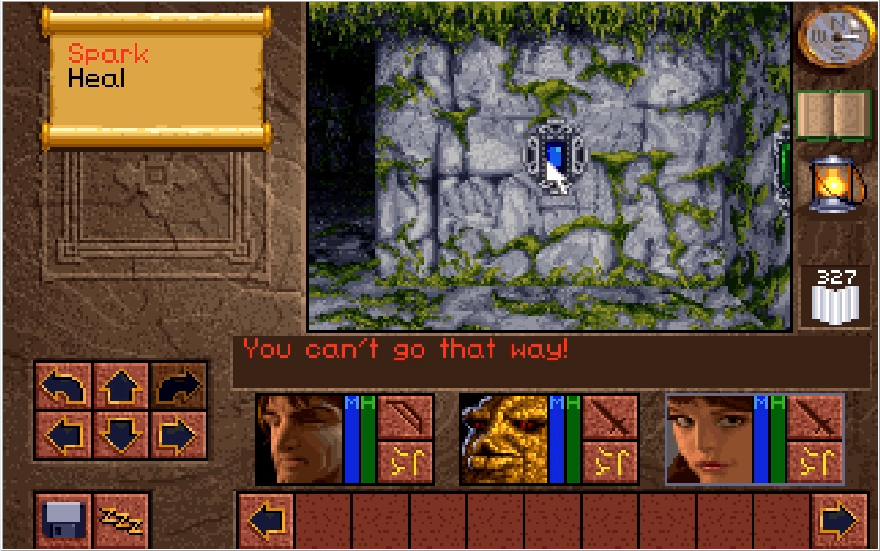
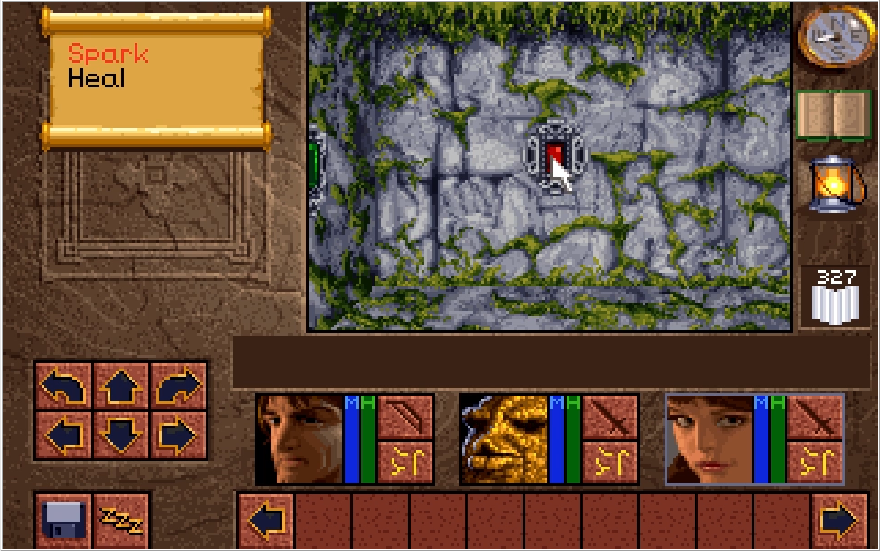
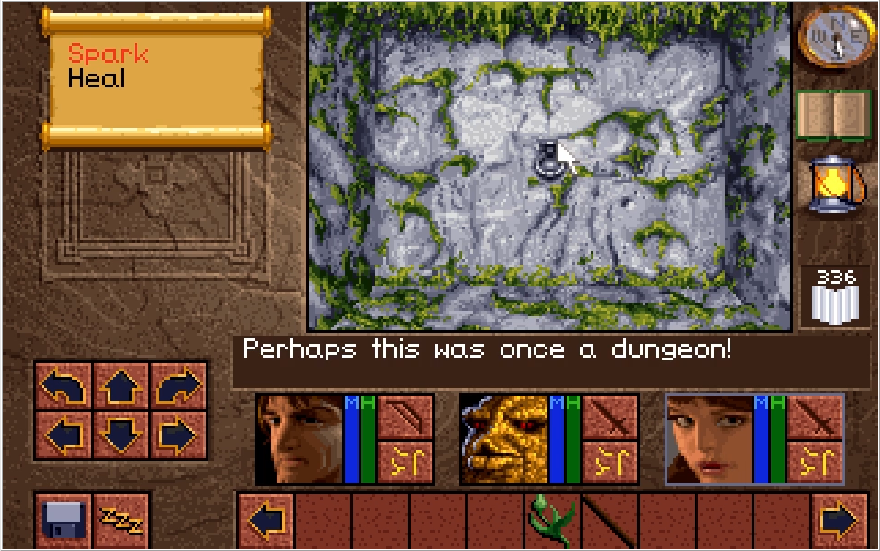
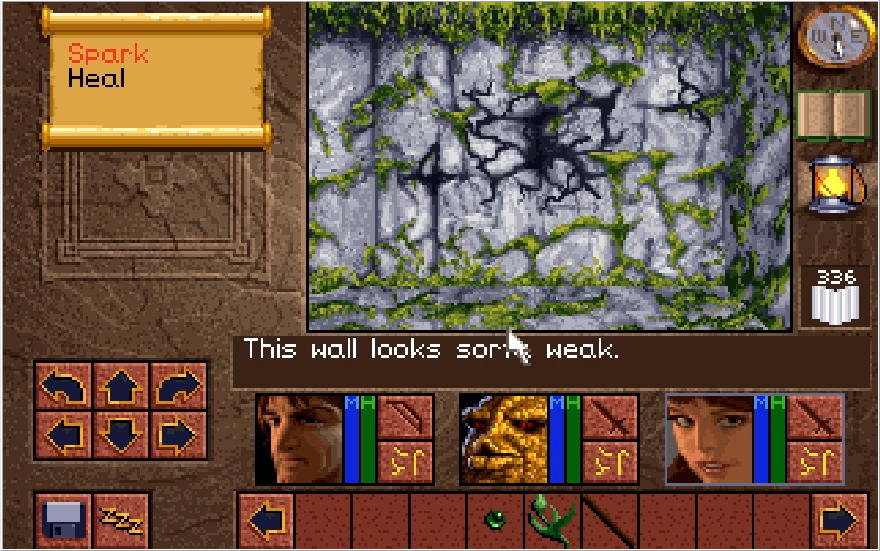
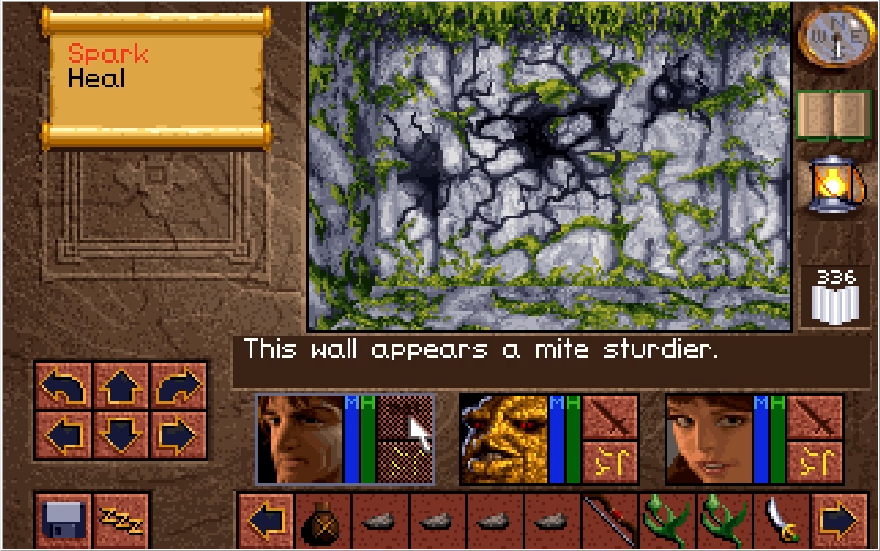
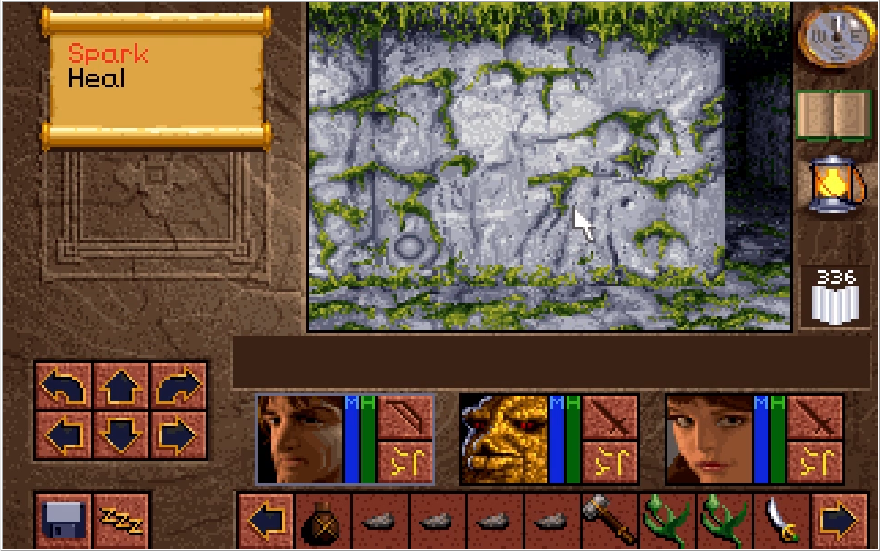
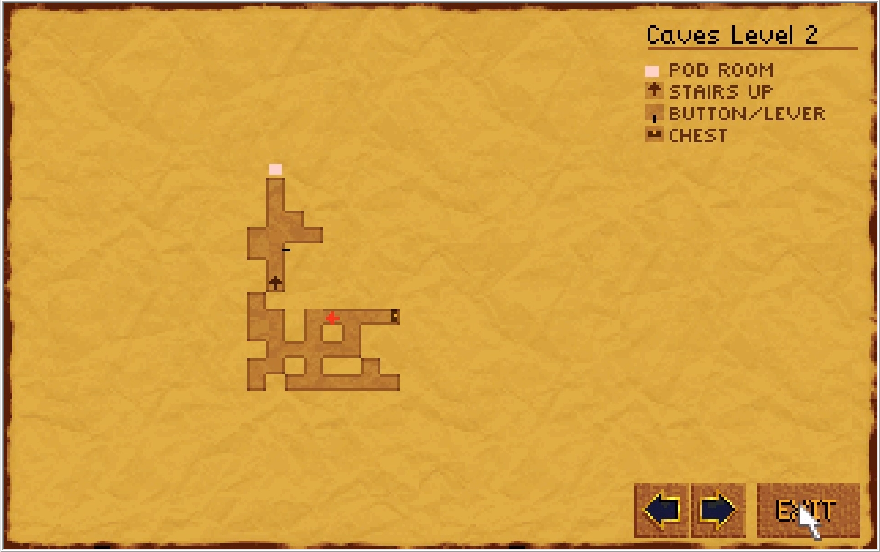
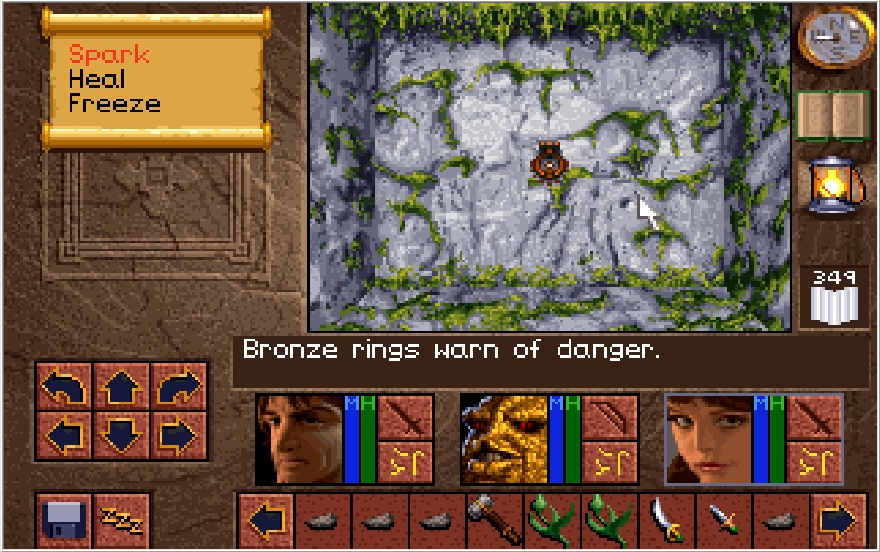
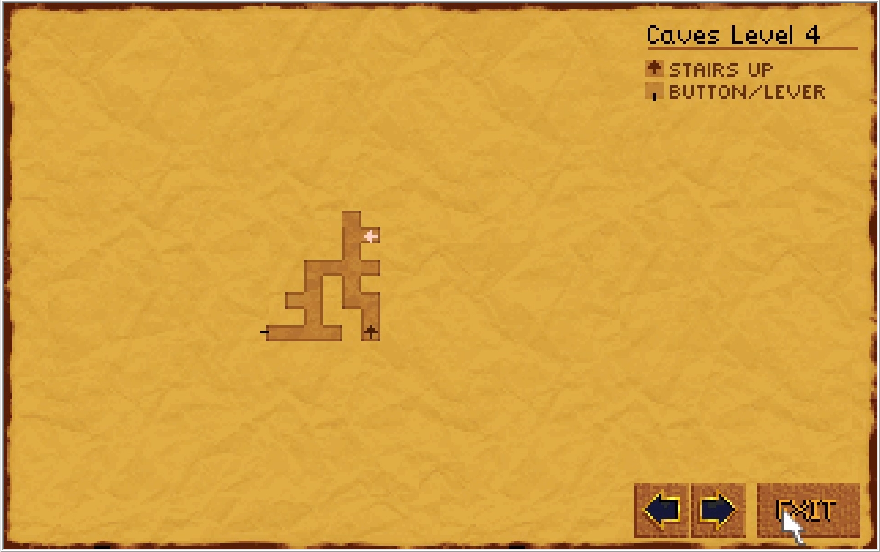
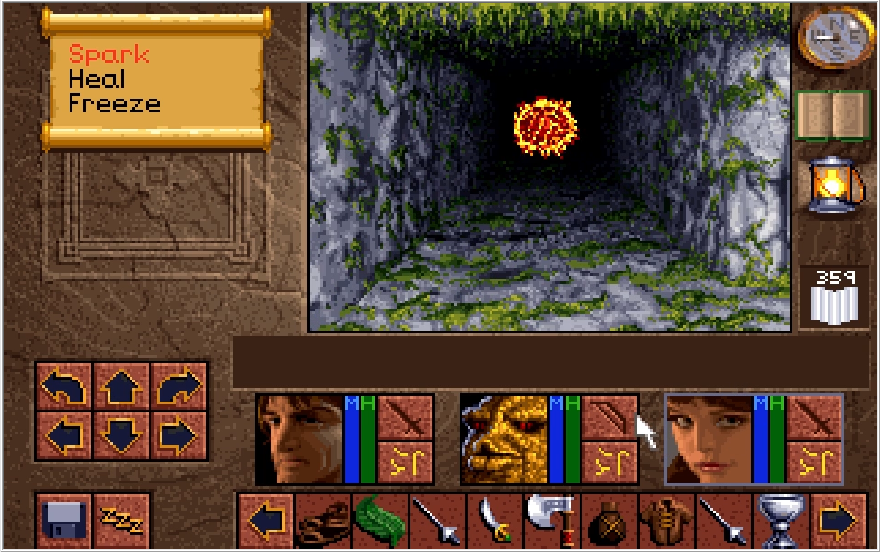
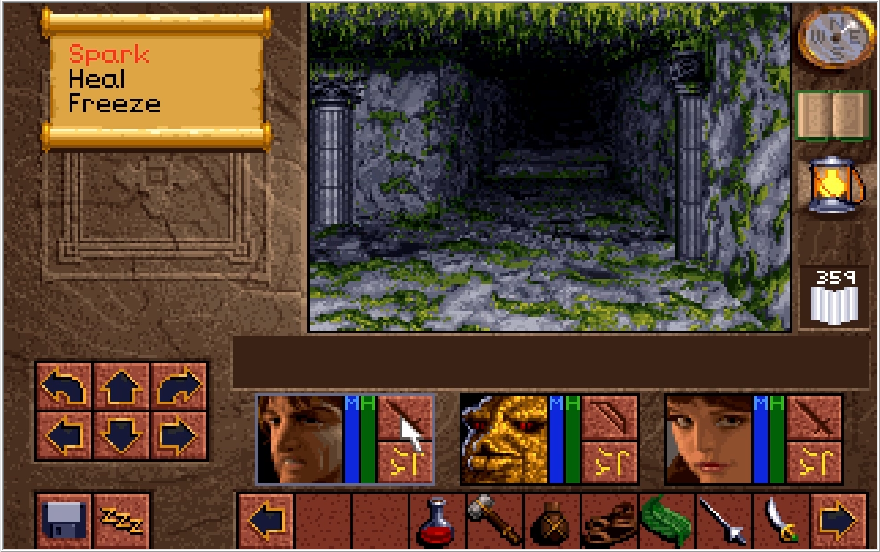
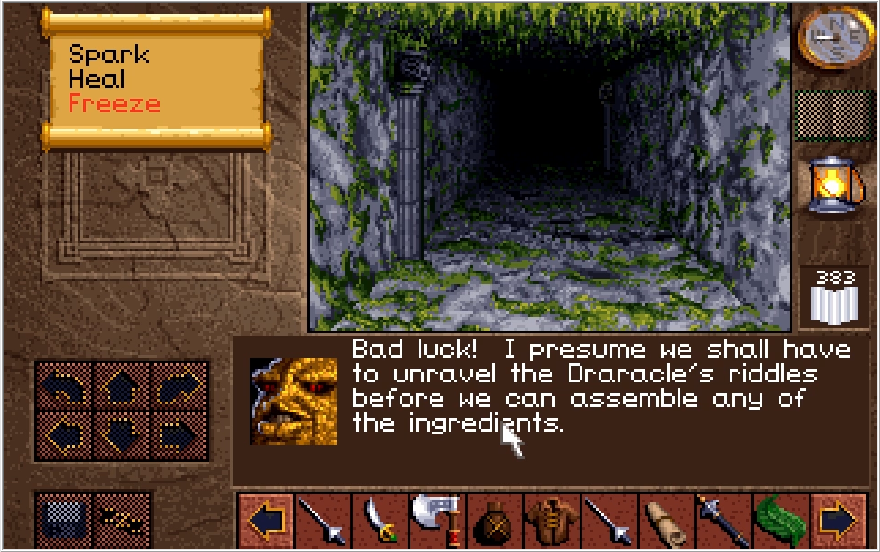
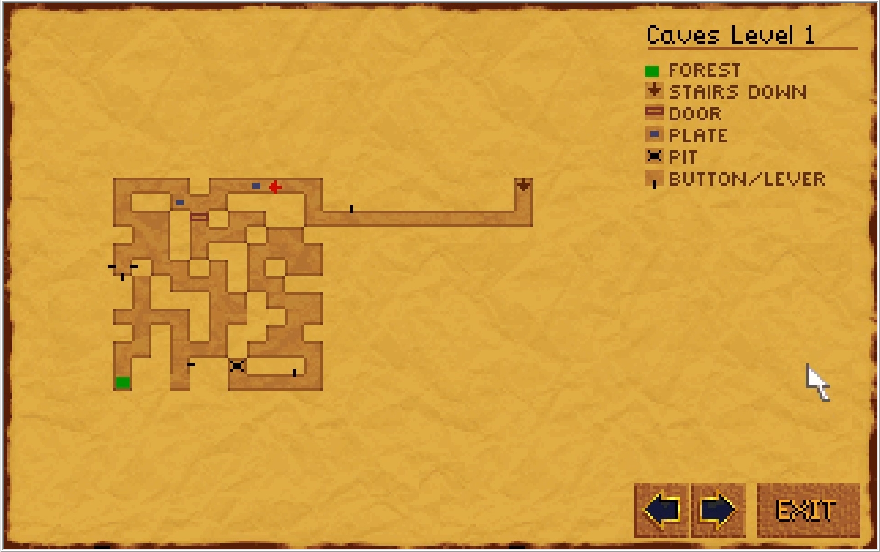
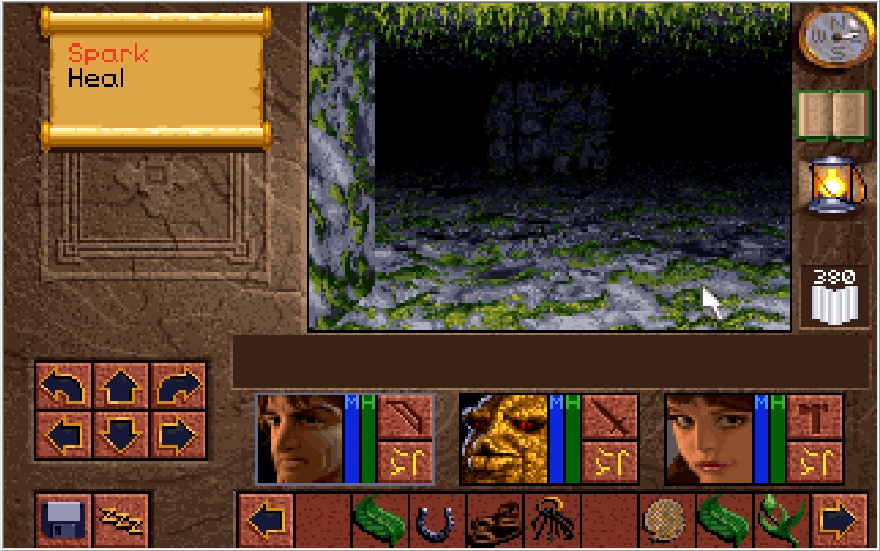
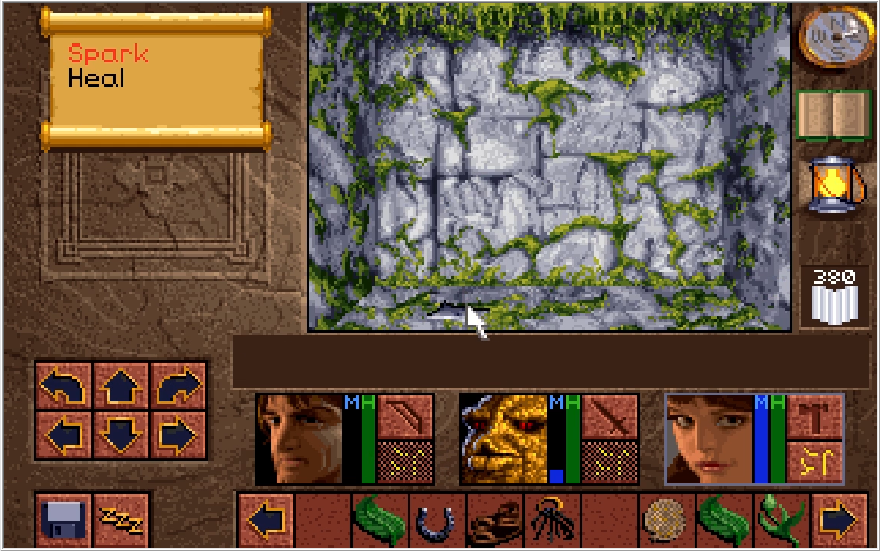
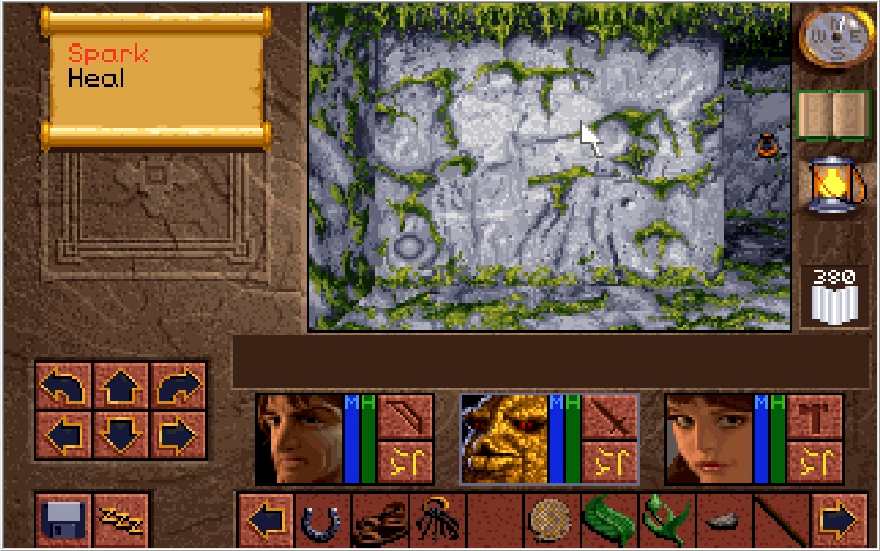
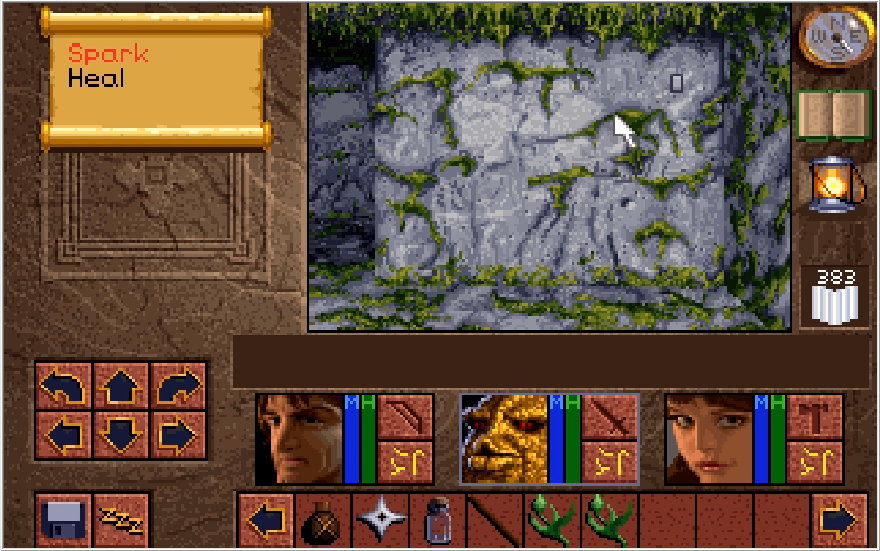
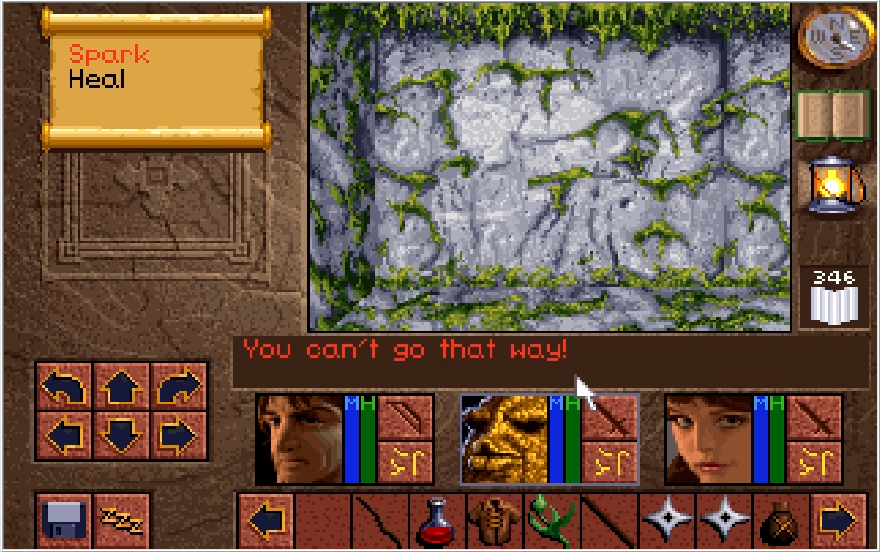
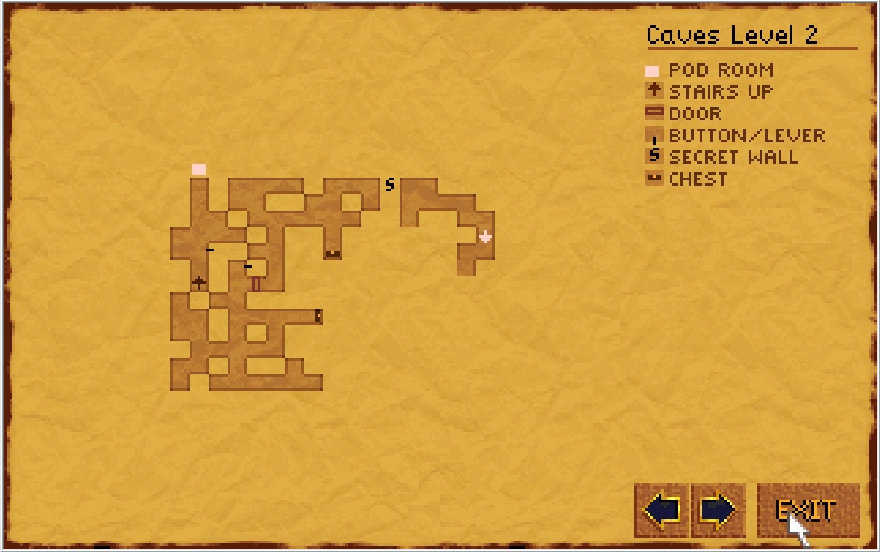
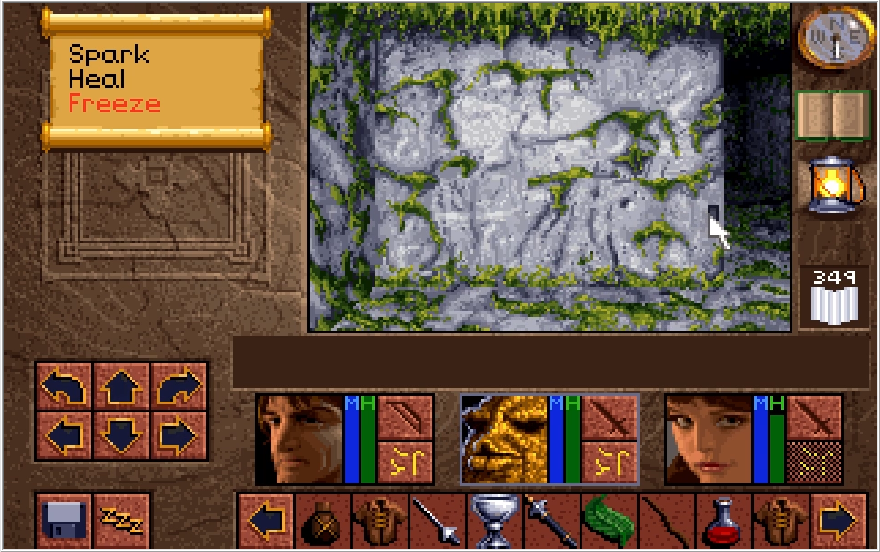
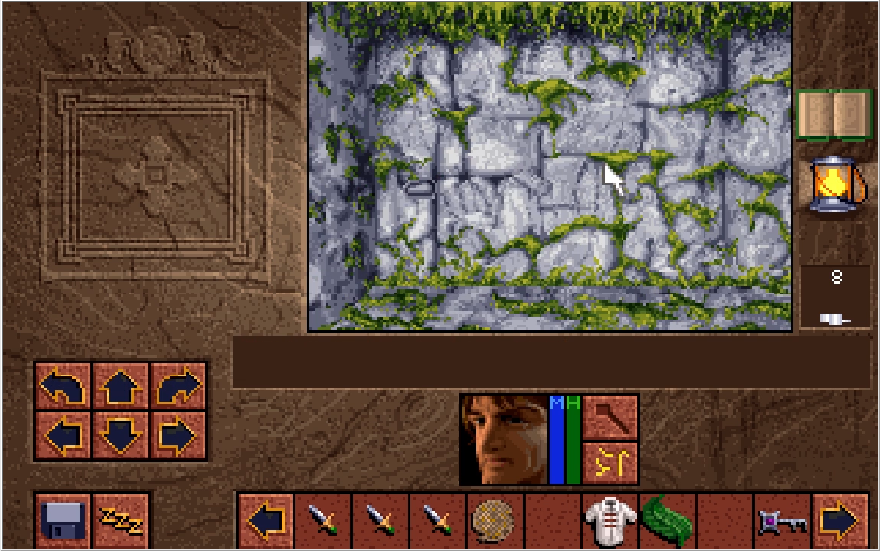
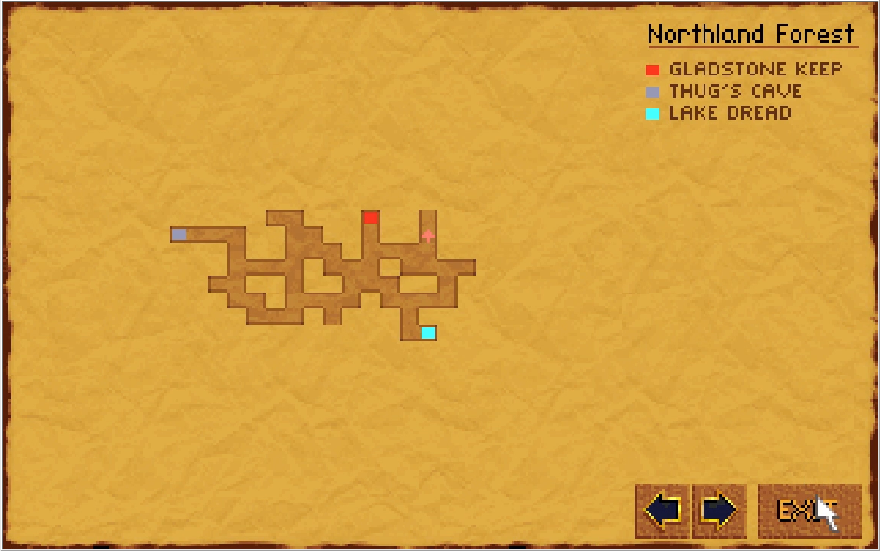
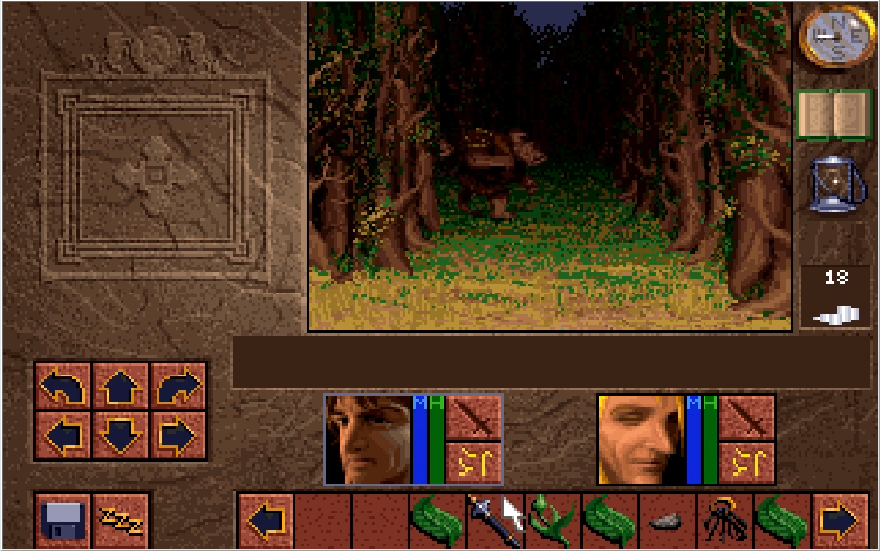
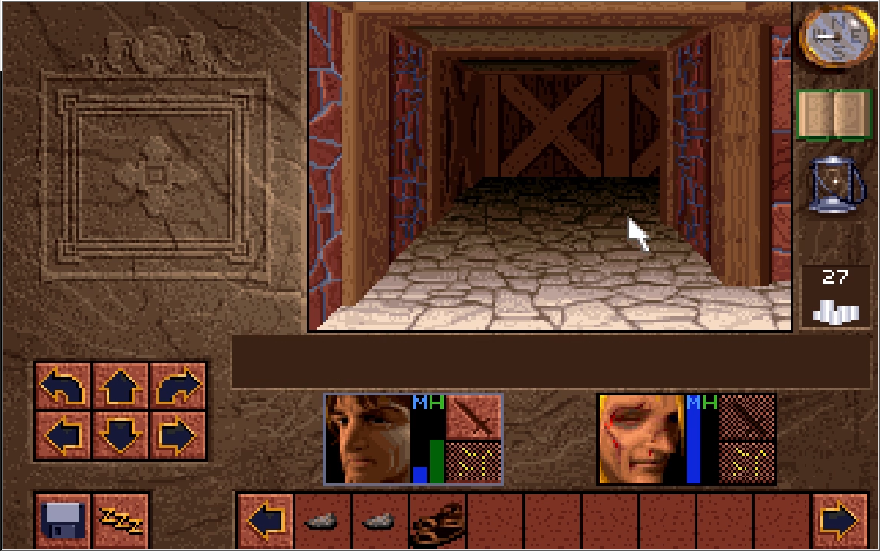
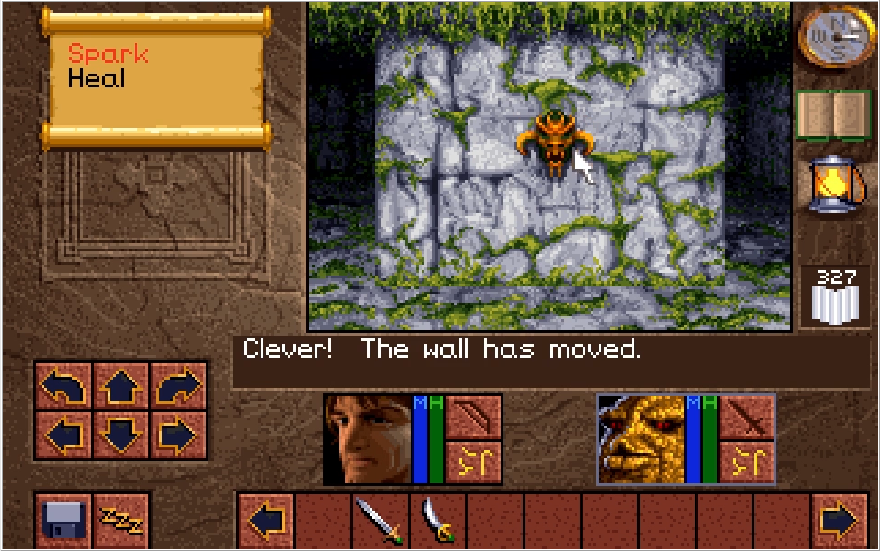
The Emerald Eye path is laid out really confusingly, that Secret wall is a bit unusual. I was able to see through and pass through it initially, and then it looked like a wall once I stepped through it. The center tile I'm standing on is a Woah! tile, but it's just a minor nuisance really. There's quite a few Woah! tiles in the Draracle's cave, but all of them are just meant to disorient you. It'll be a bit before the game decides to actually challenge us with them.
I ignore that switch to the west for now and head south from the Secret wall instead.

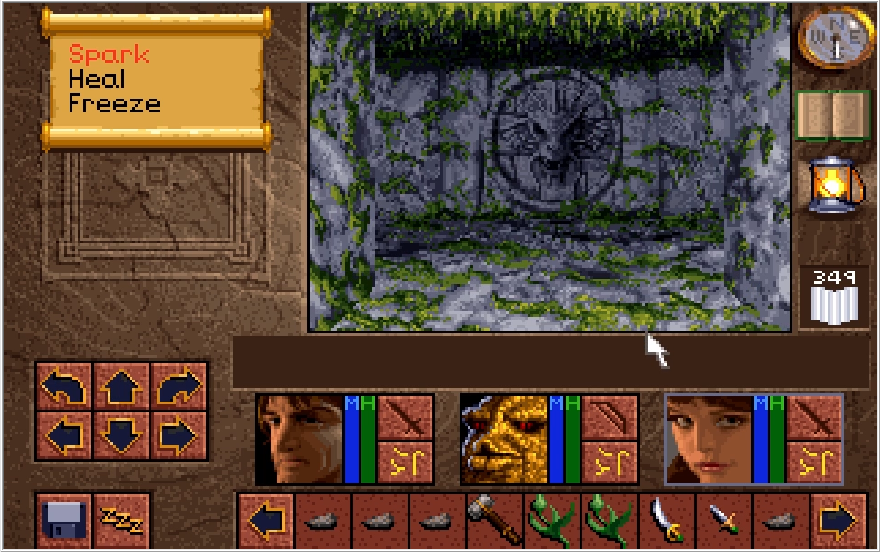
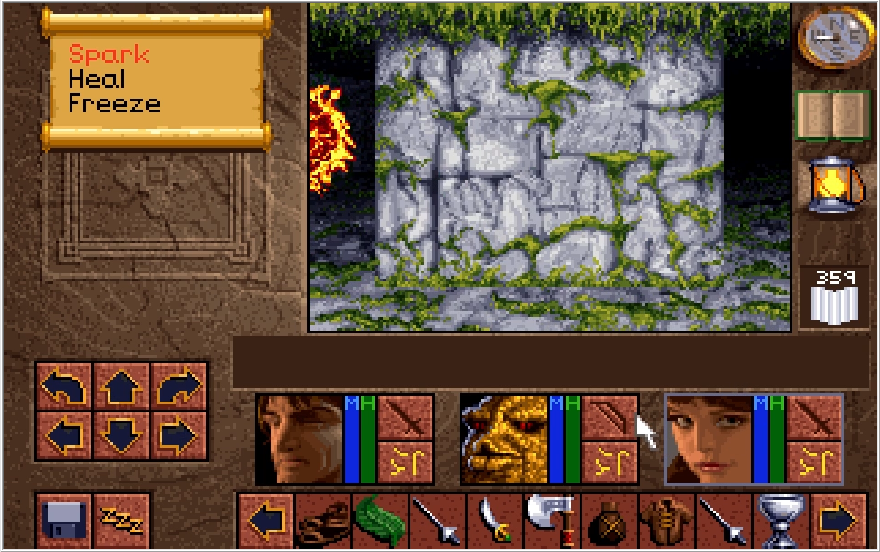
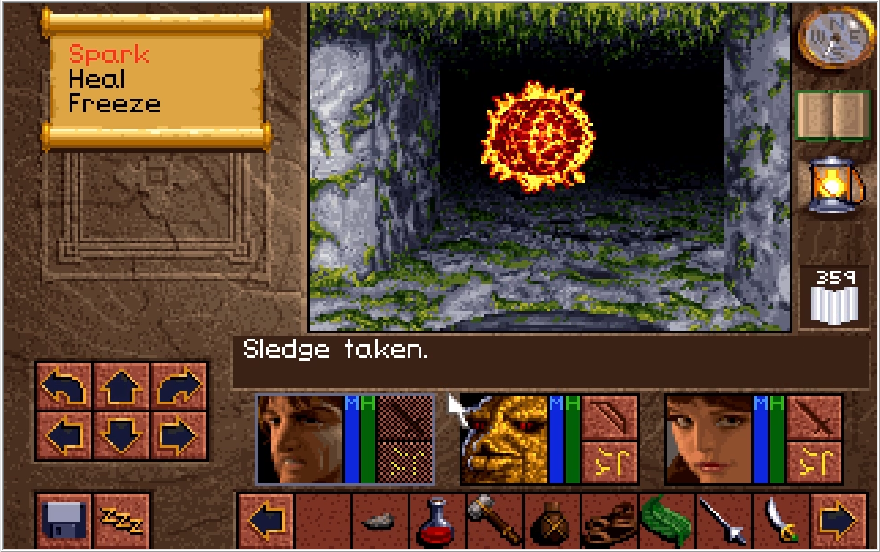
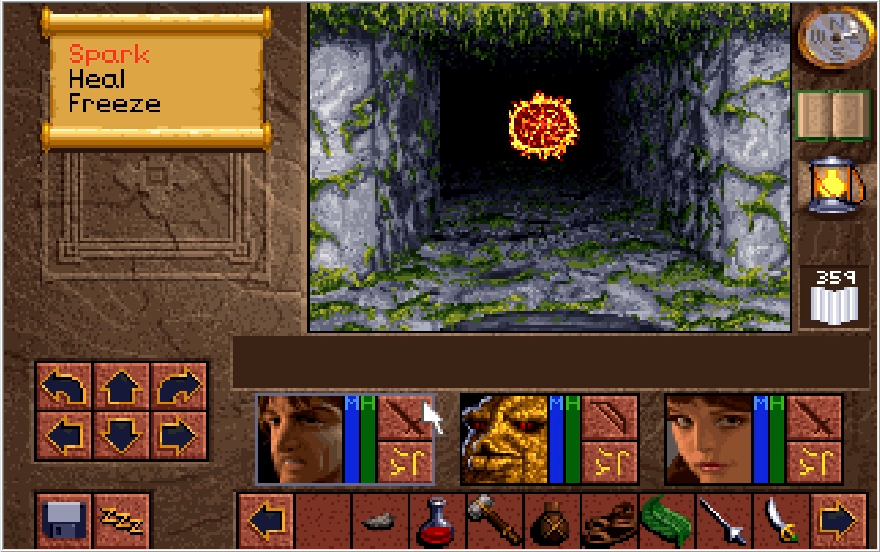
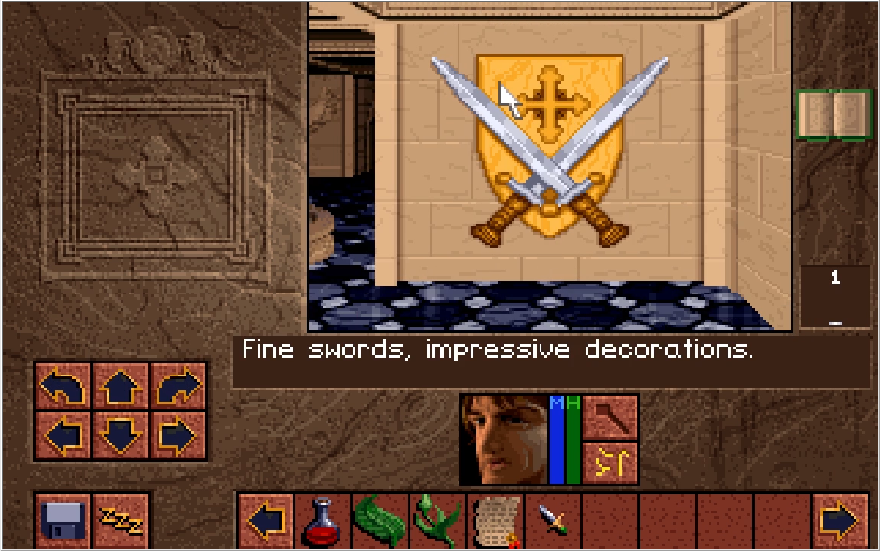
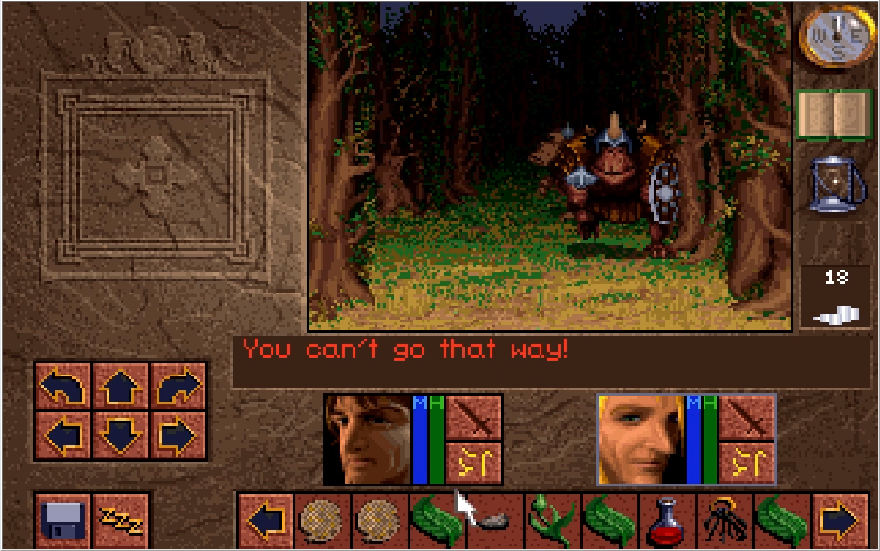
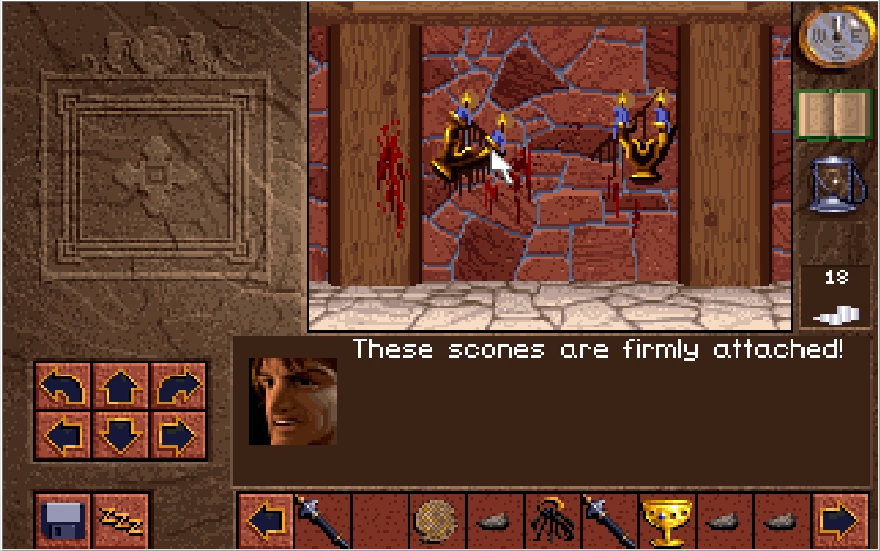
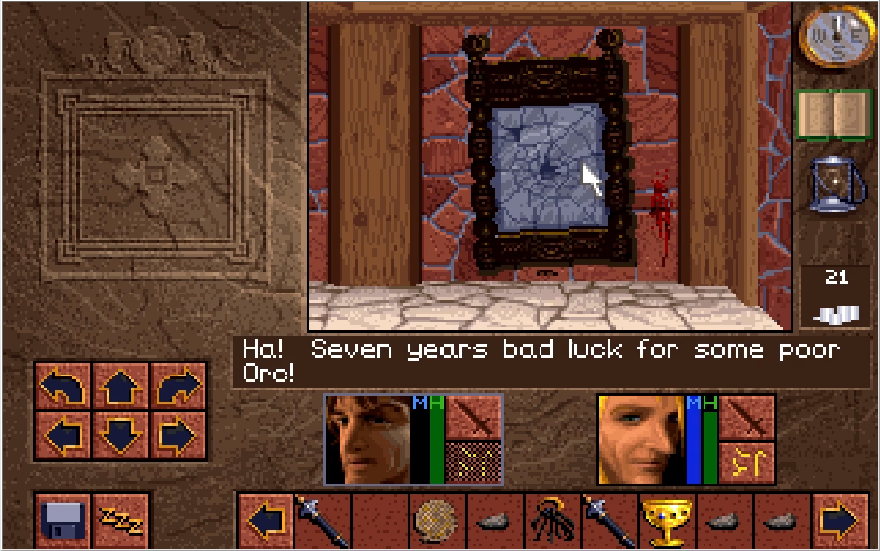
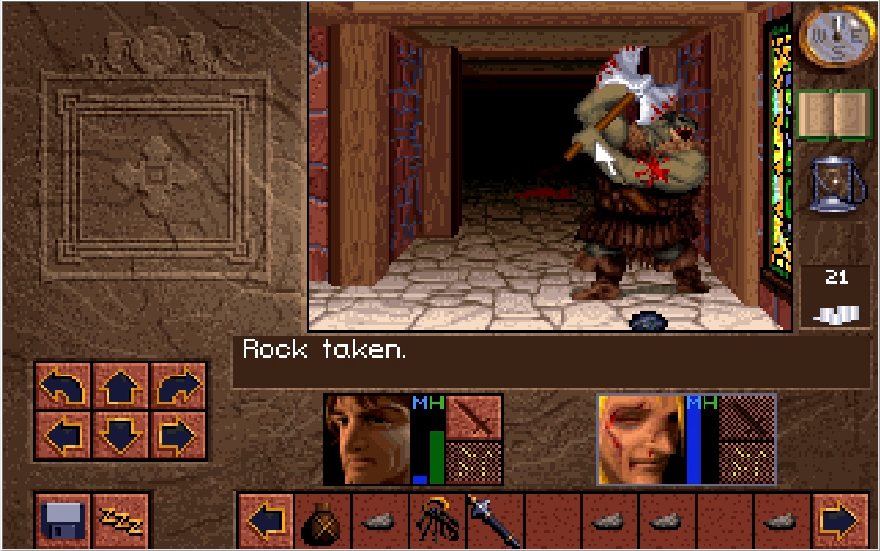
To the southwest is another dragon carving, this one facing us like the Shuriken trap. A couple steps east of it is a lever. This is the first of many trick levers in the game, levers that do nothing but activate a trap in a classic bit of schmuck bait. Fortunately, this one doesn't open a pit and instead just hurls a fire ball from the dragon. Projectiles have travel time in this game, so we can back up and dodge it.
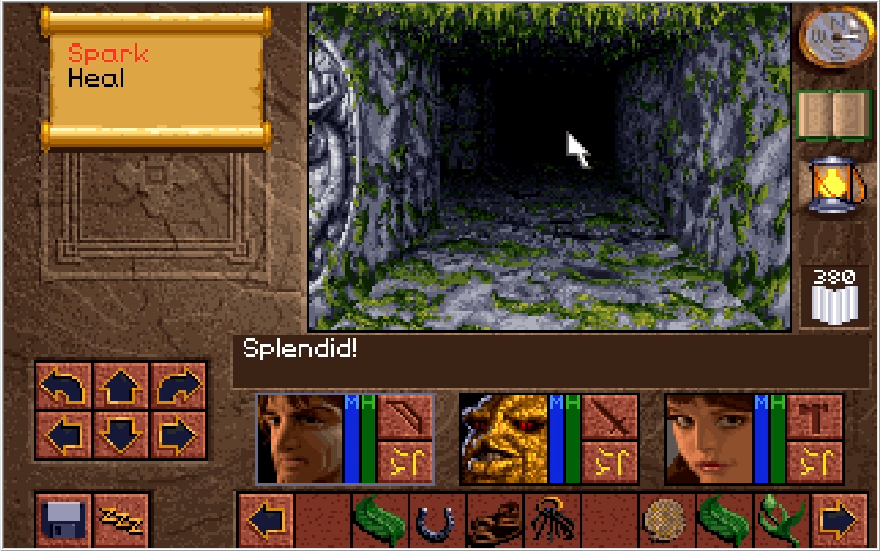
The trap carving has a switch by it, opening up a winding path filled with cave dwellers.
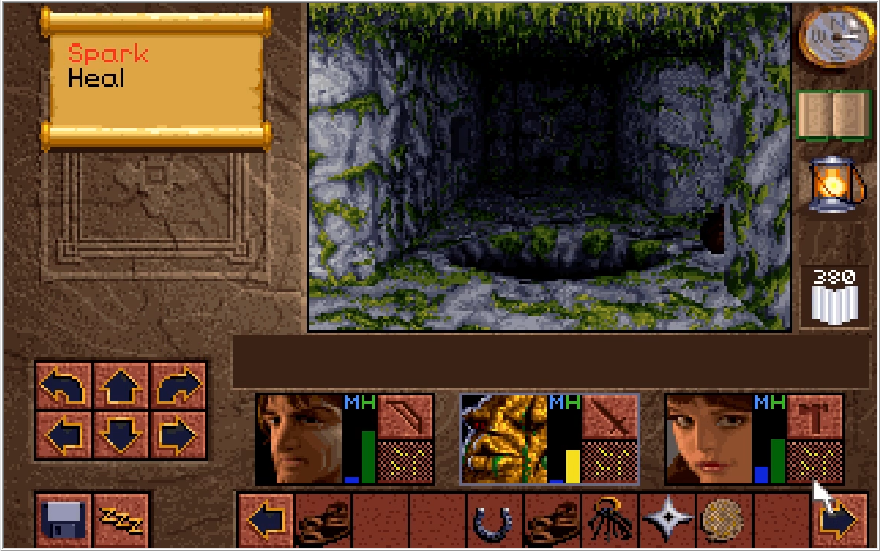
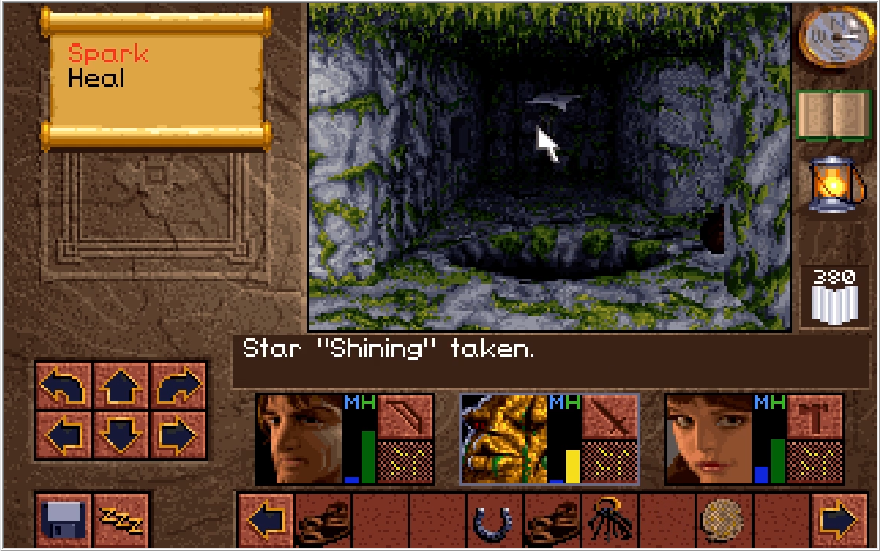
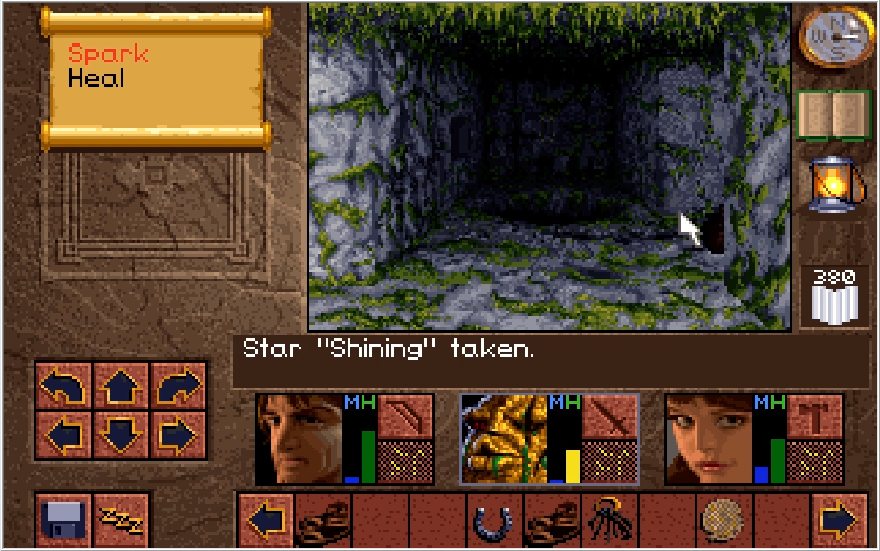
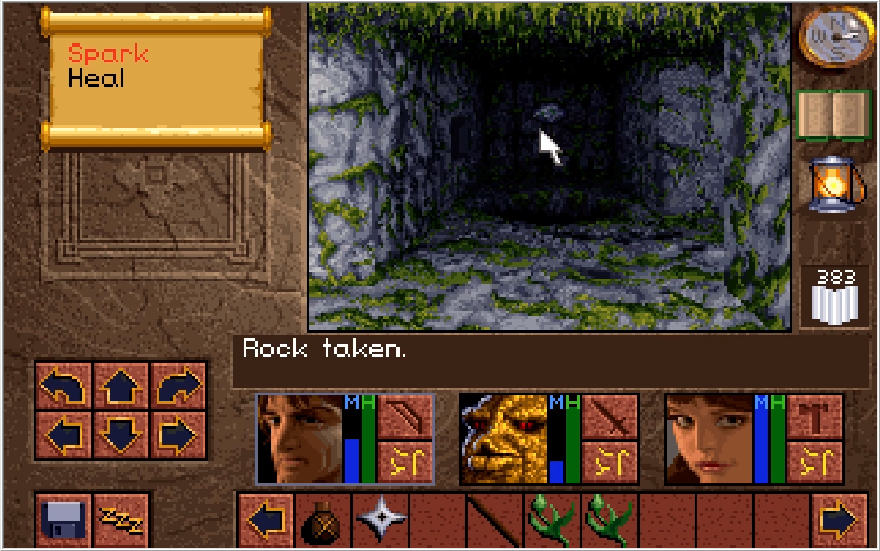
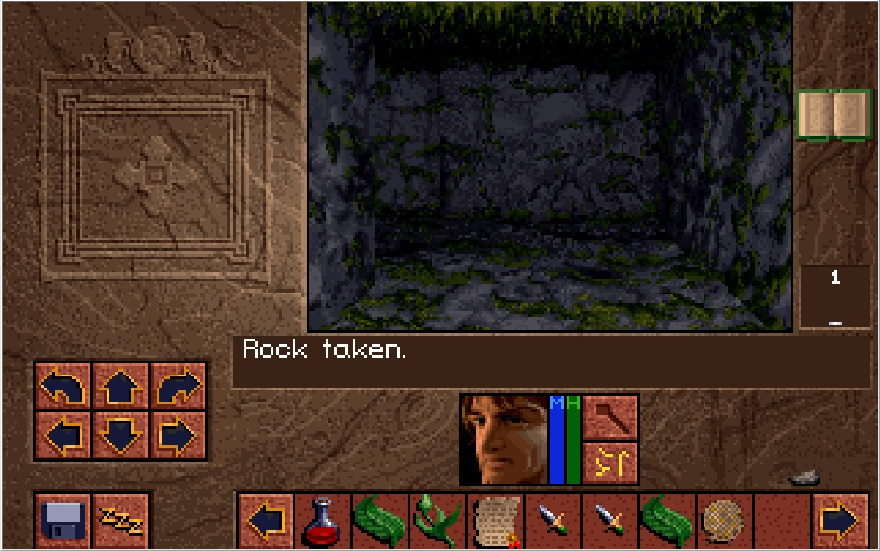
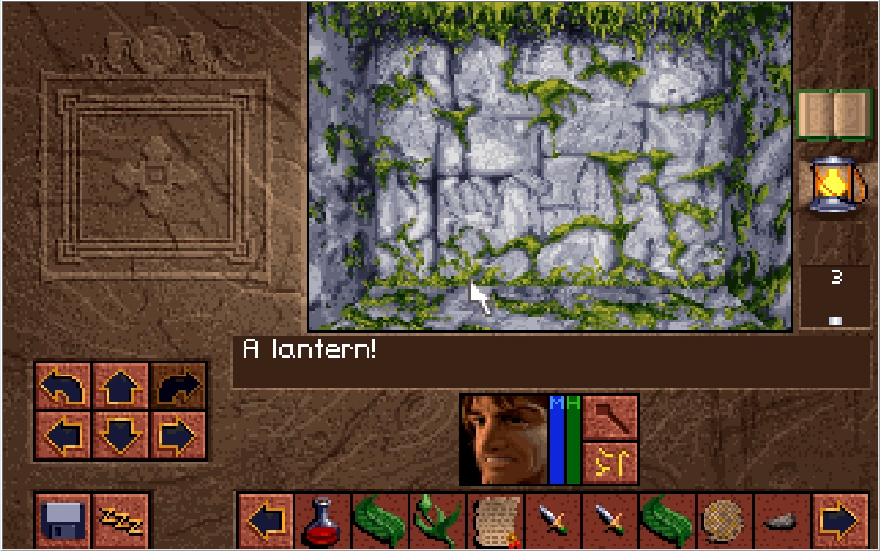
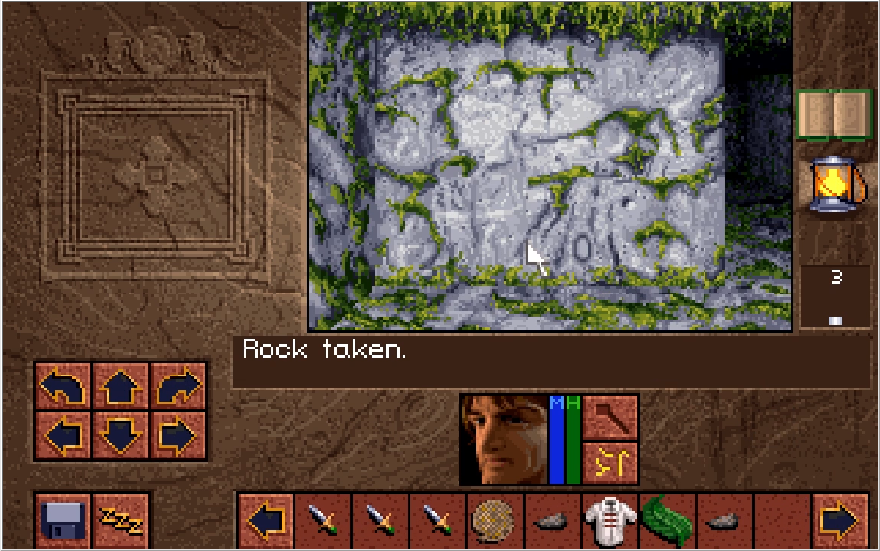
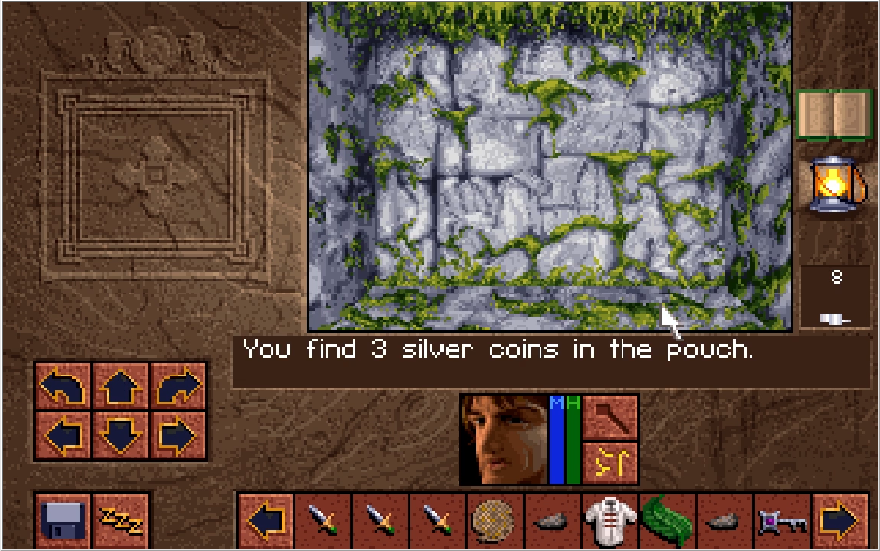
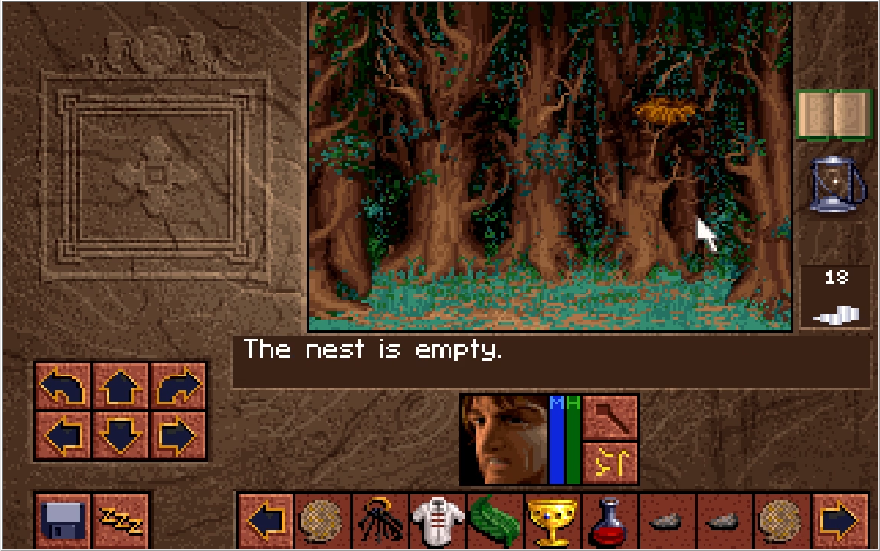
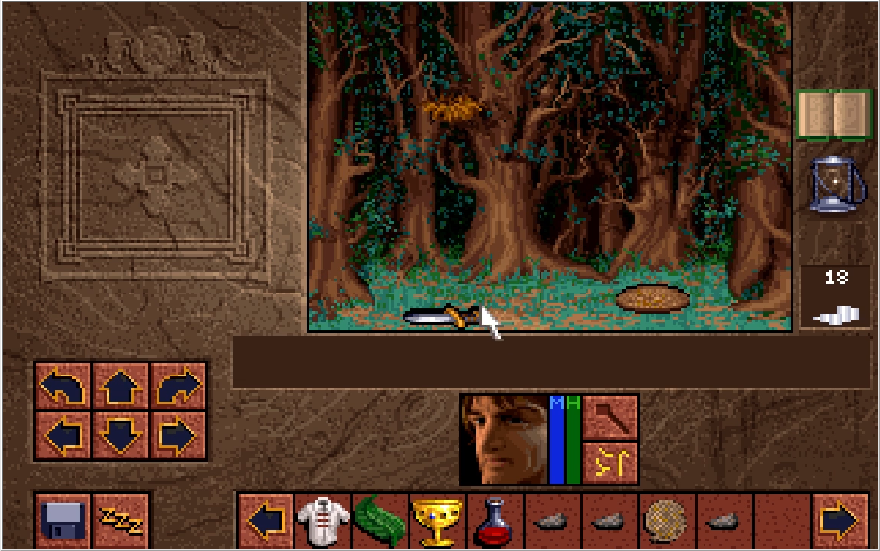
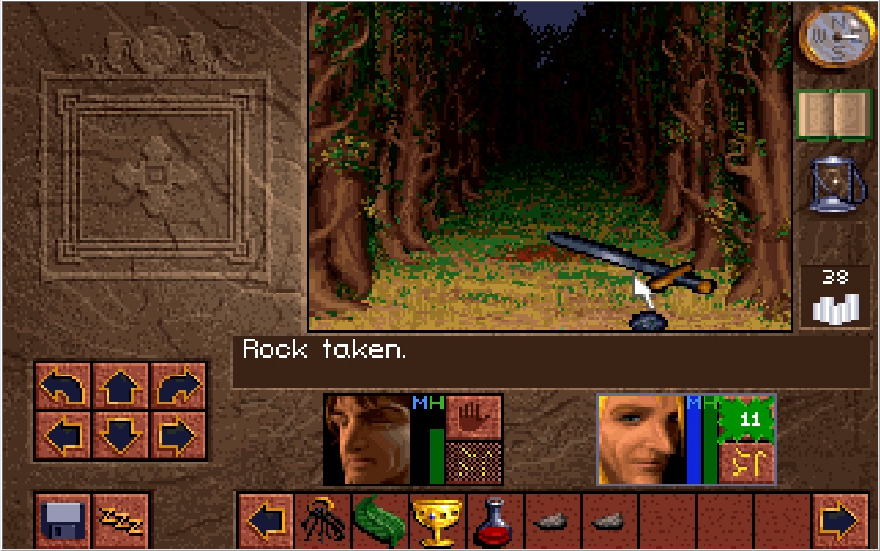
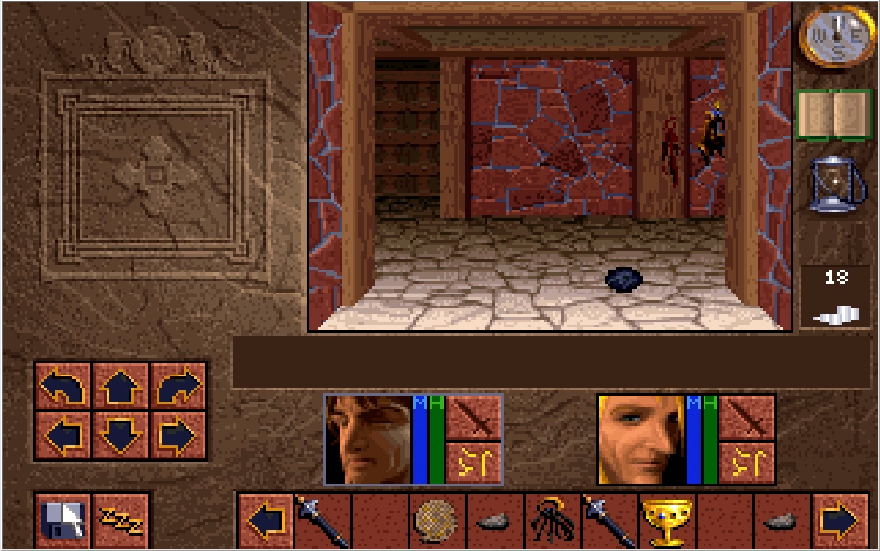
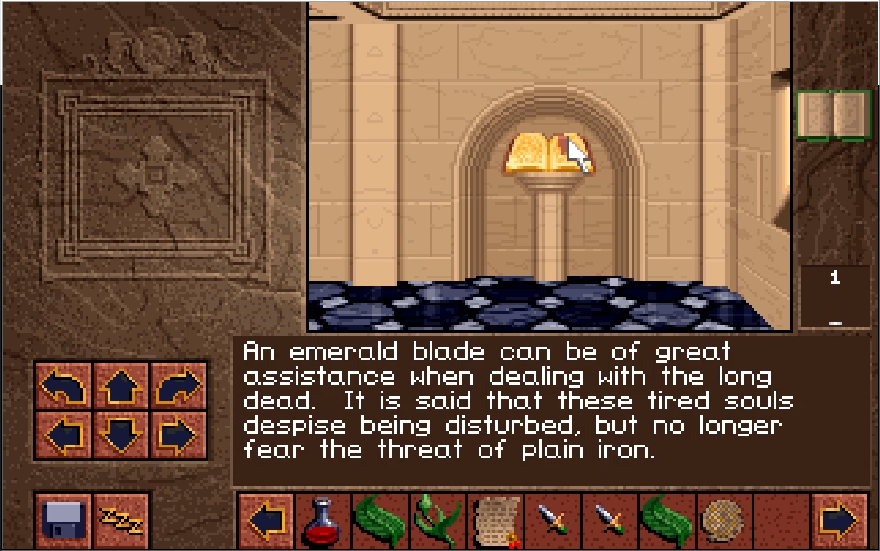
Should we back up and head east first, there's a Star "Shining" on the ground. To my knowledge, this has no special properties over a normal Star and I don't even know if it's any stronger.
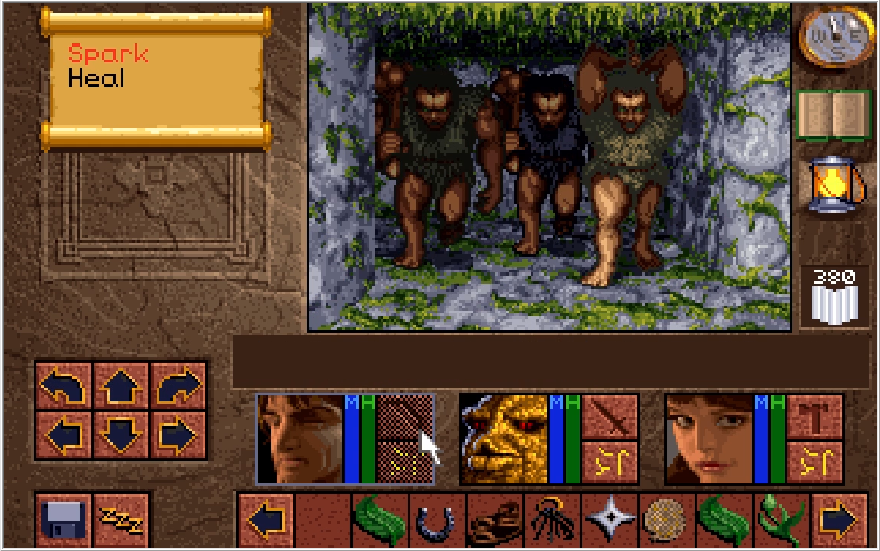
Returning west and following the path again, we slice through a hoard of cave dwellers and his a switch to open up the path even further. After wandering for a bit, I come across an already opened chest and double check the map. We just looped back to before the Emerald Eye carving! Well that was a waste of time.
Let's try checking the north and eastern portions of the central room this time.
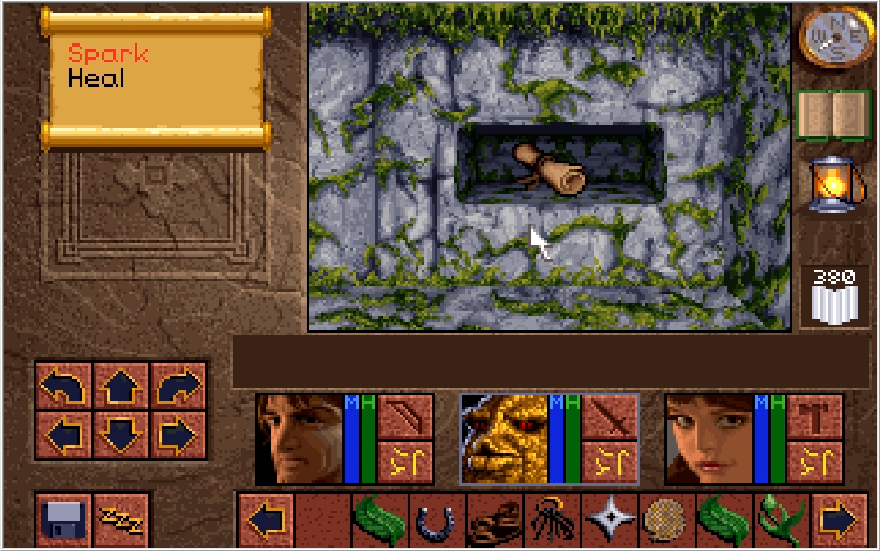
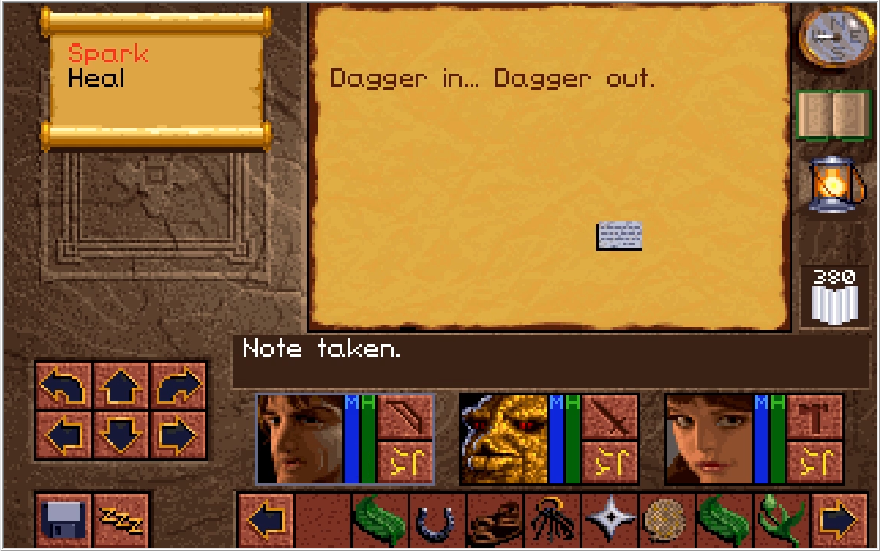
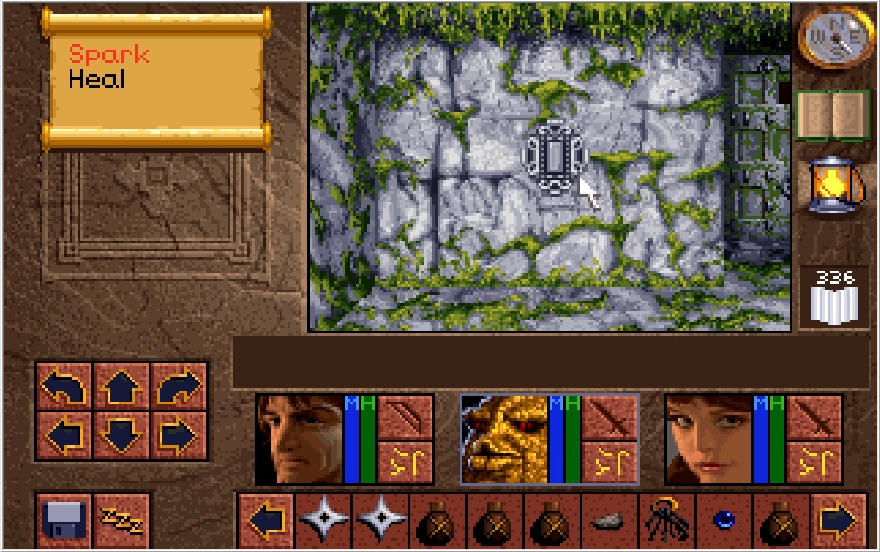
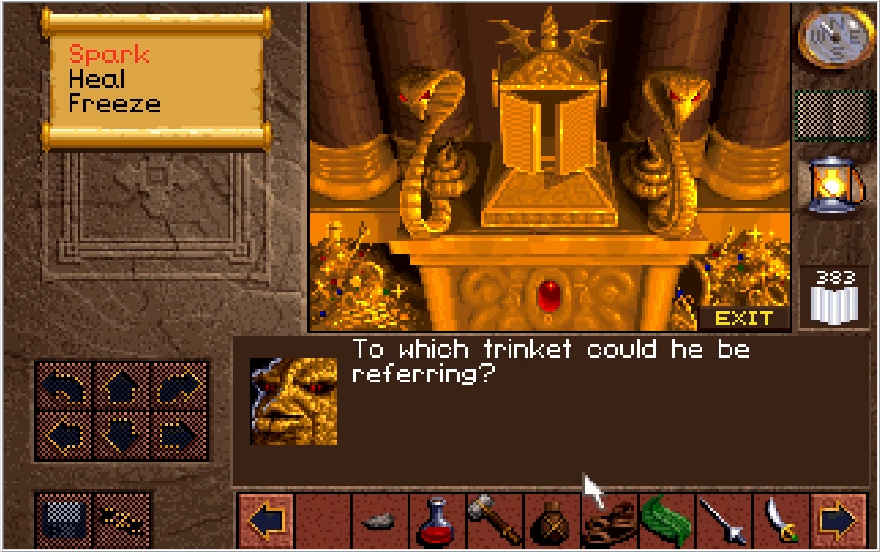
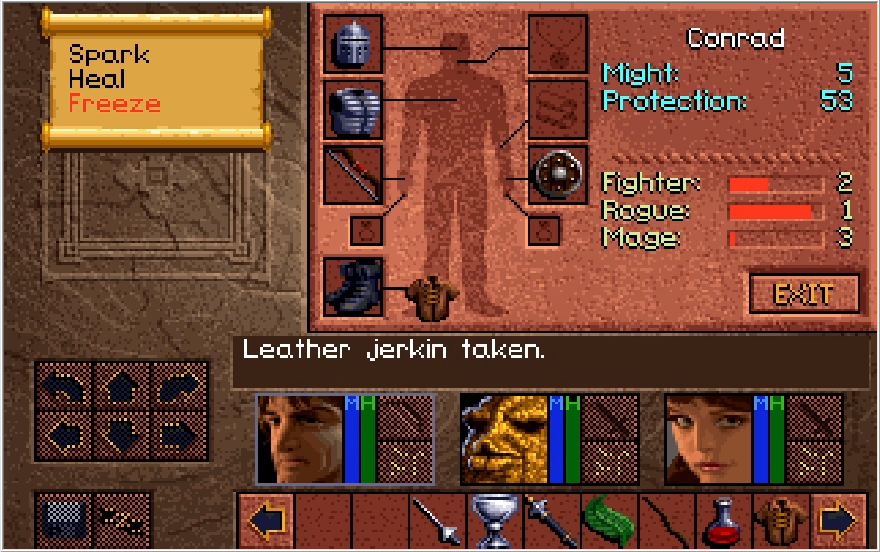
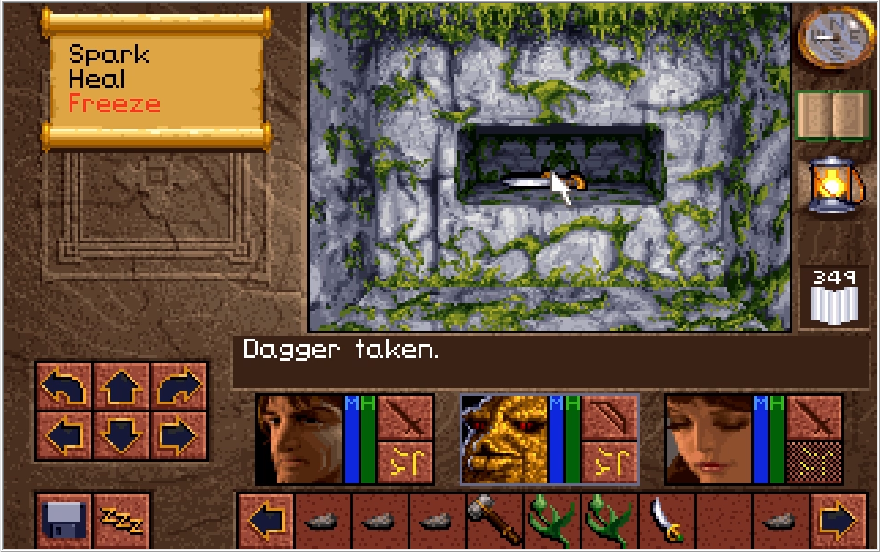
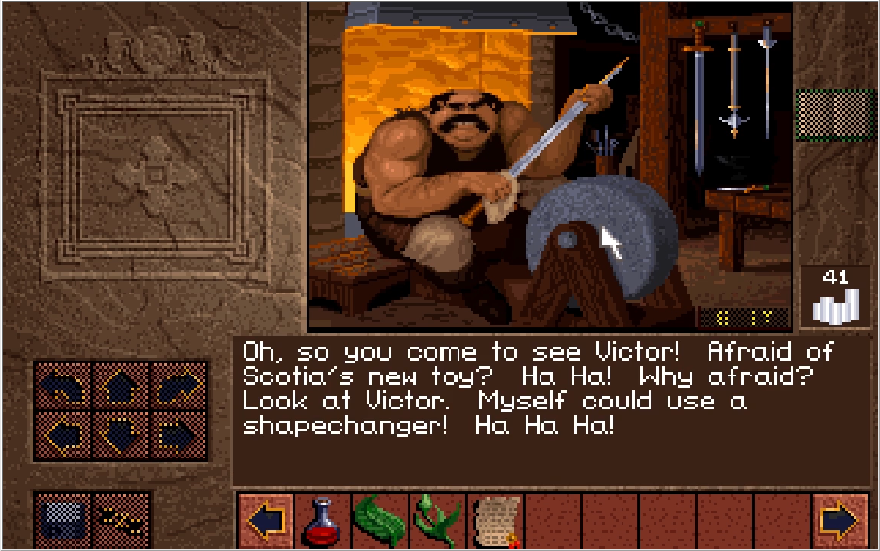
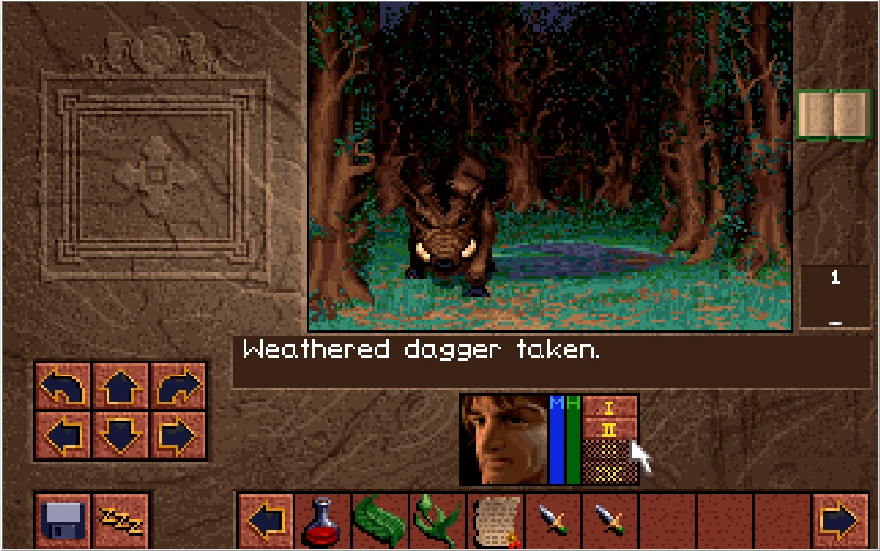
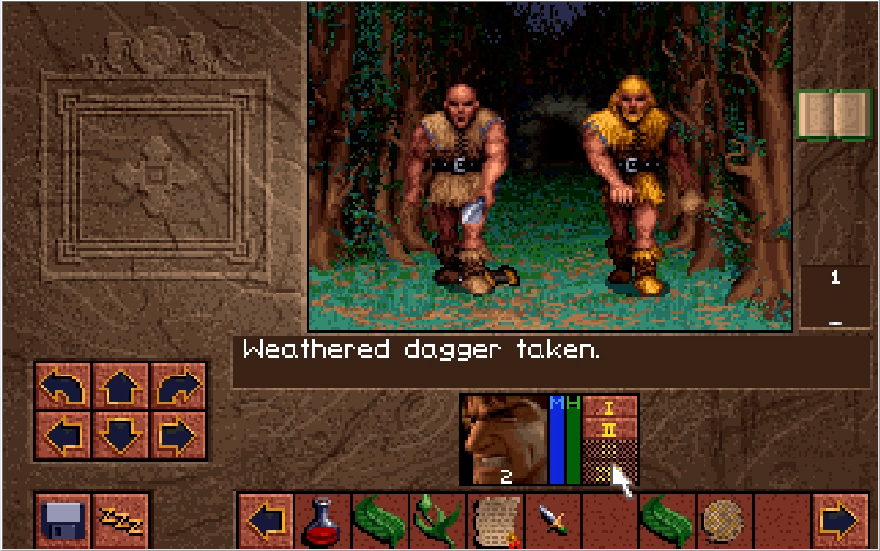
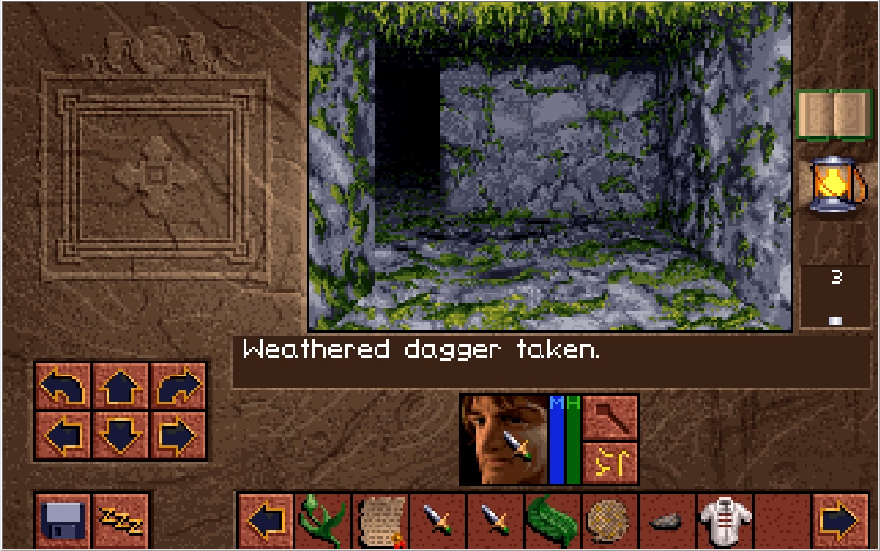
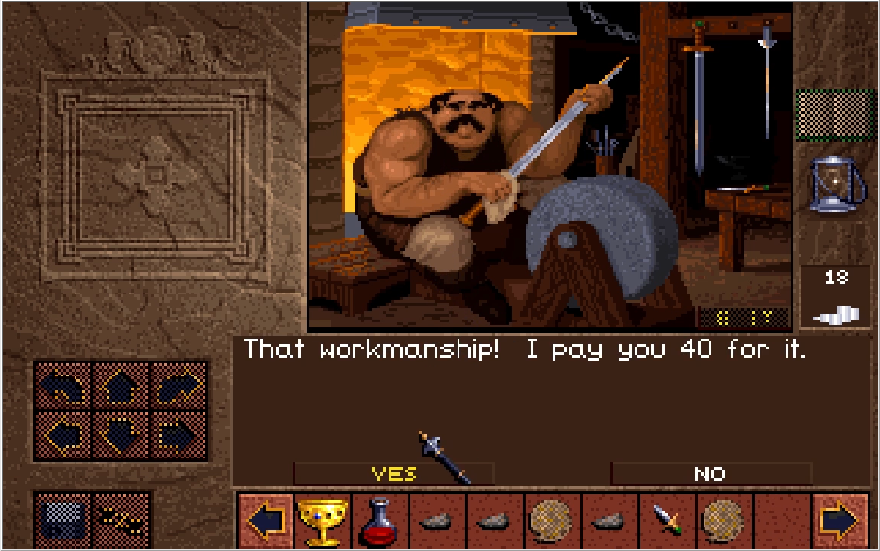
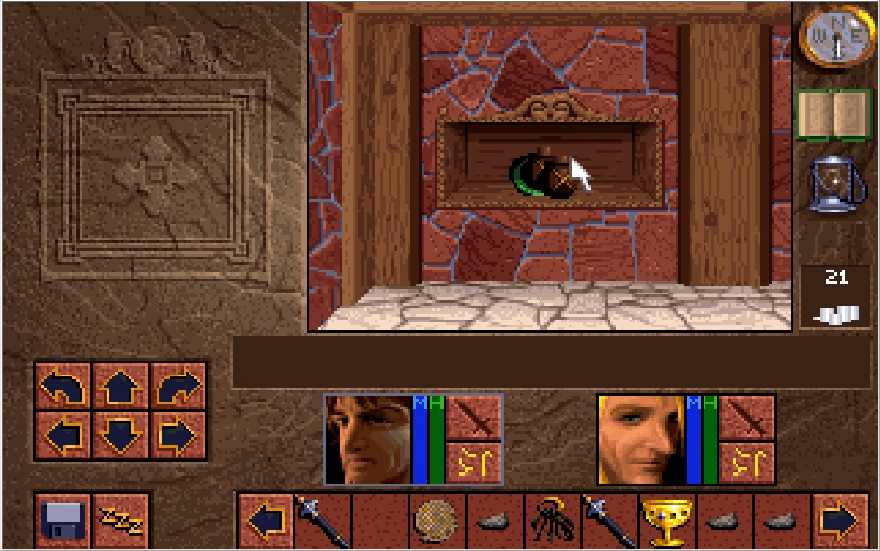
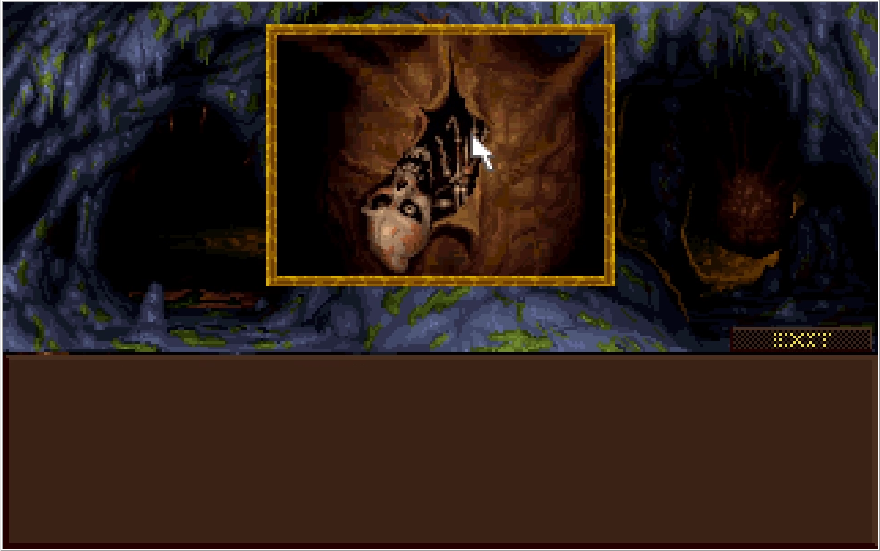
In the north, we find an alcove with this cryptic note in it. Presumably we need to drop a Dagger in here, but I've already sold all daggers we can find at this point to Victor. Luckily, there are several daggers we can pick up in this leg of the dungeon, but you can save yourself a lot of time and effort if you already have daggers when coming on this path.
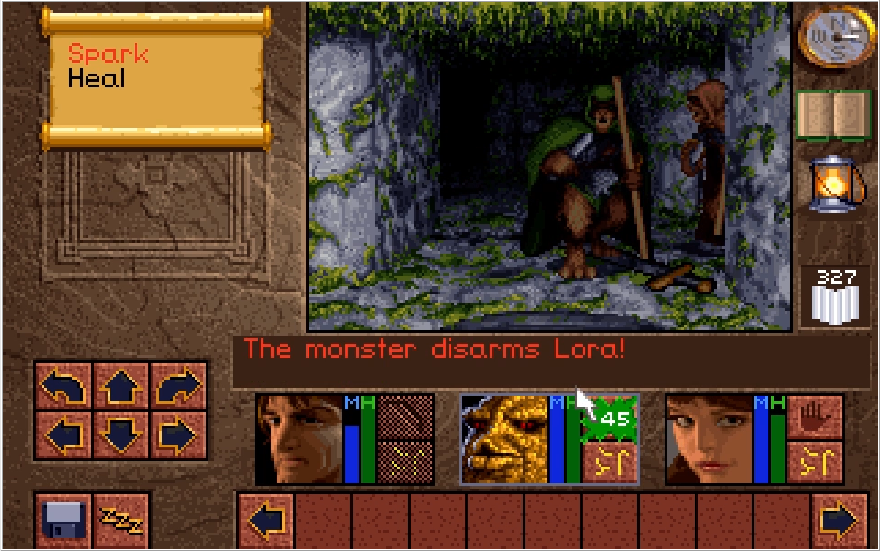
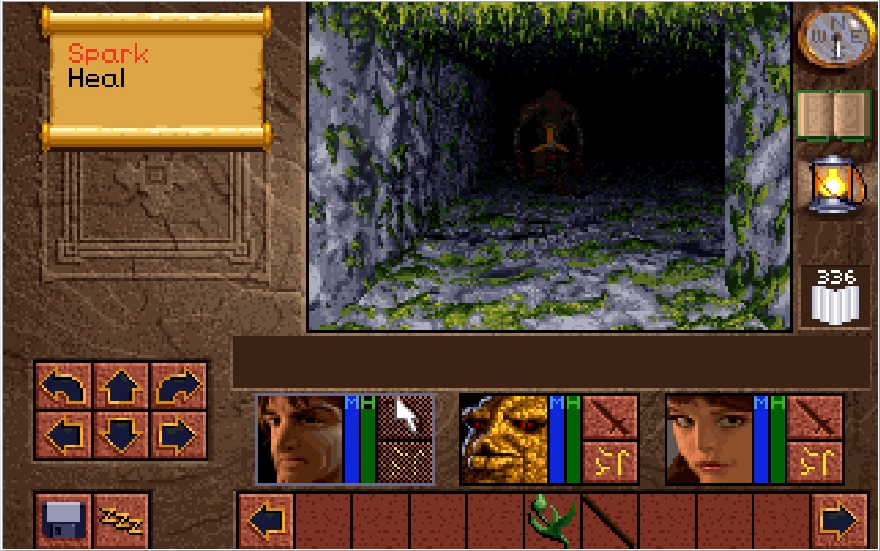
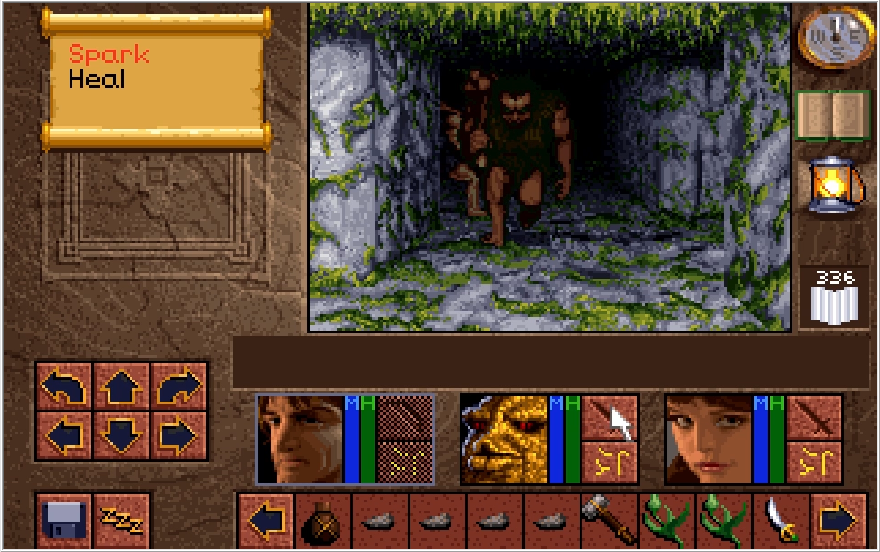
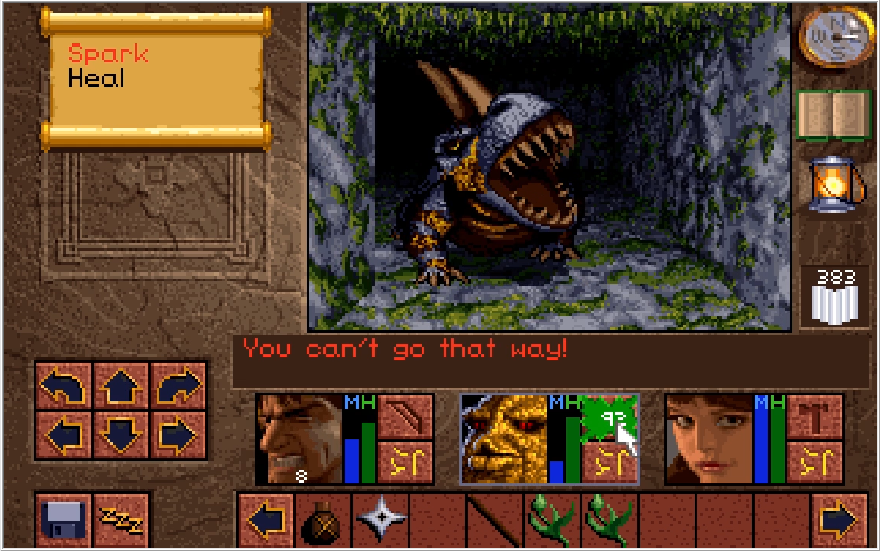
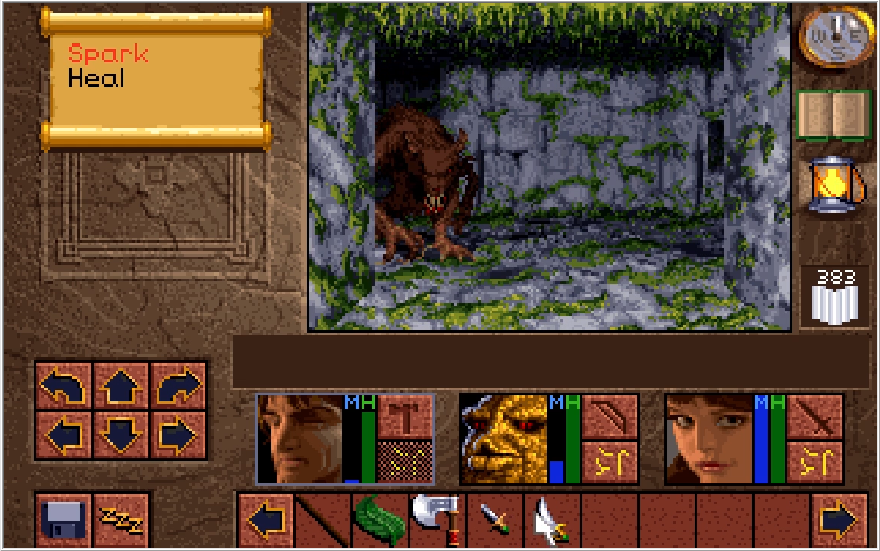
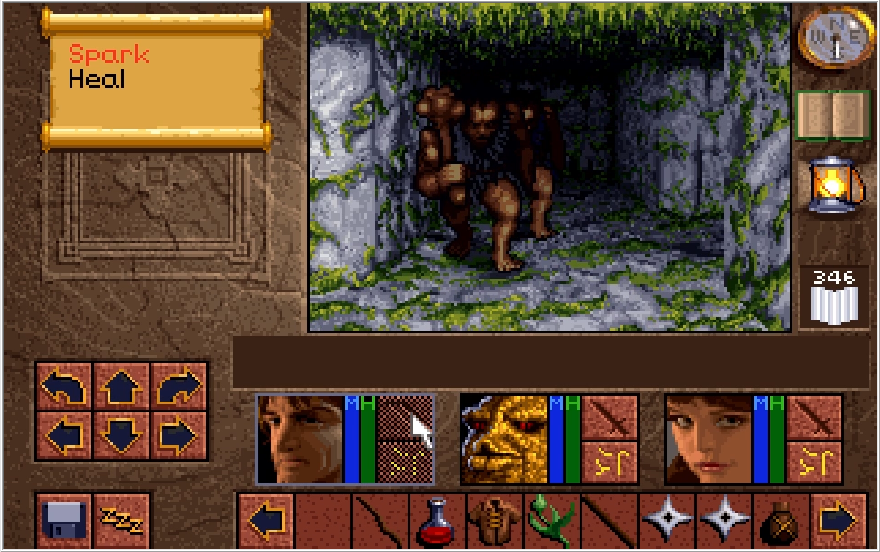
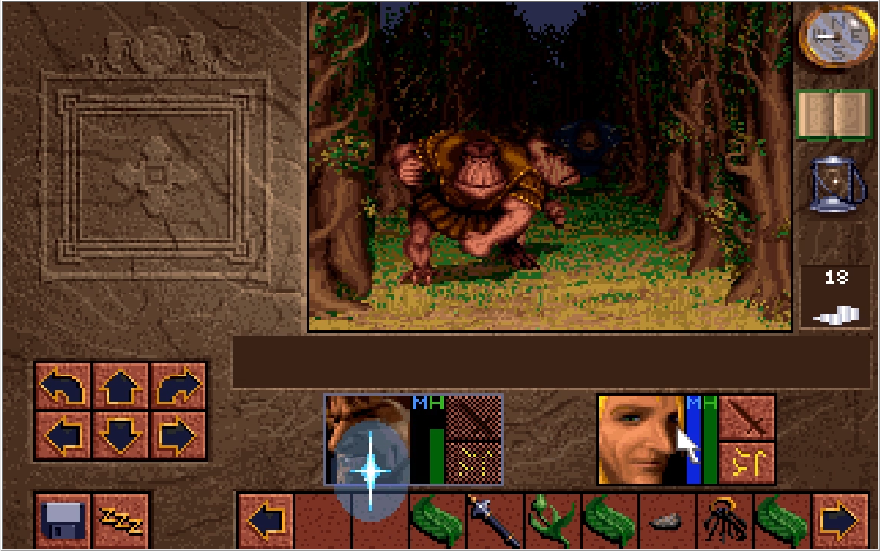
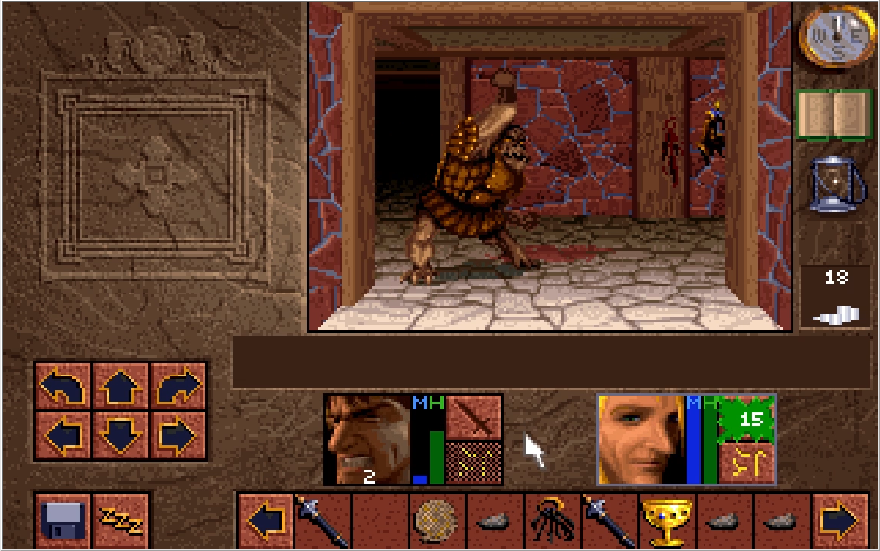
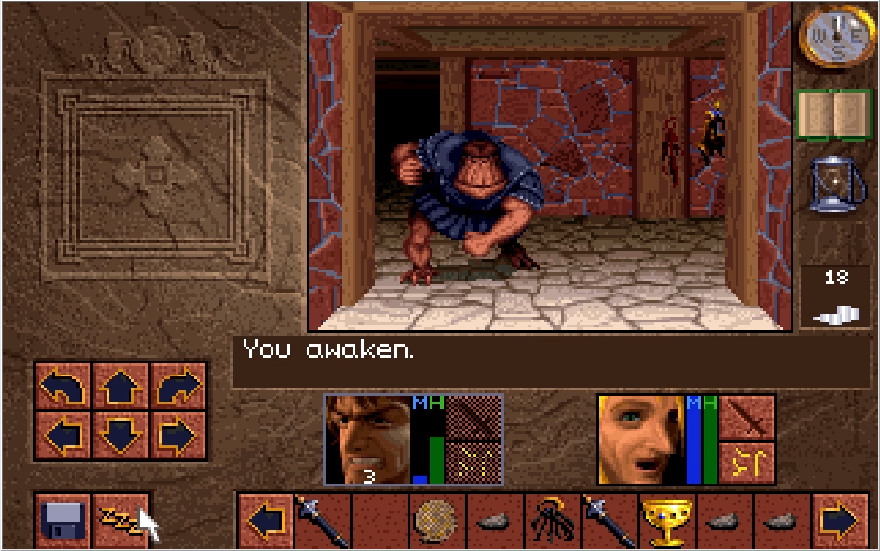
More enemies close in while I'm dicking around with the alcove, and the team gets absolutely reamed by the cave dweller. It's tough to rest here because enemies spawn in constantly on this path.
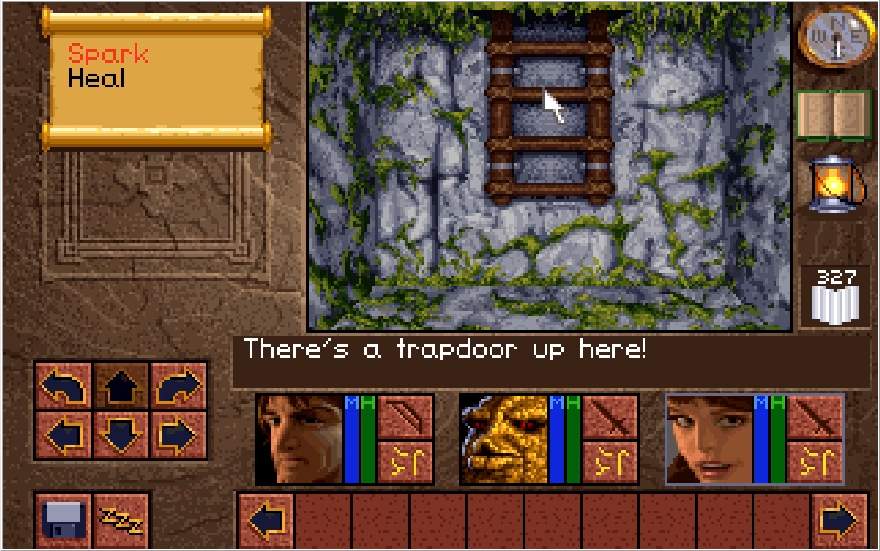
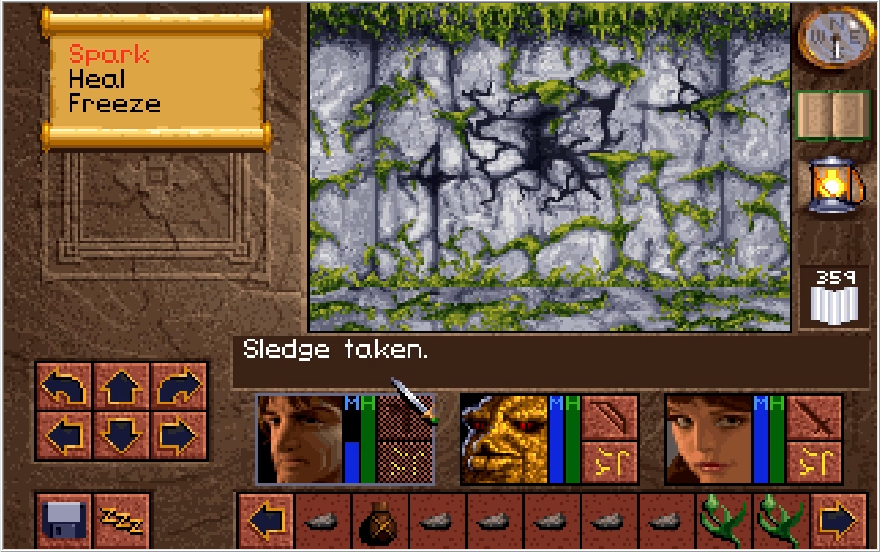
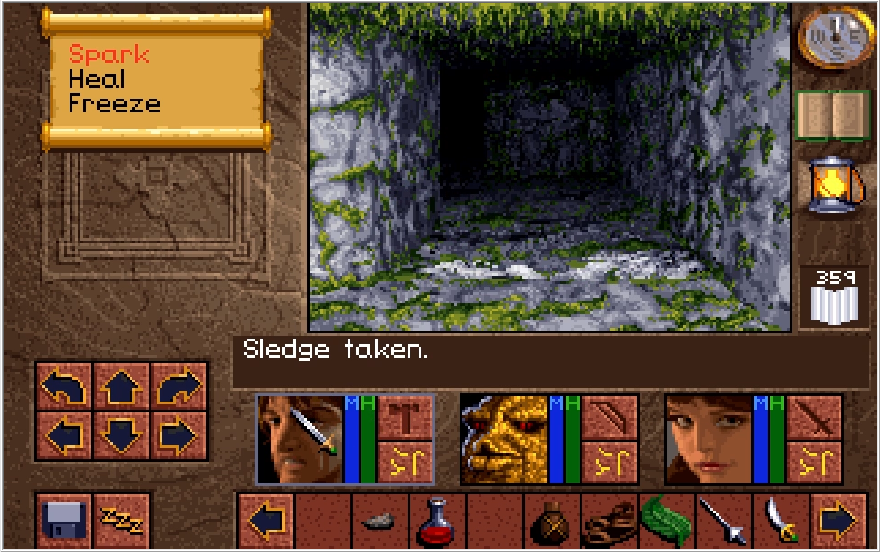
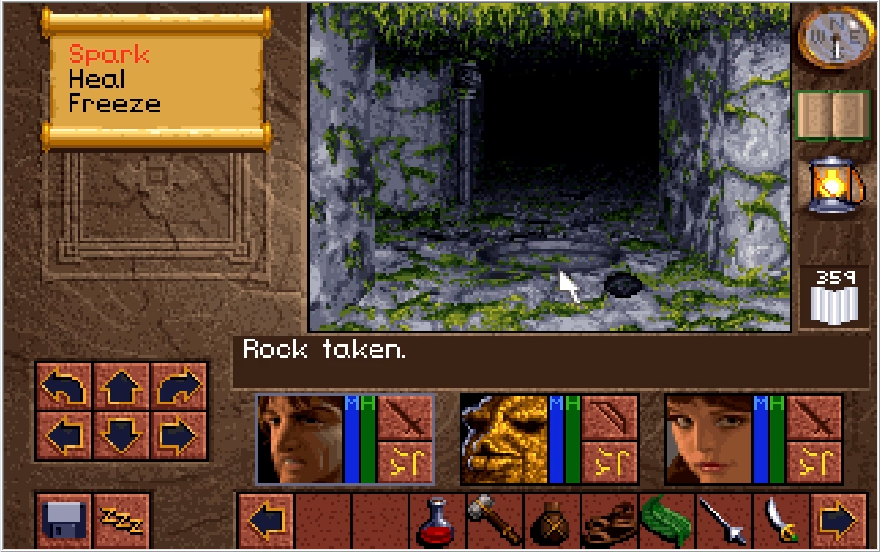
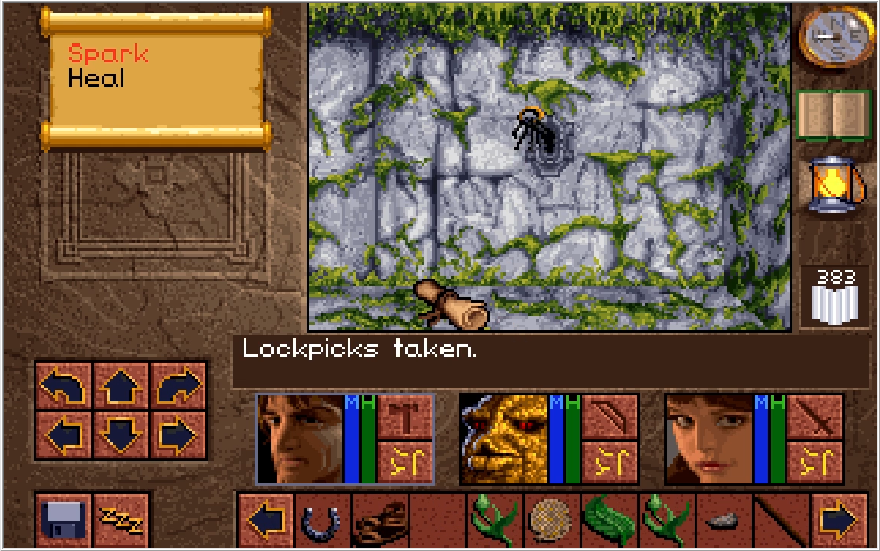
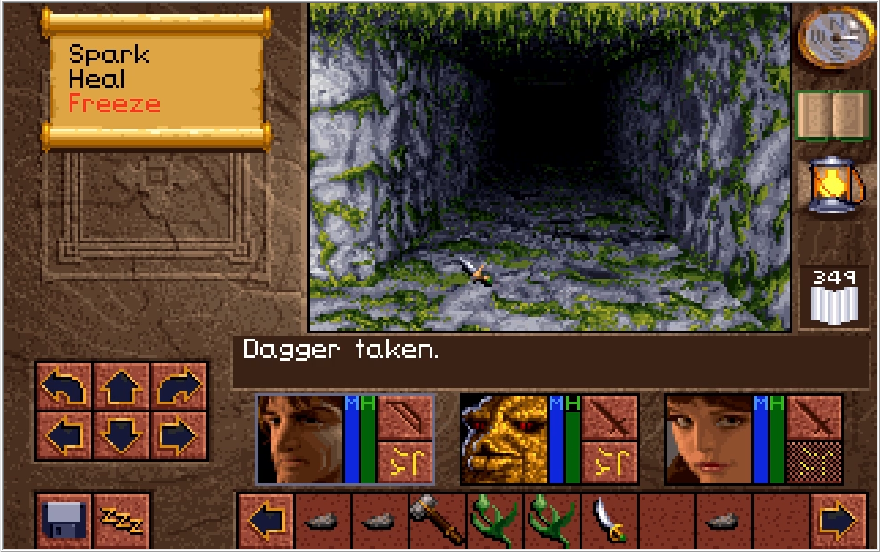
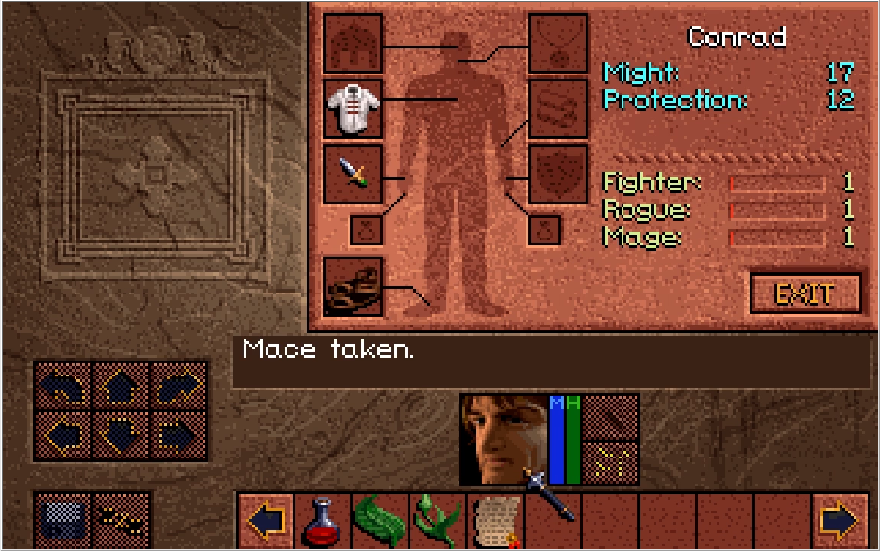
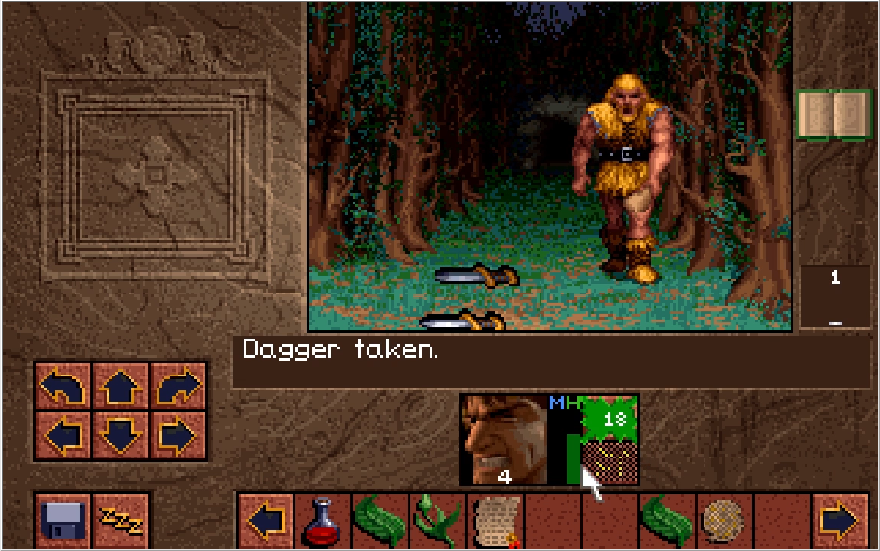
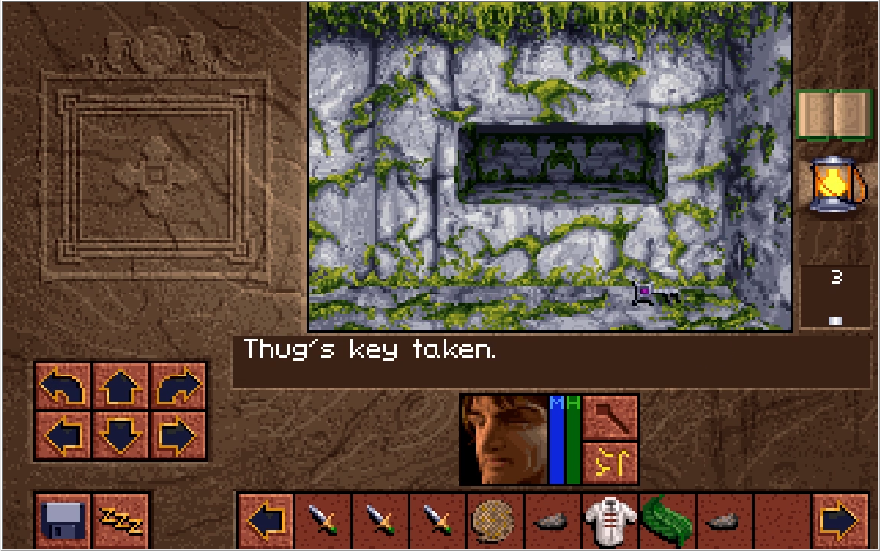
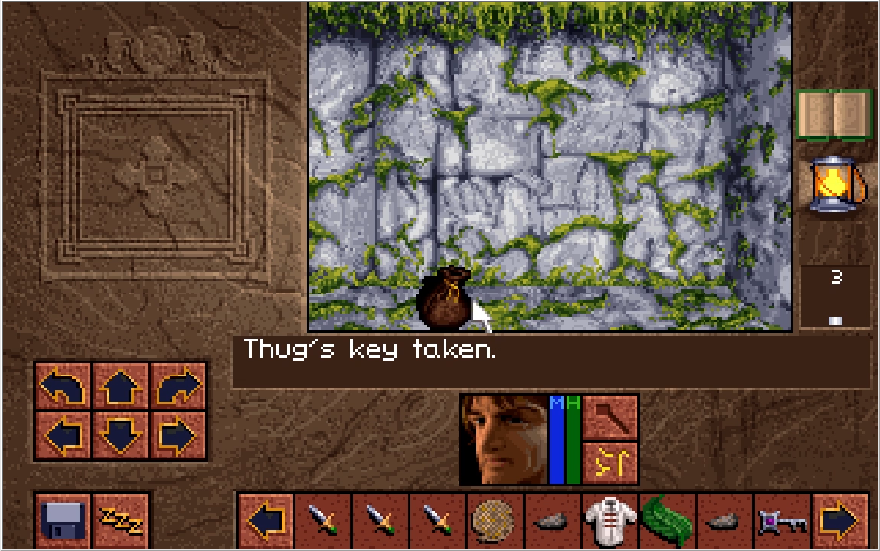
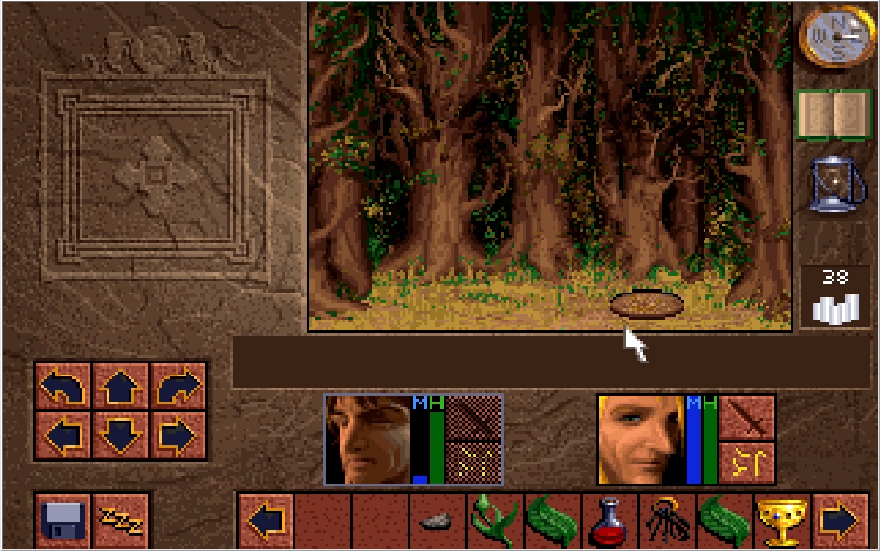
Heading south from the dagger in alcove and checking east, we find a hall with a pit in it. We can just barely make out a switch on the other side, and this is our first instance of being required to throw an item. There are many cases where you can hurl items to hit distant switches, so never forget that's an option you have! We find a dagger for the alcove here, and the stairs to the next level. Not what we want to check out yet.

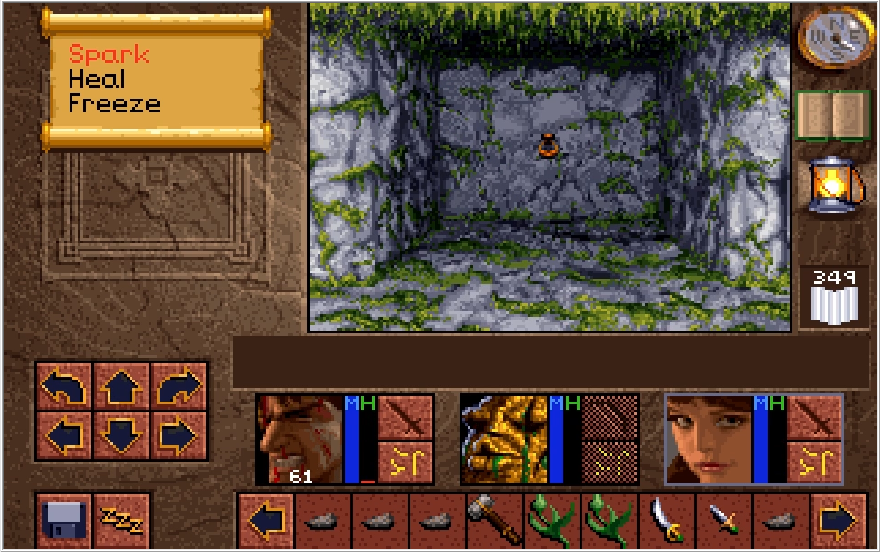
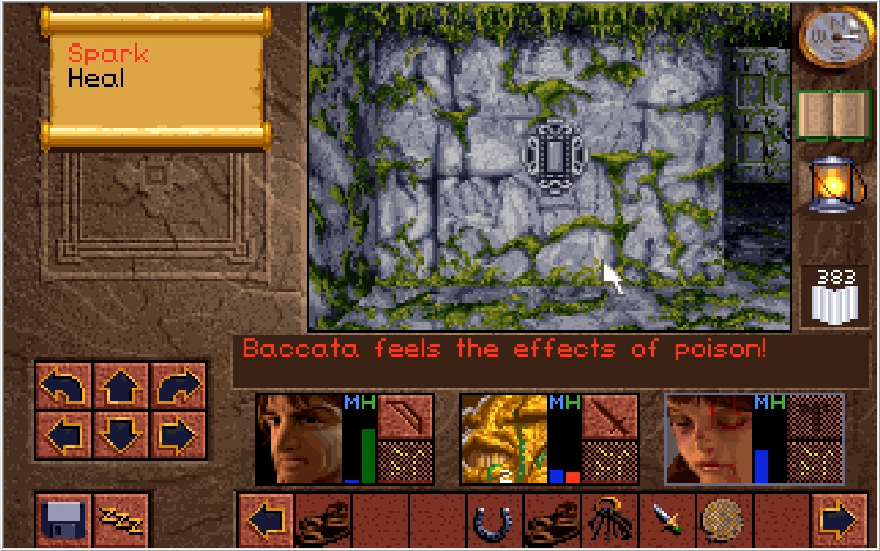
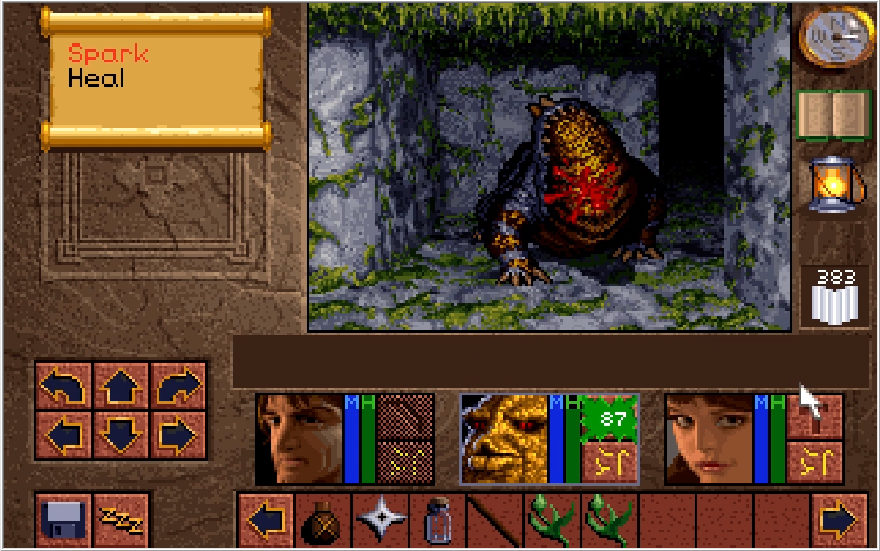
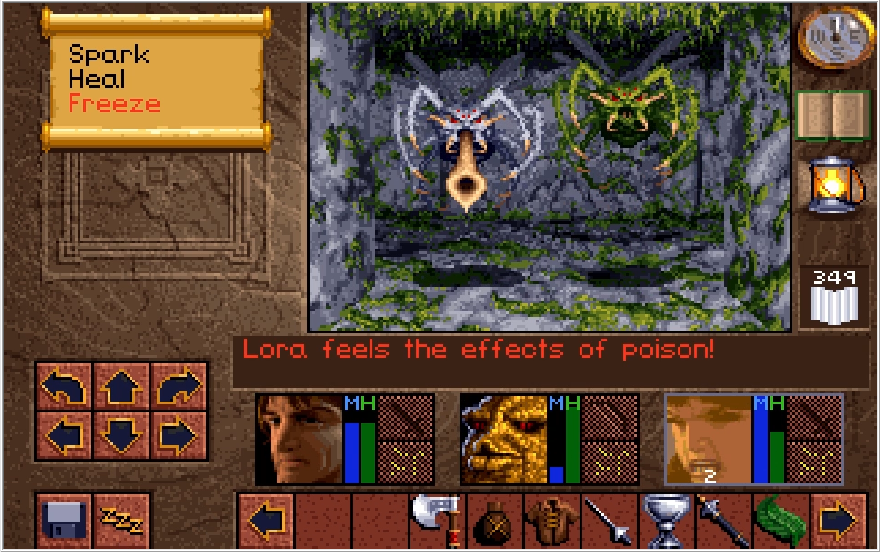
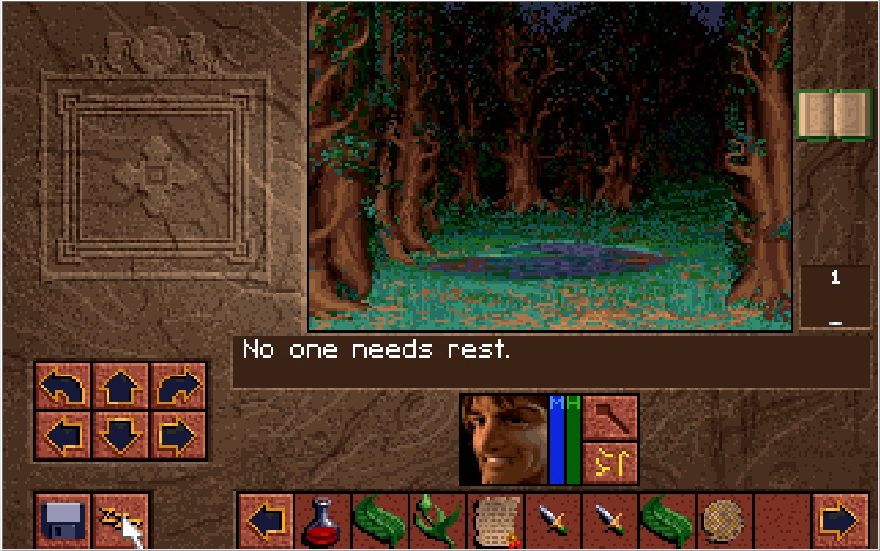
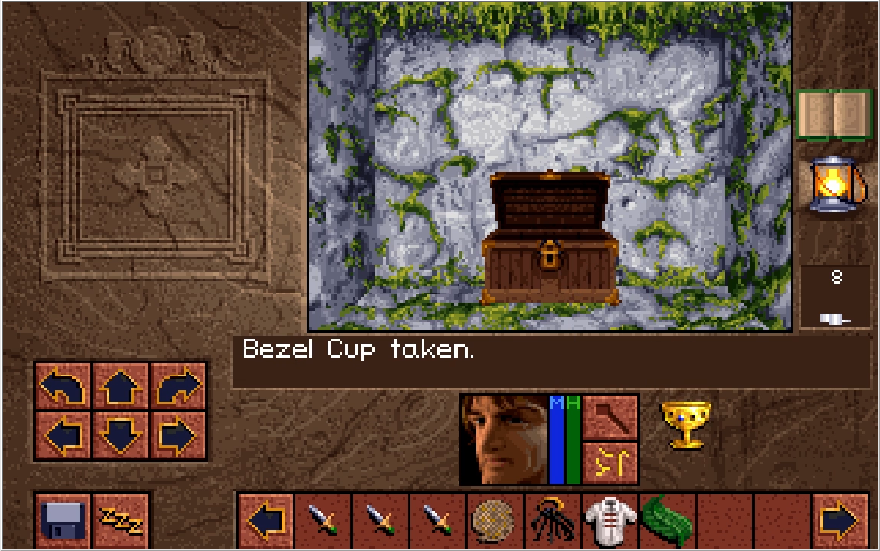
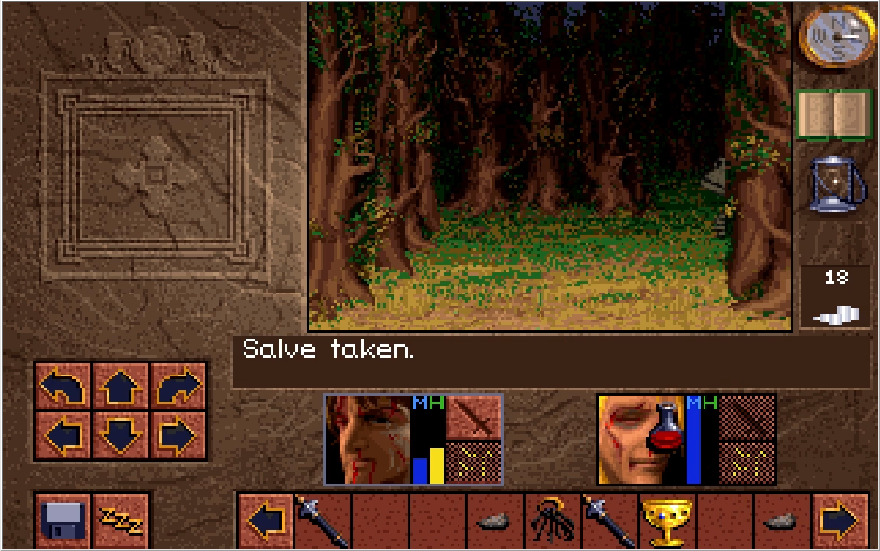
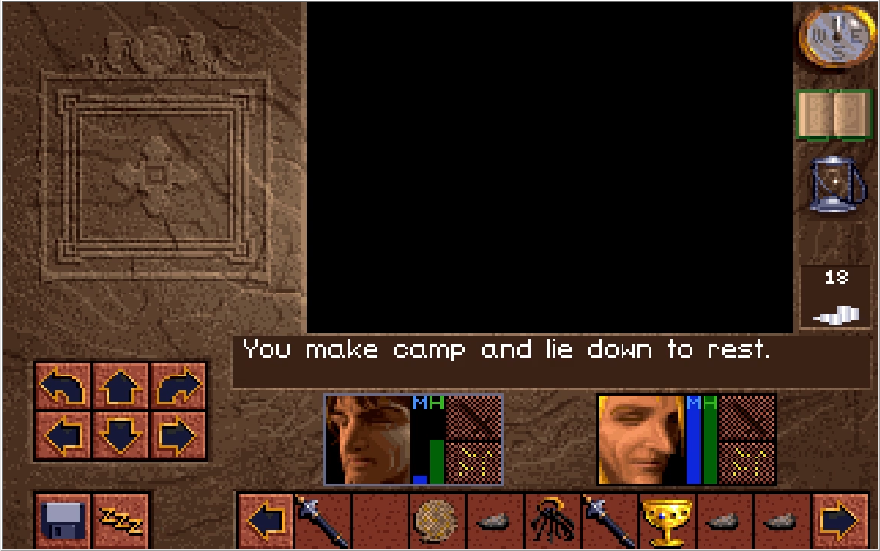
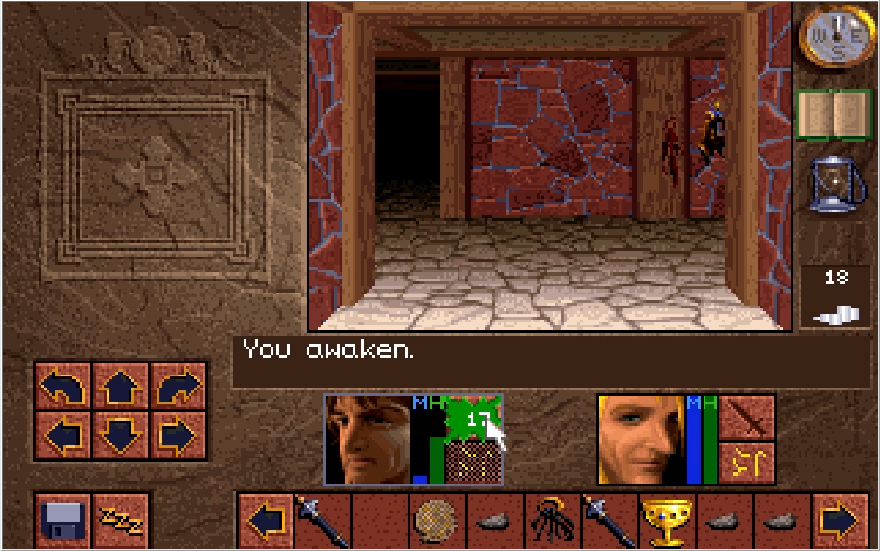
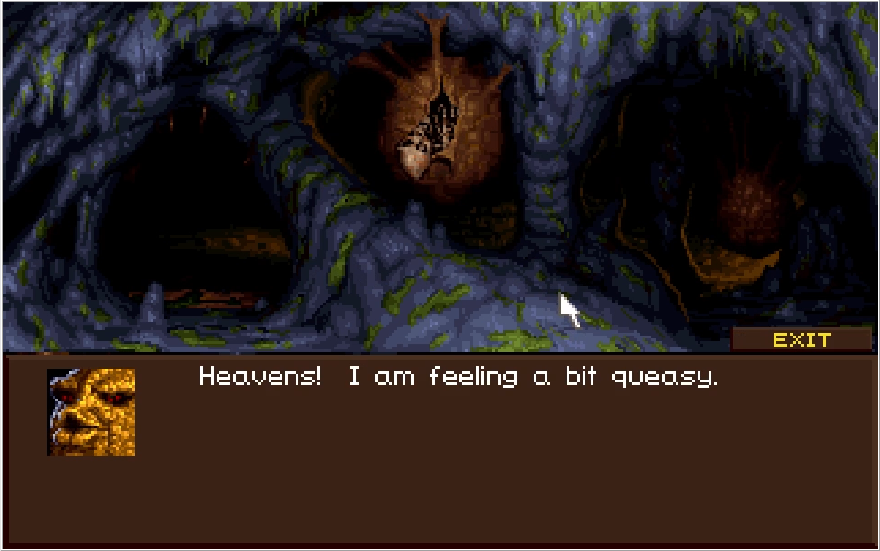
Lora gets poisoned! When a character is poisoned, their portrait takes on a sickly yellow color, and they tick 1-4 damage every couple seconds. It's not a super threatening ailment, but your options to get rid of it are limited. Ginseng and Bezel cups can cure it, as can the Heal 3 and Heal 4 spells. Otherwise, it will inevitably tick your character down to unconsciousness as it does not wear off naturally until the afflicted character is knocked out. This can be dicey if your whole team is poisoned and you lack any means to cure it. You can rest while Poisoned and tick your characters down faster, at which point a cheap heal spell can revive them sans poison. Speaking of resting,
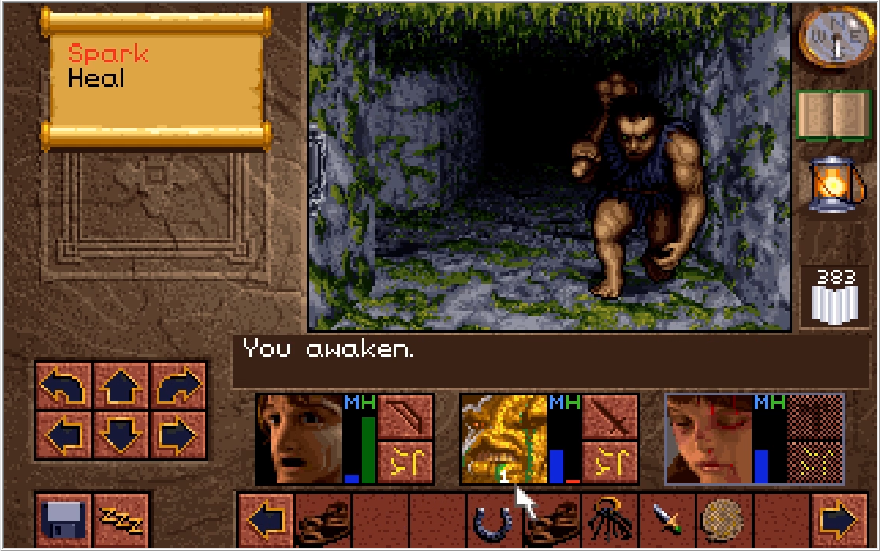
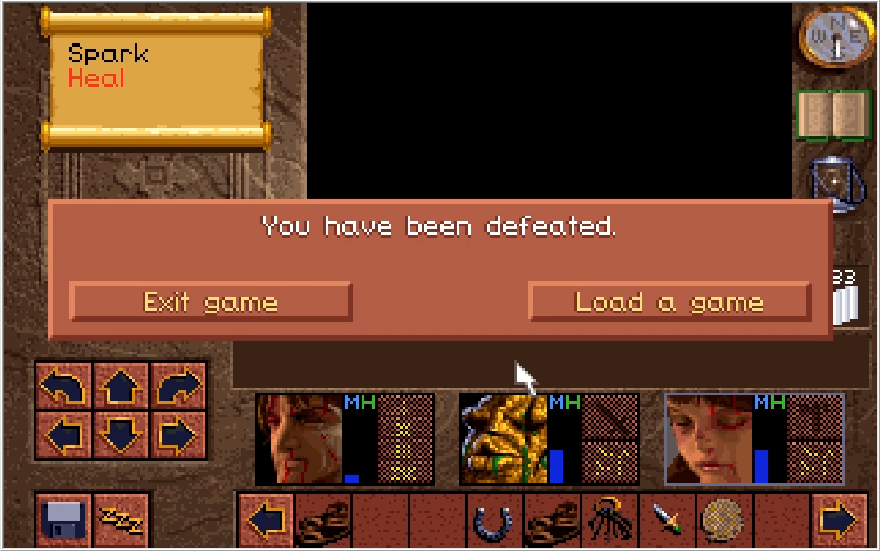
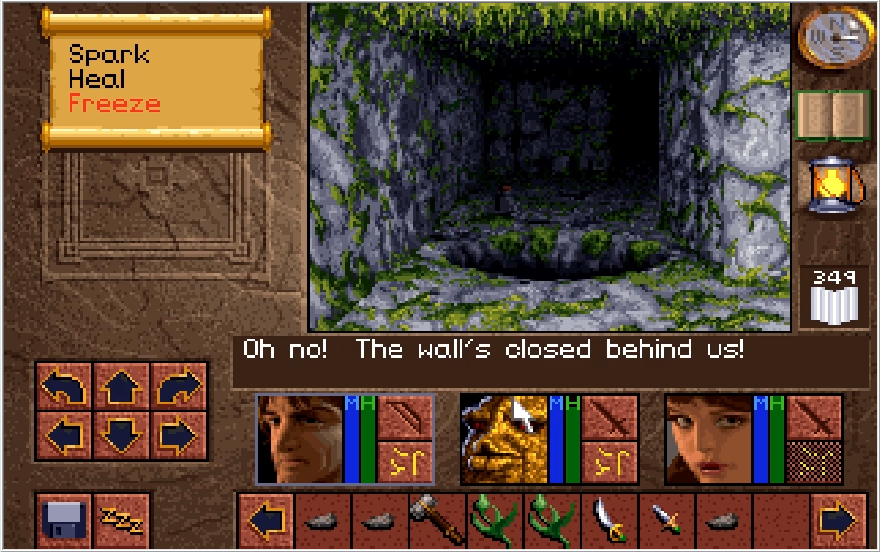
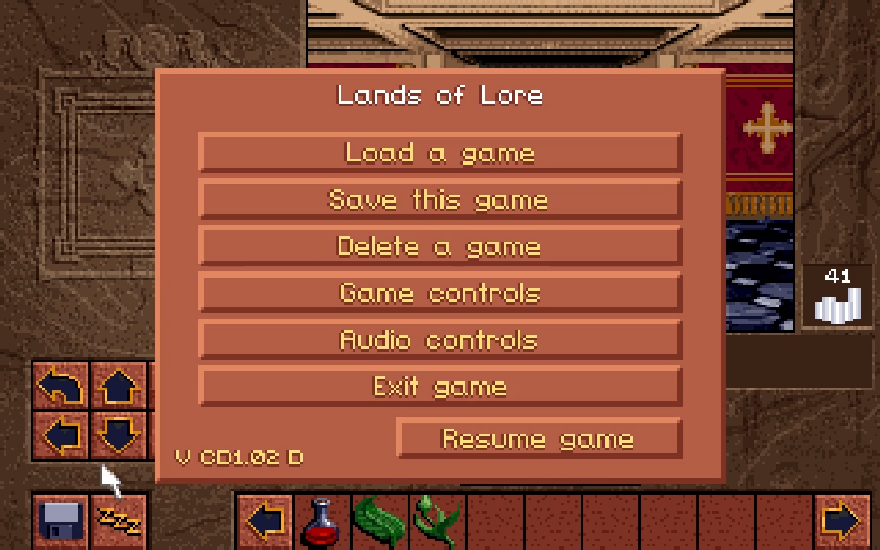
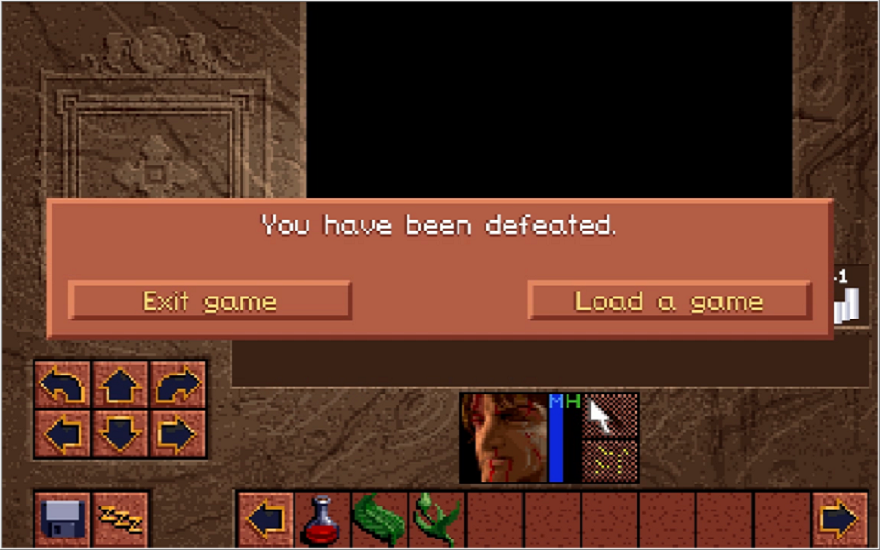
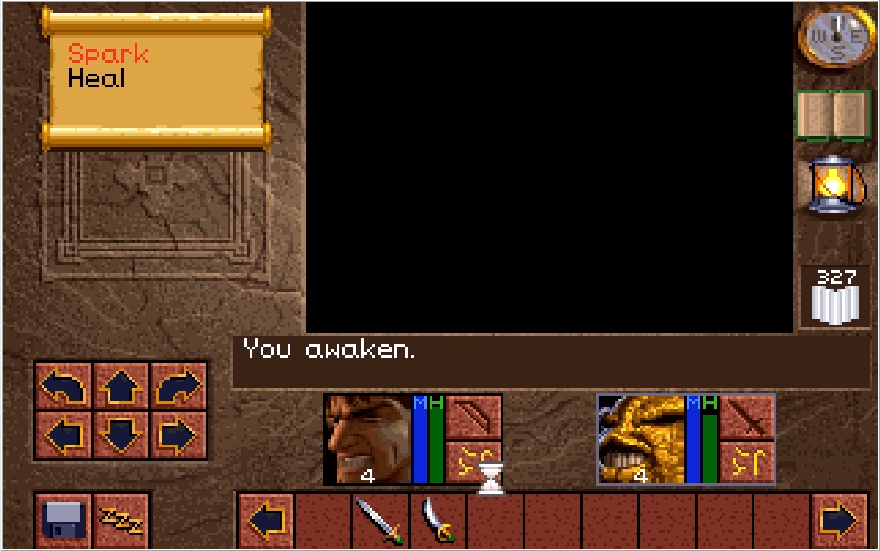
I retreat from the Eye path and close the door leading to it for a hopefully safer rest. Unfortunately for me, a cave dweller respawned in this area and interrupted the rest. Baccata got taken out and I had no magic, so it was all she wrote in short order. I made a fatal error in not saving before I attempted to rest, don't let that be you! So now I have to wind the clock back and redo quite a bit.
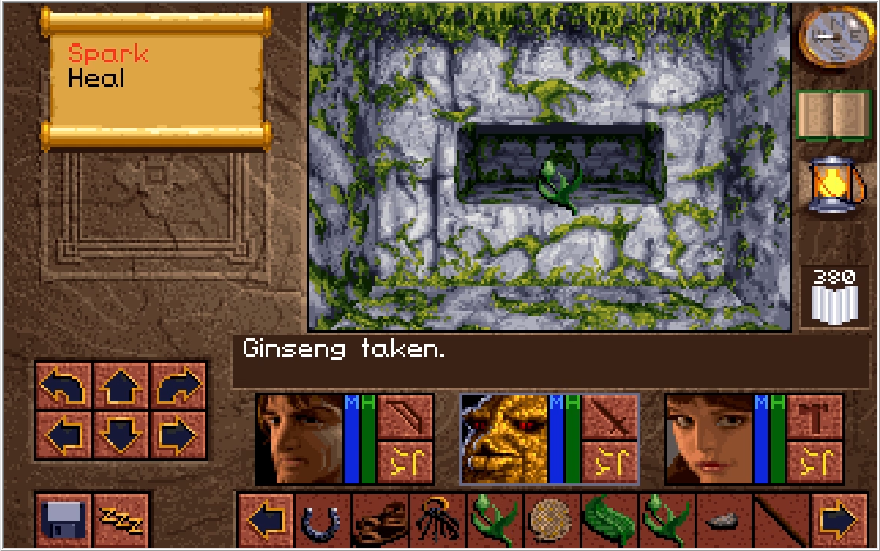
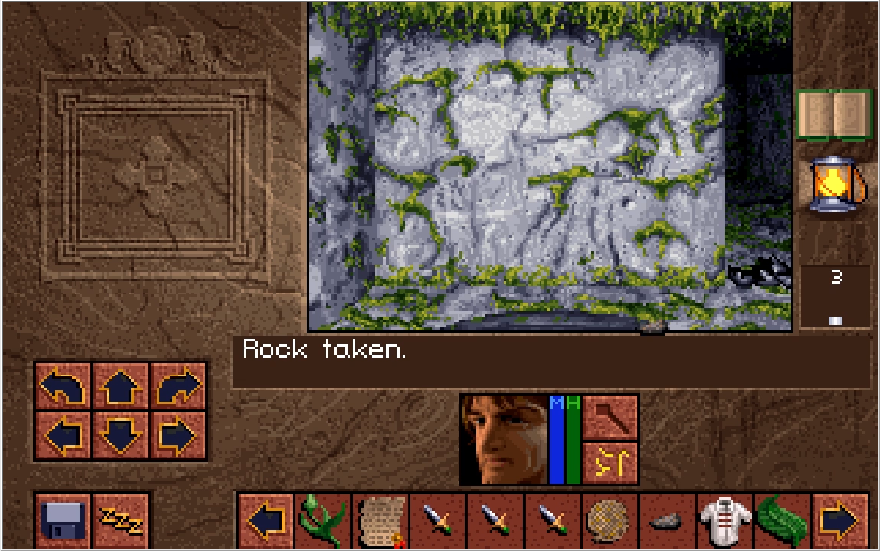
Returning to the secret wall junction, I finally check out that switch and get some extra Ginseng. Too little too late for this stuff sadly.


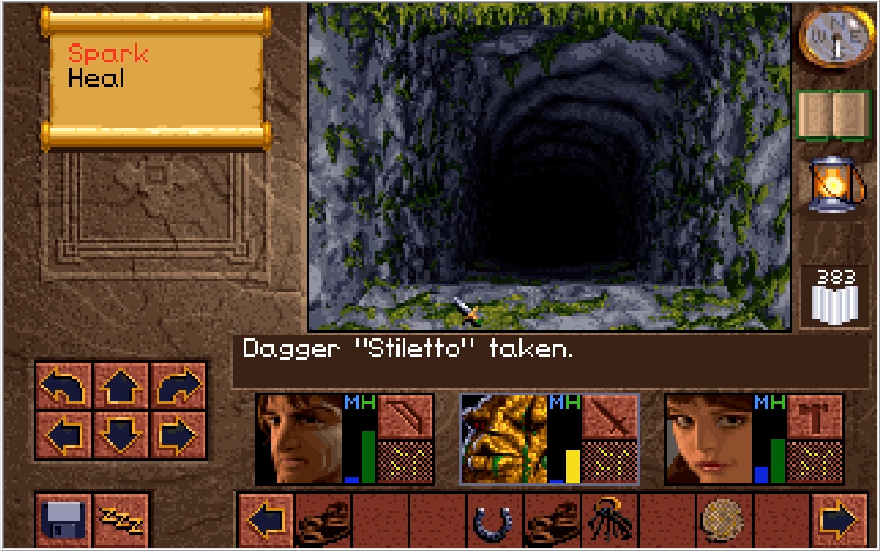
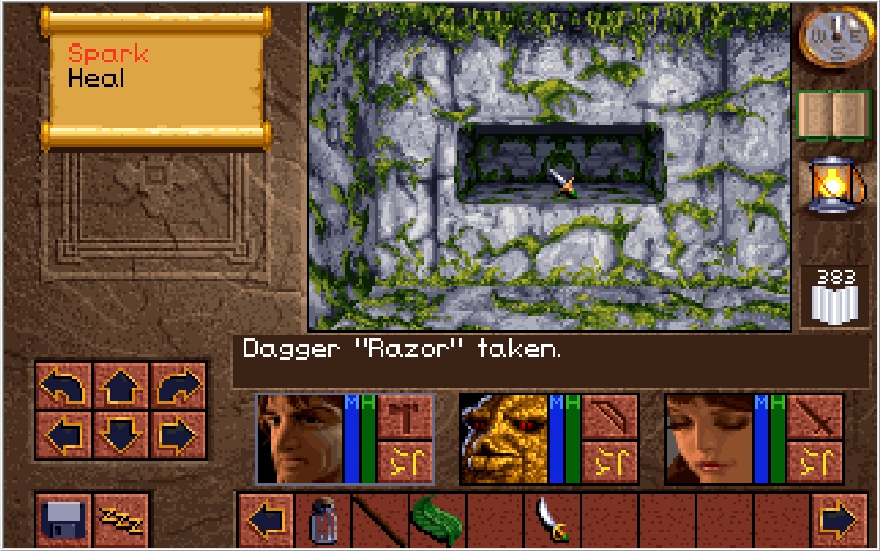
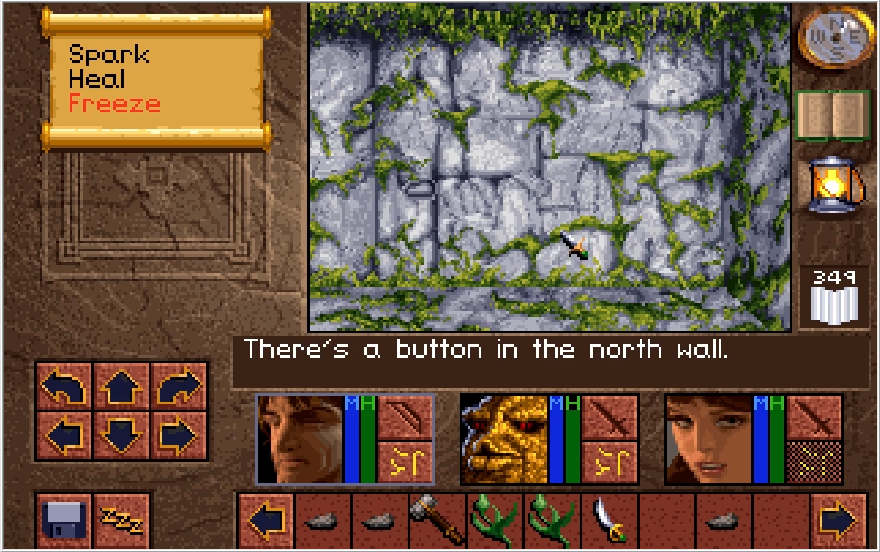
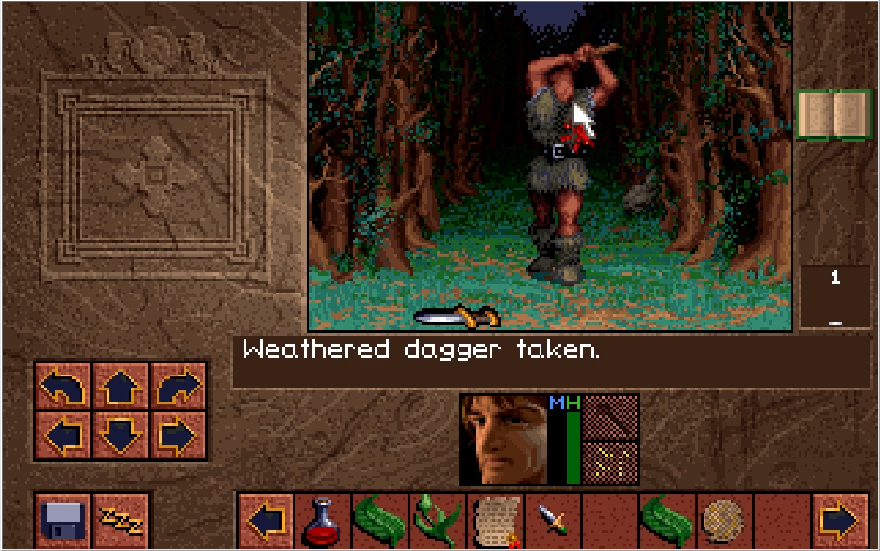
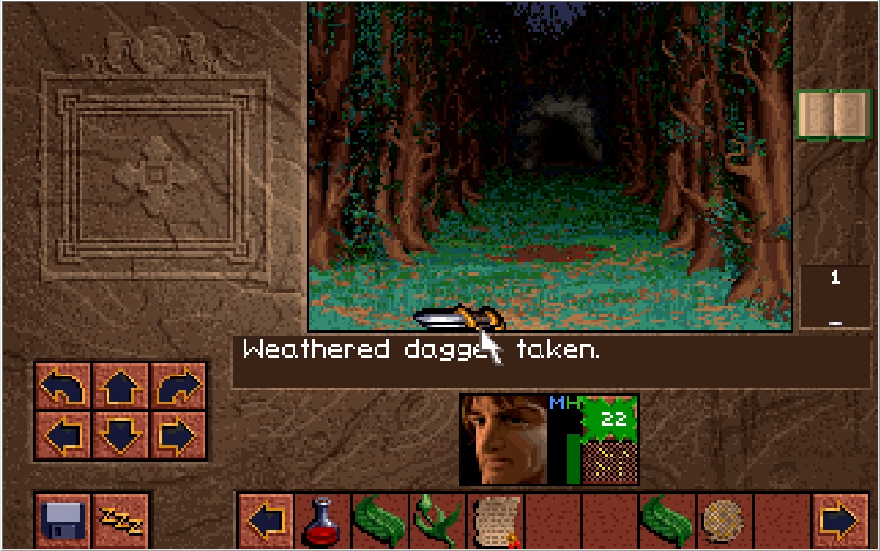
Regrabbing the Dagger "Stiletto" (No special properties, just slightly higher might over a normal dagger), I place it in the alcove and things take a turn for the strange. A series a switches and levers begin to appear. Pulling the dragon lever didn't seem to do anything. What I was supposed to do was hit the switch on the north wall again, but I failed to realize this initially.
Defaulting to "try everything" adventure game logic, I went to the hallway with the pit and tried hitting the switch again. Hitting the switch at this point causes it to open a pit at your feet. In hindsight, I think the puzzle here is that hitting the switch causes pits to open and close in sequence, so you need to stand in front of the stairs to get to that alcove past the pit. I do not think to try this over the course of this recording.
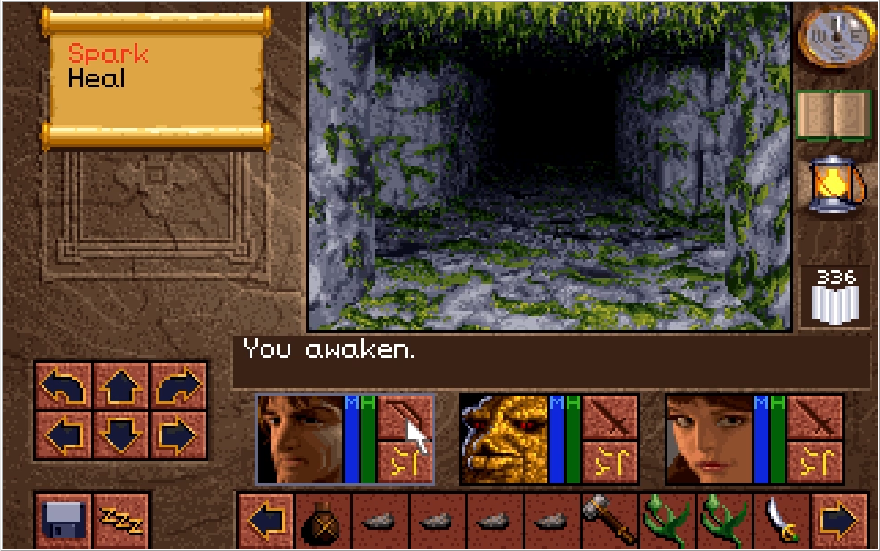
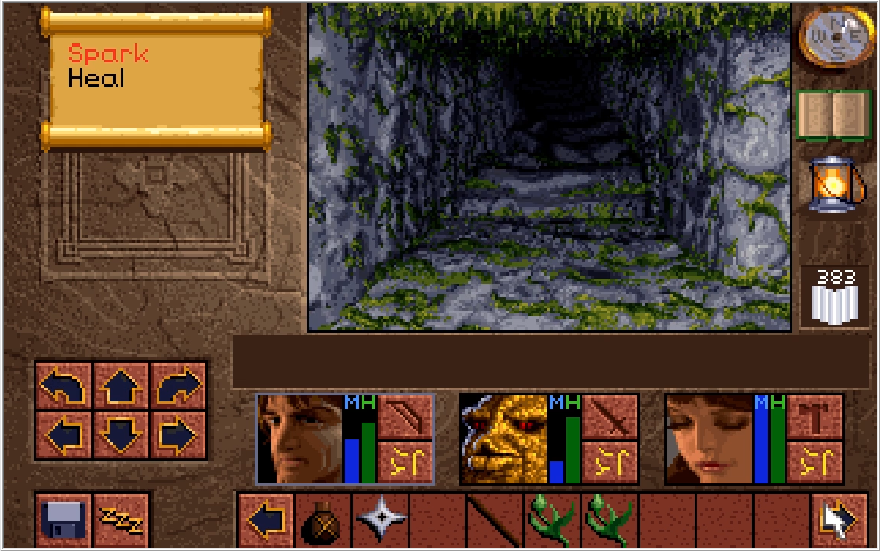
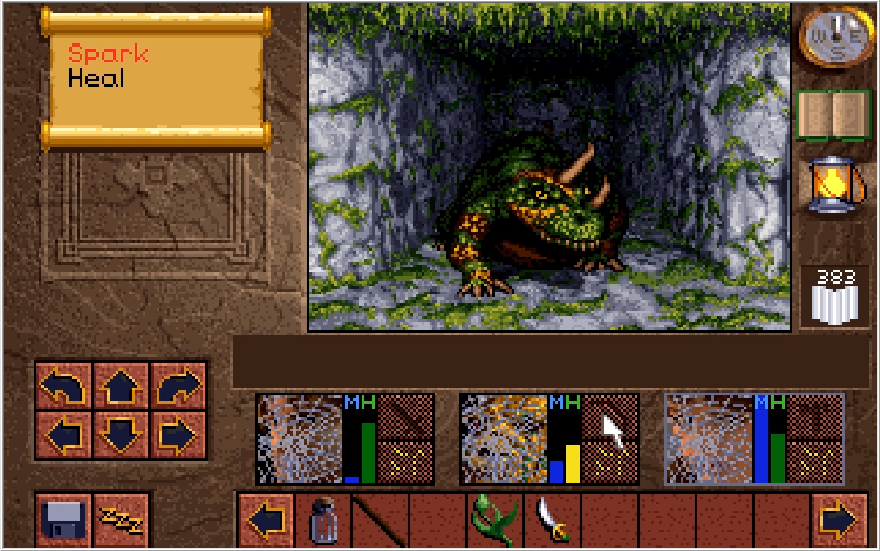
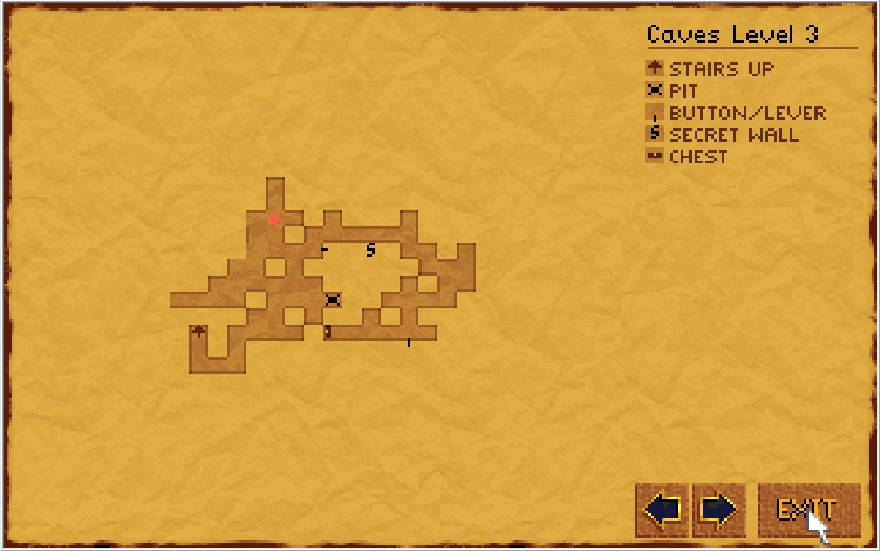
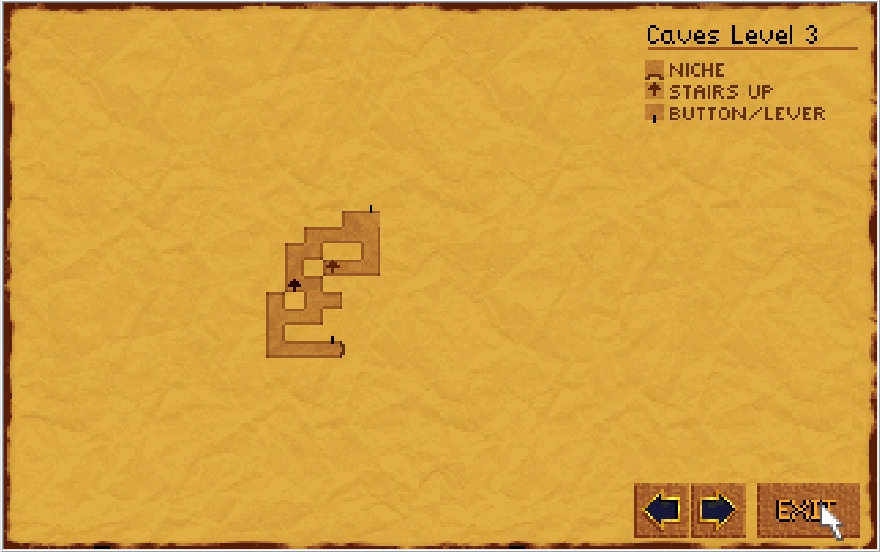
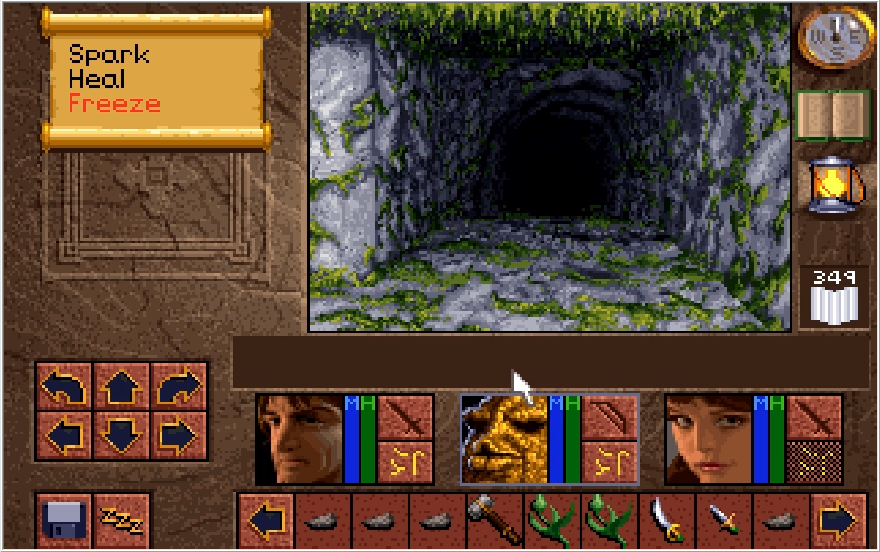
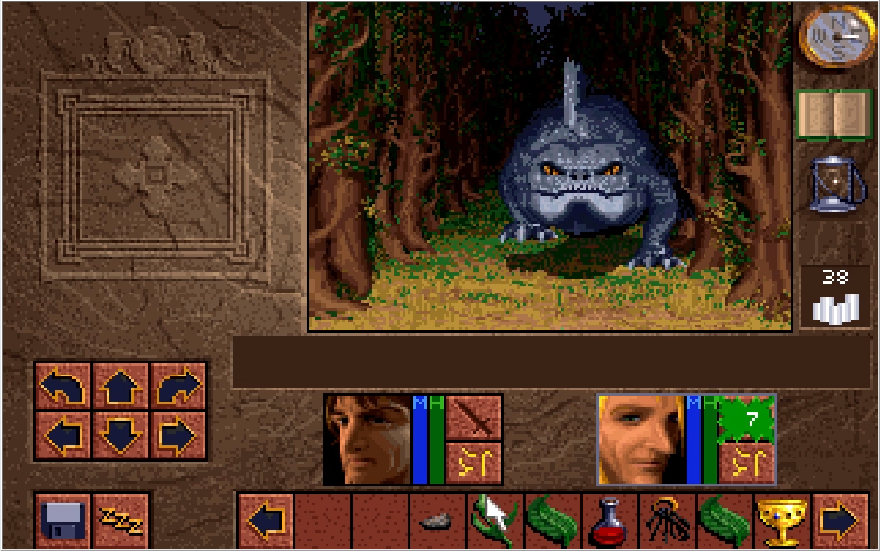
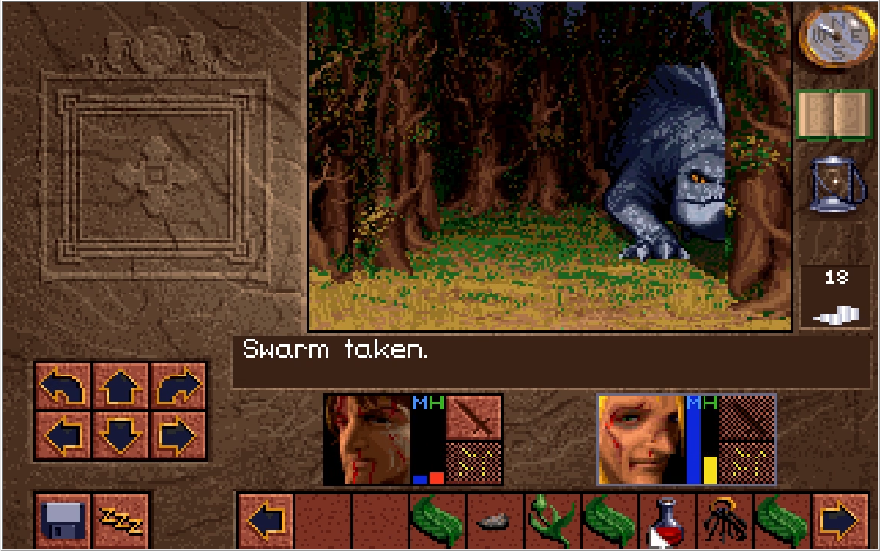
So now we're on Level 3, with cave lizards a-plenty roaming around. There's also a distinct buzzing noise constantly in the background. Strange...
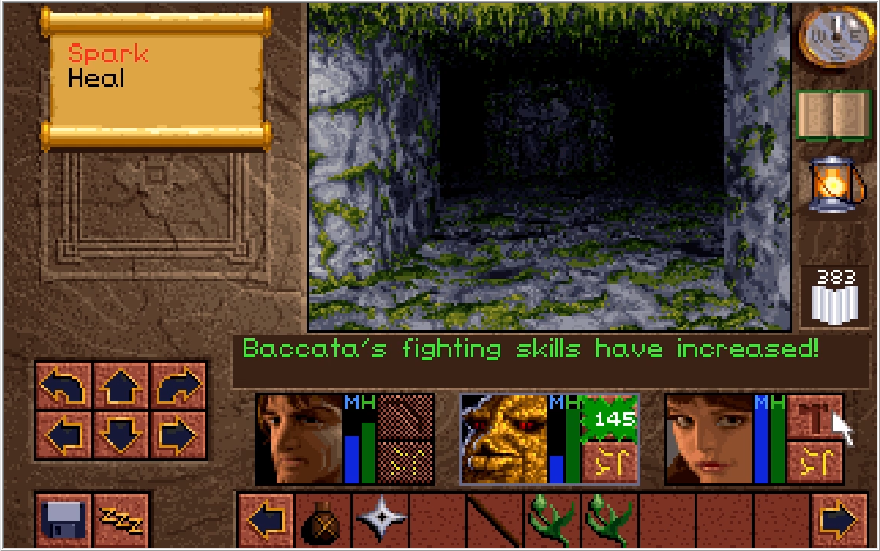
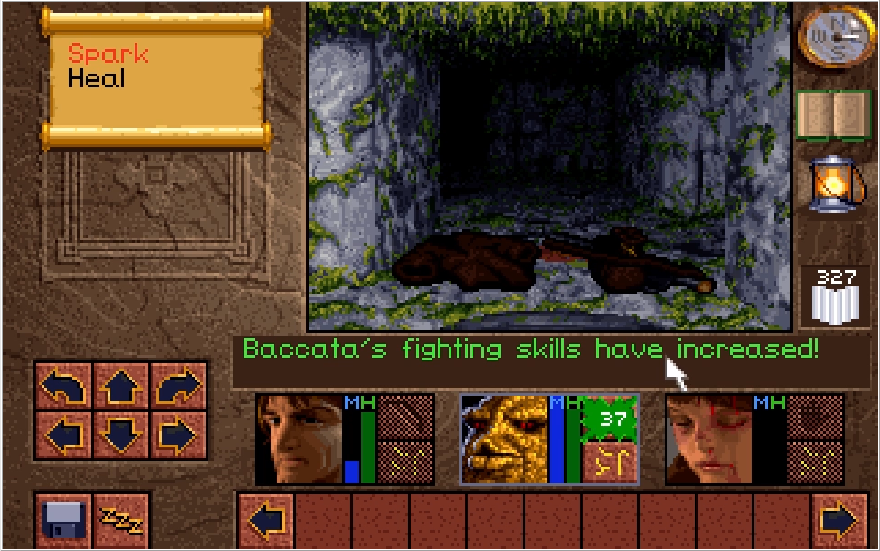
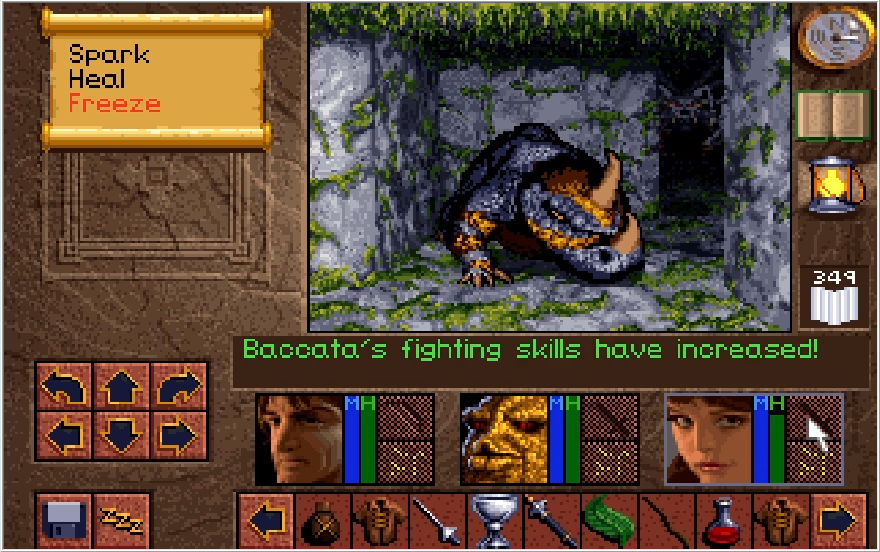
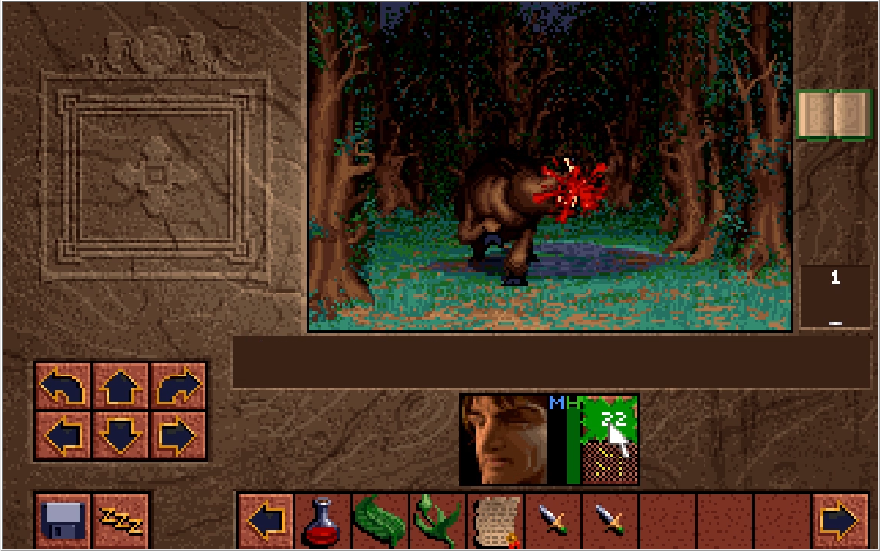
We can find stairs back up to level 2 in the west, but the pit has returned to being in front of the stairs now. I didn't realize this initially, but if you fall through the pit here, it will switch to being in front of the alcove again. Since this wasn't obvious, I instead bumbled on Level 3 for like 10 minutes. Speaking of, Baccata utterly flattened a cave lizard while I was roaming around.

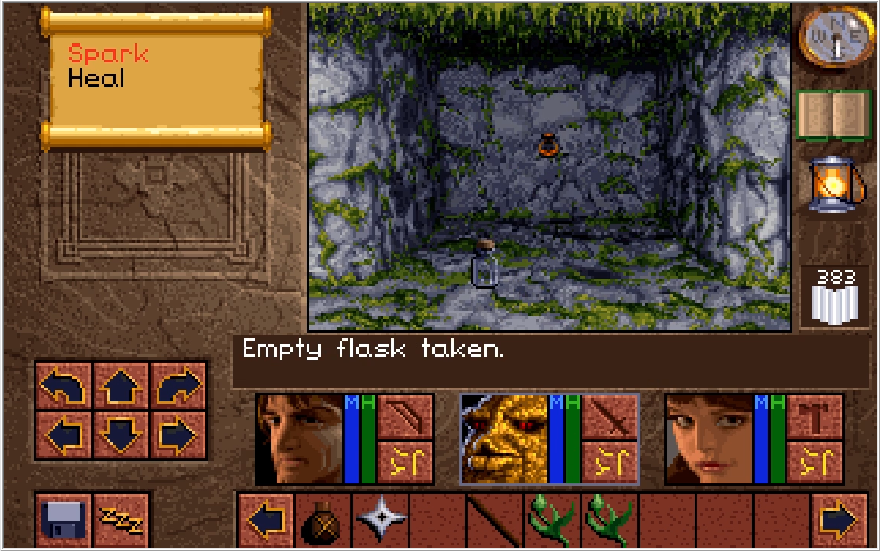
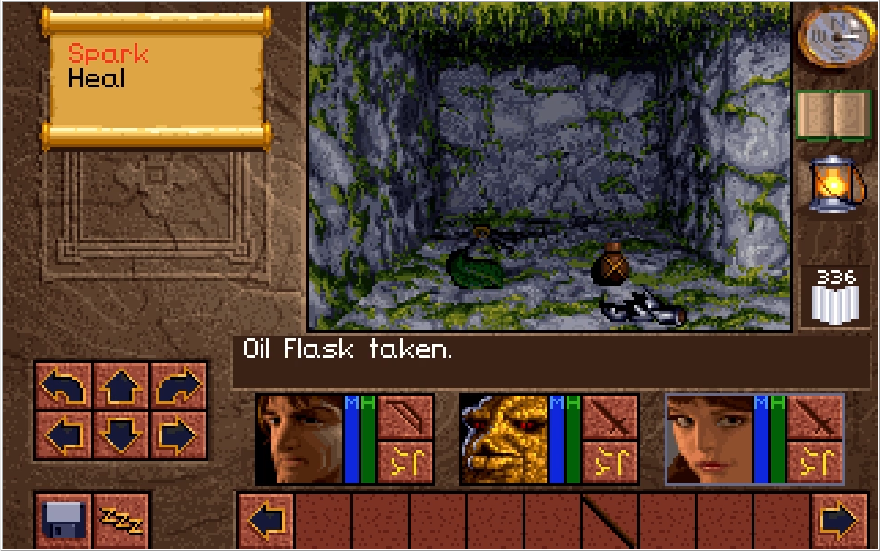
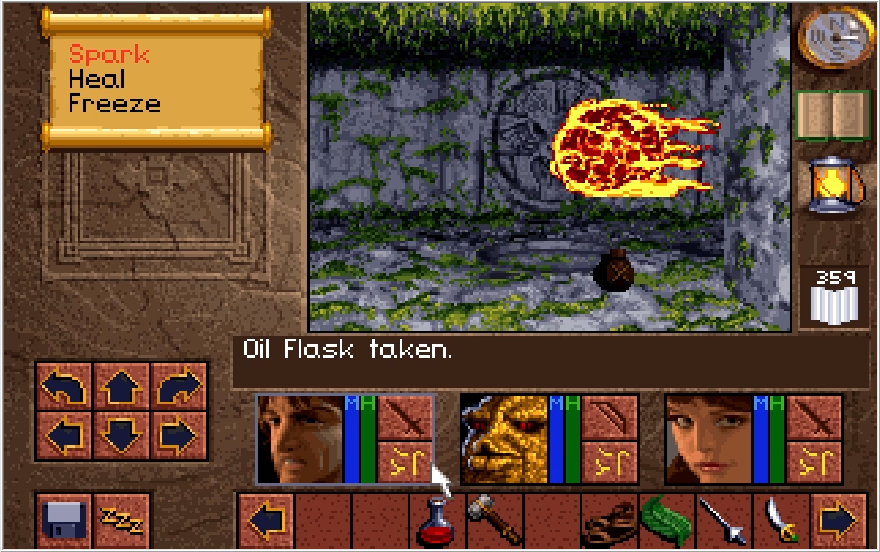
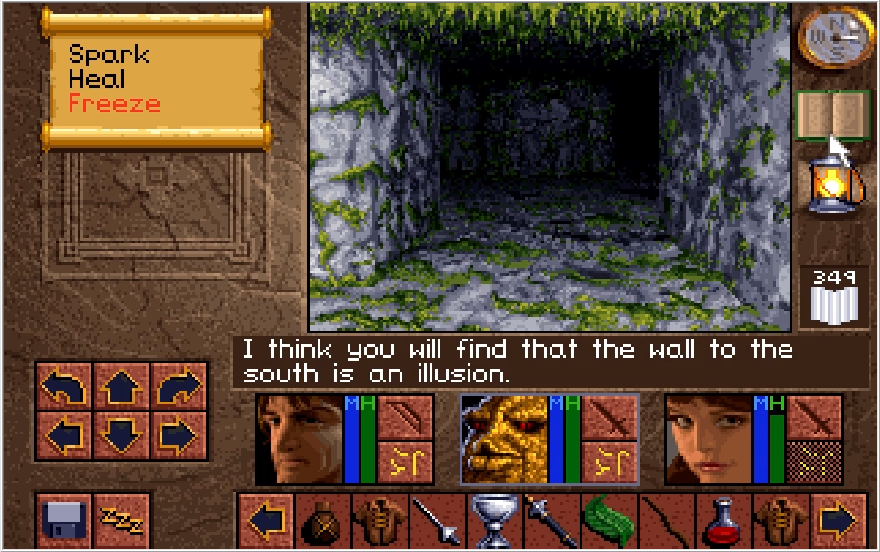
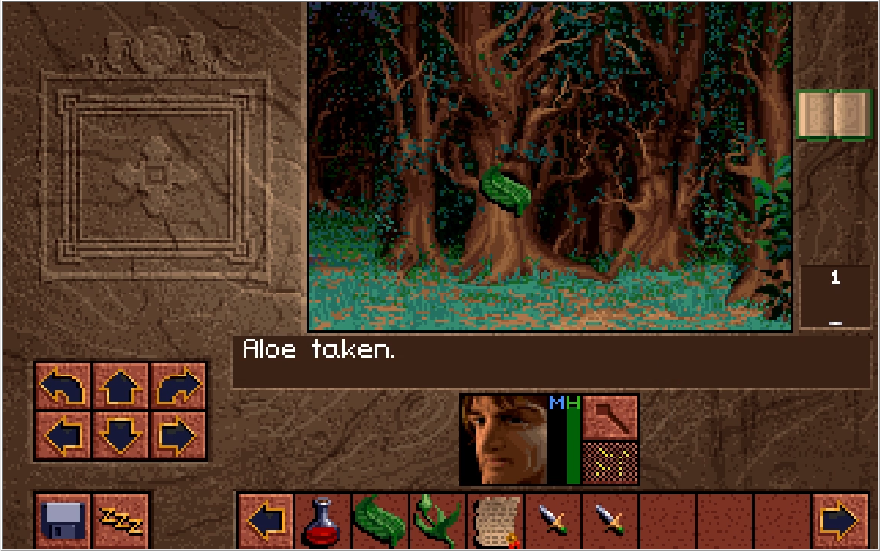
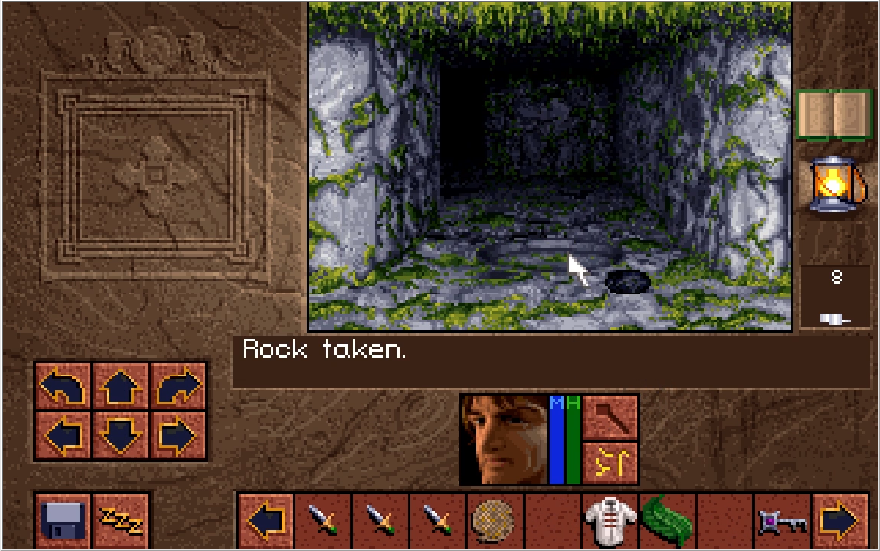
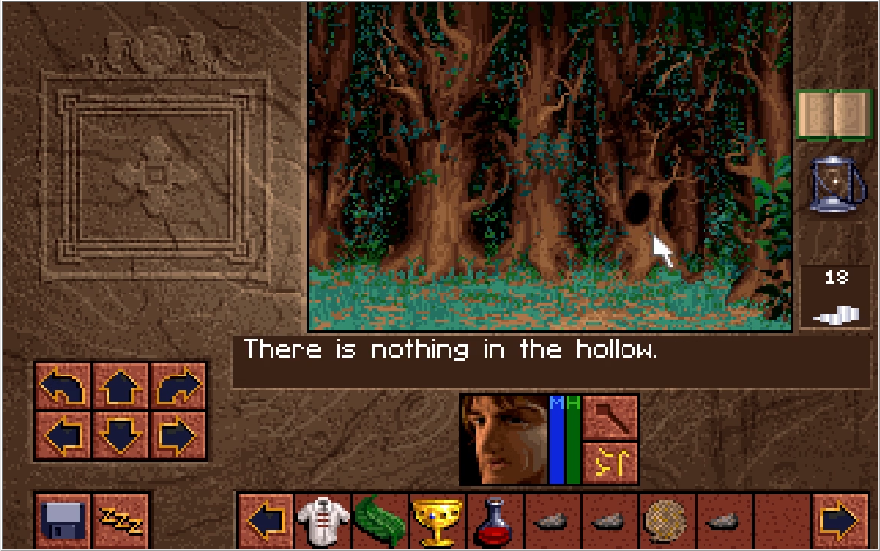
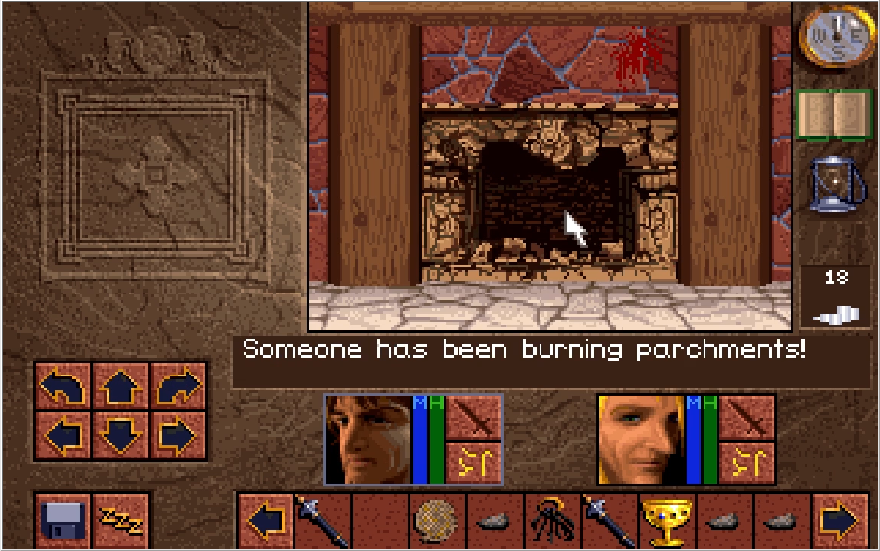
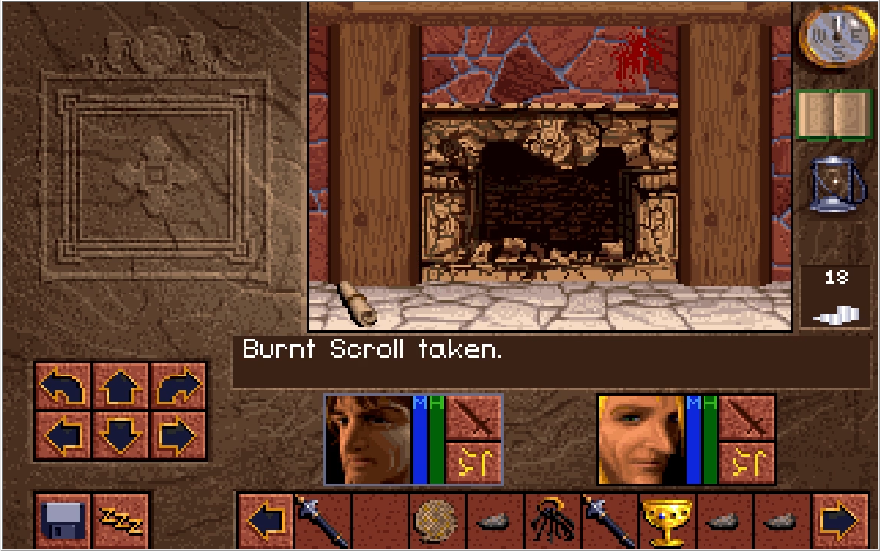
I discover a hall with a pit and a chest on the other side. I did not figure out how to get to this chest while recording this, but this pit is actually an illusion. Sometimes Baccata will call out that the pit is fake, but it's random. He decided to be unhelpful here. There's also an empty flask by the illusion pit. This is actually a very important key item. It's not critical we get this one, since we only need two empty flasks and we're guaranteed to get two later on, but may as well take this one now.
Backing out of the previous area and heading north, I find a switch. I slap it, and head on through the path it opens.

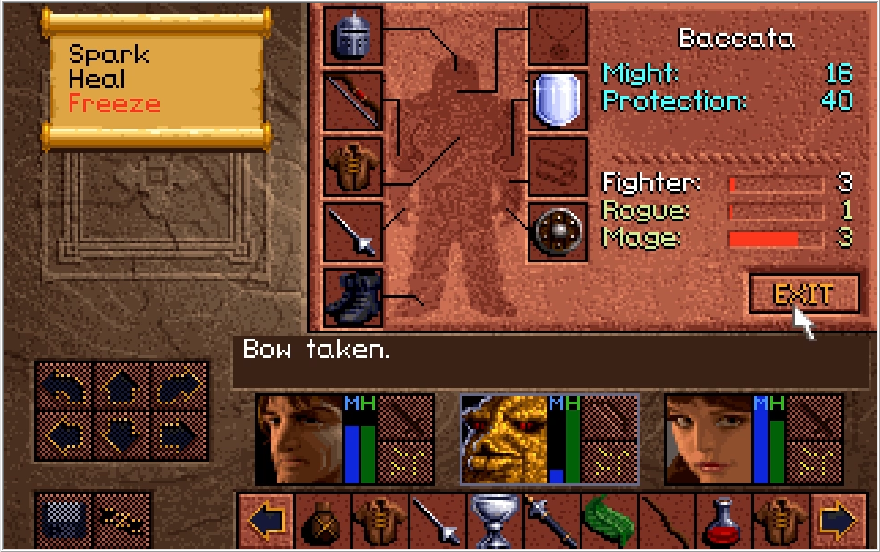
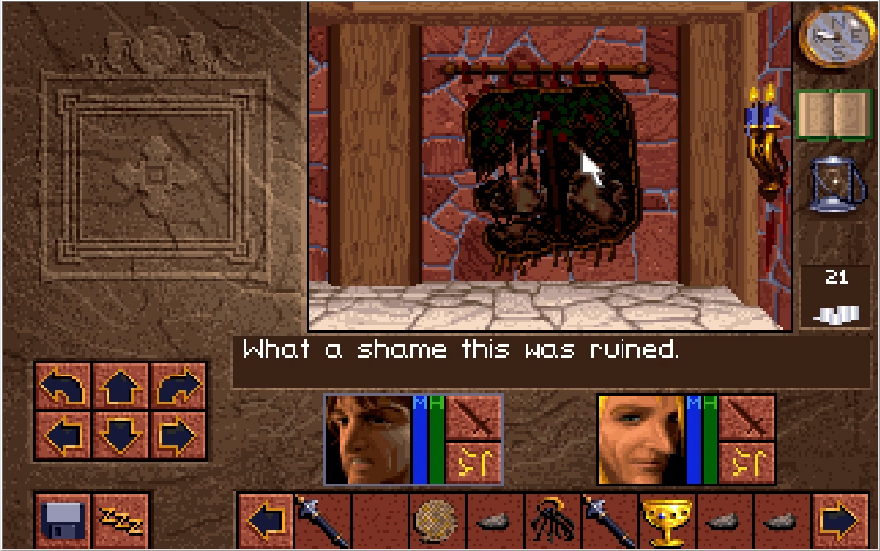
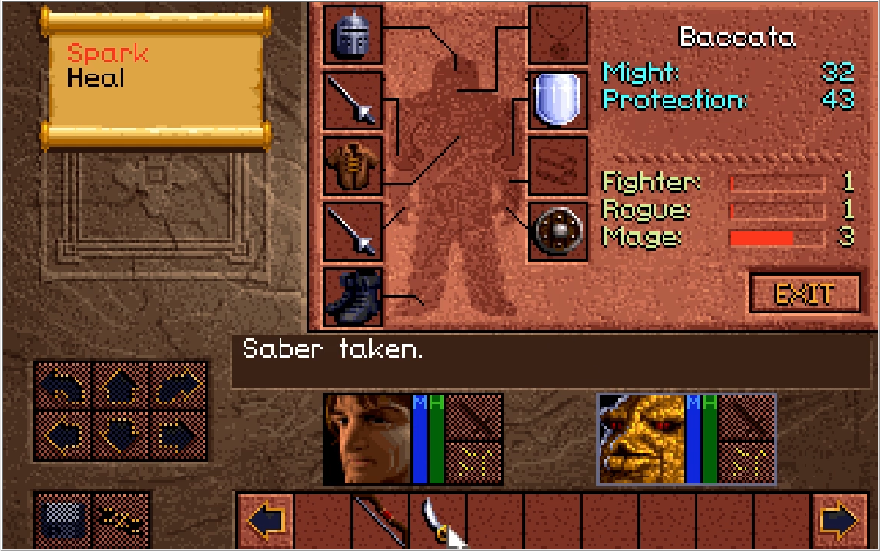
Heading this way, I find the Saber "Cutter". This is fairly weak, but it has a very high protection bonus. Not my thing, but it's not terrible if Baccata wields it.

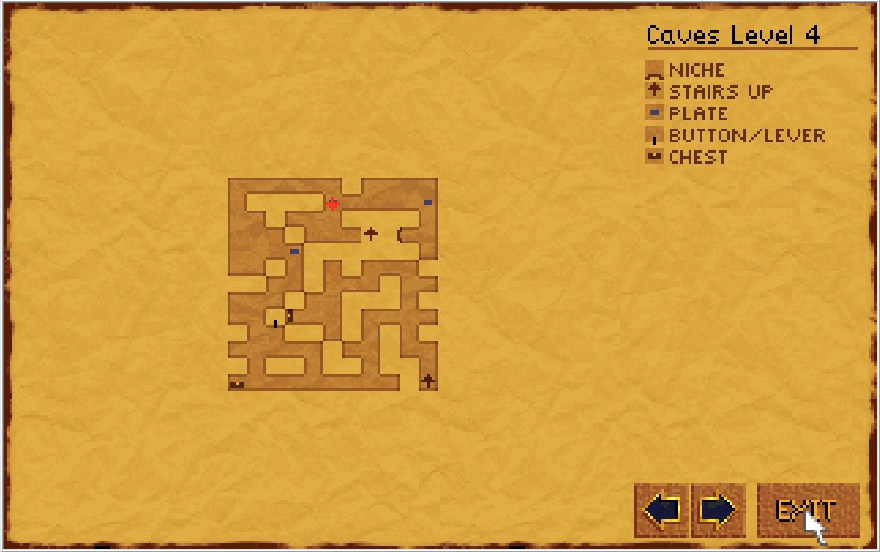
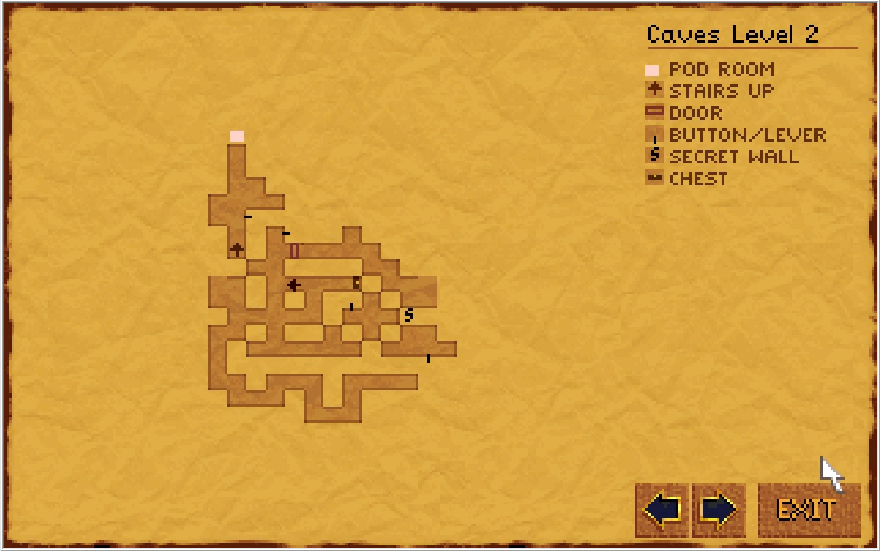
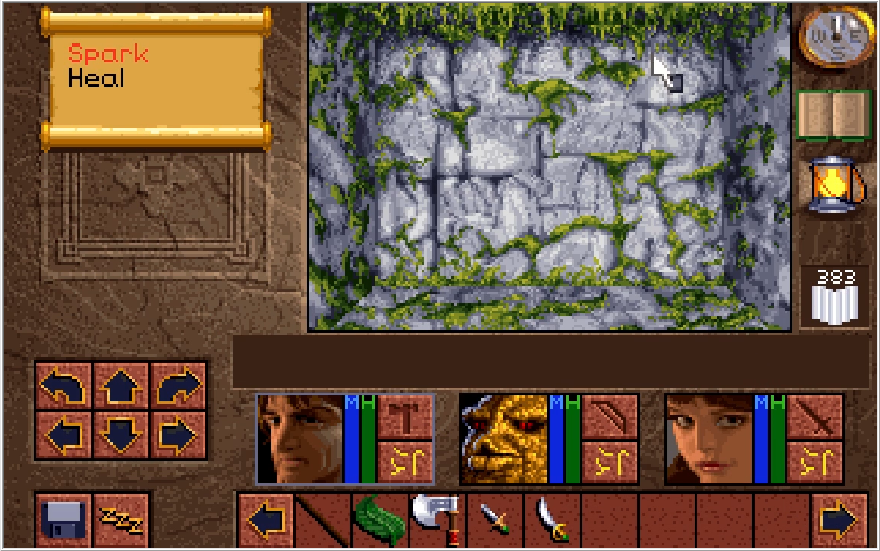
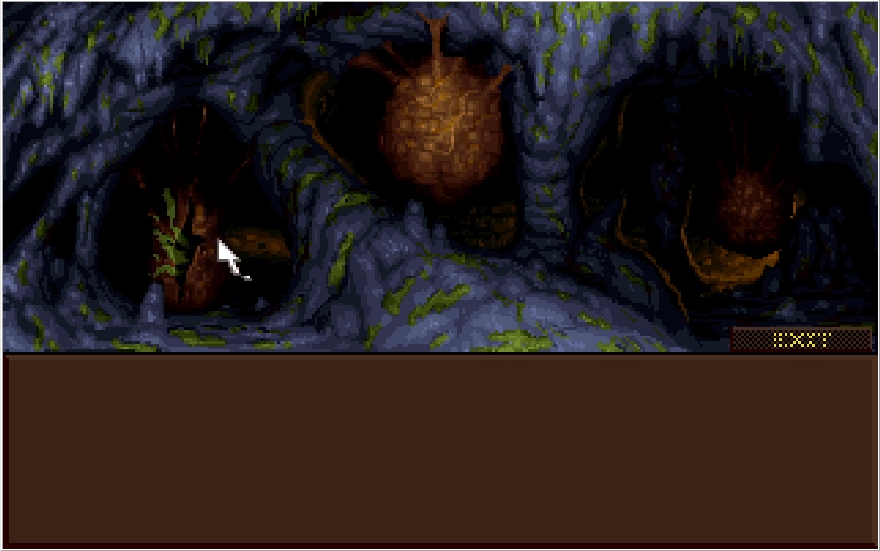
A quick survey of the area so far! Don't pay that secret wall any mind, nothing important is behind it and I check it out later.
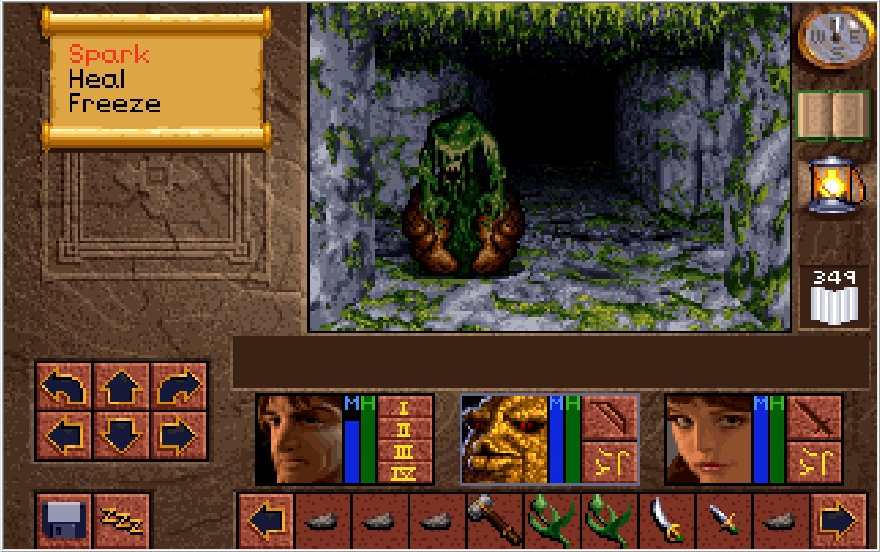
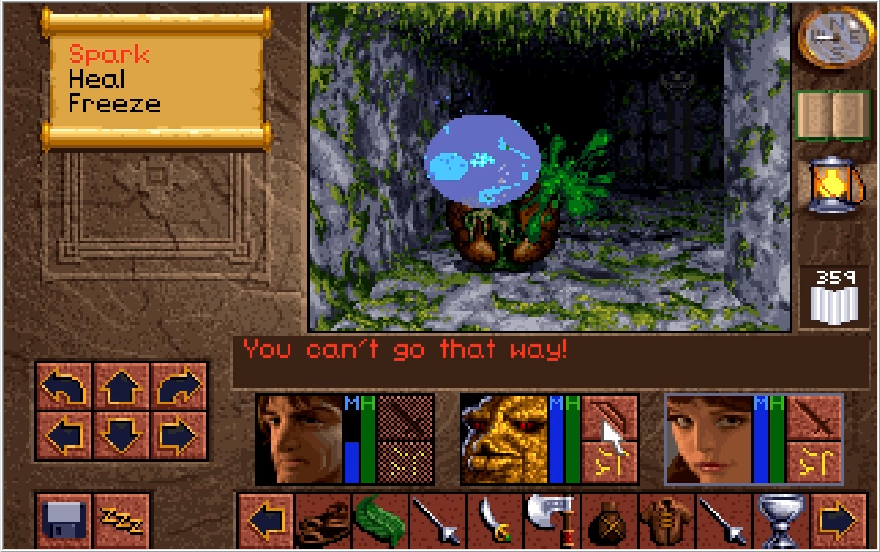
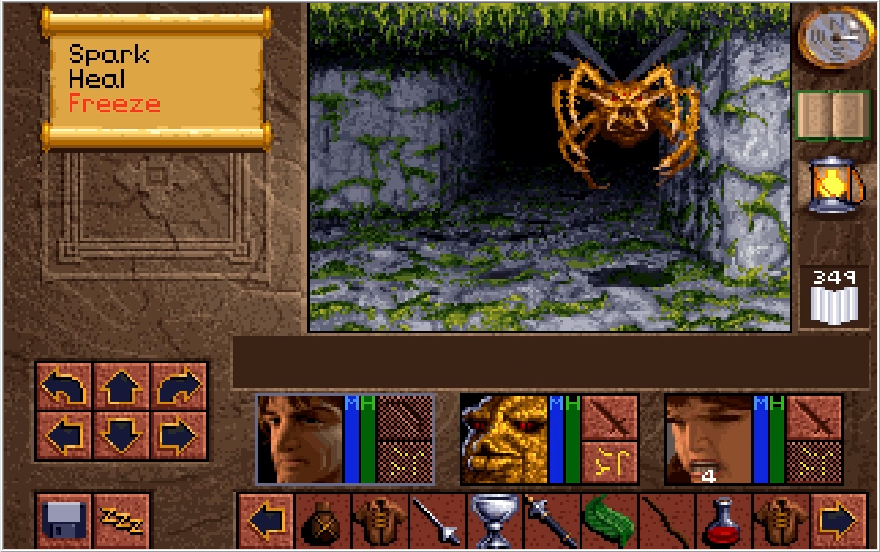
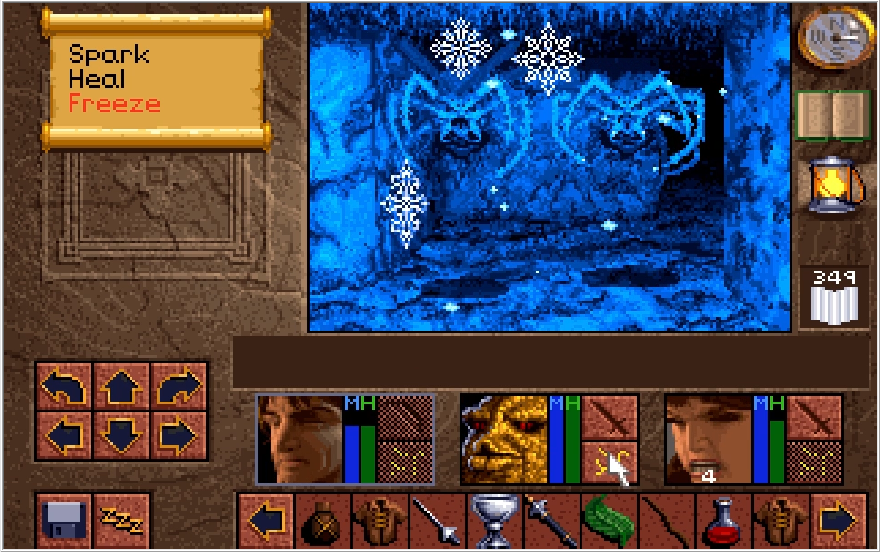
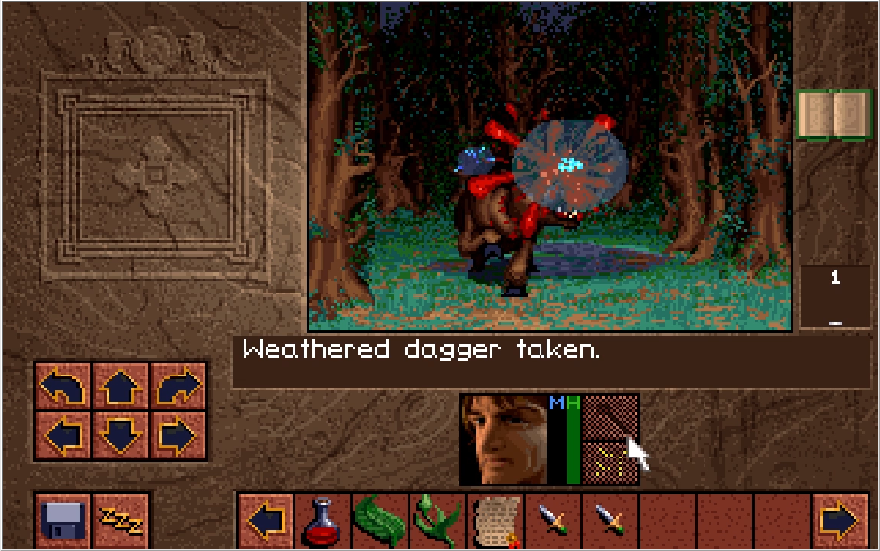
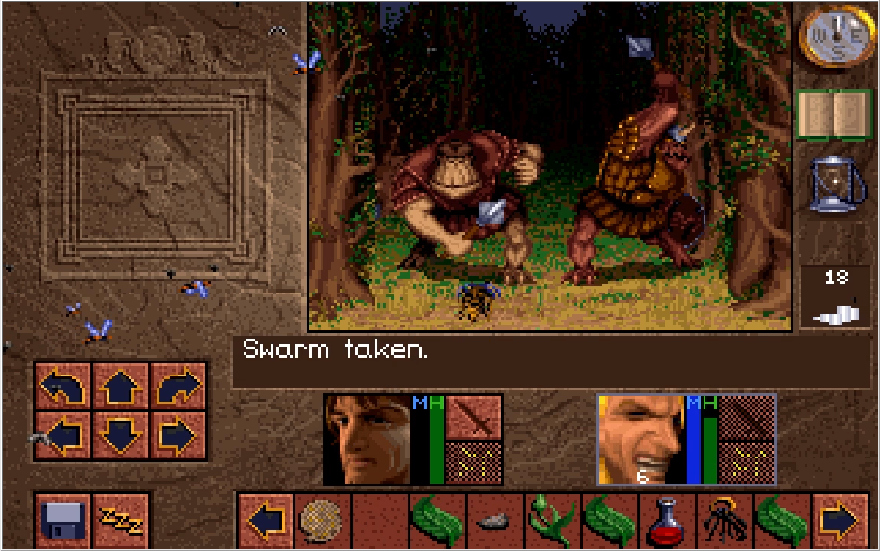
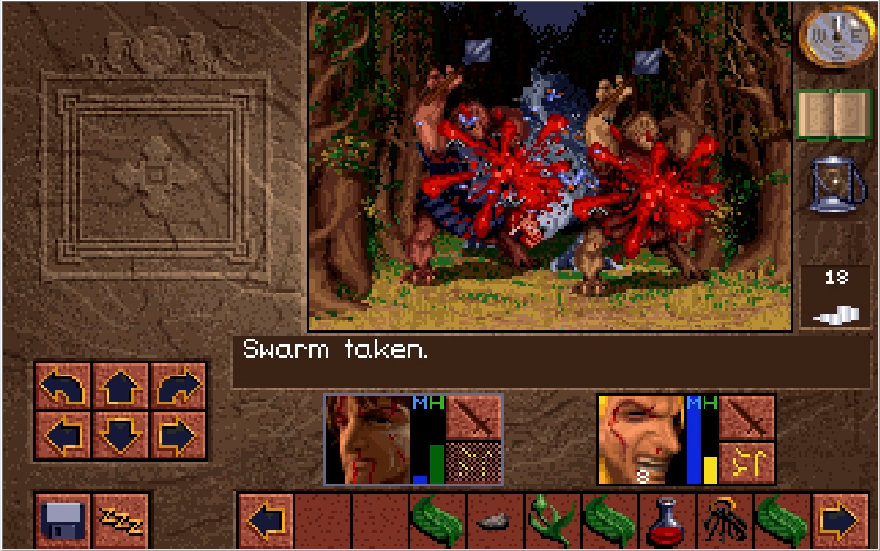
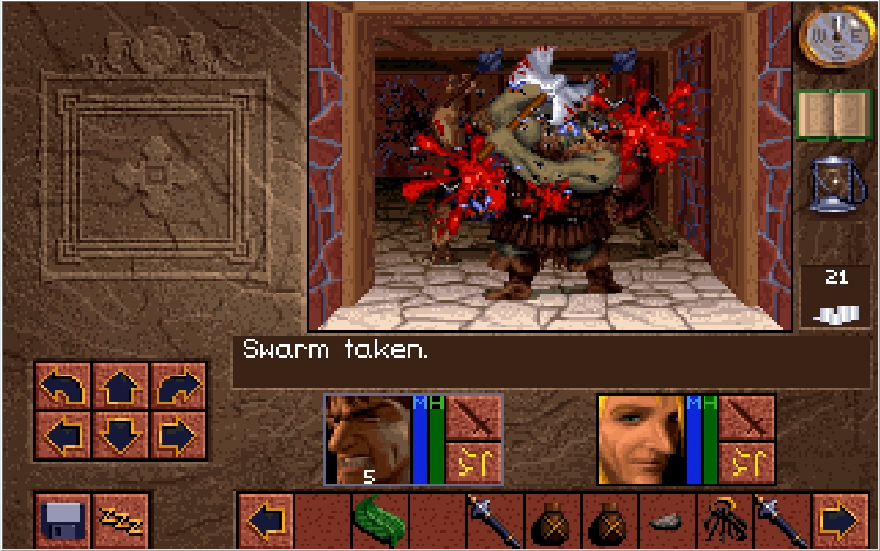
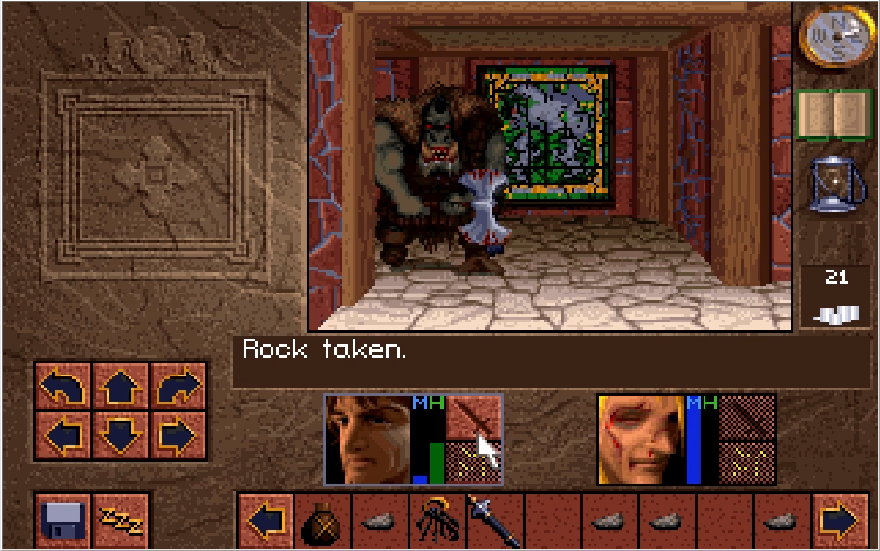
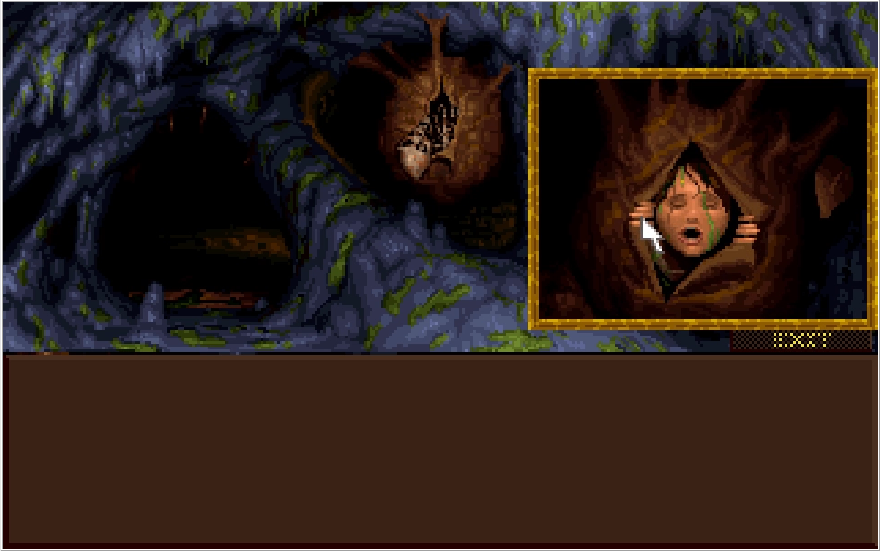
Here's our first instance of being webbed up. When your team is webbed, they can't move or take any actions. This lasts for about 5 or 6 seconds and then you can act freely again. Strangely, this is the only area in the game where an enemy can do this to you, and the one that does it doesn't even make sense.
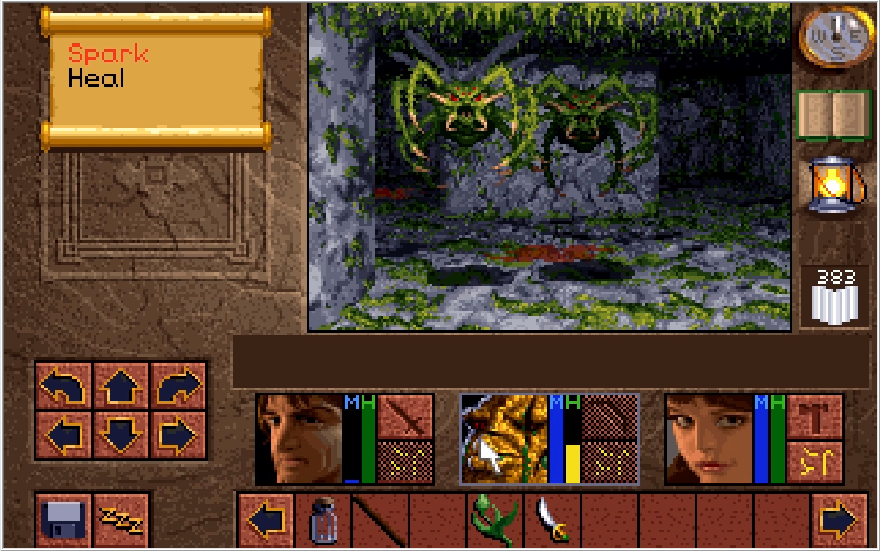
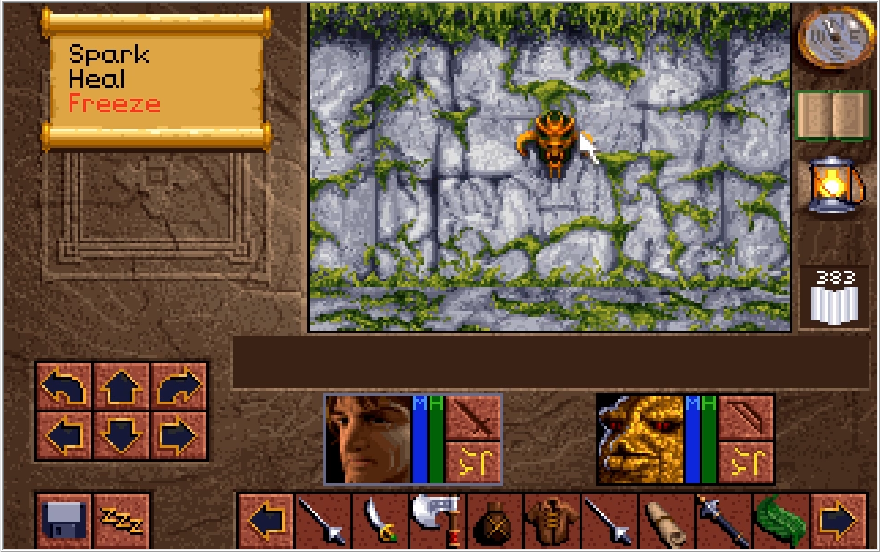
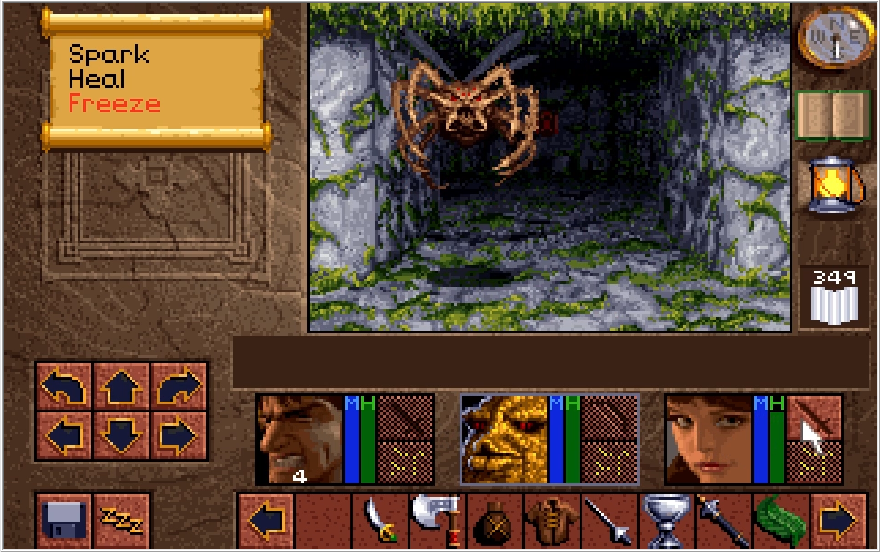
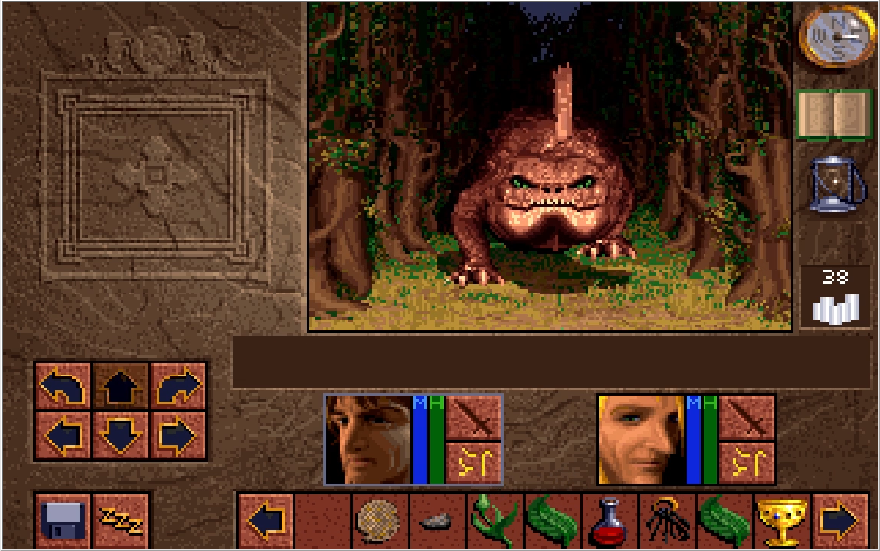
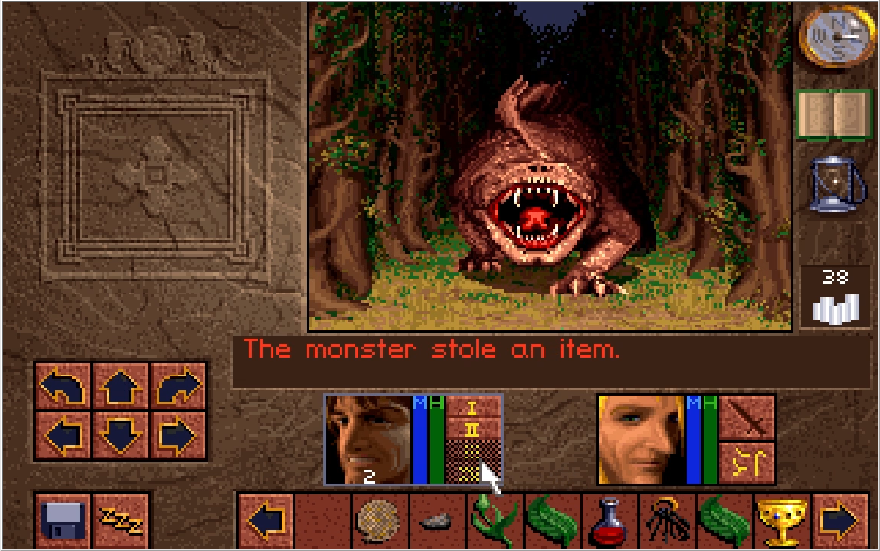
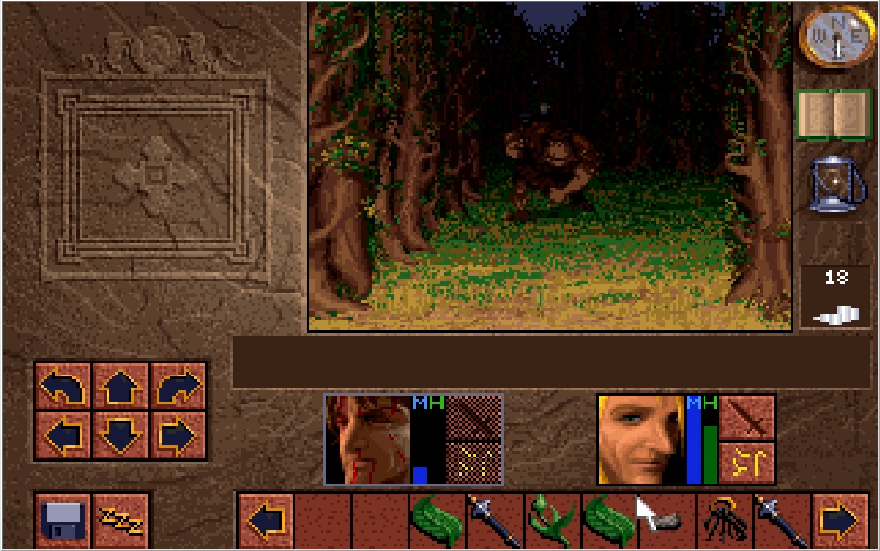
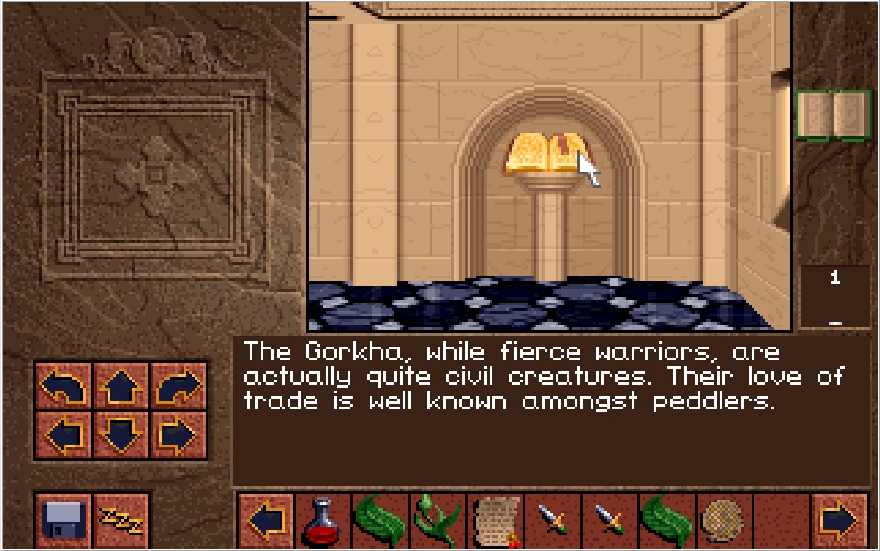
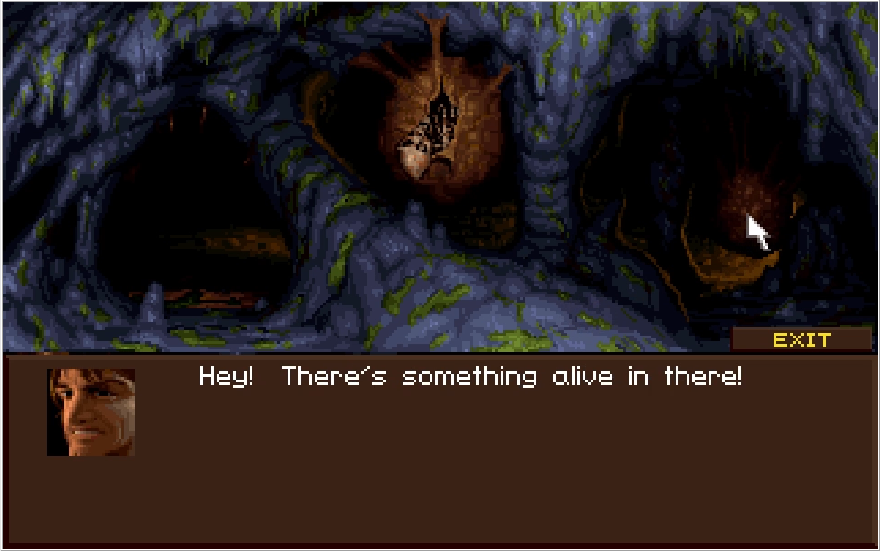
You'd think it be these guys who web you up! These are the flying cave spiders, which sounds absolutely horrifying typing it out like that. These guys are essentially just reskinned weasels, evasive with lowish HP and a chance to poison you. They're a little annoying to deal with and spawn in constantly, but there is a good counter to them in this dungeon.
After dealing with the special edition Green Cave Lizard that is also equipped with a triple-action web blaster, I take another survey of the area. I was completely perplexed on what to do at this point, but there's still some stuff to the west to check out. You probably noticed the button and chest to the east, don't pay those any mind right now. We'll get to them later.
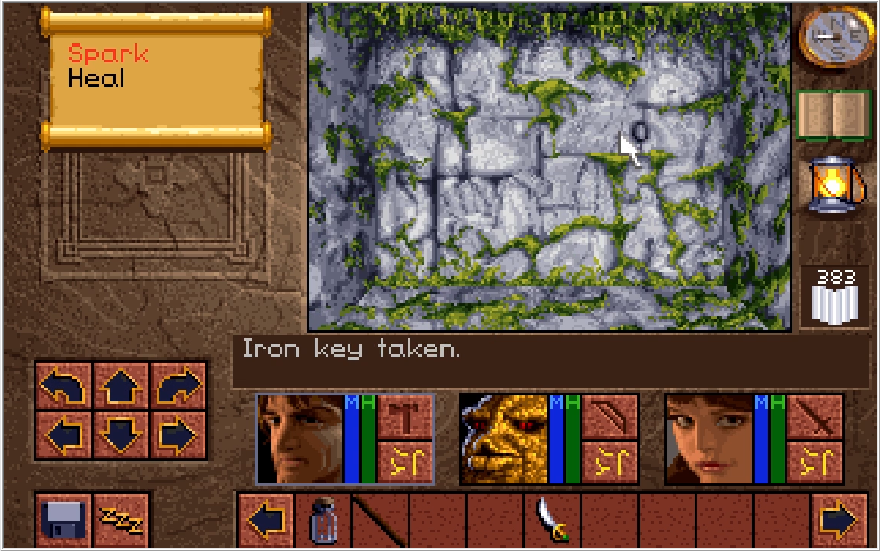
Among other things, I find an Iron Key (which goes to the chest past the illusory pit) and a switch that leads to an alcove with another dagger.

None of that stuff helps me, so I return to level 2 and just toss myself into the pit again to see what happens. My instinct paid off here, because the pit has moved out of the way!
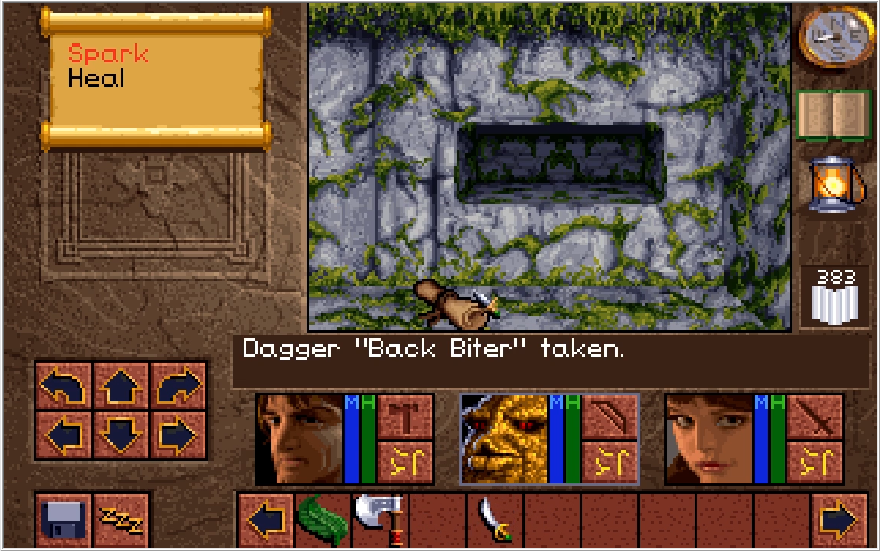
Returning to the Dagger In alcove, I go about completing the remainder of the puzzle. A series of switches keep appearing until the alcove reopens. You can place any item in here now to finish the puzzle, but at the time I thought you needed another Dagger so that's what I used. If you're wondering where I got "Back Biter" from, don't worry, we'll see it later.

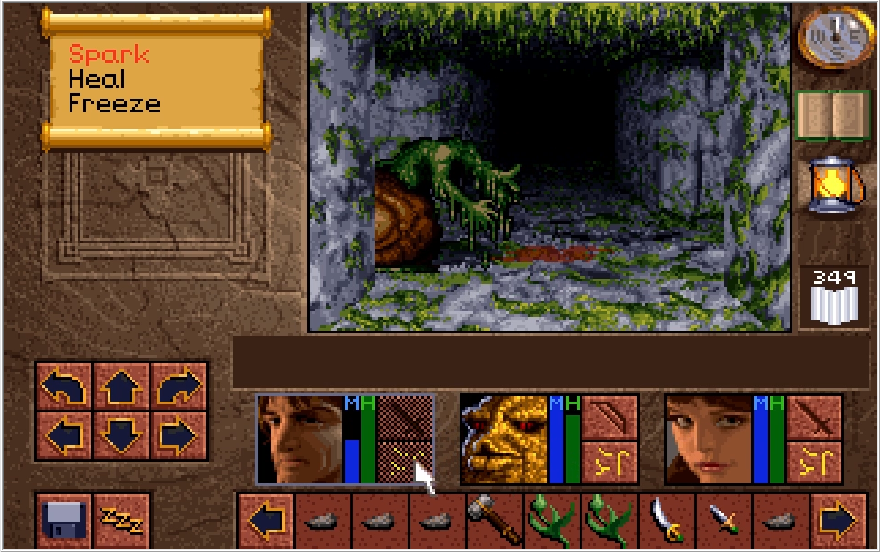
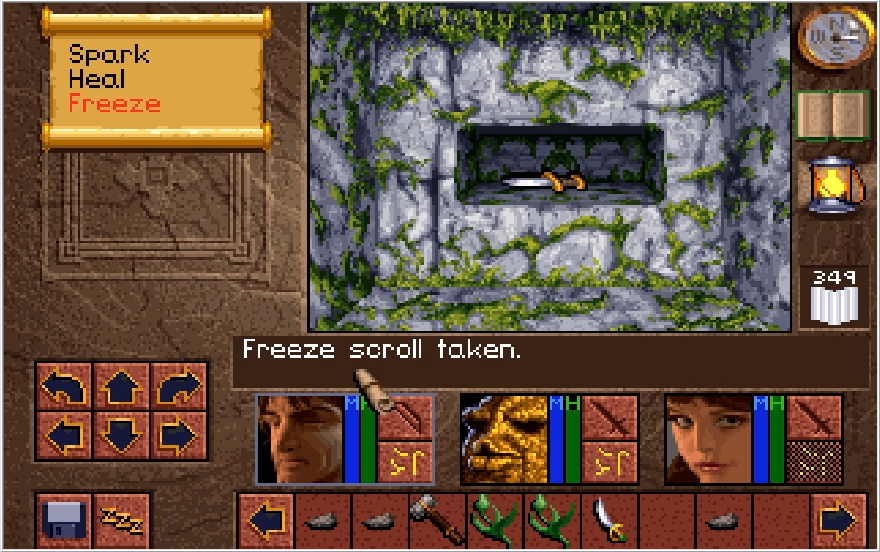
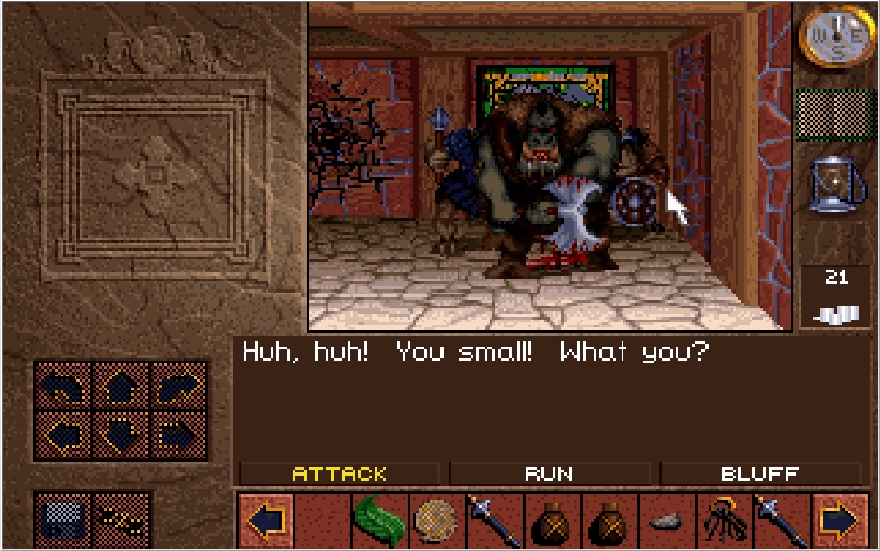
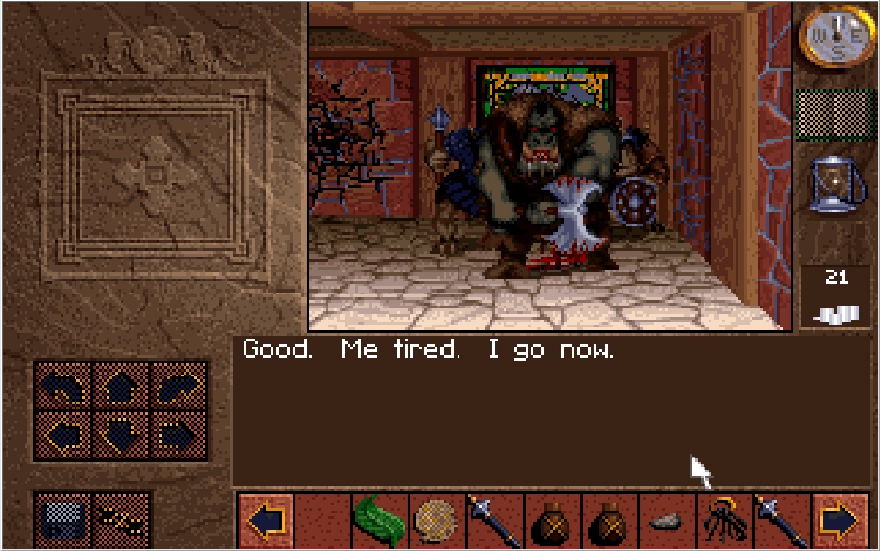
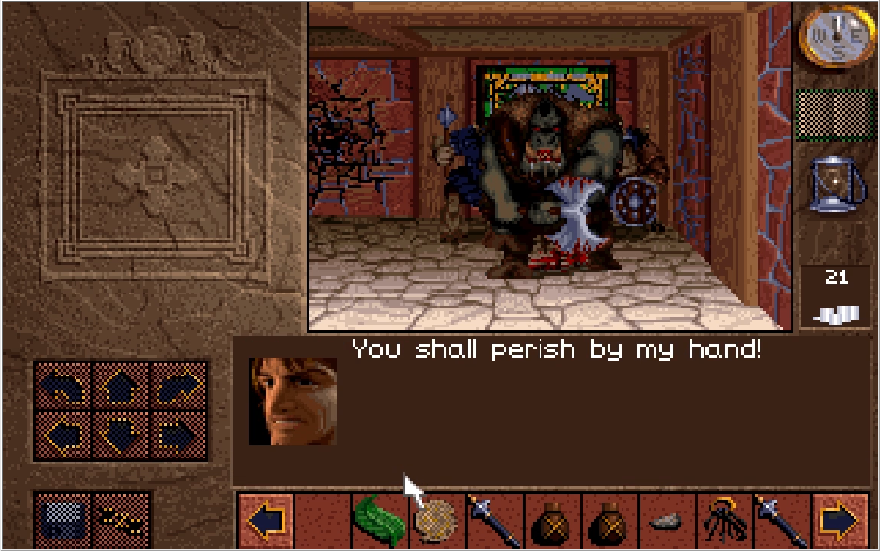
Placing our item and hitting the north switch one last time finally opens the path! Naturally, more cave dwellers await us. What does this guy even eat while trapped in here?
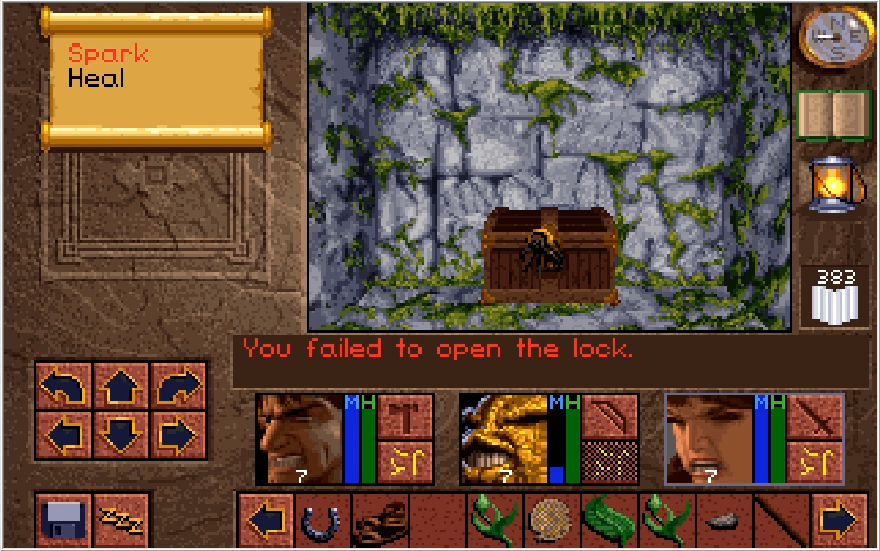
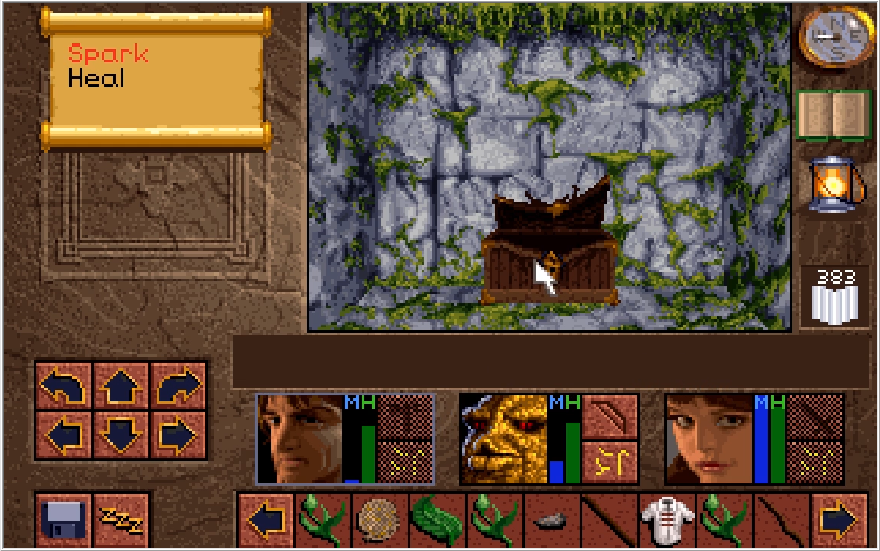
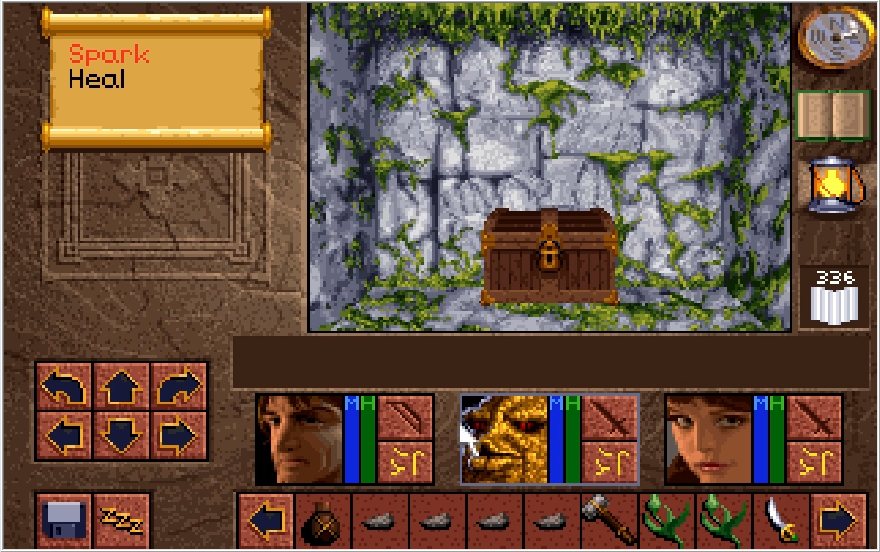
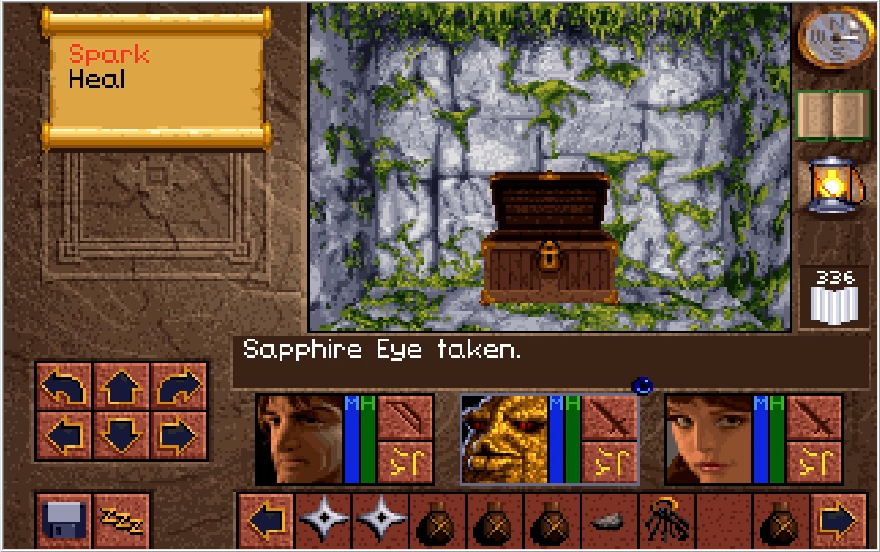
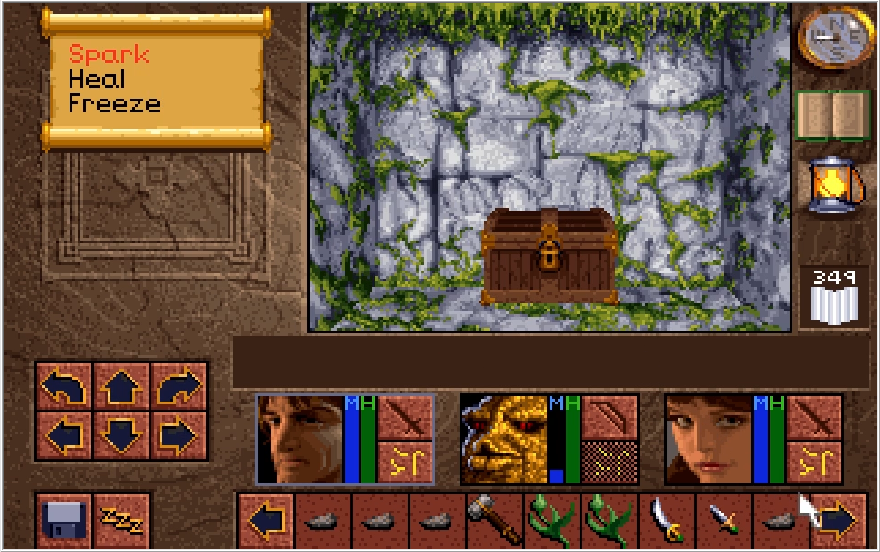
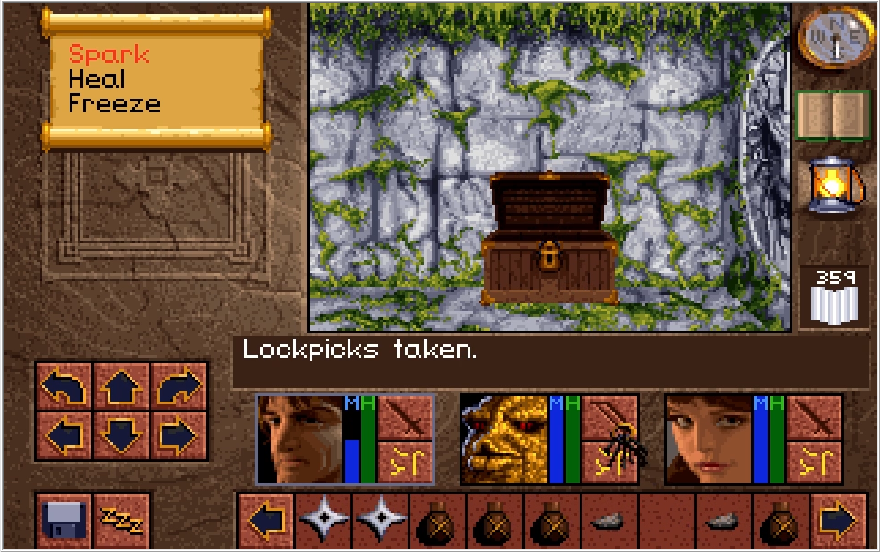
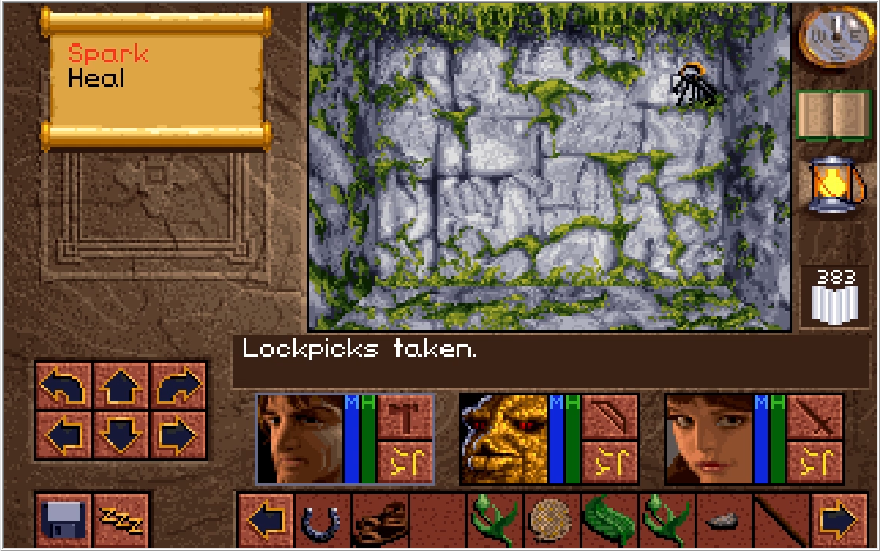
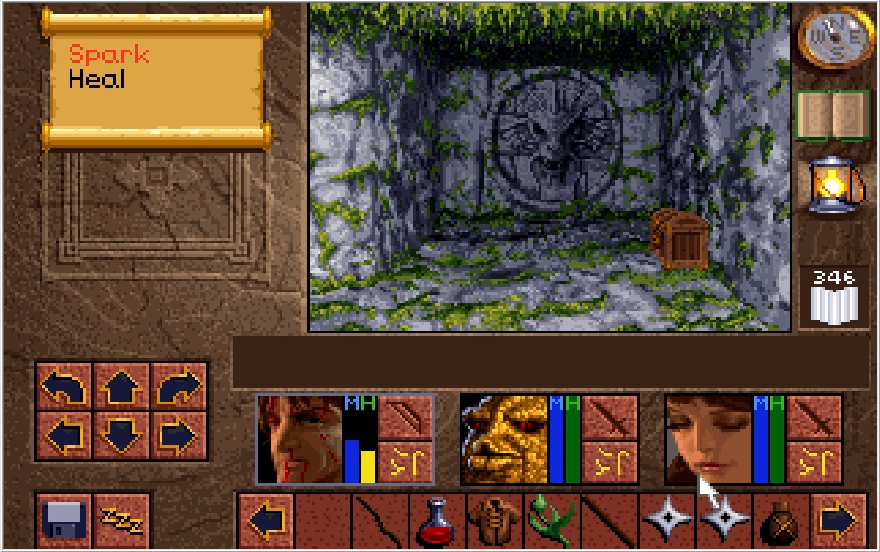
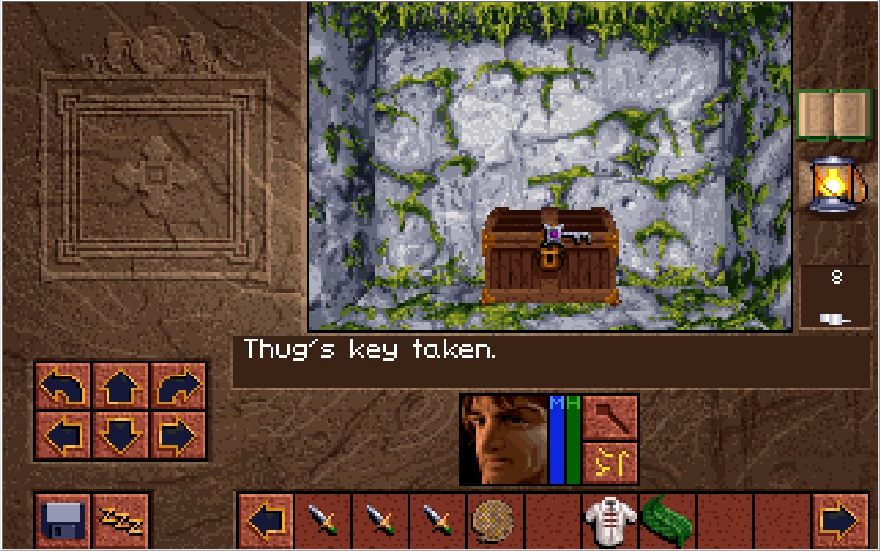
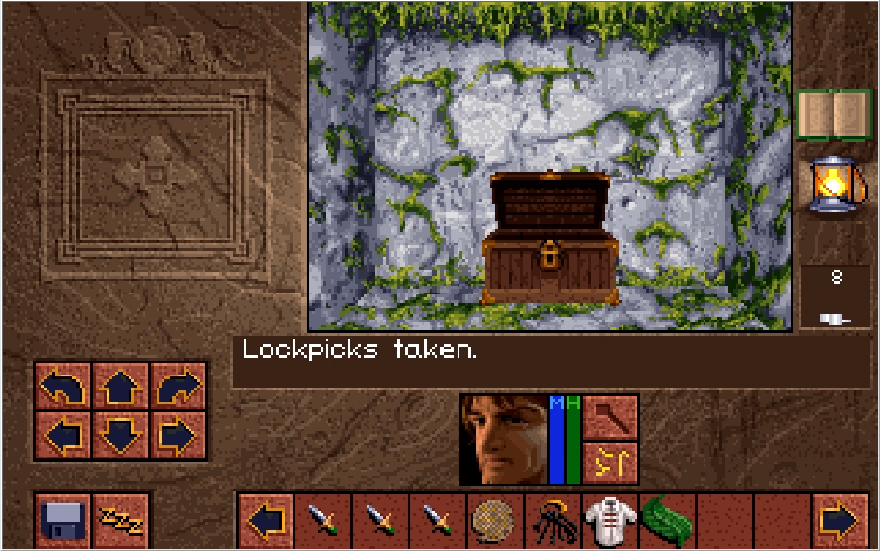
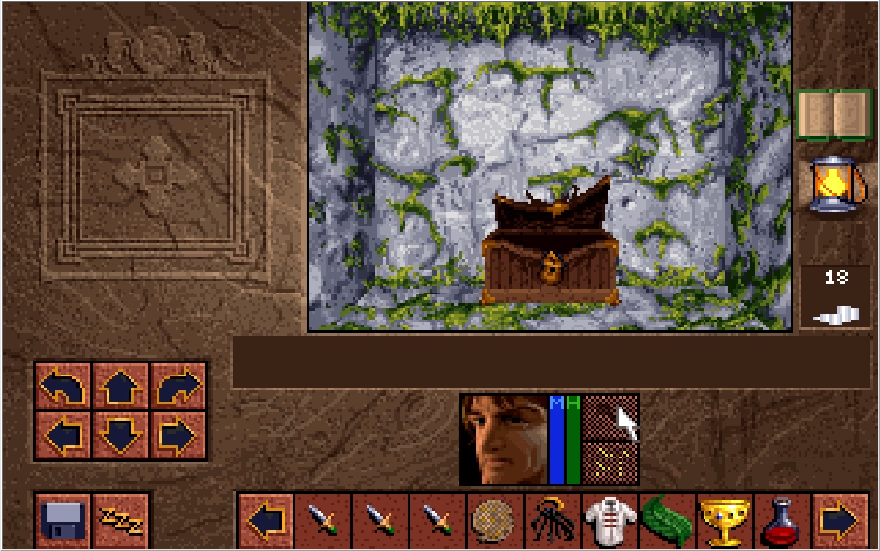
A chest is just past the cave dweller, and for the life of me I could not pick this lock. Spamming lockpicks upwards of 50 times either resulted in nothing or a damage trap activating. I decided to just say "fuck it anyway" and smash the stupid thing.
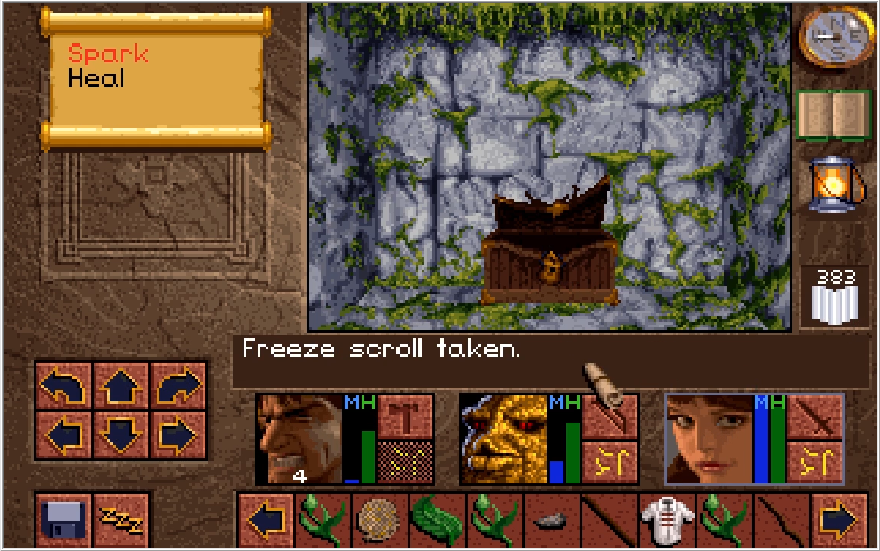
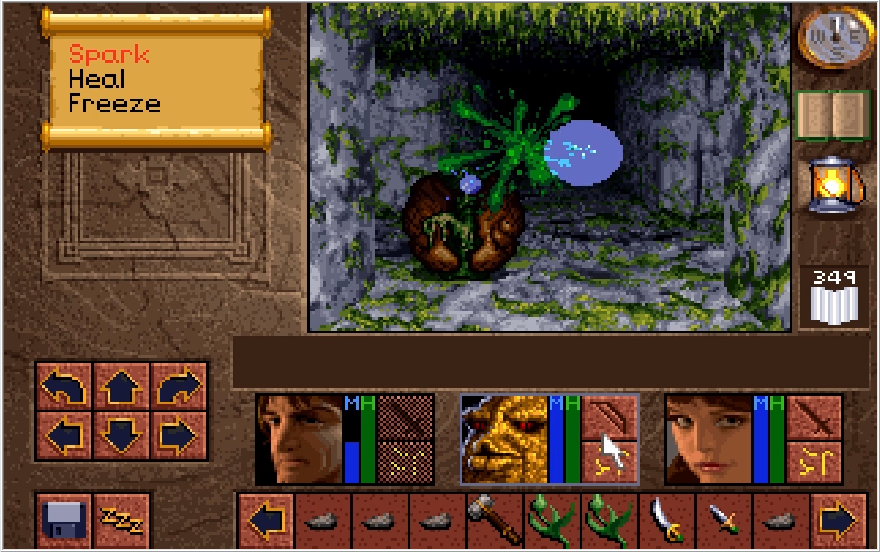
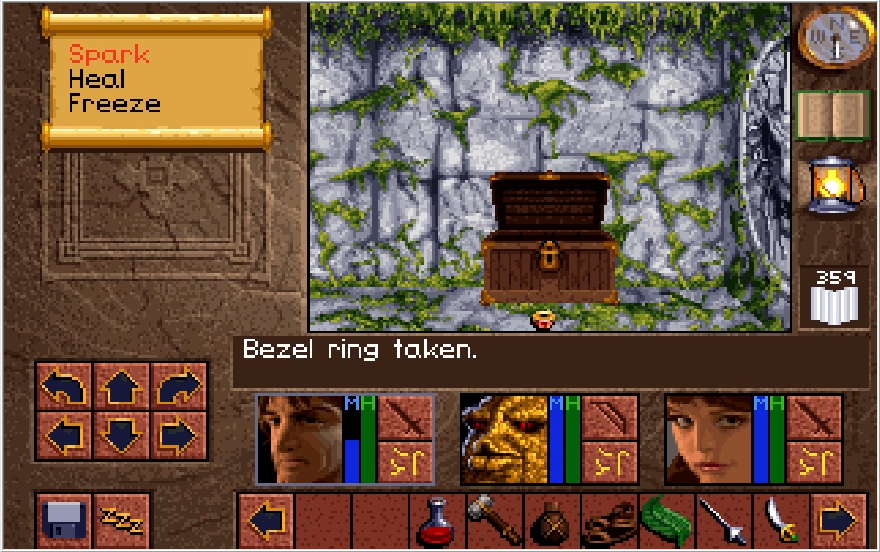
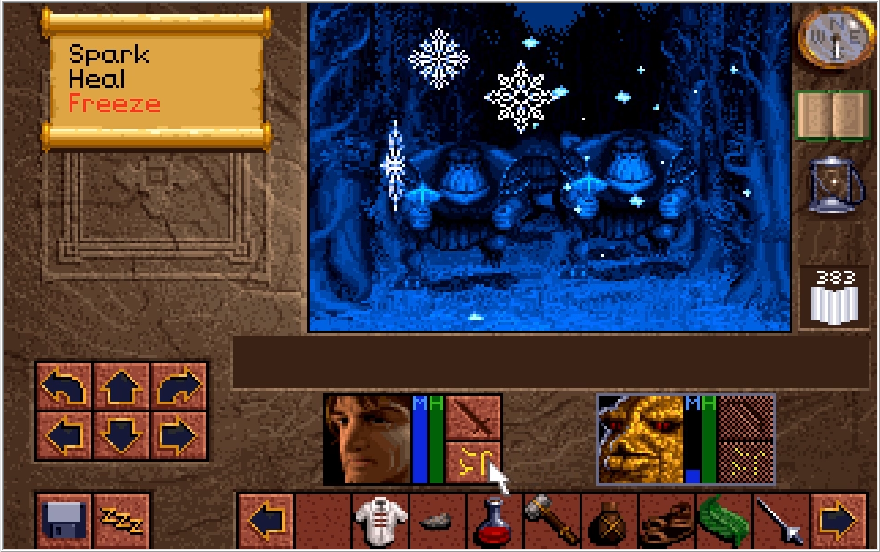
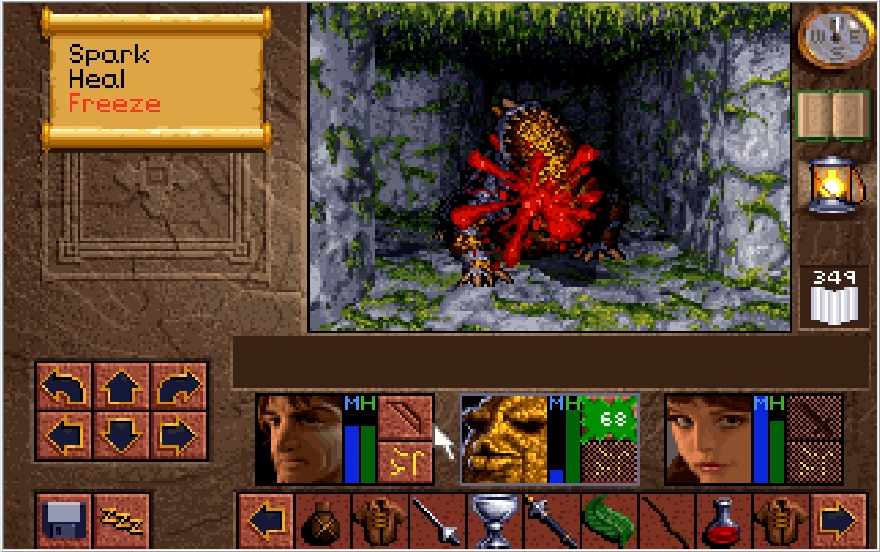
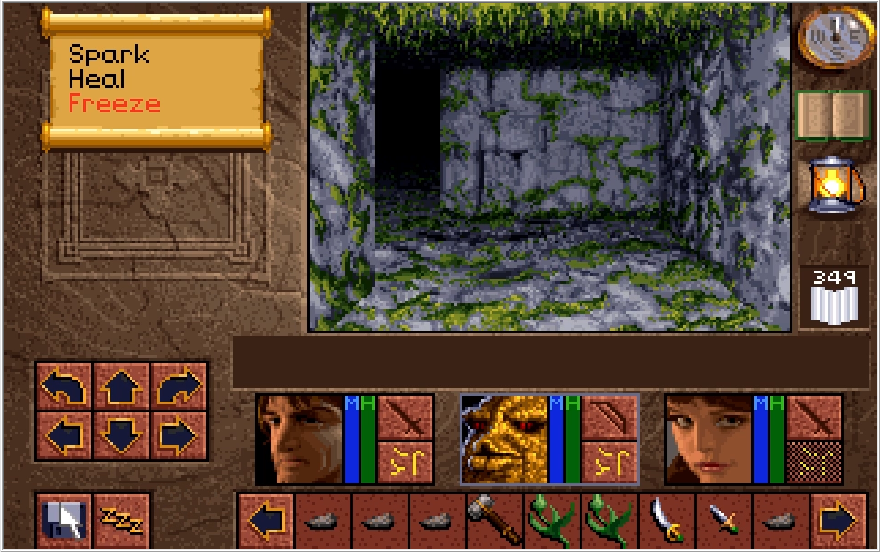
We get our rewards from the chest, though any unimportant items this might have had were destroyed. Firstly, we get a new spell, the Freeze spell! This is our first Multi-targeting damage spell and it works as thus,
Lv.1: 8MP, 10 Base DMG AOE
Lv.2: 15MP, 20 Base DMG AOE
Lv.3: 30MP, 30 Base DMG AOE
Lv.4: 80MP, 55 Base DMG AOE, creates Ice Wall
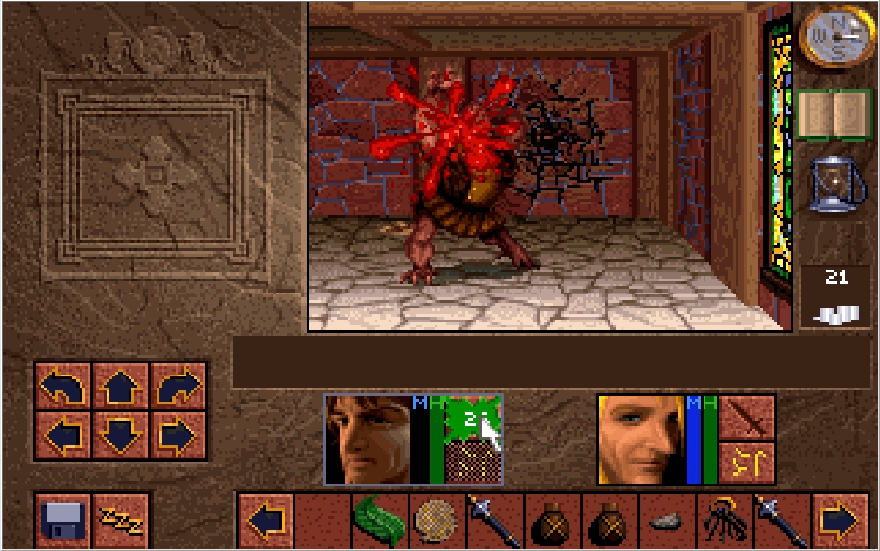
It was pointed out by Den Store Frelser that each character's unique might modifier also affects their spell damage, so I'll be referring to the damage values as Base DMG going forward. This also means that rather ironically, Michael is a much stronger mage than Ak'shel despite having way less MP. That clarified, Freeze is much more complicated as a spell than Spark. Each level of Freeze hits multiple enemies in front of you, up to 4 under ideal circumstances. The scaling on MP spent to damage done is kind of weird, especially in comparison to Spark. Freeze 2 costs as much to cast as Spark 3, despite only dealing slightly less damage. In contrast, Freeze 3 does half the damage Spark 4 does for a slightly higher MP cost. And then Freeze 4 still does less damage than Spark 4 for over triple the MP cost. It'll be awhile before anyone except Ak'shel can even cast it! The Ice Wall aspect is also kind of weird, Freeze 4 creates a wall in front of you that blocks enemies and projectiles. Enemies can smash the wall, while the wall can weather a seemingly infinite amount of projectiles. If Freeze 4 happens to kill the enemies it hits, it'll trap them in the ice wall. At that point, you can either rest to let the wall melt, or just smash it yourself.
All that being said, Freeze is a spell you'll be using pretty often. It's fairly cheap AOE at lower levels, and there are many enemies in the game that are weak to it thus increasing its relatively unremarkable base damage. Because of the poor scaling, it's generally smart to just stick to Freeze 2 and maybe 3 if you need something dead quick. Freeze 4 is pretty impractical, though there is one situation where the Ice wall can be put to use. Sadly this is not the end of problems relating to scaling when it comes to magic.
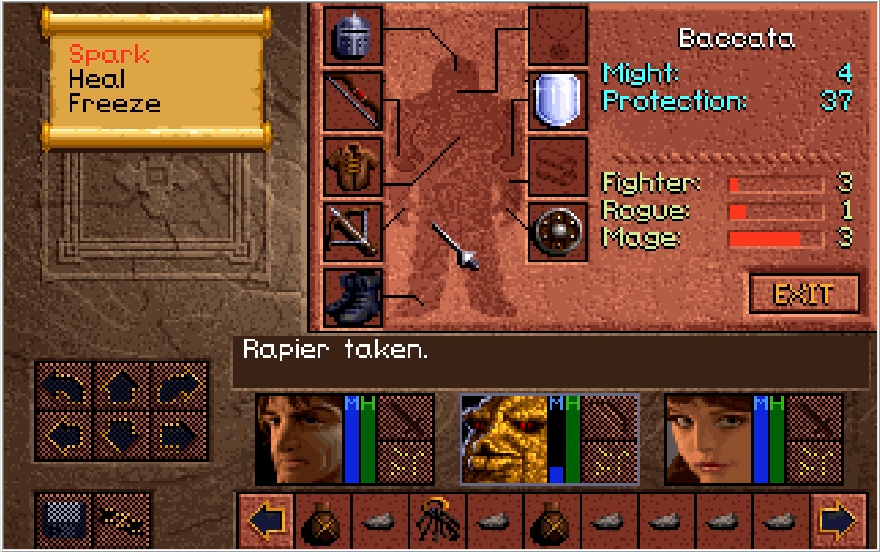
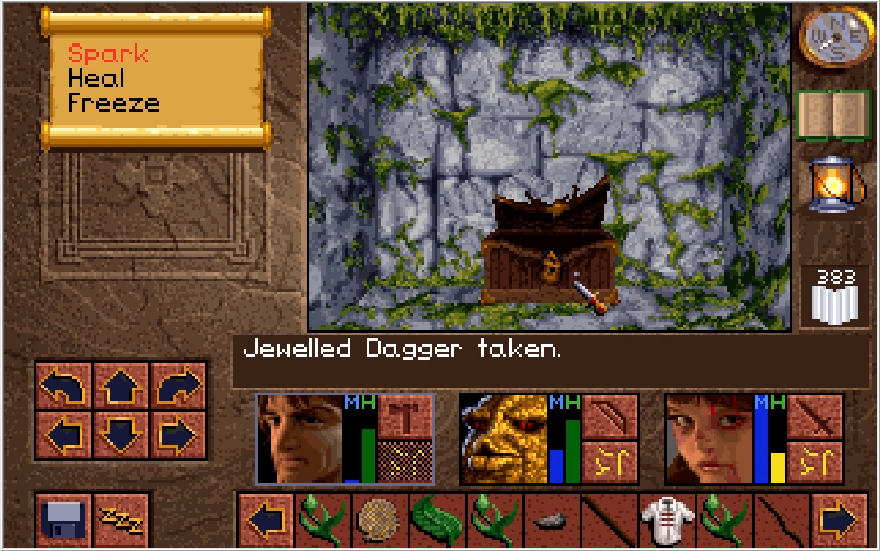
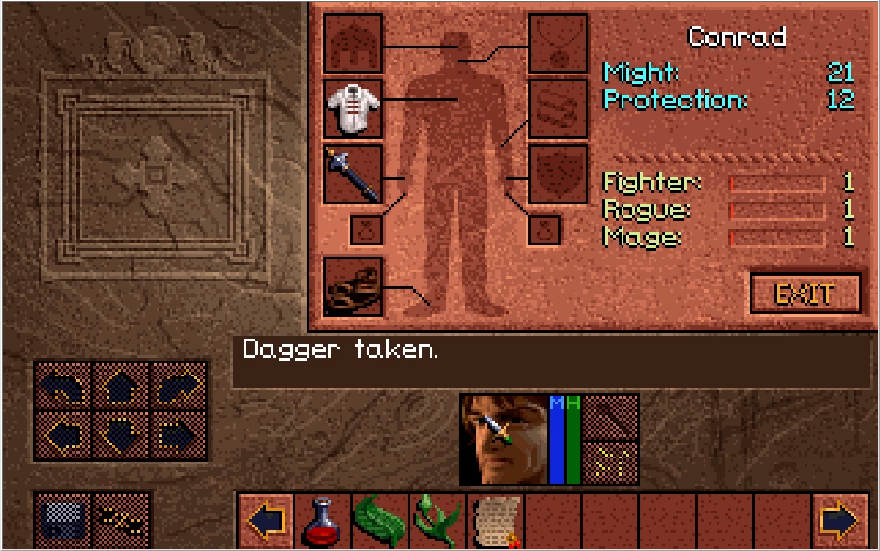
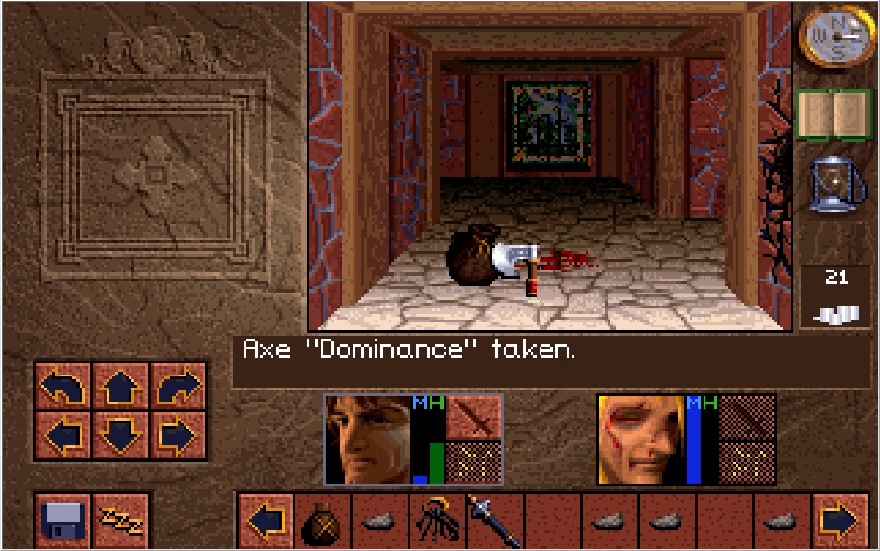
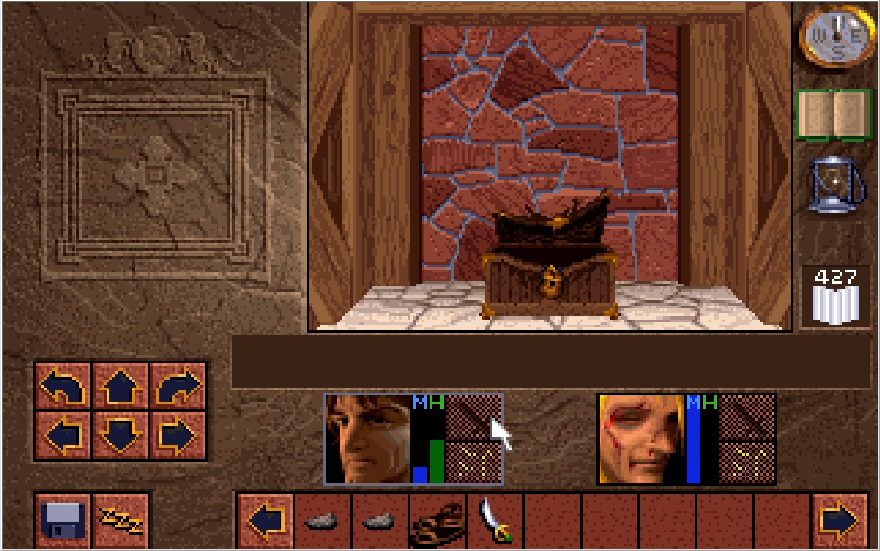
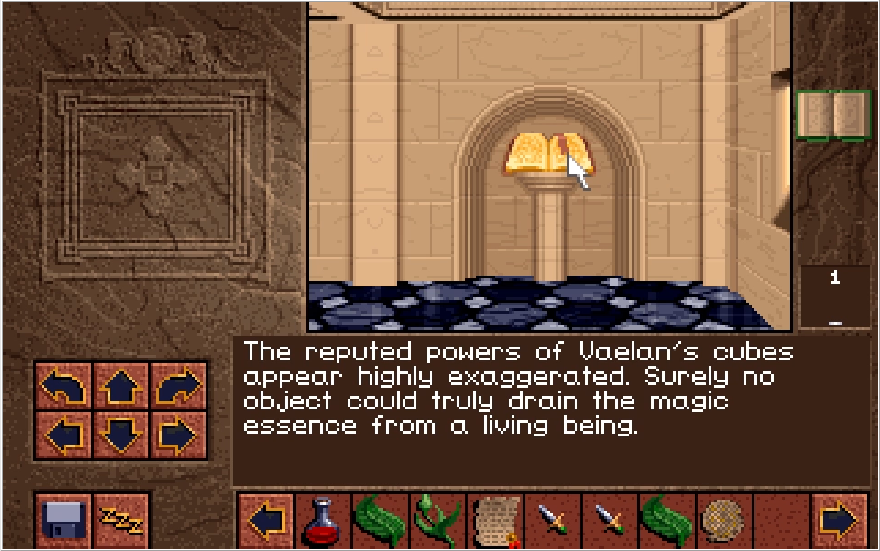
Moving on from that, the Jewelled Dagger! This is an incredibly powerful weapon at this stage of the game, and the unique treasure for the Emerald Eye path. Each path has a unique and potent treasure for you to grab, though unfortunately we do not get to keep said treasure after we finish the dungeon (Very understandable given what the other treasure does). Despite the impressive Might it gives you, the Jewelled Dagger is easily the worse treasure of the two.
Still fun to whomp things with it though!
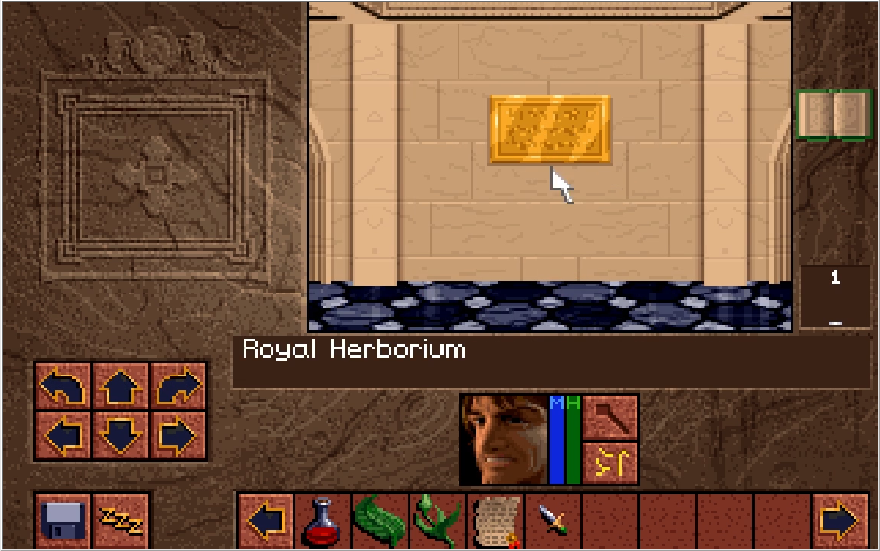
With that being done, we can cut back to the primary recording and check out the Sapphire Eye path. There is one minor unique aspect of the Emerald Eye path, and that is that there is an alcove that holds the items you used to get the Jewelled Dagger. You can find it on Level 3, just before you get access to Level 4.

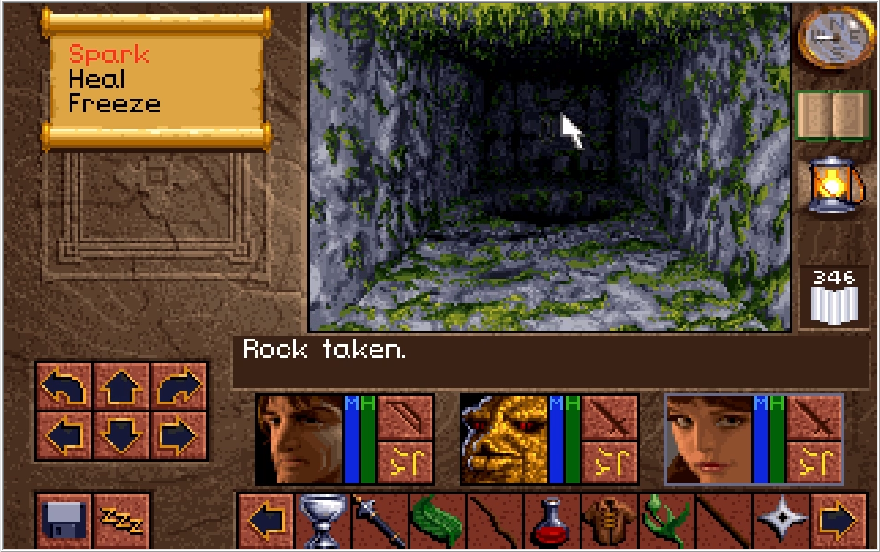
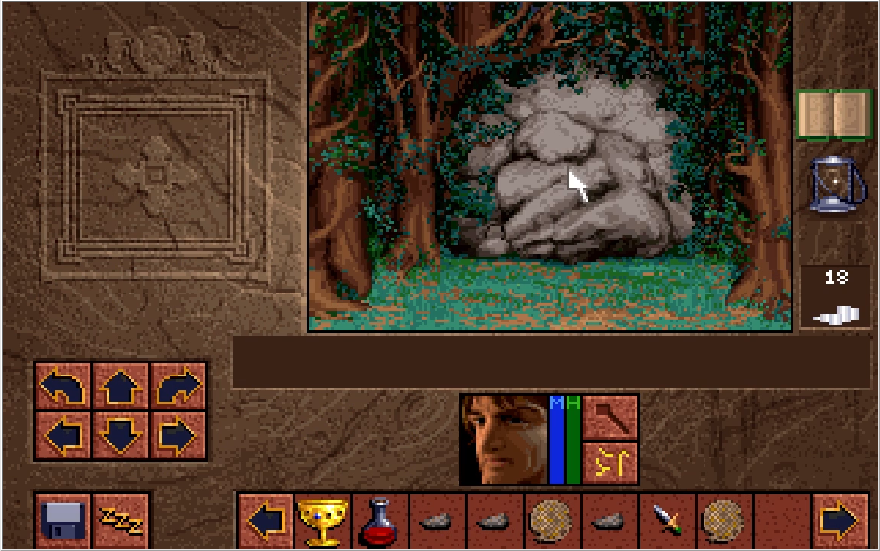
Placing the Sapphire Eye in the north dragon, Baccata is even more impressed/horny this time. We find a rock, thus justifying taking this path almost immediately. I drop the Emerald Eye here as well, since it's useless now and it can't be sold.
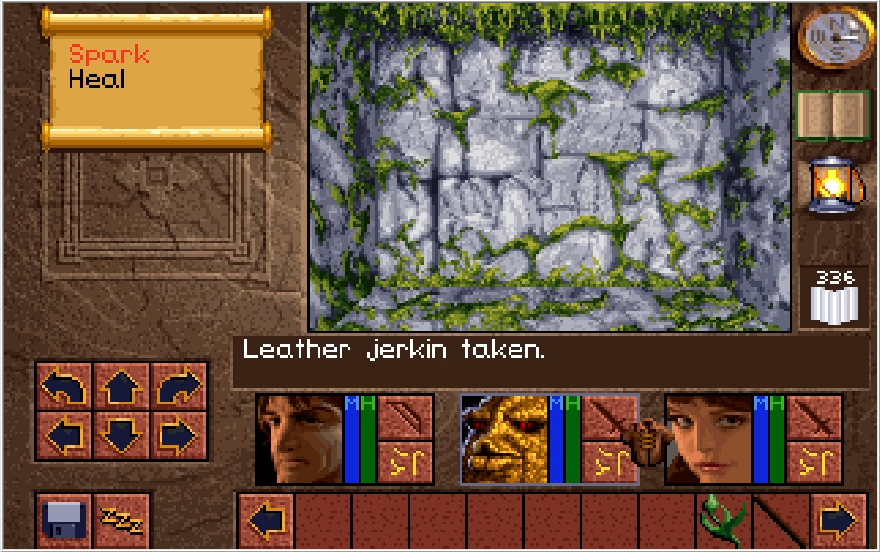
The path we follow upon opening the path splits west and east. Checking out the west first gets us a spare Jerkin, tucked away in a little corner.
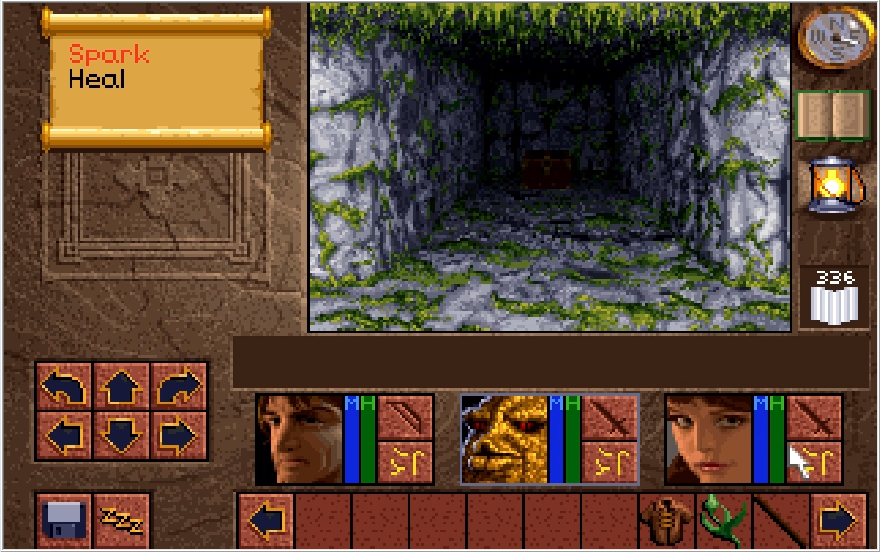
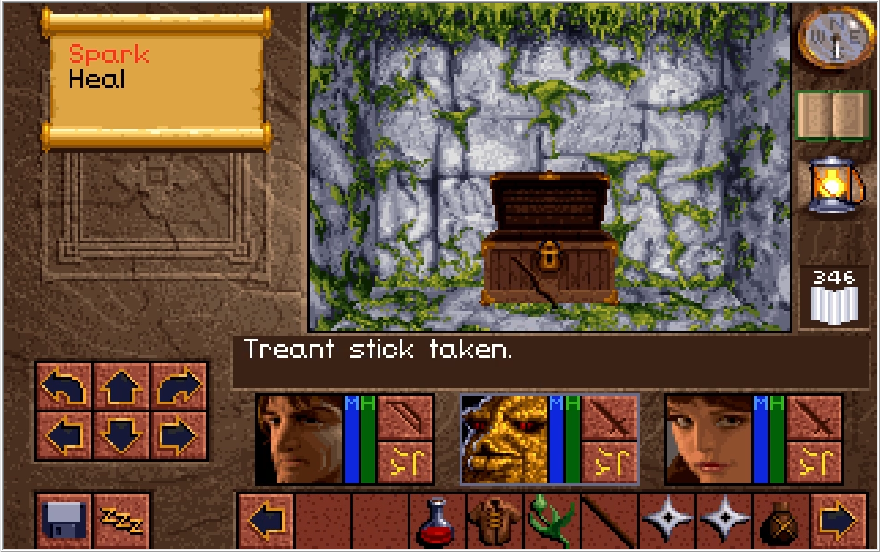
Heading east leads us to a Woah! tile. South of the tile is a chest containing some crowns, a salve, and a treant stick. Slightly stronger than a normal stick, but still garbage.
This is as good a time as any to drop a hot tip that I wish I knew before this recording, and indeed any of the playthroughs I've done up to this point. Your inventory is going to be getting quite crowded by now and you'll be scrolling through it often. If you Right Click on the arrows instead of Left Clicking on them, the inventory will scroll an entire page instead of just one space. I only just recently learned this from a random youtube comment on a video that was otherwise about unrelated dummied out content.
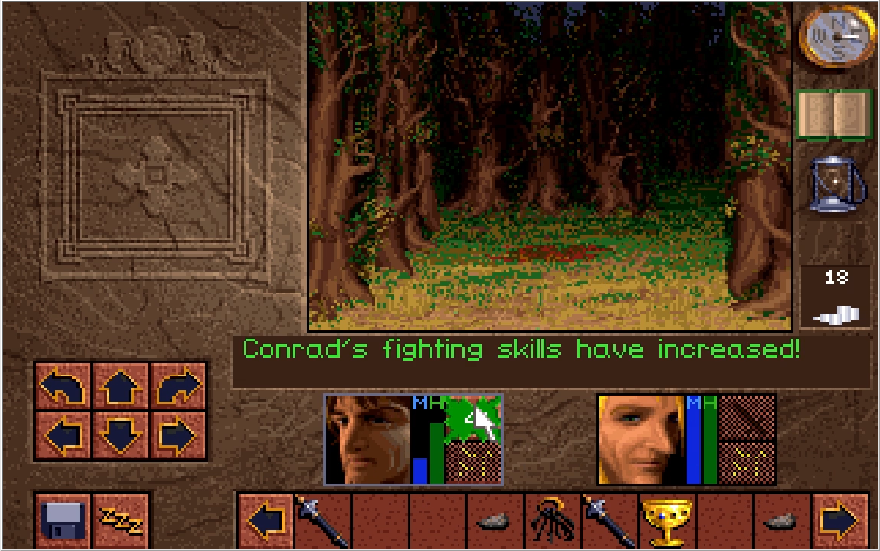
While collecting the treasure, a number of enemies closed in on me and absolutely bodied Lora. I retreat out of the path so I can rest by the door switch. In all the fighting, Conrad gets to Mage level 3 and finally can cast Spark 4 twice on this file as well!
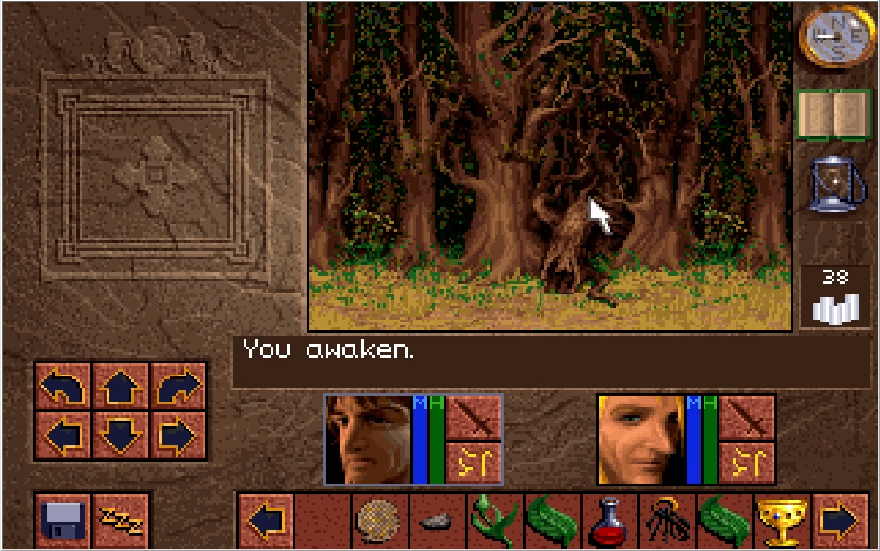
Returning to the Woah! tile and heading north this time, we hit a dead end. Except not really! That's actually a secret wall that just has an enemy occupying the spot behind it.
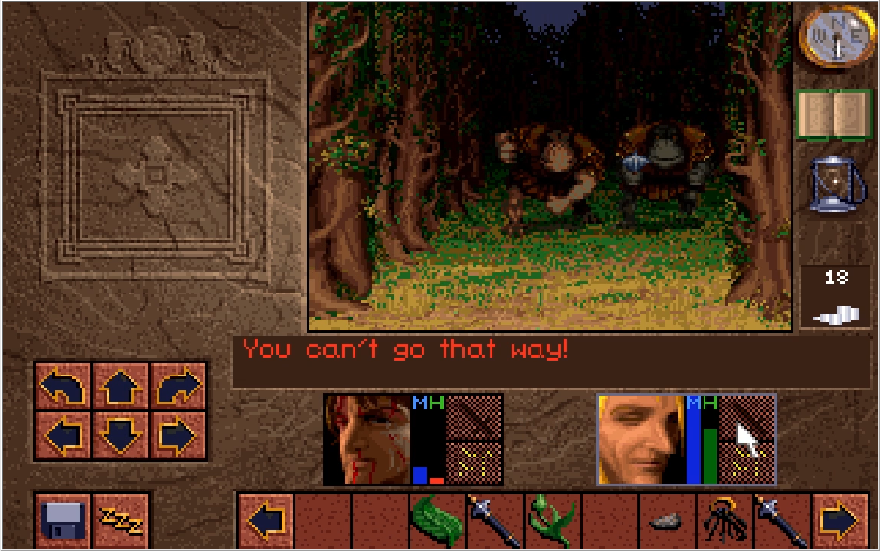
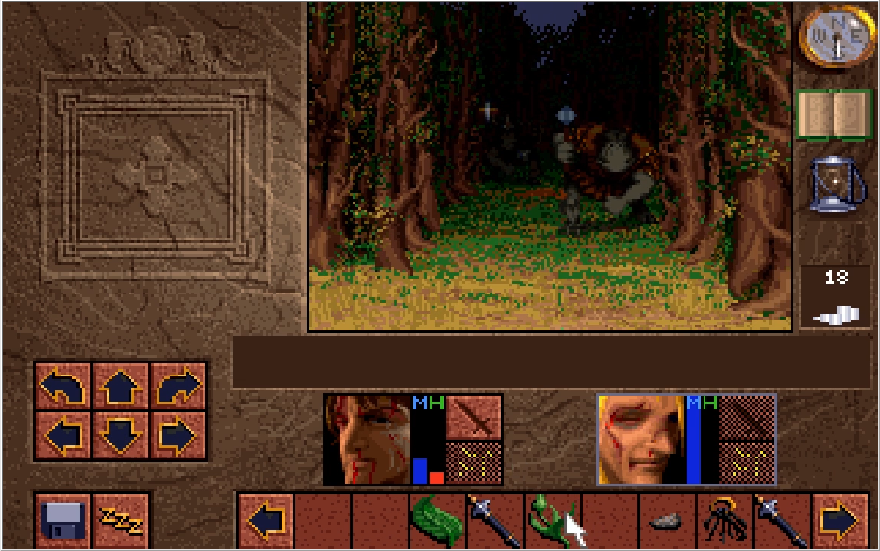
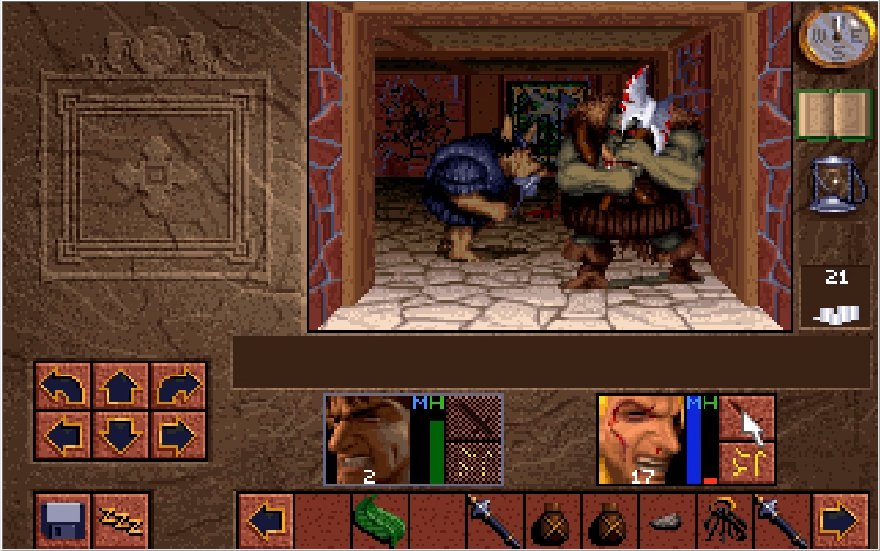
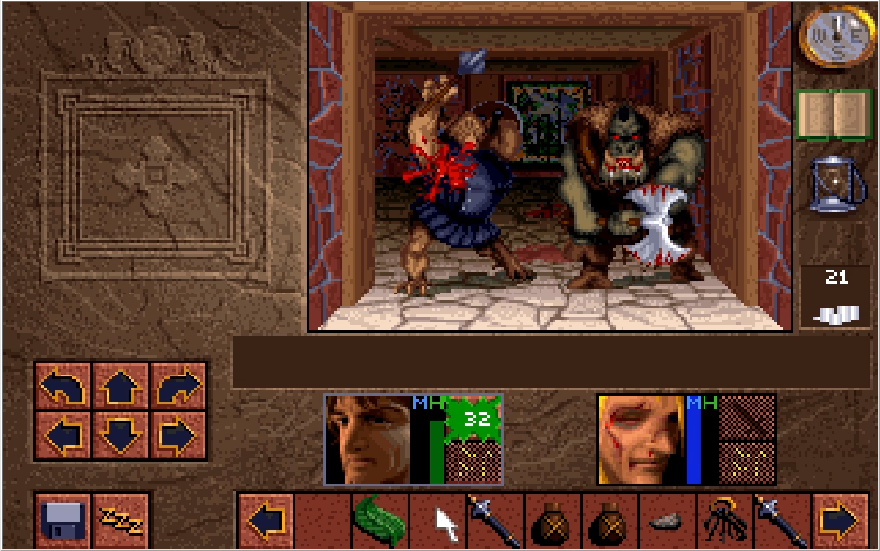
Heading through and going southeast puts us face to face with more cave dwellers. A ridiculous number of these guys can spawn on this path if you're unlucky, but thankfully this go around their numbers have stayed fairly manageable.
There's a couple paths to check at this point.

Southwest contains the stairs to Level 3. We don't want to take these yet since the Sapphire path treasure awaits us on the southeast path.

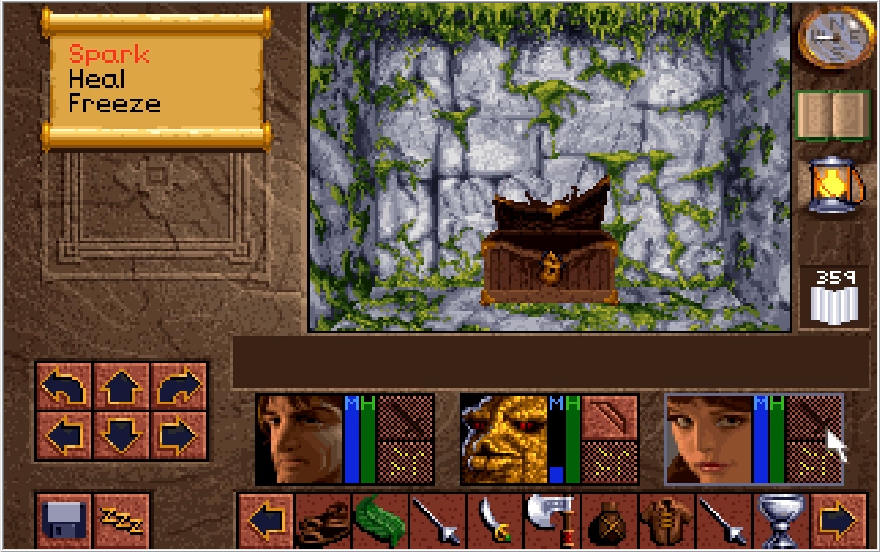
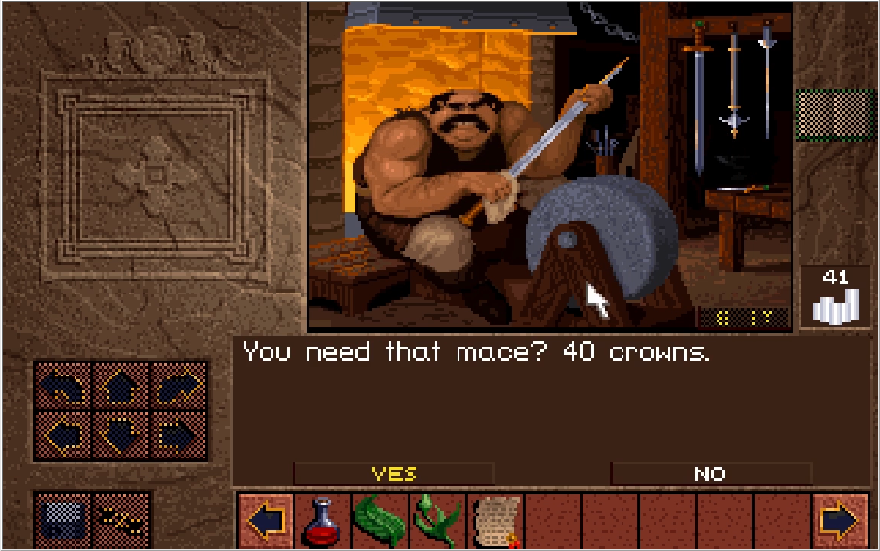
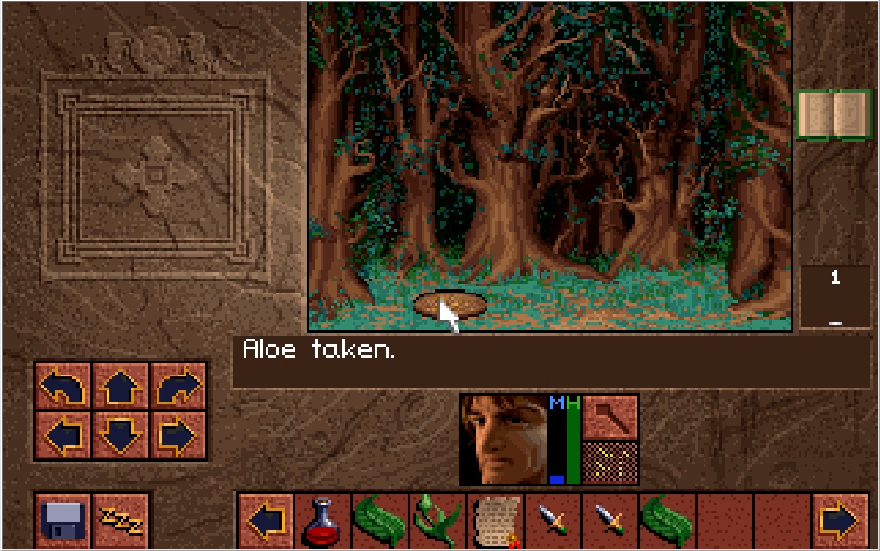
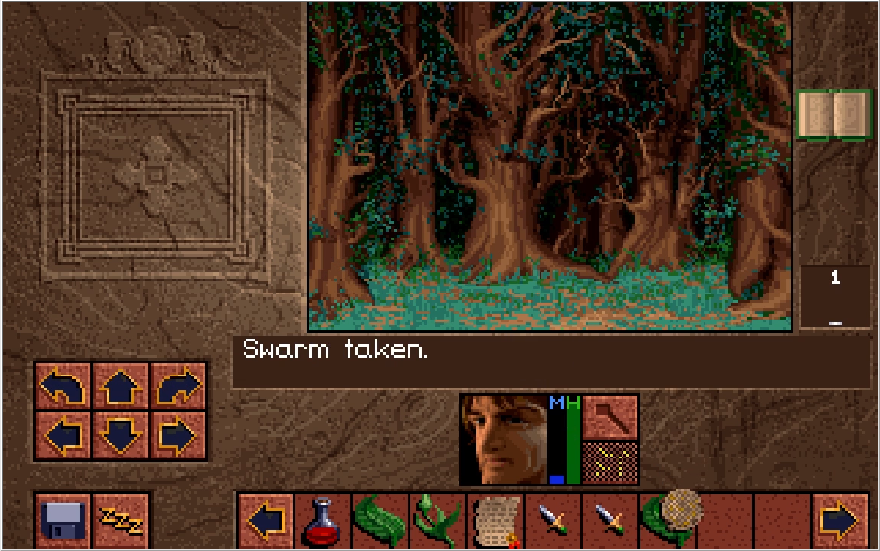
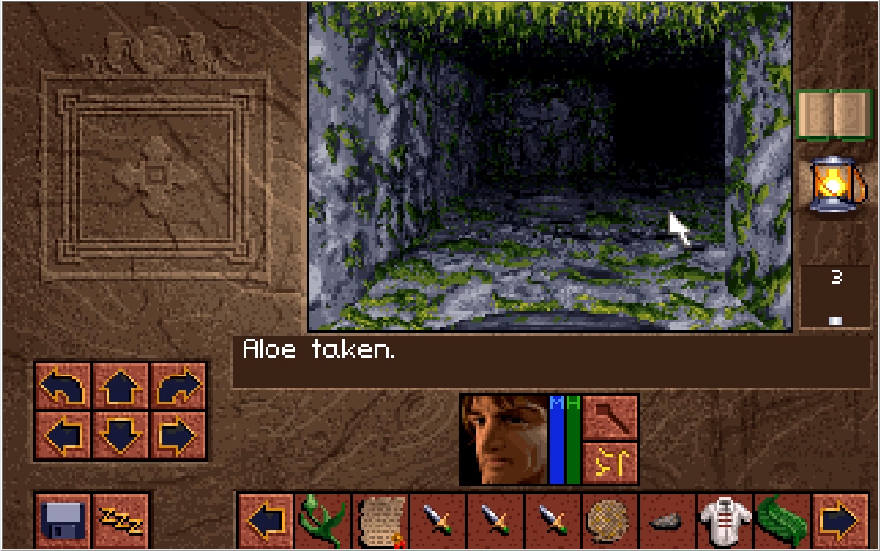
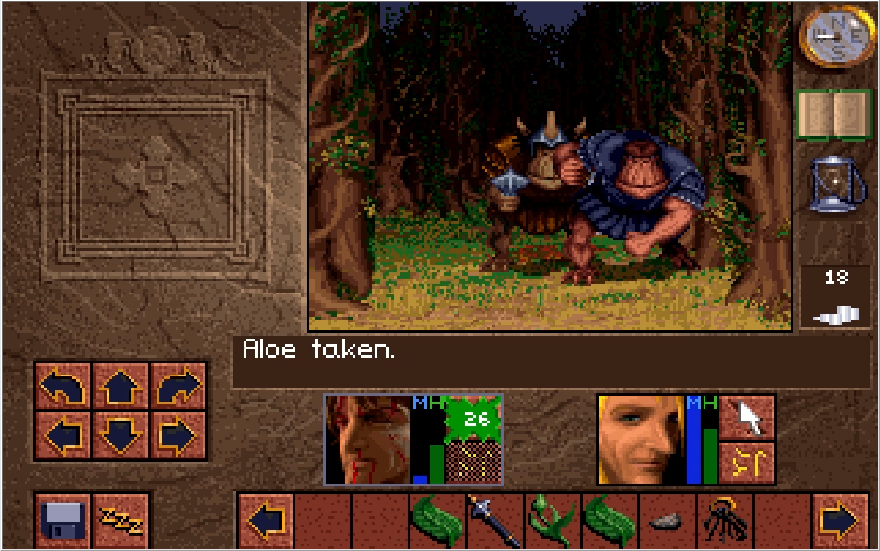
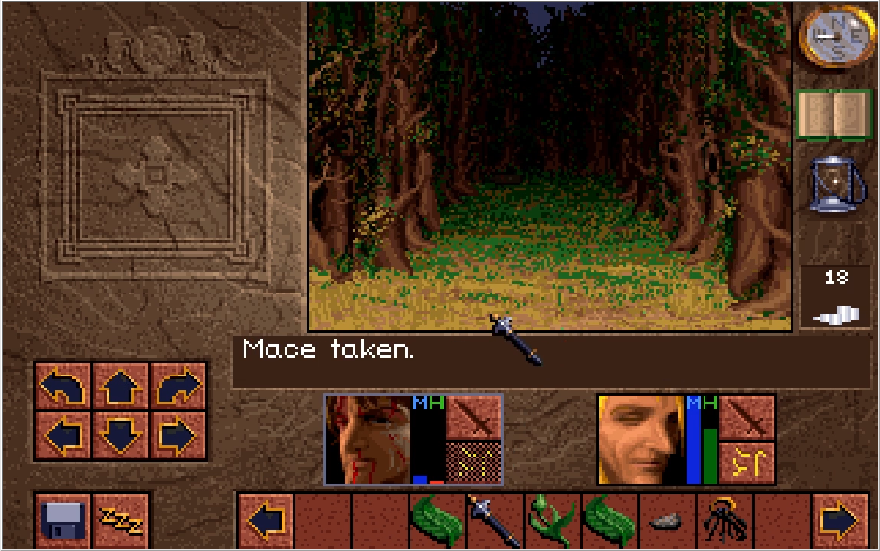
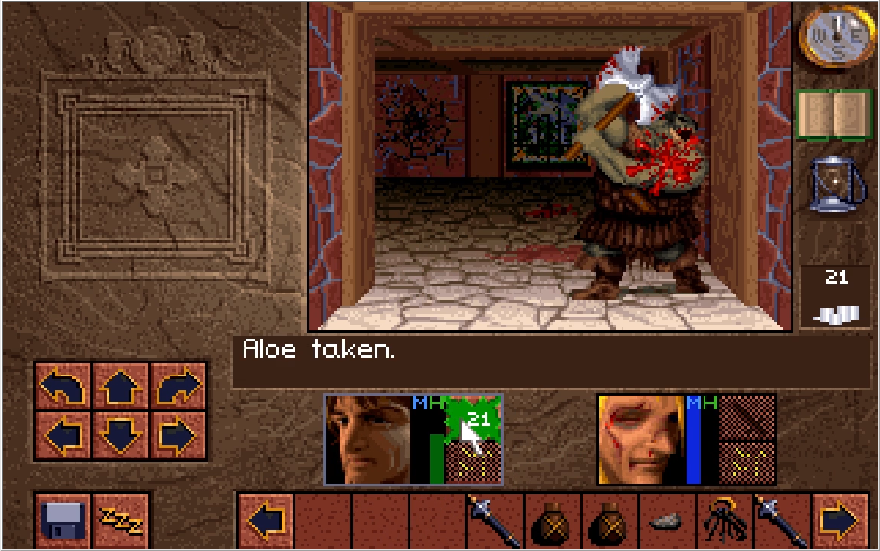
Making our way there, a chest awaits us in front of a conspicuous dragon. Inside the chest is some aloe, a Mace the apparently makes us more effective at managing unruly bar patrons (slightly better Might and 1 point of protection compared to a normal Mace), a scroll for the freeze spell, and...
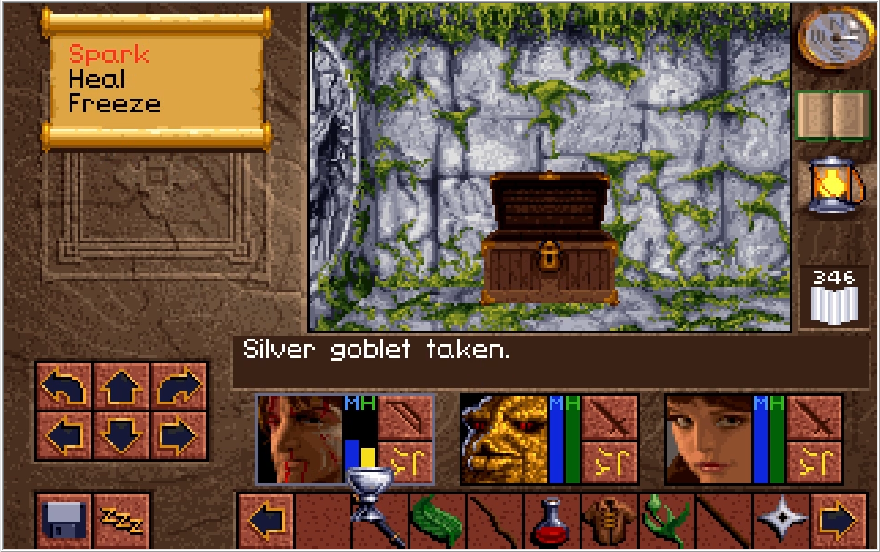
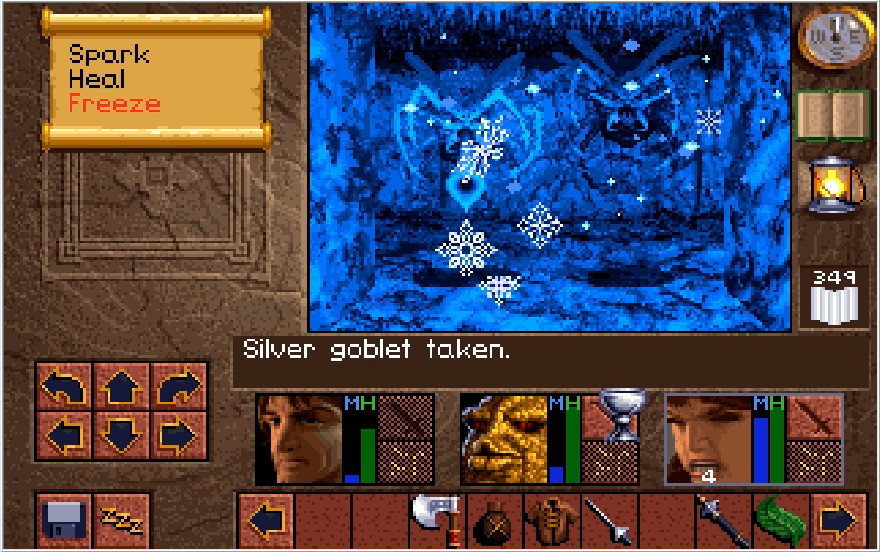
The silver goblet! This is the unique treasure of the sapphire path. What does it do?
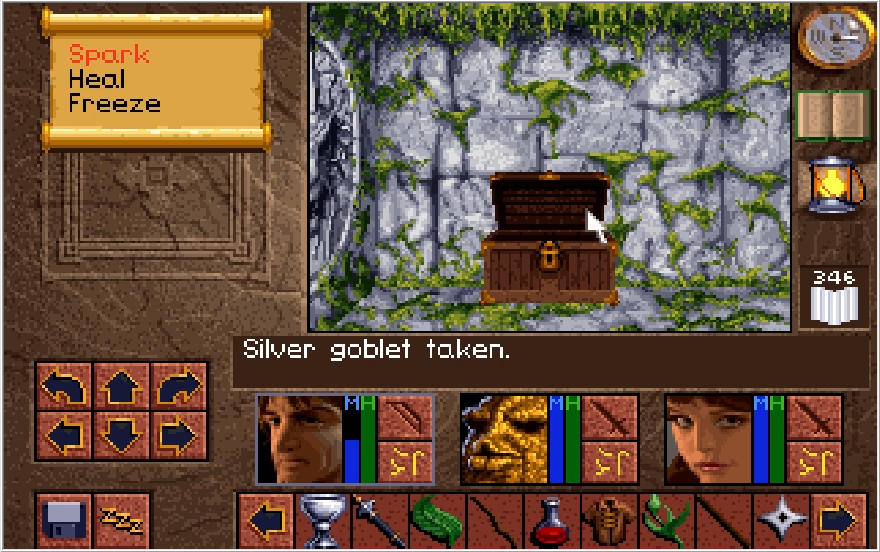
When used on a character, it casts Heal 3 on them. This is effectively an infinite use Bezel cup and makes us completely immortal for the remainder of the dungeon so long as we keep it at the ready. I shouldn't have to explain why this is the better treasure to go for, and if you're playing as Kieran you'll absolutely want this over the Jewelled Dagger.
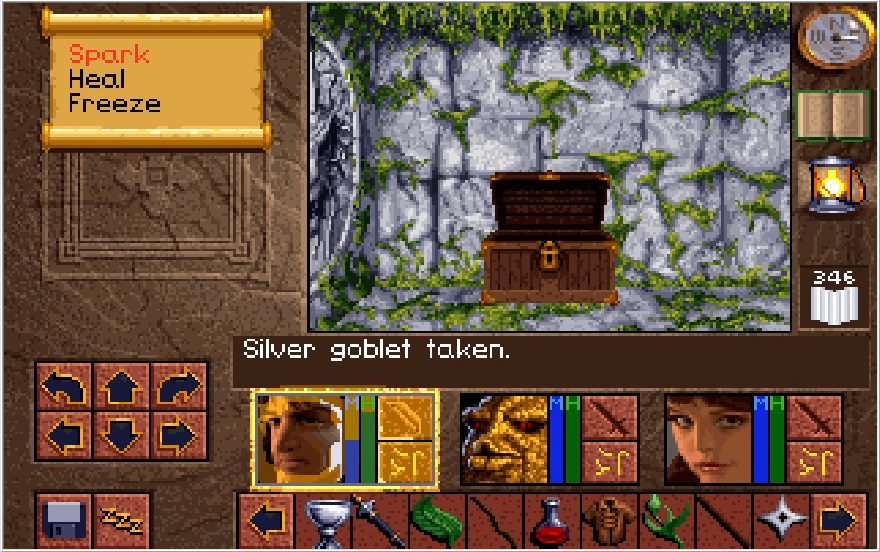
One weird thing to note about the Silver Goblet is that it's actually the last item you get out of the chest. Usually when chests contain key items, the key item is the first thing you get out of it. That not being the case for the Silver Goblet has an unfortunate consequence that we'll talk about later.

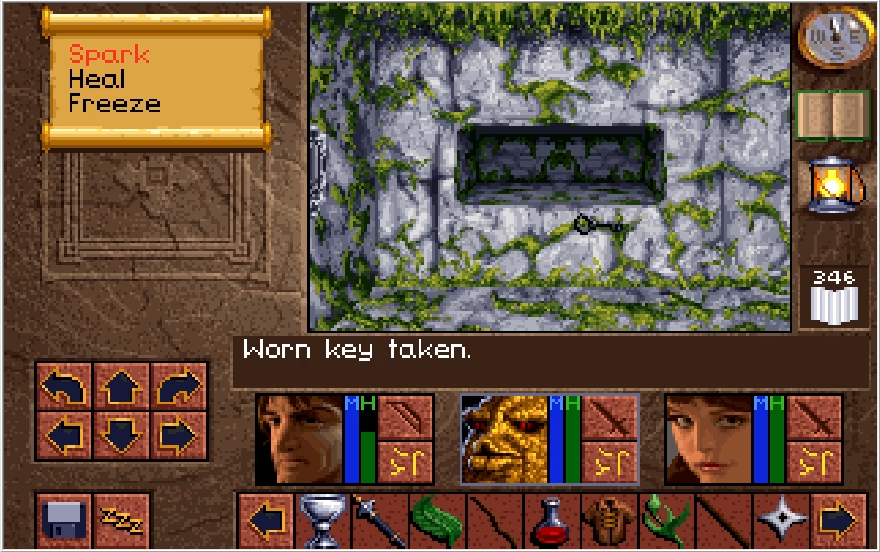
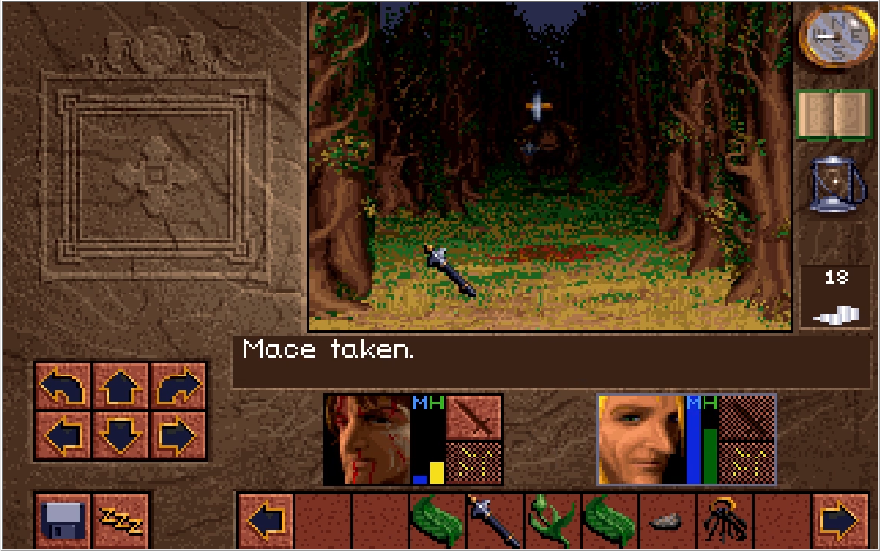
Heading in the opposite direction of the chest, we'll find a lever that activates the fire ball trap by the chest and another switch we need to toss a rock at. Doing so let's us snag the worn key, which we'll need on the Sapphire path's version of Level 3.
Fascinating.

With all that done, we can make our way to Level 3 and almost immediately find ourselves face to face with the lock we need the worn key for. Before we check out the path it opens, let's just explore a little bit more.

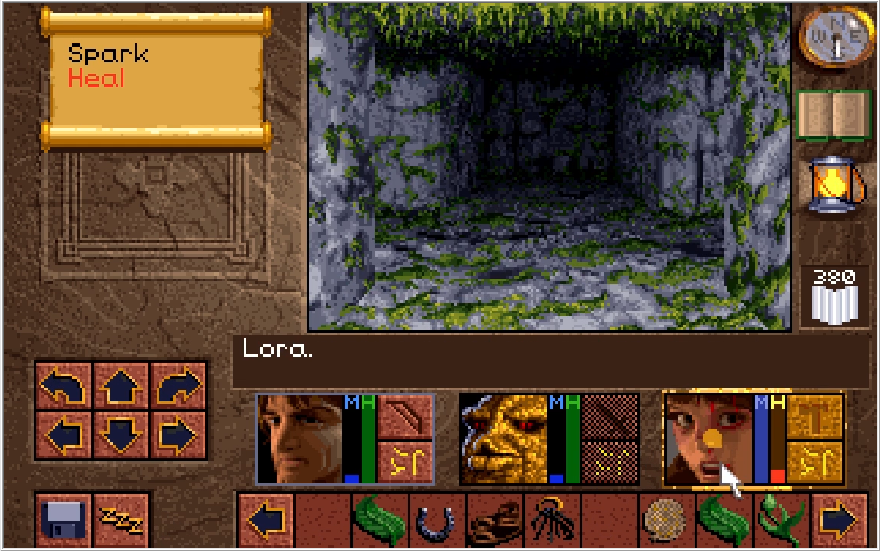
This is an example of a random call out your party can do on occasion, with Lora signaling there's a button for us to press.
There's an extra copy of the Freeze scroll in the alcove this opens, which is bizarre because you can't get the Silver Goblet without grabbing the freeze scroll. I appreciate the thought I guess?

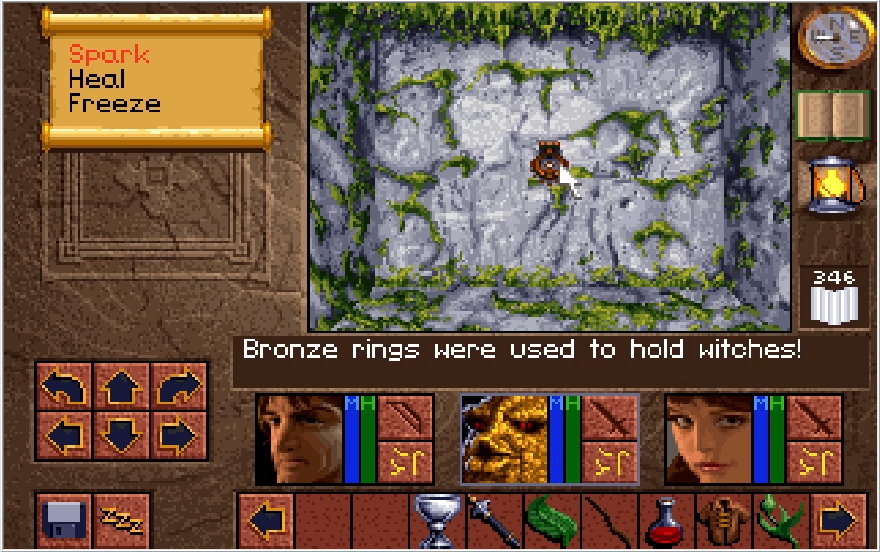
But can it hold witches?
Alright enough screwing around, let's return to the worn lock.
Heading on through results in the wall closed and trapping us in! I would like to say that if you haven't gotten the Silver Goblet at this point, I'm pretty sure the game becomes unwinnable. The Silver Goblet and the Jewelled Dagger are necessary to collect in order to finish the dungeon, and there's no way to reopen this wall and return to Level 2 on the Sapphire path. On my first practice playthrough, I didn't fully search the chest that had the Goblet and just moved onto level 3 with the worn key. For the life of me, I couldn't find a way back to Level 2 after realizing my mistake, and thus I couldn't make any progress. This isn't a problem on the Emerald Eye path since there is a way to return to Level 2 if you fail to grab the Jewelled Dagger initially.
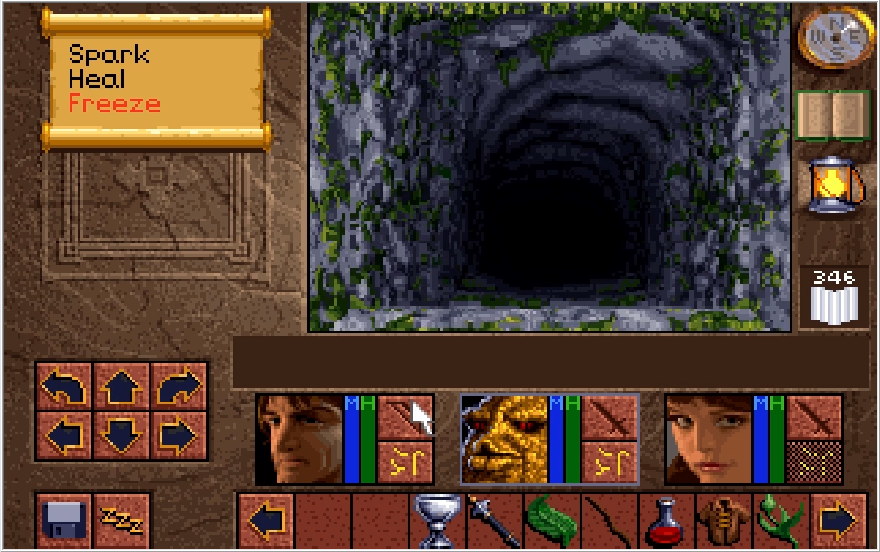
Anyway, the pit in front of us is an illusion, and again sometimes Baccata will point this out. He didn't this time, but it's not like there's much else we can do but sally forward at this point.

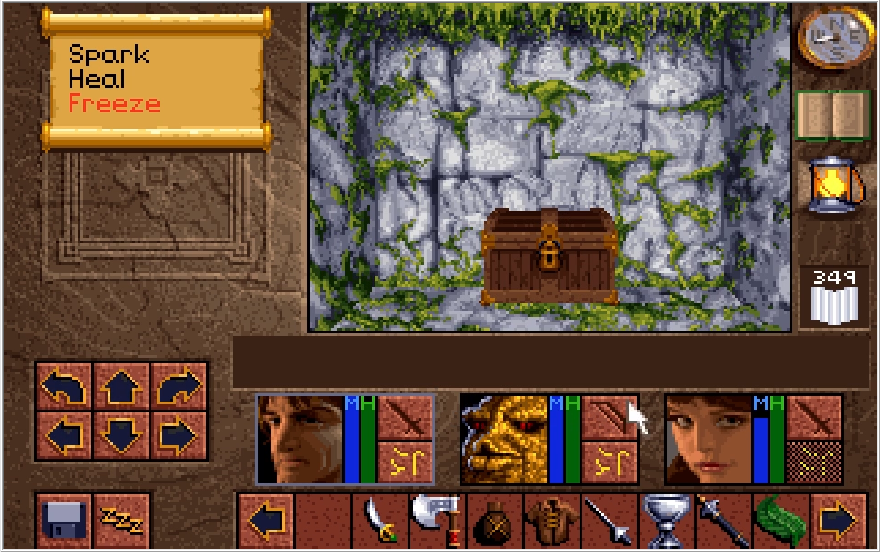
As it so happens, this illusion pit is a slightly moved counterpart to the one we saw previously on the Emerald Path! The flask is here for us to grab again and, conveniently, immediately south of it is the chest I failed to open earlier. It contains some Oil, a slightly stronger Rapier dubbed "Ripper", and a Scale Mail. This is a very potent defense upgrade for Conrad, so it's much appreciated.
This is about the point where the Emerald and Sapphire paths converge, hitting that switch opens up a path that'll lead to that button and chest I said to ignore earlier. We also have the flying cave spiders closing in. Baccata has a bit of a delayed reaction, we've already passed the wall he's talking about. Clearly Lora's superior rogue skills allow her to be more quick on the uptake than our quad-armed companion.
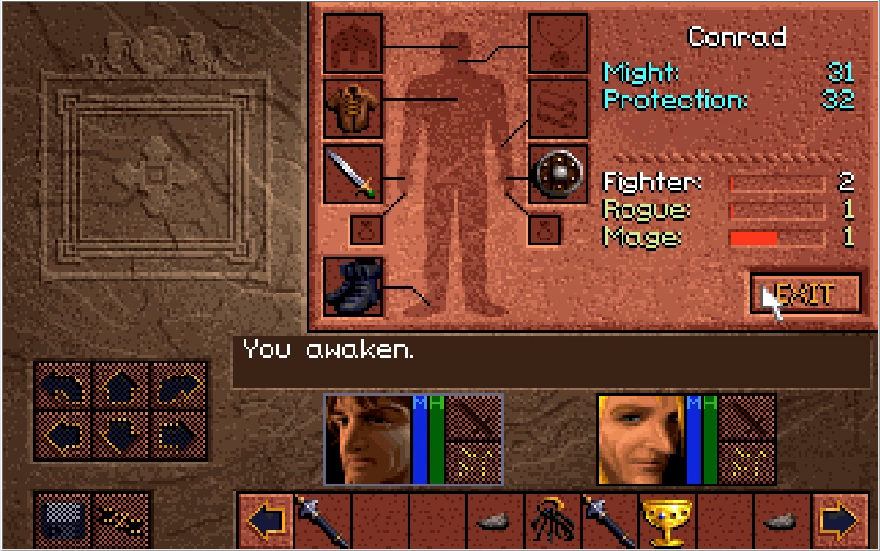
Back to back level ups! I'd go over the bonuses we got from these, but it's going to not matter at all 2 updates from now.
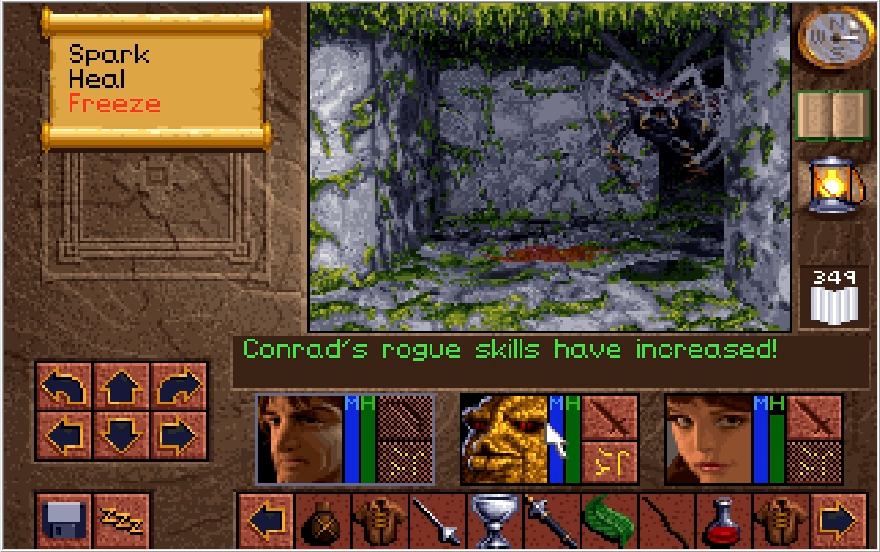
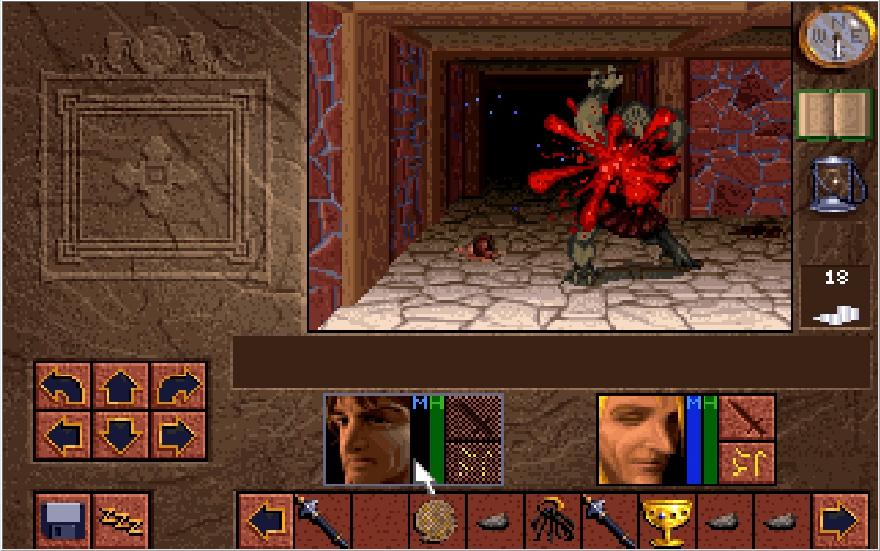
We finally get to see Freeze in action! I think it has a pretty neat animation, and it certainly makes you feel powerful when you hit something weak to hit. Doing some more clean up, I decide to have Baccata start working on his Rogue skill. In the context of this save file, this was really pointless to do, but for demonstrative purposes I wanted to do this for the LP. Generally once Baccata hits Fighter 3 and your main champion hits Rogue 2, you want to have them to swap what they're developing. Note that I could give Baccata a Star as well so he could double the rate he gains Rogue exp at, but I don't want to sacrifice too much damage from him at the moment.

This is past the illusion wall Baccata called out. Nothing here but an axe for us, which is way inferior to the best weapons we have at the moment. It's weaker than the Sledge, even.

With the Silver Goblet, poison is no longer of any consequence to us. Conrad banishes these guys to Cocytus with an intensely powerful Freeze 3 spell.
The tile we're standing on is yet another Woah! tile. In the distance you can see a red lock. This is the ignored "button" from earlier. It's an unpickable lock but that doesn't matter because...
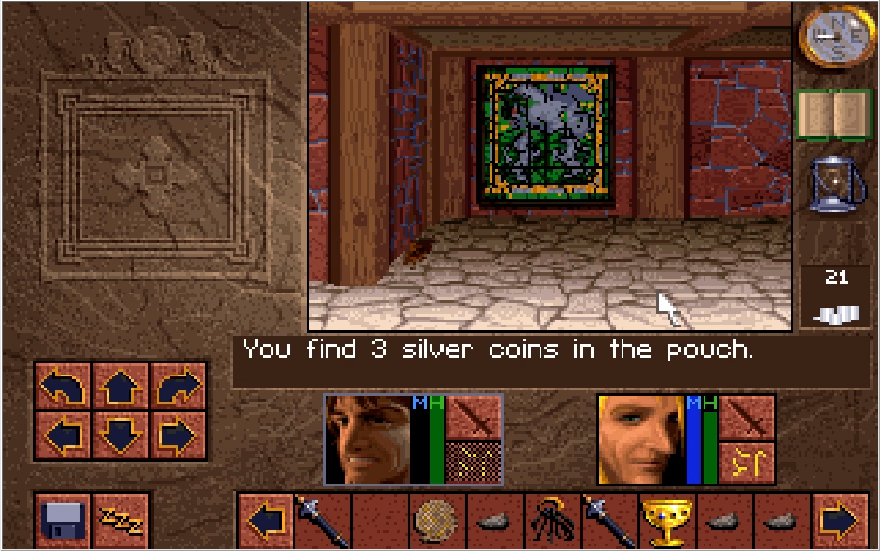
The key we need is just chilling in a chest directly west of it. Plus some Boots for Lora and miscellaneous supplies.

Popping the red key in the red lock opens yet another wall and we are present with an east and west path once again. Taking the west path leads you to a hall with a pressure plate at one end and an alcove on the other. Placing a Dagger in the alcove (It can be any Dagger, not just a nameless one) and stepping on the plate closes the alcove. Stepping off the plate reopens the alcove, and you'll find your Dagger has been christened with the name "Back Biter"! This is a marginal might upgrade to the dagger with no special effect. It is weaker than most of the weapons we already have. Sigh.
Meanwhile the east path just takes us to level 4. Phew, that was quite a bit! We have just one more update for the Draracle's cave. Next time we'll finally meet the Draracle himself, and also run across the game's most infamous mechanic. One final funny thing to note, to give an idea of how utterly lost I was on the Emerald path: the recording for that specific segment is 26 minutes long. The rest of update 6, 7, and the future update 8 only took me 33 minutes to record. I'm very bad at video games when doing things in them for the first time.


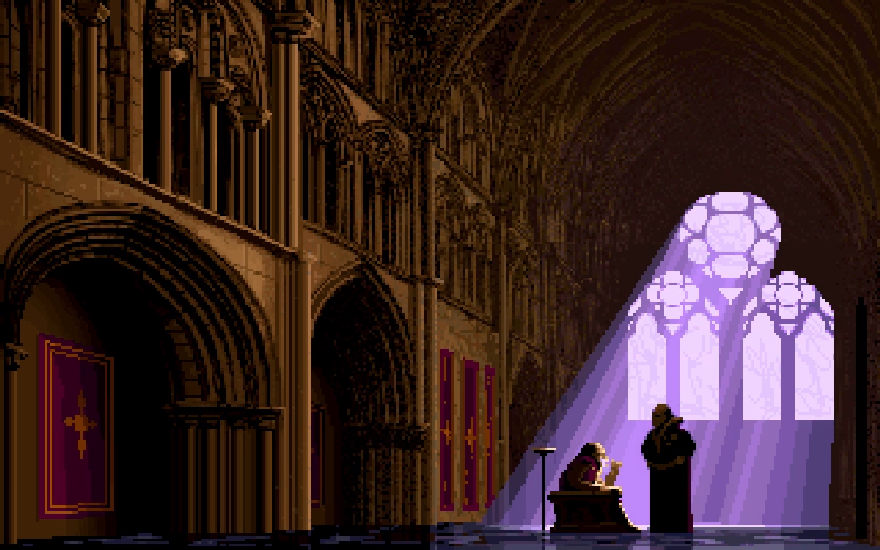
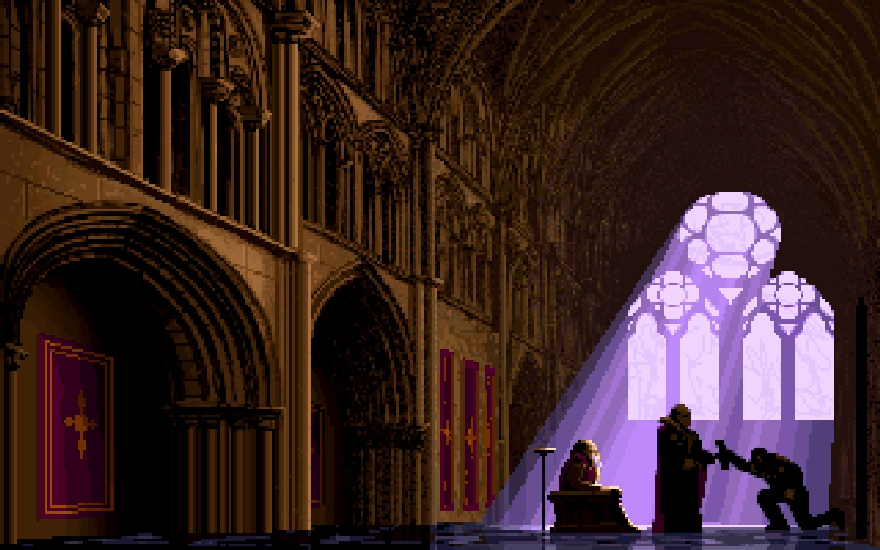
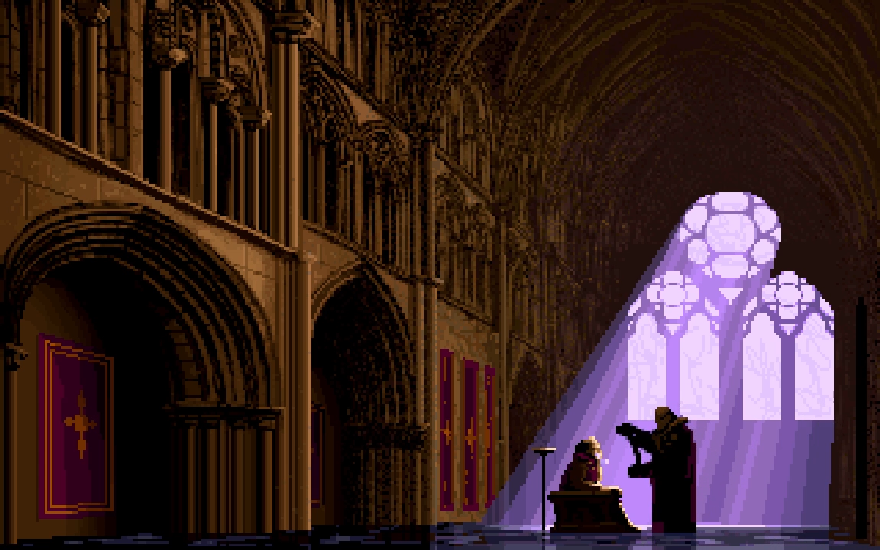
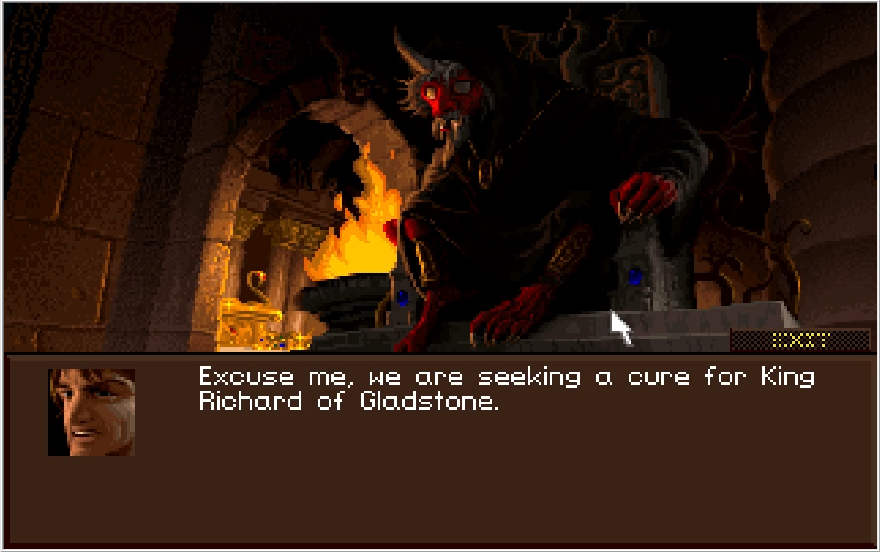
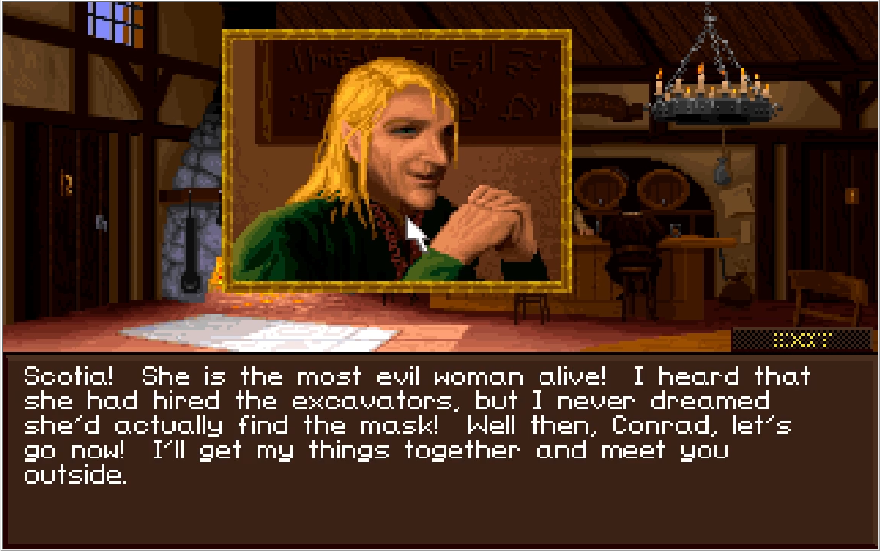
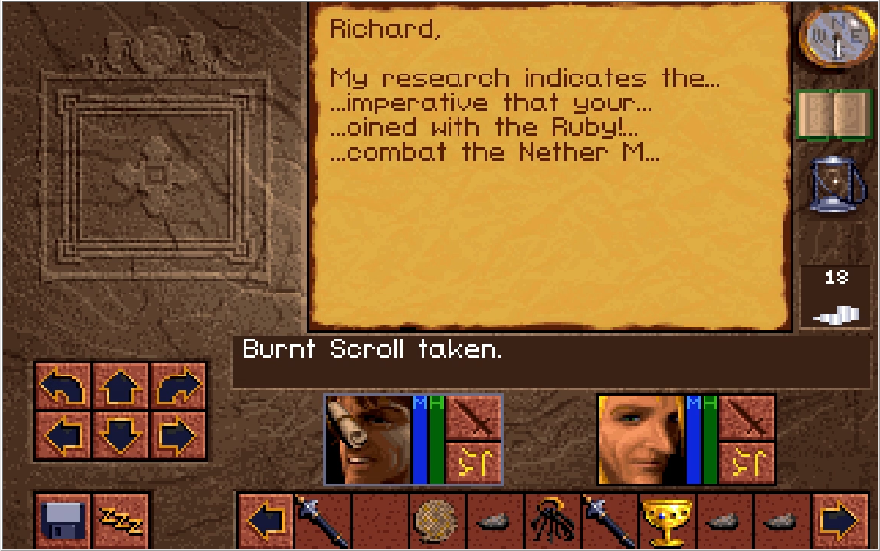
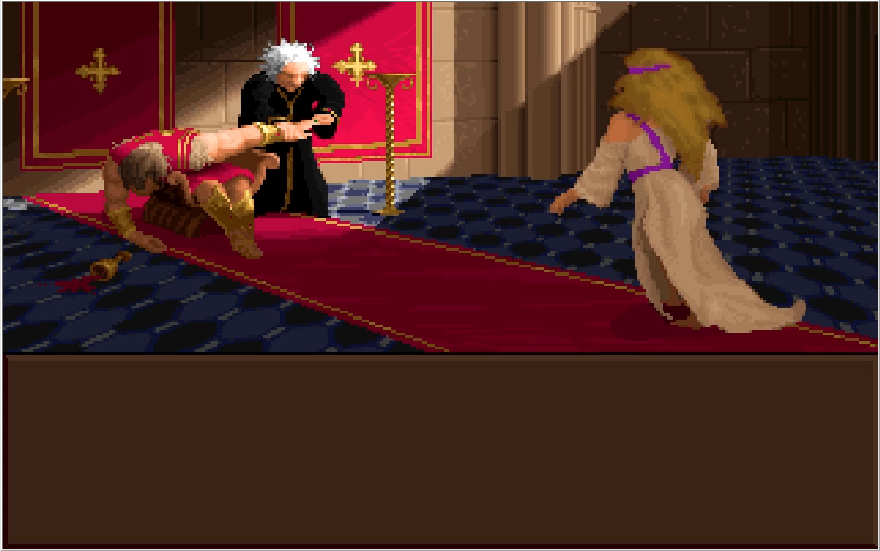
 : "My liege, it is as we feared. Scotia has uncovered the temple and will have the Nether Mask soon."
 : "We must be ready for her. She will come here first."
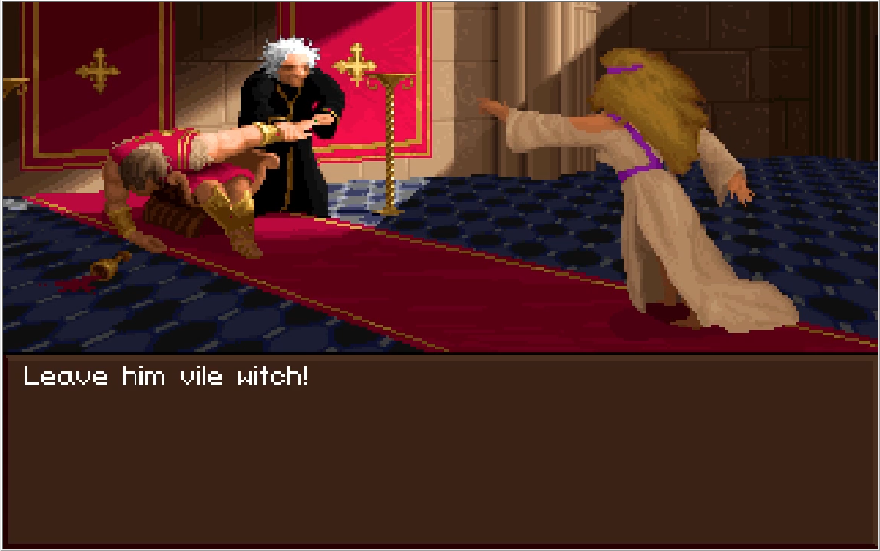
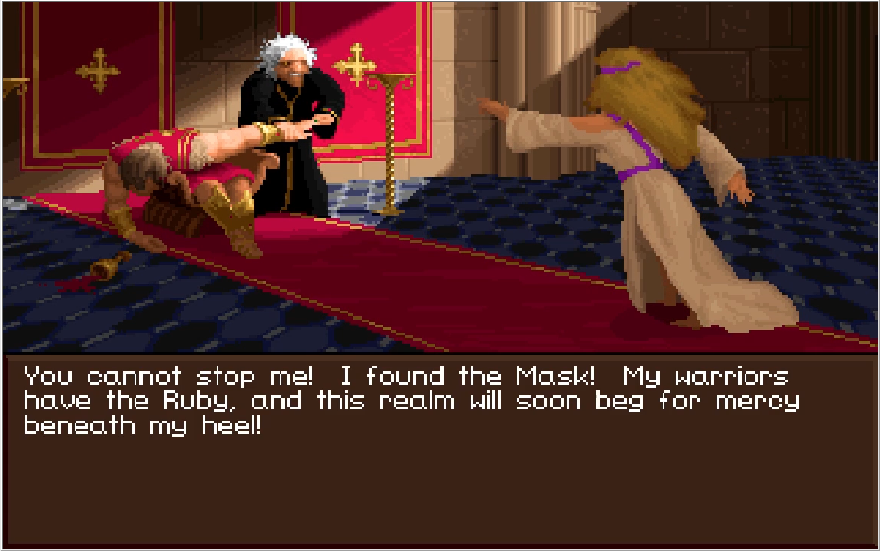
 : "What can be taking so long!?!? I want it now!!!"


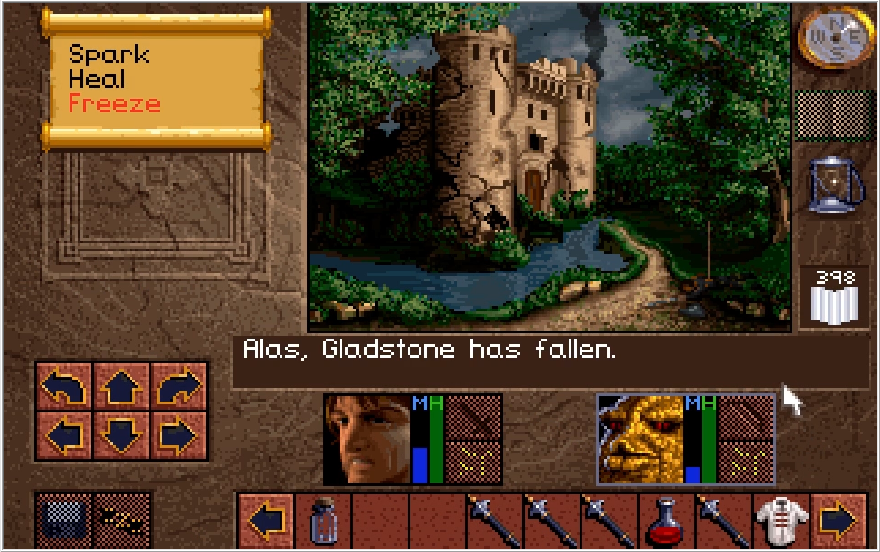
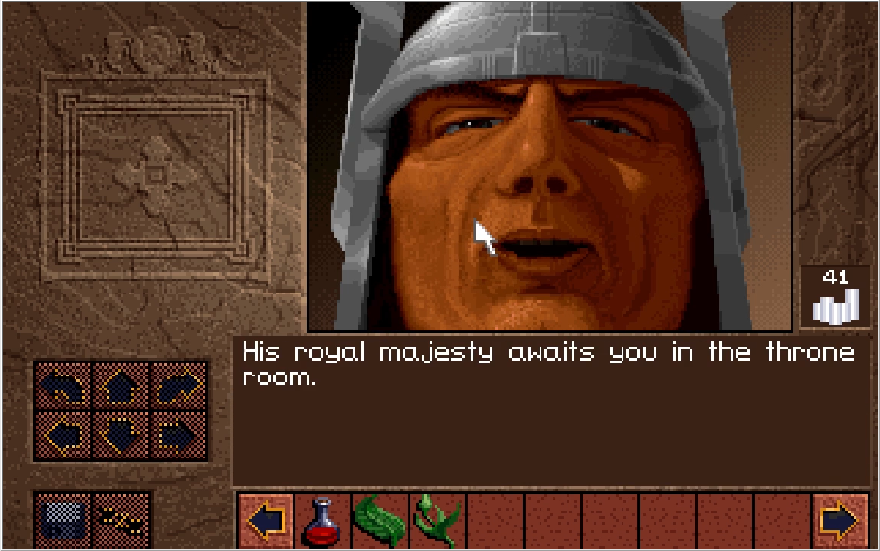
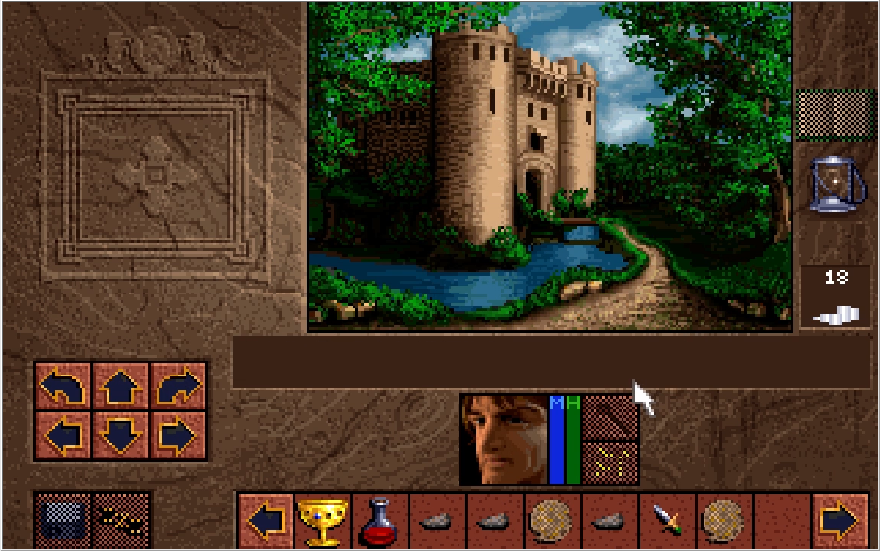
 : "Welcome to Gladstone Keep. King Richard awaits you in the Throne Room."


 : "I have additional questions for His majesty."
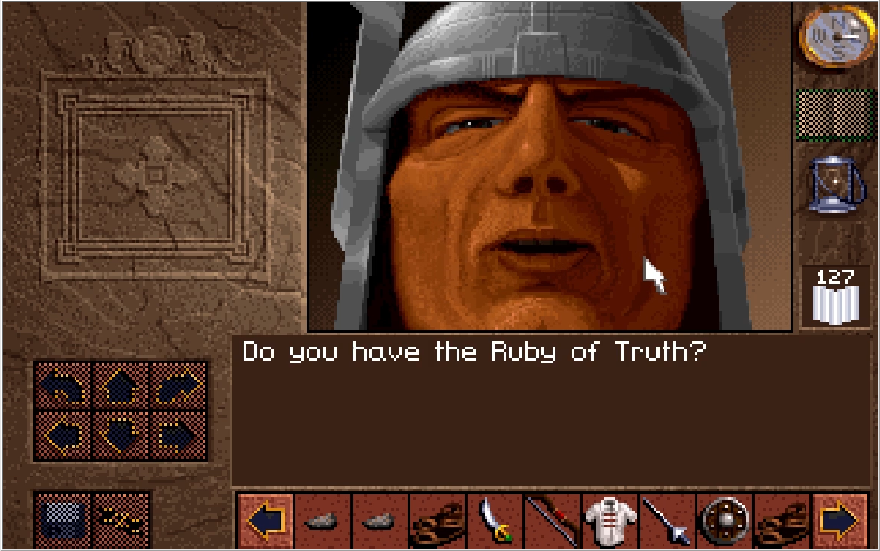
 : "You are not to be admitted without the Ruby."
 : "If I want you to touch something of mine, I'll ask you."
 : "Use your own maps. Those are mine!"
 : "What are you waiting for? Begone!"
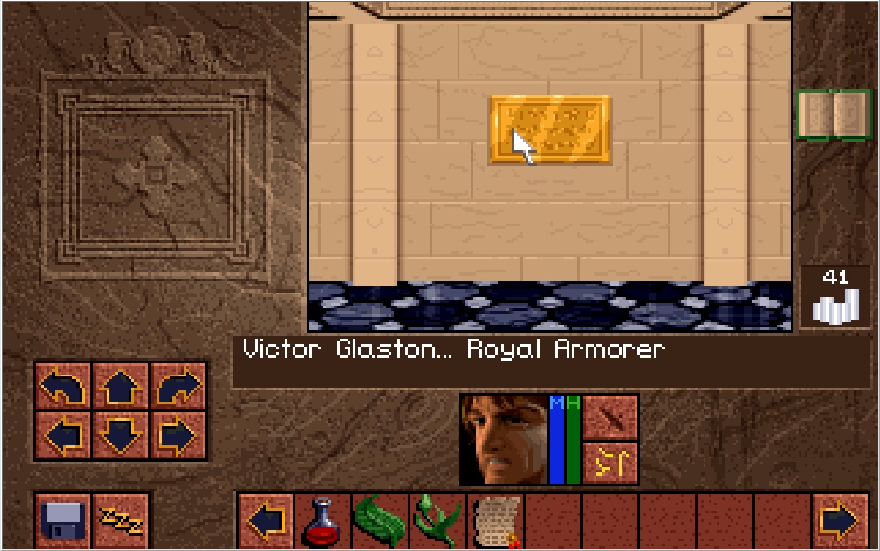
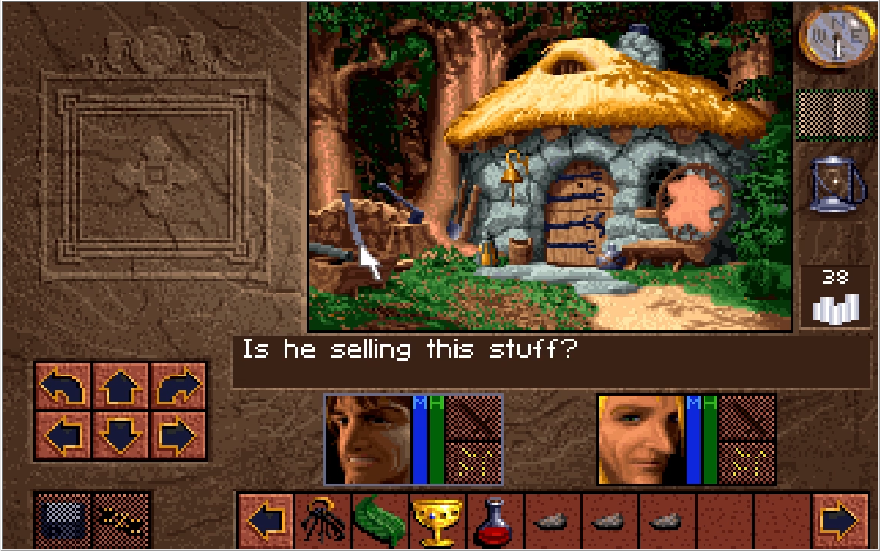
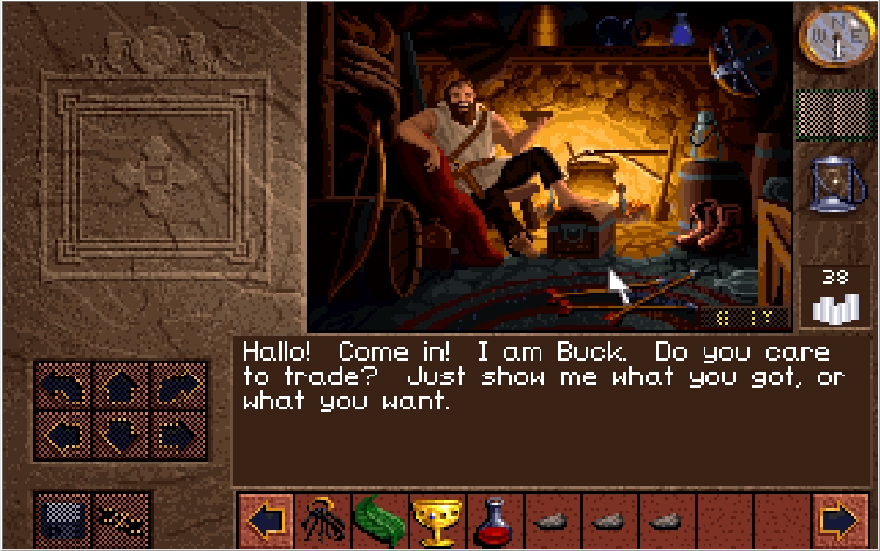
 : "You show Victor what you want to buy. Maybe you show Victor what you sell, OK?"

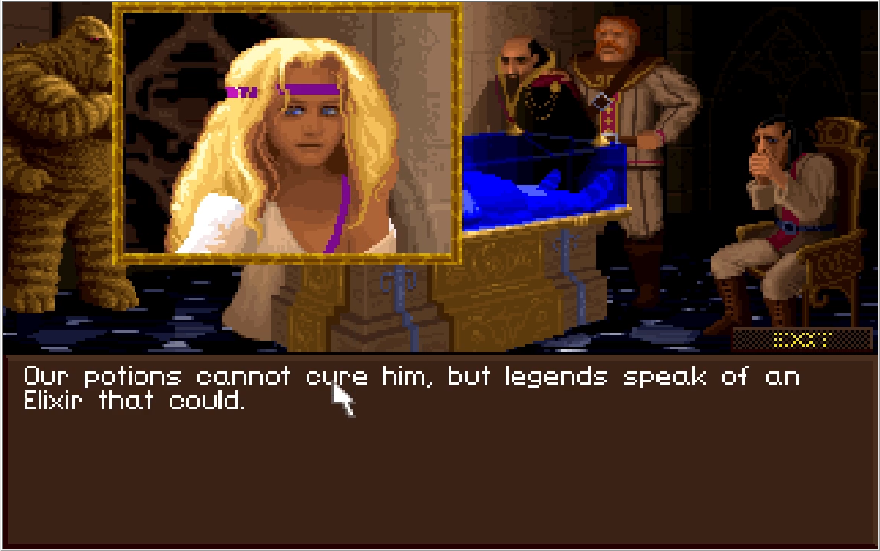
 : "They say the Ruby and the Shard are the only means of opposing the Nether Mask!"
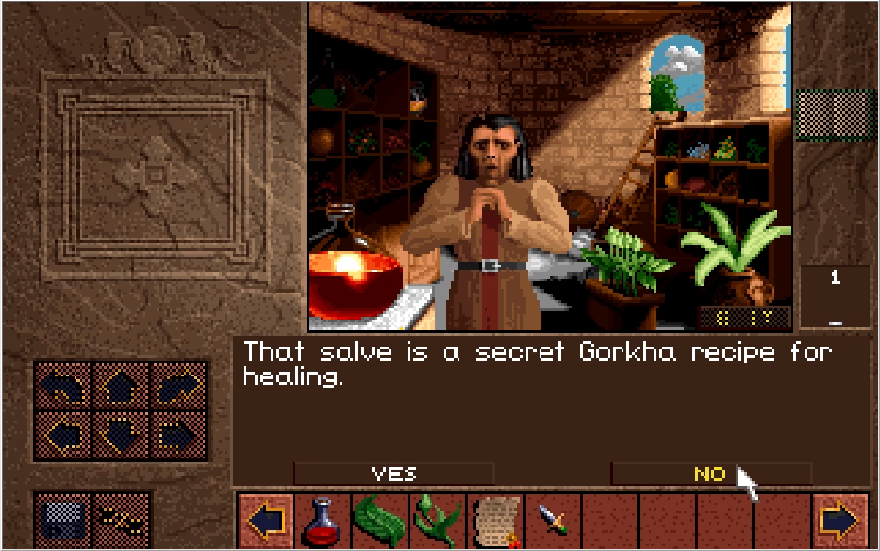


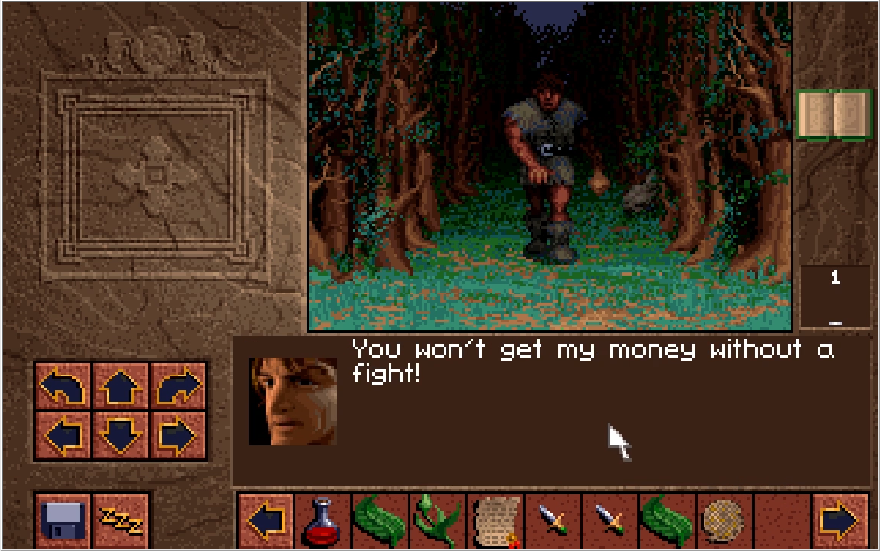


 : "Where's your money?"


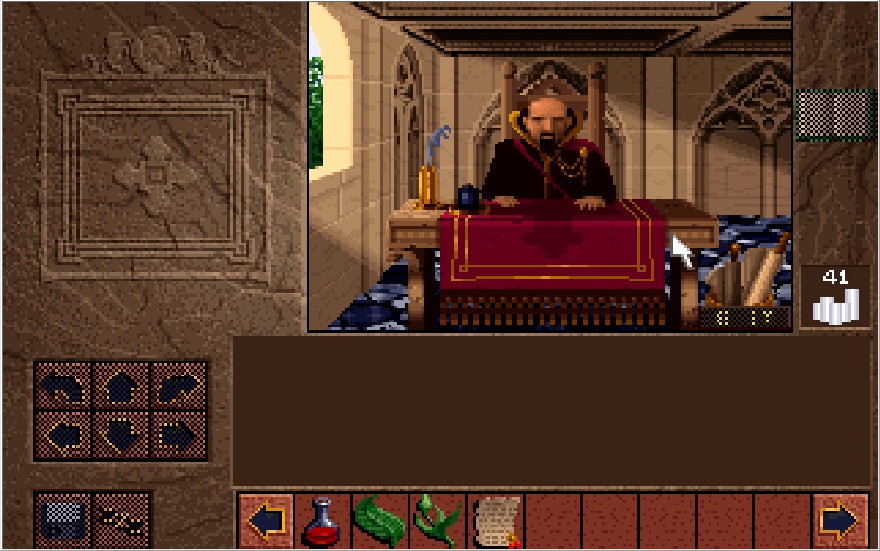
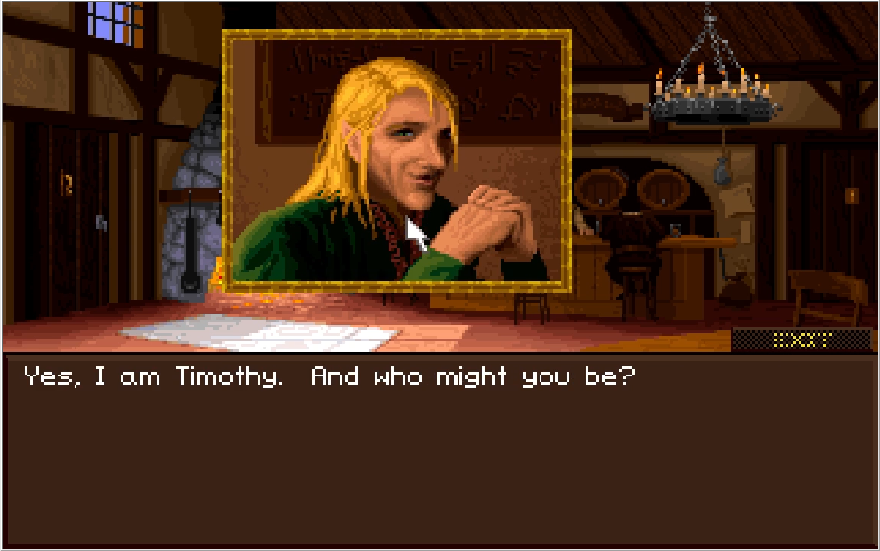
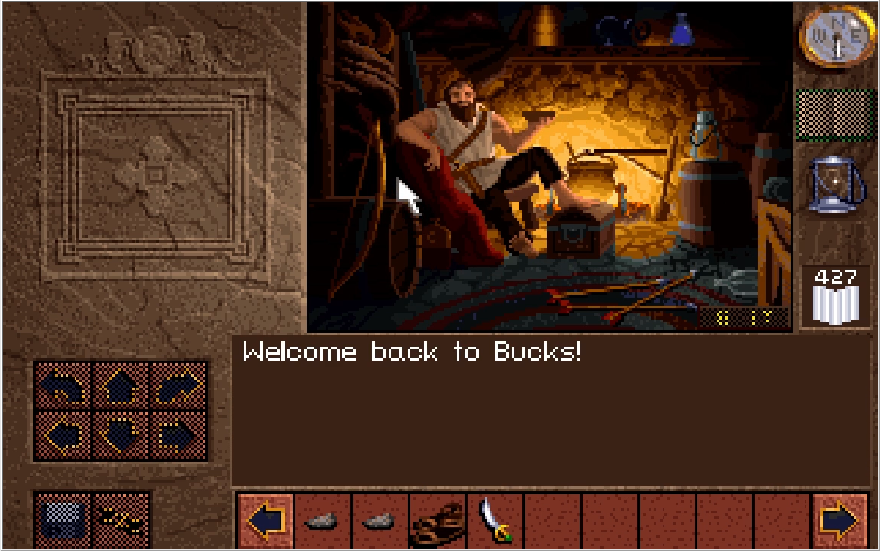
 : "No, I am Phillip. Timothy is the yellow haired fellow over by the fire there."

 : "My wife won't let me keep those in the house."

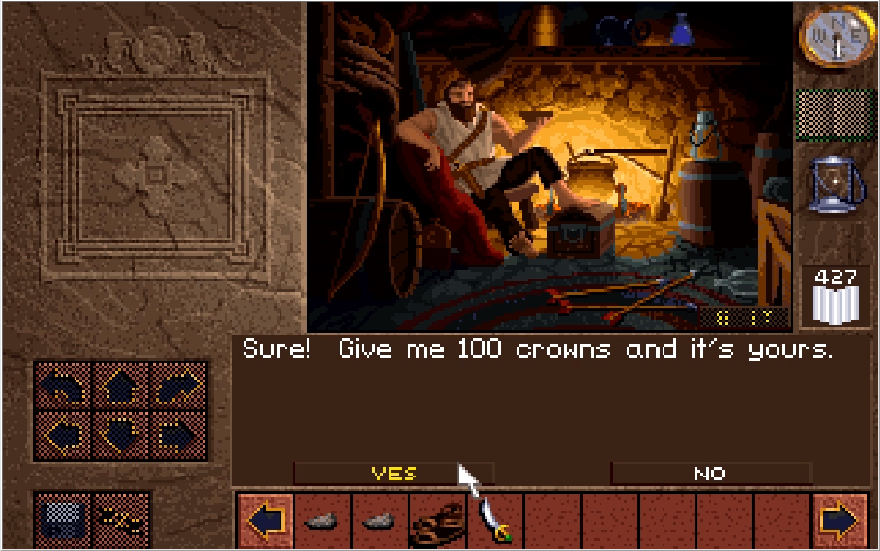
 : "Buy the one on the left and I'll throw in the one on the right. 10 crowns."


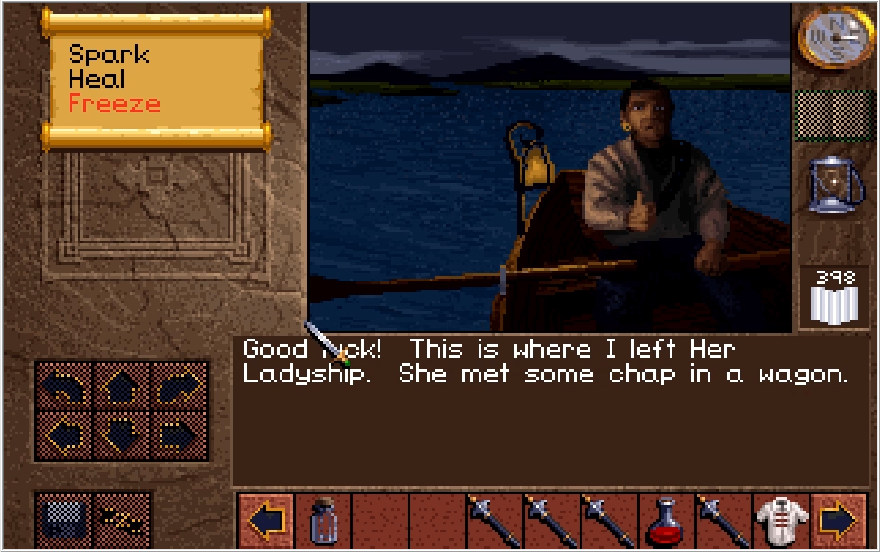
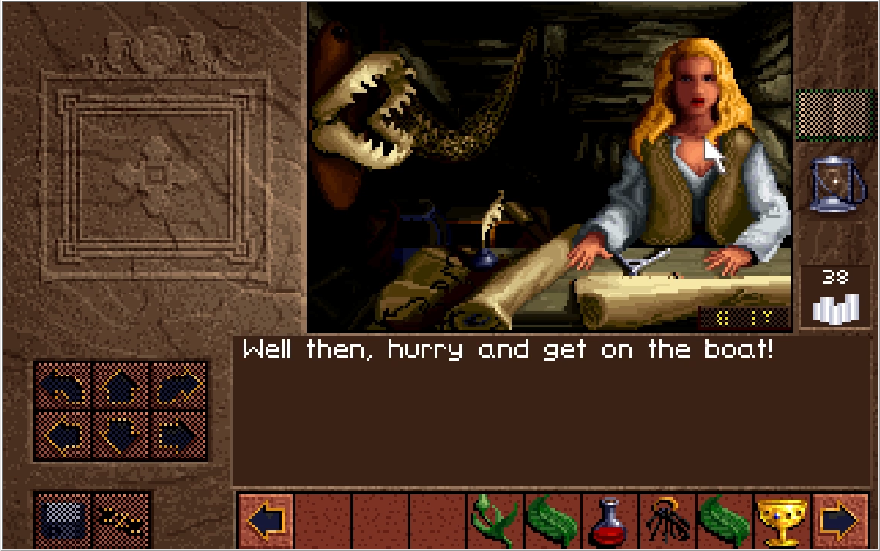
 : "We will take you to Gladstone with us! Dawn will heal your wounds!"
 : "Perhaps you could swim. It's not that far, really."


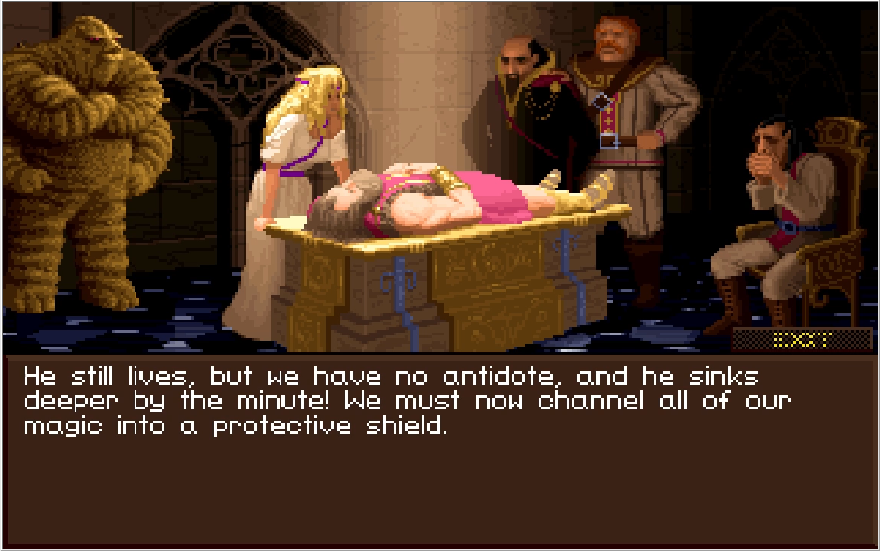


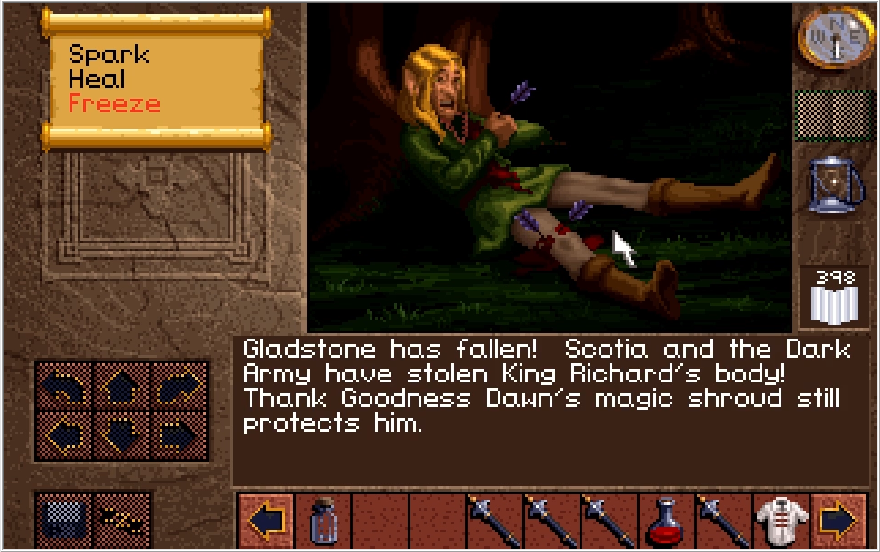
 : "This shroud will prevent any further action of the poison, and protect Richard until the cure can be located."
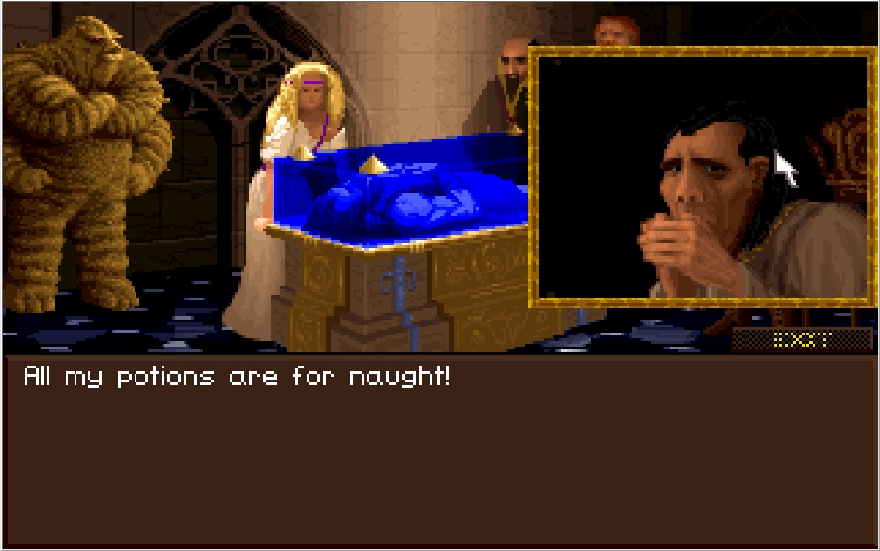
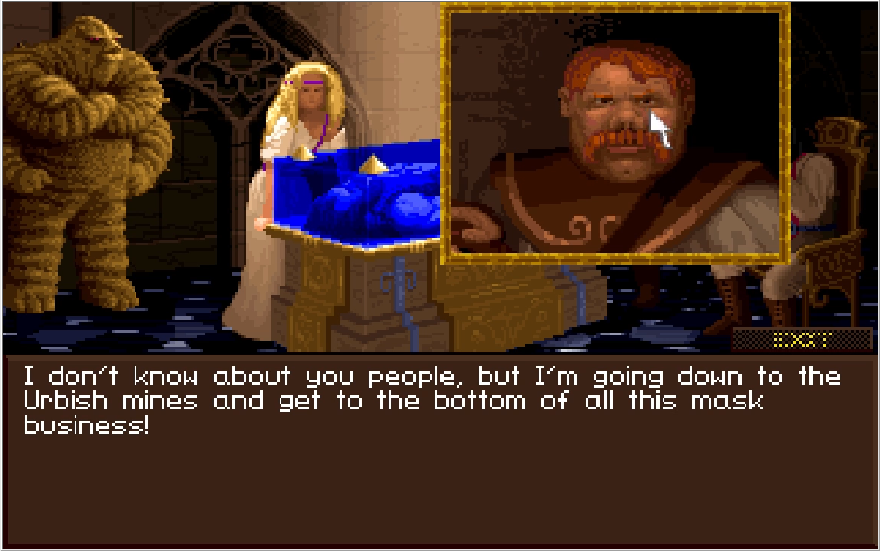

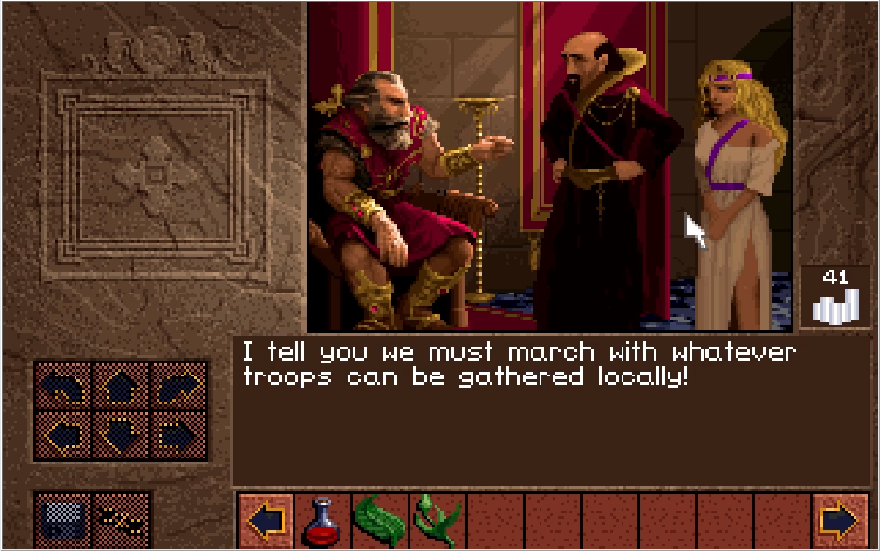
 : "Well, I won't just sit here on my backside while that wench has her way with the whole countryside!"
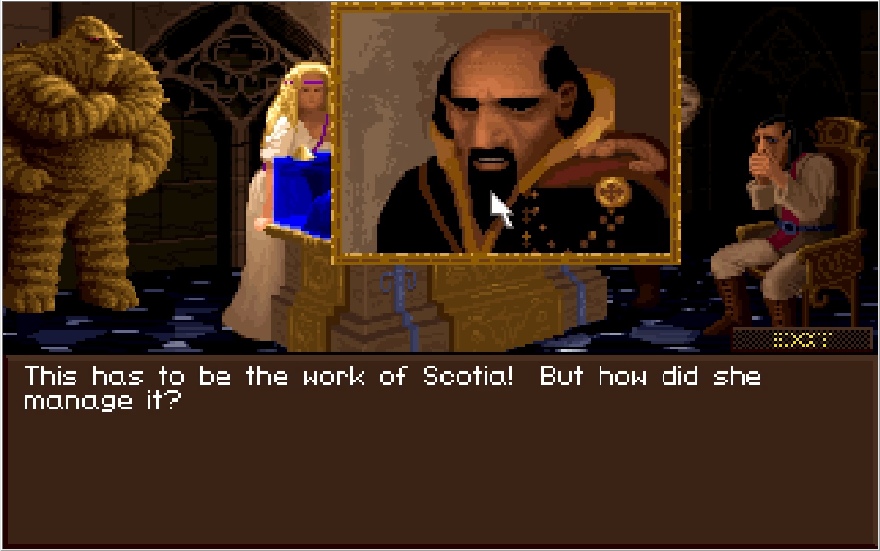
 : "Really! Quite bad manners violating a man's castle. I do wish Dawn would permit us to mount a counterattack of some sort!"


 : "Oh, thank you!