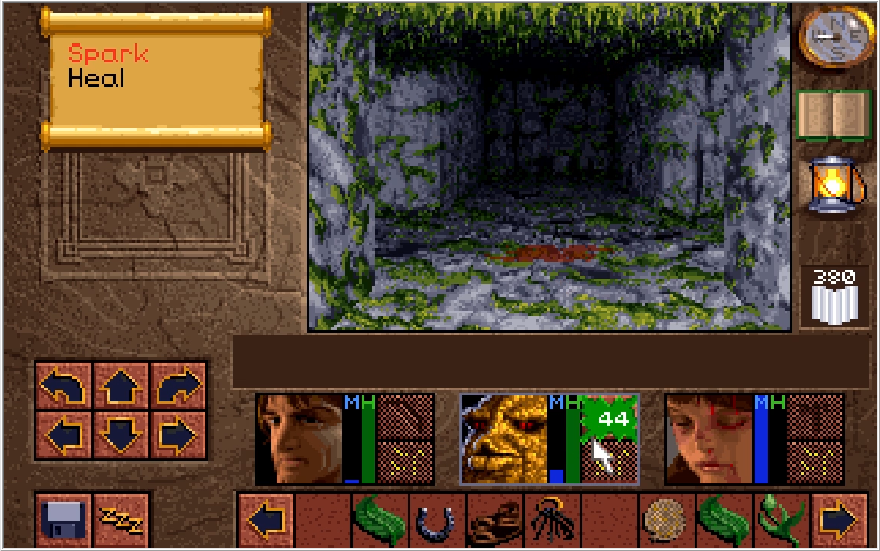
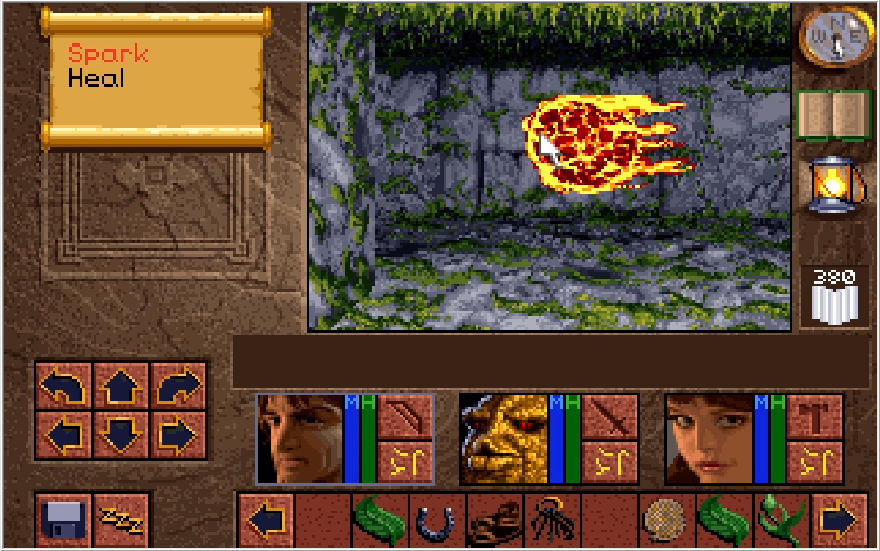
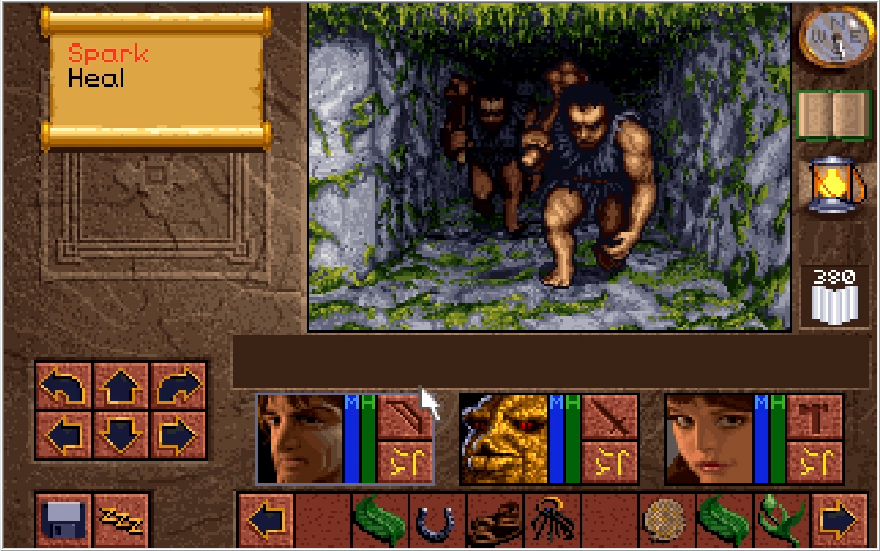
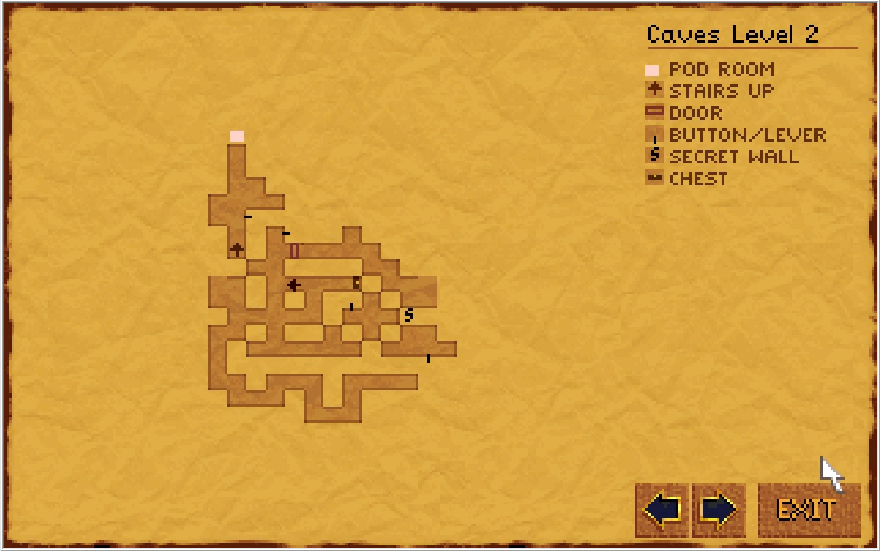
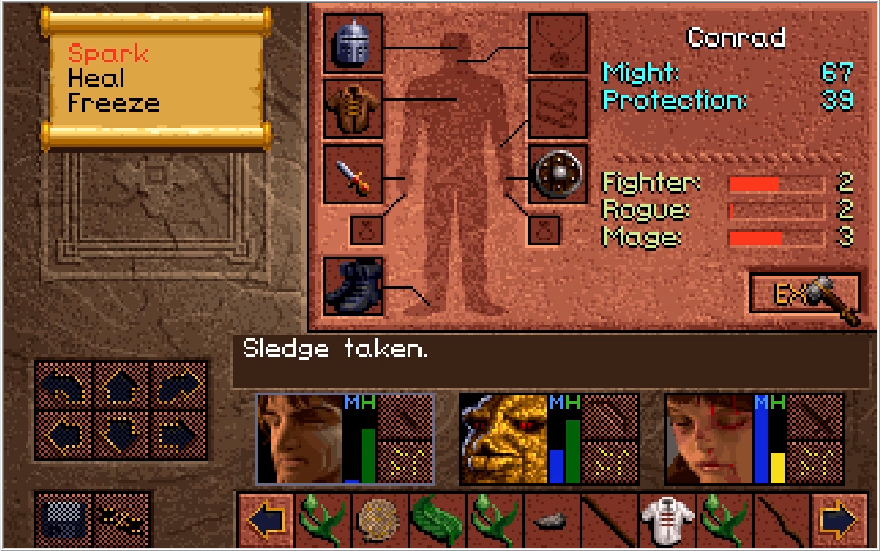
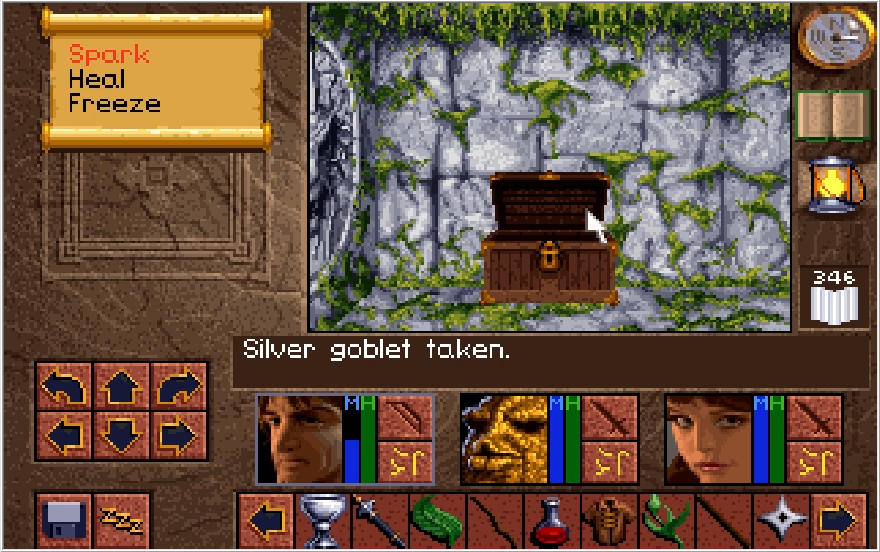
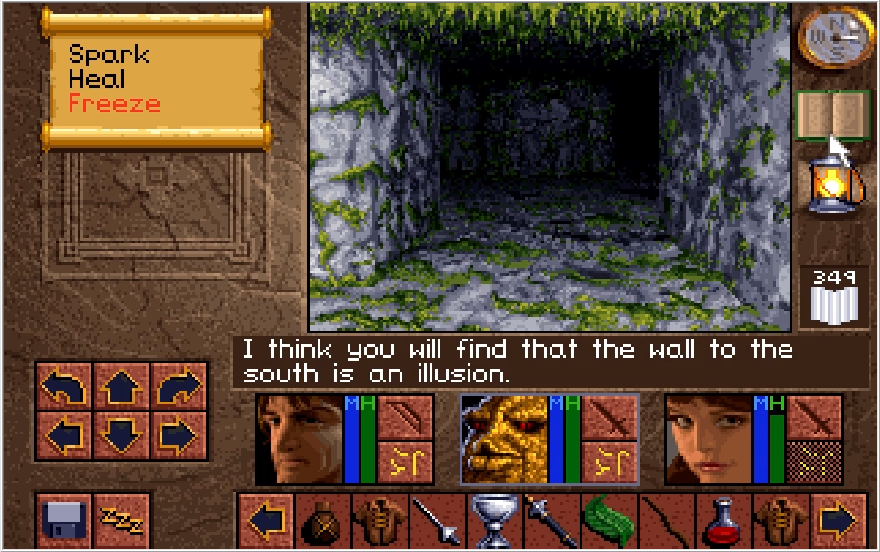
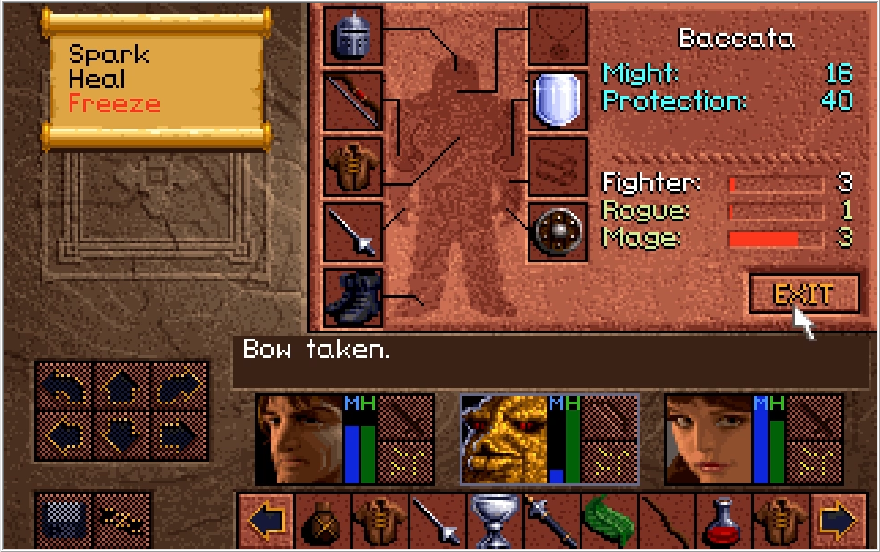
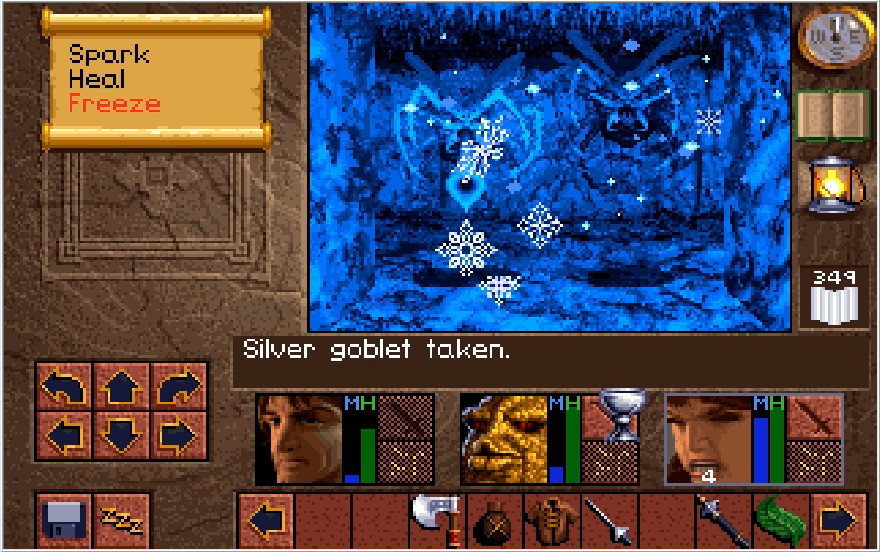
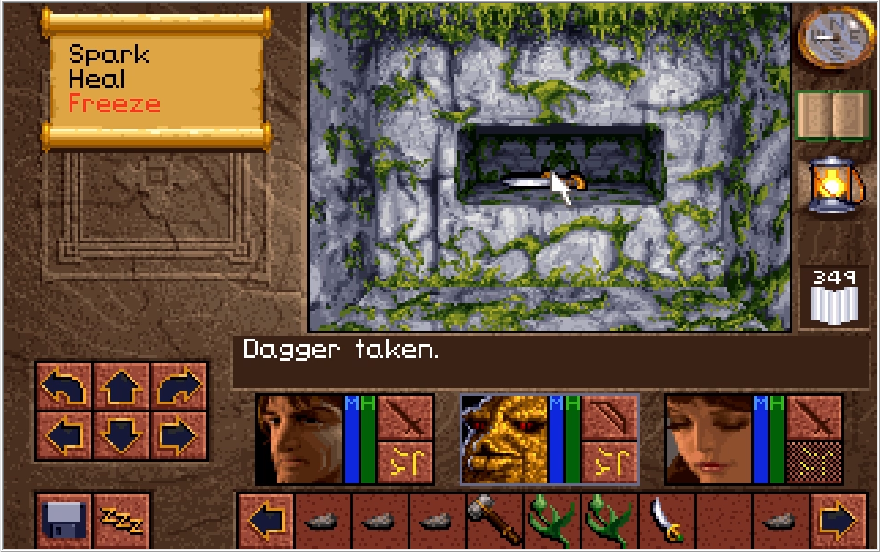
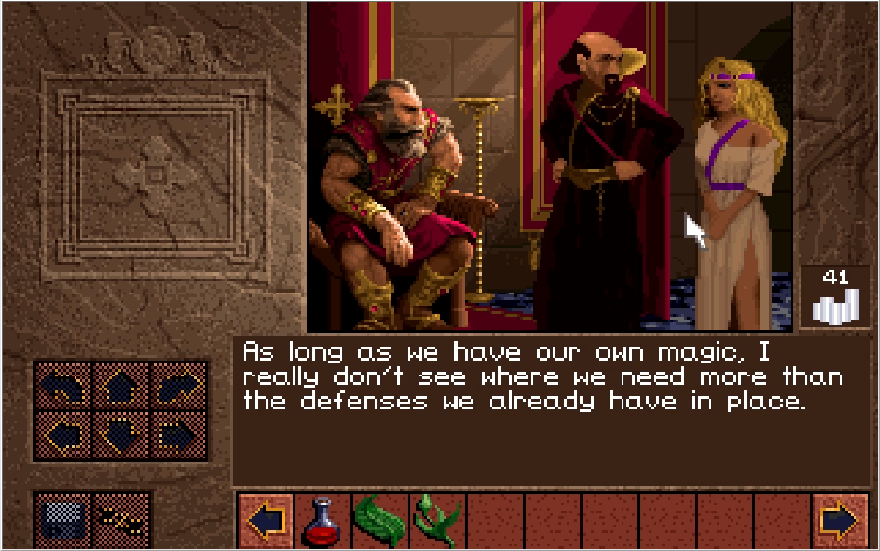
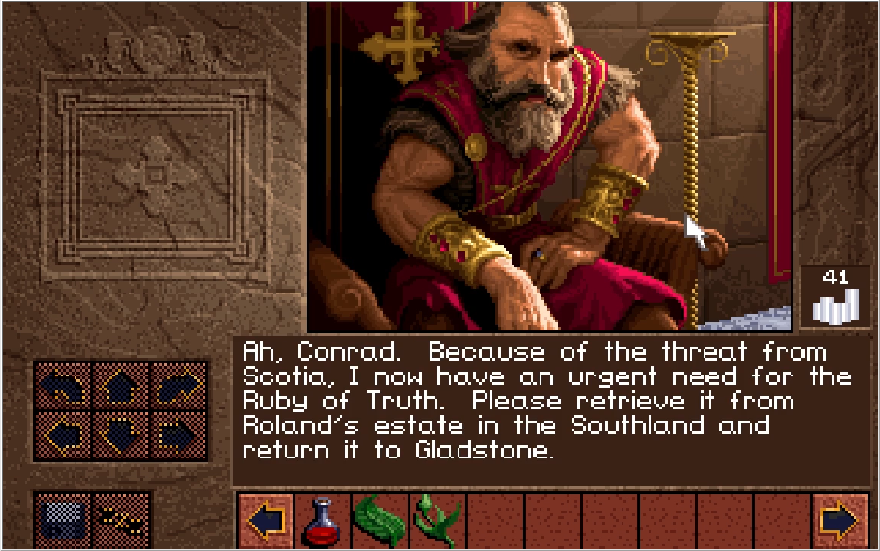
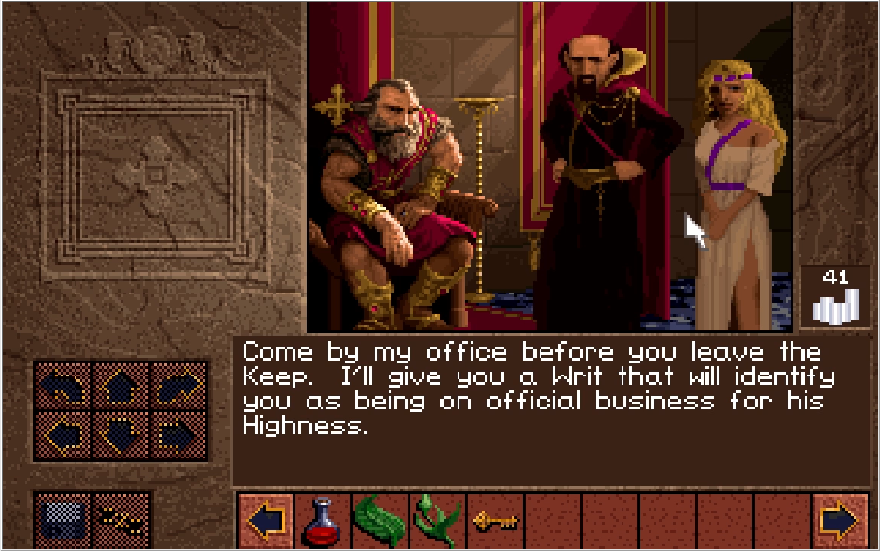
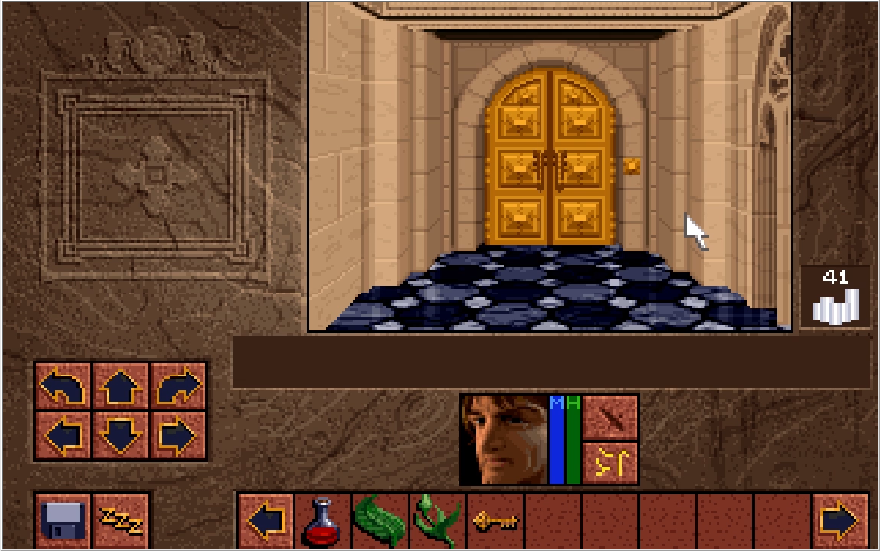
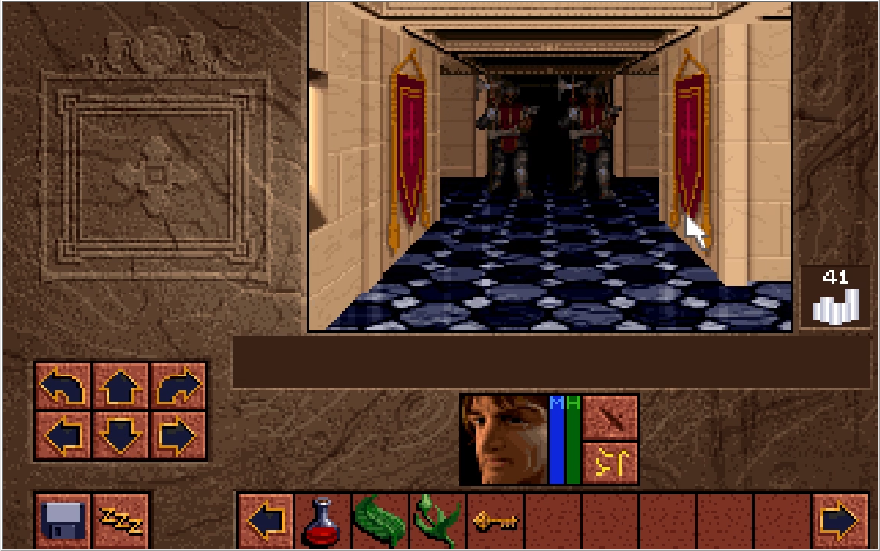
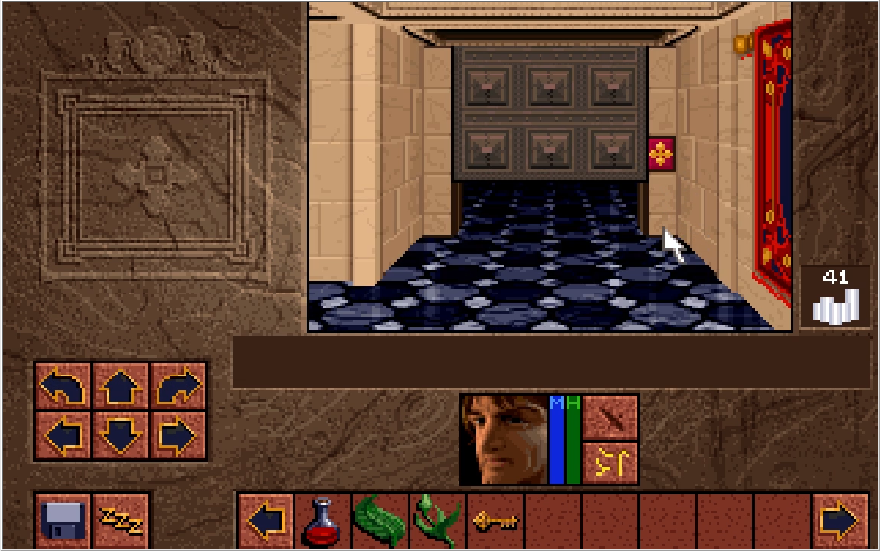
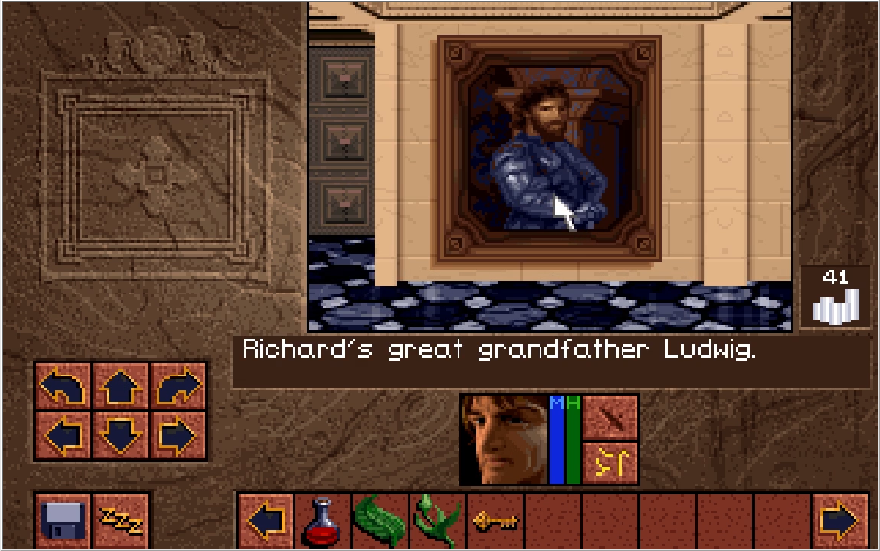
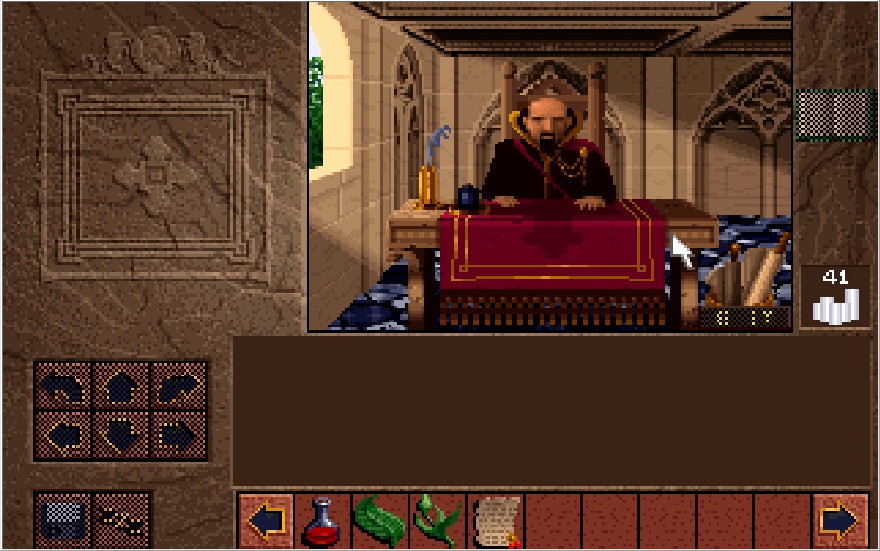
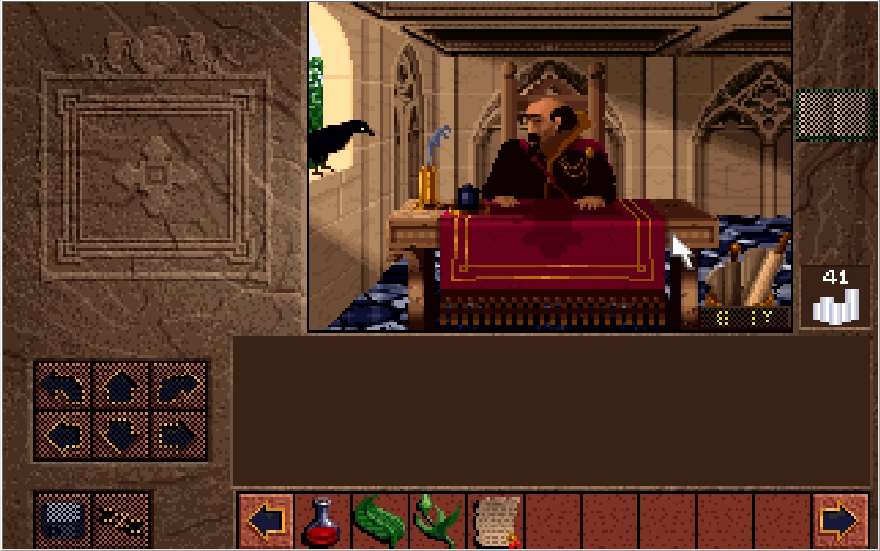
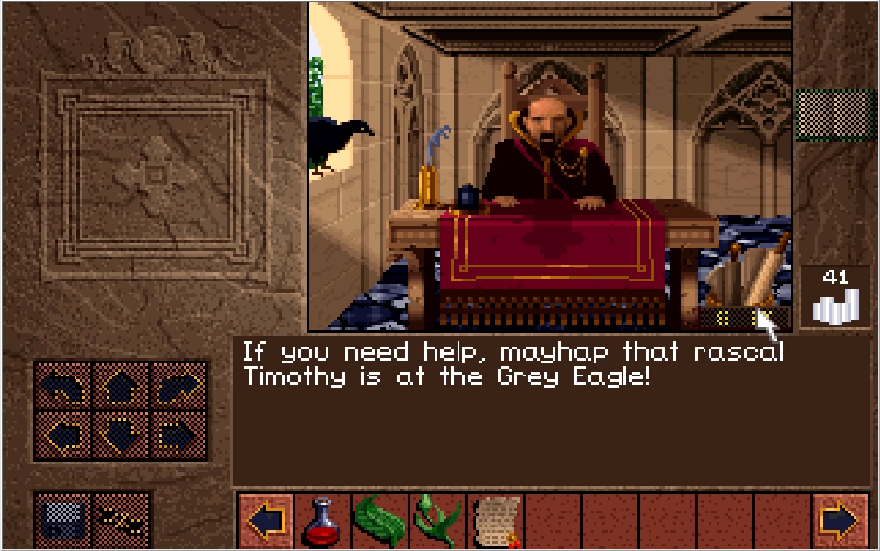
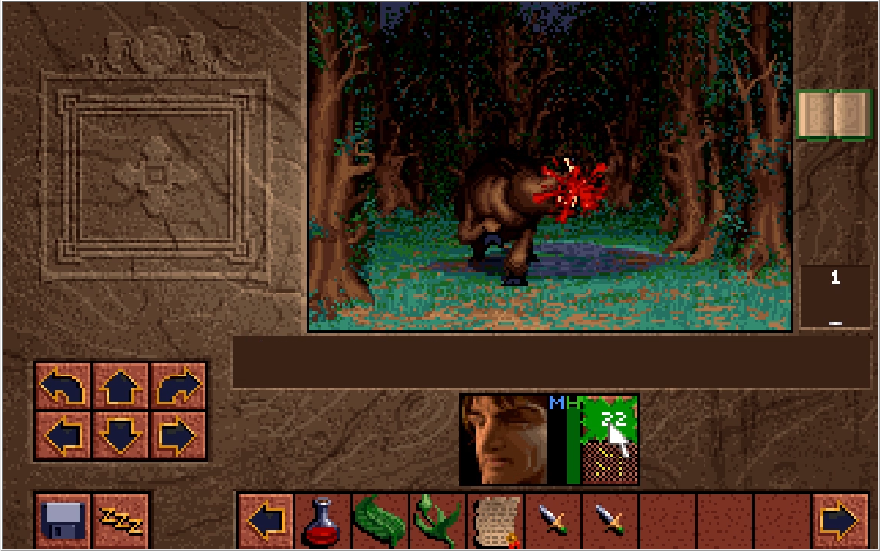
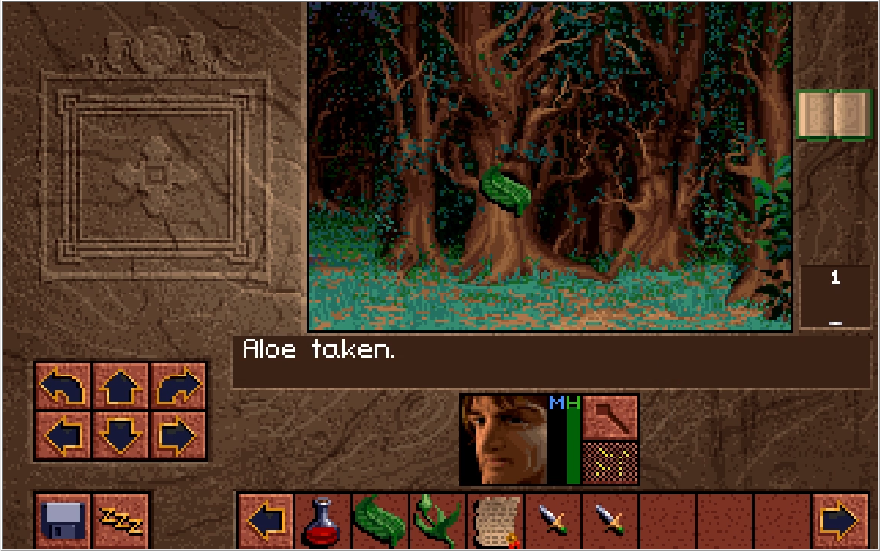
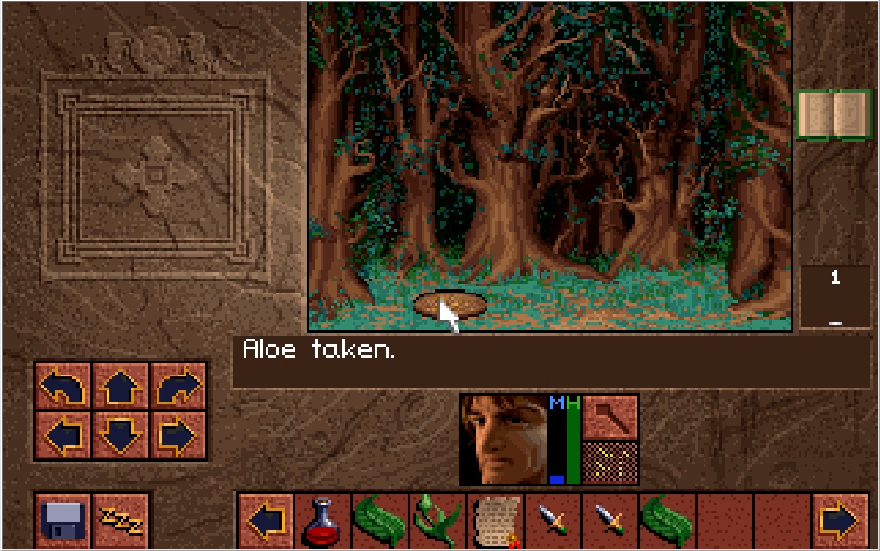
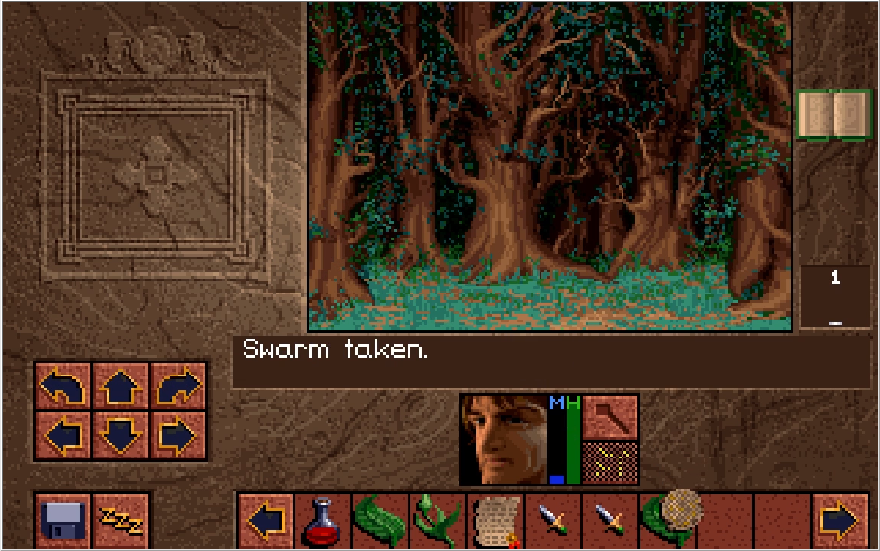
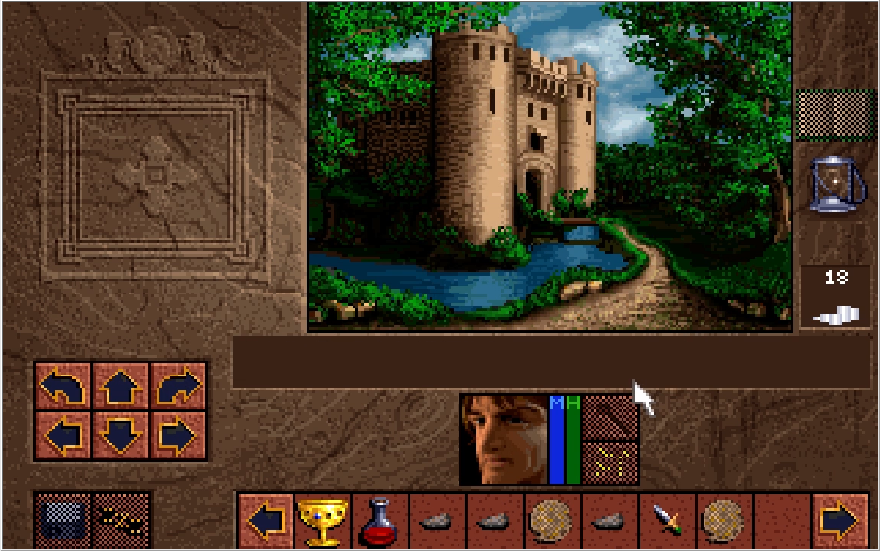
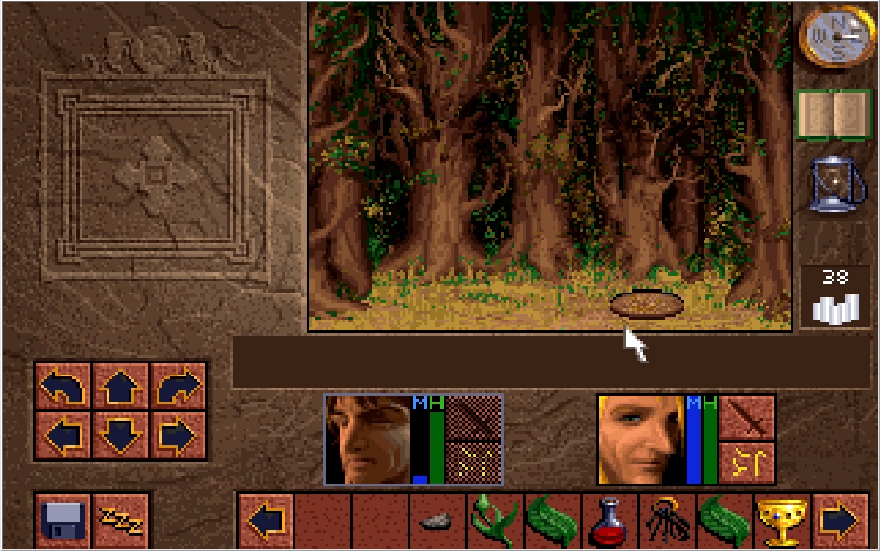
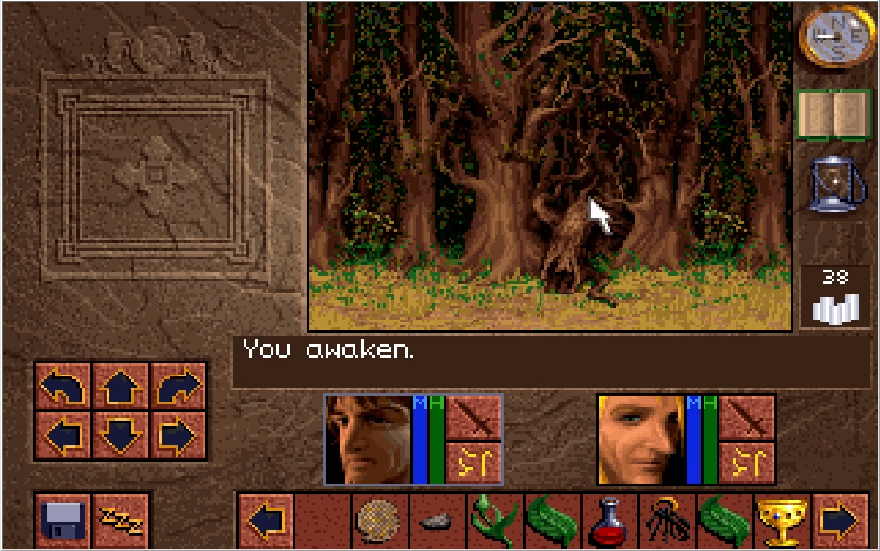
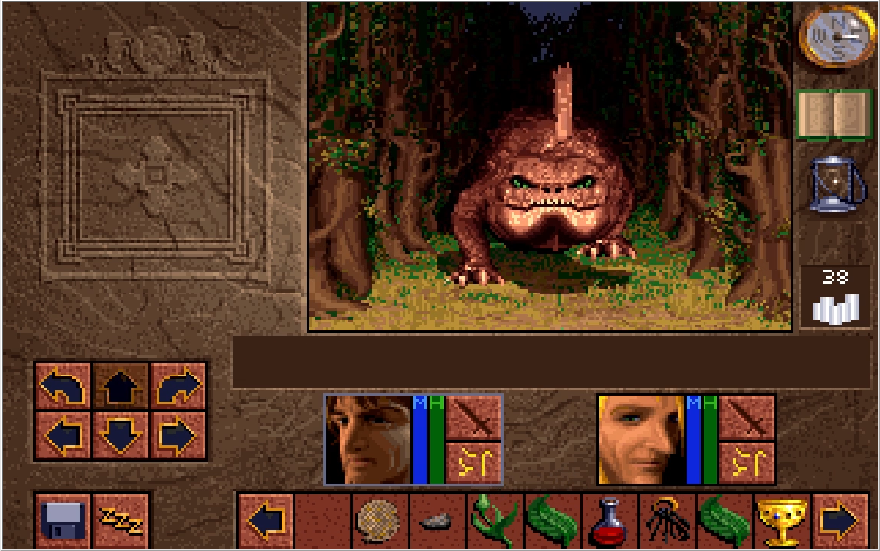
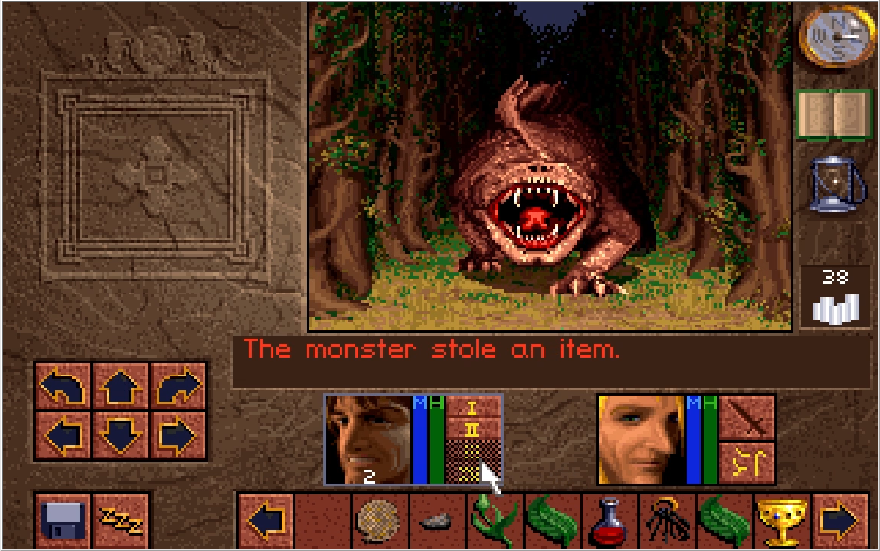
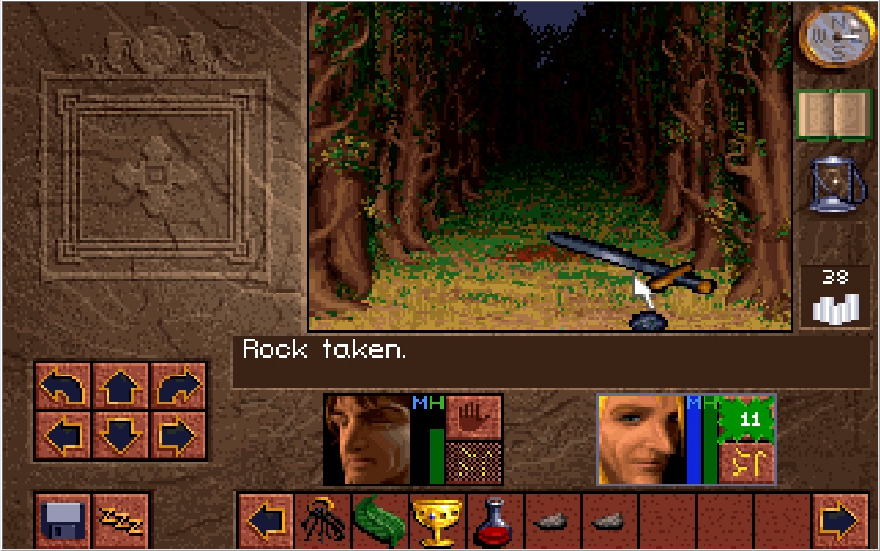
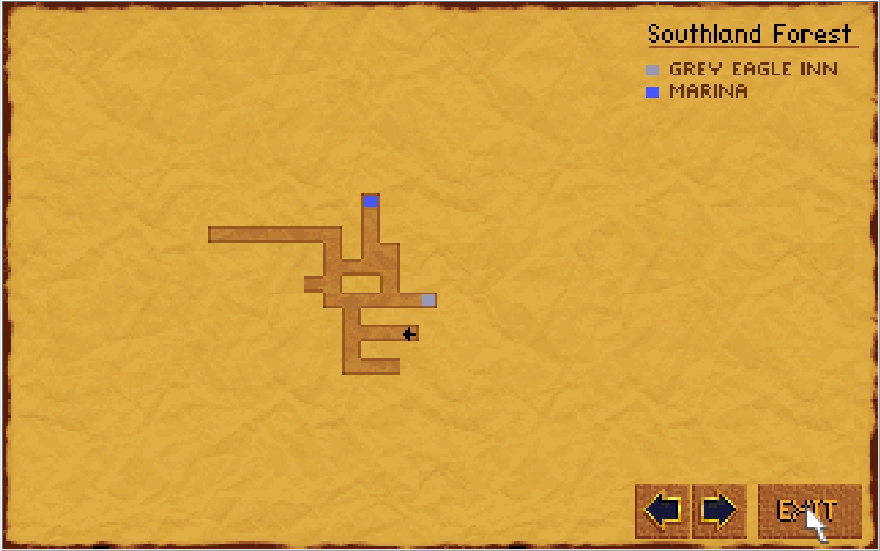
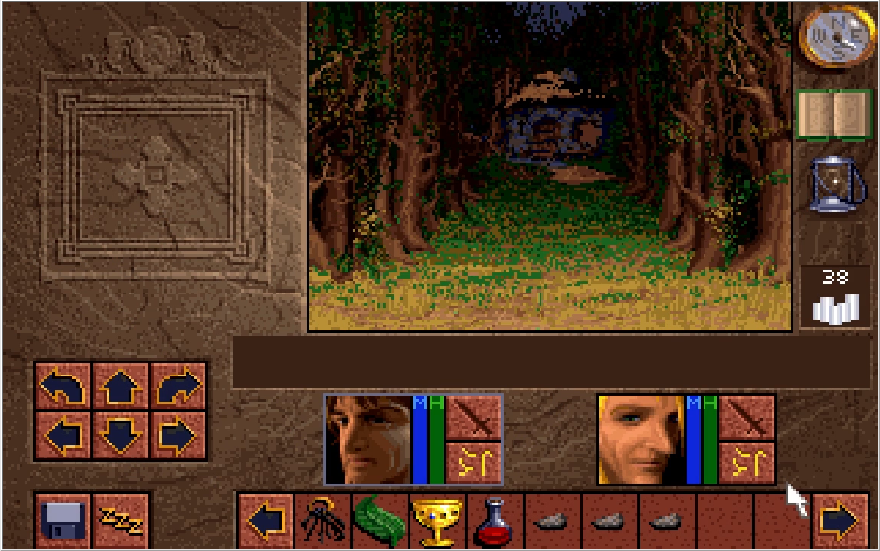
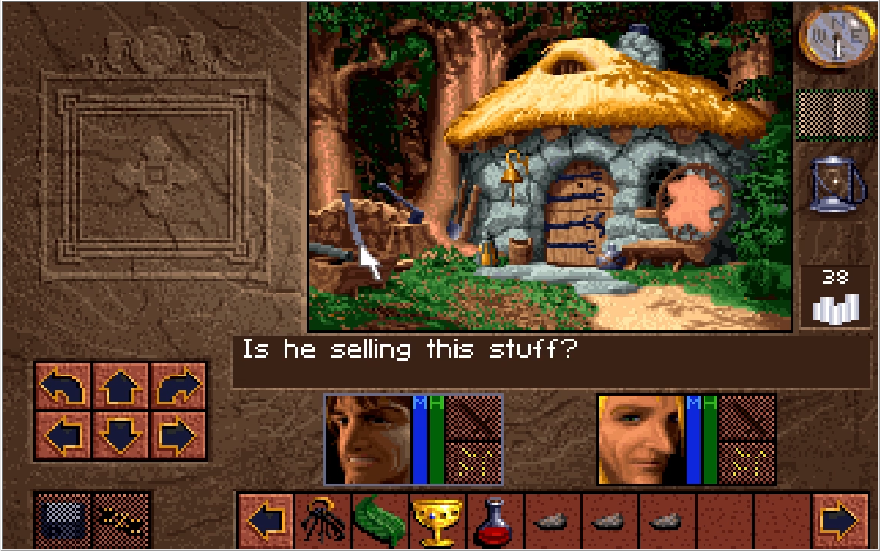
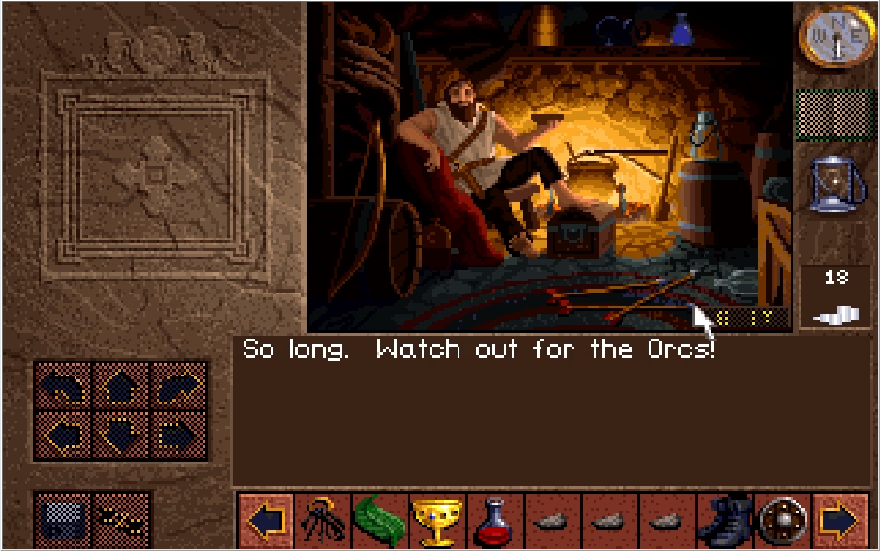
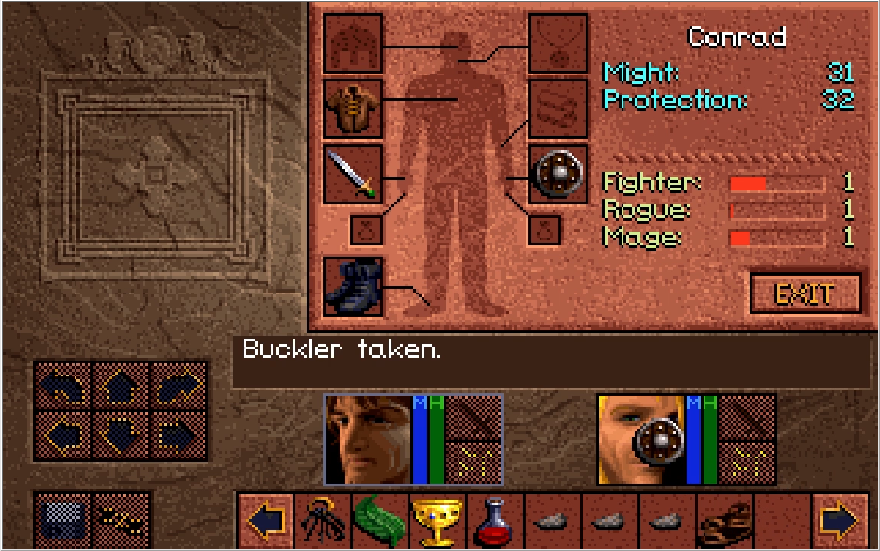
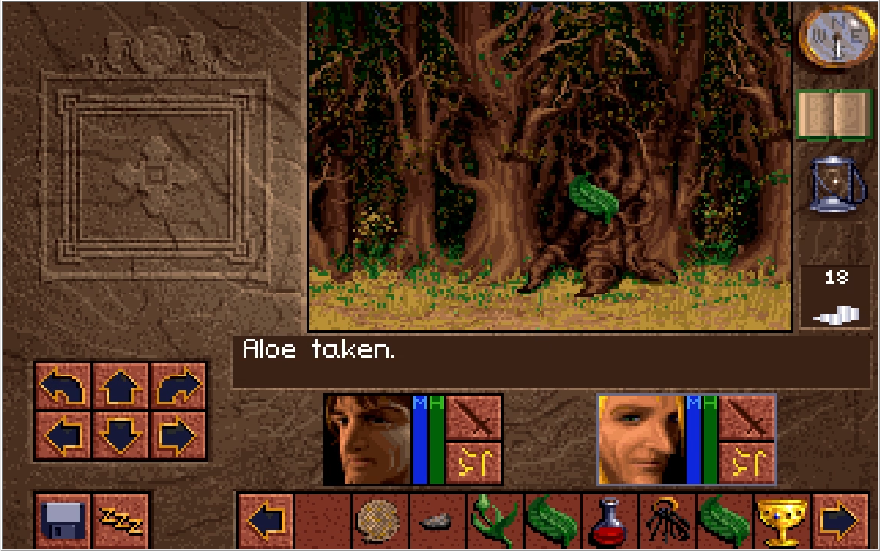
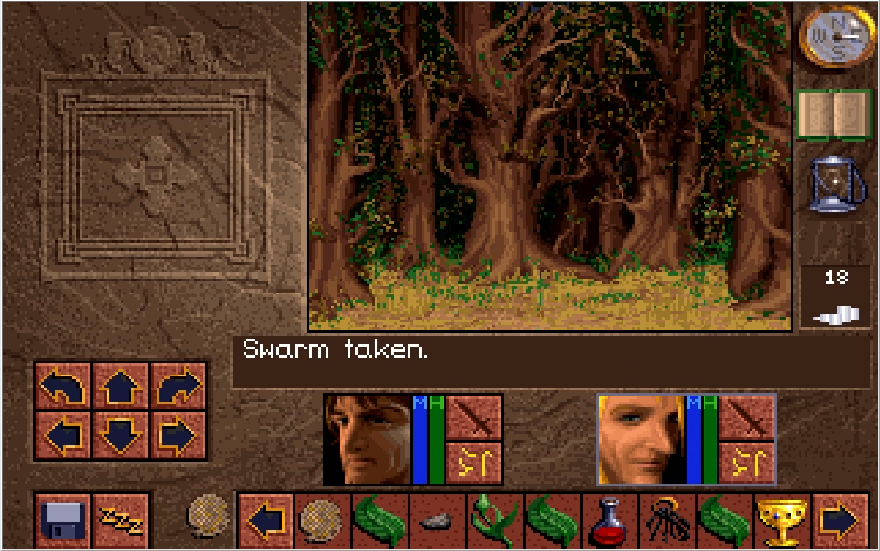
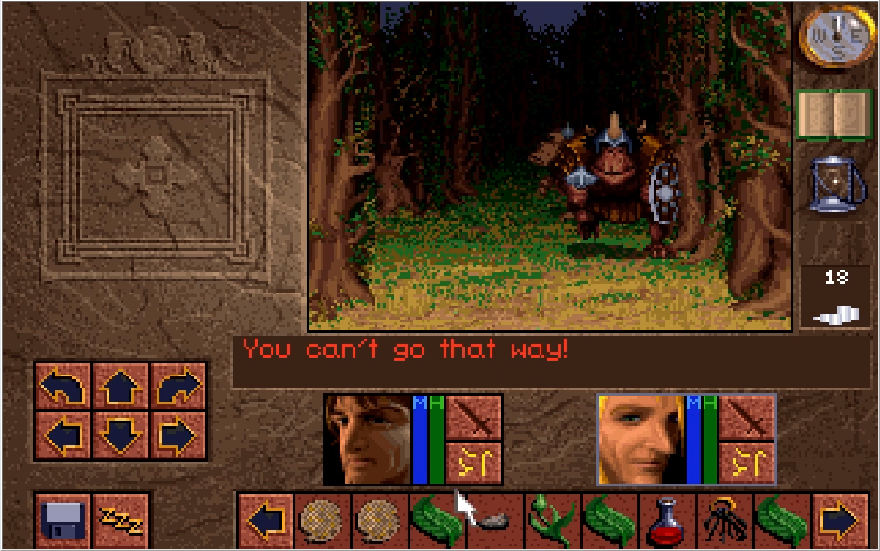
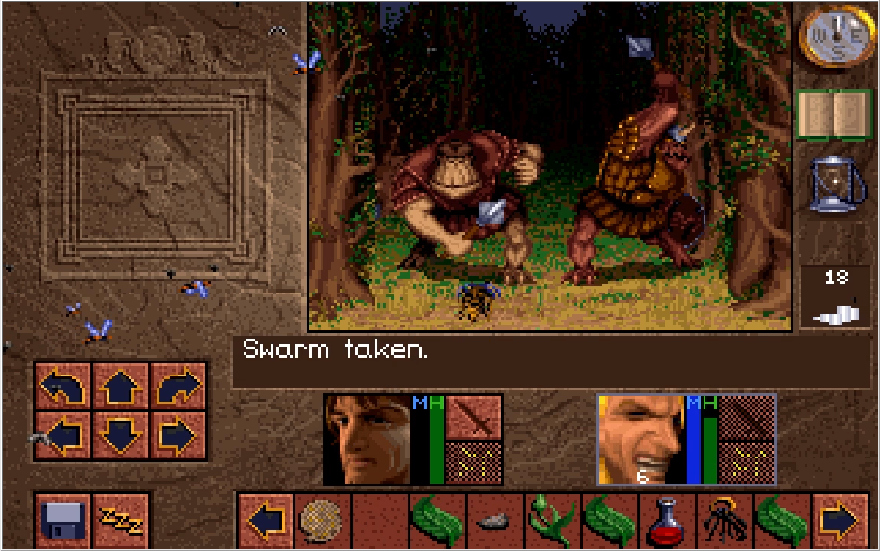
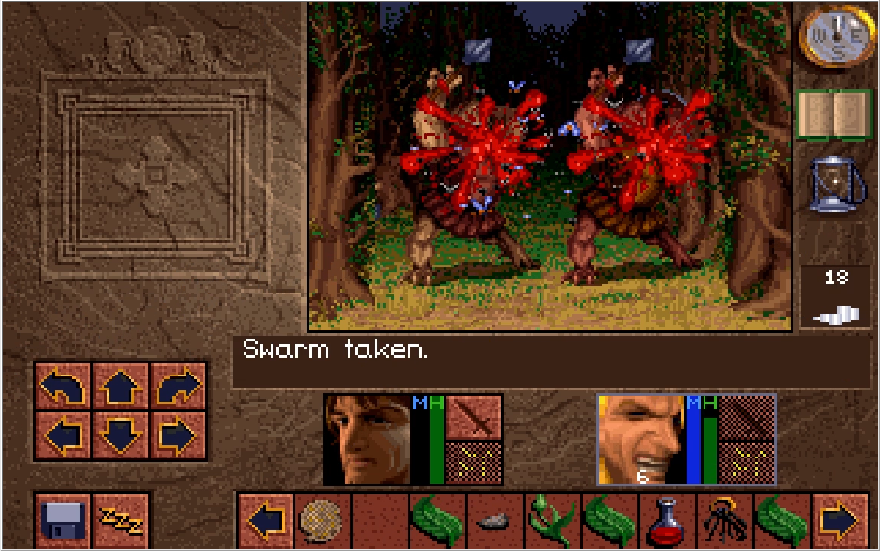
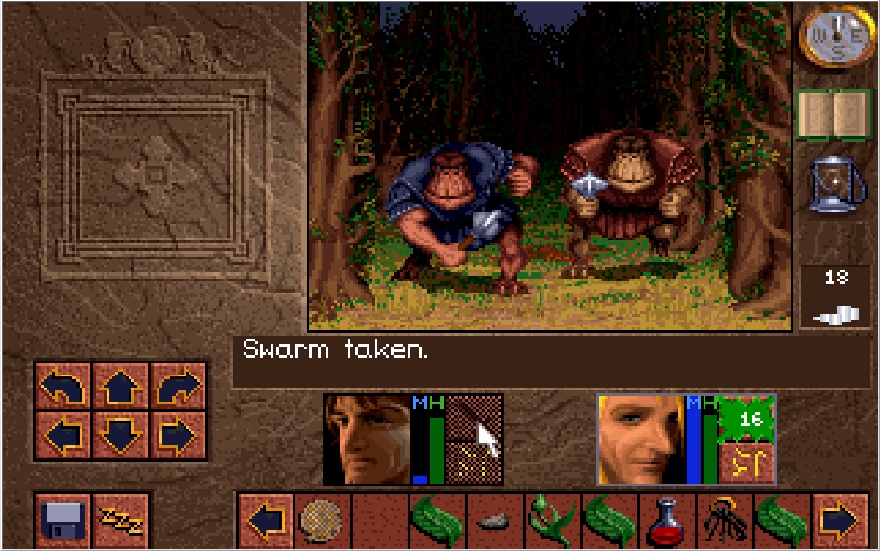
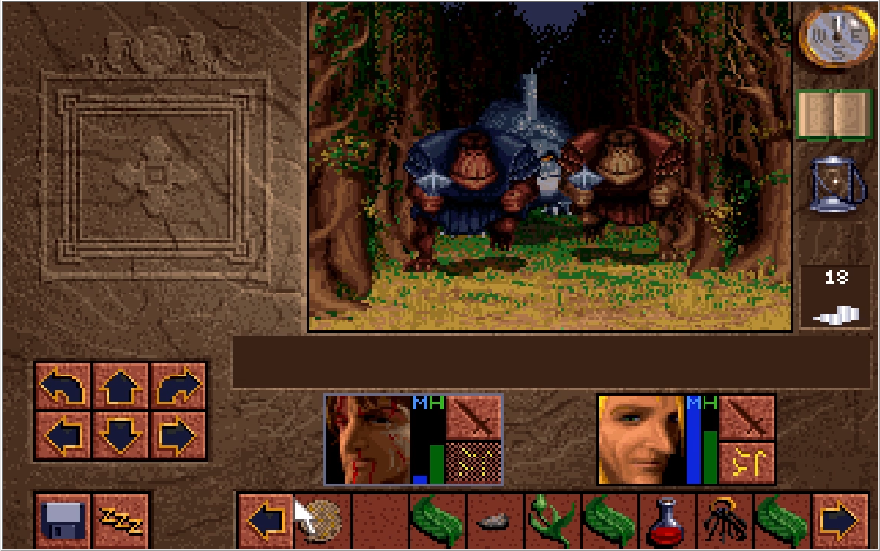
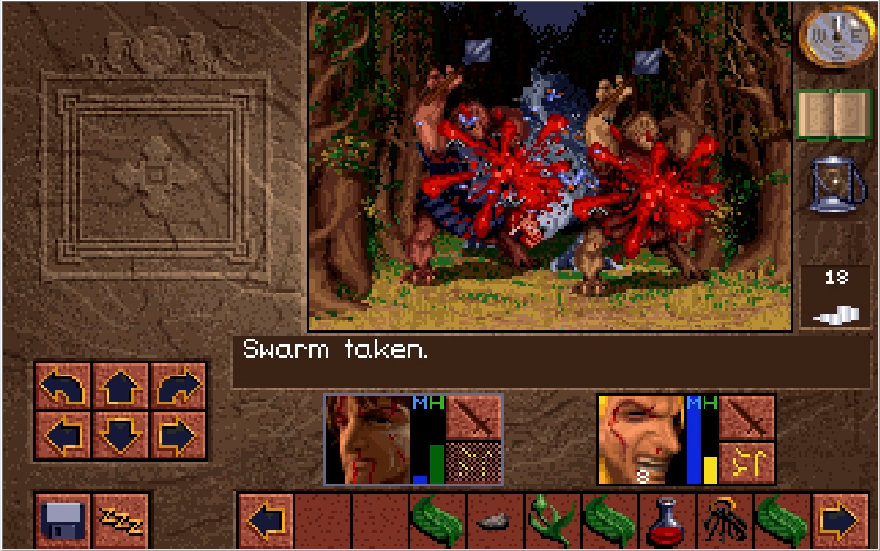
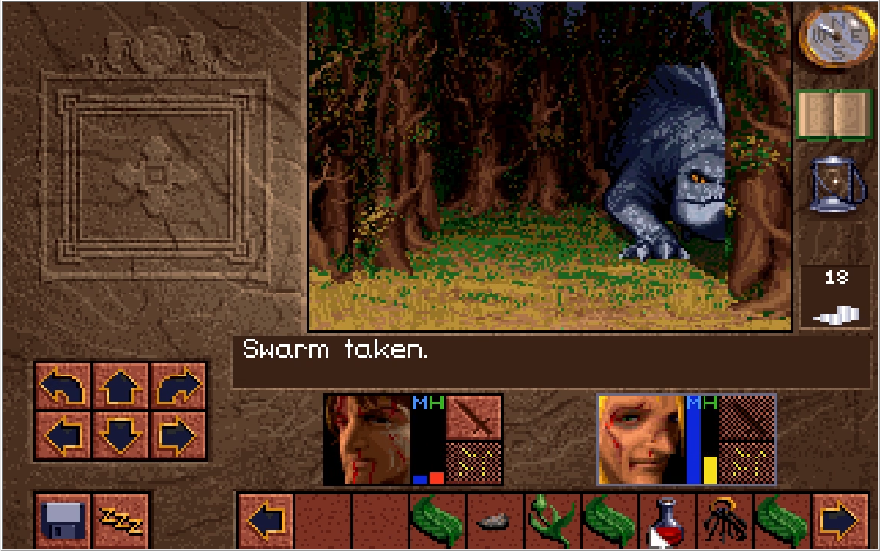
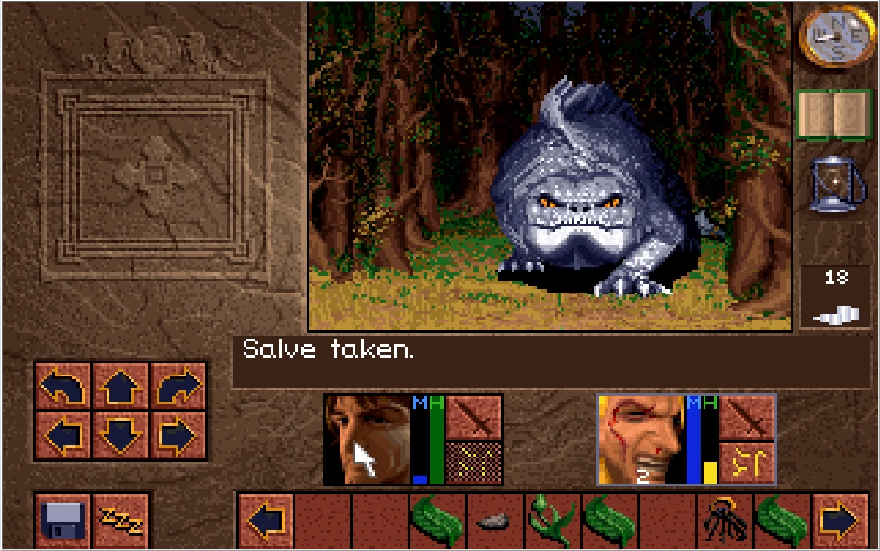
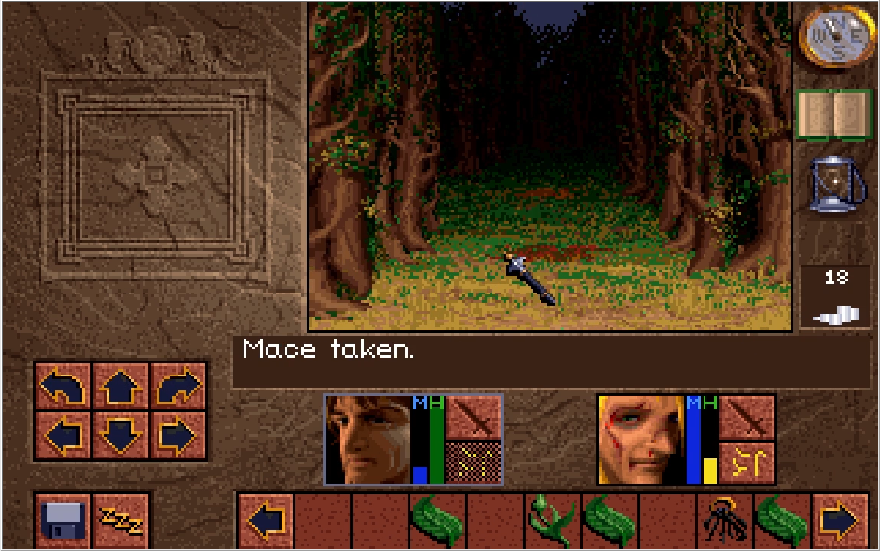
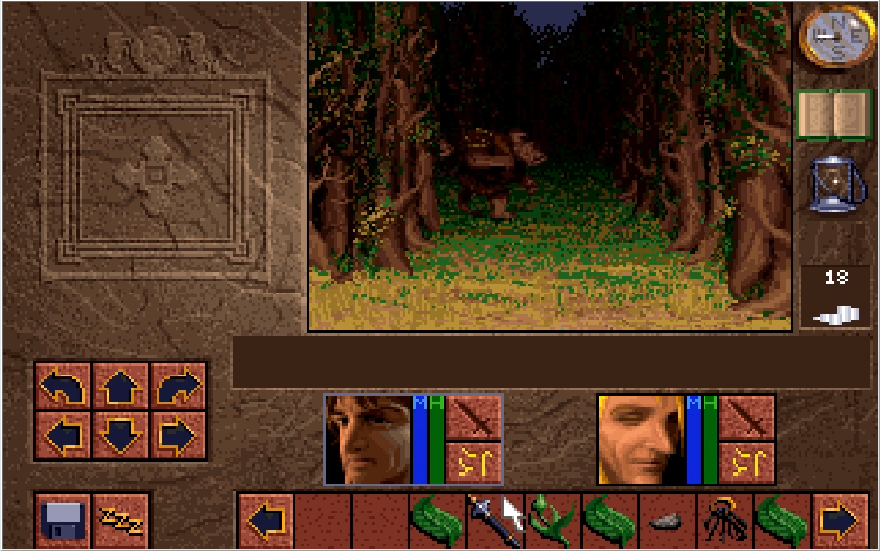
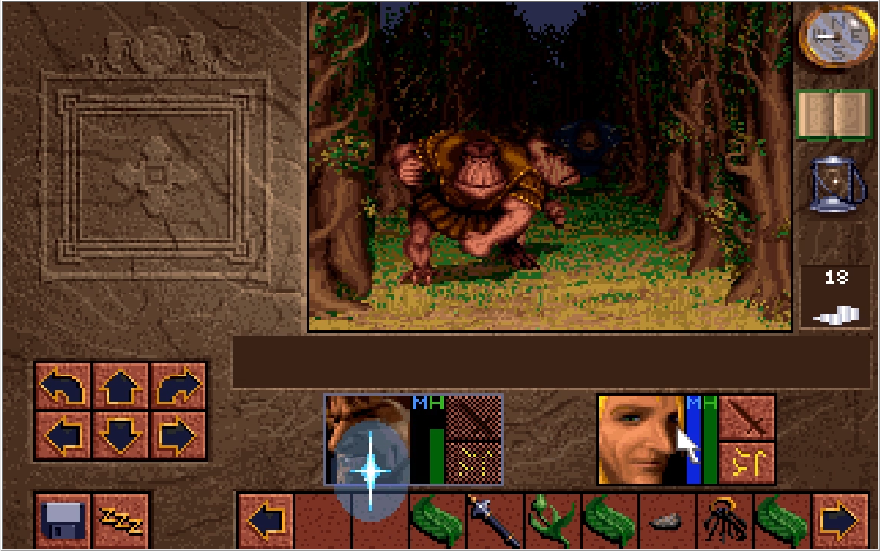
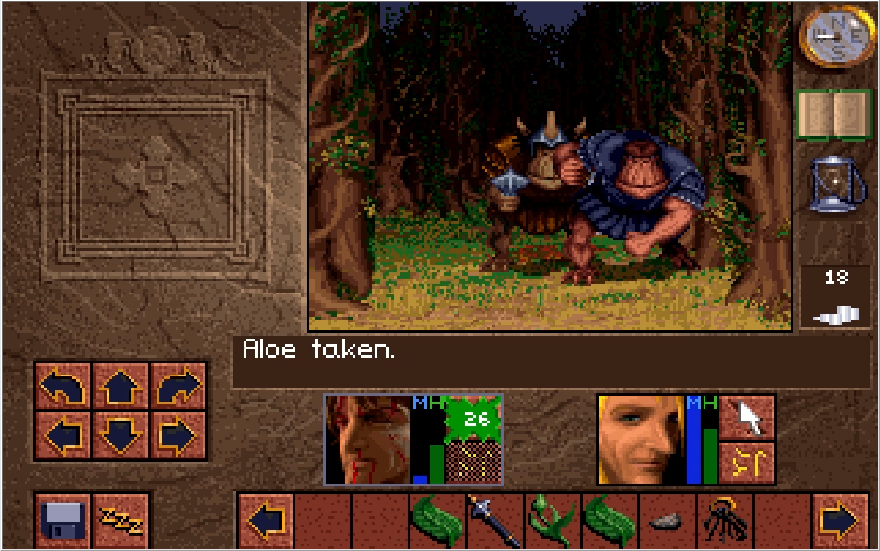
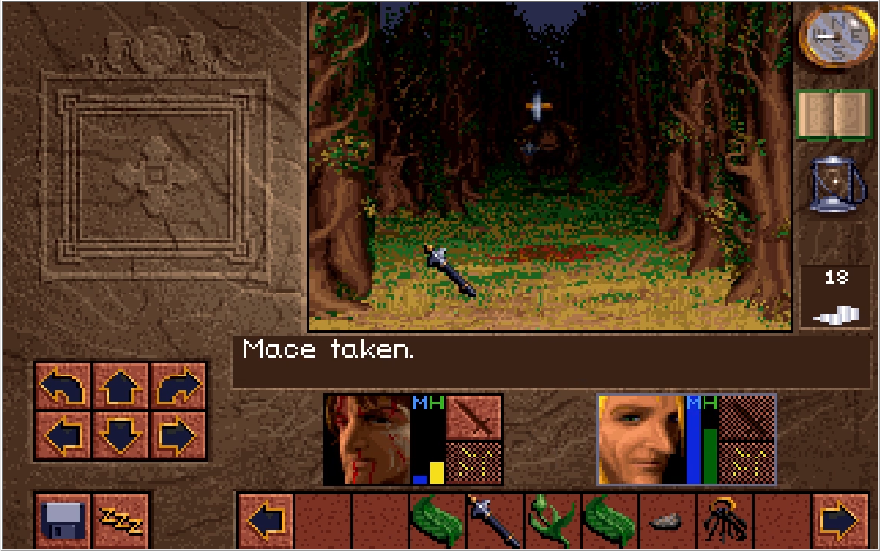
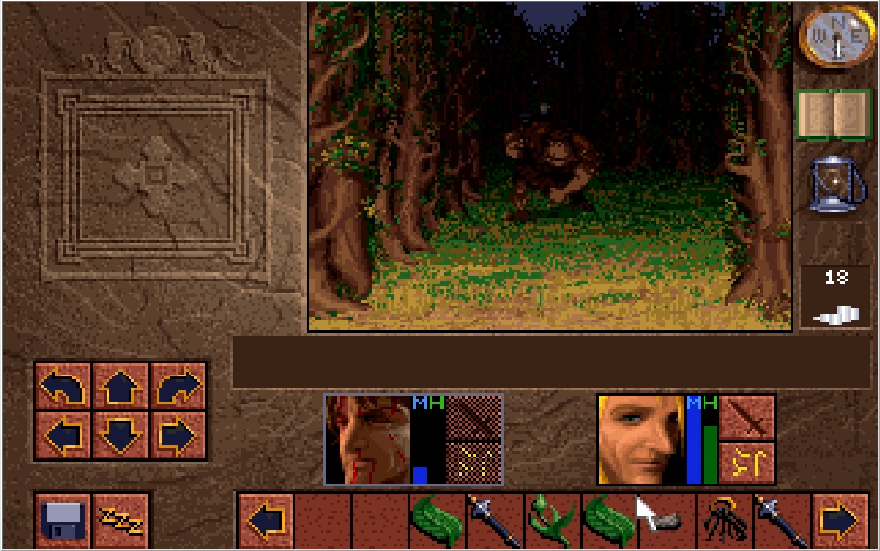
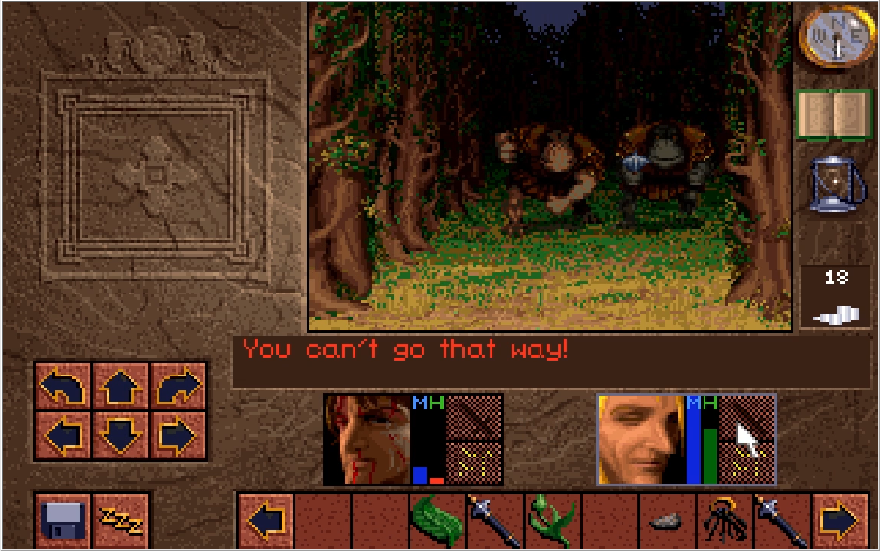
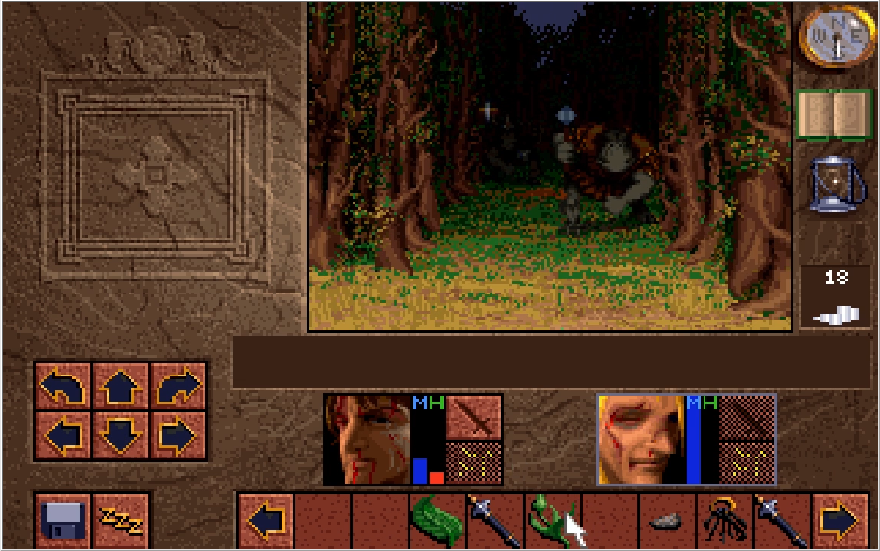
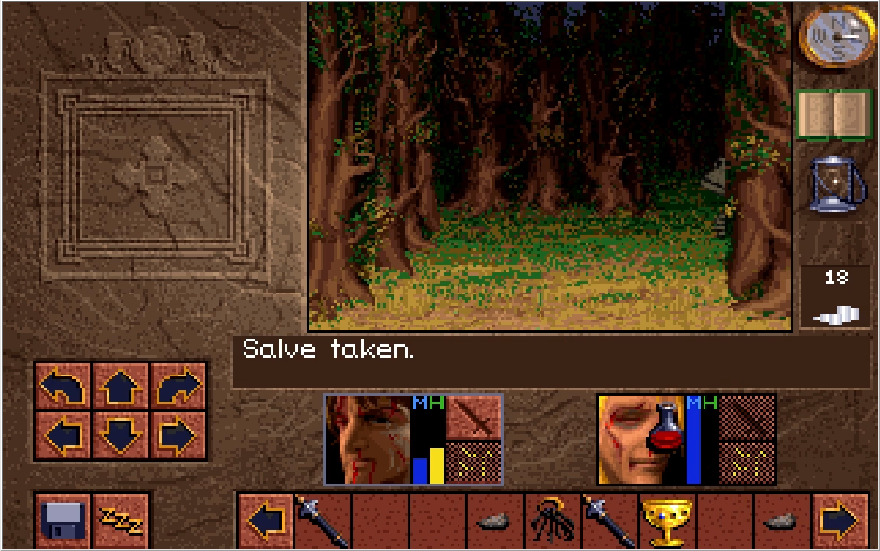
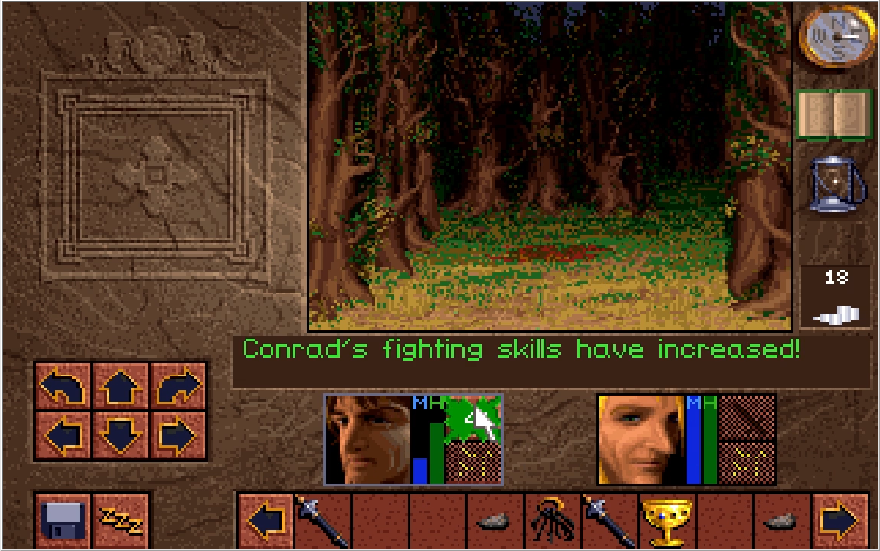
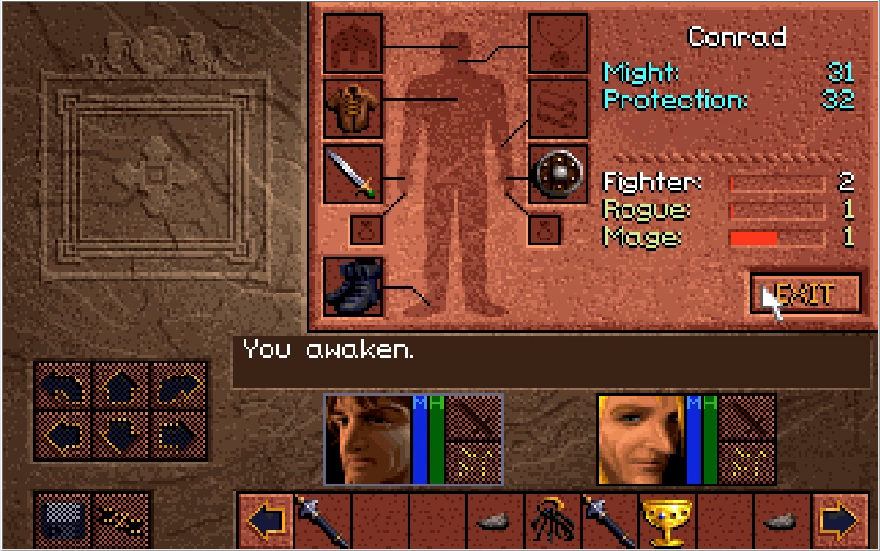
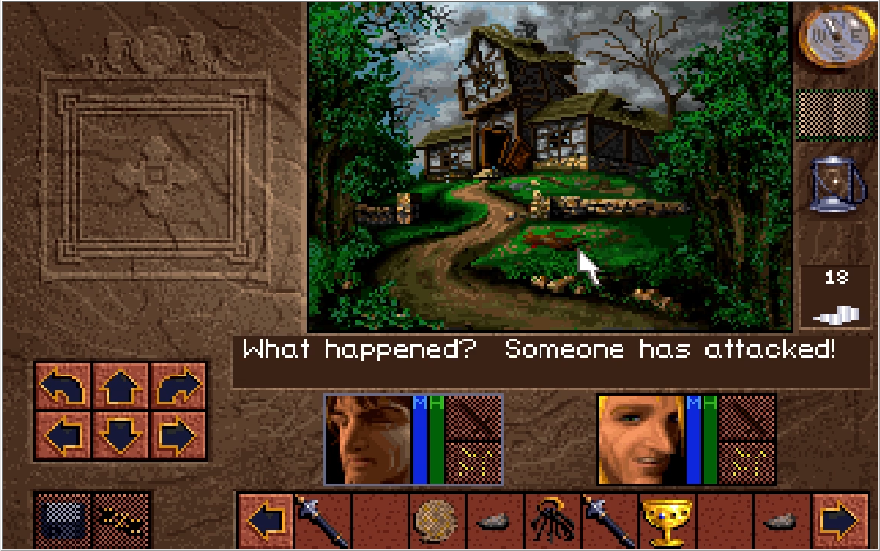
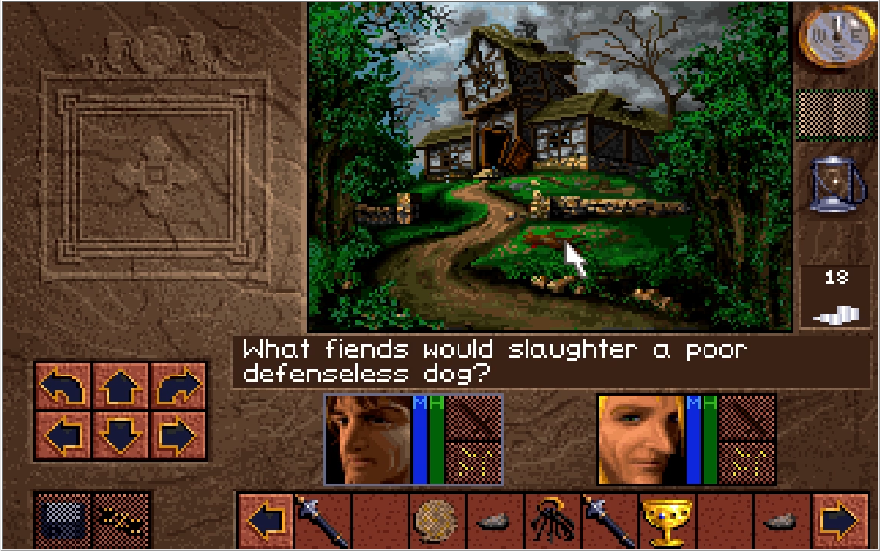
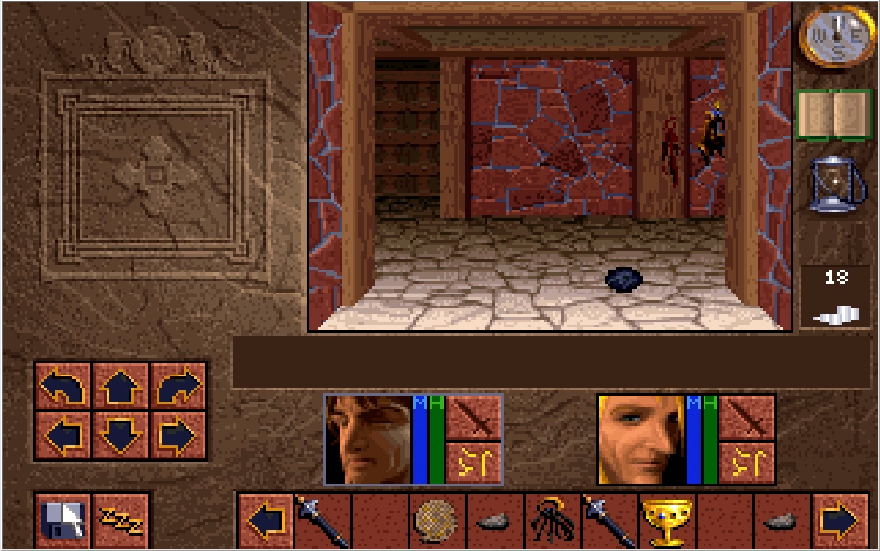
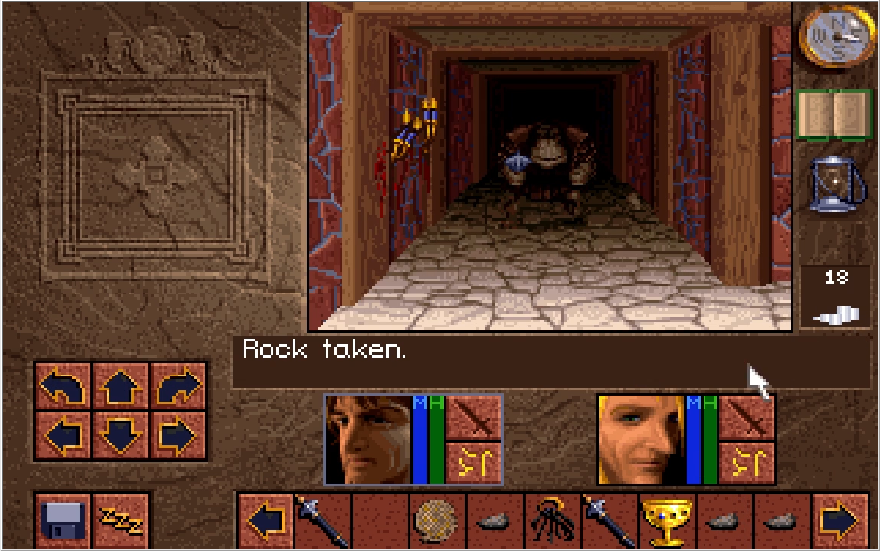
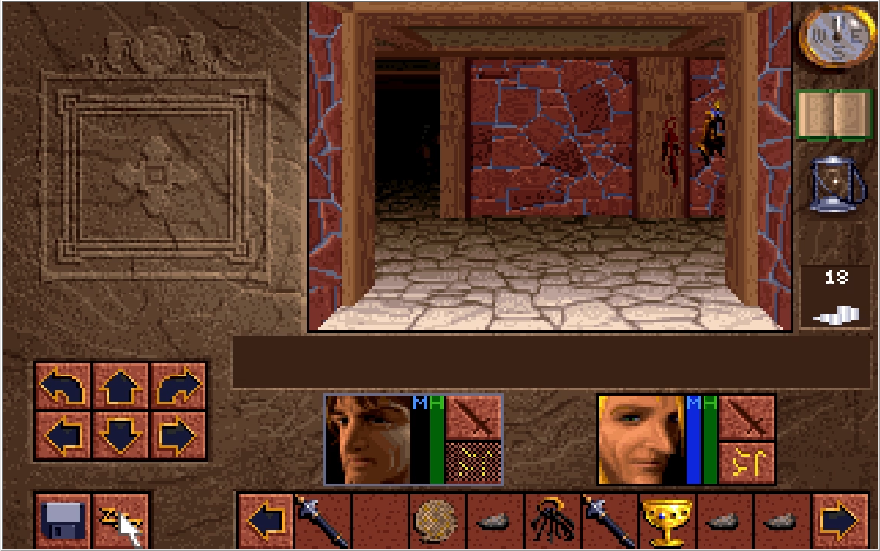
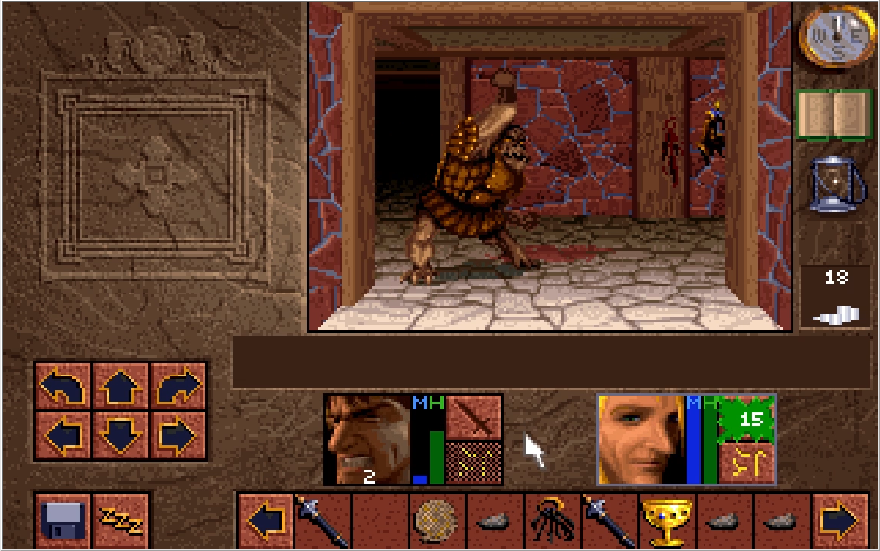
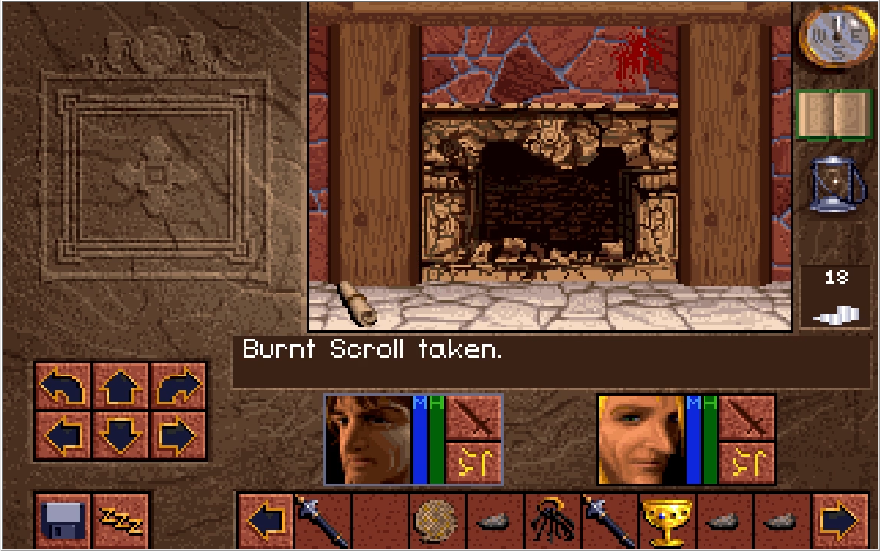
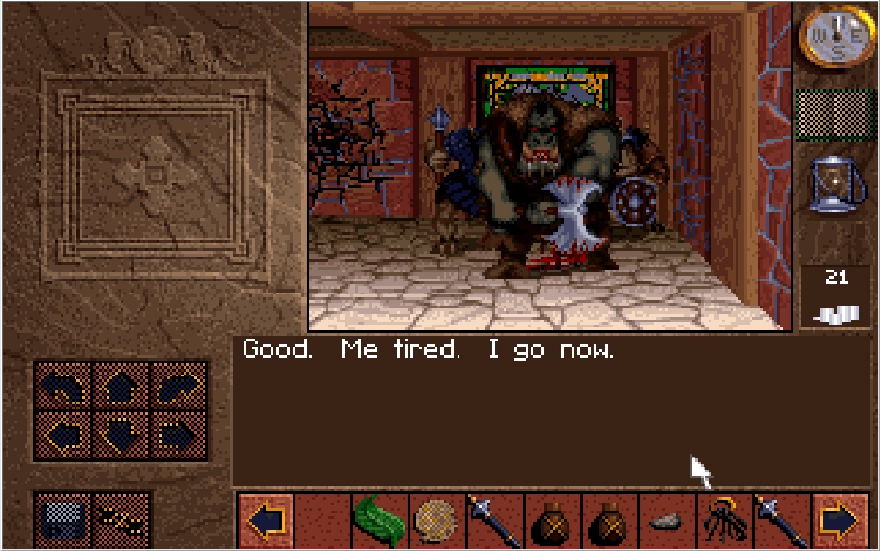
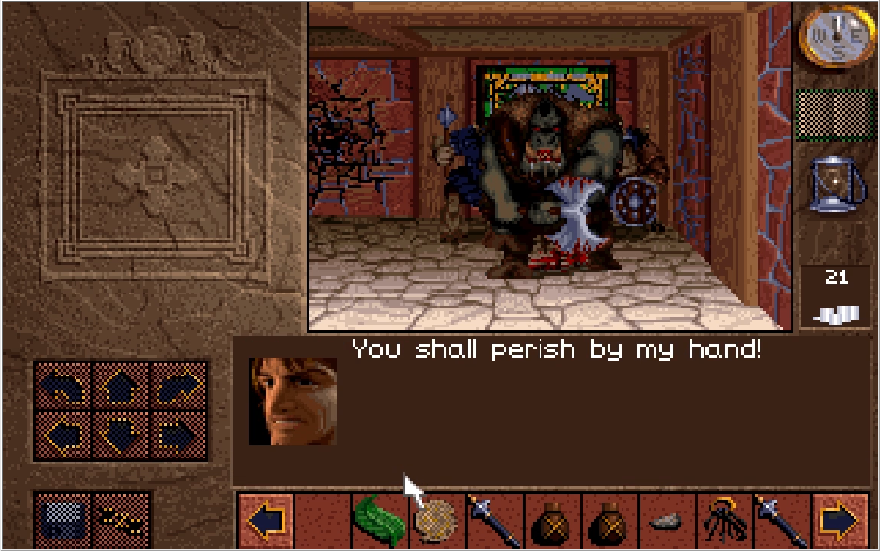
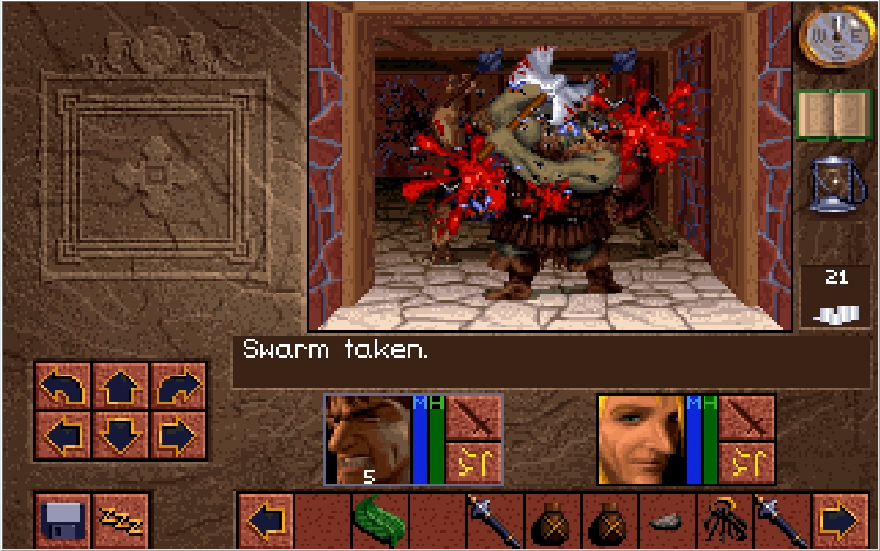
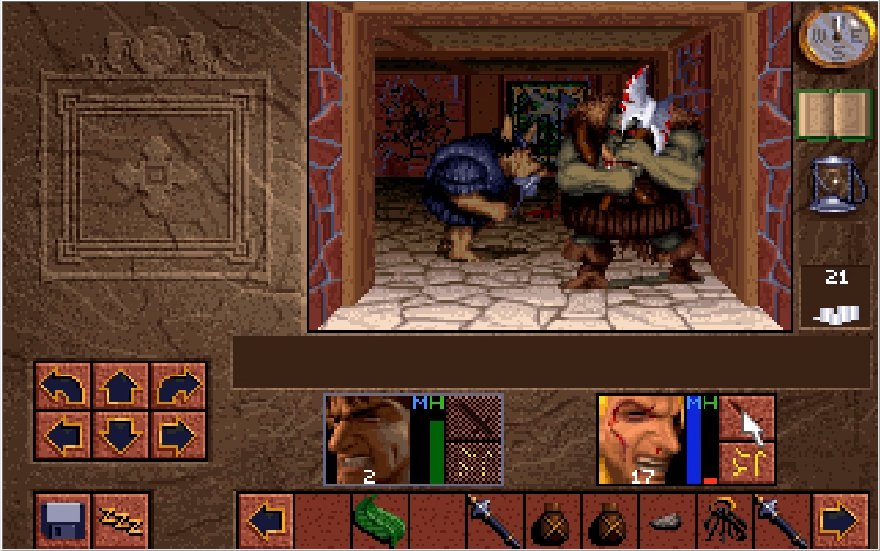
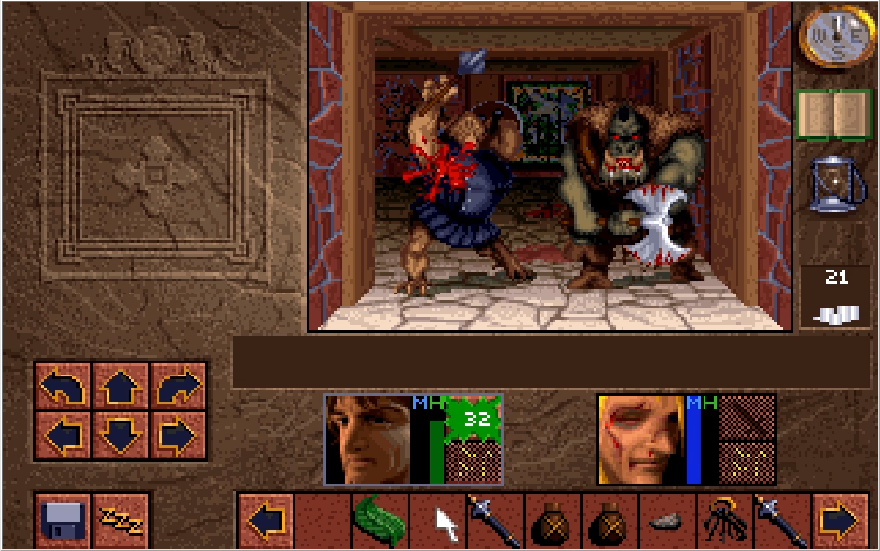
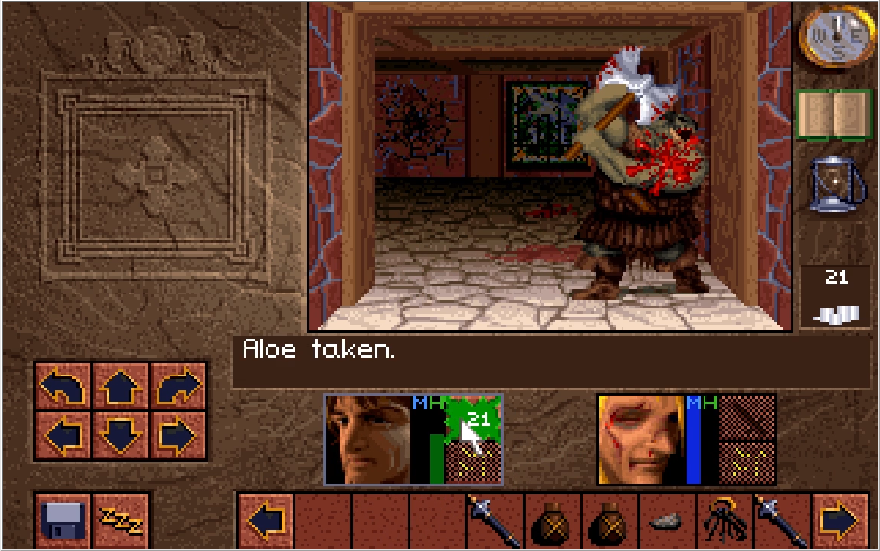
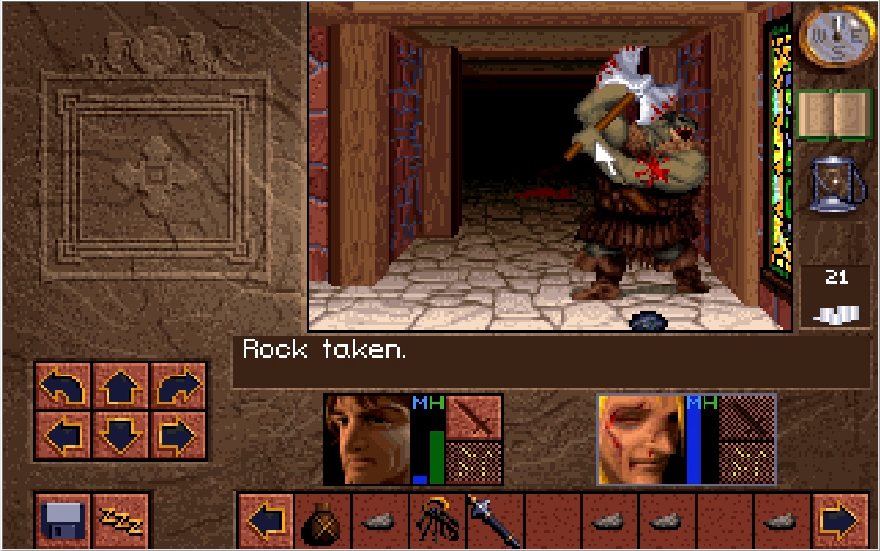
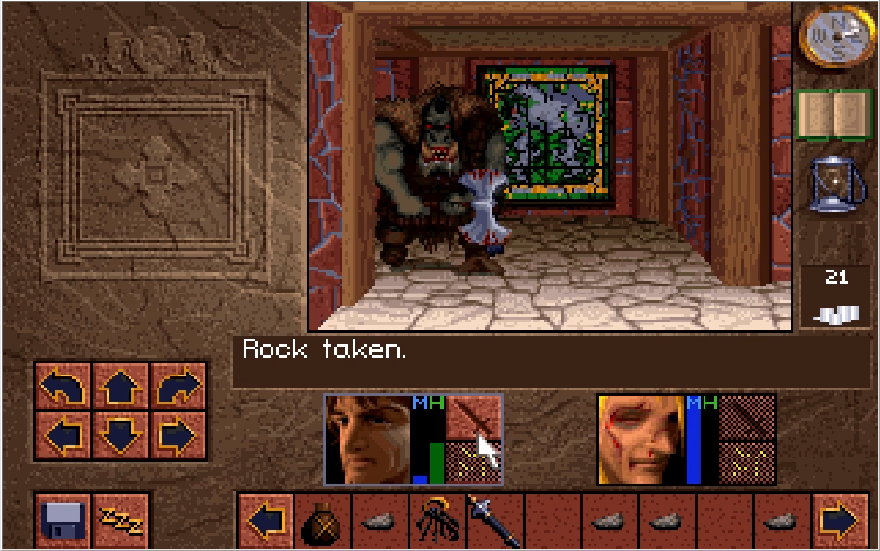
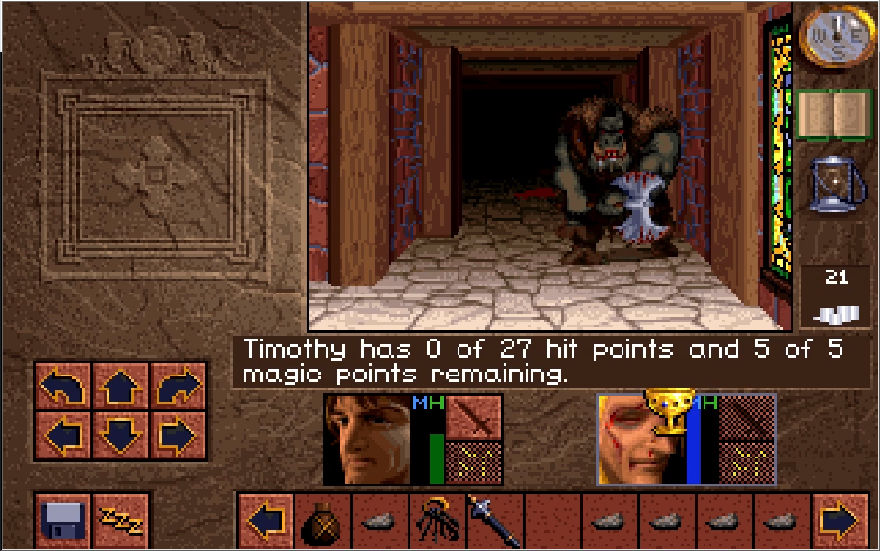
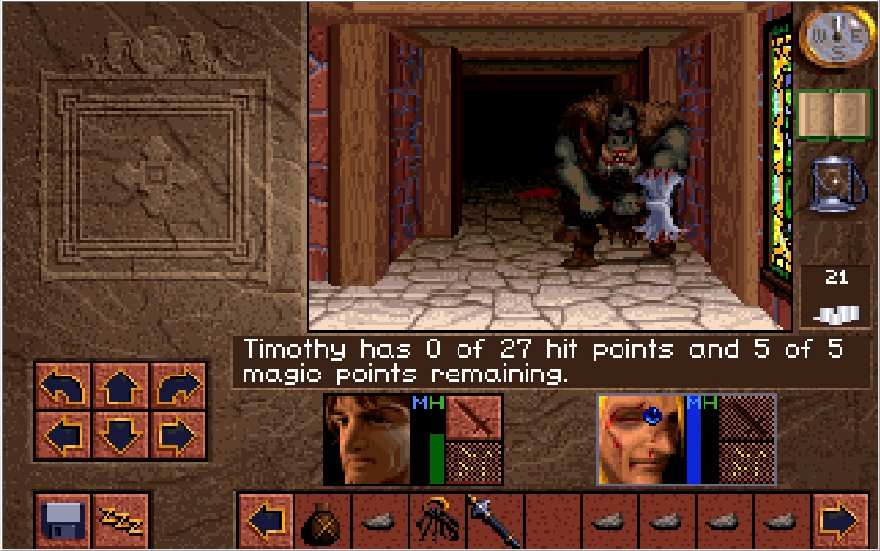
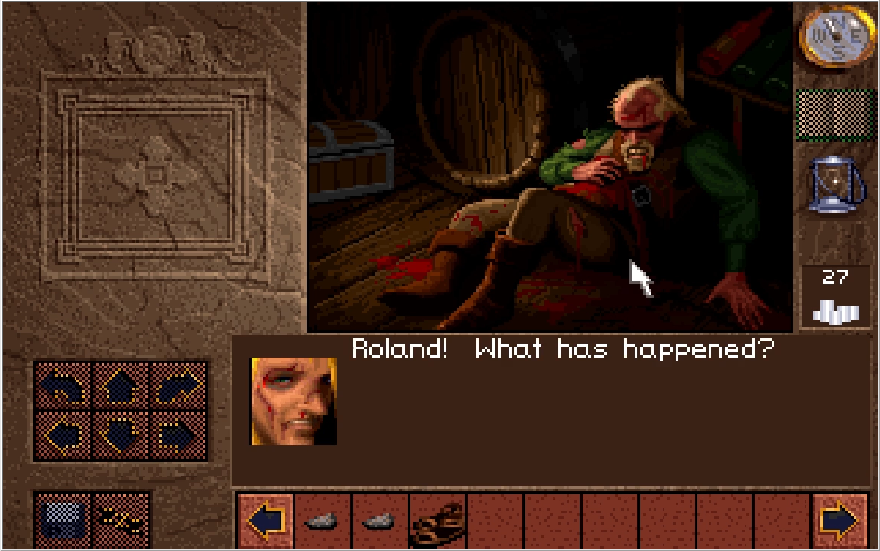
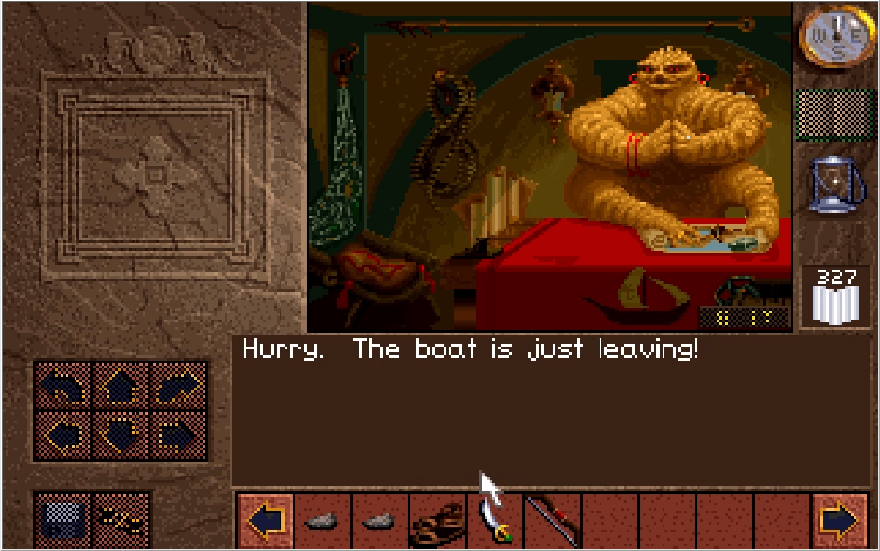
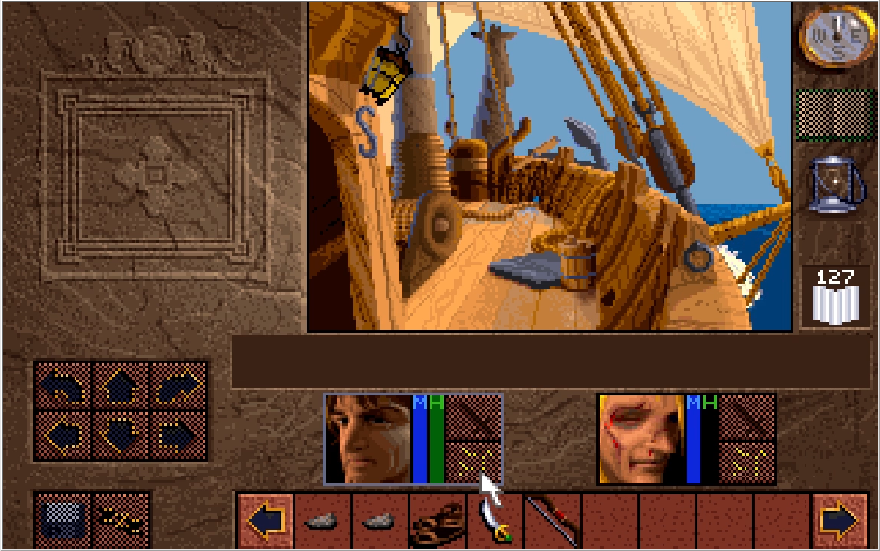
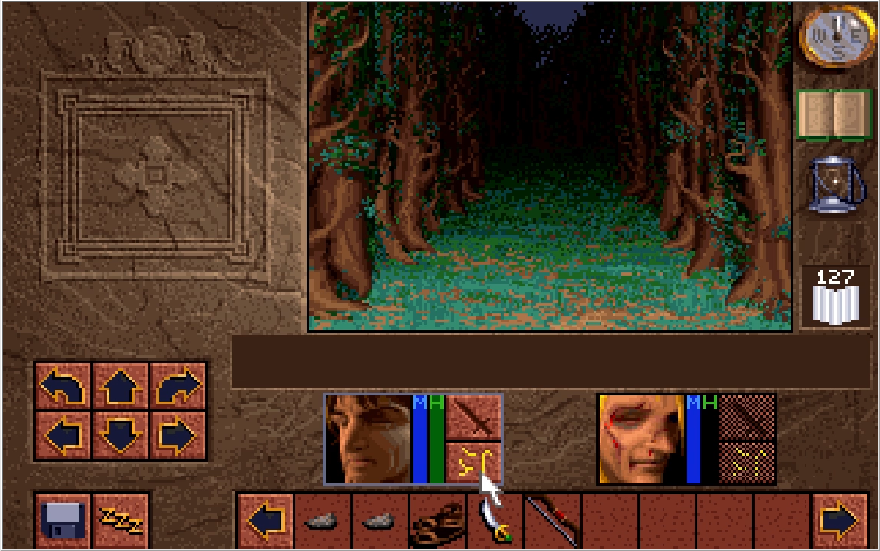
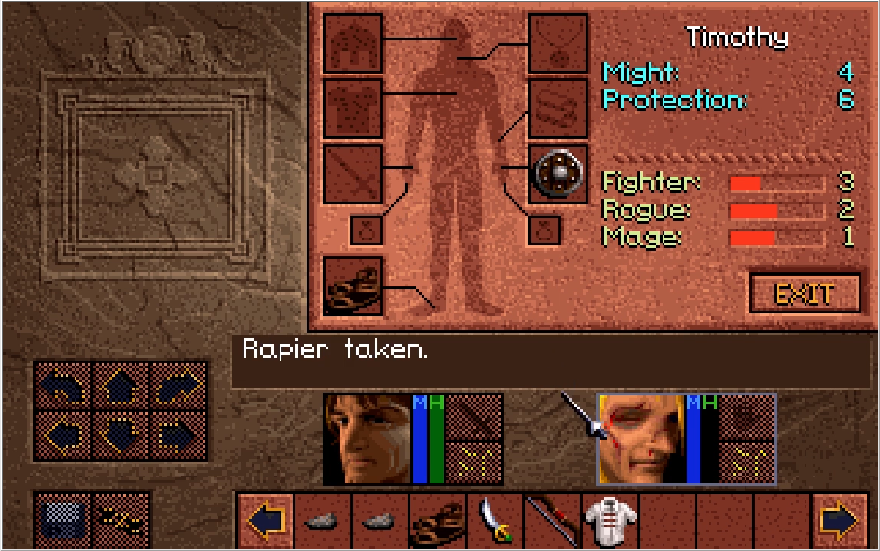
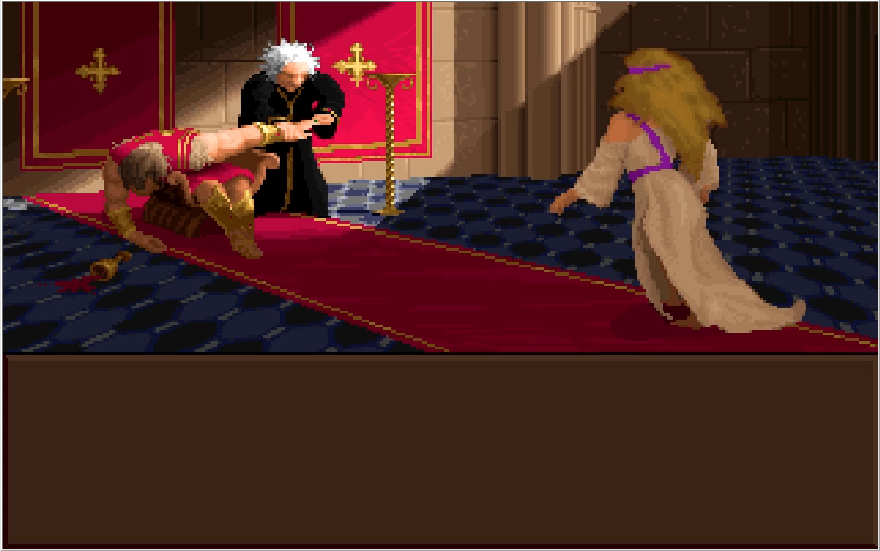
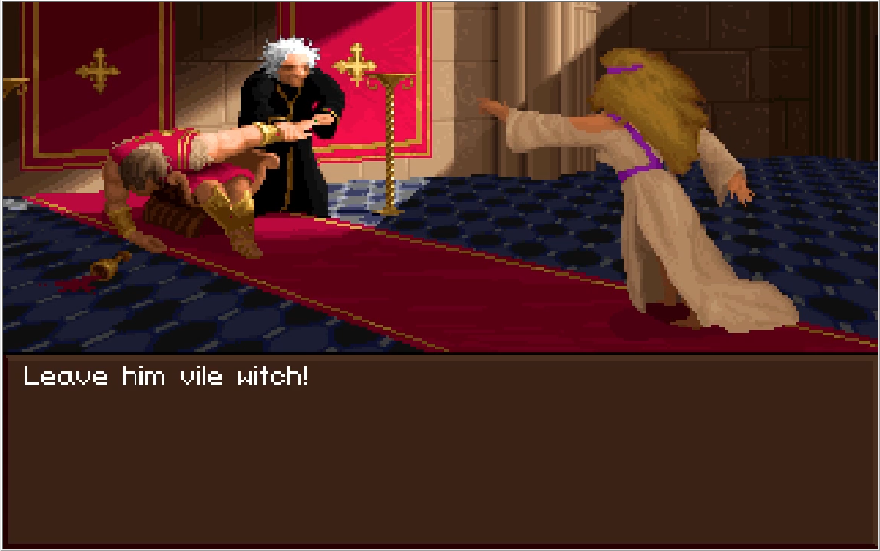
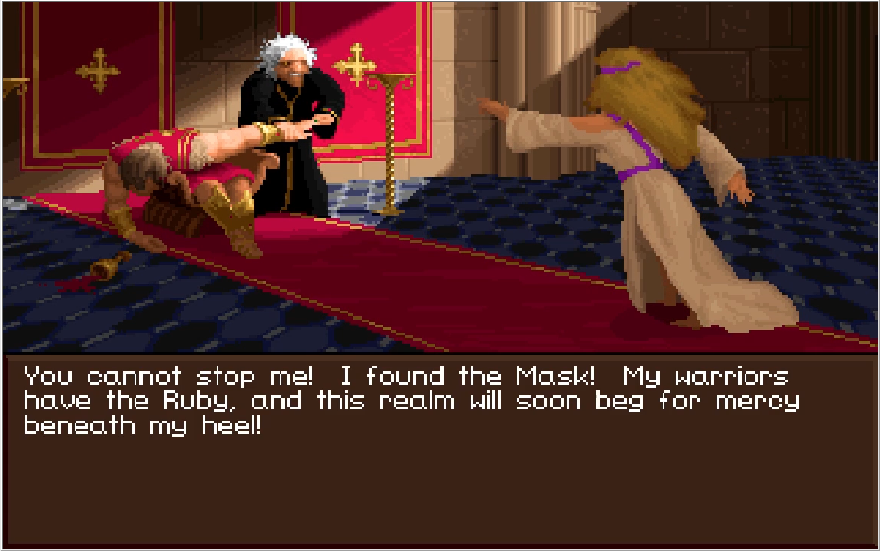
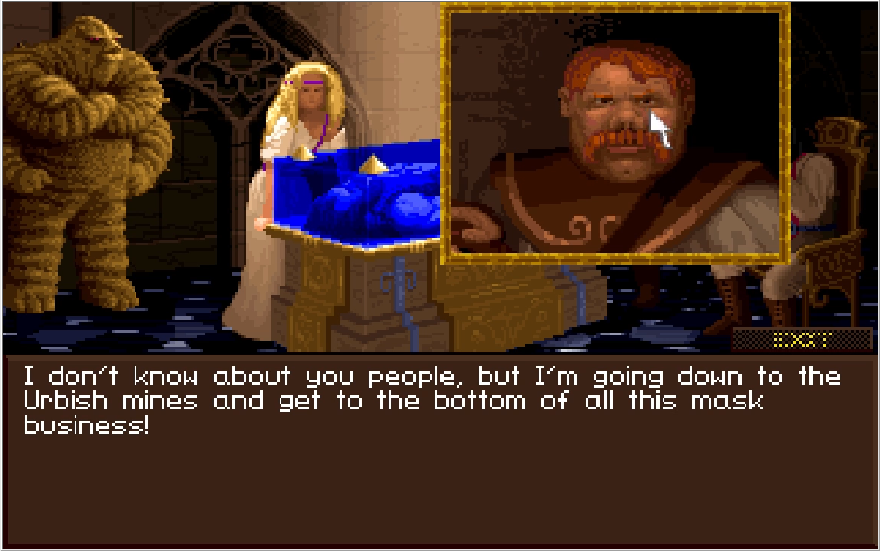
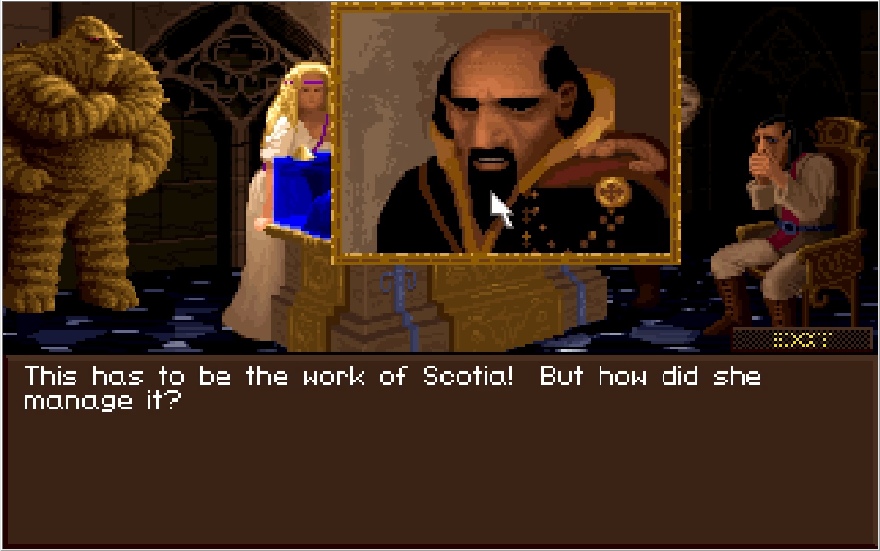
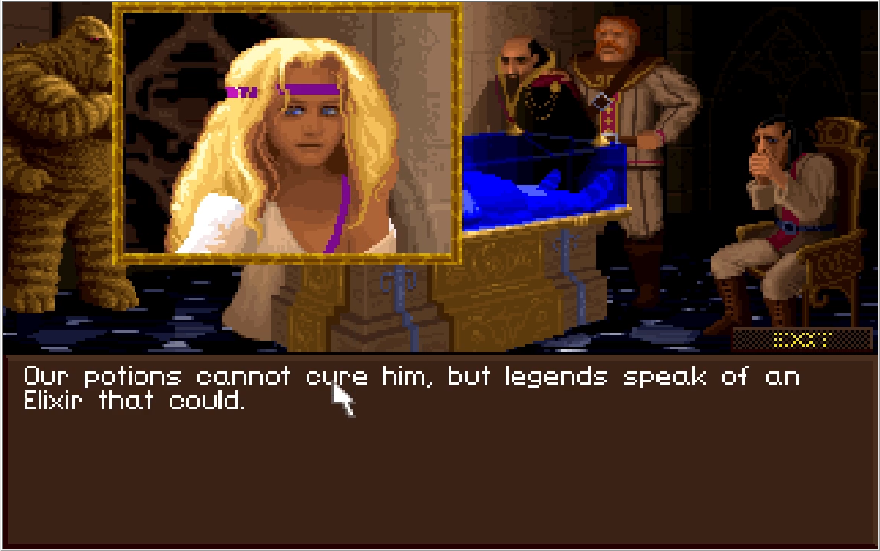
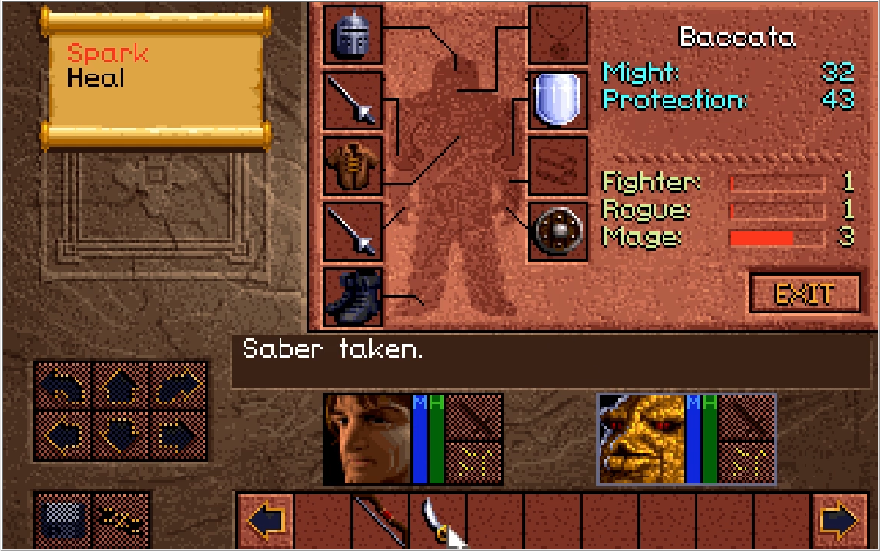
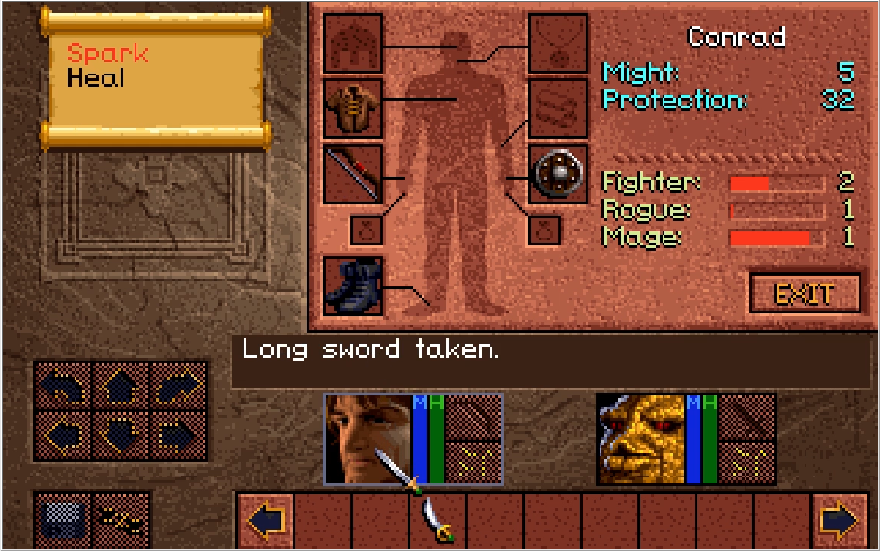
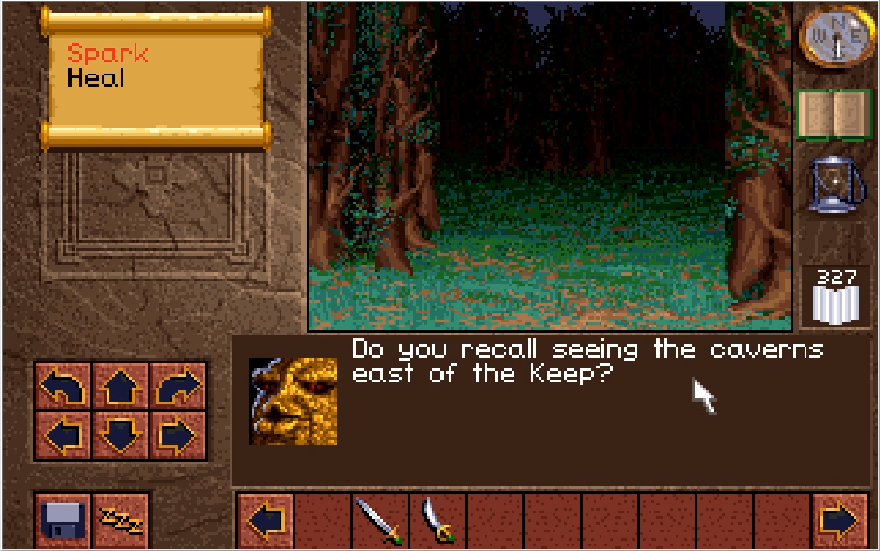
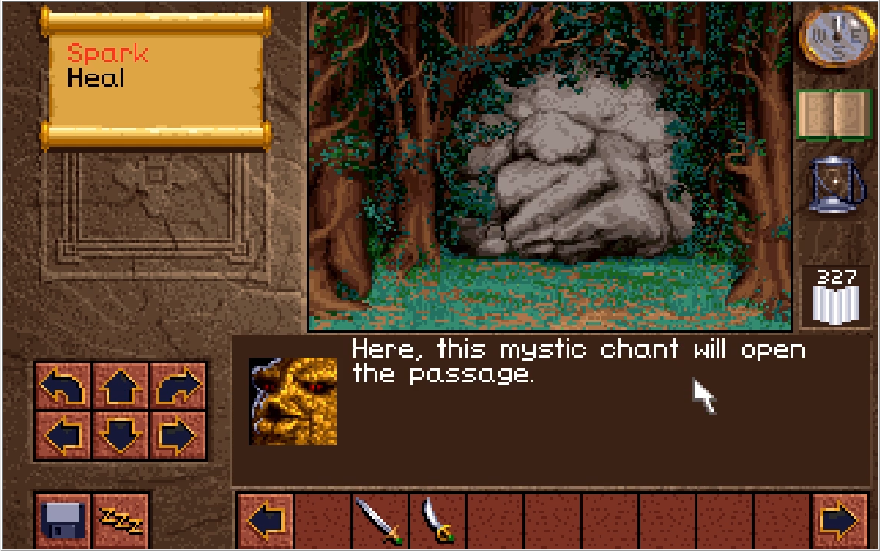
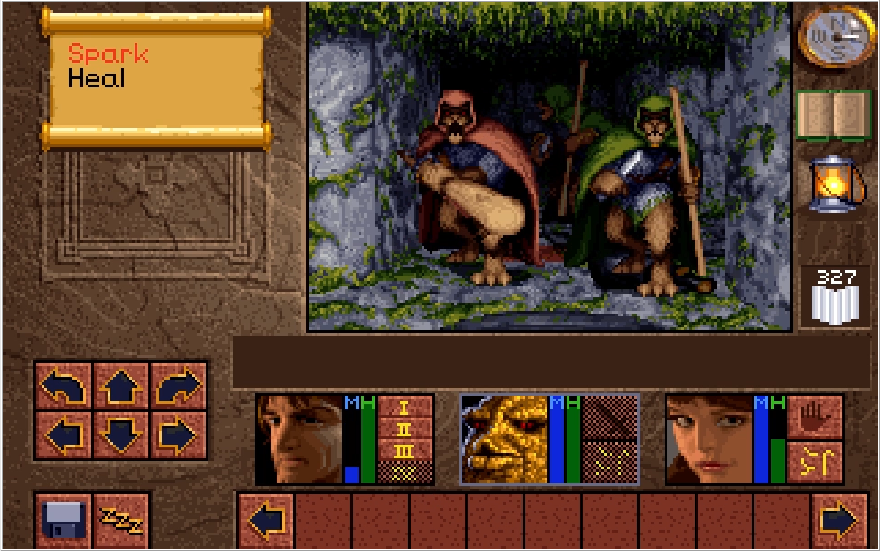
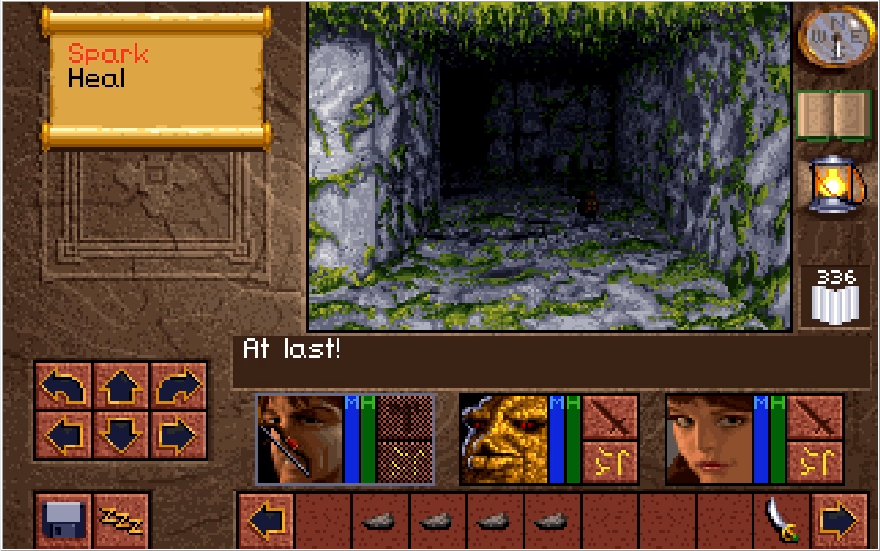
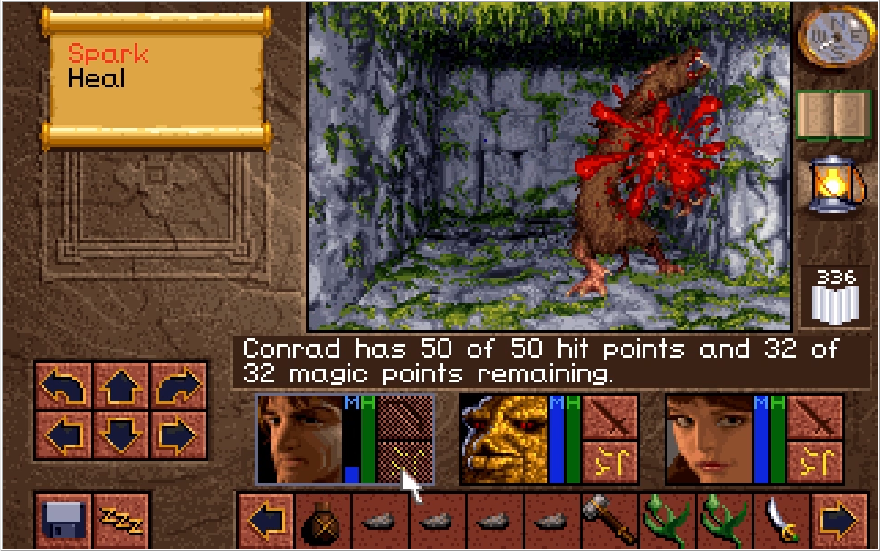
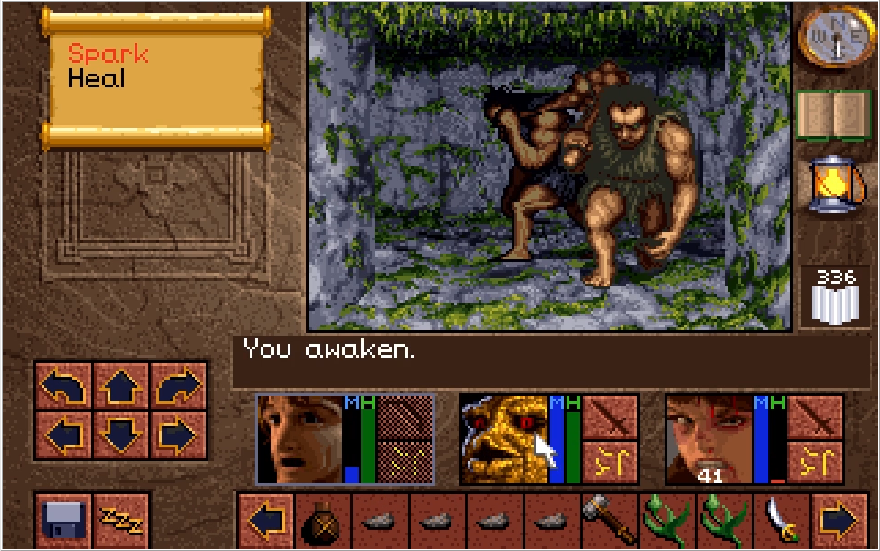
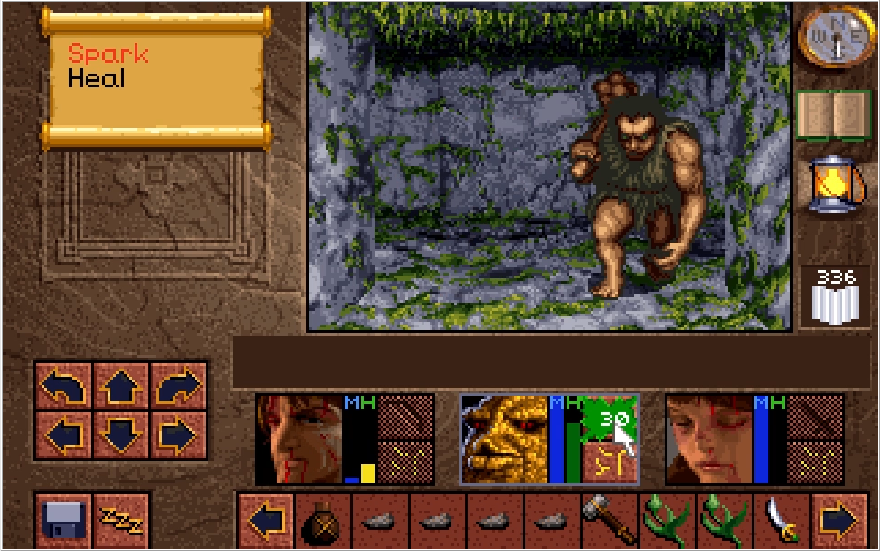
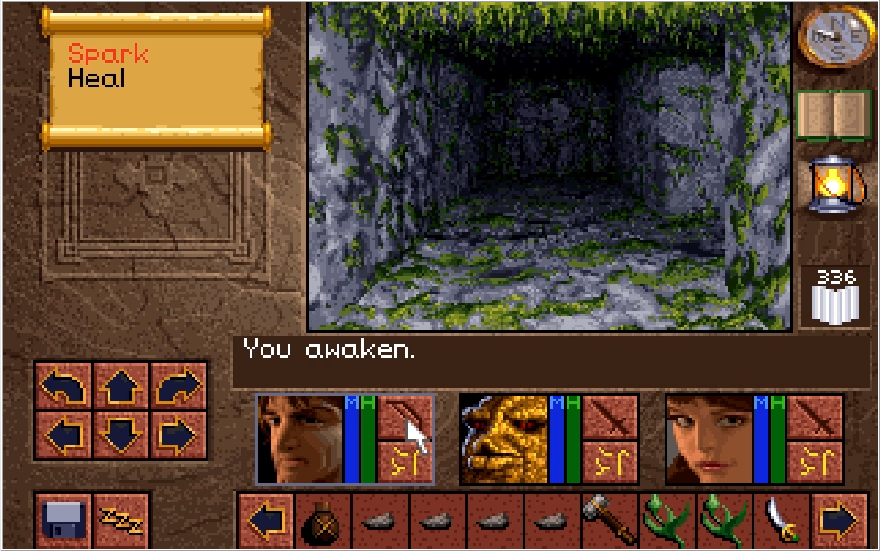
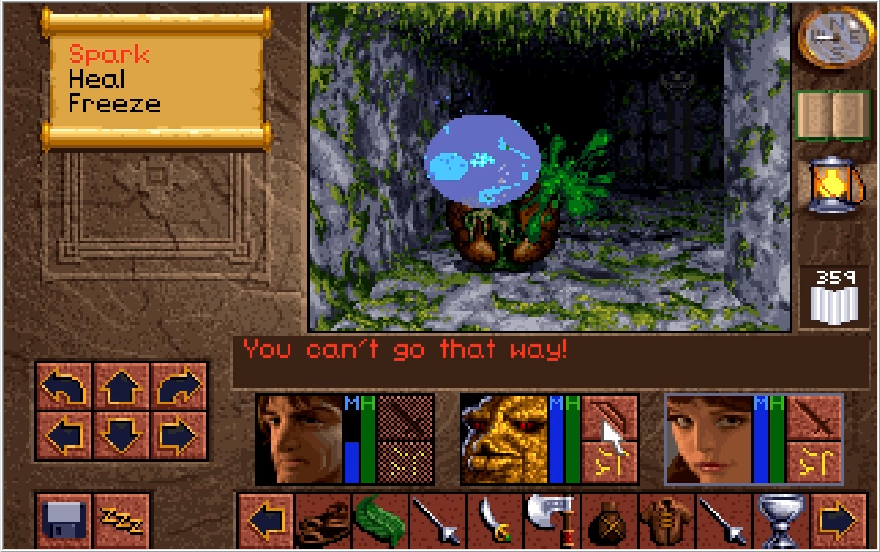
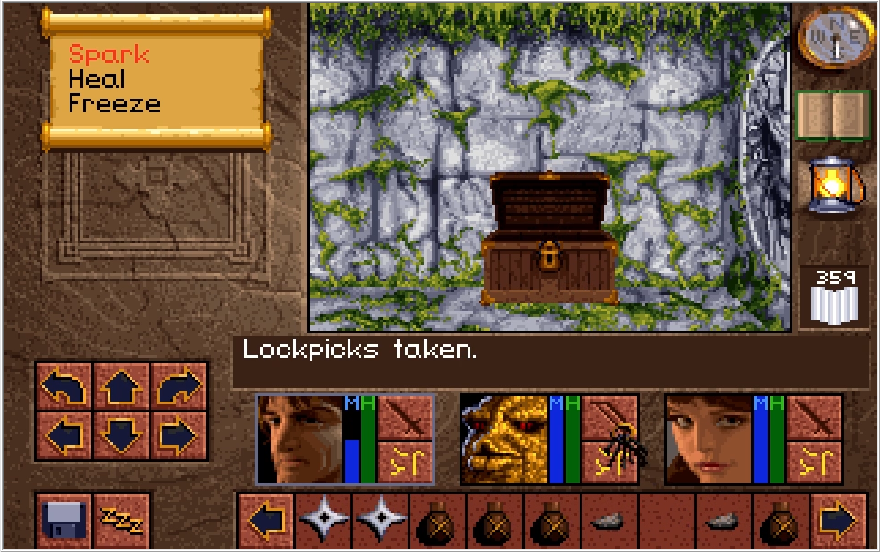
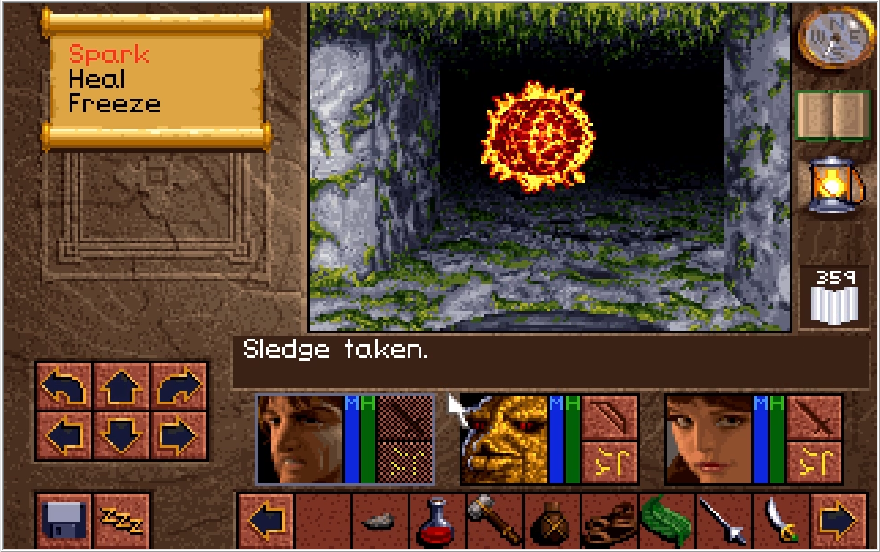
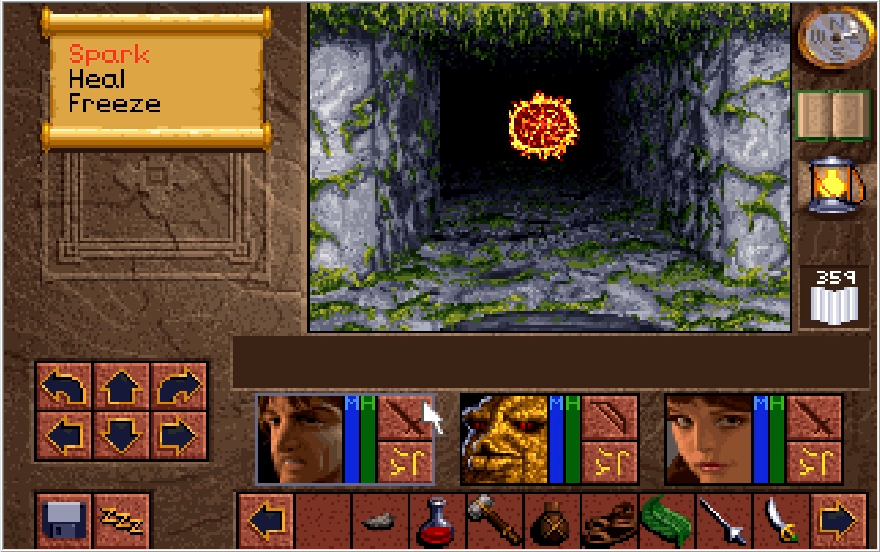
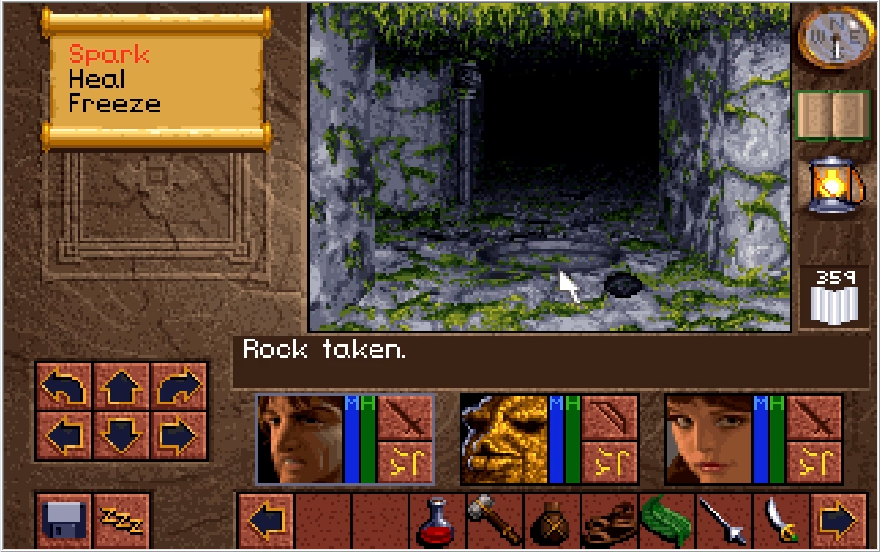
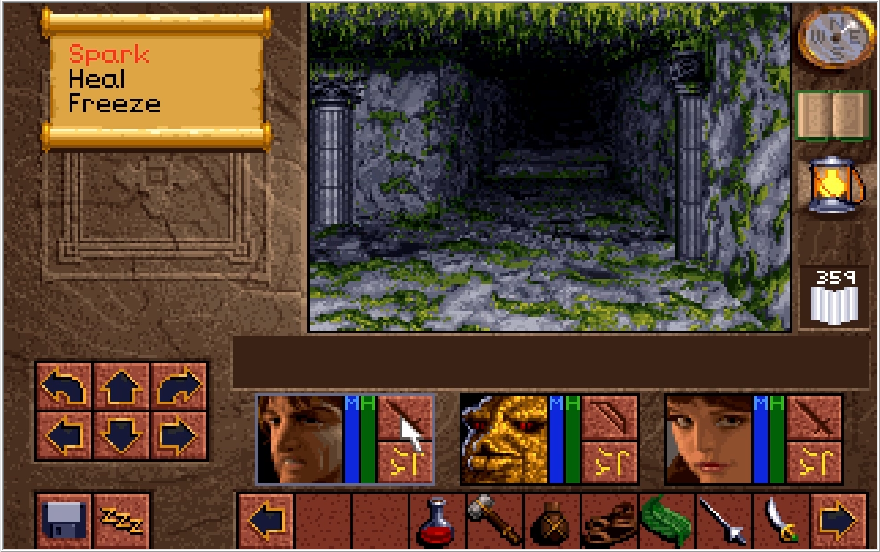
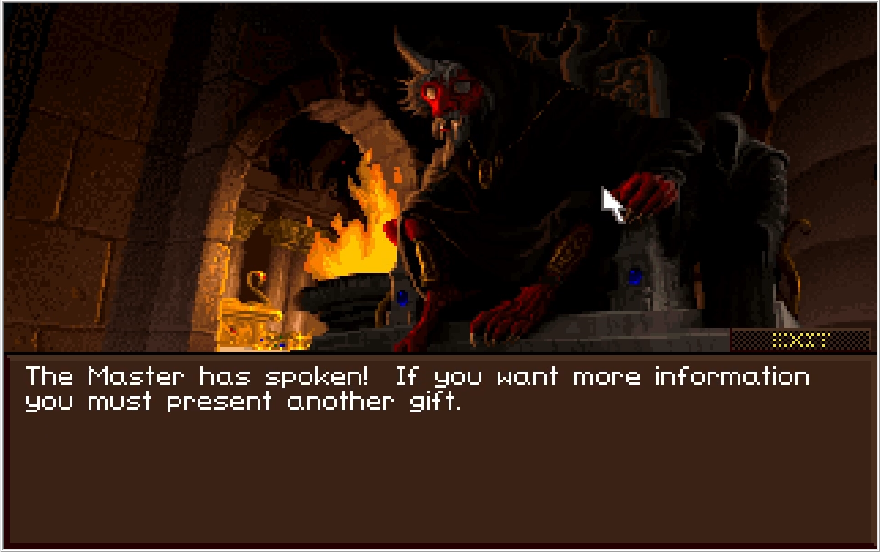
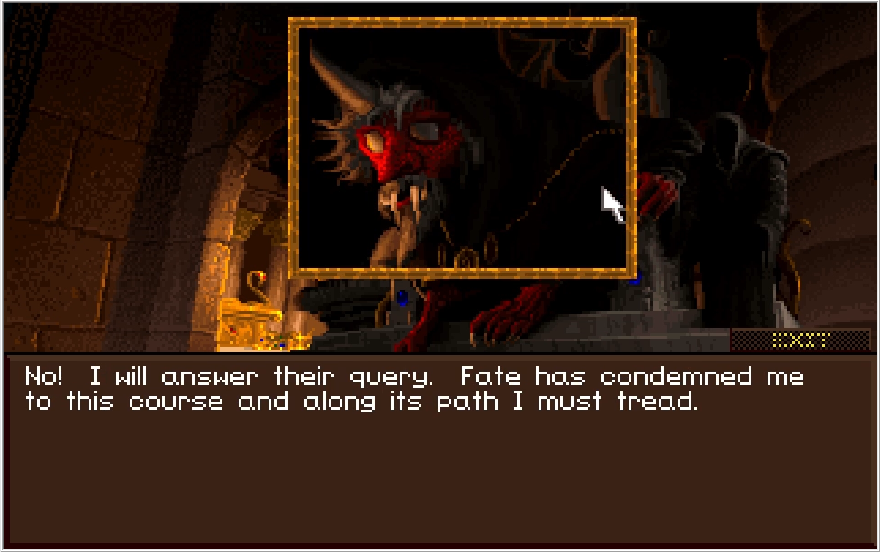
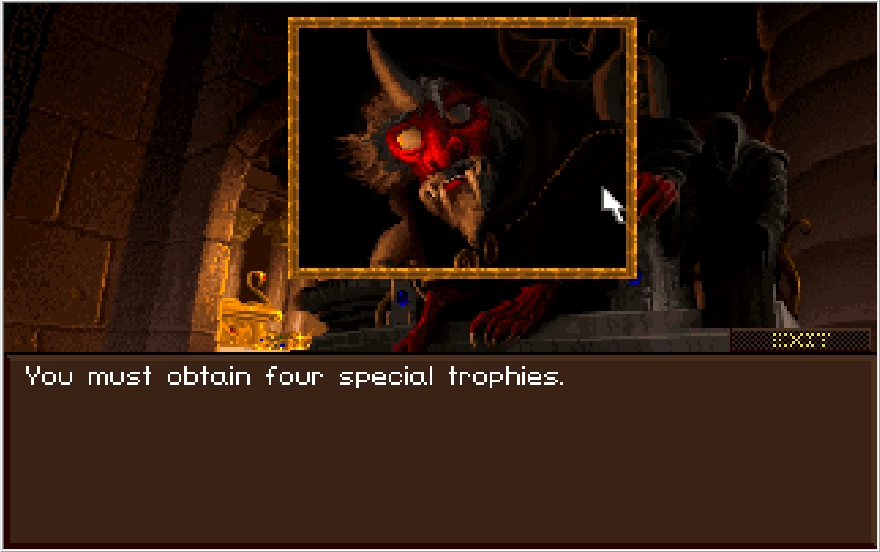
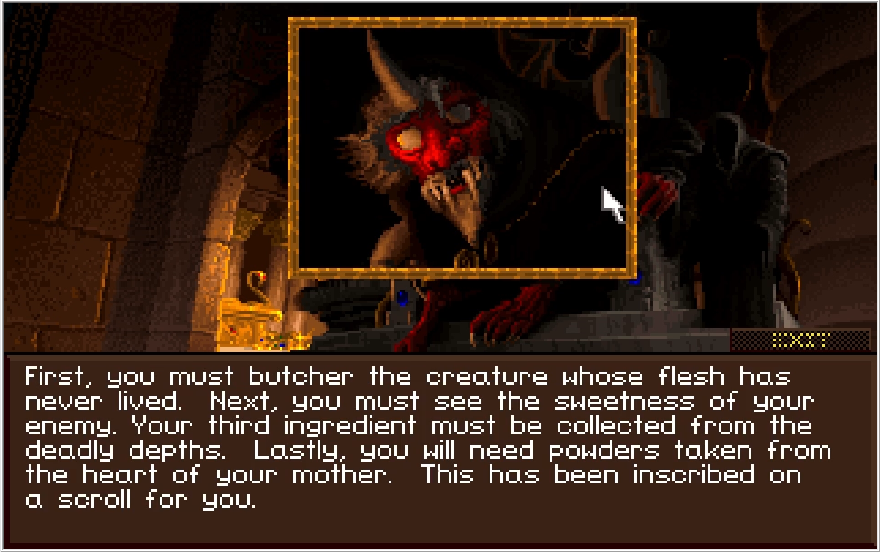
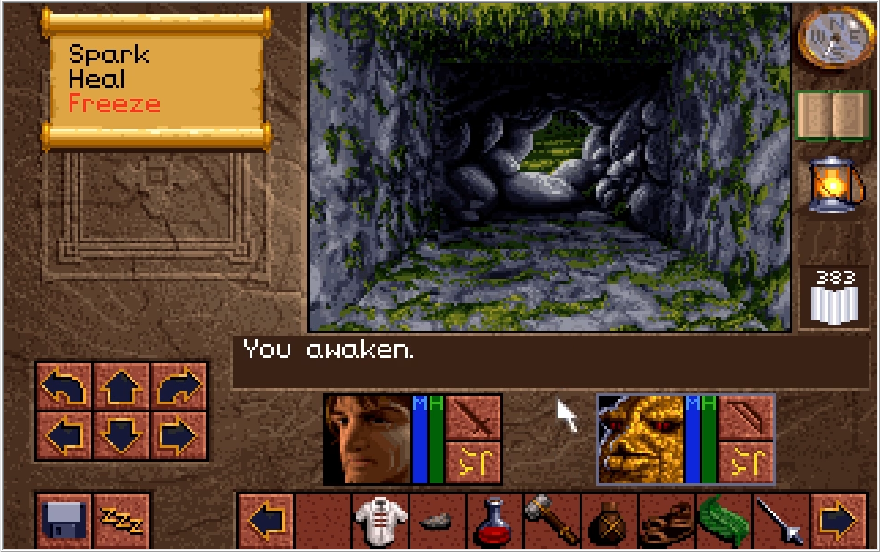
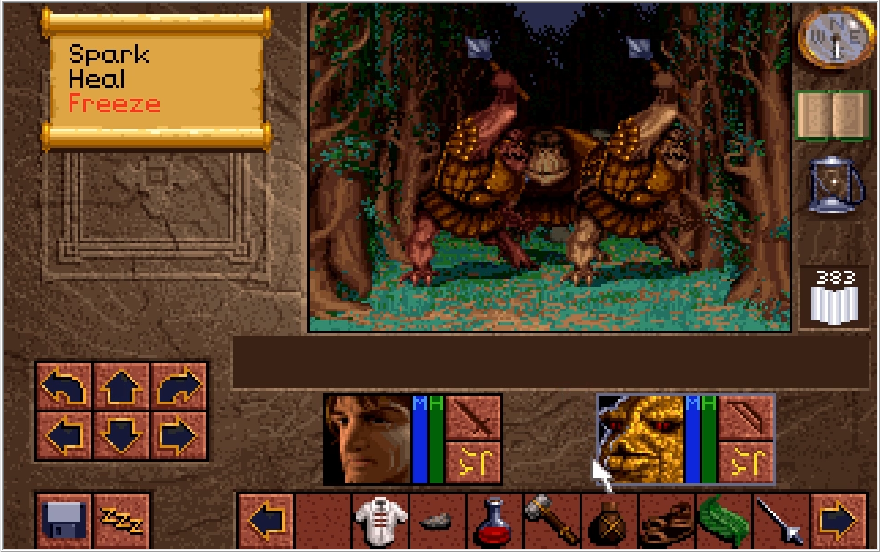
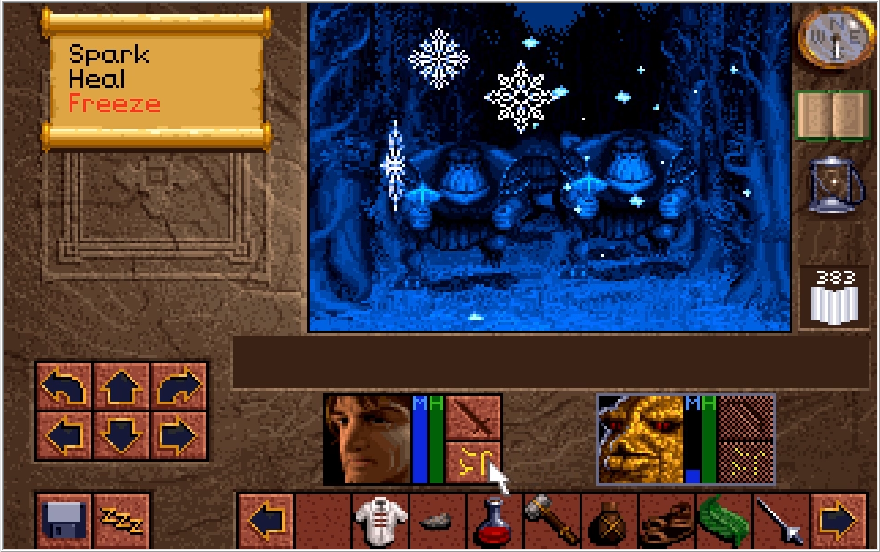
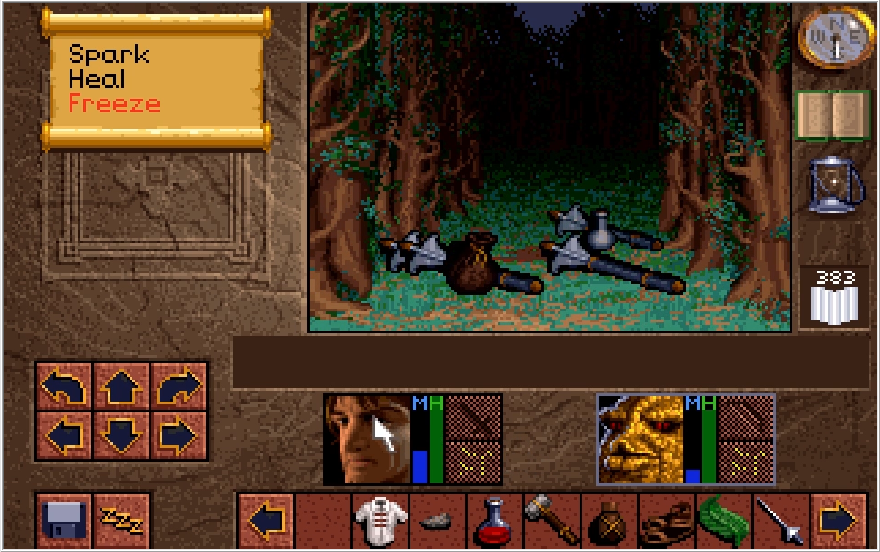
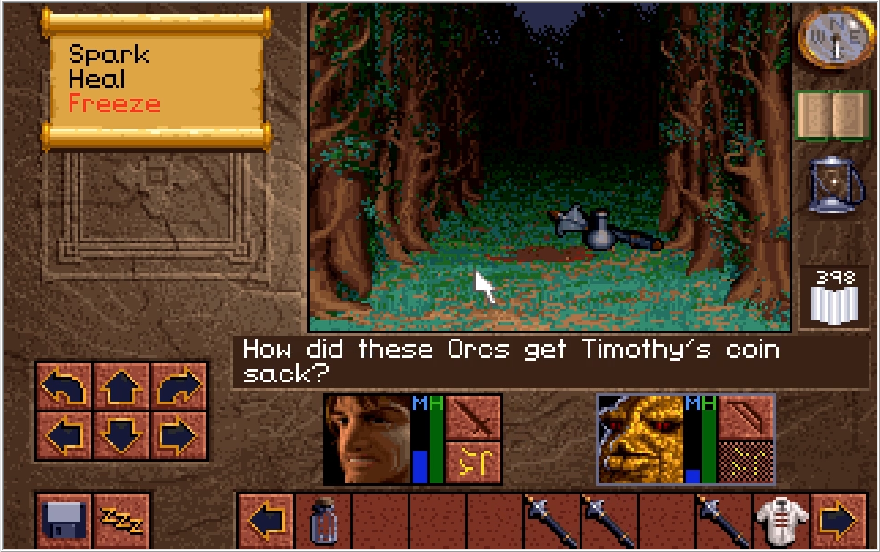
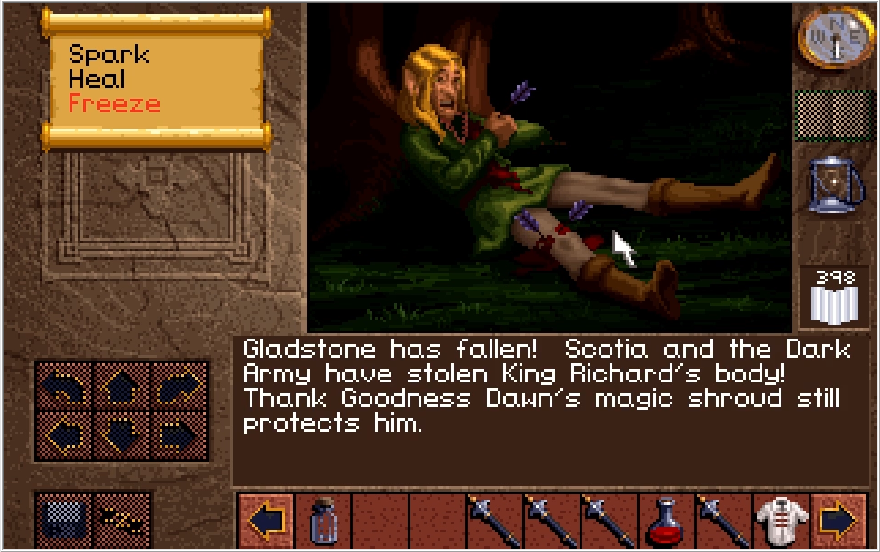
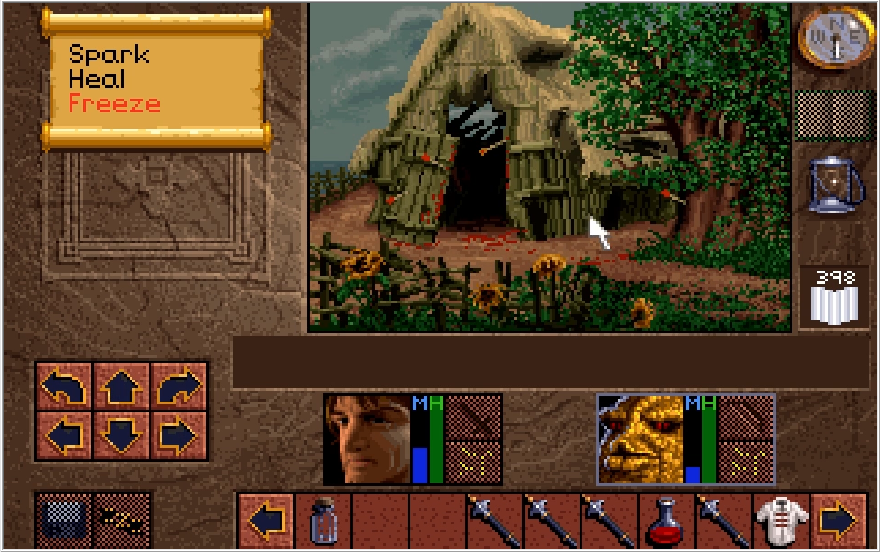
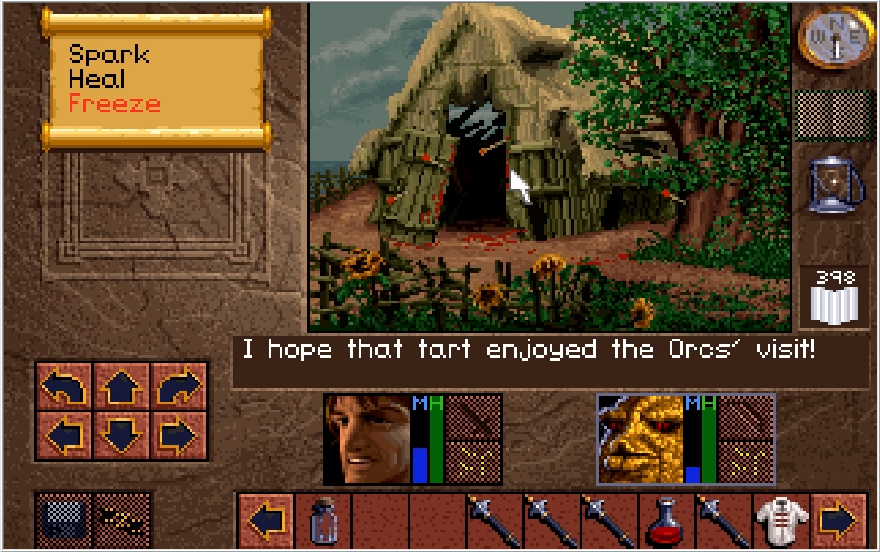
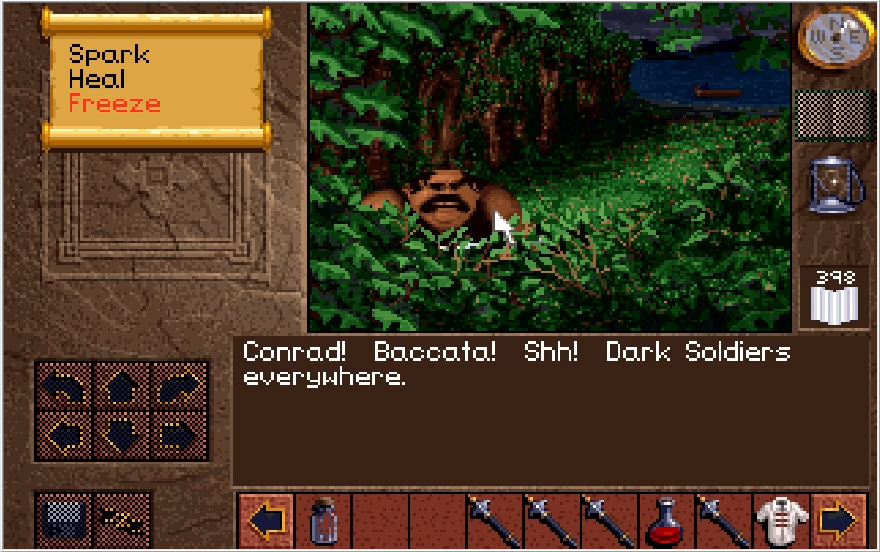
[SSLP] mrw the acid burns my armor, Let's Play Lands of Lore: The Throne of Chaos! [Finished]

Put your Let's Plays in here.
User avatar
Image

The jewel case copy my dad had also had Patrick Stewart's face on the back of it. Anyway,

The Game

Lands of Lore: The Throne of Chaos is a CRPG that was developed by Westwood Studios and published by Virgin Interactive, released on floppy disk in 1993 and given an improved CD release with full voice acting the following year in 1994 (coincidentally the year I was born and I mainly know this game because it was a favorite of my dad when I was growing up). As you can see, they proudly advertise that Patrick Stewart is in the game for about a combined 5 minutes of dialogue reads, but the game has much more going for it than just that. Building off the foundation that the Eye of The Beholder series established (I often hear this game was even supposed to be a part of that series though I don't know how true that is), Lands of Lore combines solid dungeon crawling gameplay, delightfully cheesy voice acting, surprisingly catchy tunes, and excellent pixel art and animation. As mentioned previously, this was a game my dad played a lot when I was a kid, so I have very fond memories of it due to that. Despite that, it was only just a couple weeks ago I finally beat it for myself, and in my ongoing quest to share my hyper-fixations with the world, I decided to create an LP for it!

The Let's Play

Not too much to say here, there isn't much difference between a completionist playthrough of this game as opposed to a speedy one, but I do have ways to keep things interesting. I'll be playing the game on its highest difficulty setting, which you pretty rarely see people actually do. In the few moments where there are alternate problem solutions or dialogue interactions, I'll be sure to show off all options available. The game also has 4 distinct protagonists to go through the journey with, and I have taken the liberty of creating saves at specific points in the game that will allow me to show them all off to an adequate degree. There's also one situation towards the end of the game that leaves itself open to a thread vote, so look forward to that I guess. This will be my first screenshot LP, so bear with me for the growing pains and feel free to critique my presentation if it falls short at all. I have successfully beaten the game on its hardest setting from beginning to end with all the protagonists, so you can rest assured I mostly know what I'm talking about with this game. With that being said,

The Updates

Update 1, Shapeshifter Charades
Update 2, Don't Get Madstone, Get Gladstone
Update 3, Northern Fights
Update 4, Southland Tales
Update 5, Mo' Money Mo' Problems
Mini Update, Take a Look, It's in a Book
Update 6, Cave Story
Update 7, Eyes Destroying So Sweetly
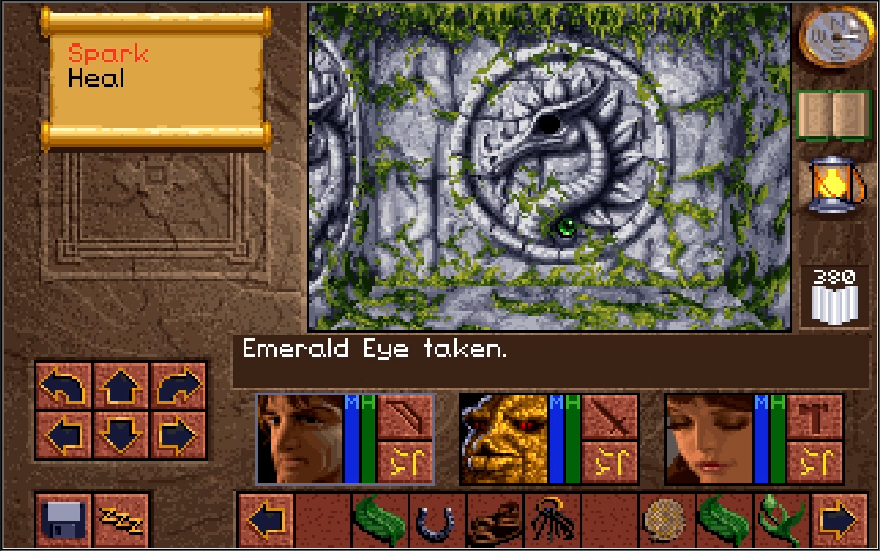
Update 8, Recipe 'fore Disaster
Update 9, In the Swamp straight up Gorkhin it
Update 10, Woodn't It Be Nice
Update 11, Tryna Strike a Chord and It's Probably A-Miner
Update 12, Blood From A Stone
Update 13, Miner 4 4 5'er
Update 14, It Says "White TOWER" I Swear
Update 15, Arise Chicken
Update 16, This Time I Might Just Disappear
Update 17, Mid-City Fiesta
Update 18, Streets of Rage
Update 19, Cat Scratch Fever
Update 20, Alright Already, We All Float On
Update 21, Cat's Cradle
Update 22, Hot Wheels
Final Update, Cat Got Your Tongue?

Last edited by Cullen on Mon Sep 23, 2024 2:24 am, edited 30 times in total.

User avatar
Update 1: Shapeshifter Charades

Image

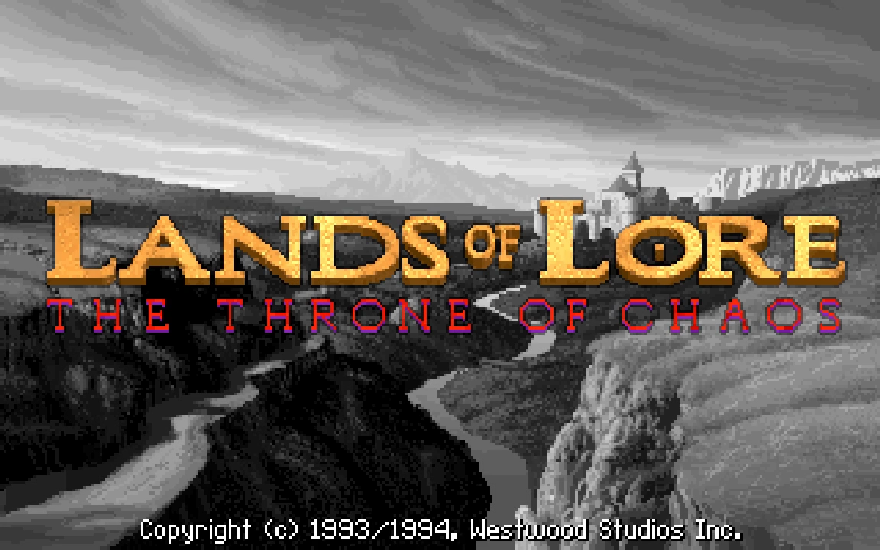
Lands of Lore doesn't have much of a looker for its title screen, and our options are pretty spartan. Naturally, we can start a new game, load an ongoing one, or quit to desktop. Introduction will play the intro cutscene, which if you don't have any saves to load present, automatically plays on initial start up of the game before transitioning directly to a new game. Lore of the Lands is an interesting one, this is a bonus introduction cutscene added to the CD version of the game. So the story goes on Wikipedia, Westwood Studios had Patrick Stewart in the offices for 3 hours and 30k USD, so they decided to pen this new cutscene to get the most out of that. I won't be transcribing it in this update because it's a lot of words, but I have uploaded it here if you'd like to hear Patrick Stewart talk about how racial inequality was ended through the formation of the White Alliance. Moving on, let's play the proper introduction.

Video: Lands of Lore Introduction

Image

Image

Image

We have a series of stills accompanied by the dulcet tones of Jean Luc Picard for the publisher, developer, and title of the game we are playing.

Image

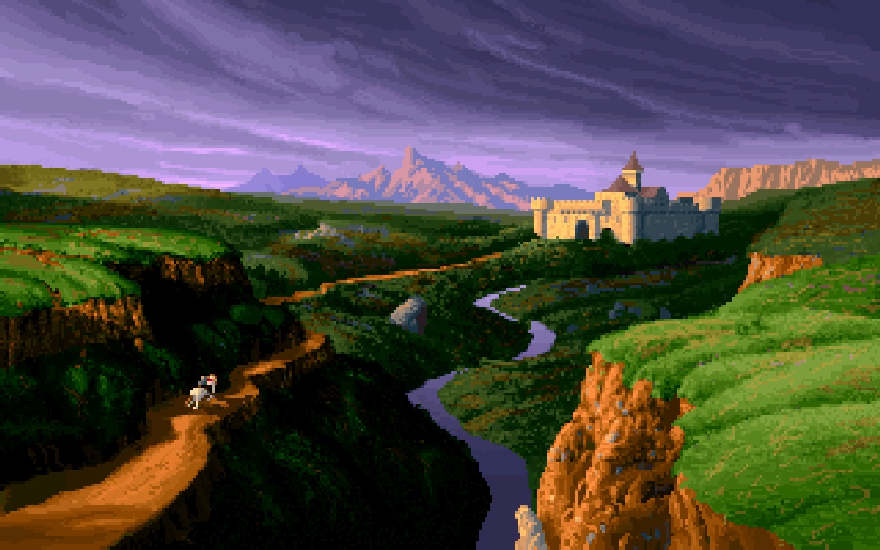
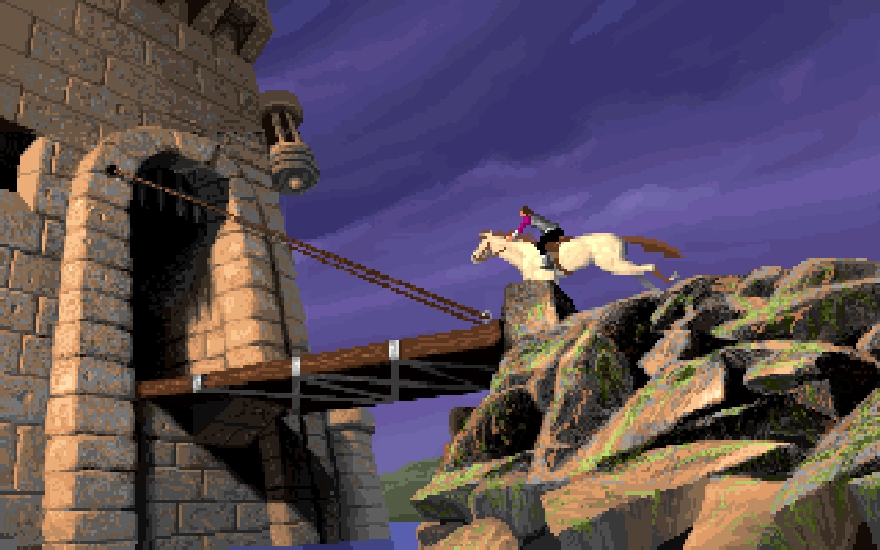
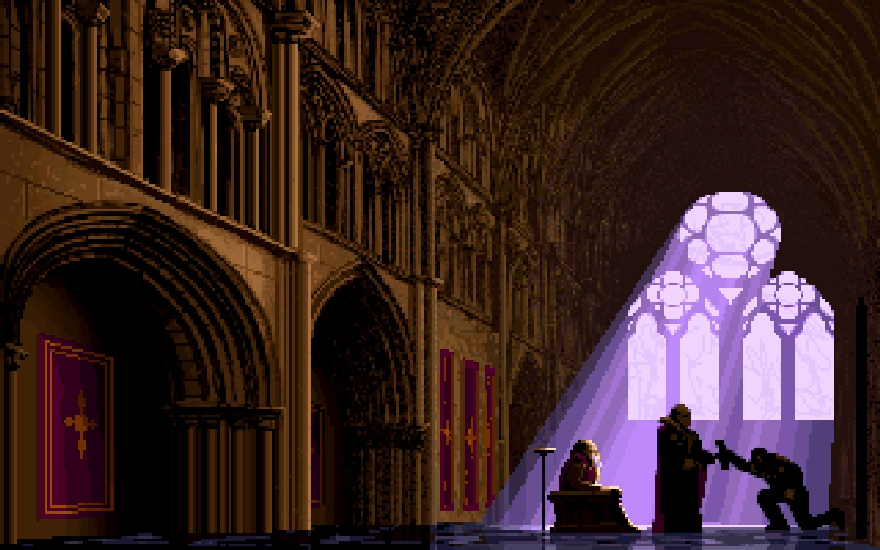
As we leave the world of greyscale, a horseback rider makes his way along the winding trail, disappearing into the distance as he approaches the castle.

Image

Image

Image

Image

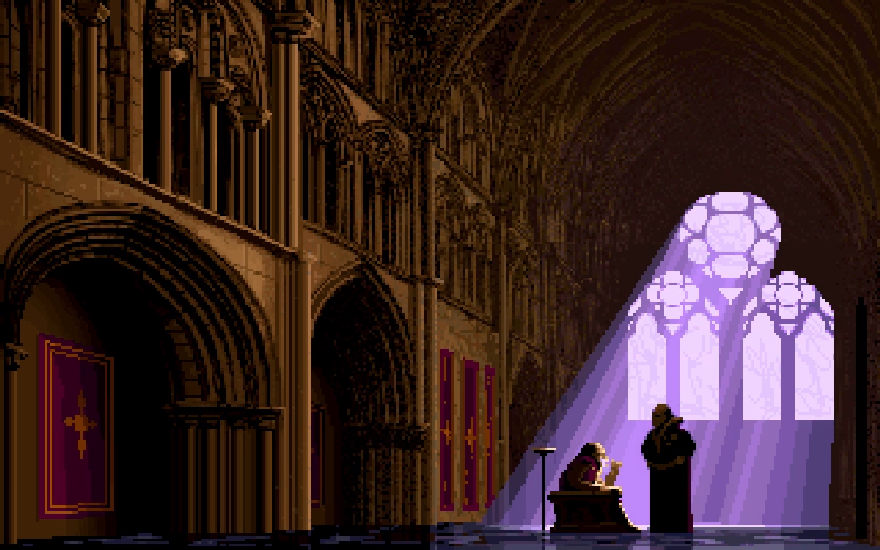
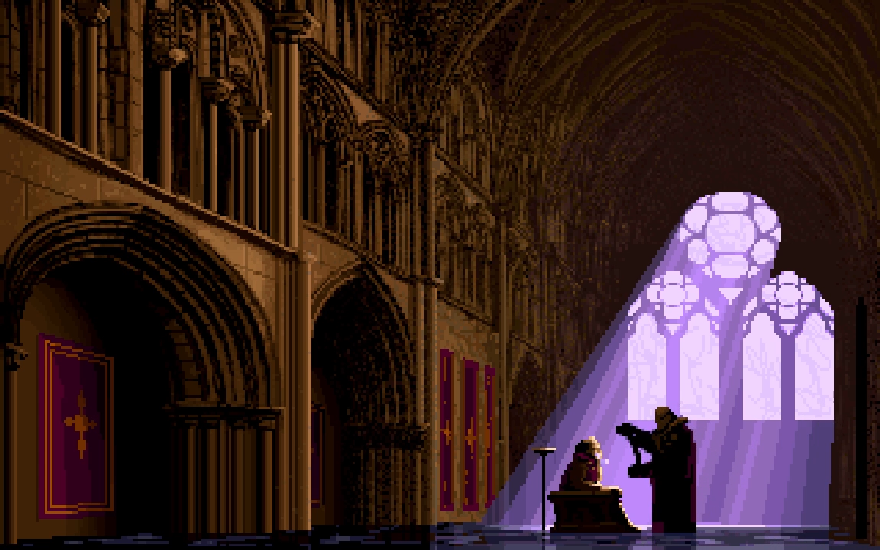
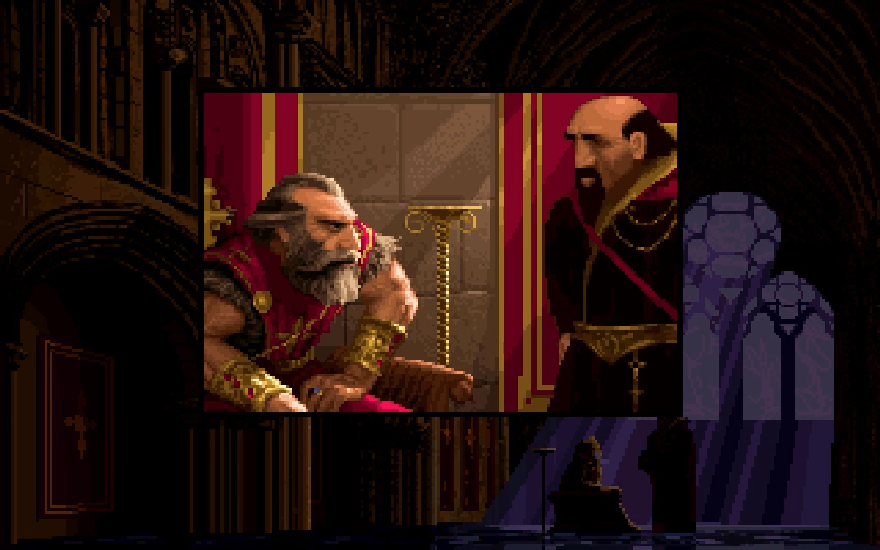
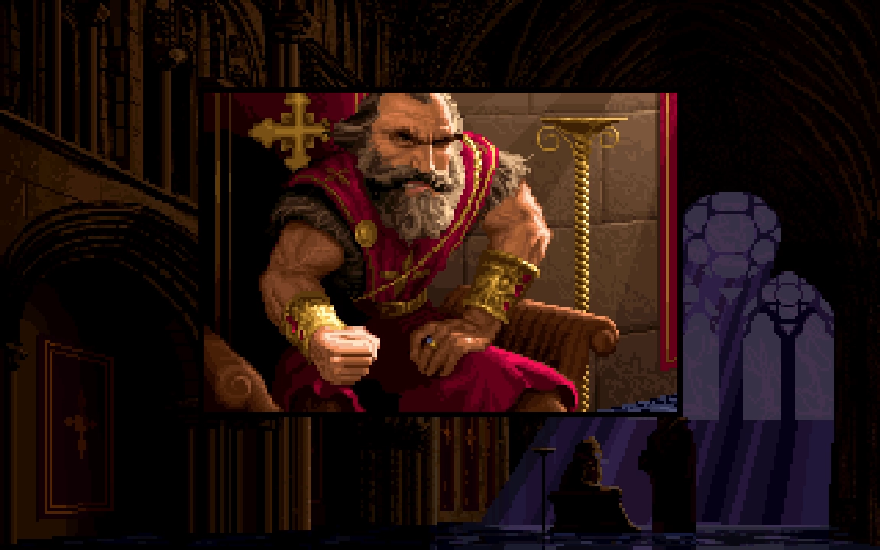
The rider enters the castle keep, the invitingly named kingdom of Gladstone. We see two men engaged in conversation, the one sitting down being Gladstones venerated ruler King Richard, while the one standing is his chamberlain Geron. A messenger who hitherto goes unknown presents Geron with a scroll with presumably carries unfortunate news. I'm not sure if the messenger and the horseback rider are the same person now that I think about it.

Image

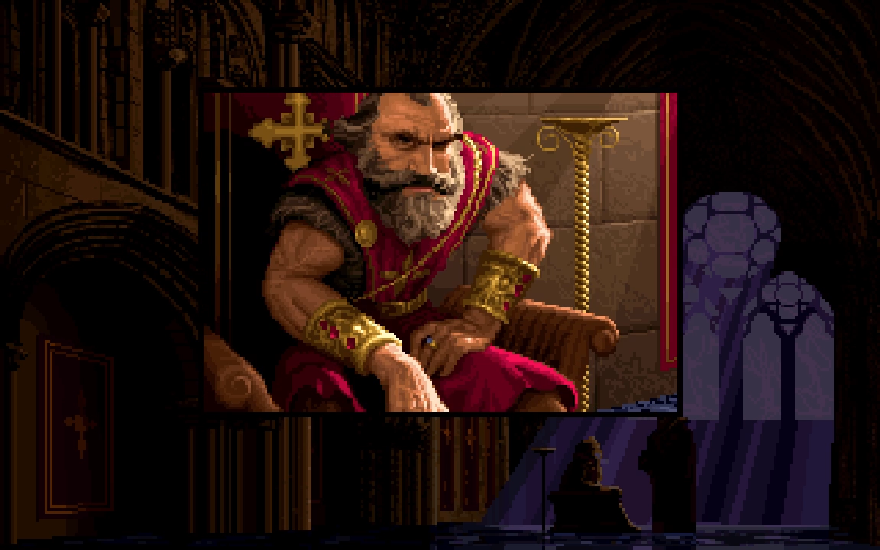
We get a detailed close up of Richard and Geron as they begin to converse.

Image: "My liege, it is as we feared. Scotia has uncovered the temple and will have the Nether Mask soon."

I could probably make a better headshot for Geron, but as you will learn soon enough he is a colossal bag of dicks and frankly deserves a craptacular portrait like this. He does mention a very important MacGuffin though, what is the Nether Mask?

Image: "We must be ready for her. She will come here first."

Image "But Richard, what worry have we here at Gladstone? Surely we can raise an offense at any charades."

Image

Image

Richard tenses up and shakes his fist as he says the following,

Image: "The Mask is not a toy! The time has come, and I have no choice. I must destroy her now!"

Image

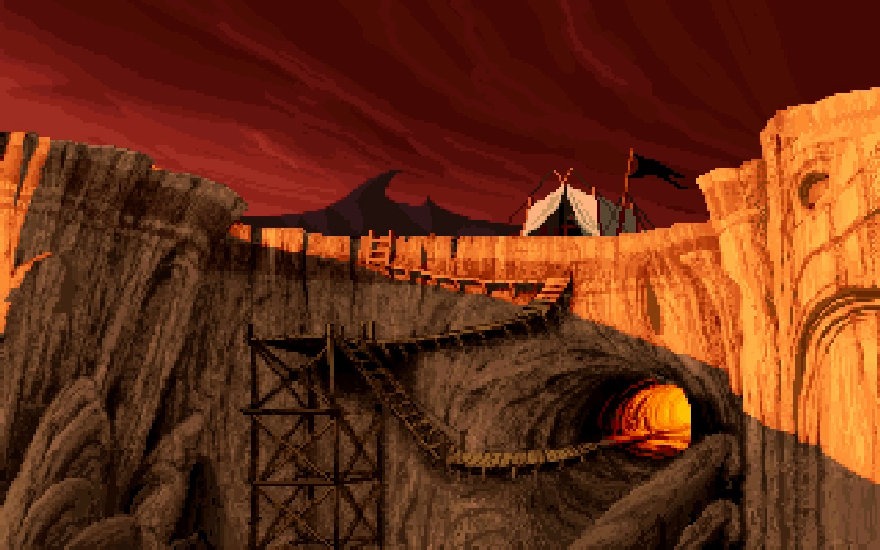
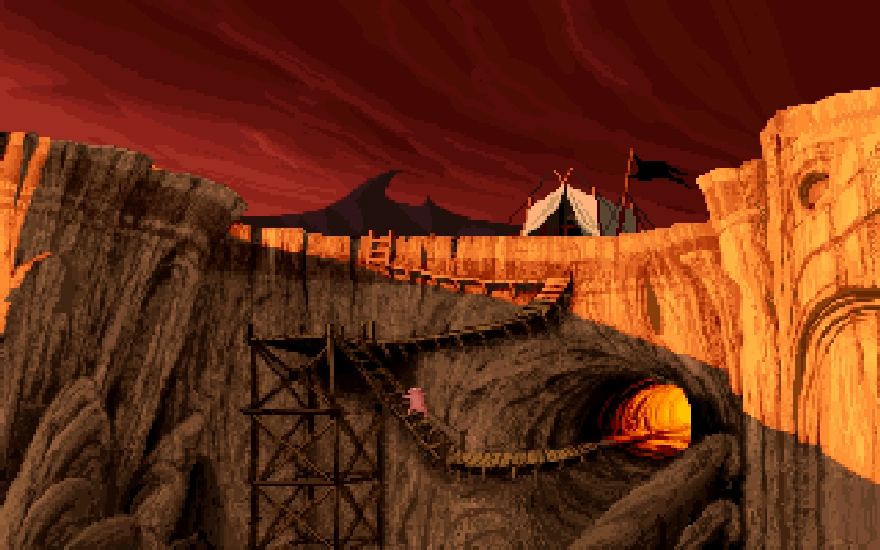
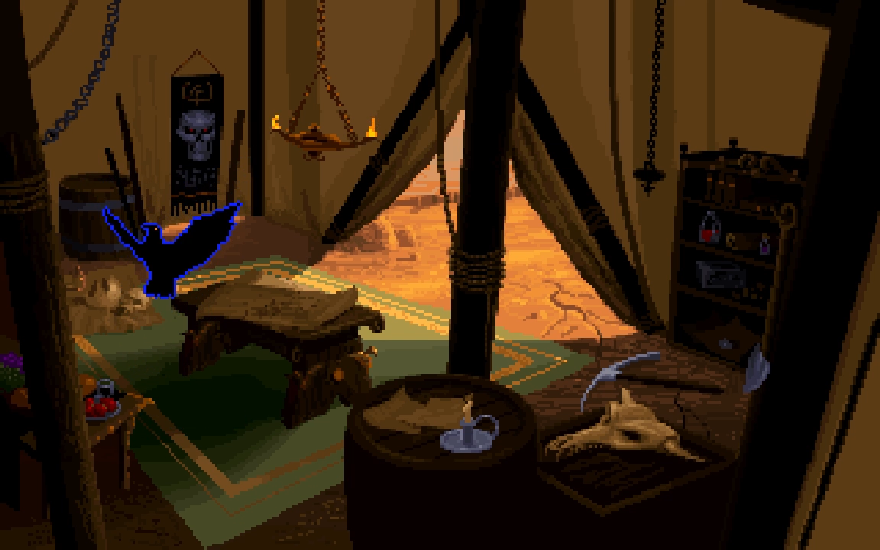
The scene then cuts to this cliff face with wooden scaffolding and a ramp running along it. A nasally "Yesssss" can be heard as it sounds like mining is being done.

Image

A demon proceeds to run up the ramp, stating the following,

Demon: "She will be so pleased!"

There's a weird sound as he reaches the top of the ramp. I'm not sure if that's supposed to be the wood creaking, or if in a moment of comedy he rips an absolutely massive fart.[

Image

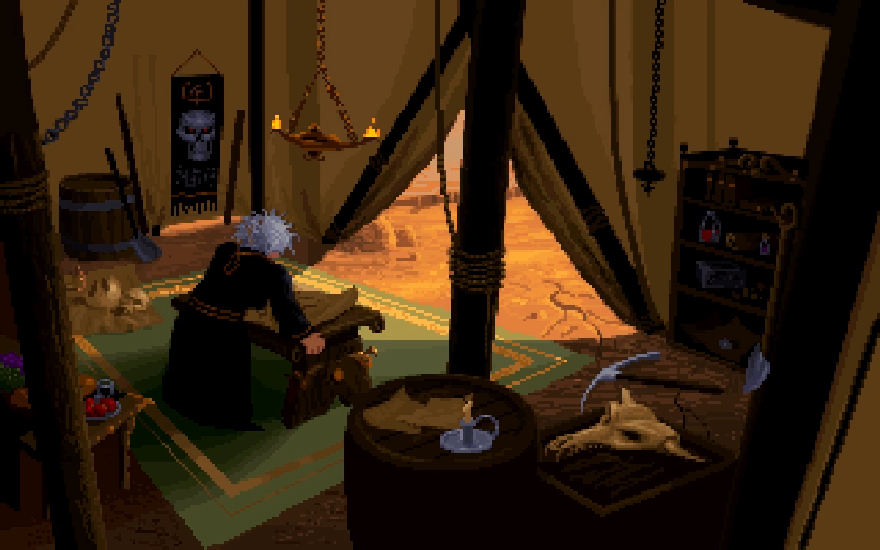
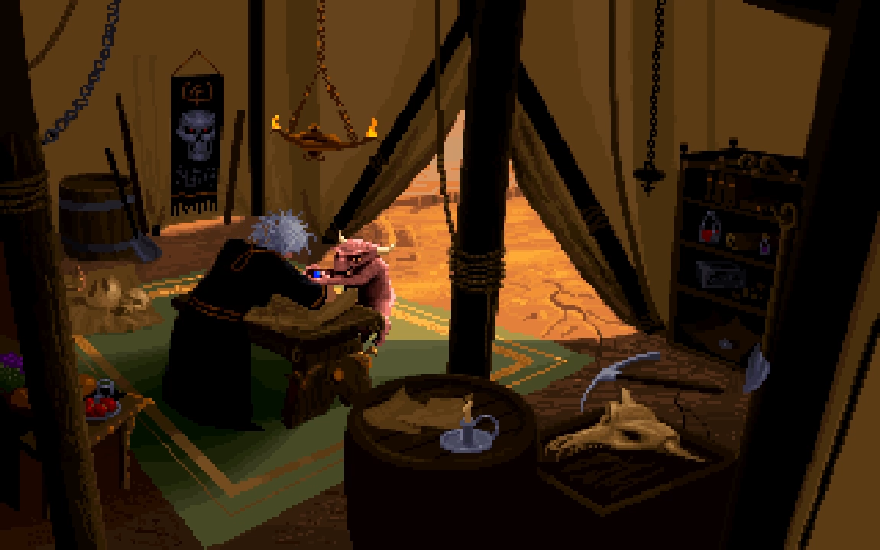
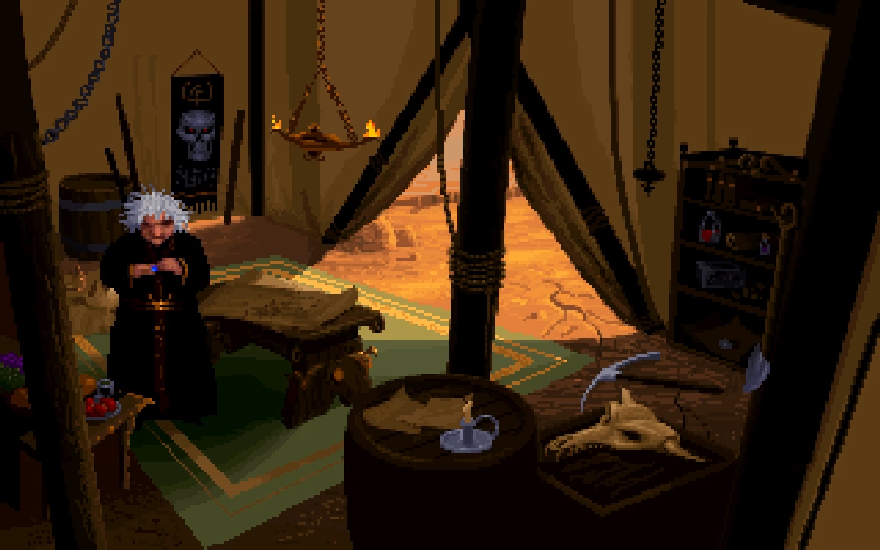
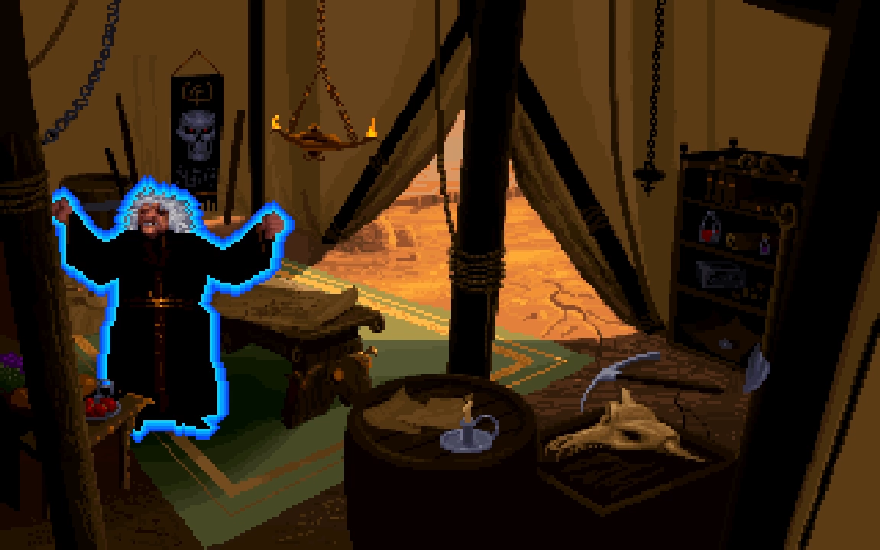
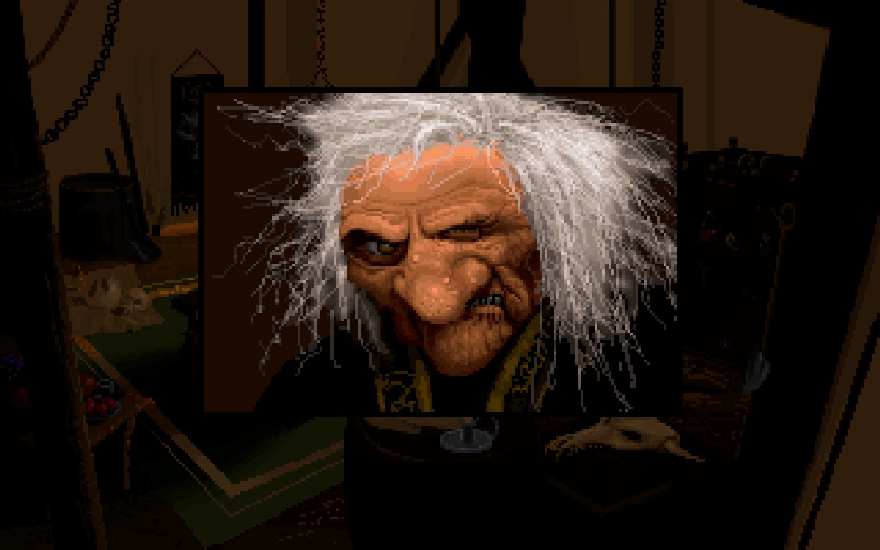
Inside the tent at the top of the ramp, we see some old crone becoming more than a little irate. This is the witch Scotia that was previously mentioned.

Image: "What can be taking so long!?!? I want it now!!!"

Demon: Your unholiness!

Image

Image

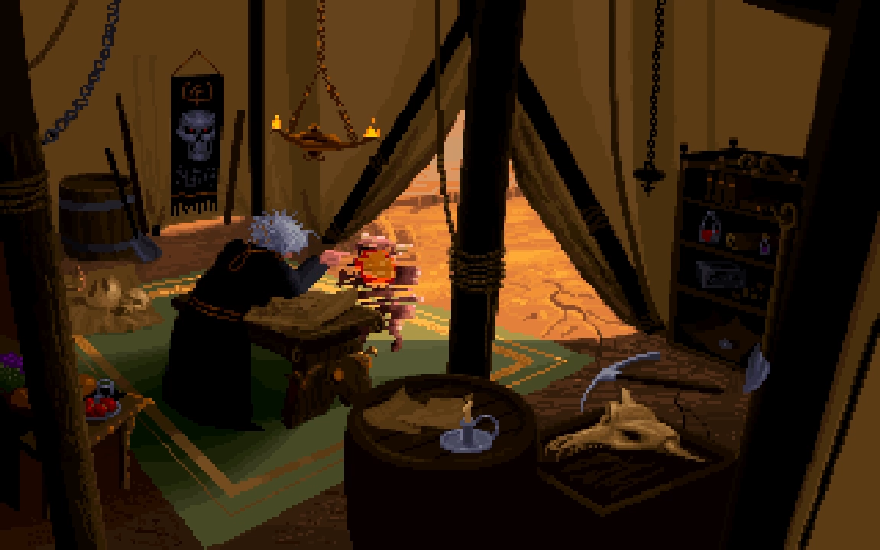
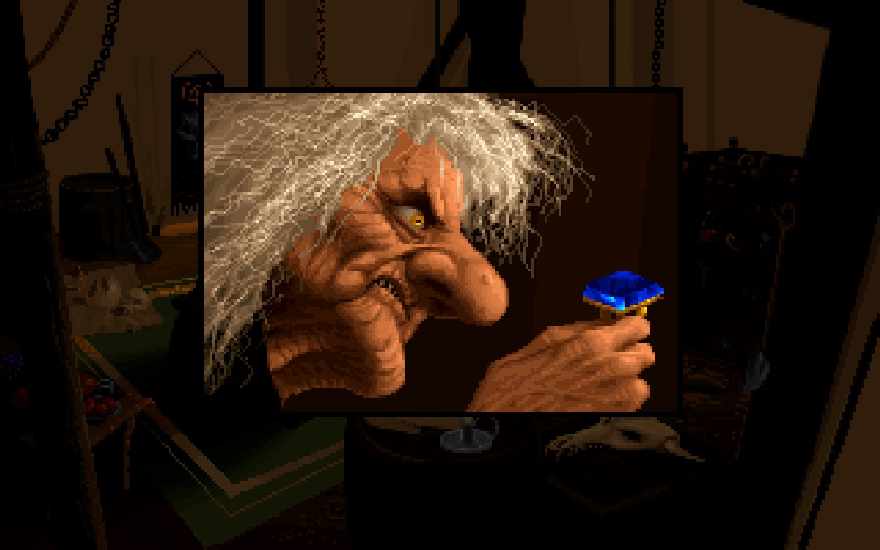
The demon rushes in, and presents Scotia with what seems to be a blue gem. Naturally, Scotia wastes no time in expressing her gratitude.

Image

Image: "You will not make me wait again!"

Poor guy. I think he needs to take this up with Demon Resources.

Image

Image: "Ahhh, it's a pretty little package.... at last, Richard and his puny little forces have met their match!"

Image

Image

Image

Image

Image

Image

Image: "Ahh... I like this."

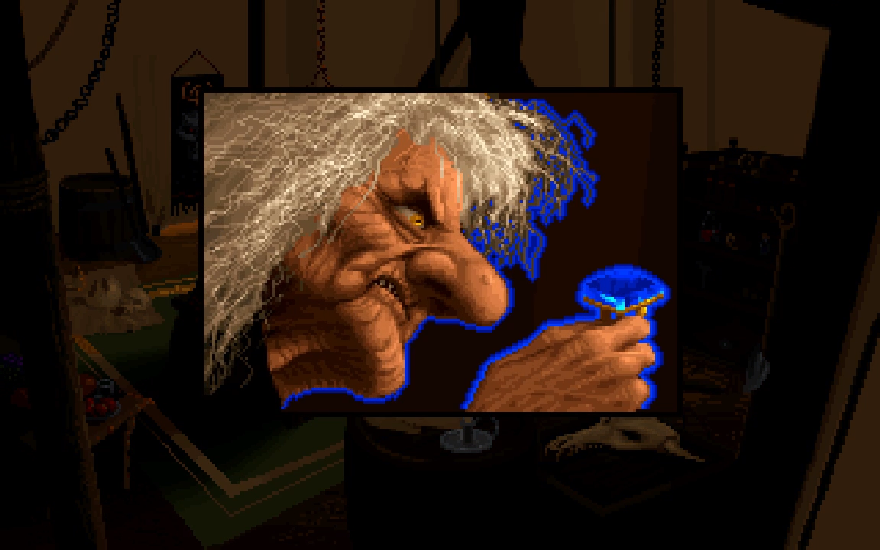
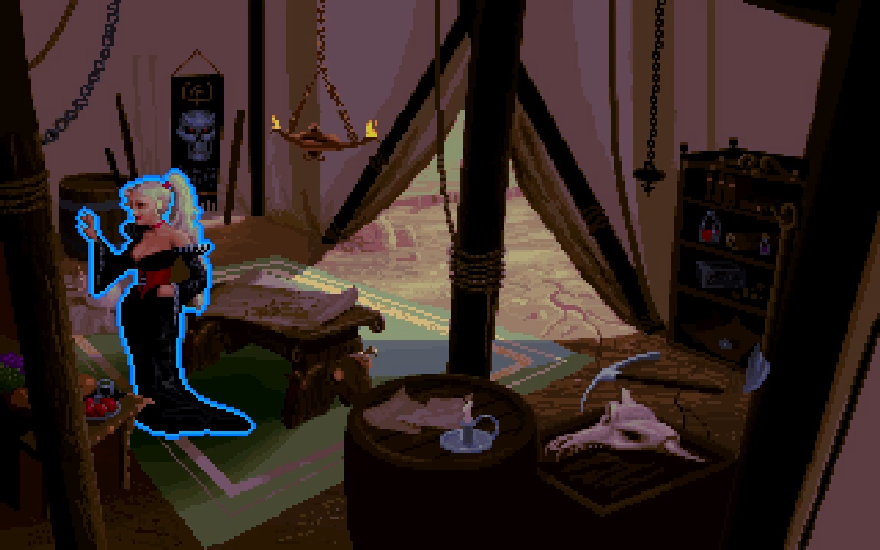
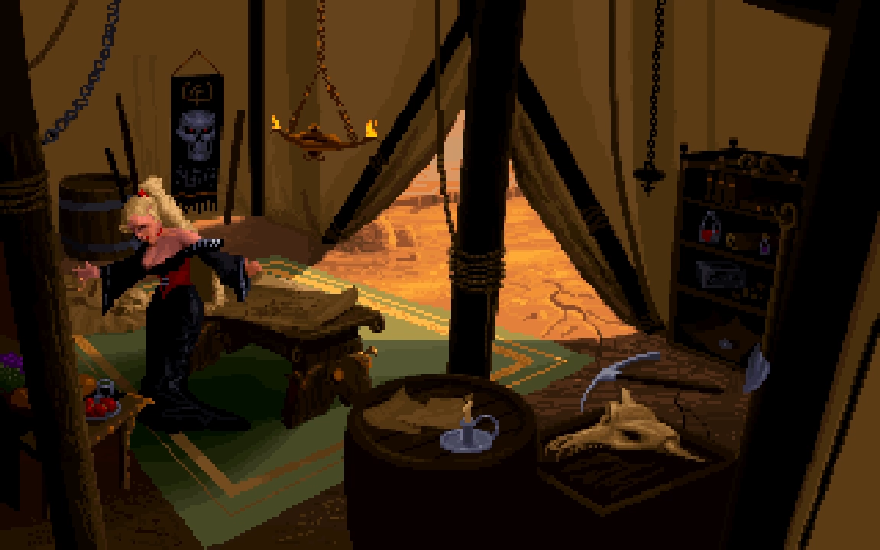
The gemstone was in fact, a ring, and presumably it is the Nether Mask Geron and Richard were talking about. It seems to be a shapeshifting artifact, which Scotia wastes no time utilizing for wish fulfillment purposes. That's not all the Mask can do though.

Image

Image

Image

Taking the form of a bird, Scotia makes a quick flight around the room. It seems that size is not a factor in what Scotia can shift to, so presumably she can also become something bigger than her normal size if she so desires. Given the gravitas the Mask is treated with by Richard, we can probably assume there is no limit to what Scotia can now turn herself into beyond what she can imagine.

Image

Image: "Yes, this Mask will serve me well. Beware King Richard! You will pay for your lack of vision!"

Scotia then proceeds to let out a hearty witch cackle, which I have in my transcription as "LMFAO". So to recap, Scotia is an evil witch who has come into possession of a shapeshifting artifact known as the NetherMask. This puts the good king Richard on edge, which has him call out to the available champions in the Lands to aid him in the fight against Scotia. Let us now select New Game.

Image

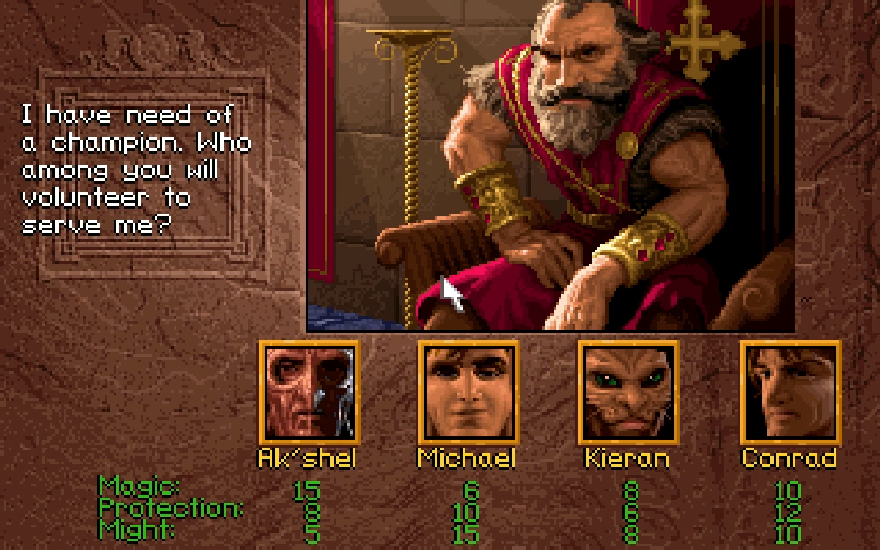
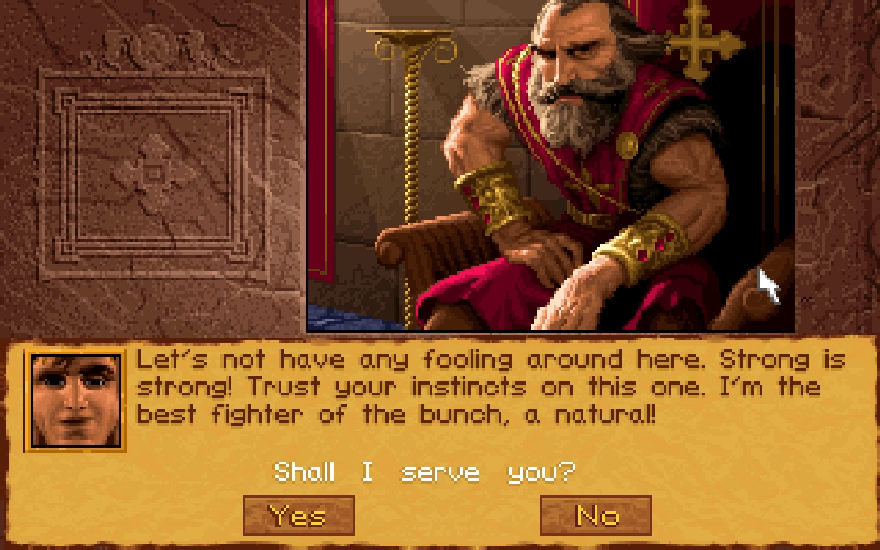
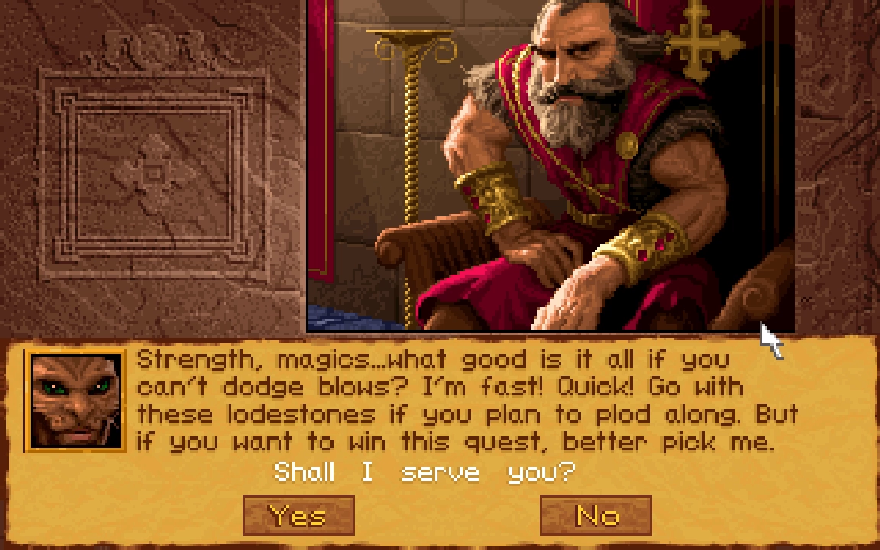
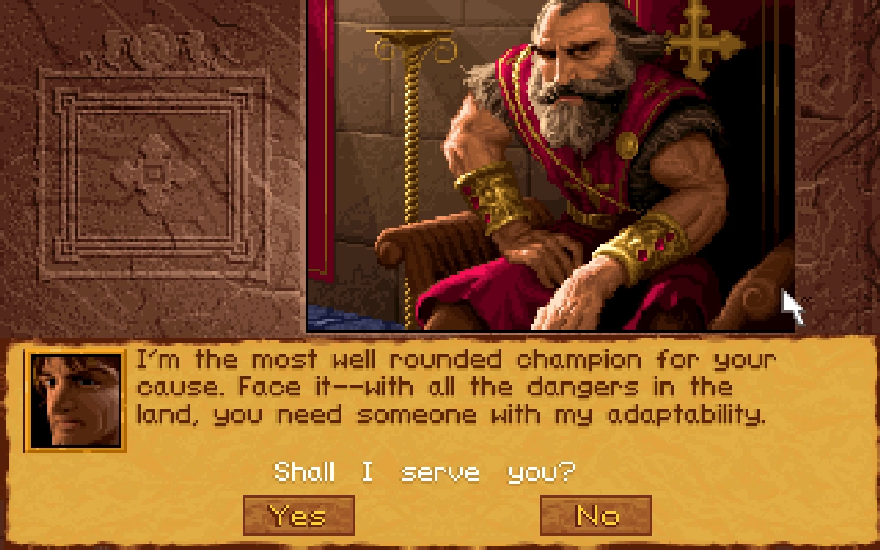
We find ourselves unceremoniously dumped into this screen, where Richard allows us to select our main character for our quest. Only one of these gentlemen may go on the quest, the unselected champions just get ret-gone'd out of existence.

Image

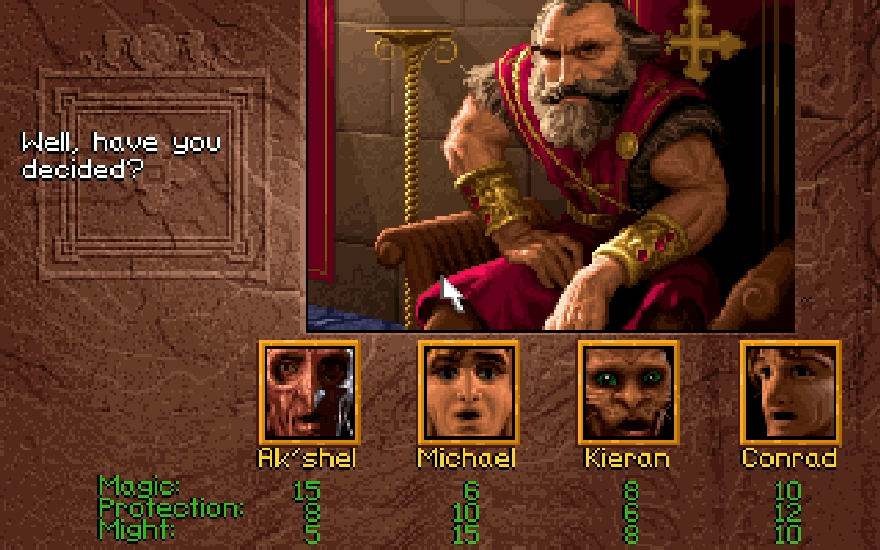
Also if you idle on this screen for too long, Richard gets impatient and our heroes feel embarrassed. Now as you can see, each hero has a score for the 3 different attributes the game arbitrarily decides to rate them on. Most of these scores don't seem to organically correlate to any of the actual stat information of the characters and are often incorrect. For instance Kieran not only has worse Might than Ak'shel, Michael is actually a vastly superior mage compared to him once he levels up his magic skill. Additionally, though it seems like Michael has considerably more Might than Conrad from these scores, they are actually very close in physical strength while there is a tremendous gulf in Might between Conrad and the other heroes. Luckily, I have done complete playthroughs of the game as each character on the highest difficulty of the game, and have recorded their stats so I can give fully accurate appraisals of how they function in gameplay.

Image

Ak'shel's Starting Stats

HP 28
MP 32
Might 10(3)
Protection 8(2)

Final Stats
HP 115 (Fighter 4 Rogue 4)
MP 193 (Mage 6)
Might 56
Protection 122

The parenthetical value in the starting stats are the base stat points the character has when you remove all their equipment. Fighter, Rogue and Mage levels are something we'll get into in a future update. The final stat totals for Might and Protection are what you get when you fully kit out your hero with the best available equipment in the game. As you can tell from his self-description up there, Ak'shel is the dedicated Mage character of the game. He has the highest MP score by a wide margin, and is the only one in the game realistically capable of casting the strongest spells we will learn in our journey. If you quickly scan down below to compare the stats of each character, you'll notice several unexpected things about Ak'shel. For starters, he actually has the highest HP value at the start of the game and the same Protection score as the hero Michael in spite of having a lower rating for the stat. Additionally, his HP grows quite well throughout the game and will actually be the highest in the game assuming everyone has the same levels come the end of it. That said, Ak'shel's Might (which determines your damage with weapons) is pretty dire. Each character gets differing amounts of Might from the weapons they equip, and Ak'shel has the second lowest modifier in the game for this. He often does no damage with his weapon strikes. This is bad on multiple levels because MP runs out quickly and Ak'shel's Fighter skills will only develop if he can successfully land hits with his weapon. Ak'shel is extremely strong in the early game, as he will be able to 1-shot enemies with powerful magics right out the starting gate, but as HP totals for the enemies go up and spells become less economical to cast, Ak'shel quickly falls off as a powerhouse. Playing on the highest difficulty exacerbates this, as enemies have more HP in that mode which causes Ak'shel to run into problems with actually killing things much sooner. That said, he's one of the most durable characters in the game, and his high MP means that he can perform a lot of healing magic before running dry when you don't need attacking magic to win fights. About the only other thing I can say about him is that he was my dad's least favorite character for some reason. I watched him beat this game at least a dozen times, and not once did he ever consider using Ak'shel.

Image

Michael's Starting Stats

HP 20
MP 6
Might 22(6)
Protection 10(2)

Final Stats

HP 119(Fighter 5 Rogue 4)
MP 116 (Mage 6)
Might 97
Protection 122

Gotta love his perpetual smug, self-satisfied grin. Michael is probably the character who surprised me the most. I expected him to just be a wall of hit points who only hit marginally harder than Ak'shel with weapons. As it turns out though, he has the lowest starting HP of the game and it grows at a pretty unsteady rate. Despite having a pathetic 6 MP to work with at the start of the game, his Mage level grows quite well and he gets a considerable amount of MP from leveling it up. Come the end of the game, he has more than enough MP for any situation you want to use magic in (and has the second best MP score of our selectable protagonists), has a huge Might boon compared to Ak'shel and Kieran, and he's just about as durable as Ak'shel in terms of HP and protection. Arguably moreso, because it's much easier to raise his Fighter level. I kind of expected him to be a chump, but Michael is really awesome and is probably the best character by the end of the game. That said, his start is a little rough due to the limited tools at his disposal, so I'd hesitate to call him the best character overall.

Image

Kieran's Starting Stats

HP 23
MP 8
Might 11(4)
Protection 6(1)

Final Stats

HP 93 (Fighter 4 Rogue 4)
MP 96 (Mage 5)
Might 52
Protection 94

Kieran breaking the 4th wall there to try and upsell himself. Kieran is kind of the gimmick character of the cast, having a couple of unusual traits about him. For one thing, his primary attack has reduced cool down. He is able to swing his sword and fire bows and twice the rate the other heroes are able to. Unfortunately this does not apply to spell casting. Kieran is also a Huline, a cat-like human. Because of this, he has bow-legs and paws for feet, meaning he can't use footwear like the other heroes can. This costs him a small amount of protection, not helped by the fact that he also has the lowest protection modifier. I'm gonna stop beating around the bush here and just state that Kieran fucking sucks. Despite his rating indicating he's better in certain areas compared to Ak'shel and Michael, in reality Kieran's stats are the lowest across the board in every category. While he has a higher starting MP stat than Michael, his Mage skill takes about twice as long to develop as Michael's, meaning it takes him much longer to start flinging out anything better than Level 1 Spark and Heal spells. Kieran's ability to act faster hardly matters because he has the worst Might stat in the game, so he just does no damage twice as often. This matters less with bows as their damage is purely weapon based rather than being derived from your character's Might score, but bows deal very low damage so it hardly helps Kieran. Kieran also doesn't benefit from reduced cooldown on spell casting, so he can't even benefit from something like healing the team faster. Despite what his introductory text implies, Kieran does not have any noticeable advantage in dodging attacks from the enemy. In fact, due to his low Protection and HP stats he is much less survivable than the other heroes and he often gets flattened in two-three hits by the end of the game. Only pick Kieran if you want to make the game harder, as he is just really bad when judged by every metric that matters.

Image

Conrad's Starting Stats

HP 23
MP 10
Might 17(5)
Protection 12(4)

Final Stats

HP 109 (Fighter 5 Rogue 4)
MP 114 (Mage 6)
Might 88
Protection 145

When it comes to champions in the Lands, there are Pros and then there are Conrads. Just kidding, Conrad is actually pretty awesome. Conrad is our all-rounder character, though he does have a unique trait in possessing the highest protection modifier. Though Conrad's starting stats aren't anything to write home about in comparison to say, Ak'shel, he levels up very quickly in each area and has fantastic early gains for his HP and MP. Though he never hits quite the same casting prowess as Ak'shel, like Michael he has enough MP for all the spell casting you'd want to do. Additionally, his good HP and high protection makes him extremely durable and good at outlasting the highly damaging late game enemies. He only sacrifices a small amount of Might compared to Michael while having considerably more than Kieran and Ak'shel, so he really does accurately sell himself on the basis of his adaptability. Michael and Ak'shel beat him in specific areas come the end of the game, but Conrad is the most consistently good with every aspect of Lands of Lore on a gameplay level, so I'd rate him as the best character overall. His biggest drawback is his really goofy voice, that sounds like you asked someone to do their best impression of an annoying white guy.

In summation, Conrad should be your go-to guy if you just want to cruise through the game. Michael has some growing pains, but he becomes very good by the mid-game and is the best character by the end of the game. Ak'shel is the opposite of Michael, extremely powerful early on but his late game abilities are really underwhelming. Kieran is just the worst at everything and should mostly just be used if you want to make the game harder. Do note that difficulty is a factor in my ratings here. Ak'shel is much better on the lower difficulties where he can more easily chump the enemies throughout the entire game, and Kieran is a little bit less of a hassle to make work.

Now conveniently, Lands of Lore is loosely divided into a 4 act structure, or at least that's how I view the game when I break down each individual leg of the quest we go on. As mentioned in the OP, I have created saves that will have us in the shoes of a different main character for each "act" of the game. To start things out, let's pick Conrad since he's the best for demonstrating the various systems of Lands of Lore from the jump.

Image

Image

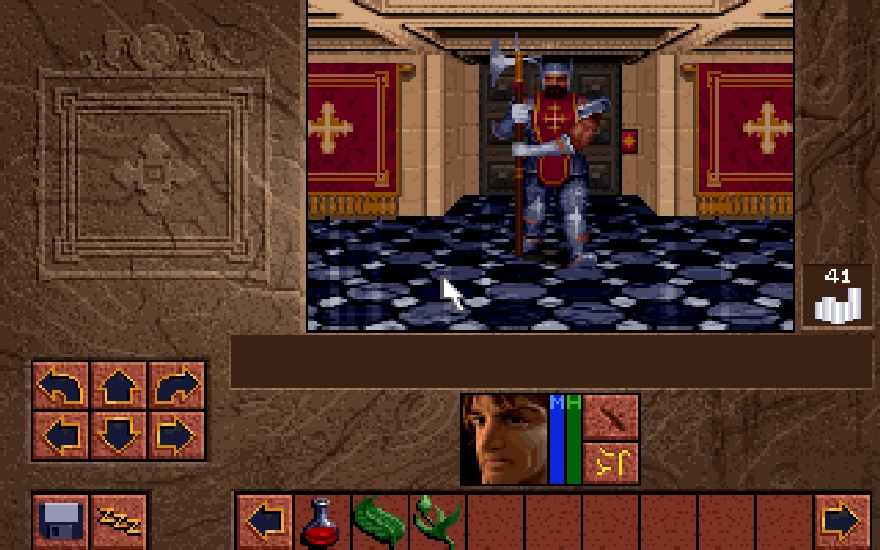
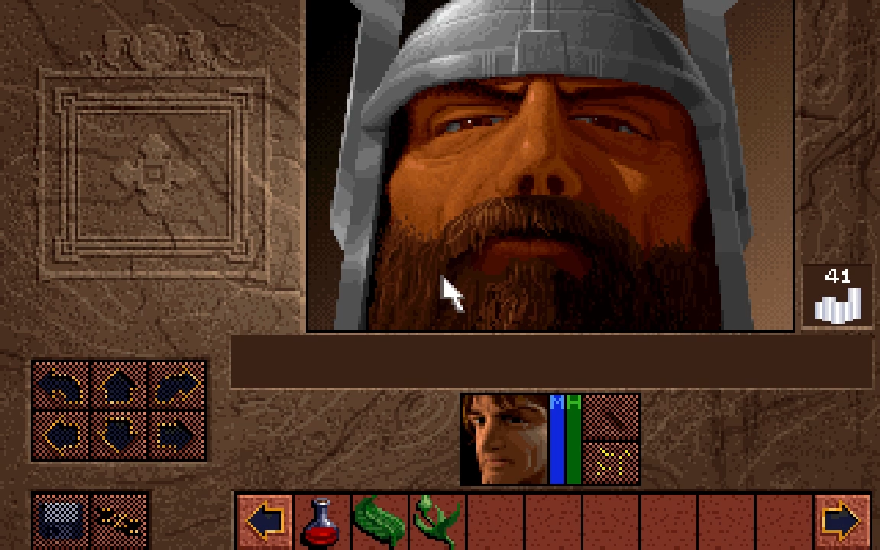
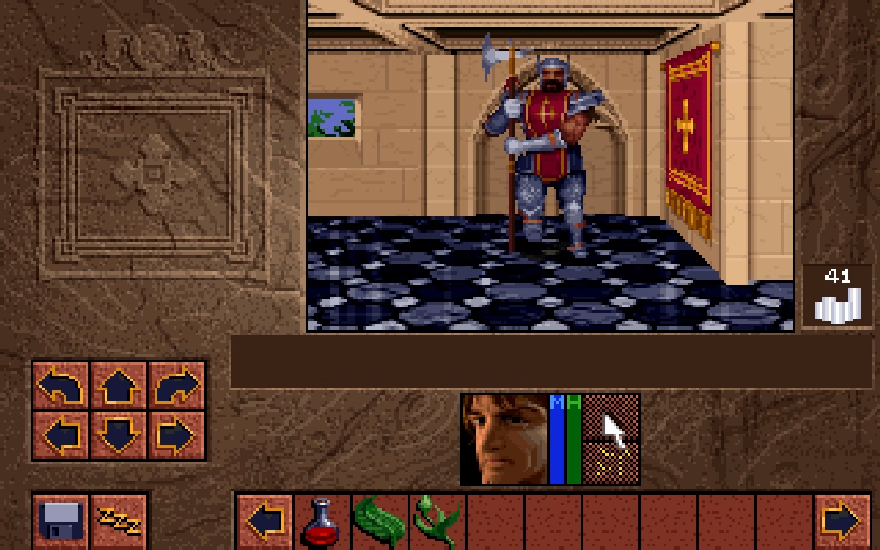
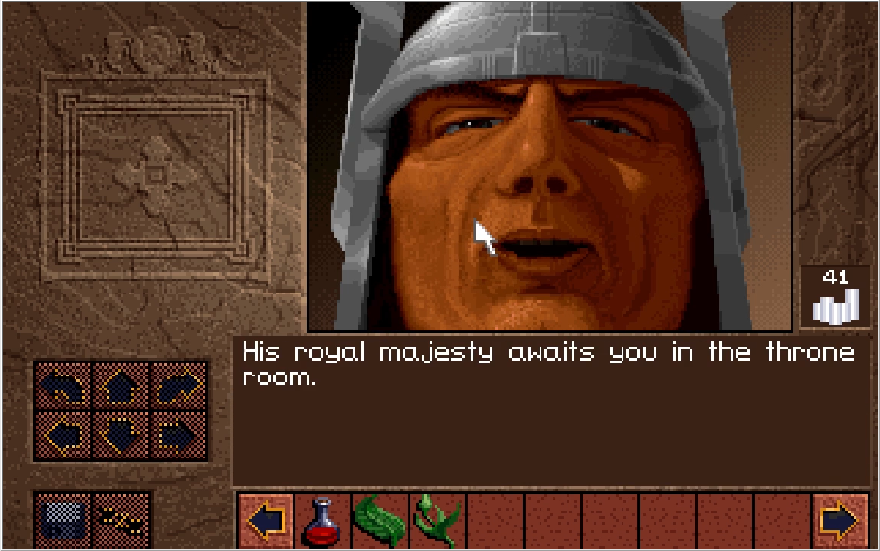
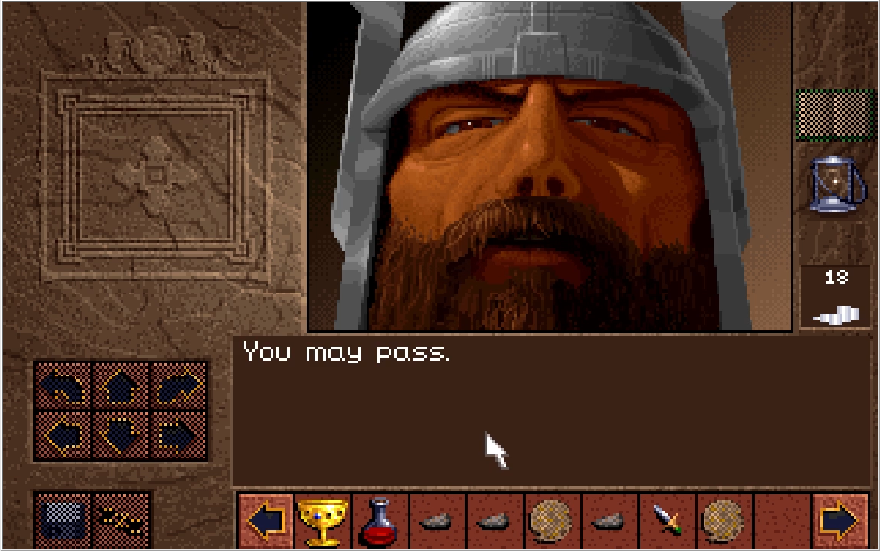
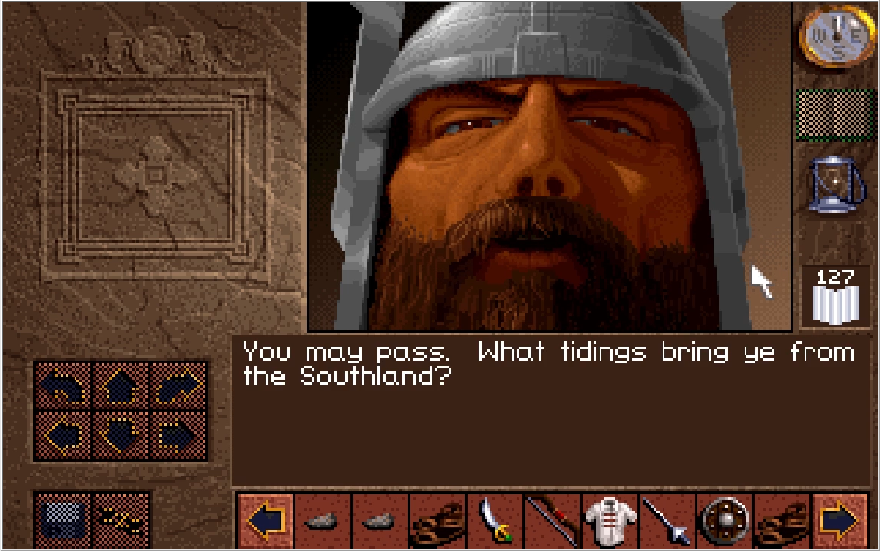
Selecting our champion, we are unceremoniously dumped into the entry foyer of Castle Gladstone. We get about 3 microseconds to process our surrounding before this bearded bohunk of a man accosts us.

Image

Image: "Welcome to Gladstone Keep. King Richard awaits you in the Throne Room."

Image

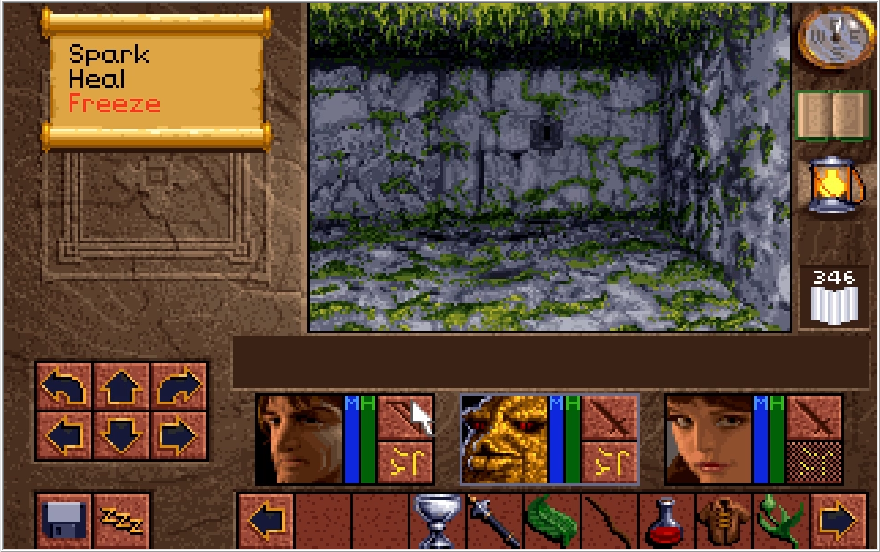
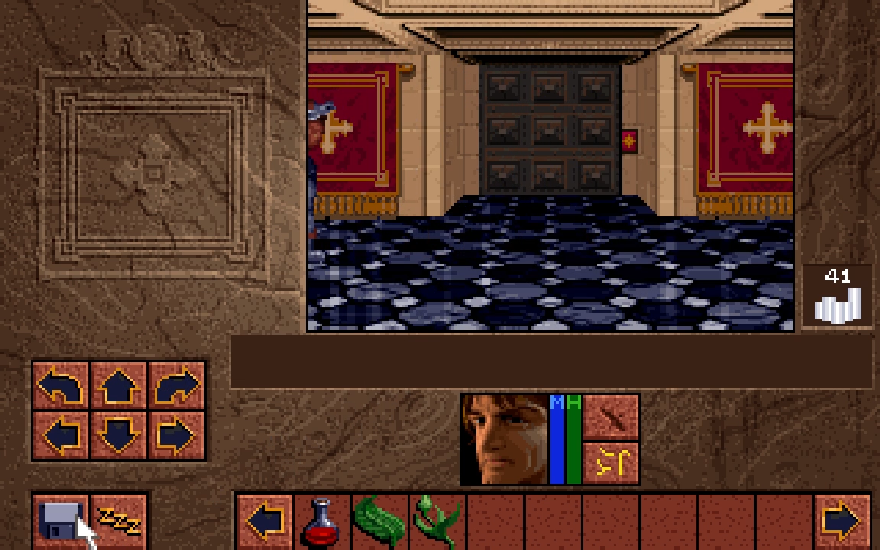
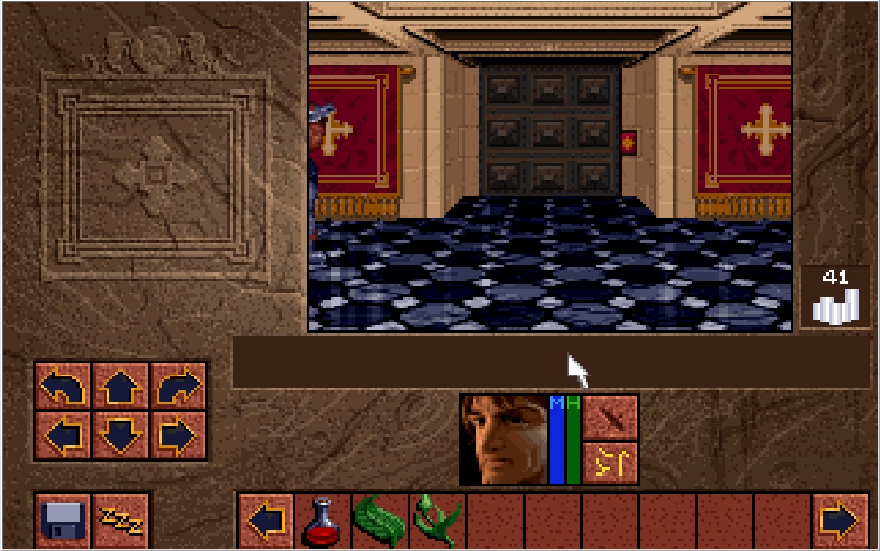
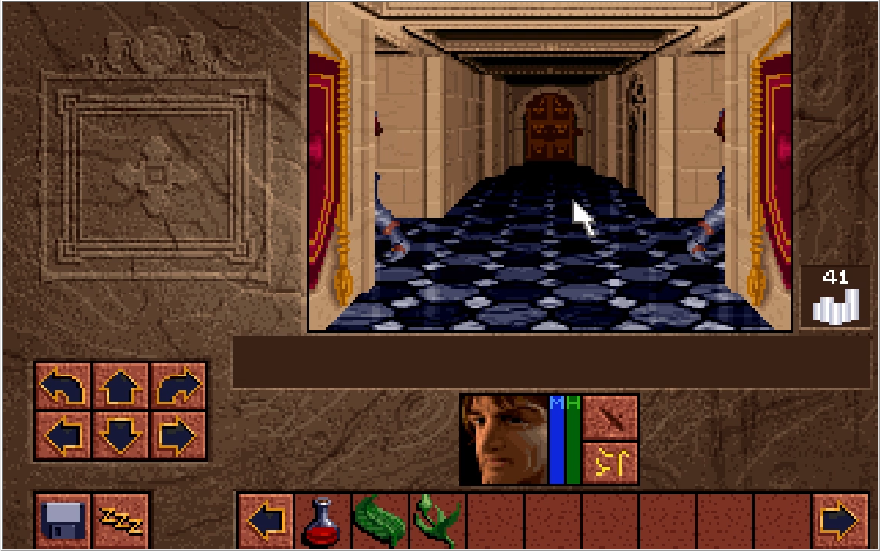
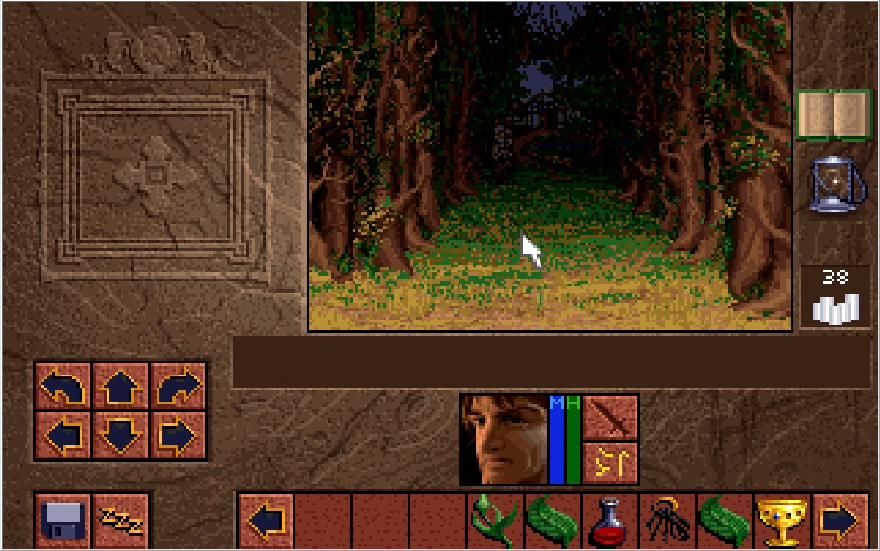
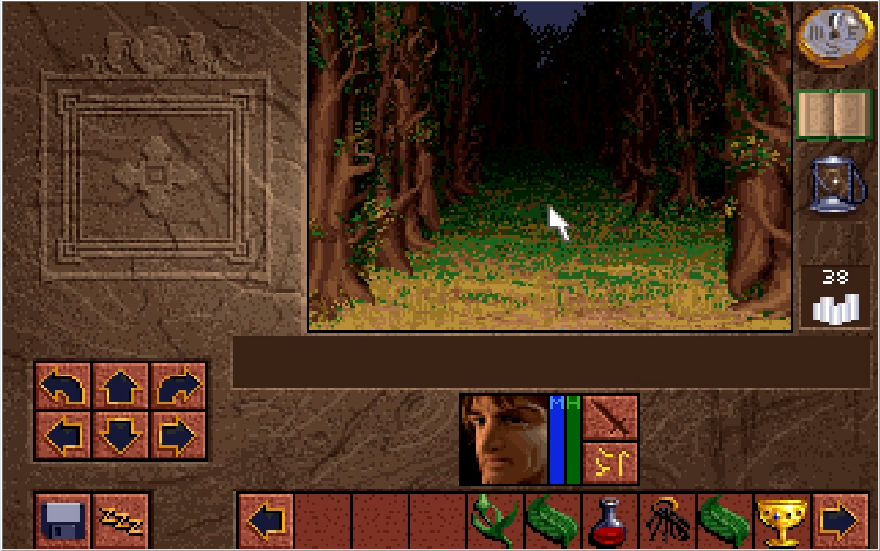
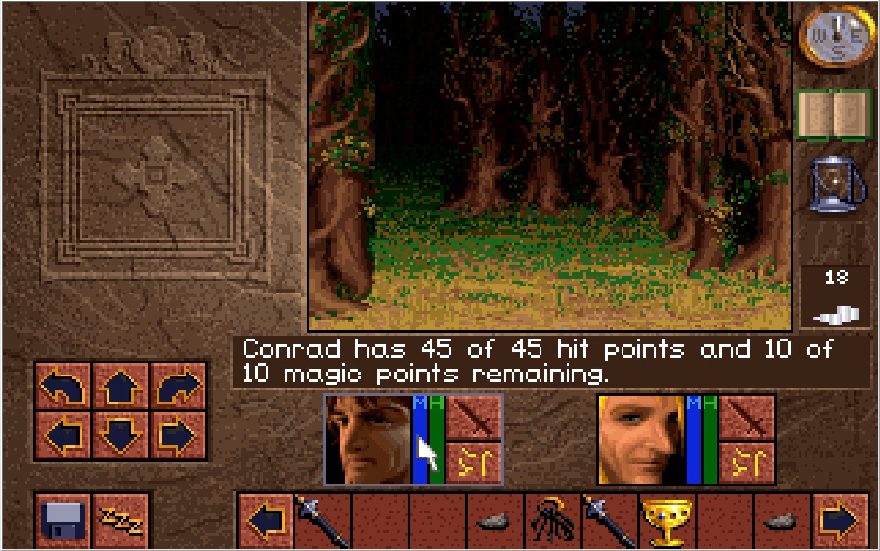
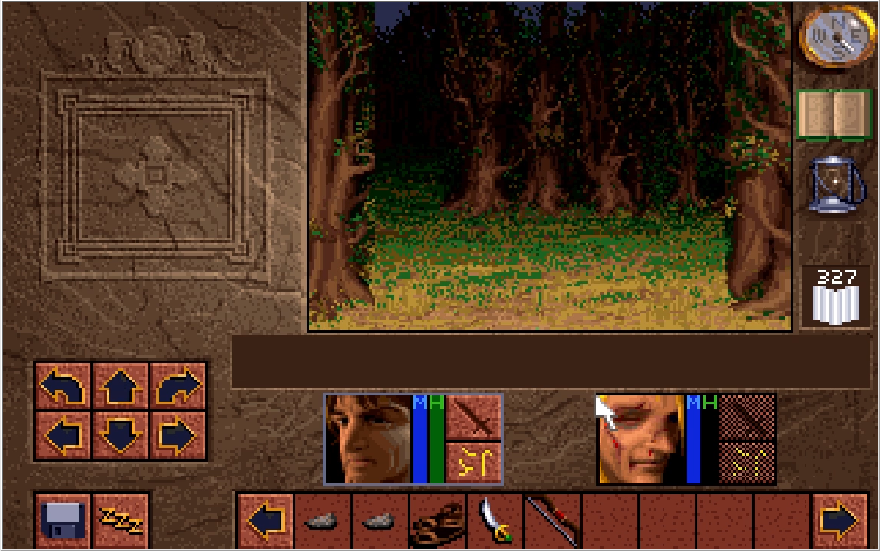
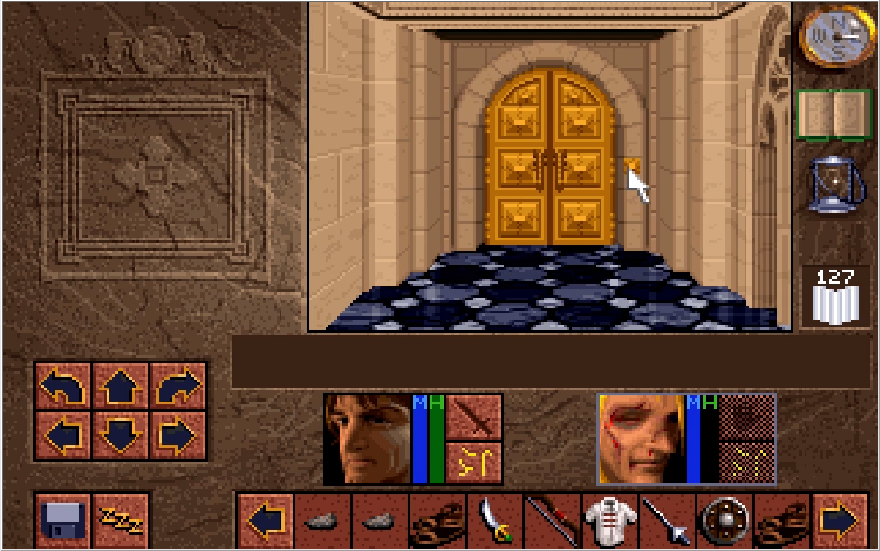
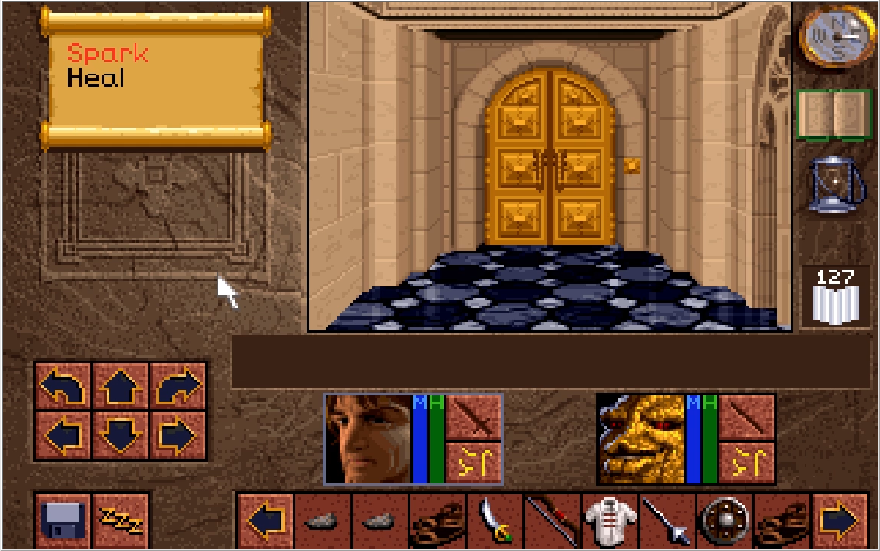
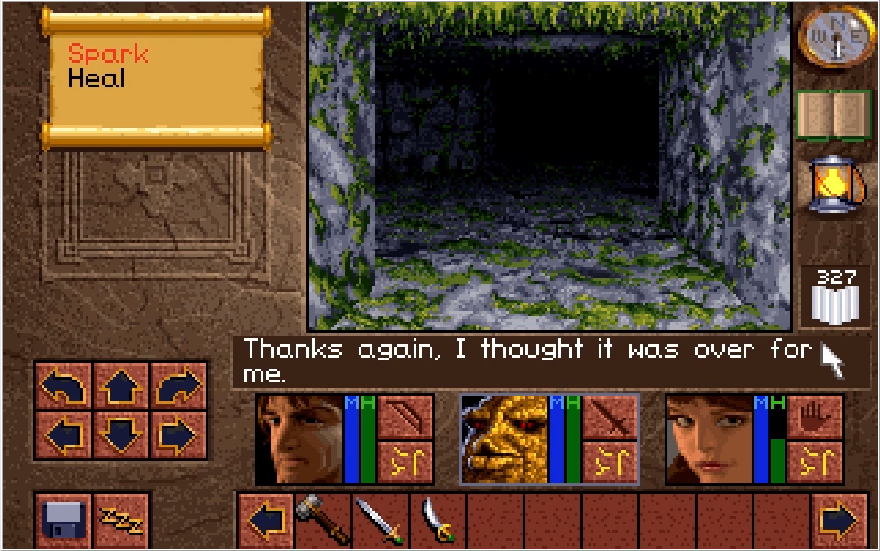
With that, we get to actually take in our surroundings and work with the interface of Lands of Lore. Lands of Lore is cut from the same mold as Eye of The Beholder, giving us the first person view of a traditional dungeon crawler though with more lovingly crafted pixel art and a gameworld outside of a singular dungeon. The game can be strictly Mouse controlled using the big arrow keys on the left side of the screen, or you can move with the arrows/numpad on your keyboard. To my knowledge, the game does not support WASD*. You might notice the upper part of the UI outside of our view of the world in front of us seems surprisingly barren. These lonely spaces will fill in with new elements in due time. The only notable point of interest is the 41 with the silvery stack below it. This is the currency of the game, Silver Crowns. On the bottom portion of the screen, we have our character portrait. The Green bar is Conrad's HP while the Blue bar is his MP. You can click on these bars to get the exact numerical value of these stats in the text field below the game world. Beside those bars are our Action keys. The top one is our primary weapon while the bottom one is our Spell action. We'll go over these more in the next update. You can click on a character's face to bring up their equipment, which again we will get to in due time. Below Conrad is his inventory and the scant few healing items we start with. As we accumulate more items, you can use those arrow keys on the side to scroll through your growing inventory. In the bottom left of the screen, the ZZZ icon will allow us to rest and restore HP and MP once those stats actually need to be restored. For the floppy disk icon,

Image

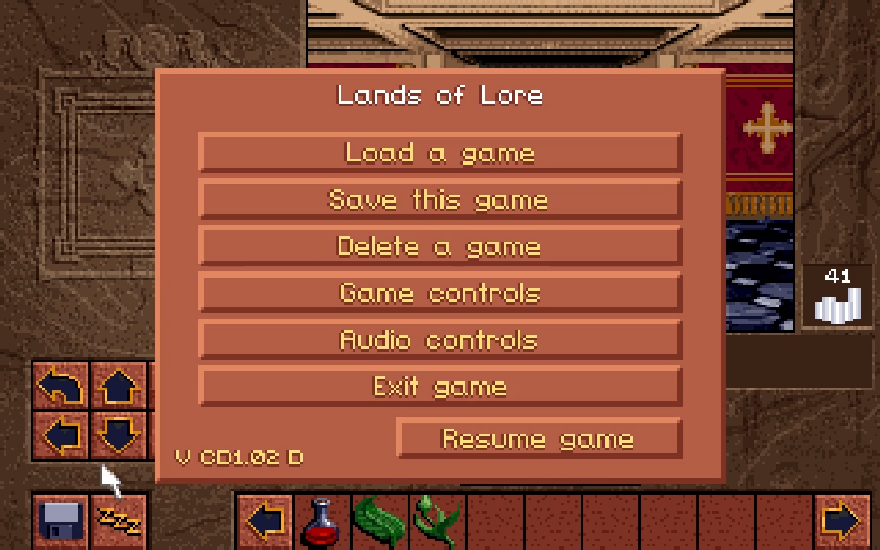
That brings up our game options. Load, save, and delete a game all work as you'd expect. Audio controls let you tweak the volume settings to your liking, while Exit game quits to desktop and Resume Game just closes this menu. Let's open up game options real quick.

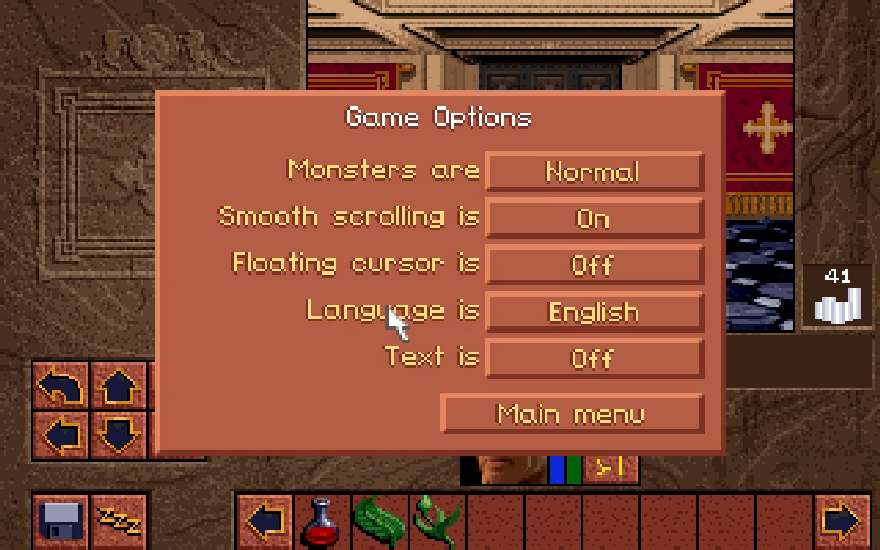
Image

There are a handful of things we can change here, but I only want to modify two settings.

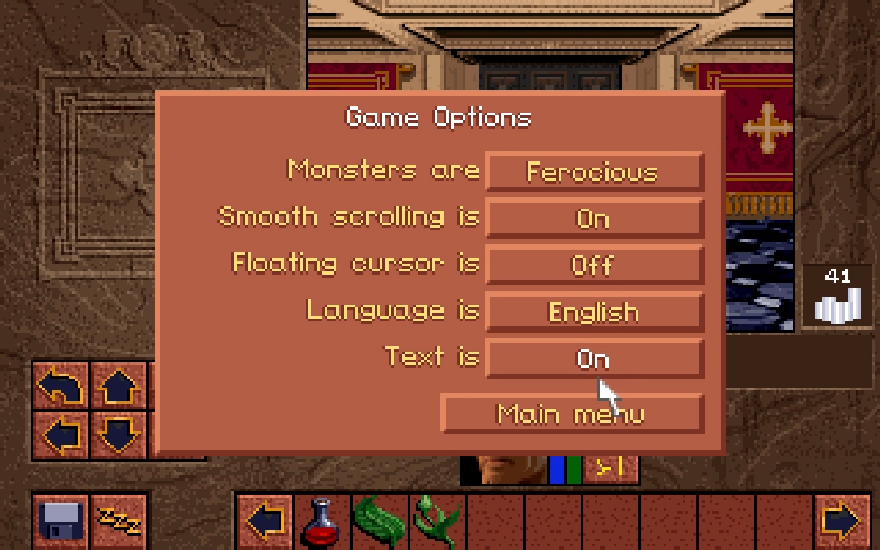
Image

For the purpose of minimizing the amount of transcription I have to do, I will turn text on. This generates block text for nearly every bit of voice acted dialogue in the game, allowing me to put more in screenshot form. Work smarter, not harder!
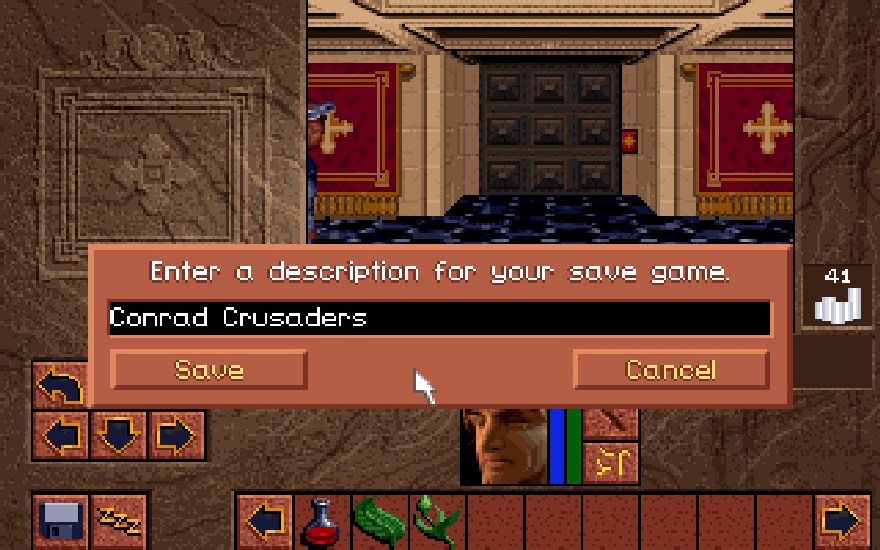
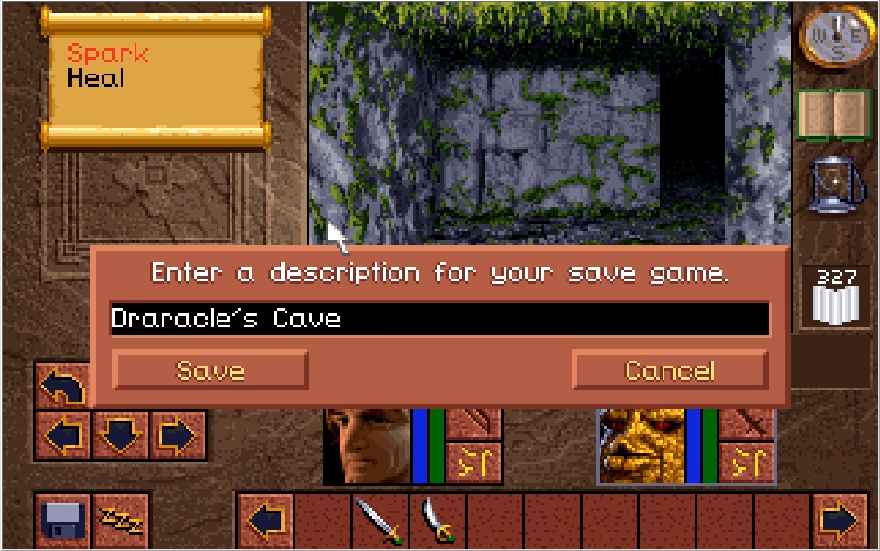
The other thing I change is the monster setting. In lieu of traditional difficulty settings, Lands of Lore instead just lets you change the properties of the monsters you will fight throughout. The way this works is simple, but a little unintuitive. When enemies are Ferocious (the highest setting) they will attack at double the rate that they do on Normal. Additionally, they have roughly 50% more HP. The other setting aside from Normal is Wimpy, which does the reverse: halving the rate at which enemies attack and also roughly halving their HP. To my knowledge, this does not actually directly affect the damage enemies deal. It possibly increases their dodge rate, but I have no good way to test or confirm this so we'll just assume it doesn't. Naturally, how much harder this makes the game is wholly dependent on what you're actually fighting. Enemies that deal low damage are hardly any more of a threat if they attack more often and take more hits, but enemies who hit hard by default can absolutely shred you in a matter of seconds. I'll be sure to note when this setting makes the game considerably more difficult. With that taken care of, let's make our first save of the game.

Image

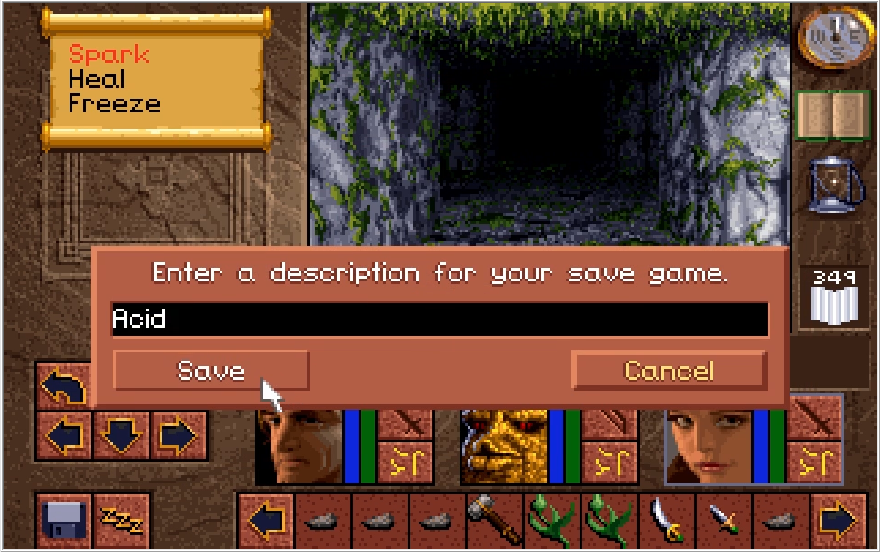
The theming I'm going for will become apparent in about 8 updates or so. Now you probably noticed that the Gladstone Keep guards actually occupy the game world as NPCs. What happens if we decide to take a swing at them?

Image

Image

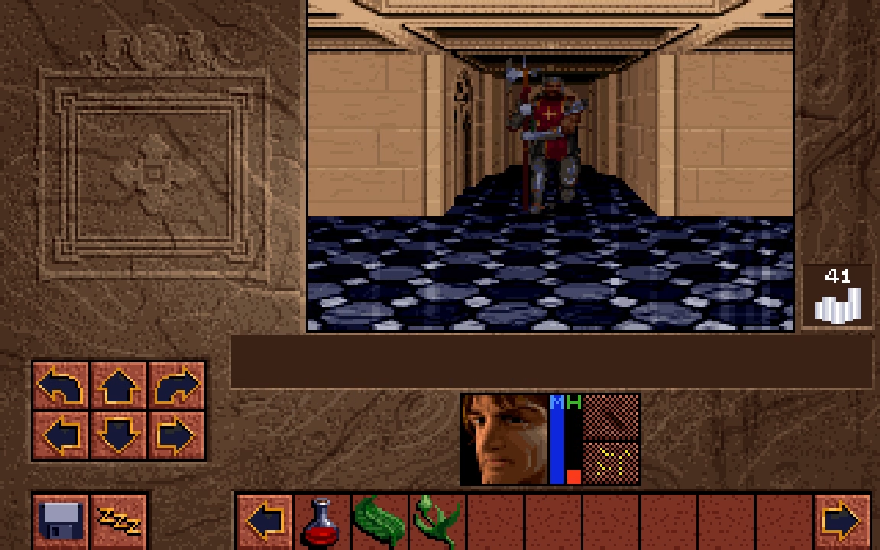
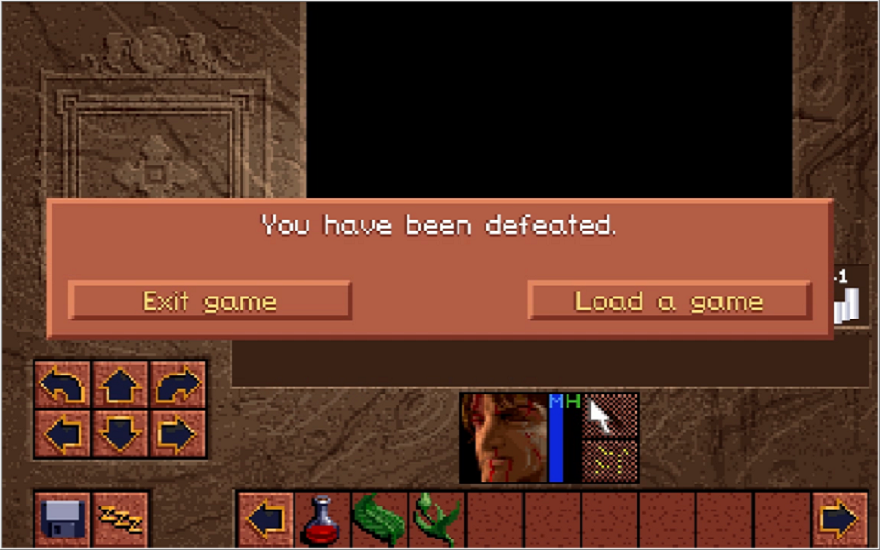
This backfires on you in record time. The guards will immediately box you in and begin pounding on you remorselessly. I was actually killed in a single swing as I turned to see the other guard closing in. Not that it would matter if I could hold out and fight, as the Gladstone Keep guards are completely invincible and will dispose of you in no time flat. Too bad we can't play as these guys.

Image

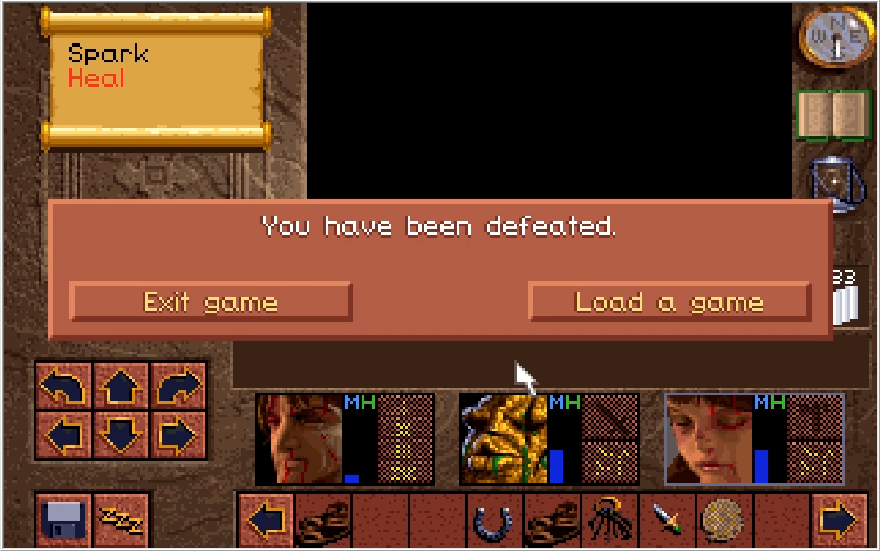
Upon death in Lands of Lore, you can choose to quit the game in embarrassment, or you can select load game to load up a save and try again. Lands of Lore does not feature checkpoints of any kind, so be sure to save frequently! That's where we'll call it for this update, when we return we will explore Gladstone proper and get our first actual objective of the game besides "Stop Scotia". See you then!

*Post update, Pierzak let me know that you can modify the game to play with WASD! You just need to do the following,
Pierzak wrote: Ctrl+F1 opens a menu that allows you to remap keys, it's super quick if a bit unintuitive, you need to:
1. click the "up arrow" key
2. click "Add" button (assuming you want both arrows and WSAD)
3. press W
4. repeat for all the remaps
5. "Save" the remapped scheme.
For some reason I thought I was supposed to press W first and then bind it to cursor, it doesn't work that way.
Last edited by Cullen on Thu Aug 22, 2024 6:03 pm, edited 1 time in total.

User avatar
Update 2: Don't get Madstone, Get Gladstone

Music: Gladstone Keep

Image

Last time when we entered the Lands, Conrad decided to turn traitor and was immediately smashed into pieces by the dedicated guards of Gladstone Keep. Rolling the clock back, let's not do that this time and instead explore the castle a bit. Before we begin, Vitamin Me recommended I do my commentary in plain text instead of italics for readability. Let me know which you prefer!

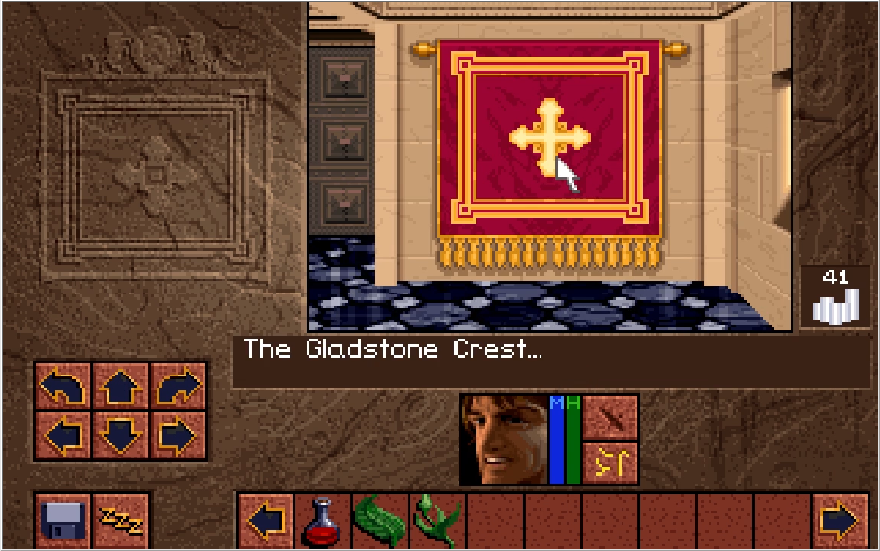
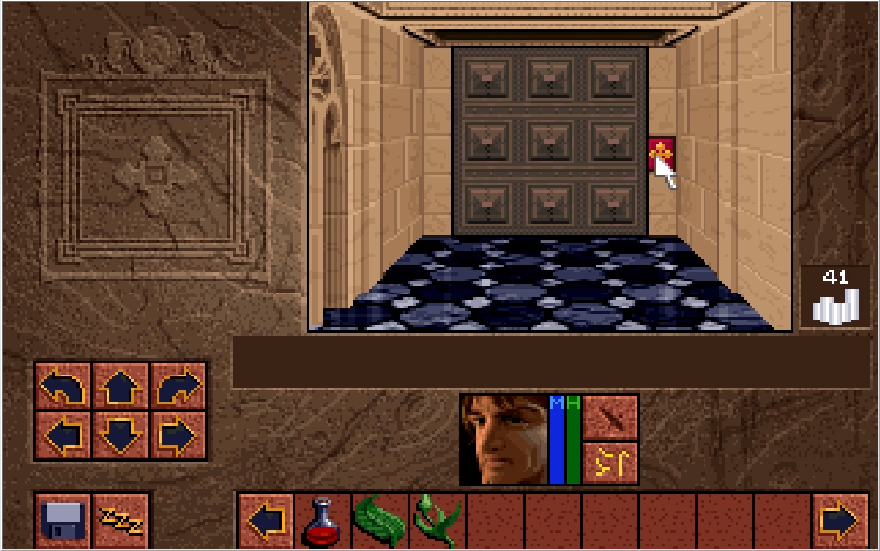
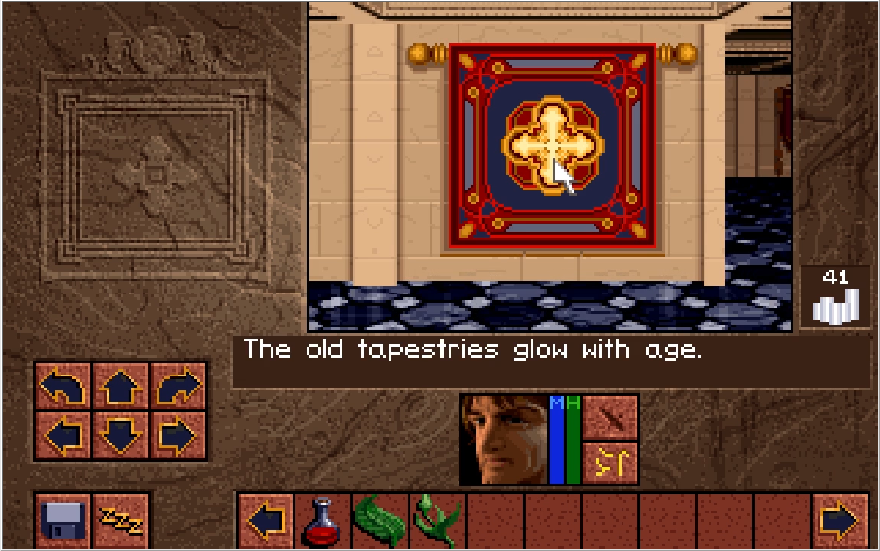
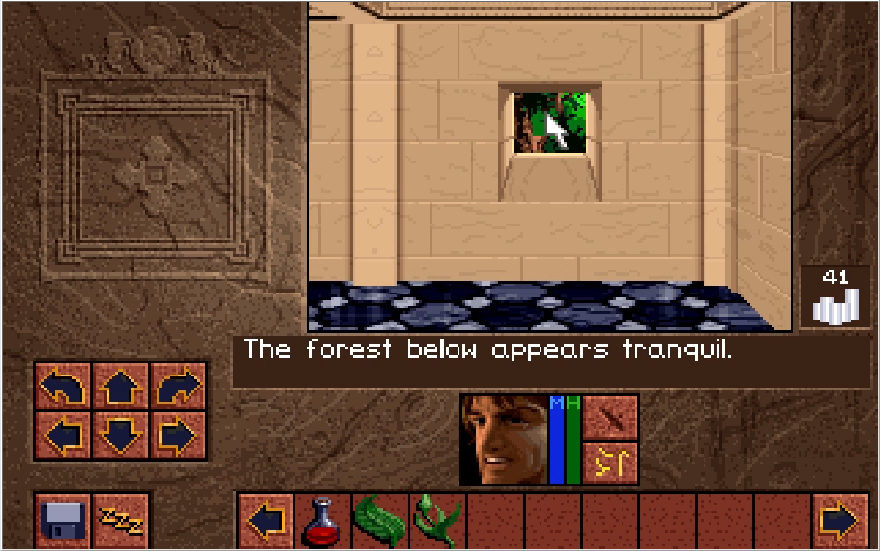
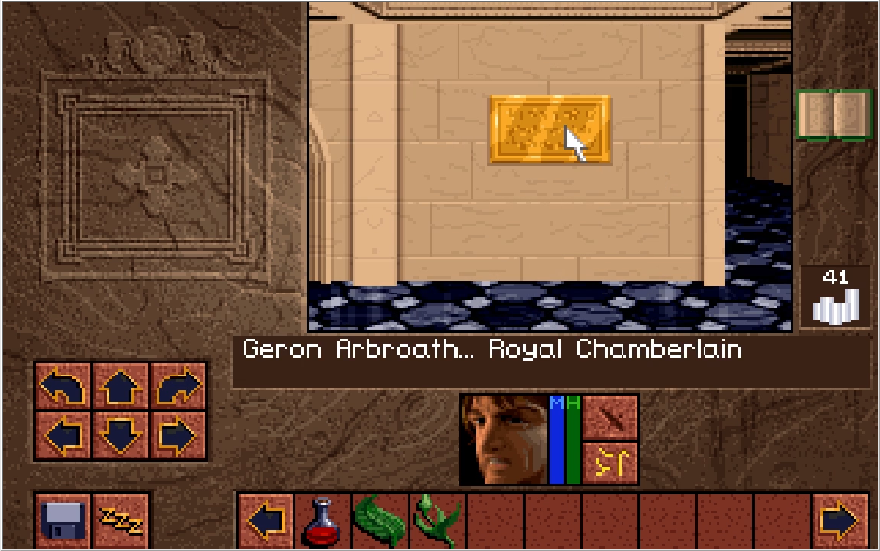
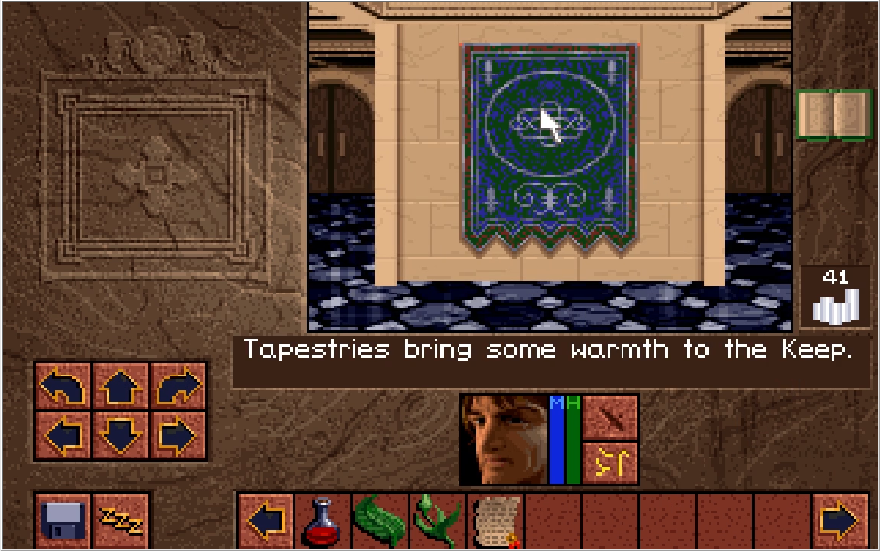
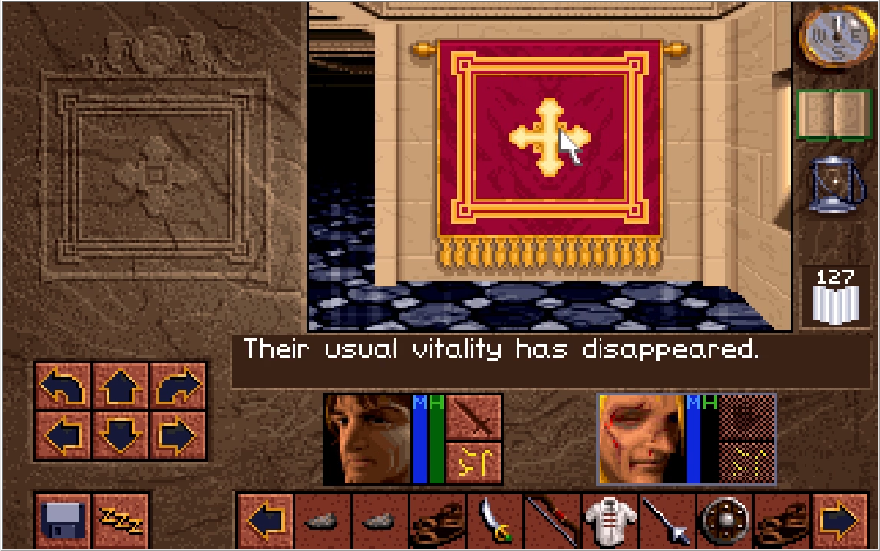
Moving on, there's a fair amount of flavor text we can get by interacting with the game world. That tapestry to the right for instance,

Image

There is indeed some lore to be found in these lands! Terrible jokes aside, we can get Conrad's color commentary on a large number of objects in the environment, should we think to click on them. Sadly, this level of detail in the environment dithers out quite a bit by the time we reach the first major dungeon and seldom will there be non-item interactables in the game world. So it goes.

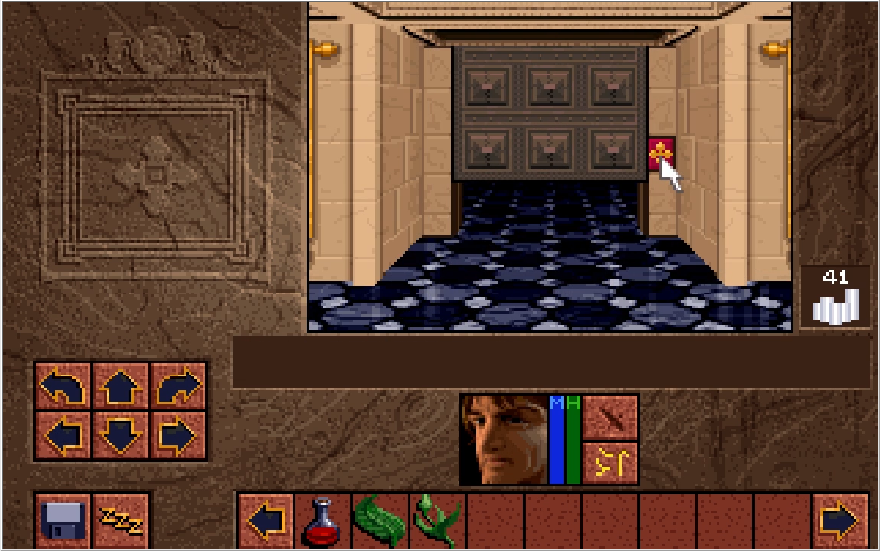
Image

We can move deeper into the keep by slapping this button here and opening the door. Most doors in Lands of Lore are operated by buttons, and can be closed by hitting the button once again. This is actually important to know when it comes to survival, but we'll get to that when it becomes more relevant.

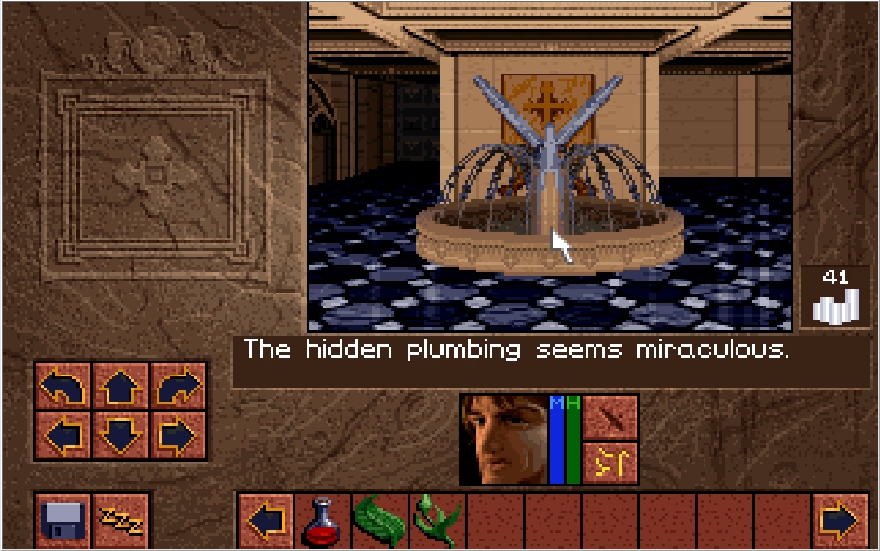
Image

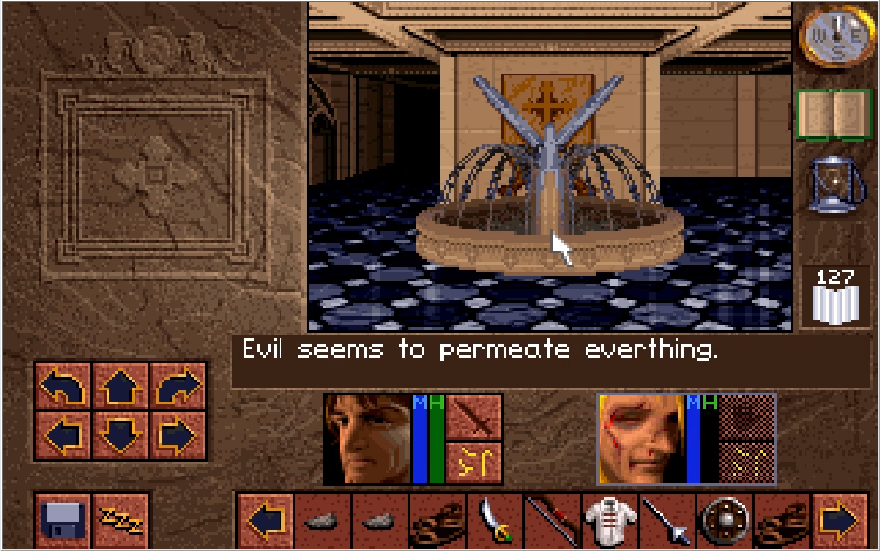
A fountain awaits in the next room, and Conrad proves to be a man who appreciates mechanics much like myself.

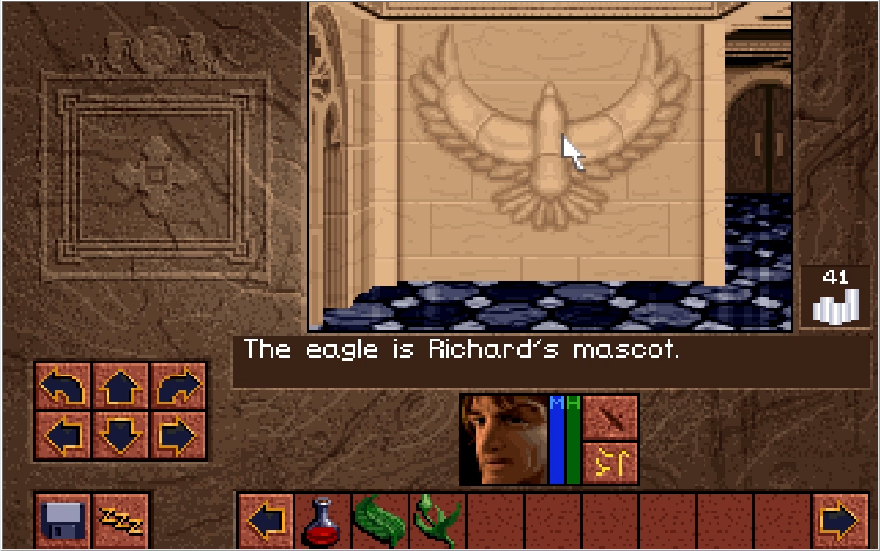
Image

Off to the left is Richard's Eagle crest. The Eagle was also my high school mascot. I wonder where sign ups for the Gladstone football team are held? You've probably noticed that door in the hallway to the right. We'll want to check it out in a minute, but it contains nothing for us now.

Image

Wrapping around the fountain presents us with another button operated door.

Image

Image

Image

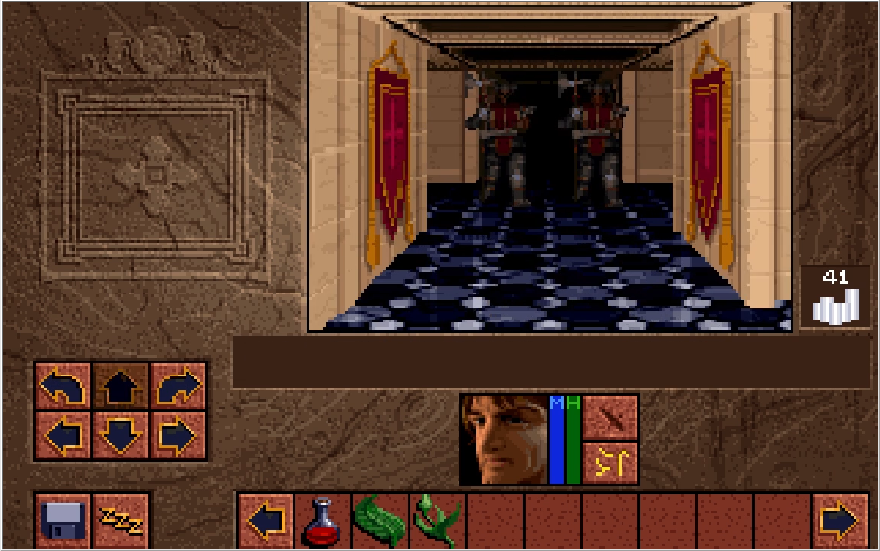
We hang a right, taking in the sights along the way. Turning left once we hit the wall, we see two more guards in the distance. Let's approach diplomatically, these guys can be a little flighty if you try to show them your knife skills. Tragic, that usually does well at parties for Conrad.

Image

This guard lacks a beard and is therefore not as cool as the one who murdered us prior. As you can see, with the Text option set to on, the Text block expands considerably to accommodate a transcription of any dialogue spoken. This is usually accurate, though there are a scant few times when dialogue spoken does not match the written text. I'll try to note these when they happen.

Image

These guys step out of our way, and we are now free to enter the throne room. Doing so,

Music: Meeting Richard

Image

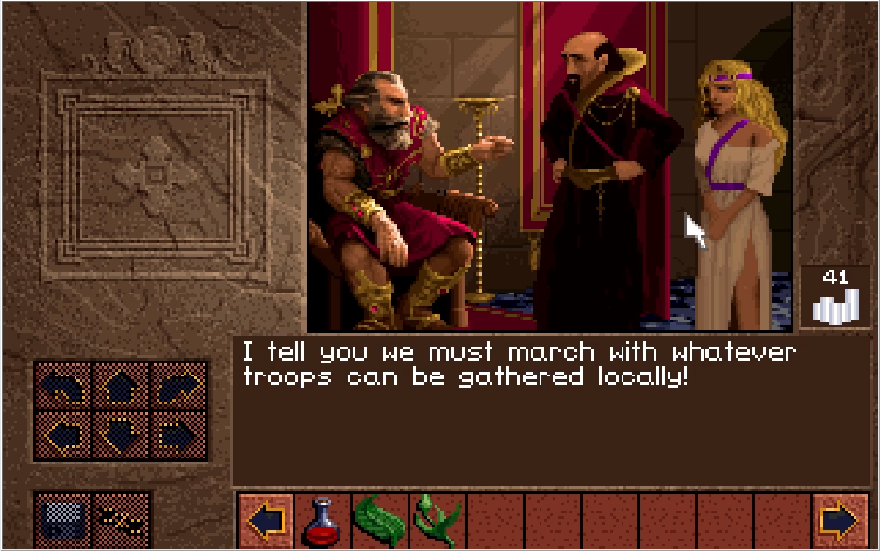
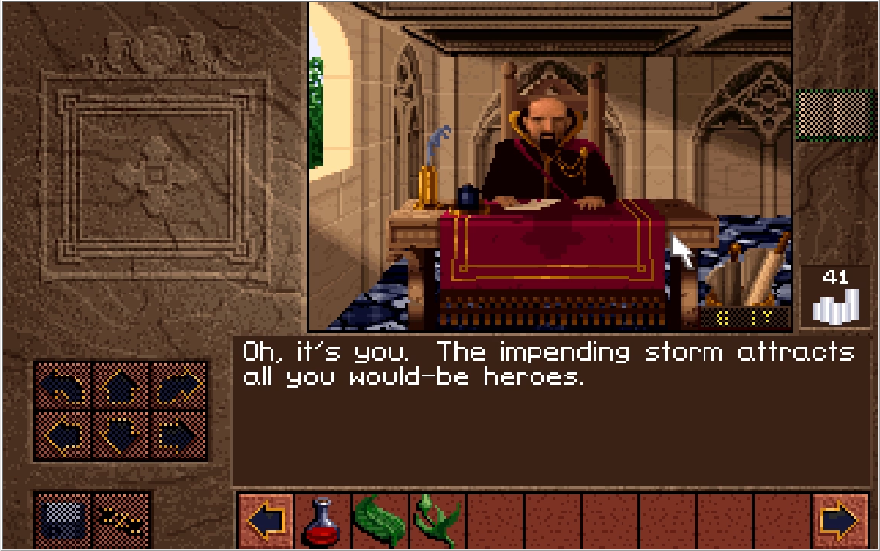
Image: "Isn't Eric mustering his White Army? Have we lost all confidence in our own military capabilities?"

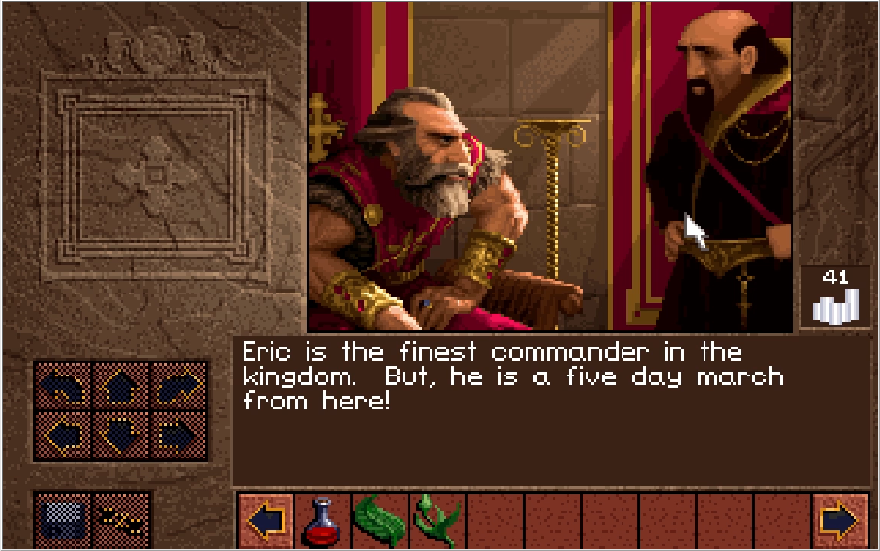
We come across a debate in progress between Richard and Geron. Don't pay much mind to the mentions of Eric, he is not a character we ever meet.

Image

Image

The woman off to the right begins to speak. This is Dawn, a powerful sorcerous in service of King Richard. The exact relationship between them is unclear. There are a couple of moments where it seems like Dawn is meant to be Richard's daughter, though from what I've heard Lands of Lore 3 dispels this notion.

Image: "Scotia is not an adversary to be taken lightly!"

Image

Image: "Here is a key to my private library. Among the books you will find a Magic Atlas that should be of assistance on your journey."

Image

Image

With that, we get booted from the throne room. Several things to note there, most important of which is that we have our first official quest: travel to the Southland and retrieve the Ruby of Truth from Roland. Richard has dropped a key to his library in our inventory, so now we can fully explore the rest of Castle Gladstone. Geron also wants us to pop into his office for a Writ to charter a boat. Let's get to work!

Image

Note that once you back up to the end of the hallway, the guards resume their original posts. If we approach them again,

Image

Image: "I have additional questions for His majesty."

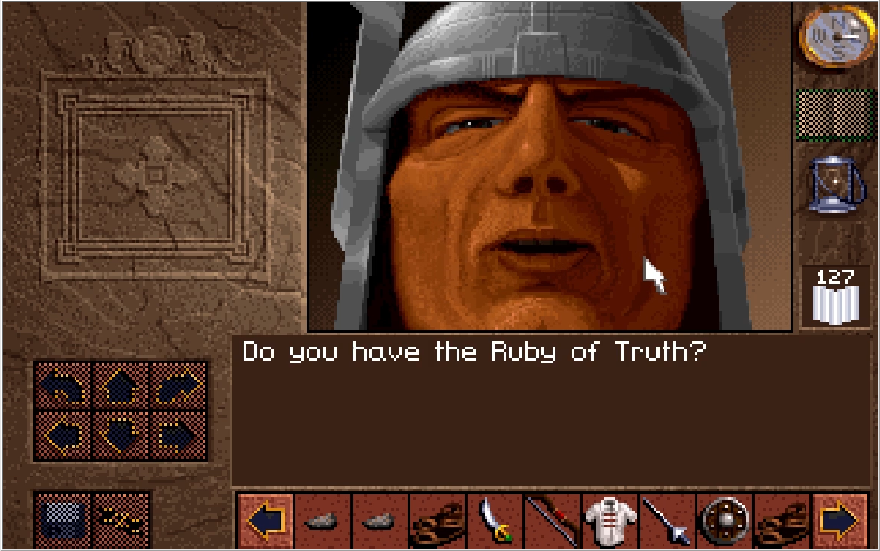
Image: "You are not to be admitted without the Ruby."

Sadly, we cannot converse with Richard anymore at this point, we must complete our mission. Let's double back.

Image

There was another door to our immediate left when we first entered this hall, let's pop it open now!

Image

Image

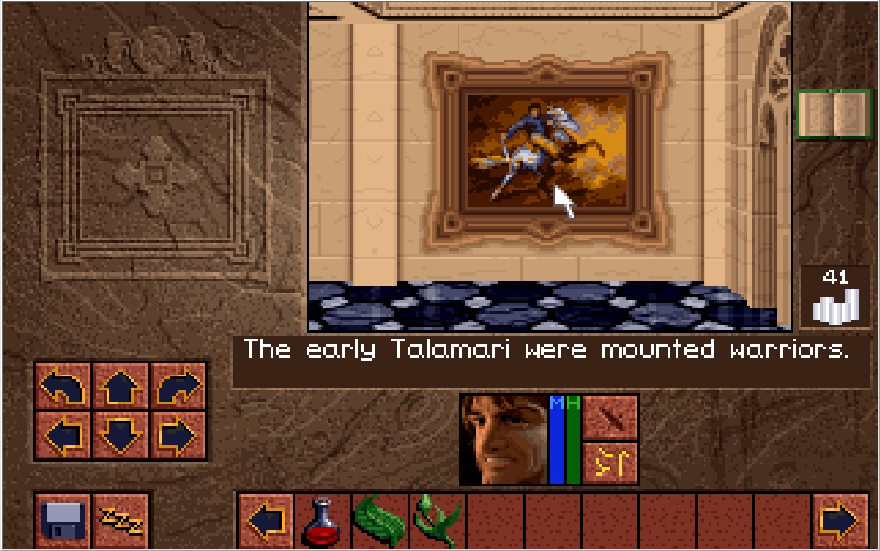
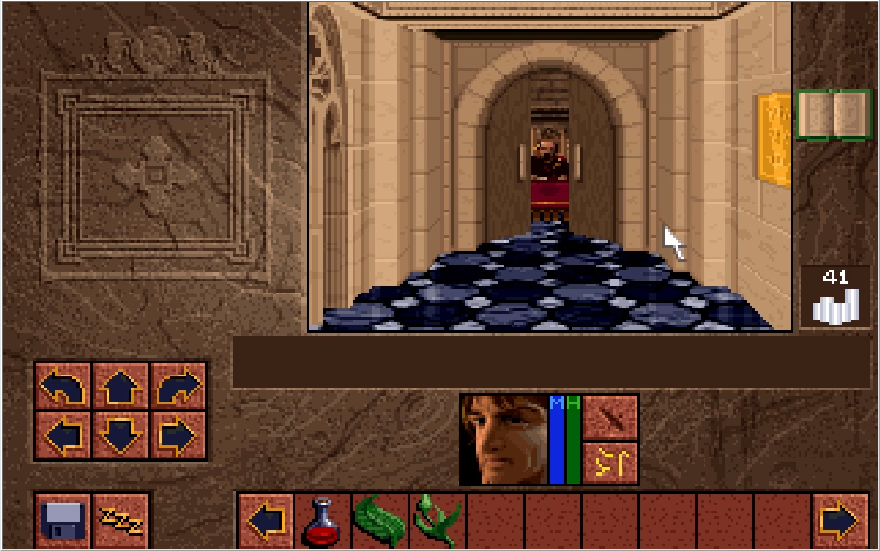
Hanging another left, we stop to appreciate the pretty picture along the way and find a lock at the end of the hall. This lock shutters the door to the Library and if we pop our key in, the door will open as if it were button operated. Do note that doors opened via lock can't be manually reclosed, though this isn't much of an issue at any point in the game.

Image

Image

Image: "The Magic Atlas!"

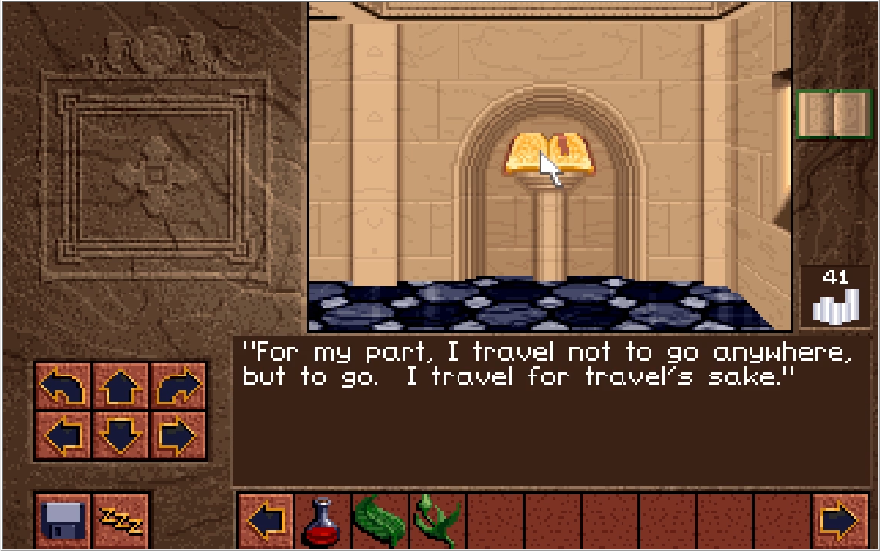
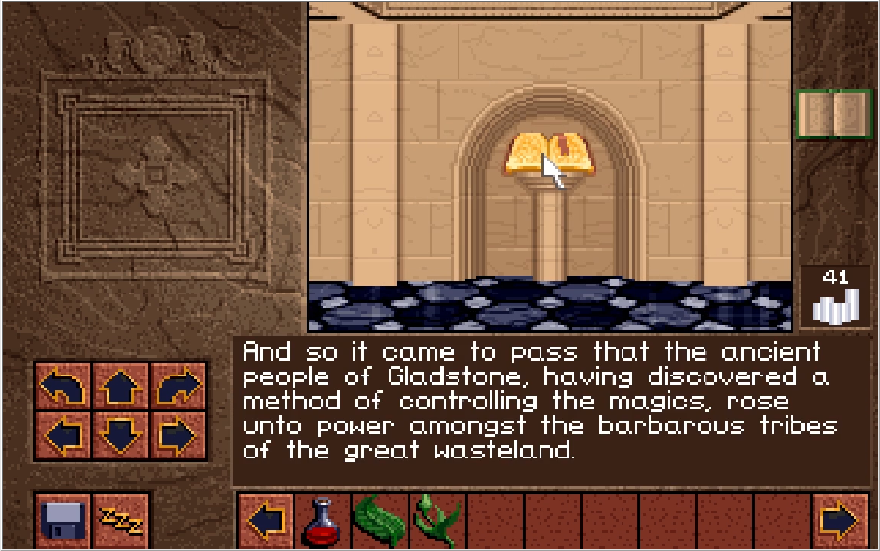
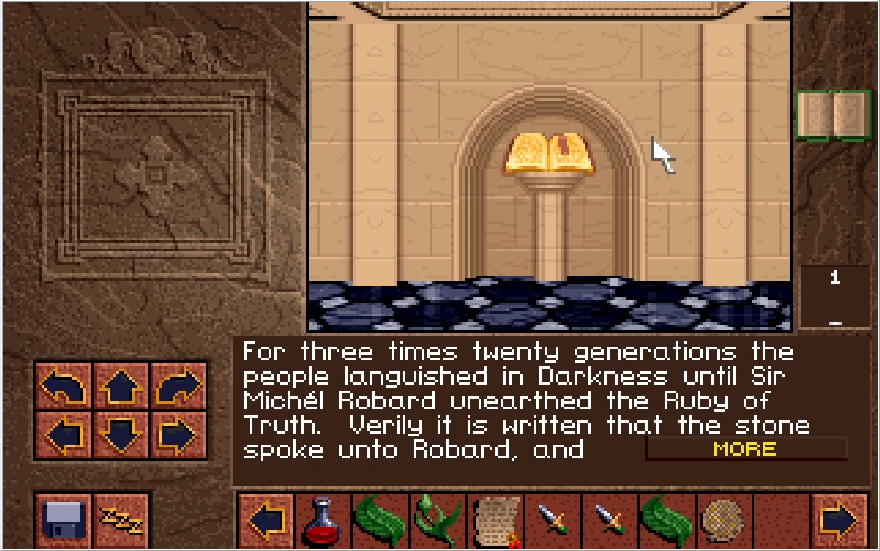
Stepping in and once again immediately turning left, we find a book that is the previously mentioned Magic Atlas! It proceeds to burn itself into our UI, which is pretty metal honestly. We'll take a look at it in just one moment, there are three other books in the room that are actually journals of sorts.

Image

Image

Image

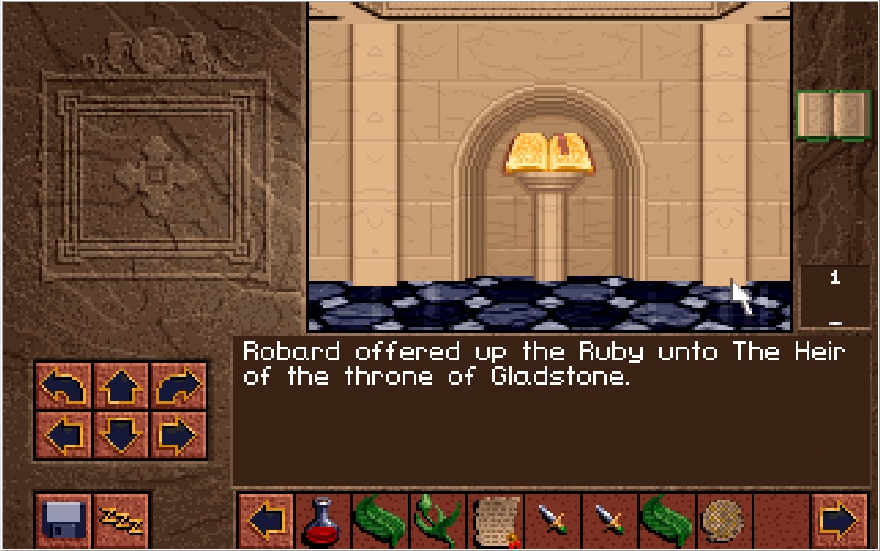
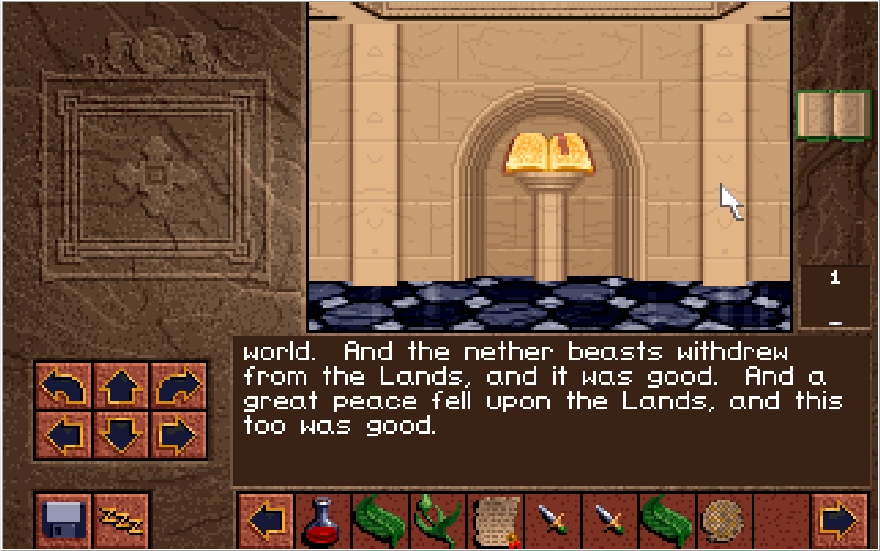
I'm not sure if these are supposed to be the travelogues of Richard himself or his ancestors, but regardless all of these passages are read aloud by Patrick Stewart. With the Atlas in tow, we can now visit Geron to obtain our Writ, but there is one more thing to check out in this section of Gladstone.

Image

Image

In opposite direction from the library, there is a room that has nothing but this portrait in it. Riveting. Let's take a look at our Magic Atlas now. The Atlas can be viewed simply by clicking on its icon.

Image

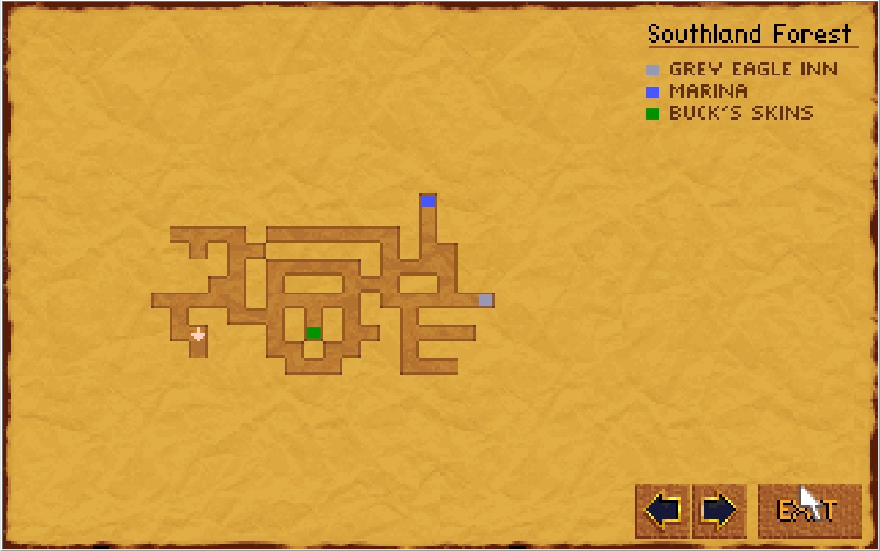
The Atlas is in fact a handy dandy auto map! Not only does this save you money on graph paper, it's remarkably helpful as an exploration tool in ways you wouldn't expect. The Atlas automatically marks down the location of any switches and illusion walls you happen to pass by, regardless of if you interact with them or not. If you're not sure what to do in a given room, always be sure to check your Atlas to see if there was a camouflaged switch or an illusory wall you didn't notice. It is worth noting that you don't actually have to collect the Atlas. If you'd like to challenge your memory and area awareness, you are free to leave the Atlas behind and play the whole game without a map. I am far too forgetful to do that, so we will be keeping the Atlas.

Now that we've taken care of that, let's return to the fountain room and check out the side halls we passed by.

Image

Image

Let's get Geron out of the way, always a good idea to get the undesirable task taken care of first.

Music: Geron's Office

Image

Image: "Now, I suppose you want your writ."

Image

Image

Geron makes it clear at this point that he doesn't think much of us, but he does at least hand over the promised Writ. This should save us a pretty penny on boat fare! The moment he hands us the writ, a bird flies in and startles him. Something about that thing's eyes bother me...

Image: "Look, even the beasts seek shelter."

There are a number of things we can interact with on this screen for a variety of pissy responses from Geron. Let's harass him for a bit!

When touching items on his desk,

Image: "If I want you to touch something of mine, I'll ask you."

Do you plan on propositioning me later, Geron?

When touching his maps,

Image: "Use your own maps. Those are mine!"

When clicking on Geron himself,

Image: "What are you waiting for? Begone!"

With that taken care of, let's leave and check out the other doors in the fountain room. When you attempt to leave though, Geron has one final thing to say.

Image

Timothy, eh? I certainly wouldn't say no to allies in this quest, currently we're tackling it with little more than the clothes on our backs. We should correct that, and I think I know another guy who can help us with that. There are two more rooms on the other side of the fountain, so let's wrap around it real quick.

Image

Image

Directly opposite Geron we can find the forge of Victor. This is our first shop of the game where we can purchase new weapons. Let's pop in and say hi to Victor!

Music: Victor's Armory

Image

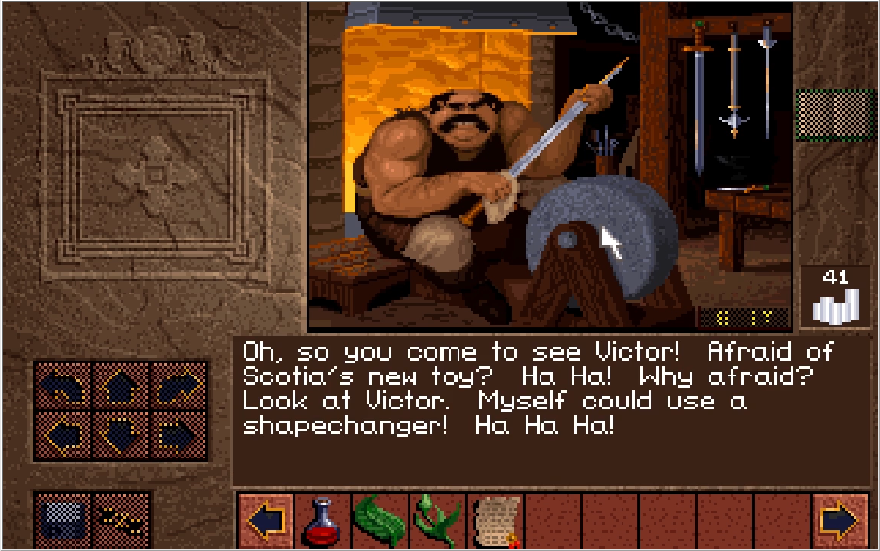
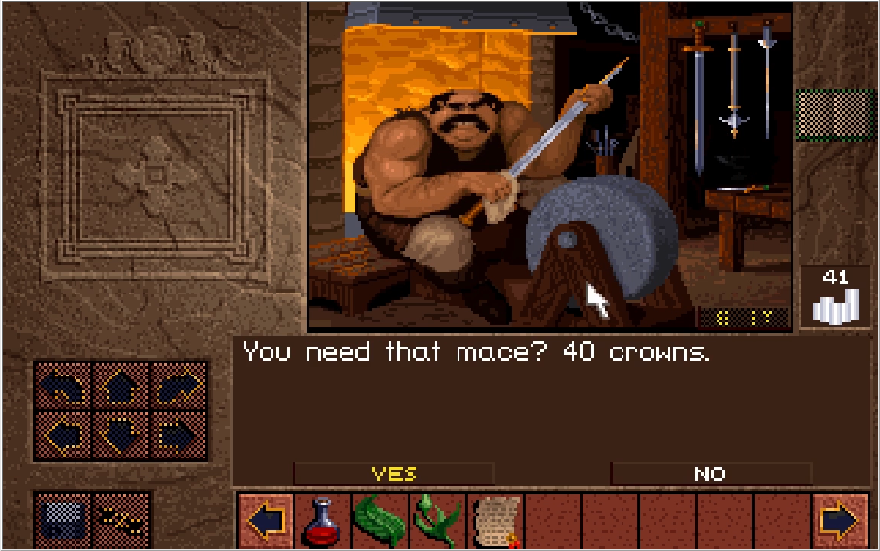
Victor has an infectiously jovial attitude in sharp contrast to Geron.

Image: "You show Victor what you want to buy. Maybe you show Victor what you sell, OK?"

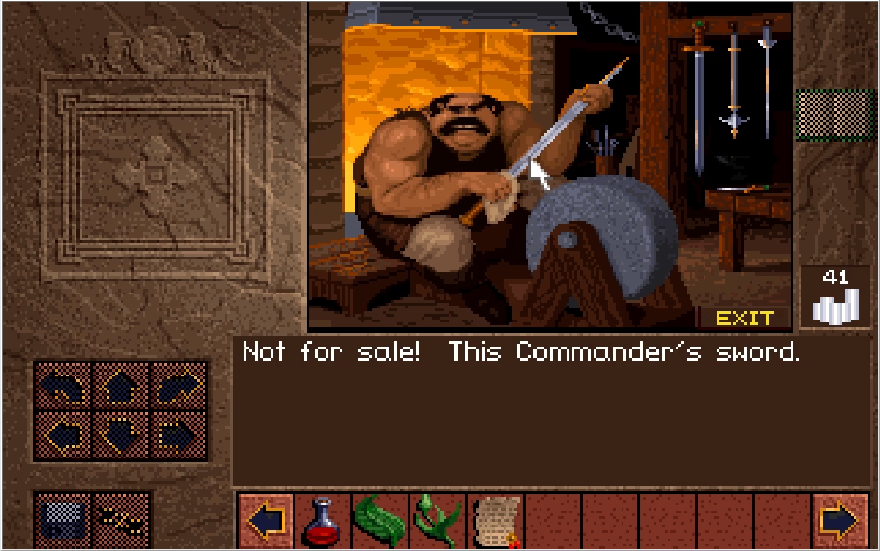
Can do, Victor! Before we conduct business though, like Geron's room there are a number of points we can click on for a response from Victor. First, if we click on that fancy sword he's polishing,

Image

Oof, he's a little sensitive about that. I'm curious who this commander he's mentioning is though. Possibly that Eric fellow Geron mentioned? Let's see what else there is we can interact with here.

When clicking on the sharpening wheel,

Image: "I make even this wheel with these two hands."

When clicking on the forge or tools in the background,

Image: "Now is not the time for training apprentice."

Darn, a game where you're Victor's smithing apprentice sounds like it'd also be a pretty good time.

Image: "You have a thing to sell Victor?"

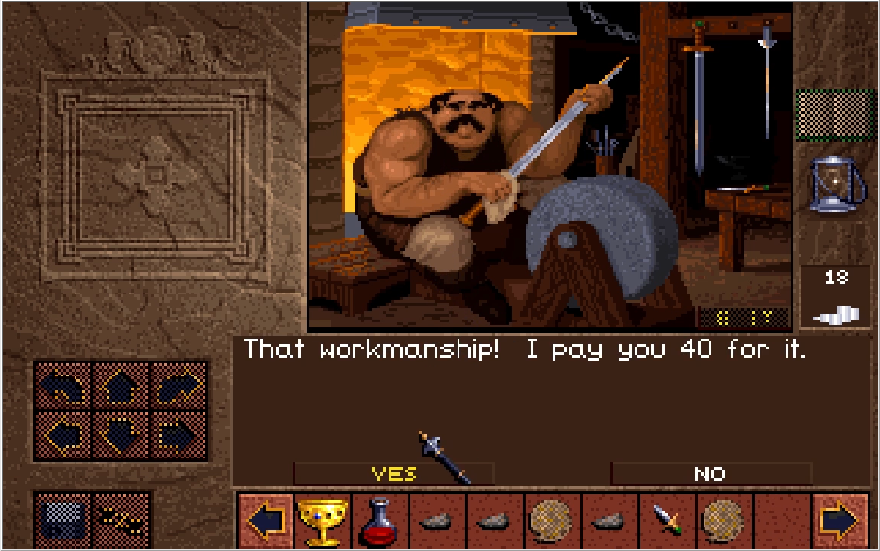
This is a comment with gameplay implications! To sell items to Victor, you simply just need to drag things from your inventory and place the cursor on Victor to initiate a sale. Despite being a blacksmith, Victor will actually buy almost anything you present him with unless it's a key item or trash. We have nothing we want to sell at this moment, but we do actually want to make a purchase. Those weapons off to the side can be bought, just click on whatever has your interest and...

Image

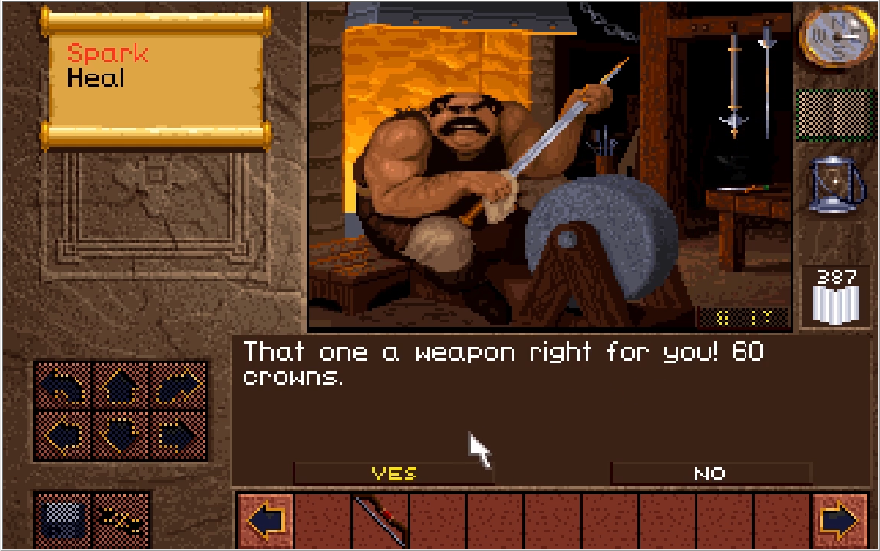
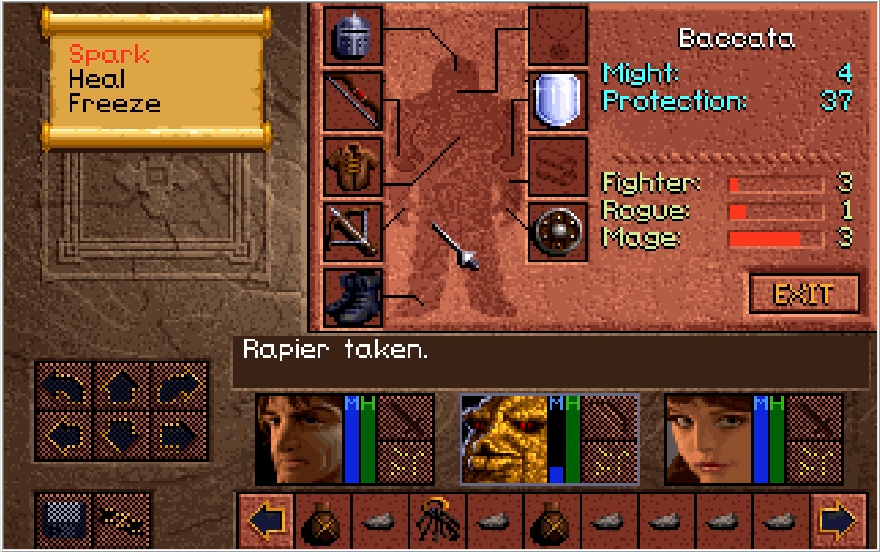
Victor will name his price for the weapon. There are 4 weapons you can purchase here, a dagger (which is the same as what we're currently equipped with), a Mace, a Rapier and a Longsword. They are 10, 40, 60 and a whopping 125 crowns respectively. We will want the long sword eventually since it brings Conrad's might up to a solid 31 when equipped, but we're far off from having the money for it. Michael will also want the Longsword as his Might becomes a tremendous 37 when it's equipped. If you're playing as Kieran or Ak'shel, I'd actually recommend getting the Rapier when you have the chance instead. The Longsword only brings them up to 18 Might, while the Rapier brings them up to 16. The Rapier also increases your protection stat, so that's more worthwhile on the whole for them.

May as well get this out of the way while we're on the topic of weapons anyway. There are 4 types of weapons in Lands of Lore: Slashing, Striking, Thrusting and Projectile type weapons. Weapons like Daggers, Swords and Axes are Slashing weapons, weapons like Maces and Hammers are striking weapons, and weapons like Rapiers and Tridents are thrusting weapons. Projectile weapons cover things like bows, crossbows, arbalests and shuriken. Some enemies in the game are resistant to certain weapon types, so it's a good idea to keep a variety of strong weapons for each weapon type on hand. For the most part, this isn't something you need to pay huge amounts of attention to, but do know that there are a decent handful of enemies who completely no-sell slashing and thrusting attacks. Enemies like that either need specific magic spells or striking type weapons to handle. Projectile weapons work on most everything in the game with a couple of exceptions, but the trade off there is that they have low damage that is entirely dependent on the weapon that you are using. With that spiel taken care of, let's leave Victor's forge and equip our shiny new Mace!

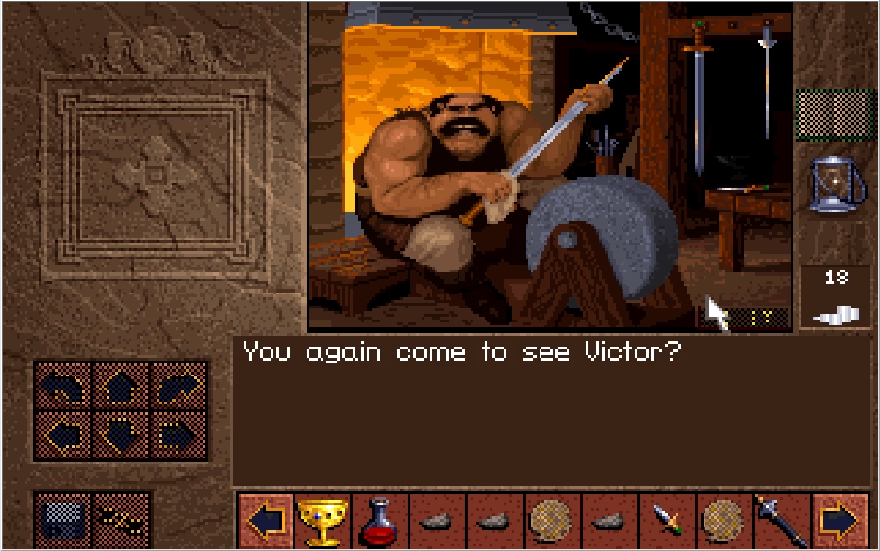
Image "You again come visit, no?"

I promise, Victor.

Image

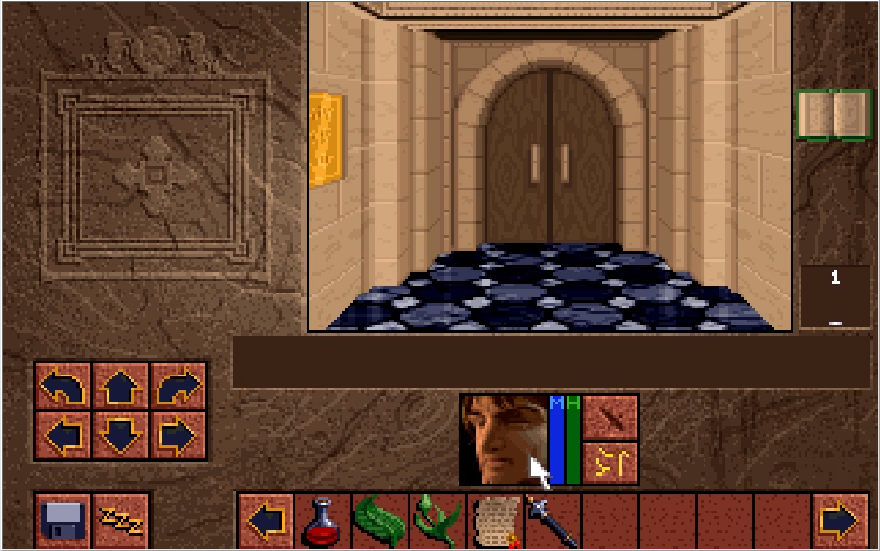
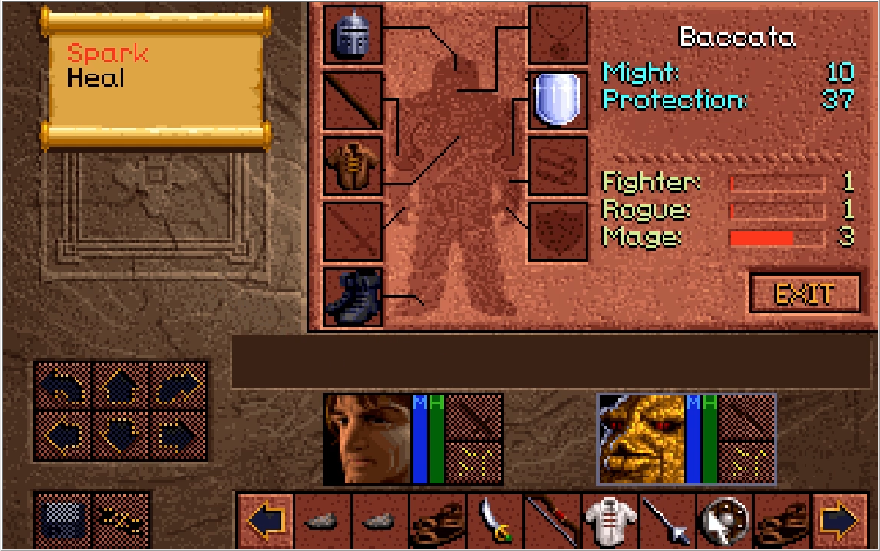
A new weapon is no good if it isn't equipped! We were able to drop the Mace in our inventory once we paid for it. Note that our inventory scrolls much farther than what can currently be seen on screen. You can hold up to 54 items in Lands of Lore, which is quite generous by CRPG standards. We will eventually pick up key items that will lock down some of those slots for a bit and the slots can be quickly filled up with junk, but you'll never find yourself in a situation where you might have to drop something important. Anyway, to access a character's equip screen, you just need to click on their portrait.

Image

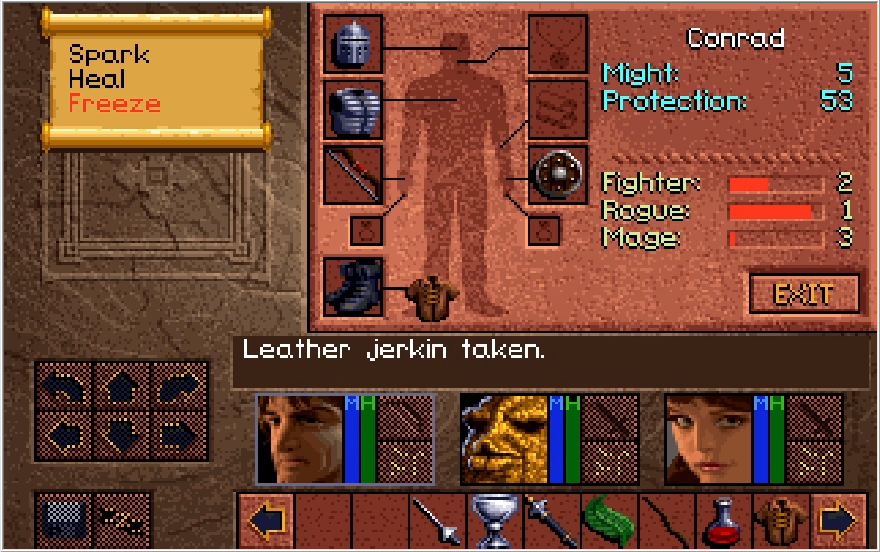
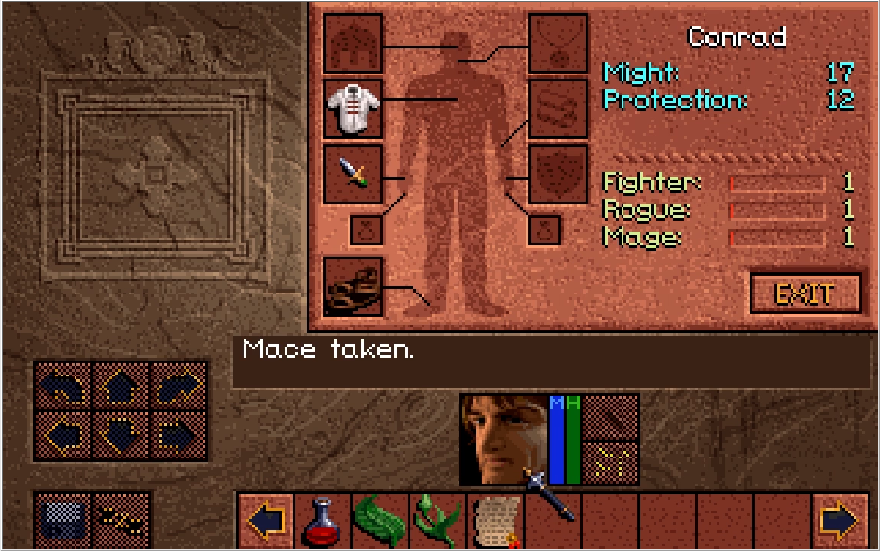
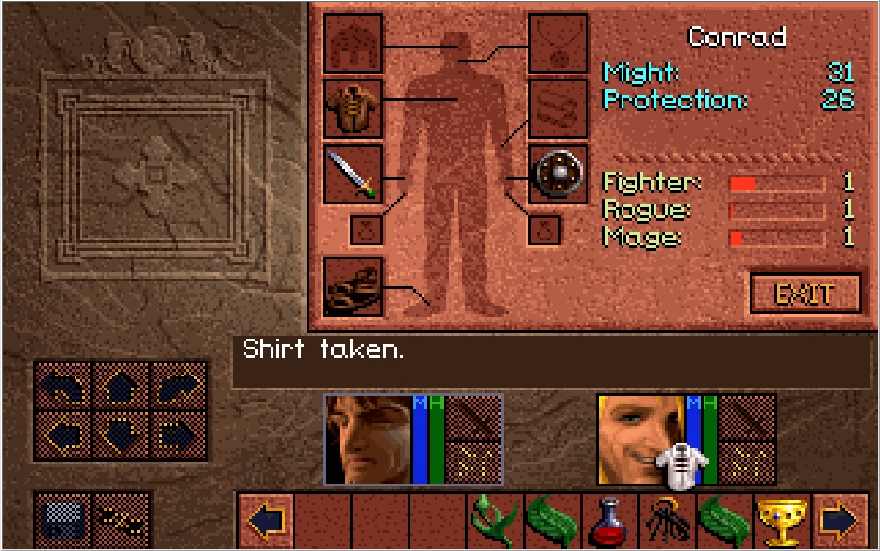
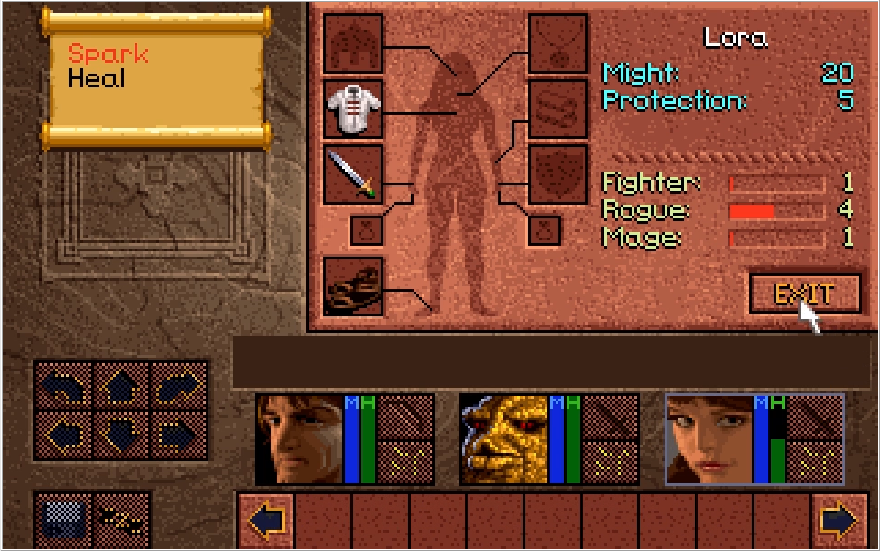
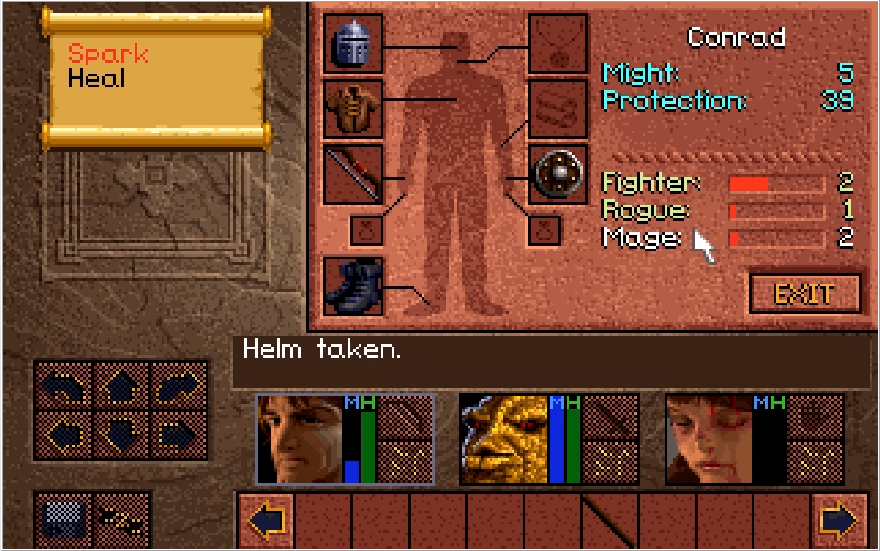
In the grand RPG tradition, even though we have been contracted by the King himself to go on a quest of tantamount importance, we are given jack shit to work with. Conrad has an off-white tunic, a switchblade, and some sandals to his name. We have a number of other equipment slots that are simply barren at this point, but will be filled in due time. Note that if you're playing as Kieran, you do not have a footwear slot. Let's put the Mace in Conrad's hands and see what that does for us!

Image

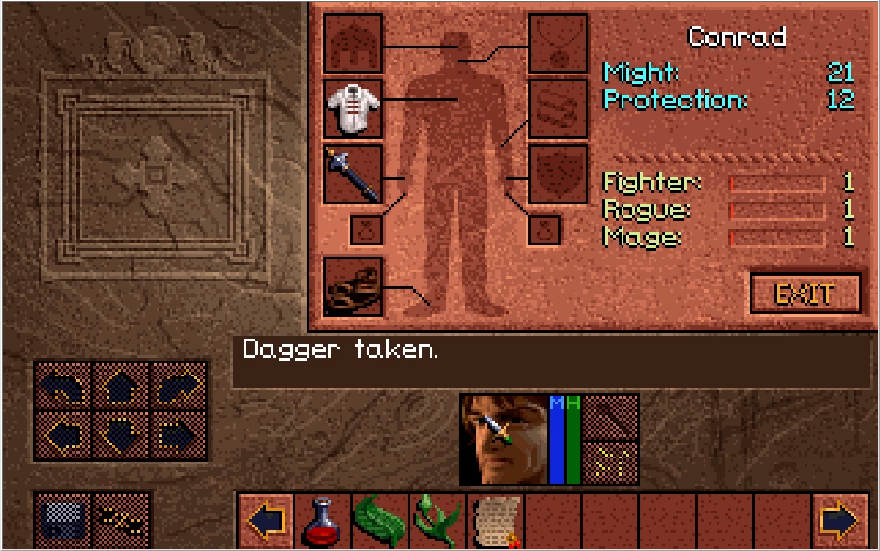
Hmm, only 4 more Might over the Dagger. Was that really worth it? Yes, as a matter of fact! Victor (and all other weapon vendors in this game) will purchase back the weapons he sells you at the cost he sold them for. We can essentially hold the Mace as collateral and get our 40 crowns back for it whenever we want, so there's really no reason not to buy it. Admittedly, it's barely an upgrade for Kieran and Ak'shel, but they can also quickly grab some junk outside of Gladstone to sell in order to get the Rapier instead.

Since we're on the equip screen for the first time, this is as good a time as any to discuss the levels off to the right. Rather than having a standard EXP system, Lands of Lore has three different skill levels that increase slowly as you perform relevant actions successfully. Fighter is tied to your weapon attacks. You gain Fighter experience when you successfully land a melee weapon attack on an enemy, with additional Fighter experience awarded if the blow kills the enemy. When you gain a Fighter level, you gain a large amount of HP primarily. I believe higher Fighter levels also increase your accuracy against stronger enemies, but I'm not 100% sure on that. The main reason to build Fighter levels is for more HP. Fighter levels also do not actually increase the damage you deal, that is strictly tied to your Might.

Rogue levels are tied to usage of Projectile weapons. Unlike Fighter levels, you actually gain Rogue experience when just firing a projectile weapon in general, though as you can imagine the gains for that are quite low. When said projectile actually hits an enemy, that is even more EXP gained, and a considerable amount of Rogue exp is awarded if you kill something with projectiles. I've also read that throwing items from your inventory (which is something we'll see soon enough) raises Rogue levels though how the game would actually decide to award that if you have multiple characters in your party, I have no idea. Rogue levels give you a modest amount of HP when gained, though not as much as Fighter levels usually do. Rogue levels do not improve any aspect of projectile weapons. Instead, the main thing Rogue levels affect is lockpicking. We'll eventually get a lockpicking set and there will be many pickable treasure chests over the course of our journey. The higher your Rogue level is, the more quickly you will open these chests and the less likely you are to trigger traps. Many chests later on also have a minimum Rogue level required to open, and you'll need a Rogue level of 4 by the end of the game if you want to be able to open every Pickable chest.

Mage levels are, naturally, tied to spellcasting. Like Fighter levels, you gain Mage exp when you hit an enemy with a spell, and gain a greater amount of Mage exp if the spell scores the killing blow. There are also spellcasting items available in the game, and the characters that utilize these items in combat also get Mage exp from them. The main thing raising your Mage level does is give you more MP, each character in the game gains a sizable amount of extra MP to cast with whenever they raise there Mage level. Mage levels also award a very slight amount of extra HP, usually 2-5 more hit points when you gain a Mage level. Mage levels do not increase the efficacy of your spells, every spell in the game does a set amount of damage based on the level of it you cast.

With that impromptu info dump out of the way, let's check out the last couple things in Gladstone. Leaving Victor's forge and heading off to the left,

Image

Image

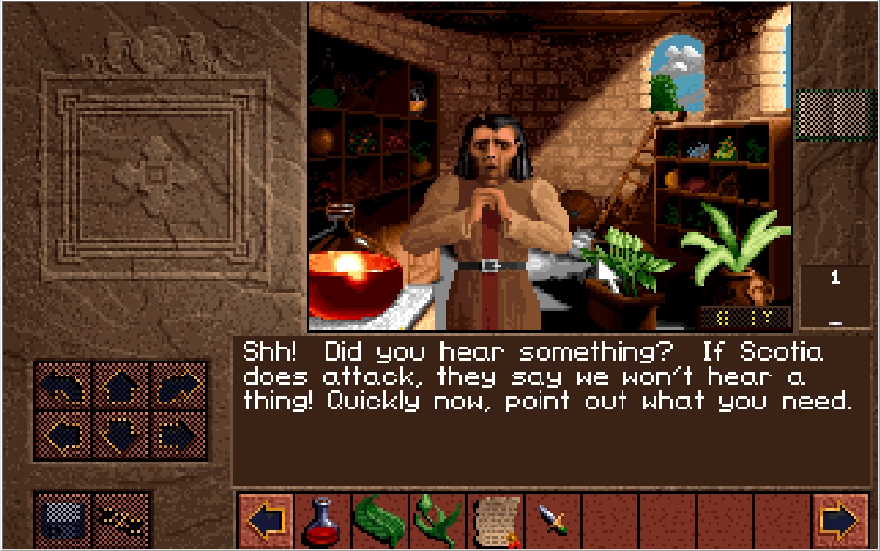
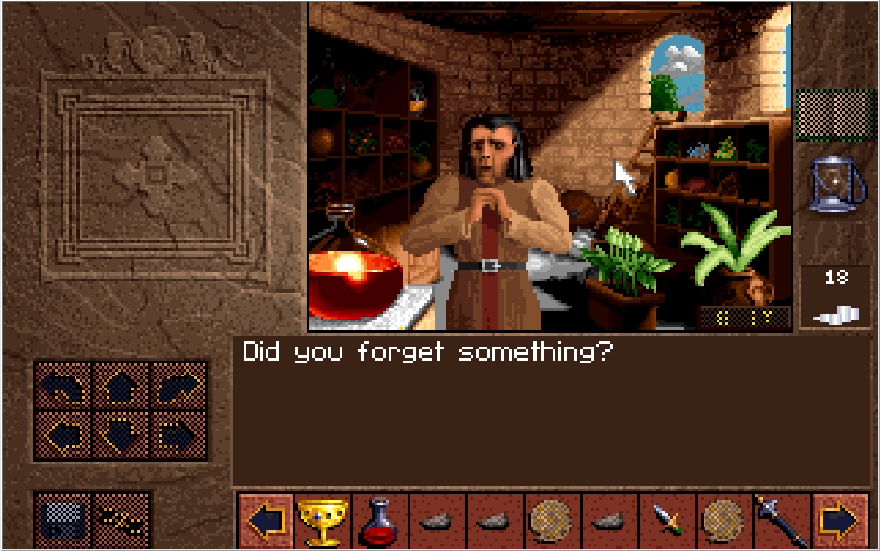
We can find the Royal Herborium! This is another shop of sorts, run by the world's most nervous man: Nathaniel.

Music: Nathaniel's Herborium

Image

There's a couple things to click on here, though not quite as much as Victor's forge.

When clicking on Nathaniel,

Image: "They say the Ruby and the Shard are the only means of opposing the Nether Mask!"

This is actually an interesting little bit of dialogue you can easily miss here. We can presume the "Ruby" he's talking about is the Ruby of Truth we've been sent to fetch, but what is the Shard? It is a very long time before that will be followed up on.

When clicking on the shelves to the left,

Image: "Those are only experimental ingredients."

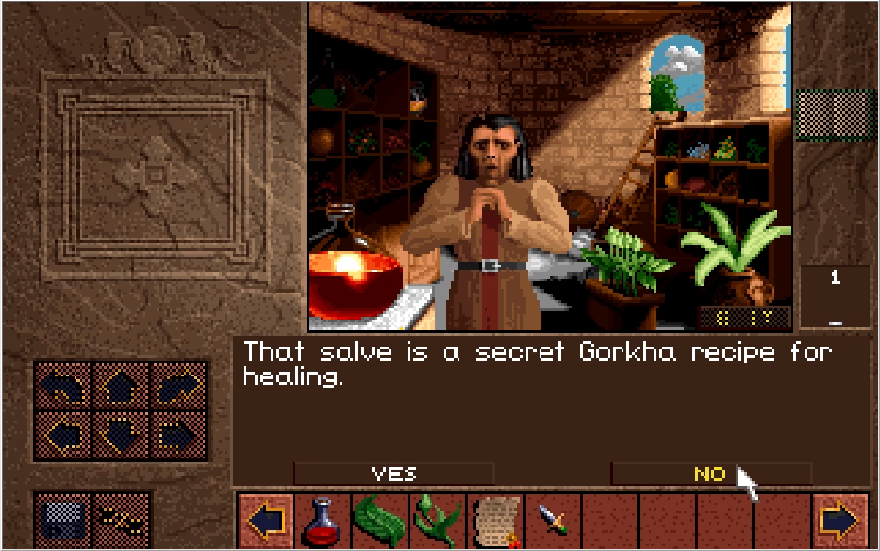
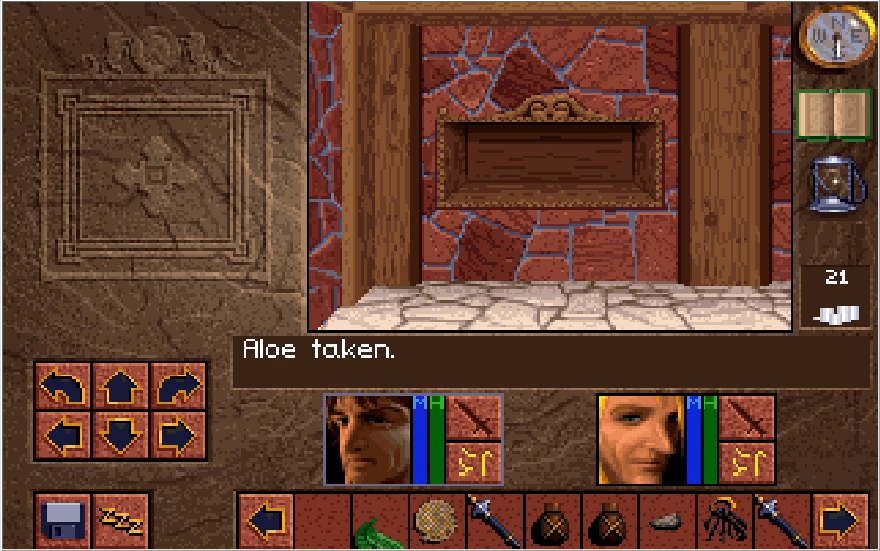
Lastly, we can purchase medicinal herbs and salves from Nathaniel. The plant with 5 leaves is actually a pot of Aloe. Aloe restores a very small amount of HP, and Nathaniel is selling it for 5 crowns. Very much not worth it. The planter to the left of it contains Ginseng. For 10 crowns, Ginseng restores a far larger amount of HP as well as curing poison. Not something I'd spend money on, but I do appreciate it when I find Ginseng while exploring.

Image

The Ghorka, huh? I wonder if we'll ever get a chance to meet them. Salve is the most potent restorative Nathaniel has, but it does not cure poison. Salve costs 20 crowns per flask. Note that Nathaniel considers any purchase we make a "donation" and is thus non-refundable. In fact, you can't sell anything to Nathaniel and he seems to get offended when you try. Is he a man of the cloth or a snake oil salesman? You decide. With all that done, let's leave.

Image: "Farewell then."

Image

Image

At last, we finally return to where we started. When we first got control, we were directly in front of the gates of Gladstone Keep, and we're now ready to step on out into the world. Next update, we will be exploring the Northland forests that surround Gladstone. See you then!
Last edited by Cullen on Thu Jun 20, 2024 11:44 am, edited 1 time in total.

Trauma-inducing LP title here.
I've also read that throwing items from your inventory (which is something we'll see soon enough) raises Rogue levels though how the game would actually decide to award that if you have multiple characters in your party, I have no idea.
Can confirm this is true, having done it a bunch to get around weapon swing cooldowns early on (and also to make picking chests less of a pain later), rapidly throwing a rock proved surprisingly effective at that.

I assumed Kieran sucked from what little I remember from when I tried to use him but I didn't realize he was -that- bad. You'd think being able to attack faster would help but nah.

User avatar
Yeah they way overestimated Kieran's unique ability when designing him and made him horribly weak in every category. His Might is so low, it's hard to tell when he's just missing and when he's scoring a 0 damage roll. His Fighter and Rogue levels do at least grow reasonably fast, especially compared to his Mage level, but that's not really enough to help him get any stronger than other characters by the end of the game since everything just levels so slowly once you hit skill level 4.

Oh right, it slipped my mind earlier but the books in the library being actually readable is specific to the CD version, in the floppy version (which did not feature voice acting) the champion would just remark that they were too old to read or something. They really wanted to milk getting Patrick Stewart to voice King Richard, I suppose.

User avatar
I had honestly assumed the books weren't even there at all in the floppy version. If you happen to know any other details of changes from the floppy version, feel free to let me know as they become relevant! I do plan to mention places where copy protection would be when they come up, but otherwise I don't actually know too much about the floppy version. I did consult the game's official clue book while doing my practice playthroughs, and that seems to be based on either the floppy version or even a pre-retail version, as it consistently refers to Fighter levels as Knight levels.

Unfortunately I won't have much to talk about in that regards, as that's the only real difference (other than the copy protection) that I can recall and I only played that version once, and it was in the weird space of time when the CD version wouldn't run in DOSBox. And yeah the clue book definitely seems to be pre-retail, as it alludes to some stuff that I'm 99% certain doesn't actually exist in the game either because it was removed at the last moment or because this game wasn't... quite complete (althougn not as many things as TCRF lists as unimplemented).

User avatar
Update 3, Northern Fights

Image

And we return to Lands of Lore: The Throne of Chaos! I'd like to say now that I'm not quite sure what the subtitle refers to specifically as no throne ever factors into this game in any meaningful manner. Perhaps it's a more poetic way of referring the final dungeon as the "Seat of Evil". Regardless, in this update we will make our way through those open gates and experience some actual gameplay for once.

Before that though, it was requested that I show what Nathaniel says when you try to sell him something. He has two distinct responses depending on what you try to dump on him!

If you try to sell Nathaniel a non-healing item,

Image: "Thank you, but we only accept coins as donations."

If you try to sell Nathaniel a healing item,

Image: "Sorry, donations are not refundable."

Note that he says the latter even if it's a healing item that you collected yourself. In one of my practice playthroughs, I had the too clever idea to give Aloe to Nathaniel to see if he'd convert it into the slightly more useful Salve and was bemused at him accusing me of trying to refund charity. With that taken care of,

Music: Northland Forest

Image

Image

We enter our first area of the game, Northland Forest. Fittingly, Gladstone is situated in the northern portion of the map. Now the Marina is immediately due south of Gladstone, but there's quite a bit to do and collect in Northland before we head there. You don't have to do this, but the items and money we can get will be quite helpful going forward.

Image

Image

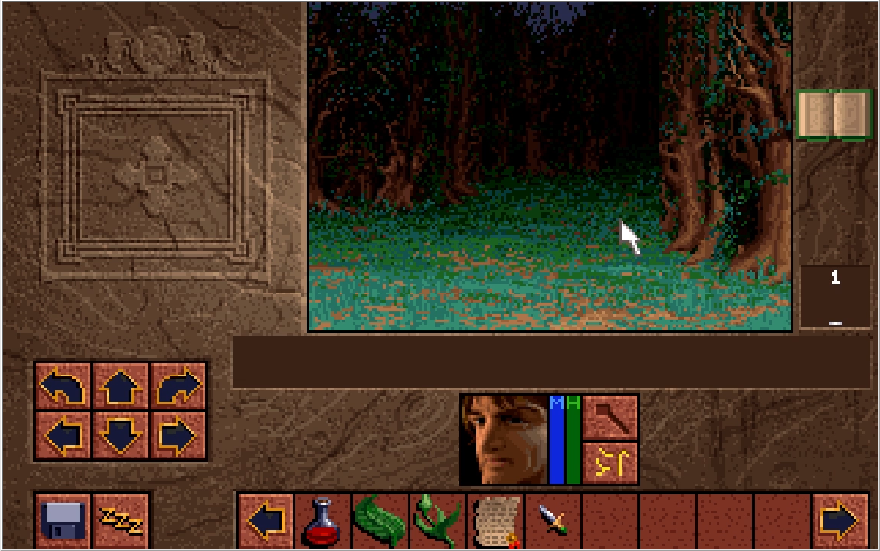
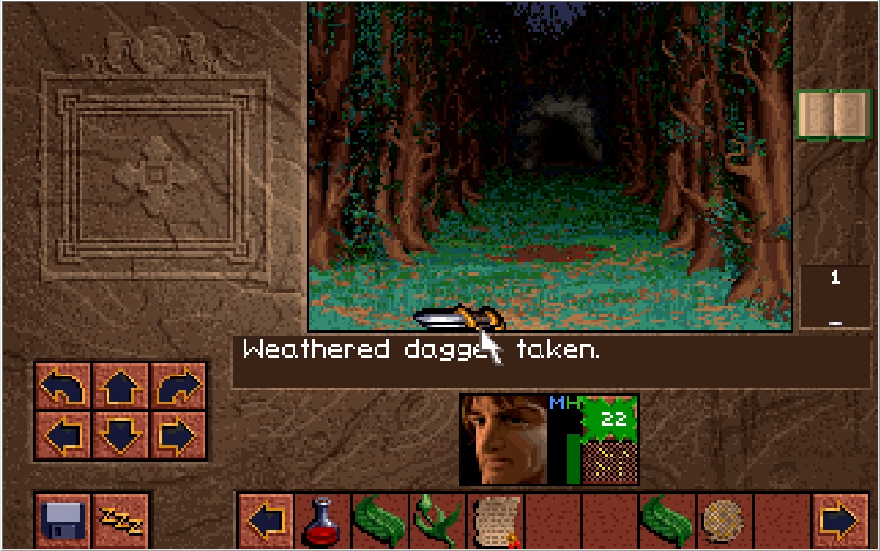
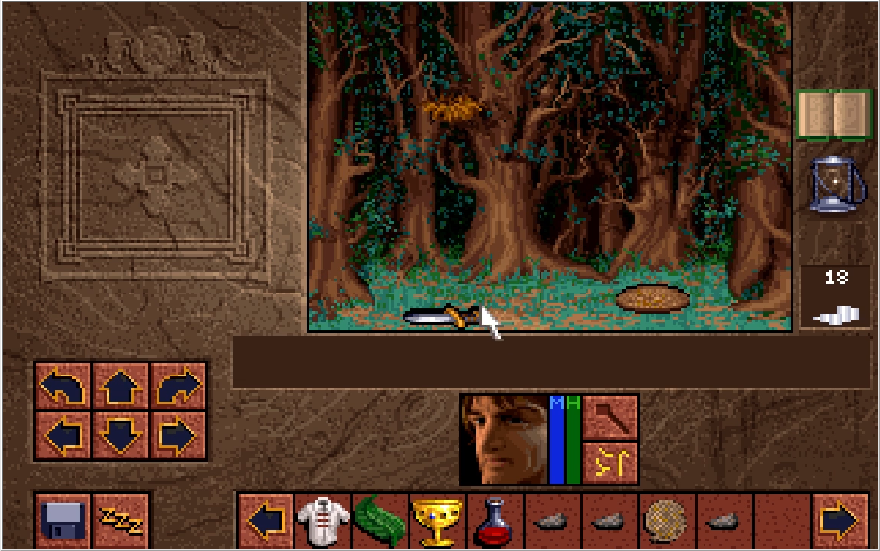
We head a little south and then turn right. For the time being, I'll mostly be using relative directions to describe the path I take. We will soon get a compass that will allow me to more easily call out those directions, so hopefully I can give less confusing directions in future updates. Along the way, I find a Weathered dagger. It's even weaker than our default Dagger, but Victor will take it off our hands for 5 crowns. There is another thing we can do with it that we'll see soon enough.

Image

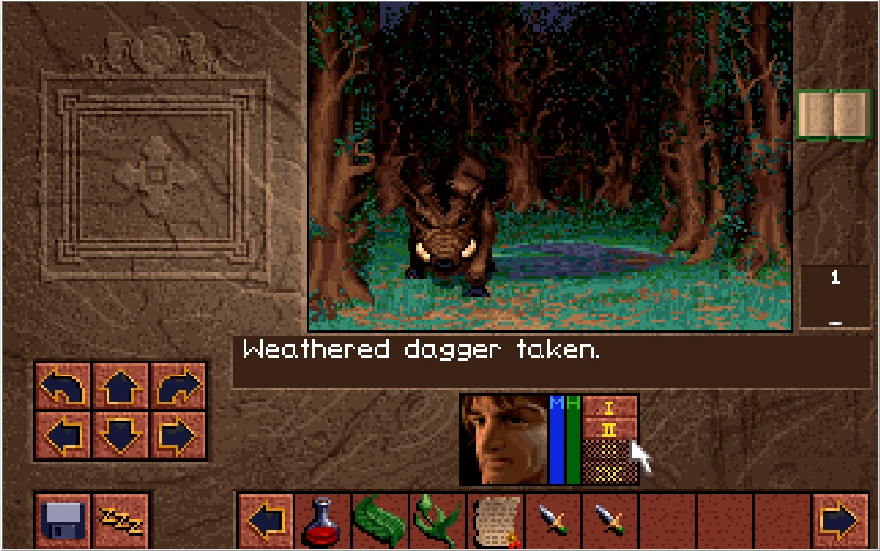
Immediately westward from Gladstone, you'll find a dead end clearing that has your first enemy in it! This is the only Boar in the game, so relish his visage for now.

Image

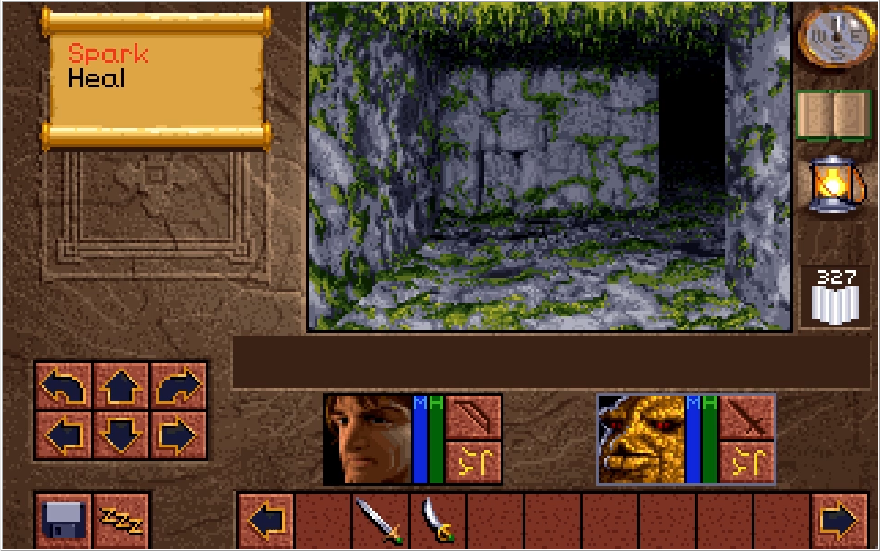
For every character except Kieran, you'd do well to start developing your Mage skills. (Kieran's Mage level grows by far the slowest in the game, so it's not worth it to practice it right now. There's a way to cheat him some levels later, don't worry.) Right now we have only one spell, Spark. When you select the Rune icon next to your character's portrait, you'll be prompted to select a spell level. Michael and Kieran can only cast Level 1 Spark right now, while Conrad can cast level 2. Ak'shel will have enough to cast all the way up to Level 4, though he'll only be able to cast it once at the start. What are the effects of each level though?

Lv.1 5MP, 7 DMG
Lv.2 10MP, 15 DMG
Lv.3 15MP, 25 DMG
Lv.4 25MP, 60 DMG

Spark only hits a single enemy at every level.

The damage values there are taken from the Lands of Lore Cluebook. This book seems to be based on a pre-retail version of the game due to several inconsistencies with information in it relative to what's actually in the game, but most of the spell information seems to be correct. Generally, spells always deal the same amount of damage every time you cast them, though some enemies are resistant to some spells and weak to others. Spark is actually one of the best spells in the game. Every character is able to cast Spark 4 several times once they gain some Mage levels, and a consistent 60 damage is almost always helpful (Magic cannot miss). Spark 4 also one shots nearly every enemy in the game up until the halfway mark on Normal/Wimpy mode, and isn't much worse off on Ferocious. The power of Spark 4 is why Ak'shel is extremely good in the early game, as he can blow up almost everything instantly. For now, we have to stick with the considerably weaker Spark 2, but we want to cast it at every opportunity for Mage exp.

Image

Image

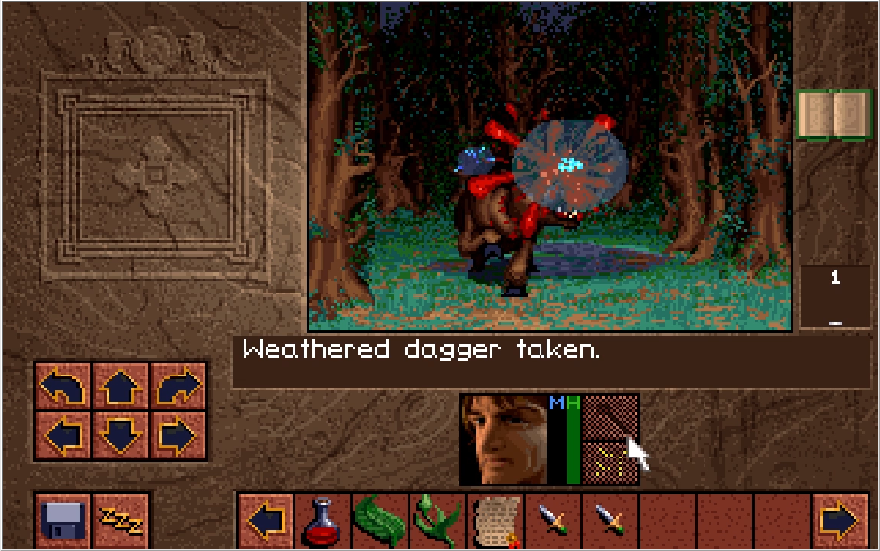
We Spark the Boar and finish it off with a decisive Mace strike. Combat is quite simple in Lands of Lore, you click either your weapon or rune icon to launch an attack. Regardless of whether you miss or hit the enemy, you have to cool down for a couple seconds before being able to take another action. As you go through the game, enemies become more and more evasive, so you can spend quite some time launching weapon attacks to no avail, but right now pretty much any action we take will result in decent success. There is an option to work around cooldown that's reasonably strong right now, and we'll be seeing it in action in the near future. Note that if I reversed my order of actions here, I could have killed the Boar with Spark 2 which would award more Mage experience. The damage your weapon strikes can deal, however, can be quite varied so Conrad could have easily landed a crushing blow that splatted the Boar before I'd have any chance to cast the spell at all.

Image

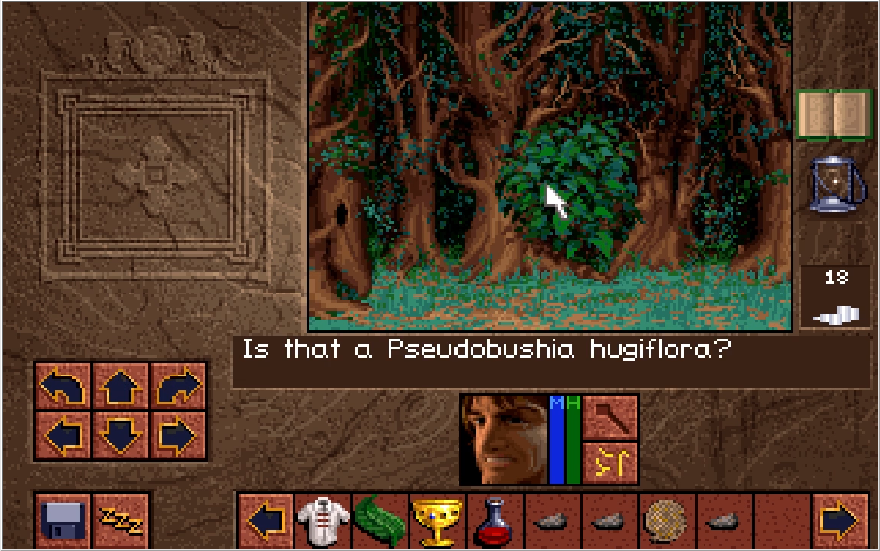
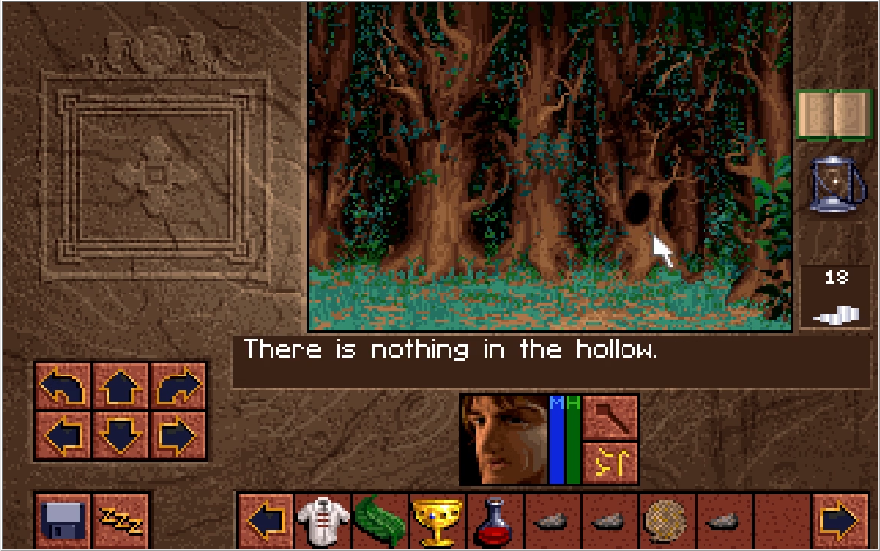
To the right of where we fought the Boar, there's a tree with a hollow in it. Although the foliage in forest areas in this game are mechanically analogous to walls, there will sometimes be outcroppings and openings like this that you can click on to get items every now and again. It's random if these will actually have anything in them, and sometimes you can get extremely valuable items due to sheer dumb luck. We'll see if that happens for me at all in this LP!

Image

Image

The area the Boar occupied has a good item for us, a Swarm! This is the first spell item we can collect in this game. Just simply drag it over to a character's portrait, right click with it, and the character will cast the spell tied to the item while gaining Mage experience for it. Swarms are a single use item that summons a swarm of bees that can hit multiple enemies. Up to 4 enemies can occupy a single tile (though only two can attack simultaneously from a single tile), so you can deal some mass destruction with this! That being said, Victor will purchase these for a tidy 25 Silver crowns, so for now we will be selling them. Rest assured, we'll be unleashing the bees in the next update, just be patient.

Image

Conrad is a little tuckered out, so we'll rest to regain our MP. As a general rule of thumb, it's a good idea to rest in a dead end hallway with your back to a wall so that if you do get interrupted, it'll only be from one direction and you can immediately retaliate. That doesn't matter too much right now though.

Image

Conrad can take time to appreciate plumbing, but he won't let himself get too carried away.

Image

If you attempt to rest while at full health and MP, your party will shoot a satisfied grin.

Image

Let's get back to business. Northland is laid out like a square roundabout (if that makes any sense) with several paths branching off from it as you go around the central area. If we were to look on the map, the area I'm in currently is immediately west of Gladstone in the upper left portion of the map. Let's make our way south again.

Image

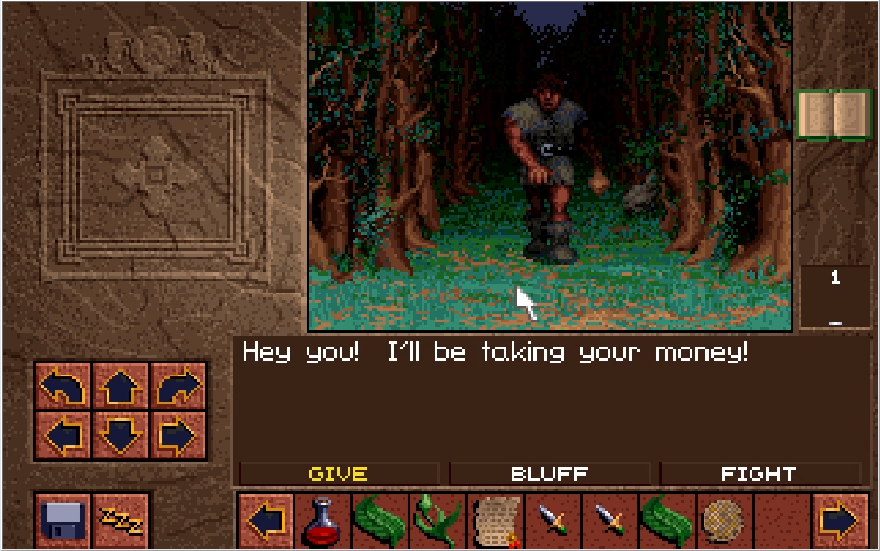
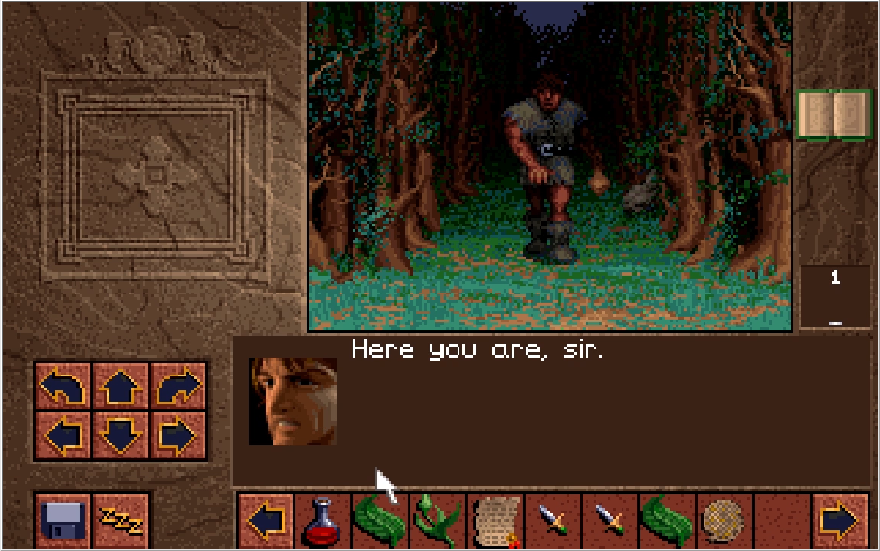
There will be an opening to your right as you move through the woodlands. If you turn to face it, you'll suddenly be accosted by a thug! We have several choices here. This guy looks like he means business (bold of him to brazenly mug people a stone's throw away from a castle with Terminators on staff), so let's just give him the money.

Image

Thug: "Is that all? Times are tough!

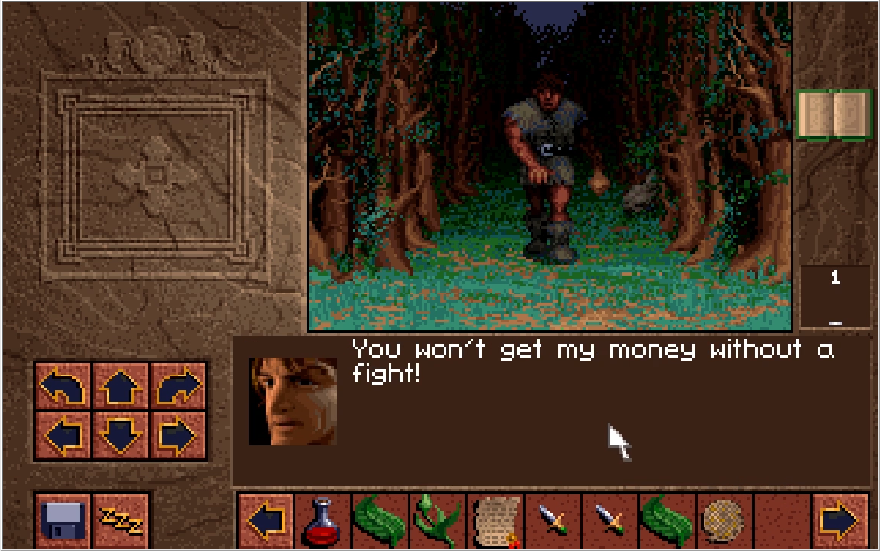
Since we have only one crown, this isn't much skin off our nose. What about the other options though? If you attempt to bluff the thug, your character will offer up just one crown as if it is all they have.

Image: "This is all I have sir.

Is the lie that will be fed. This has a chance to fail, which will then prompt a fight. The chance of it failing is rather low though. Speaking of a fight,

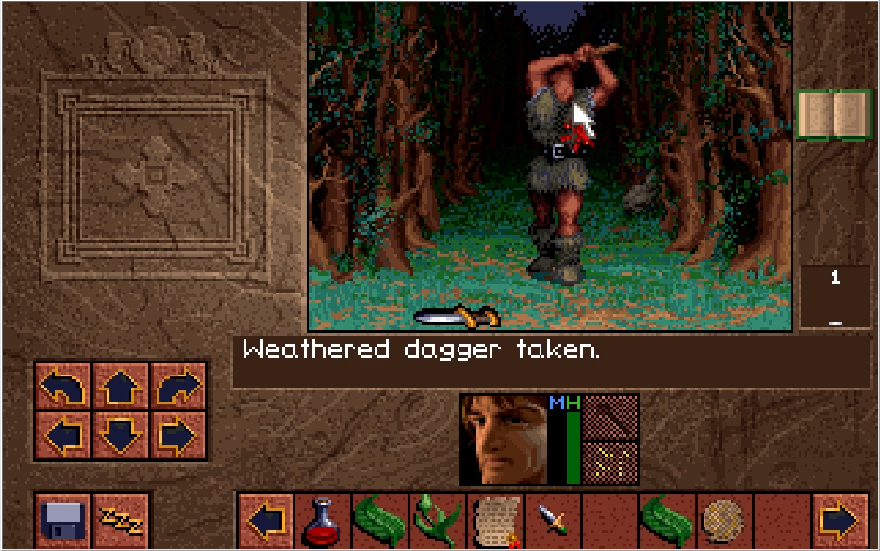
Image

Image

This guy is free experience, so we'll be taking him out. He hits a bit harder than the Boar, but not hard enough to help him win here. Now something I did here is chuck the weathered dagger at him. By dragging an item into the main screen and clicking towards the top of it, your party will proceed to throw items. If it collides with an enemy, it will deal a small amount of damage. The notable thing about this is that it can be done even if you are in cooldown. It's pretty weak regardless of what you throw, but it's pretty helpful now as you can easily toss an item before your cooldown refreshes. You can also regrab the dagger from the ground and chuck it endlessly.

Image

Conrad proceeds to flatten this guy. It is worth noting that if you don't kill the Boar before engaging this guy, it will join the fight and that will make things quite perilous on Ferocious. Moving past this guy and turning left when we hit the end,

Image

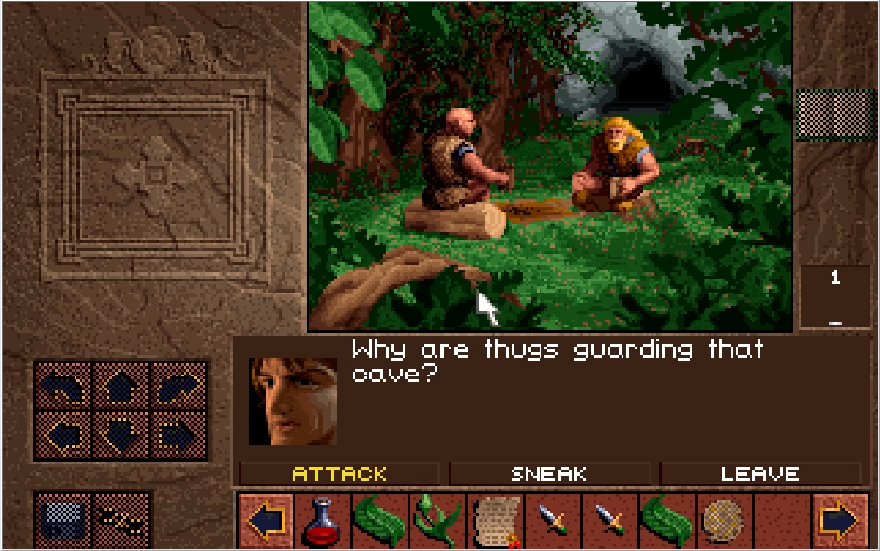
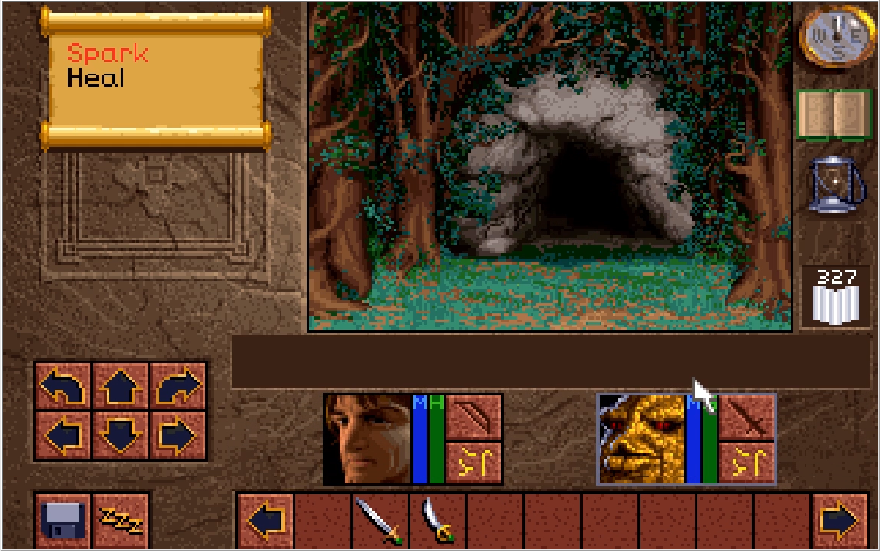
Friends perhaps? We can leave this screen or attempt to sneak in. If you sneak in, you will enter the cave behind these thugs without a fight, though there is a small chance you'll get caught and have to fight anyway. I want to develop my skills as much as possible, so I choose violence outright.

Image

Image

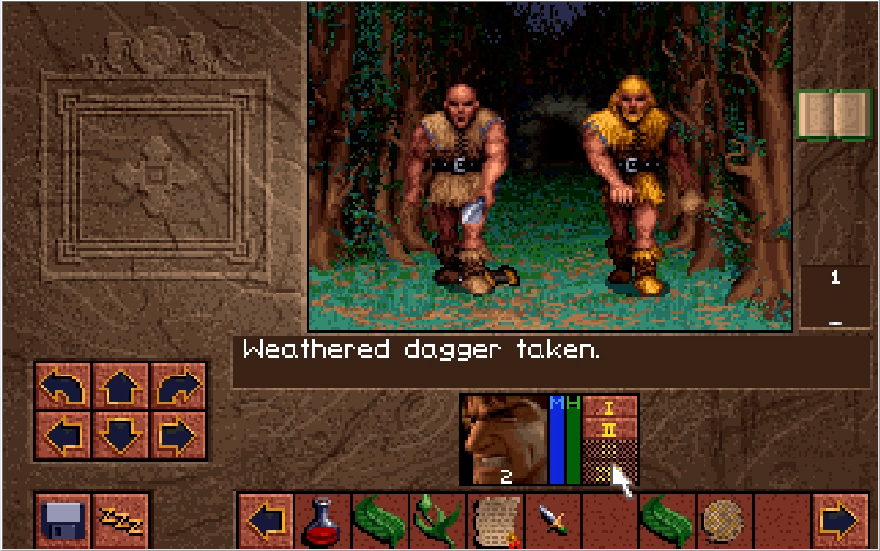
This is the first fight that can pose some problems on Ferocious. These guys will jog up and start trying to slap your ballsack like it's a speedbag. Conrad can handle this okay due to his durability and good striking power, while Ak'shel can blow up one of these guys outright with Spark 4 and mop up the other with no issue. Michael and especially Kieran can run into problems here though due to a lack of strong options and the high potential for missing all their attacks. A swarm is recommended for them.

Image

Image

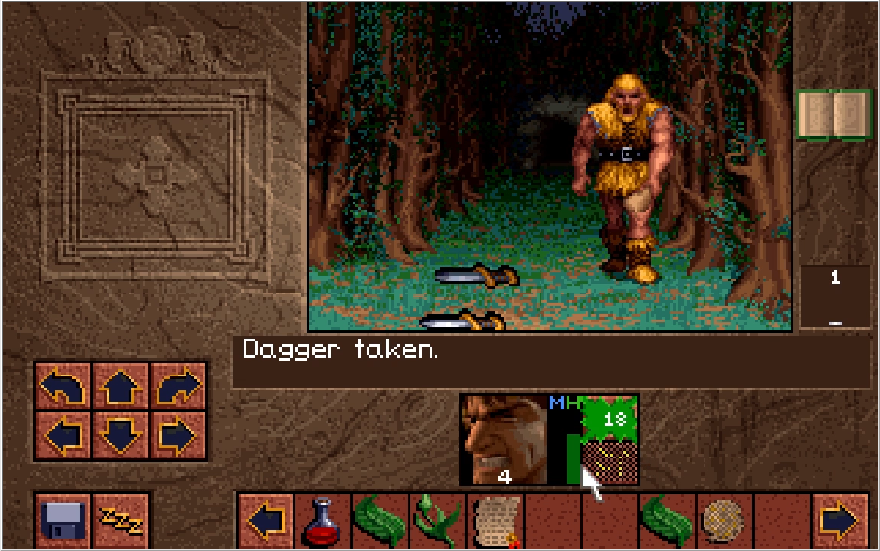
In flurry of sparks, thrown daggers, and mace strikes, Conrad waxes these fools. Let's break into their home now!

Music: Thug's Hideout

Image

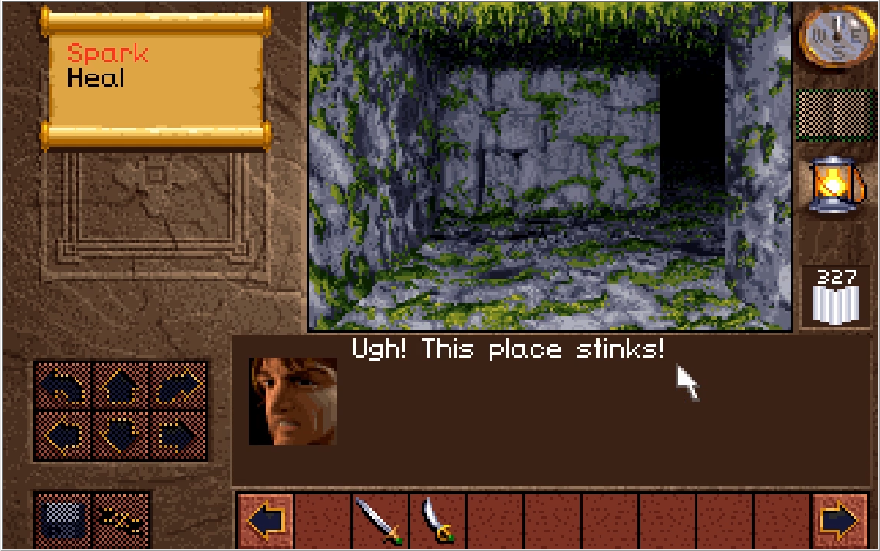
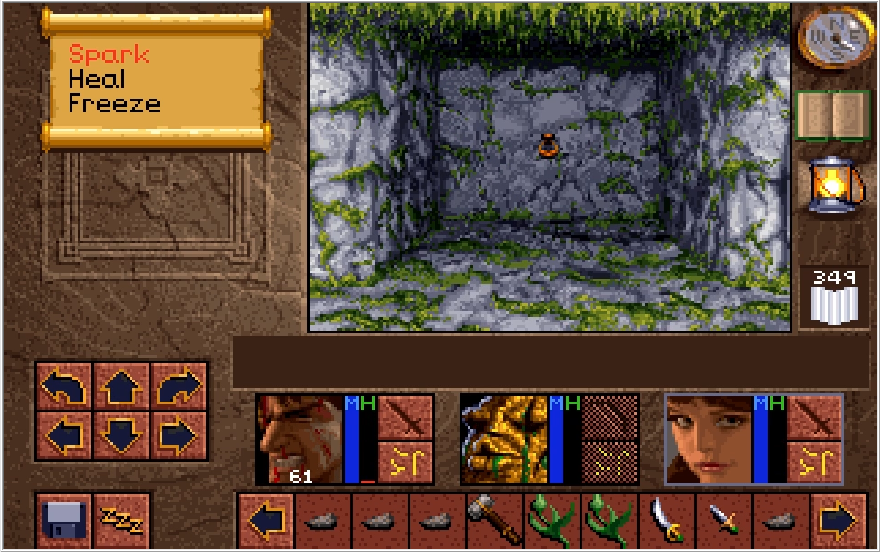
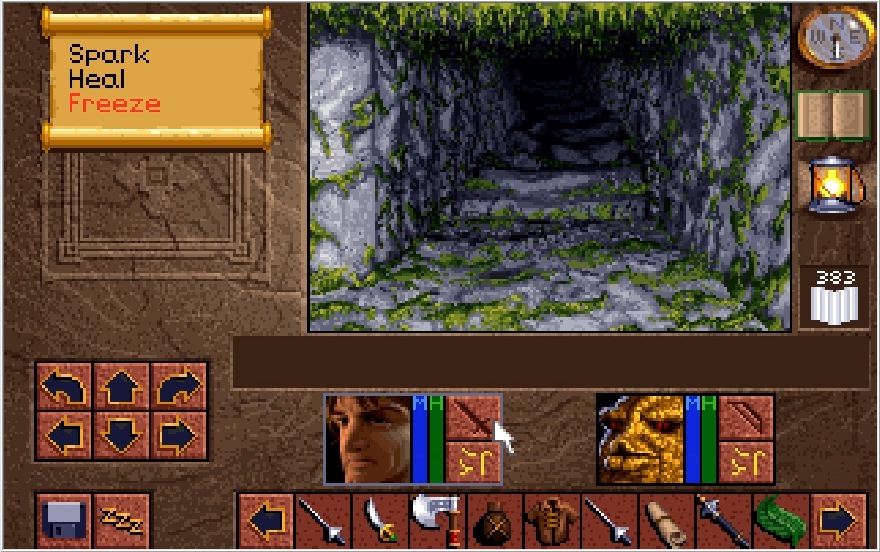
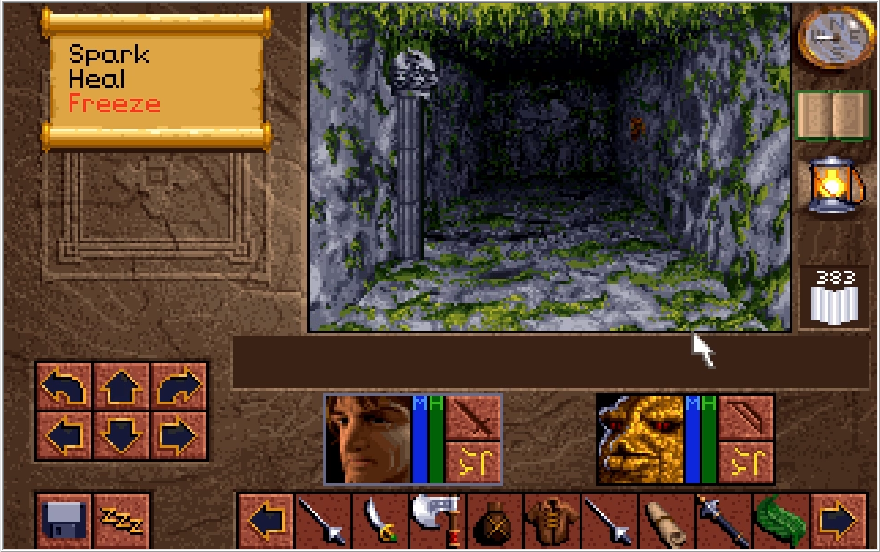
Yeesh, it's kind of dark in here. I'd like to note that after pretty much every fight I get into at this stage of the game, I rest so I can get my MP back and keep working on my Mage skills. Our max HP is also quite low right now, so it's a good idea regardless. Your HP and MP do passively regen as you walk around, but it is ridiculously slow. Something like 1 HP and MP every 10-15 seconds or so. Let's start making our way into the cave!

Image

Image

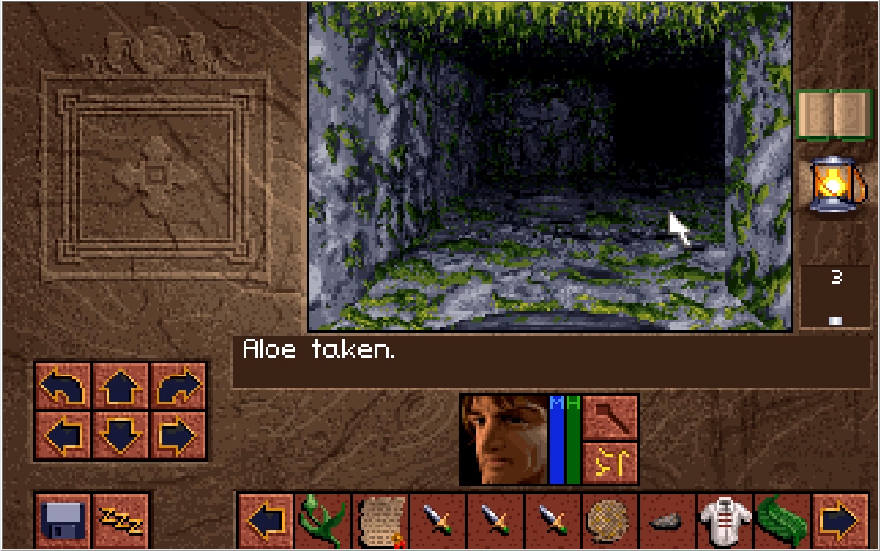
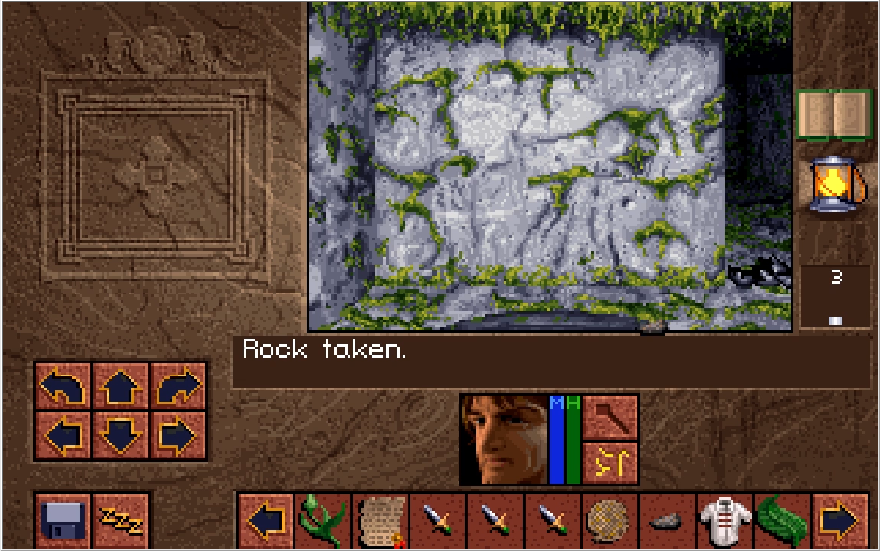
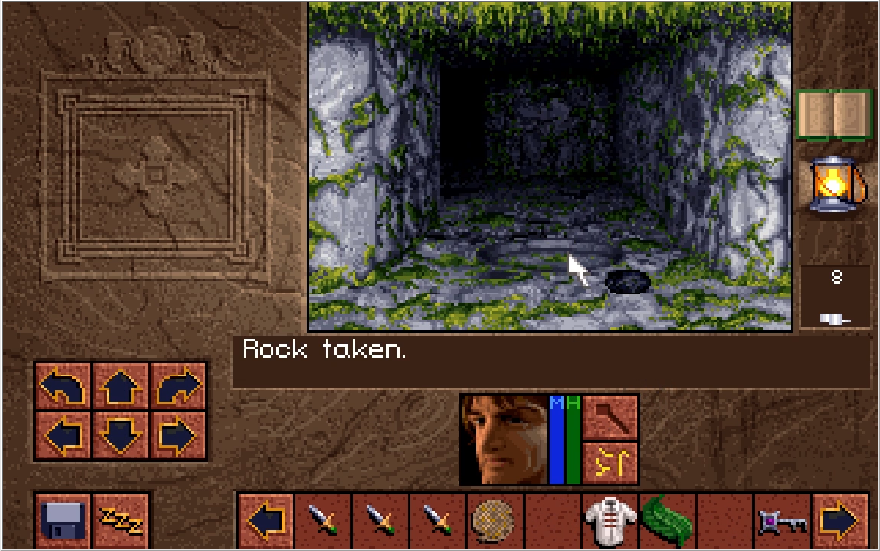
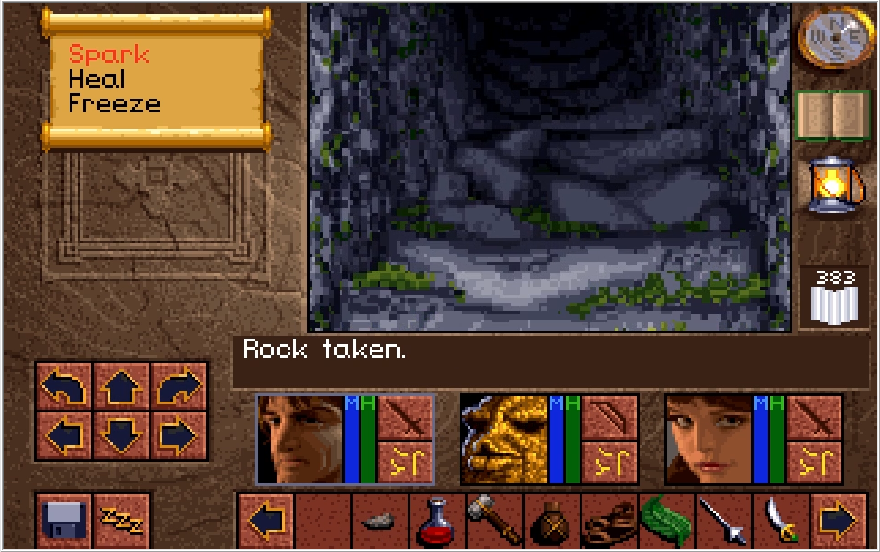
We follow the corridor to reach a lever, picking up a rock along the way. Rocks are handy little items, good for throwing and for puzzles. Always a good idea to keep a couple of these handy. Flipping the lever causes the wall next to it to open up and extend the corridor.

Image

Image

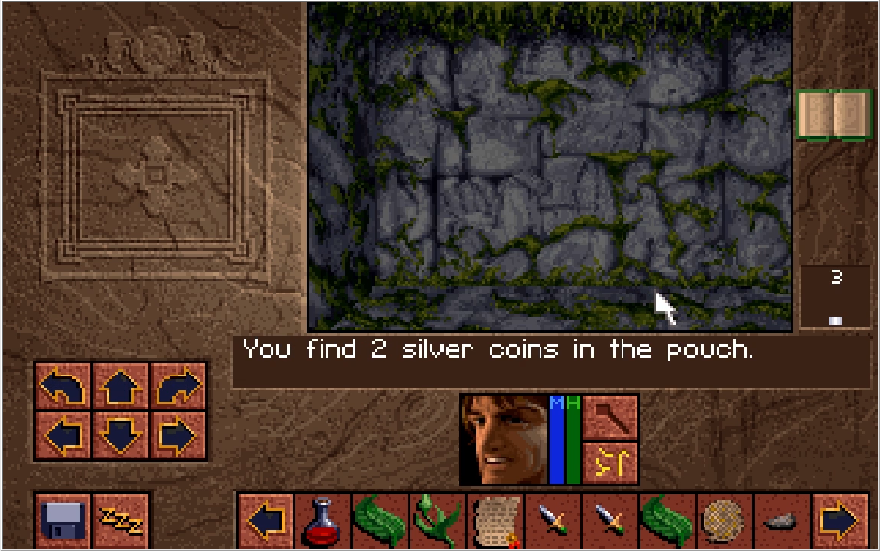
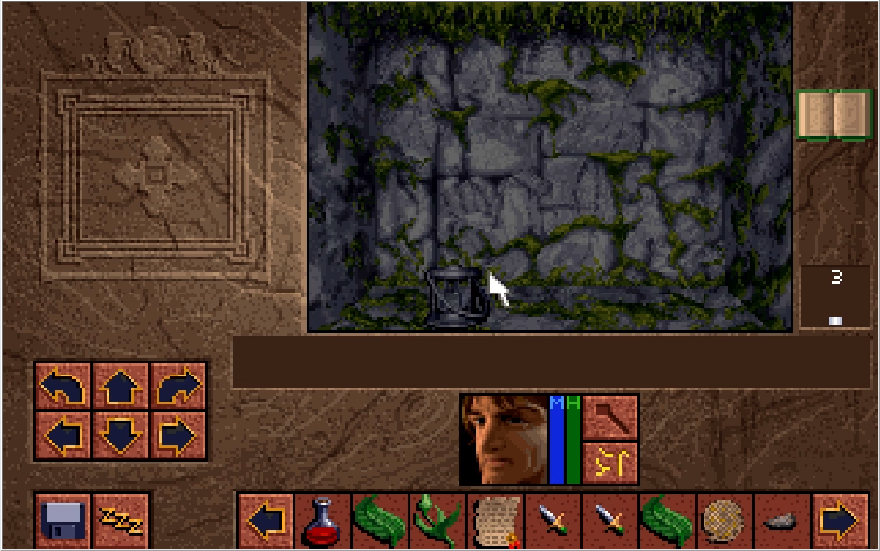
Following it to the end allows to pick up a couple crowns (or silver coins as the game sometimes calls them) and we come across a lantern.

Image

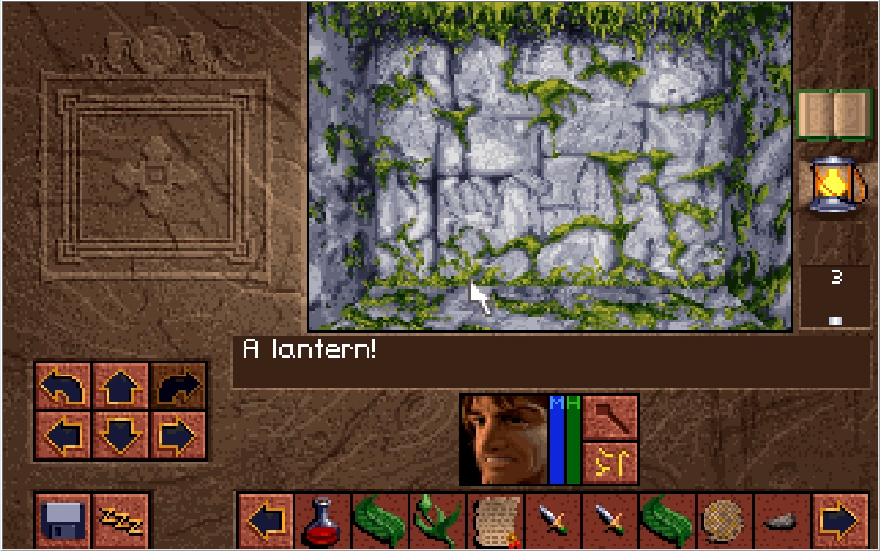
Picking it up brightens things considerably and adds another UI element! The lantern will brighten up dark cave areas, but you will need to periodically fill it with oil for it to keep burning brightly. Now to be honest, it's not super critical to have this working in order to see what you're doing in cave areas, but as far as I can tell you get a pretty harsh accuracy penalty if the lantern isn't at full brightness. Be sure to keep oil handy so that isn't a constant problem! We'll be finding more than enough throughout this LP. Note that if you fail to pick up the lantern in this cave, another one will spawn in a future cave area so you aren't hosed on accuracy in caves for the rest of the game. We passed by another path when heading towards the lantern, let's double back a bit and take it.

Image

Image

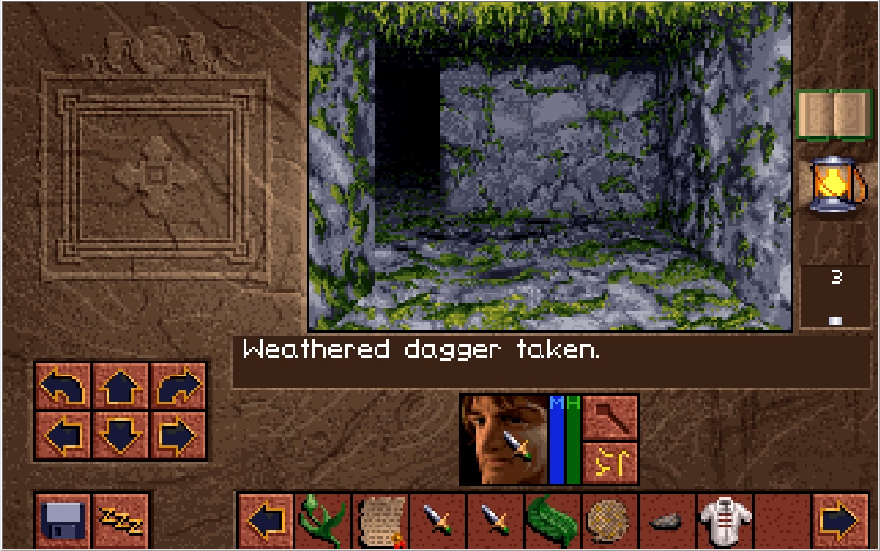
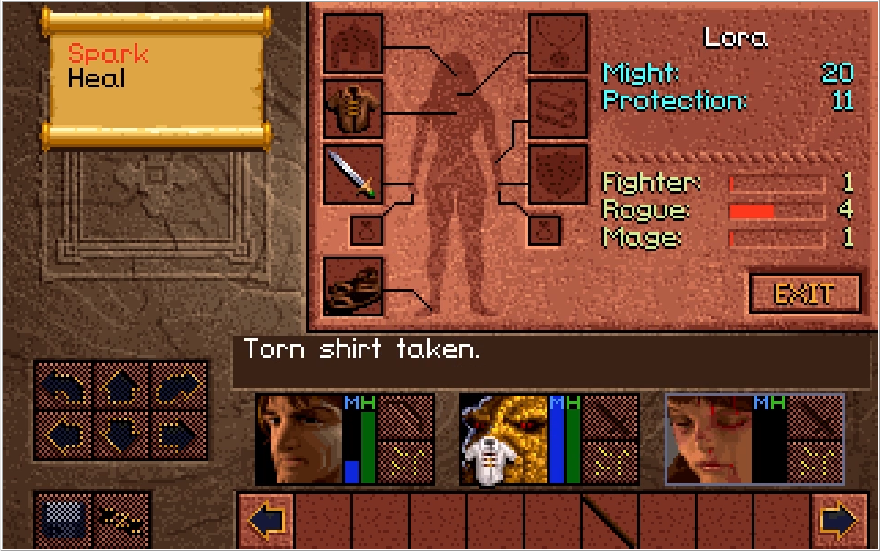
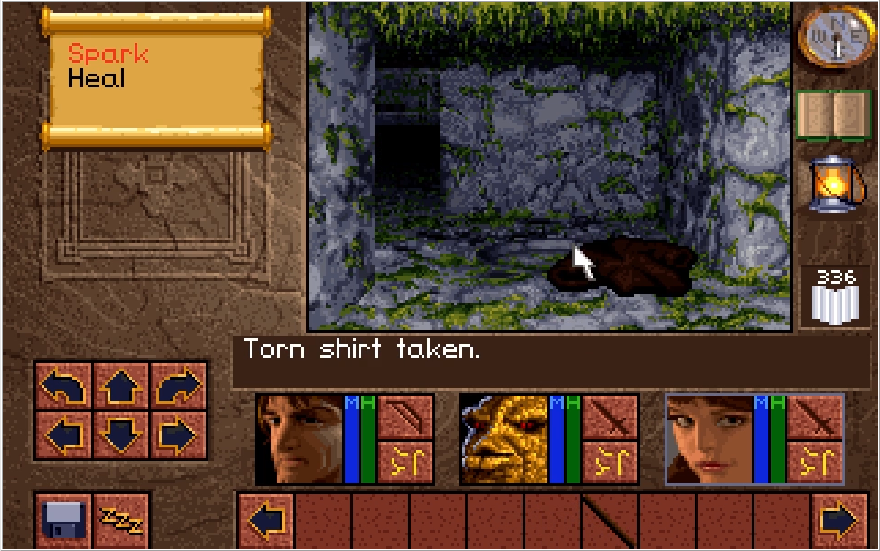
We pick up a torn shirt and another weathered dagger (both for Victor) and come across our first of many pressure plates in this game. It doesn't seem to do anything when we stand on it though.

Image

Another pressure plate is just across from the first one, and this one has a rock on it. Let's take the rock to keep the weight off it.

Image

Image

In the corner adjacent to the first pressure plate is a switch. Pressing it opens up an alcove that contains a key for us. Now we turn left and start following the next corridor to its end.

Image

Image

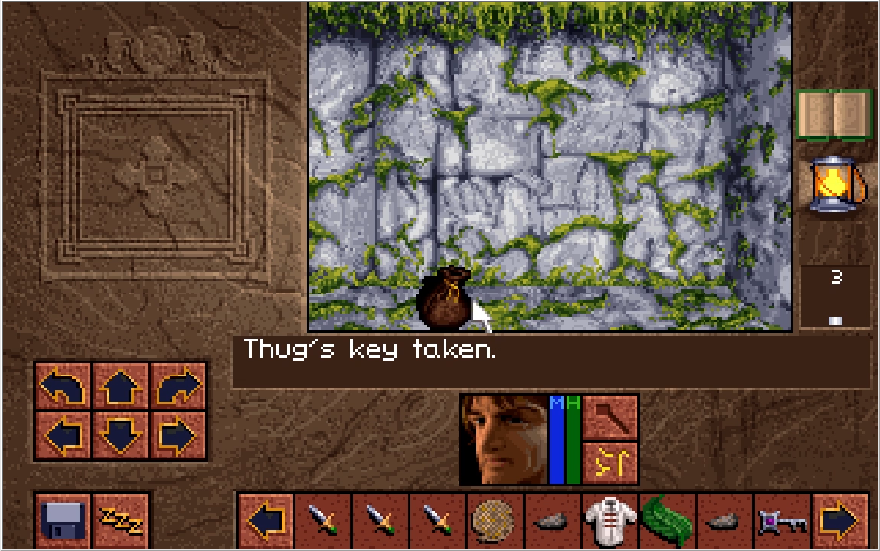
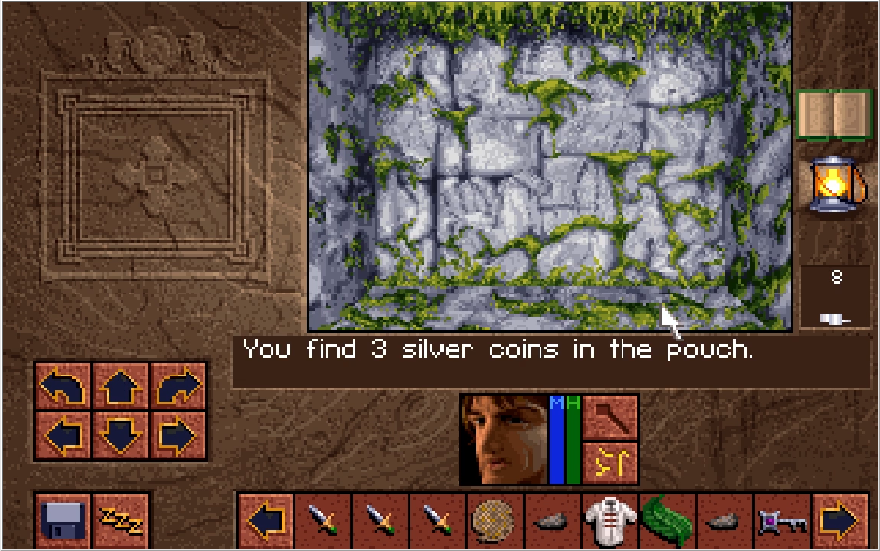
There are a couple sacks with a small amount of crowns in them, plus some rubbish on the ground that just disintegrates when you try to take it. Otherwise this is a dead end.

Image

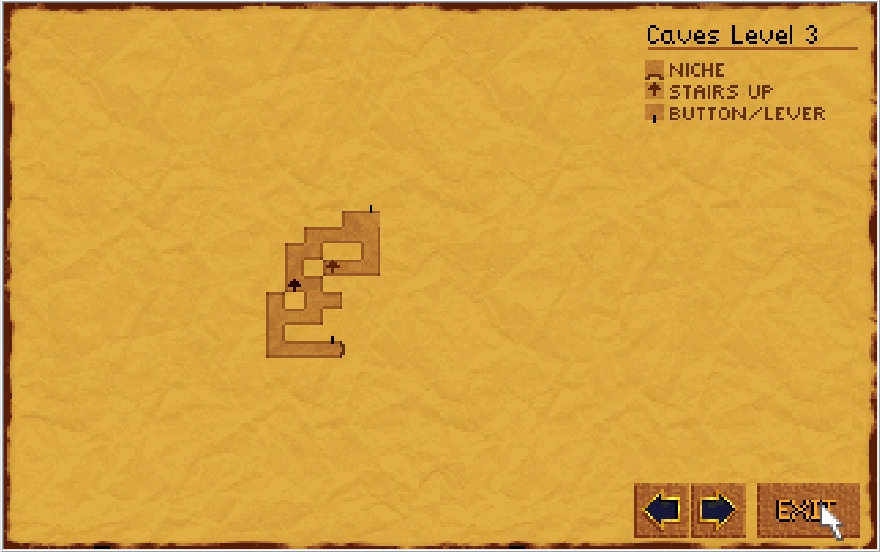
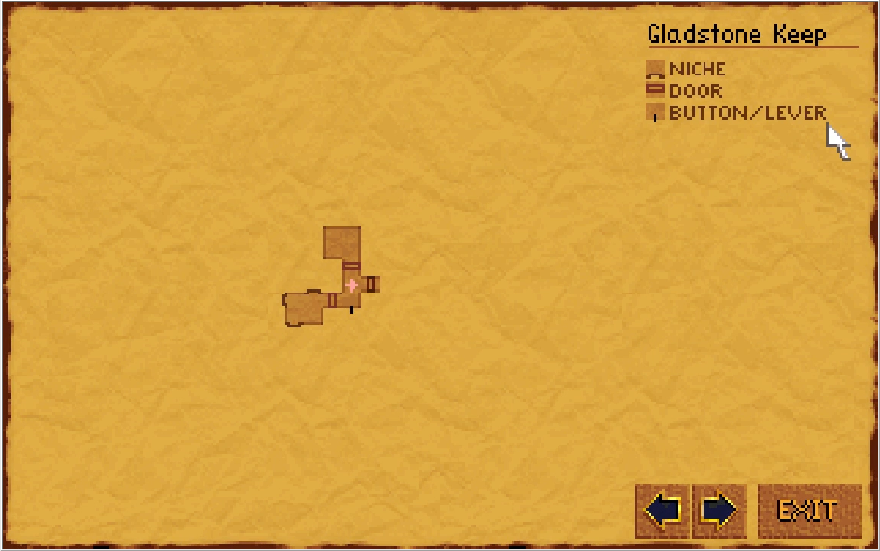
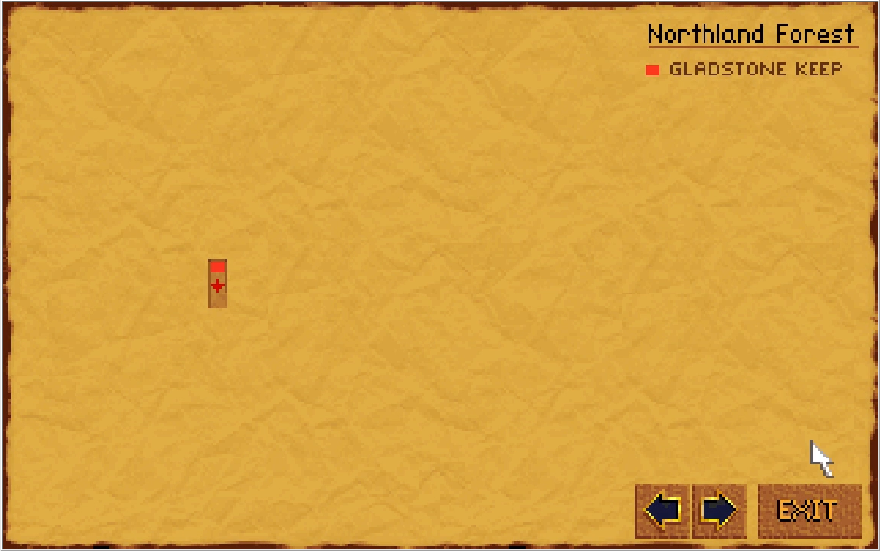
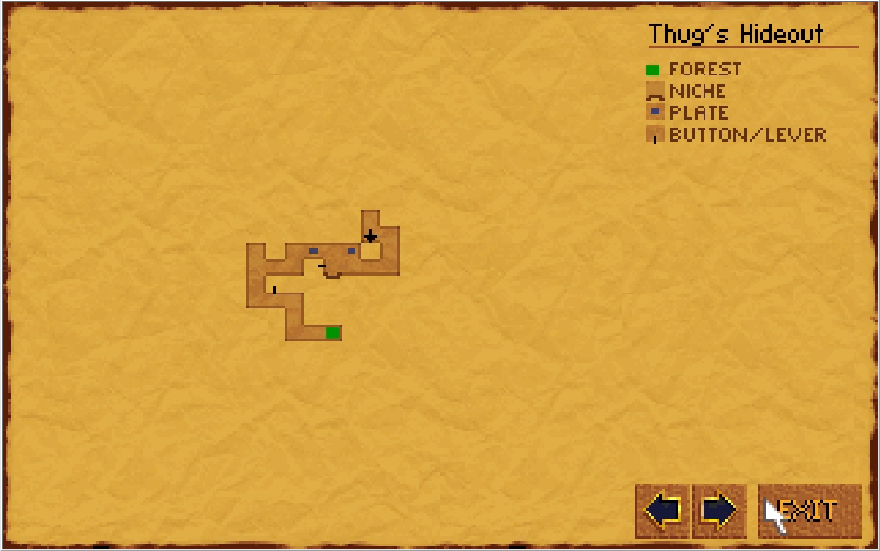
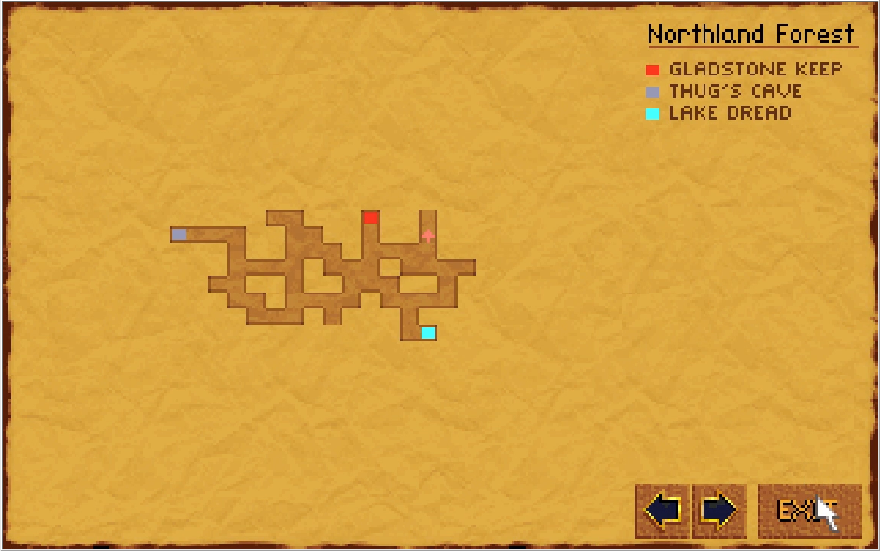
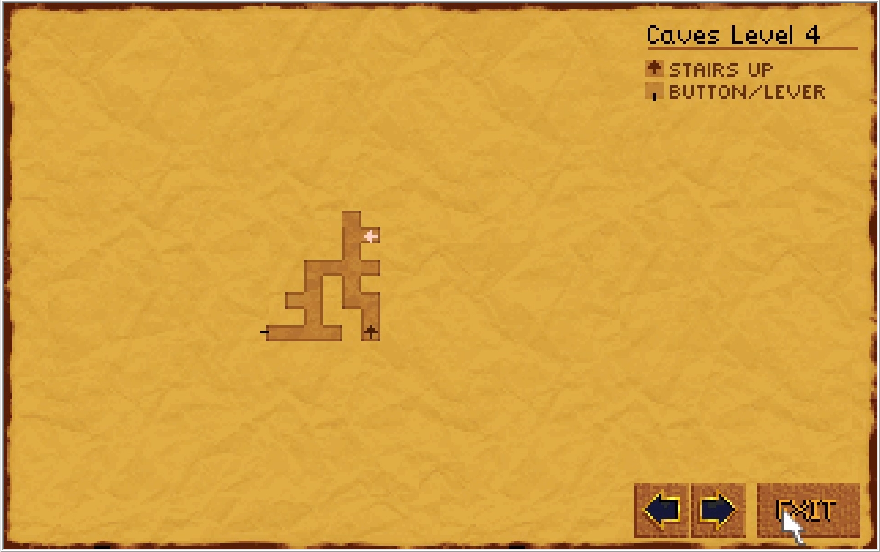
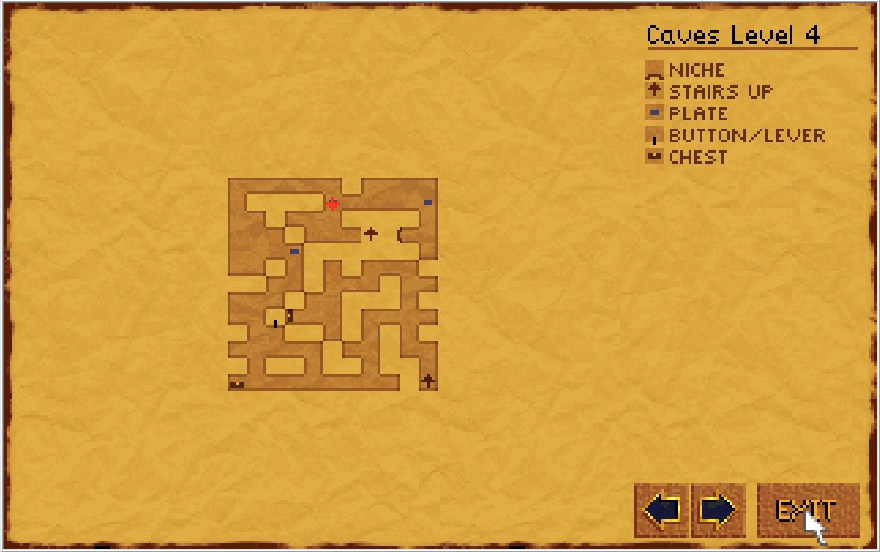
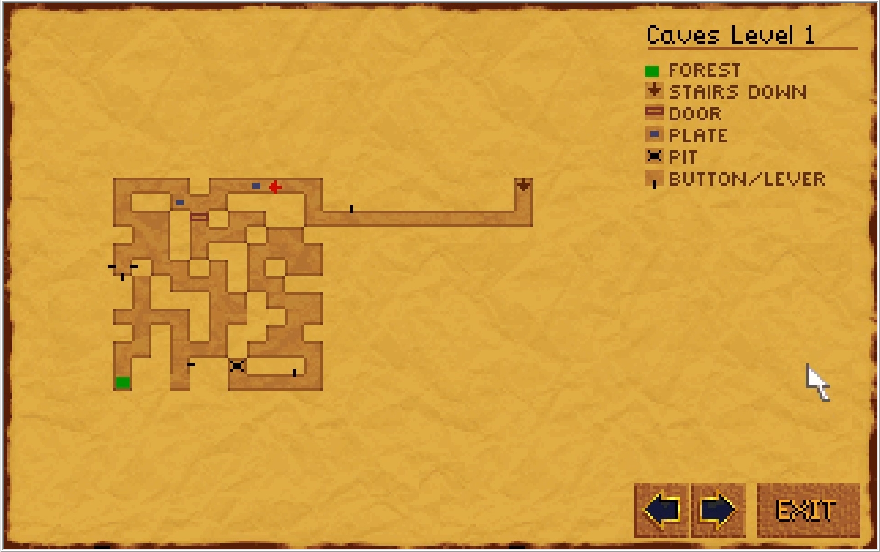
Here's the map so far, so you can have a clearer idea of what this place is laid out like. Pretty small honestly!

Image

Now if you return to the first pressure plate, you can weigh it down with two rocks. If it is weighed down, and the plate across from it isn't, a wall between the two will open up to another path!

Image

Image

Following this path will bring us to another plate that opens up the path further when we stand on it. The path closes as soon as we get off, and none of the items we have seem to be able to weight the plate down. This is a trick though!

Image

Image

Image

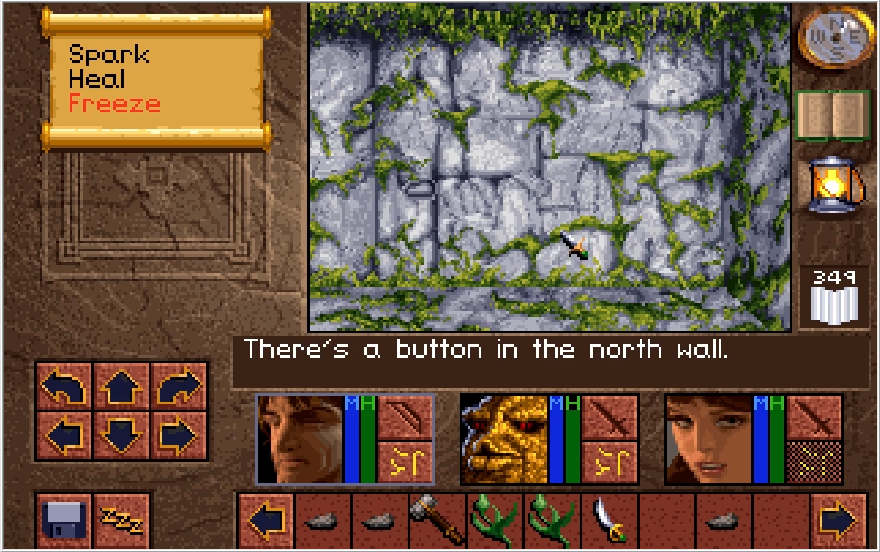
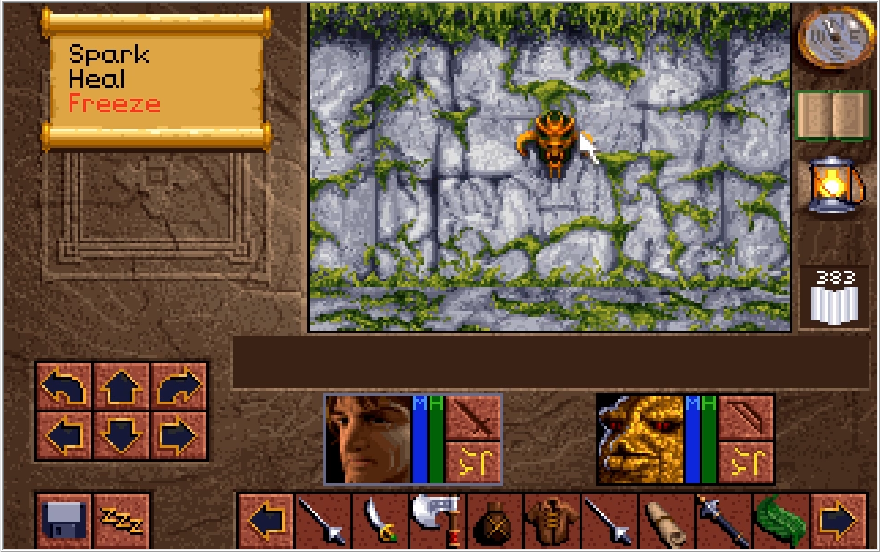
There will be a switch on the wall to your left. Hitting it will cause a switch to appear behind you. Hitting that one will put a switch on the obstructing wall. Slap this button and,

Image

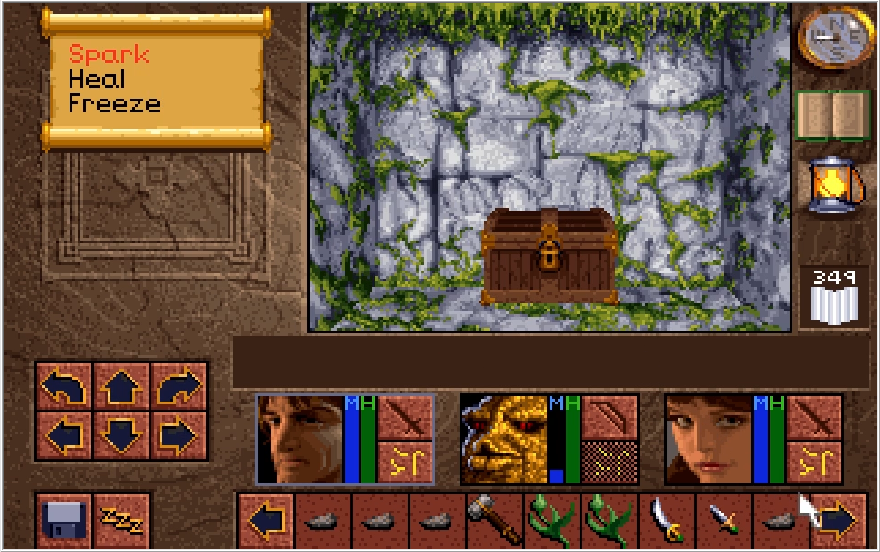
A chest is at the end! The key we picked up will open this, though if you so desire you can smash the chest open. Most chests in this game can be smashed by launching a physical strike in front of them, but this will usually destroy some of their contents. Opening chests this way won't destroy important items at least, but it's better to work on your Rogue skills so you can just pick them. A lot of the late game chests also cannot be smashed and must be picked. Speaking of,

Image

Image

Image

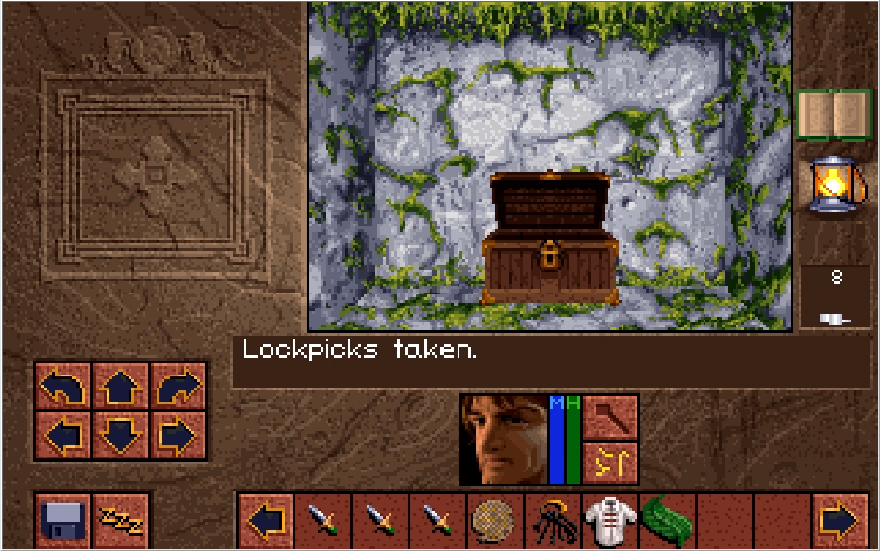
We get our first set of lockpicks! Lockpicks can be dragged onto locks on the main screen, and the best Rogue in your party will attempt to pick the lock (This includes door locks!). Not every lock can be picked, some do need keys, but there's quite a bit we can get with lockpicks. Like the lantern, it's not super critical you get these right now. The game is careful to make sure there are lockpicks available in any area you outright need them to proceed, but all lockpick sets are the same so we may as well just lock down the inventory slot for a set now.

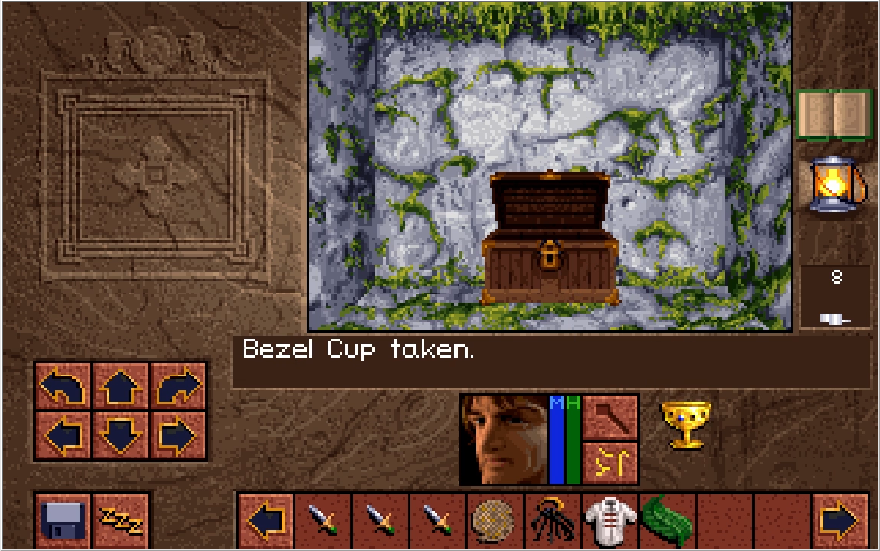
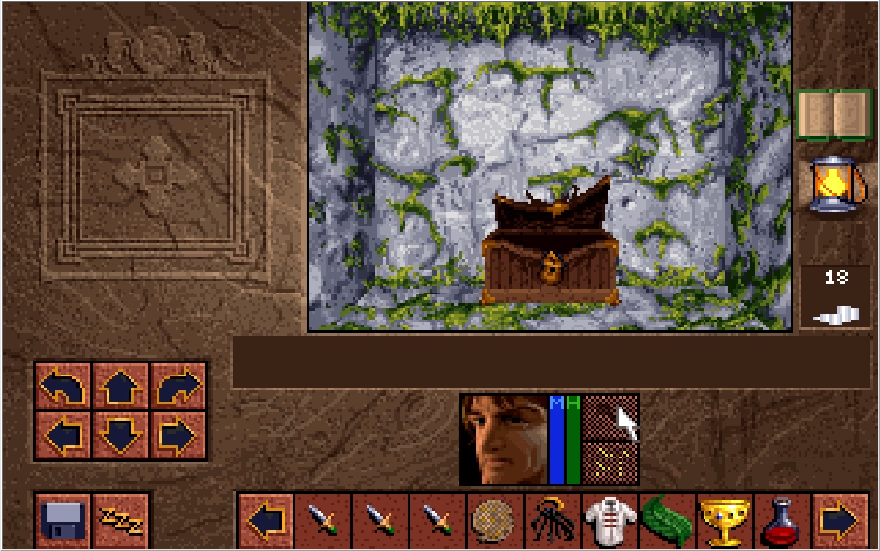
Aside from that, we get a Bezel cup from the chest! A bezel cup with fully heal a character when you right click on their portrait. It can only be used as many times as there are gems in the cup, so this one is single use. Aside from that, the chest has a Salve and 10 crowns. And then I smash it for fun. Let's get out of here now.

Image

Image

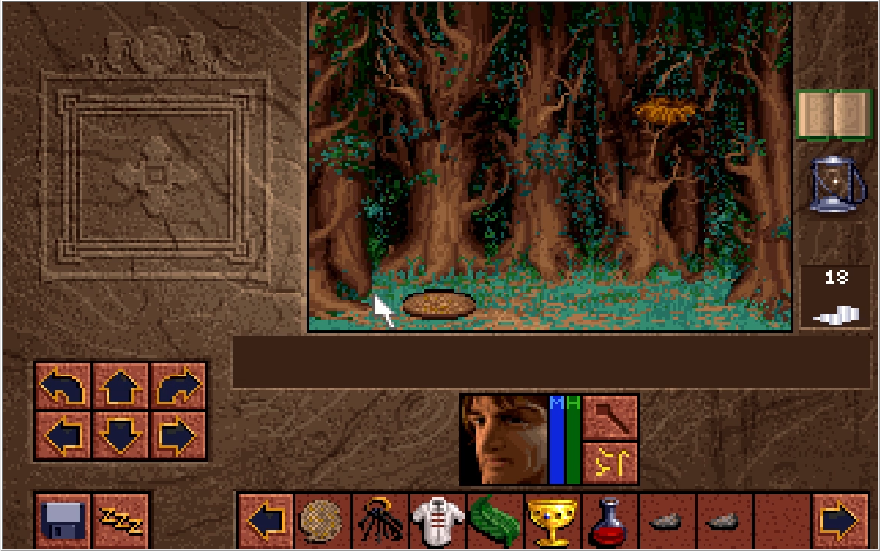
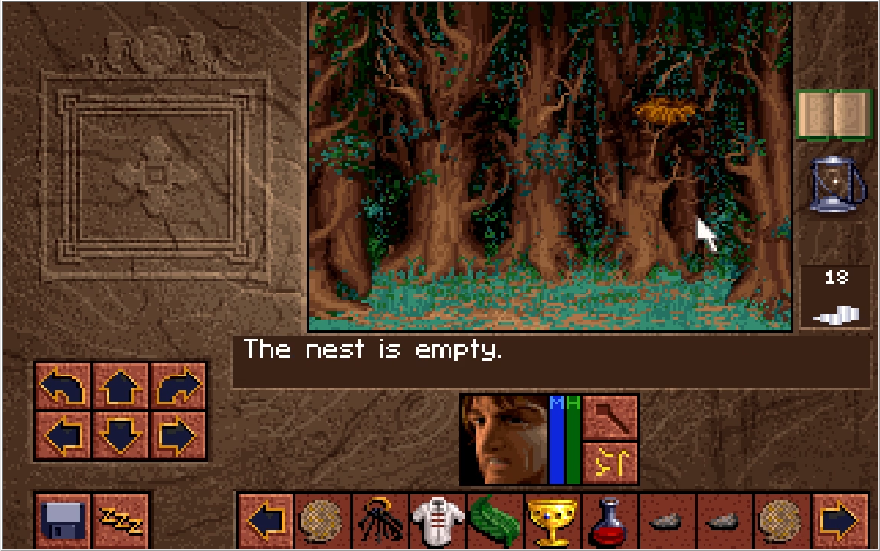
Returning to the central section of Northland, there's another clearing to the south. This contains another Swarm and a nest in the trees. Nests sometimes contain a small amount of crowns when you click on them, though this one has nothing. We back up and start heading left (east in terms of compass directions).

Image

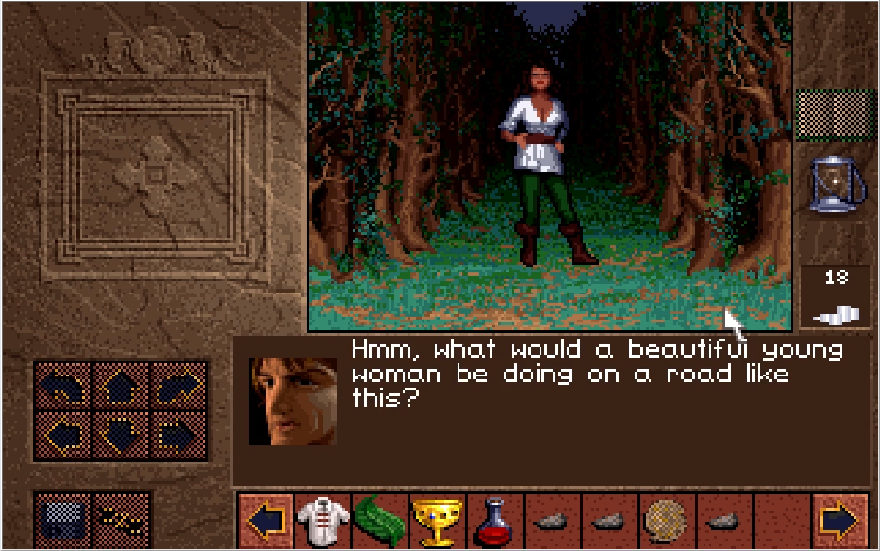
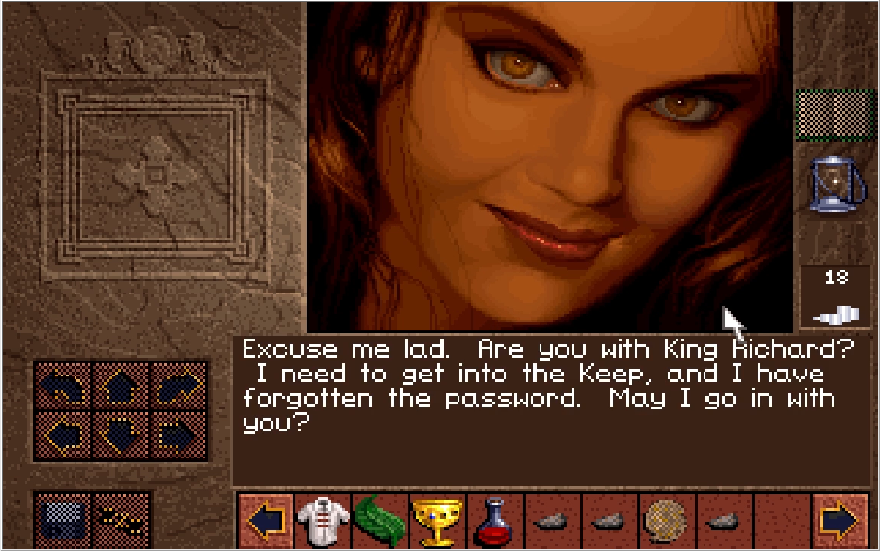
This path leads to the Marina, but suddenly a woman appears before us.

Music: First Encounter

Image

Image: "I'm sorry Miss, but these are dangerous times!"

Image

Image

Image

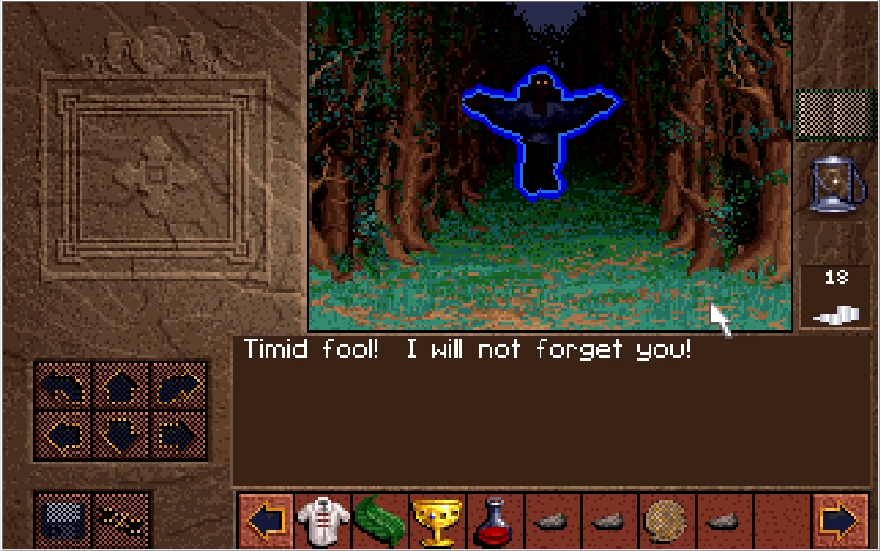
Conrad can appreciate a fine looking lady, but he's not so easily duped. His refusal to simp pays off, as it turns out she was Scotia trying to pull the wool over our eyes! That bird she turned into looked familiar...

Whatever, that's one disaster averted. Though if Scotia can turn into a bird, it's not impossible for her to just fly into an open window in Gladstone. We should go back and warn them when we have the chance. Resuming our trek eastward,

Image

In the lower right (Southeast) portion of the map, we can find Lake Dread. Conrad isn't in the mood for a cool dip at the moment.

Image

In certain spots you can find these clumps of leaves that prompt this response. TvTropes tells me that the comment here is a reference to the Legend of Kyrandia series, a trilogy of point 'n click games also made by Westwood. This isn't the only reference to those games in this one, and the aforementioned TvTropes speculates Lands of Lore might take place in the same Universe, though I personally feel that's reading too deep into it*.

*Post update edit! Thread poster Guy Fawkes elaborates more on this,
Guy Fawkes wrote: Well, considering that in the second episode of legend of Kyrandia you find a letter directed to Scotia, and that the second LoL tell us about a few magical gems, among them the Kyragem (source of all Kyrandian magic), then the two sagas happening in the same world seems far more than an idea.
The nice thing about LP's is that sometimes people can come in and enlighten you on things you missed in games, as well as point out the ignorant boob that you are.

Image

Image

Image

We explore a couple more hotspots, getting another Swarm and weathered dagger for our diligence. We've mostly mapped out Northland now. Pretty ho-hum first area, only 4 enemies for us to fight. The tapered off path to the south leads to the Marina, but what about right in front of us?

Image

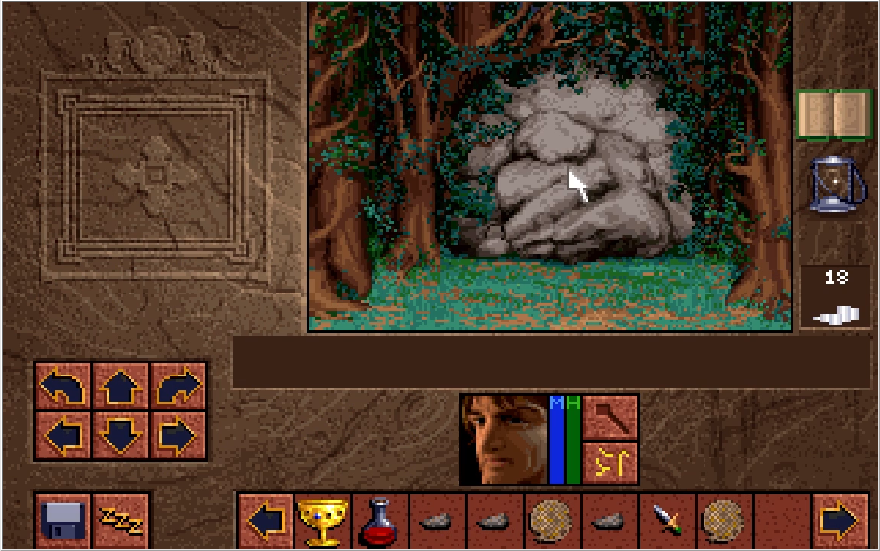
A conspicuous rockface that nevertheless prompts no reaction from Conrad. Hmmm. There was also an empty nest on the path to it. Drat. Let's return to Gladstone now.

Image

Image

Ostensibly, the guard here asks us for our password. A distinct chiming noise plays as he speaks. Now in the floppy version of Lands of Lore, returning to Gladstone prompts the first bit of copy protection in the game. To return the castle, you need to supply a password that can be found in the accompanying manual for the game (and it'll ask anytime you return). The CD version removed this because no one could crack CD's, EVER, but I guess the chiming noise was hard coded in. Moving on, let's scare the piss out of Nathaniel.

Image

Image: "I have just seen Scotia! She turned into a bird and flew away!"

Note that Conrad repeats this line to everyone you can talk to in Gladstone.

Image: "Oh no! You should tell Geron right away!"

Surprisingly lowkey for Nathaniel. Let's tell Victor next,

Image

Image: "I have just seen Scotia! She turned into a bird and flew away!"

Image: "Maybe you go tell Geron?"

You guys aren't really taking me too seriously here, I feel. Anyway, we've got a bunch of crap to unload on Victor, our Mace, Swarms, and all useless items are to be liquidated.

Image

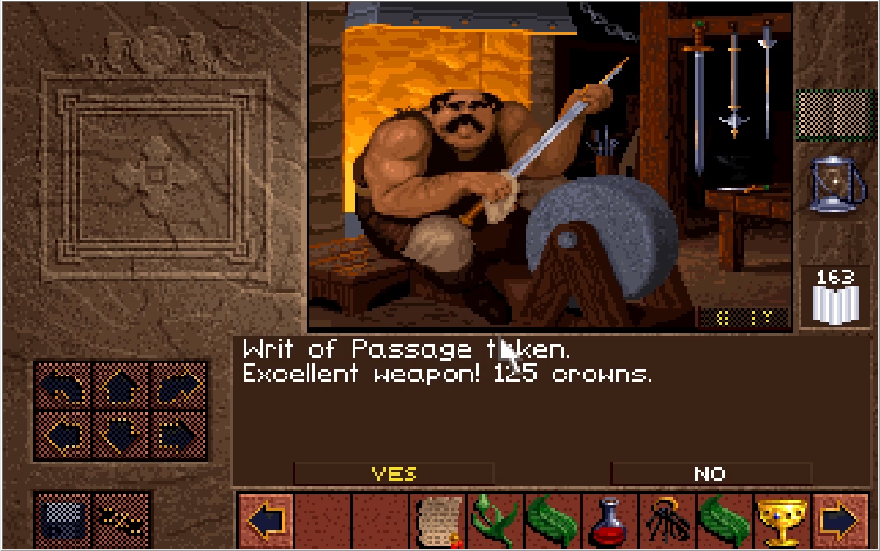
Image

This brings us up to a cool 163 crowns with the money we found earlier, more than enough for the Longsword! A nice detail is that if you sell one of Victor's weapons back to him, he'll place it back on the rack. Don't suppose the next person to buy it will get it at a reduced price, considering the thug and boar blood on it?

Victor also has a handful of comments for the stuff you sell to him, one for non-weapon items and two for weapon items. The first weapon comment is in the above screens, the others are:

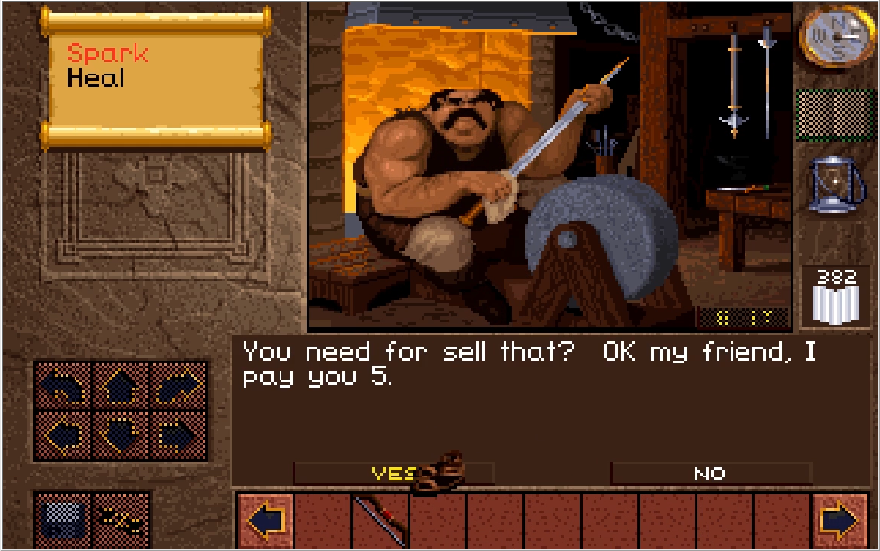
Image: "You need for sell that? Okay, [X] Crowns"

Image: "Fine Work, except for rust spot. [X] Crowns."

Note that Victor can occasionally remark on rust spots on stuff like wooden staves. Let's check out the strength of our new sword!

Image

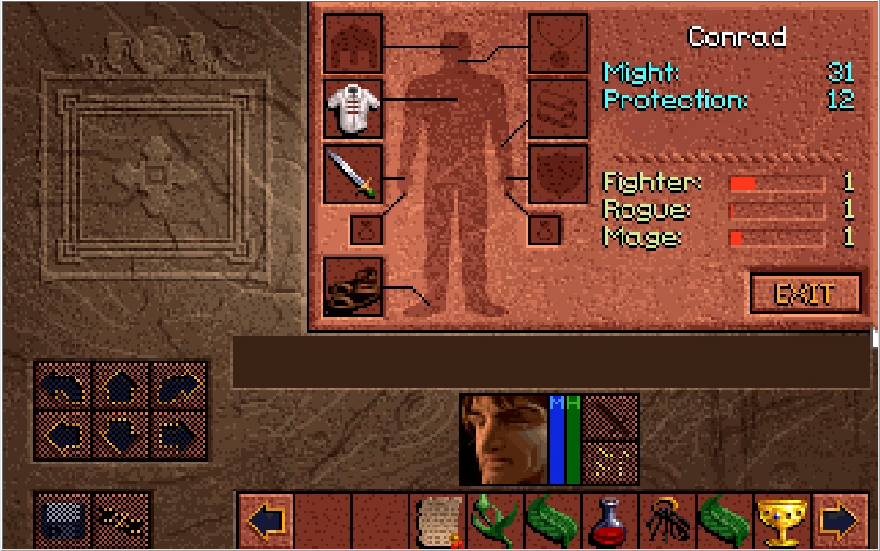
A cool 31 Might it brings us too, a sizable upgrade over our starting dagger. Now with that done, let's go talk to Geron. Are we going to go 3 for 3 on non-responses?

Image

Image: "I have just seen Scotia! She turned into a bird and flew away!"

Image

Geron, buddy. This whole quest is because she got an artifact that let's her shapeshift, at least give me the time of day bro!

....

Hey wait a second, that bird back there.... its eyes rub me the wrong way. I think Geron's going to regret ignoring what I say here. Whatever, let's leave.

Image: "Get out! Do not return without the Ruby."

Dick.

Speaking of Scotia, returning to where we saw her,

Image

Image

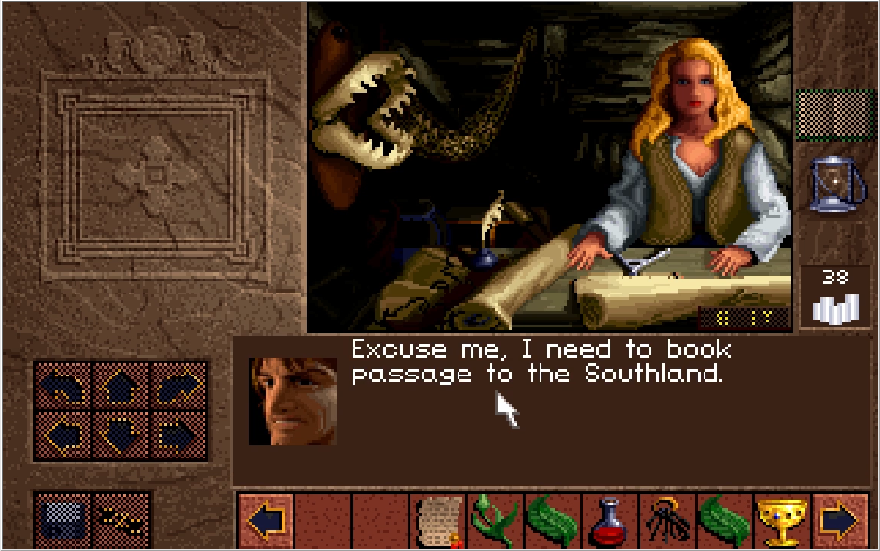
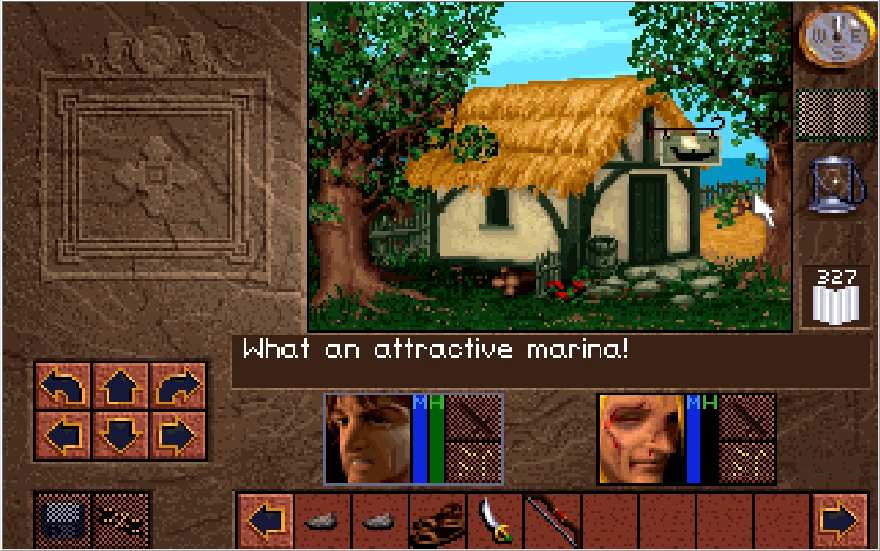
The Marina was right past her, and it's a cozy little building. The hazy sky just past it sets me on edge a little though. Heading on in,

Music: Marina

Image

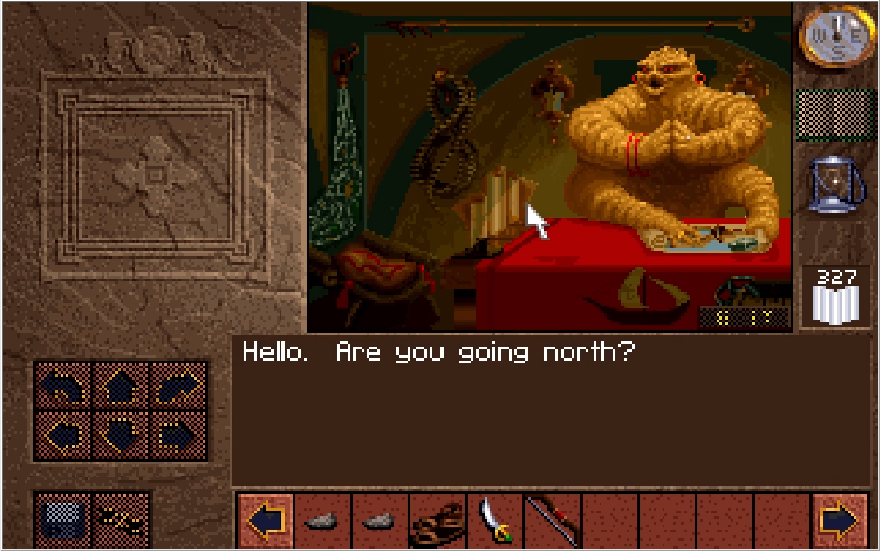
Image: "Where's your money?"

Image: "I have a Writ from the King!"

Image: "Well, where is it?"

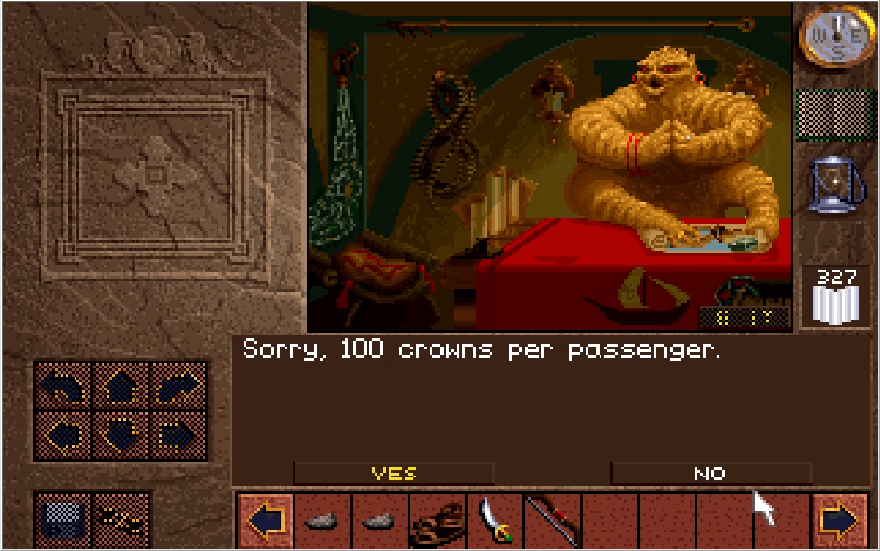
Not exactly the best customer service I've ever gotten. We need to drag and drop the Writ onto her, but before we do so, there's a number of things we can click on.

If you click on her,

Image: "Watch it!"

If you click on the jaws mounted on the wall,

Image: "That's the last cretin who bothered me!"

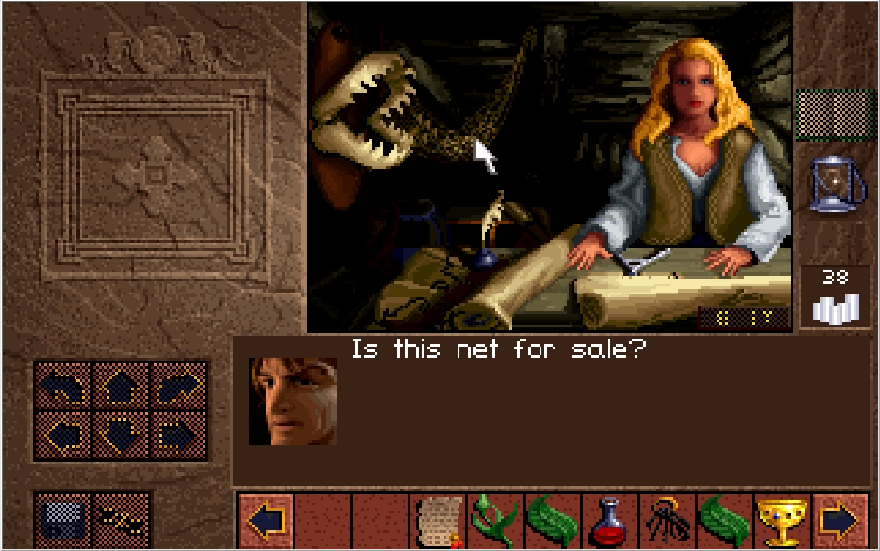
If you click on the net in the back,

Image

Image: "Not to you."

You married, Geron? If not, I think I've found your ideal wife.

If you click on her items on the table,

Image: "I suppose you'll want to steer the boat too?"

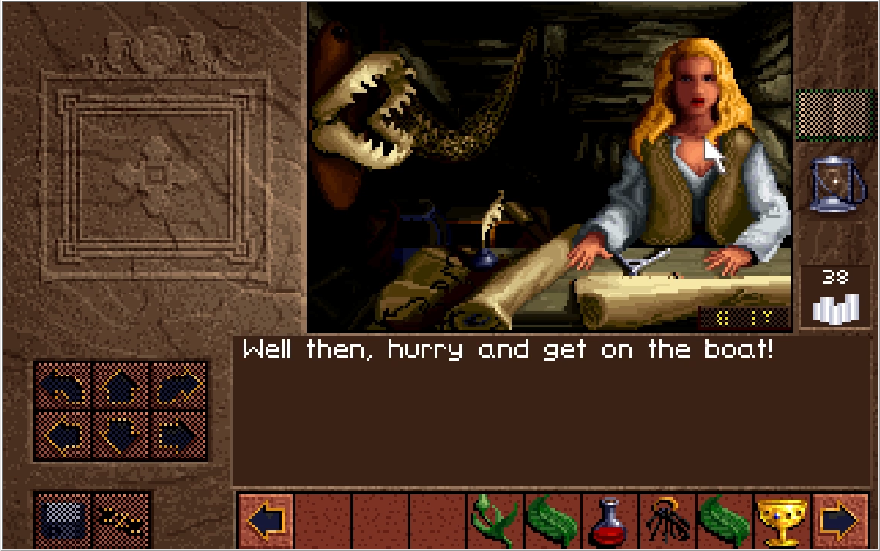
Alright enough jerking around, let's give her the Writ.

Image

Music: The Boat

Image

Image

Image

Image

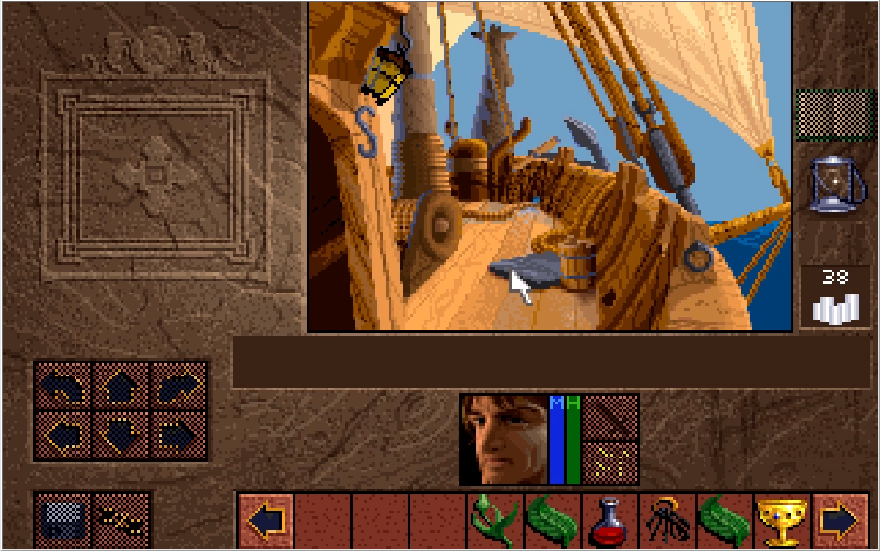
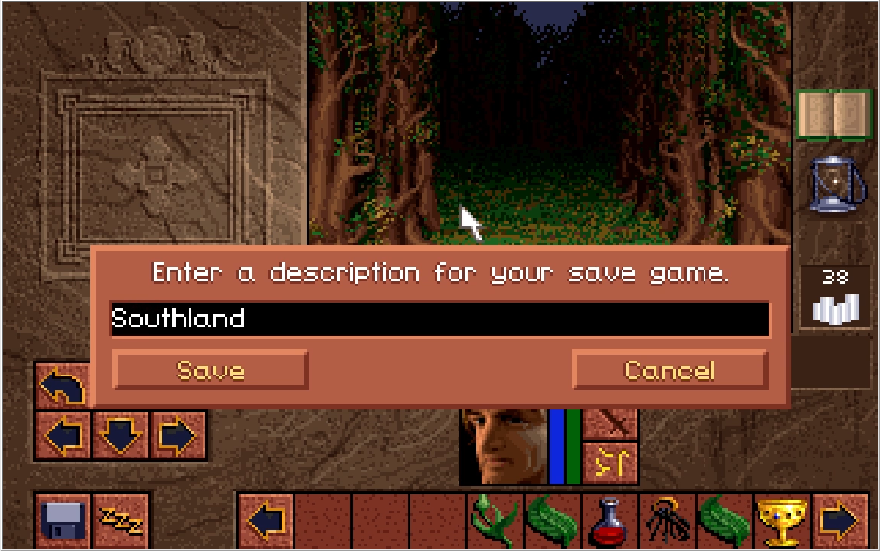
With a nice little animated boat riding sequence, we find ourselves in the Southland Forests, home of Roland who is safekeeping the Ruby of Truth! We should also keep our eyes peeled for that Timothy fellow Geron mentioned. We'll save and end here, next time we will be completing our first proper quest in Lands of Lore!
Last edited by Cullen on Sat Jun 22, 2024 10:42 pm, edited 1 time in total.

It should be noted that even if you sneak past the thugs guarding the thug cave entrance, you'll just end up fighting them on the way out. At least this is what I recall when 10-year old me tried to use Kieran (and promptly gave up afterwards) at any rate. And yes, the game is rather nice about its navigational aids. I'd be surprised if it were possible to skip the magic atlas as well.

Freaking Geron, what a fantastically useless dick.

User avatar
I do know that the Magic Atlas is fully skippable as I watched a speedrun shortly before starting this LP where the player does just that. Even chucks the key to the library aside for good measure. I can't imagine how much you need to play this game to memorize where you need to go without the map, as copy paste environments are extremely abundant in this game.

User avatar
Looks like a pretty interesting game so far, keep up the good work!

User avatar
Thank you, I'll do my best!

User avatar
Update 4, Southland Tales

Music: Southland Forest

Image


The soundtrack for this area is a bop, love it.

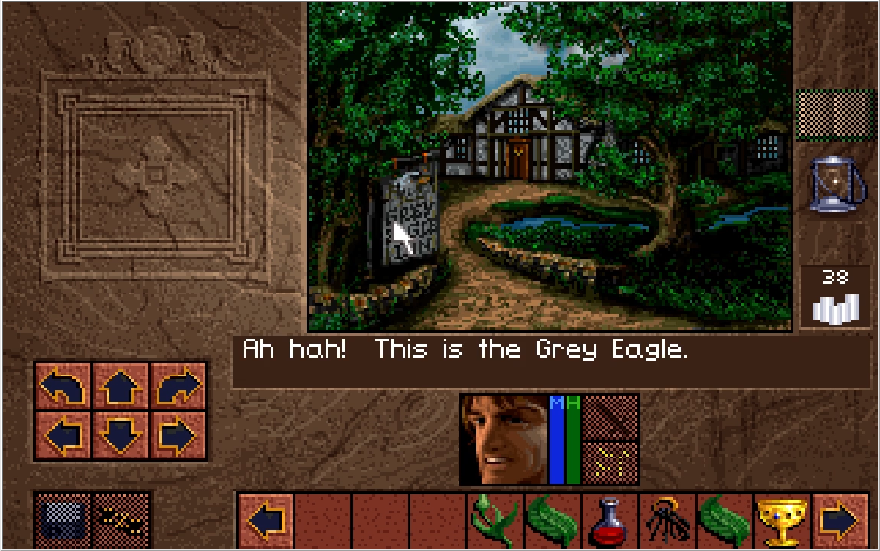
Anyway, last time we fought our way through the Northland forest, slaughtering any creature that happened to get in our path (Which was three muggers and a boar). We found a lantern, failed to subvert Scotia's subterfuge, and left a negative yelp review before boarding a boat and making our way here. Now we could just head straight for Roland's manor if we wanted and get on with our quest, but Geron made the helpful suggestion of searching for Timothy at the Grey Eagle. Conveniently, the Grey Eagle is very close to where we start.

Image

Image

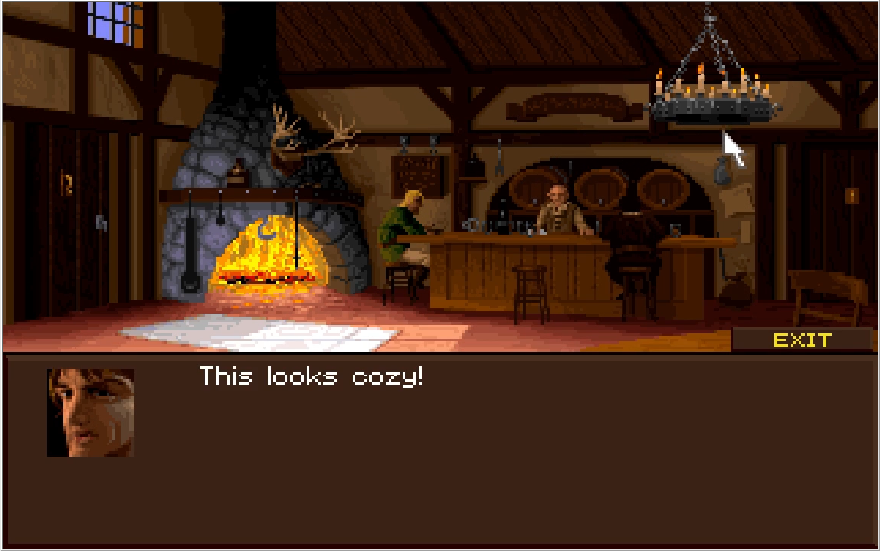
Just hang a left once you're out of the Marina, go right when you hit the wall, and the Grey Eagle will be to your left at the next wall. Don't worry, we'll have compass directions soon. Let's go in!

Music: Grey Eagle Inn

Image

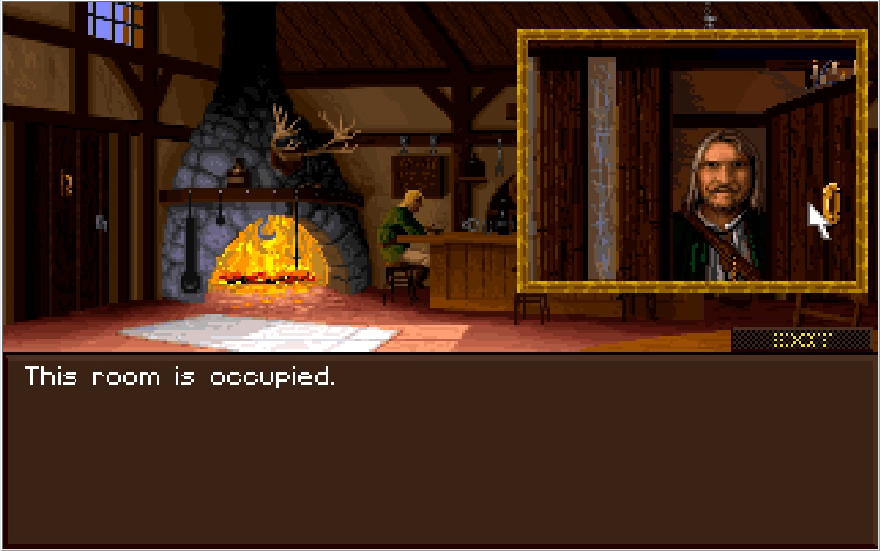
There's quite a bit for us to interact with here, but the first order of business for us will be the door on the right. Ignore the one patron here who sticks out like a sore thumb, I'm sure he's not important.

Image

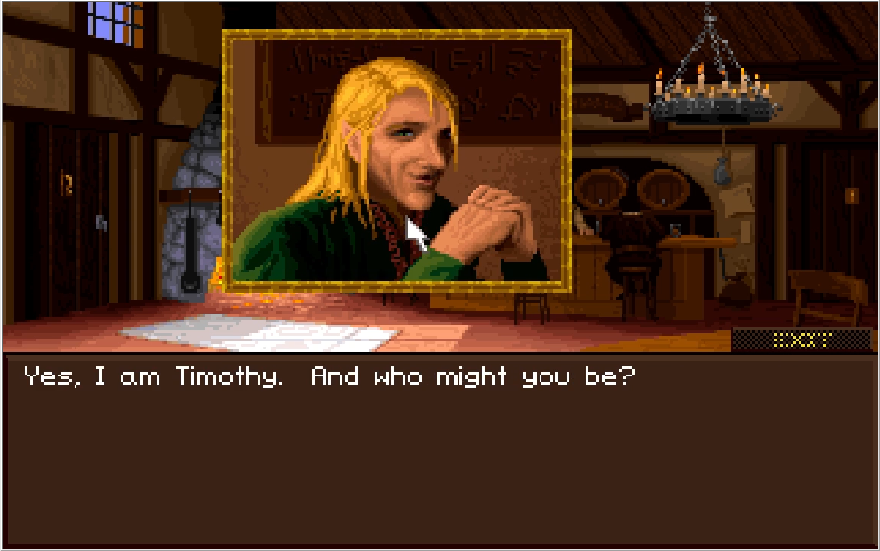
Image: "Are you by chance Timothy of Gladstone?"

Image: "No, I am Phillip. Timothy is the yellow haired fellow over by the fire there."

You mean blonde?

Image: "Thank you, I am on an important mission for King Richard!"

Image

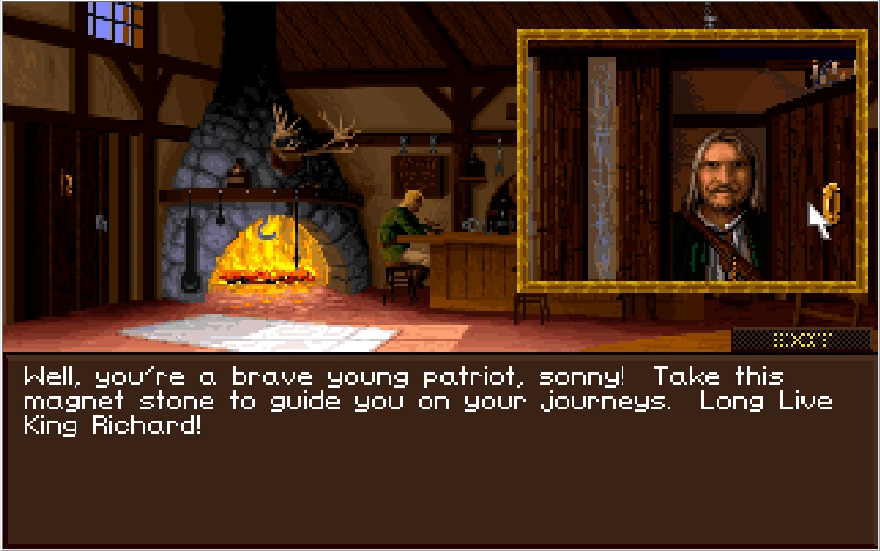
"Magnet stone" is just a fancy way of saying compass, so now I can call out compass directions much more easily without having to pop up the atlas. With that taken care of, let's shakedown the rest of the people here, starting with the fellow slouched at the bar.

Image

I didn't even get to say anything to him. What about you barkeep, are you Timothy?

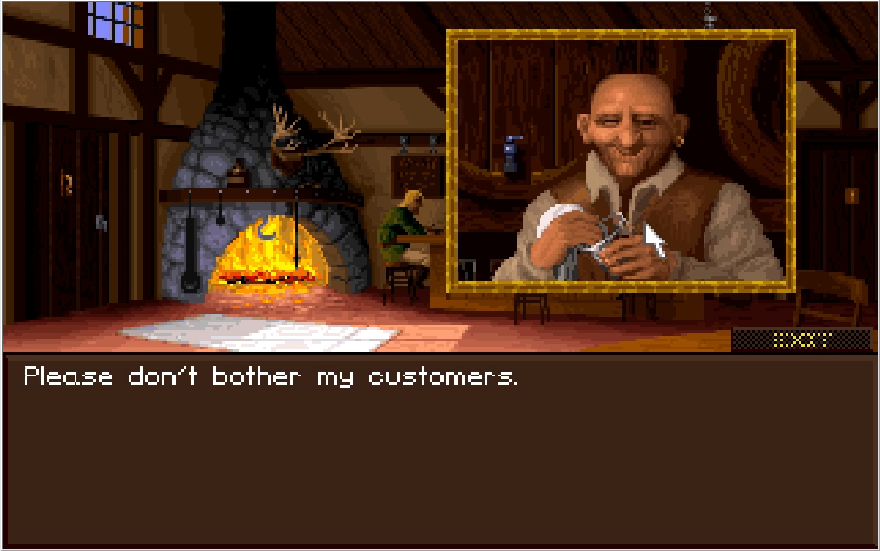
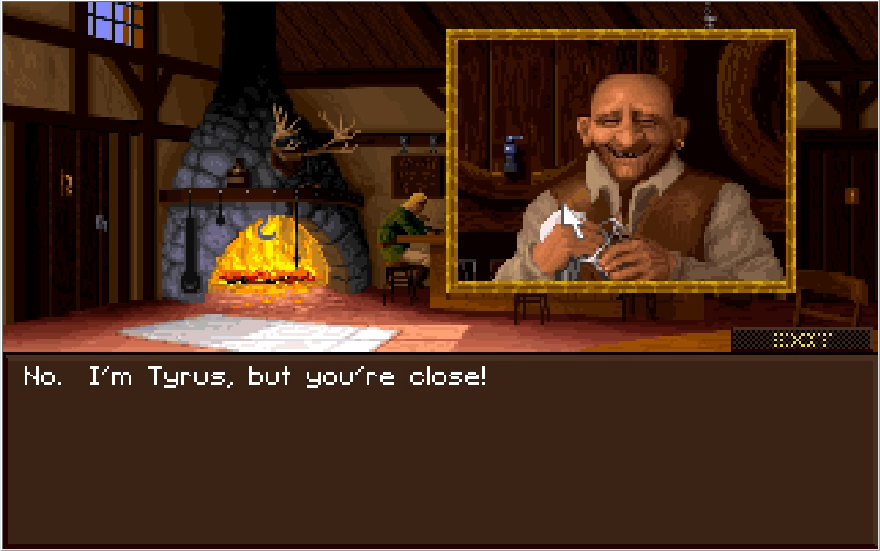
Image: "Are you Timothy of Gladstone?"

Image

Well through process of elimination (and it's not like Phillip just told us), we can probably figure the most distinct looking person in the bar is Timothy. Let's examine our surrounding a bit more before talking to him though.

When clicking on the mounted antlers,

Image: "My wife won't let me keep those in the house."

When clicking on the fire place,

Image: "This is hotter than Victor's forge!"

Given that Victor's forge needs to be able to melt down or at least soften metals, I kind of doubt that.

I click on the door on the left to see if that's another lodging room and instead,

Image

It's just another way to head back outside instead of the more obvious Exit button. Our shiny new compass drops right into the UI. I always forget how empty and lonely the UI is before you pick up all its elements. Enough beating around the bush, let's talk to Timothy.

When clicking on Timothy,

Image: "Are you by chance Timothy of Gladstone?"

Image

Timothy looks like a Link cosplayer who wasn't able to get the hat to complete the fit.

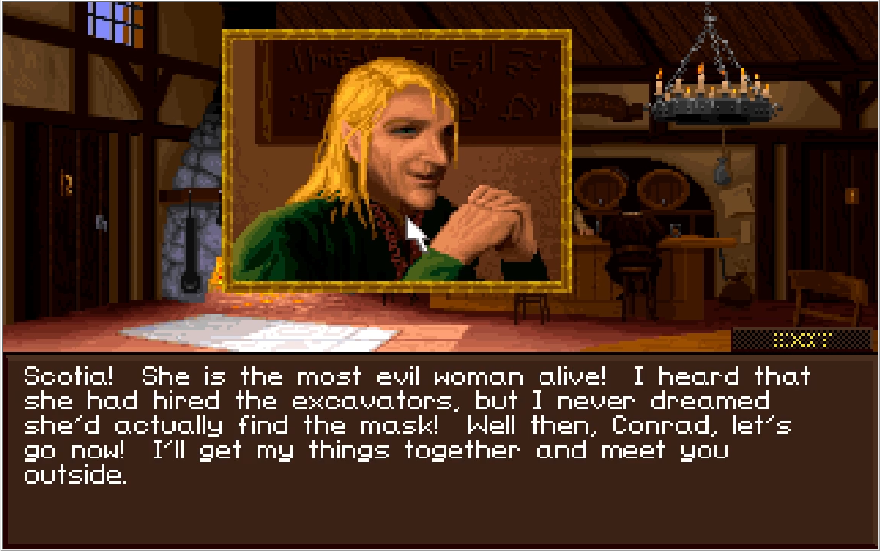
Image: "I am Conrad. King Richard has sent me to retreive the Ruby of Truth from Sir Roland. One of the Dark Army spies has a mask or something. She has become a shapechanger, and apparently threatens the kingdom!"

Image

True to his word, Timothy disappears from the bar. There's still plenty to interact with though.

When clicking on the bag next to the bar,

Image: "Is this what you get to eat for two crowns?"

When clicking on the poster above it,

Image: "Hmm, lost dogs and cheap handymen."

When clicking on the sack hanging over the poster,

Image: "This inn seems well supplied."

When clicking on the ale casks behind the bar,

Image: "Hmm, imported Yvelian oak."

When clicking on the sign to the left of the bar,

Image

Alright we've had our fun here, let's not keep Timothy waiting.

Image

Image

Image

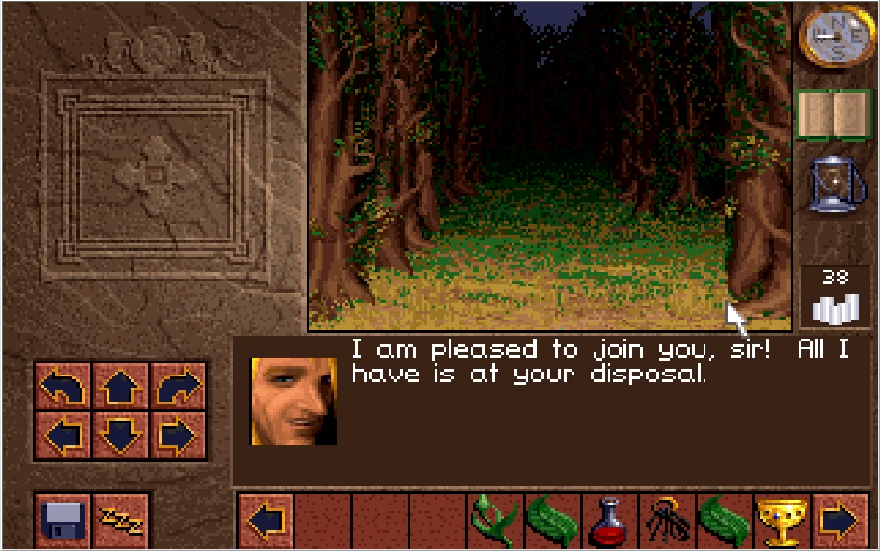
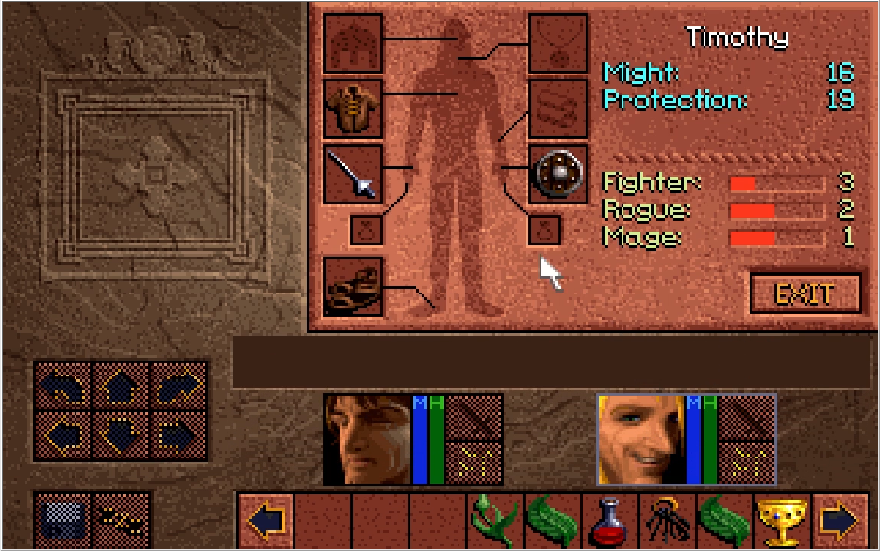
We take Timothy up on his offer right away and start ferrying his higher quality gear over to Conrad. Timothy gets Conrad's hand-me-down shirt in exchange. I'm not gonna beat around the bush and just let you know that Timothy is a temporary party member. He's also really bad. His Might and Protection modifiers are the same as Ak'shel while he only has 5 MP to cast a single Spark 1 with. Despite being Fighter level 3 and Rogue level 2, his HP is an abysmal 27, only 4 more than what Conrad has currently. Still, he's pretty accurate with his strikes and he'll soak up a couple hits for us.

Image

Image

Taking the time to explore Southland properly, we will occasionally see stumps and tangled brush in the forest walls, which can occasionally have items for us. Always click on these when you pass by them, you never know what you might get!

Image

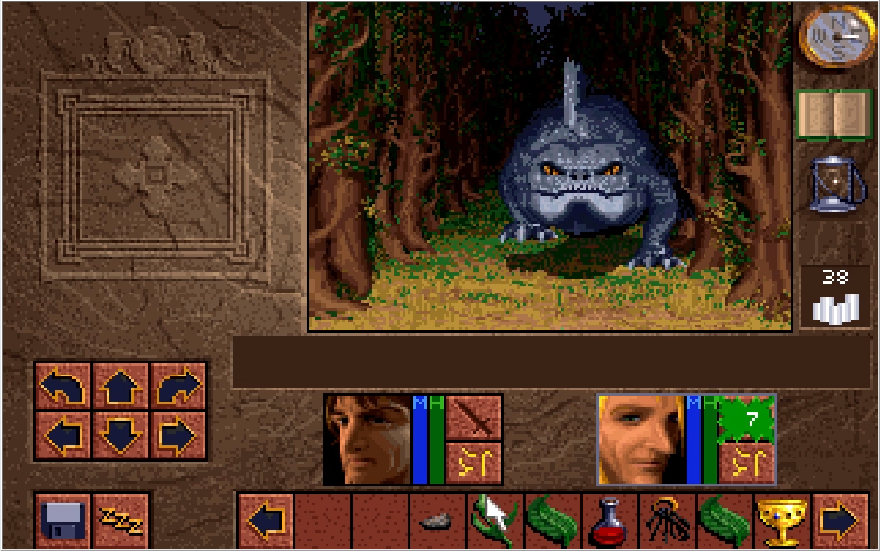
Heading due East from the Grey Eagle, we come across this chonky boy. He's not too much of a threat on his own, but there's a handful of these wandering the forest. They have a property that makes them somewhat annoying to fight that we will see in a minute. In the interest of growing Conrad's Mage skill further, I elect to Spark 2 everything we come across and rest after, provided I can get to safety.

Image

Image

We got a swarm for our lizard busting. Afterwards, I spot another formation in the trees that sometimes prompts a response. Very rarely do these wooden drain pipes have anything in them.

Image

Image

Going south, I was checking out another couple dead end paths to scavenge and got blocked in by another lizard. Here we see the special ability it has, it can snatch weapons out of our hands when it attacks! Enemies with the snatch property can also rip your shield out of your hands after your weapon, though rarely do they proc the ability twice. They seem to be more likely to do it if you're attacked by two at once, so be careful about getting surrounded.

This is also a good time to mention how enemy targeting works now that we have multiple characters. When an enemy engages you, they will pick a specific character to focus on, and keep attacking them until the targeted character is dead. Their targeting can be changed if their onslaught is interrupted, such as by simply strafing away from them. I do not know if enemies have a priority system for choosing their targets.

Image

After blasting away and hurling rocks at the lizard, it falls over and we can get our sword back.

Image

We've hit up all the major things to see around the Marina, so our next goal is to head for that opening in the west.

Image

Image

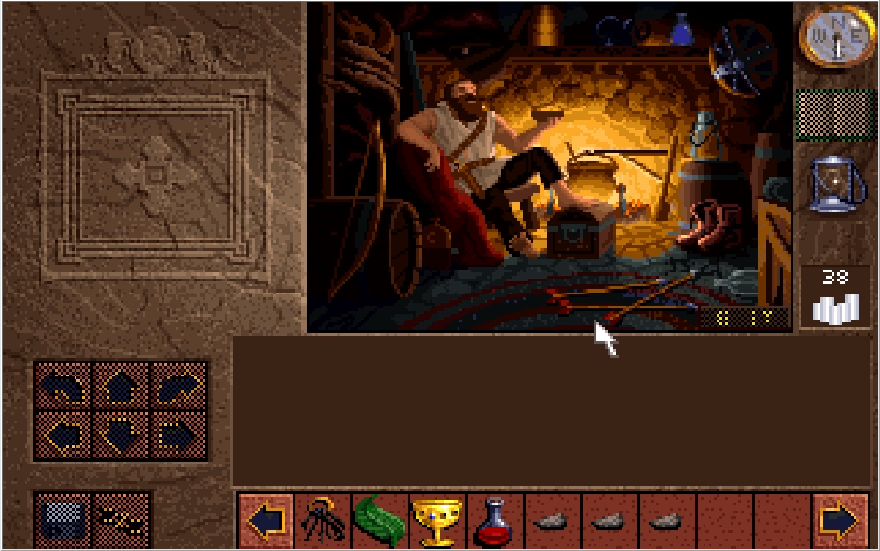
Through the western opening, we'll find a path split going in three directions though they all wrap around to the same end point. The central path, however, has this little trader's outpost nestled into it.

If you click on the tanning hide,

Image: "That's the biggest muskrat I've ever seen!"

Clicking on the house,

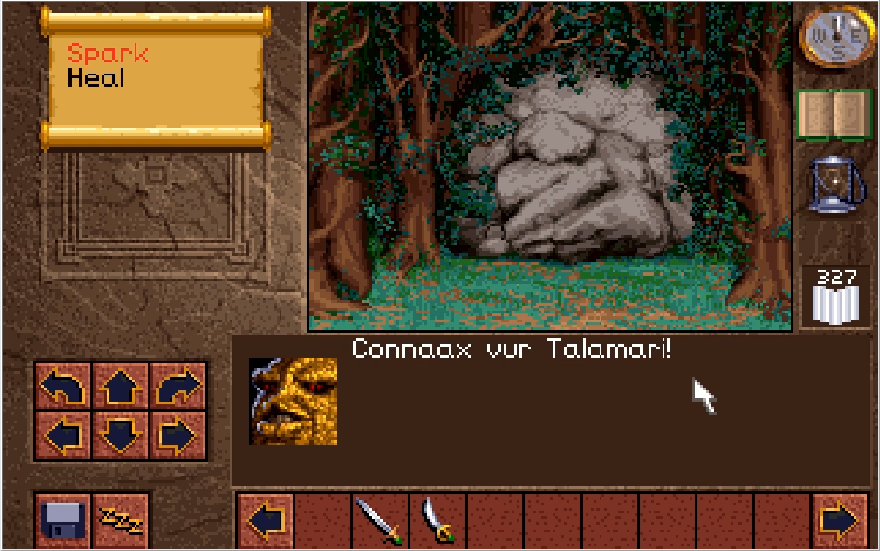
Image: "This place stinks!"

Let's enter and see what's on sale!

Music: Buck's Skins

Image

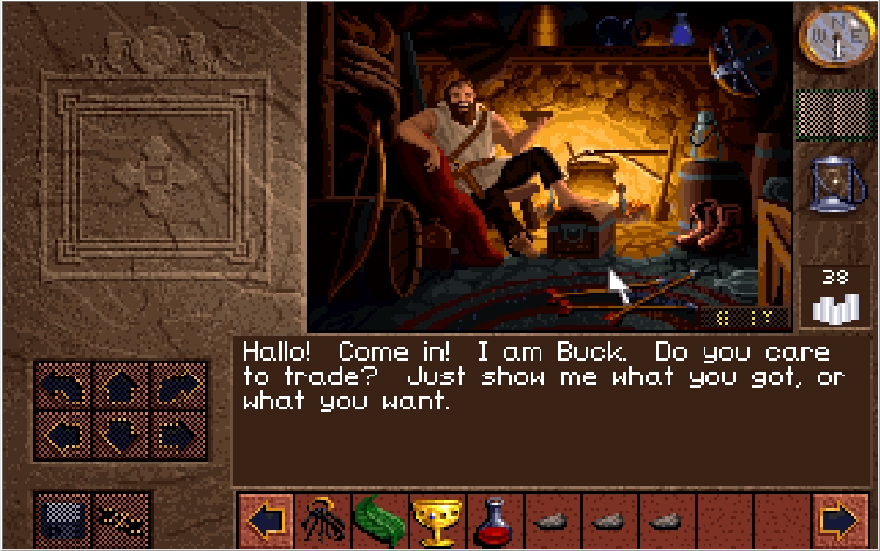
Image

We don't have much in the way of money, but Buck does have a couple cheap items we want to get. Note that even though he offers to trade, the only thing Buck will buy from you is Salves, since he happens to also sell them. He does buy them at 20 crowns compared to the 10 Victor takes them for, at least.

Clicking on the boots,

Image: "Buy the one on the left and I'll throw in the one on the right. 10 crowns."

Boots are a decent upgrade over sandals, and 10 crowns is a steal, so we'll take 'em!

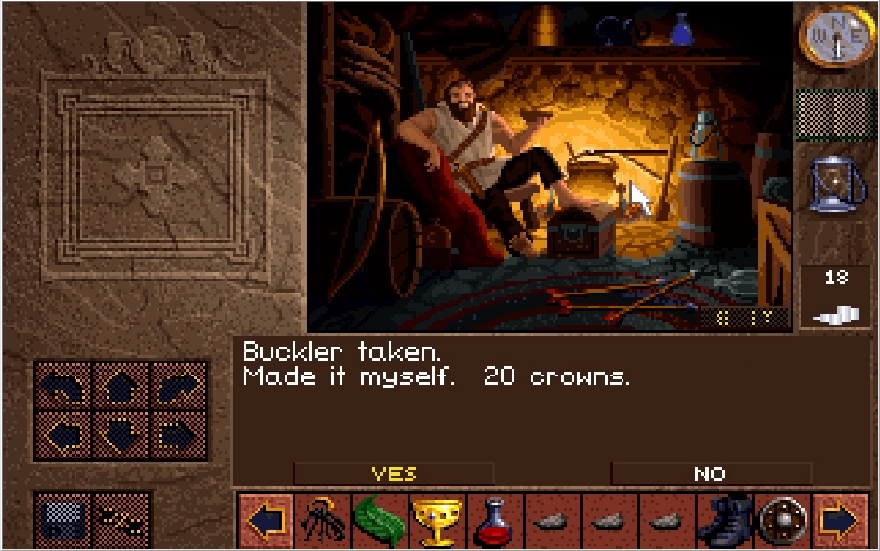
Clicking on the Buckler hanging by the fire place,

Image: "I'll sell that you know. Only 10 crowns."

Another reasonably priced item. We can put this back in Timothy's hands. That in and of itself isn't super critical, but I would like to have a spare buckler in the near future. In the realm of not so reasonably priced,

Clicking on the bow on the left,

Image: "Would you sell that?"

Image: "Sure! 100 crowns."

You can easily afford this if you don't buy the Longsword, but it's not critical to get it at right this moment. The bow is extremely weak, but as you'd expect it can attack at a range. It also builds up our Rogue abilities at a much faster rate than hurling items from the inventory.

Image

Salves are the last major thing Buck sells. The most notable thing about these is that there's something funny you can do with them once our business here is concluded. With all his inventory perused, let's just click around Buck's home to see what he can say. Starting with Buck himself,

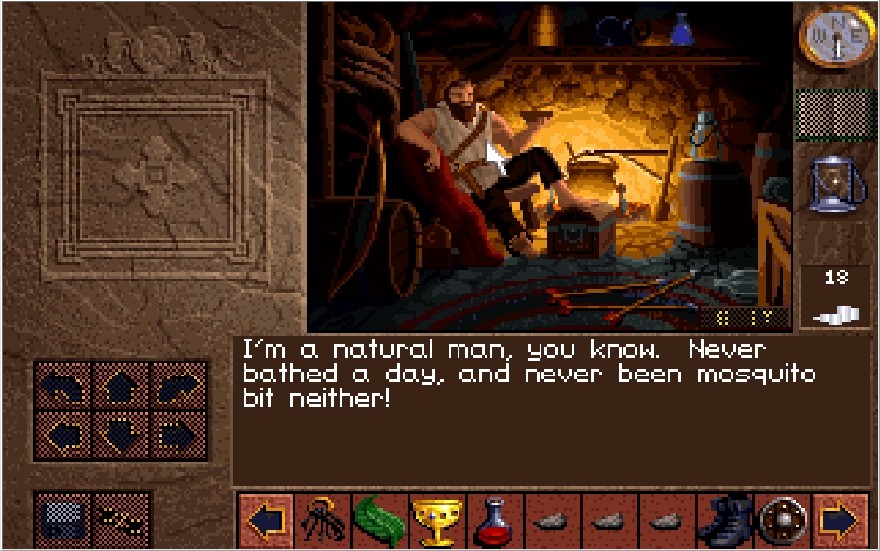
Image

I guess Buck is a like medieval Smash Bros player (old and lame joke).

When clicking on the pot in the fire place,

Image: "\Ugh, are you eating lizard tripe?"

Image: "Yep, I don't usually cook it though."

When clicking on the arrows scattered on the ground,

Image: "Buy the bow and I'll throw in the arrows."

When touching his lantern by the fire place,

Image: "Hey! Don't mess things up!

Didn't expect him to be so particular about his surroundings. We've done all we can here, so let's leave.

Image

Watch out for the what now?

Image

We strap on our boots and give Timothy a new shield that's just like his old one. The boots are a pretty solid protection upgrade at this point, and it's unfortunate that Kieran can't take advantage of it.

Image

Image

Image

Exploring the area for goodies to find, the aforementioned orcs start moving in on our position. Several of them start funneling in from that opening to the west, so I think this is a good time to unleash the bee hoards.

Image

Image

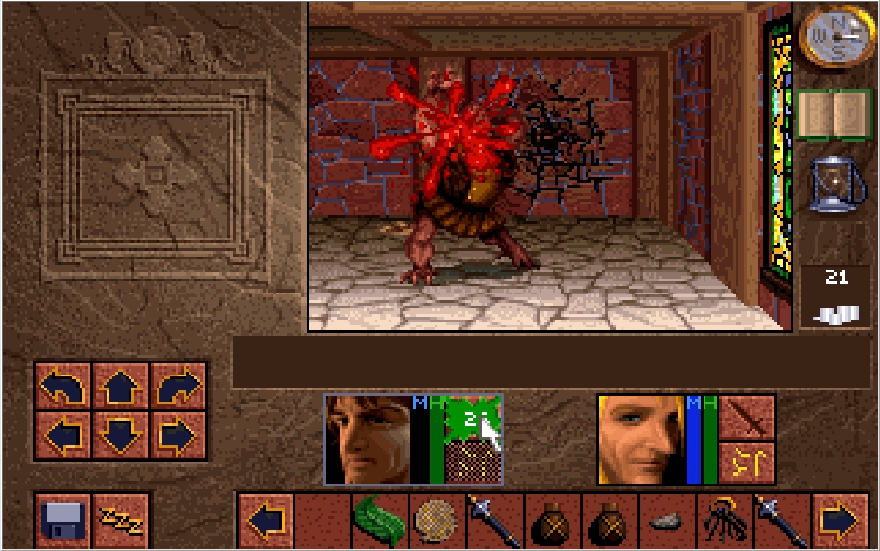
Excellent. If you manage to kill orcs with swarms, it's actually pretty good Mage experience for Michael. Since this is something that I can easily forget to mention, pay attention to the size of blood splatters that pop up when you hit enemies. The bigger the splatter, the higher percentage of their HP they just suffered in damage. Small splatters means what you did either had little effect or the enemy is exceptionally tanky. Fatal blows will always result in a splatter one size bigger than what an attack would normally result in.

Image

Image

More orcs pile in and a giant lizard also makes its presence known. Remember, up to 4 enemies can occupy a single tile, but only two can attack at once. Additionally, the lizard is what I like to call a "double-wide" enemy. It takes up the amount of space two enemies do when it comes to attacking, so as long as we're engaged with one orc we don't have to worry about the lizard joining the fray. If it decides to travel around and pincer us while we're battling the orcs though, that can quickly become a problem. Let's smash these guys quickly.

Image

Image

Image

Image

The fighting gets pretty brutal, with Conrad and Timothy getting dinged up pretty badly. One nice detail I like about this game is that once you're under half health, your character gets a suitably beat up looking portrait. Amusingly, if Conrad opens his mouth when he has his Damaged portrait, you can see that he lost a tooth. The tooth will just grow back when he rests and heals, don't worry. Speaking of, I had to use some healing items here. Do note that if a character gets knocked out, we need a healing item to get them back up. You cannot rest off having your HP depleted, so you can easily find yourself with no healing and having to cart around an unconscious character.

The orcs here can randomly drop Maces, which is a nice 40 crown pick up once we can return to Victor.

Image

Finally getting a chance to rest, we press on into the western Southlands. Strange, this is an awfully high concentration of orcs on the path to Roland's manor...

Image

Image

Image

The orcs are relentless here! We get another free Mace, just in time to see an arrow loosed in our direction. Orcs are the first enemy we come across that can fire projectiles. Their arrows are quite weak, but it's another bit of damage on top of the already heavily hurt state we've found ourselves in.

Image

Image

Image

Image

Attempting to retreat to find a place to rest, I find myself trapped with no choice but to fight. Conrad and Timothy rapidly start boofing every herb they have in their inventory to try and survive, but it's not looking too good...

Image

Image

Image

Image

It's a bit of a supply drain, but I hold out and Conrad gets his first Fighter level for his perseverance! This one level nearly doubles his max HP, taking him from 23 to 45. Additionally, the gained max HP also adds in under your current HP, effectively resulting in the level up healing him fully. We've killed all the orcs here, so that's not too helpful, but that kind of thing can be clutch in other situations.

Image

Our progress so far. Heading south will take us to Roland, but I want to check that northwestern section for items real quick, plus if there's anything left to kill I can focus on growing my Mage level.

Image

A swarm awaits me there, though no enemies. This swarm will come in handy soon enough.

Image

Alright, let's check out Roland's manor. Hopefully he's okay...

Music: Roland's Yard

Image

Balls.

Image

:(

Music: Roland's Manor

Image

Image

Entering the house, the interior looks just as rough as the exterior, and the place is crawling with more orcs.

Image

Image

Doubling back to the entrance to keep a fortified position, the door to the left has been opened! Orcs are capable of opening doors, which is not something every enemy can do. Obviously I can't communicate this well through screenshots, but Lands of Lore has pretty good ambient sound. Always keep your ears open for the sound of footsteps and doors opening in the distance.

Since the orcs can open doors, we can't shut ourselves into rooms safely to rest if we need to. Fortunately, most of the orcs stick to their starting area with very little wandering. You can also exit Roland's manor and rest in front of it if you're paranoid.

Image

Image

I take my chances and get my first resting ambush! The party is quite shocked, to say the least. When your resting is interrupted, enemies get a free swing in on you. Sometimes they can miss or do no damage, so it's not the worst thing in the world. If you do rest in the presence of enemies, they have a tendency to beeline to your position, so it's actually a perfectly valid strategy to use resting as a means to lure enemies and clear them all out before doing more exploring.

Image

Image

Image

Image: "Hey, this one is only half burnt!

Entering the room to the left of the entrance, we can search this fire place. Checking it twice will produce this scroll. You can read scrolls by dragging them to a character's portrait and right clicking.

Image

Interesting, I can barely make out that the Ruby of Truth must be joined with something to combat the Nether Mask. Presumably something Richard has, but what? This scroll is not necessary to collect and just hogs up space in your inventory if you keep it, so I drop it and move on.

Image

Could have been a human Conrad, don't profile like that.

Image

Image

Image

Image

Nice to see these two chuckleheads are able to stay objectively minded.

Our main objective is in the East wing of the manor, but we're heading to the West wing first to get some items and kill some more orcs.

Image

Image

A couple more dead orcs later, one of them drops his lunch money for us. Mealtime at the Grey Eagle is on me, Timothy!

Image

Image

Given how we probably just killed him, I'd say the remaining 7 years of bad luck is a bit over kill.

Image

Image

In the final room in the West wing, we find this switch. Pressing it in,

Image

Image

An alcove opens, awarding us with a couple oil flasks and some aloe. We'll need quite a bit of oil to keep our lantern fueled throughout the game, and I recommend keeping at least 4 flasks on hand at all times. It'll be a bit before we can get more though. With that done, let's explore the East wing now.

Image

Image

The first room we come across has just another orc grunt in it. We cleave him in two and rest up. In the room across from this,

Image

In the words of Arnie, "You are one ugly motherfucker."

We're presented with a few choices here. Hilariously, choosing Run carries no penalty. The Orc captain will not give chase and re-entering the room just replays this same exchange. What if we bluff?

Image: "You ignorant cretin! I am commander Conrad! Scotia begged me to take charge in this region, so here I am!"

I'll admit that Conrad's nasally yarl does not make this very intimidating.

Image

Regardless, the orc captain buys this and saunters off without a fight (and by that I mean he blinks out of existence). This has a chance to fail, but in the 4 playthroughs I did leading up to this as well as this very LP, the bluff has worked every time I've tried it. The official cluebook says this choice is influenced by your Rogue stat, which is almost impossible to have leveled up at this point unless you bought the bow and spent 20 minutes firing arrows at nothing. Presumably not having Timothy with us would make this less likely to work, since he's Rogue level 2. Regardless, glory and experience is on the line.

Image

Image

Starting the fight out, I immediately back into the doorway. If we fight in that open room, the orc on the left will zip around to our left side and we'll start getting pummeled by three enemies at a time. Not a good thing on Ferocious mode. I unleash the swarm once all three of them pile in front of the doorway, putting the two orc grunts on death's door and heavily damaging the captain.

Image

Image

Image

Timothy gets brutalized in a hurry, but the grunts are down so it's just us and the captain now.

Image

Image

It's one-on-one with Conrad and the captain now. I have 3 options here. I can stand in place, hurling rocks while Conrad is on cooldown. Alternatively, I could use the Bezel cup on Timothy to get him back into the fight. Assuming he doesn't get pasted immediately, working in tandem with him would let us take this guy down handily.

Image

Image

I decide to go with the most conservative option though. Enemies can be kited in this game. Launch a strike, back up while you're on cool down and let them close the distance. If you're able to time it right, you'll be able to launch another strike just as they walk in front of you but before they can fire off their own attack. Quickly back up as your strike is launched, and with good luck you can safely get a hit in with no threat of retaliation. Obviously you need to be aware of your surroundings doing this, it's easy to trap yourself or run out of space to back up if you're not careful.

Image

If you succeed in killing the Orc Captain, he can drop the special Axe "Dominance". There are numerous Named weapons in the game. Some do have special effects, but most of them just have slightly higher stats than their generic counterparts. The Dominance is weaker than the Longsword sadly, but it can be sold to Victor for an impressive 150 crowns. Speaking of crowns, the captain also dropped 6 of them.

Image

Image

Returning to the room the captain was occupying, Timothy briefly rouses himself from unconsciousness to point out a secret door in the west wall before passing back out (We're going to be carrying his whupped ass back to Gladstone). We click on it, and voila, a hidden passage! Was Roland able to hide away to safety before the Orcs attacked though? We'll be finding that out next update.

Yep, that's the early Lands of Lore experience I remember, even on normal this can be fairly brutal since Timmy is uh not a great helper for his listed level of experience (which is also a bit of a problem with a later, more permament member but that one is far more fixable), normal orcs are wimps but there's always a lot of them and they wear you down and the commander is... a sign of things to come, shall we say.

For all this game's faults though, it does have some pretty good bops and jams.

User avatar
Yeah honestly the big reason to grab Timothy are his free buckler and jerkin. Otherwise he's best used as a meatshield in most cases so you can work purely on your main character's stats.

User avatar
Update 5, Mo' Money Mo' Problems

Image

Image

Real quick, I just wanted to correct a small mistake from the previous update. I acted like I didn't use the Bezel Cup when fighting the orc captain, but in reality I did and just forgot to screenshot it. Whoopsie. Anyway, when you use a Bezel cup, the animation shows each gem in the cup circling the portrait of who you used it on, fully healing them once the animation concludes. The cup will then be back on your cursor minus one gem, assuming it had more than one.

Anyway, Timothy got healed and then got pounded into dust in two hits.

Image

Disregarding that, we last left off in front of Roland's secret passage. We can only hope he made it in here unscathed.

Video: Roland

Image

Image

Image: "We will take you to Gladstone with us! Dawn will heal your wounds!"

Image

Image

Image: "The war has begun Conrad! The death of such a patriot must be avenged! Let us hasten back to Gladstone."

Image: "I vow upon his deathbed to find these orcs and return the Ruby to Gladstone."

Image

Well, there are many bits of better news we could have gotten there. Roland has died and the Ruby is gone. Nothing left to do but raid his treasure chest I supposed. Conveniently the key is right here.

Image

The chest contains a tremendous 400 crowns! Conrad does his best to rationalize his act of larceny. One interesting thing to note that PurpleXVI pointed out is that the contents of this chest can actually vary. If you failed to pick up the Compass from Phillip at the bar, this chest will instead contain a compass and 200 crowns, given in that order to make sure you don't miss the former. Not sure why they considered the Compass a mandatory item to collect but not the Atlas.

Sadly, the game isn't just being generous here. We will need 200 crowns shortly. The additional 200 for grabbing the compass does give us a little bit of extra to spend on a treat for ourselves.

Image

The chest also contains a Saber for us, which will be sold to Victor in about 7 minutes. I smash the chest in frustration, and leave to return to Gladstone.

Image

Image

Since we have some money to spare now, I return to Buck's in order to purchase the bow. This is far from a necessary purchase, but getting this now will allow us to work on our Rogue skill at a reasonable pace just a bit sooner. We'll go over the Bow as it becomes more relevant.

Image

Image

We find our way to the Southland Marina, which is much more inviting than the Northland one!

Image

Image: "I had a writ from the King but that other clerk kept it. May I still ride?"

Image

Curses, the Northland Marina owner is spiting Conrad from a safe distance. Anyways, this is what we need the huge cache of crowns for. Naturally, if we didn't get the extra 200 from already having the Compass we'd have a net profit of zero and would have to sell Buck's bow back to him to afford the trip back to Gladstone.

Incidentally, if you're going out of your way I believe you can make the game unwinnable here. Buck sells Salves, and if you leave at least one enemy on the path to Roland's alive you can let it beat on you and heal off the damage, thus permanently wasting 20 crowns for each Salve. Obviously there's no reason to do this, but I always find having the options for this kind of thing to be funny. Tangents aside, there's much flavor text to be had here that can only be heard if you reject paying for passage.

Image: "Perhaps you could swim. It's not that far, really."

Don't be trying to point out any plot holes here lady, Conrad clearly stated in Update 3 that Lake Dread is much too cold for swimming this time of year.

If you click on the cushion to the left,

Image: "Who has time to sit down these days?"

Stressing like that is going to leave you with early onset health issues, Conrad!

If you click on the rope in the back,

Image: "We hung three orcs with that rope last week!"

Jesus! This lady might sound like an unassuming midwestern housewife but she is not to be fucked with.

If you click on her charts,

Image: "I am charting the Dark Army's movements. They are very close you know!"

When clicking on the Marina owner,

Image: "Are you from Gladstone? My brother Baccata studies with Dawn there!"

This is a bit of five-second foreshadowing! I assure you, we will come to know Baccata quite well.

When clicking on the net in the back,

Image: "Captain Felker likes to catch his own breakfast sometimes."

Lands of Lore is a lot like Fire Emblem Three Houses in that it has a lot of named characters that we only hear about and never actually see. Moving on, you need to leave and re-enter the Marina to prompt the dialogue to pay for passage, so let's do so and get out of here.

Image

Image

Image

A jaunty ferry ride ensues and we are back in Northland forest. Nothing to do but return to Gladstone at this point.

Image

Oh and also strip down Timothy, since being bloody and unconscious just wasn't undignified enough. If you've ever played an RPG before, you probably know right away why I'm doing this.

Image

Image: "The Dark Army has stolen the Ruby! I must tell King Richard!"

Image: "His Highness is resting in the Throne Room. Hasten to him with this news!"

Image

Image

Returning to Gladstone to report the bad news, Conrad can immediately tell something is off. All original flavor text is replaced with the two phrases that Conrad says in the above images.

Image

Image: "The Ruby has been stolen! I must see King Richard!"

Image: "Go in at once!"

Image

I hope good King Richard has any kind of back up plan for us, because we're kind of up the creek now otherwise.

Video: Throne Room Encounter and the Shroud

Image

Scotia! How could she have possibly gotten into the castle?

Image

Oh yeah.

Image

Image

Image

Dawn isn't about to take this sitting down, and a magic duel ensues!

Image

Image

Image

Image

Image

Image

Image

Image

Scotia's force lightning was no match for Dawn's counter-shield! Unfortunately, Scotia simply used her bird trick to escape once more before Dawn could land a follow up strike. Things are just not getting any better today.

Image

We find ourselves in a chamber with a few familiar faces and two new ones. Richard seems indisposed after the encounter with Scotia.

Image

Image

The members of Richard's council pool all their magic powers together. Rather amusingly, Geron is the first to drop his lightning. It seems that Richard has been poisoned by an incurable toxin, and the only recourse for right now is to seal him in a preserving shroud until we can find a potent enough medicine to help him.

Image

Image

Image

Image: "This shroud will prevent any further action of the poison, and protect Richard until the cure can be located."

Rather overtly, once the shroud is formed 4 pyramid shaped objects appear at each corner. Keys to the shroud, perhaps?

At this point, there's nothing left to do but sweep around the room and talk to each person here for their thoughts.

Image

If you click on him again,

Image: "I knew it! This is indeed Gladstone's darkest hour."

Nathaniel is about as optimistic about the situation going forward as you'd expect. He occupies surprisingly high station in the castle for such a nervous wreck, though, so I guess his skills an apothecary are normally just that legit. Who's the guy to his right though?

Image

Image

Image: "Well, I won't just sit here on my backside while that wench has her way with the whole countryside!"

I'm actually not really sure what Paulson's job in Gladstone keep is. The credits refer to him as a "Miring Engineer", whatever the fuck that means in this context. He must be important to be on Richard's council though.

When clicking on Paulson again,

Image: "Enough talk! We've got to do something now!"

I definitely appreciate his attitude over Nathaniel and Geron, if nothing else. Speaking of Geron,

Image

When clicking on Geron again,

Image: "How did she get inside the Keep? We change our passwords frequently!"

Image

Moving on, let's see what Dawn has to say.

Image

Hmm, so it's not completely hopeless! Strangely, Dawn only has the one thing to say. Alright enough beating around the bush, time to talk to the guy who stands out the most by far, and anyone who has played this before has been dying to see.

Image

When clicking on him again,

Image: "Really! Quite bad manners violating a man's castle. I do wish Dawn would permit us to mount a counterattack of some sort!"

Like his sister, he's got a remarkably violent disposition in spite of his soft-spoken nature! This is also foreshadowing. I don't think there's a single person who's played this game who doesn't absolutely love Baccata. You gotta love his verbosity paired with his Sean Connery-esque delivery. On top of a whole bunch of other reasons to like Baccata we'll be seeing as the game goes on.

At this point, there's nothing left to do but leave the room. Upon doing so, Dawn will finally have something more to say.

Image

I kind of zoned out at this point and had my cursor in a bad spot for the next couple shots, apologies about that.

Image "The Who? And where is it? Do you know, Timothy?"

There's a mildly amusing blooper here if you're playing as Kieran. Every character reads the final question correctly, asking Timothy if he knows where the Draracle's cave is. Kieran's voice actor didn't notice the comma in the line, and instead read it like he's asking Dawn if she knows who Timothy is. I think it's funny anyway.

On a more gameplay related note, it is worth noting that Timothy is optional to grab from the Grey Eagle. This results in minor alterations to certain scenes that he speaks in, since he's obviously not there to say anything, but I don't really find it to be too interesting.

Image: "Unfortunately, Timothy's services are needed here. Baccata will join you in Timothy's stead."

Image

Hell yeah.

Image: "I will meet up with you later Timothy."

Image: "Farewell Conrad. You had best hurry. Do not grieve at our separation. Baccata is a good man and will be an asset to you on your journey."

Timothy gives us a heartfelt farewell, indicating to us that him and Conrad had a whirlwind bromance that wasn't fully conveyed by the single update we had him with us. My condolences to all the ConradXTimothy fans in the thread, but this relationship will have to be put on hold for now.

and will tragically go nowhere for other reasons we'll get to.

Image

Image

Image

Music: Gladstone's Grief

Image

Dawn bestows upon us the Mystic Album, which proceeds to congeal into our UI for some reason. As you can see, Baccata is as delighted to be here as I am to see him. As an added bonus, Dawn has also thrown in the Heal spell for us to use! The exact effects of the Heal spell are:

Lv.1: 5MP, Restores 25HP
Lv.2: 10MP, Restores 45HP
Lv.3: 24MP, Restores all HP and Cures Poison
Lv.4: 60MP, Restores all HP to the party and Cures Poison

As you can see, it's fairly cheap and effective even at the lower levels, and the final level is a great panic button once you have the MP to cast it. Every protagonist should be able to cast it at least once by Mage Level 4, so it's a good idea to focus developing your Mage levels now until you reach that point. (Unless you're Kieran, who is simply not capable of reaching higher Mage levels until we get some special items.) One drawback of the Heal spell is that it does not generate Mage exp when you cast it, so you aren't able to level up at all with it.

Image

Looking at our new party member, Baccata comes in with some powerful new gear that we'll actually leave on him, but right away you'll notice some differences with his equip screen. Baccata is a Thomgog, a race of people who have 4 beefy arms. This allows Baccata to quad-wield, holding weapons in two arms and shields in the other two. His fingers are rather girthy though, and he is not able to equip rings. Due to poor balancing and the powerful end game rings getting dummied out, this is not a drawback at all. Baccata's individual Might modifier for each weapon hand is only a little bit higher than Ak'shel's, but obviously because he's equipping two weapons he still consistently has the highest Might in the game. What do his stats on the whole look like though?

Baccata's Starting Stats

HP 22
MP 18
Might 10
Protection 37

Baccata's Final Stats

HP ~114
MP ~80
Might 116-120
Protection 97

As you can see, if you equip Baccata with the best stuff in the game he ends off as a powerhouse fighter but with noticeably lower protection than the main character (unless it's Kieran of course). One funny thing about Baccata is that although he's a Sorcerous' apprentice, he is a remarkably terrible Mage. The worst caster in the game, even. He starts with a miserable 18 MP to work with, and because he starts at Mage level 3, it takes forever for him to level up his casting skills. He does get decent MP gains when he does level it up, but it is horribly slow and you're not liable to see him gain more than one natural Mage level the whole game unless you go out of your way. There's one other major notable thing about Baccata in combat, but we'll cover it when he actually gets to fight.

I realize I'm text walling now, but there is one thing to go over regarding stats real quick. You'll notice I gave approx. values for Baccata's HP and MP. This is something I suspected doing my test runs, but big shout outs to to Den Store Frelser in the thread for confirming for me that each level up you get awards a random amount of HP/MP. The general amounts you can get are as follows,

Fighter: 6-23 HP
Rogue: 2-12 HP
Mage: 1-6 HP and 18-25 MP

The game does seem to generally prefer middling values for these, and I suspect each character is more prone to rolling high or low on particular skill types, but these ranges seem to apply to every character in the game. They're certainly consistent with what I remember from my practice playthroughs. The one notable exception is Mage levels for Ak'shel, he actually seems to have deliberately higher ranges for MP gains. In my experience, Ak'shel usually gets about 28-32 MP from his Mage level ups. With all that detouring done, let's link up with Victor real quick.

Image

Image

He doesn't have anything to say about recent events, and I proceed to unload all my crap onto him. I also buy an extra Rapier for Baccata's use. Let's gear up now!

Image

Image

Baccata is looking pretty studly with his double fencing power, and I take the opportunity to have Conrad take up archery. As you can see, the Bow has no Might score on its own. Instead, the damage value for it is tied to the projectile it fires. There's no way in game to see how much damage a projectile does, so you'd just have to figure out an enemy's HP and see how many projectiles it takes to kill them to take a guess at that.

Image

Baccata halts us as soon as we take a few steps out of Gladstone.

Image: "Uh, er, no, we..."

Transcribing the text does not adequately convey how much awkward stammering Conrad does on the voice track here.

Image: "There is a passage. Let us bear east and then proceed north as soon as possible."

Huh, doesn't that lead to...

Image

Yeah, I remember this place! I knew it stood out.

Image

Image

Baccata chants the door opening spell, and we can now make our way into the Draracle's Cave!

Image

Image: "Quite!"

And it's slightly nauseating!

Image

This is where we'll call it an update for now. The Draracle's Cave is sort of the climax dungeon of the game's first act and it is much larger than the areas we've been to thus far. We'll be here for a couple updates, and have more than a few ordeals to go through along the way. See you then!

User avatar
Cullen wrote:
Thu Jun 27, 2024 6:06 pm

Image
Clearly you should have spared a gem for him. Would have done more good reviving him over that useless Timothy!

User avatar
It’s funny you mention that, because this is not the last time that degree of ludo-narrative dissonance will pop up.

Yo it's my boy Baccata who, somewhat annoyingly for this part of the game, was trained wrong as a joke. But soon, soon(tm)...
I don't think there's a single person who's played this game who doesn't absolutely love Baccata.
He's in the running for best overall personality in this game (for what admittedly little that says, the good voice acting helps) and does big damage, what's not to like?

The lack of ring slots is really a nothingburger in this game, IIRC there's a grand total of one type of ring that's even noticeable and even then all not being able to equip it means he can get poisoned.

User avatar
There was supposed to be an ultimate ring in the game with a powerful effect (Instant action cooldown, allowing its wearer to spam out attacks at a fever pitch) that Baccata would have the distinct drawback of not being able to use... but the key to get this ring was either dummied out or they just straight up forgot to place it in the game. The ring can only be gotten using a trainer (either to enable no-clip or just simply place the key/ring into your inventory), and even if the key to get it was in the game it's unclear how much of a difference it would make since the ring is in the final dungeon anyway.

User avatar
Mini Update, Take a Look, It's in a Book

Just a little side update for something I missed that I'd like to mention before I forget about it. Recently youtube has been dumping videos related to this game onto my home page due to my searches regarding it. I've seen some cool dummied out content I previously didn't know about, but I also saw a comment on one stating they got a super critical game hint from the library in Gladstone. Obviously we didn't get anything like that in the second update, so I decided to go back and click on the books again. Sure enough, there are multiple passages to each book so you can enjoy more Patrick Stewart ASMR. Some of these are just for flavor with light foreshadowing, but as I said before there are some extremely important hints in these books that are easy to miss.

Image

In the game's second act, we'll be finding two Emerald blades that will be much weaker than the gear we have when we get them. This passage here let's you know that they are to be used against ghostly enemies. An important hint, but ideally it ends up being an unnecessary one due to the next passage.

Image

Vaelan's cube is a plot critical item that has a very important secondary effect related to the previous passage. Keep this in mind, it is one of the single most important things to know in the game.

Image

Just some light foreshadowing here, moving along.

Image

Image

Yvel is an end game area, so it'll be a bit before we can follow up on this hot travel tip.

Image

Image

We've already been to the Grey Eagle, but Captain Picard at least assures us the food is much better than it looks.

Image

That's beautiful man.

Image

Image

I did not get these screenshots out of order, for some reason his final vacation recommendation comes after that unsourced quote. Anyways, Grisbl is a location we never go to, though this is not the last reference to it we'll see.

Image

In due time Richard, we've got a quest to go on!

Finally, the remaining book contains additional Lore of The Lands. I'll just post these all uninterrupted.

Image

Image

Image

Image

Image

Image

I too struggle with writing my closing thoughts, lore book. This is mostly just set dressing, but keep that bit about combining the Ruby and the Shard tucked away. It will become of tantamount importance later.

Once you've read all the passages in the books, they'll loop around to their first entry when clicked on again. Shout outs to thread poster RandomKesaranPasaran who pointed out the text of these books is wholly original for the CD version of the game. In the floppy version of the game, the books are still here but clicking on them prompts a generic response about how they are too weathered with age to be read since Richard didn't invest in an olde mystick dehumidifier. The passages added for the CD version largely are just to give Patrick Stewart more speaking time, as well as discreetly sliding in some gameplay tips for people who complained about not being able to beat a later section of the game.

If you'd like to have Patrick Stewart read you a 3 minute bed time story, you can do so here.

User avatar
No update today, but I did get a fairly interesting post from Den Store Frelser on SomethingAwful today and I think it would be poor form if it wasn't shared here too. They've been doing some rigorous testing with certain mechanics of the game as well as diving through old forums regarding it, and came up with some cool findings!
Den Store Frelser wrote: I scummed the first levels for Ak'shel and Kieran to see how they differed from the rest. Ak'shel's seems to have the same health rolls as the rest, but his Mage levels gave 27-37 MP instead of 18-25. Didn't check his Rogue levels.
Kieran on the other hand seems to get regular Mage and Rogue level gains, but I think he might get less HP from Fighter levels than normal. I got 4 HP on one level for him, and never saw anything higher than 21. This could just be due to the low sample size, but it kind of looks like he gets the same as the rest minus 2.

Kieran seemed to gain less Mage experience than the rest, so I had a quick look through some old forum and blog posts about the game. Most of the stuff out there is misinformation, but (spoiler warning for upcoming characters) the Abandonia guest poster Maerryji mentions something interesting in a thread from 2005. The character's inherent Might modifier affects all magic damage the character deals. I "tested" this on the first few enemies in the game on the default difficulty and at first glance it seems to be true. Michael needed two level 1 Sparks for the boar and two to three of them for each of the bandits. Ak'shel needed three for the boar and three to four hits for the bandits. Kieran needed four hits for both the boar and the first bandit before my patience ran out. As damage done apparently determines experience earned this would explain why Kieran is slow to level.

The same poster later mentions that Rogue levels reduce recovery time after missed attacks or ranged shots, and that hitting with an attack causes a shorter recovery time than missing. Effectively, everyone has the same recovery for attacks that hit, everyone but Kieran gets a reduction of 10% in recovery time for missed attacks or shots when they reach Rogue level 4, while Kieran always has an inbuilt 30% reduction for this specific recovery timer. If you were to grind to Rogue level 8 both Kieran and everyone else would get another reduction of 10% of the base value. Recovery after casting is apparently not affected by levels.

The same poster also discovered that you can set the difficulty to a higher level than Ferocious, which that thread refers to as Nightmare mode. To do this, open a saved game in a hex editor and set (the first four bits of) byte 0x25e to 3X, where the 'X' is whatever the previous value of that half of the byte was, which depends on what your config is like. The values for the real difficulties are 0X, 1X and 2X. Enabling this "fourth" difficulty level causes all attacks to hit (even your own), and according to the thread enemies will attack faster. The first part seems to be correct, but I didn't notice any increase in enemy attack speed from Ferocious. I haven't tried setting the value to anything higher than 4 yet, but if the enemy health scaling uses this value somehow it might be possible to make everything really tanky if nothing else.

Now for what I actually came here to post before getting sidetracked by ancient history: Your LP lies! There's (potentially) more than one boar in the game! I don't know if the original boar respawns or a different one spawns in, but if you leave the game running in that map a new boar will come running every few minutes. You may have to stand around right in front of the castle, as the boars seemed to stop spawning when I tried to see if they spawned where the original boar was placed, and I never ran into any extra boars while actively exploring. These new boars can spawn with a different color palette than the original one, no idea if this has any other effect on their stats or behavior. Other areas also seem to have some creatures (re)spawning in now and then too, but the exact mechanics don't appear to be described anywhere online.
Quite a few things I didn't know here, particularly regarding Might modifiers affecting magic damage. Likely the values I got from the clue book are the base damage values, which are then boosted by the character's might bonus. If Michael can kill an enemy with two shots of a spell, and Ak'shel takes 3, then that roughly correlates to the ~50% bonus with Might Michael has over Ak'shel.

Michael looking real good with that knowledge tbh. Too bad about the 20 hp/6 mp start. Meanwhile Keiran just cannot catch a break.

And yeah I vaguely recall seeing a second boar on one playthrough but I couldn't recall how it happened.

User avatar
Tfw my magic scales off my physical strength. Curse you, game mechanics!

On the other hand, this does mean that muscle wizards are real in this universe, which is a great delight lol.

User avatar
Update 6, Cave Story

Music: Draracle's Cave 1

Image

And we're back, ready to tackle the stinky caves of The Draracle. There's no guarantee this guy has the elixir we're looking for, but it's not like we have any other leads. We're quickly going to find though that the Draracle does not make it easy for anybody to get something from him, since this place is incredibly unwelcoming to outsiders. Let's get to work!

Image

Image

Following along the path, we'll come across this cool ornate lever. Pulling it down opens up a new path for us! There's nothing else in this entry area, but it is worth noting that if you failed to grab the lantern from the Thug's cave, it can be found here instead. Be sure to grab it before moving along, we're going to be getting into quite a lot of combat and our characters not being able to see anything would definitely put us on the back foot.

Image

Stepping into the newly opened hall, Baccata randomly declares "Gadzooks!" There's supposed to be an enemy here, but it patrols randomly and sometimes wanders out of where it's supposed to be.

Image

This is what he was reacting to. These oversized weasels are the first enemy we fight that can potentially poison us when they strike! Defensively they're pretty frail, but they are also fairly evasive. As the game goes on, we'll encounter enemies that become harder and harder to actually land physical strikes on. Some of them are also conventionally durable, but the game is still going fairly easy on us right now so the weasels die pretty quick when you do hit them.

Image

I have Conrad fire off a Spark 2 to keep developing his Mage skills, and then Baccata finishes the enemy with a decisive blow! Baccata can land some heavy strikes, and we're going to detour into a brief mechanics dump because Baccata's unique traits intermingle with the game's core mechanics in a weird way.

When Baccata launches a weapon attack, he is actually taking two actions in one. He'll swing with the weapon in his top arm and his bottom arm, each with their own accuracy check. This is likely done so that when Baccata has a bow and a melee weapon equipped, both a physical strike and a projectile attack are actually launched. There are a couple consequences of this that benefit Baccata and the player immensely. The first is that since each individual strike is actually two actions in one, Baccata is twice as likely to actually score hits when he attacks in general. The second positive consequence seems to be an oversight, each individual hit rolls off of Baccata's overall Might rather than the Might of each individual weapon he has if he is wielding two melee weapons. If you ever see Baccata absolutely squash an enemy for well over 100 damage, he likely scored two high rolling hits off of his tremendous Might score. Baccata would already be the best physical fighter in the game without these traits, with them he verges on being broken. One other positive thing is that Baccata can "multi-class", equipping a projectile and melee weapon to develop Fighter and Rogue levels at the same time. Alternatively, he can stick to dual wielding weapons of the same type to develop the relevant skill at twice the rate other characters do.

Image

With that brief aside going over Baccata's G status done, we continue past the mutant weasel and find a room full of pits in front of us. We could deal with the "puzzle" that gets us past this, but we'd quickly hit a dead end that forces us to jump into one of these pits anyway.

Image

So let's just take the plunge now! Whenever you fall into a lower level, you take a negligible amount of damage.

Image

We immediately find a new variety of giant lizard baring down on us. These things have relatively high HP and are fairly resistant to magic...

Image

But they are extremely vulnerable to weapon attacks! They also have this strange ability that covers your team in webs(?), which robs you of the ability to do anything until the effect wears off. I think it might be a mistake these things are able to do that, as there's another enemy in these caves that it would make much more sense if they did it instead.

Image

Immediately behind us is a Sledge Hammer. This is functionally a door key you have to equip, but it's also a fairly decent Blunt weapon on par with the Mace, so you can keep it on someone for the remainder of this dungeon if you want.

Image

Image

In the northwest corner of this room is a switch that opens to reveal a staircase. There are some human bones here. This isn't Eye of The Beholder, so we can't resurrect these and they are functionally identical to rocks. There is something funny you can do with them if you have space for garbage in your inventory though. Let's head down the stairs now.

Music: Cocoon Chamber

Image

We find an even fouler smelling room with some strange pods in them. Obviously it's not apparent from the screenshots, but the one on the right is noticeably convulsing. Let's search from the left though!

Image

Image

Image

Grody! What about the middle one?

Image

Image

This game has some pretty visceral art at times that gave me nightmares as a kid. These days, I just laugh at Baccata's goofy quips. Alright, let's search the shaking one now, I see nothing going wrong here.

Image

Image: "Shall we cut this one open?"

Image

Image

Image

Image: "We as well seek the Draracle. You are quite welcome to join us."

Image: "Oh, thank you!

Image

Image: "I take it you are from Grisbl."

Image: "I'm Conrad, and this is my friend Baccata."

Image: "I'll wait for you outside this dreadful chamber."

Image

With that, Lora understandably hurries out of here. There's nothing left to do here but re-examine the center pod and gross Baccata out, so let's skedaddle.

Image

In the 5 seconds it took us to catch up with Lora, she has dried herself off, primped her hair, and applied her lipstick. This is a woman who is fully ready to go at a moment's notice.

Image

Lora doesn't come in with much, just a torn shirt and some sandals. We have plenty of weapons to spare though, so let's at least arm her for the time being. (Also since I may not remember this later, even though the game gives you the option if you have a character attack while unarmed they will always miss their strikes) Despite being an emaciated farm maiden who was just narrowly rescued from drowning in amniotic fluid, Lora has a slightly better Might modifier than Timothy, similar protection, and considerably more HP at 45 instead of 27. She's at a Fighter level of 1 as well, so she has much more room to grow. She still has the lousy 5 MP to her name, but that at least lets her cast a heal spell at this point. Lora also comes in at Rogue level 4, allowing her to deftly pick any lock we come across. Tragically, the main thing she has in common with Timothy is that she is a temporary party member, and will be leaving us once our business is done here.

Image

Image

Making our way south, another switch awaits us, this one opening the path to a ladder back up to the first floor. Lora can be skipped (Though it's a bad idea to do so for several reasons) but the Sledge Hammer we got is crucial. With it in tow, we can now head back to the pit room.

Image

Let's get our bearings back. Pits are denoted on the map with those little X icons. It looks like there's something west of the pits, so let's check that out.

Image

We find some colored buttons in the corner. Let's try something!

Image

Image

Image

Despite what Conrad says, you don't need to hit these in any particular order. I just find Left-Right-Center to be a pleasing combination. With that, all the pits will clear up and we can move forward.

Image

Once you move past the pits, they will suddenly reappear behind you. A necessary bit of error handling if you made it here without the Sledge. Hey, what's that pressure plate over there for?

Image

A number of beast men start pouring at from that door once you step on the plate. Conrad gets his first Mage level, now allowing him to cast higher levels of Spark and Heal! We'll get stock of his new stat totals in a bit, we've got a lot of these guys to fight through.

Image

Image

Image

Image

These guys can be a little rough as poor Lora found out! Not only can they snatch your weapons, Lora's low protection currently leaves her very vulnerable to beatdowns. The enemy AI seems to prioritize the defensively weakest characters, so always be mindful of who that is when getting into fights.

Image

Image

Conrad now has a cool 32 MP to work with, giving him the ability to blow up one thing with Spark 4 or heavily damage two things with Spark 3 before resting. A solid 5 HP from that Mage level as well, which is towards the top end of HP you can get from Mage levels! Baccata got a solid 15 HP from his Fighter level, making him much more durable now. By the way, if you're playing as Michael or Kieran, I'd highly recommend having Baccata use Spark 3 as much as possible. Getting him a Mage level now will help those two out immensely in the near future.

Image

Image

I distribute the equipment we got from the bandits. The leather Jerkin will help Lora out a bit, and Conrad appreciates having a helmet finally.

Afterwards, I heal up Lora and rest to get our MP back. Now that we have the Heal spell, we can easily get our characters back on their feet if we don't have any salves or herbs!

Image

Image

Using Lora's torn shirt, we keep the plate weighed down with it and Baccata has a bit of a delayed reaction in regards to the brawl we just had.

Image

Some oil and Ginseng awaits us here, plus a set of lock picks if you don't have one already. I fill up the lantern and keep the ginseng in my pocket in case we get hit with poison.

Image

Image

Taking in the sights and following the corridor past the the bandit room puts us in front of another pressure plate.

Image

This one fires a shuriken when pressure is put on OR taken off the plate. You can drop a rock on the plate, and then quickly back up and round the previous corner to avoid the trap, but this one's damage is so low that it's not worth the time to do so.

Image

Rounding the corner from the shuriken trap, we see another Rodent of Unusual Size. This gives me a chance to loose an arrow! As you'd expect, projectile weapons can be used to hit enemies from a distance. They can travel pretty far too, I think they just go until they hit a wall. There's no arrow item type in this game, so we have unlimited ammo to work with. All that said, the Bow is pretty horribly weak and only worth using as a means to train rogue skills. It has a pretty bad tendency to miss on top of that. Later on down the line, we will be getting a very reliable and decently strong projectile weapon that makes backing up a peppering enemies with shots as they approach a more viable strategy, but right now enemies pretty quickly close the distance after you fire a single arrow and it's not worth retreating to try and chip them down.

Image

Image

A couple weasels funnel in, and once they're dead we find an interesting jewel in their place. Emerald Eye, eh? I wonder what it goes to?

Image

Making our way southeast, we find a distinctly crumbly wall. Perhaps we can put our tools to work here.

Image

Equipping the Sledge, we can start busting this wall down! This one takes two swings to topple. One funny thing I learned from the speedrun of this game is that you can break these down slightly faster by switching the Sledge to a different character as the first one who swung cools down, provided you're quick enough with your mouse.

Image

Image

Image

Our new path formed, we collect some more oil and Ginseng. We're prepared for just about anything at this point, except maybe Neanderthals. But seriously, what are the odds we'd come across those?

Image

Image

More rodents to exterminate. Between Conrad's newfound nuking power and Baccata's superior offense, these things stand little chance against us.

Image

Yet another crumbly wall for us to smash. Just call Conrad a Man at Work, because he's making his way to the land down under.

Image

Image

3 hits to break? Don't change things on me so quickly game, I haven't even gotten comfortable with 2 swings of the hammer yet!

Image

Image

:unsmith:

Kind of wish Lora wasn't a temporary party member, I like having someone enthusiastic along for my dungeon crawling.

Image

There's a switch just around the corner of the new path we just opened, so let's slap that real quick.

Image

Image

A path to a pit opens up, and there's nothing to do but throw ourselves on in.

Music: Draracle's Cave 2

Image

Image

In this new section of the second level, we immediately find ourselves beset upon by a... Cave Man!?!?! This barbaric primitive culture cannot be allowed to live. Conrad, nuke him!

Image

Image

Image

My attempt to rest up to get another Spark 4 runs into a rare disaster scenario, more Cave Men funnel in and show our party the business! There are some enemies in Lands of Lore that just hit ludicrously hard, to the point it seems like they ignore your protection entirely. The Cave Men are the first of this type of enemy, and they can really ruin your day on Ferocious mode. Spark 4 is enough to instantly fry them, and this is easily the point where Ak'shel is at his best. For everyone else, save often and look for safe places to rest, these guys can really mess you up.

Fortunately, most of the Cave Men in this area stick to their default spawn points, so you can usually rest without too much fear between encounters. Like I said, it's a rare problem you get aggro'd on after defeating the first Cave Man, especially if you don't actually pop out of the cubby hole you start in.

Image

Image

Heading west and turning north, we find an intersection that is about to introduce to one of several very annoying mechanics the Draracle's Cave crop dusts into the game.

Image

Apologies this Gif is out of proportion with the rest of the images, I spent like 20 minutes finagling with EZgif to try and resize the raw file, and that just kept doubling the file size and preventing me from uploading it.

Anyway, this is the first Spin tile we come across, or "Woah!" tiles as they are also semi-affectionately known as. These are tiles that, when you step onto them, will spin you around a set number of times extremely quickly. Don't let the low frame rate of the gif fool you, these spin you much faster in the actual game and can be pretty disorienting. Most Woah! tiles only spin you when you step onto them, but a handful of extra annoying ones will also spin you when you so much as turn to face a different direction while standing on them. Thankfully, the latter type are much rarer, and the game relents on including them in the most difficult puzzle involving them (A trial we will be suffering much later). Just keep your compass in mind, and double check the Atlas if you were paying attention to that when you stepped onto the tile.

Image

Image

Heading west from the Woah! tile just throws us into another Unga-Bunga Brawl.

Image

Image

Going east from the tile and then north will take us toward a chest in the eastern corner of the area. This chest contains some oil, two shuriken you can equip if you so desire (I believe they're even WEAKER than the already really weak Bow), and a Sapphire Eye to go with our Emerald Eye.

Image

Image

Image

Finally, going straight north from the Woah! tile will take you towards this door and switch. Flip the switch to open the door, and you will find these dragon faces carved out in the walls. Interestingly, it looks like something can be placed where the eye would be...

This is a minor branching point in the dungeon, with different rewards and challenges depending on with dragon you place an eye into. The eastern dragon face will open if you place the Emerald Eye in it while the northern dragon opens with the Sapphire Eye. You can only open up one path, so be sure to ditch the other eye once you've made your choice. Now for any character, but especially Kieran, it is near universally recommended that you take the Sapphire Eye path since it is a much easier route through the dungeon with a more useful reward along the way. For the sake of completeness though, next time we will be checking out both paths and see what awaits us on them!

On the one hand, it's a shame Lora doesn't stick around because "not having to train rouge skill ever" is a pretty alright selling point before you get a way to train it that doesn't feel bad, on the other hand that's probably the reason (aside from plot) that she doesn't. Alas.

The big lizard is apparently called a Scavenger according to the hint guide. Not sure why it's a lizard or why its lair has those weird sacs but whatever. The cave dwellers meanwhile are an incredibly rude surprise and one of the biggest reasons for pumping mage skill early because right now the game wants you collapsed on the floor and it ain't getting better for a while.

It also wouldn't surprise me much to learn that the game's damage formula works in such a way that a certain percent of damage bypasses protection regardless but I'm not terribly knowledgeable about this game's inner workings so I can't really do more than speculate.

User avatar
Why does this game love giving you temporary party members that are weak as hell? That's certainly one of the most bizarre decisions I've seen, even considering the other weird bits of design in the material shown off so far.

Also, I have to say that the "surprised" faces on the characters are the best thing ever and I always get a hearty laugh when they show up.

User avatar
Thankfully Lora is the last temporary party member of the game, though unfortunately the true final party member is quite a ways off and they're honestly pretty bad.

The faces are one of my favorite parts of this game. One funny thing that can happen is that if a character gets interrupted while a voice line plays (usually by interacting with an object while they're talking), their faces can get stuck on goofy looking frames for their talk animations.

User avatar
Update 7, Eyes Destroying So Sweetly

Image

Image

When we last left off, we were halted by these distinctive dragon carvings that just seemed to be missing something. By slotting the Emerald Eye into the eastern carving, a new path opens! Baccata thinks this is unique and splendid compared to other mechanisms we've seen. Or perhaps based on his face, he's thinking about a Thomgog baddie right now and that's what's so splendid.

So fun fact, this segment is actually the very first thing I recorded for the LP, when I was doing my Conrad practice run. It has been approximately 12 years since I've done the Emerald Eye path and I decided to not look up any guides on how to get through here, so there is going to be some intense bumbling for the first chunk of this update.
Image

Image

Image

Stepping into here, we come to a large chamber splintering off into several directions. I decide to head south and then west to start, coming across a battalion of weasels along the way. Baccata and Conrad have no problem mopping them up, but Lora wasn't so lucky. In this particular playthrough, I was able to get Conrad to Mage level 3 at this point, so he has 50 MP to work with and can instantly destroy two enemies before needing to rest!
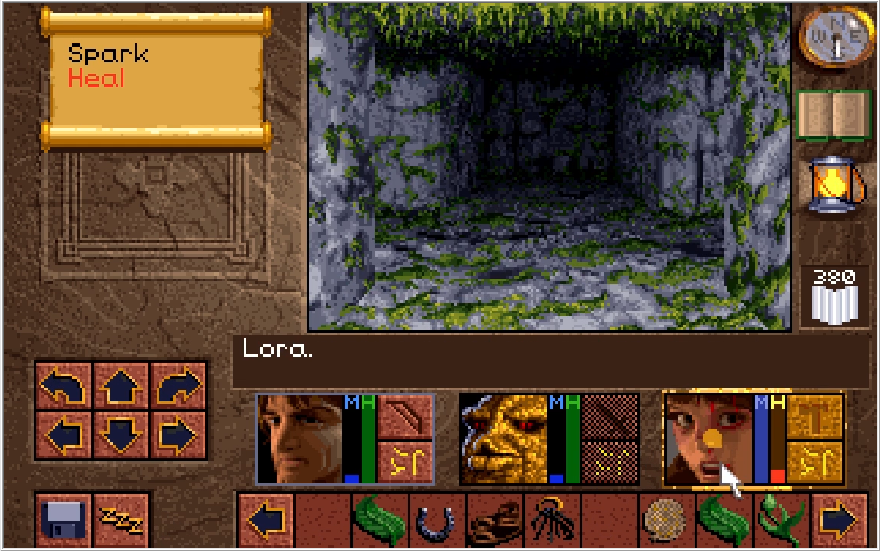
Image

A little detail I haven't shown off yet is actually using the Heal spell. Sometimes when you bring a party member back on their feet, they get this delightful shocked expression.
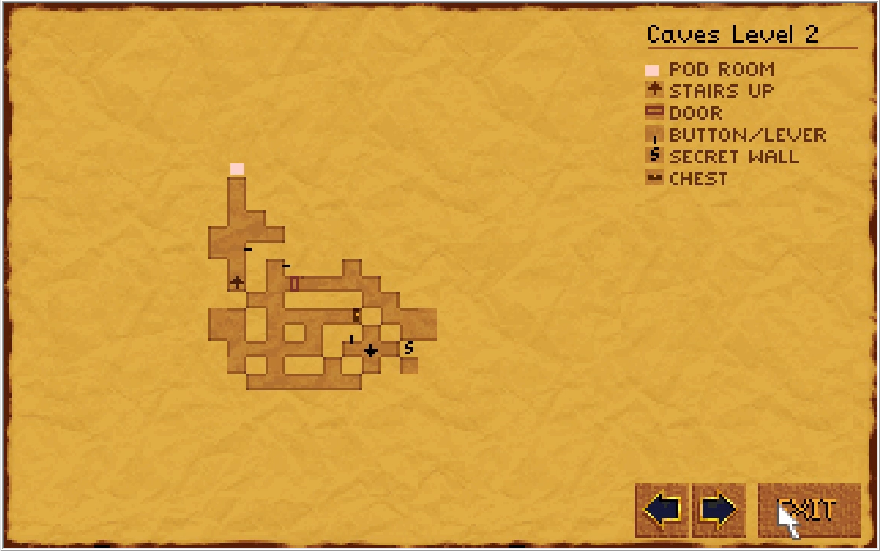
Image

The Emerald Eye path is laid out really confusingly, that Secret wall is a bit unusual. I was able to see through and pass through it initially, and then it looked like a wall once I stepped through it. The center tile I'm standing on is a Woah! tile, but it's just a minor nuisance really. There's quite a few Woah! tiles in the Draracle's cave, but all of them are just meant to disorient you. It'll be a bit before the game decides to actually challenge us with them.

I ignore that switch to the west for now and head south from the Secret wall instead.
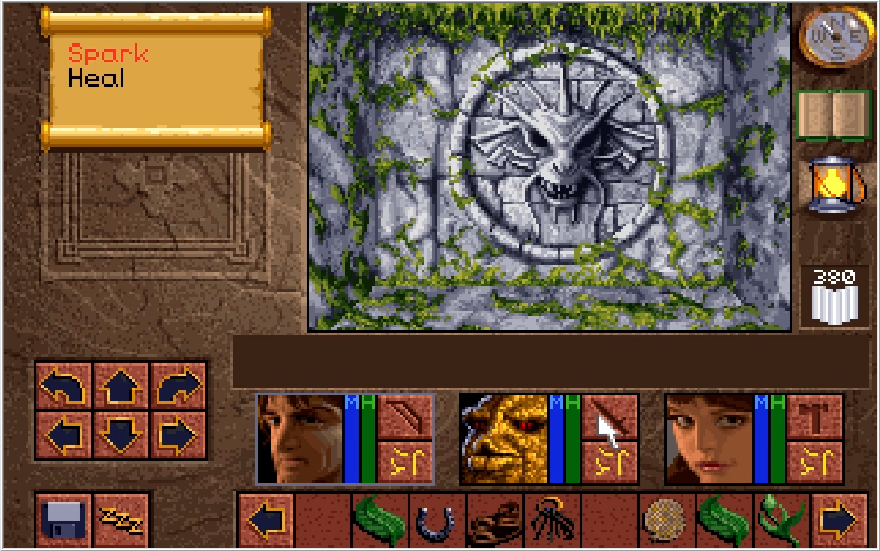
Image

Image

Image

To the southwest is another dragon carving, this one facing us like the Shuriken trap. A couple steps east of it is a lever. This is the first of many trick levers in the game, levers that do nothing but activate a trap in a classic bit of schmuck bait. Fortunately, this one doesn't open a pit and instead just hurls a fire ball from the dragon. Projectiles have travel time in this game, so we can back up and dodge it.
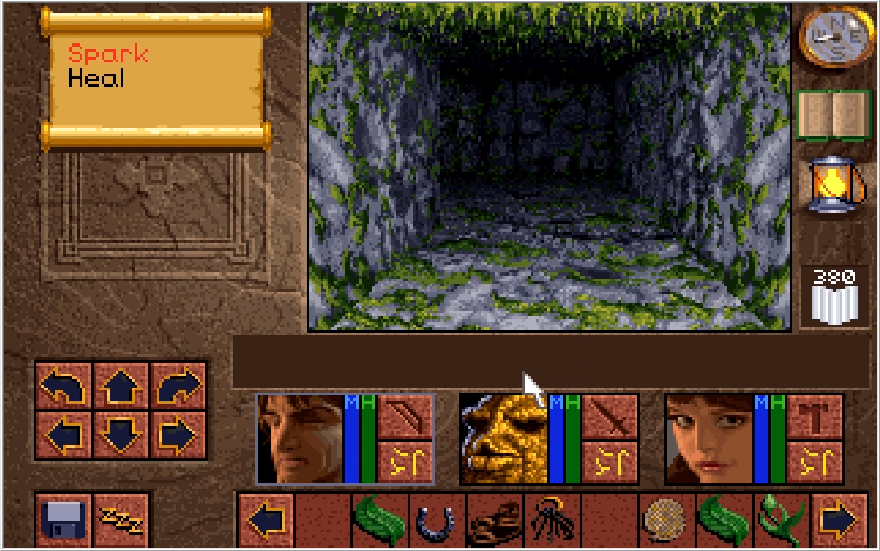
Image

Image

Image

The trap carving has a switch by it, opening up a winding path filled with cave dwellers.
Image

Should we back up and head east first, there's a Star "Shining" on the ground. To my knowledge, this has no special properties over a normal Star and I don't even know if it's any stronger.
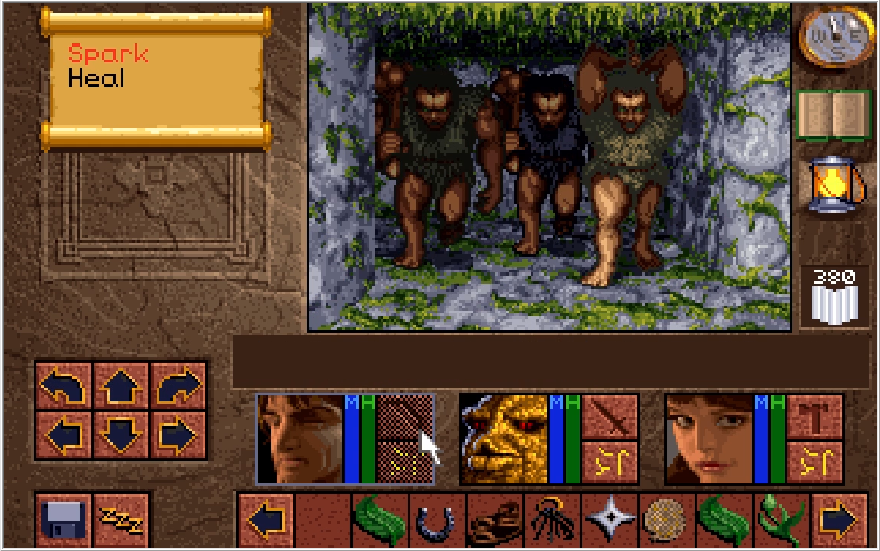
Image

Image

Image

Returning west and following the path again, we slice through a hoard of cave dwellers and his a switch to open up the path even further. After wandering for a bit, I come across an already opened chest and double check the map. We just looped back to before the Emerald Eye carving! Well that was a waste of time.

Let's try checking the north and eastern portions of the central room this time.
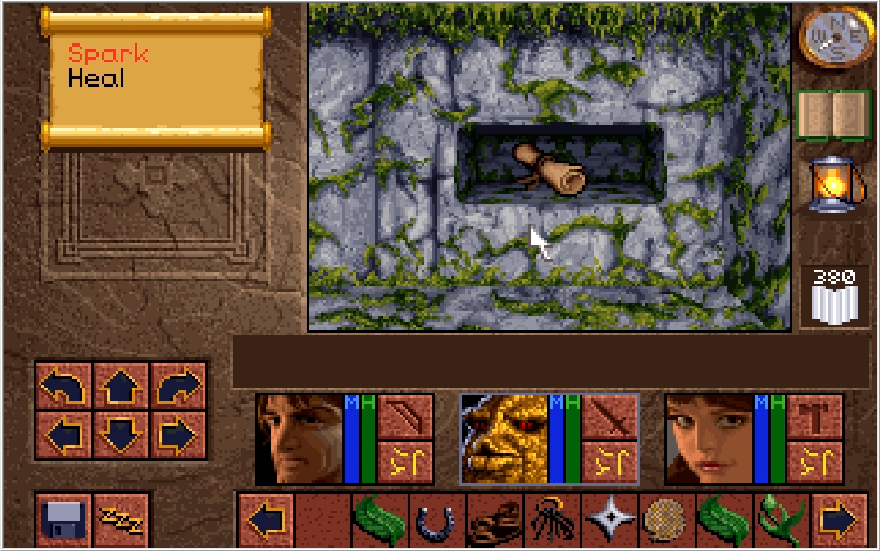
Image

Image

In the north, we find an alcove with this cryptic note in it. Presumably we need to drop a Dagger in here, but I've already sold all daggers we can find at this point to Victor. Luckily, there are several daggers we can pick up in this leg of the dungeon, but you can save yourself a lot of time and effort if you already have daggers when coming on this path.
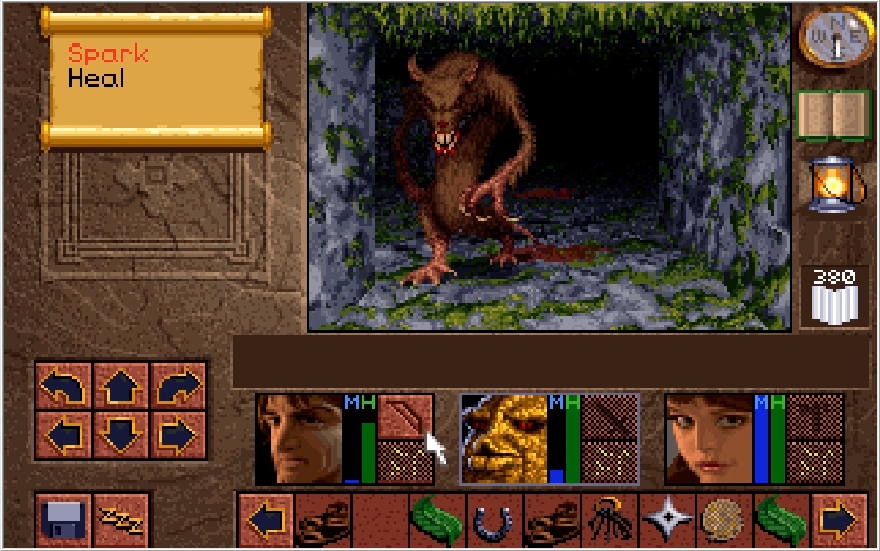
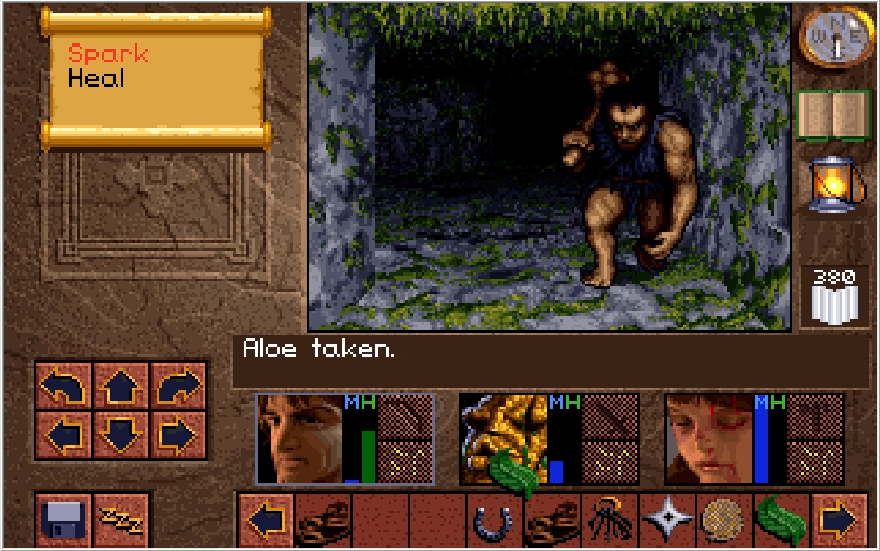
Image

Image

More enemies close in while I'm dicking around with the alcove, and the team gets absolutely reamed by the cave dweller. It's tough to rest here because enemies spawn in constantly on this path.
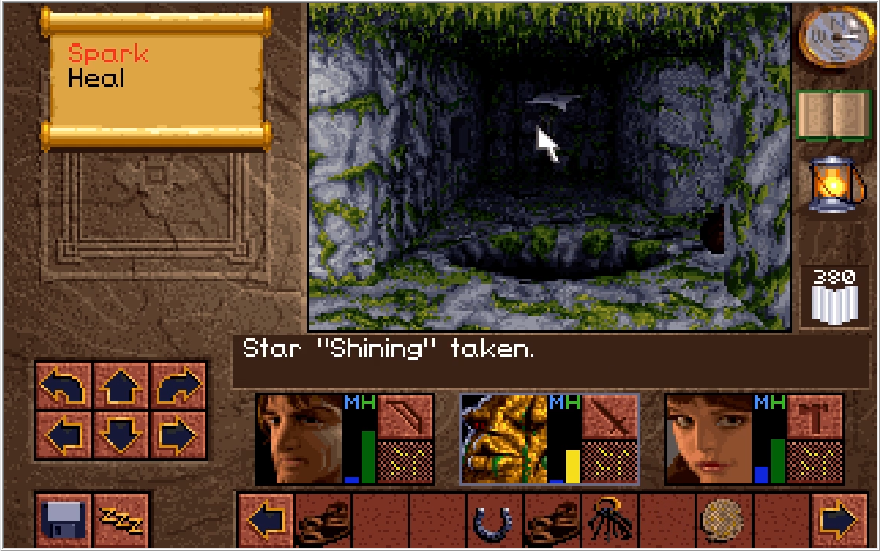
Image

Image

Image

Image

Heading south from the dagger in alcove and checking east, we find a hall with a pit in it. We can just barely make out a switch on the other side, and this is our first instance of being required to throw an item. There are many cases where you can hurl items to hit distant switches, so never forget that's an option you have! We find a dagger for the alcove here, and the stairs to the next level. Not what we want to check out yet.

Image

Lora gets poisoned! When a character is poisoned, their portrait takes on a sickly yellow color, and they tick 1-4 damage every couple seconds. It's not a super threatening ailment, but your options to get rid of it are limited. Ginseng and Bezel cups can cure it, as can the Heal 3 and Heal 4 spells. Otherwise, it will inevitably tick your character down to unconsciousness as it does not wear off naturally until the afflicted character is knocked out. This can be dicey if your whole team is poisoned and you lack any means to cure it. You can rest while Poisoned and tick your characters down faster, at which point a cheap heal spell can revive them sans poison. Speaking of resting,
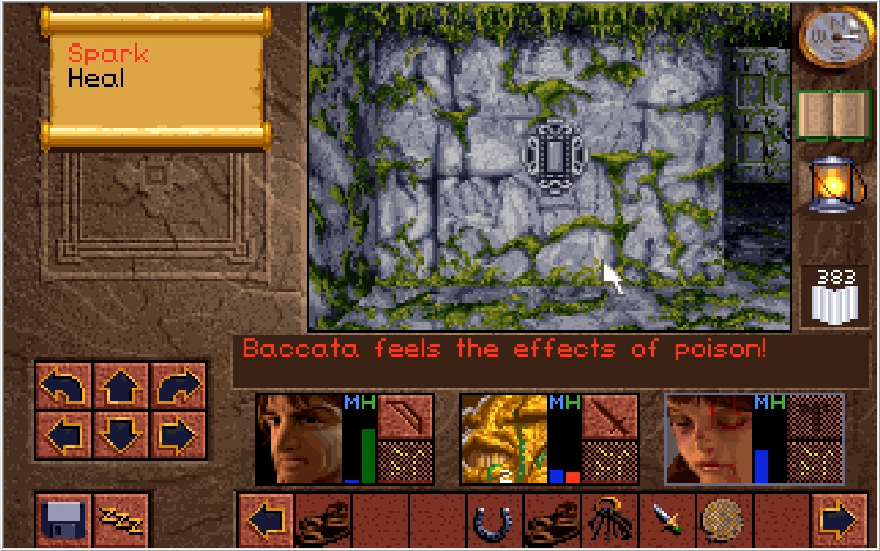
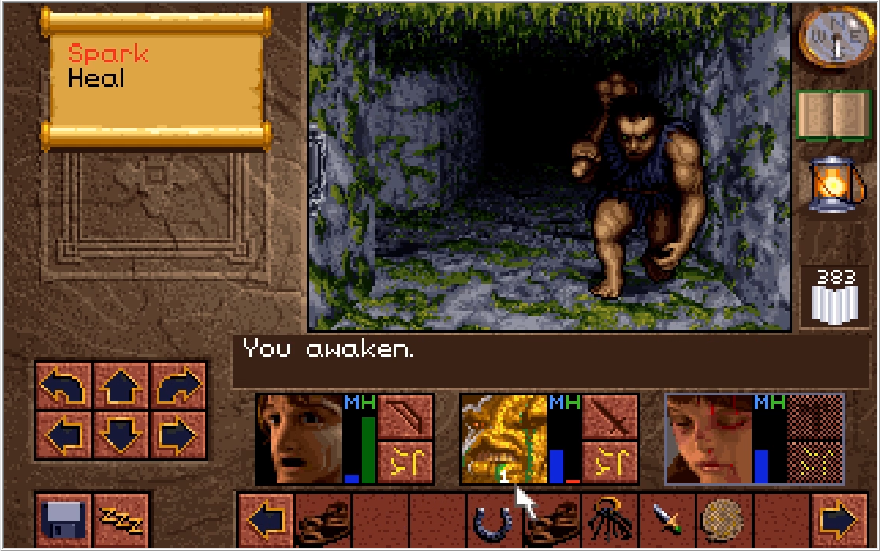
Image

Image

Image

I retreat from the Eye path and close the door leading to it for a hopefully safer rest. Unfortunately for me, a cave dweller respawned in this area and interrupted the rest. Baccata got taken out and I had no magic, so it was all she wrote in short order. I made a fatal error in not saving before I attempted to rest, don't let that be you! So now I have to wind the clock back and redo quite a bit.
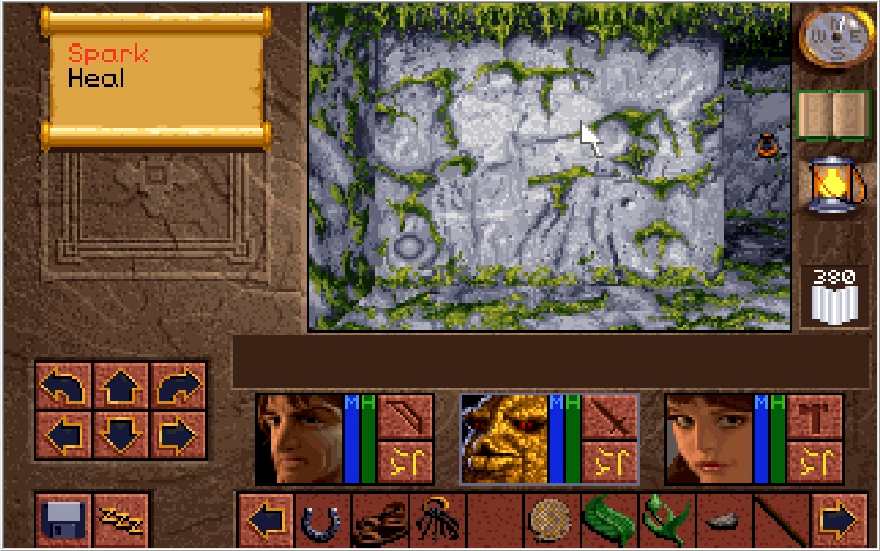
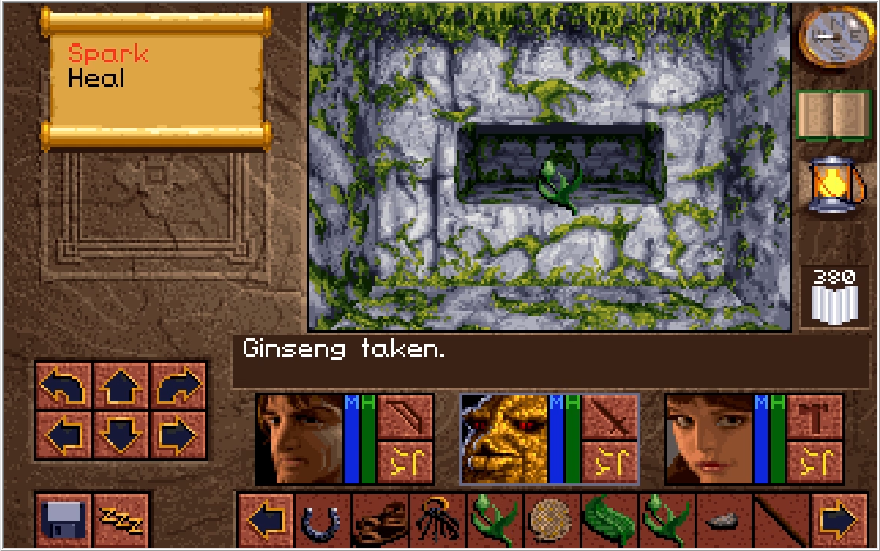
Image

Image

Returning to the secret wall junction, I finally check out that switch and get some extra Ginseng. Too little too late for this stuff sadly.

Image

Image

Image

Image

Regrabbing the Dagger "Stiletto" (No special properties, just slightly higher might over a normal dagger), I place it in the alcove and things take a turn for the strange. A series a switches and levers begin to appear. Pulling the dragon lever didn't seem to do anything. What I was supposed to do was hit the switch on the north wall again, but I failed to realize this initially.
Image

Image

Defaulting to "try everything" adventure game logic, I went to the hallway with the pit and tried hitting the switch again. Hitting the switch at this point causes it to open a pit at your feet. In hindsight, I think the puzzle here is that hitting the switch causes pits to open and close in sequence, so you need to stand in front of the stairs to get to that alcove past the pit. I do not think to try this over the course of this recording.
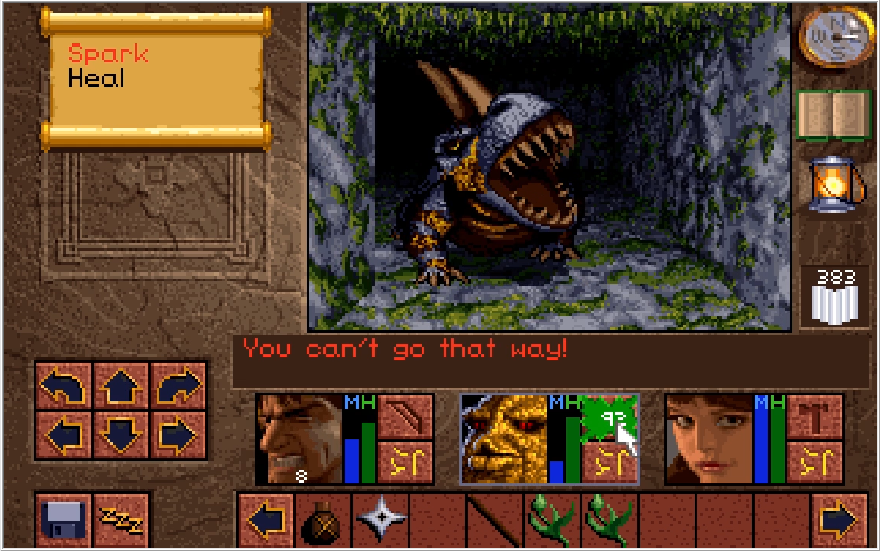
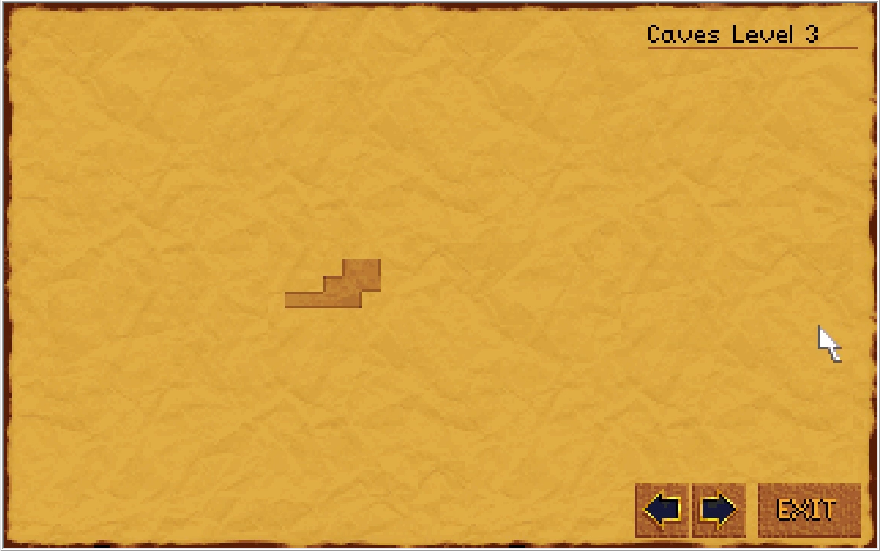
Image

Image

So now we're on Level 3, with cave lizards a-plenty roaming around. There's also a distinct buzzing noise constantly in the background. Strange...
Image

Image

Image

We can find stairs back up to level 2 in the west, but the pit has returned to being in front of the stairs now. I didn't realize this initially, but if you fall through the pit here, it will switch to being in front of the alcove again. Since this wasn't obvious, I instead bumbled on Level 3 for like 10 minutes. Speaking of, Baccata utterly flattened a cave lizard while I was roaming around.
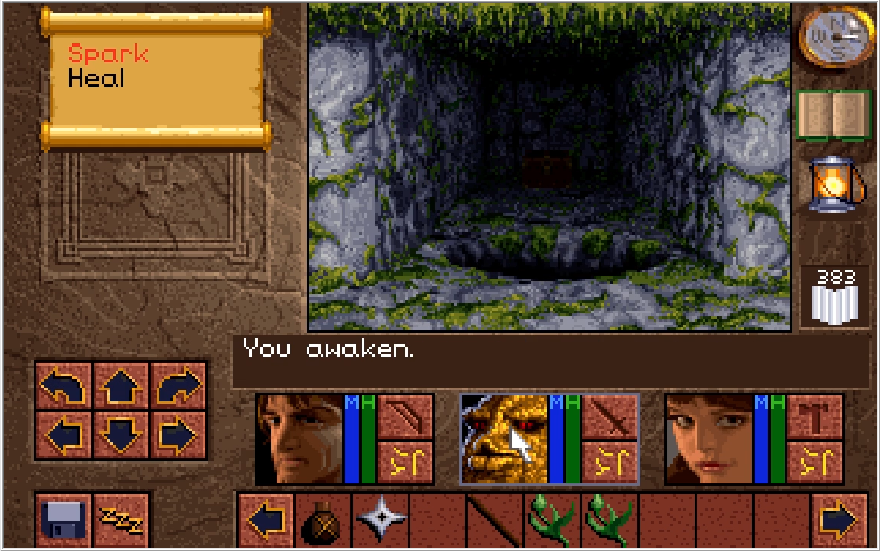
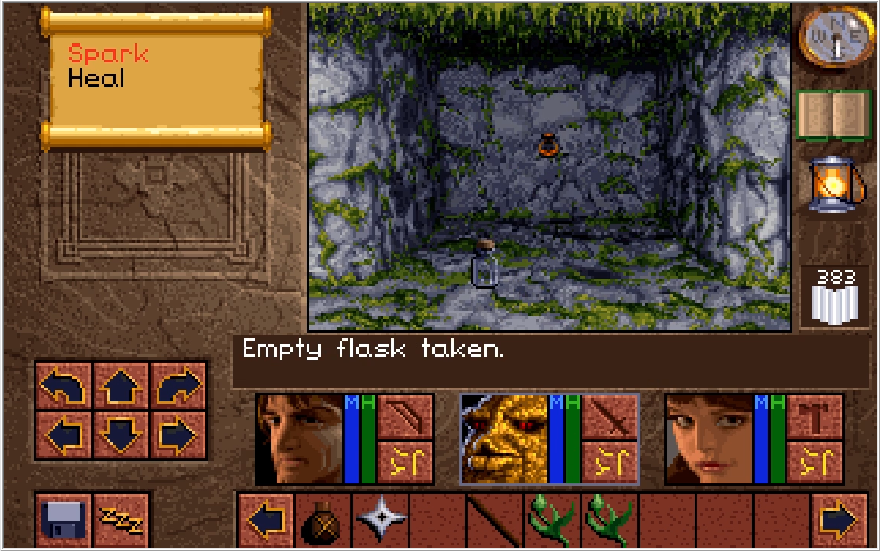
Image

Image

I discover a hall with a pit and a chest on the other side. I did not figure out how to get to this chest while recording this, but this pit is actually an illusion. Sometimes Baccata will call out that the pit is fake, but it's random. He decided to be unhelpful here. There's also an empty flask by the illusion pit. This is actually a very important key item. It's not critical we get this one, since we only need two empty flasks and we're guaranteed to get two later on, but may as well take this one now.
Image

Image

Backing out of the previous area and heading north, I find a switch. I slap it, and head on through the path it opens.
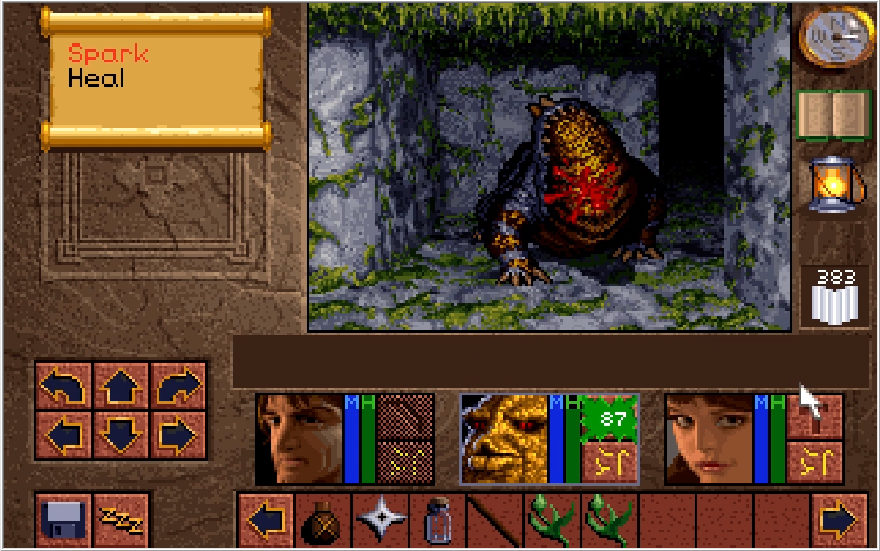
Image

Image

Heading this way, I find the Saber "Cutter". This is fairly weak, but it has a very high protection bonus. Not my thing, but it's not terrible if Baccata wields it.

Image

A quick survey of the area so far! Don't pay that secret wall any mind, nothing important is behind it and I check it out later.
Image

Here's our first instance of being webbed up. When your team is webbed, they can't move or take any actions. This lasts for about 5 or 6 seconds and then you can act freely again. Strangely, this is the only area in the game where an enemy can do this to you, and the one that does it doesn't even make sense.
Image

You'd think it be these guys who web you up! These are the flying cave spiders, which sounds absolutely horrifying typing it out like that. These guys are essentially just reskinned weasels, evasive with lowish HP and a chance to poison you. They're a little annoying to deal with and spawn in constantly, but there is a good counter to them in this dungeon.
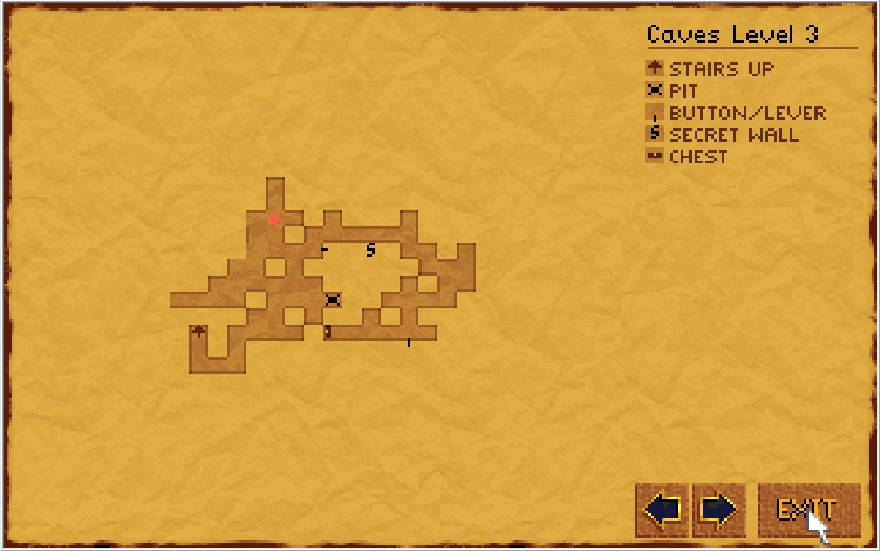
Image

Image

After dealing with the special edition Green Cave Lizard that is also equipped with a triple-action web blaster, I take another survey of the area. I was completely perplexed on what to do at this point, but there's still some stuff to the west to check out. You probably noticed the button and chest to the east, don't pay those any mind right now. We'll get to them later.
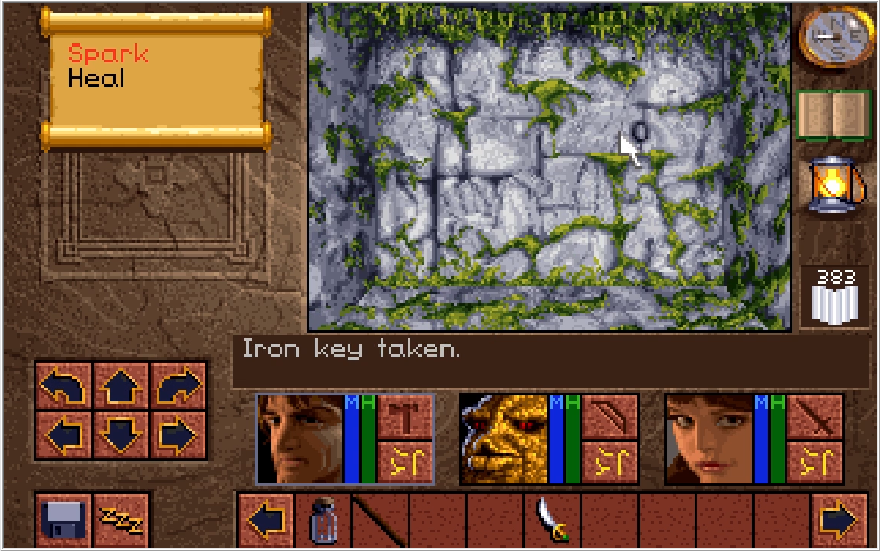
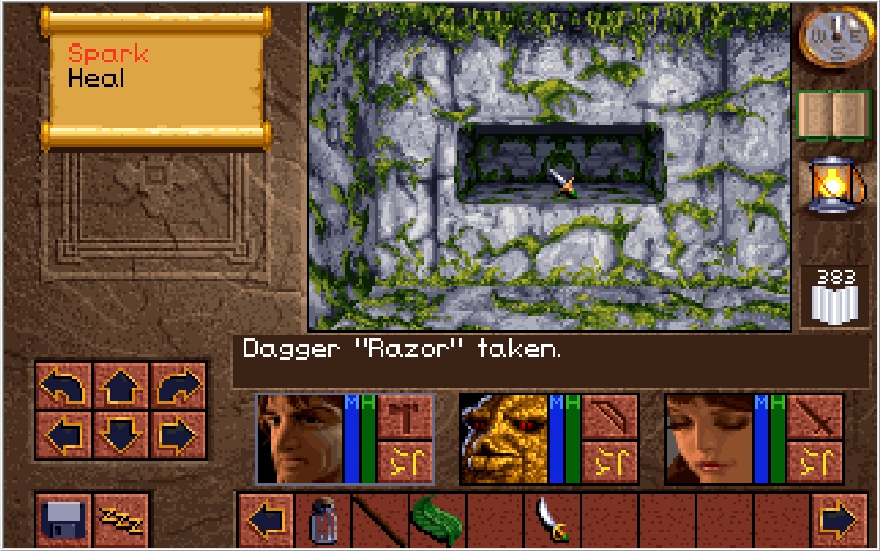
Image

Image

Among other things, I find an Iron Key (which goes to the chest past the illusory pit) and a switch that leads to an alcove with another dagger.
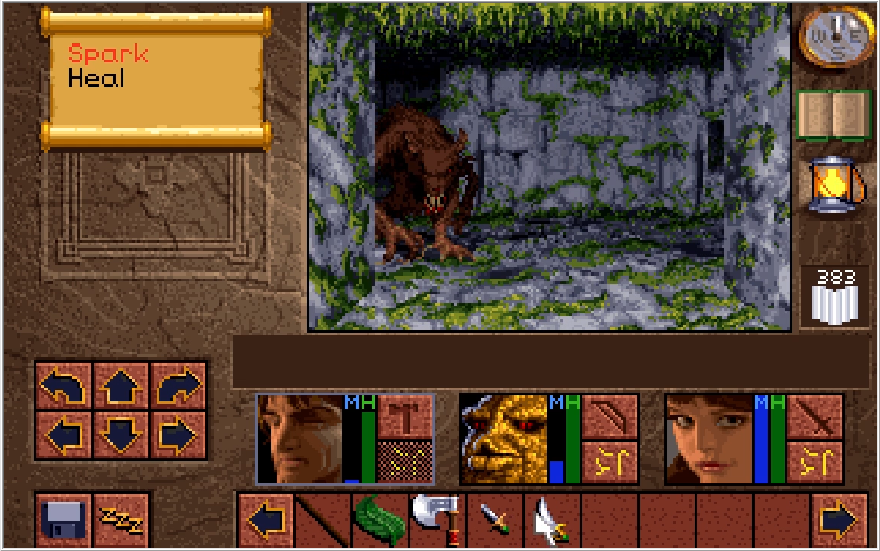
Image

Image

None of that stuff helps me, so I return to level 2 and just toss myself into the pit again to see what happens. My instinct paid off here, because the pit has moved out of the way!
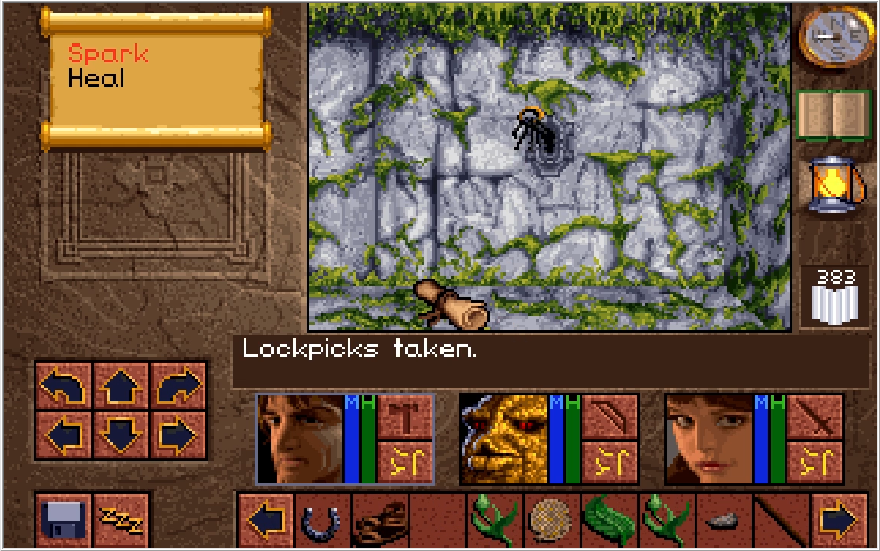
Image

Image

Image

Image

Returning to the Dagger In alcove, I go about completing the remainder of the puzzle. A series of switches keep appearing until the alcove reopens. You can place any item in here now to finish the puzzle, but at the time I thought you needed another Dagger so that's what I used. If you're wondering where I got "Back Biter" from, don't worry, we'll see it later.
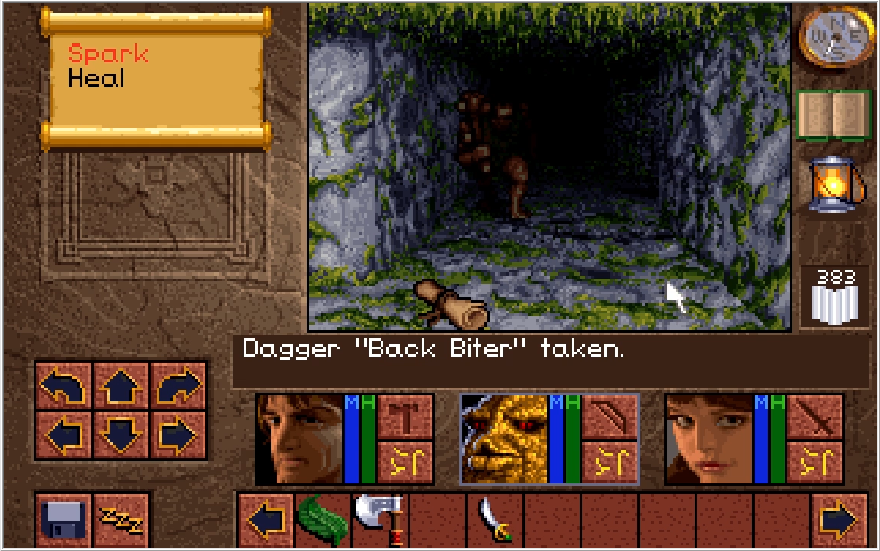
Image

Image

Placing our item and hitting the north switch one last time finally opens the path! Naturally, more cave dwellers await us. What does this guy even eat while trapped in here?
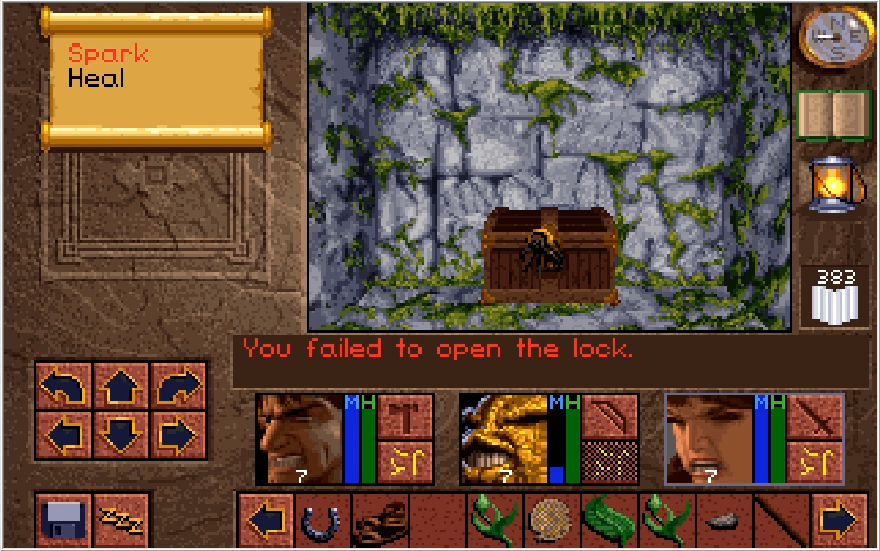
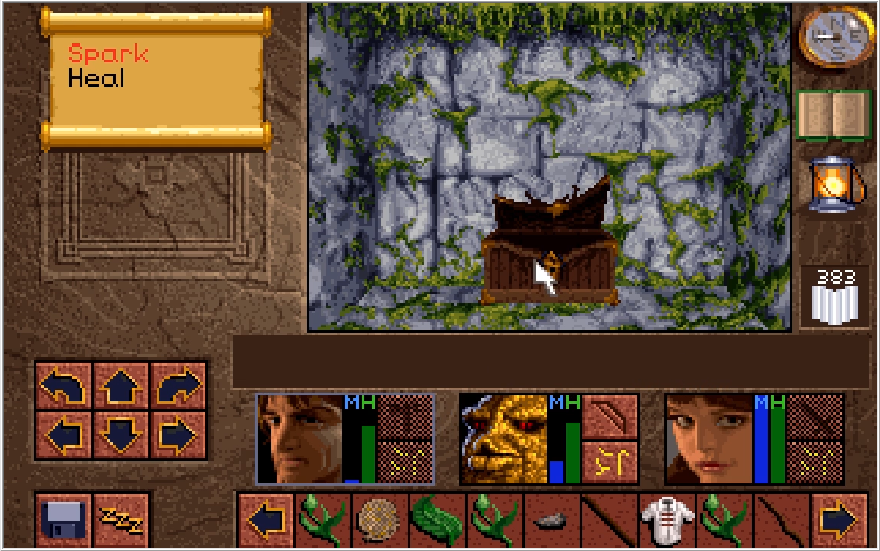
Image

Image

A chest is just past the cave dweller, and for the life of me I could not pick this lock. Spamming lockpicks upwards of 50 times either resulted in nothing or a damage trap activating. I decided to just say "fuck it anyway" and smash the stupid thing.
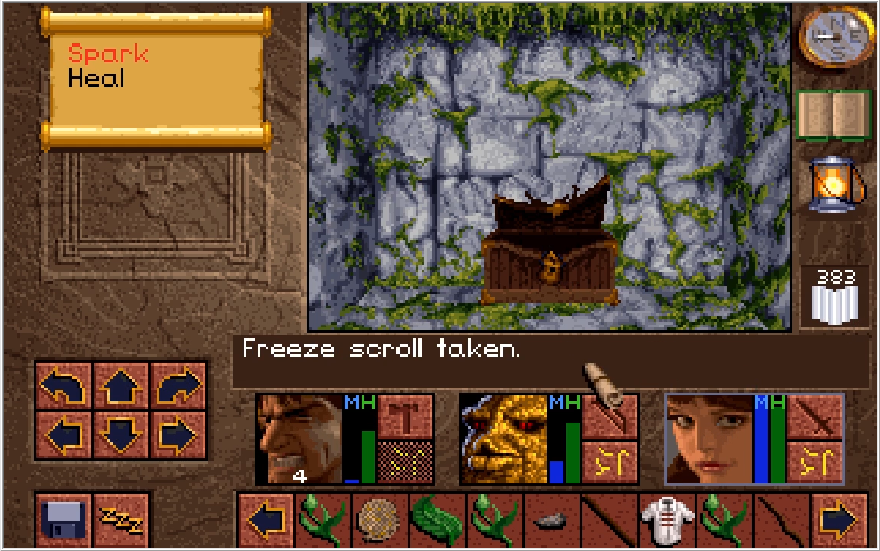
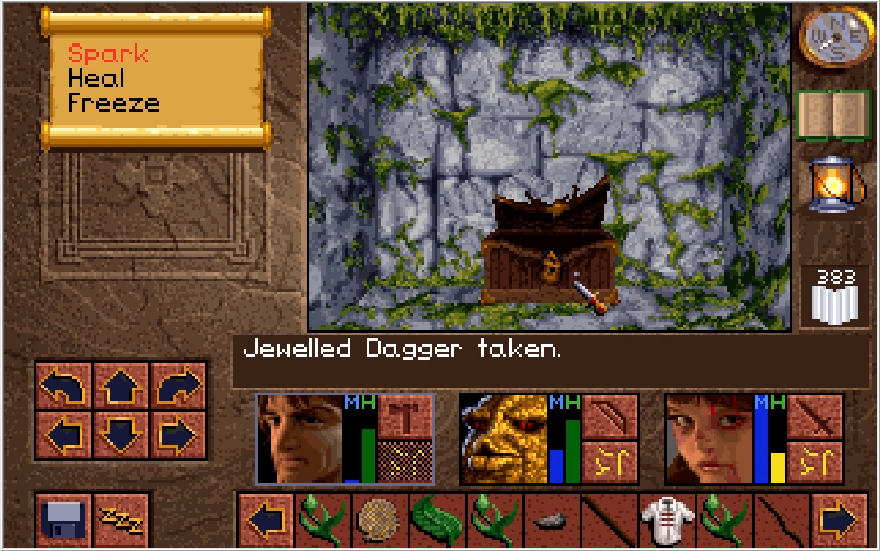
Image

Image

Image

We get our rewards from the chest, though any unimportant items this might have had were destroyed. Firstly, we get a new spell, the Freeze spell! This is our first Multi-targeting damage spell and it works as thus,

Lv.1: 8MP, 10 Base DMG AOE
Lv.2: 15MP, 20 Base DMG AOE
Lv.3: 30MP, 30 Base DMG AOE
Lv.4: 80MP, 55 Base DMG AOE, creates Ice Wall

It was pointed out by Den Store Frelser that each character's unique might modifier also affects their spell damage, so I'll be referring to the damage values as Base DMG going forward. This also means that rather ironically, Michael is a much stronger mage than Ak'shel despite having way less MP. That clarified, Freeze is much more complicated as a spell than Spark. Each level of Freeze hits multiple enemies in front of you, up to 4 under ideal circumstances. The scaling on MP spent to damage done is kind of weird, especially in comparison to Spark. Freeze 2 costs as much to cast as Spark 3, despite only dealing slightly less damage. In contrast, Freeze 3 does half the damage Spark 4 does for a slightly higher MP cost. And then Freeze 4 still does less damage than Spark 4 for over triple the MP cost. It'll be awhile before anyone except Ak'shel can even cast it! The Ice Wall aspect is also kind of weird, Freeze 4 creates a wall in front of you that blocks enemies and projectiles. Enemies can smash the wall, while the wall can weather a seemingly infinite amount of projectiles. If Freeze 4 happens to kill the enemies it hits, it'll trap them in the ice wall. At that point, you can either rest to let the wall melt, or just smash it yourself.

All that being said, Freeze is a spell you'll be using pretty often. It's fairly cheap AOE at lower levels, and there are many enemies in the game that are weak to it thus increasing its relatively unremarkable base damage. Because of the poor scaling, it's generally smart to just stick to Freeze 2 and maybe 3 if you need something dead quick. Freeze 4 is pretty impractical, though there is one situation where the Ice wall can be put to use. Sadly this is not the end of problems relating to scaling when it comes to magic.

Moving on from that, the Jewelled Dagger! This is an incredibly powerful weapon at this stage of the game, and the unique treasure for the Emerald Eye path. Each path has a unique and potent treasure for you to grab, though unfortunately we do not get to keep said treasure after we finish the dungeon (Very understandable given what the other treasure does). Despite the impressive Might it gives you, the Jewelled Dagger is easily the worse treasure of the two.
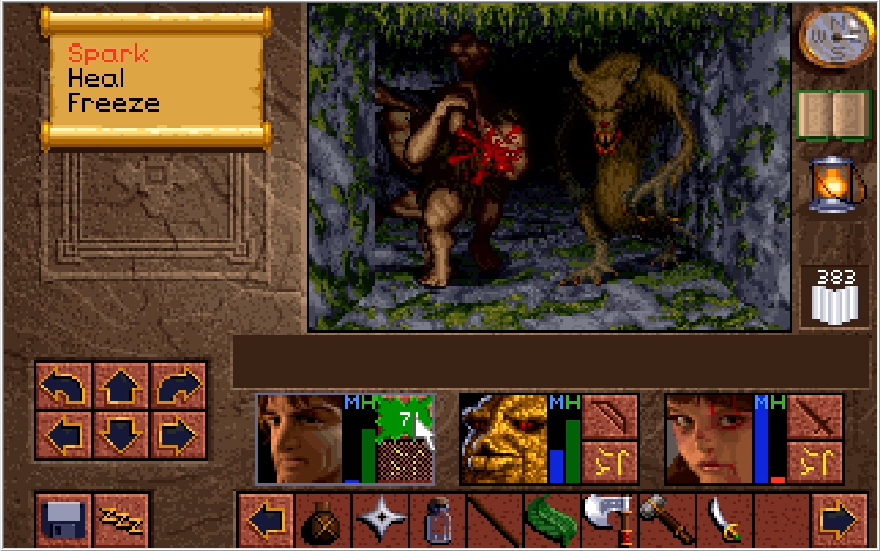
Image

Still fun to whomp things with it though!

With that being done, we can cut back to the primary recording and check out the Sapphire Eye path. There is one minor unique aspect of the Emerald Eye path, and that is that there is an alcove that holds the items you used to get the Jewelled Dagger. You can find it on Level 3, just before you get access to Level 4.
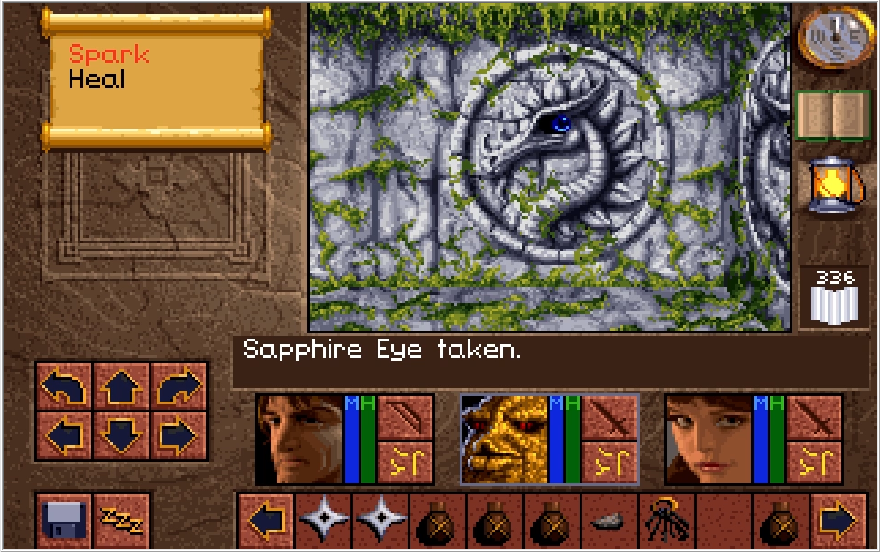
Image

Image

Image

Image

Placing the Sapphire Eye in the north dragon, Baccata is even more impressed/horny this time. We find a rock, thus justifying taking this path almost immediately. I drop the Emerald Eye here as well, since it's useless now and it can't be sold.
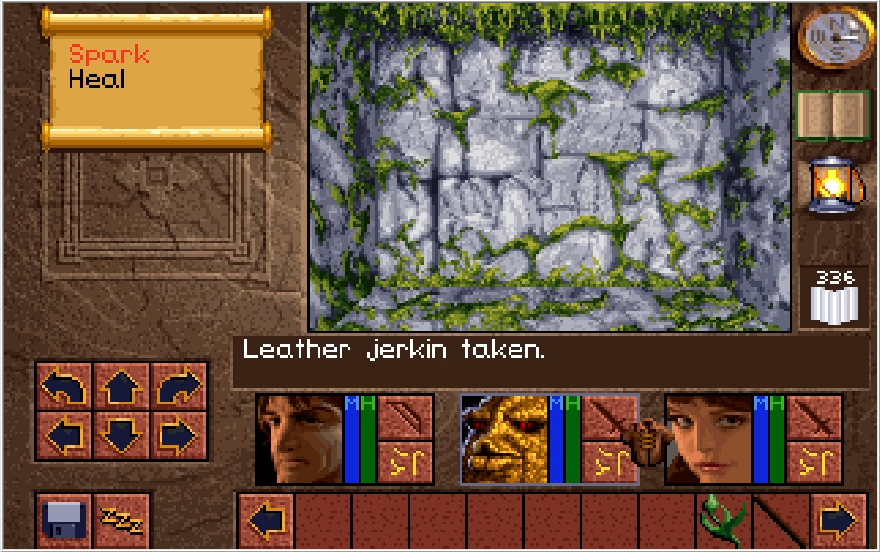
Image

The path we follow upon opening the path splits west and east. Checking out the west first gets us a spare Jerkin, tucked away in a little corner.
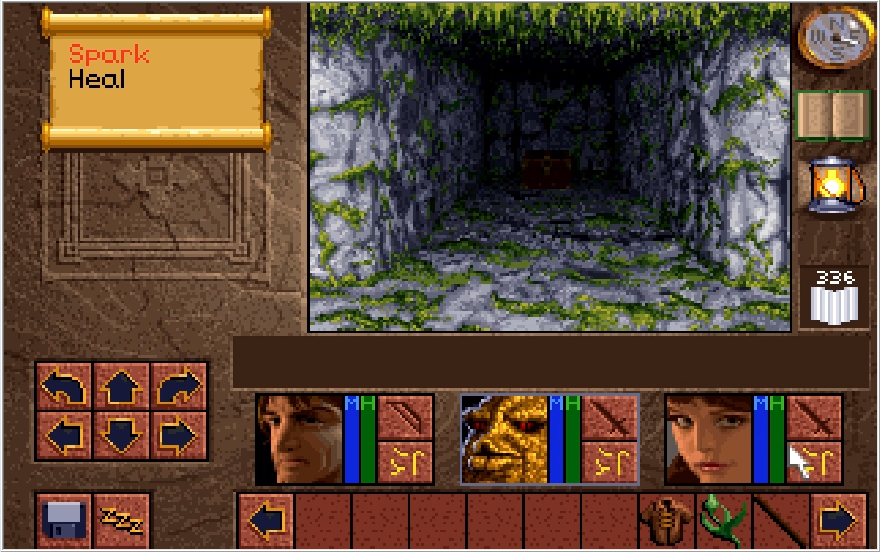
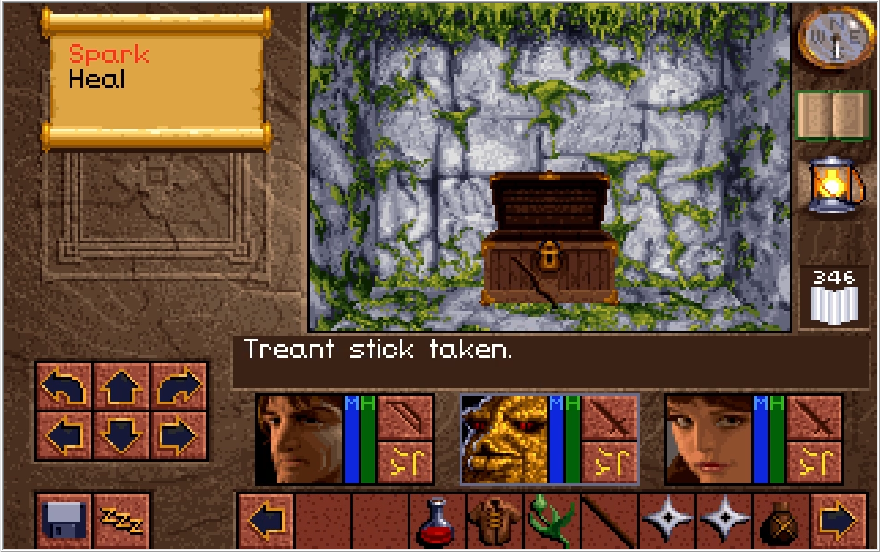
Image

Image

Heading east leads us to a Woah! tile. South of the tile is a chest containing some crowns, a salve, and a treant stick. Slightly stronger than a normal stick, but still garbage.

This is as good a time as any to drop a hot tip that I wish I knew before this recording, and indeed any of the playthroughs I've done up to this point. Your inventory is going to be getting quite crowded by now and you'll be scrolling through it often. If you Right Click on the arrows instead of Left Clicking on them, the inventory will scroll an entire page instead of just one space. I only just recently learned this from a random youtube comment on a video that was otherwise about unrelated dummied out content.
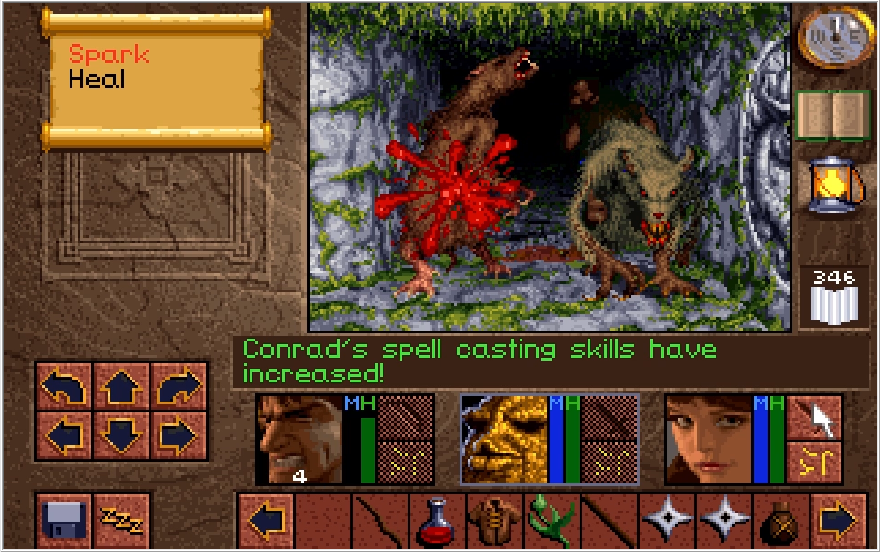
Image

Image

Image

While collecting the treasure, a number of enemies closed in on me and absolutely bodied Lora. I retreat out of the path so I can rest by the door switch. In all the fighting, Conrad gets to Mage level 3 and finally can cast Spark 4 twice on this file as well!
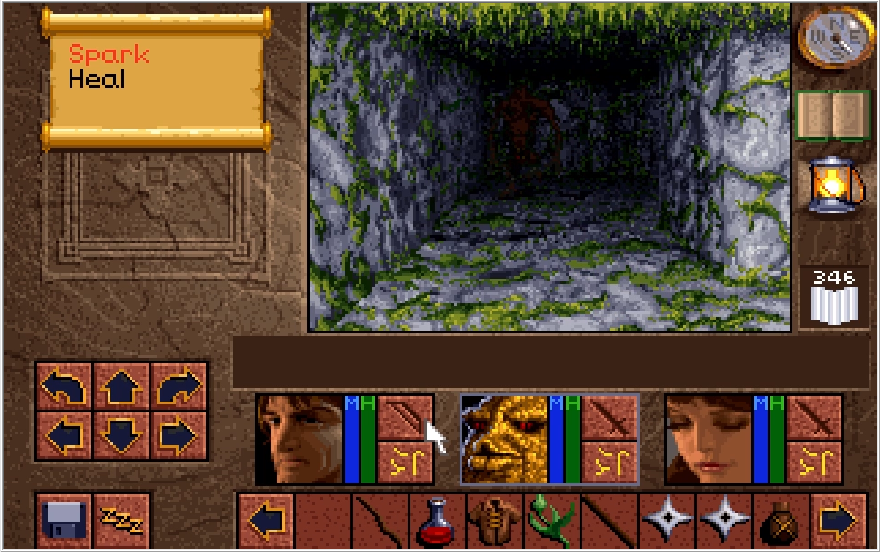
Image

Image

Returning to the Woah! tile and heading north this time, we hit a dead end. Except not really! That's actually a secret wall that just has an enemy occupying the spot behind it.
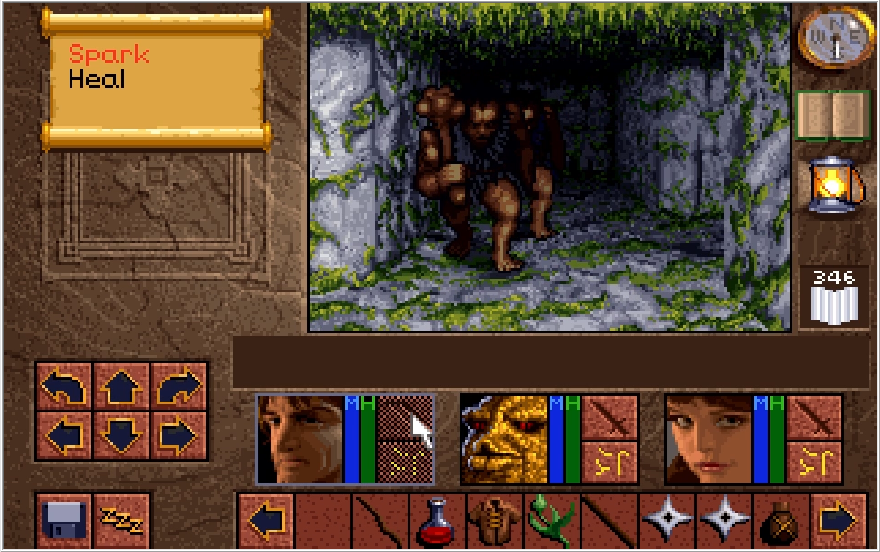
Image

Image

Heading through and going southeast puts us face to face with more cave dwellers. A ridiculous number of these guys can spawn on this path if you're unlucky, but thankfully this go around their numbers have stayed fairly manageable.
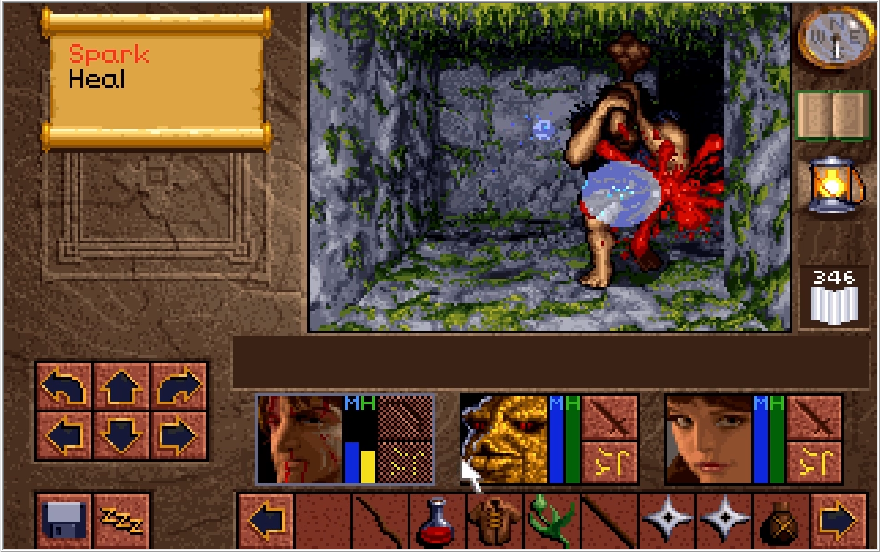
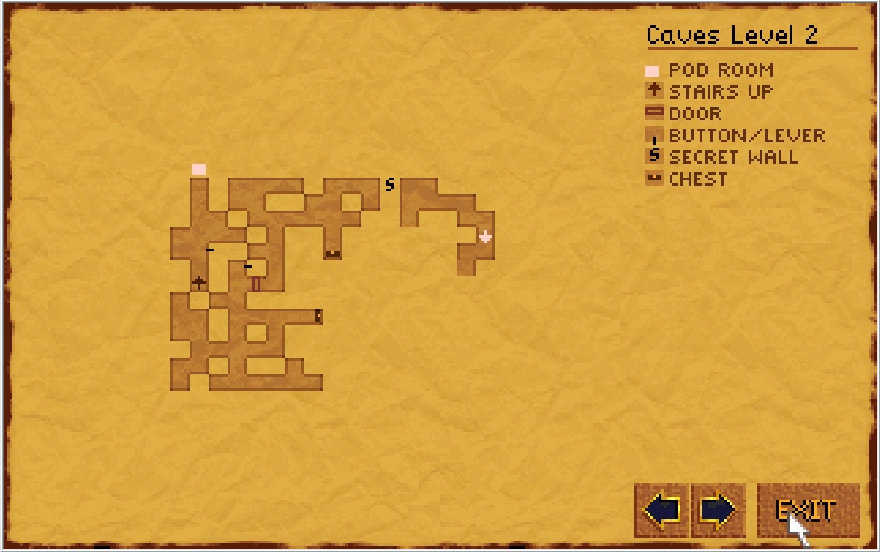
Image

Image

There's a couple paths to check at this point.

Image

Southwest contains the stairs to Level 3. We don't want to take these yet since the Sapphire path treasure awaits us on the southeast path.
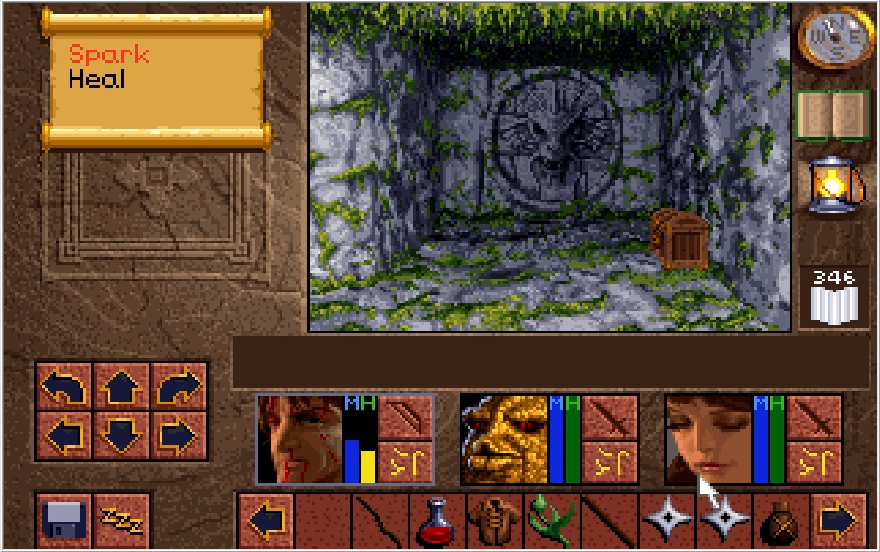
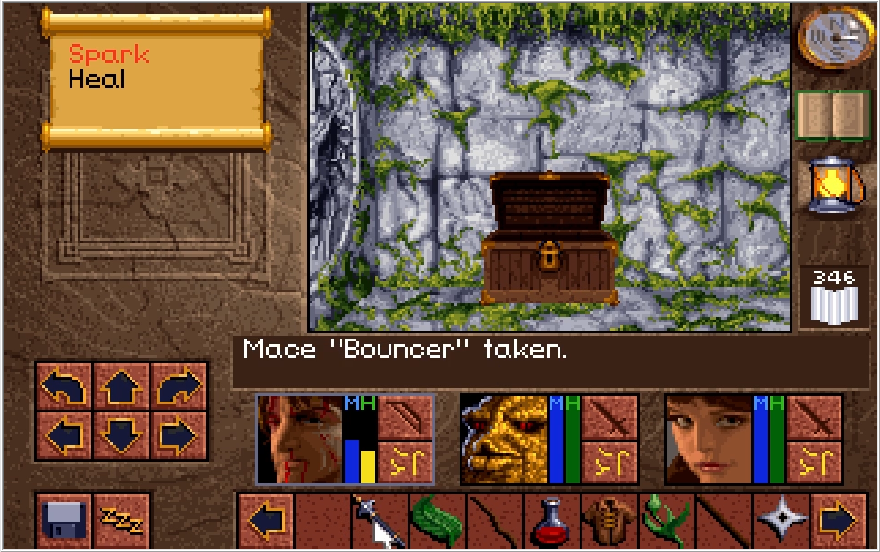
Image

Image

Making our way there, a chest awaits us in front of a conspicuous dragon. Inside the chest is some aloe, a Mace the apparently makes us more effective at managing unruly bar patrons (slightly better Might and 1 point of protection compared to a normal Mace), a scroll for the freeze spell, and...
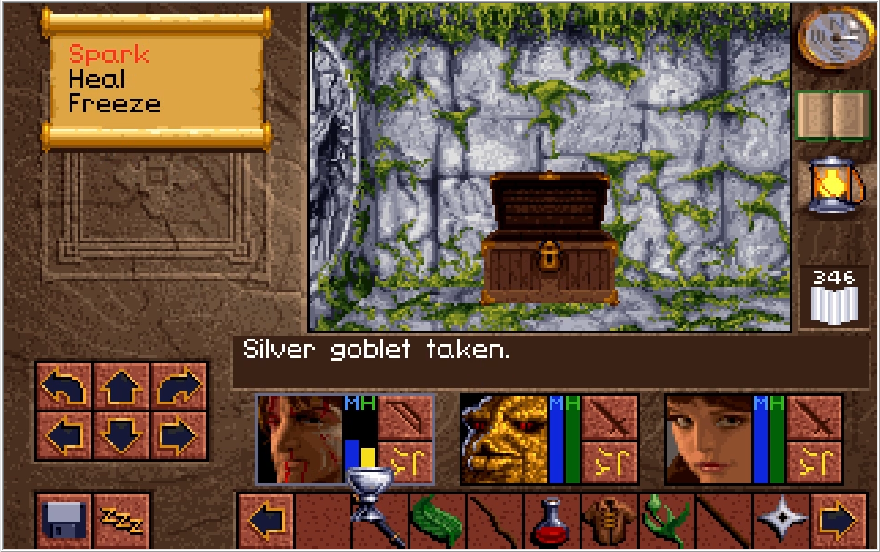
Image

The silver goblet! This is the unique treasure of the sapphire path. What does it do?
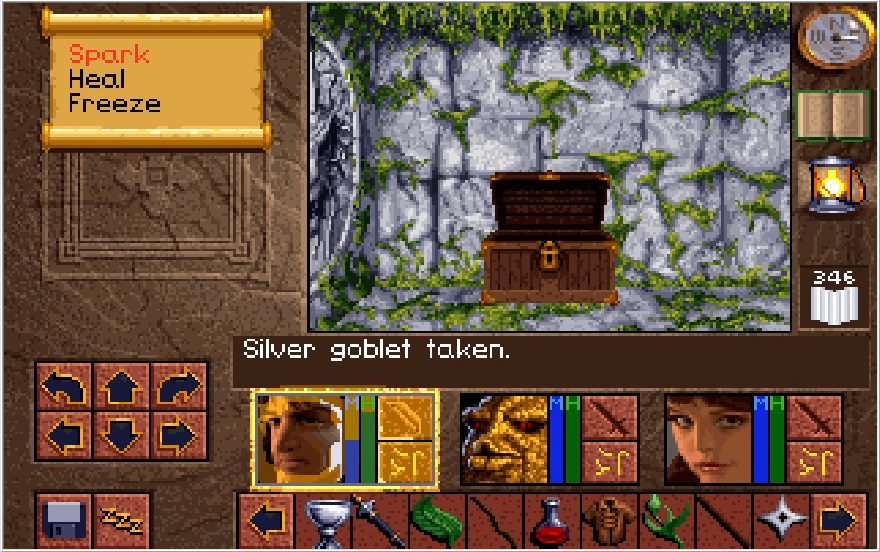
Image

Image

When used on a character, it casts Heal 3 on them. This is effectively an infinite use Bezel cup and makes us completely immortal for the remainder of the dungeon so long as we keep it at the ready. I shouldn't have to explain why this is the better treasure to go for, and if you're playing as Kieran you'll absolutely want this over the Jewelled Dagger.

One weird thing to note about the Silver Goblet is that it's actually the last item you get out of the chest. Usually when chests contain key items, the key item is the first thing you get out of it. That not being the case for the Silver Goblet has an unfortunate consequence that we'll talk about later.
Image

Image

Image

Image

Image

Heading in the opposite direction of the chest, we'll find a lever that activates the fire ball trap by the chest and another switch we need to toss a rock at. Doing so let's us snag the worn key, which we'll need on the Sapphire path's version of Level 3.
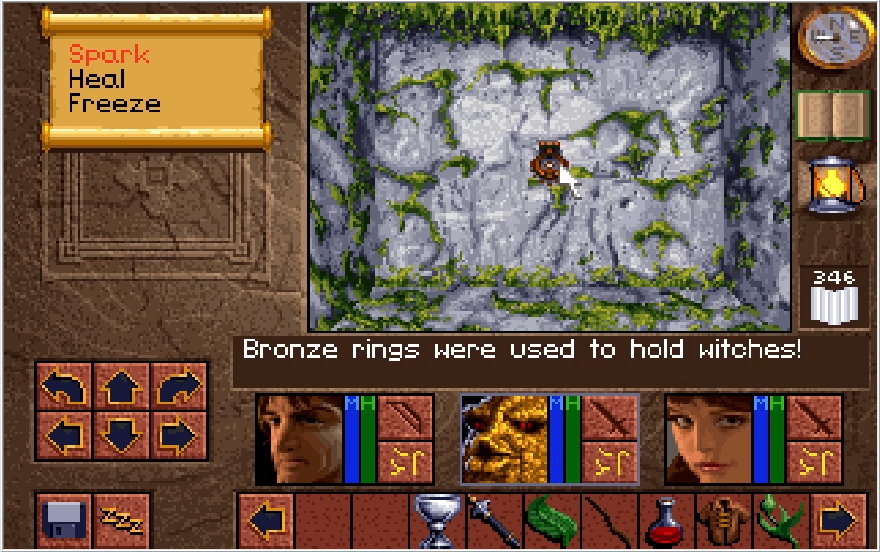
Image

Fascinating.

Image

Image

Image

With all that done, we can make our way to Level 3 and almost immediately find ourselves face to face with the lock we need the worn key for. Before we check out the path it opens, let's just explore a little bit more.

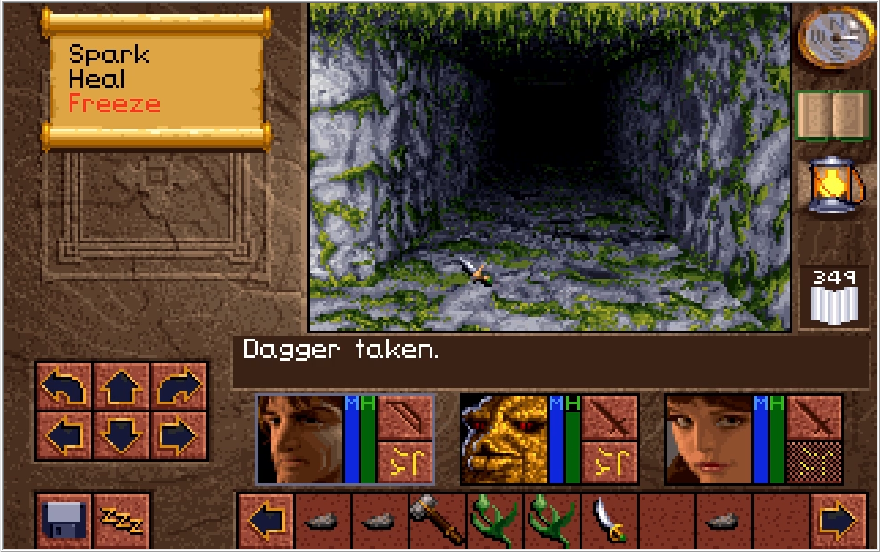
Image

Image

Image

This is an example of a random call out your party can do on occasion, with Lora signaling there's a button for us to press.
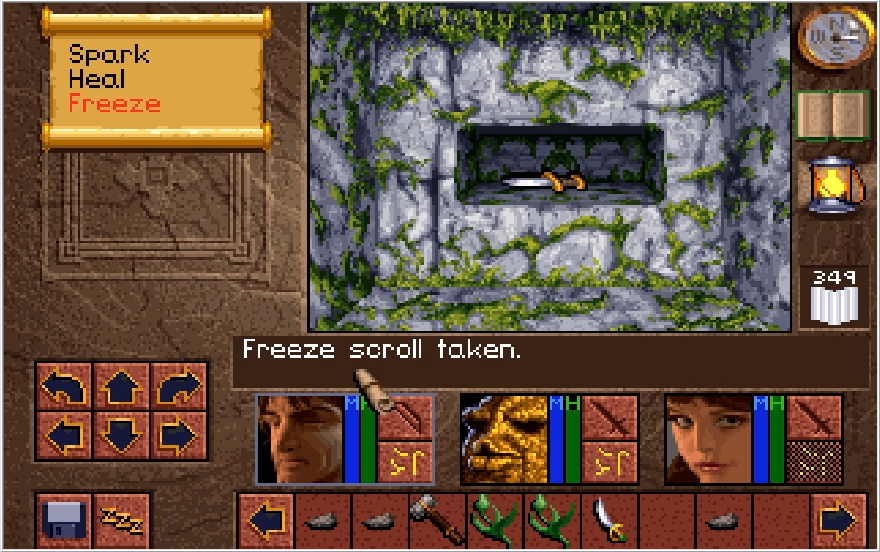
Image

There's an extra copy of the Freeze scroll in the alcove this opens, which is bizarre because you can't get the Silver Goblet without grabbing the freeze scroll. I appreciate the thought I guess?

Image

But can it hold witches?

Image

Alright enough screwing around, let's return to the worn lock.
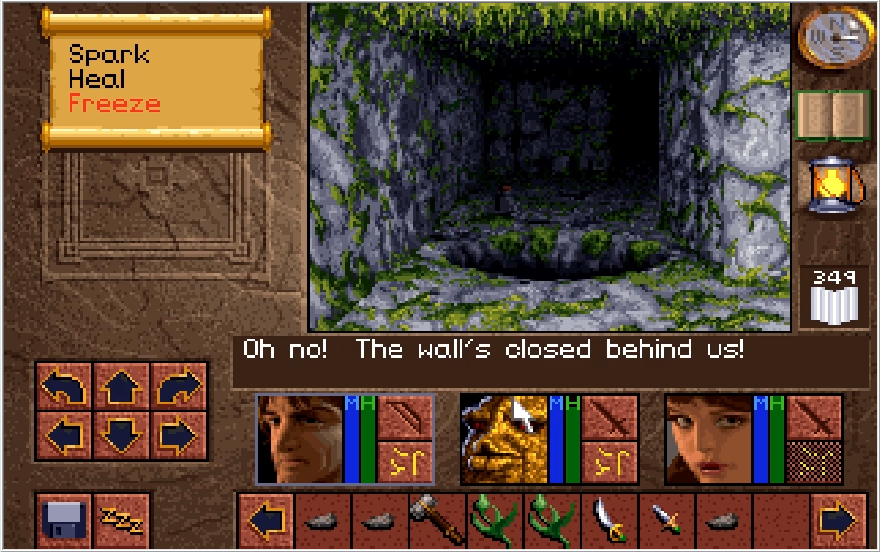
Image

Heading on through results in the wall closed and trapping us in! I would like to say that if you haven't gotten the Silver Goblet at this point, I'm pretty sure the game becomes unwinnable. The Silver Goblet and the Jewelled Dagger are necessary to collect in order to finish the dungeon, and there's no way to reopen this wall and return to Level 2 on the Sapphire path. On my first practice playthrough, I didn't fully search the chest that had the Goblet and just moved onto level 3 with the worn key. For the life of me, I couldn't find a way back to Level 2 after realizing my mistake, and thus I couldn't make any progress. This isn't a problem on the Emerald Eye path since there is a way to return to Level 2 if you fail to grab the Jewelled Dagger initially.

Anyway, the pit in front of us is an illusion, and again sometimes Baccata will point this out. He didn't this time, but it's not like there's much else we can do but sally forward at this point.
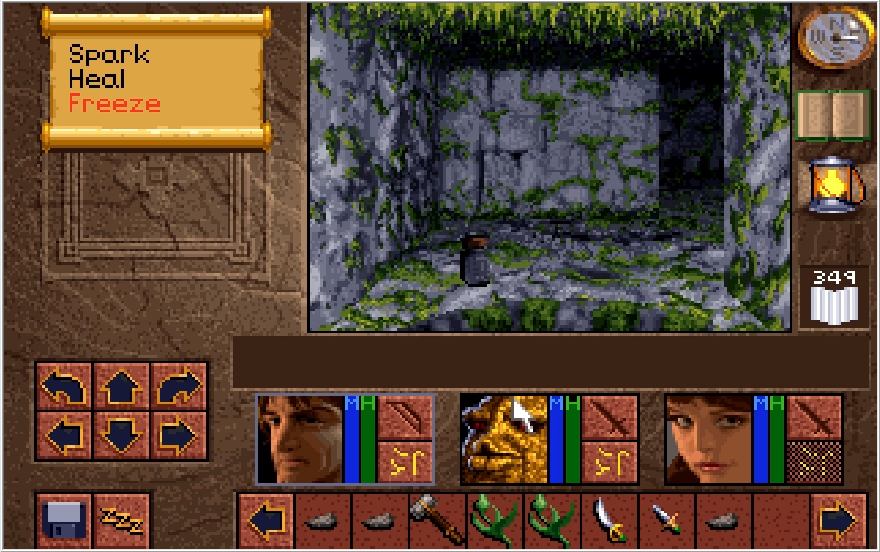
Image

Image

Image

As it so happens, this illusion pit is a slightly moved counterpart to the one we saw previously on the Emerald Path! The flask is here for us to grab again and, conveniently, immediately south of it is the chest I failed to open earlier. It contains some Oil, a slightly stronger Rapier dubbed "Ripper", and a Scale Mail. This is a very potent defense upgrade for Conrad, so it's much appreciated.
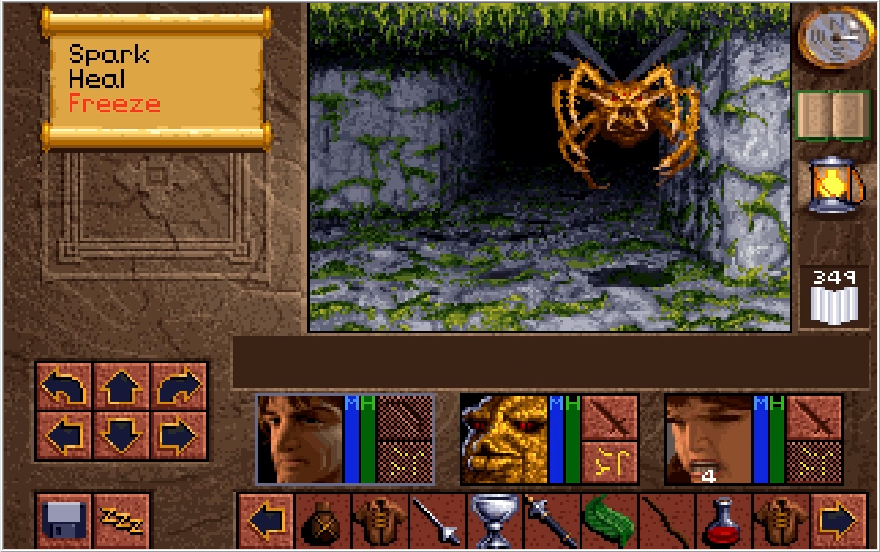
Image

Image

Image

This is about the point where the Emerald and Sapphire paths converge, hitting that switch opens up a path that'll lead to that button and chest I said to ignore earlier. We also have the flying cave spiders closing in. Baccata has a bit of a delayed reaction, we've already passed the wall he's talking about. Clearly Lora's superior rogue skills allow her to be more quick on the uptake than our quad-armed companion.
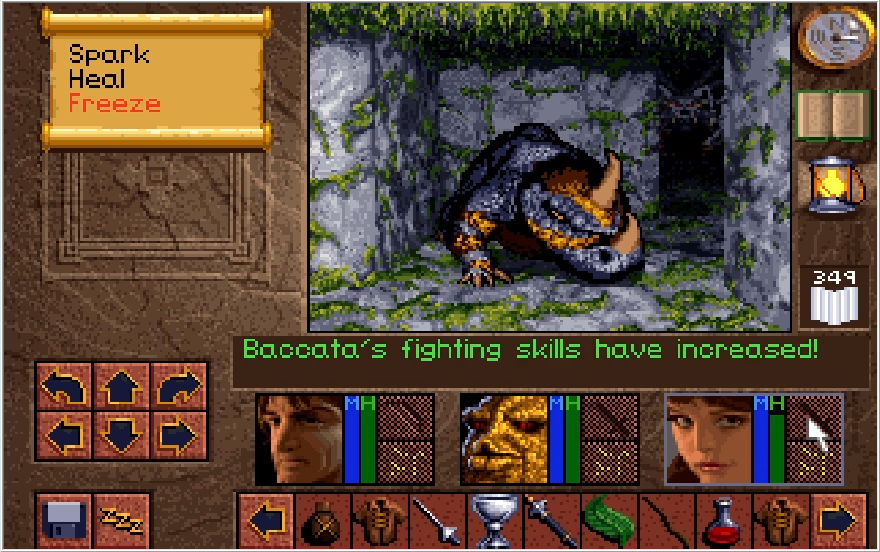
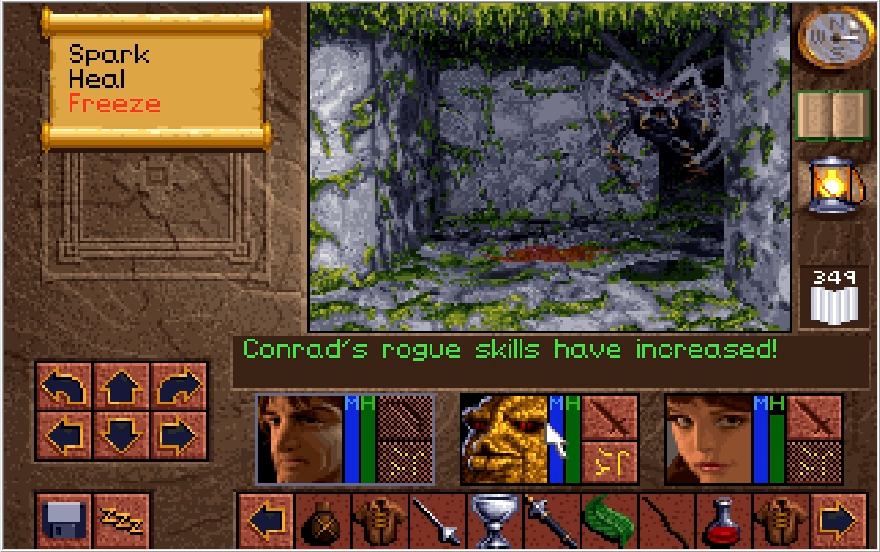
Image

Image

Back to back level ups! I'd go over the bonuses we got from these, but it's going to not matter at all 2 updates from now.
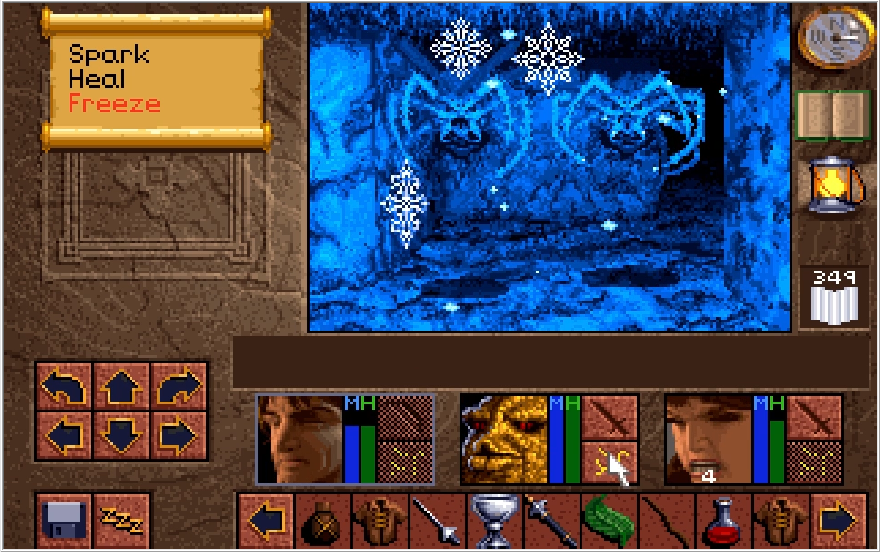
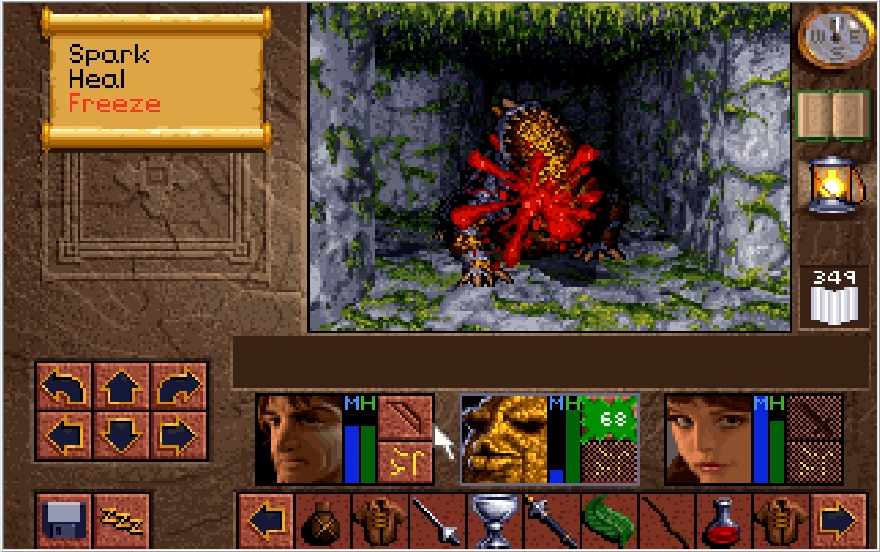
Image

Image

Image

We finally get to see Freeze in action! I think it has a pretty neat animation, and it certainly makes you feel powerful when you hit something weak to hit. Doing some more clean up, I decide to have Baccata start working on his Rogue skill. In the context of this save file, this was really pointless to do, but for demonstrative purposes I wanted to do this for the LP. Generally once Baccata hits Fighter 3 and your main champion hits Rogue 2, you want to have them to swap what they're developing. Note that I could give Baccata a Star as well so he could double the rate he gains Rogue exp at, but I don't want to sacrifice too much damage from him at the moment.
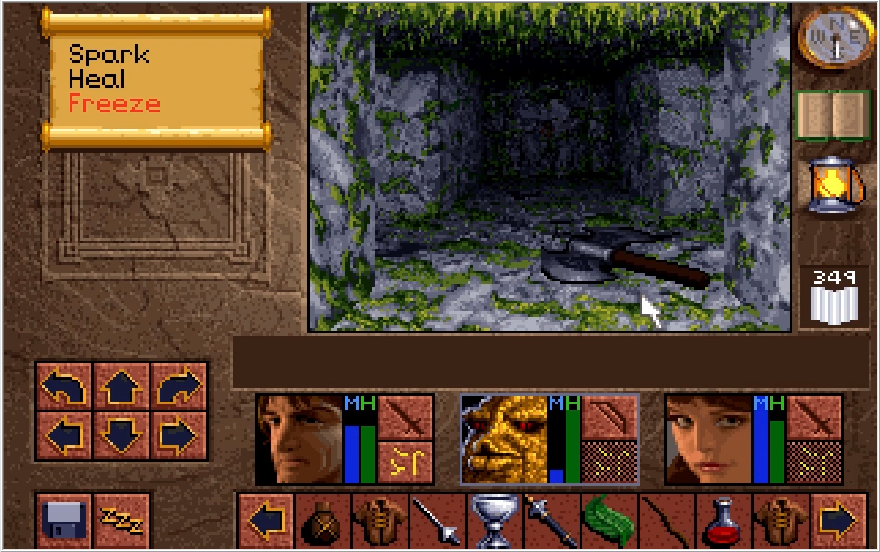
Image

This is past the illusion wall Baccata called out. Nothing here but an axe for us, which is way inferior to the best weapons we have at the moment. It's weaker than the Sledge, even.
Image

Image

Image

With the Silver Goblet, poison is no longer of any consequence to us. Conrad banishes these guys to Cocytus with an intensely powerful Freeze 3 spell.
Image

The tile we're standing on is yet another Woah! tile. In the distance you can see a red lock. This is the ignored "button" from earlier. It's an unpickable lock but that doesn't matter because...
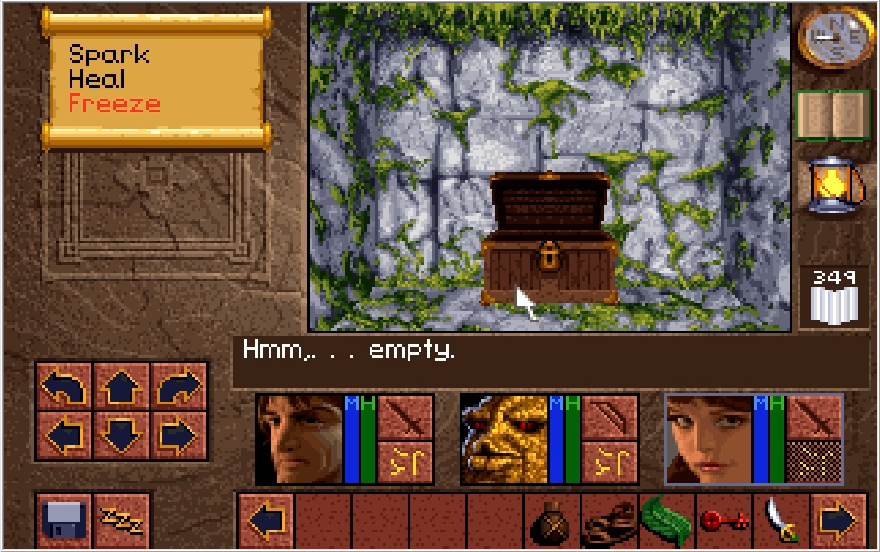
Image

Image

The key we need is just chilling in a chest directly west of it. Plus some Boots for Lora and miscellaneous supplies.
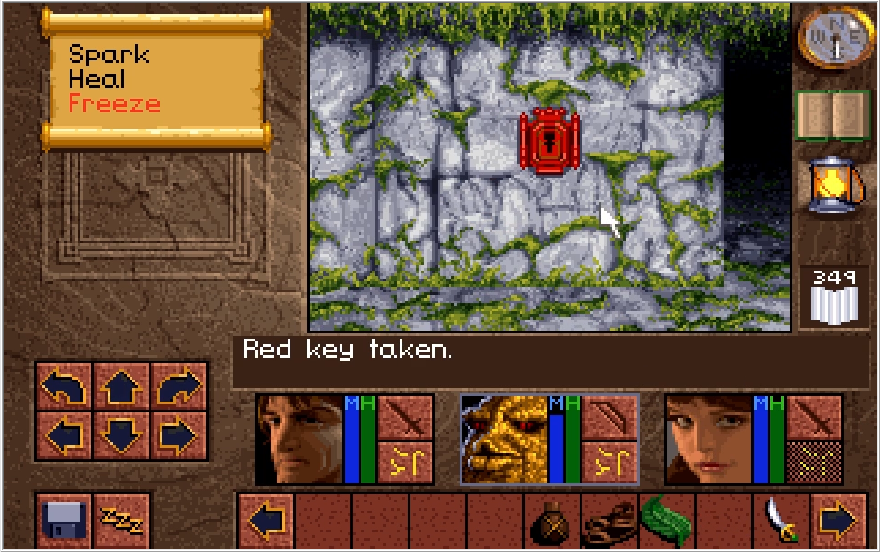
Image

Image

Image

Image

Popping the red key in the red lock opens yet another wall and we are present with an east and west path once again. Taking the west path leads you to a hall with a pressure plate at one end and an alcove on the other. Placing a Dagger in the alcove (It can be any Dagger, not just a nameless one) and stepping on the plate closes the alcove. Stepping off the plate reopens the alcove, and you'll find your Dagger has been christened with the name "Back Biter"! This is a marginal might upgrade to the dagger with no special effect. It is weaker than most of the weapons we already have. Sigh.
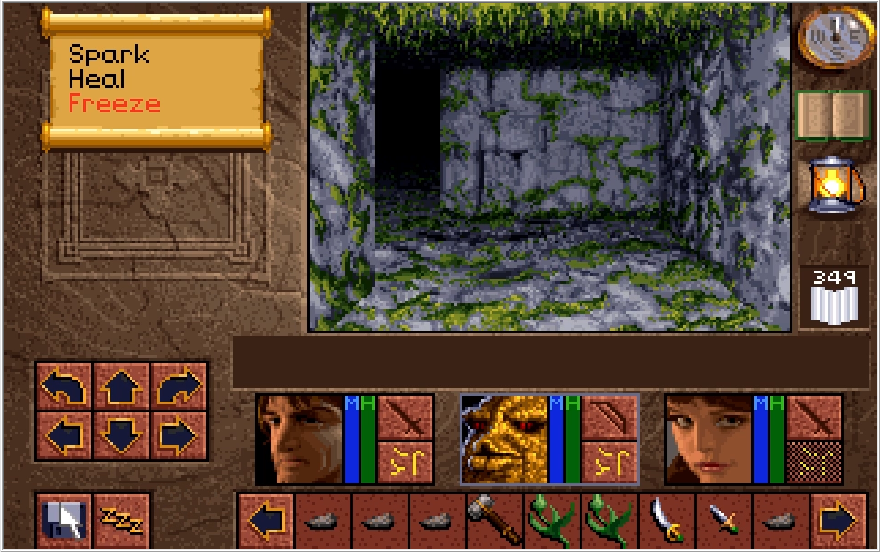
Image

Image

Meanwhile the east path just takes us to level 4. Phew, that was quite a bit! We have just one more update for the Draracle's cave. Next time we'll finally meet the Draracle himself, and also run across the game's most infamous mechanic. One final funny thing to note, to give an idea of how utterly lost I was on the Emerald path: the recording for that specific segment is 26 minutes long. The rest of update 6, 7, and the future update 8 only took me 33 minutes to record. I'm very bad at video games when doing things in them for the first time.

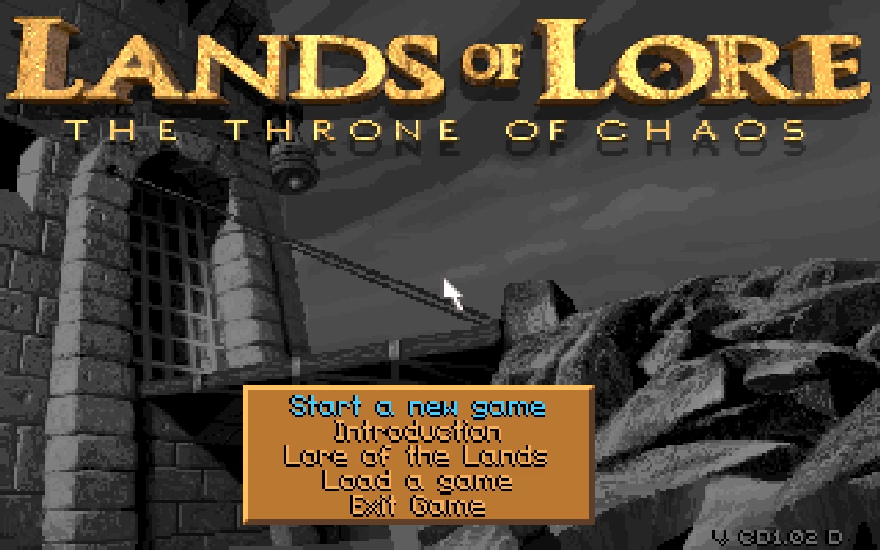
Per the hint guide Shining has one point more might over the normal throwing star but ranged weapon might doesn't show up on the status screen and it's not like it's easy to tell the difference with any kind of ranged weapon with one notable exception. Also per the hint guide the only other item in the bashed-open jeweled dagger chest is a generic helm, which I don't remember being destructable but small loss if I'm wrong about that.

The hint guide also suggests the Sapphire Eye path is the easier of the two but I'm mostly sure that's just the Silver Goblet being OP what with being an infinite use 1 MP cost Heal 3, as I don't recall either route being significantly different in terms of enemy content.

User avatar
I actually would agree with the guide that the sapphire route is easier independent of the broken goblet. The enemy spawns are way more aggressive and frequent on the Emerald route, and the puzzle to get the Jewelled Dagger is more than a little unintuitive. That said, the Emerald route also can't render the game unwinnable if your forget to click on a chest 4 times, so there's that to consider too.

Fair enough, I haven't seriously done that route in a while so enemy spawns there aren't something I recall with any great degree of specificity. Then again I also didn't recall the softlock potential there, although considering this game perhaps I should have.

User avatar
So why does the Draracle live in this maddening lair, again? Maybe he just hates talking with people, lol.

User avatar
The Draracle's lair is peak video game logic when it comes to area design. Your guess isn't that far off though, funnily enough.

User avatar
Update 8, Recipe 'fore Disaster

Image

Once again, we find ourselves in the Draracle's Cave wishing he had installed an elevator. How the hell anybody gets to him at all given the layout of this place and what we needed to do to get here is a thought exercise for after concluding your play session.

Image

Stepping in here we meet the first type of enemy that gives the thread its title.


These weird snail creatures introduce far and away the most infamous and hated mechanic of this game. There are a select few enemies (5 different types in total and you'll probably only end up fighting 4 of them in a normal playthrough) that when attacking, they have a random chance to PERMANENTLY DESTROY THE ARMOR OF WHO THEY HIT. The only recourse is to either reload a save to get it back, or soldier on with greatly reduced defense until you can find a replacement. Many armors in this game are one of a kind, so having them melted can obviously be a major set back.

Image

Image

Image

Thankfully, this being the first enemy that can do this to you means they kind of lowball the mechanic and you're unlikely to lose anything meaningful. We mostly only have replaceable Leather Jerkins at this point and these guys have a fairly low chance of actually burning anything on you. I'd recommend saving just in case the Scale Mail gets tagged, but we can mostly just carry on as normal as there's only 4 of these guys on this floor. Later enemies in the game with this property are abundant and have a staggering chance to burn your armor on each hit, which means unless you don't mind having your armor destroyed the only way to deal with them without having to do 3 hours of save scumming is to unequip your armor entirely until you're past them.

Image

Image

Image

Continuing on, we have some Fireball traps in this area that can really ruin your day. Most of them work on pressure plates, but a couple simply require you to walk past a certain point like this bronze ring and then watch your team get incinerated.

Image

Image

Image

Image

The switch we need to hit is located right by the trap I got fried by, but there's a chest with a good reward in the northwest. We get our next projectile weapon (plus some crowns) and a genuine upgrade over the bow, the Crossbow! This one is about twice as strong as the bow, which is still pretty weak but you might actually score some kills every now and again with this. I decide to have Baccata dual wield bows like a medieval John Wick to develop his Rogue skills at double the rate.

Image

Image

Image

Lora chimes in when we approach this wall (which she didn't do initially), and we step on through the path it opens. A trap triggers the moment you step in, but luckily I knew this was coming and deftly dodge it.

Image

We encounter another acid snail. It's best practice to just Spark 4 these guys to death, as to not chance any armor destruction.

Image

Image

Image

Moving westward, we come across another crumbling wall. Smashing our way through this one places us right in front of the fire trap without triggering it as well as a chest. This chest contains our first Ring, the Bezel Ring (plus a Salve)! Jewelry is a really undertuned equipment type in this game and this first ring we get is probably the only one that does something appreciable. When a character is wearing the Bezel ring, they are immune to the poison status. Sadly, Baccata's chonky fingers rob him of the ability to use this perk, but poison comes up fairly infrequently anyway. We slide this on Conrad's finger since we may as well. There are only 4 different rings accessible in the game, only 3 of which actually do anything and one of them has a borderline useless effect. The ring that genuinely doesn't do anything is a key item that is used up within a second of getting it.

Image

Image

Heading north we bump into a dummy switch. Turning this on activates a fire trap just around the corner, and it will cause a fireball to be launched when you step toward it.

Image

Image

Image

Image

Tucked away in a northeast corner is yet another crumbling wall. We enjoy a bit of hammer time and continue onward. There are now some pressure plates dotted along the path we take, and we can avoid the traps by placing junk items on them to fire them off . These plates notably only activate the traps when pressure is put on them, so you can take your item back if you so desire once you step over it.

Image

Image

Image

Working our way around this area, dealing with more traps along the way, we can start to see some ornate pillars dotting the walls of this section of the cave. I question if these actually hold anything up, but they sure look nice! This staircase is where we need to go, but there's a little bit of treasure to grab before we head up it.

Image

Image

Image

Image

Working our way around and dealing with even more traps, we find a switch to open an alcove that contains 24 silver crowns! If you took the Emerald path, this is also where you get your "Dagger In Dagger Out" items back.

Image

Image

Image

With the area fully explored, we can now ascend the stairs for our date with destiny. We find ourselves in a short hallway leading to one more set of stairs, beyond which contains our final destination. Note that at this point, you'll want to unequip Lora of any gear she has, especially if it's something good like the Long Sword or Scale Mail.

Video: Meeting the Draracle

Image

Image

Image

Image

The Draracle doesn't even get a chance to reply to us before this Geron-esque Jack-off called Jekel tells us to provide some treasure or fuck off. Actually this guy is just known as "The Draracle's Attendant" in this game and isn't named until the sequel, but whatever. There isn't anything to interact with here except for the archway he directed us to.

Image

If you offer the incorrect item,

Image: "I think they want a different offering."

So what do we need to place here? Well the only gamebreaking item we have is the Silver Goblet, so I think it stands to reason that's what they want.

Image

Image

Image

Image: "Splendid! Let us go now and get the Elixir."

Logically, since we got this item in the cave itself we can assume it already belonged to the Draracle. Let's hope they don't realize we're pulling a fast one on them before we get what we need.

Note that if you took the Emerald Eye Path, you'd have to present the Jewlled Dagger instead.

Image

Image

Lora chimes in at this point asking what is required of her. Obviously, this wouldn't happen if you didn't rescue her.

Image: "We are seeking a cure for King Richard of Gladstone."

Image

Image

Image

Image: "I say! Could you be a bit more specific?"

Image

Image

It'd have been funny but also really mean if they made you go back for the Jewelled Dagger at this point. Mercifully, the Draracle decides to throw us a bone because of fate or some shit.

Image

Image

If I ever get into making music, "Powders Taken From the Heart of Your Mother" is going to be the name of my first album.

Image: "Thank you. Well, so long Lora. Best of luck to you."

Image: "Thank you very much for your assistance. All Grisbl owes you a debt of gratitude for leading me through those dreadful caves."

Sadly, we lose Lora at this point. It'll be awhile before we get a third character to take her place, and I can assure you they are far less endearing.

Now you didn't need to bring Lora, and it doesn't make the dungeon that much harder if you skip her. There's a huge perk for rescuing Lora later on though, and she's an extra set of hands, so it's in your interest to grab her even if you just let her get knocked out immediately and drag her through the whole cave. If you do skip Lora, just be sure to kept an extra 500 crowns tucked away.

Image

Are we sure Jekel isn't just Geron in a cloak? Come to think of it, we never do see them in the same place at once...

Image

Image

We get kicked out of the chamber into a different hall than the one we entered from with the door slammed in our face. As the Draracle said, the recipe for the Elixir of Tybal has been inscribed for us to review whenever we need. This scroll is not just a handy reminder, it is a key item that you need to get deciphered in order to beat the game. Even if you know what the ingredients are, do not lose or throw away this scroll! The game cannot be beaten without it.

Image

Image

Image

As we turn from the door and make our way out of the cave through the stairs we can reach, Baccata and Conrad discuss how it's kind of lame we only have an incredibly vague recipe for King Richard's cure. Maybe Nathaniel can figure some of this out?

Image

Image

Image

Image

The halls are a strictly linear path leading to this dragon head lever. Popping our Atlas open when we flip it shows that we've returned to Level 1! This simplifies getting out of here a ton.

Image

Some weasels harass me on the way out, but it's a simple trip back to the entrance. Let's get back to Gladstone!

Video: Timothy and Fleeing Northland

Image

Image

Image

That's bizarre, a battalion of Orcs meets us at the cave entrance! Our trial has powered us up considerably, and these guys have firmly entered Goomba status at this point. A quick freeze spell and some clean up gives us a veritable treasure trove!

Image

Huh, that is bizarre. Why would they have Timothy's coinsack?

Image

Oh.

Image: "Baccata? ...is that Conrad?"

Image

Image: "But we have the elixir, or at least a recipe for it!"
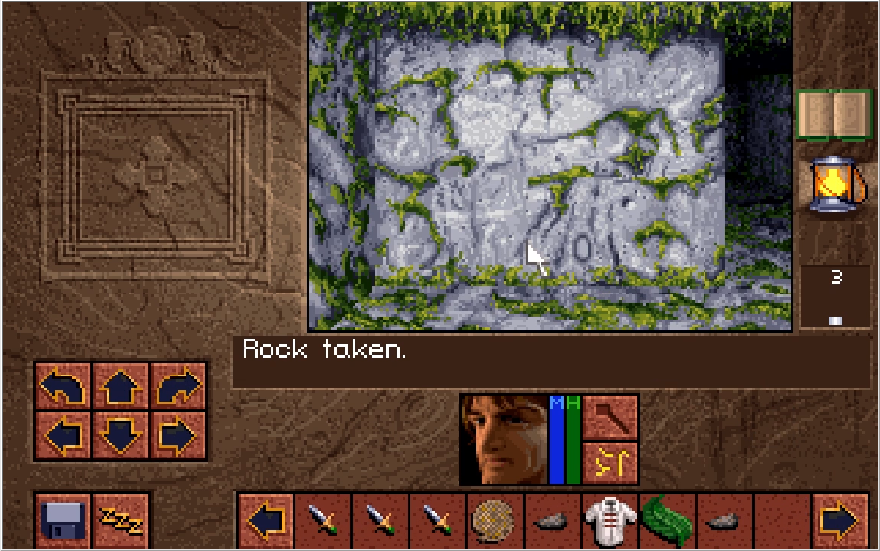
Image: "Excuse me a moment, this arrow is quite annoying...."
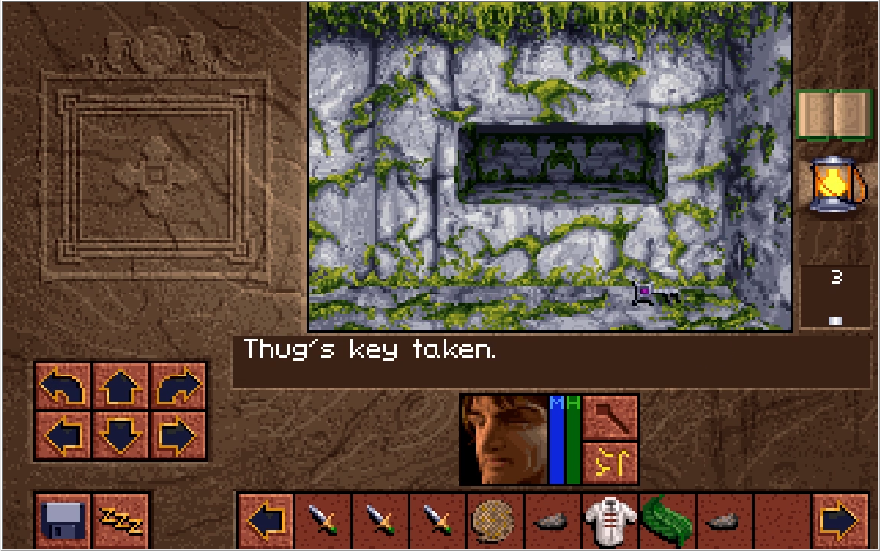
Image

Image

Timothy rather foolishly rips the arrow from his chest, doing further damage to his chest cavity and accelerating the bleeding to ensure he's going to die here.

Image

Image

Image: "Are we going to let him just fade away like that? Shouldn't we assist him somehow?"

Image: "Death is so often embarrassing. Let us at least leave the poor man with his dignity."

I've heard a lot of half hearted attempts to avert Ludo-Narrative dissonance when it comes to healing items and spells in RPGs, but Baccata telling us it's cringe to want to help a mortally wounded man is definitely one of the funnier ones.

Image

Image: "I'll wager they followed my mistress Dawn into Opinwood. In that case, we'll need to get across Lake Dread ourselves."
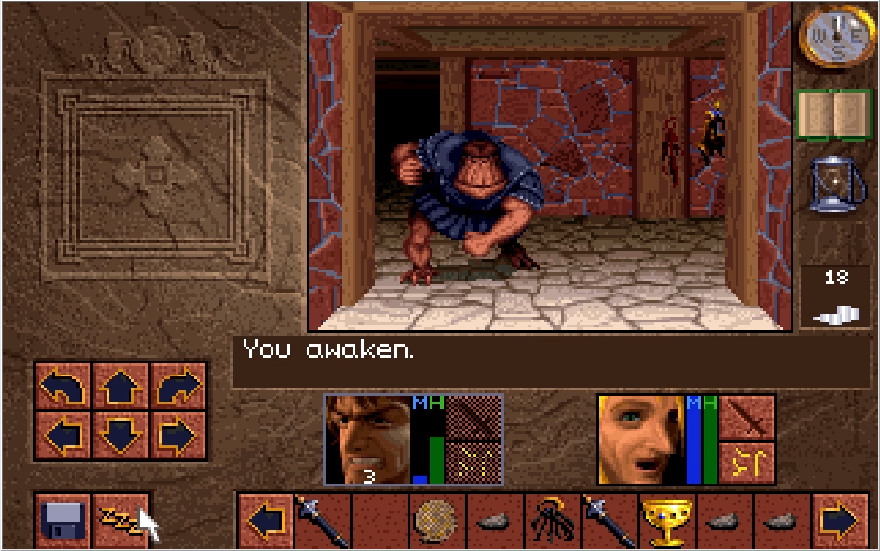
Image: "Then let's get down to the Marina and see if we can find a boat."
Not like we have many better options at this point. Still, let's at least take a gander at the current state of Gladstone.

Image

Oof. I guess the Terminators they had on staff quit due to inadequate wages. Clicking on anything just results in Conrad and Baccata alternating in saying that Gladstone has fallen. Next stop is the Marina!

Image

Well, shit.

Image

Jesus Christ Conrad! She was a little lippy, but I don't think she deserved to be brutally slaughtered by Orcs! Incidentally, we're entering the part of the game where you can have your "Hero" act like a complete dick for no reason and suffer minimal consequences for doing it. I have a theory about why this is, but we'll cover that when we get to the relevant moments.
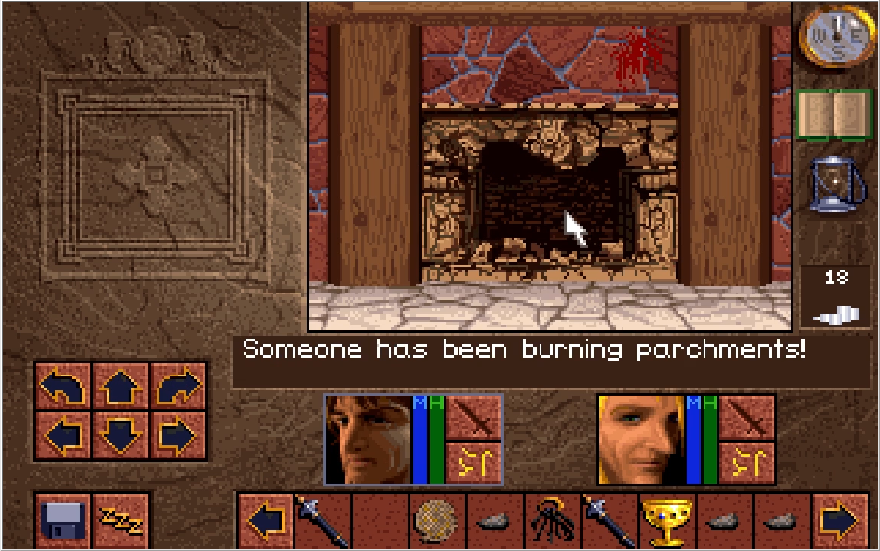
We're left without much direction at this point, but there's nothing else to really check out except for Lake Dread. To my knowledge, there is nothing else to do in Northland except stand around for minutes on end and wait for more boars to spawn. (Shout outs to Den Store Frelser for letting me know they do respawn!)

Image

Image: "What was that!?!"
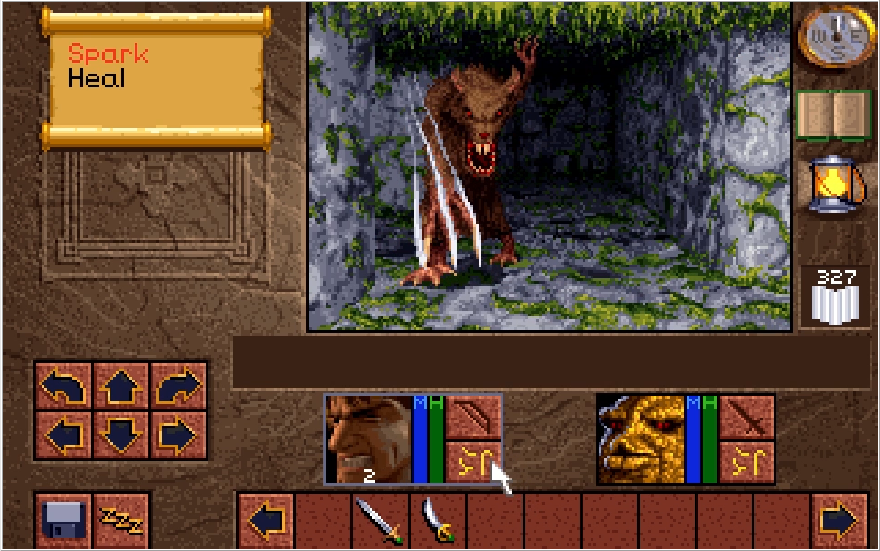
Image: "I think there's someone in the bushes there."
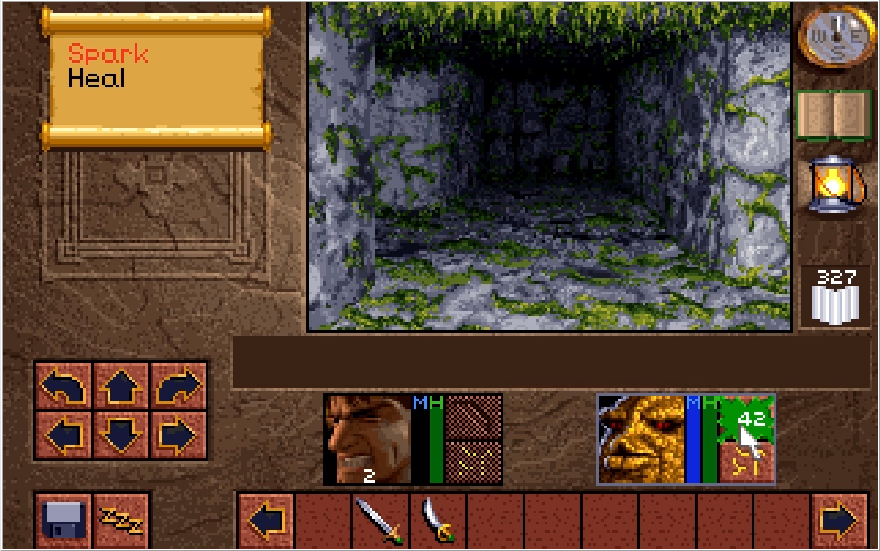
Walking towards Lake Dread results in some mysterious whispering from the bushes!

Image

Victor!

Image: "We know! Timothy told us of the attack on Gladstone. We're looking for a boat that can take us to Opinwood."

Image: "Lucky for you! Same boat take Dawn just come back. Go this way, Boat waits at shore."

Image: "Aren't you coming with us?"

Image: "No. Victor cannot yet go, must settle score here first. You visit the Yvel city in a few days, look for me, no?"

Image

Victor provides us with a free Long Sword! I'm not sure if this is supposed to be the same one he was polishing earlier or not.
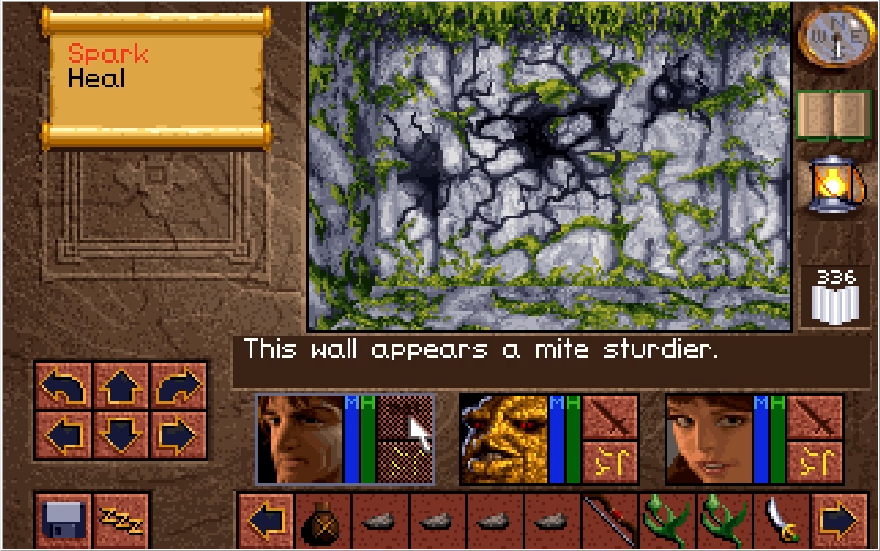
Image: "Thank you, Victor."

Image

Image

We smash cut to this guy rowing us towards Opinwood. If you watch the video, this guy is animated very weirdly compared to the rest of the game. Wikipedia tells me this game was in development as 3D polygonal graphics were really starting to take off on PC, and a handful of scenes use rudimentary 3D models with 2D textures applied to them for their animation since Westwood felt they could use this as a selling point. Not sure how true that is, but that definitely seems to be the case for this scene.

Image

Continuing my persistent use of the word "Unceremonious", we are unceremoniously dropped in Opinwood! This continent we find ourselves in is where the remainder of the game takes place, and we never return to Northland and Gladstone. If you happened to drop the Elixir recipe after reviewing it, congratulations! You just made the game unwinnable and won't know it until about 3-4 hours later. Not that that really matters to Conrad since his leg of the journey is over. When we next play, we will be in the shoes of the physically fit and perpetually smug Michael. See you then!
Last edited by Cullen on Tue Jul 09, 2024 2:55 am, edited 1 time in total.

The acid slugs are referred to as moribunds by the hint guide (I don't know why either), and shockingly it doesn't refer to their ability to destroy armor that they absolutely have. In fact the hint guide only highlights it with one type of enemy, which isn't really explainable outside of pure dickishness or the hint guide writers not being fully up on what the devs were doing for whatever reason. Amusingly, it also suggest fire (along with ice) as a means to deal with them, despite the fact that you have no way of dealing fire damage at this point and that this is the only area where they appear.

Meanwhile, everyone loves points of no return in games where you can softlock yourself by dropping key items! Fortunately there's only two such points but that's still two too many.

User avatar
I'd also contest the notion that they are weak to Ice, because Freeze seems to deal much less damage than Spark does beyond just the flatly lower damage values.

One interesting topic that came up in the SomethingAwful thread was the supposed "Lora glitch". I'll post my thoughts on it here.
CullenDaGaDee wrote: I have heard about the Lora glitch, but I don't actually know if it's true or not. The way it works sounds simple enough, you open the path to the cocoon chamber but don't actually enter it. It's supposed to seal permanently after meeting the Draracle, but if you had opened it without going in there's supposedly a brief window of time when falling back into the chamber with it where you can enter it before the game closes the path off and recruit Lora like normal without needing to take her to the Draracle. The only time I've seen this glitch mentioned was in a guide on Gamefaqs, where it wasn't even the FAQ writer claiming it was true but rather he was quoting a supposed email submission he got. The alleged email contained some suspicious extra details like "Lora had a voice line in reaction to something in a future area, but I just so happened to have my sound off at the time so I'm not sure if it was her voice or the voice of the true third party member" so I'm a little skeptical on it. I would think you'd need to limit the CPU cycles in DOS-Box to try for it these days, I suspect the default settings would allow the game to load quickly enough to put the kibosh on a trick like this. If anyone has concrete proof this glitch is actually a thing, don't hesitate to share it in the thread!
Same applies here, if anyone happens to have any video proof of this exploit in action, don't hesitate to share it!

User avatar
Huh, that was a pretty swift conquest on the part of the villain. Must say I'm kinda impressed. Scotia just gets shit done, it would seem.

User avatar
Also, correct me if I'm wrong...but does the Draracle not accept the Jewelled Dagger as an offering? And is it needed for something elsewhere? I don't think I understood what the nature of the Draracle's Cave softlock is.

Post Reply