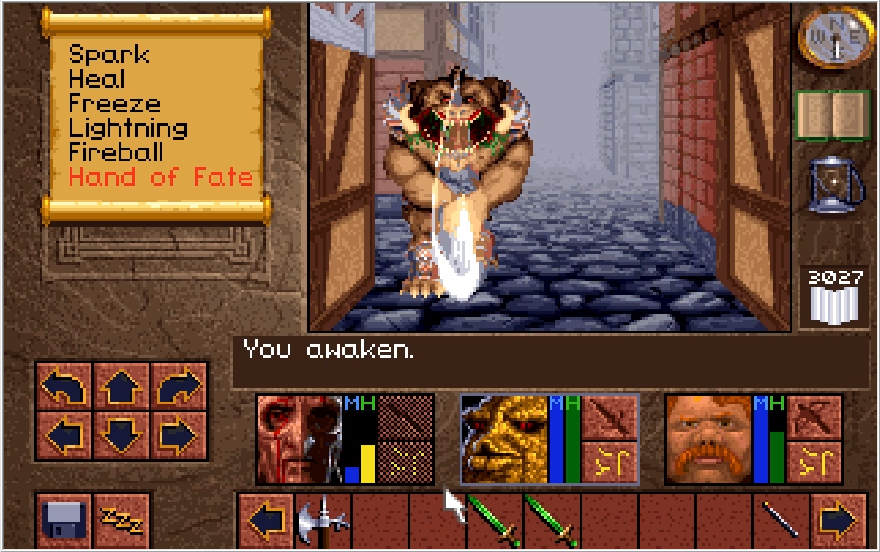
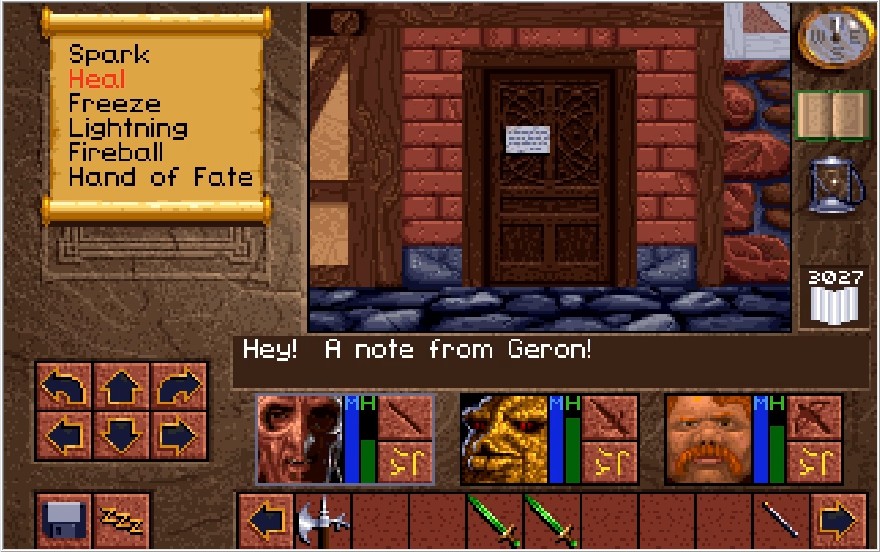
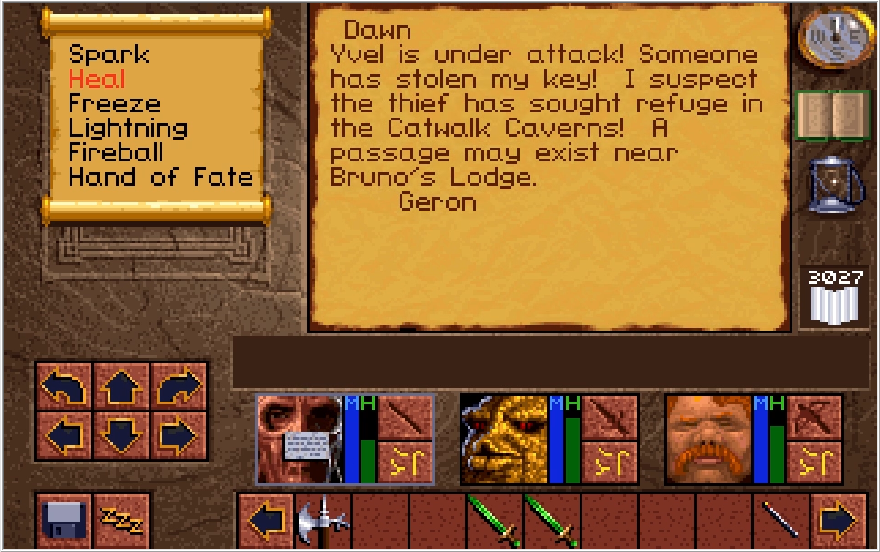
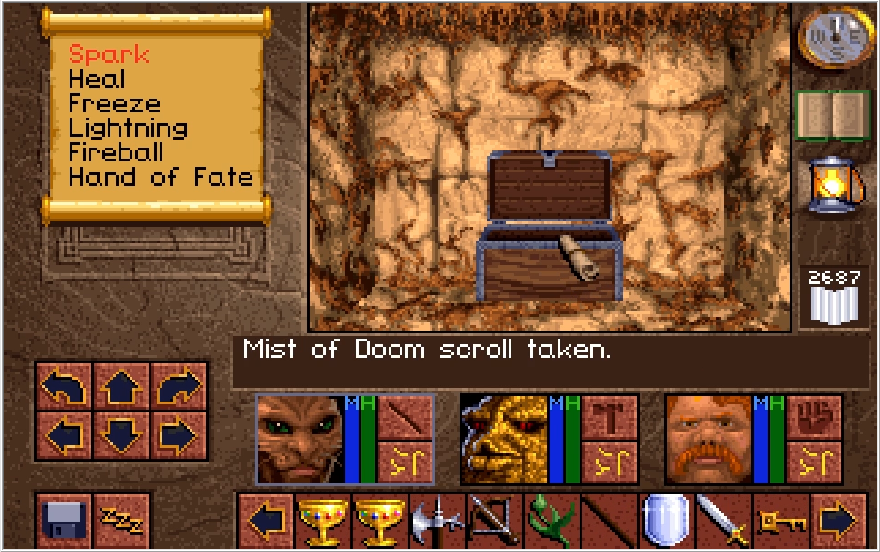
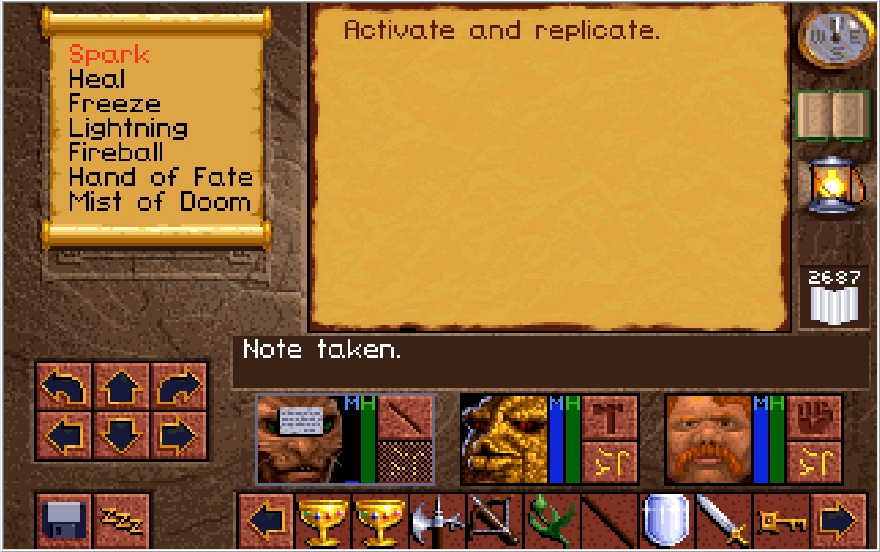
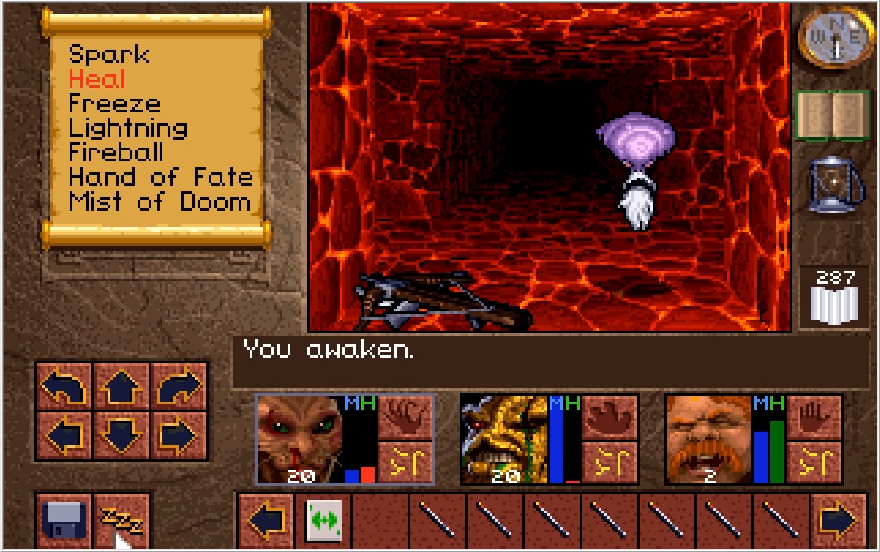
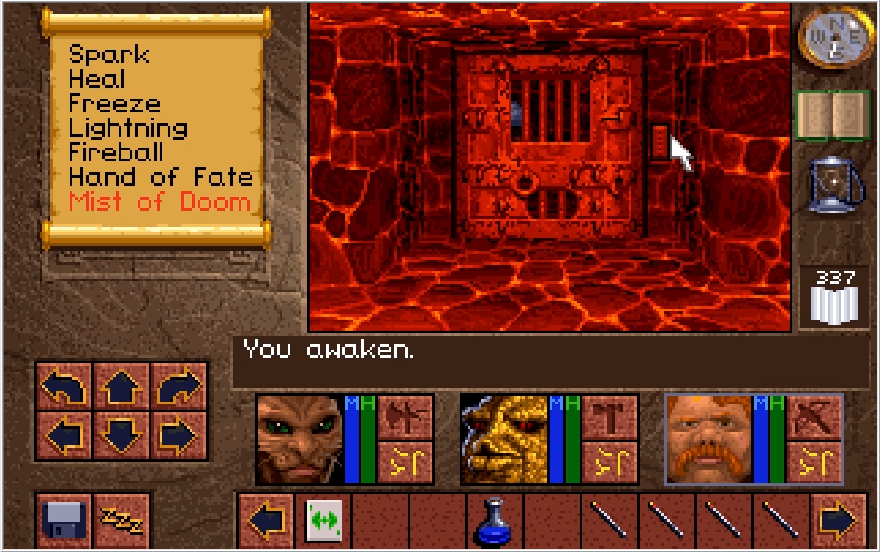
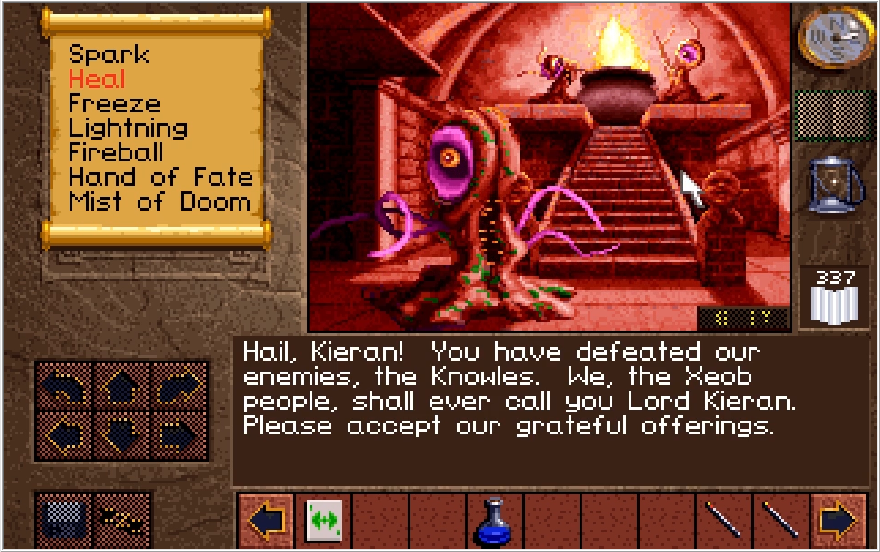
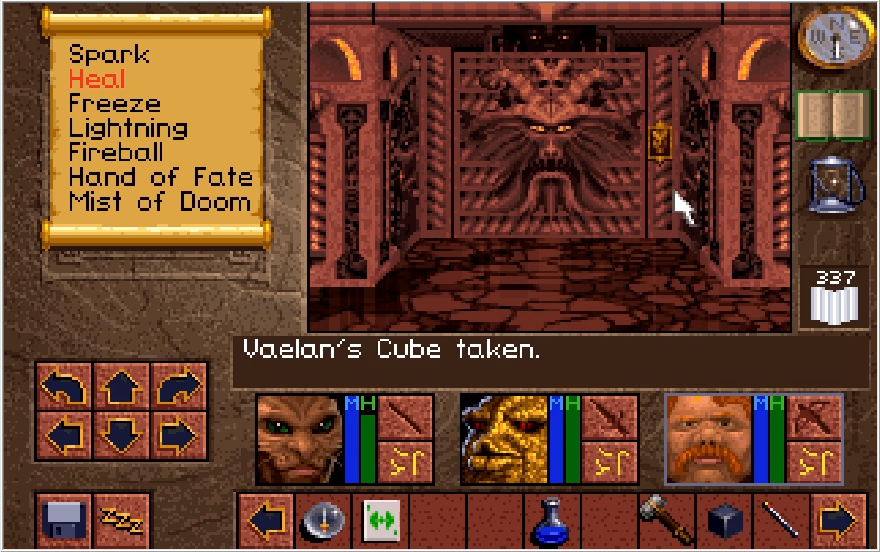
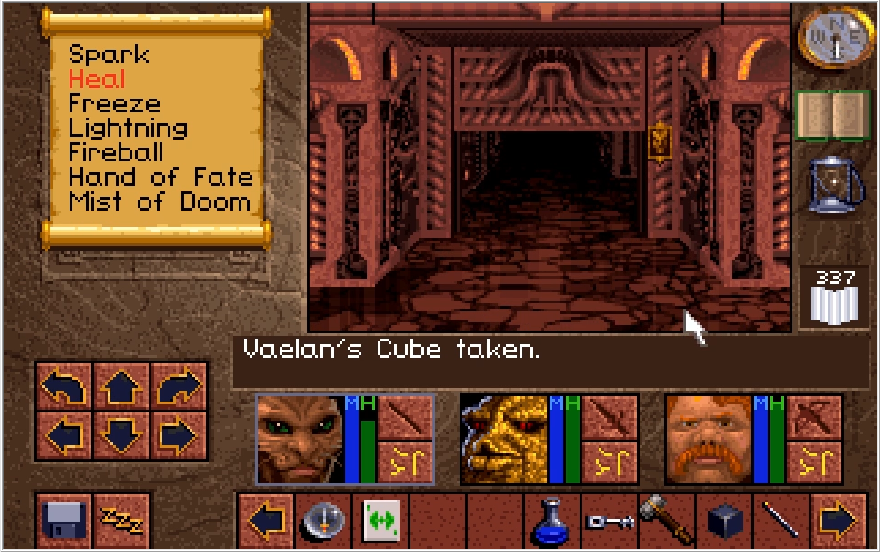
Final Update, Cat Got Your Tongue?
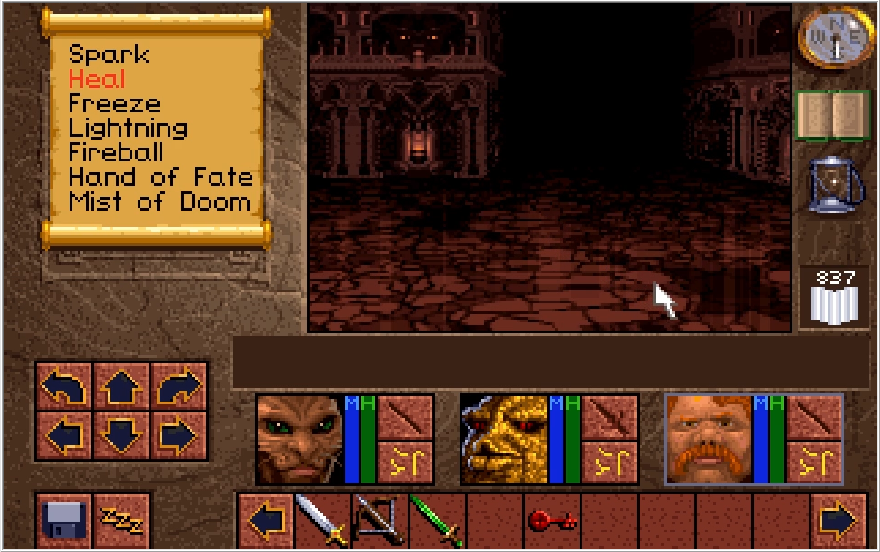
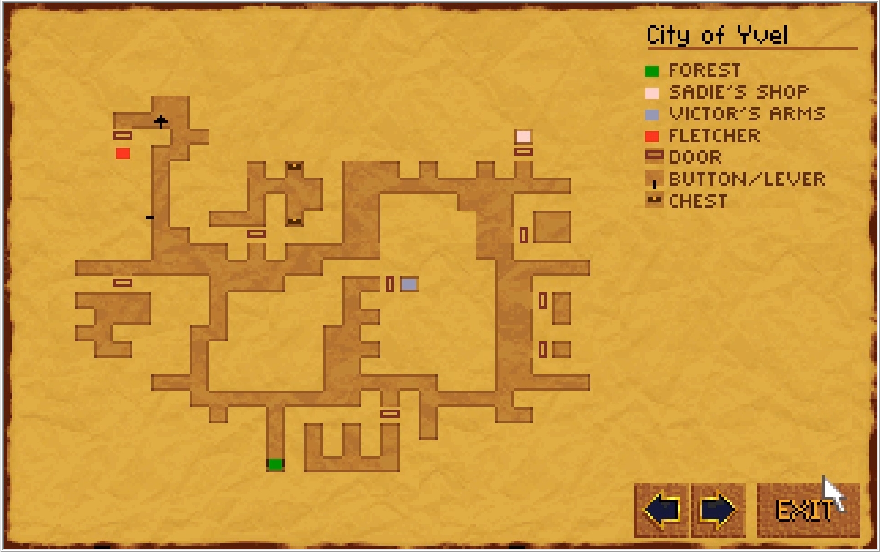
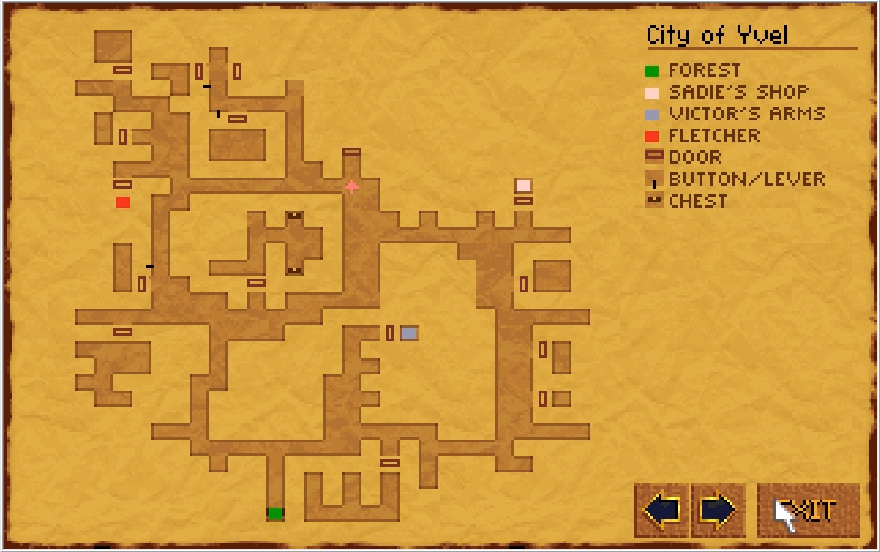
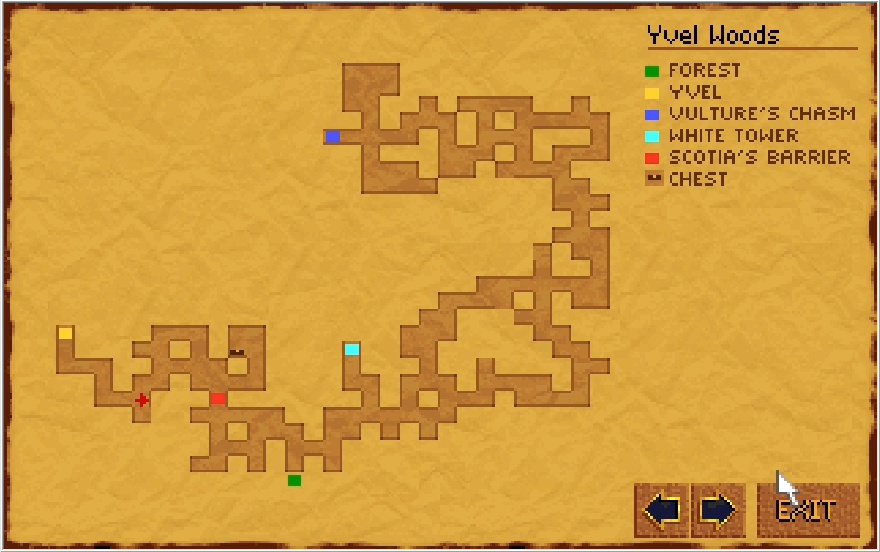
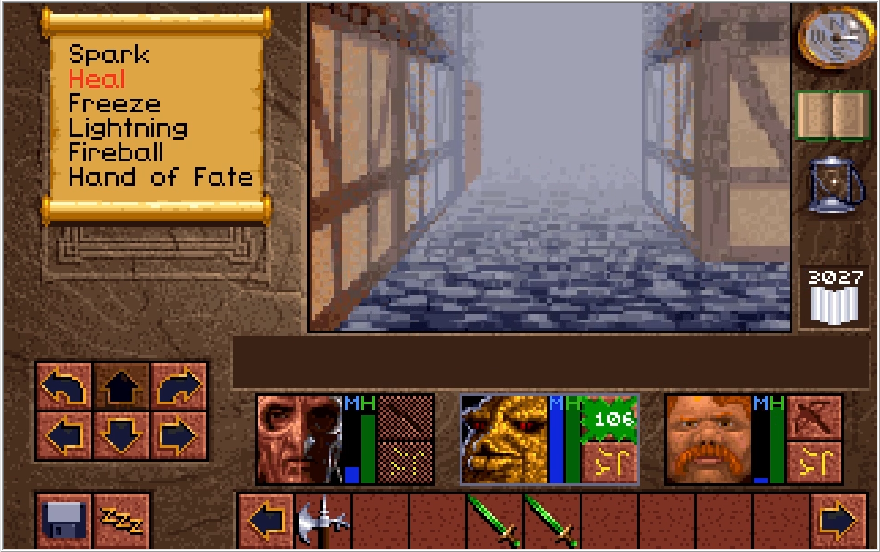
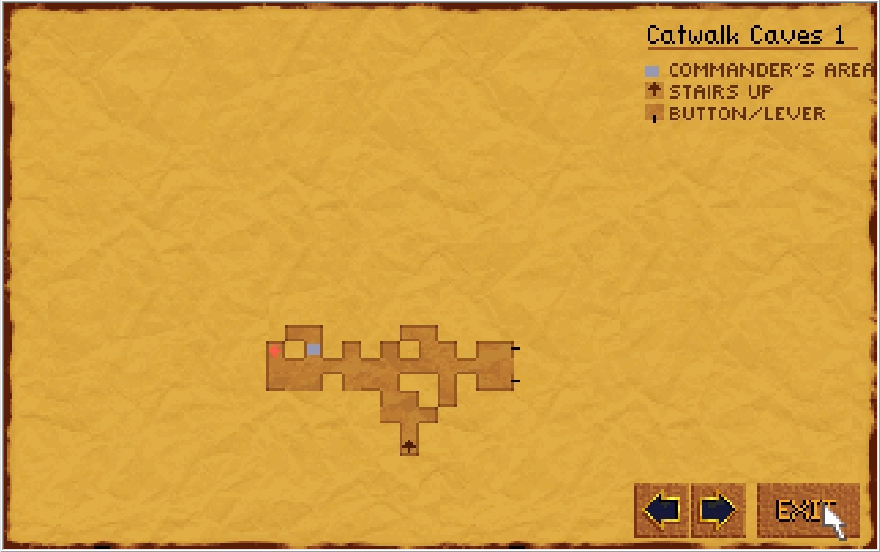
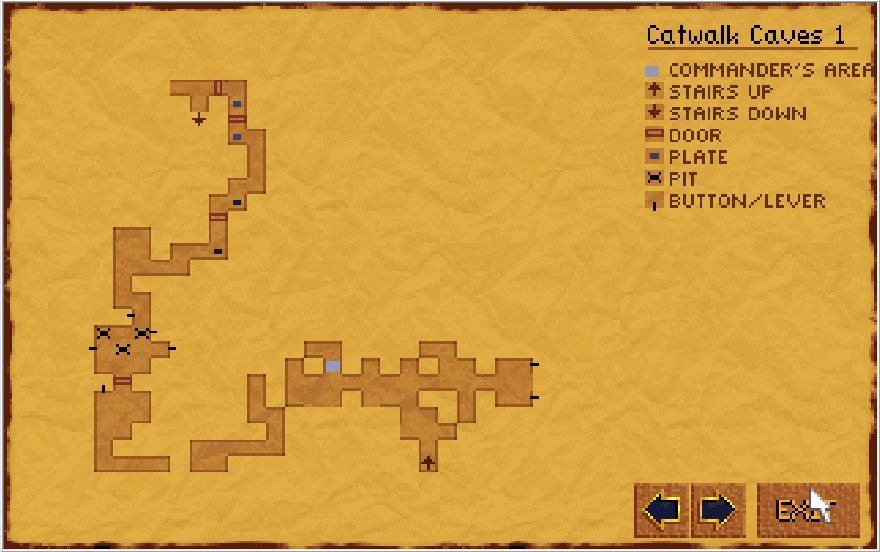
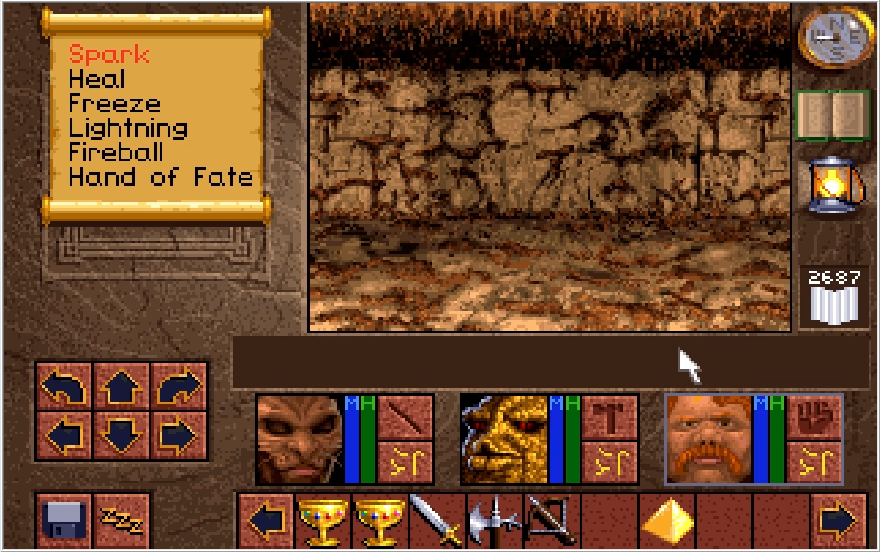
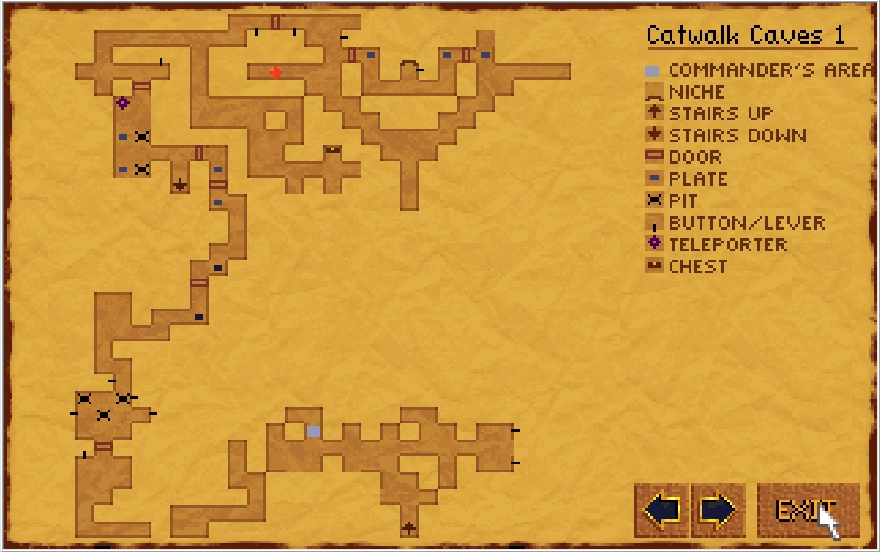
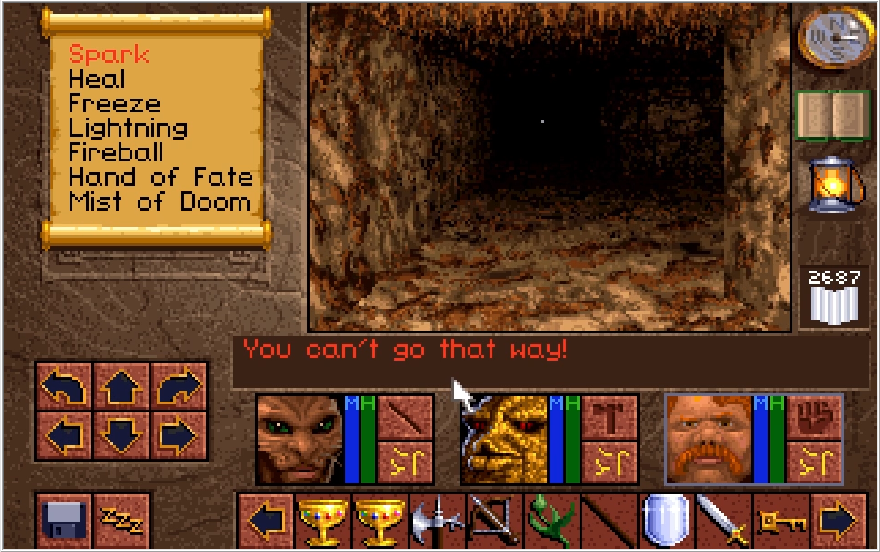
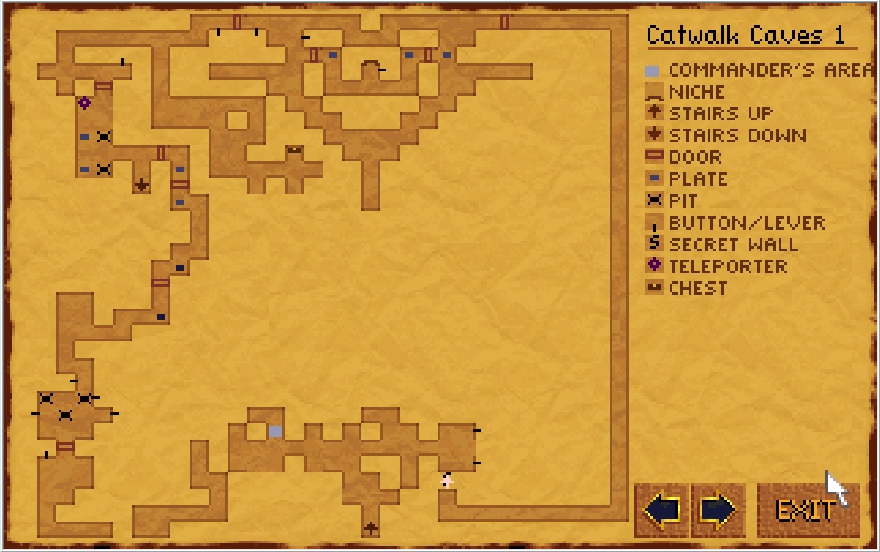
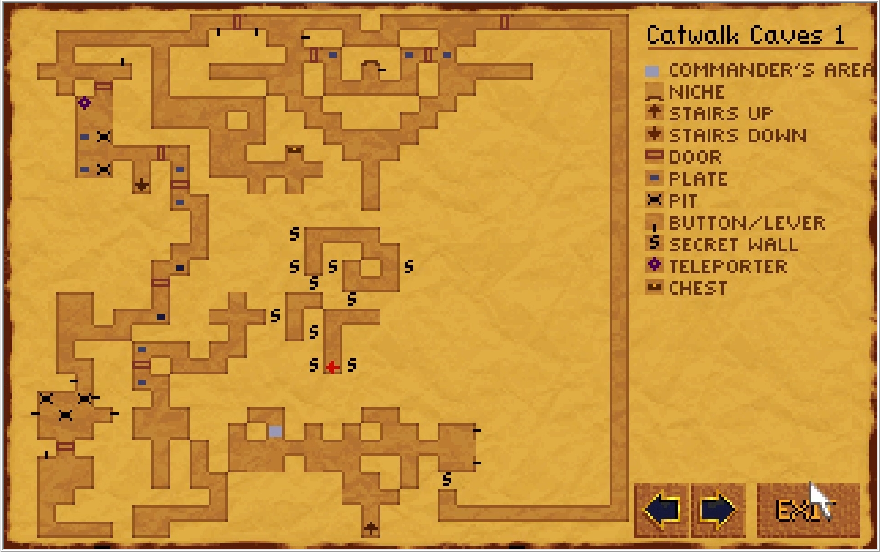
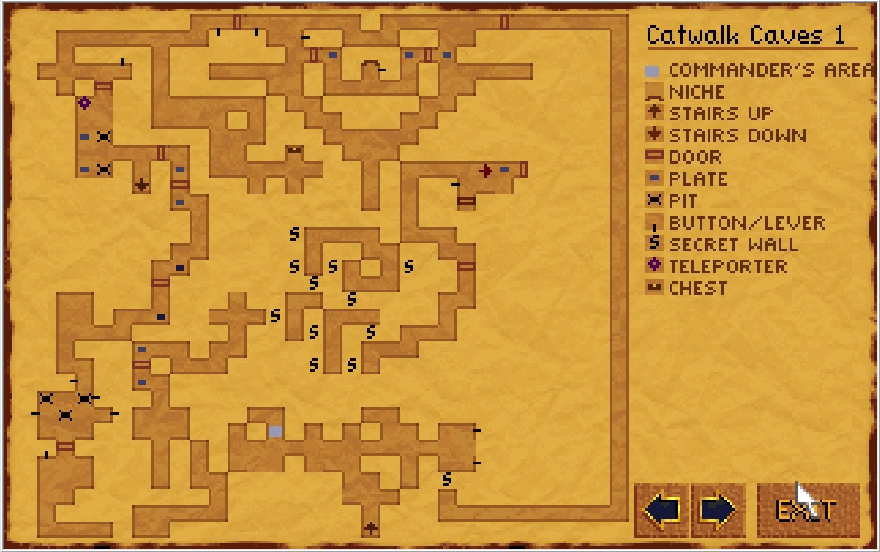
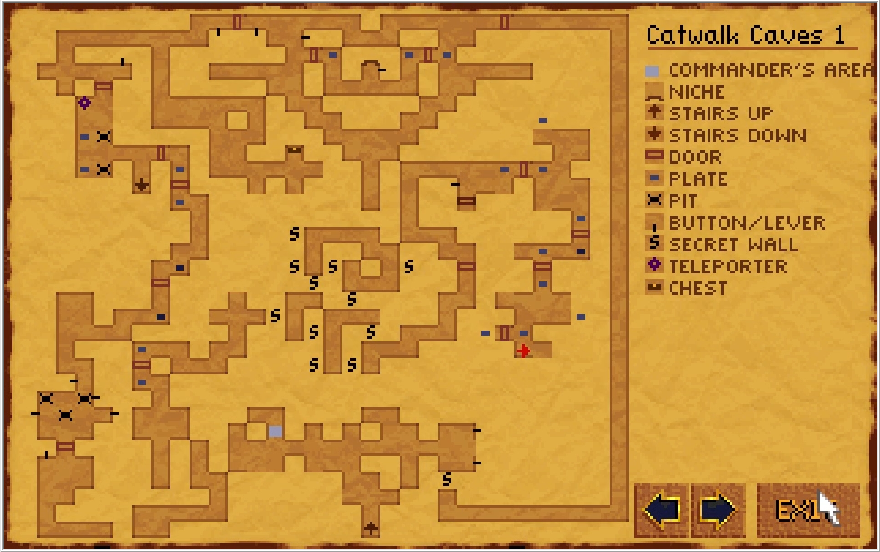
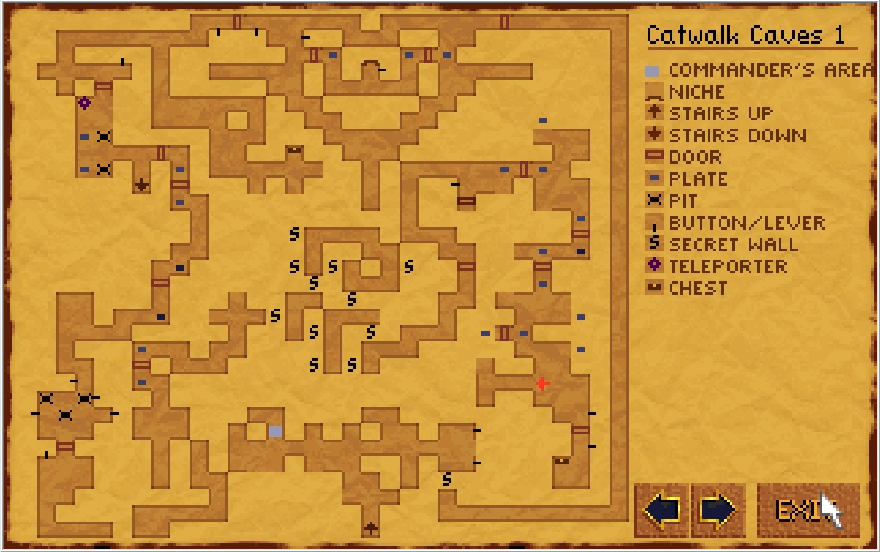
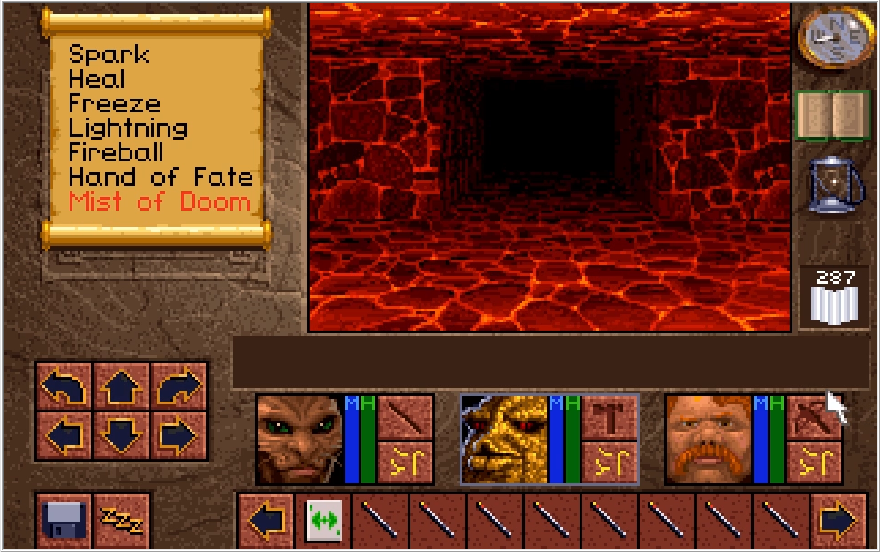
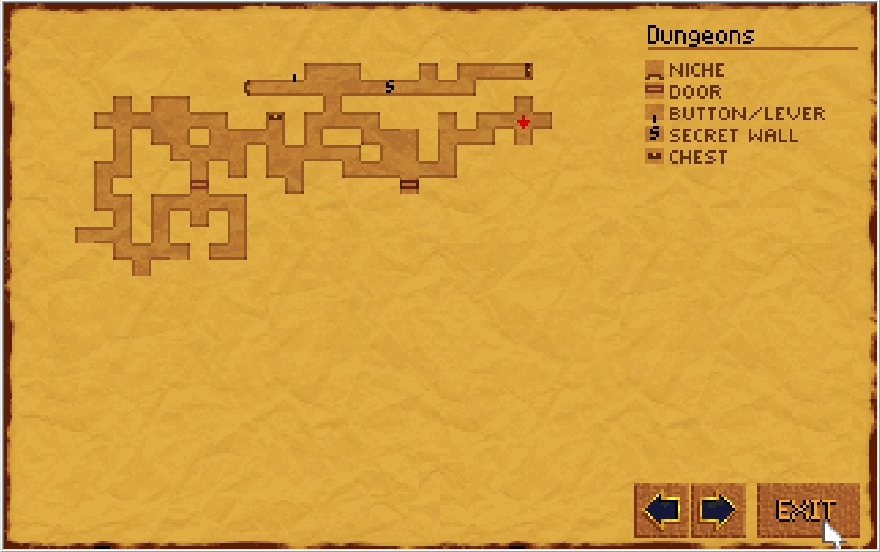
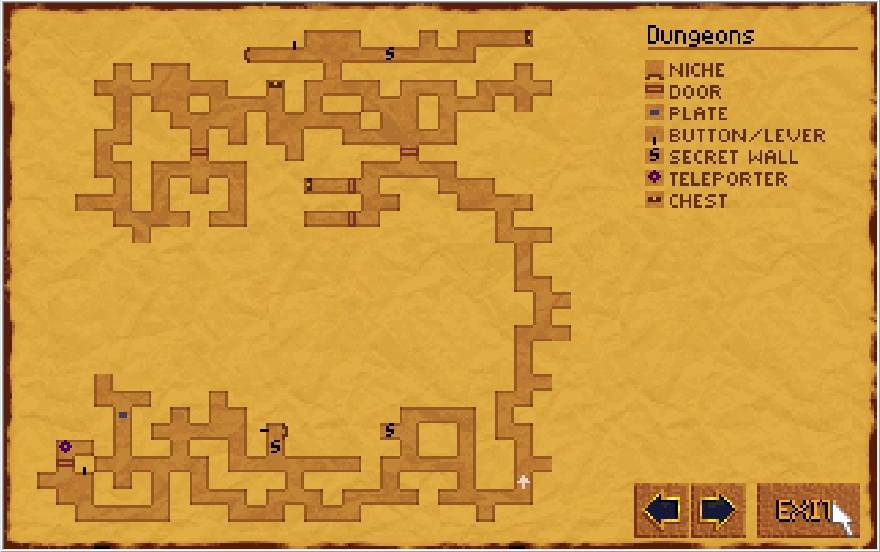
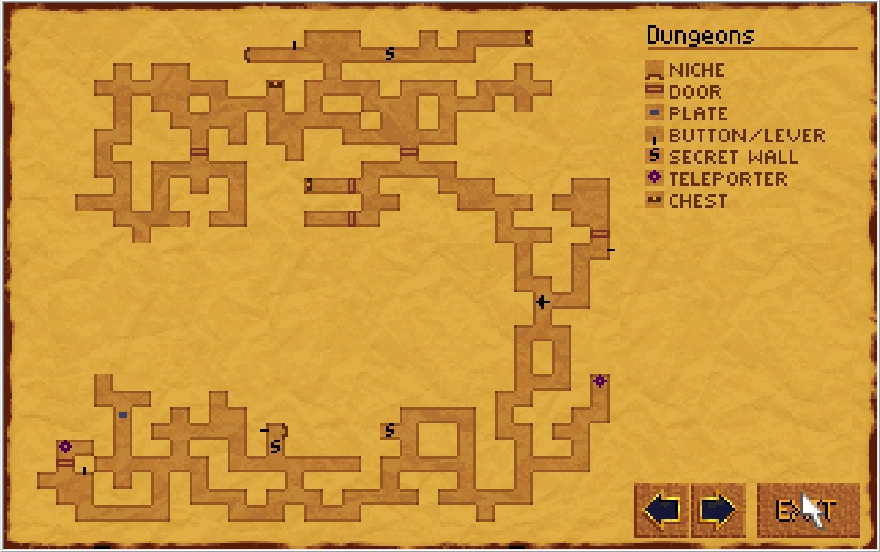
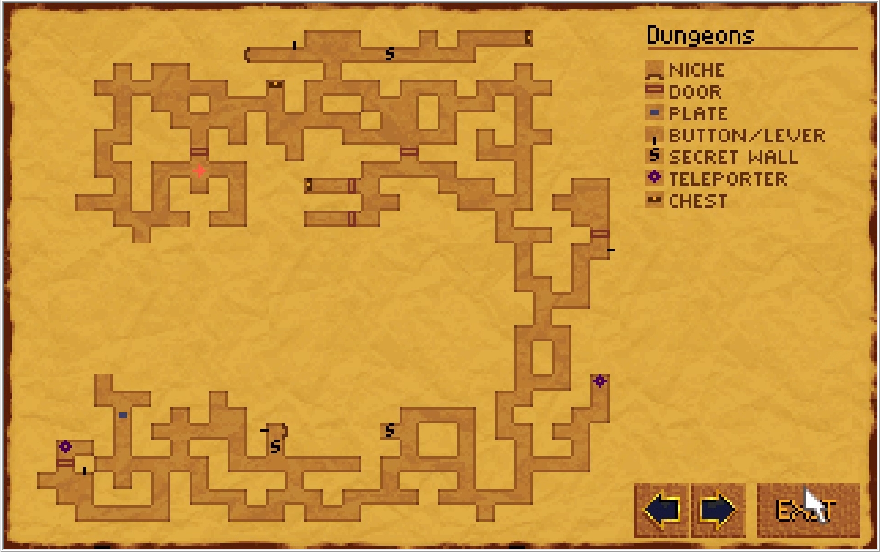
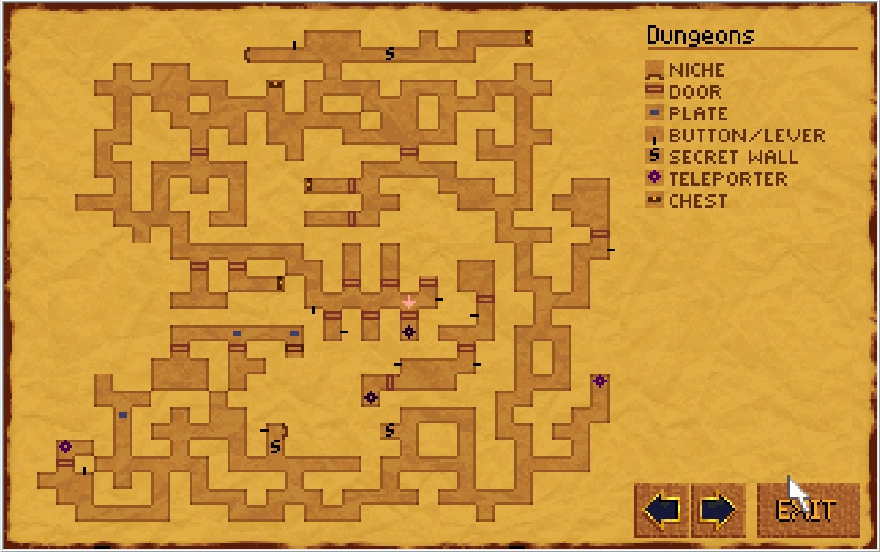
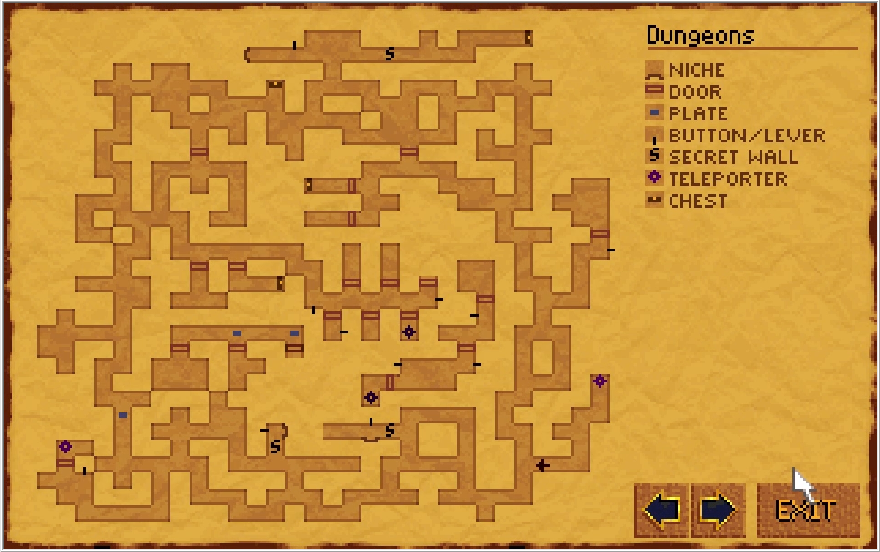
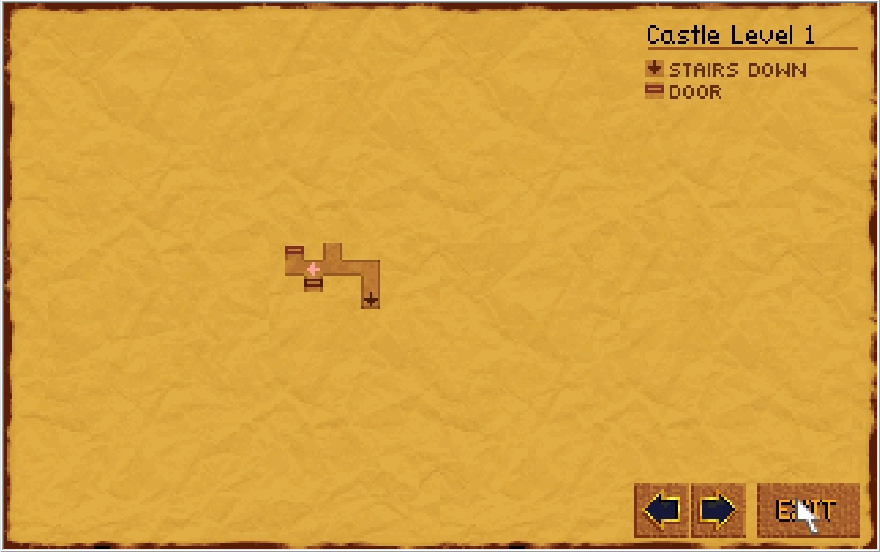
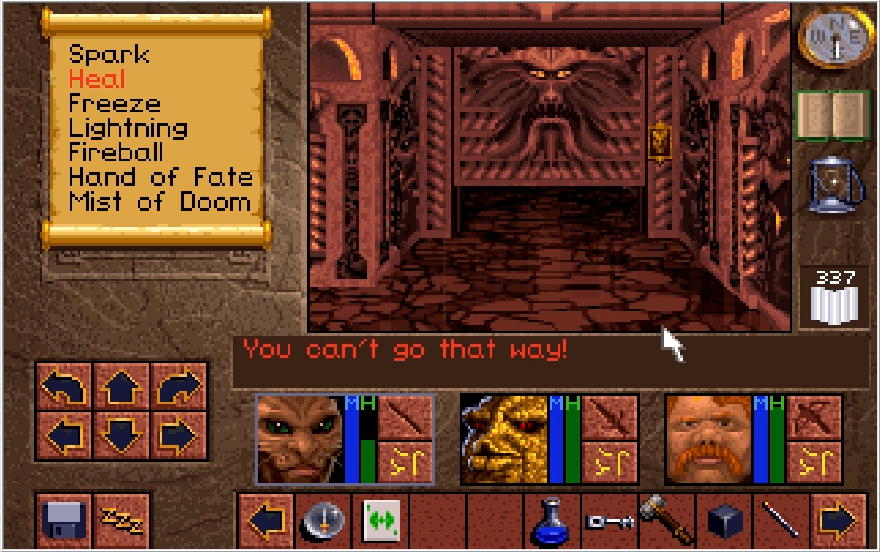
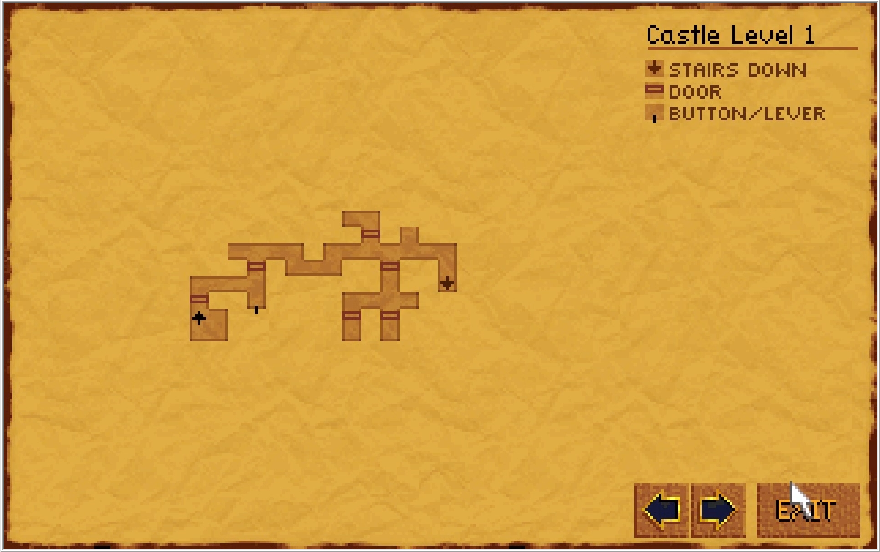
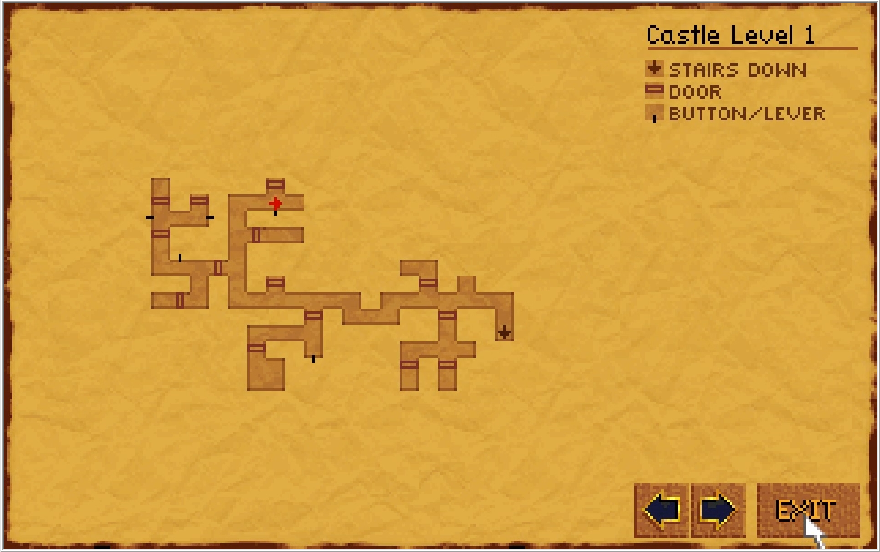
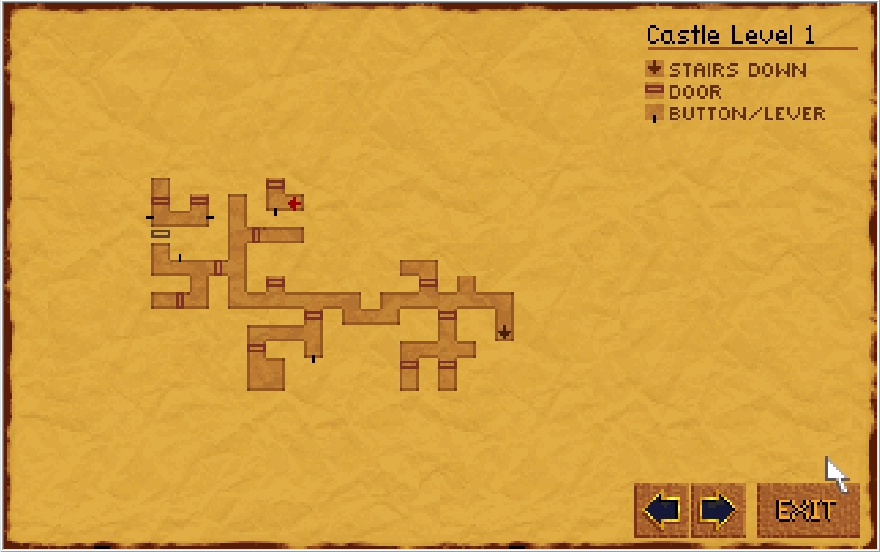
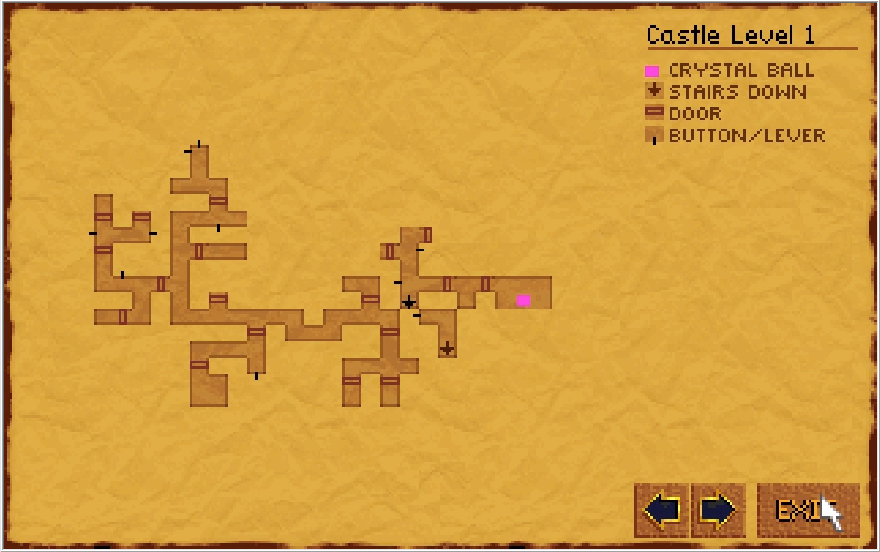
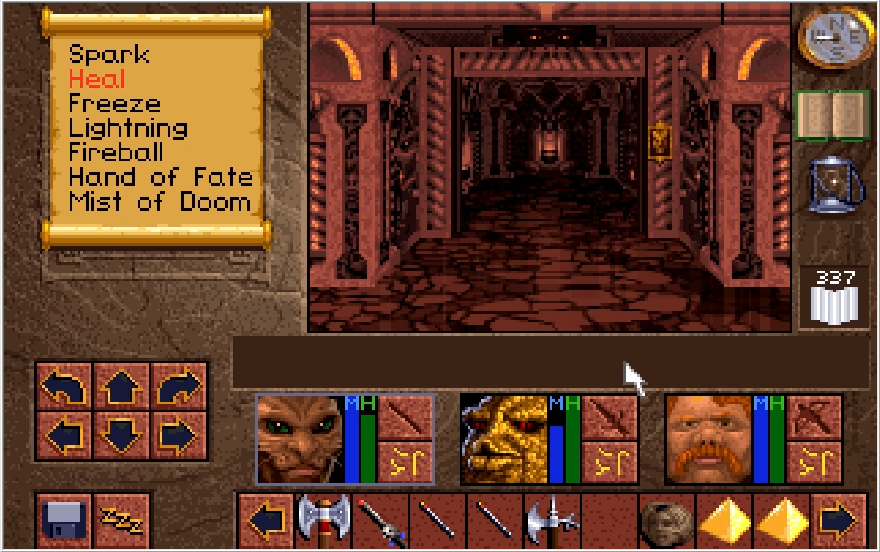
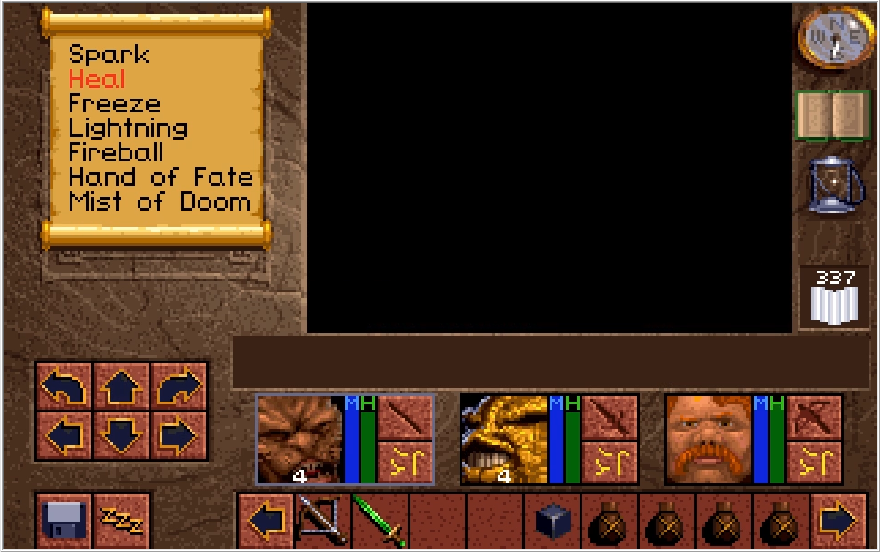
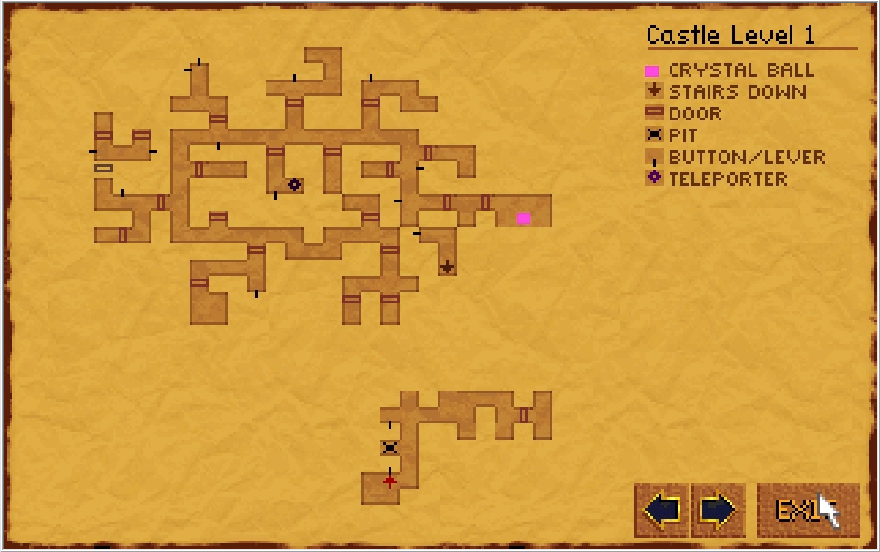
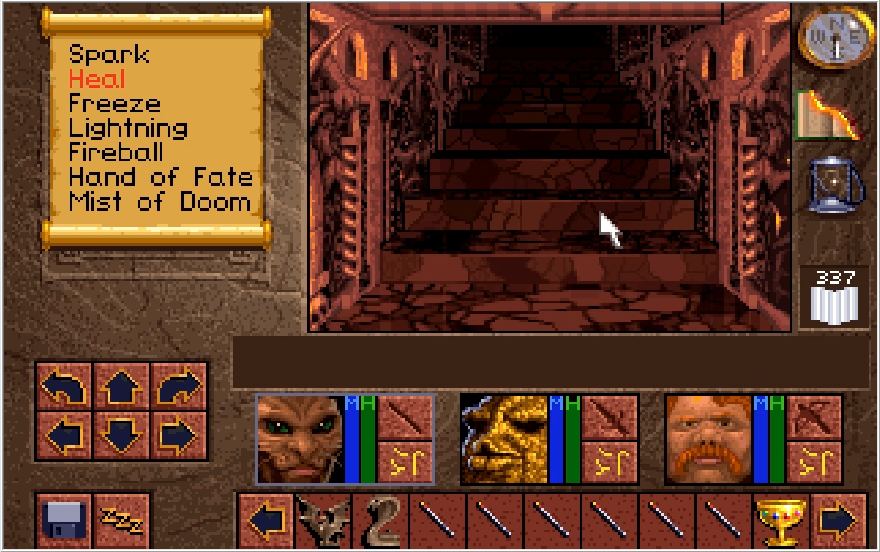
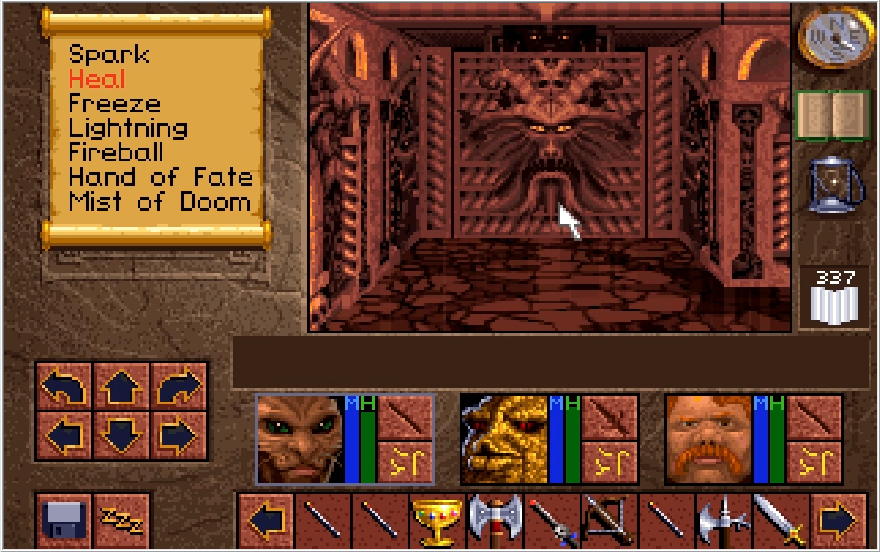
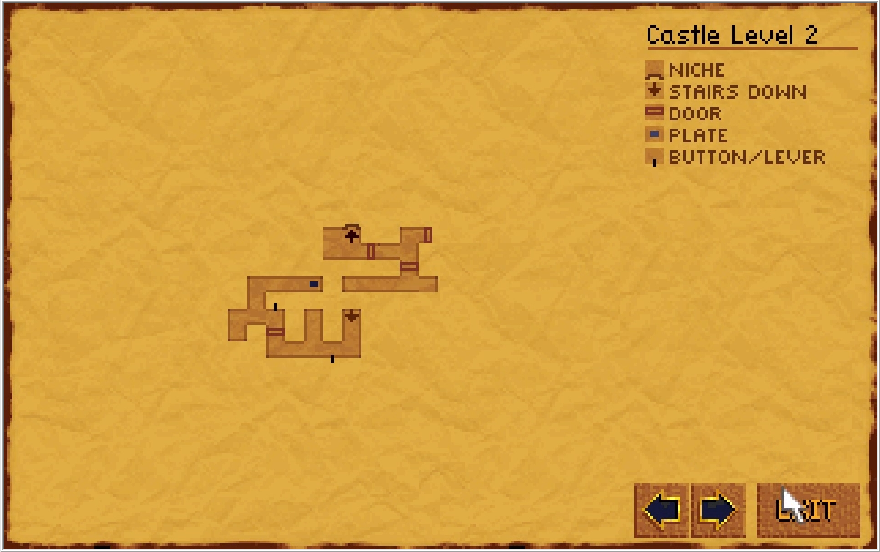
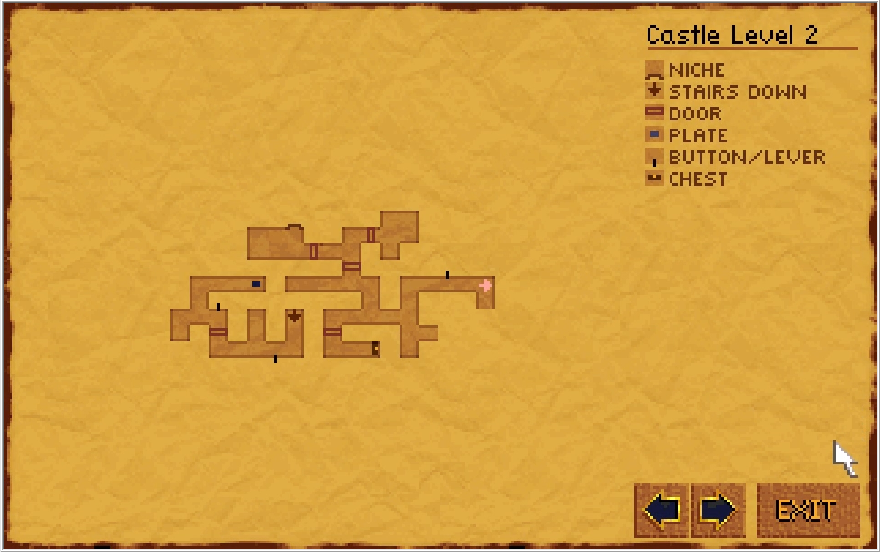
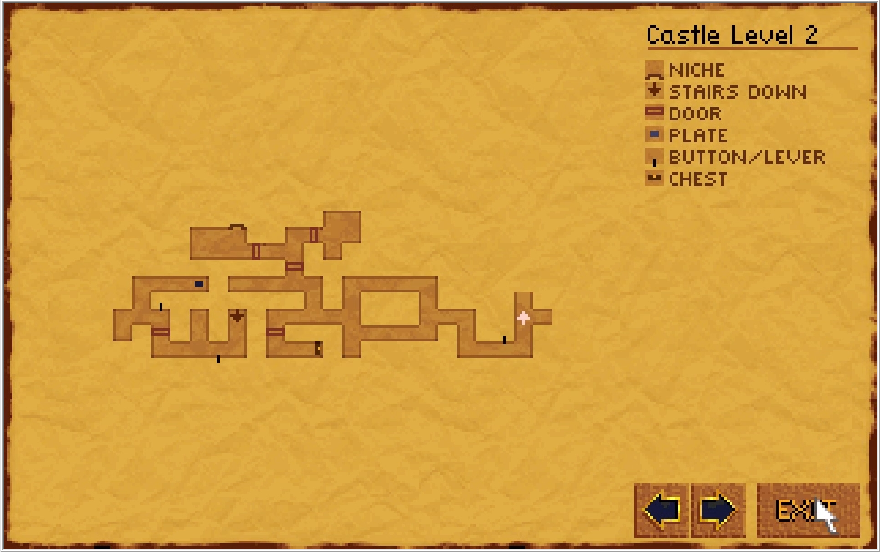
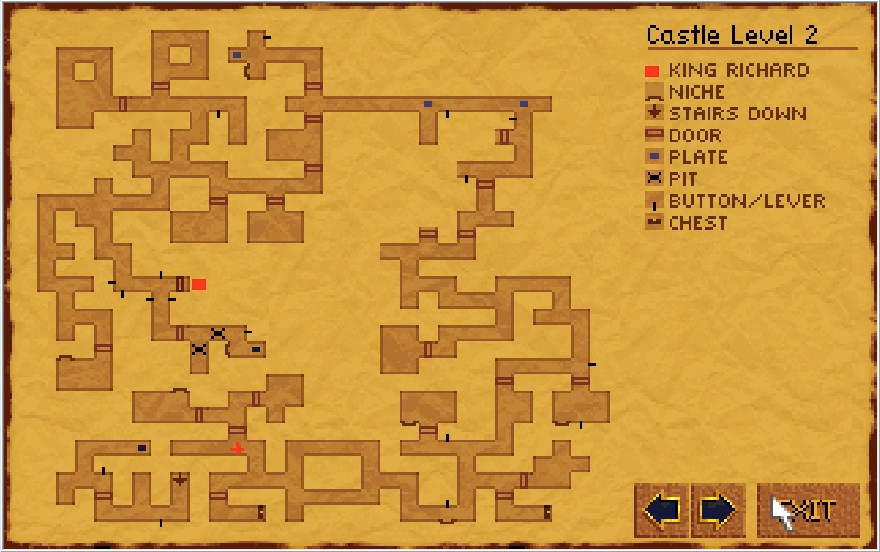
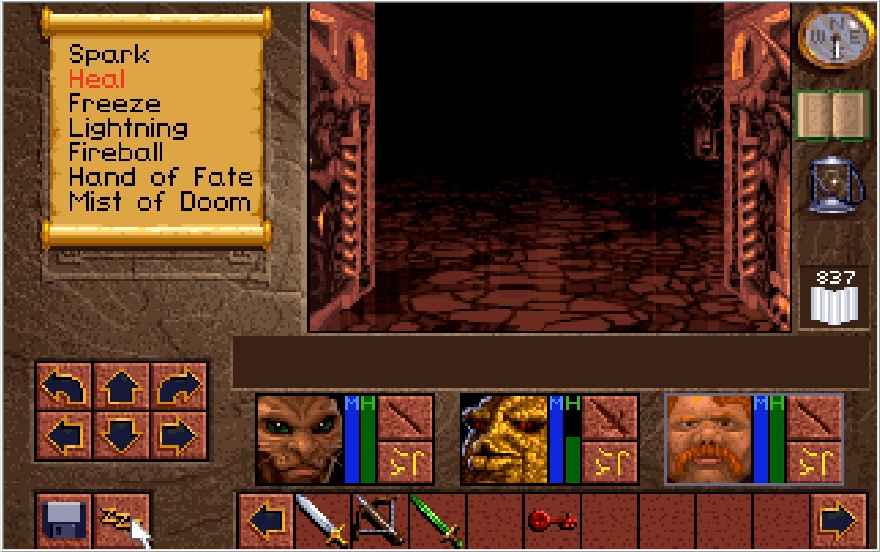
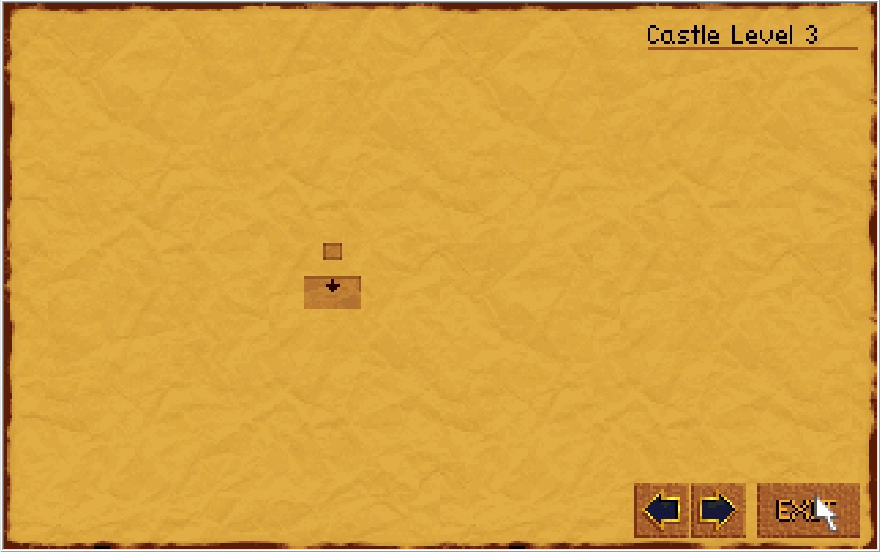
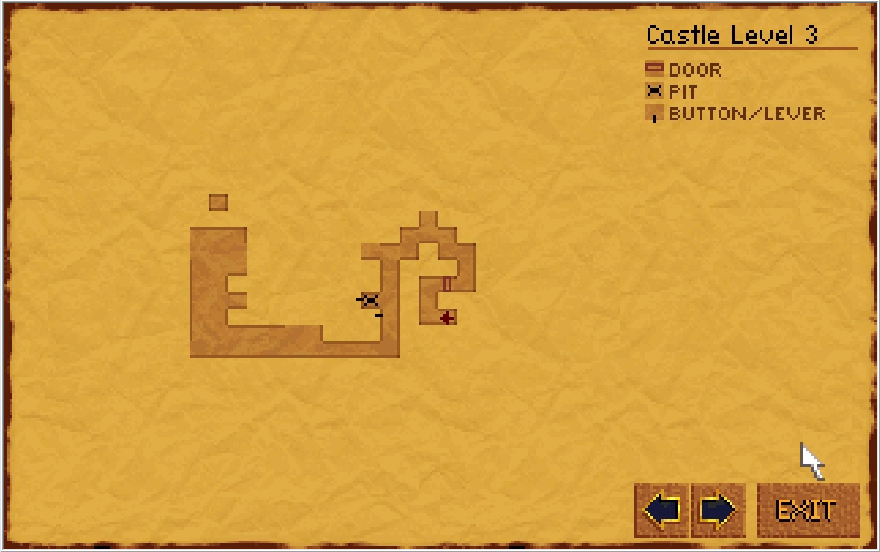
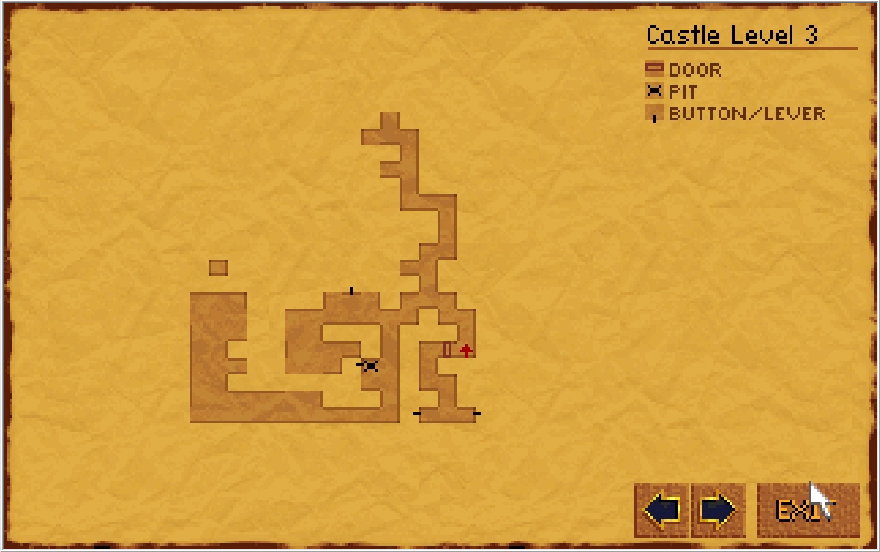
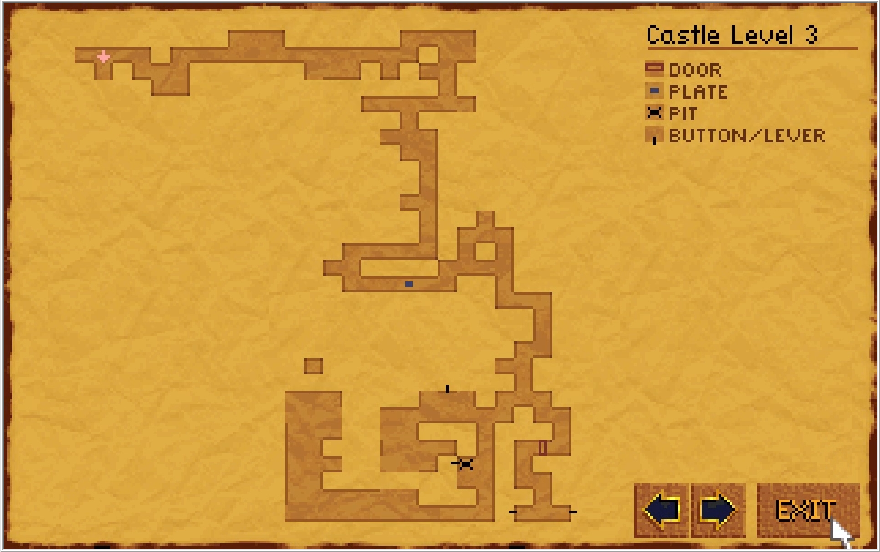
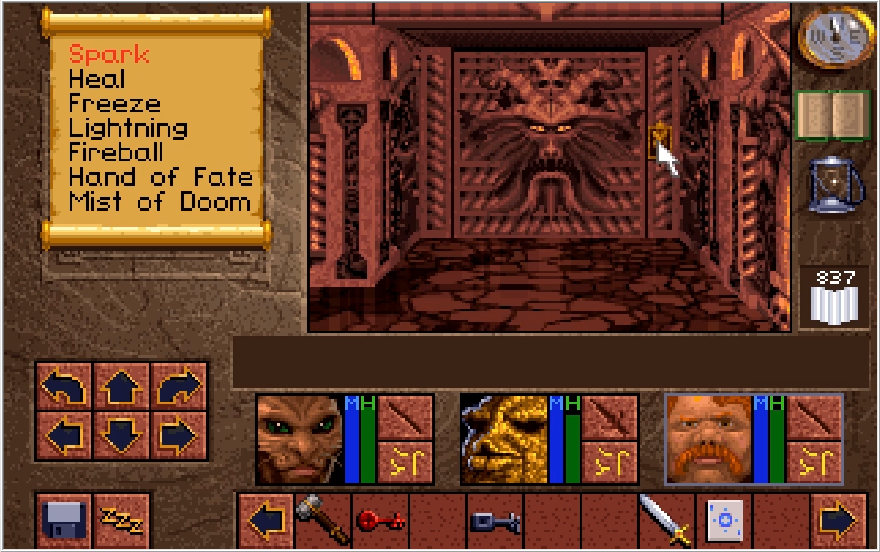
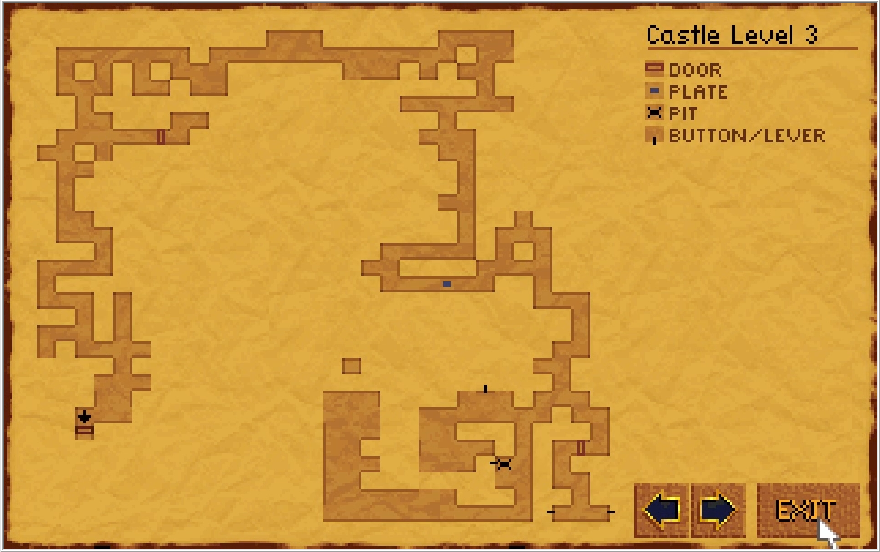
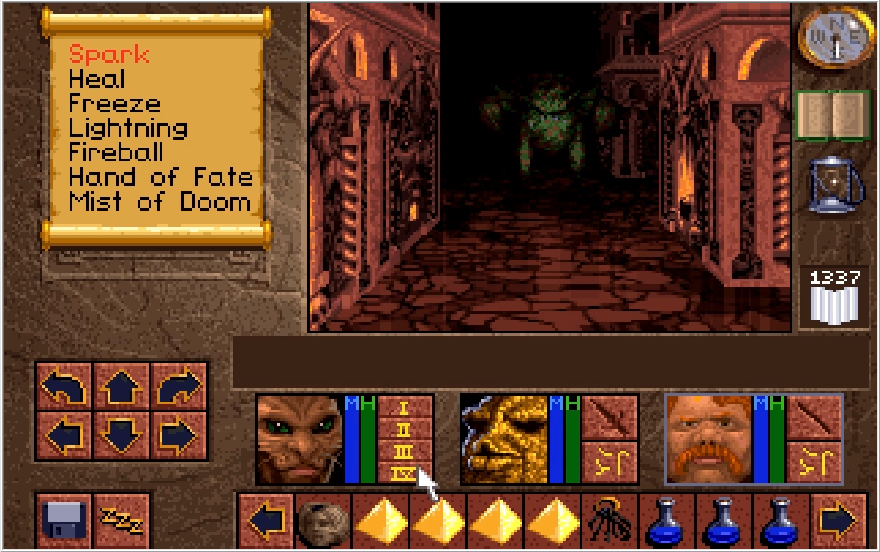
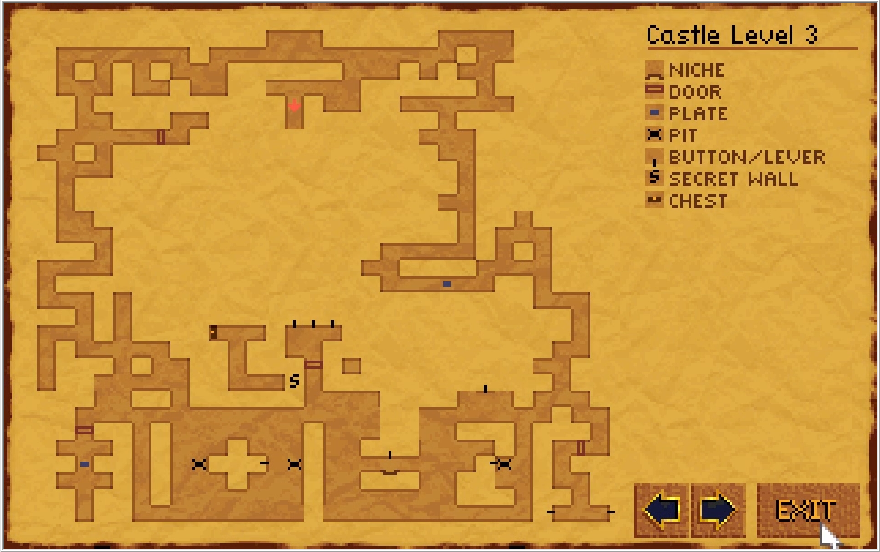
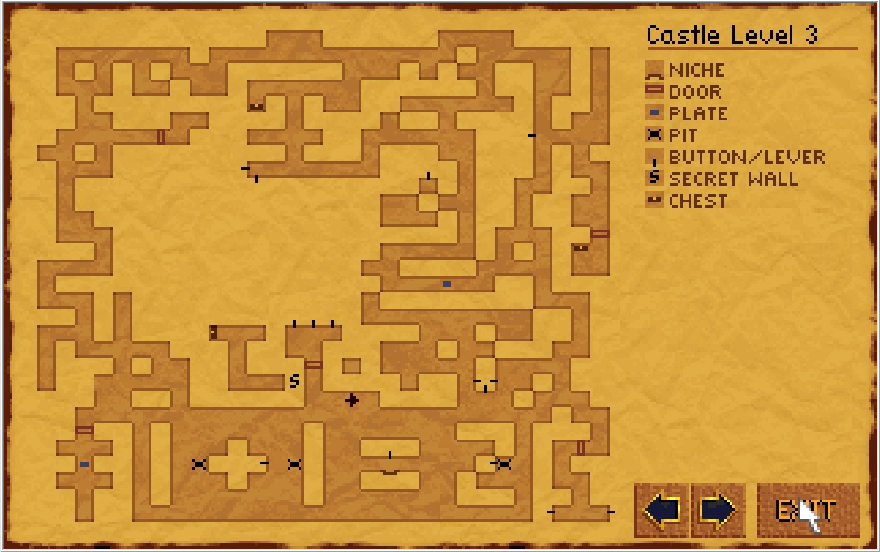
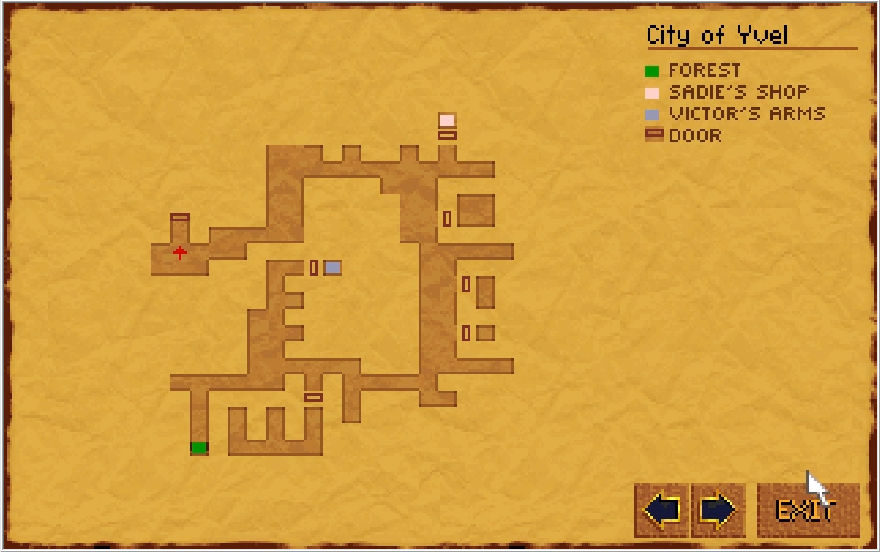
Hard to believe we're already at the end of the game, huh? Granted, the game rushes pretty hard to its conclusion so I suppose that feeling is natural. All that said, let's get this show on the road. Level 3 of Castle Cimmeria is quite large, but there really is not that much to it. I'll mostly just be addressing the main points of interest as large chunks of this floor are completely pointless and mostly just serve to get you lost. The entire northeastern section of the map for this floor has literally nothing important in it. Speaking of the map, expect a lot of map screens so I can easily (and lazily) show you where I am currently.
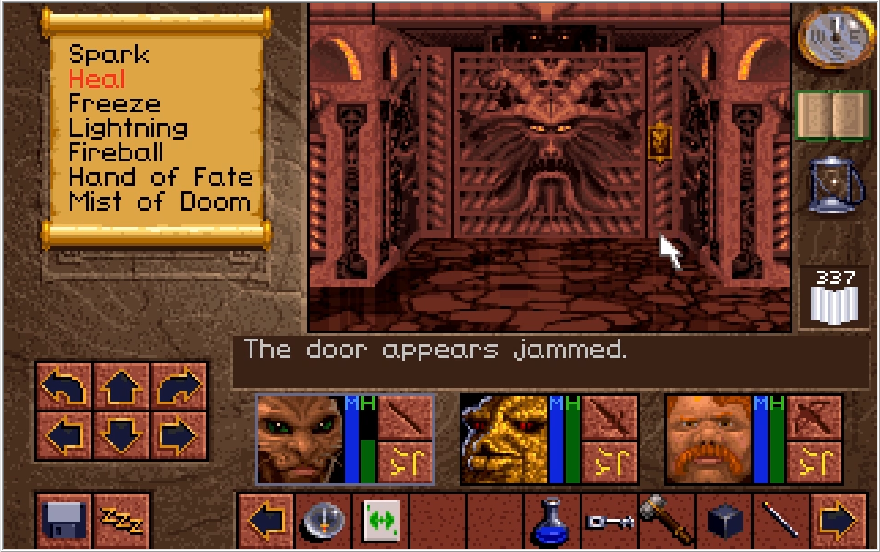
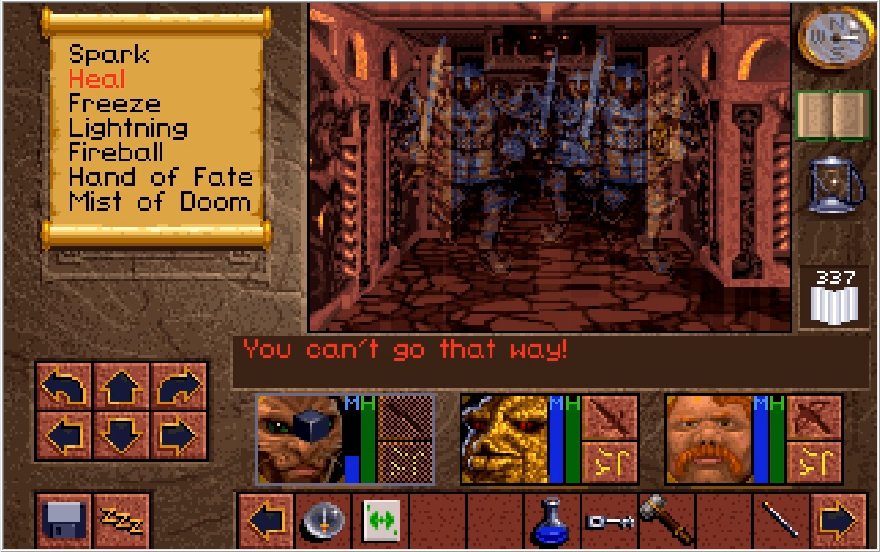
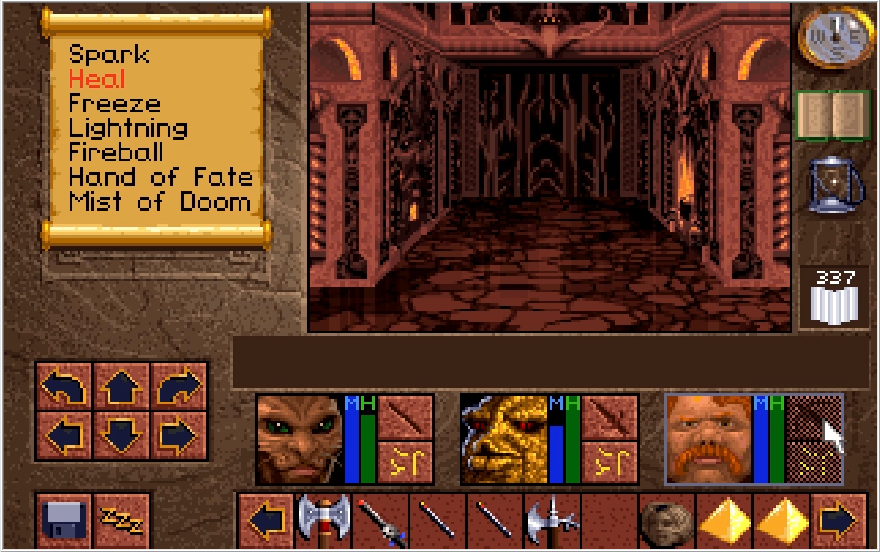
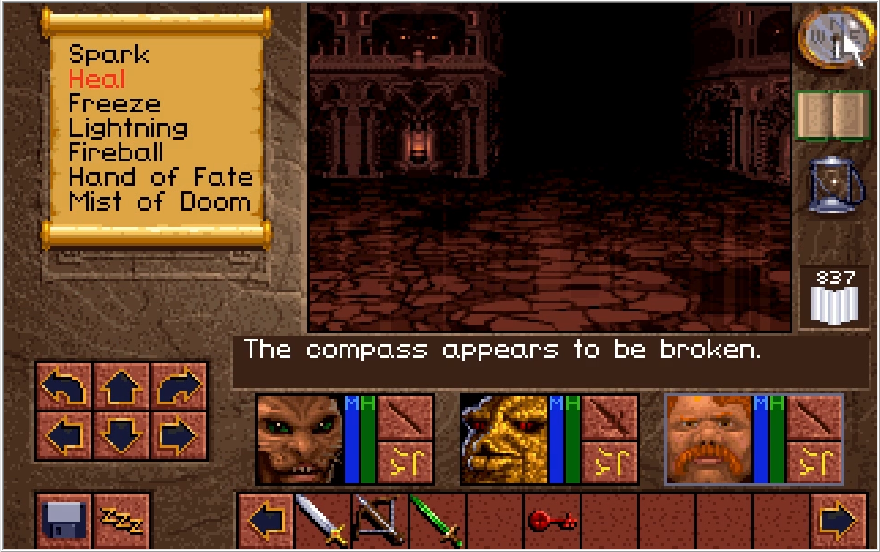
One thing I'd like to reiterate is that Scotia is available to battle right now. Her chamber is in the center of the floor, and the two keys we need to access it are both found on this level as well. That said, Scotia is impossible to beat currently as we lack a critical item for thwarting her. God help you if you enter her chamber by mistake and save your progress if you've only been keeping one file. Once you enter Scotia's chamber, the path seals behind you and you're stuck there until either you kill her or she kills you.
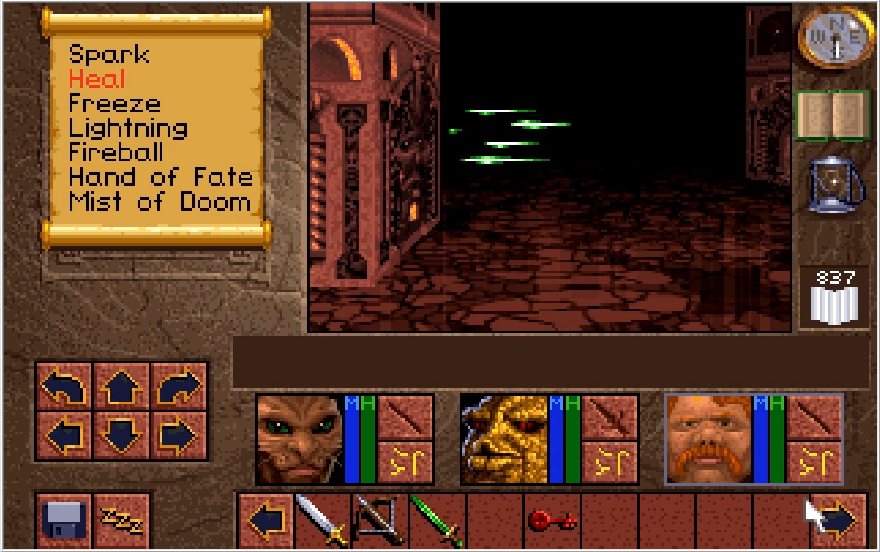
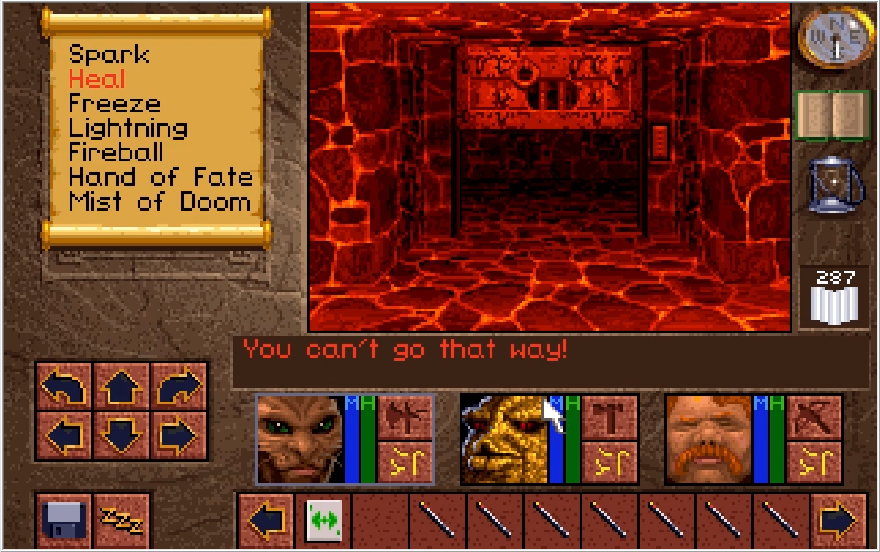
Starting things properly, one thing to note about the entire southern section of this map is that there are projectile traps that are firing endlessly. They're not much of a threat as there's only one in particular you need to cross paths with for more than half a second. Calling back to something I said a couple updates ago where I speculated about an object limit error screwing with the switch-behind-gate puzzle on Level 1, that is actually something you need to keep in mind here. The traps in this section of the level max out the object limit, so if you happen to throw an item in their vicinity, there's a not-insignificant chance that it will disappear into the ether. Not like you'd be yeeting something like a Key or the Crucible of Faith for fun, but it is worth commenting on.
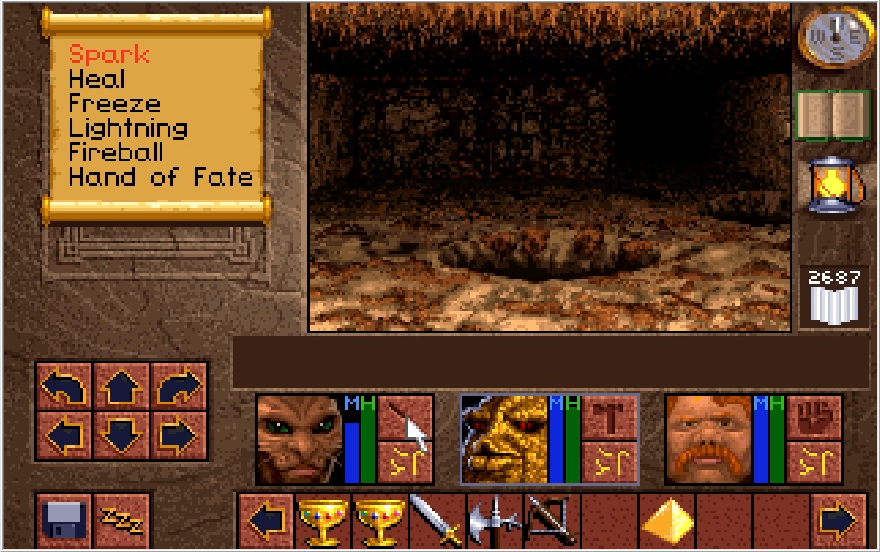
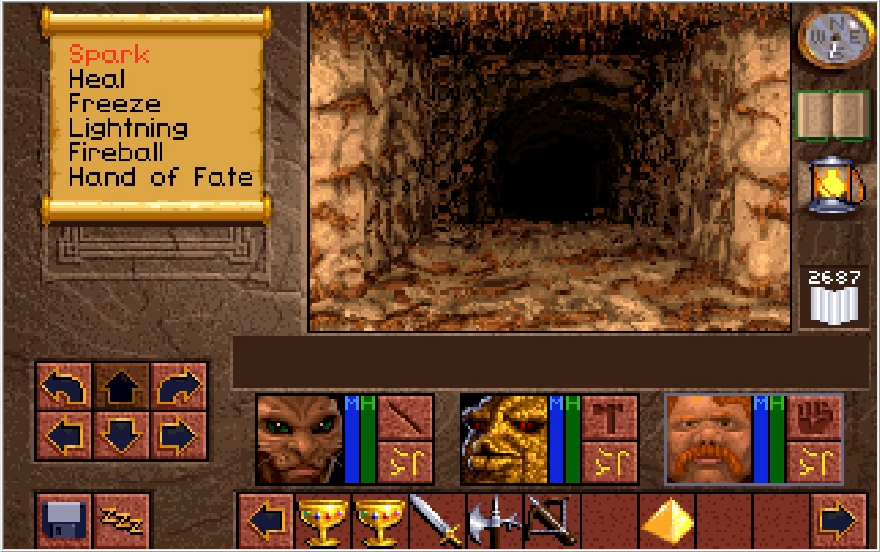
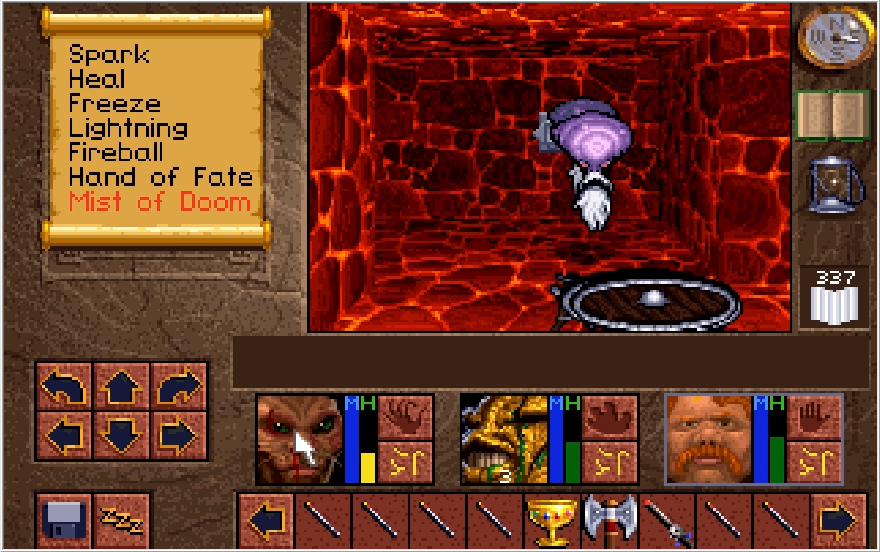
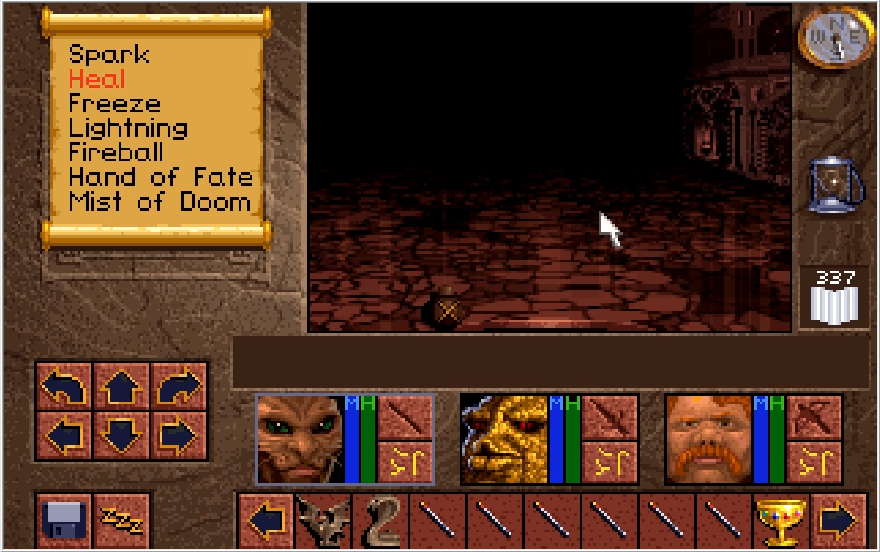
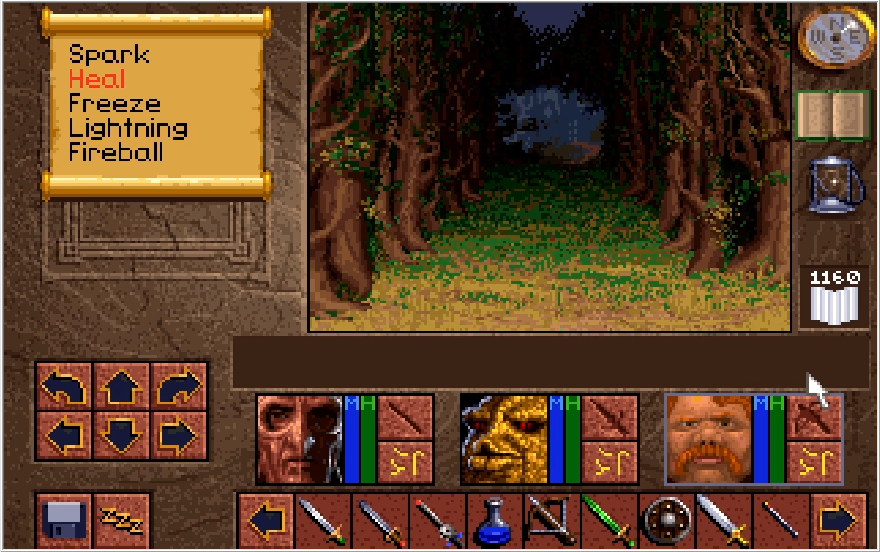
Our only means of escape from this floor are the handful of pits dotted around the southern section. Keep these in mind for when our business has been completed.
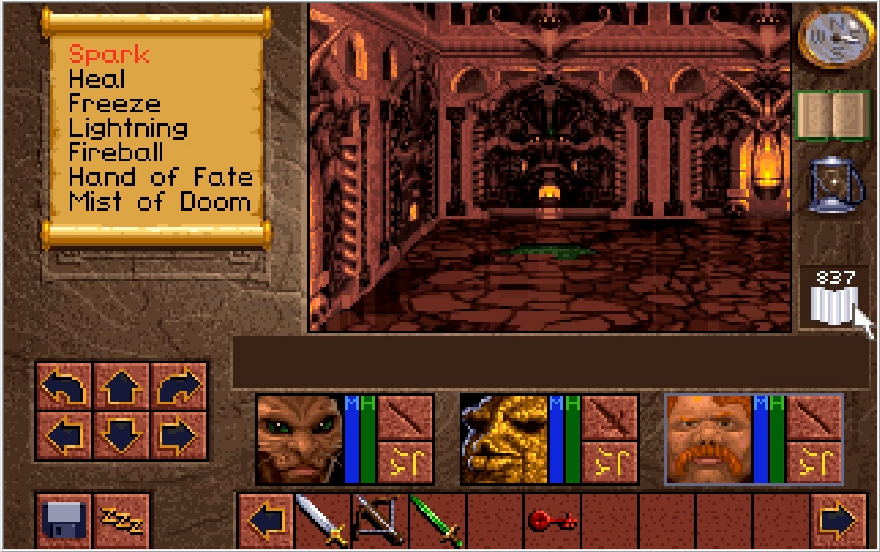
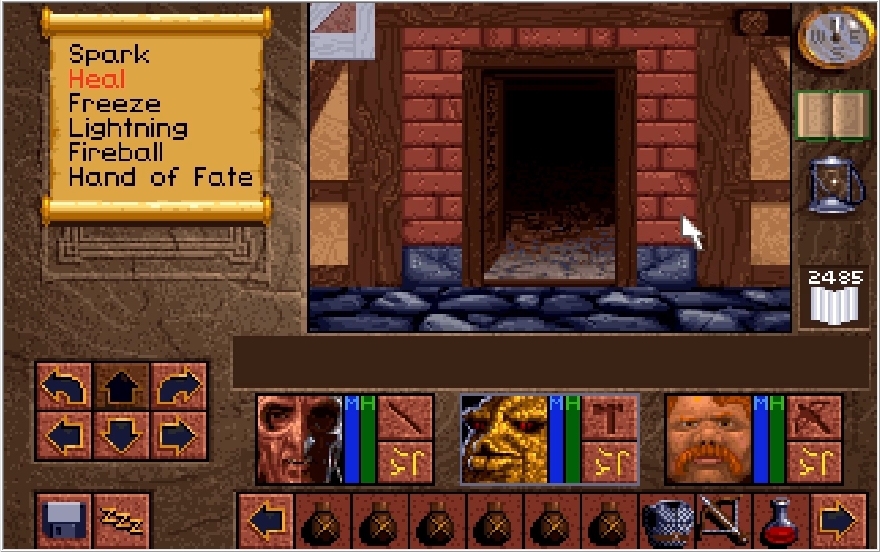
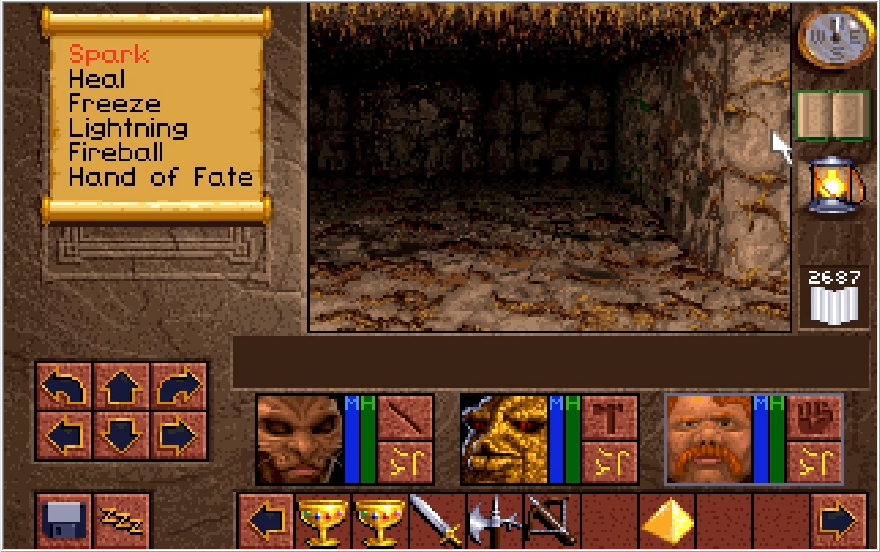
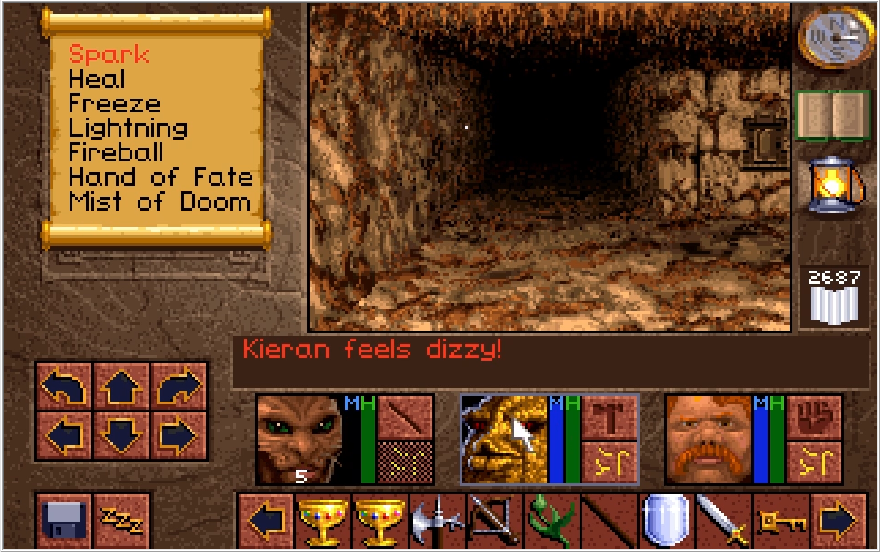
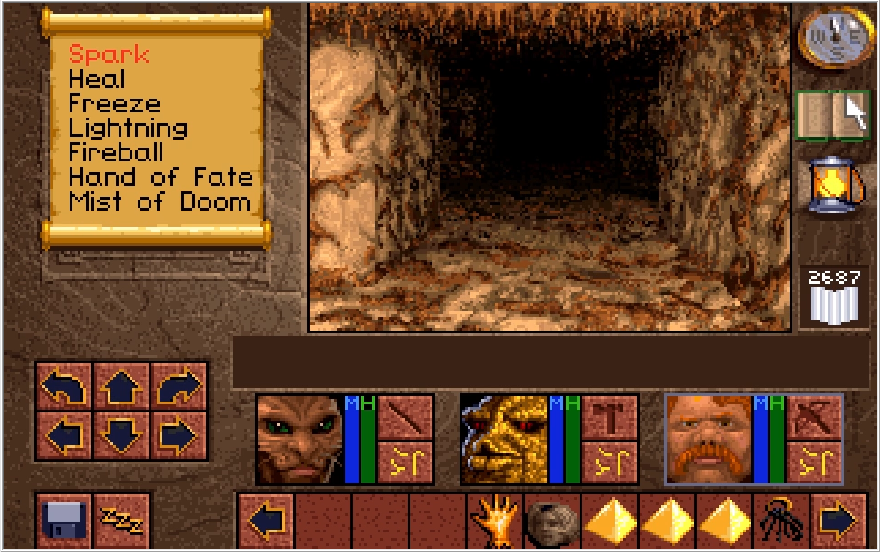
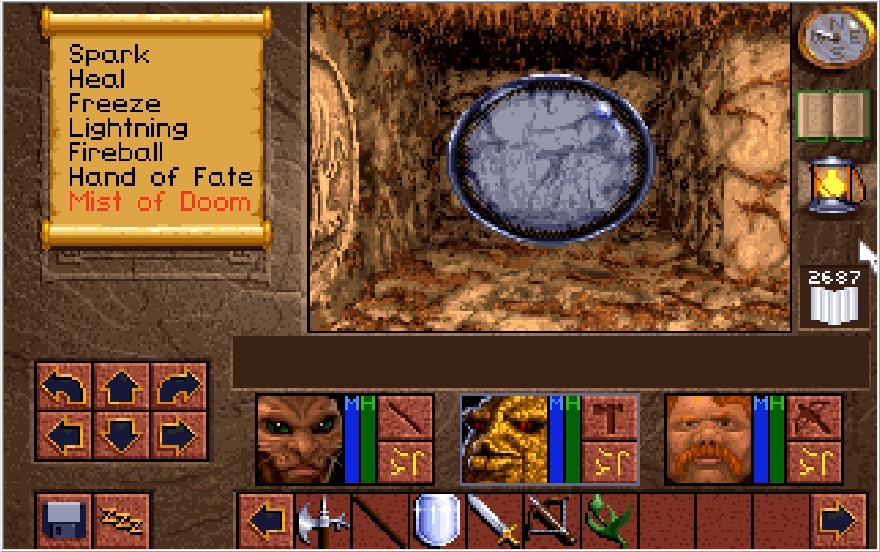
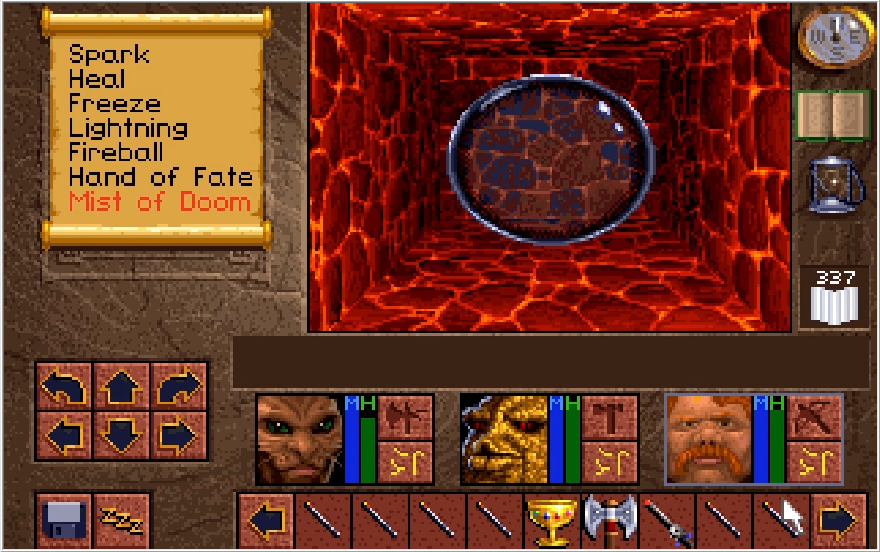
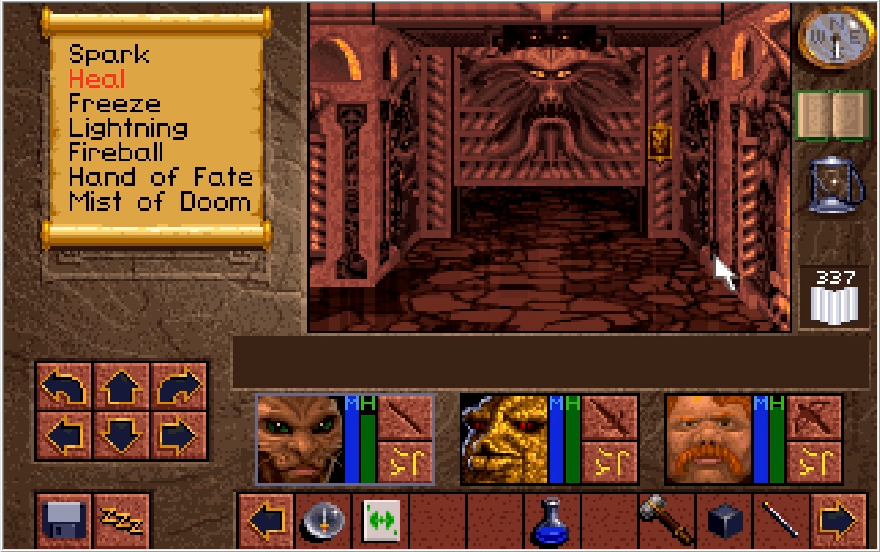
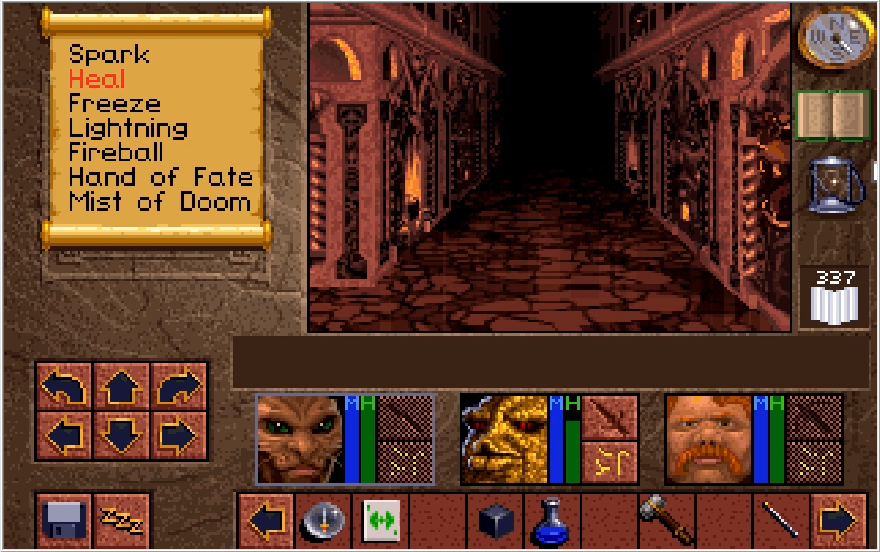
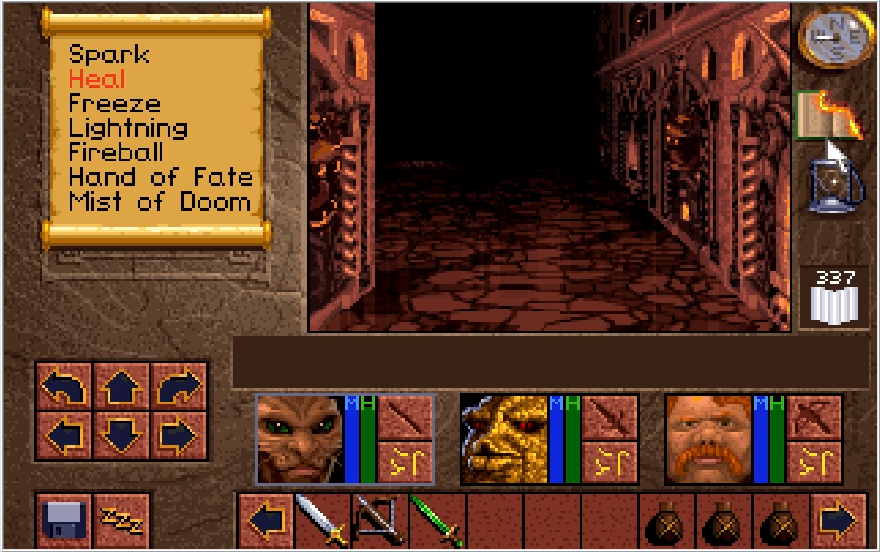
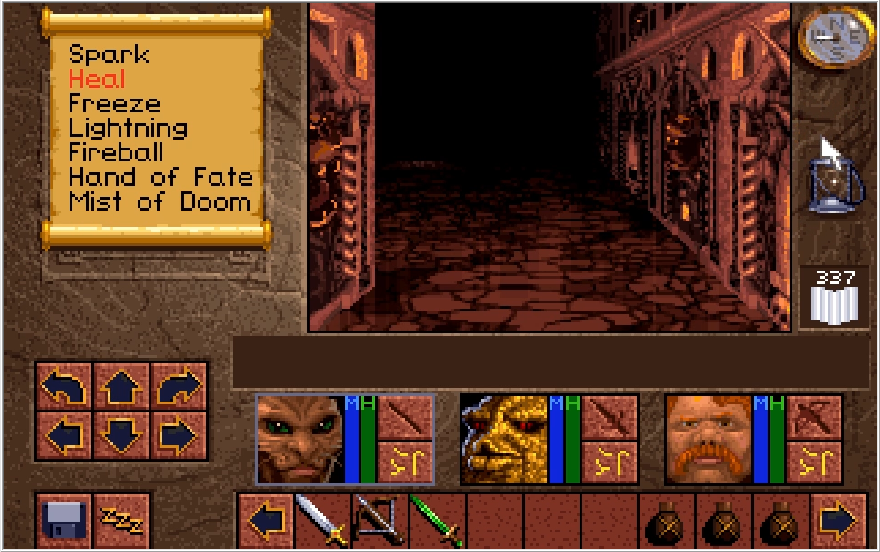
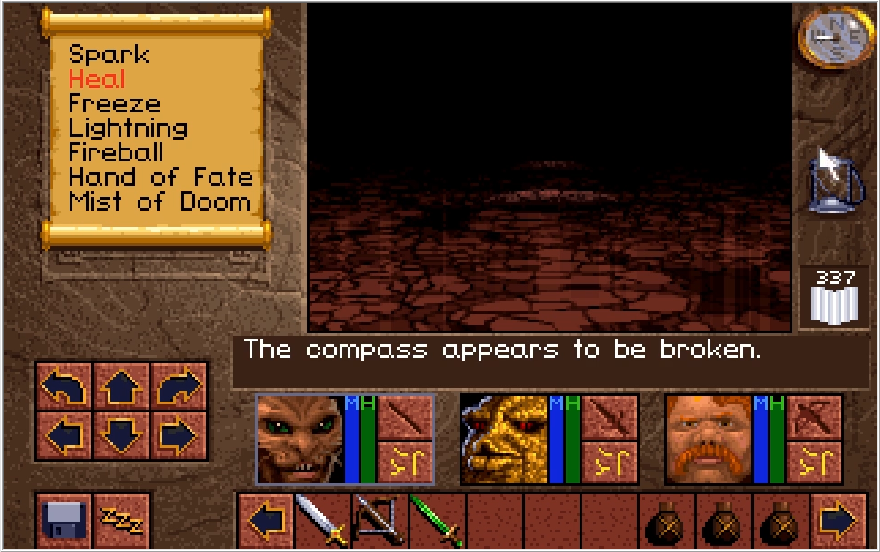
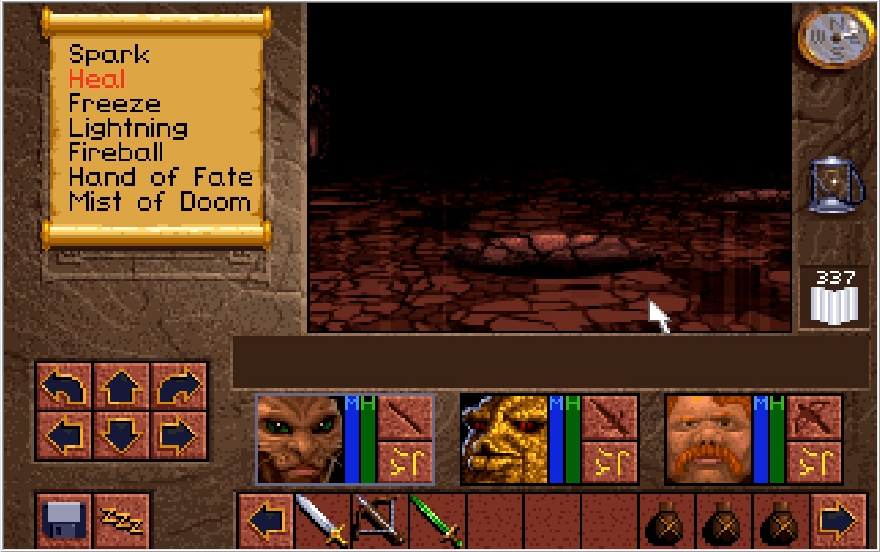
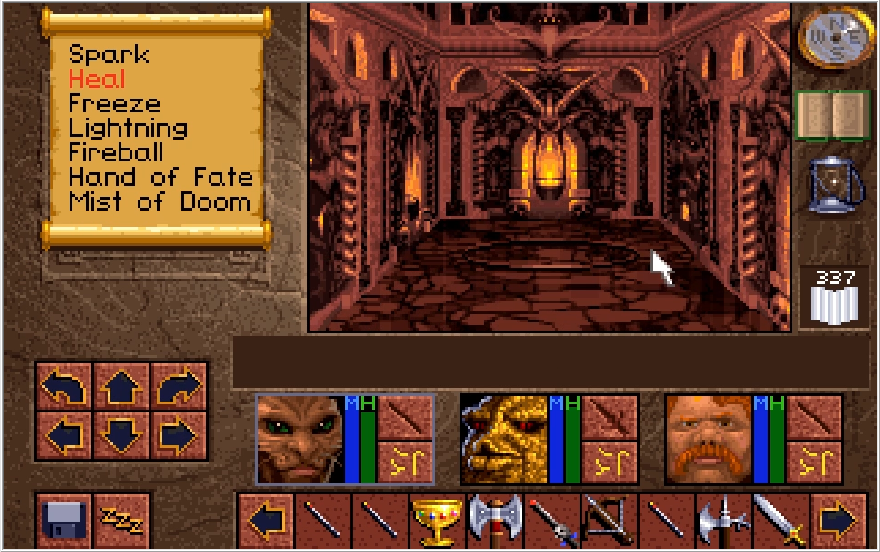
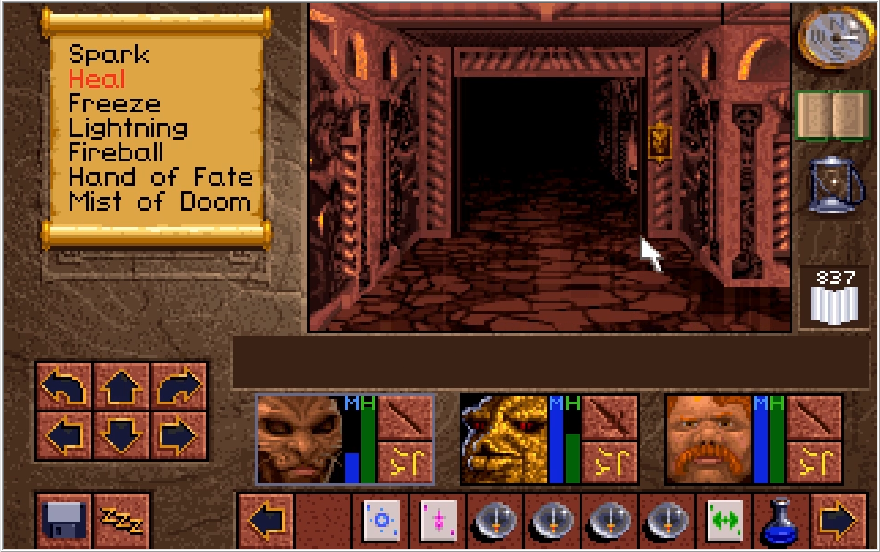
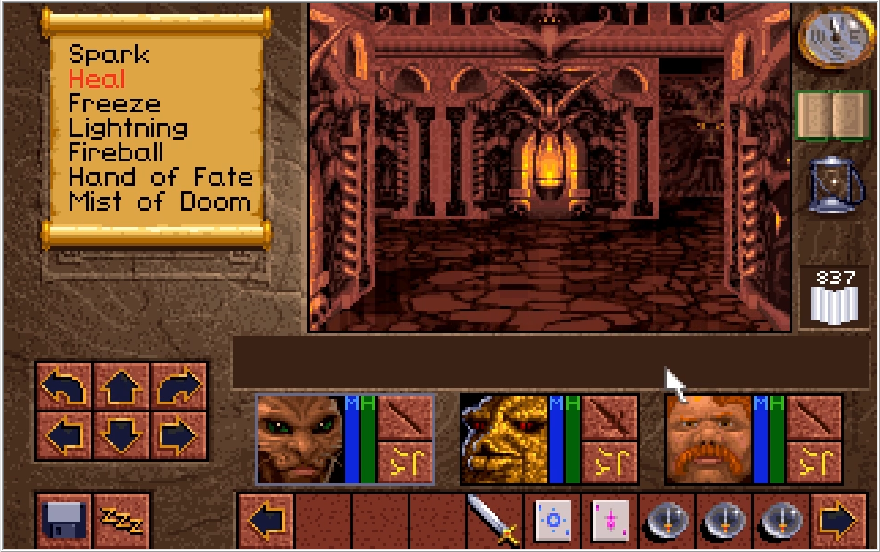
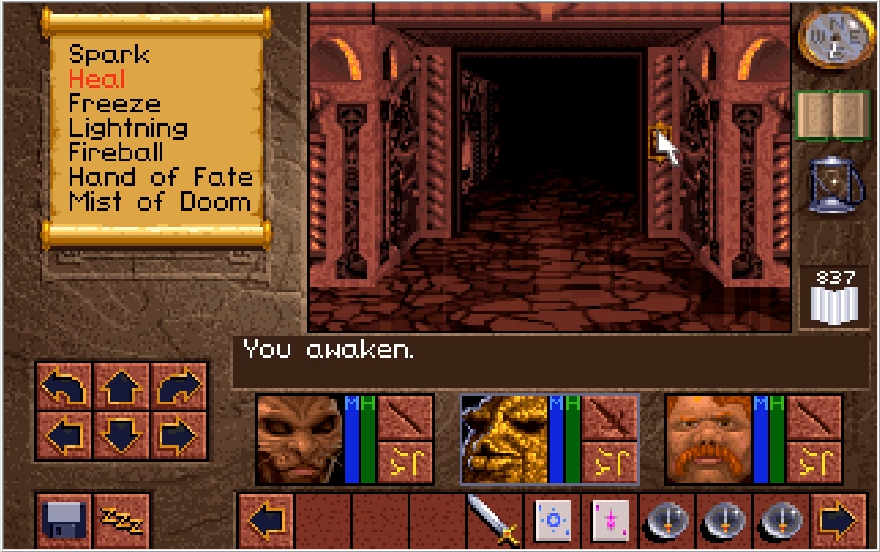
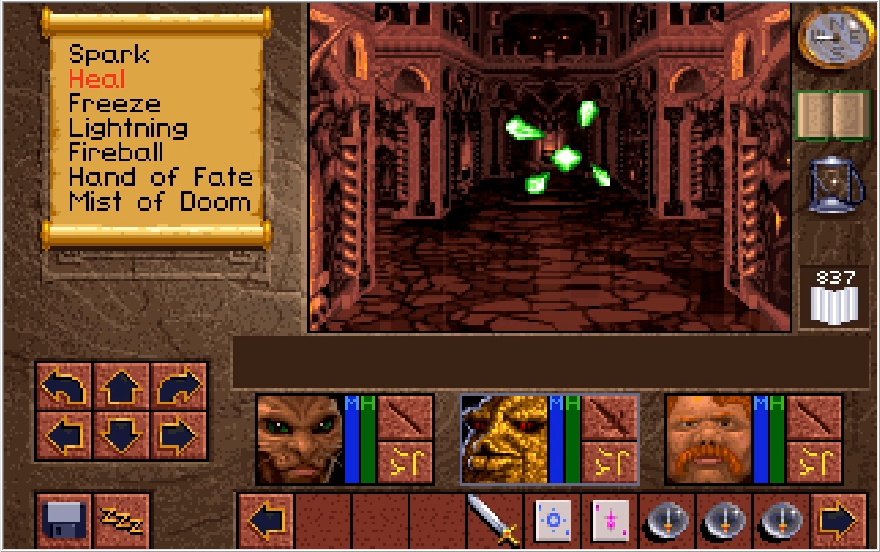
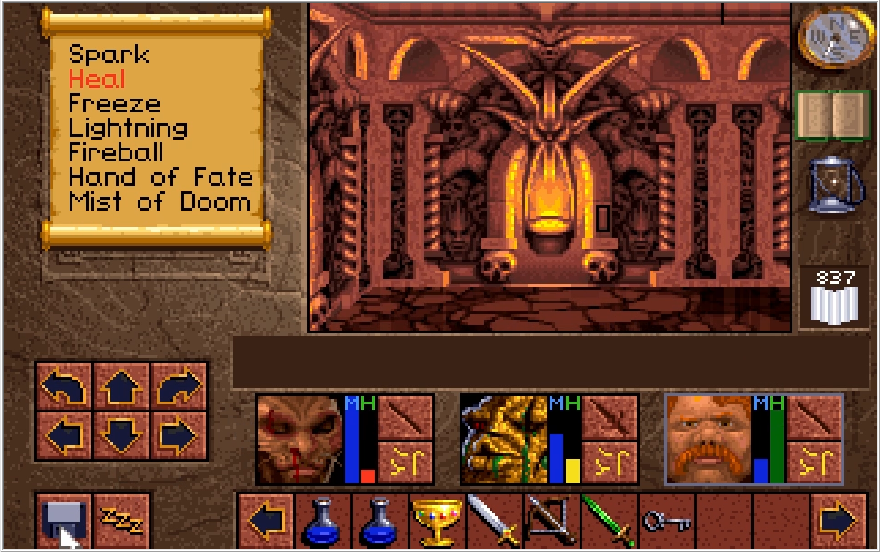
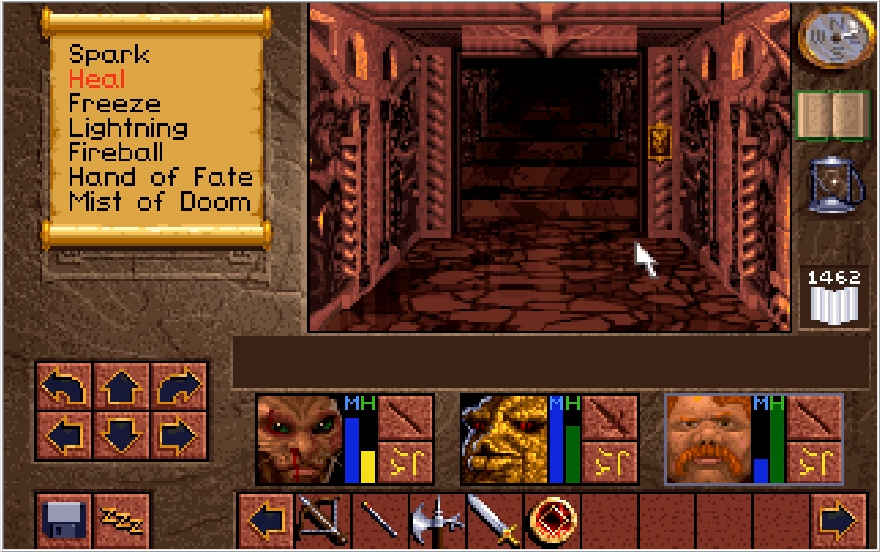
One weird little detail about this floor is that in various spots there are these green puddles with a constant drip from the ceiling. Stand under the drip, and you'll take a little damage. Methinks Scotia needs to get her plumbing fixed.
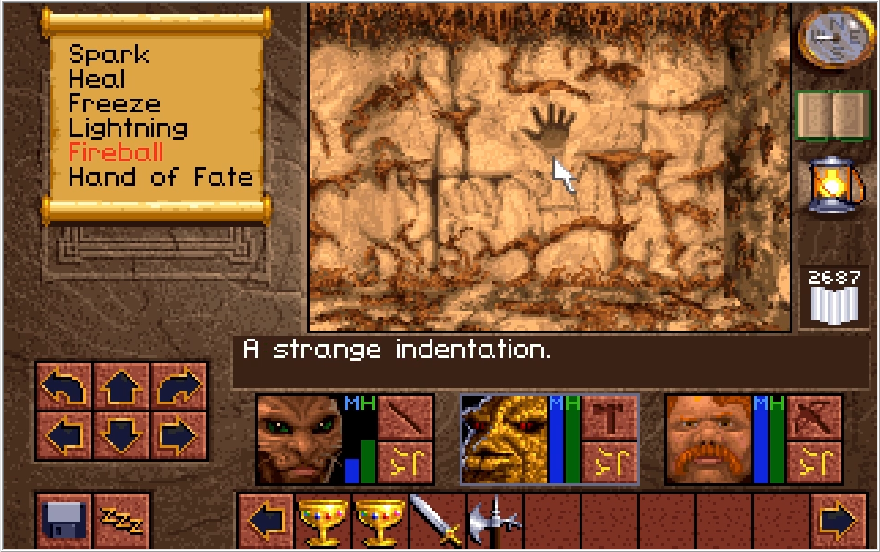
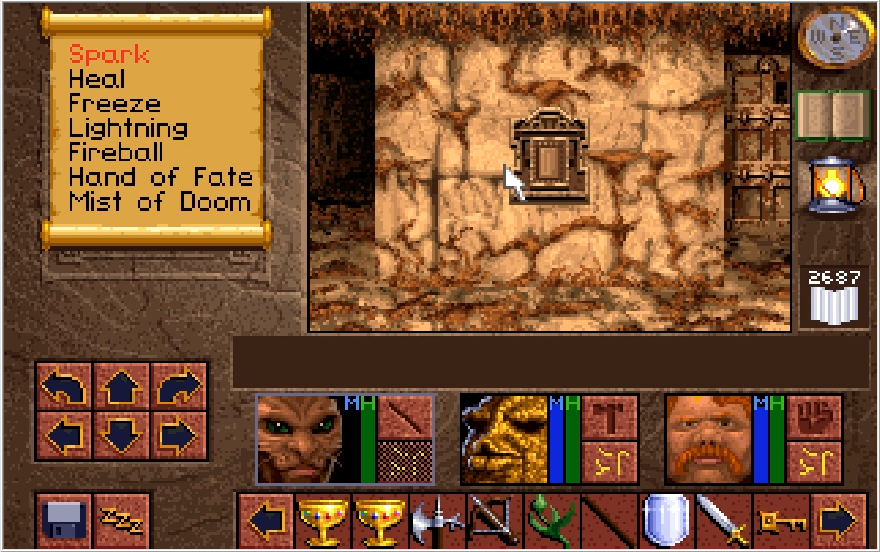
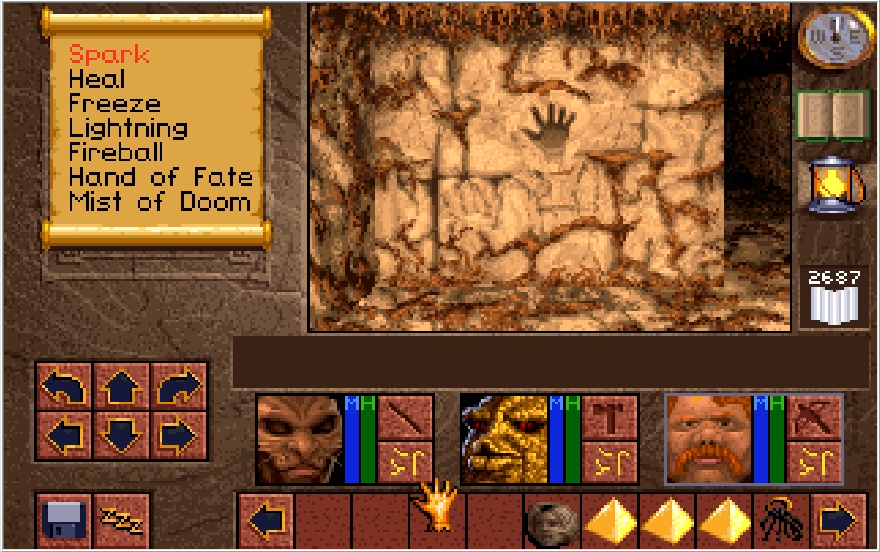
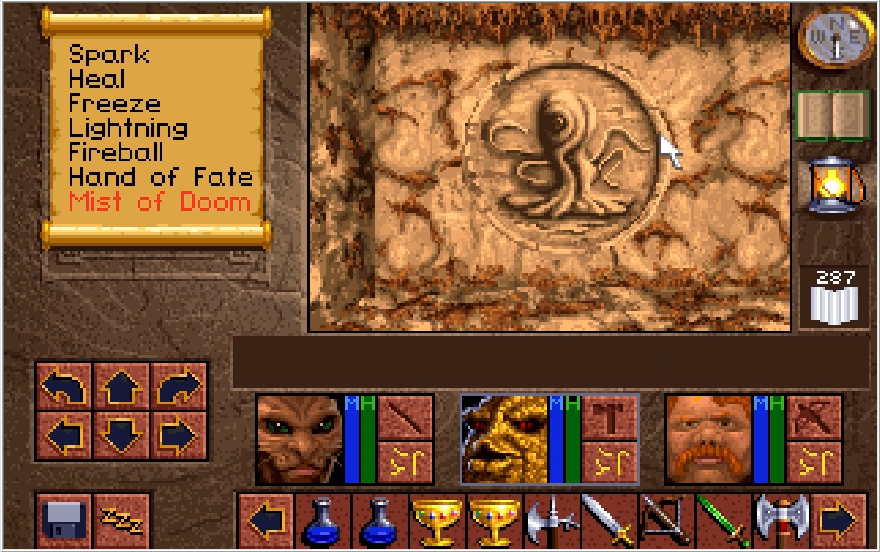
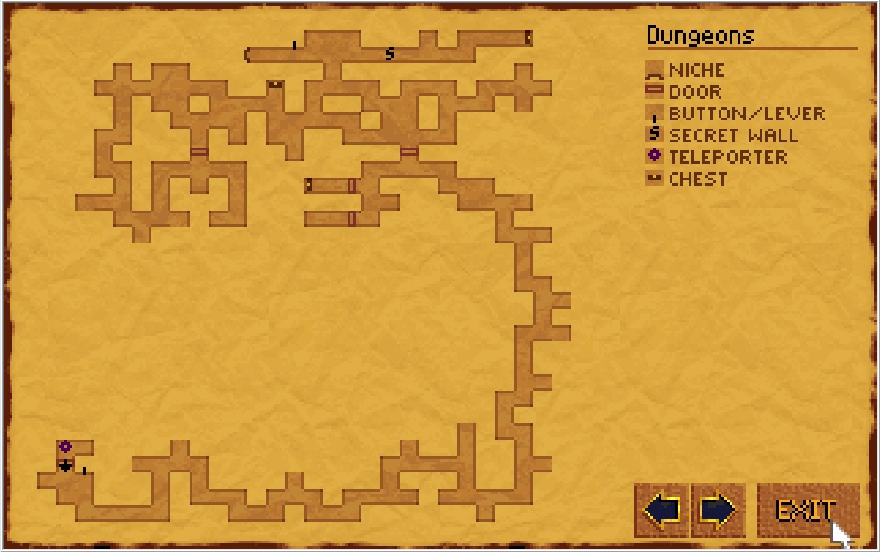
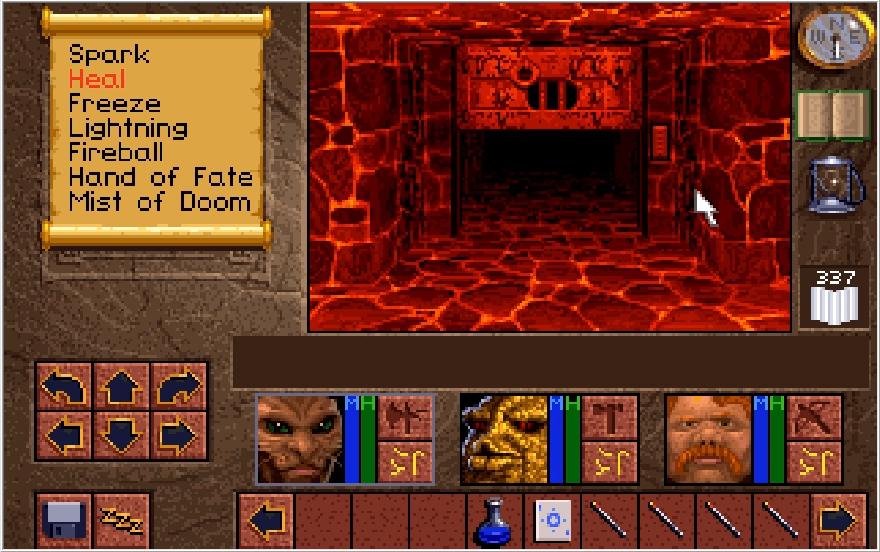
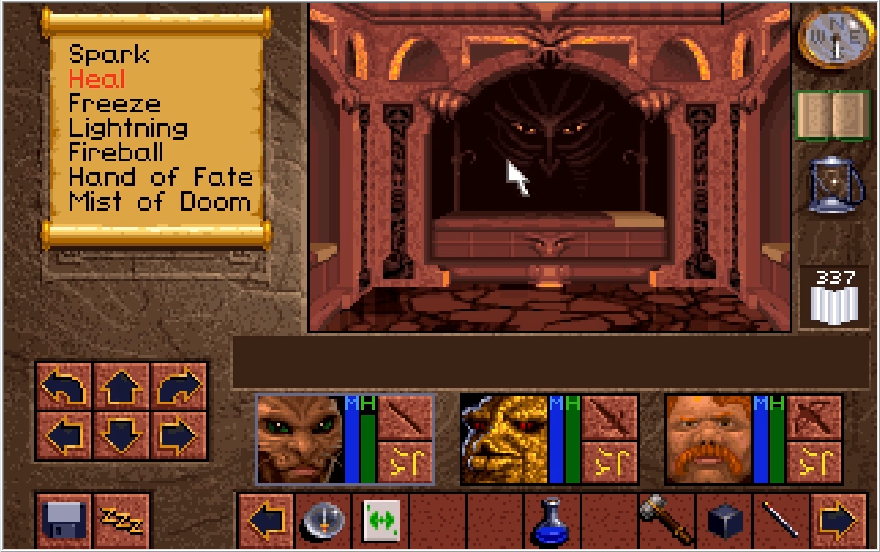
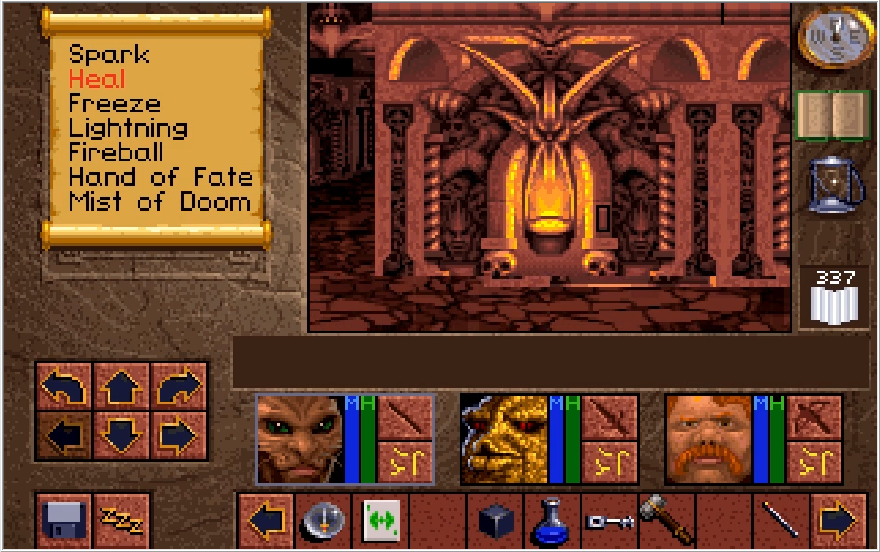
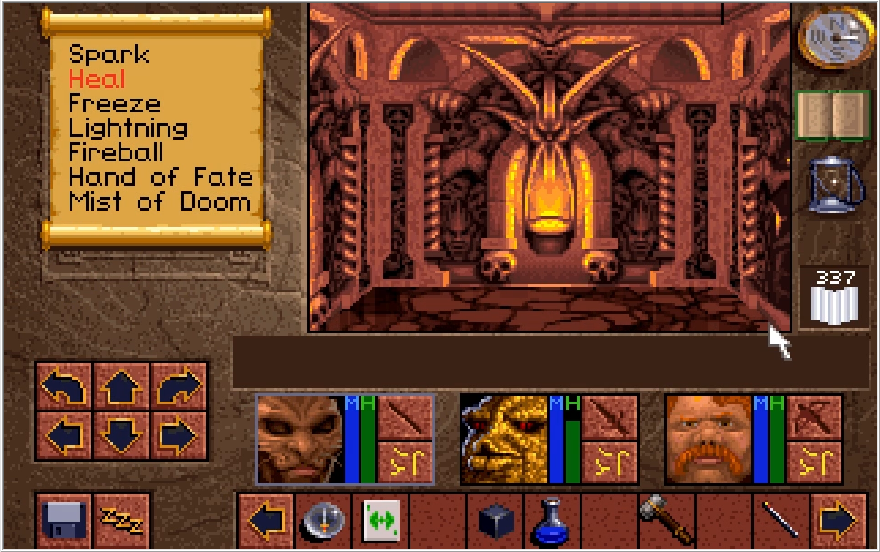
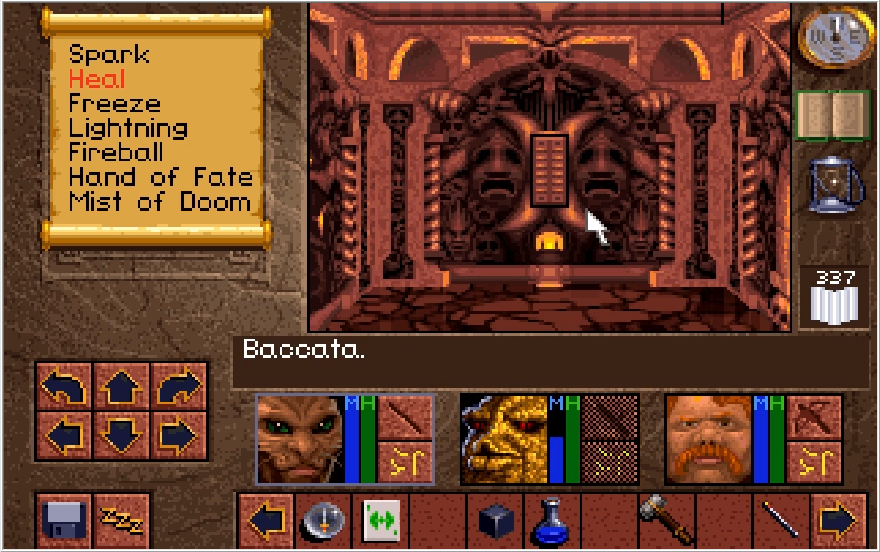
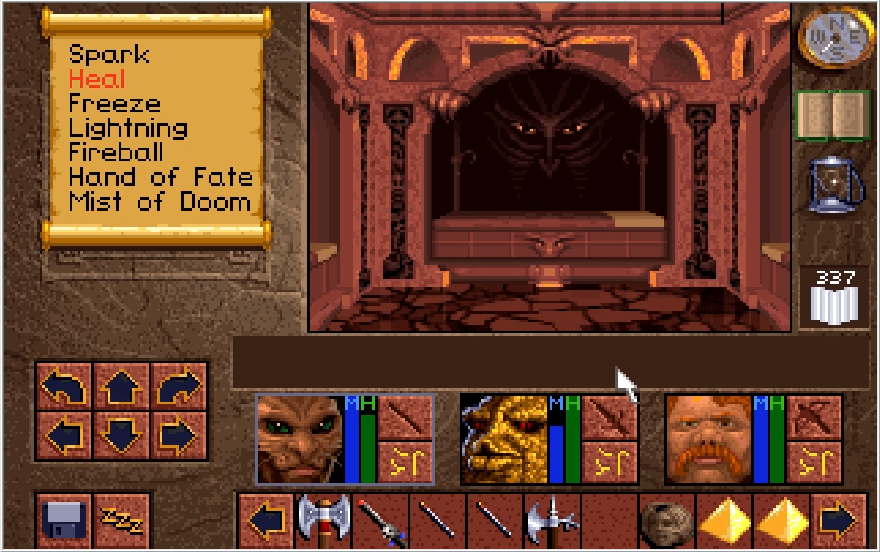
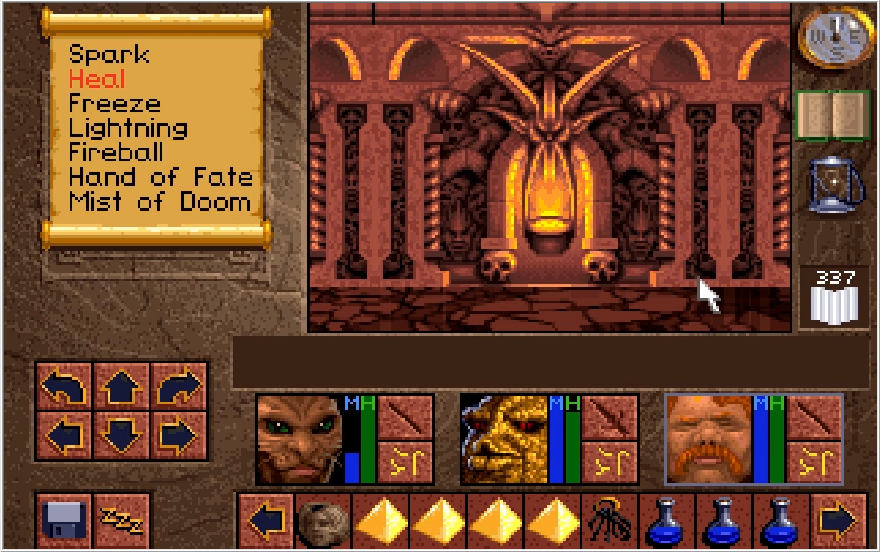
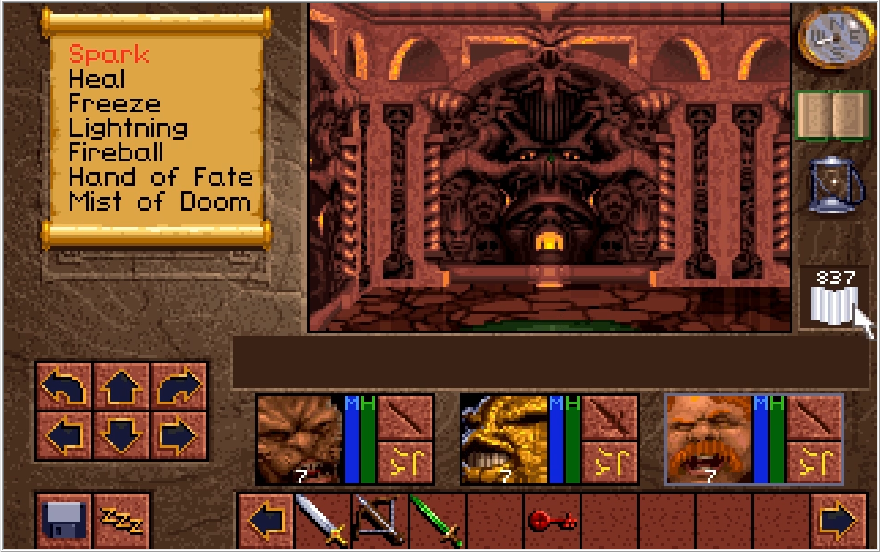
Located in the southeast corner of the map is this little sign. A somewhat vague message to be certain, and it has to be some kind of puzzle. What's the solution they're looking for though?
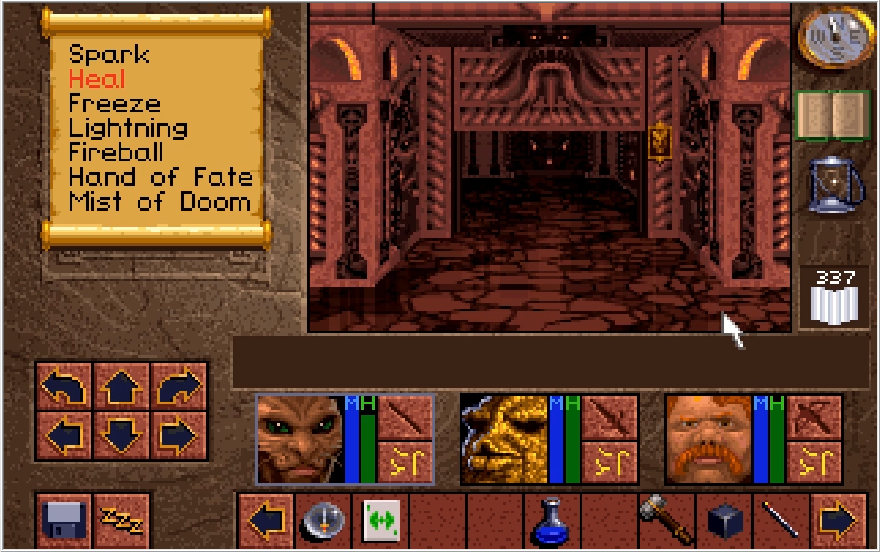
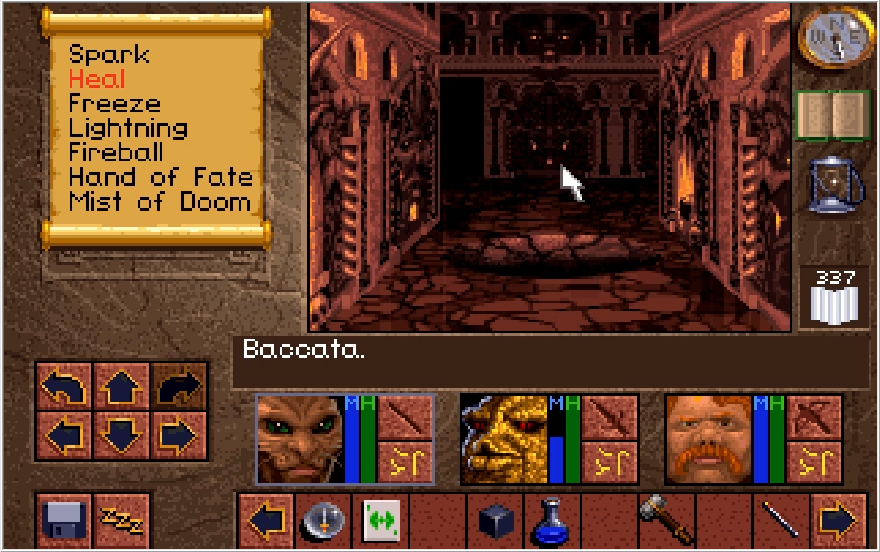
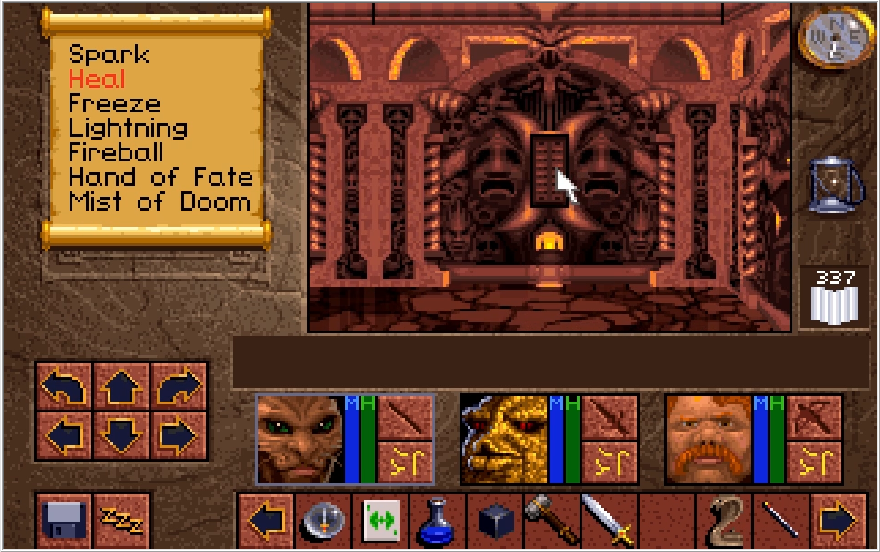
Well to the left of that pit from before, there was another switch on the adjacent wall. Let's go check that out.
Pressing that switch removes the wall, and beyond it is yet another wall switch.

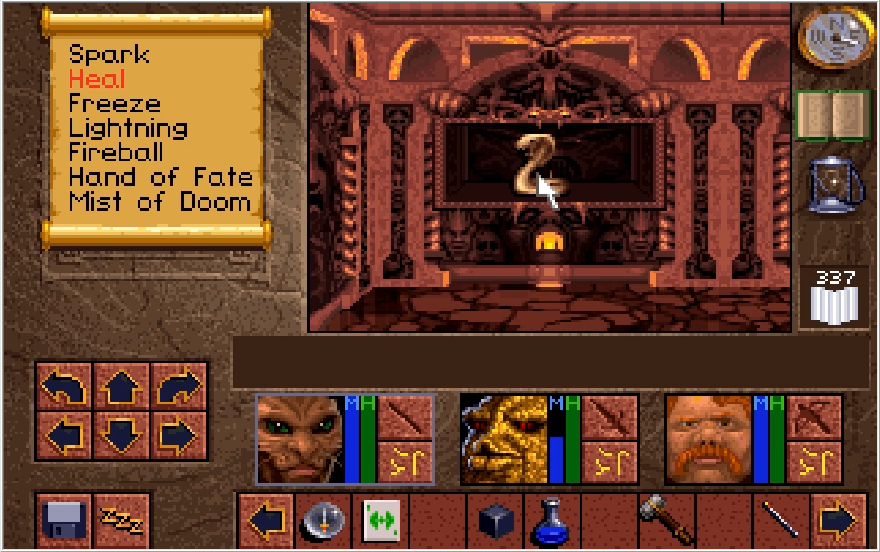
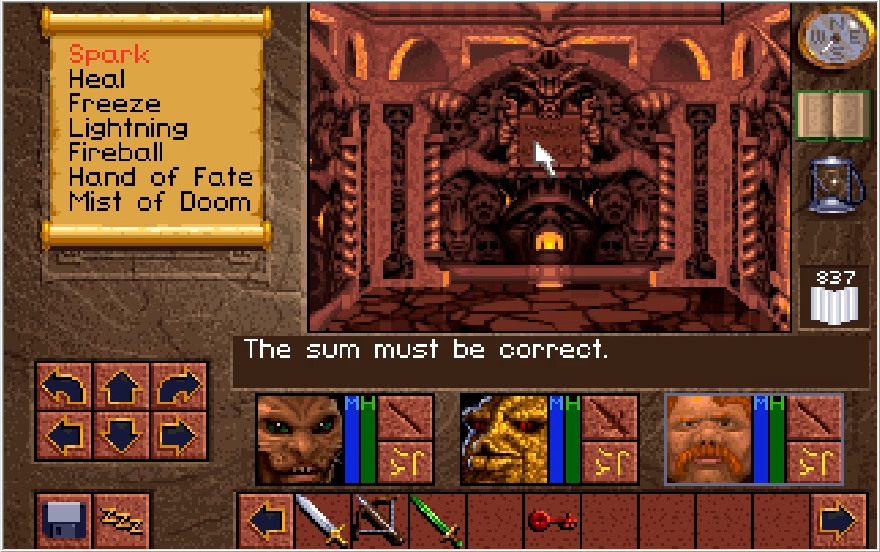
Pressing that one removes the wall yet again, and a sound is heard in the distance. The puzzle has been solved because 1+1=2. What, don't get it? Don't worry, I'll show you how this is supposed to be figured out later.
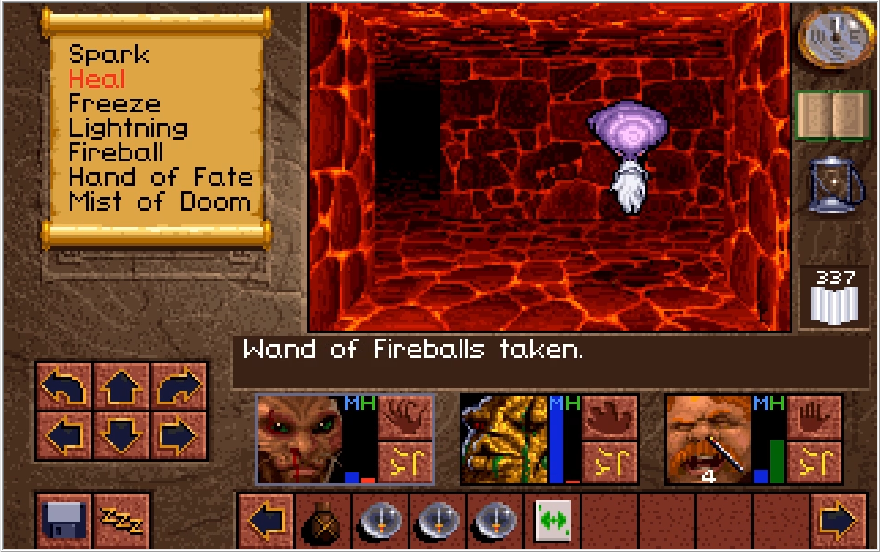
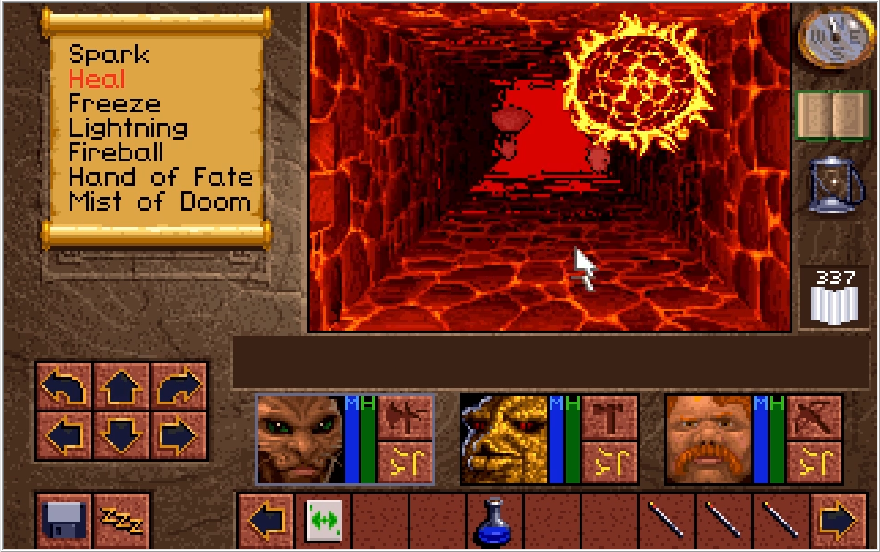
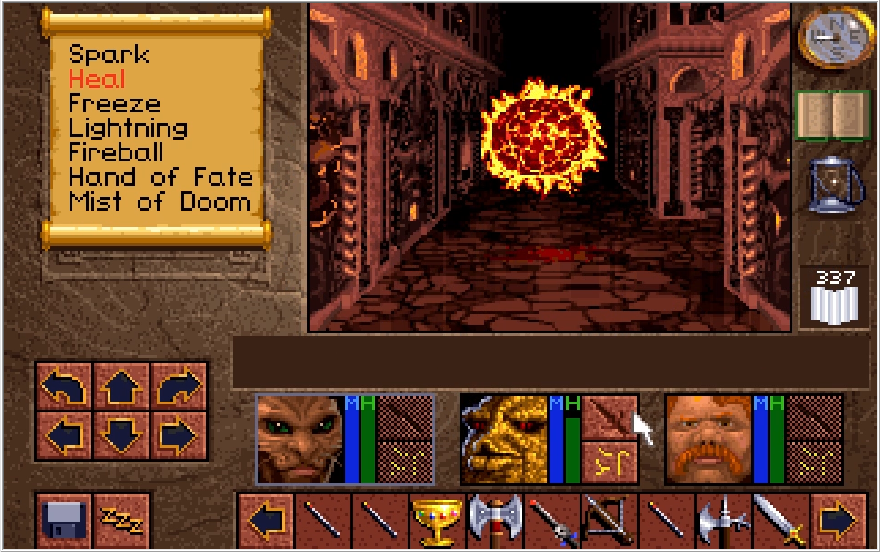
I get a little turned around trying to make my way back to the room with the sign. I do spot something important though, keep that fireball trap in mind for later.
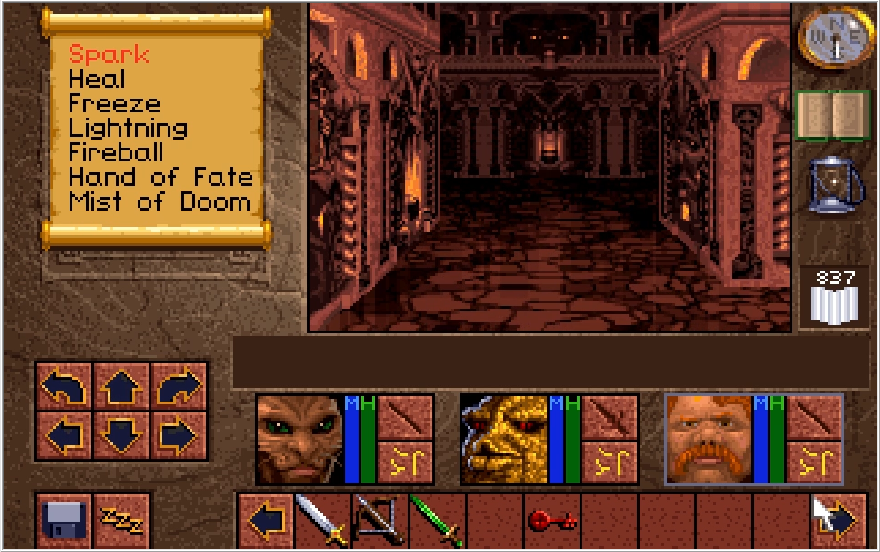
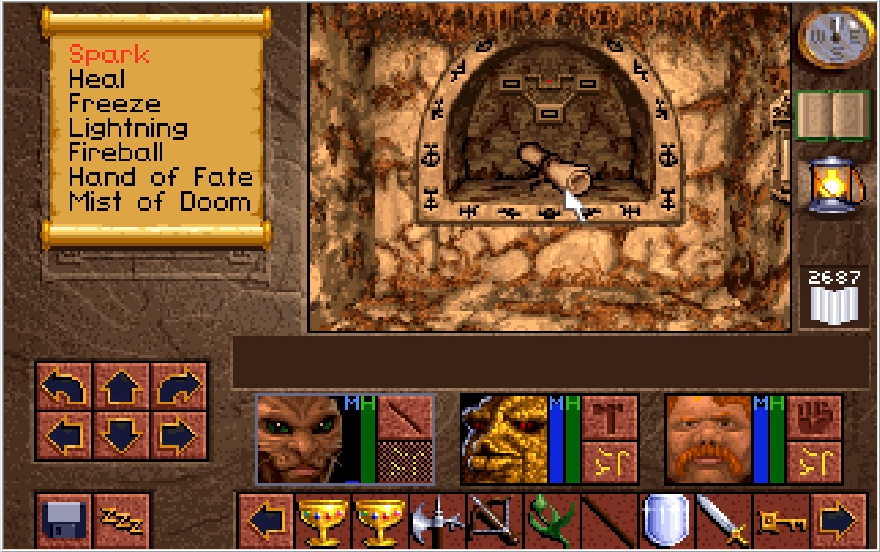
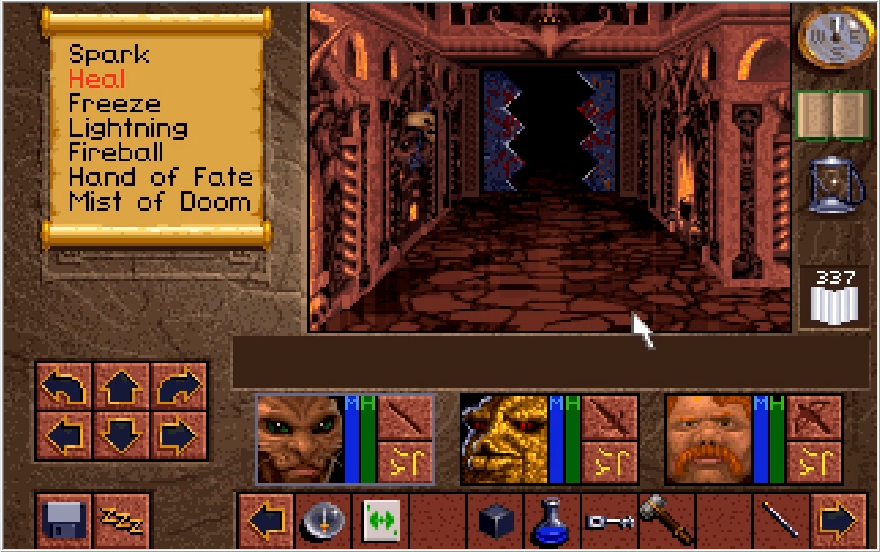
Returning to the sign, a path has been opened to another hall.
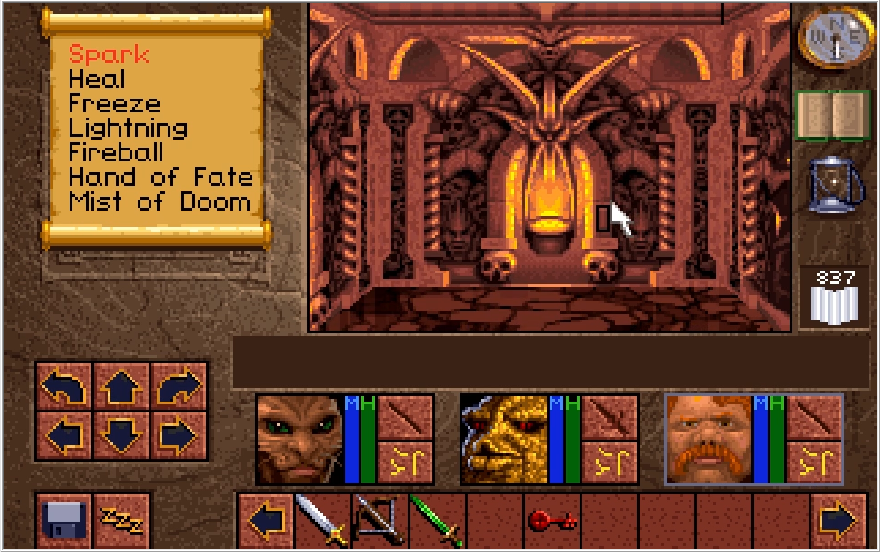
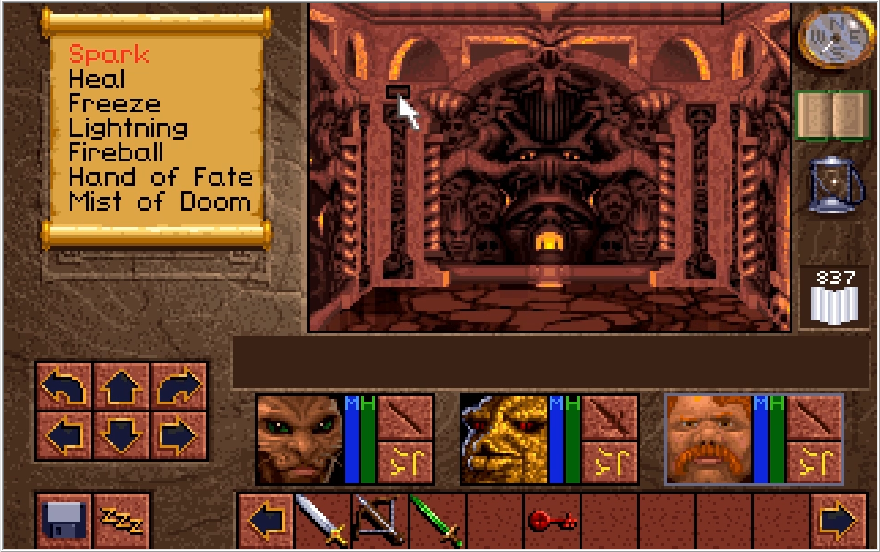
There are secret switches at each end, naturally.
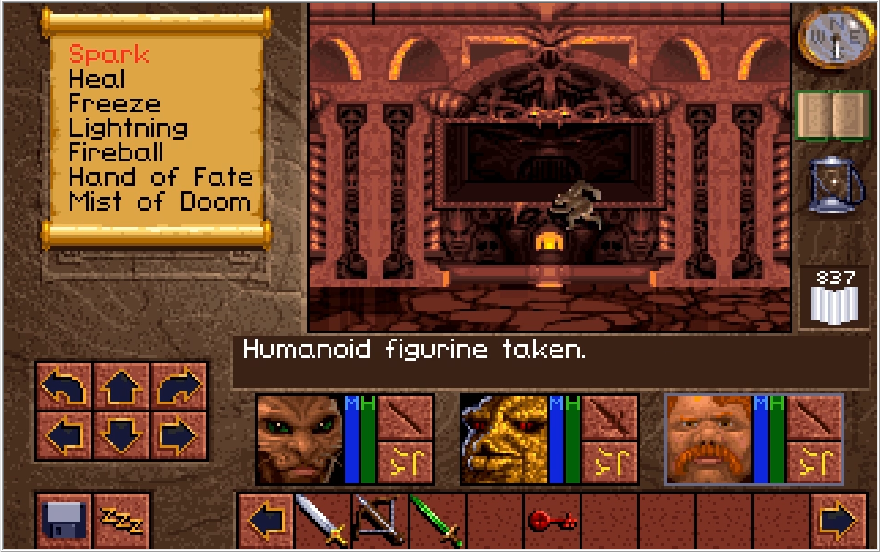
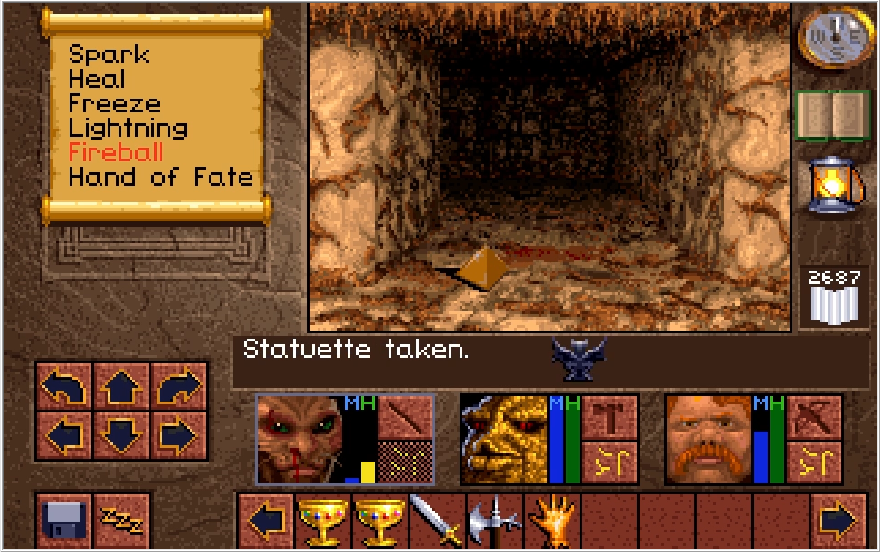
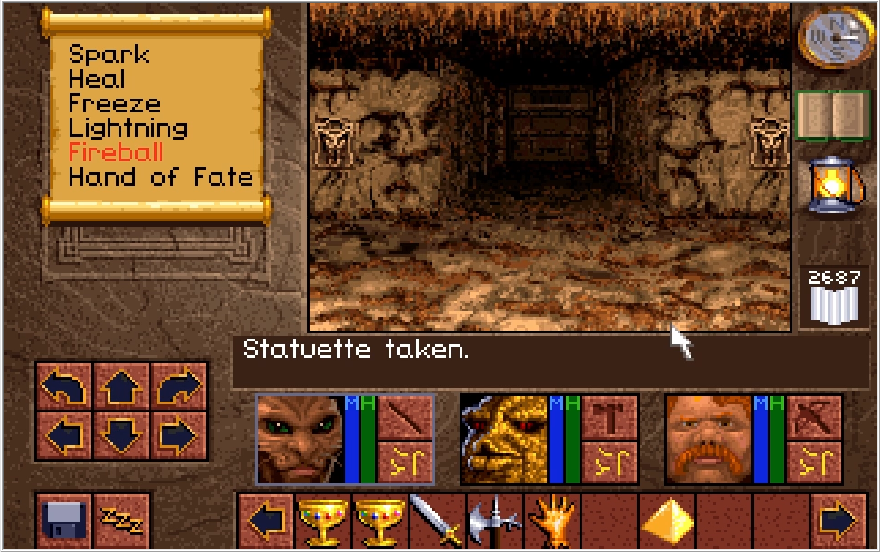
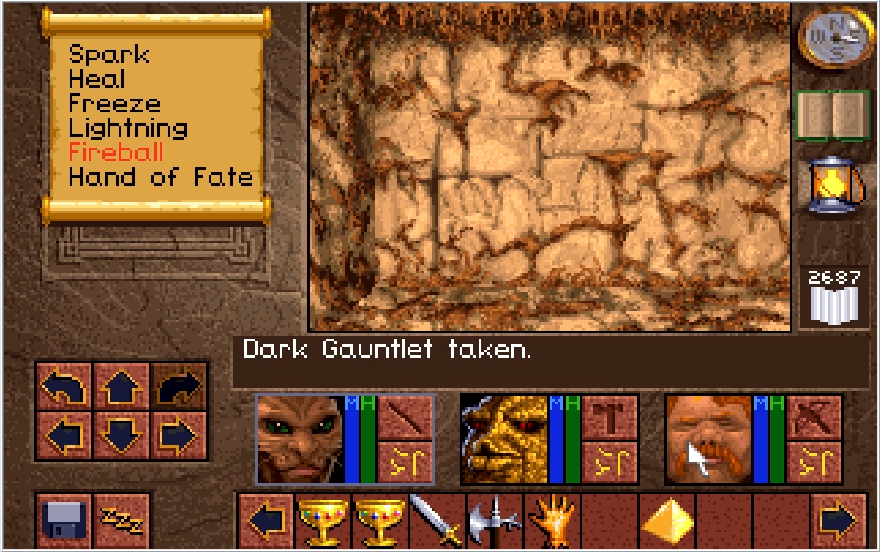
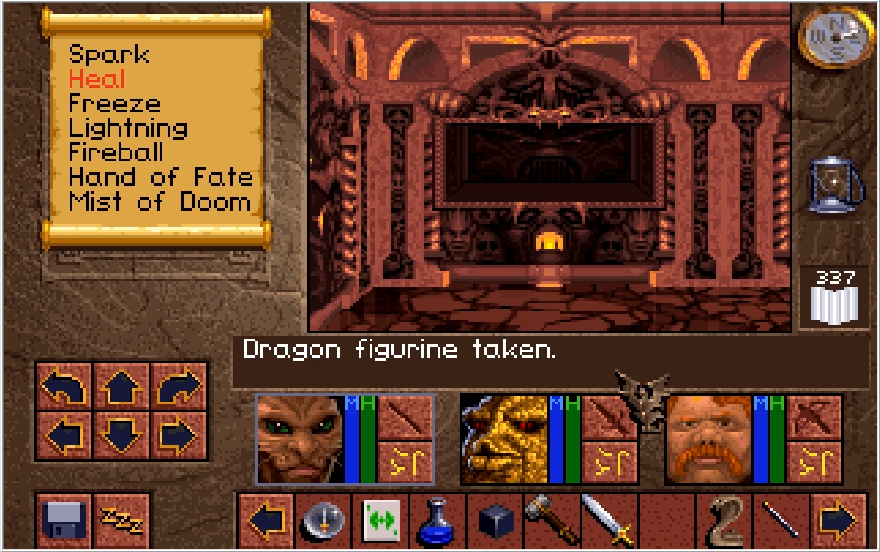
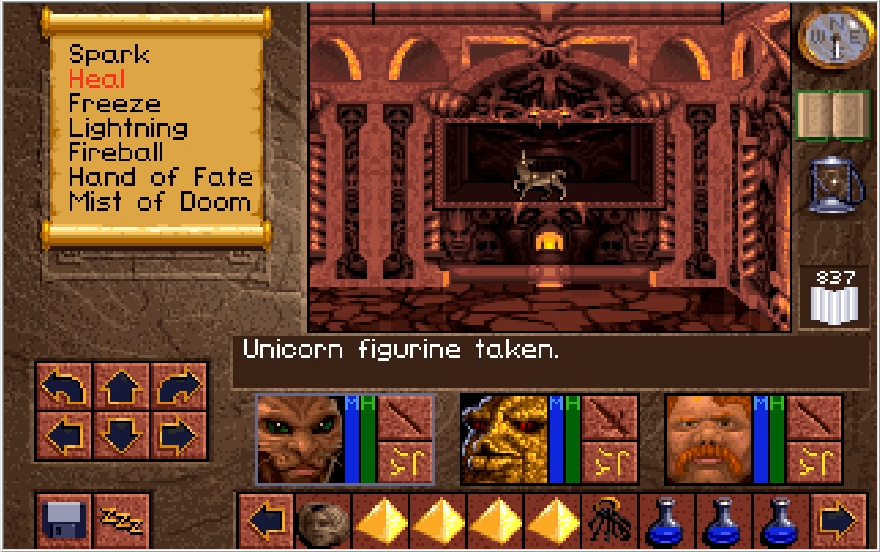
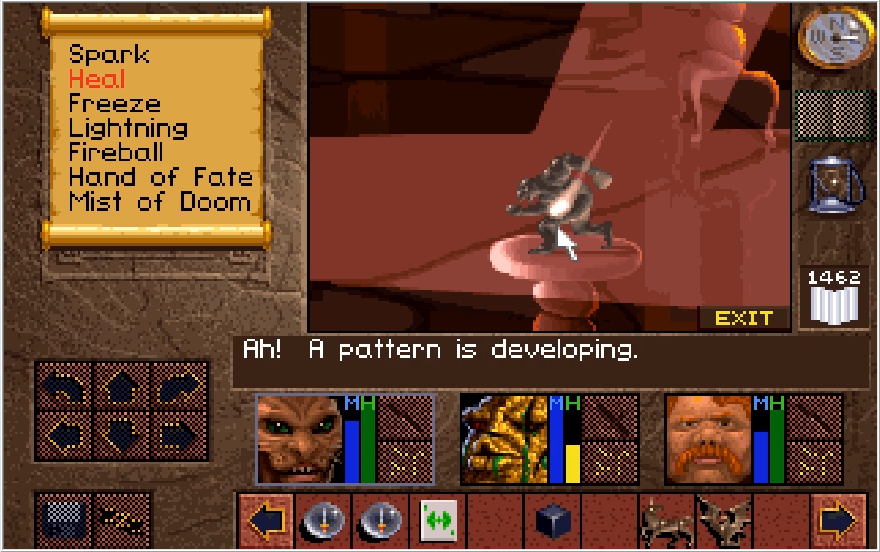
Pressing them both unveils the fourth and final figure, the Humanoid figurine. That's either a minotaur or a guy who has a serious chad strut.
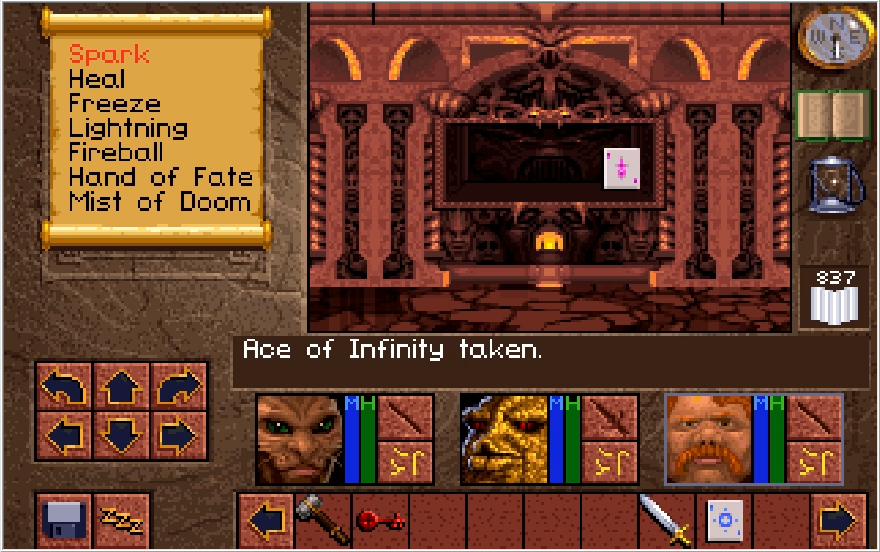
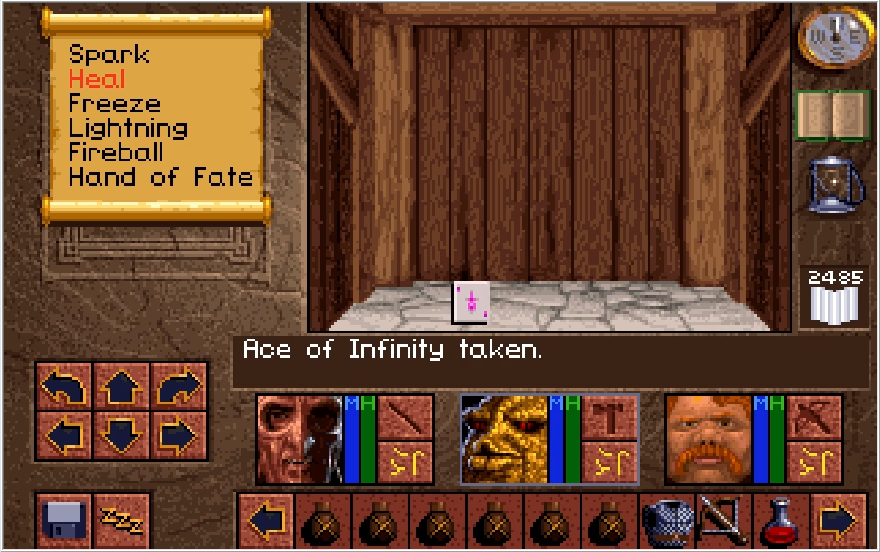
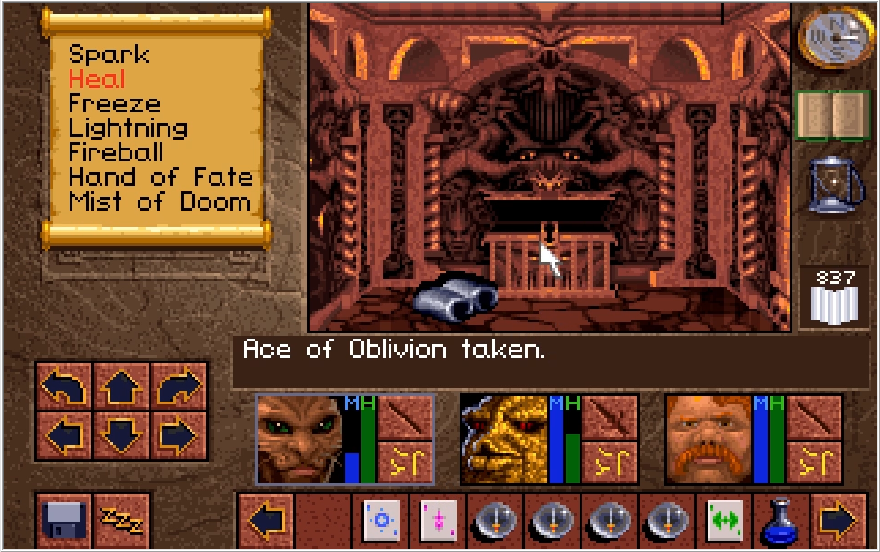
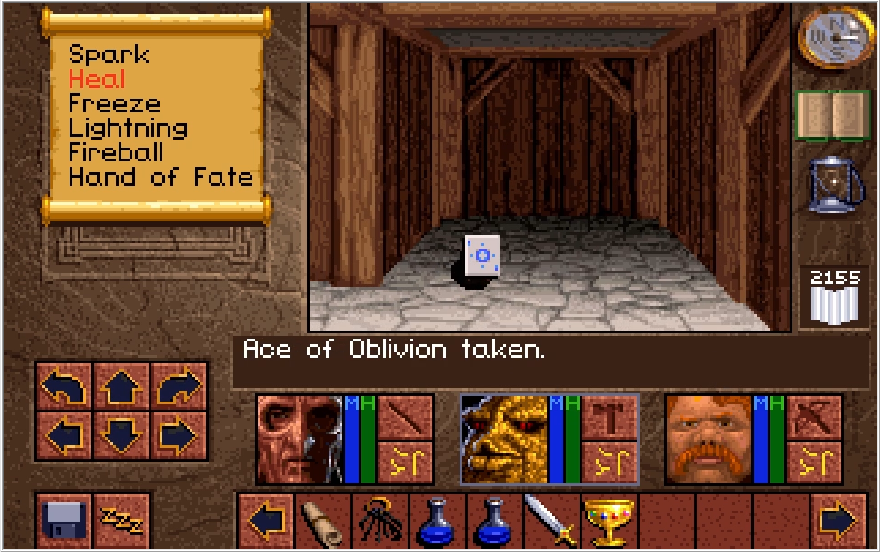
To get out of here, you need to place an item back in the alcove and then reflip one of the switches. Aces of Infinity are fairly useless, so I just give up the one I had kicking around.
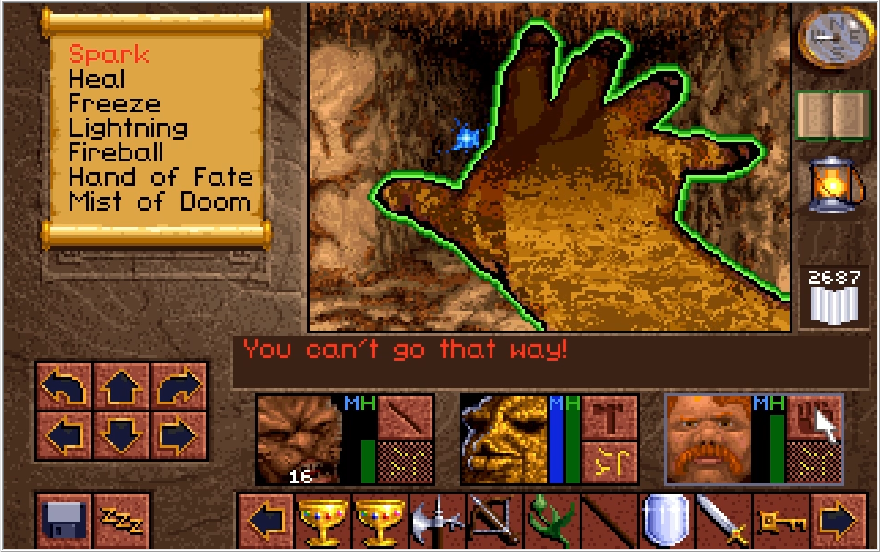
I elect to go northeast just to see if I find anything interesting, but both items we need to grab right now are actually situated in the southwest. I played this section hoping to find something new or interesting I had just simply neglected in my practice playthroughs, and instead ended up wasting about 10 minutes. How it be sometimes.
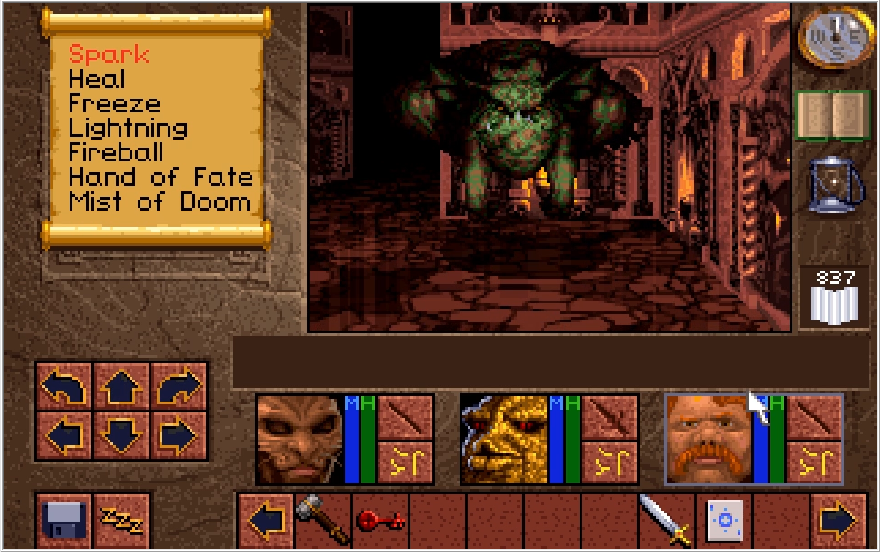
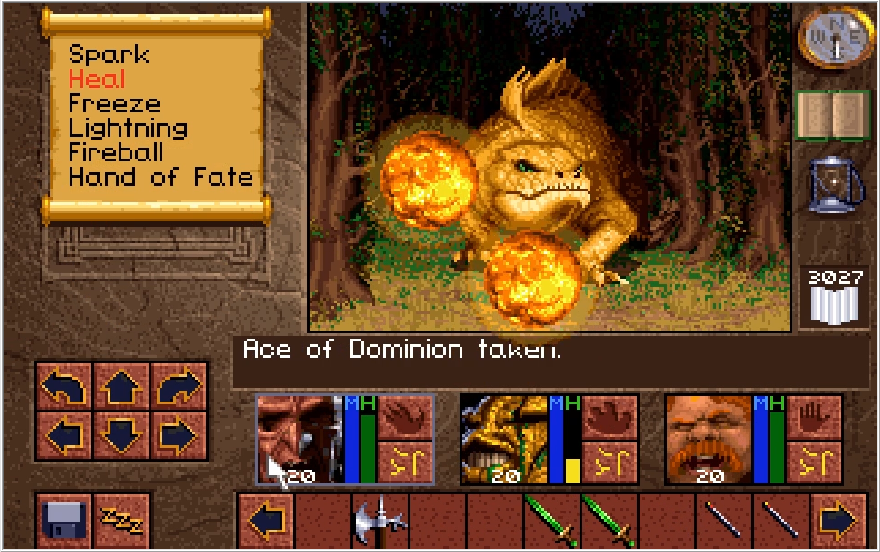
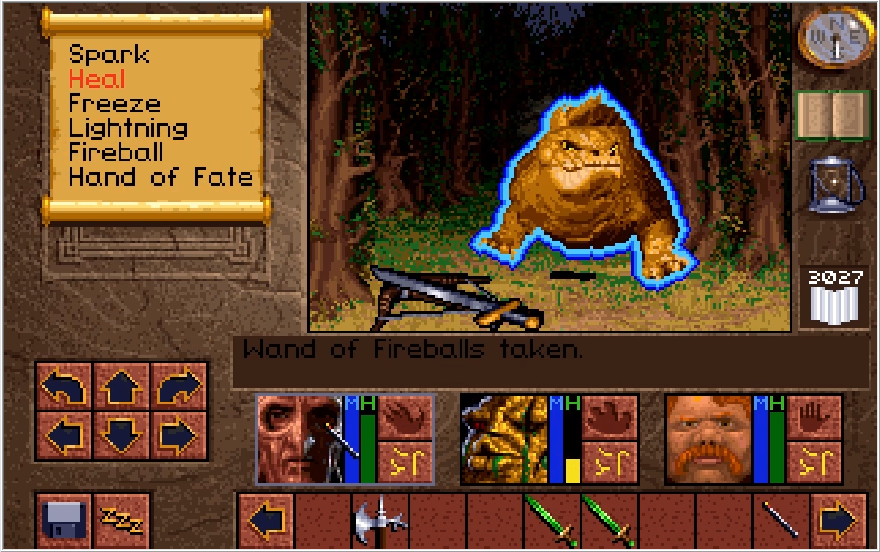
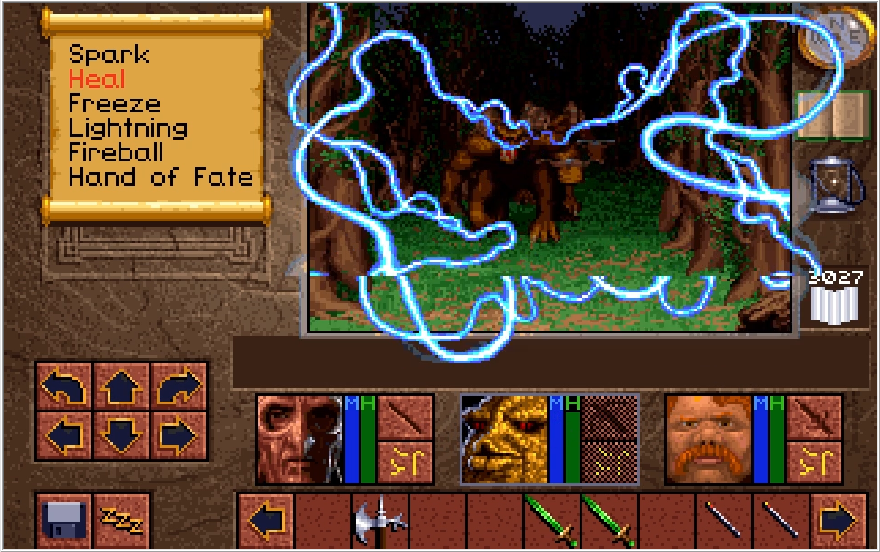
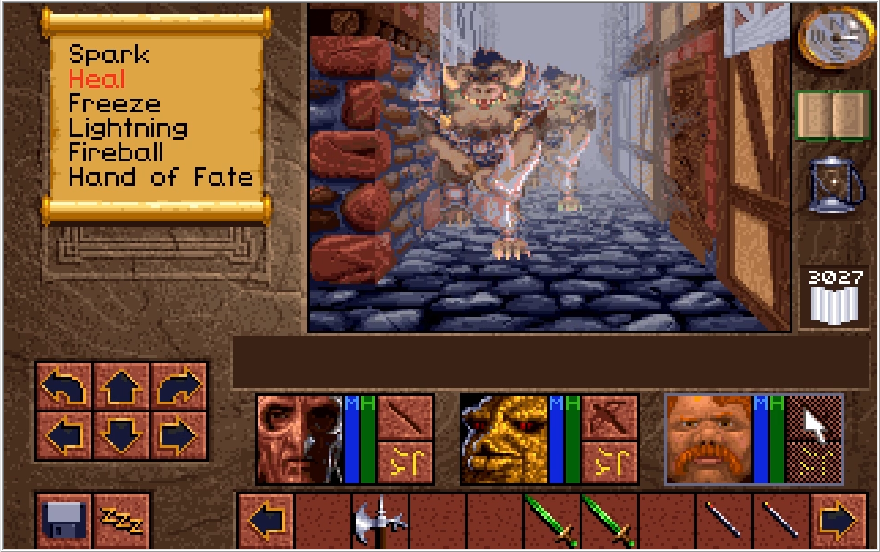
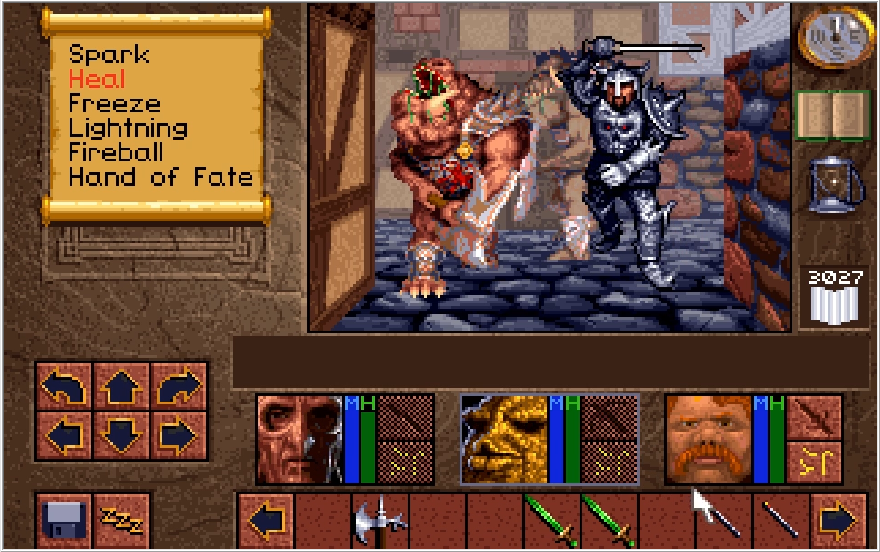
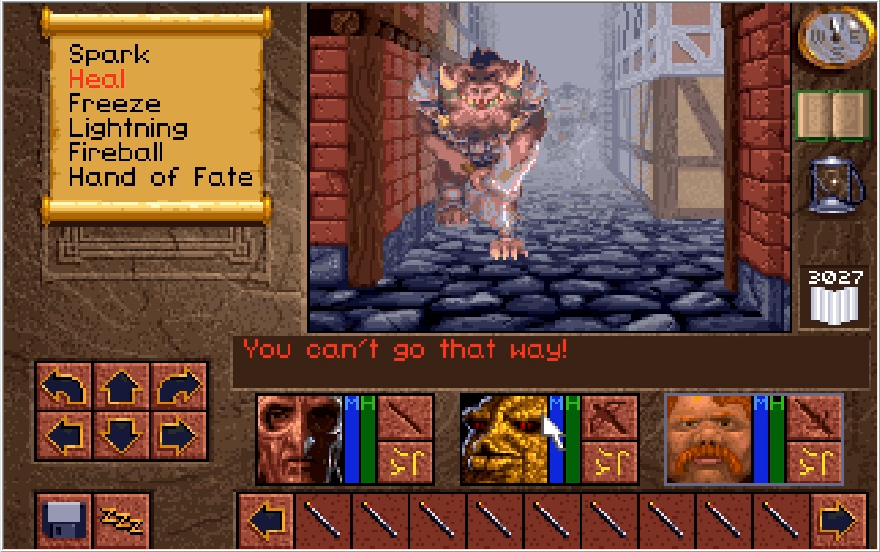
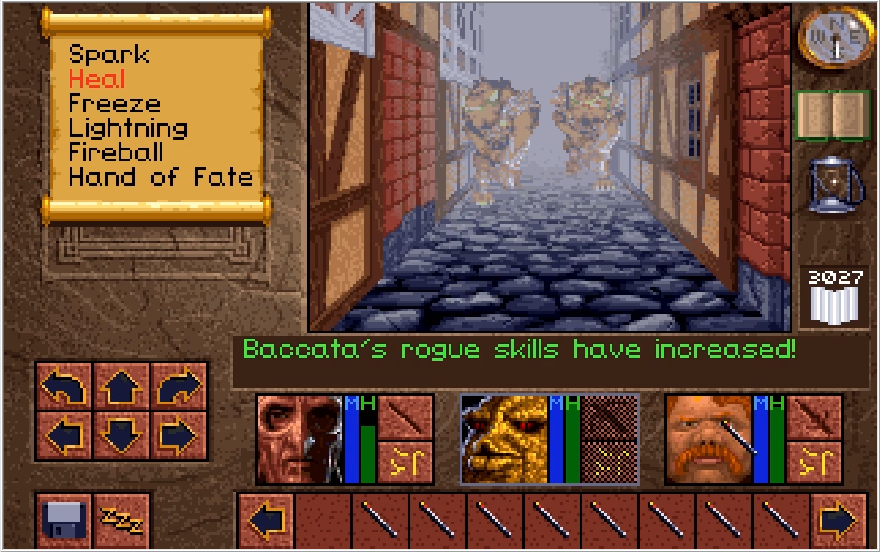
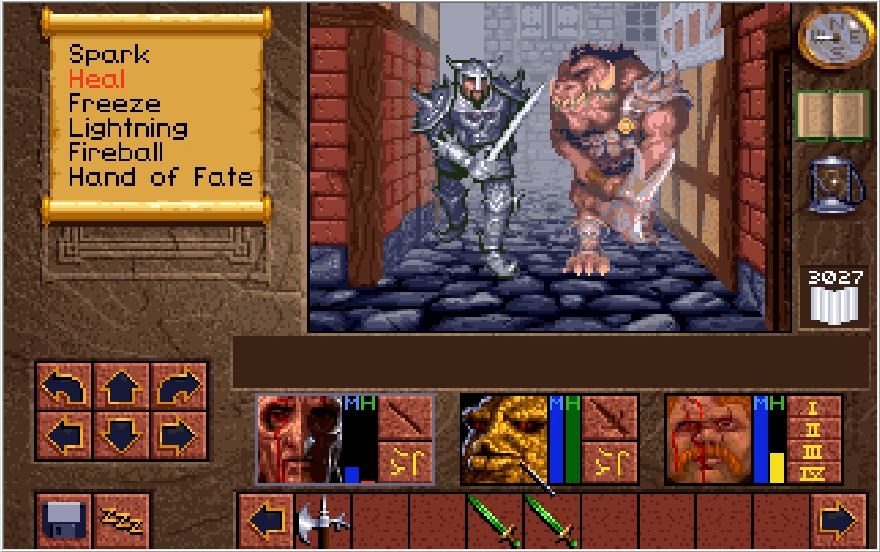
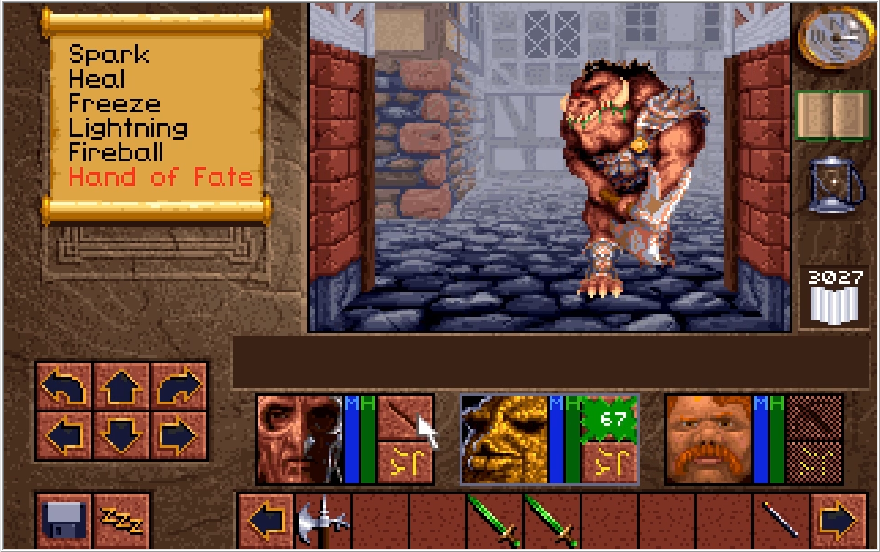
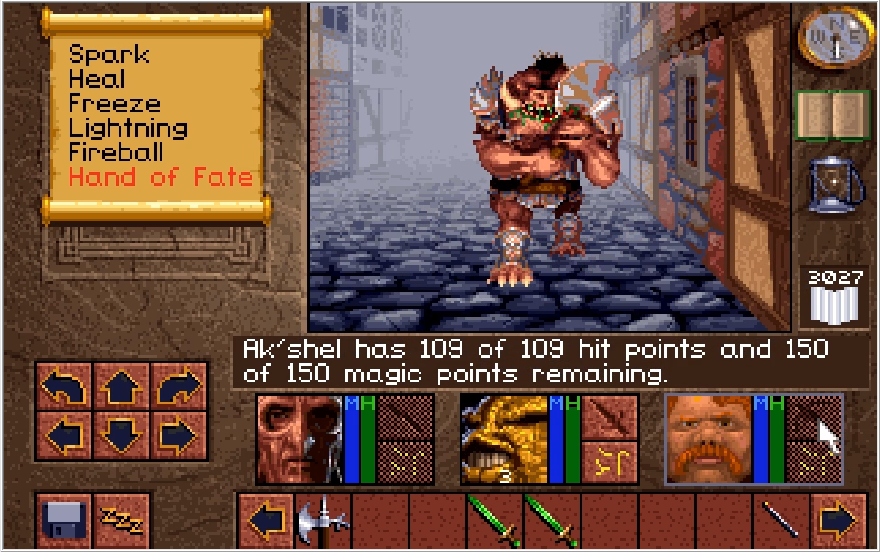
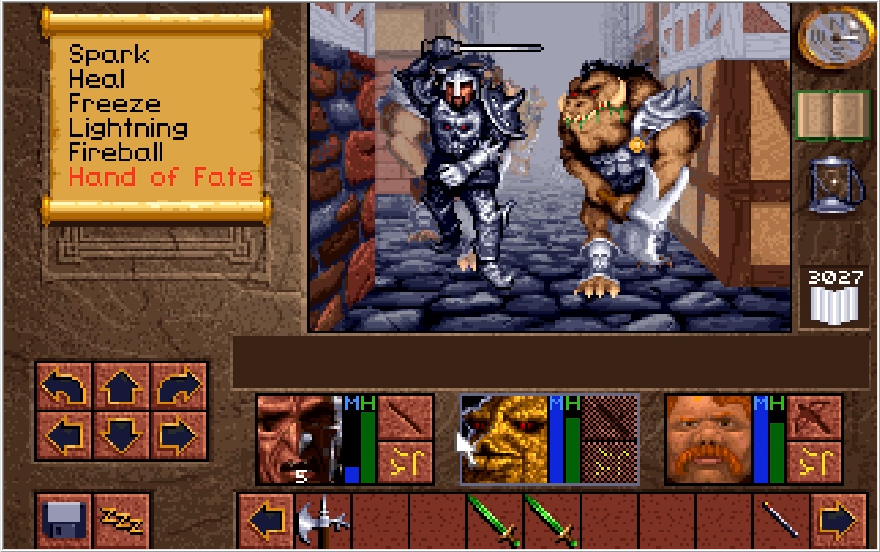
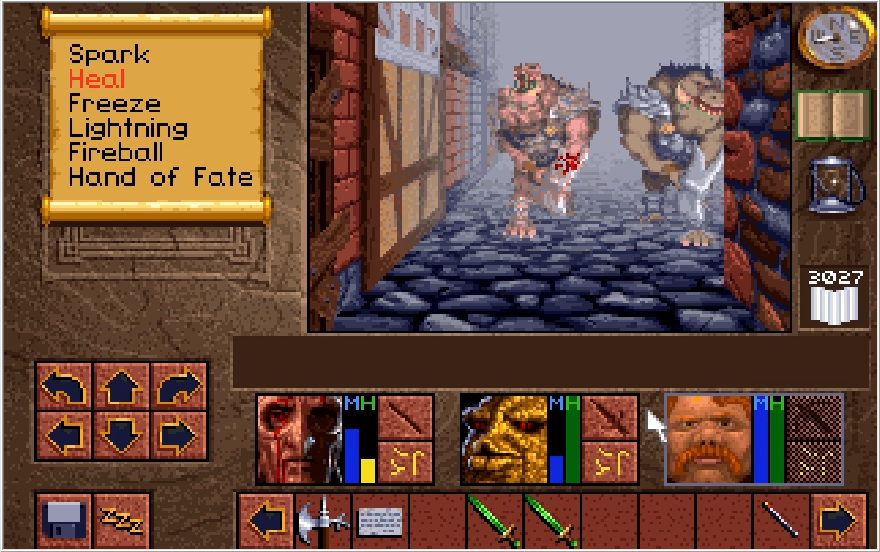
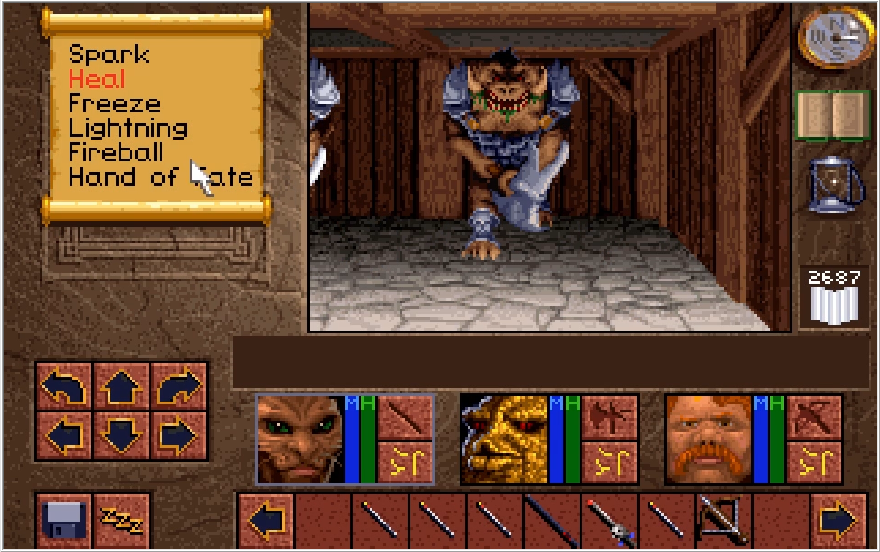
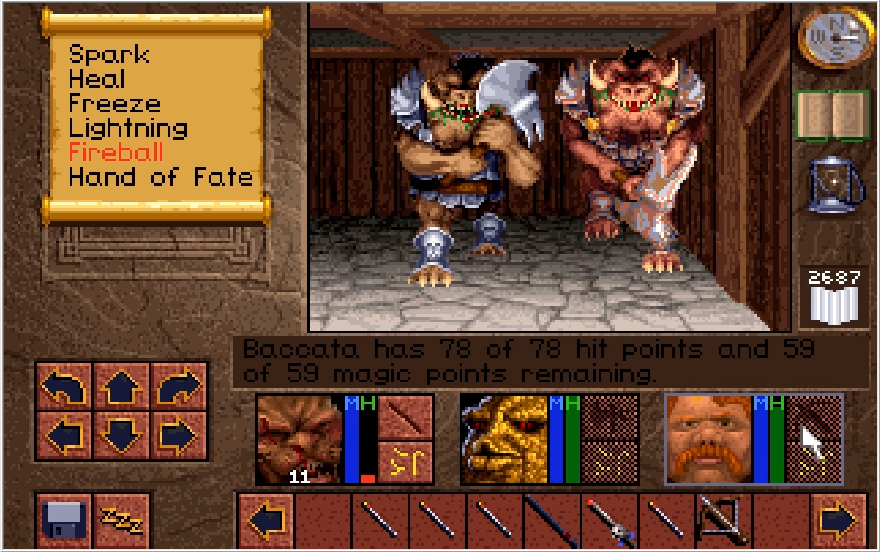
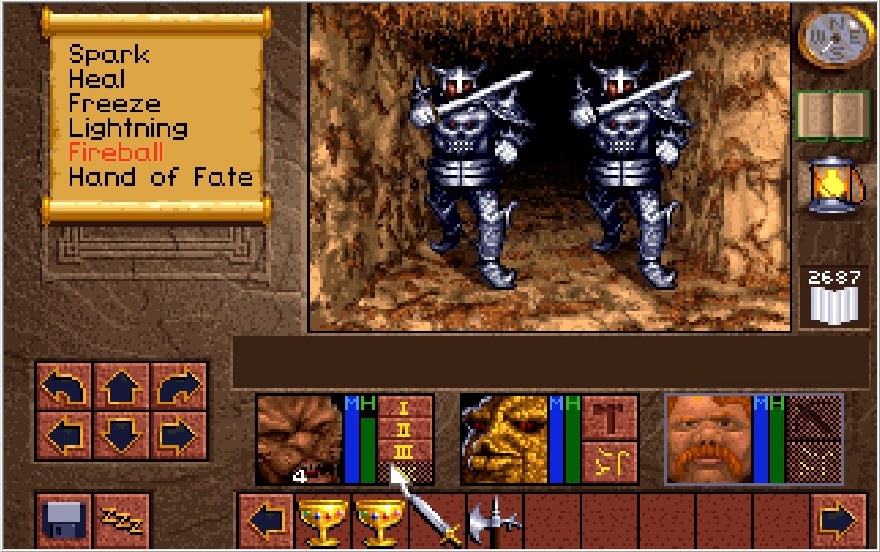
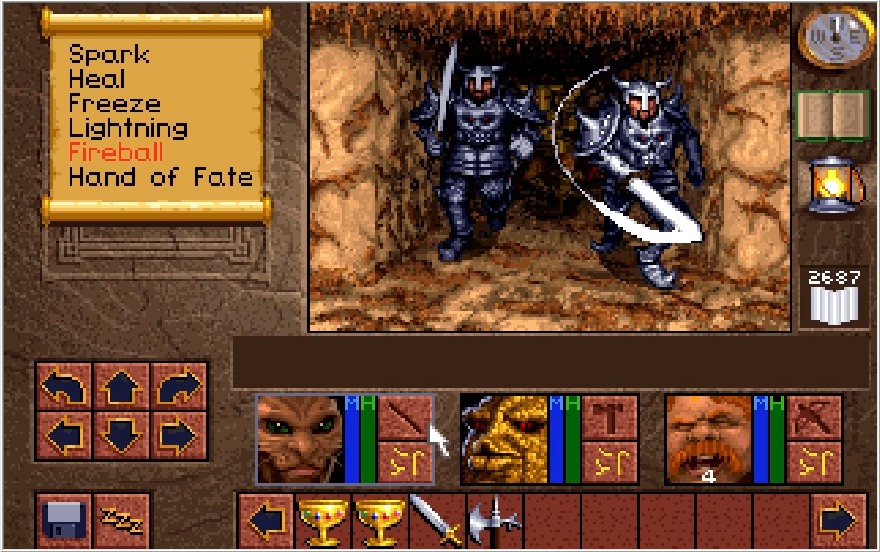
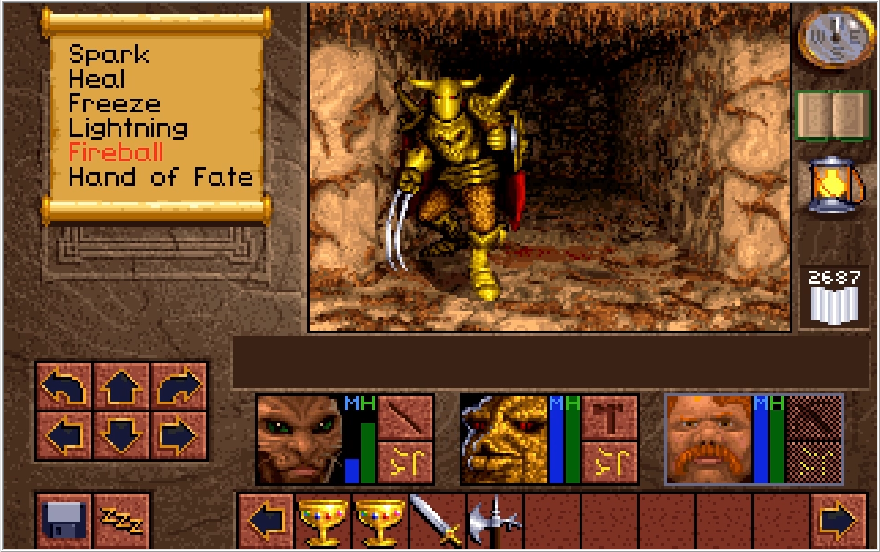
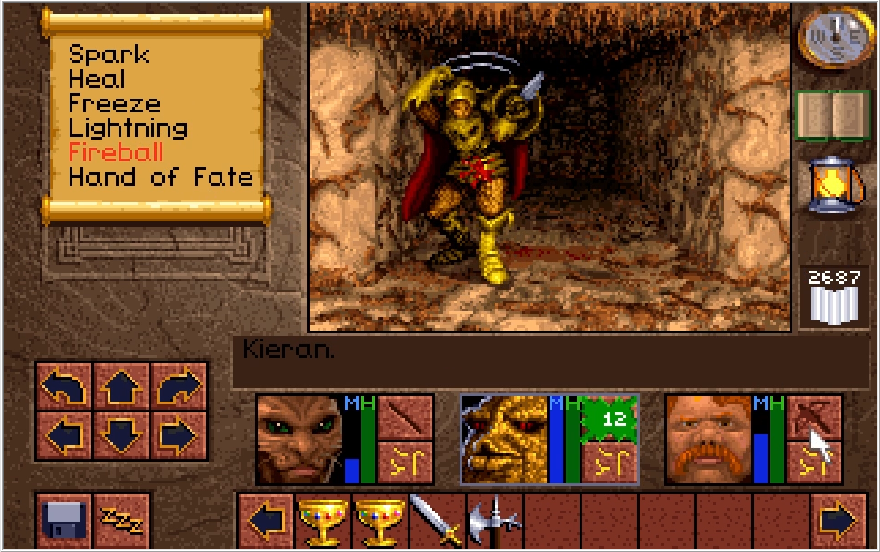
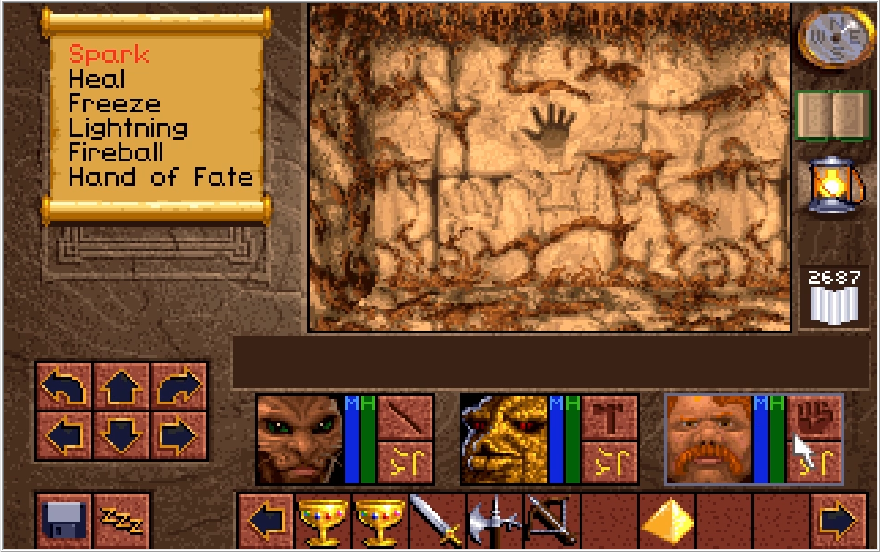
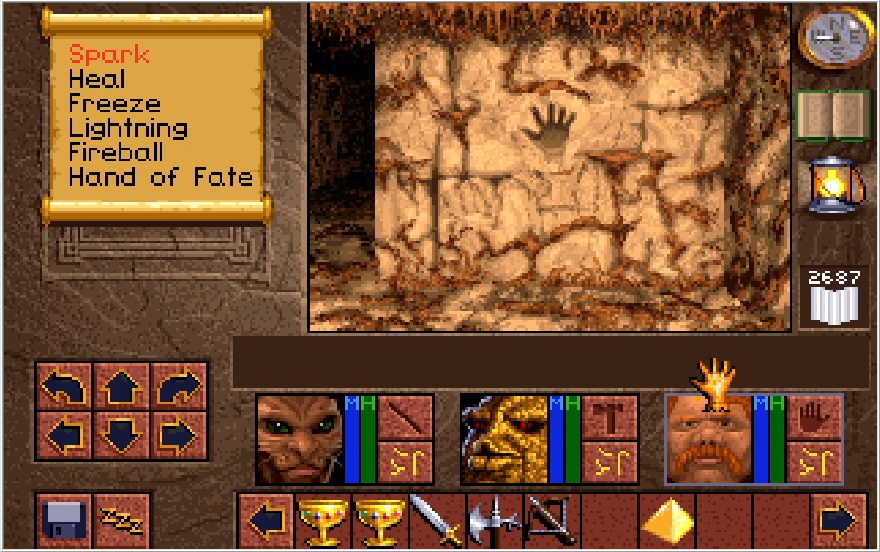
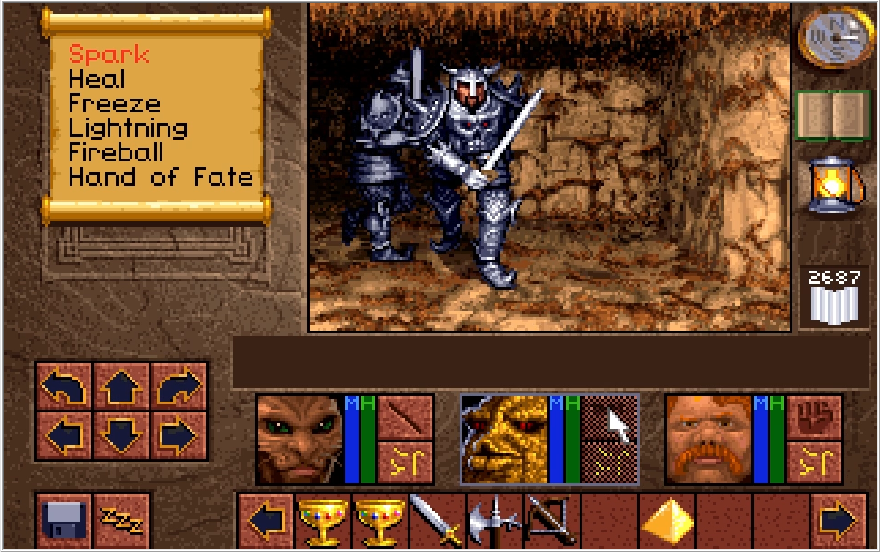
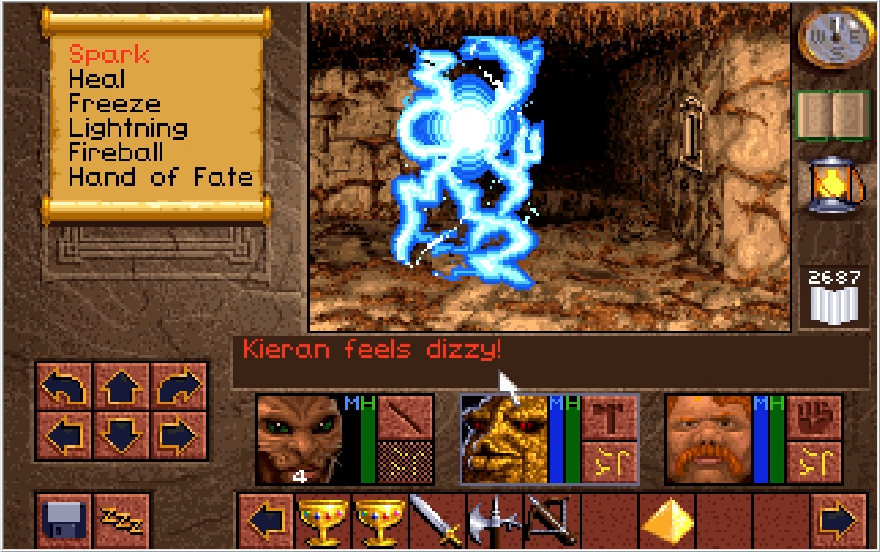
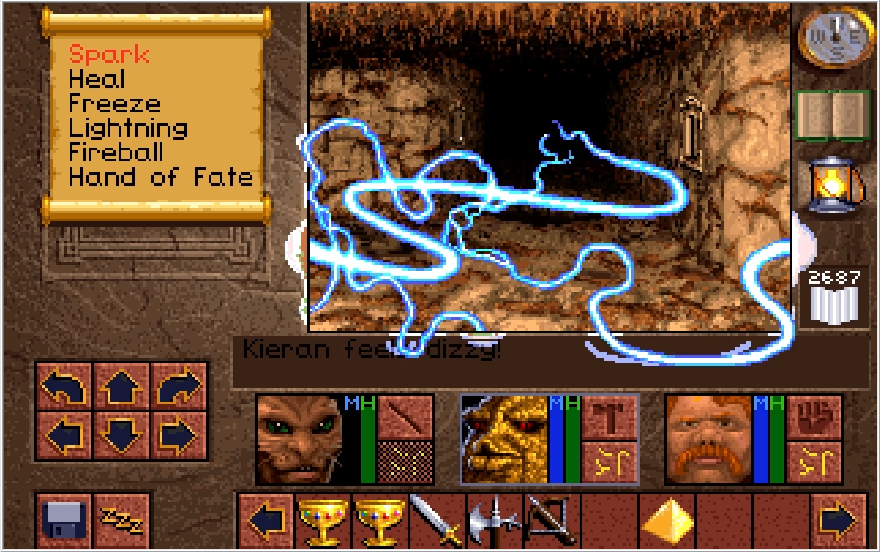
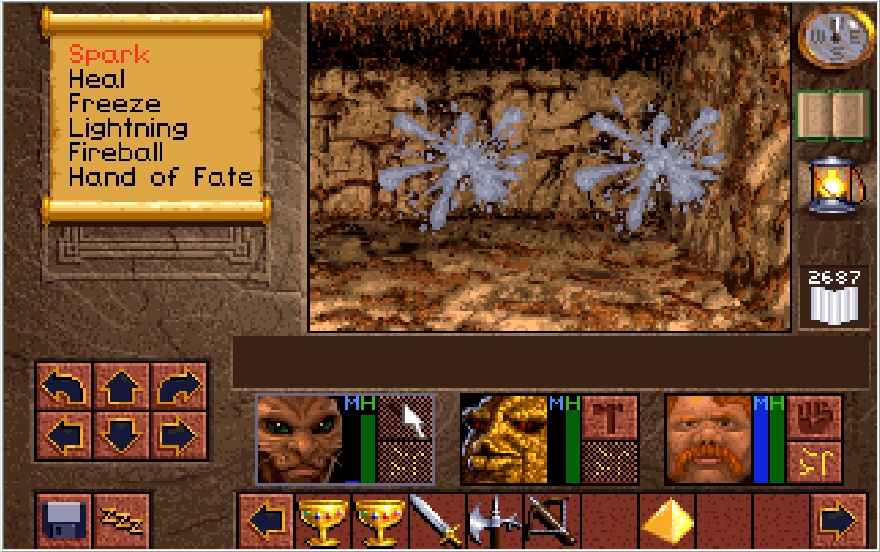
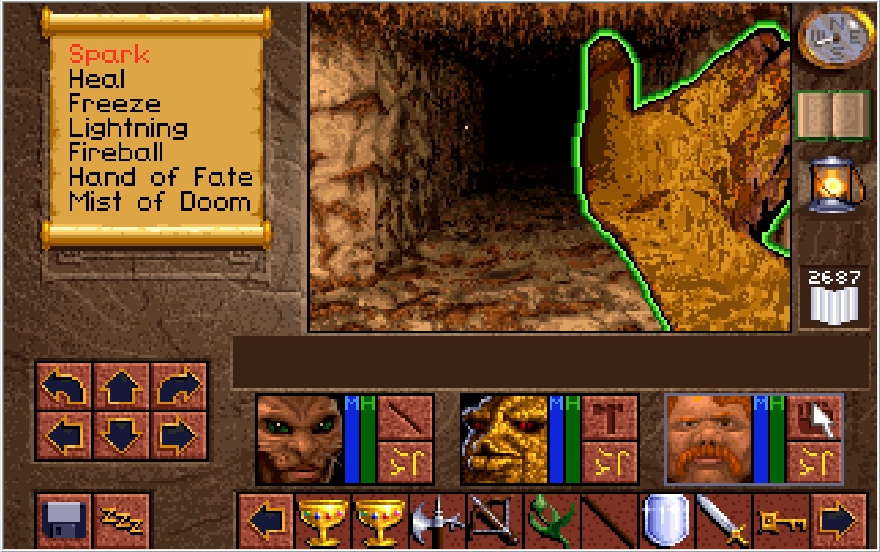
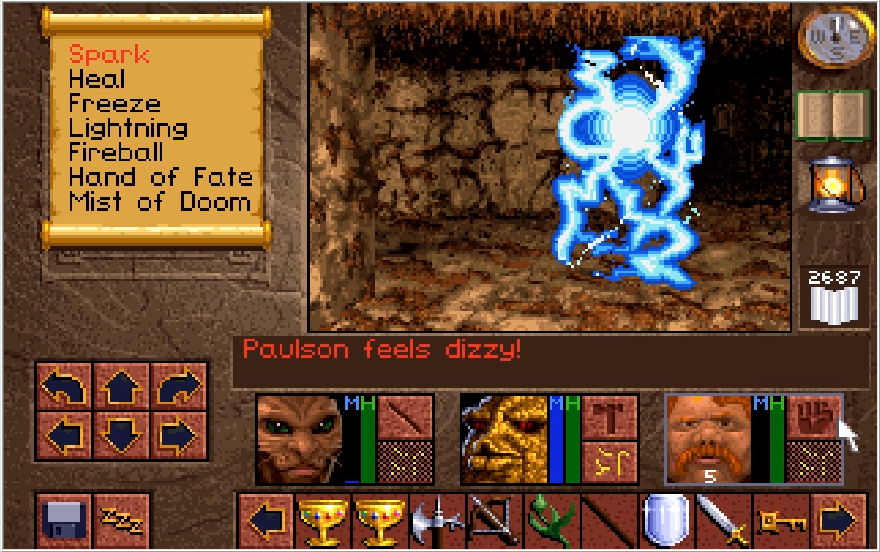
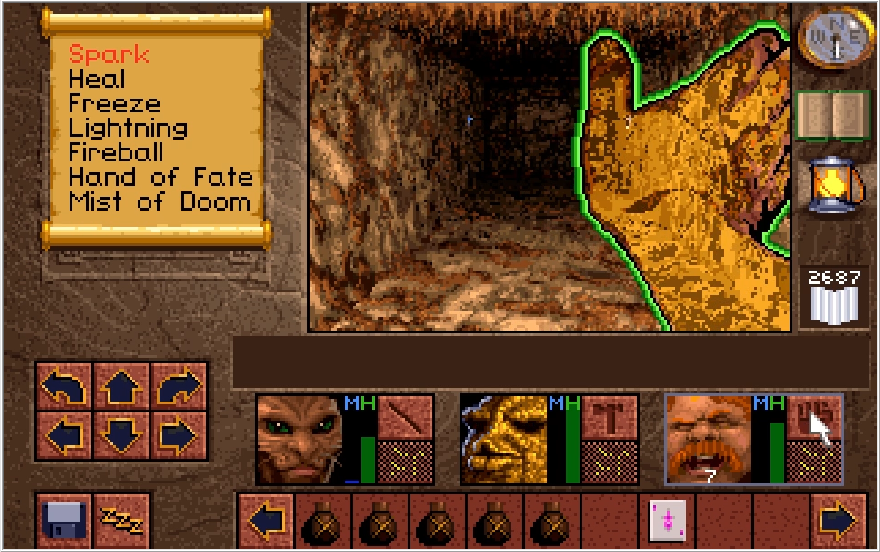
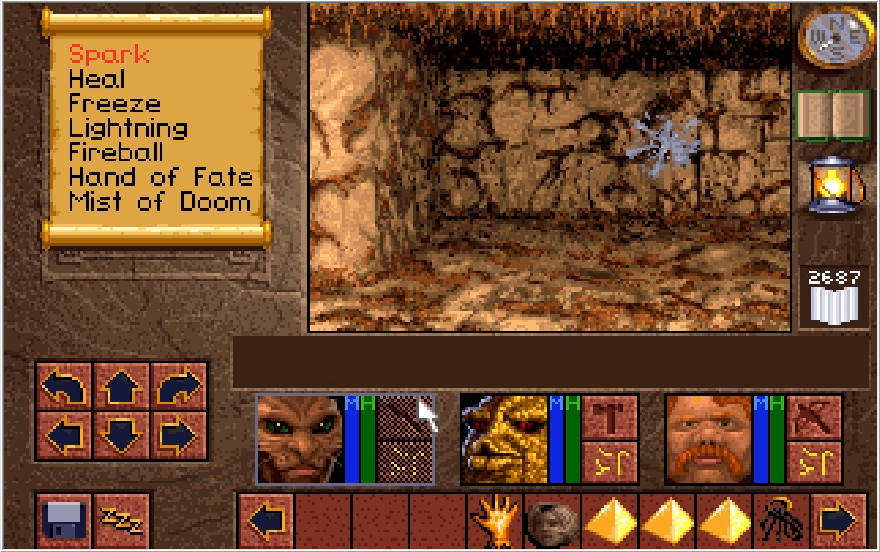
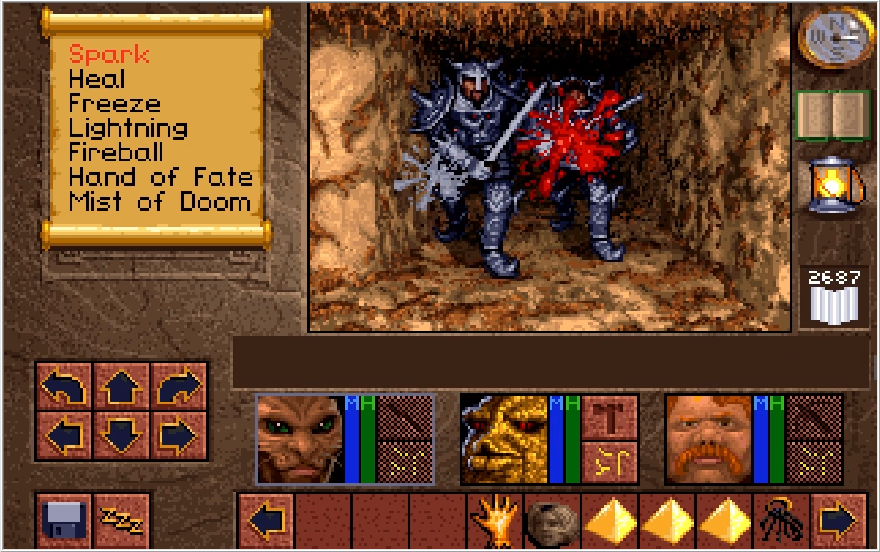
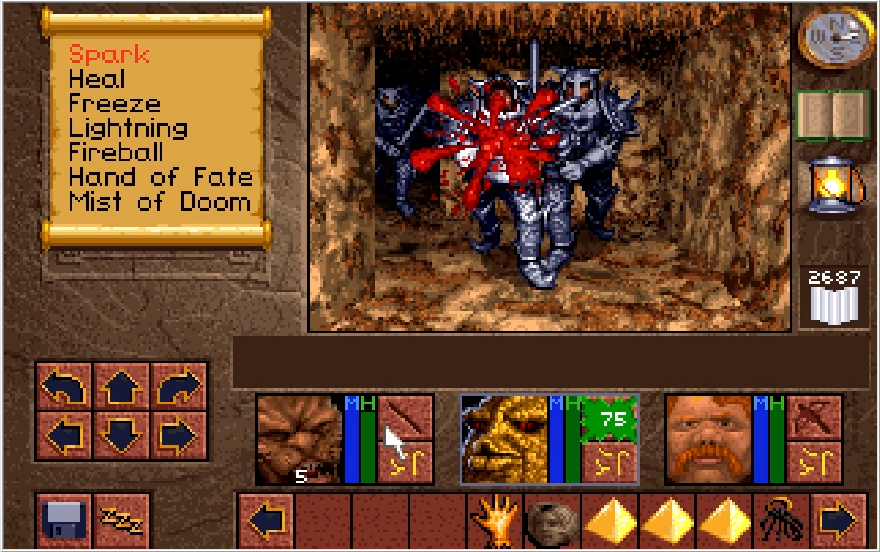
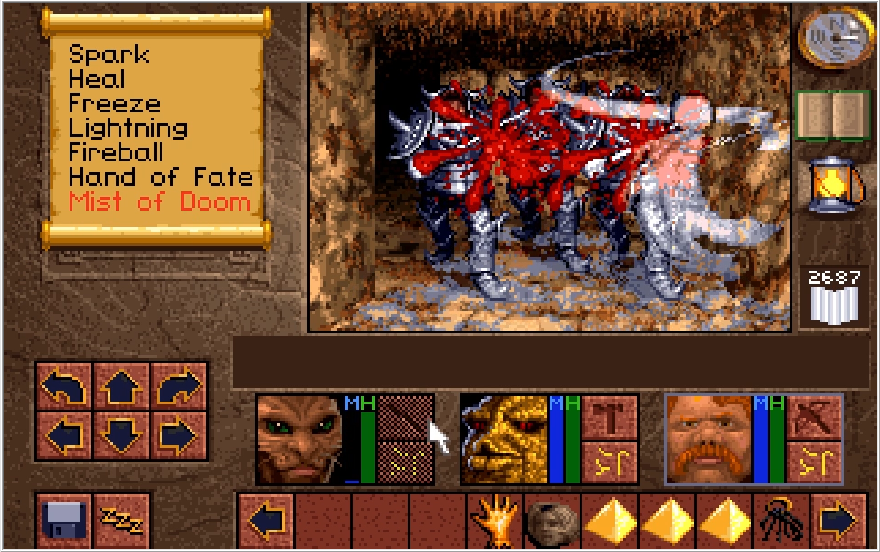
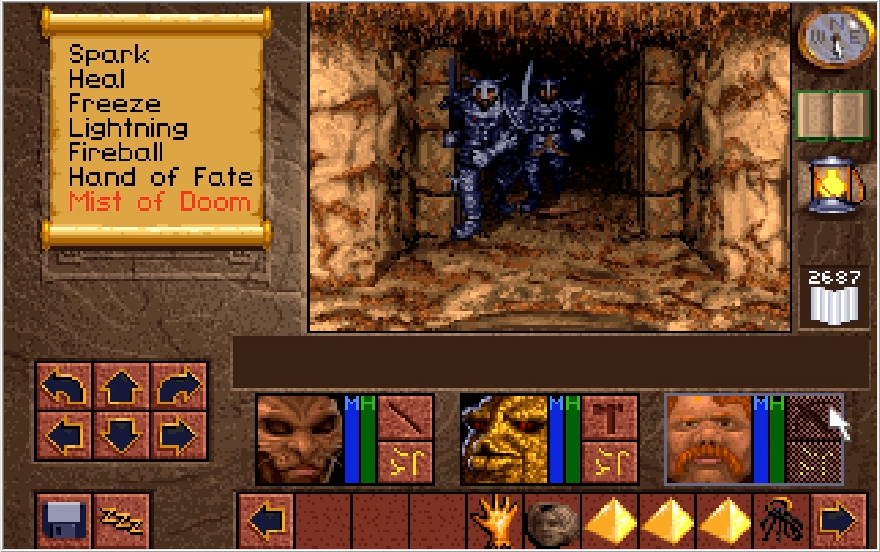
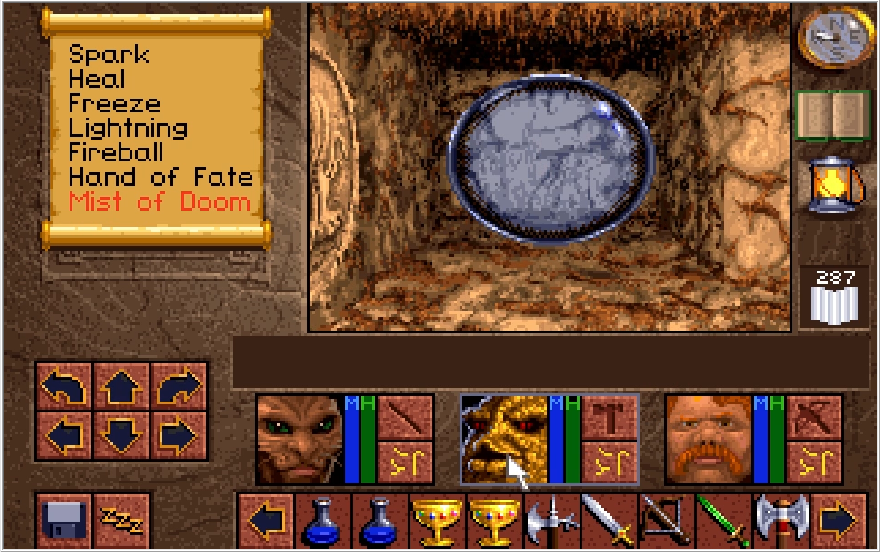
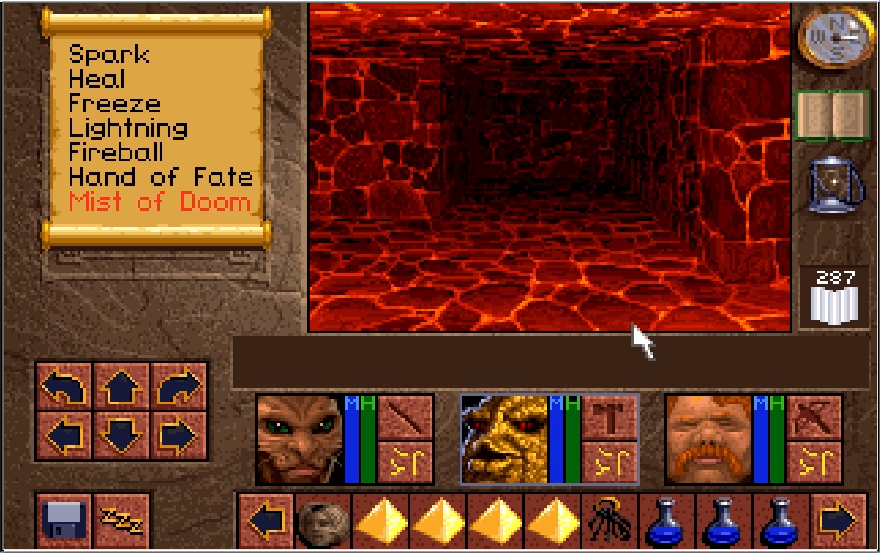
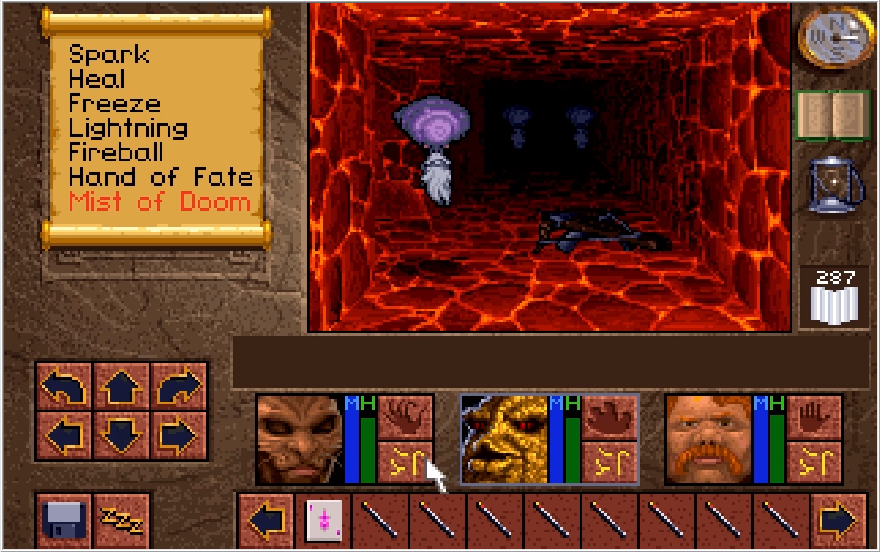
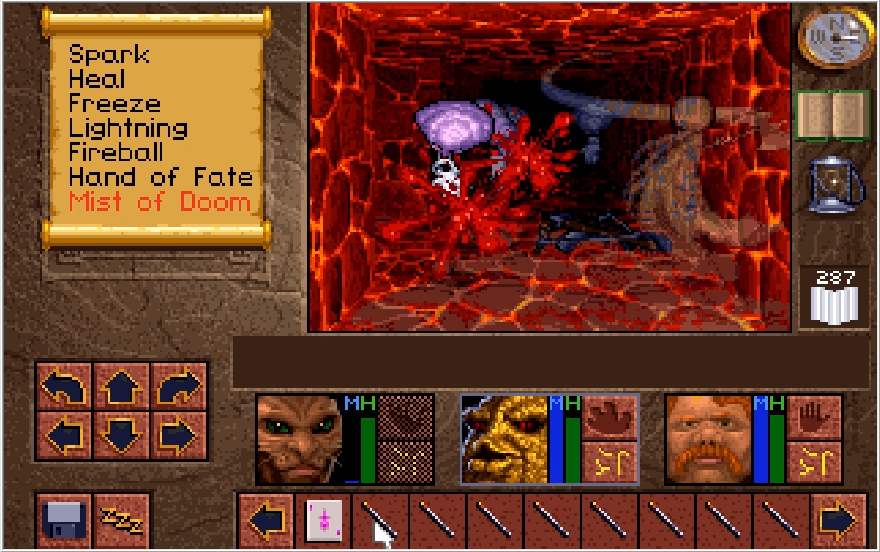
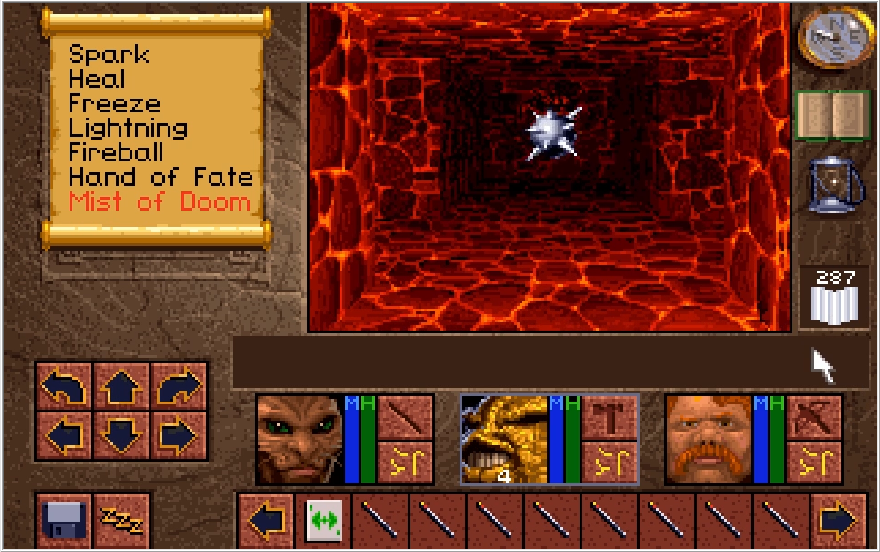
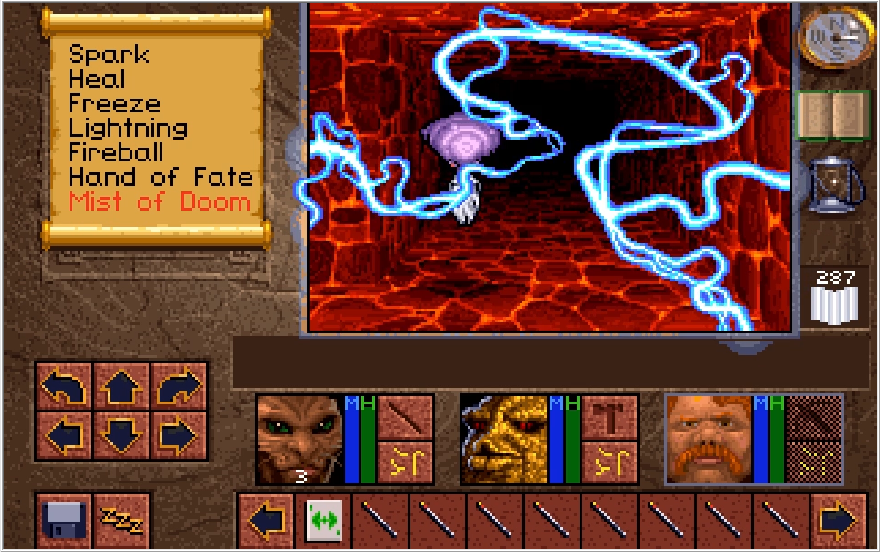
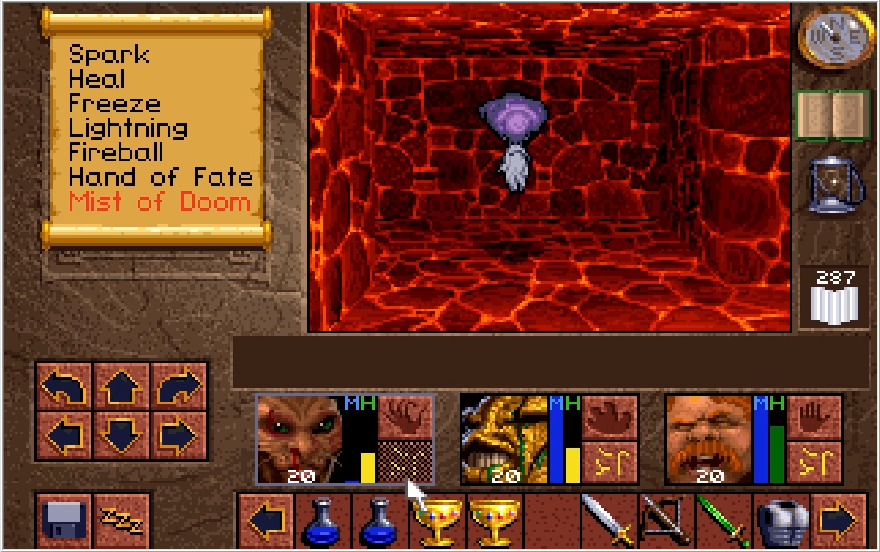
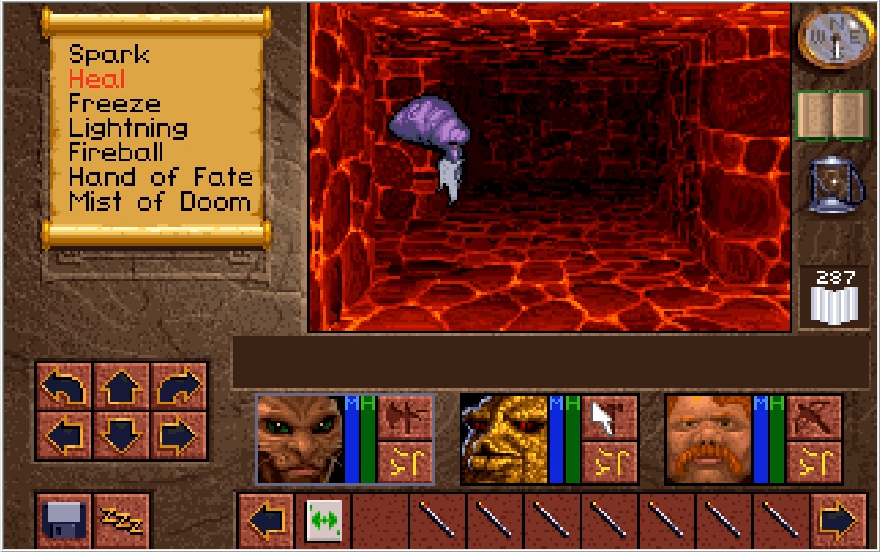
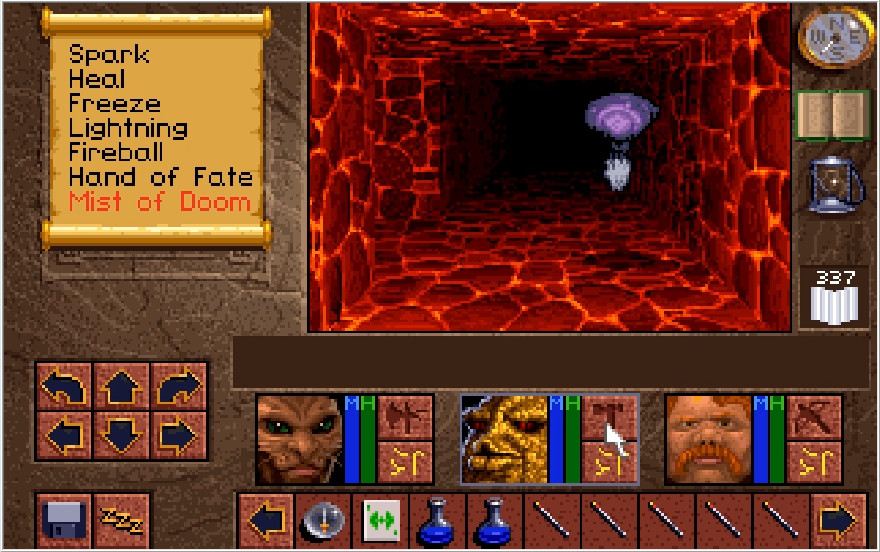
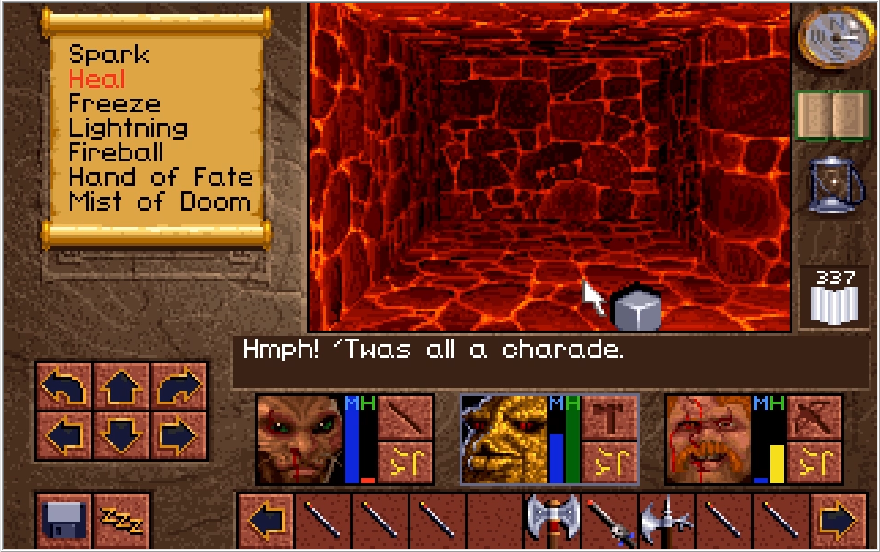
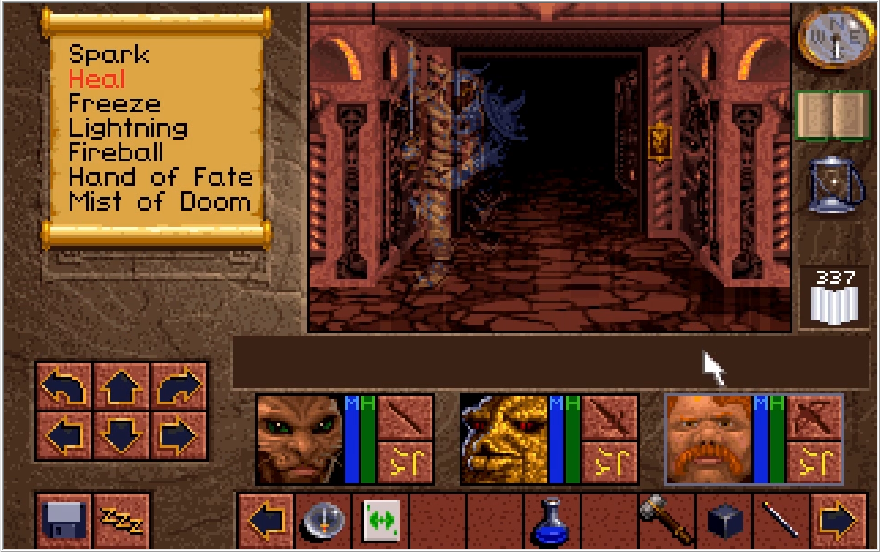
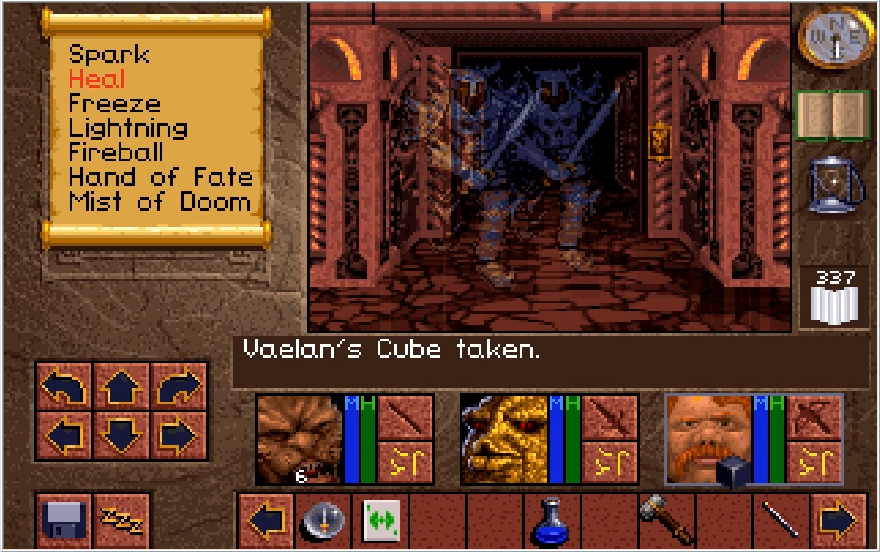
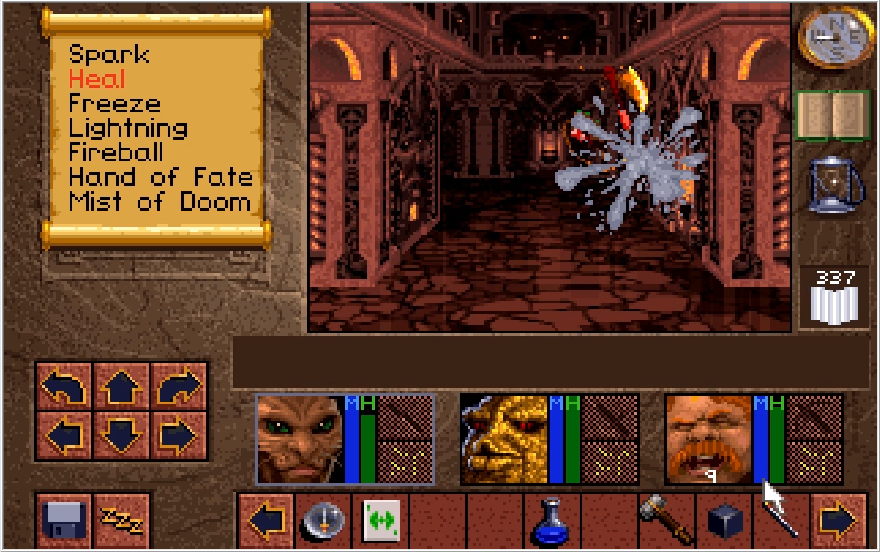
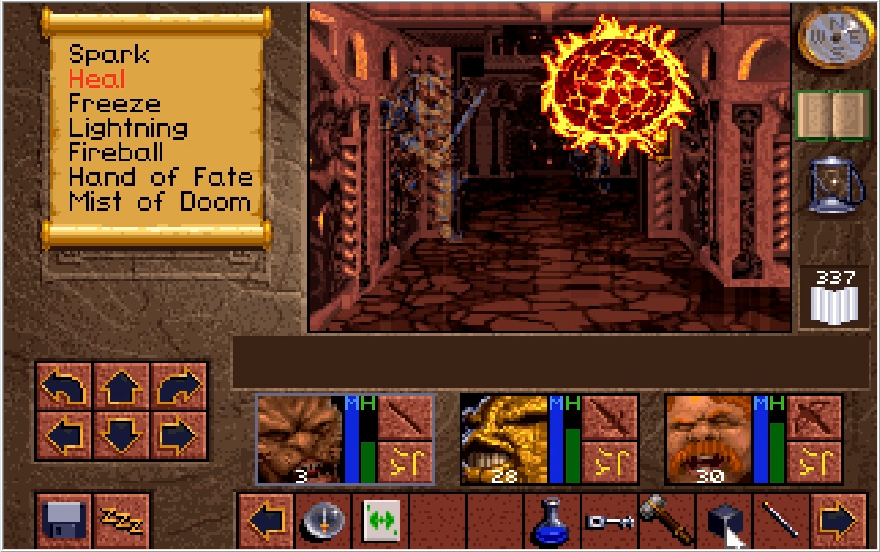
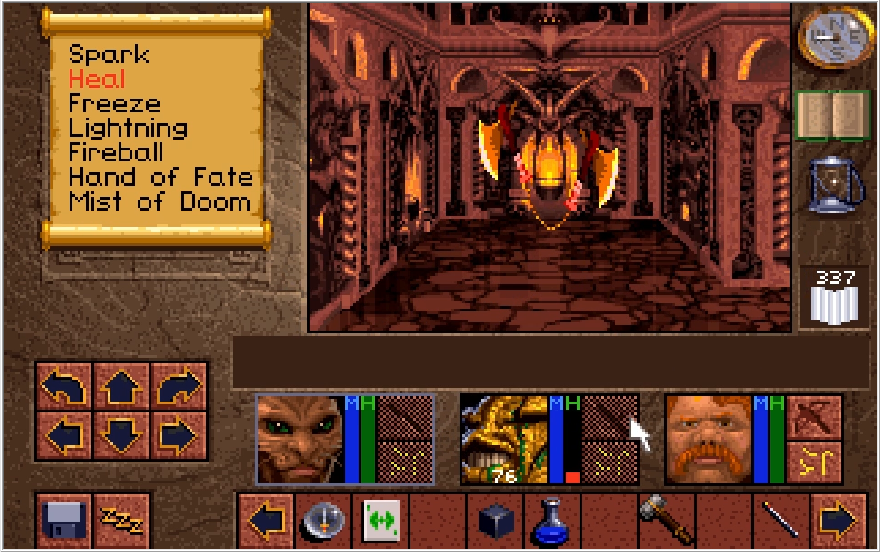
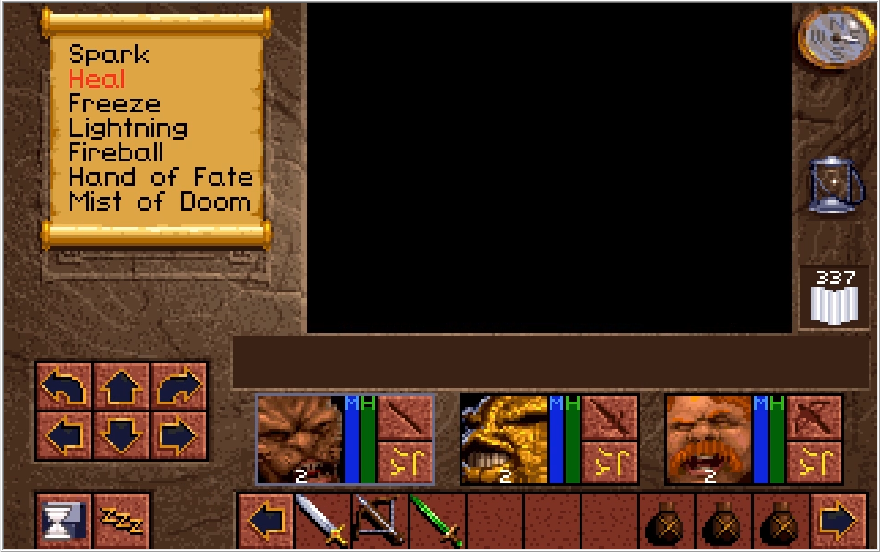
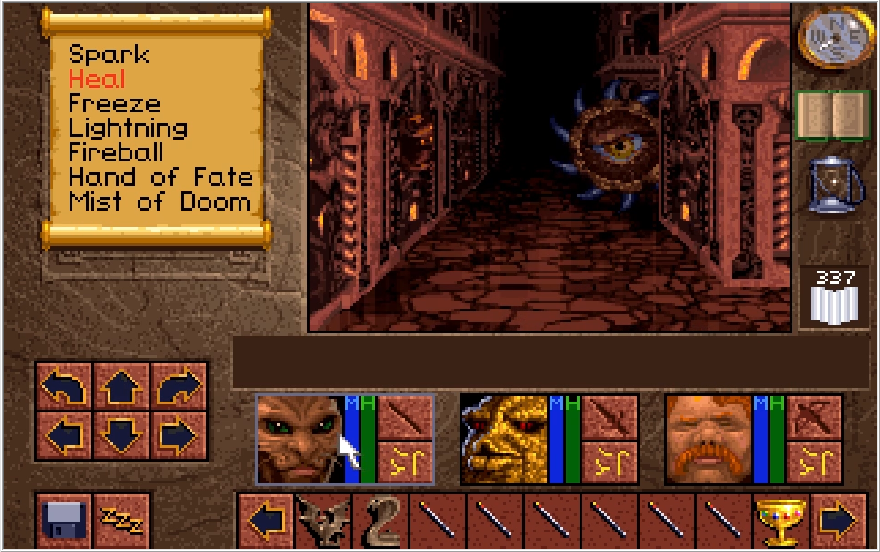
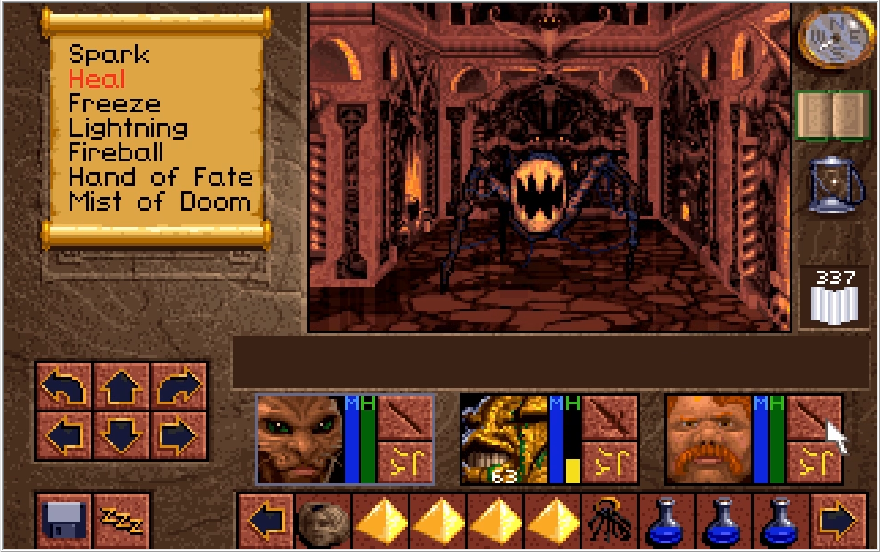
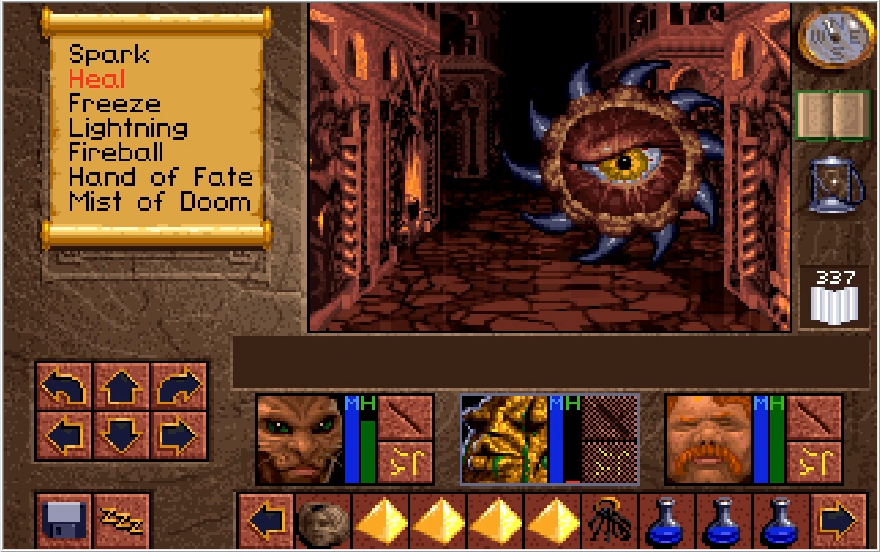
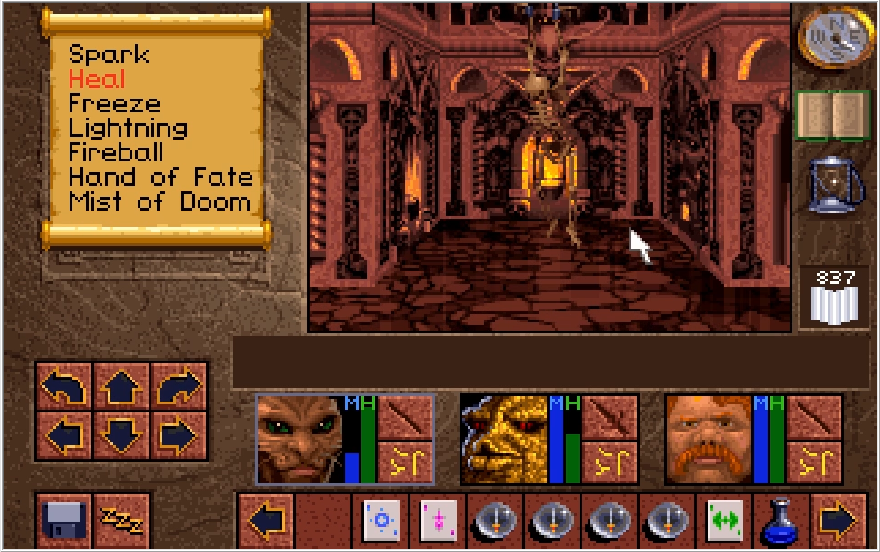
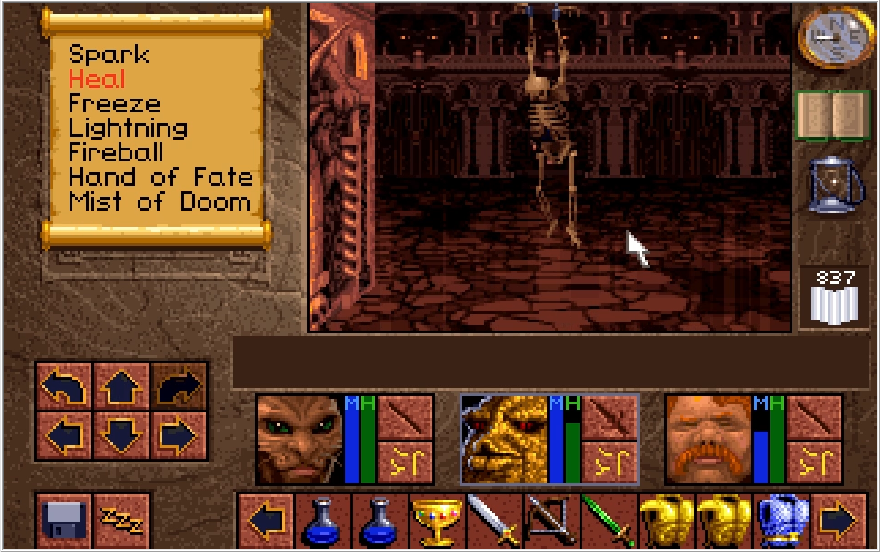
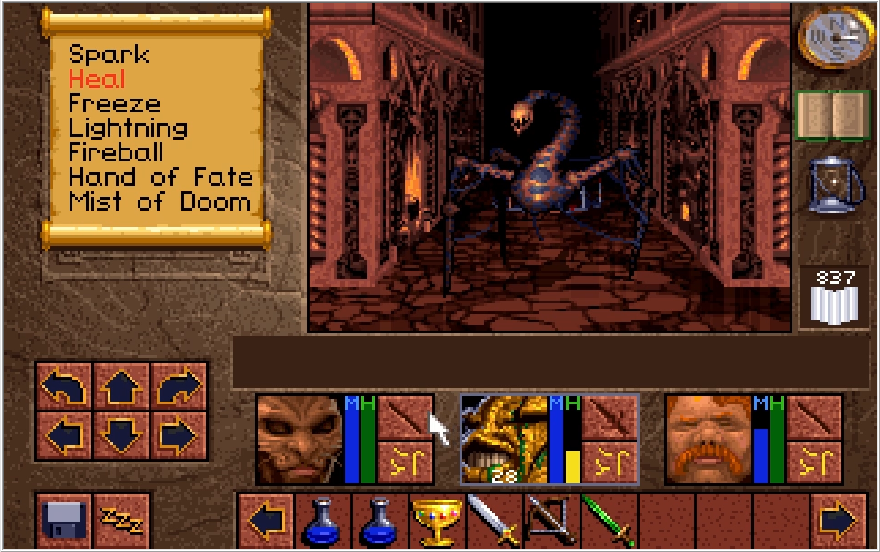
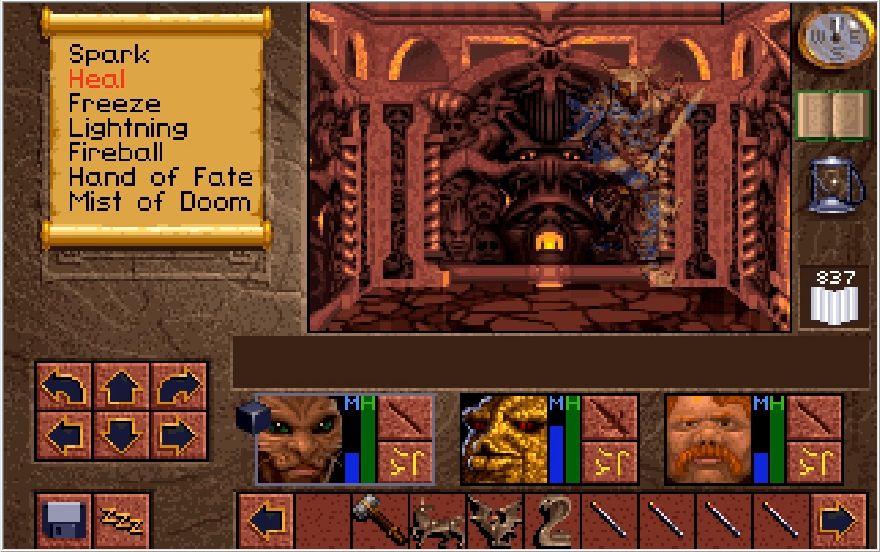
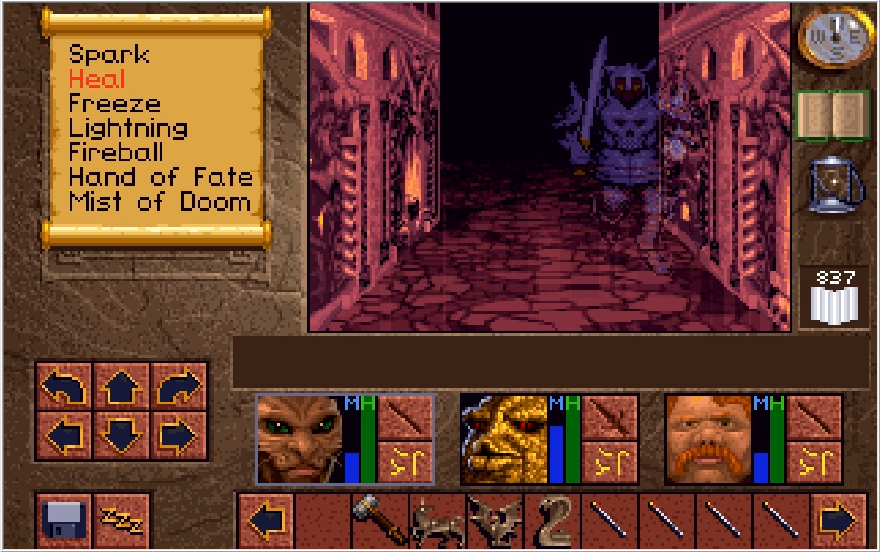
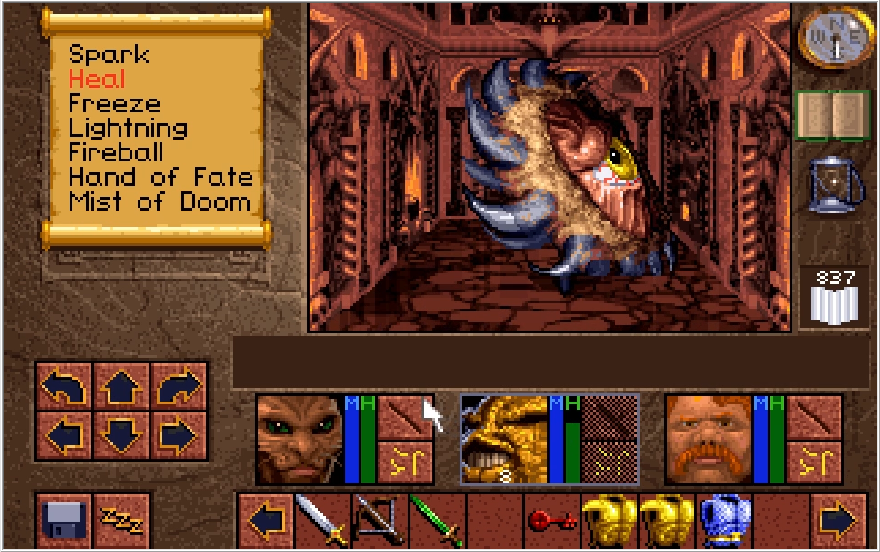
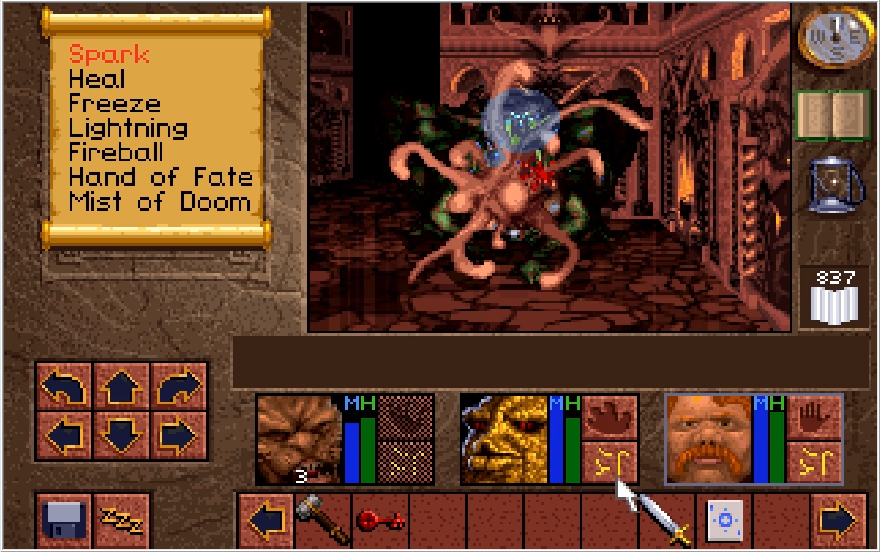
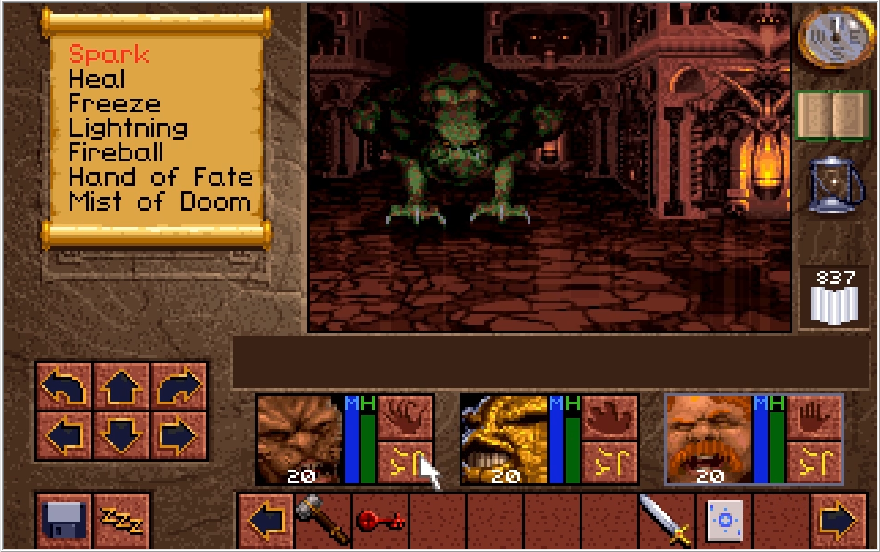
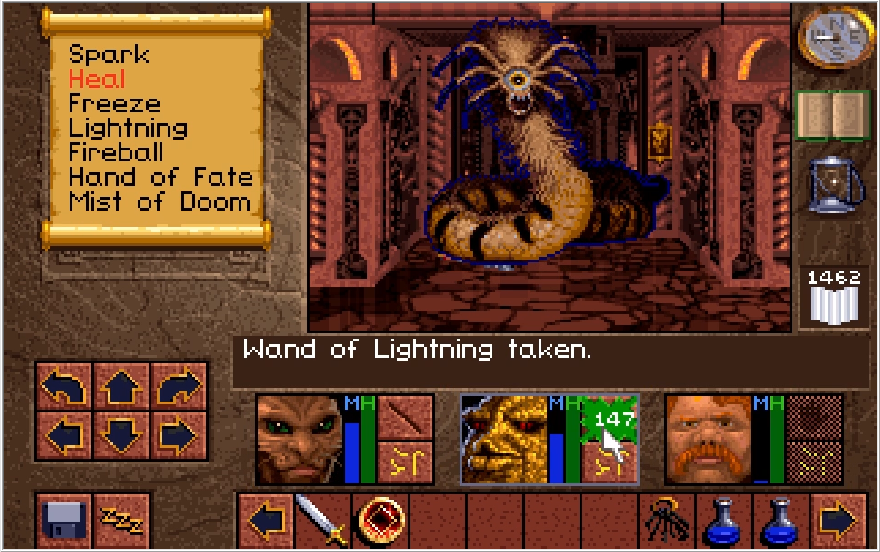
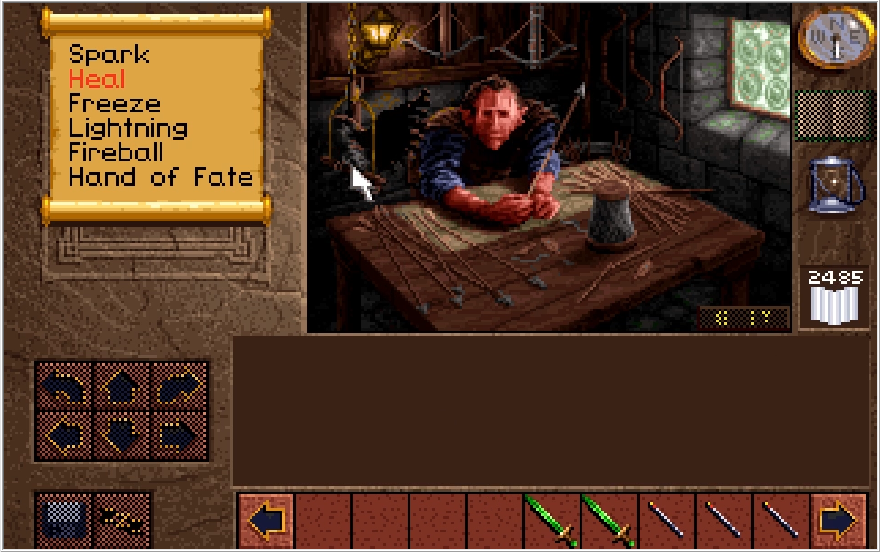
While this might seem interesting, we'd have run into one of these guys sooner or later. Say hello to the last new non-boss enemy, Toadulus!
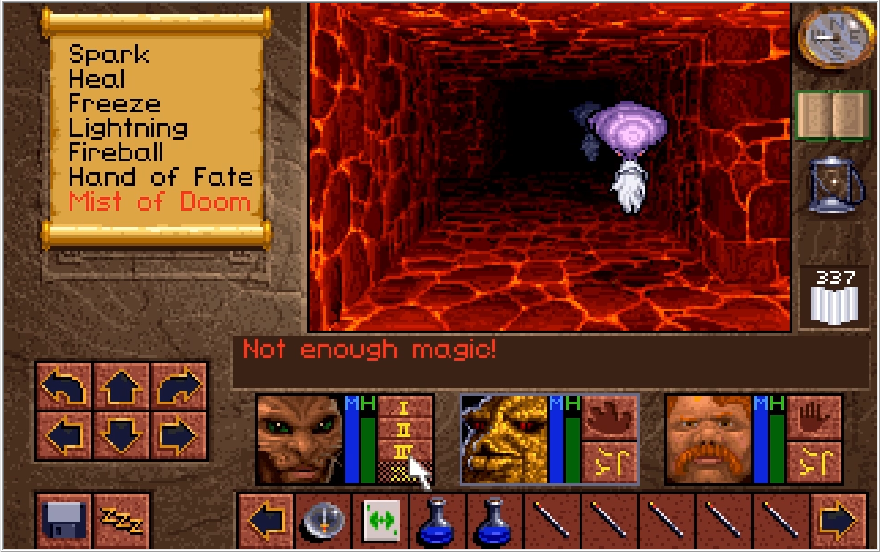
Toadulus is another enemy that can quake us, and it will do so without fail as soon as you reach melee range with it. Sounds bad, but it's melee strikes are pathetic and it seldom quakes a second time. Defeating it is simple.
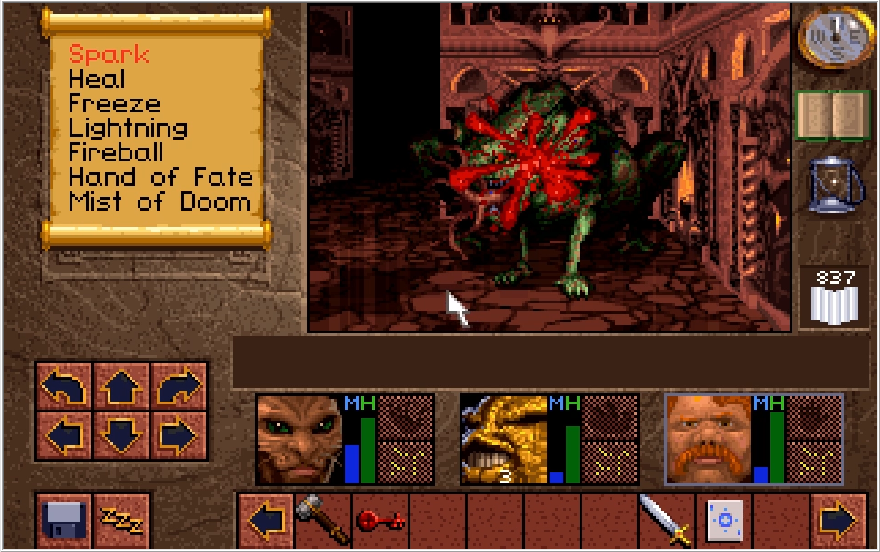
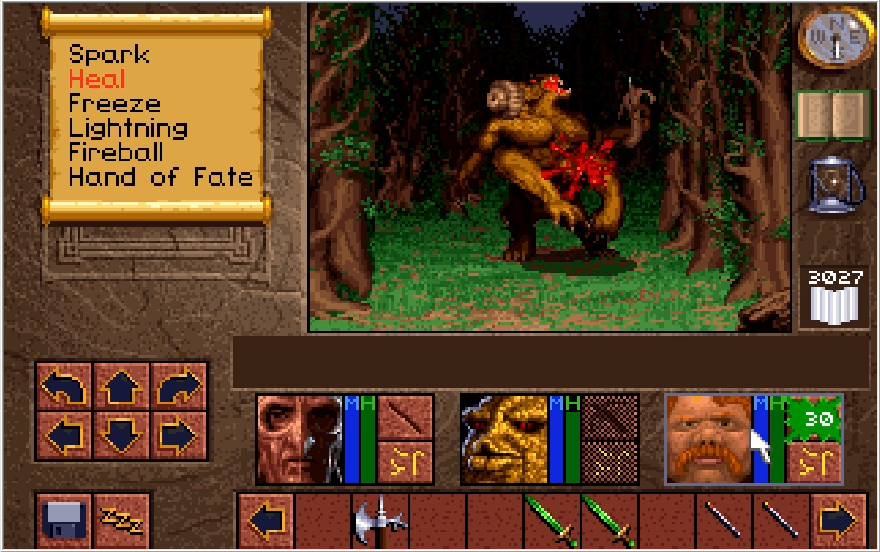
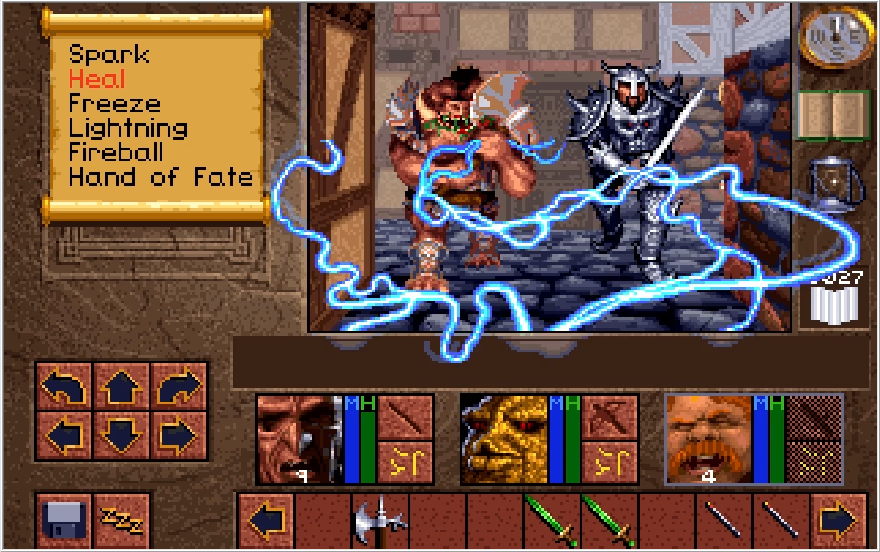
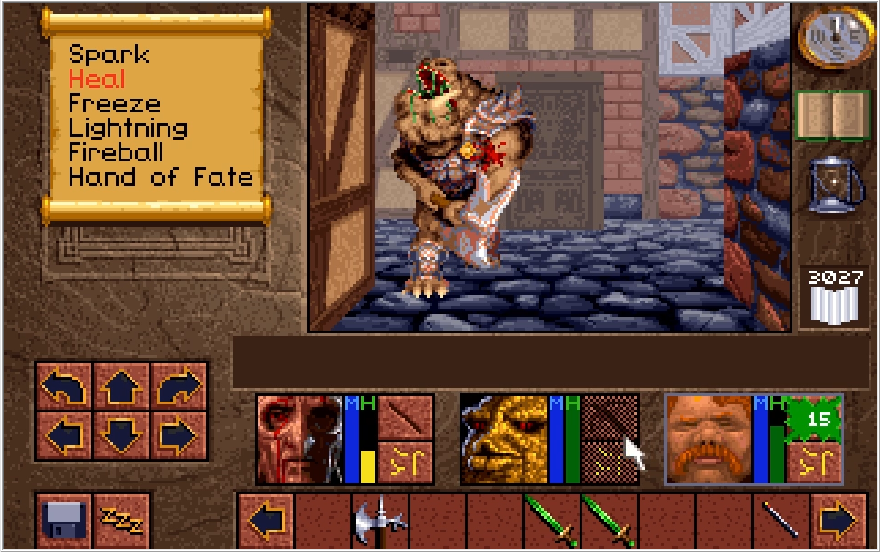
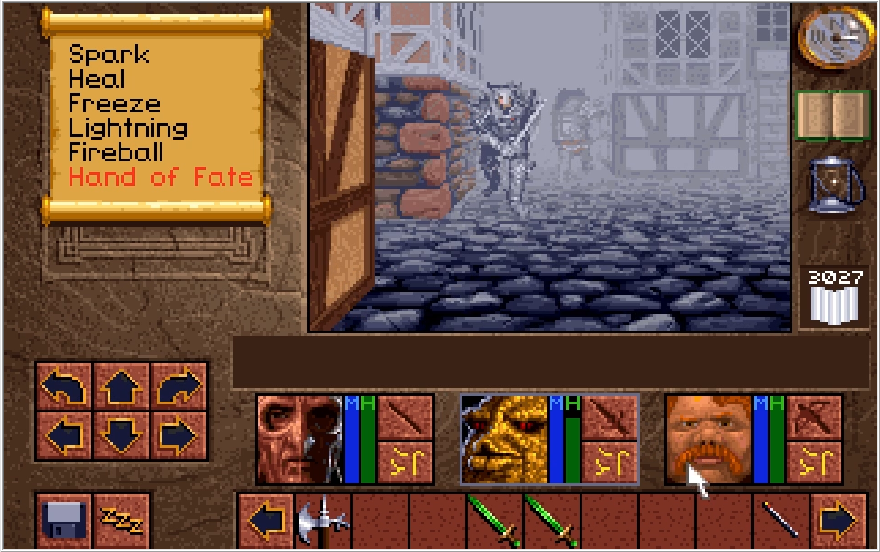
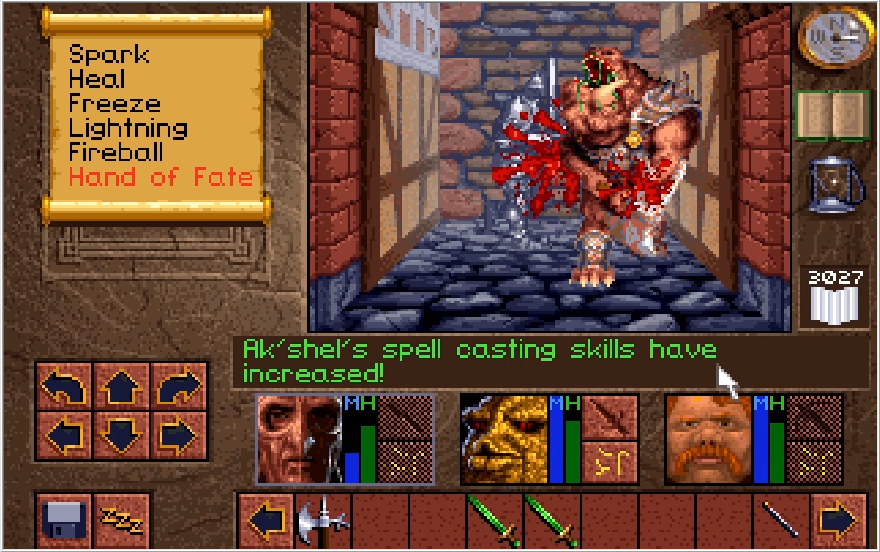
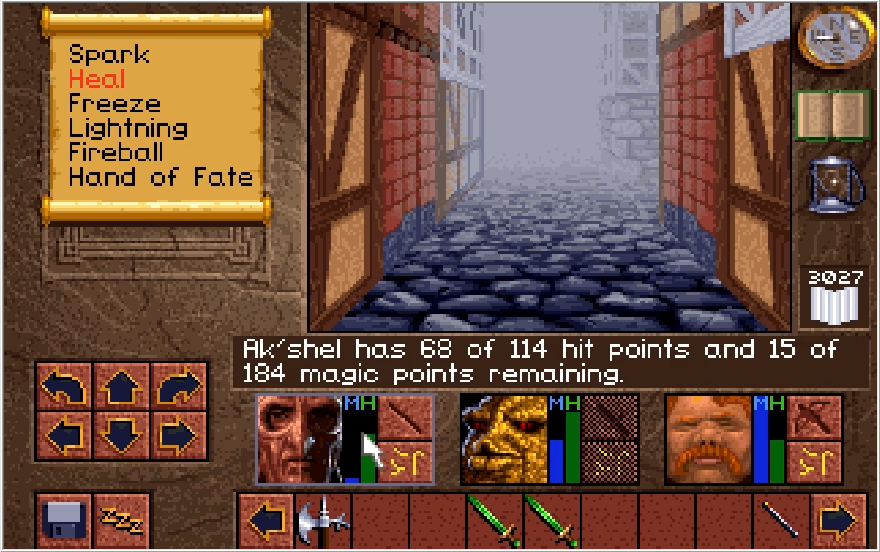
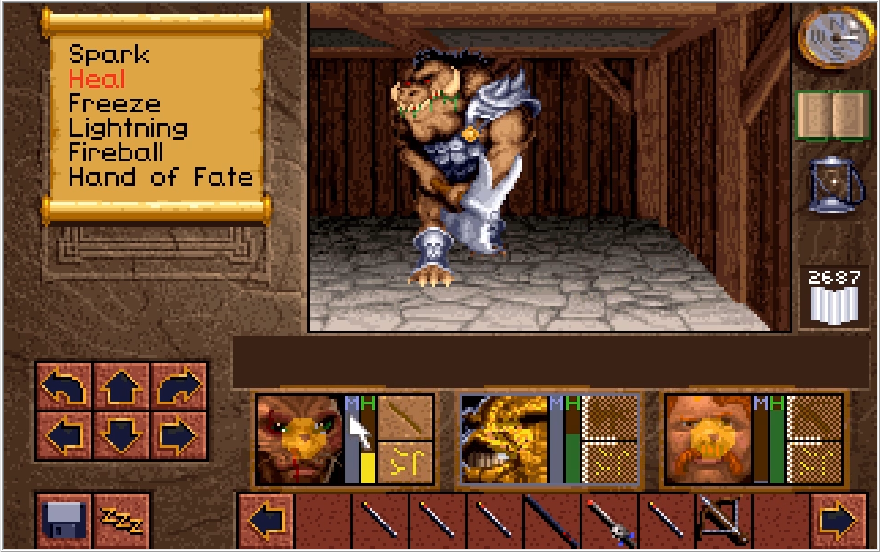
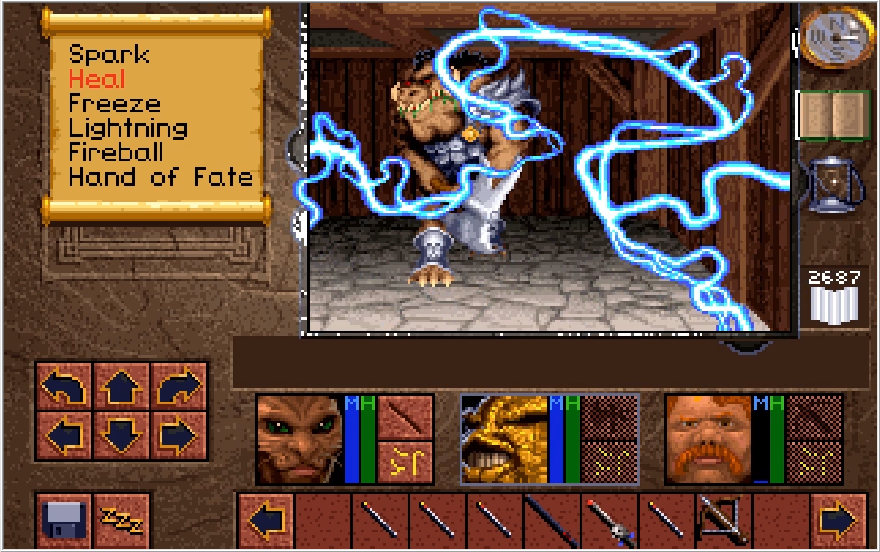
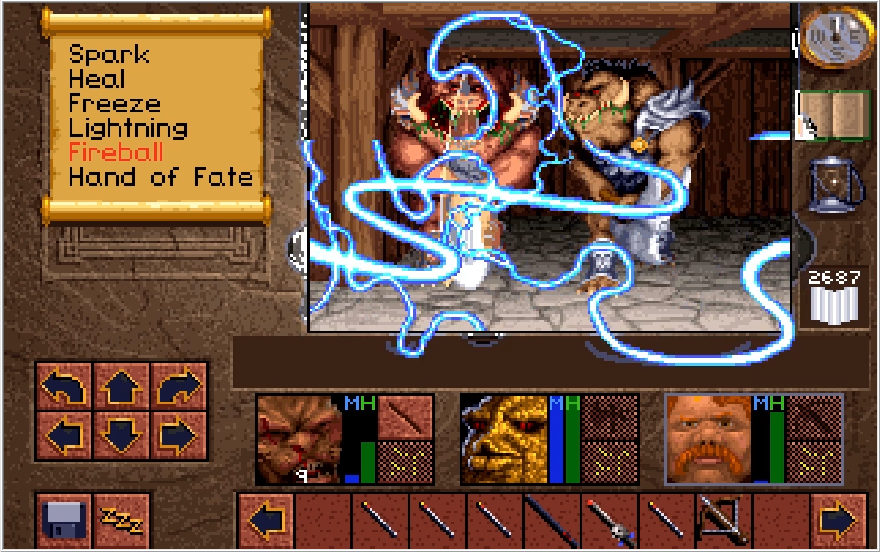
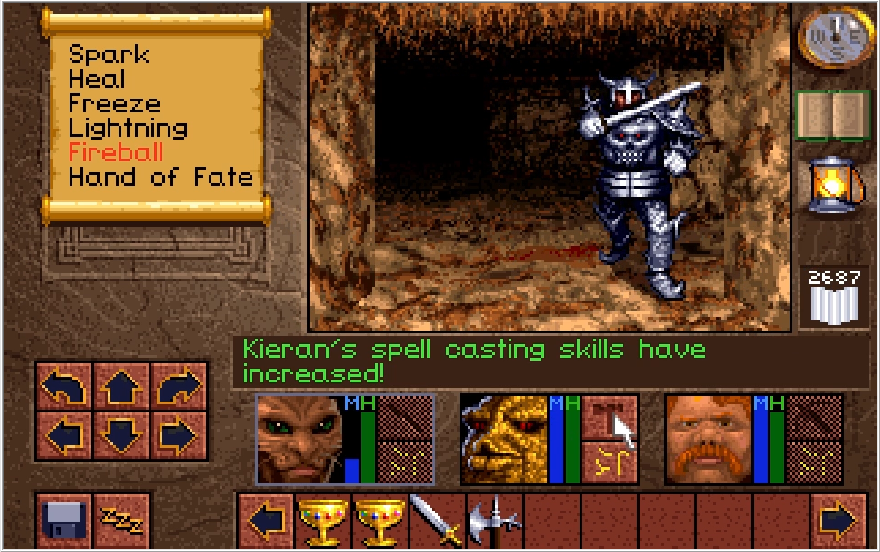
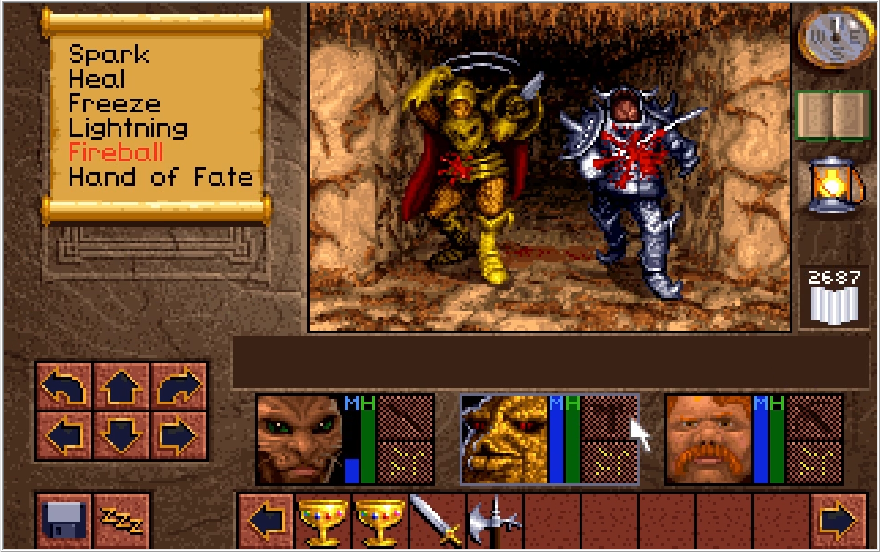
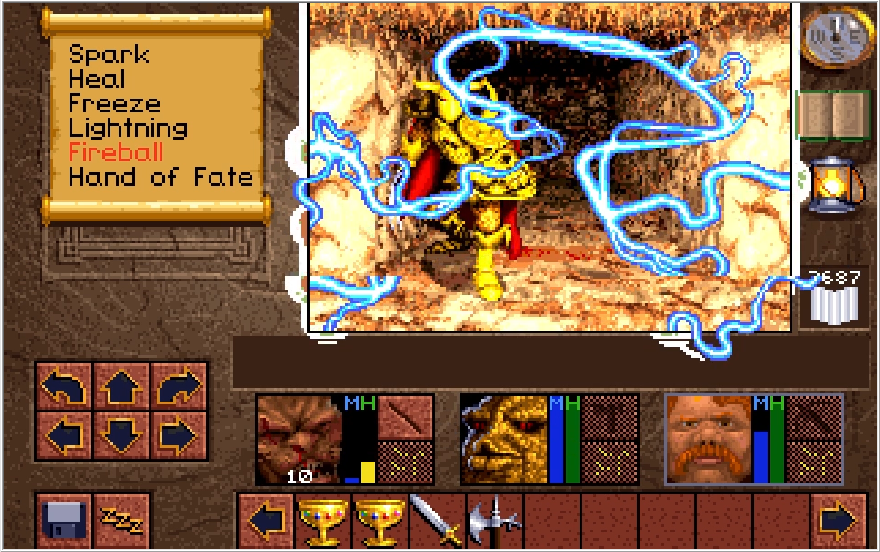
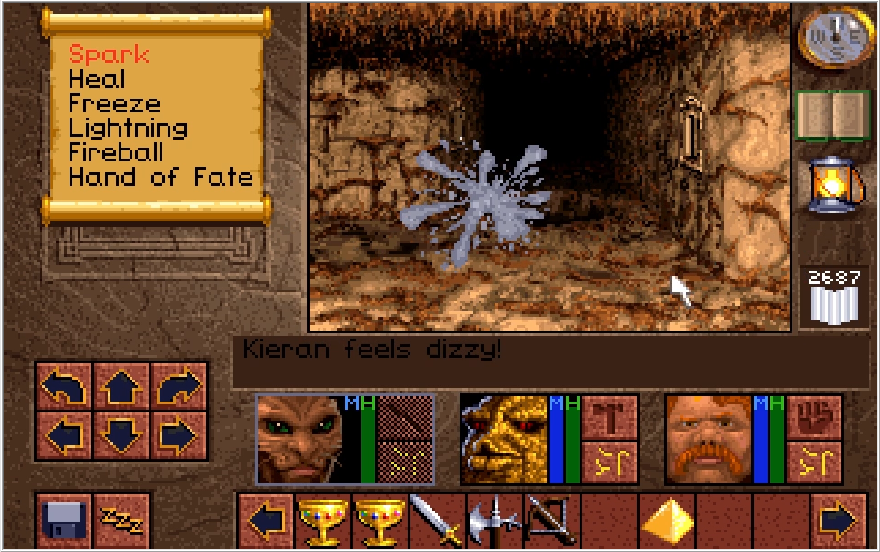
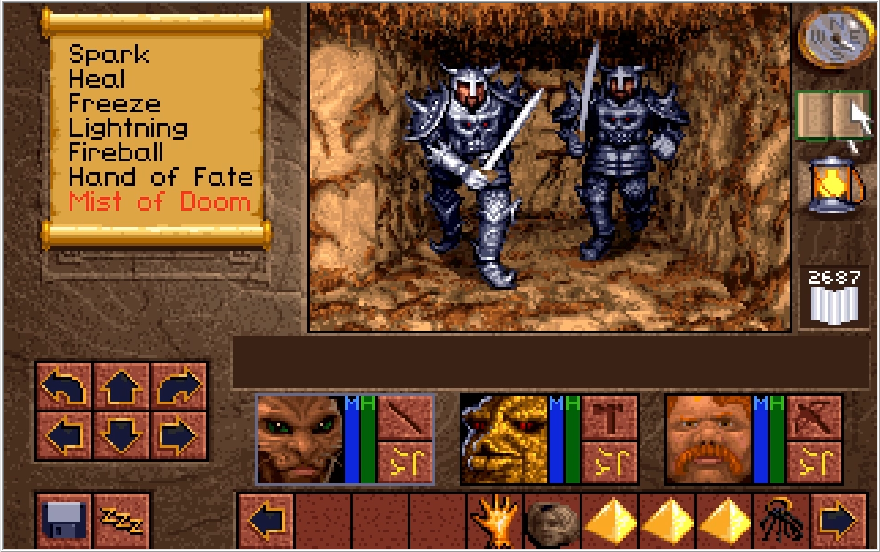
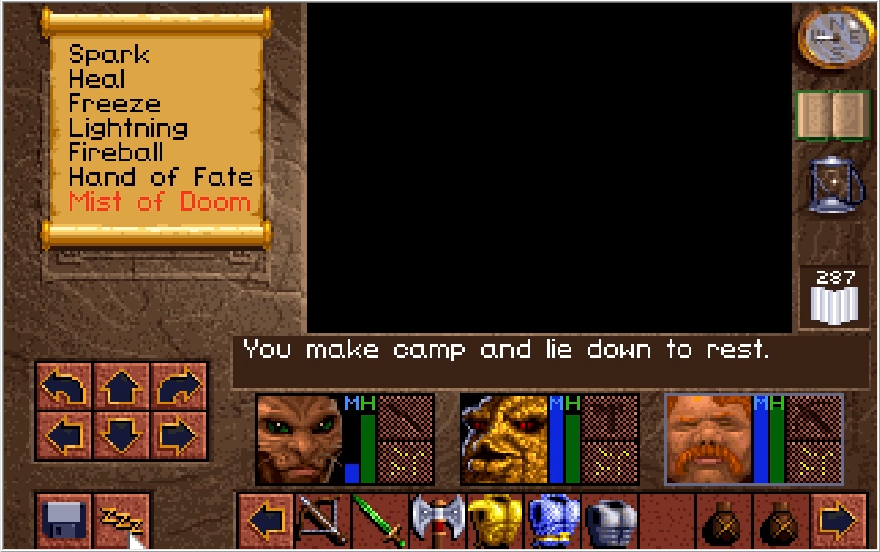
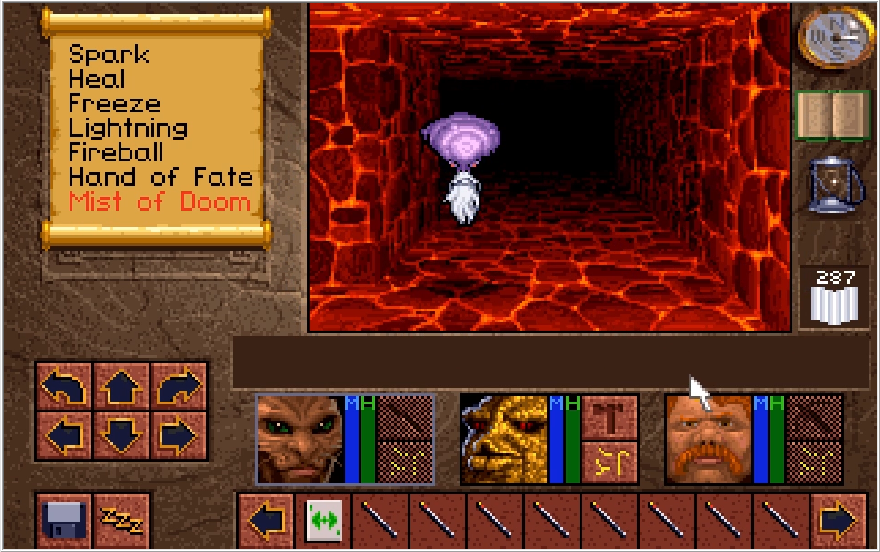
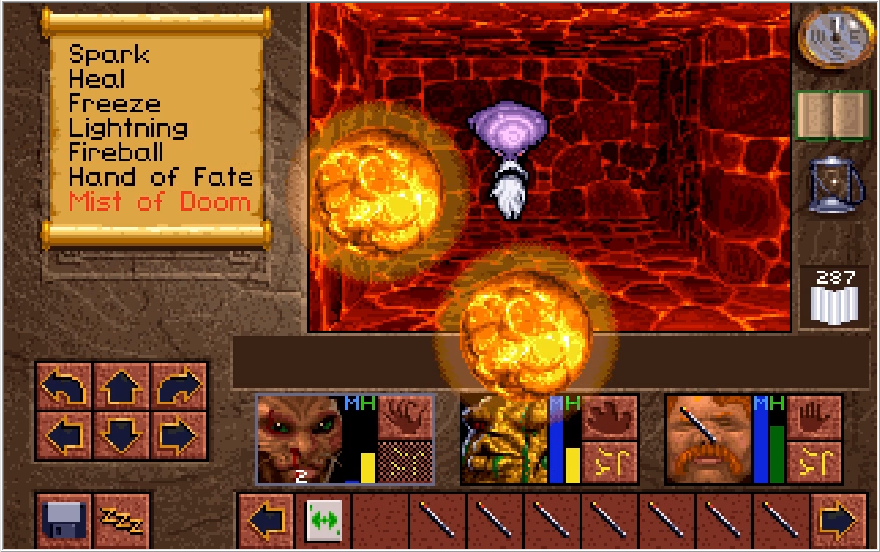
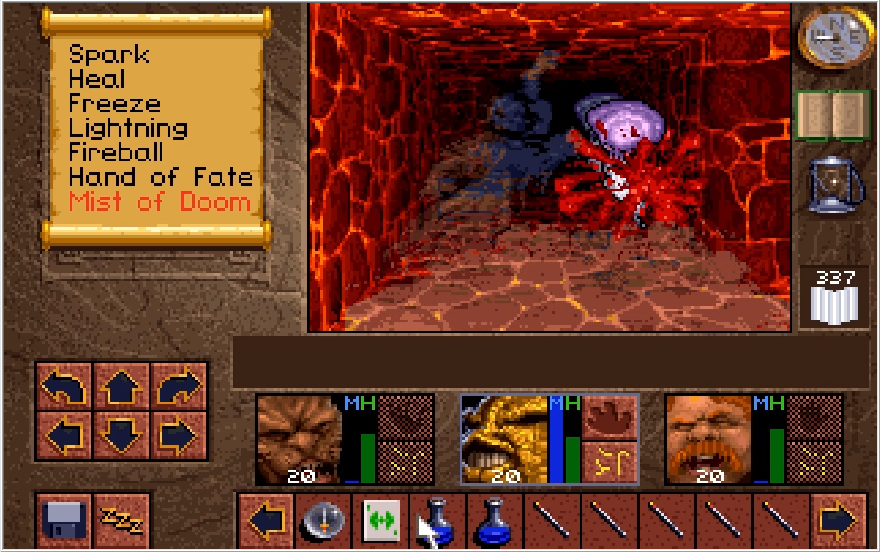
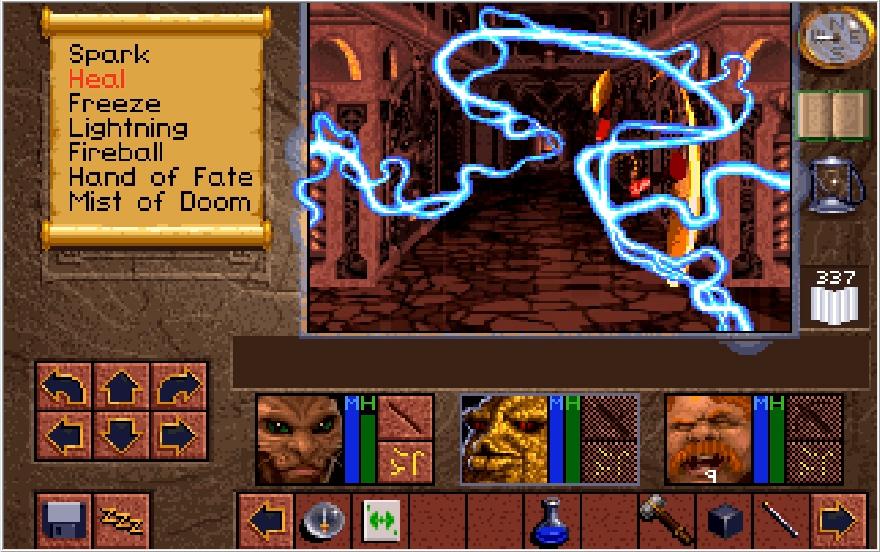
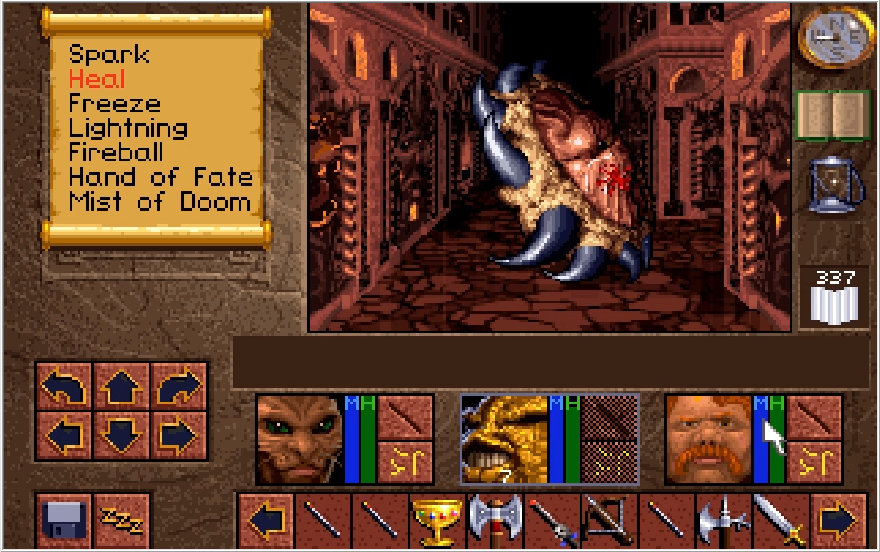
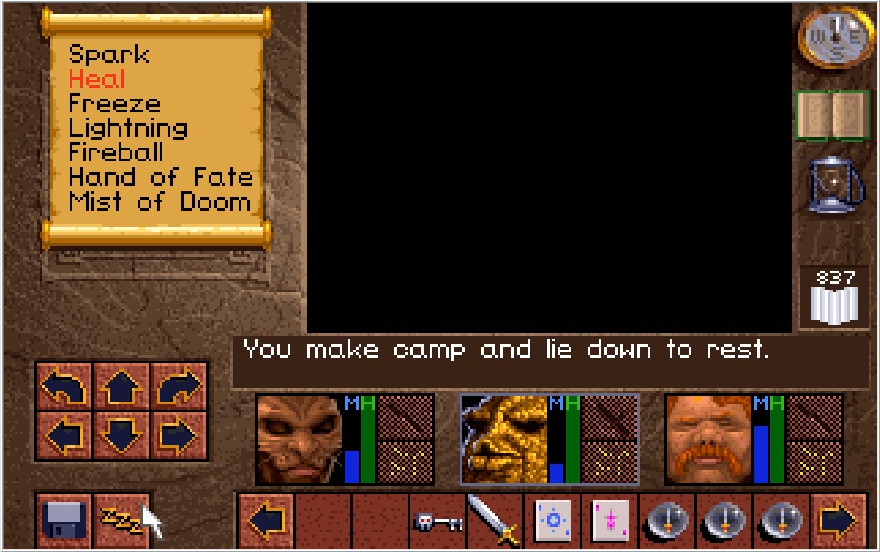
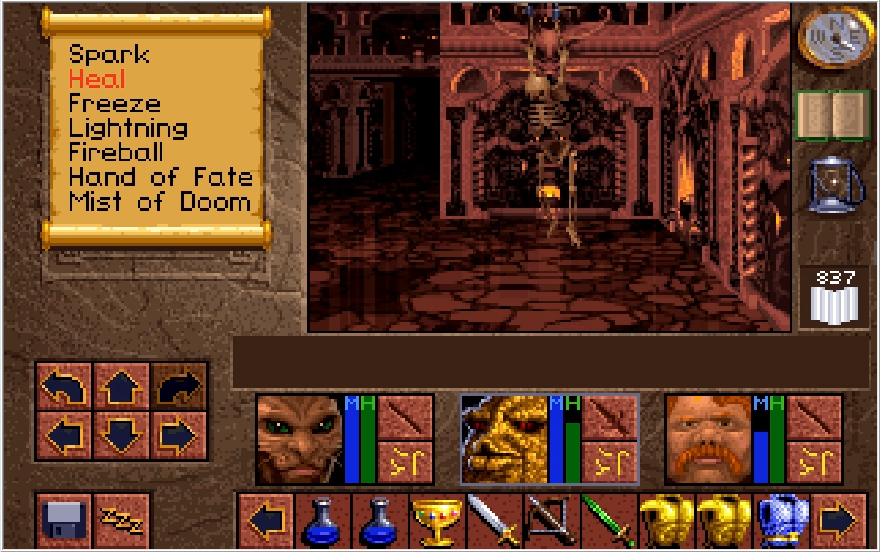
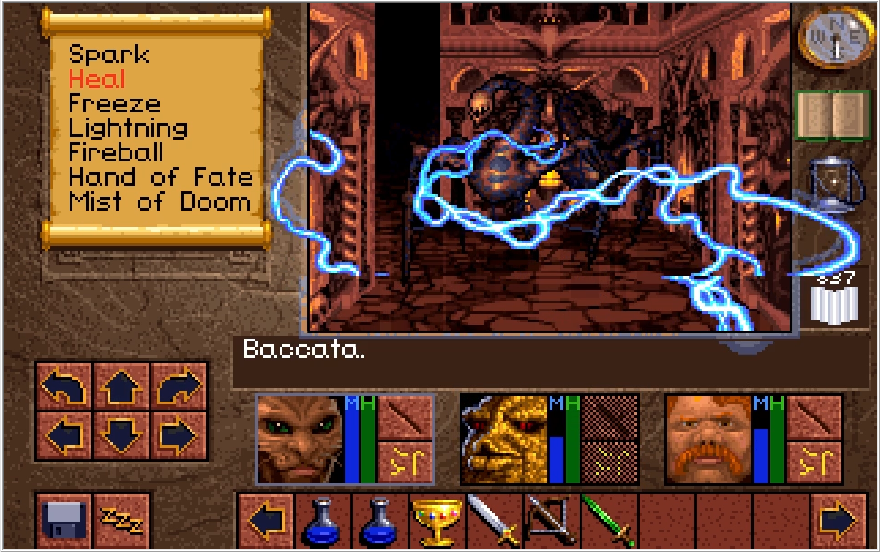
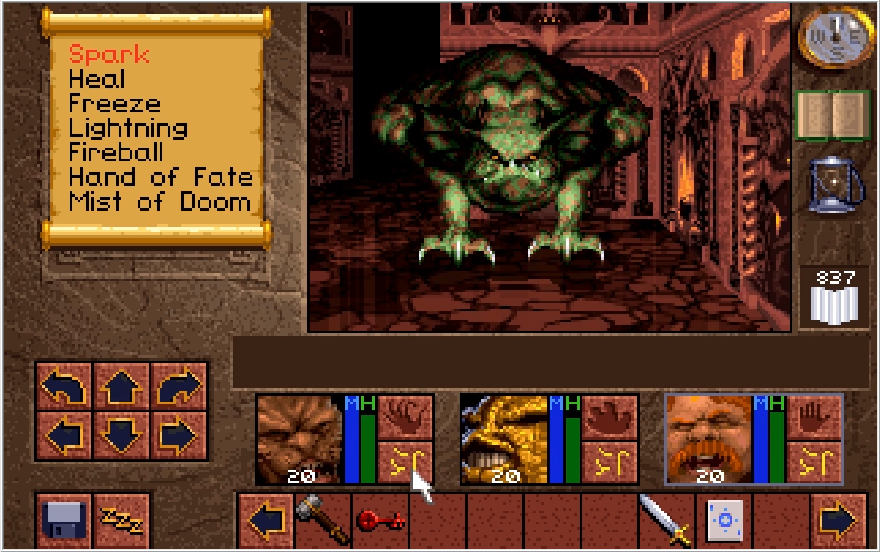
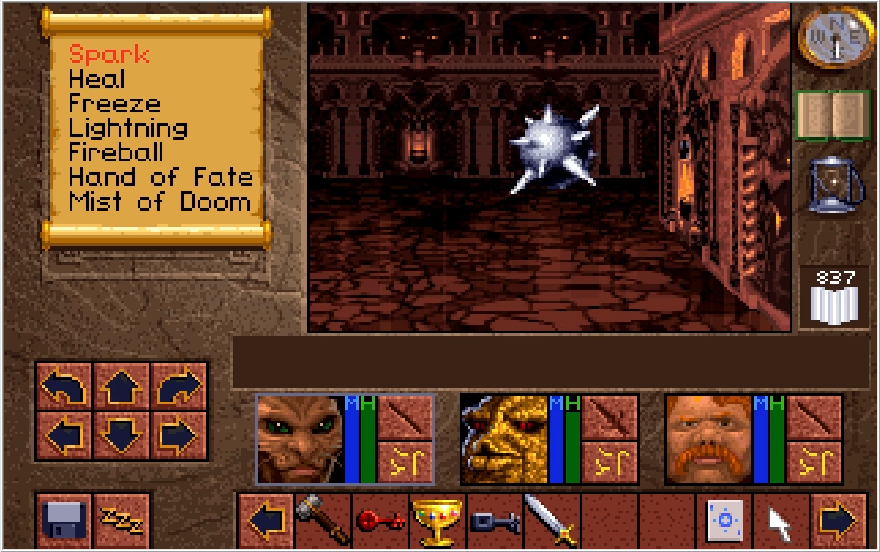
Just blast it with Spark 4 6 times and it'll keel over. The Spark spell stays winning! There's about 6 of these guys kicking around this floor, and they're all pretty spread out so it's safe to just rest where you stand after killing one to fully recover.
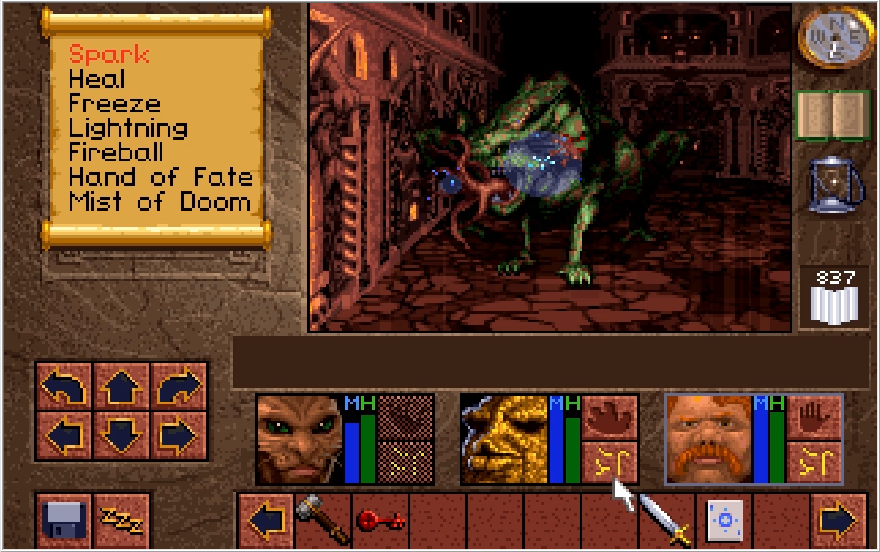
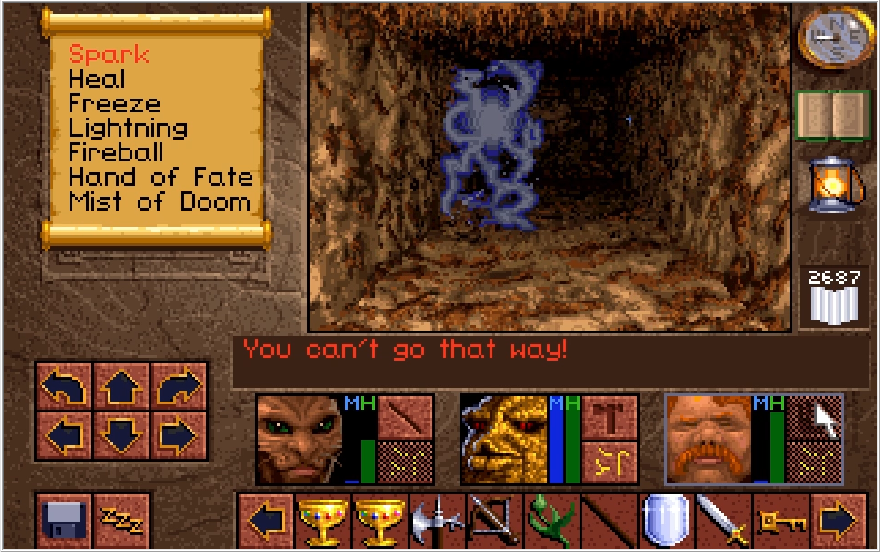
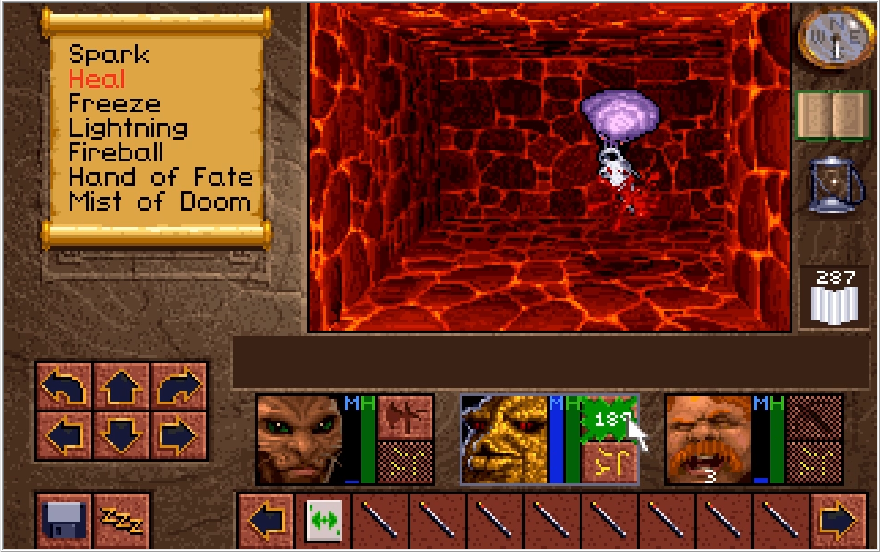
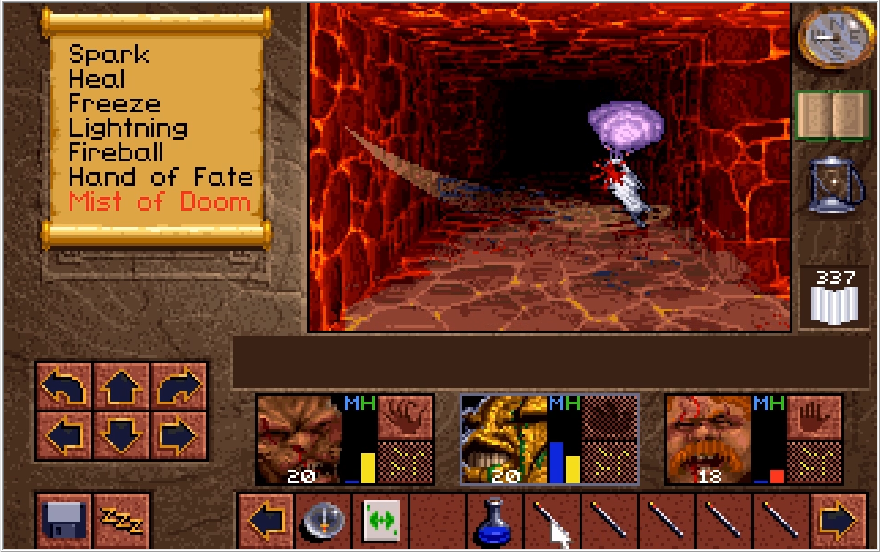
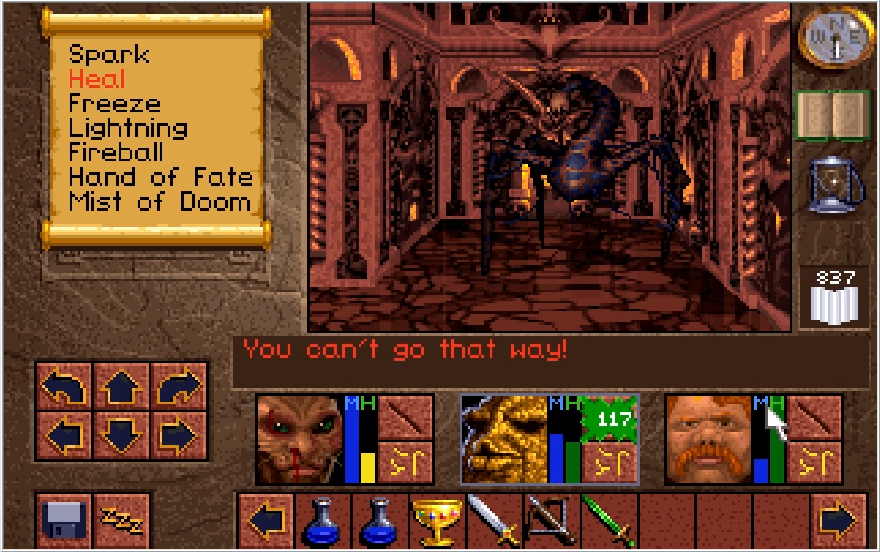
I quickly encounter a second one after resuming exploration and deal with it much the same.
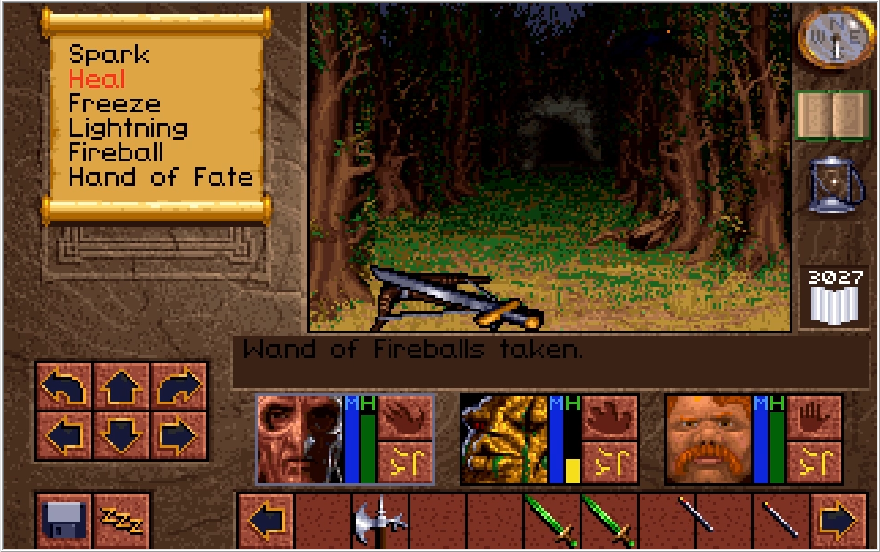
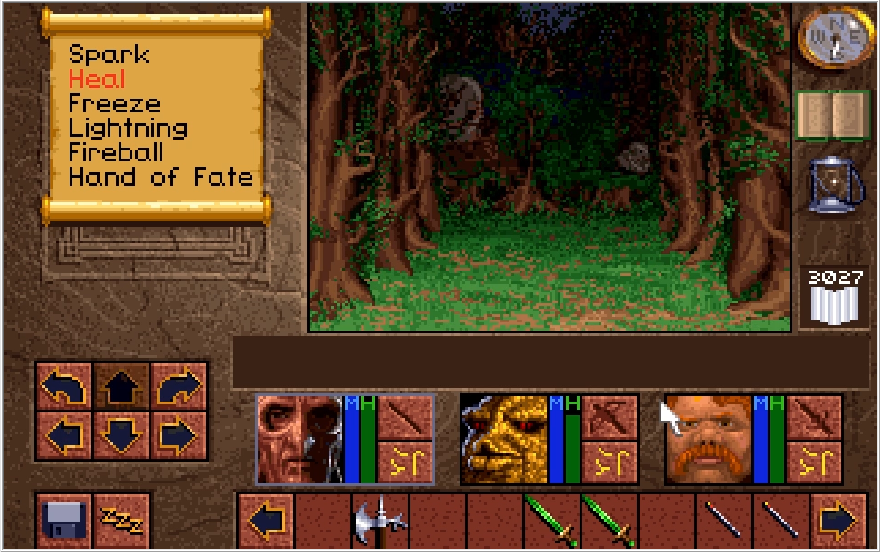
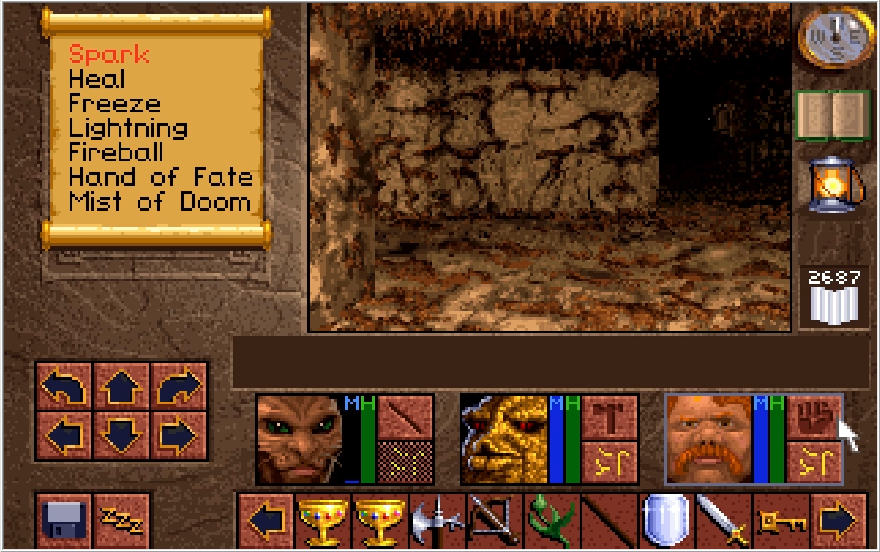
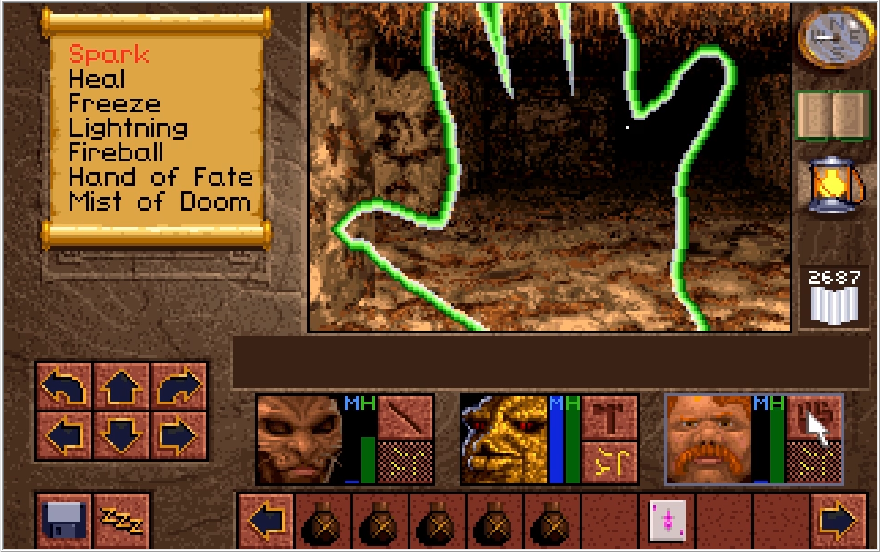
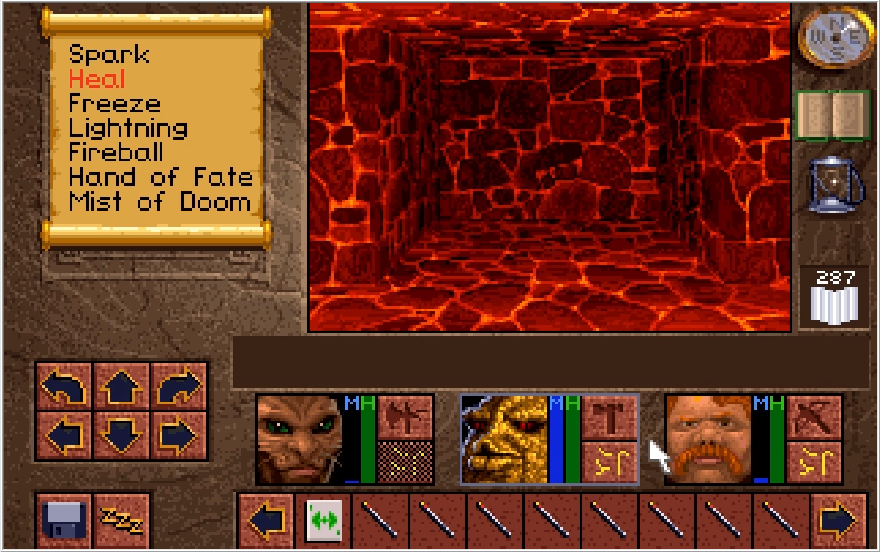
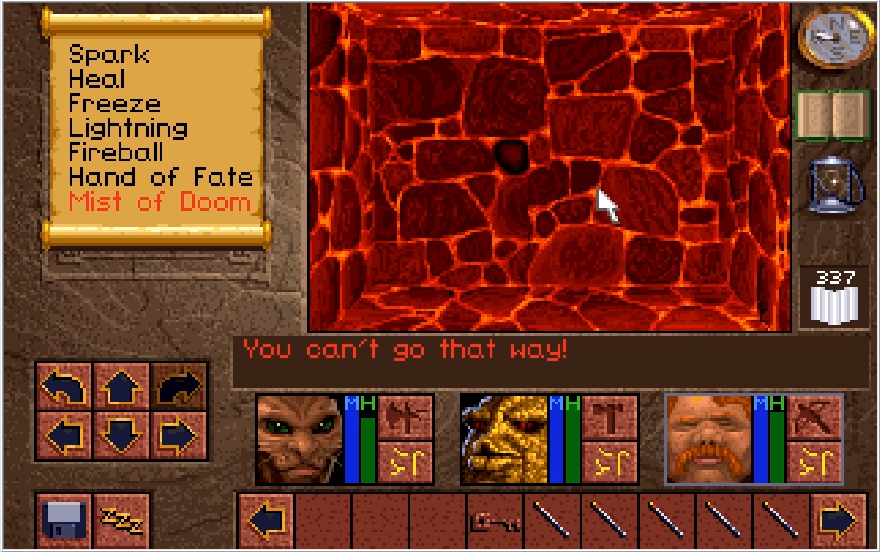
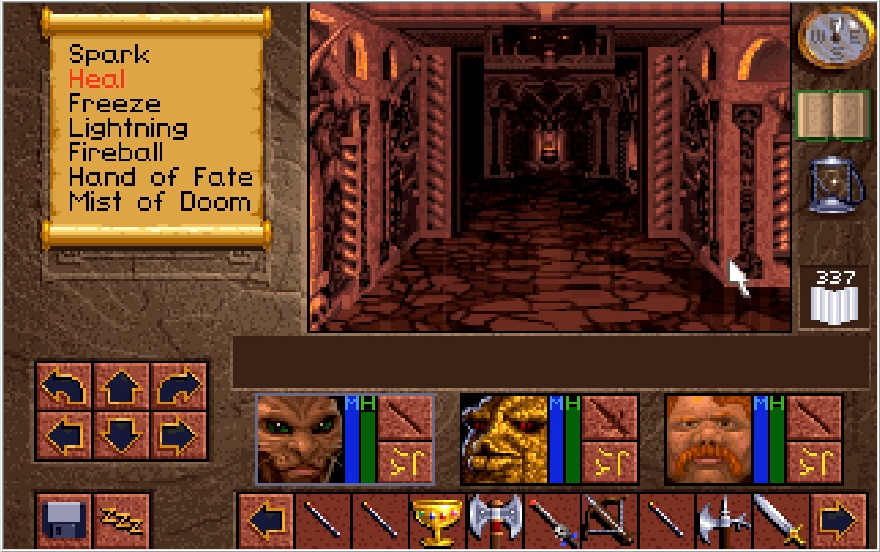
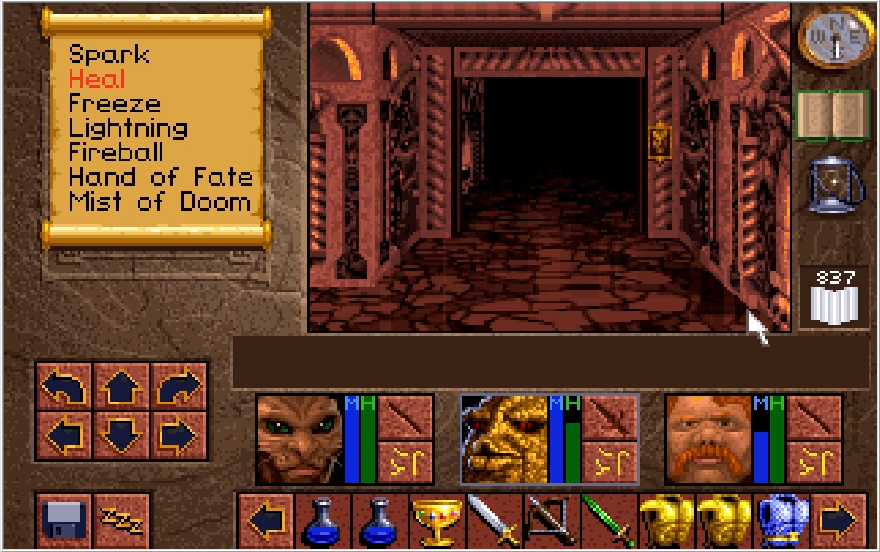
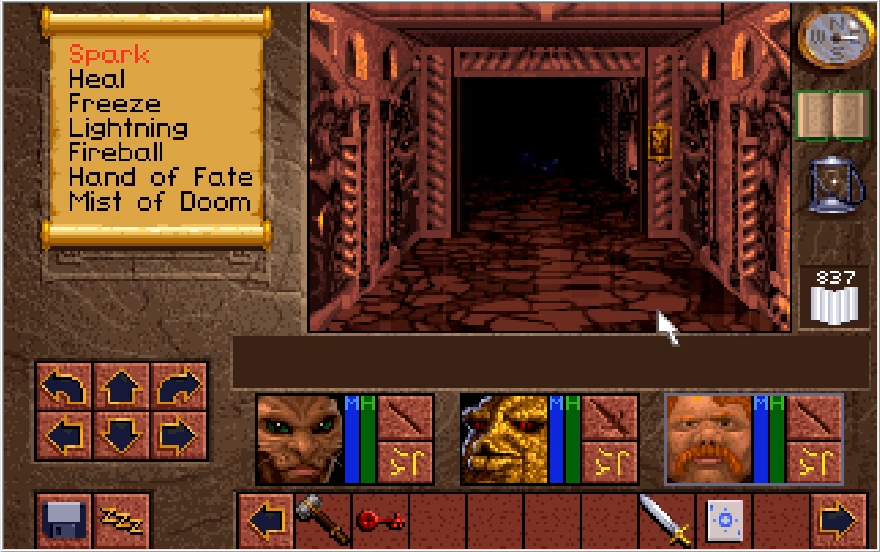
Beyond that, I saw a whole lot of nothing. Do take note of that path leading south in the north-center section though. That actually does lead to something, though we lack the necessary key for it at the moment.
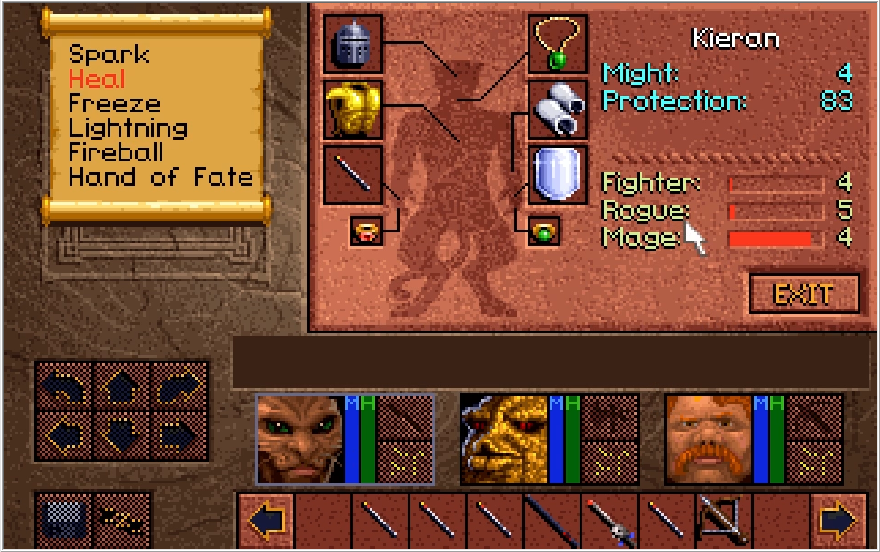
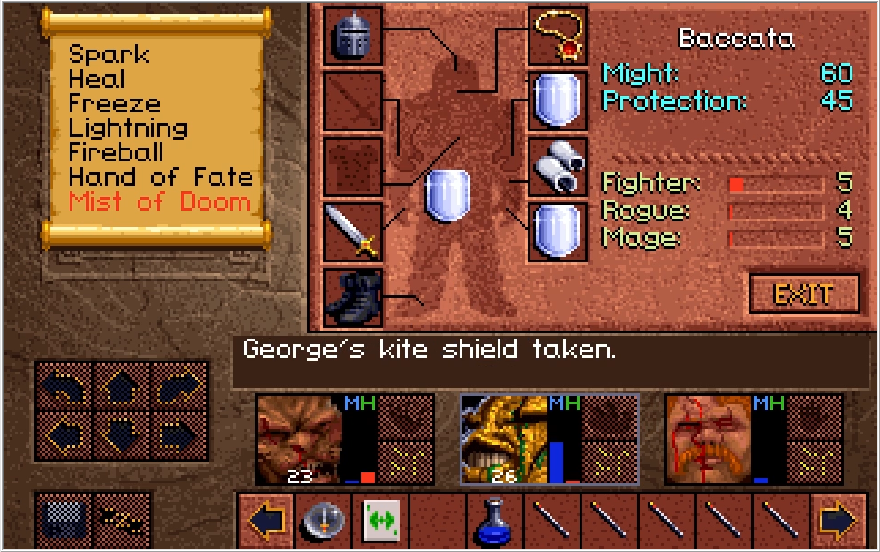
About the least fun thing this game has you do is re-equip yourself after you get quaked. I was pretty sick of that by the end of the Knowles Genocide, lemme tell ya.
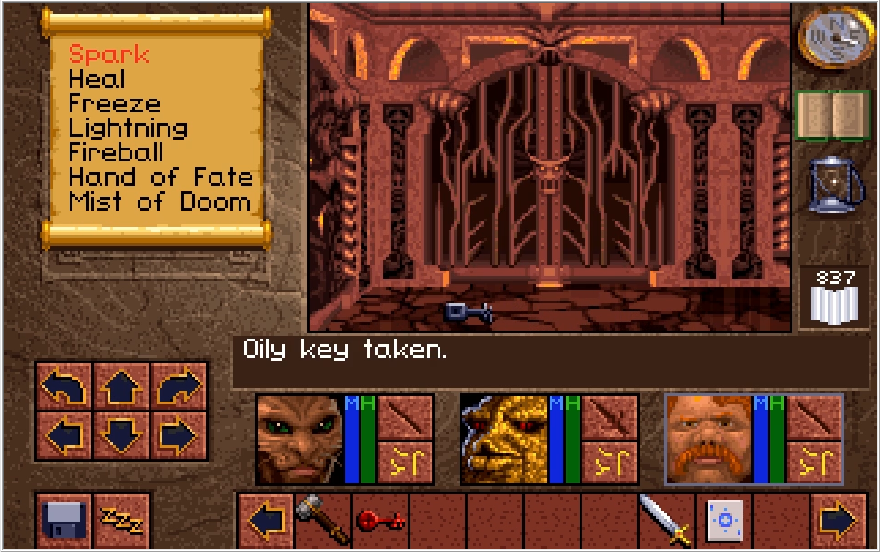
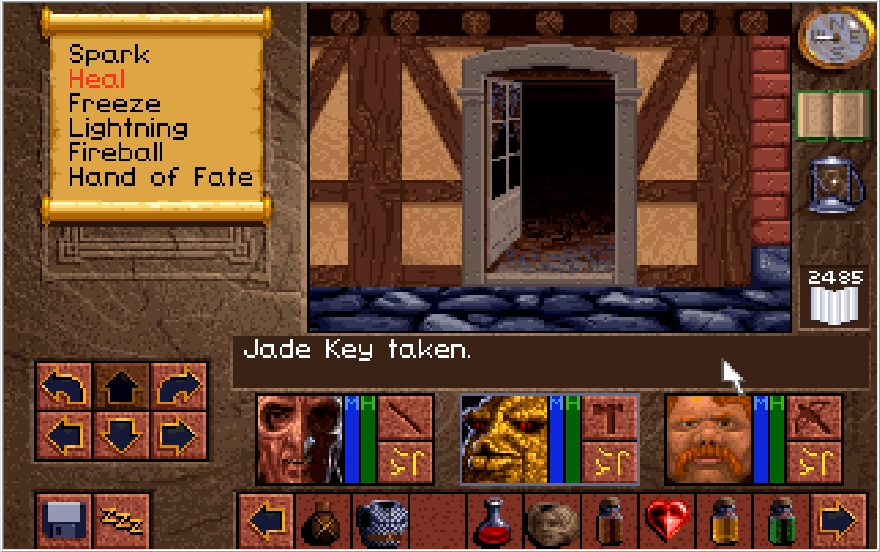
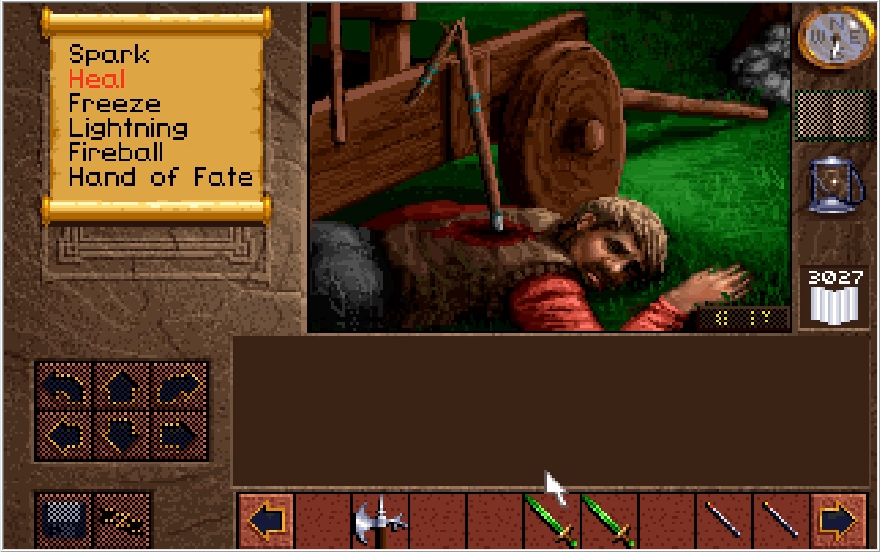
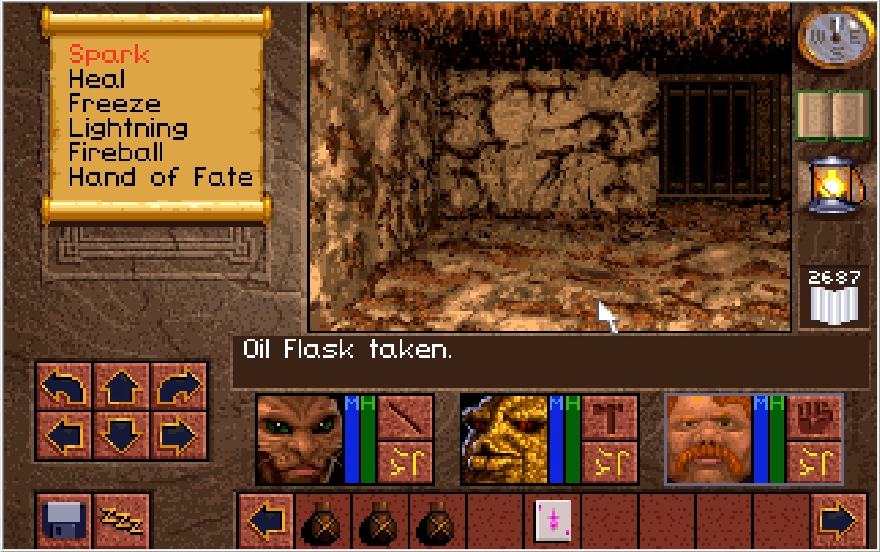
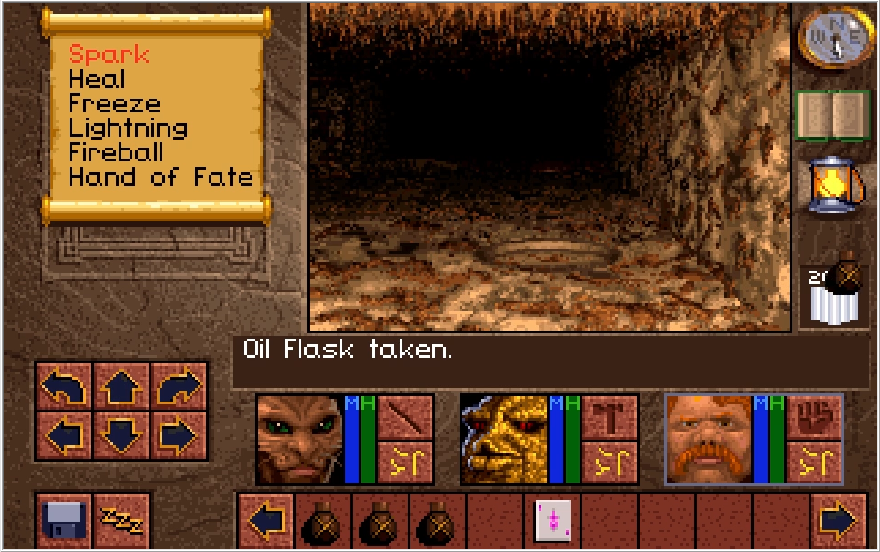
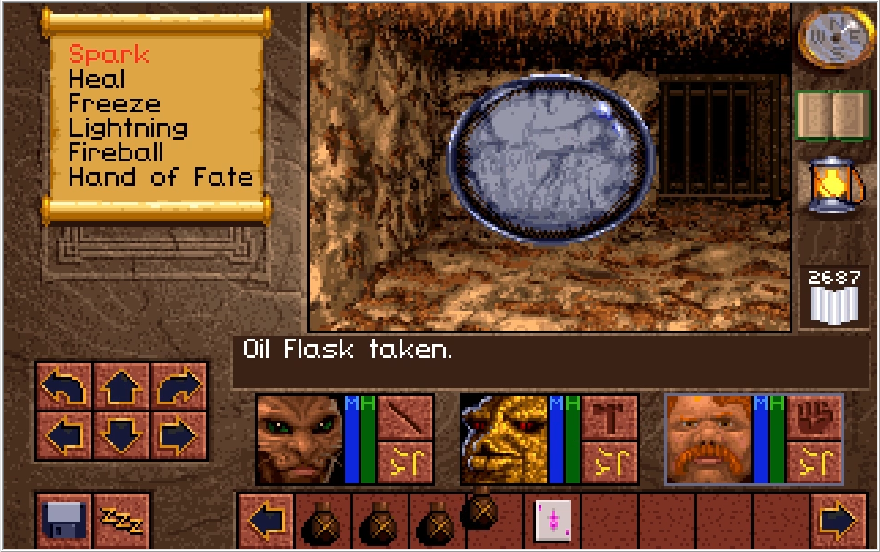
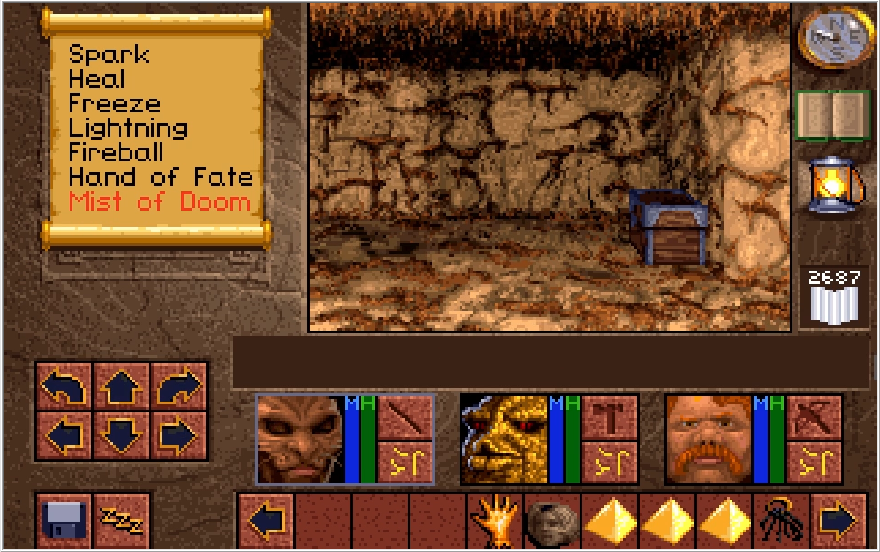
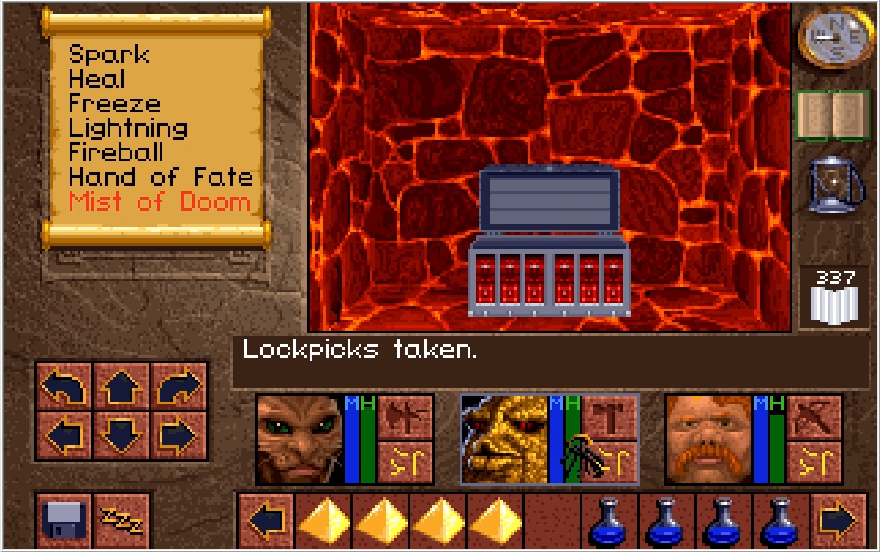
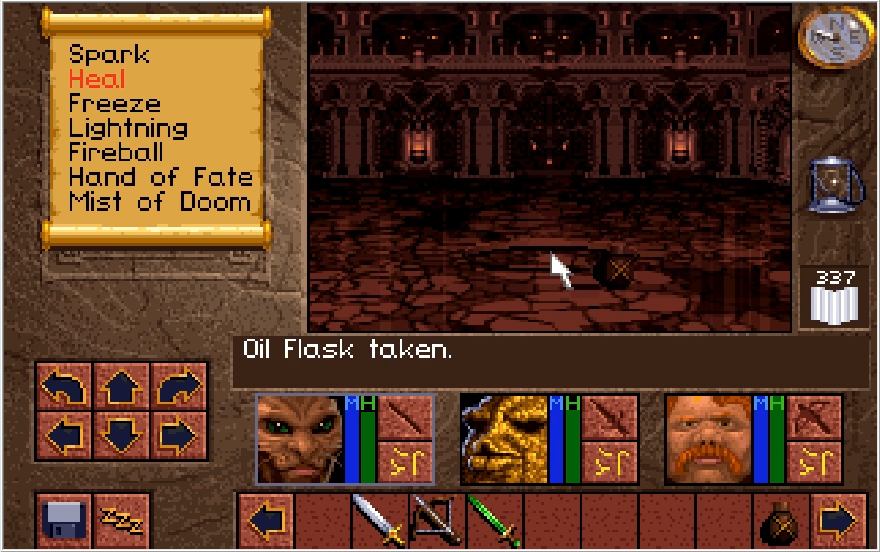
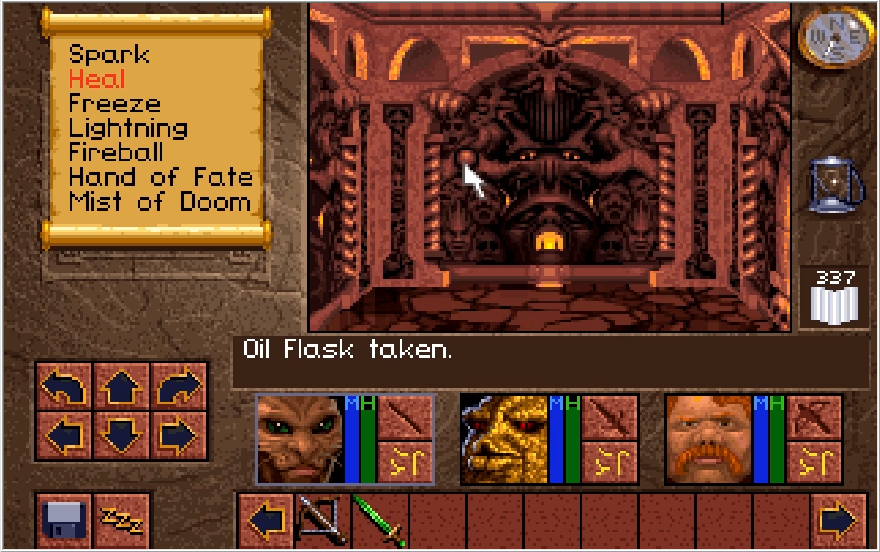
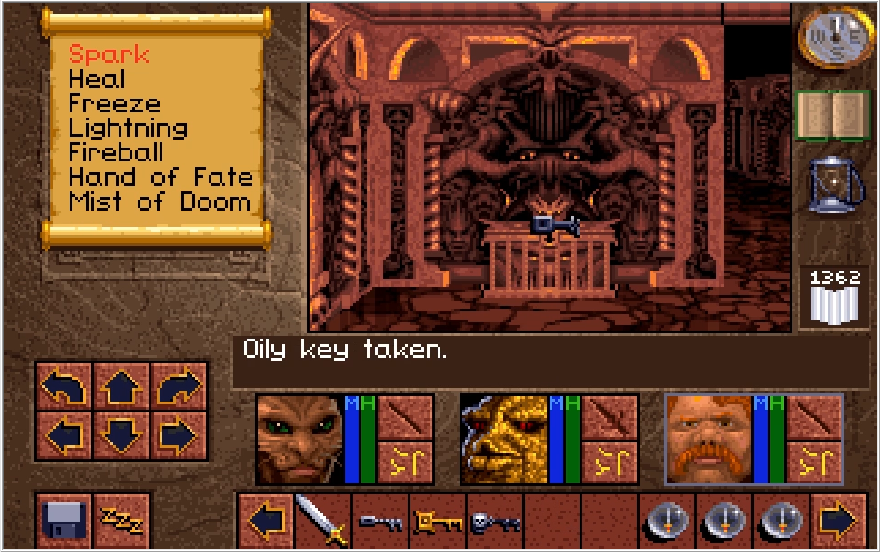
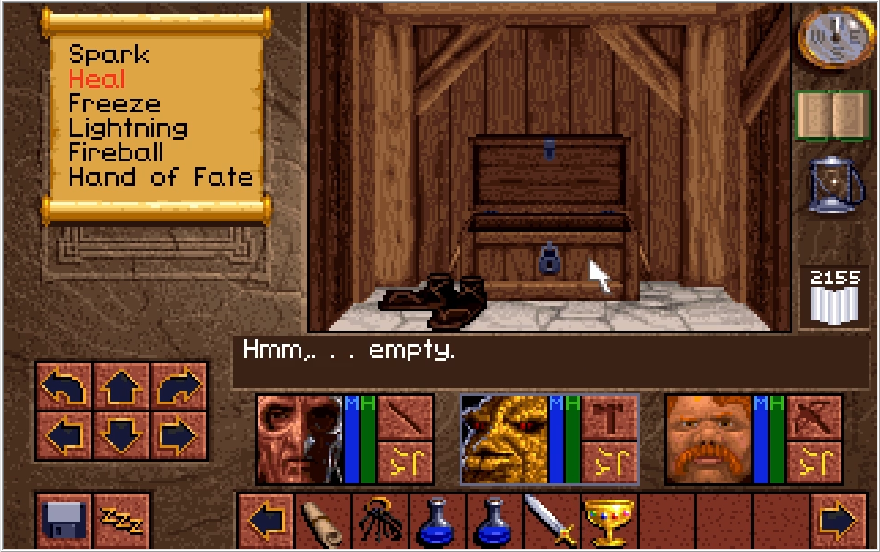
In an interesting shake up, we find a room that actually has something in it. And it's something functional too! The Oily Key pops open a chest on this floor, though it's not one that's critical to our progression. It can potentially be useful though depending on the items you have at this point.
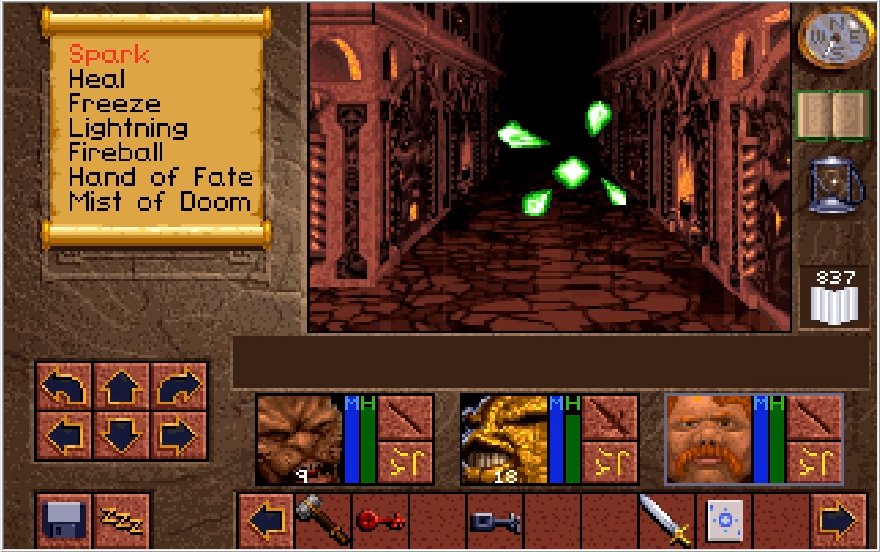
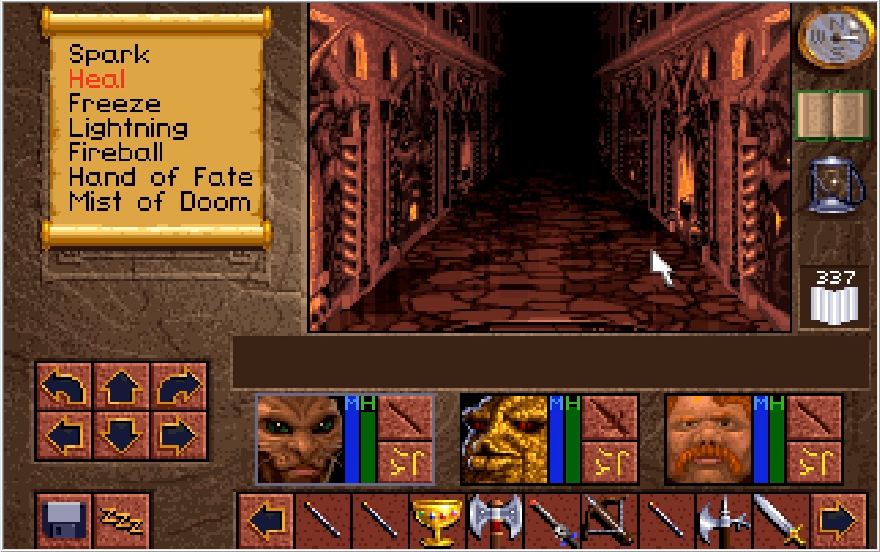
Wrapping around to the southwest, there's a handful of tiles that trigger projectile traps in the winding halls. Nothing too threatening to us at this point.
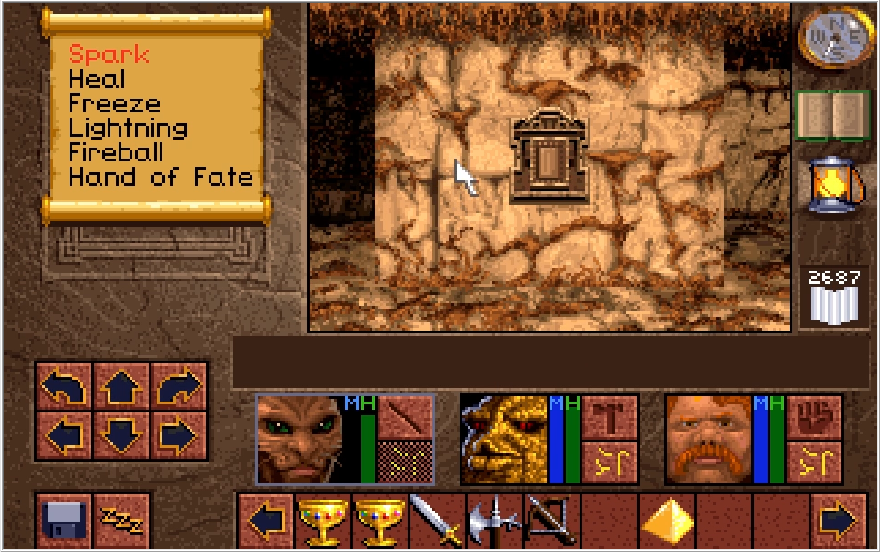
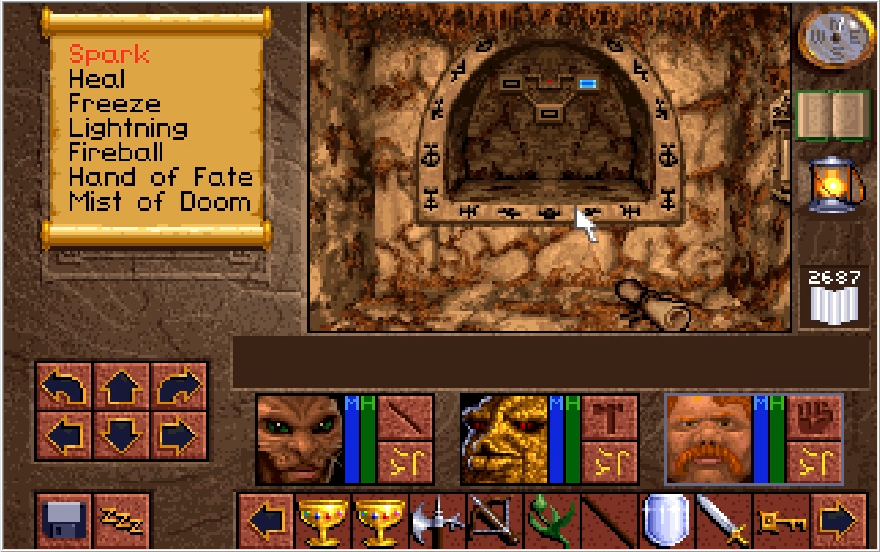
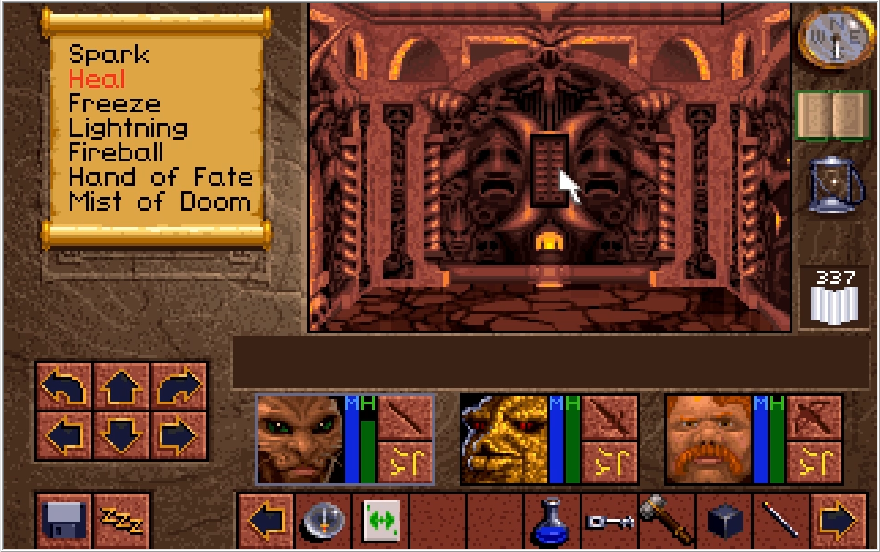
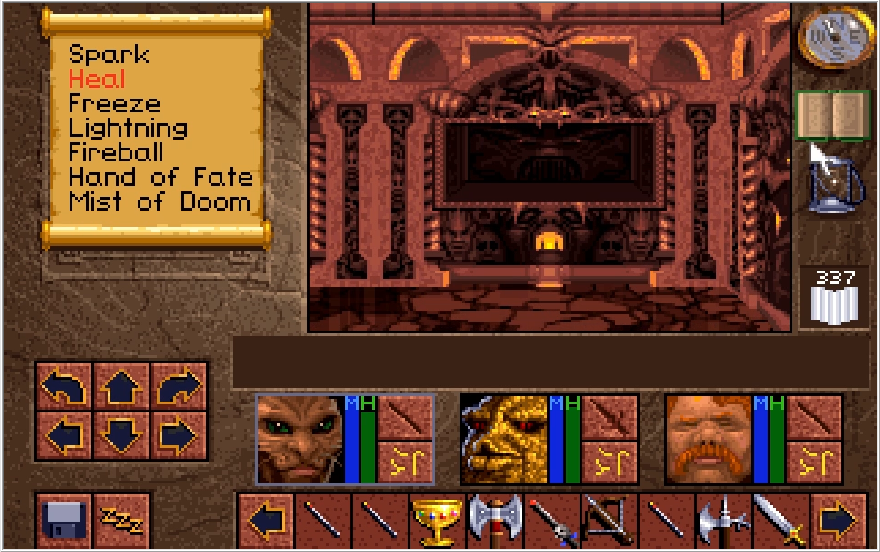
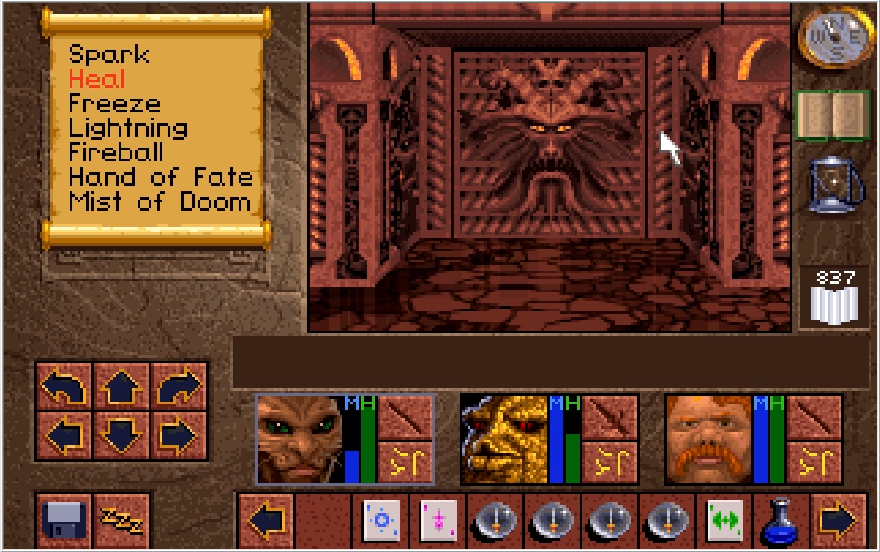
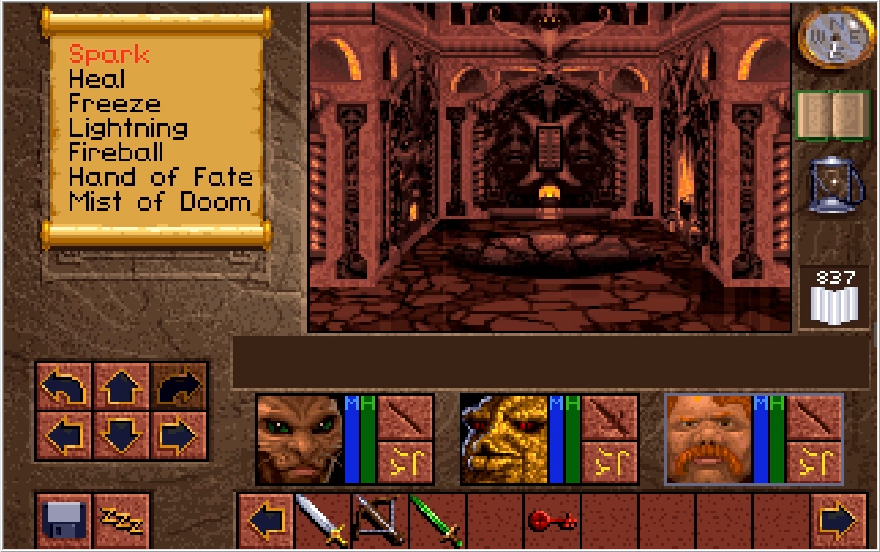
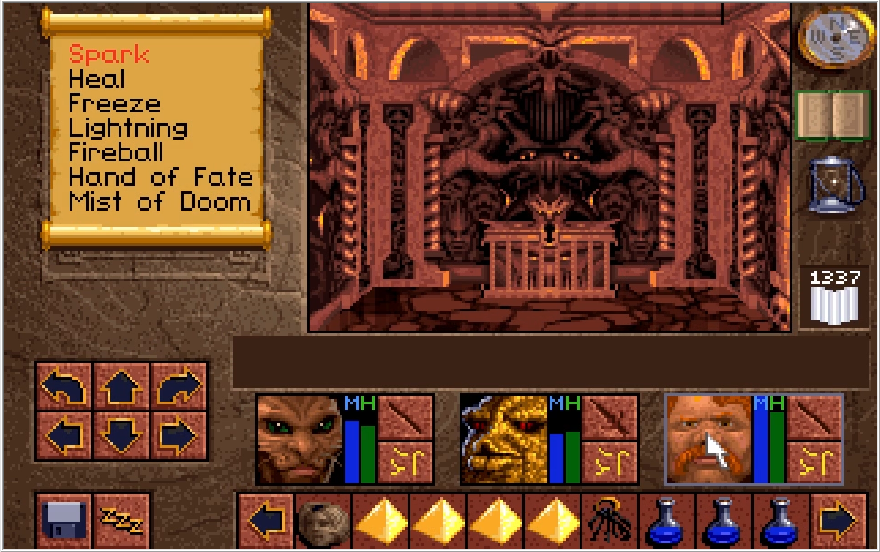
After a whole load of meandering, I've reached the second critical point of interest! This is a puzzle room of sorts. Disregard that pressure plate in the center of the room, it just closes the door when you step over it.
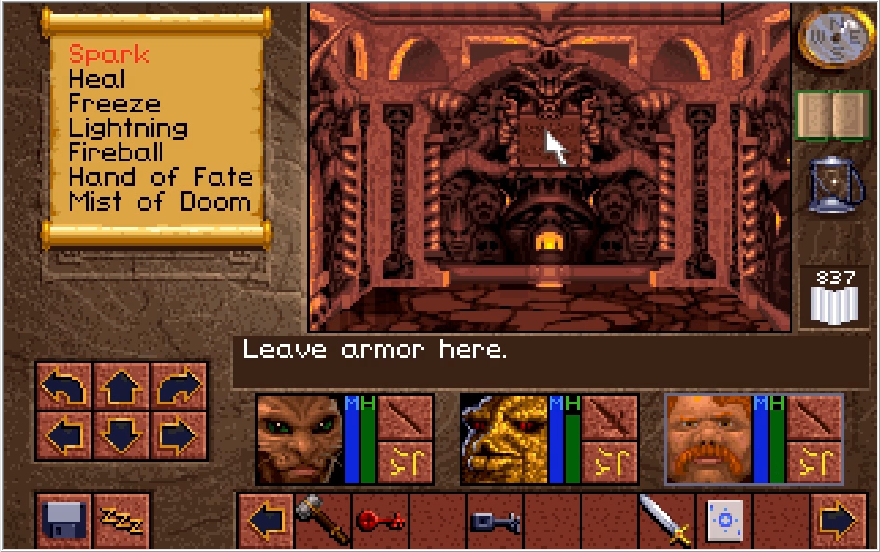
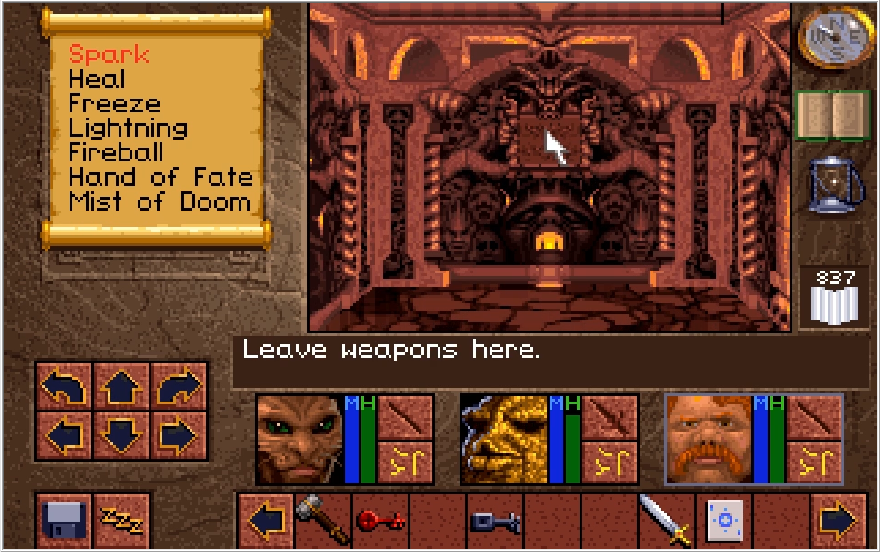
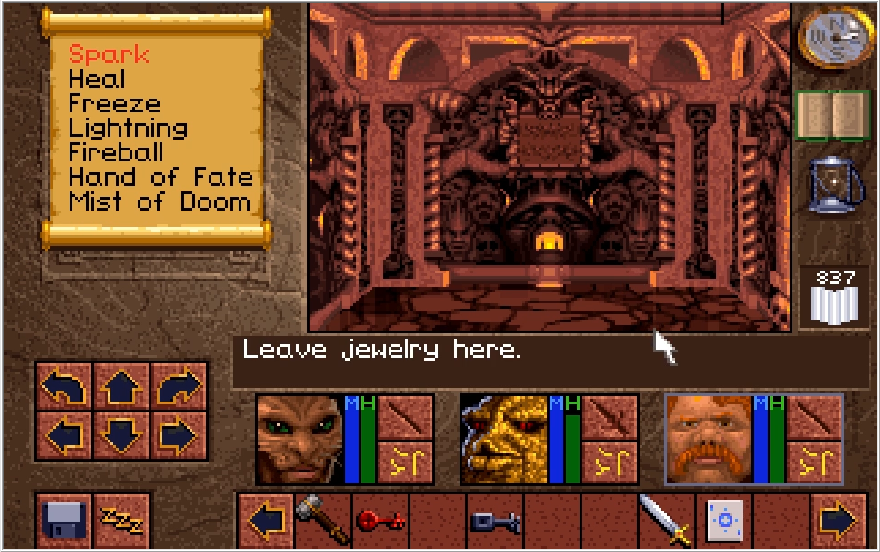
The east and west walls each have two indents containing signs, while the southern end of the hall seemingly has nothing. Each sign requests a different type of item.
This one is pretty misleading, even moreso than the rest of the signs for reasons I'll talk about shortly.
Now depending on how you read these signs, you might think the solution to this puzzle is to drop every single item you currently have that fits the listed criteria under the corresponding sign. While weapons and jewelry would be straight forward enough, the armor sign does raise questions of whether or not they mean just body armor. And does it have to be every item we hold currently, or just the stuff we're equipped with? Do Bezel cups count as medicine for the medicine sign?
Mercifully, the actual solution is much simpler. You just have to leave one relevant item under each sign in order to solve the puzzle. Whether the signs were poorly written or deliberately misleading is up for your interpretation.
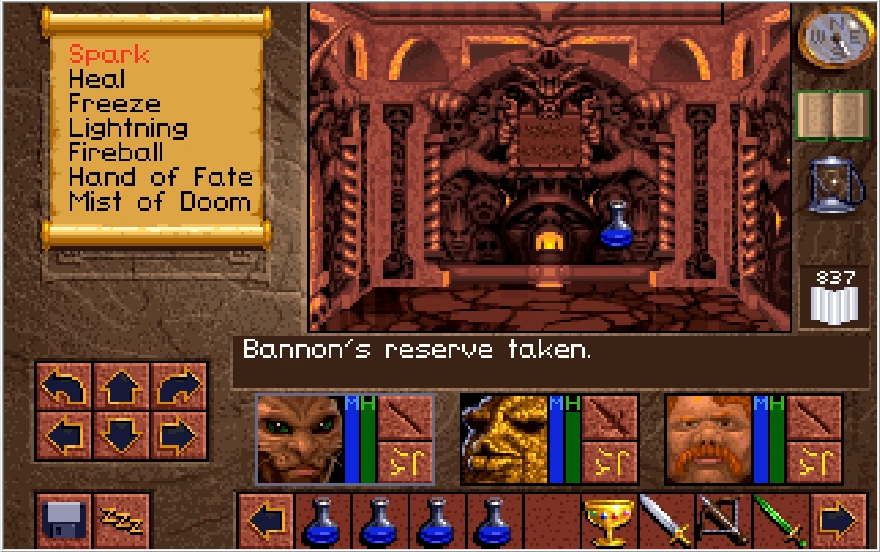
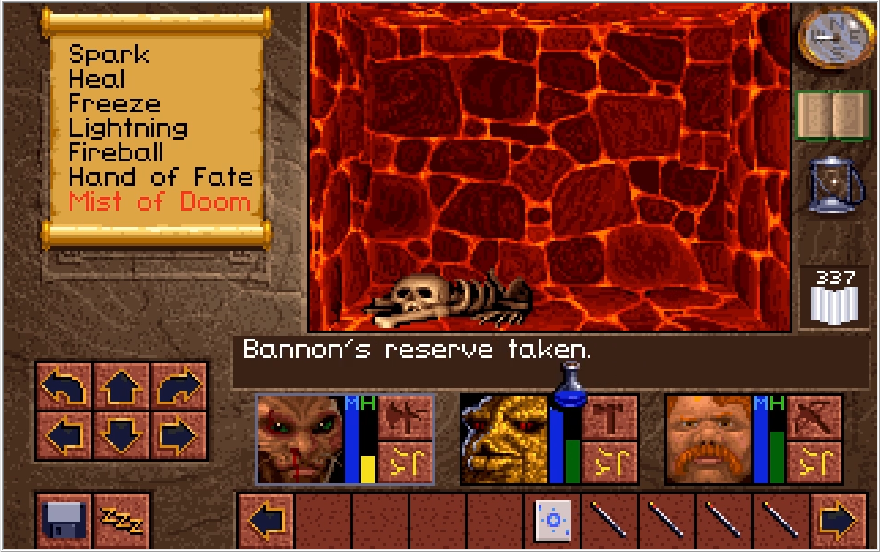
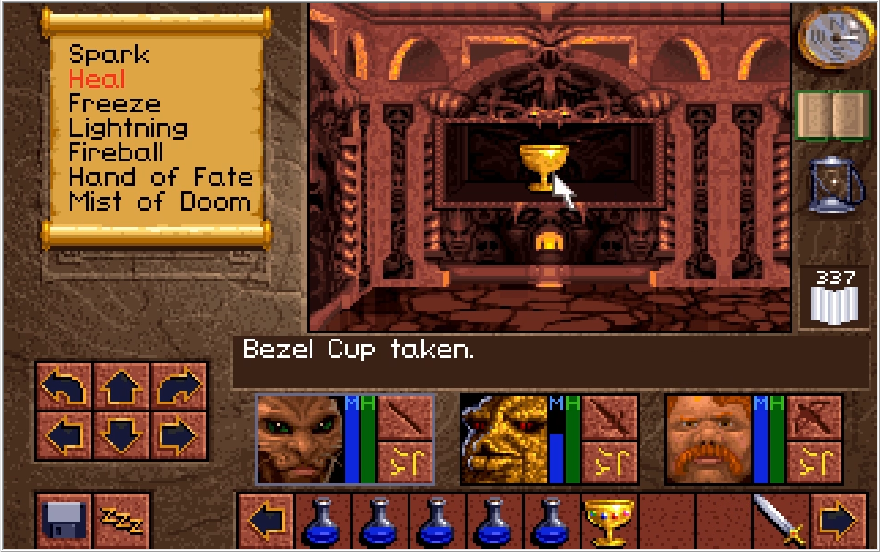
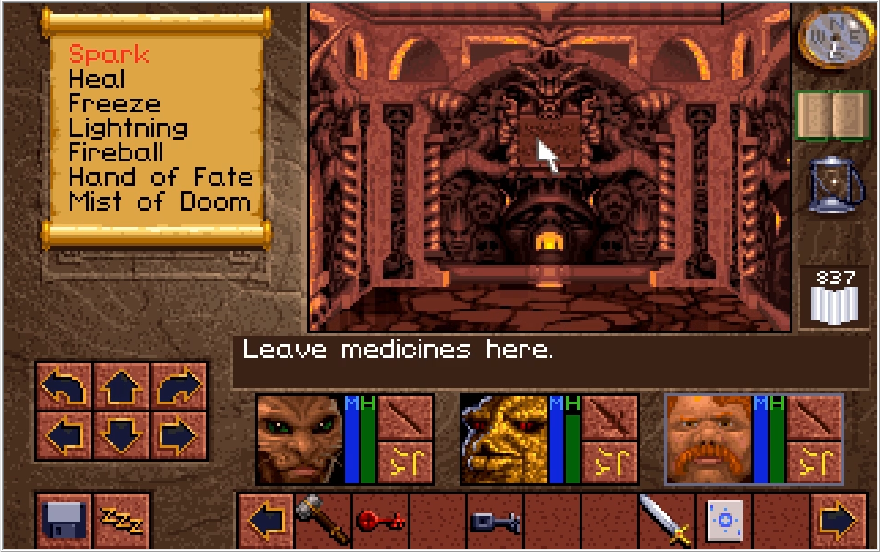
Where things get a little tricky even if you know you only need to leave one item is the medicine sign. You'd think Bannon's Reserve would count for this, but what the sign actually wants is an item that heals HP specifically.
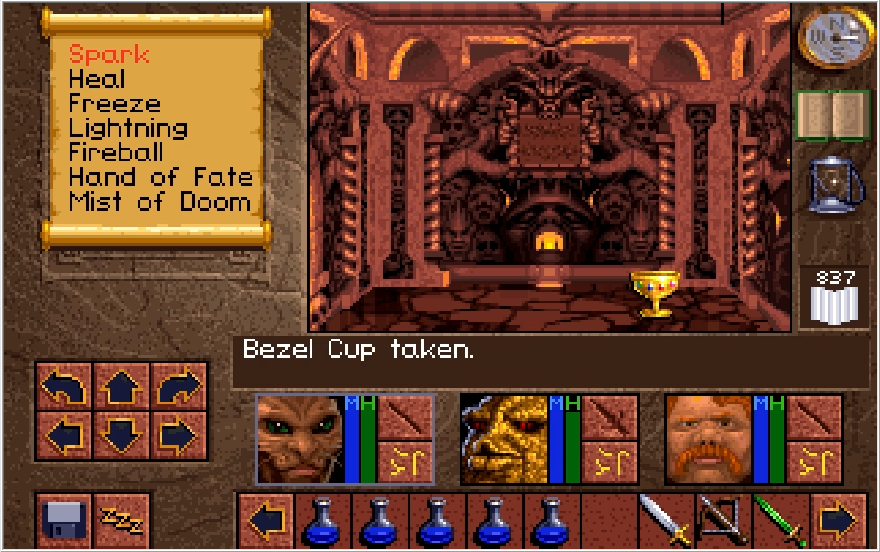
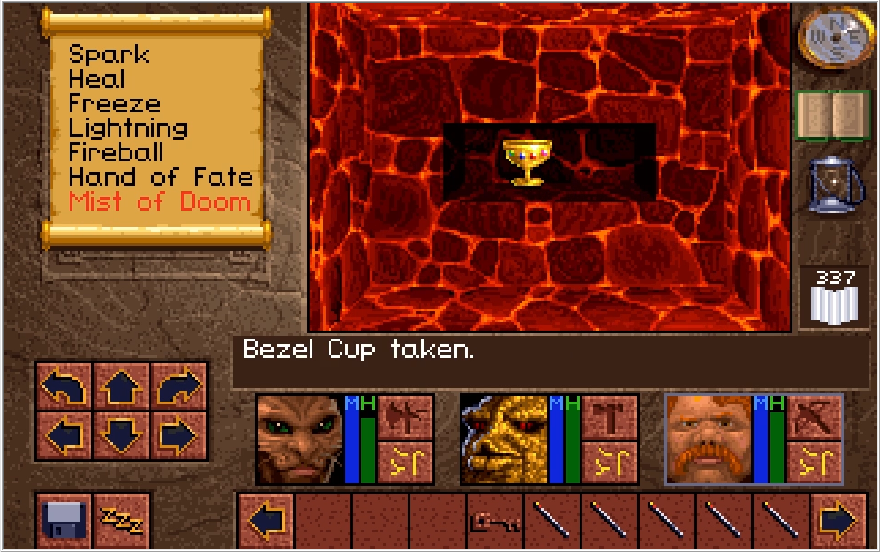
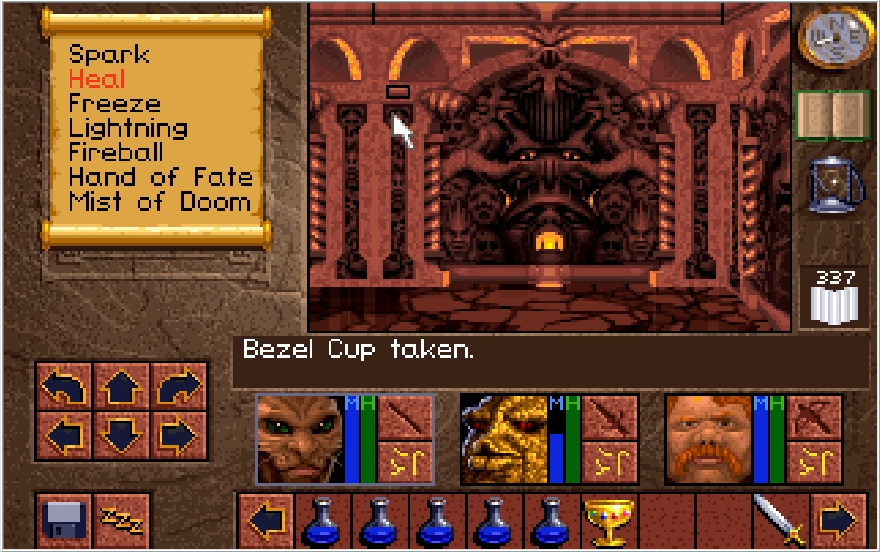
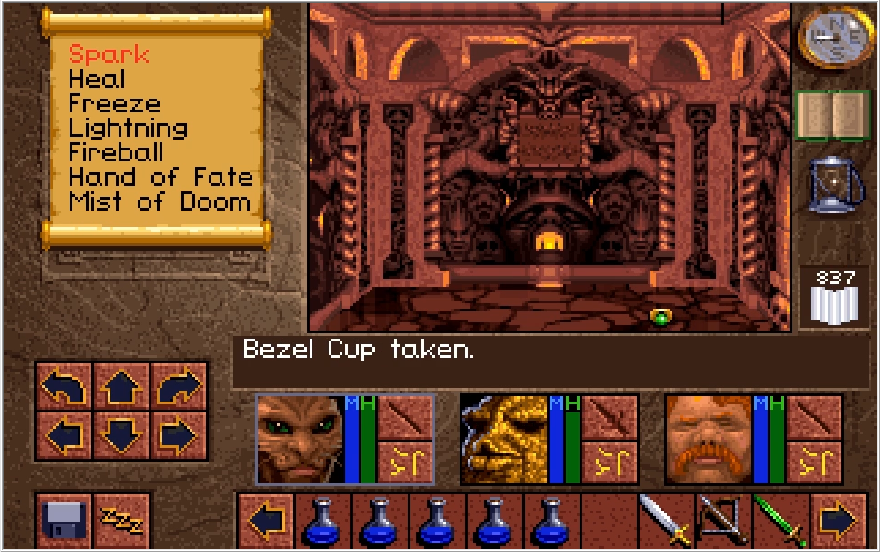
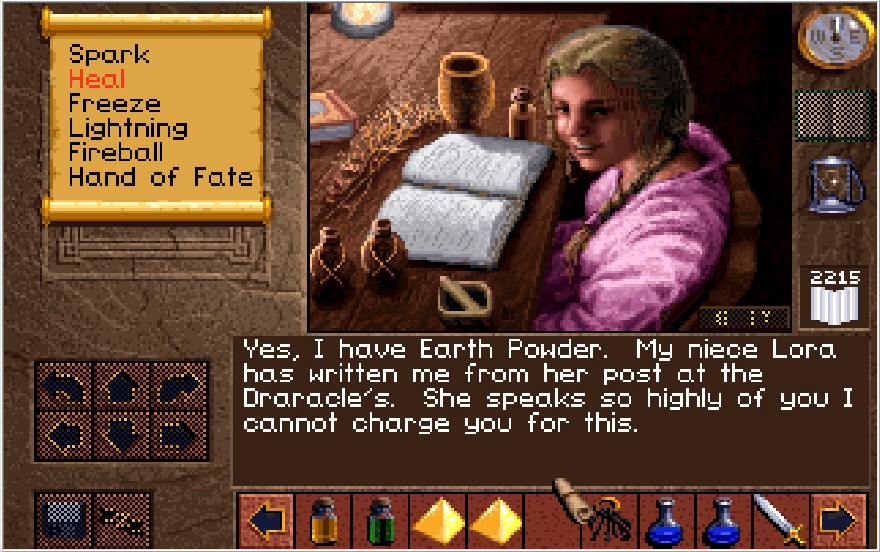
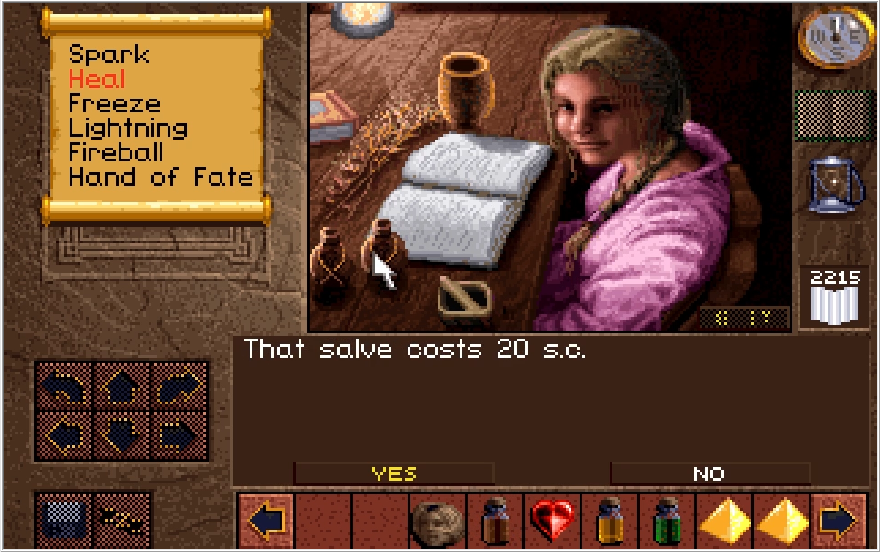
Bezel cups do actually fit this criteria, even if they don't really evoke the idea of medicine in the traditional sense. I know what you're thinking, what if you reach this point without any HP restoratives? Thankfully, they did actually account for this so you wouldn't have to drag your ass all the way back to Sadie to buy a Salve. We'll see how later.
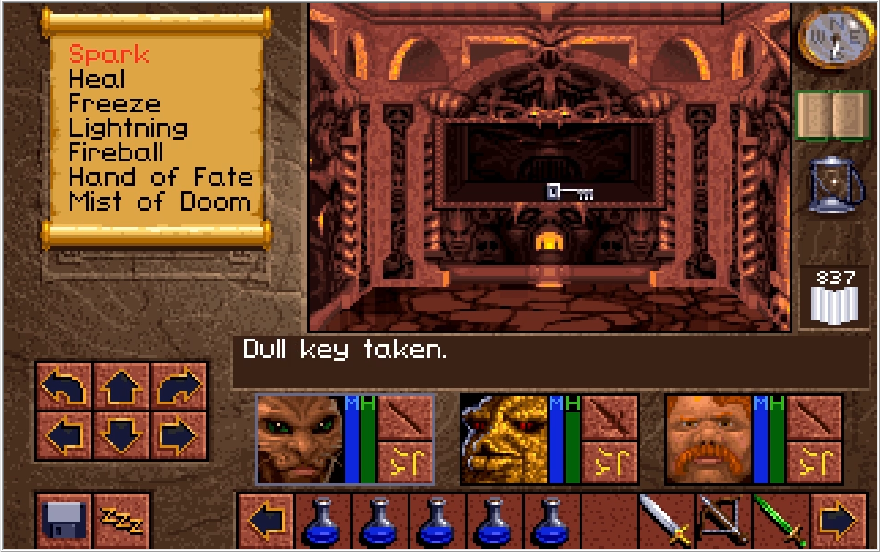
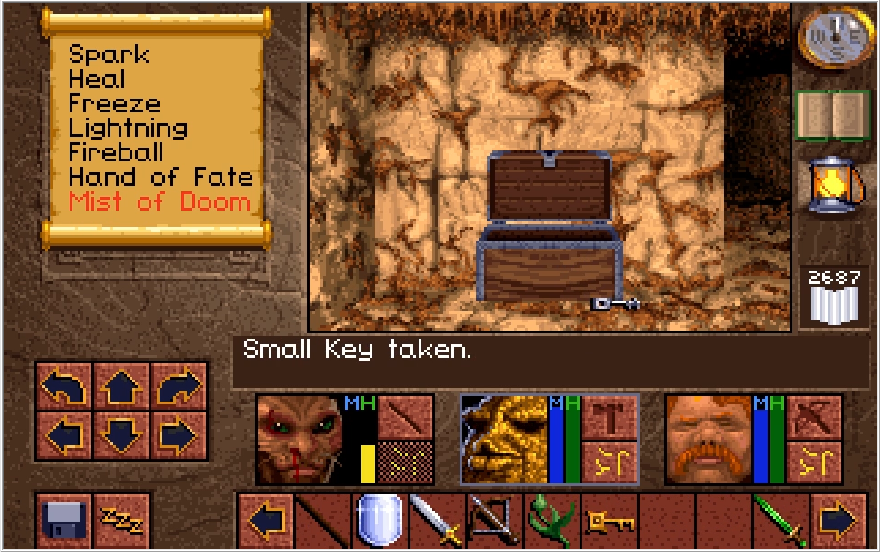
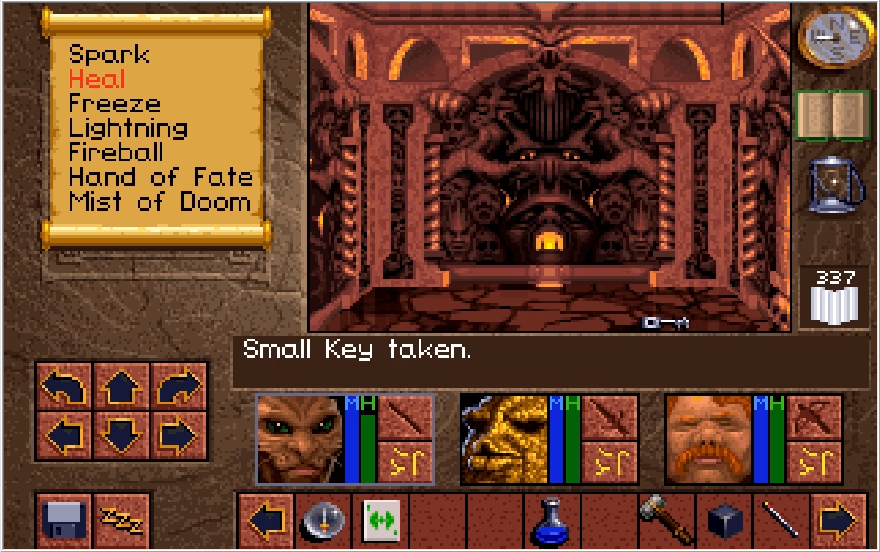
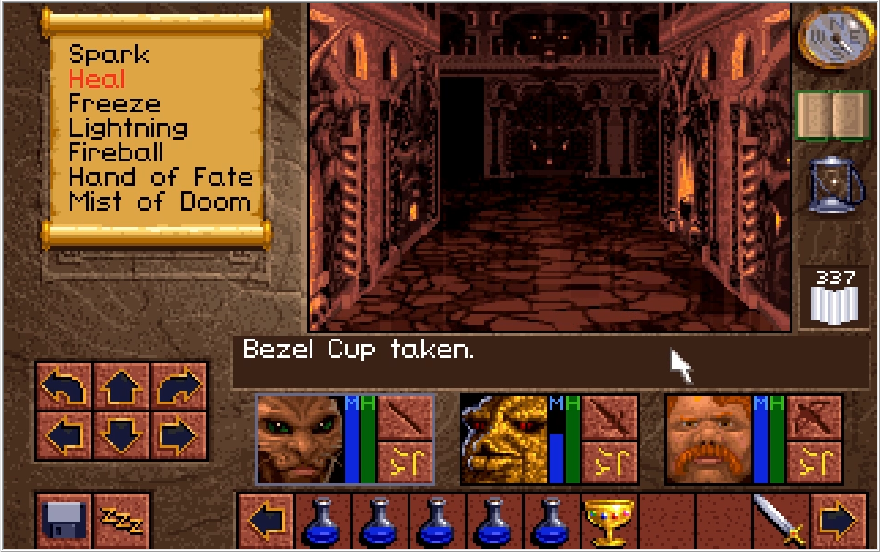
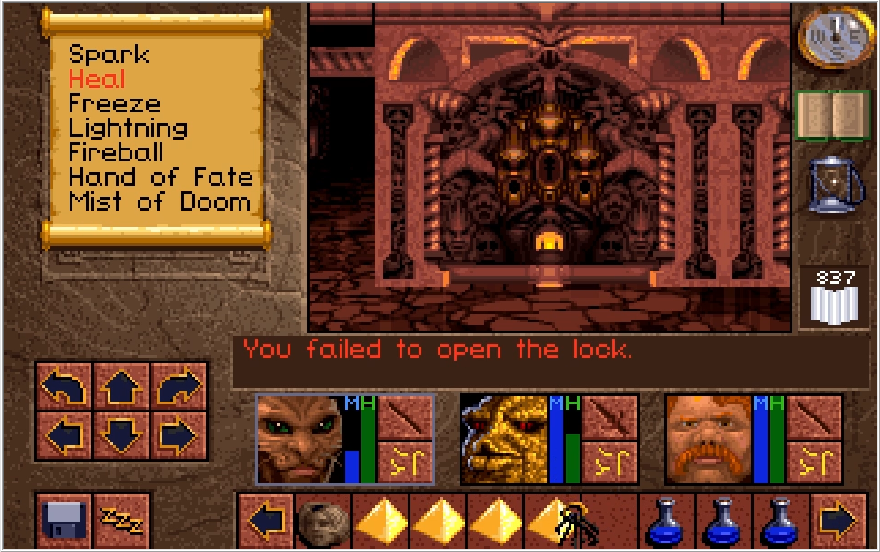
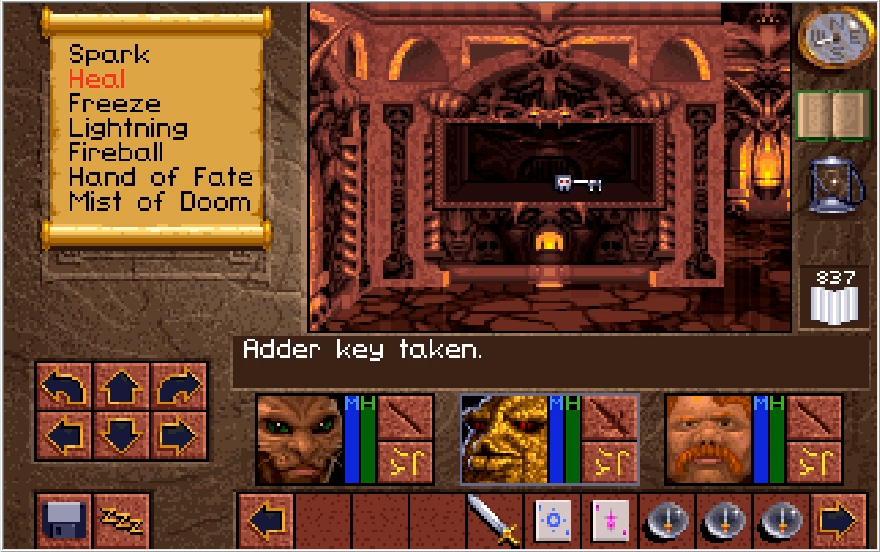
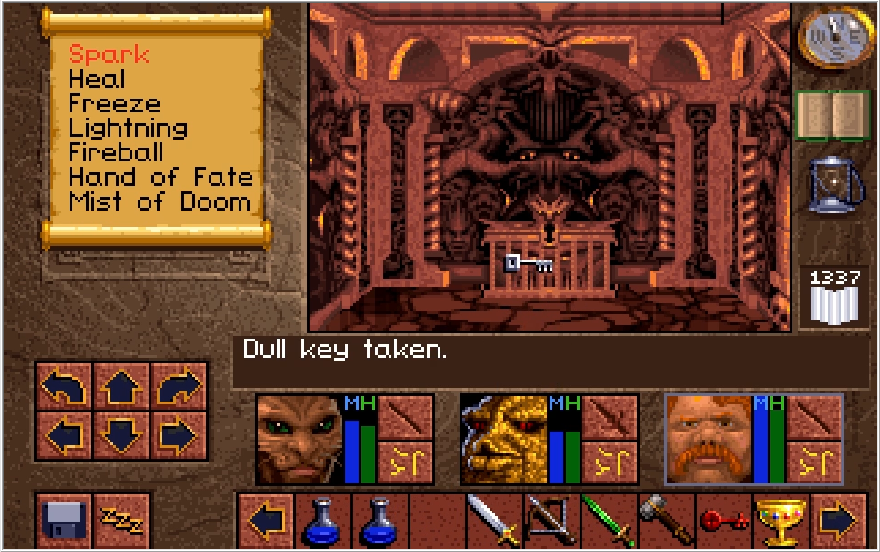
One we fulfill the requests of the signs (kinda), an alcove opens up in the southern indent and we receive a boring key. I'm sorry, a Dull key.
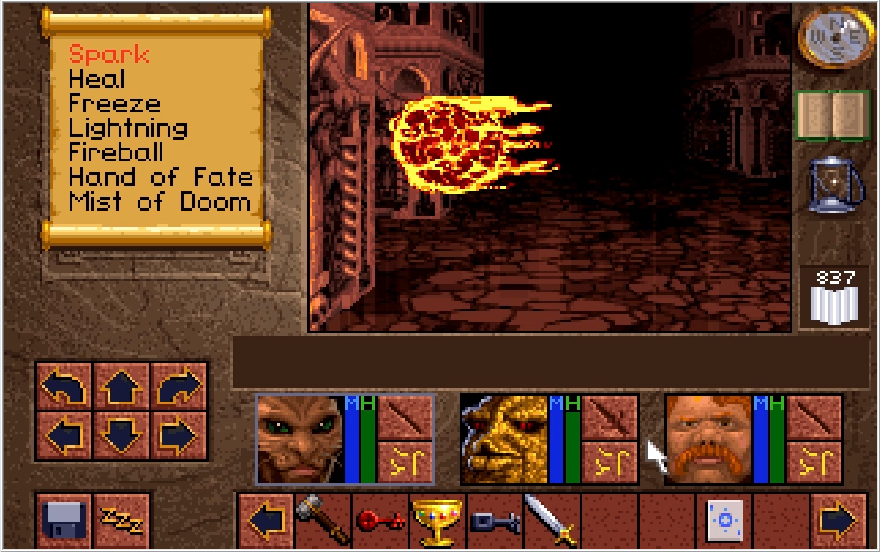
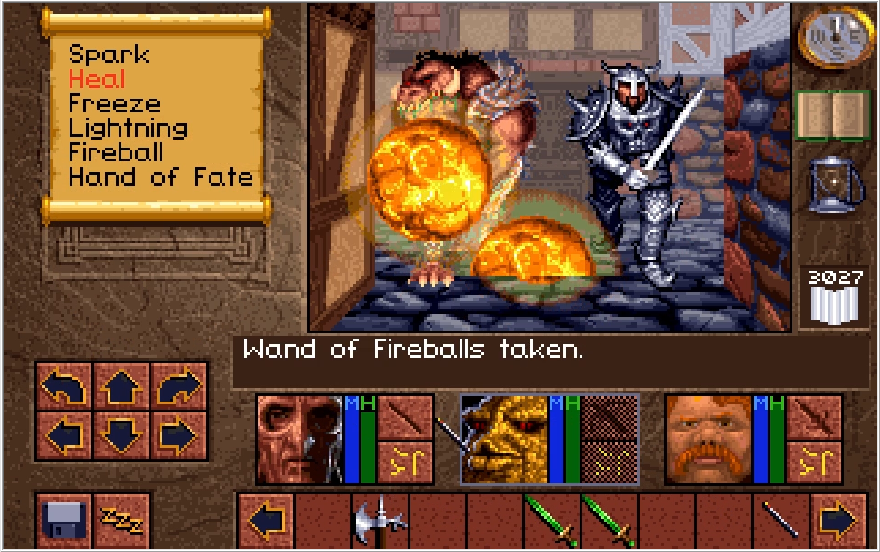
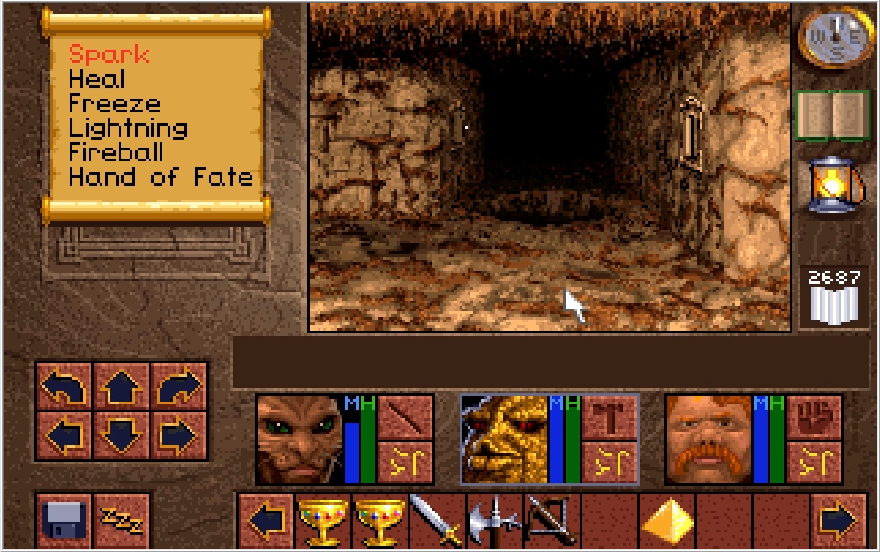
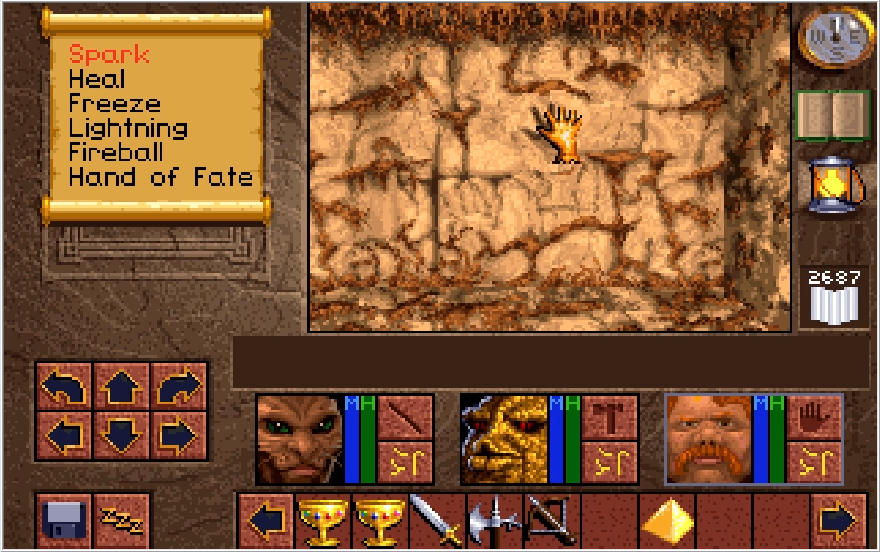
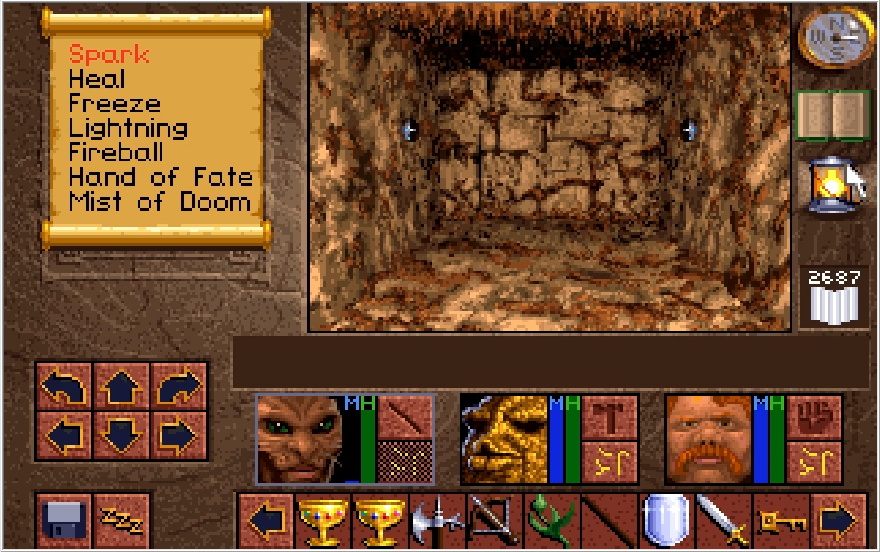
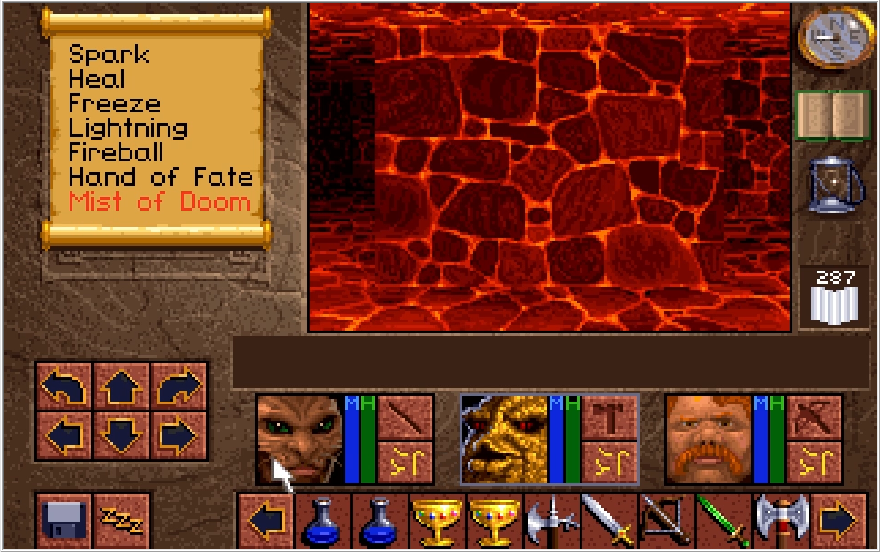
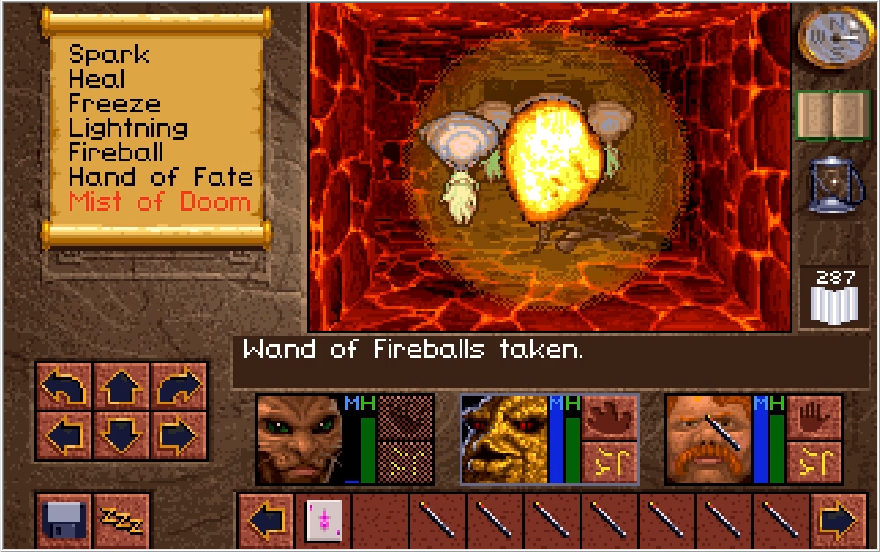
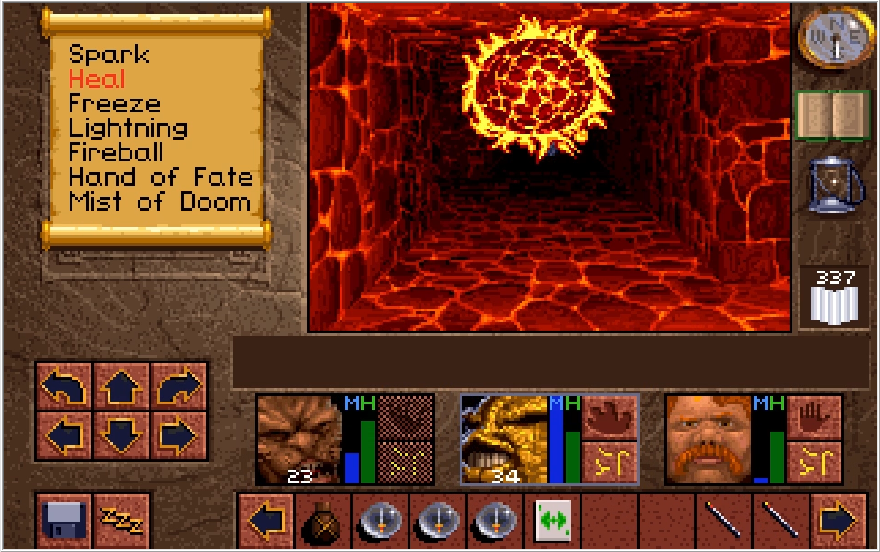
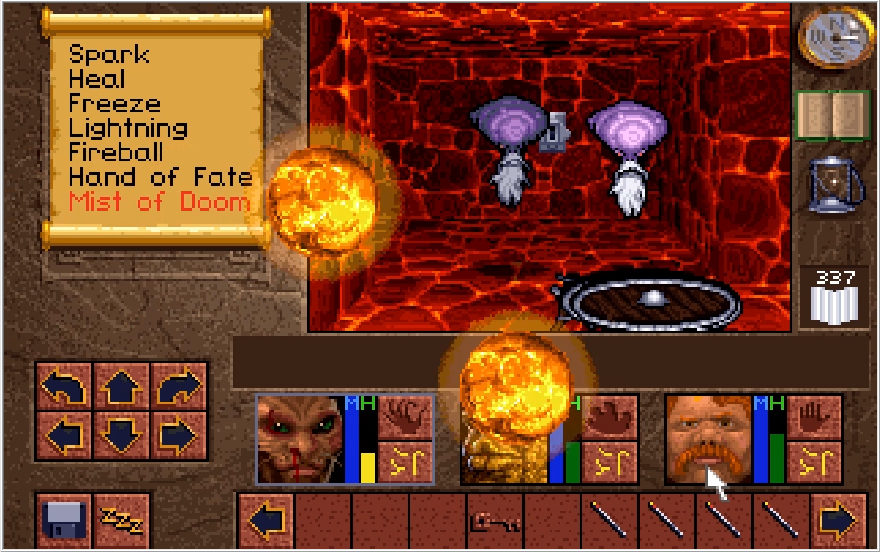
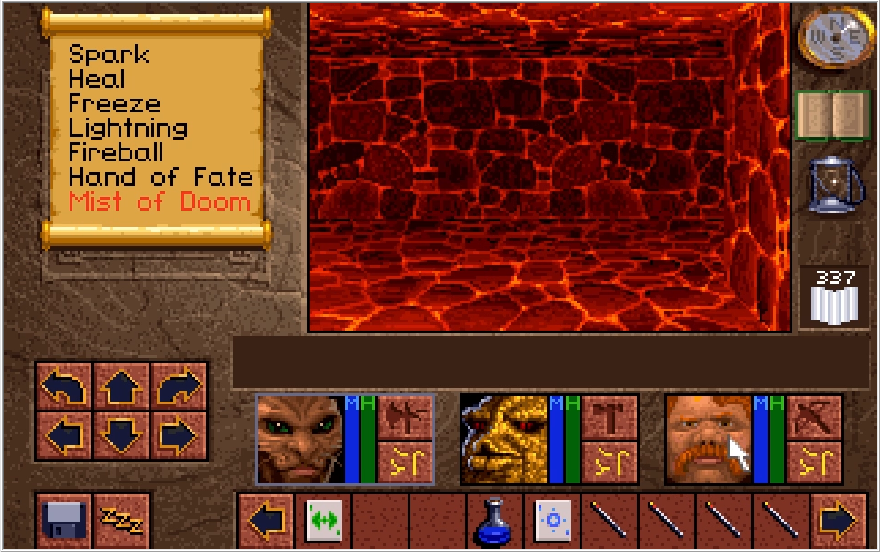
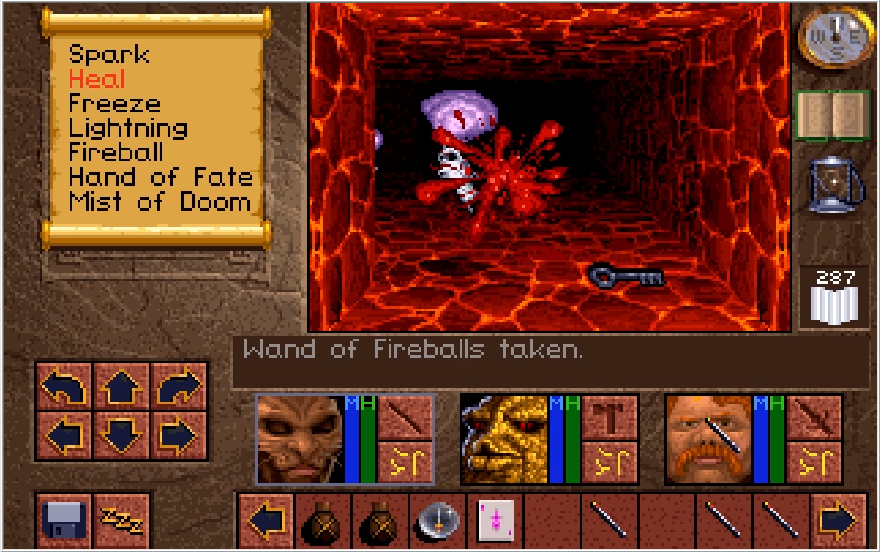
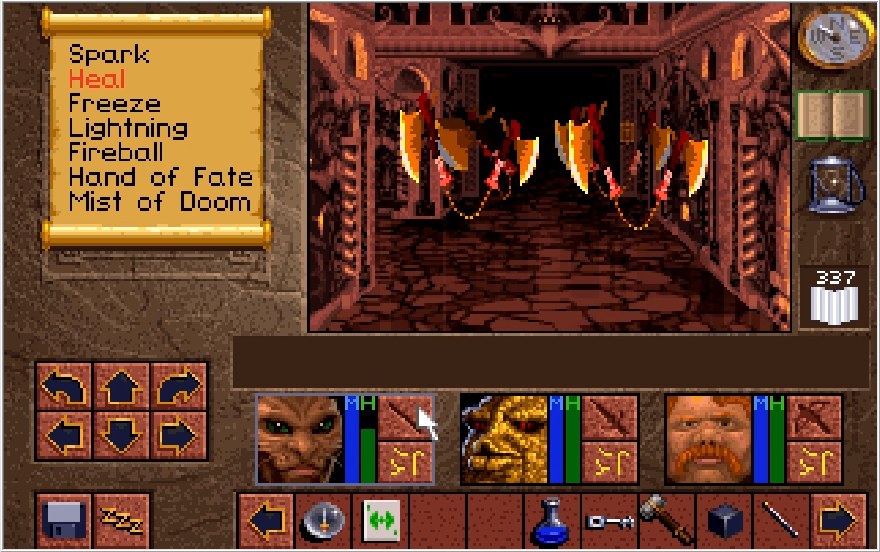
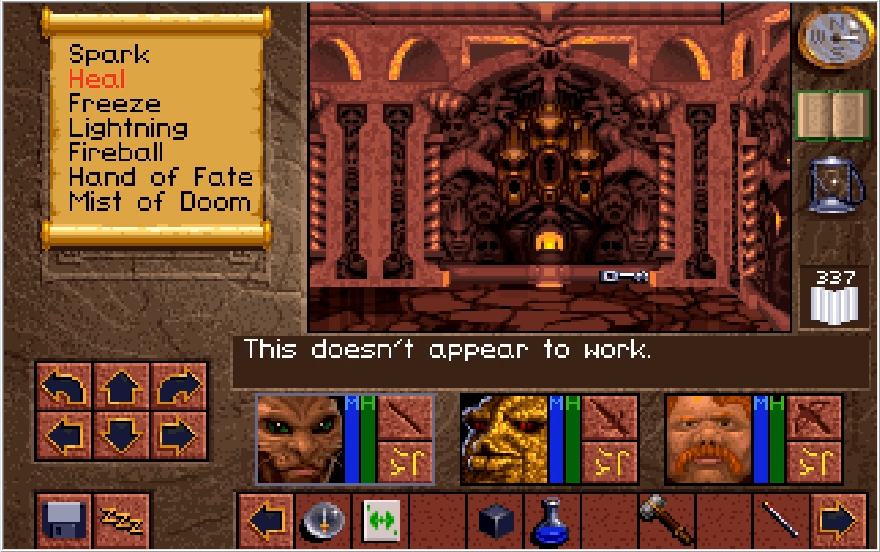
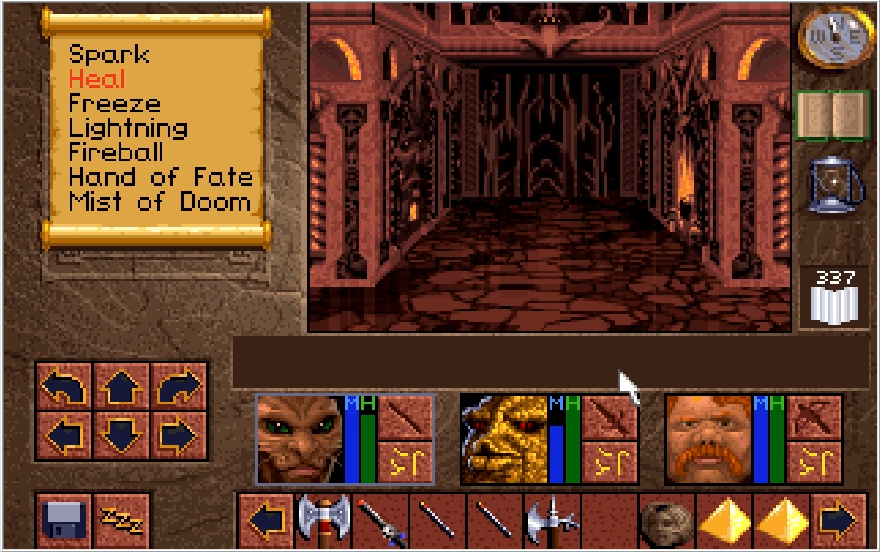
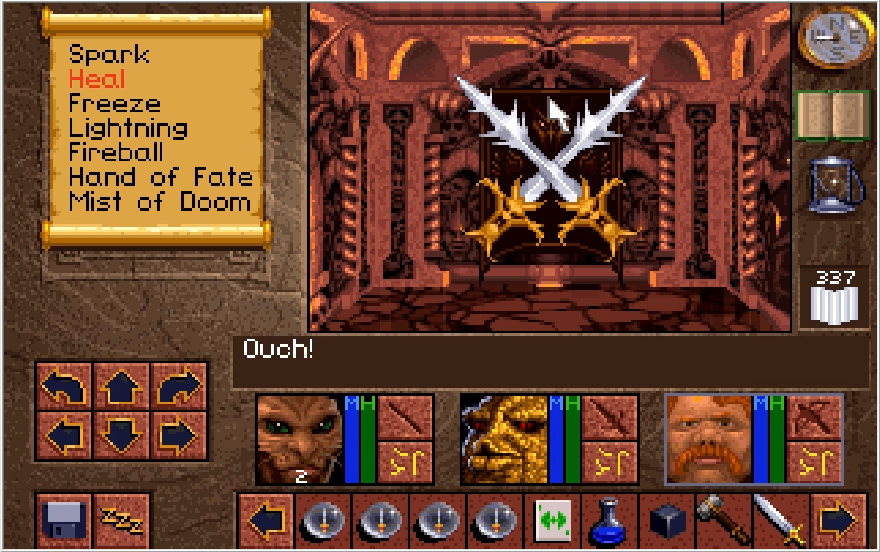
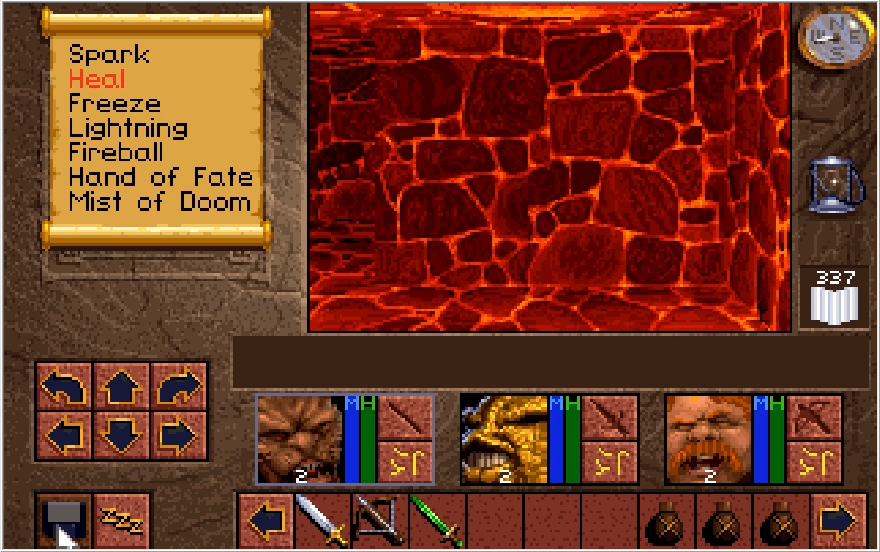
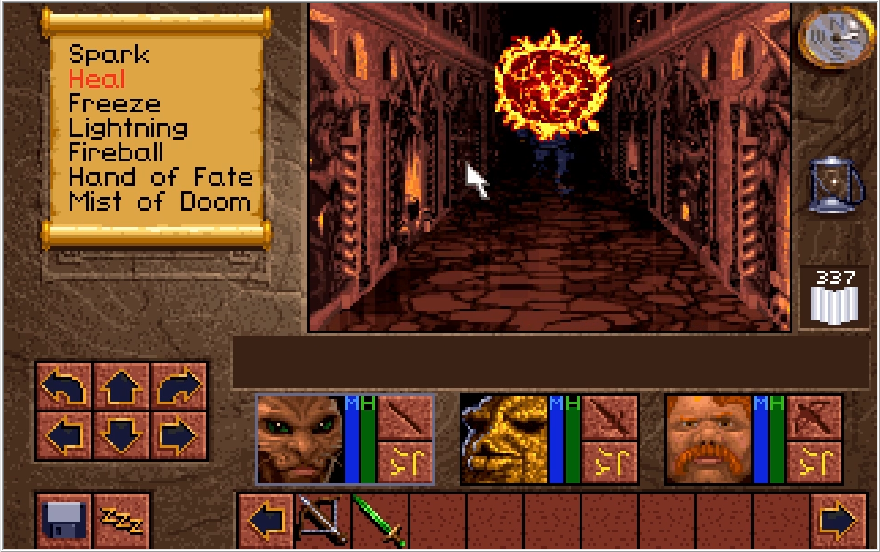
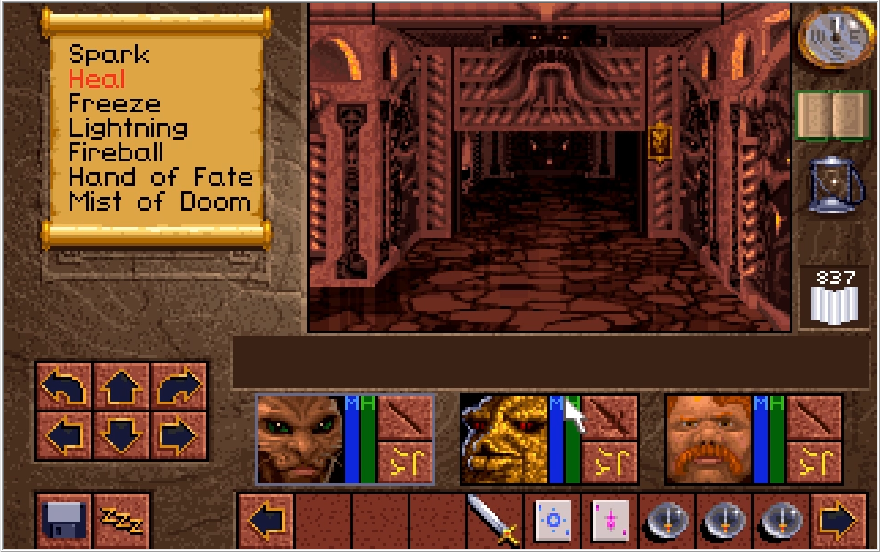
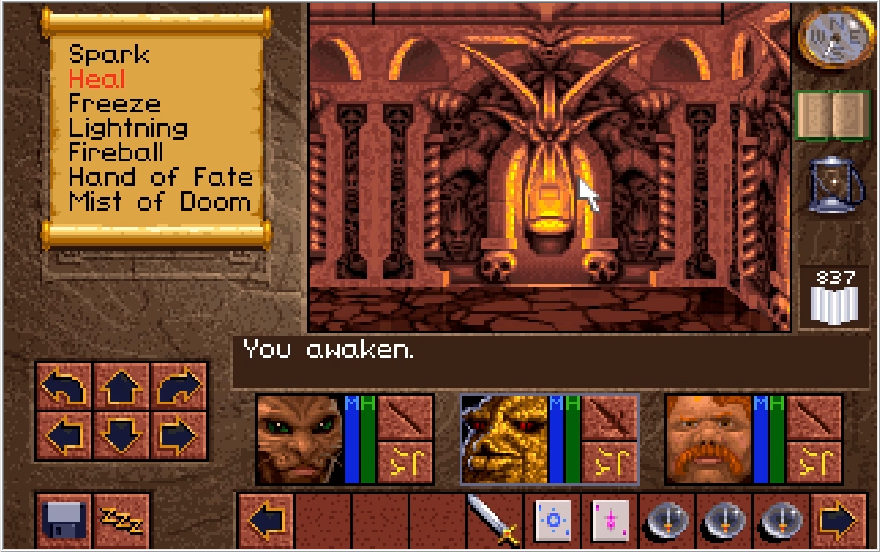
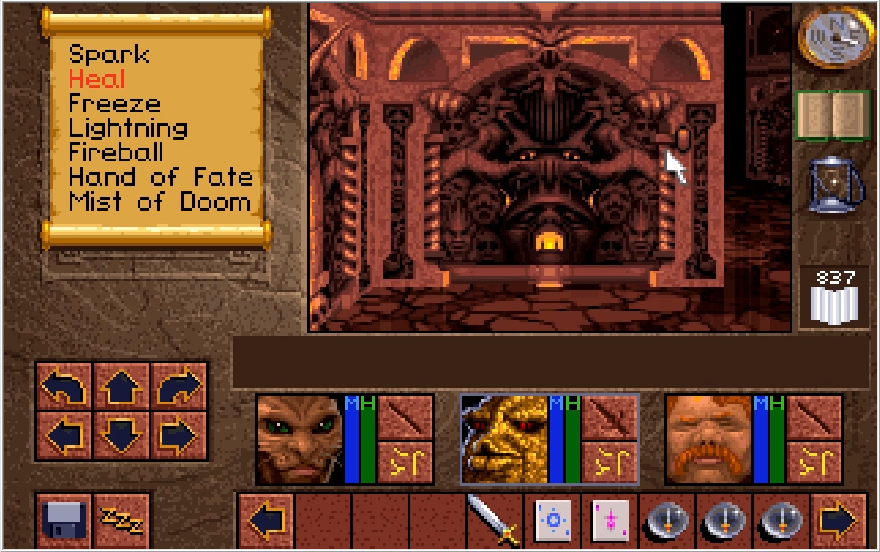
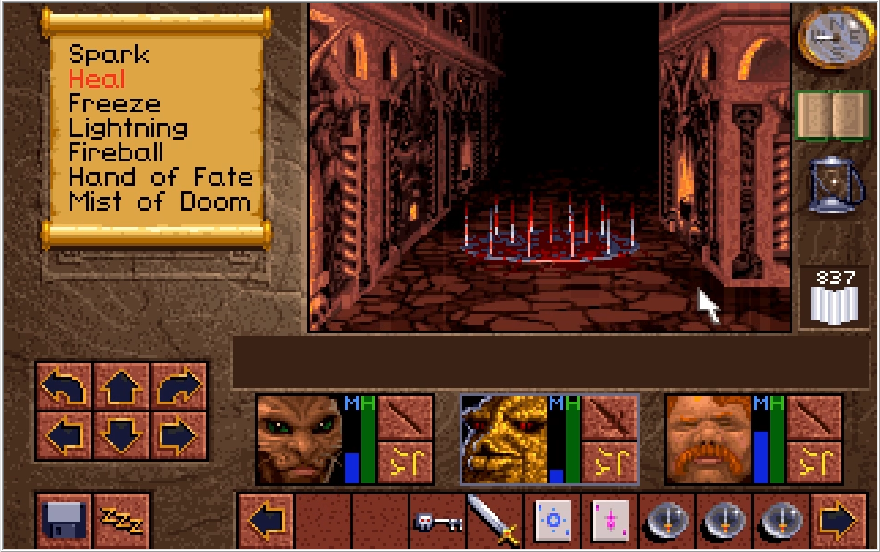
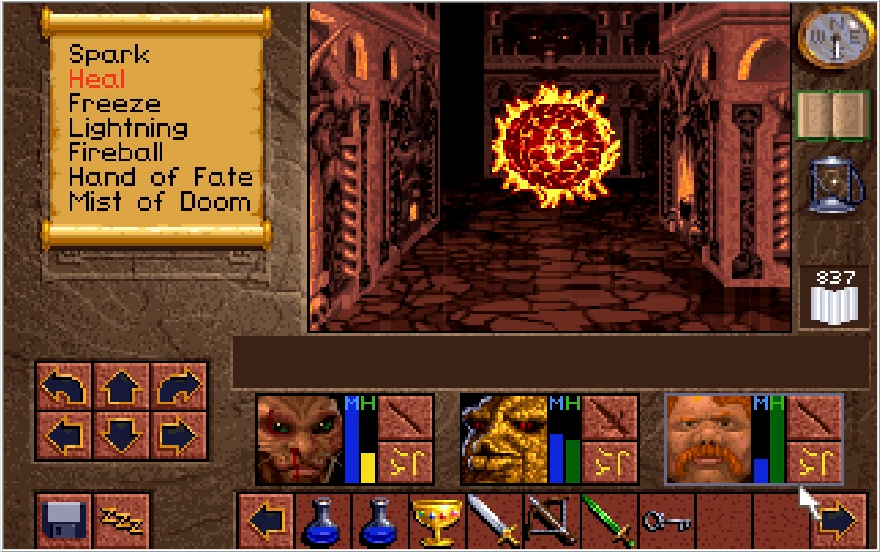
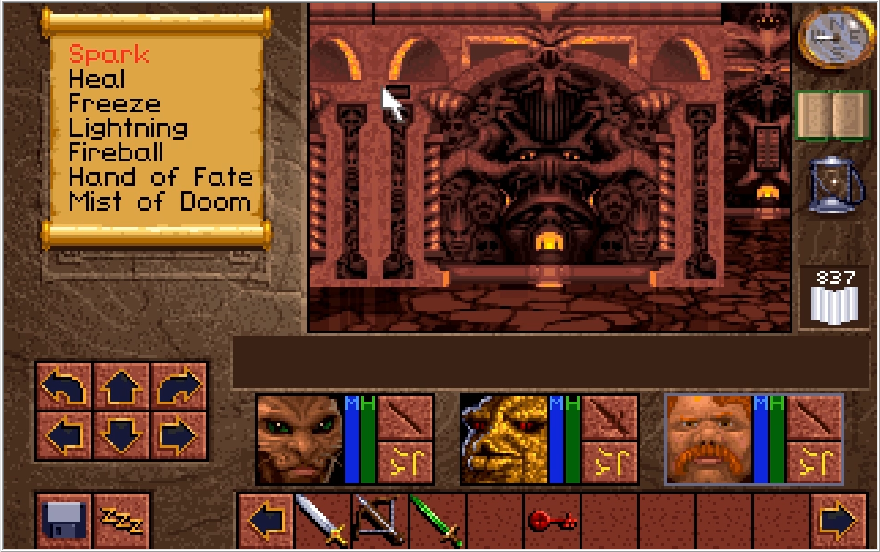
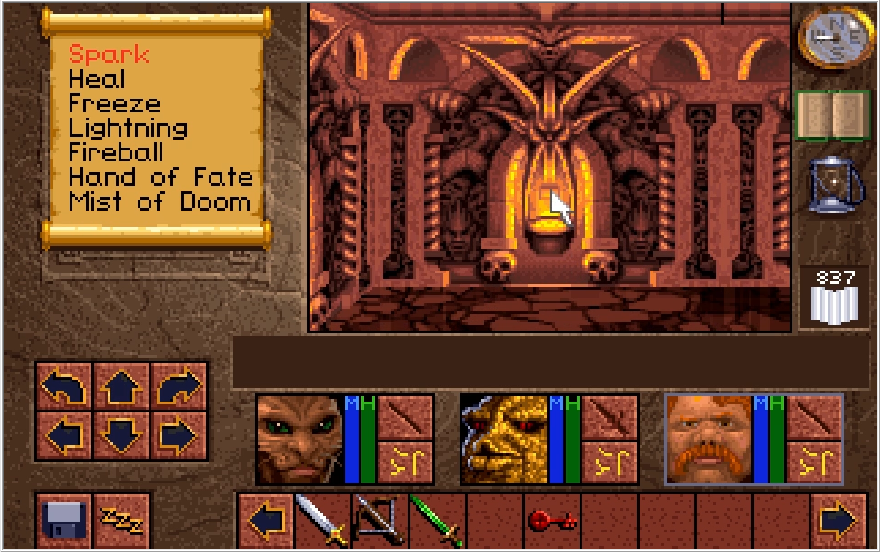
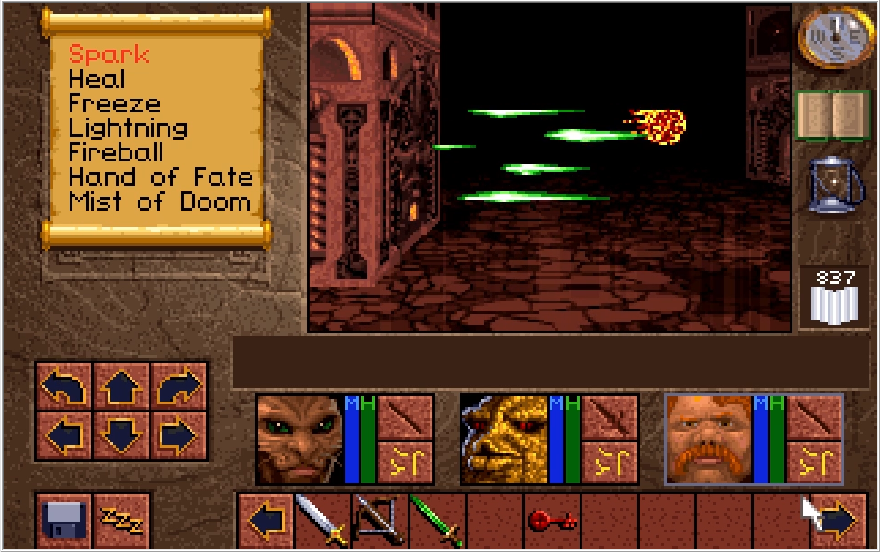
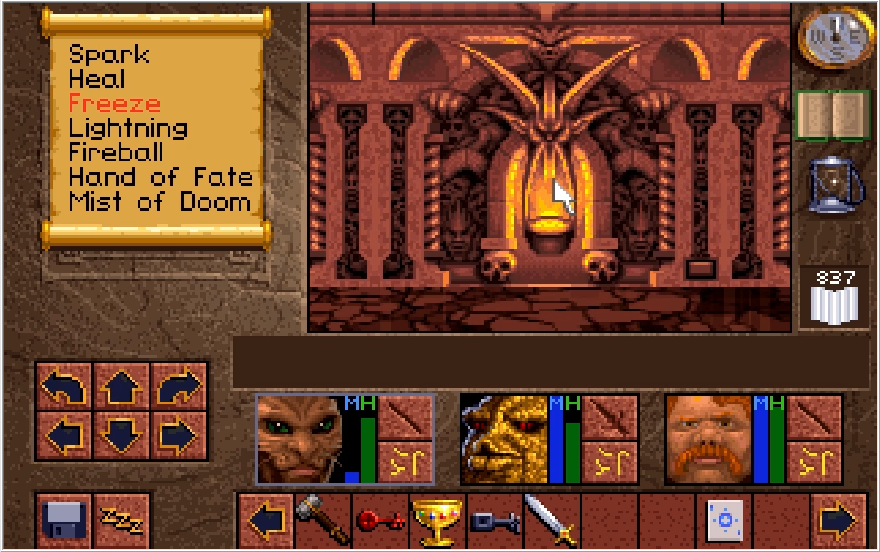
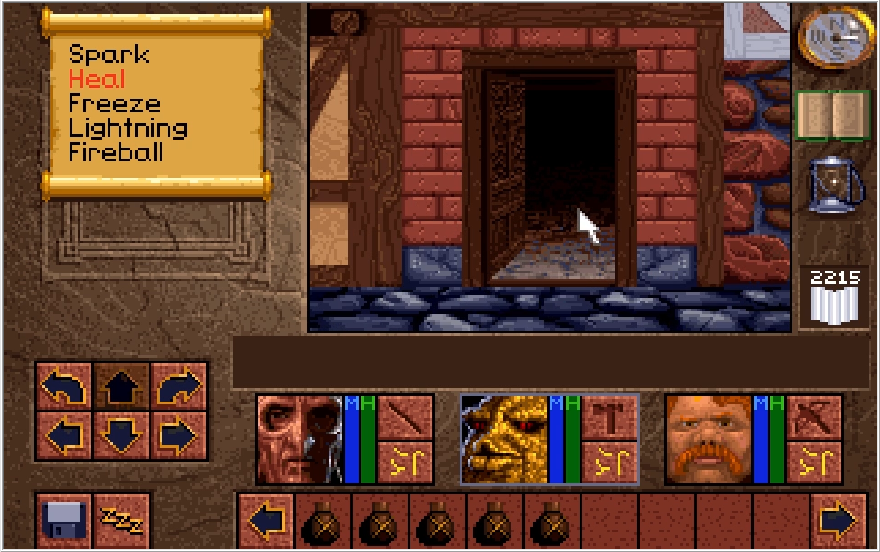
Making our way back to the endless projectile vomit, we stop by the fireball trap. This one trap is guarding the third critical location of this level. Now we could just tank all the fireball damage while grabbing the item we need, but there is actually a way to do this without suffering any damage.
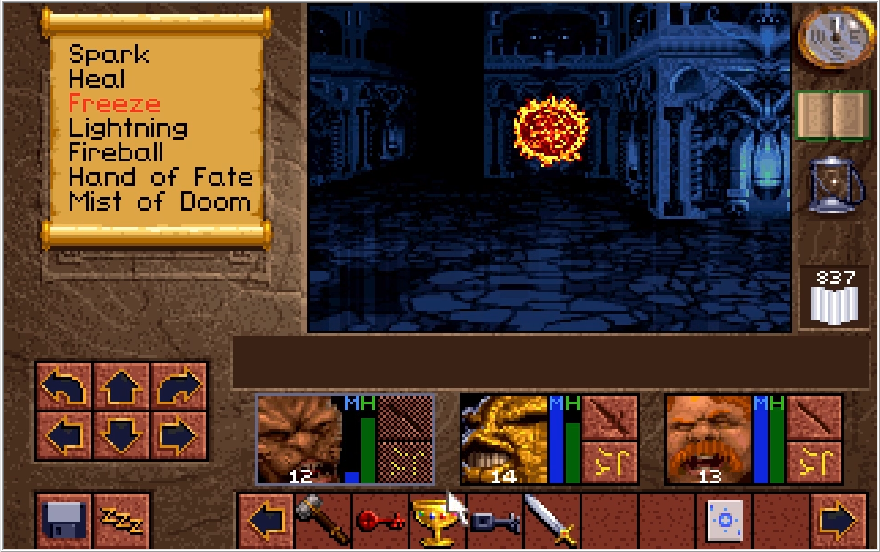
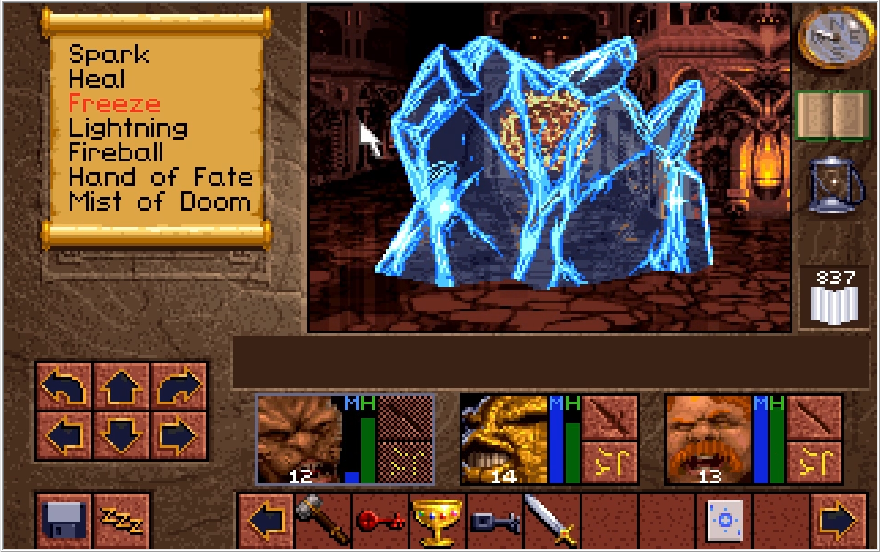
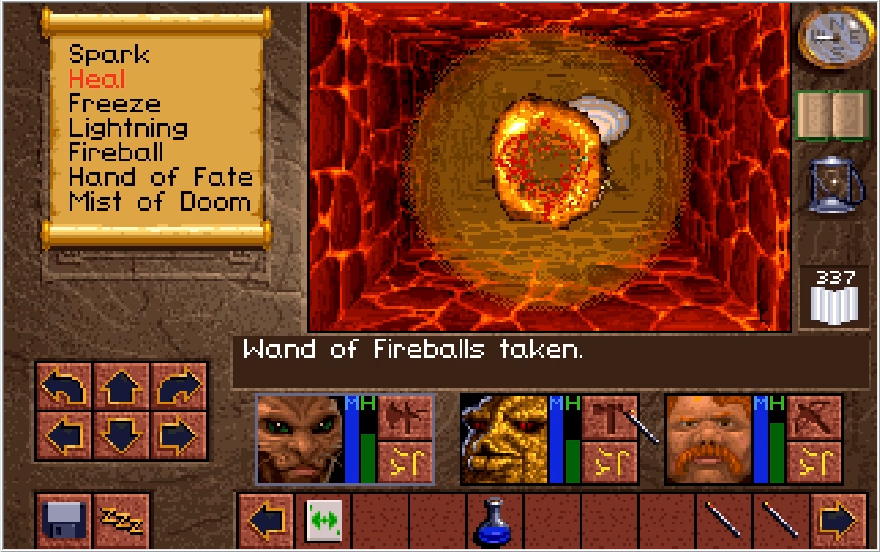
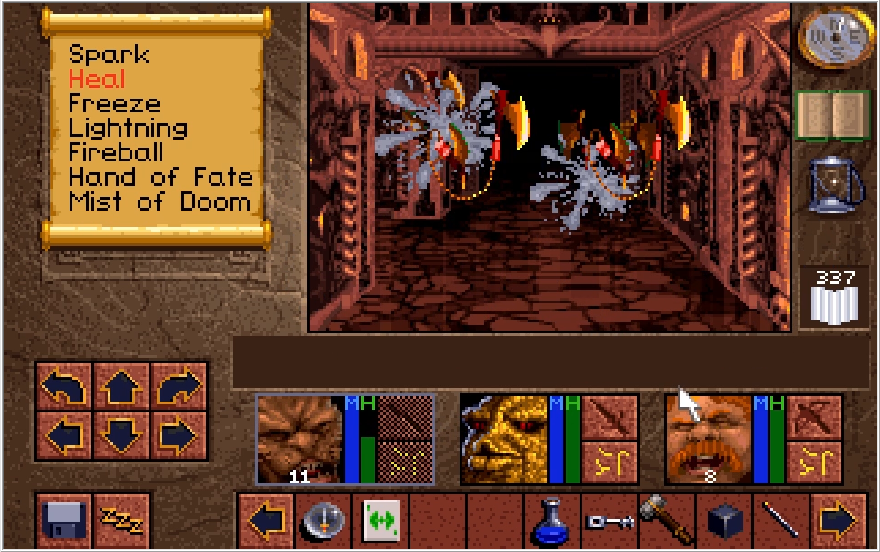
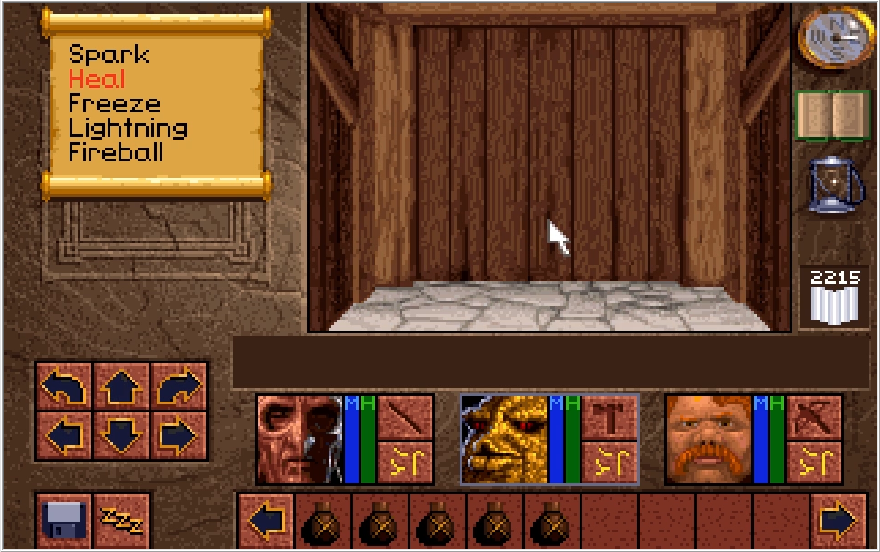
This is the one time the Ice Wall from Freeze 4 can actually be put to a practical use. Though you'd think it wouldn't, it can actually block the fireballs for us while we grab the key. It won't be breaking anytime soon. Yeesh, that's a level of durability that would make it more appropriate for sinking the Titanic than for icing amazons.
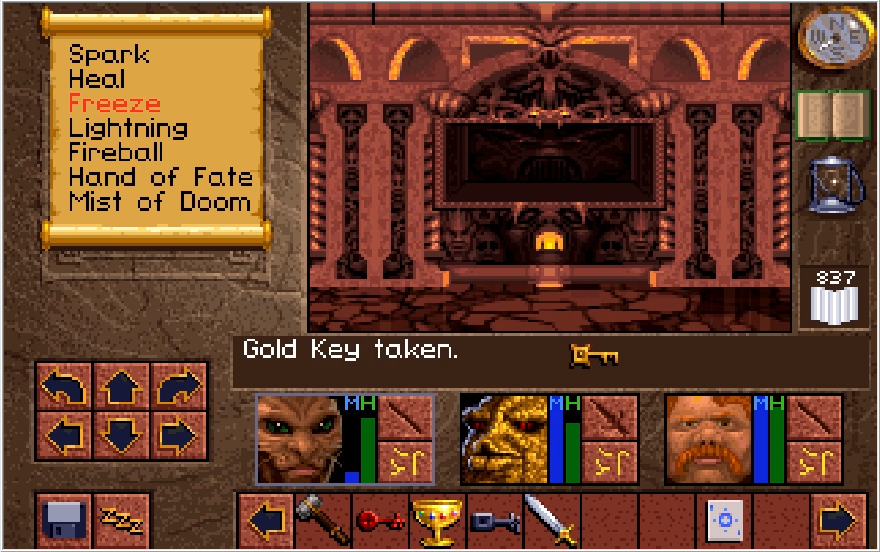
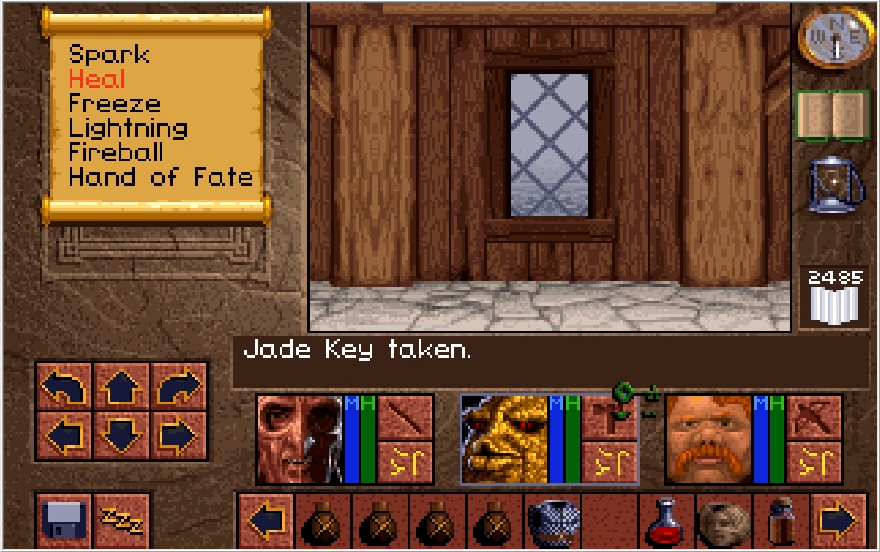
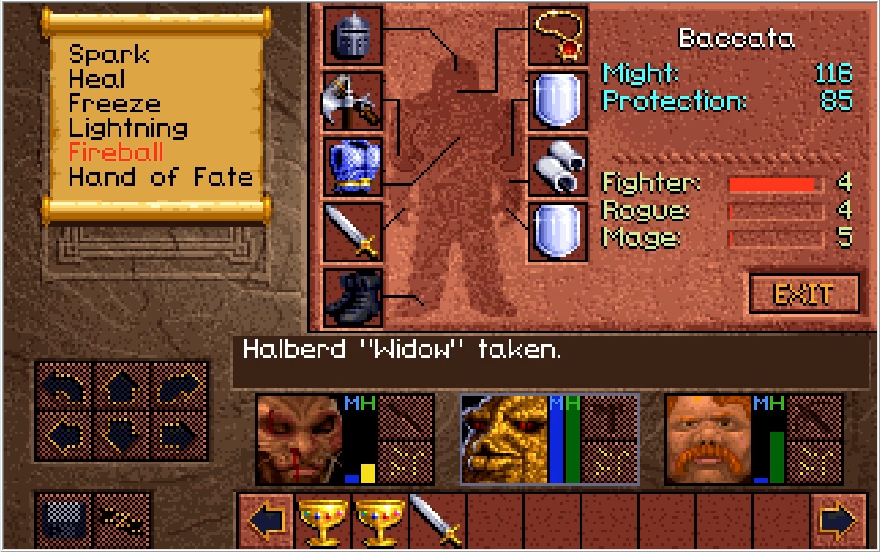
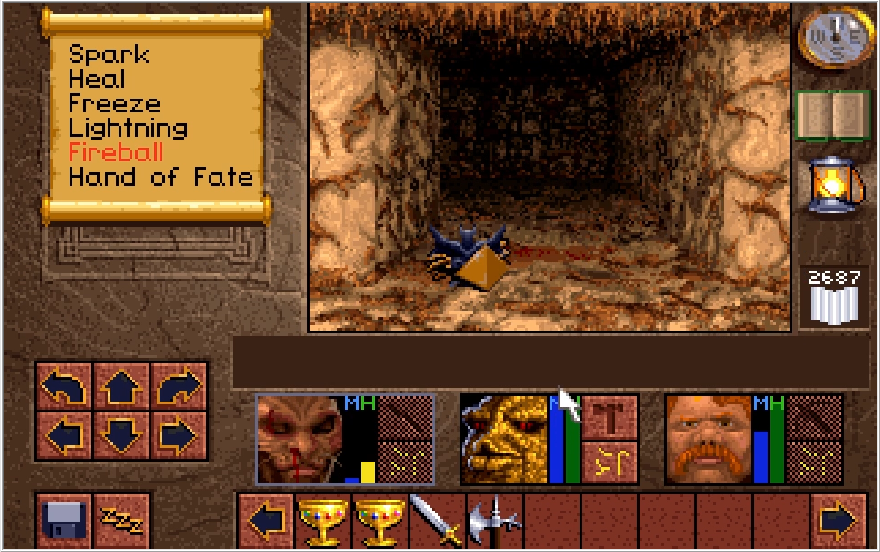
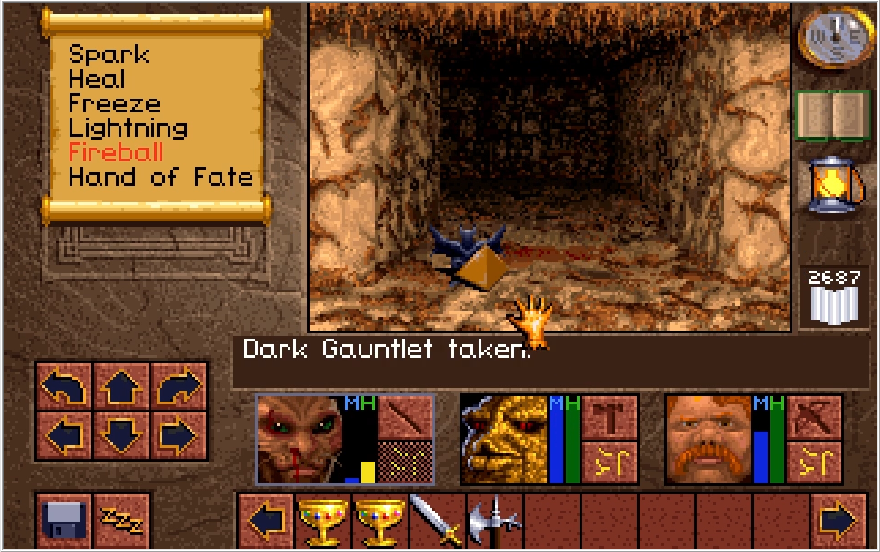
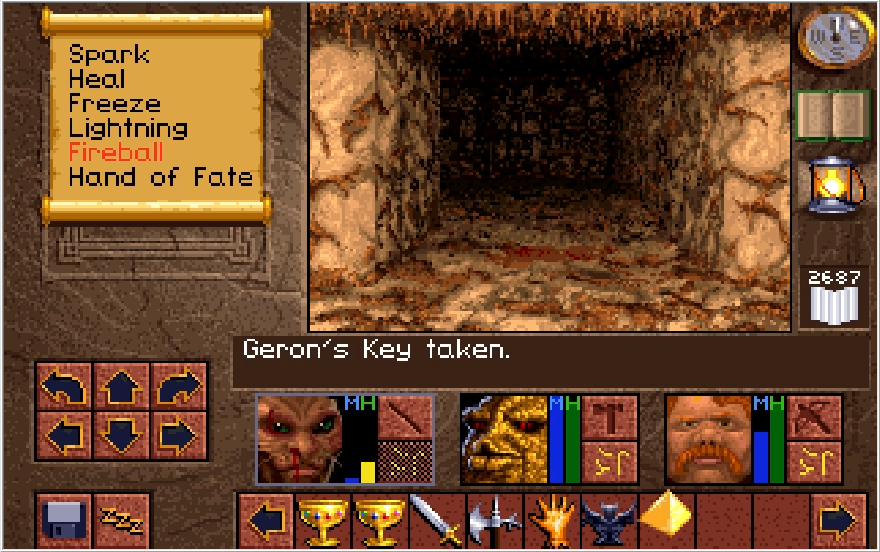
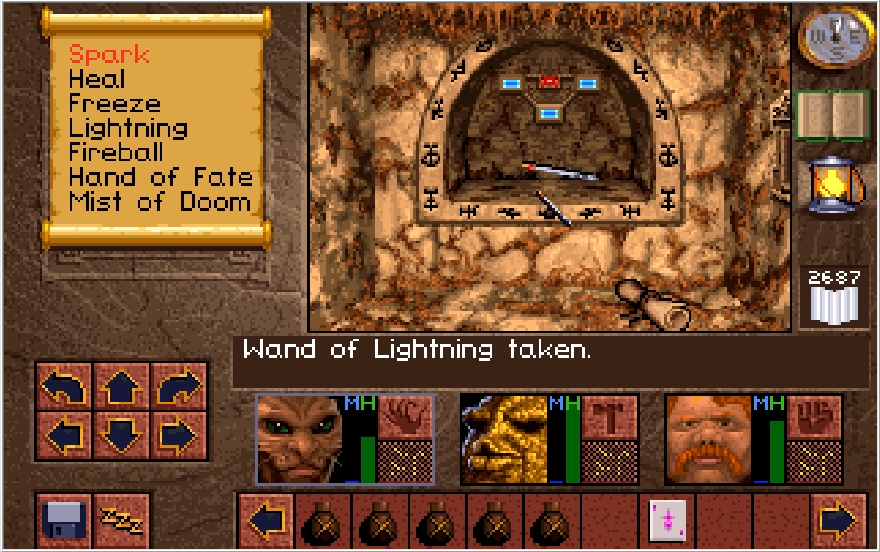
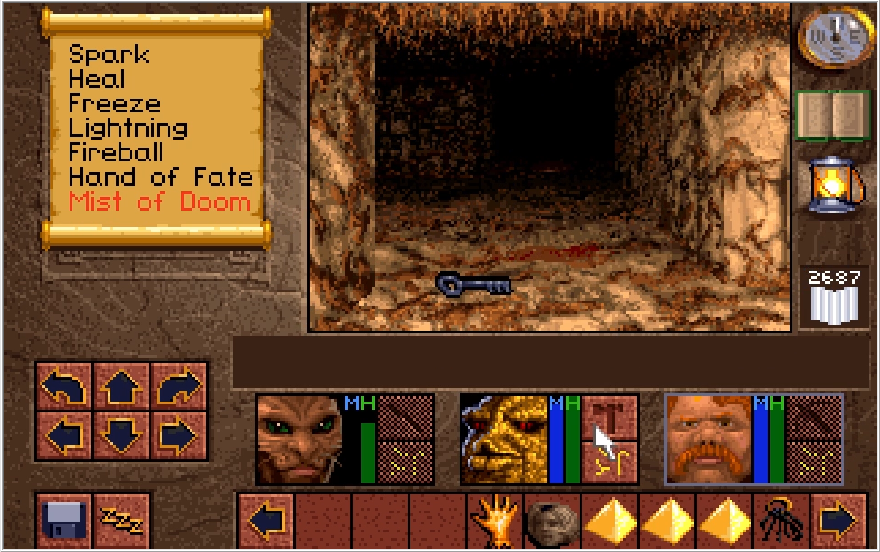
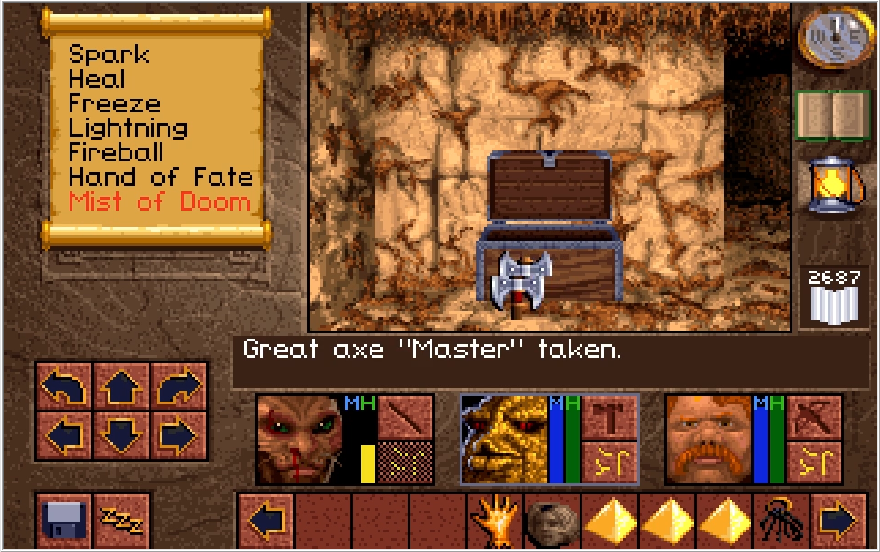
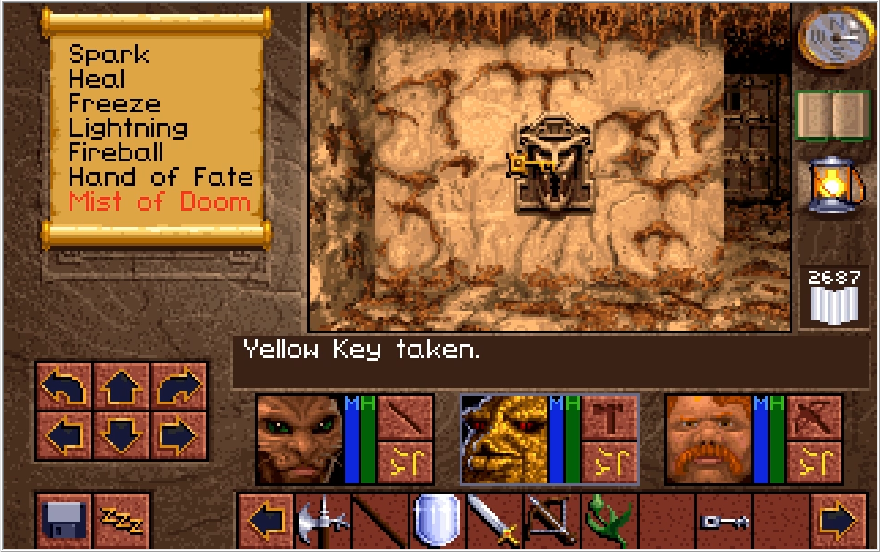
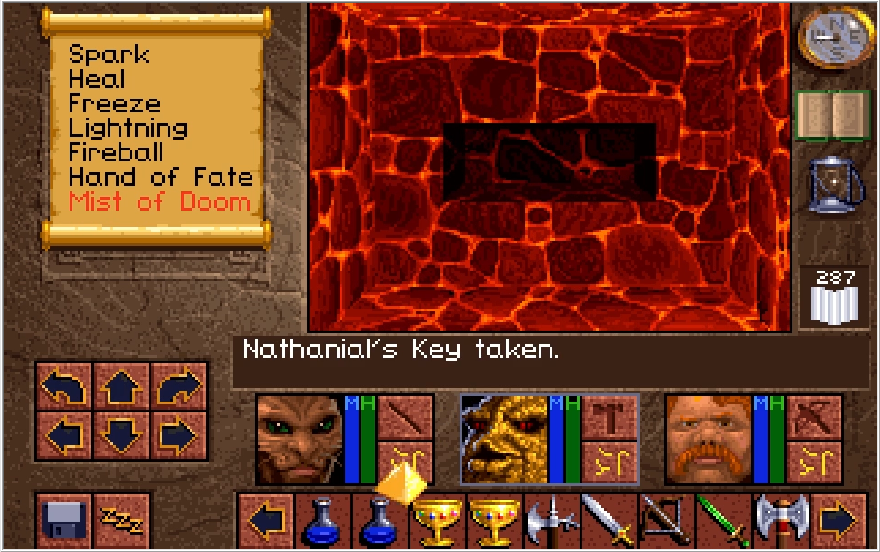
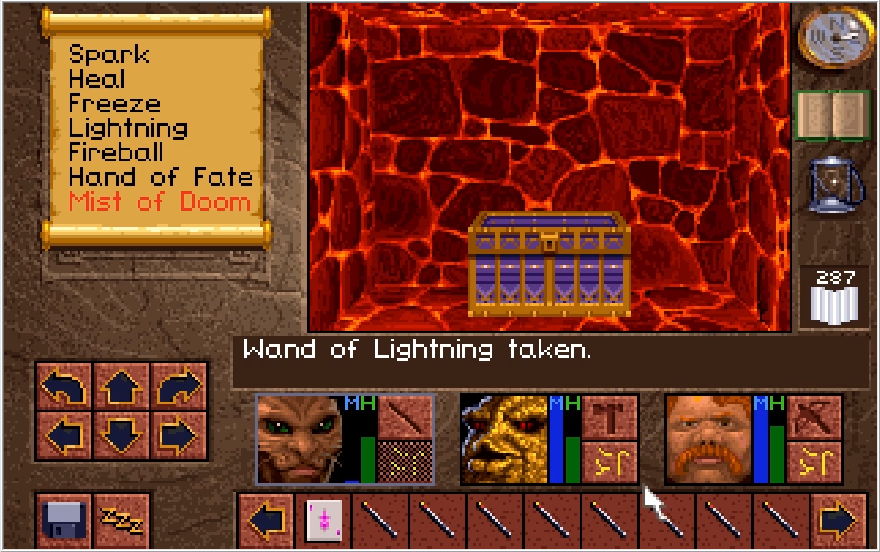
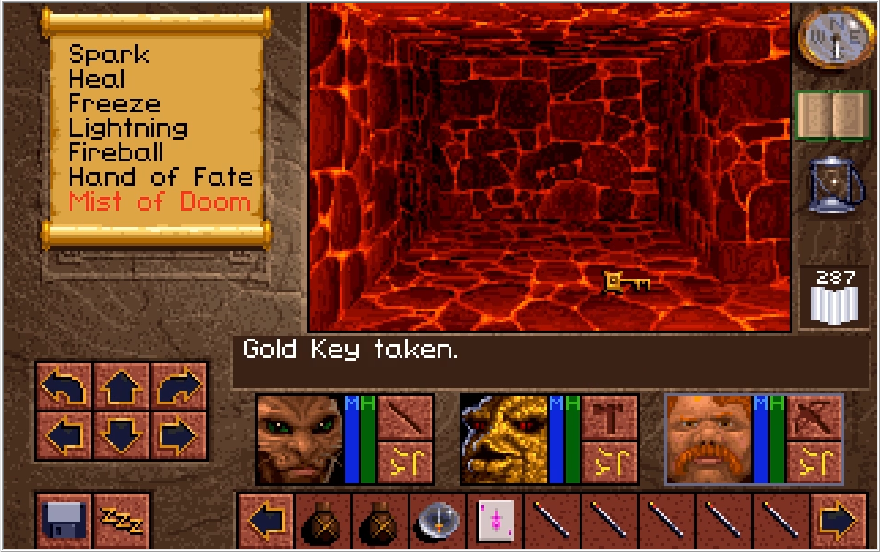
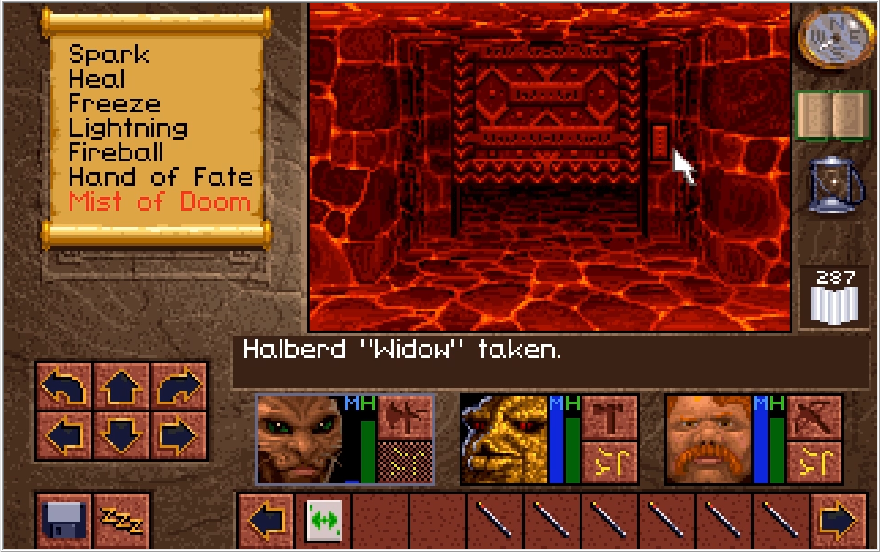
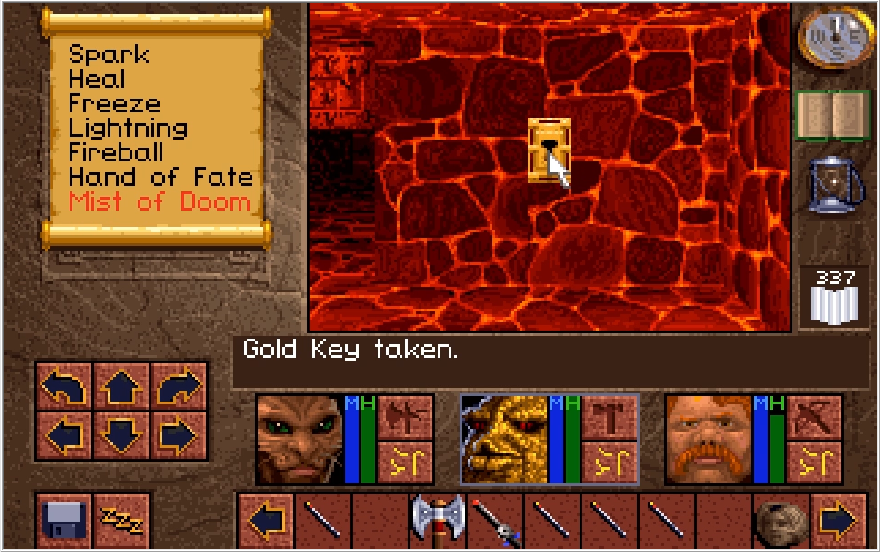
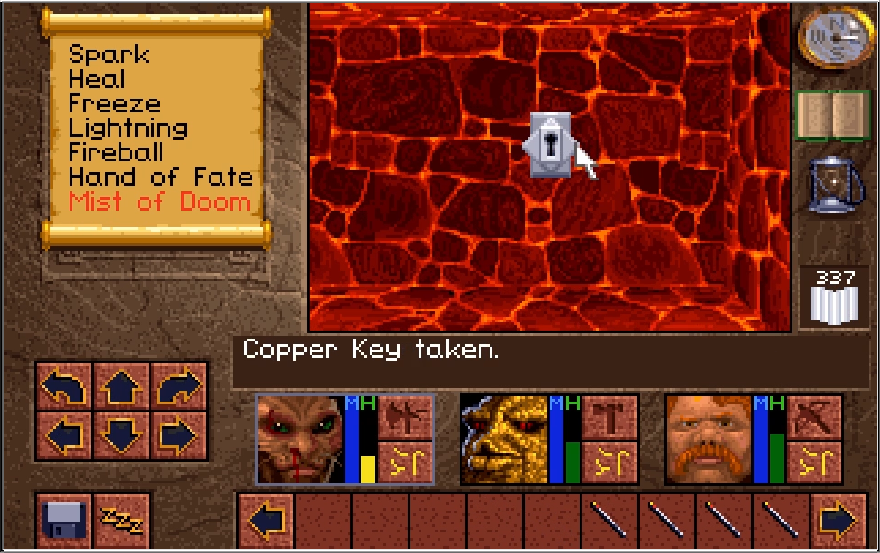
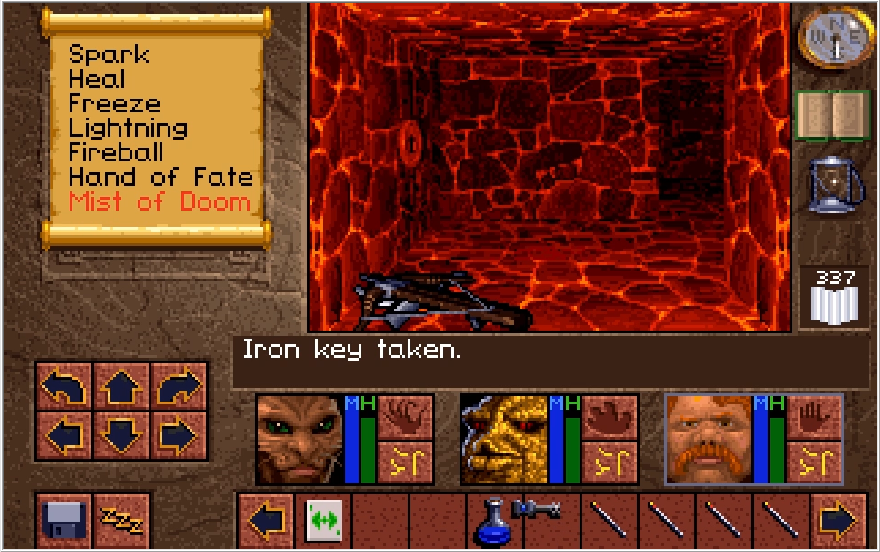
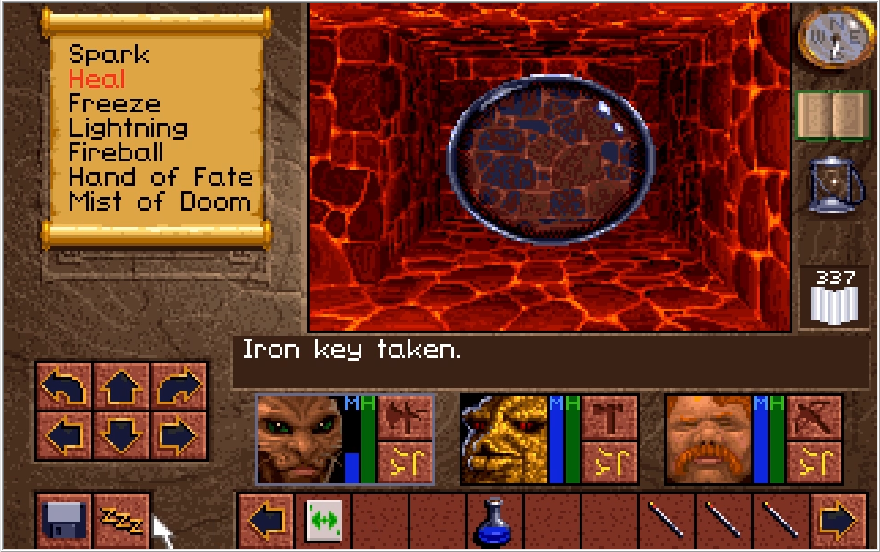
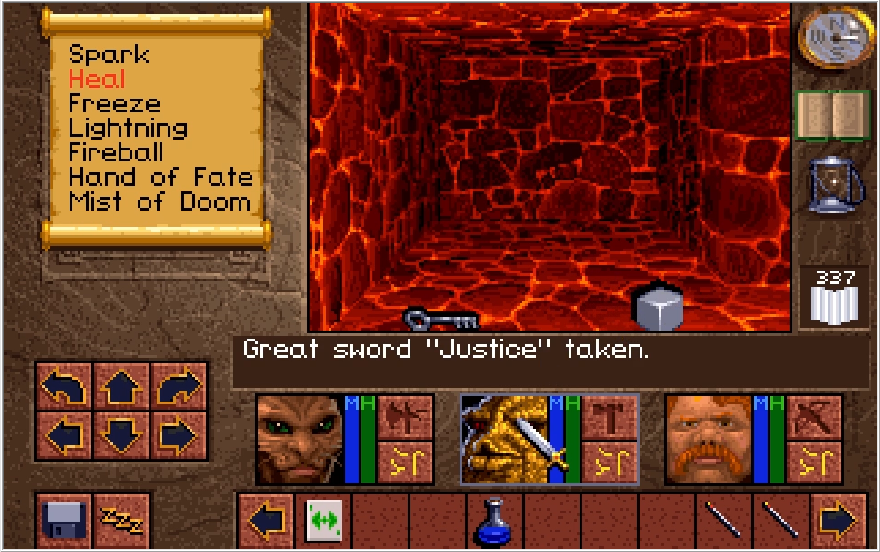
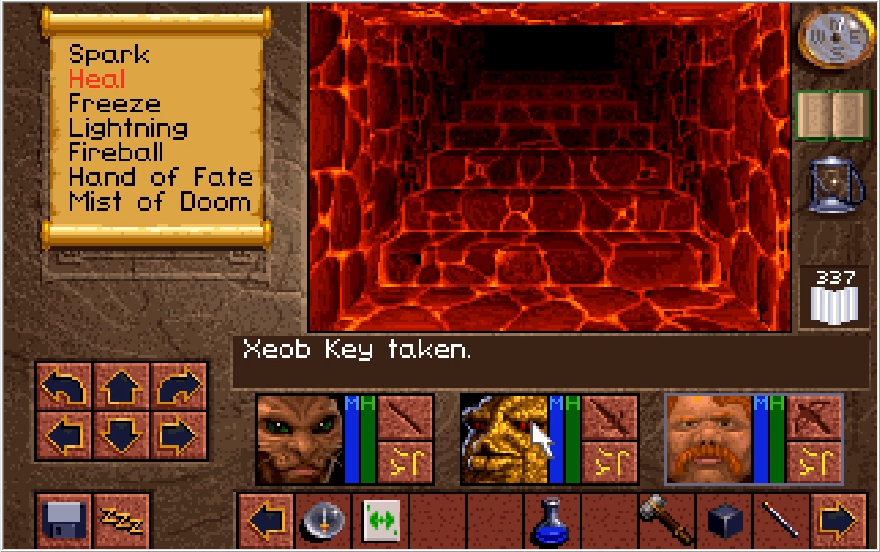
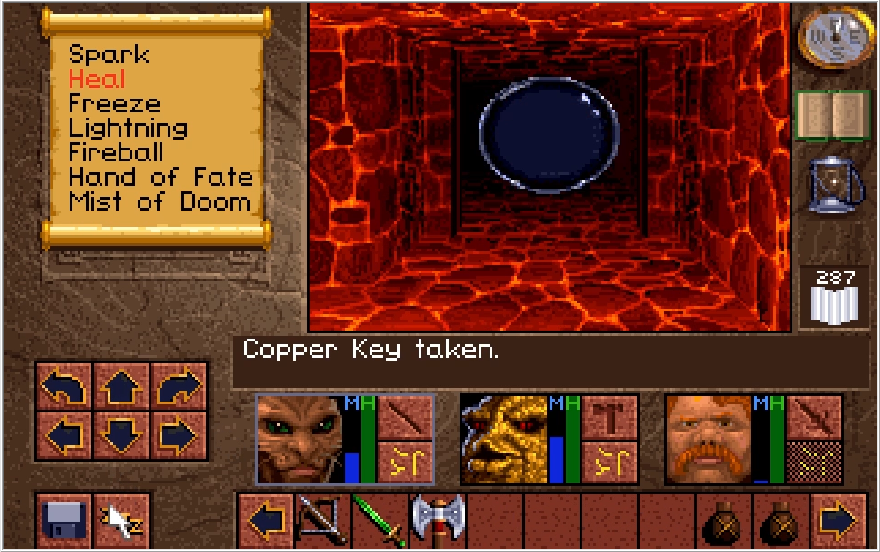
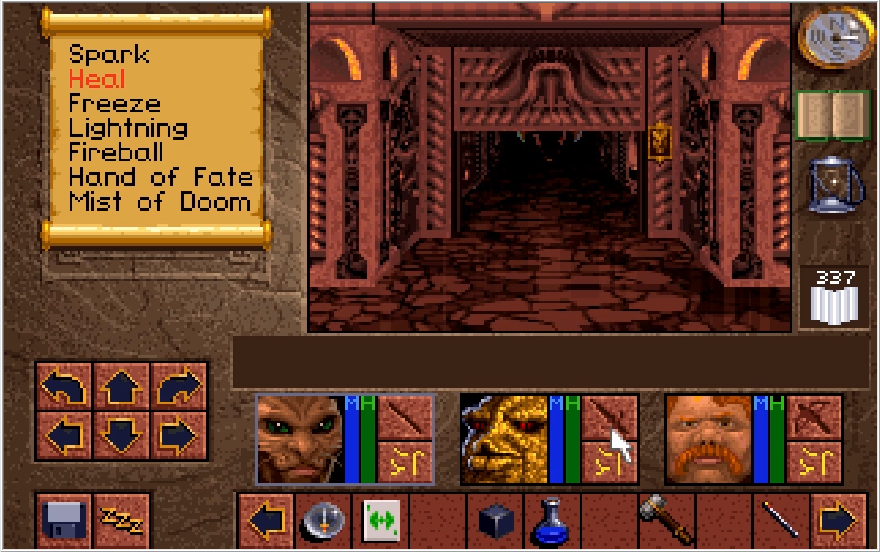
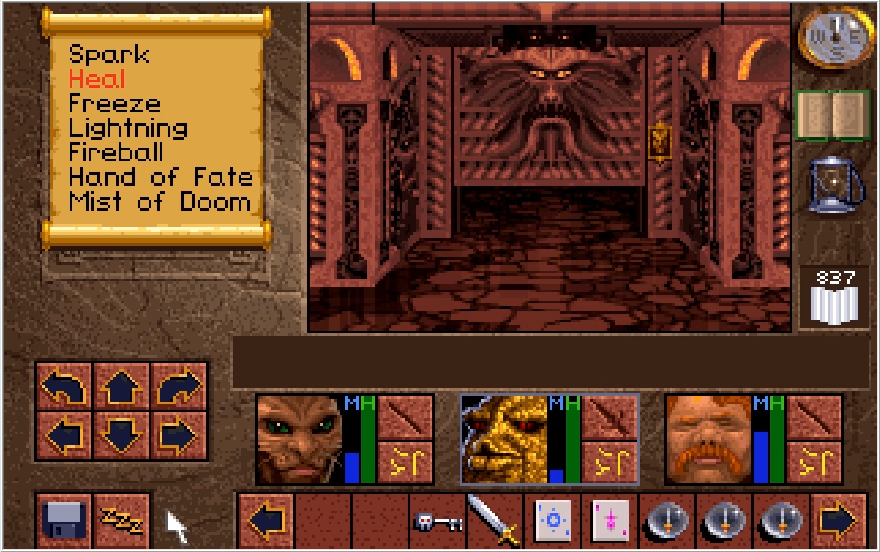
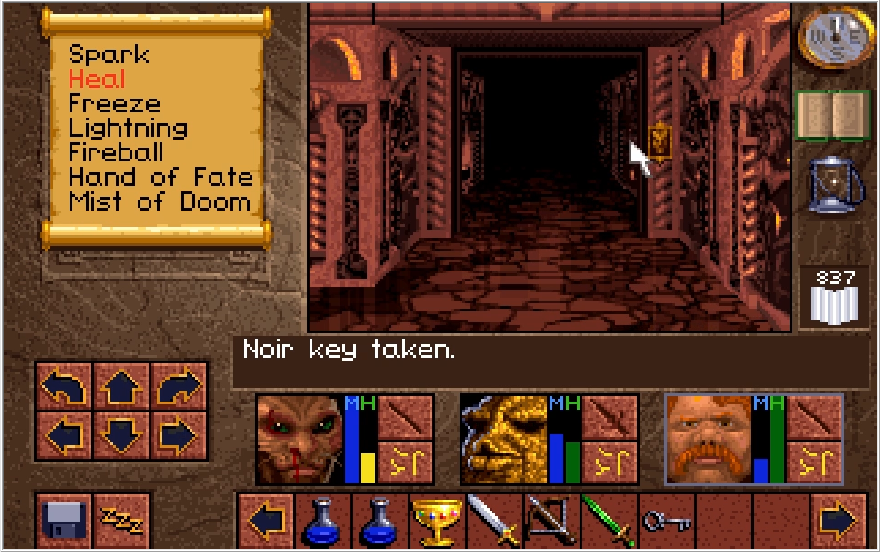
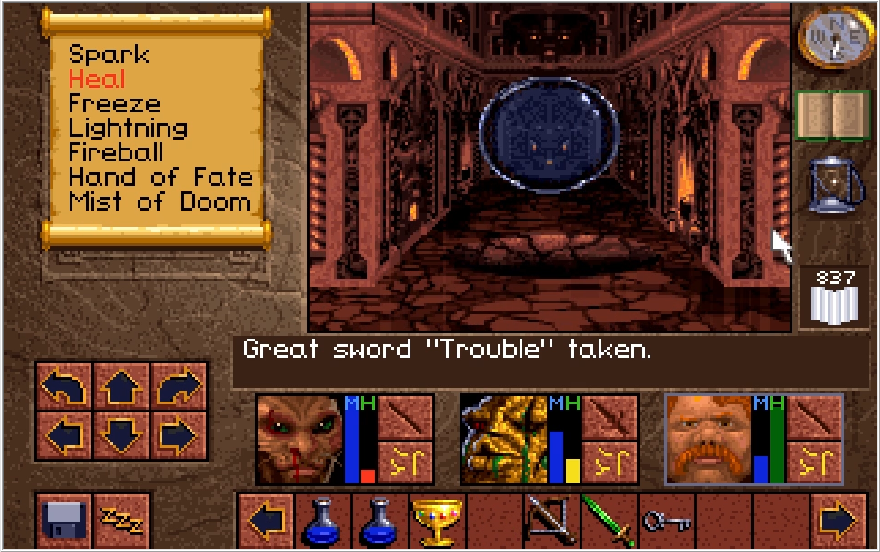
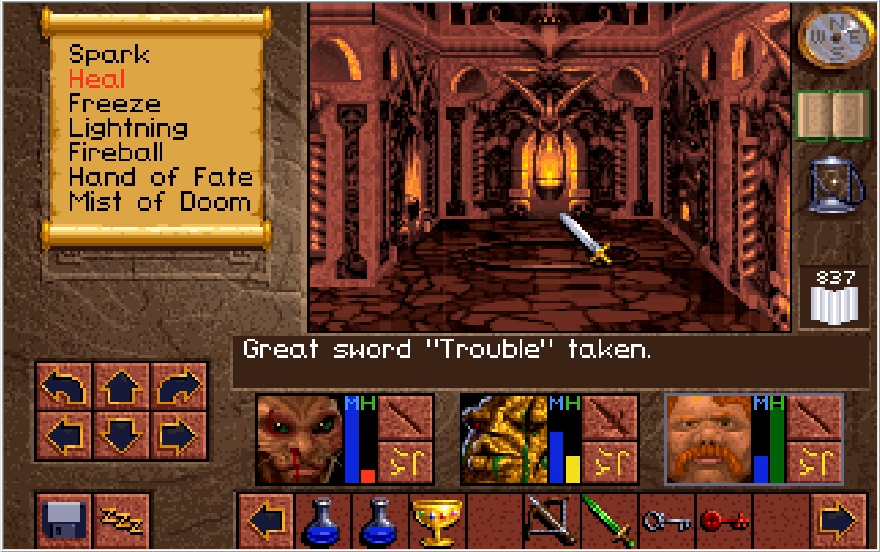
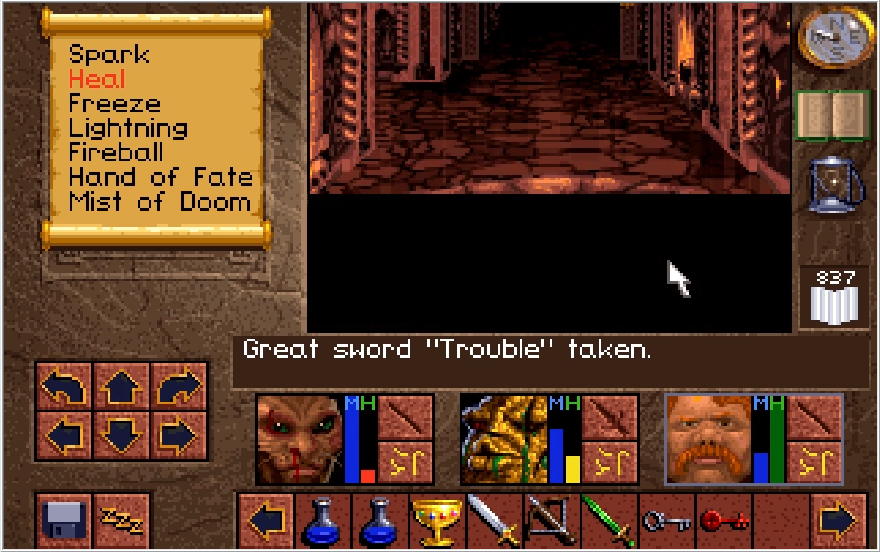
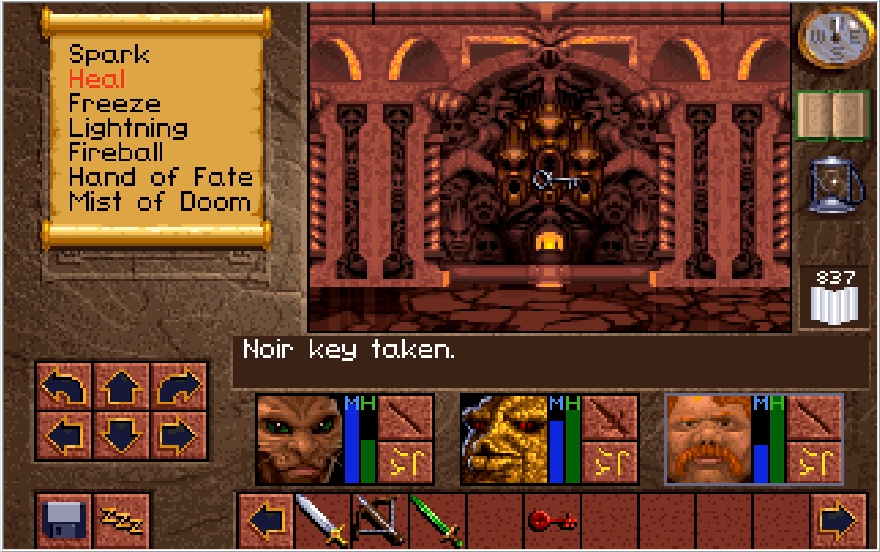
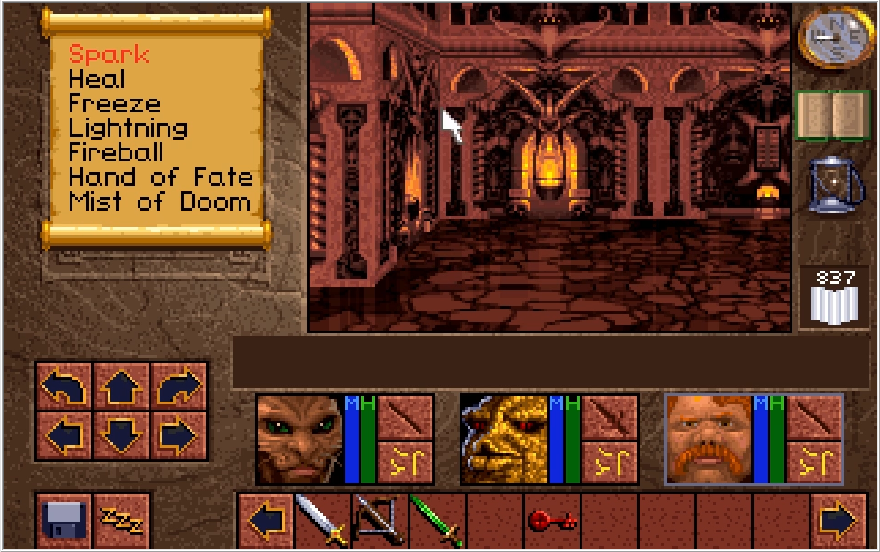
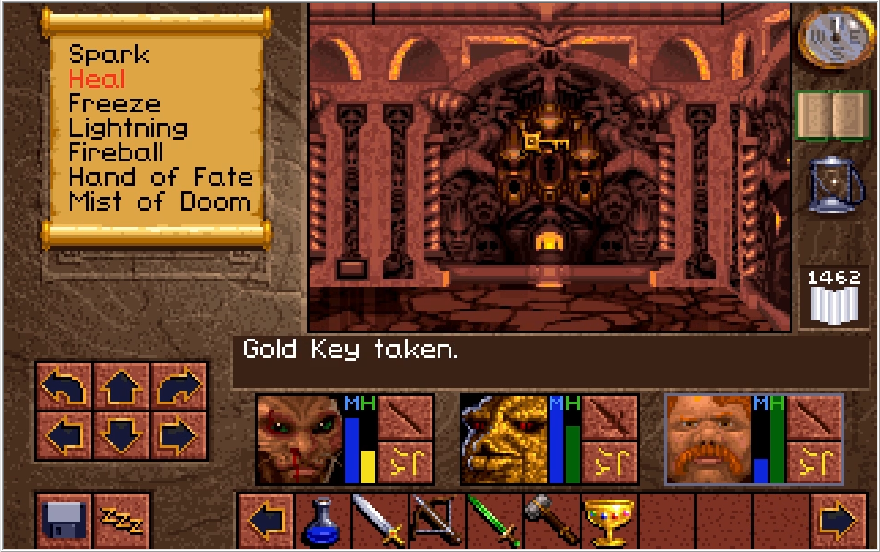
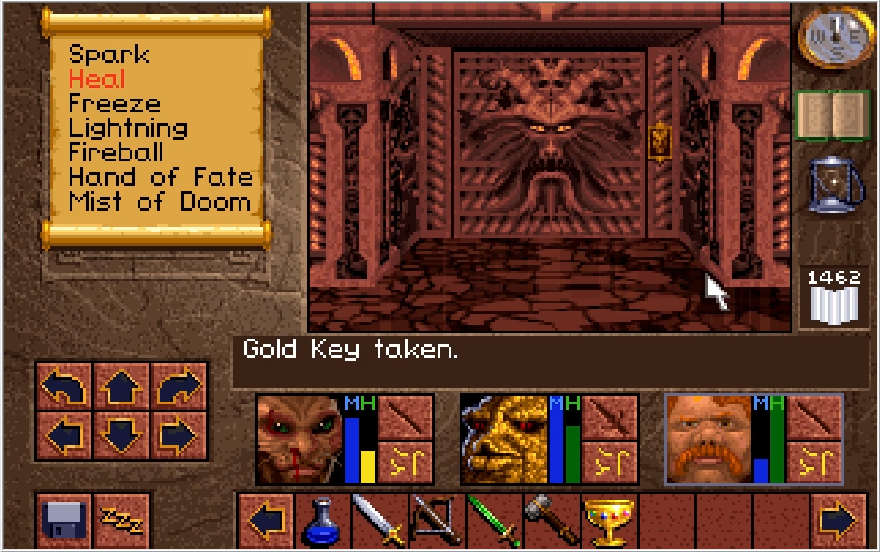
Heading into the hall that the trap guarded, we get a Gold Key. I'm just now noticing how inconsistent the game is about whether or not it'll capitalize both words in two-word key items. Disregarding that, this is one of the keys we need to reach Scotia. Not something we need immediately, but we may as well just get all the keys we need now so we can wrap up the game ASAP when we return to this floor.
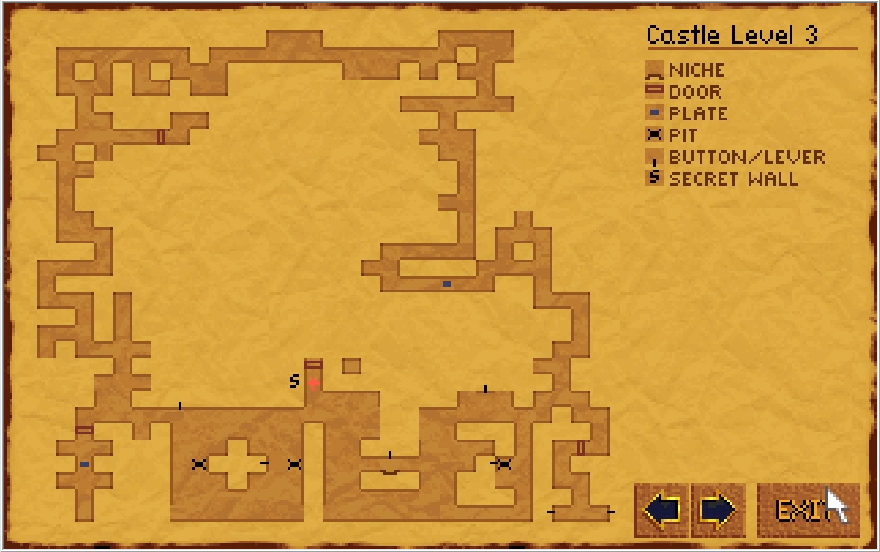
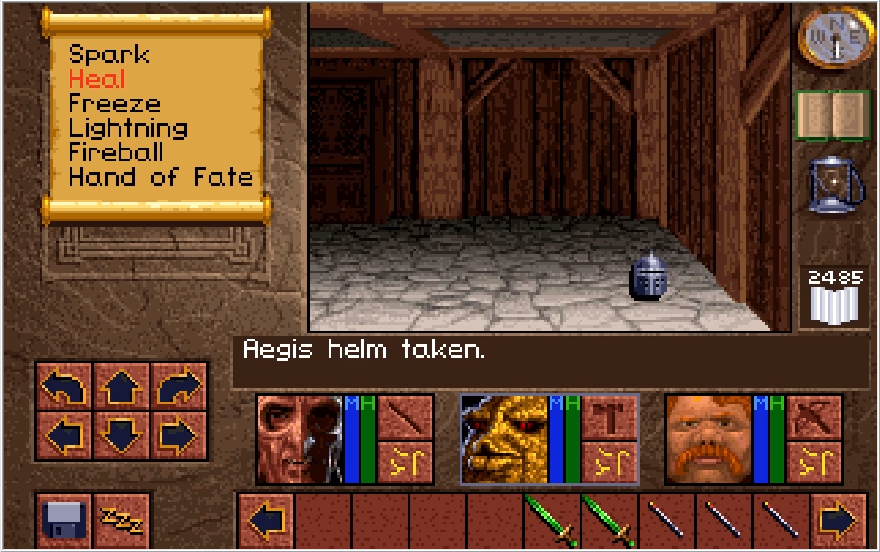
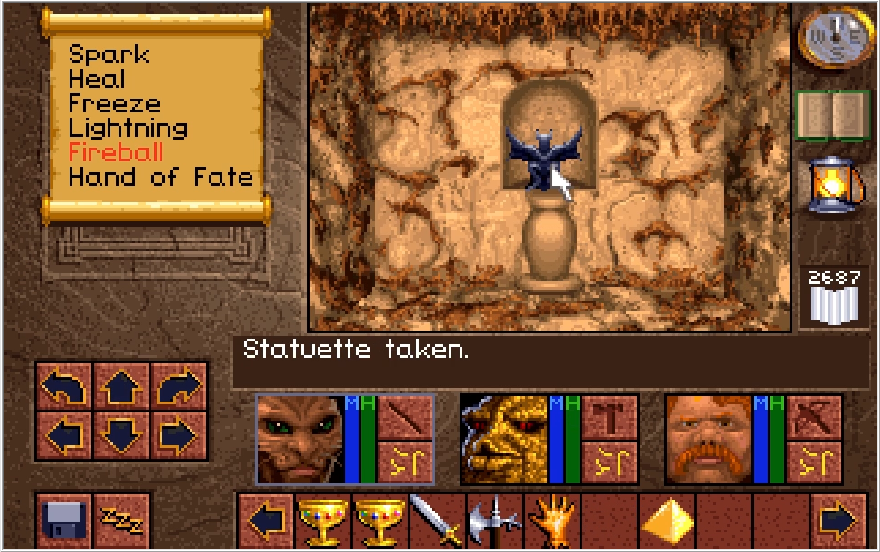
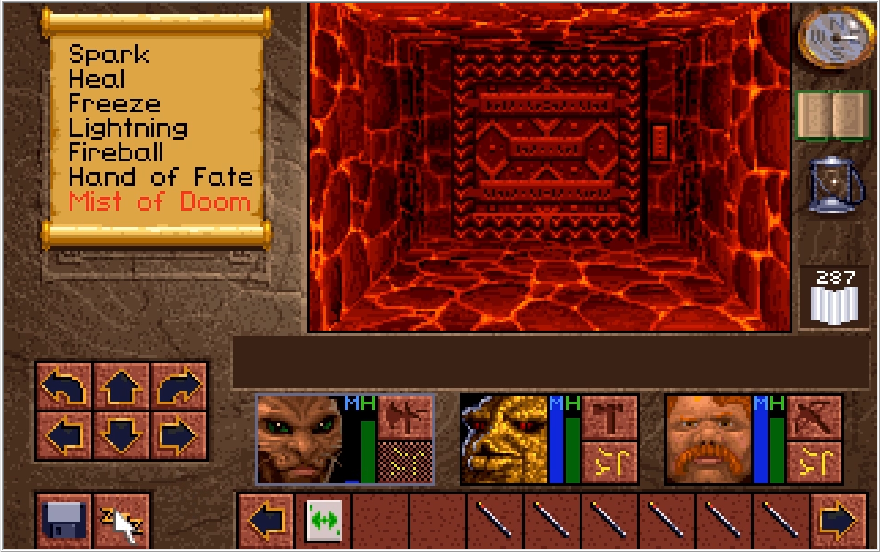
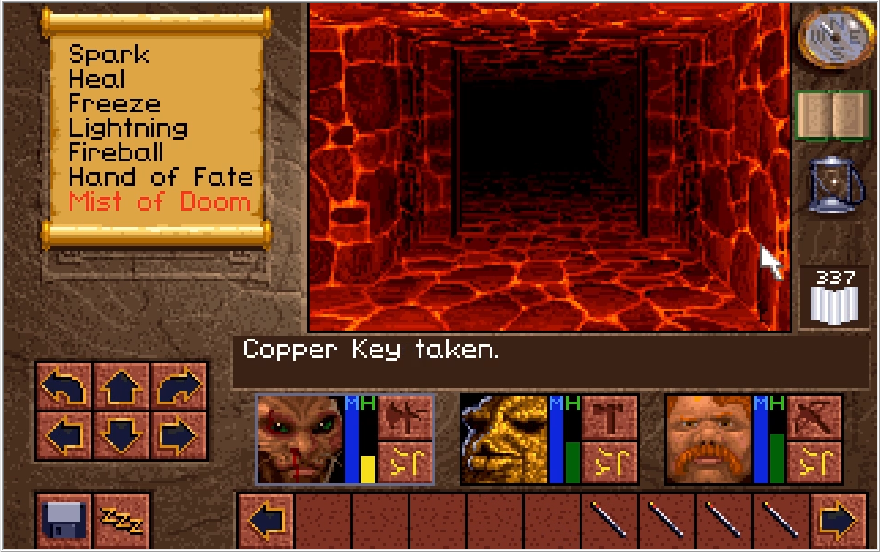
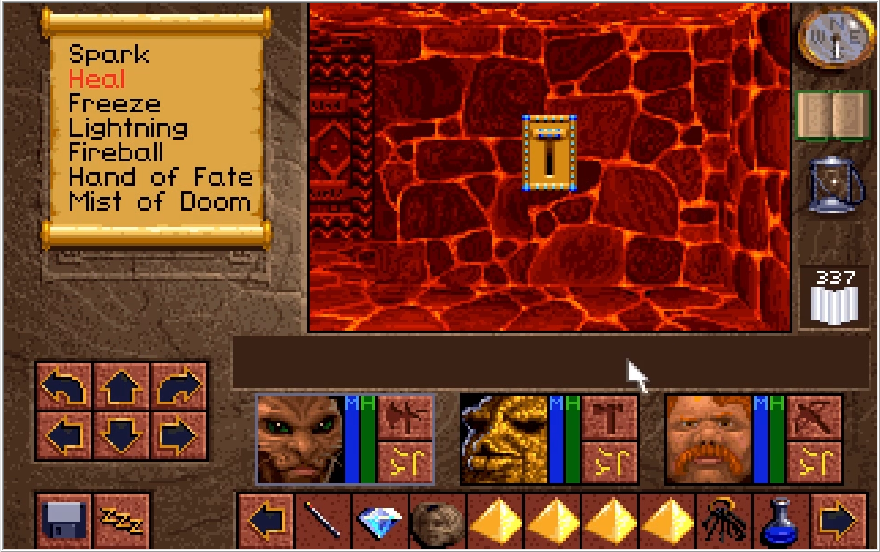
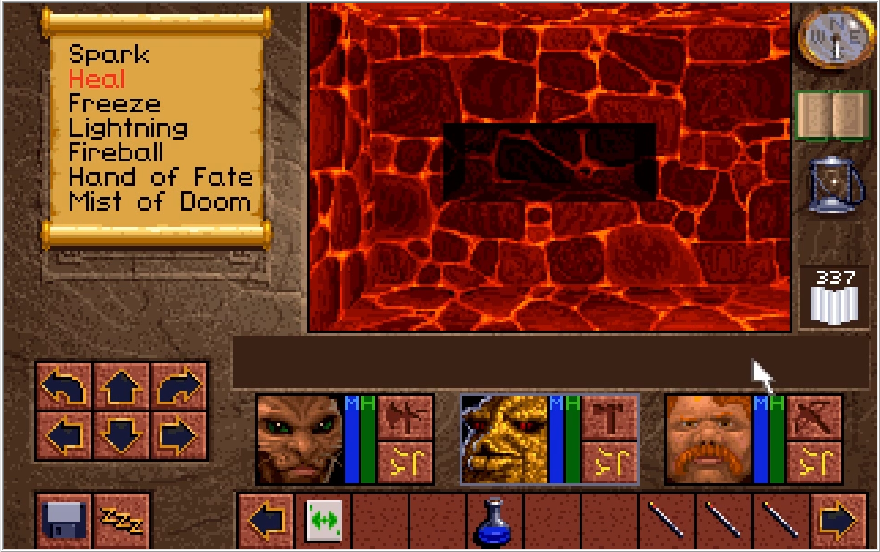
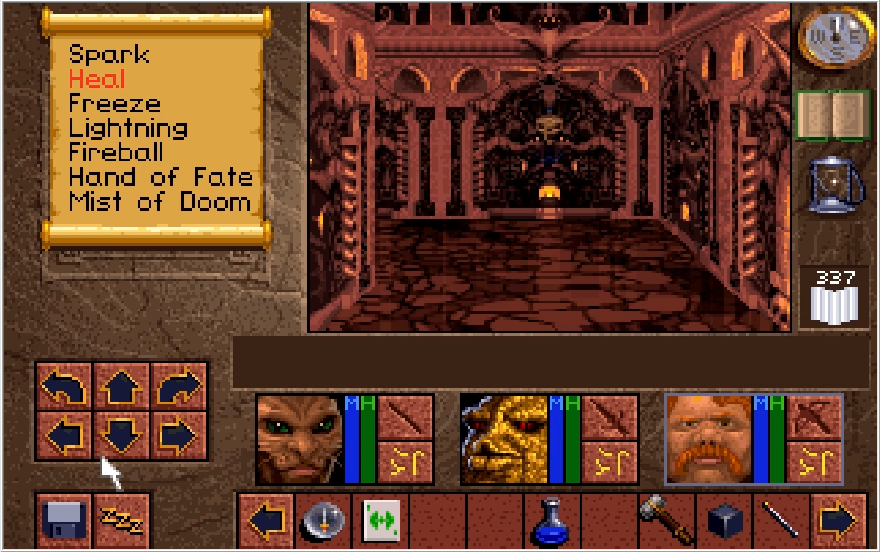
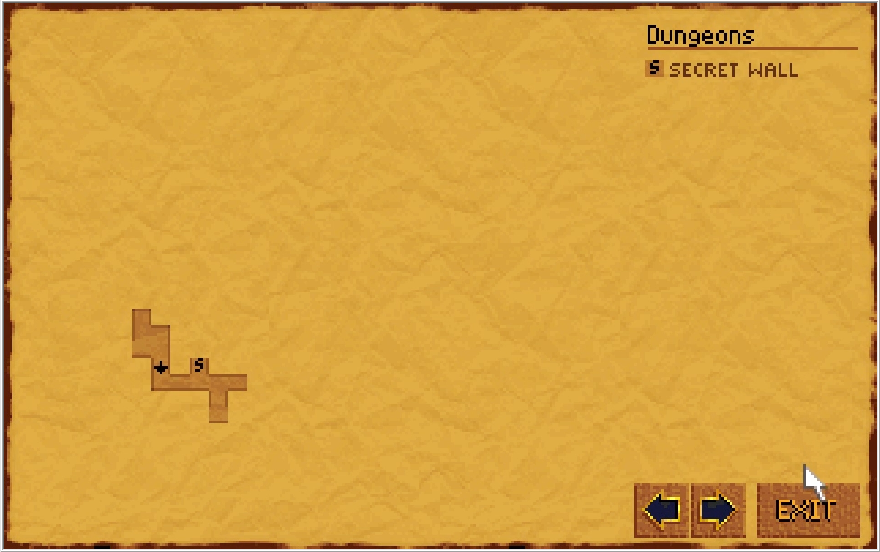
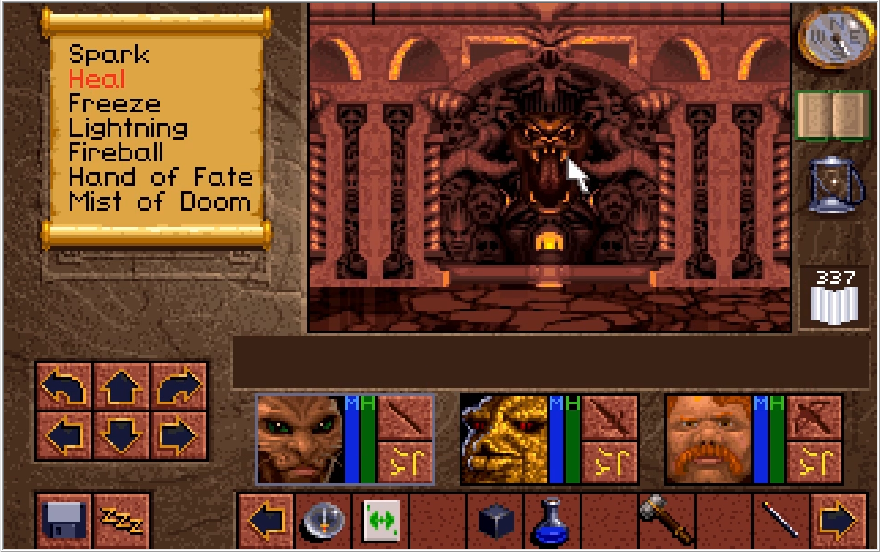
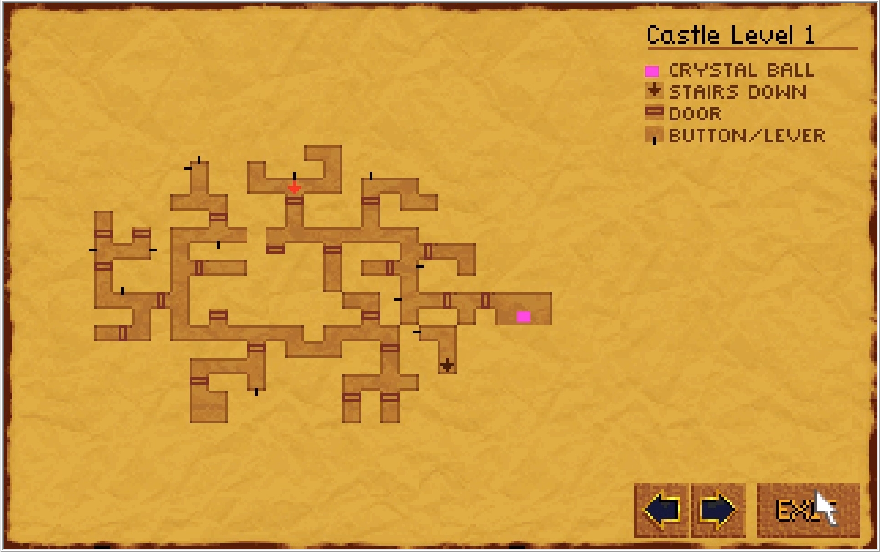
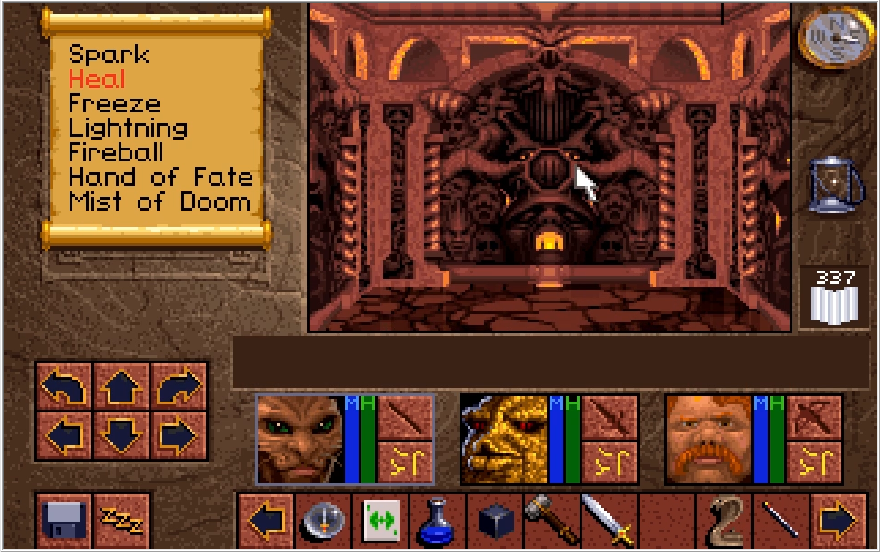
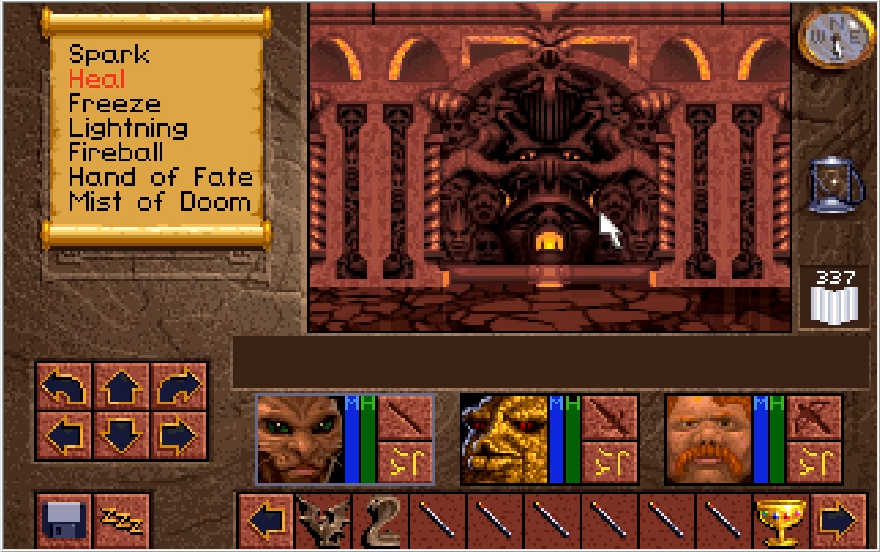
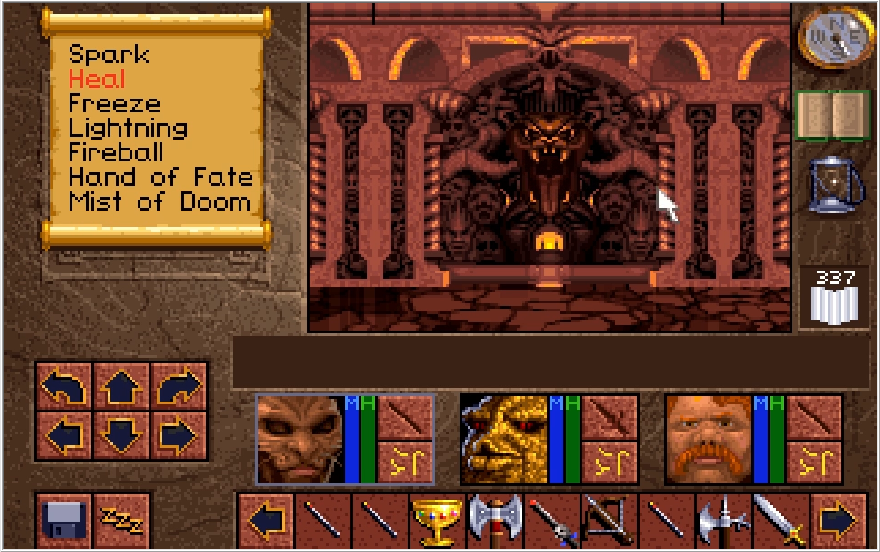
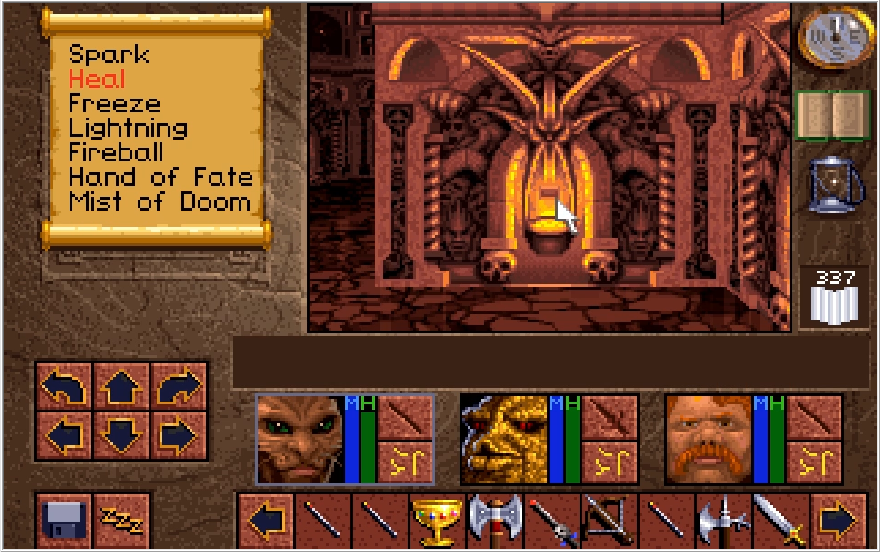
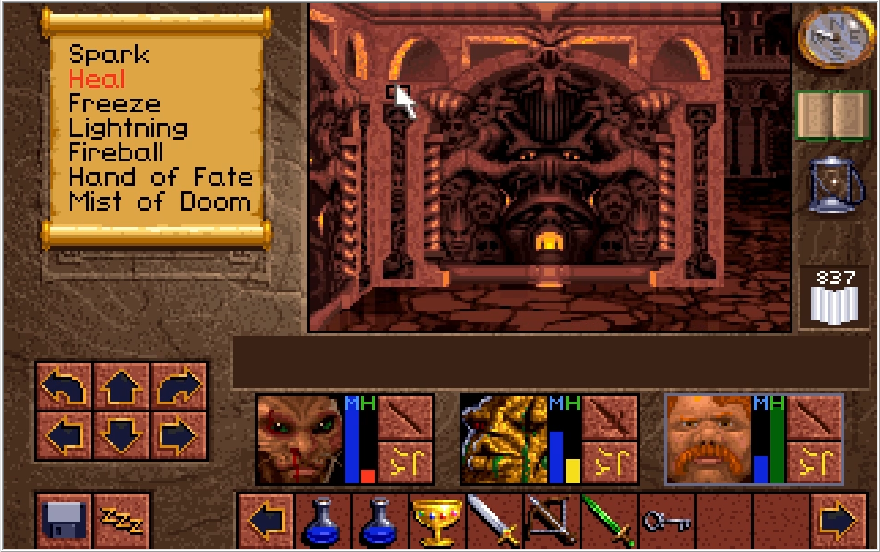
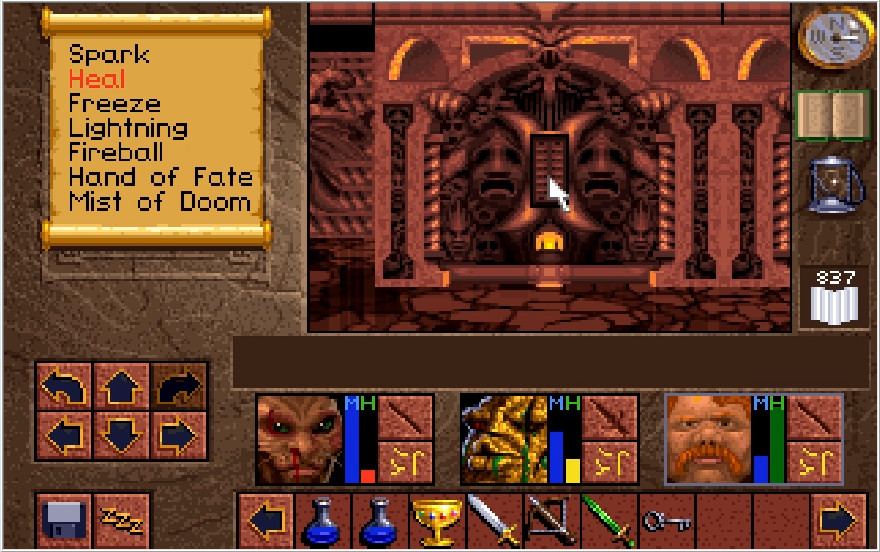
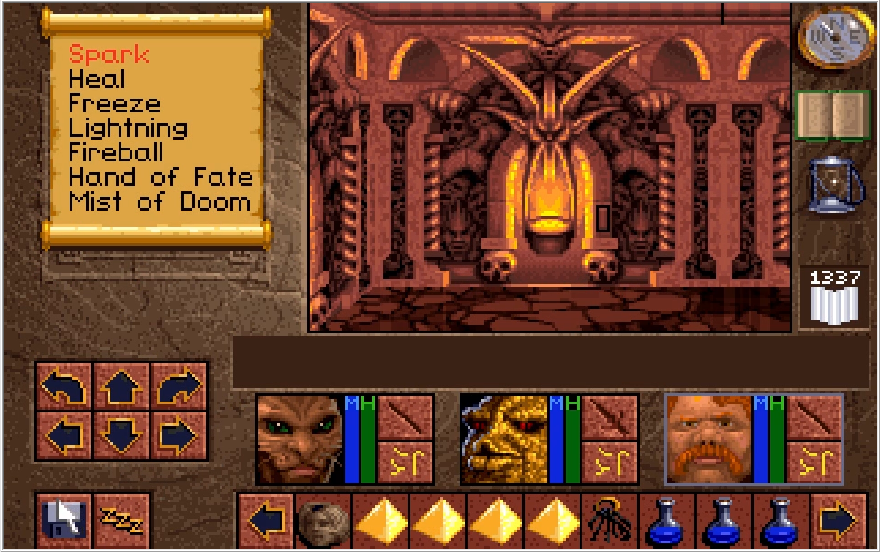
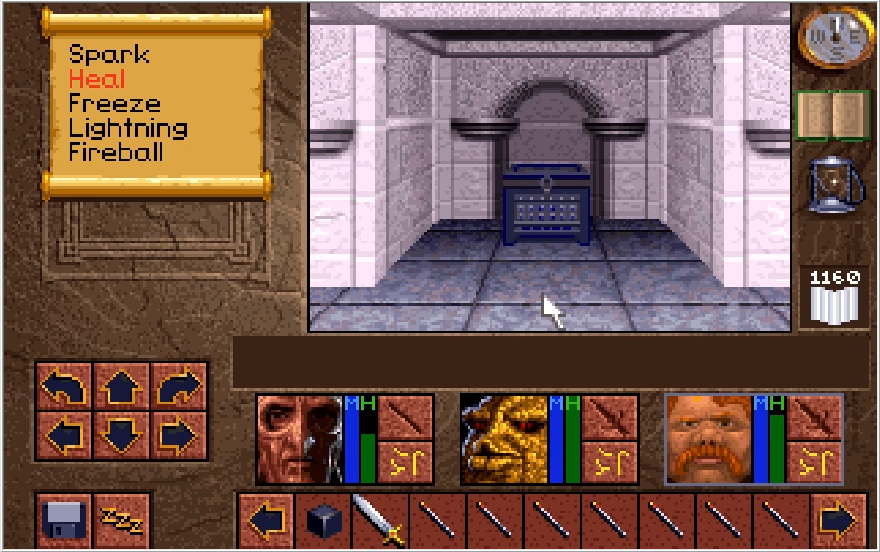
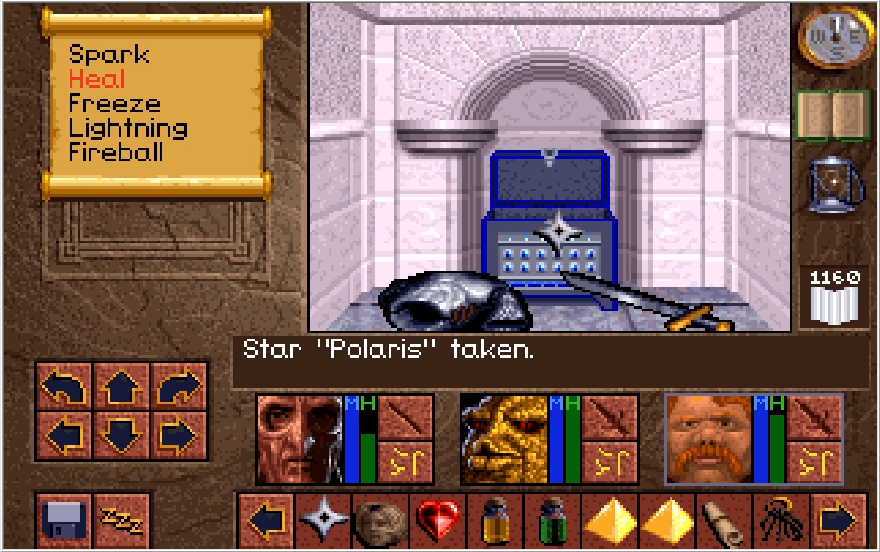
Speaking of Scotia's chamber, I'm right under it now. There's also a secret wall here, containing goodies for us should we want them.
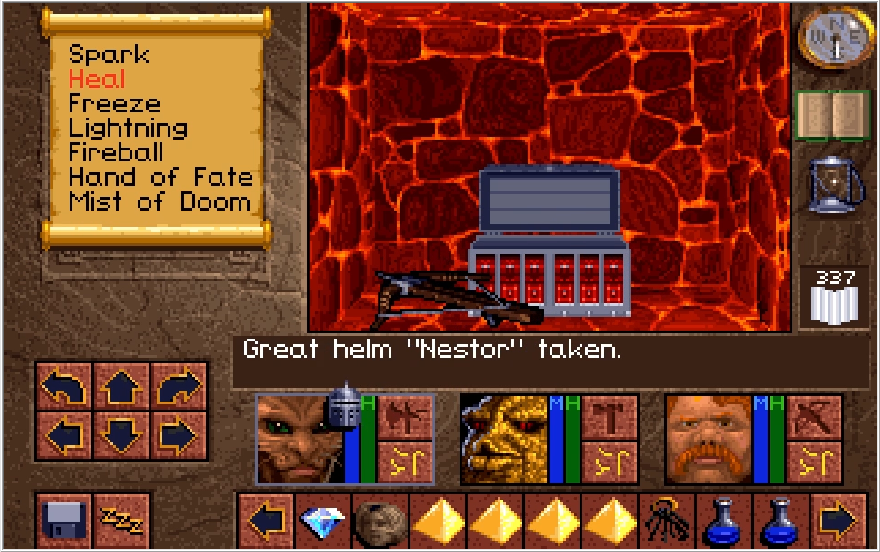
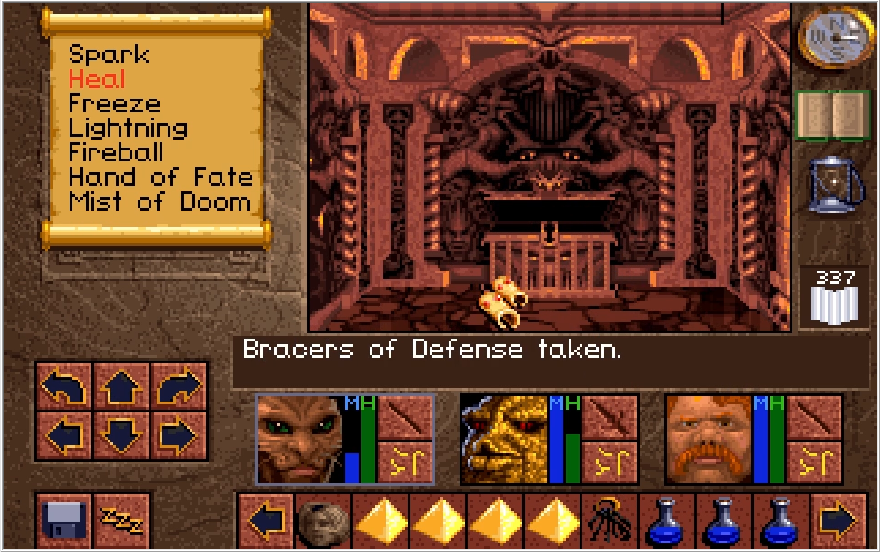
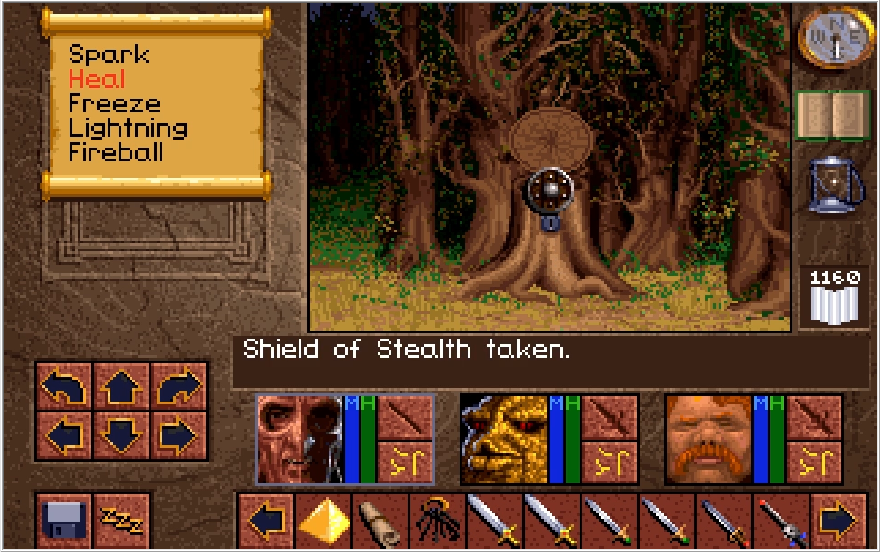
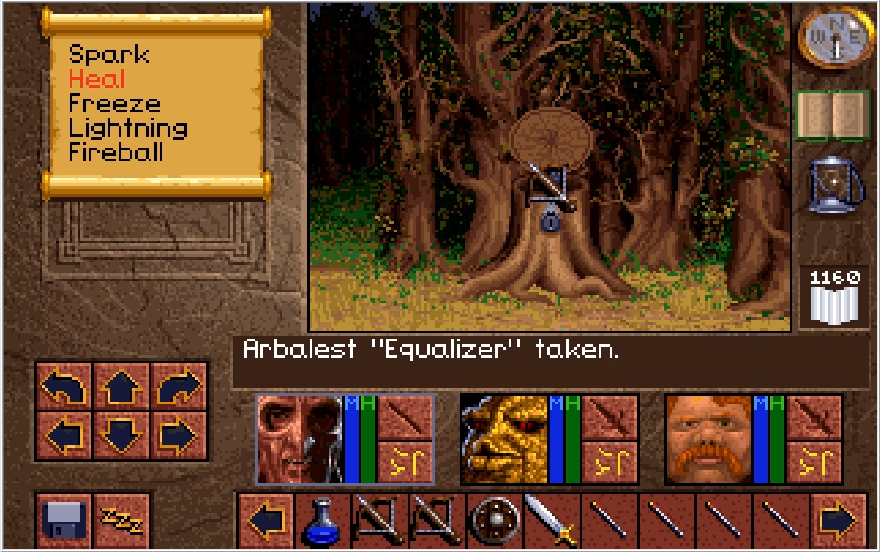
I'll never pass up goodies when they are offered to me!

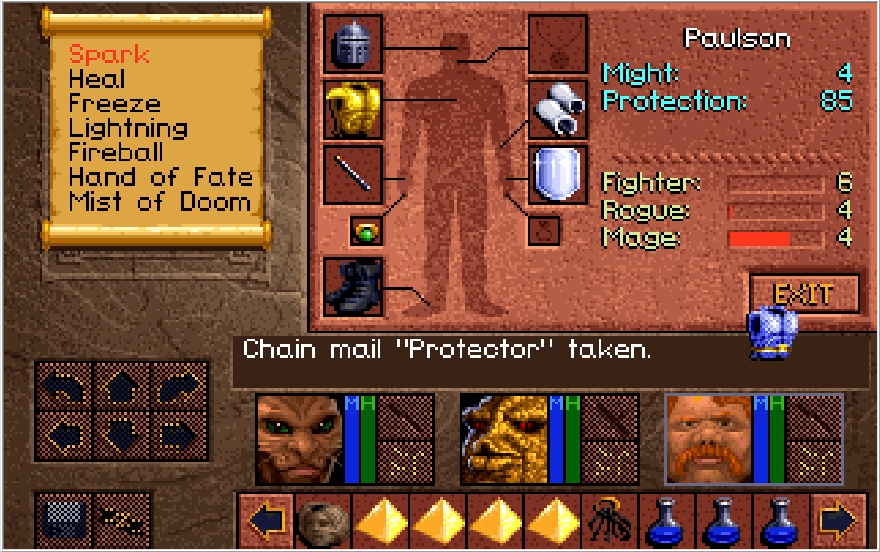
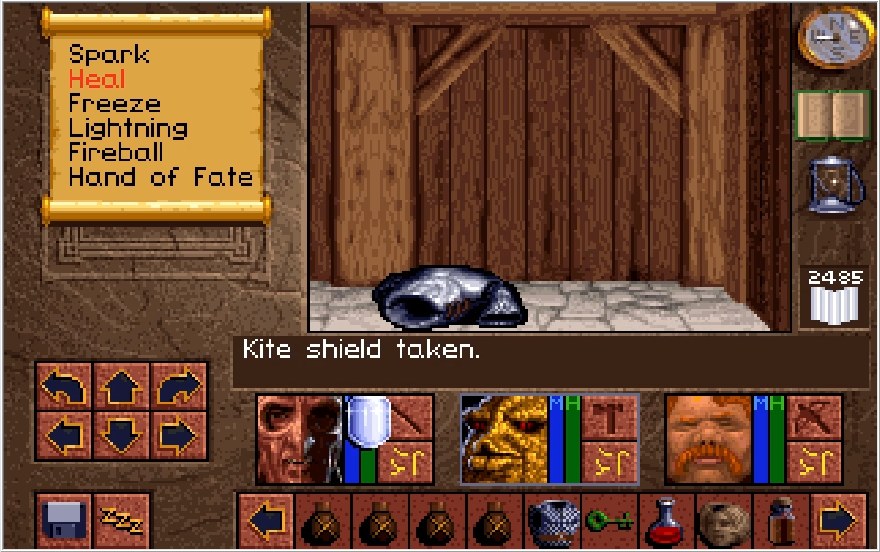
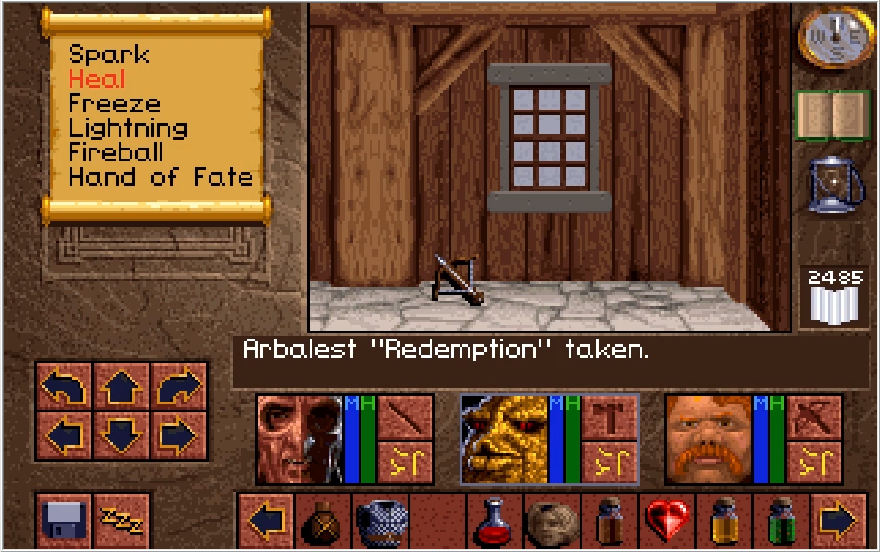
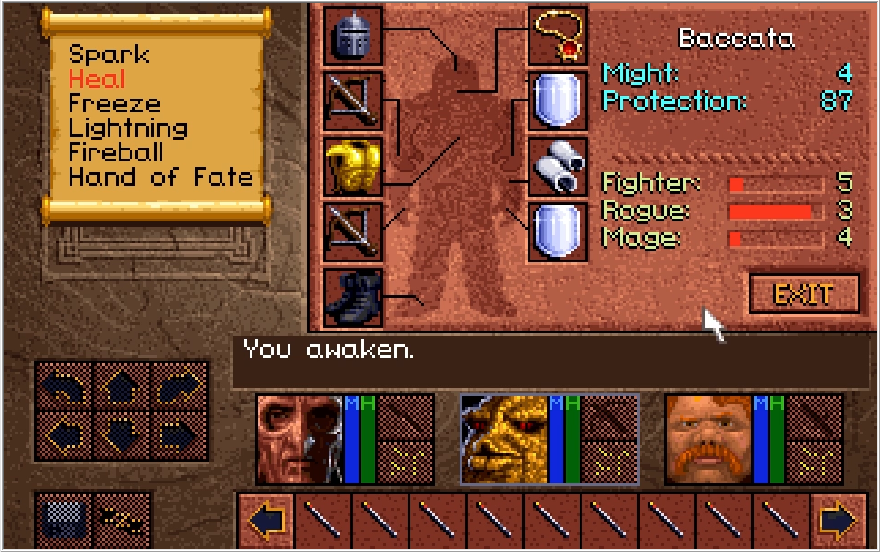
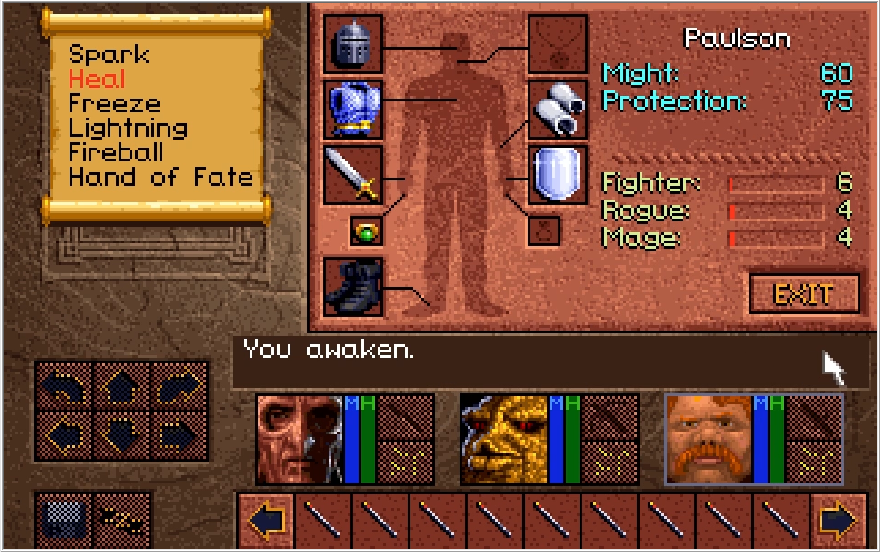
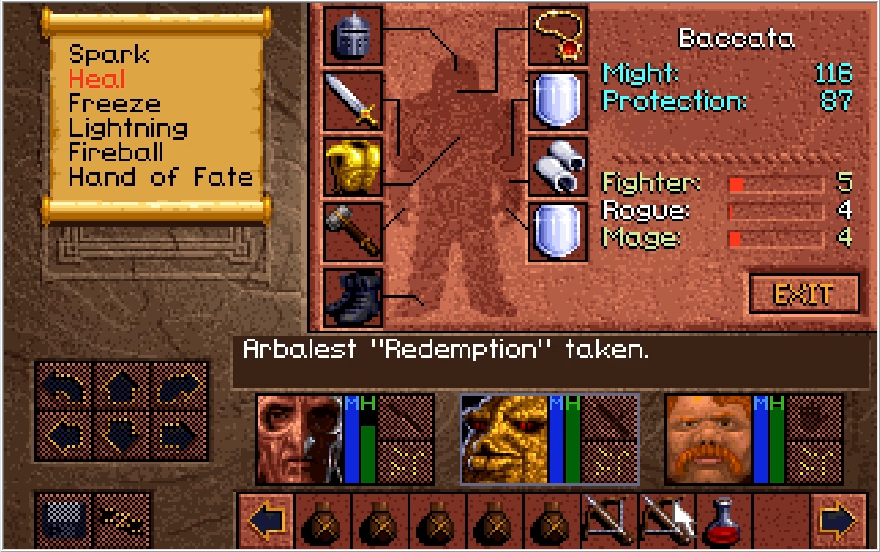
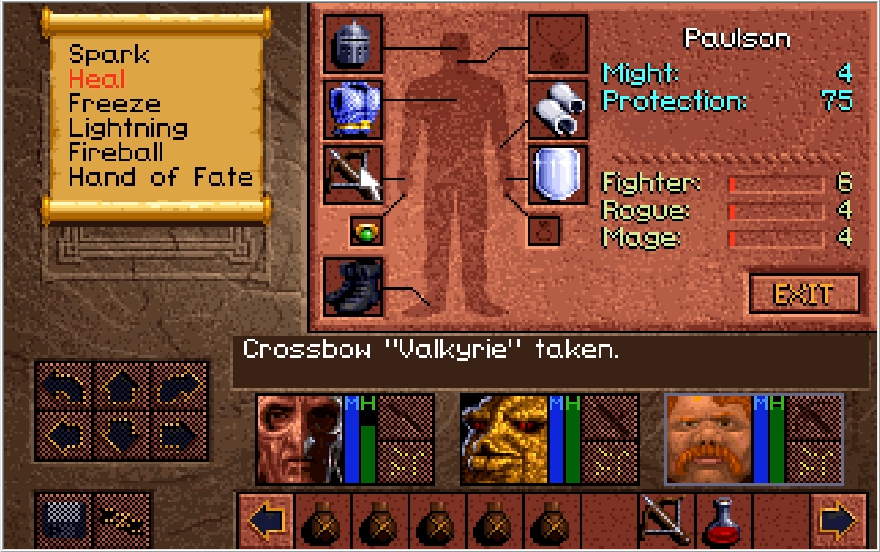
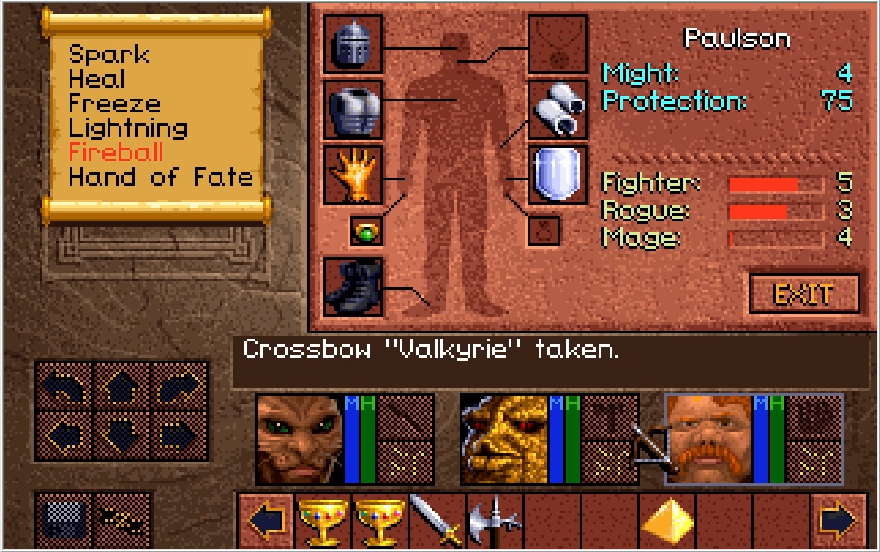
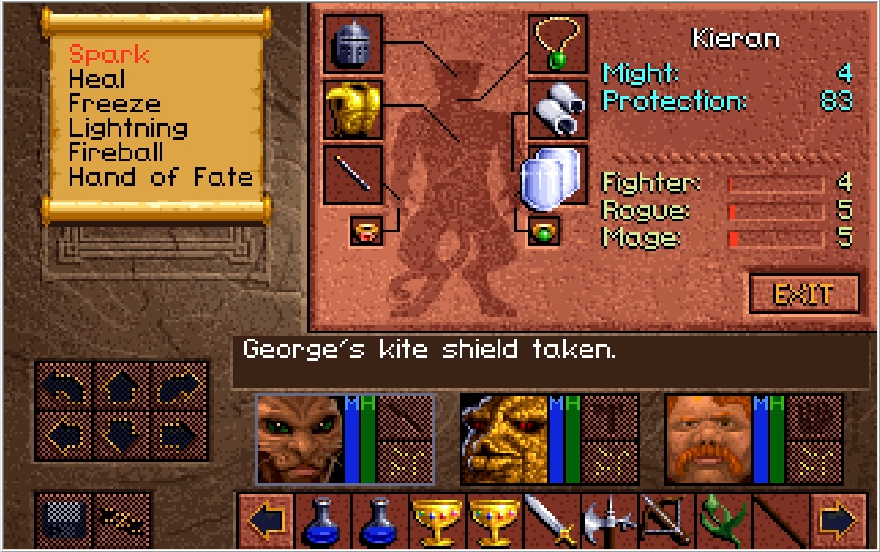
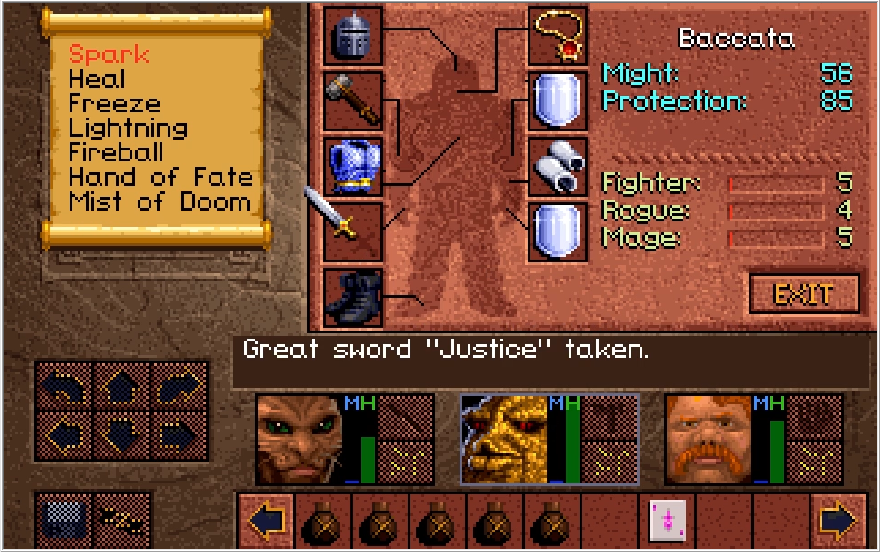
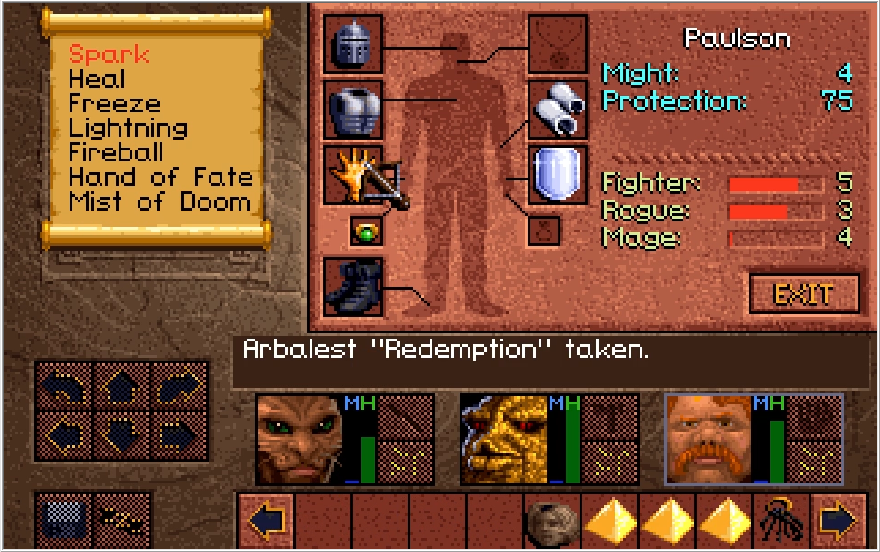
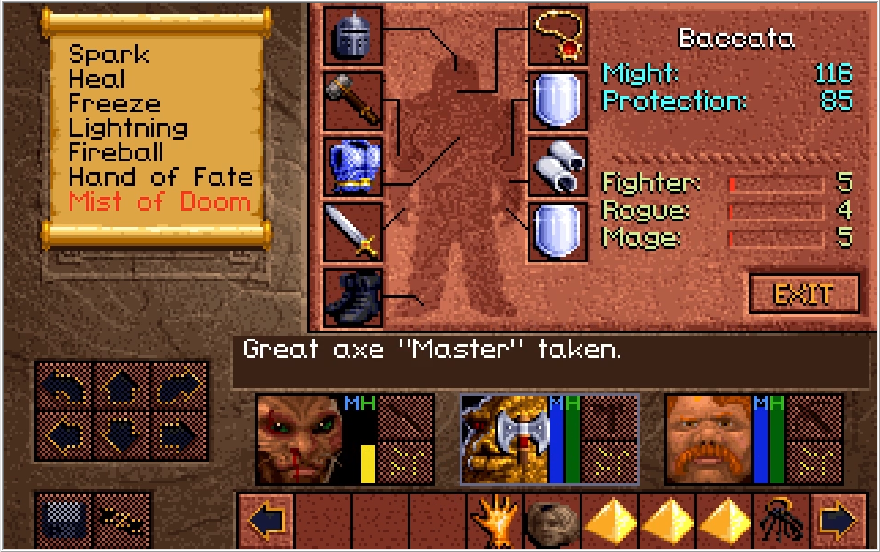
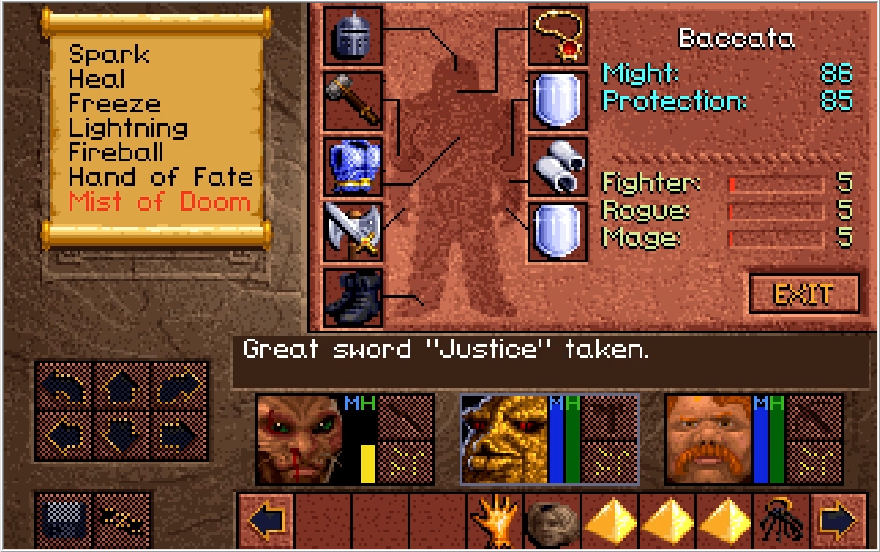
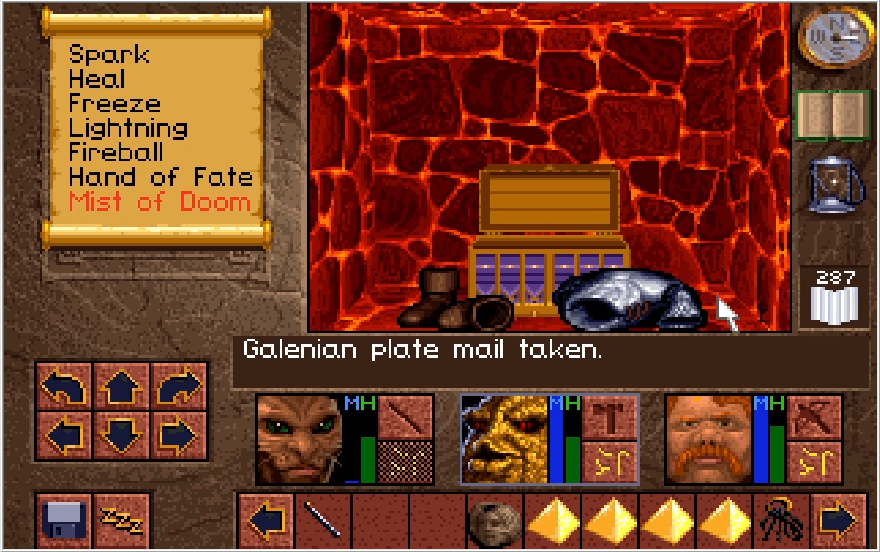
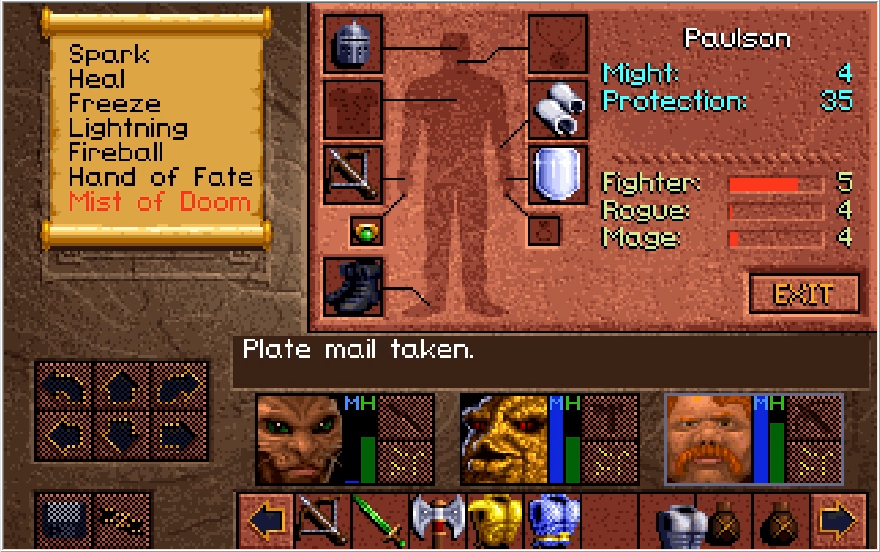
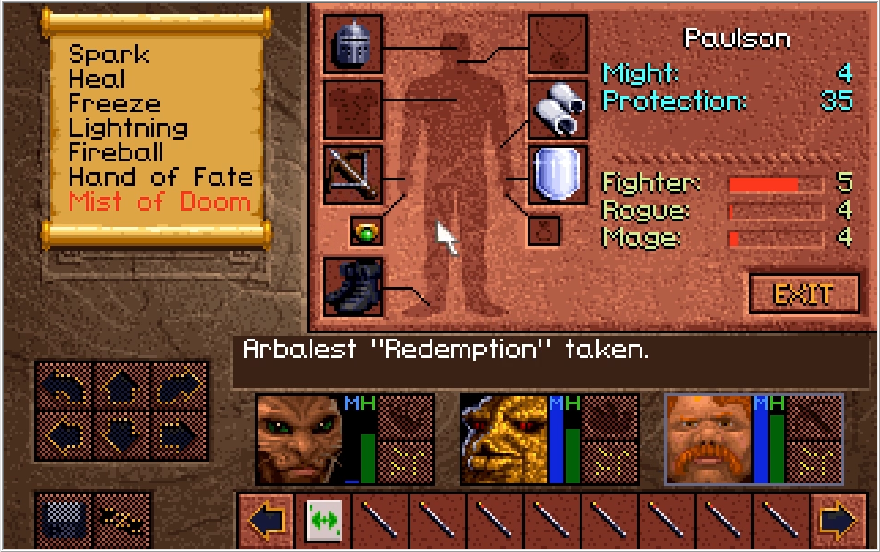
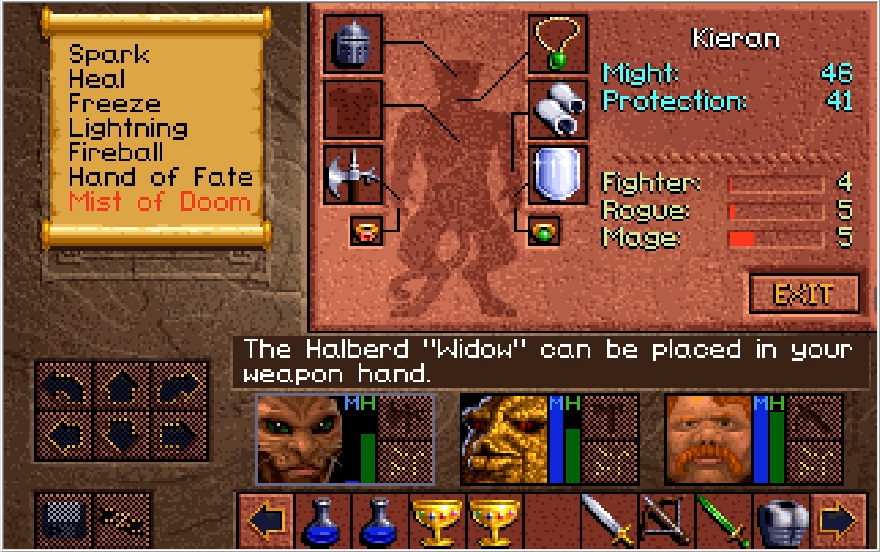
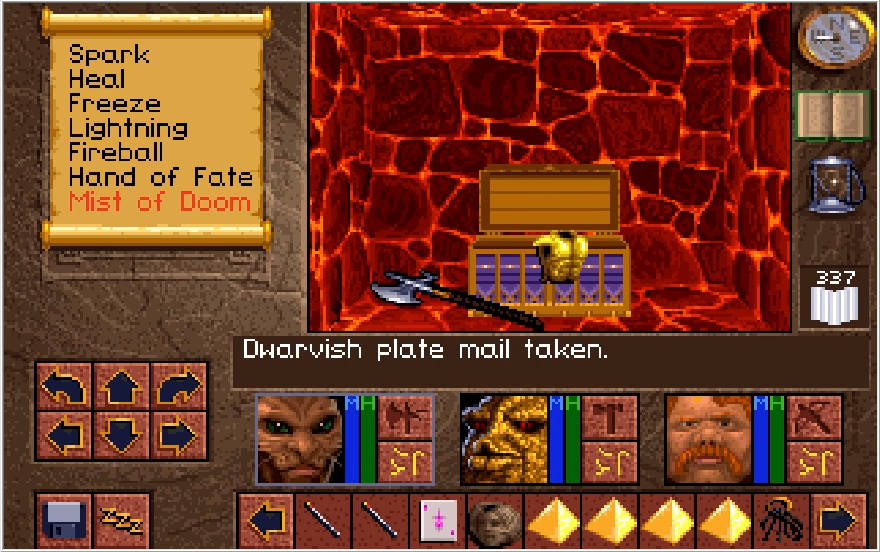
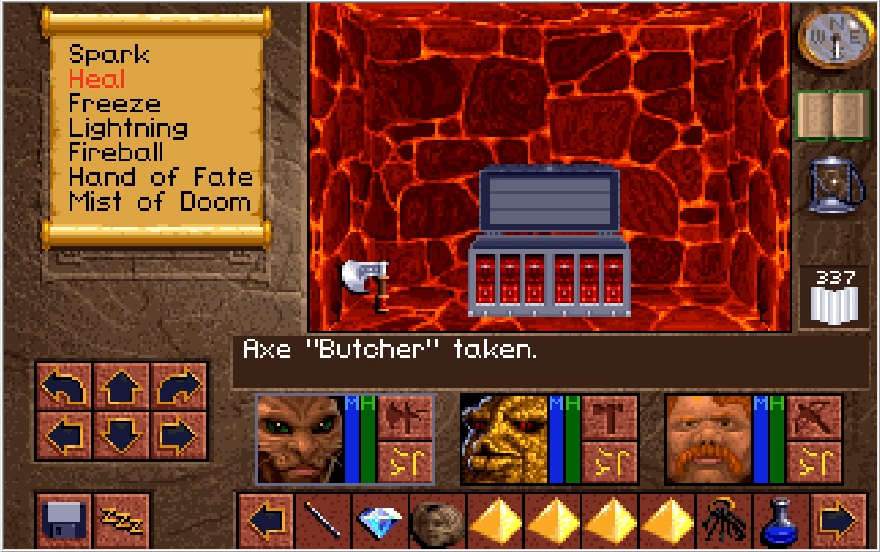
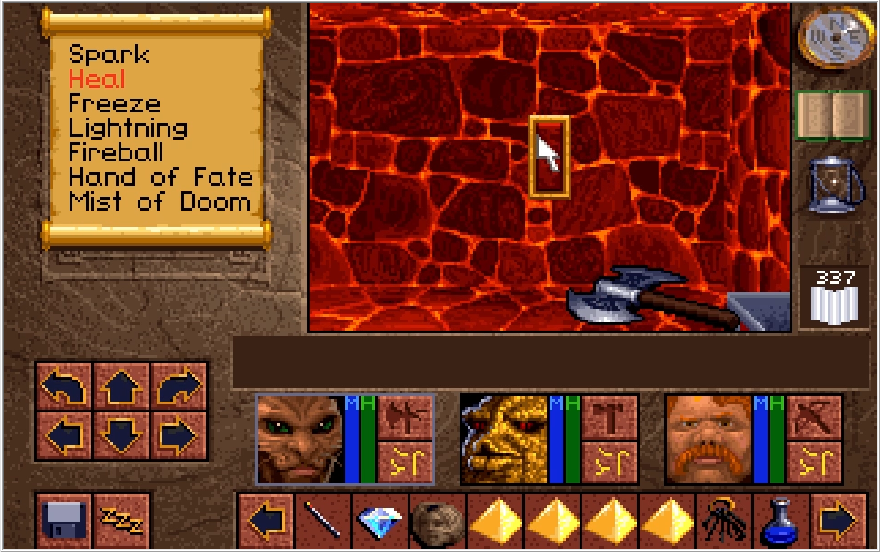
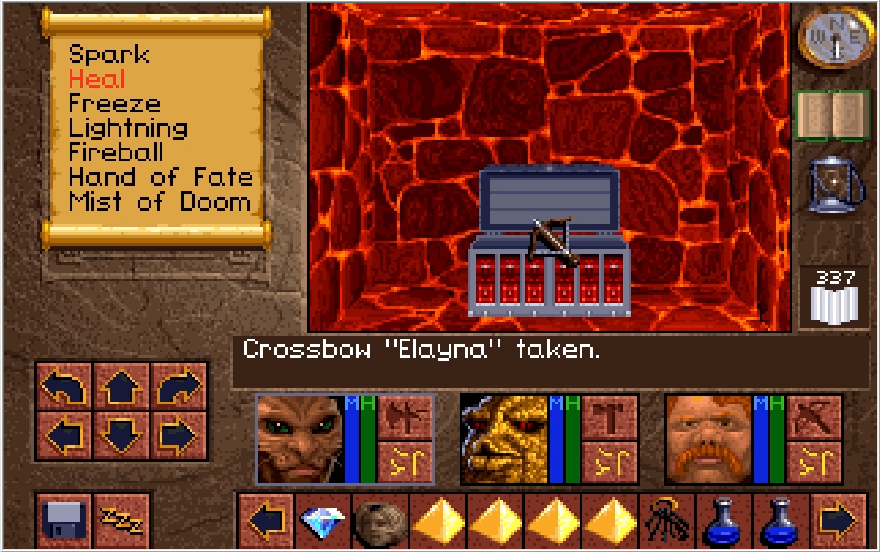
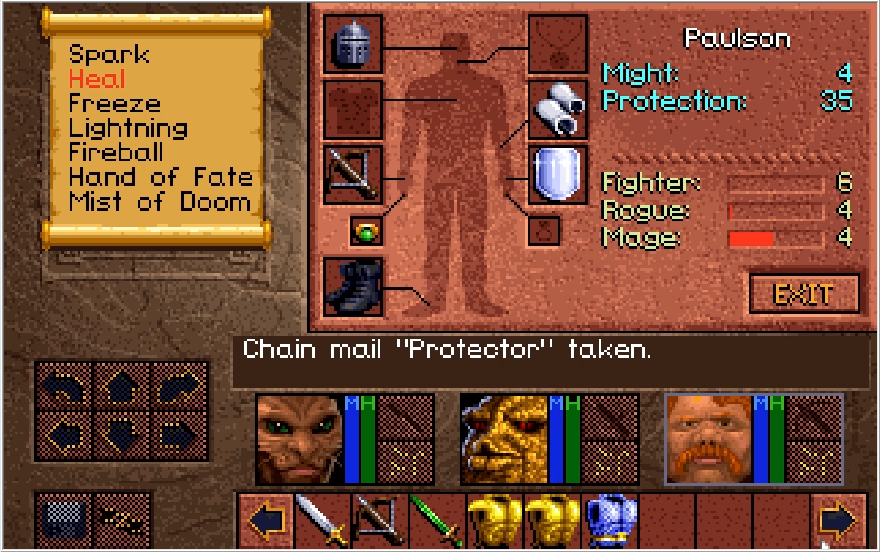
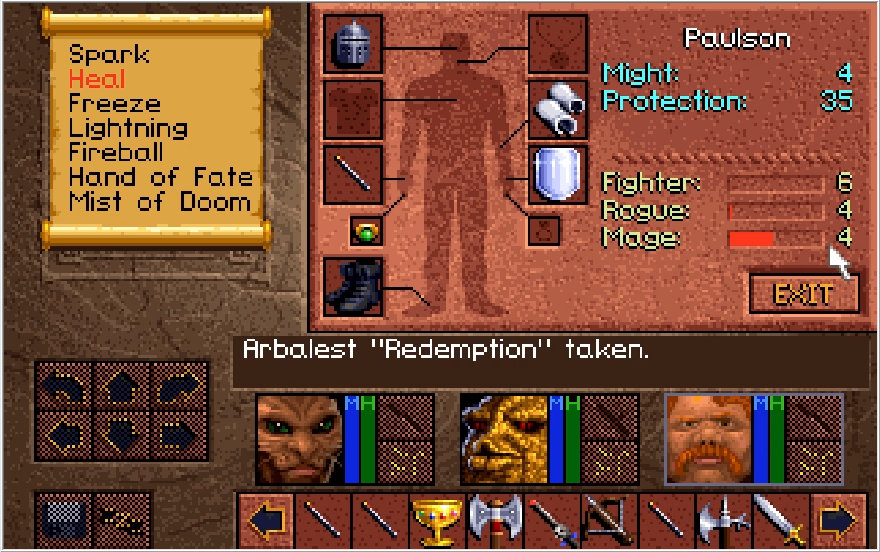
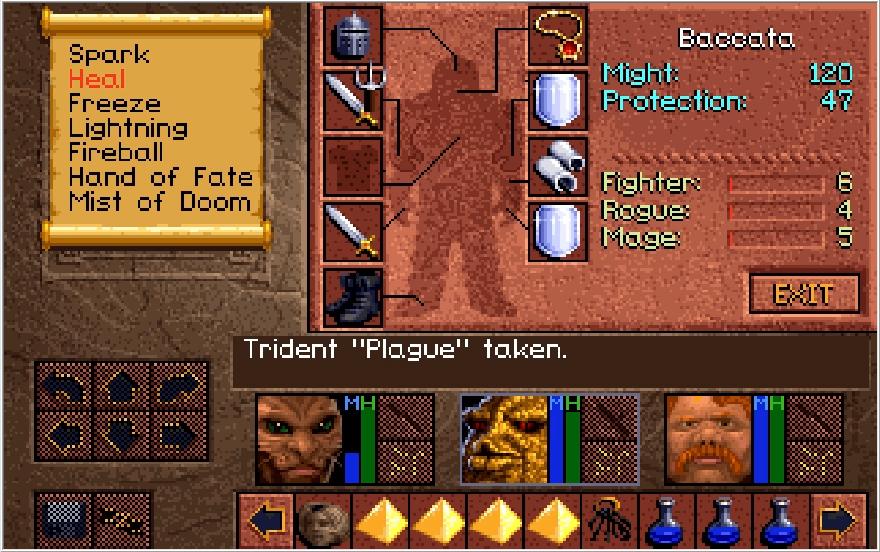
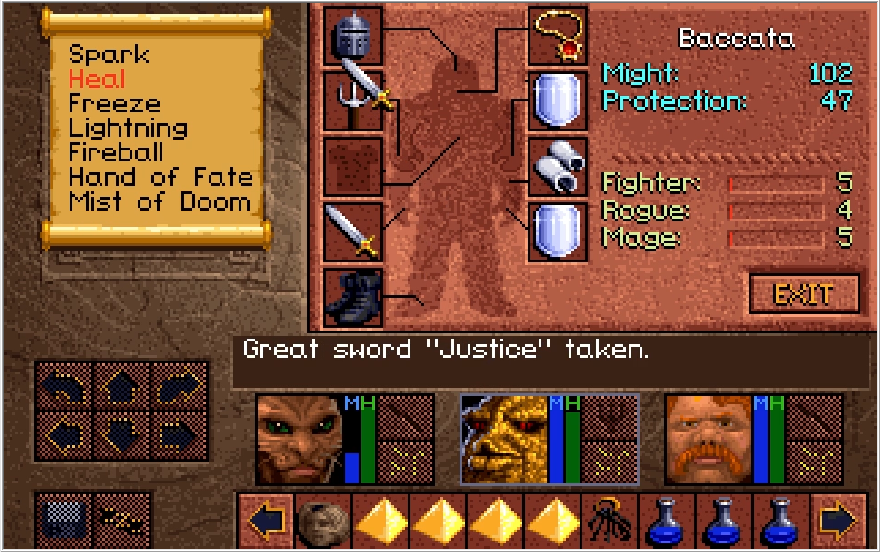
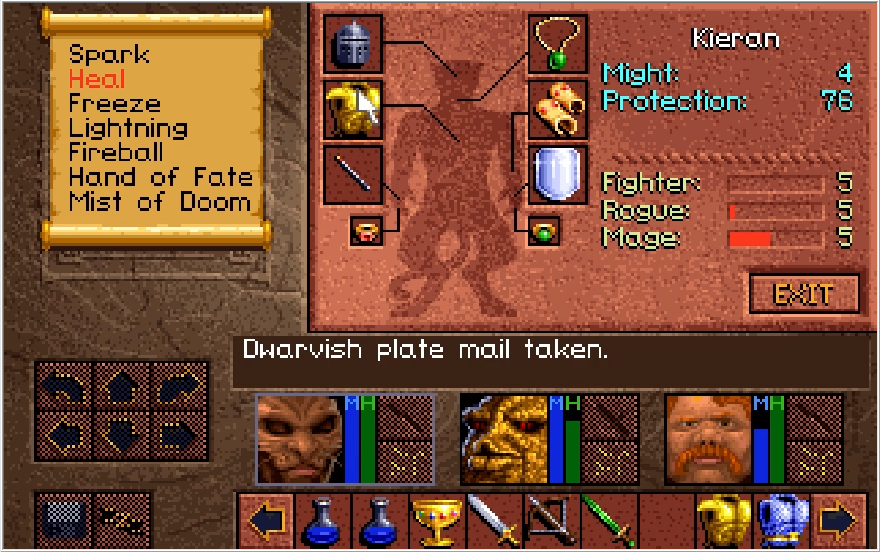
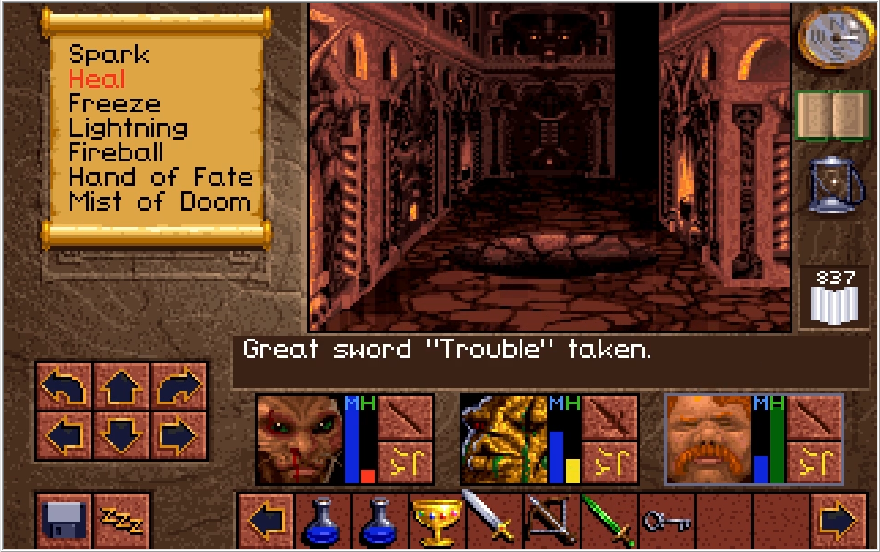
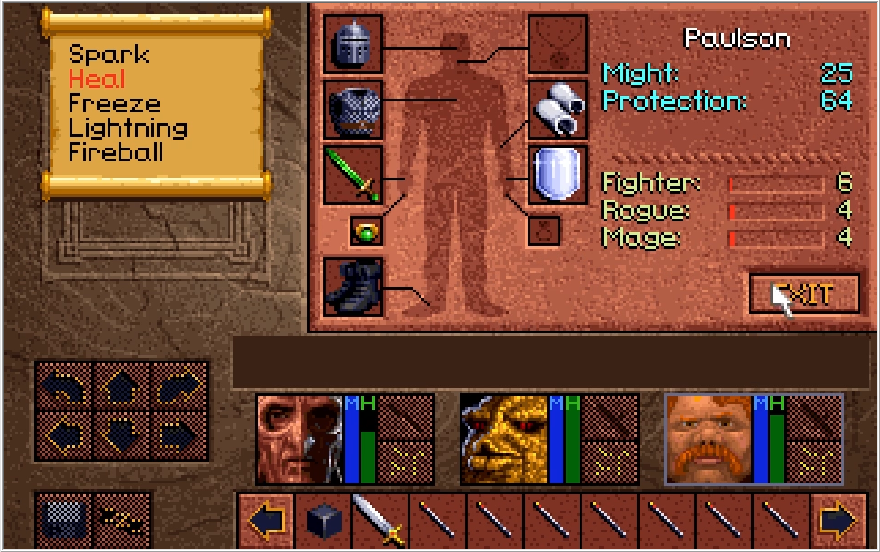
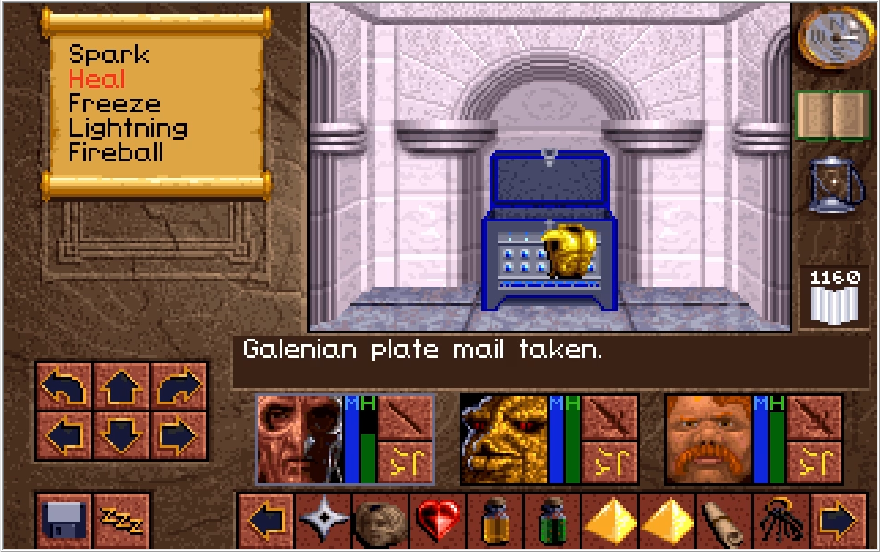
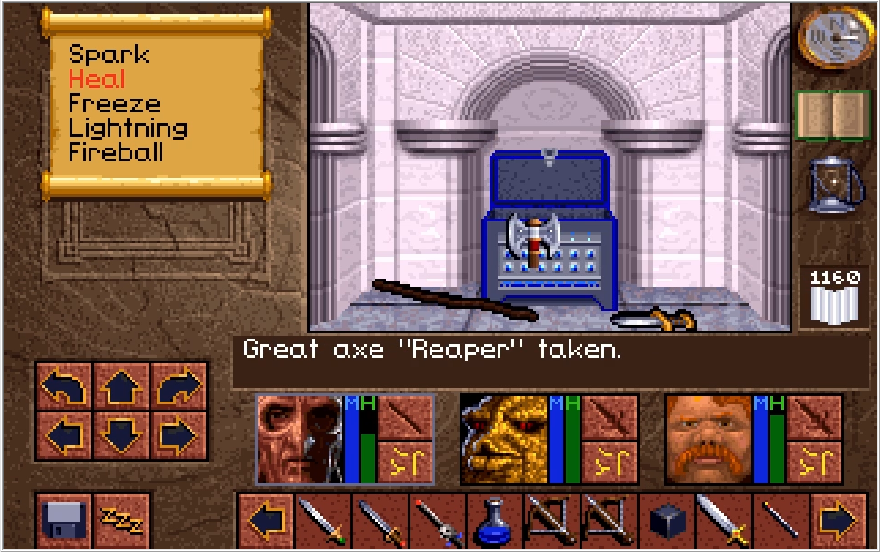
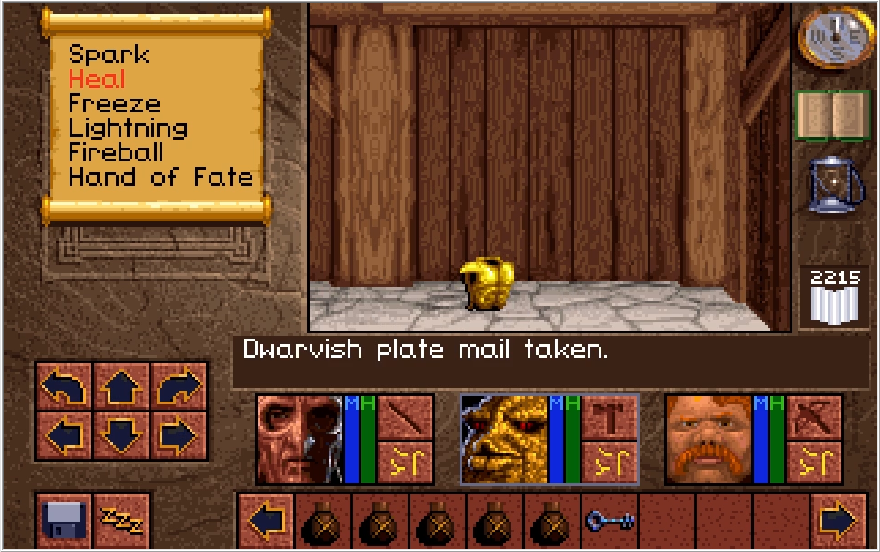
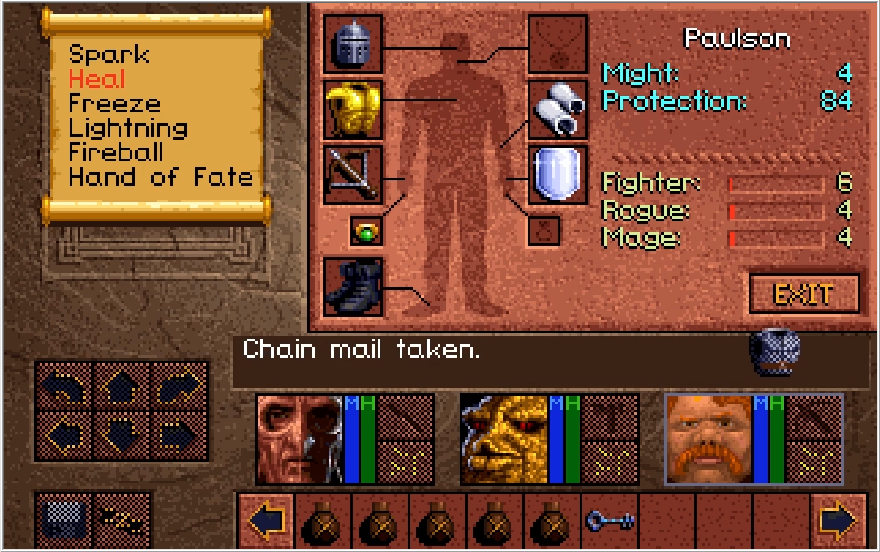
The chest contains the strongest bow in the game, the Arbalest Eternity. Cool, but being the strongest bow at this point in the game is about as useful as being the tastiest Nintendo Switch cartridge. Slightly more helpful is the Bastion Plate Mail. It's identical to the armor Kieran and Baccata have, but it's a small upgrade for Paulson.
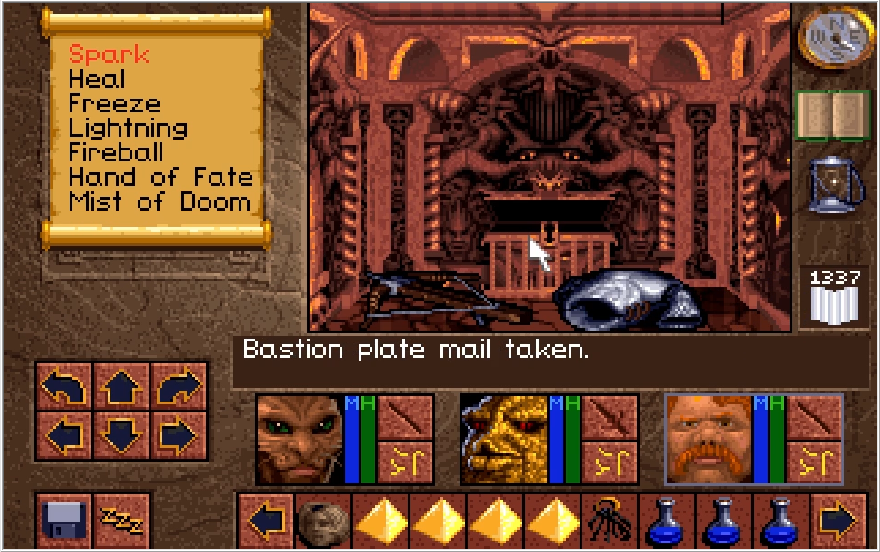
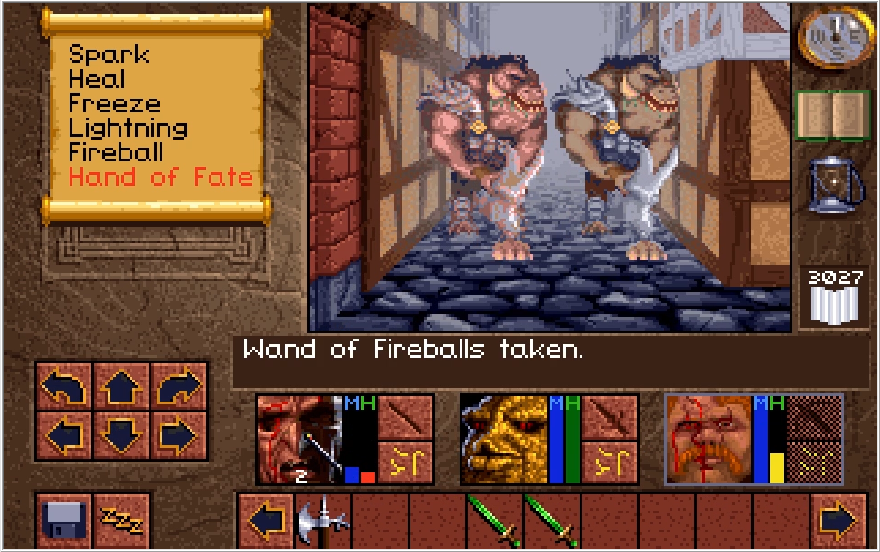
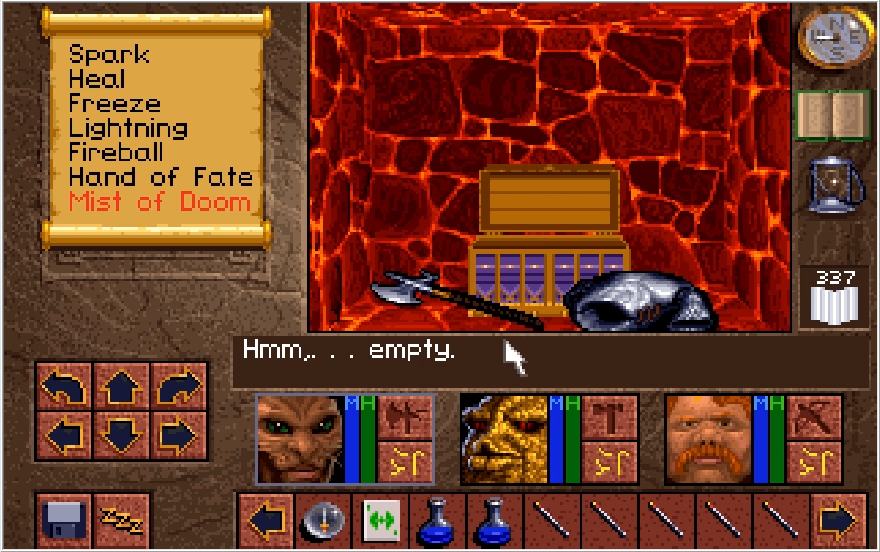
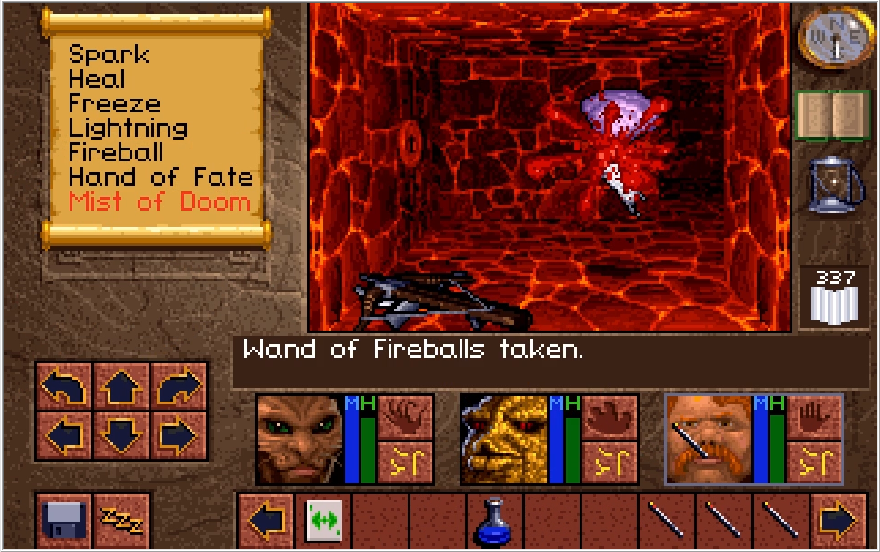
The chest also contains 500 useless crowns. The Gorkha Witch Doctor should look into franchising, I'd have totally bought more Fireball Wands if he had a kiosk here.
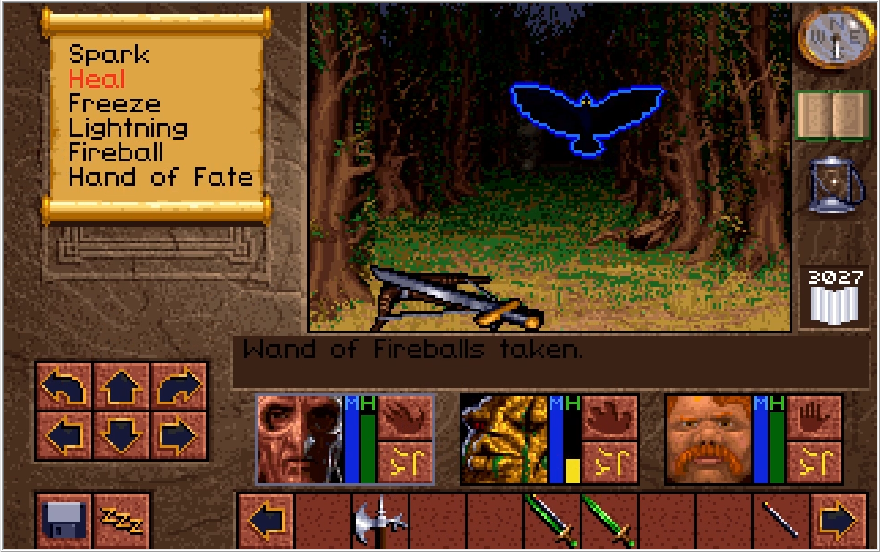
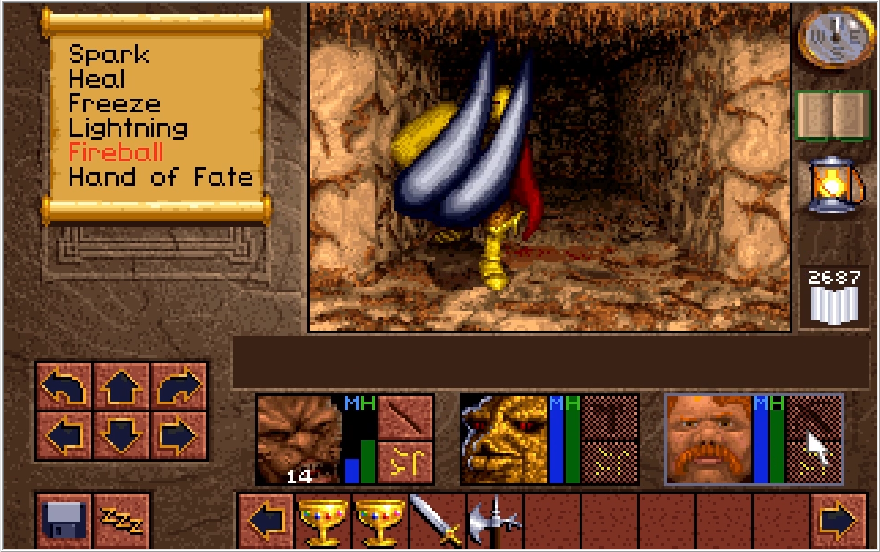
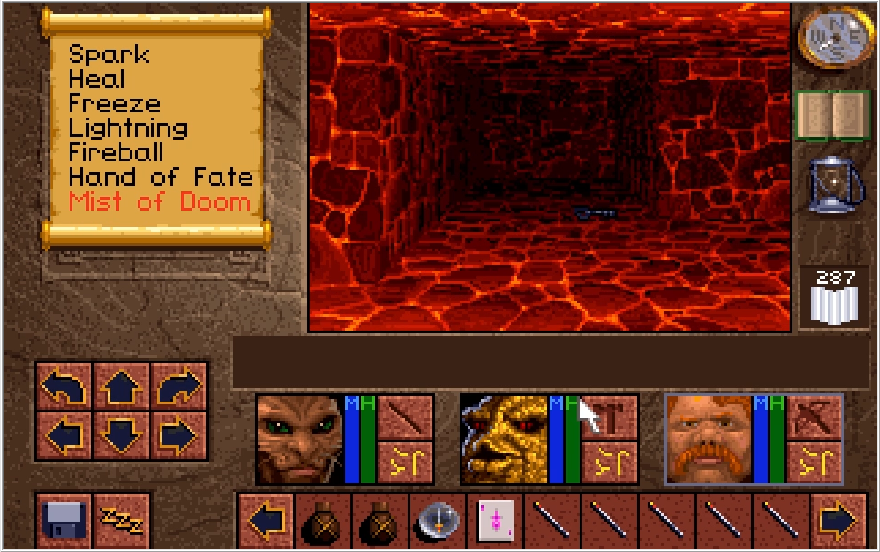
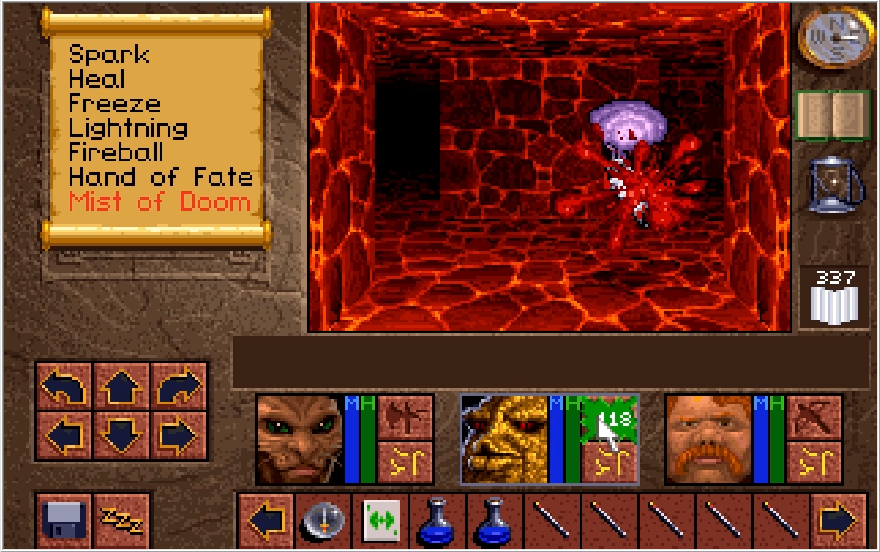
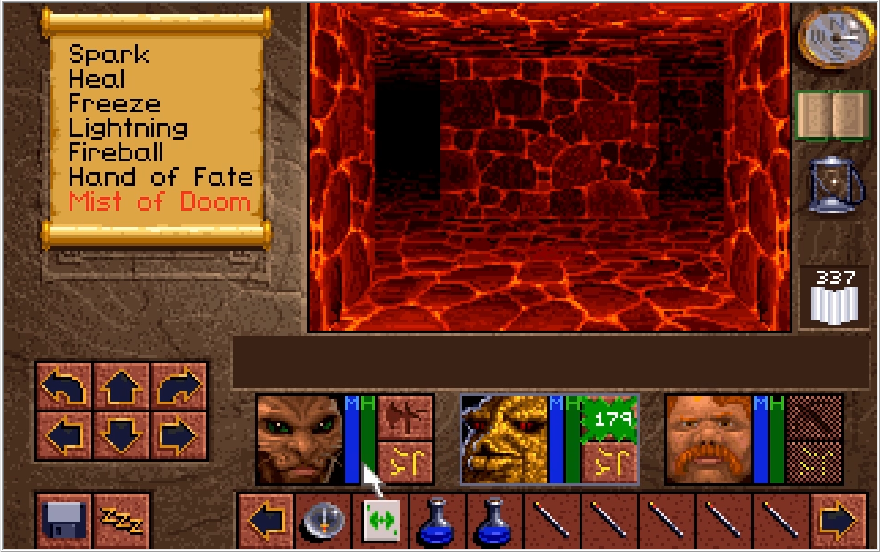
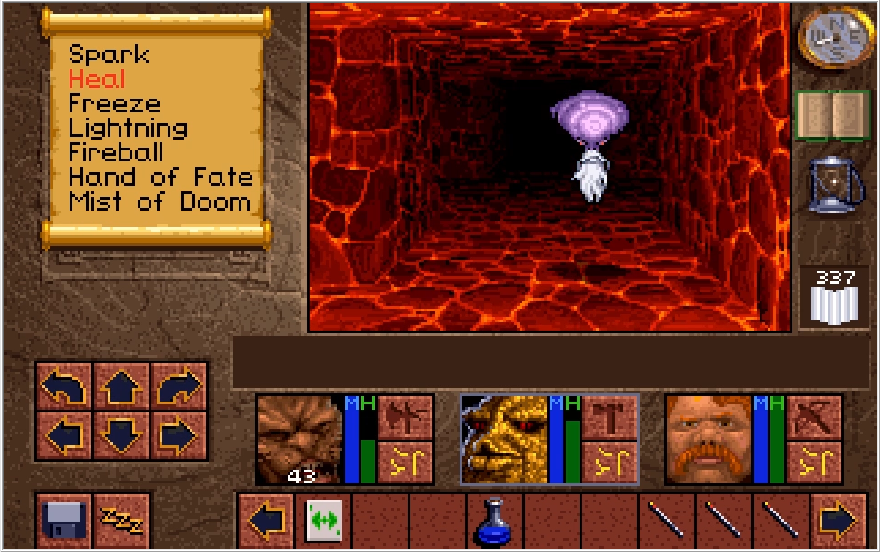
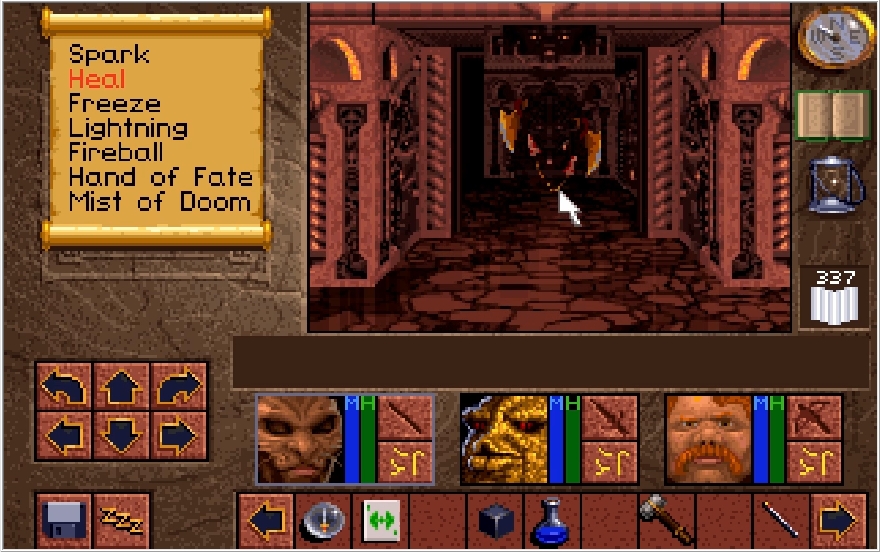
There was also a switch nearby that opened up the wall to reveal a Toadulus. This one started moonhopping away from me, but it was not able to dance away from my wrath.
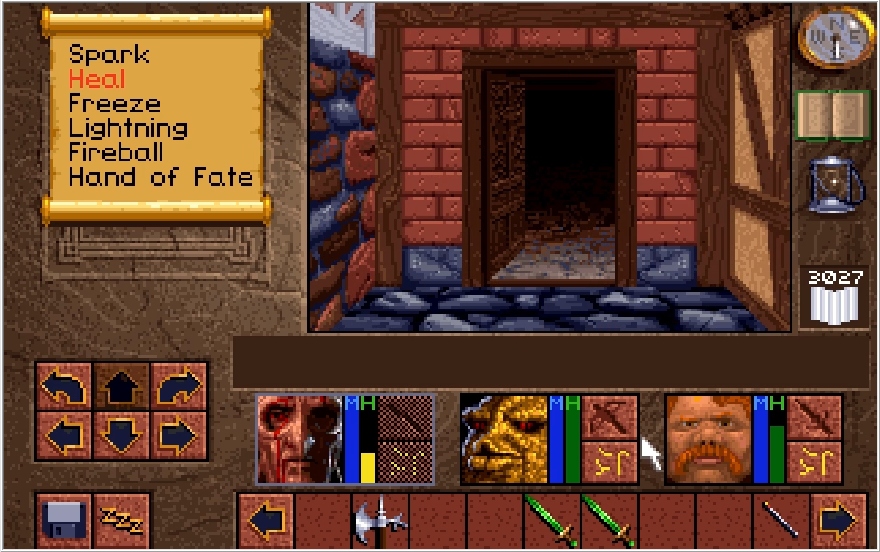
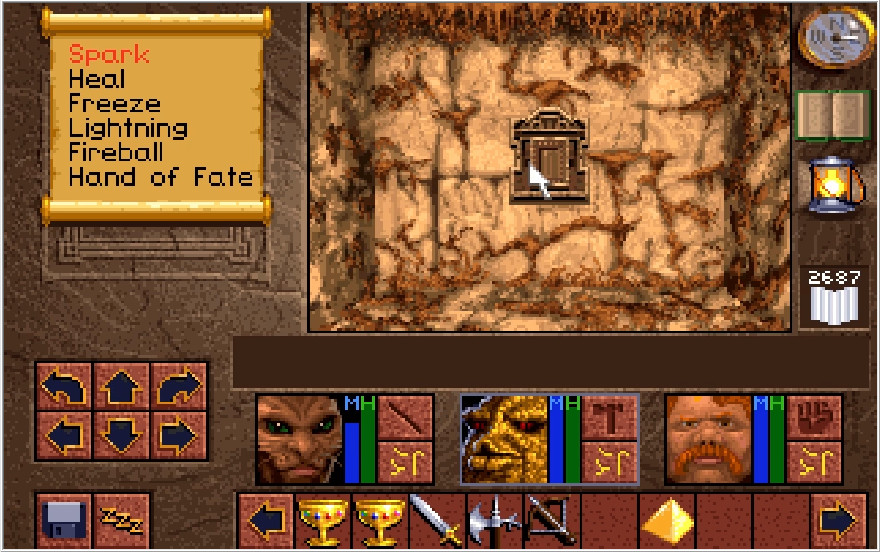
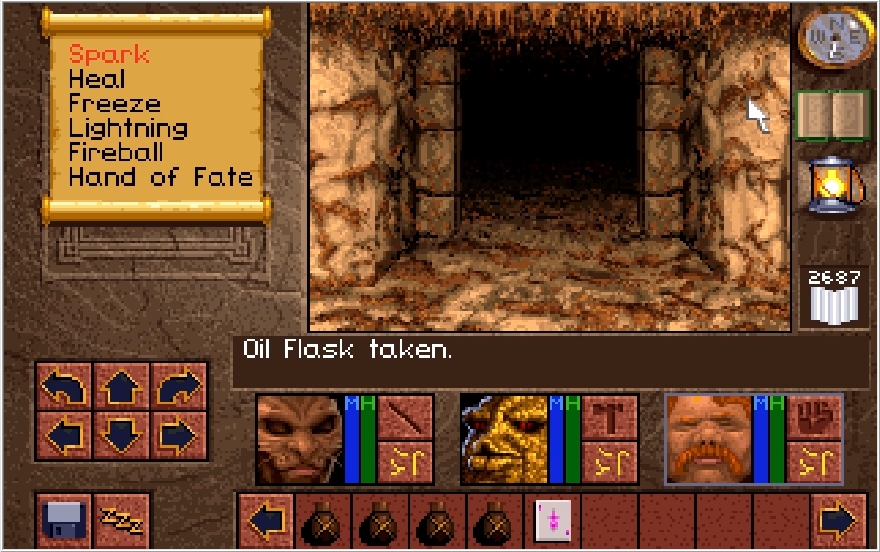
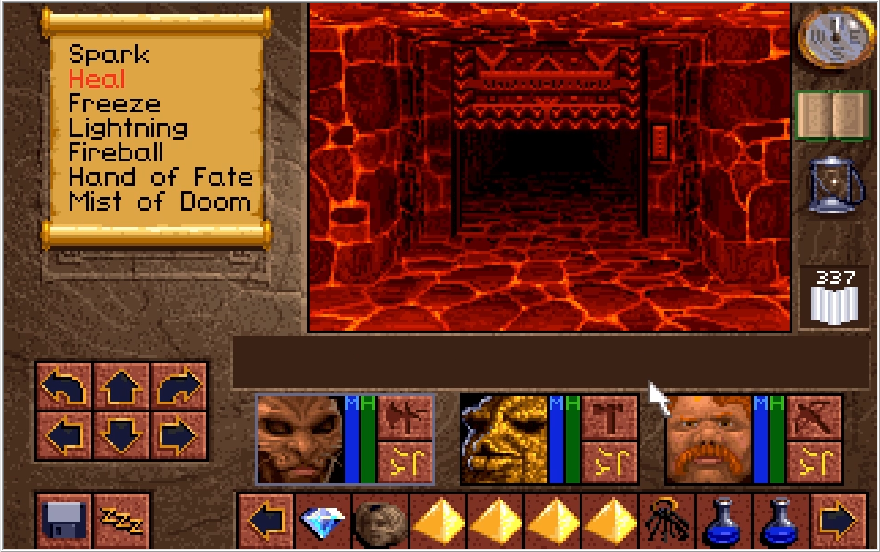
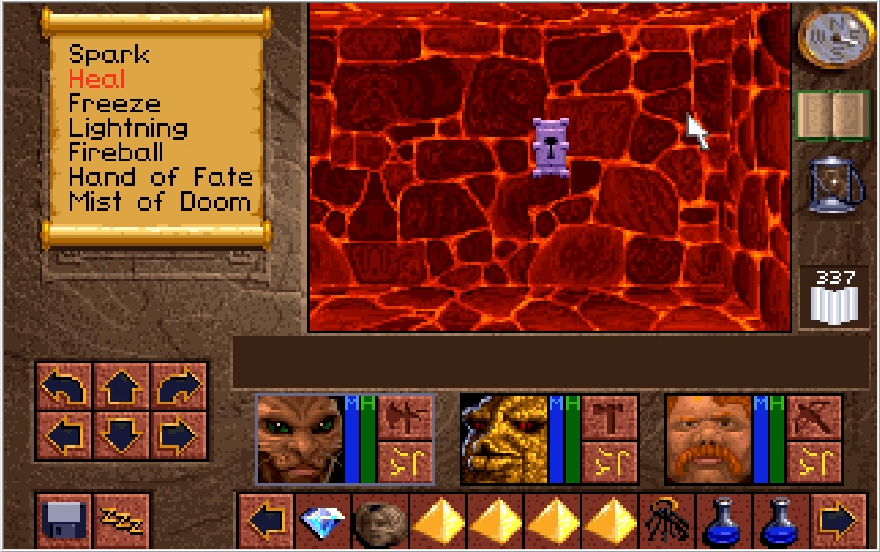
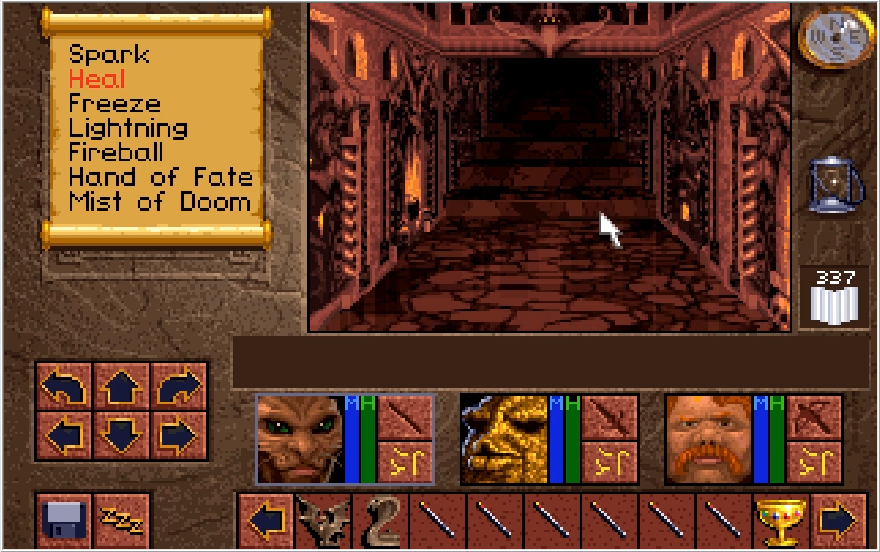
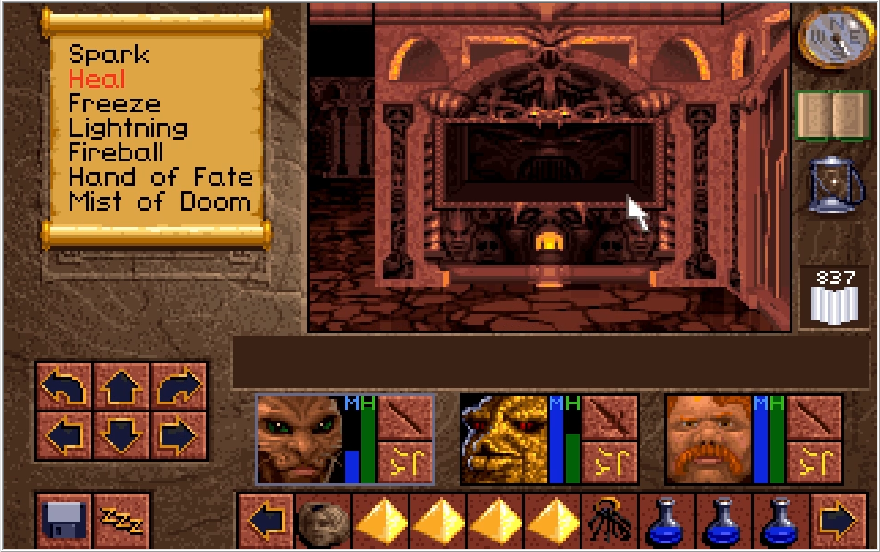
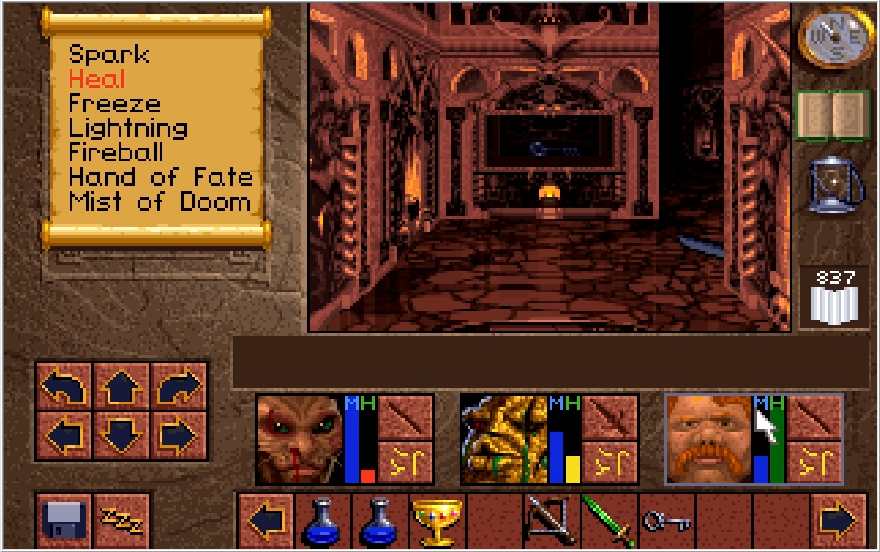
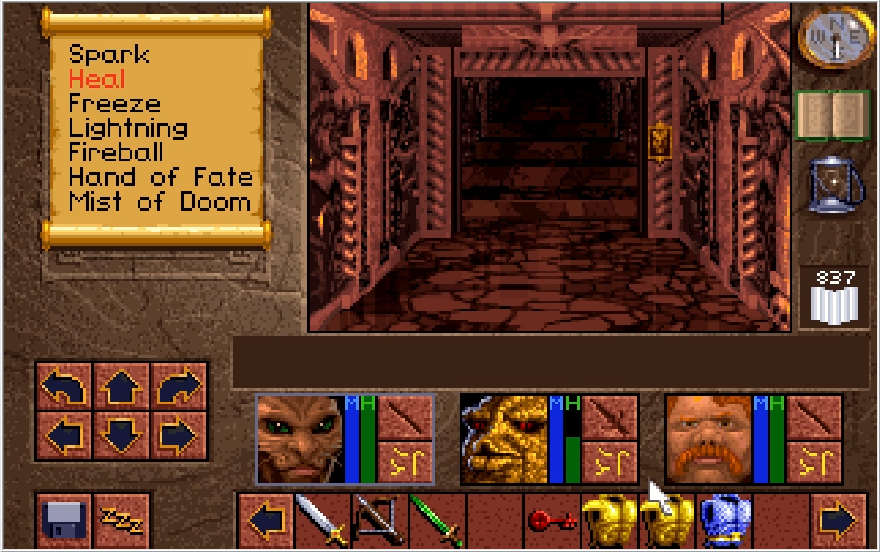
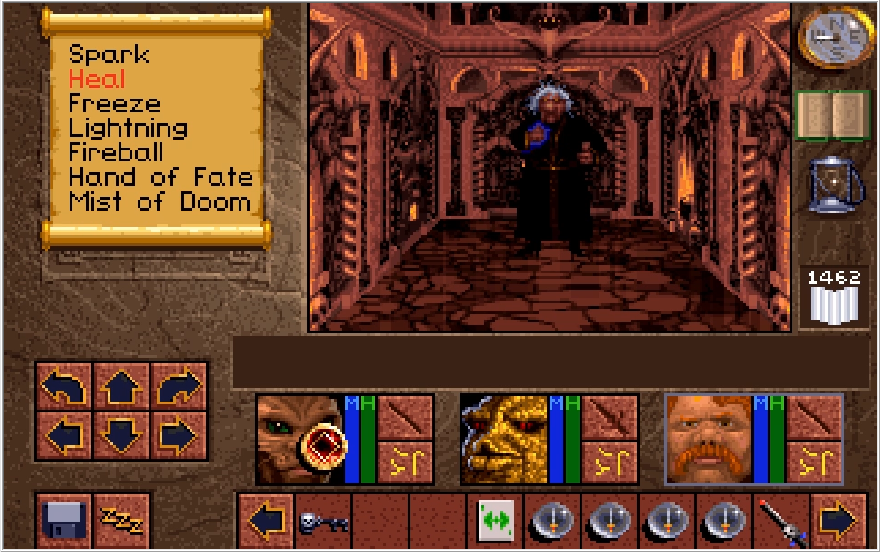
Now that we have the Dull key, we can go down that path in the north-center I mentioned earlier.
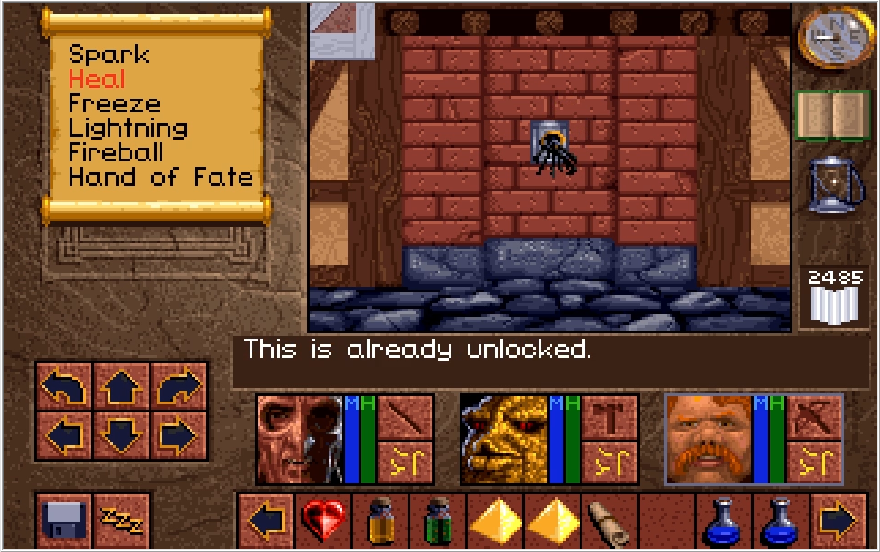
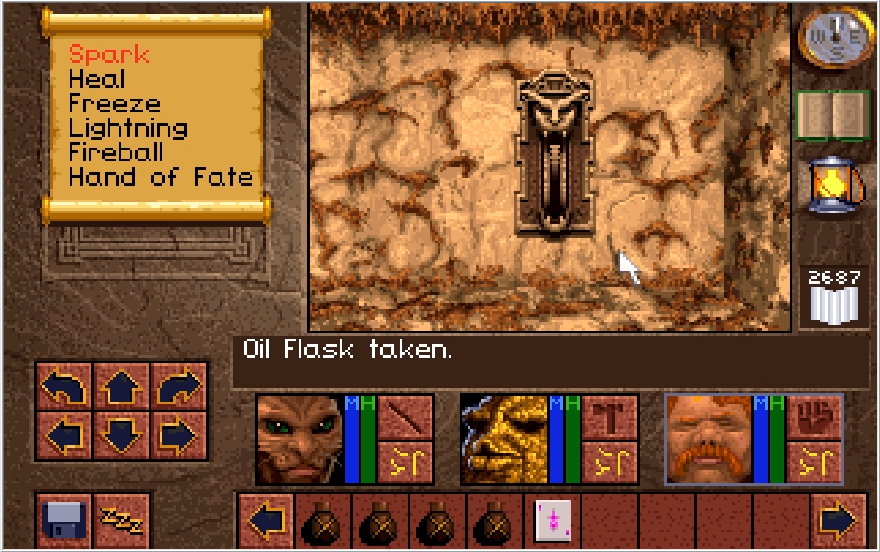
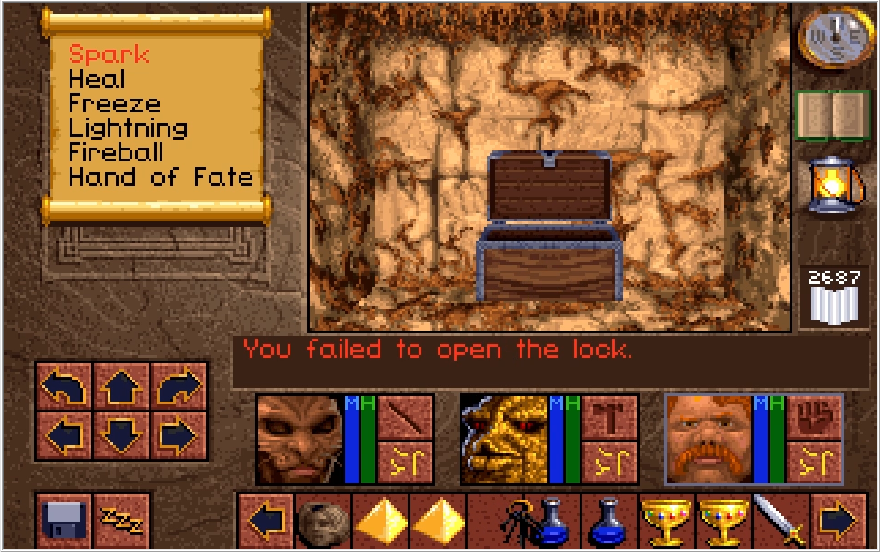
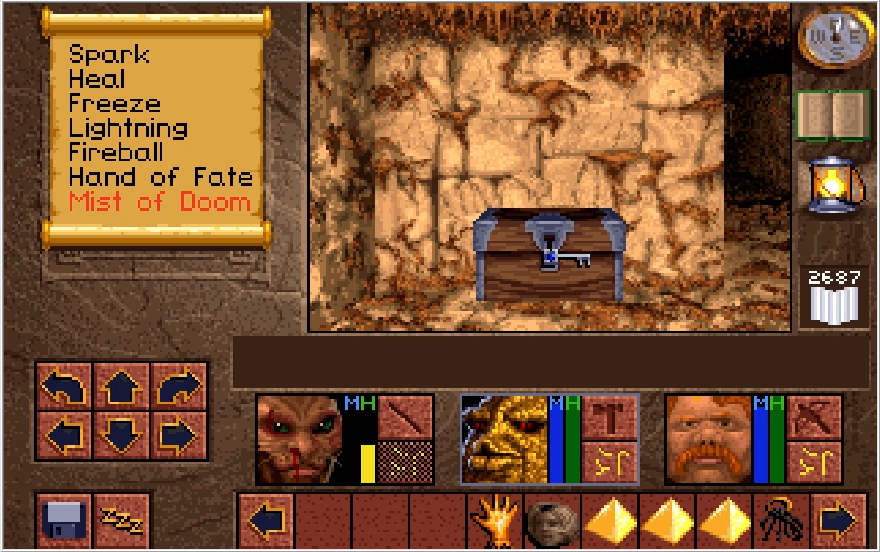
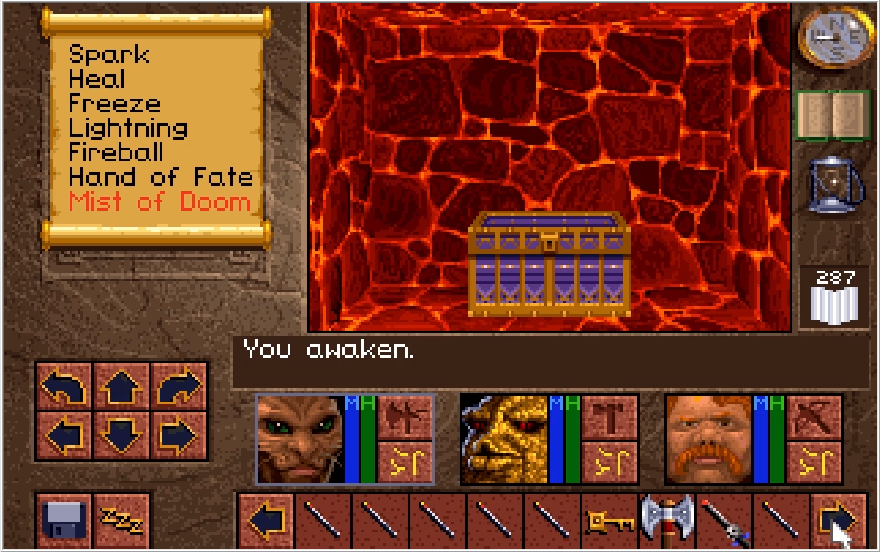
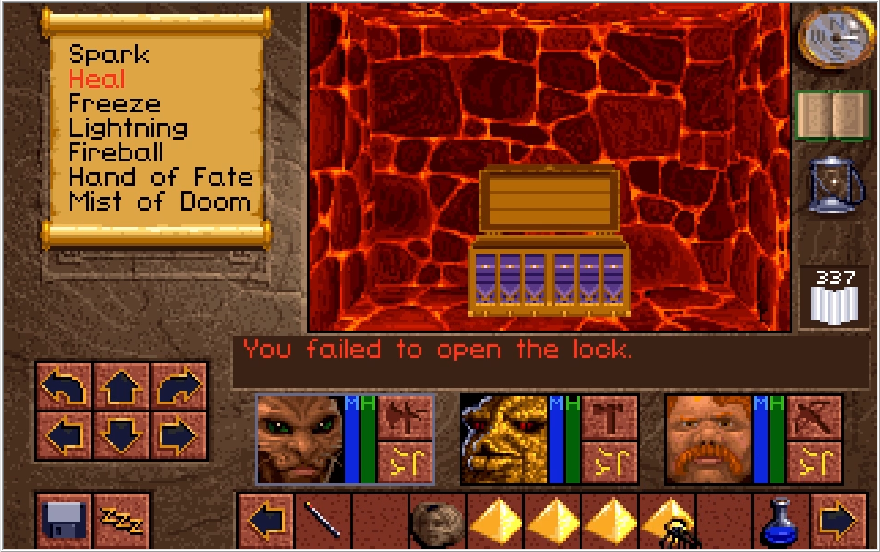
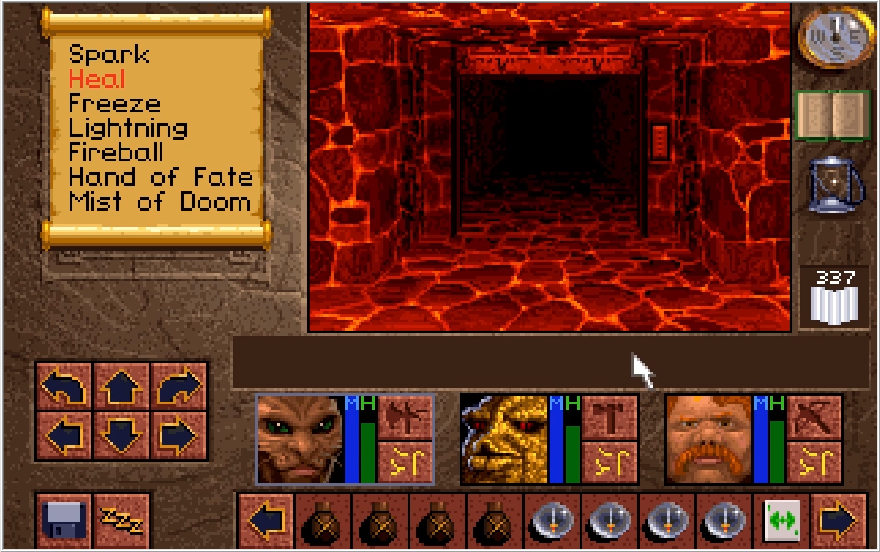
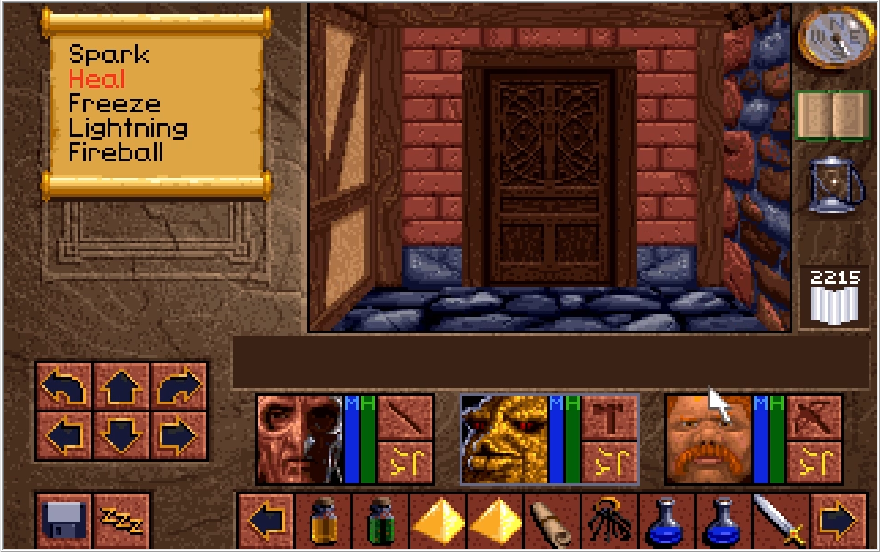
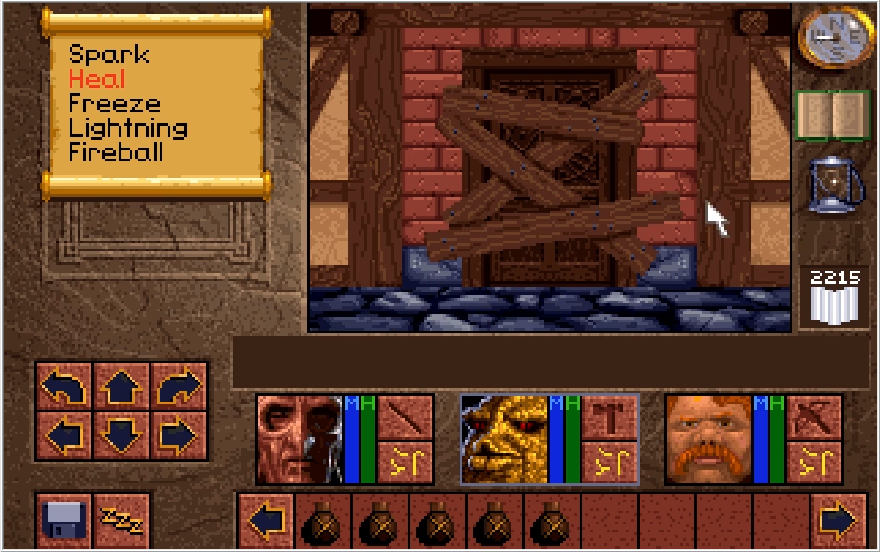
This chest cannot be picked nor smashed, it must be opened with the Dull key. All chests in Scotia's lair cannot be smashed, for that matter, and most of them require at least Rogue 4 to be picked if they can be. Not that it really matters, we haven't gotten anything too world shattering up to this point.
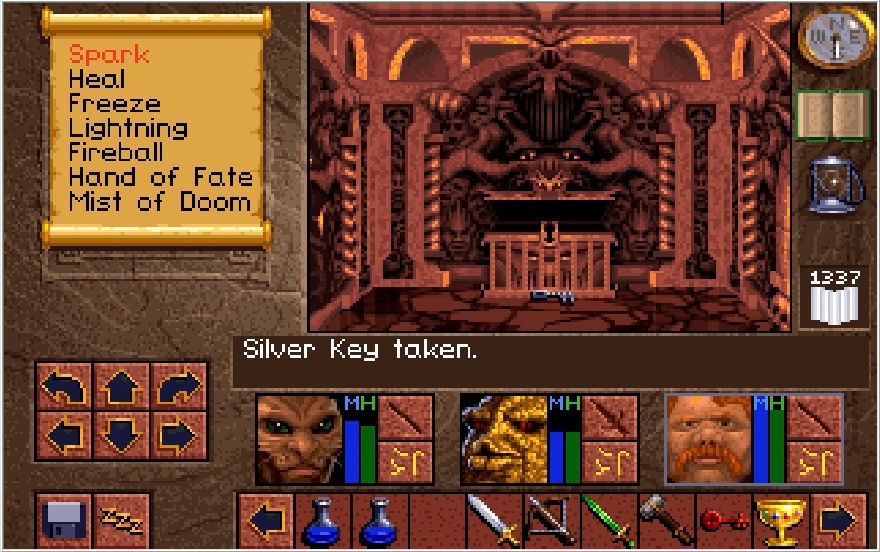
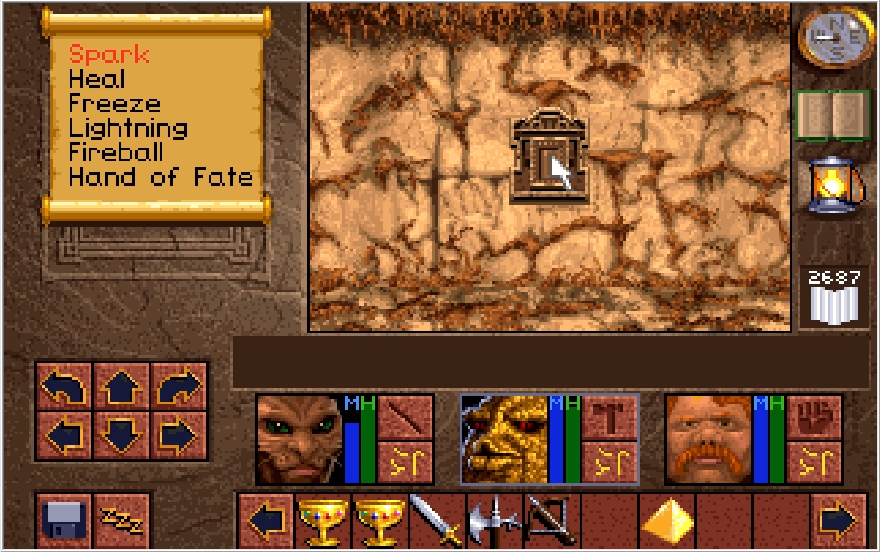
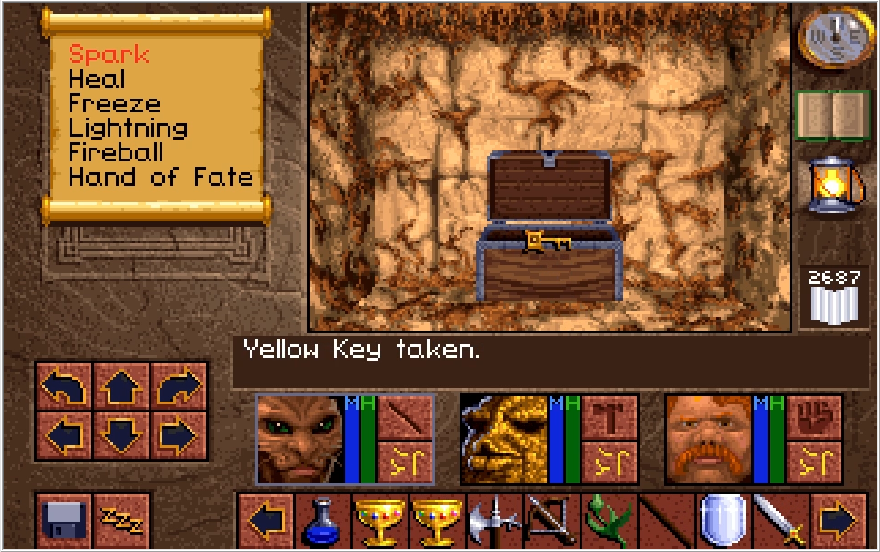
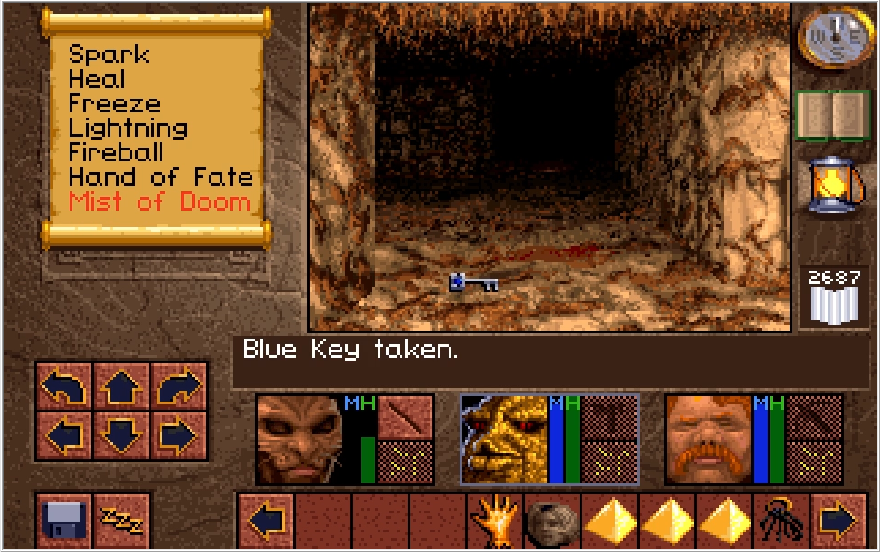
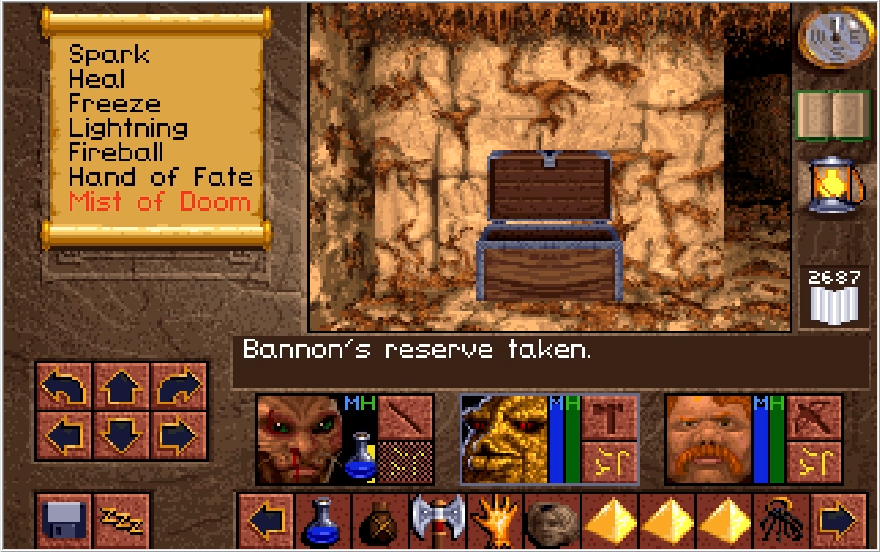
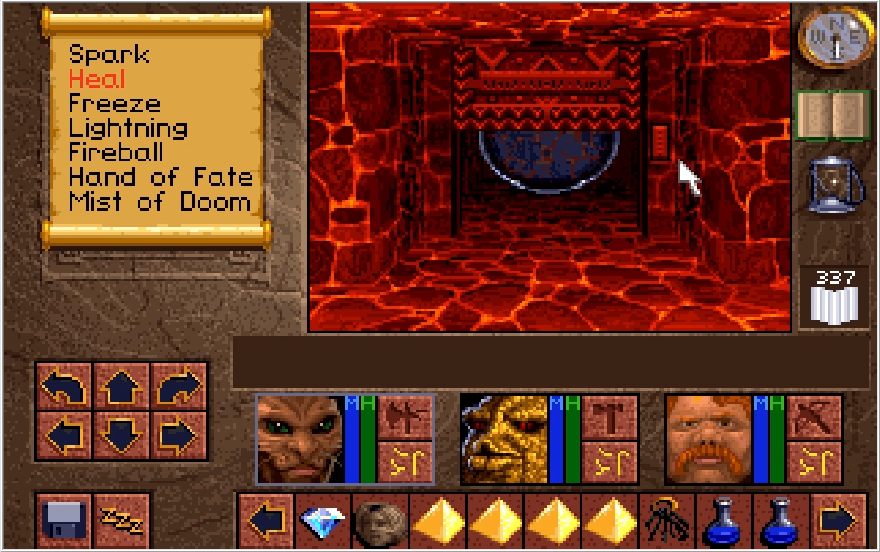
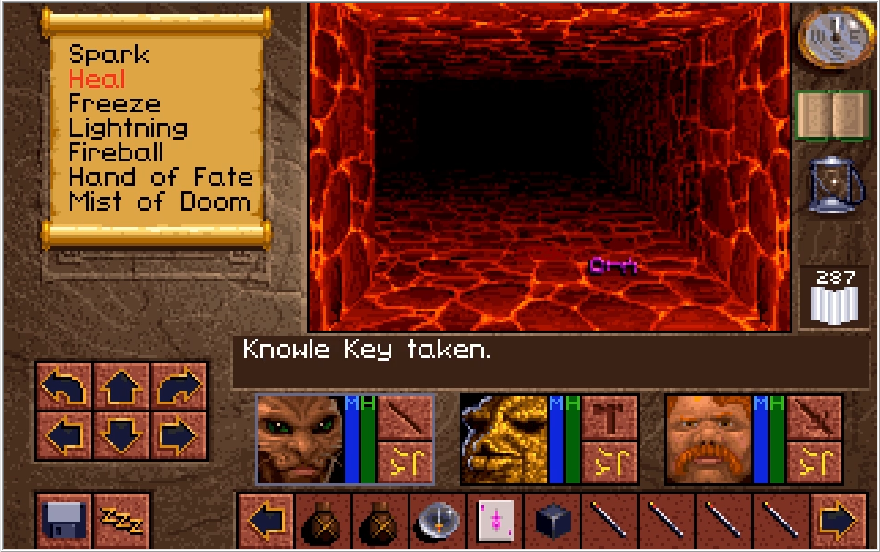
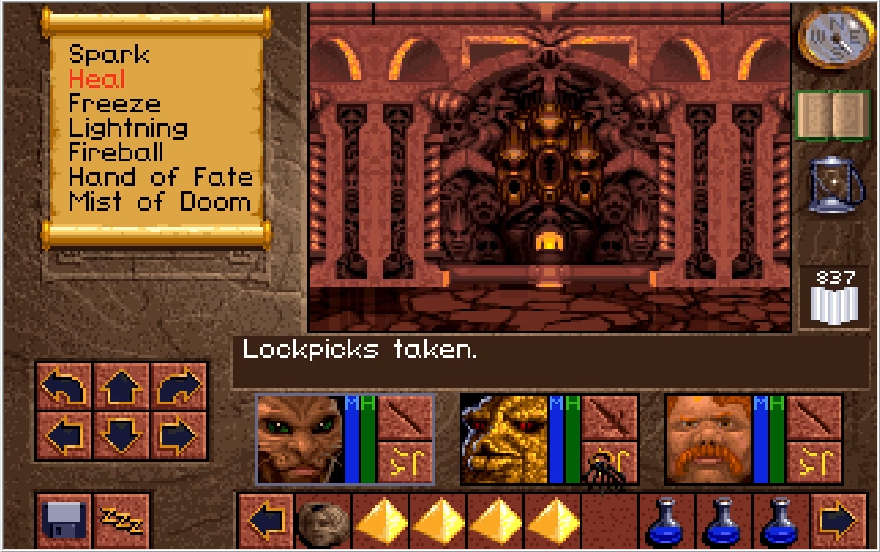
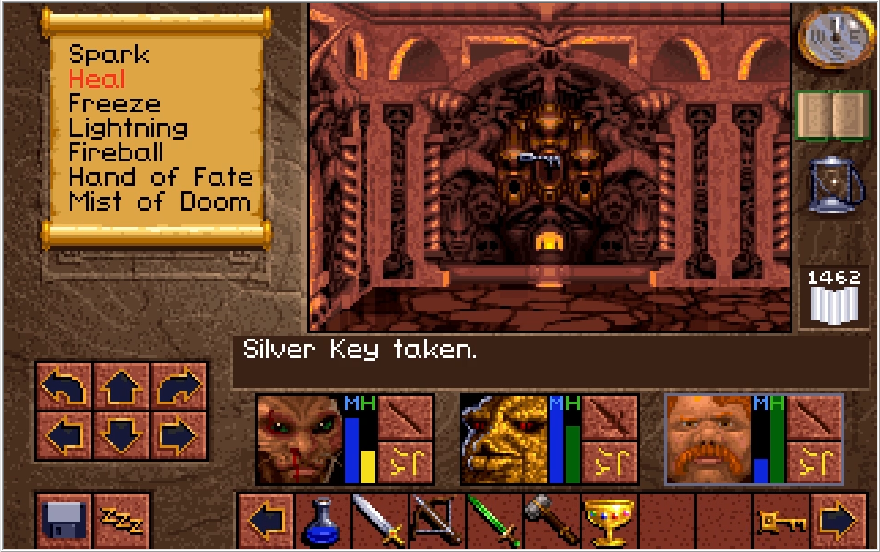
We trade our Dull key for a Silver Key, the other key we need to reach Scotia! Let's just tuck that away for later. There's also a Salve and a small pittance of crowns in this chest, but that's not important.
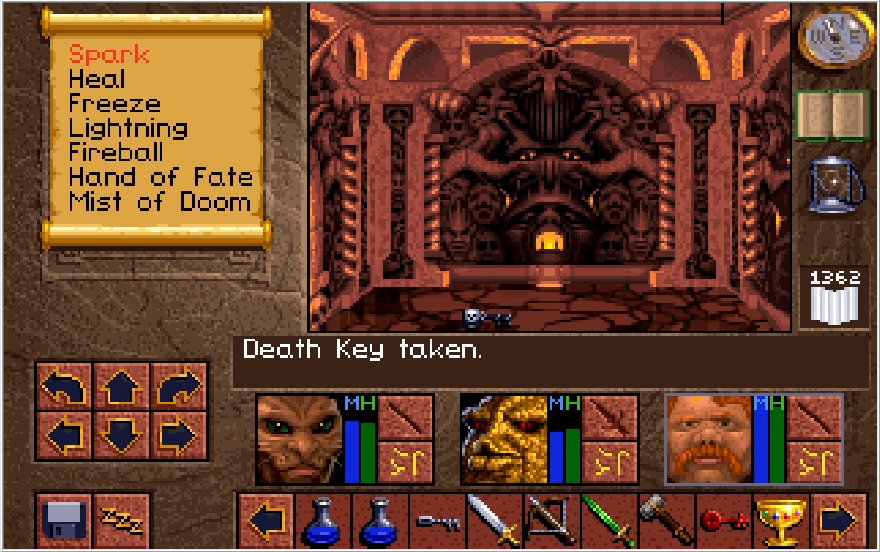
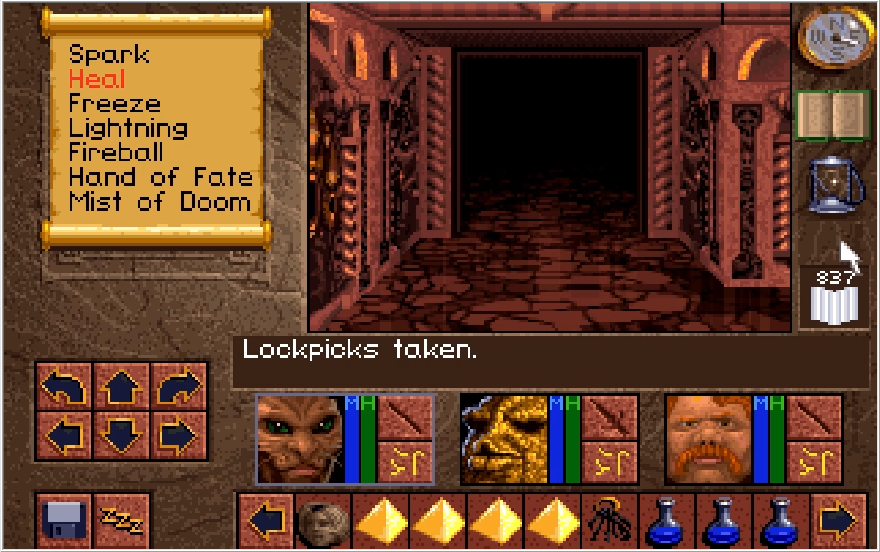
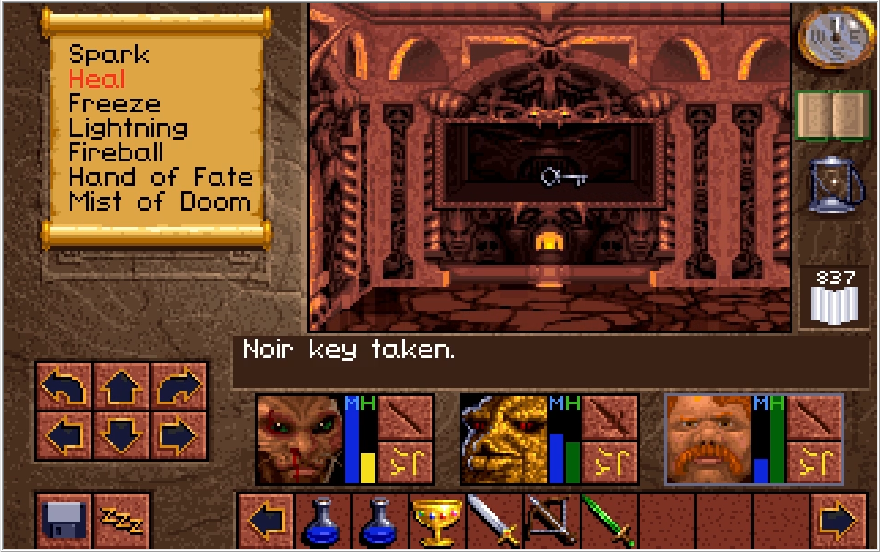
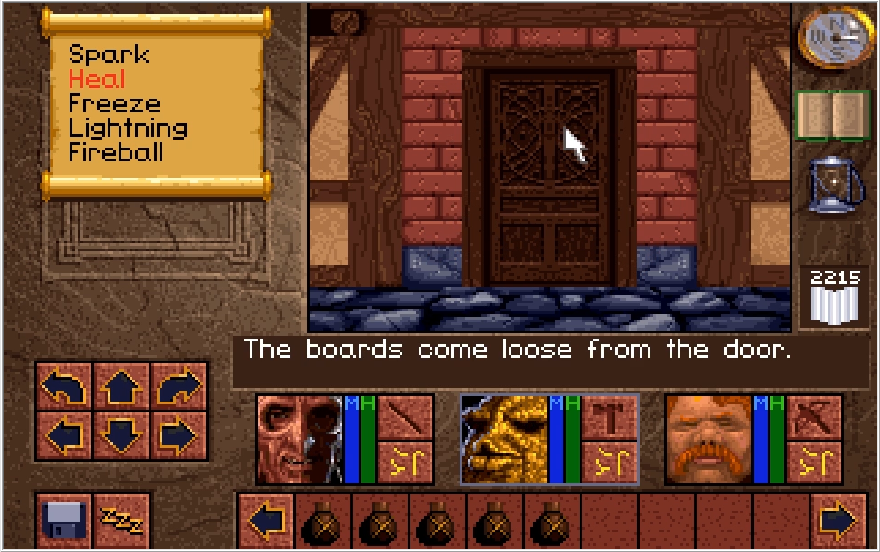
We can leave the floor with no issue at this point but I decide to explore some more. If this Death Key unlocks anything, I have no idea where to actually use it.


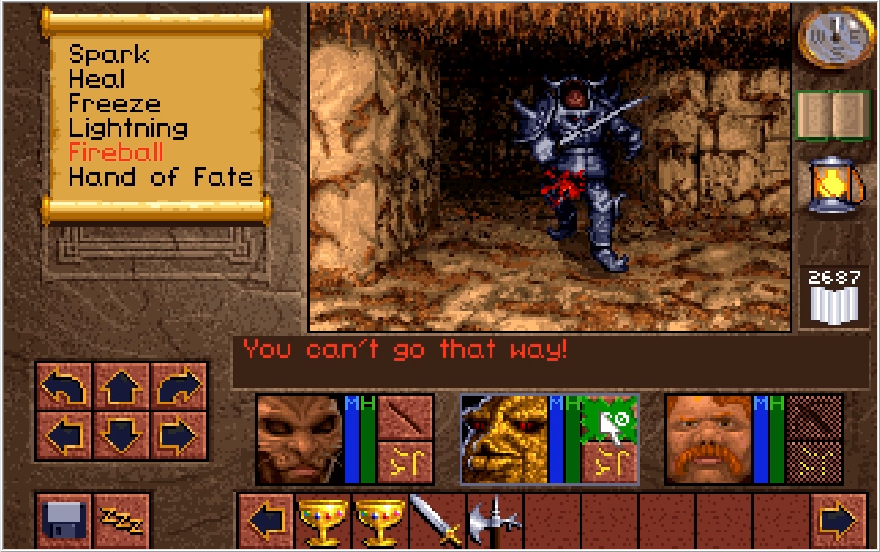
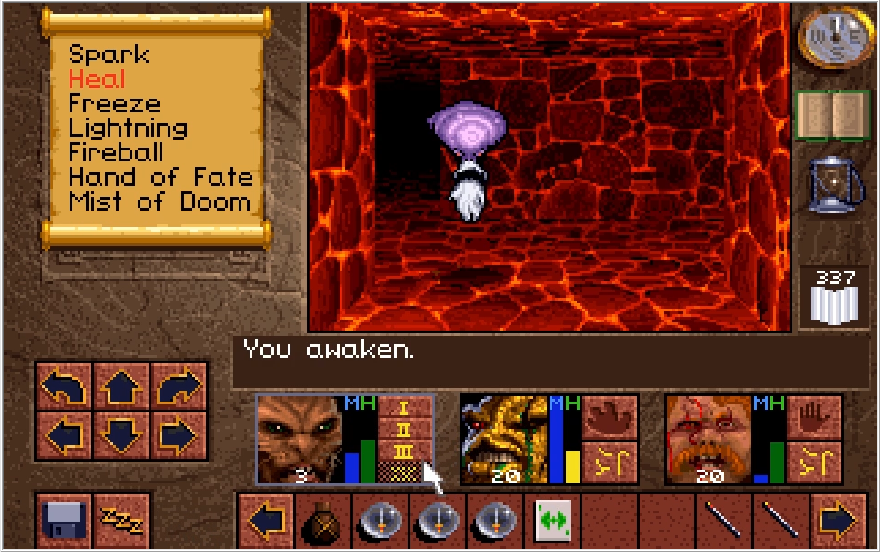
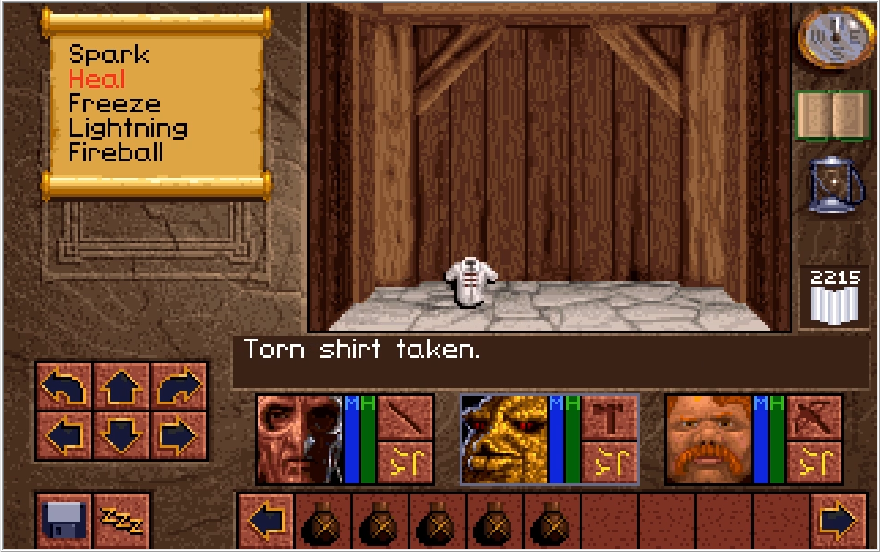
My spelunking rewards me with little more than giant toads forcing me to drop my shit. It would be kind of cool if these guys gave out ridiculous amounts of EXP so you could polish off another level or two, but sadly you won't ever see an attribute break past Level 6 without a serious concentrated effort.
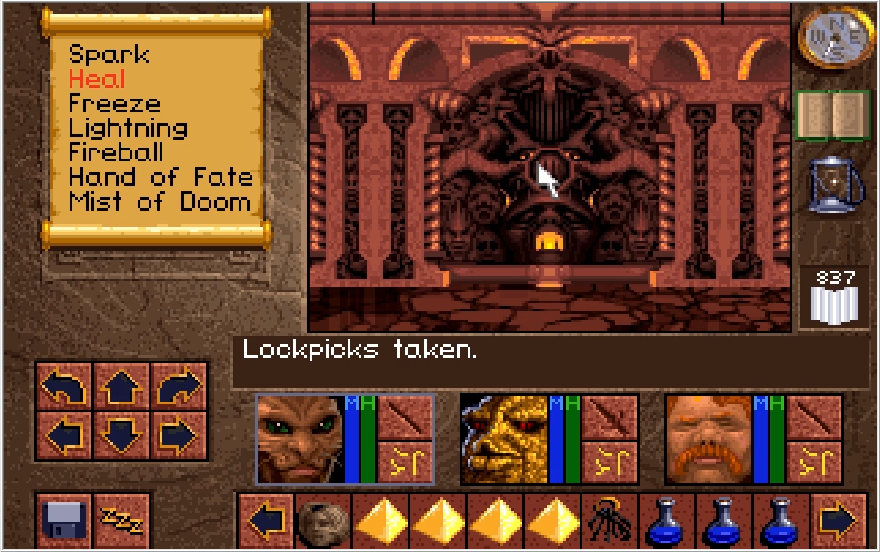
I do eventually find the correct chest for the Oily key, at least. I like to imagine Kieran really fumbling with this grease soaked key to try and get it in the lock.
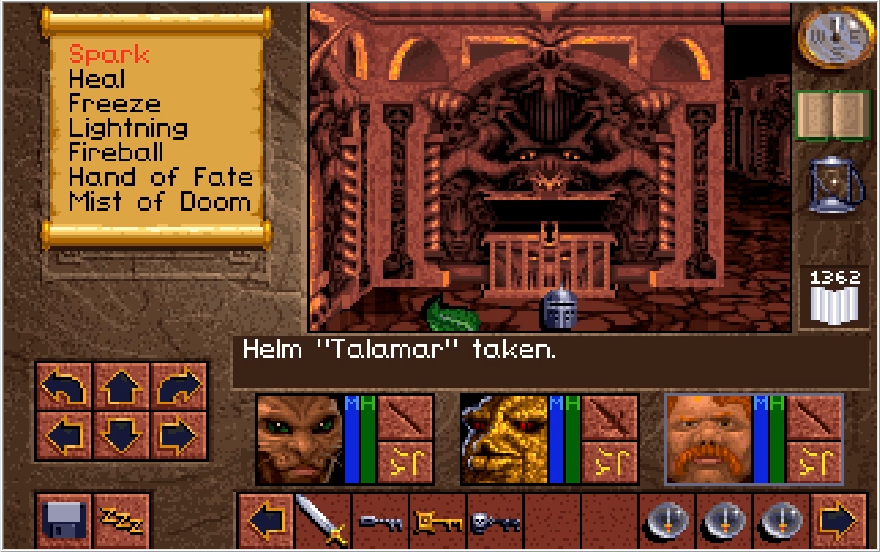
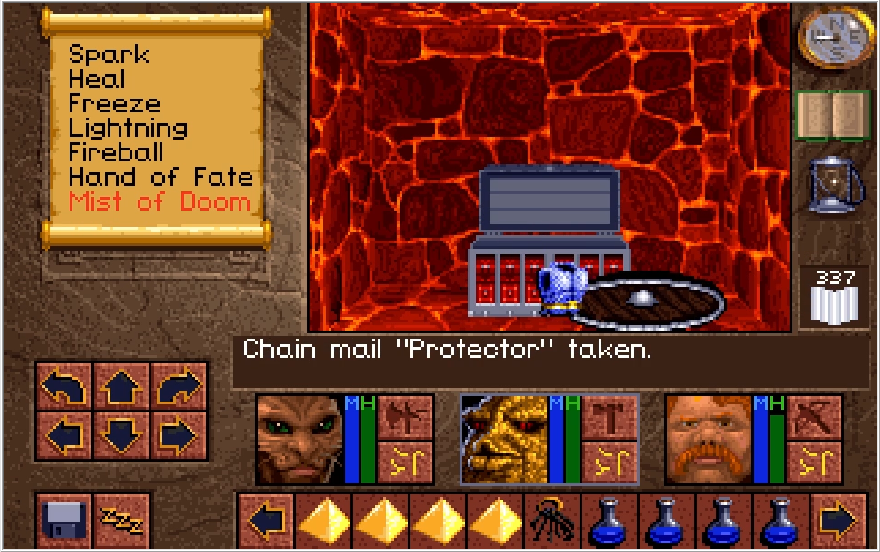
Among its contents are a Helm Talamar and a Ginseng. The Ginseng can be used for the medicine sign if you don't have any HP restoratives, which is a nice consideration. The Helm on the other hand?

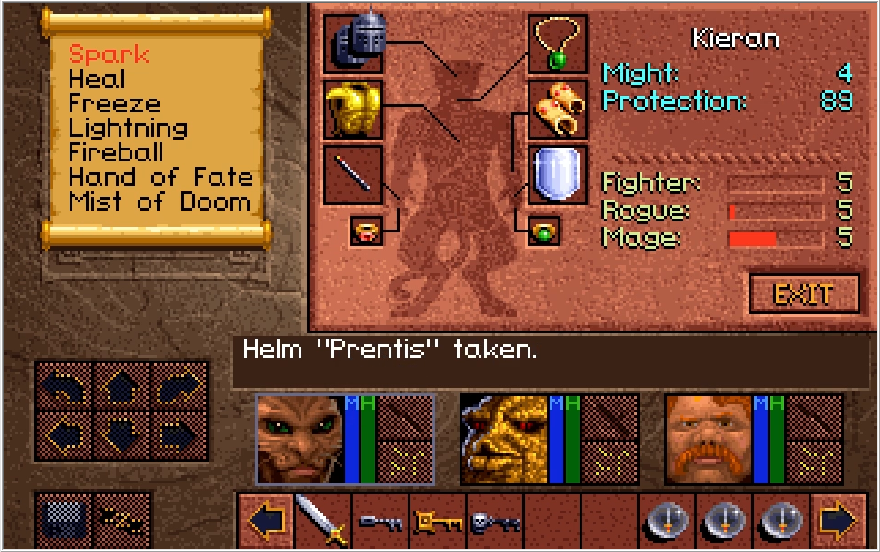
Vastly inferior to every other helm we already have. I think that's protection on par with the vanilla Helms we got at the start of the game! Now I'm mad, let's get out of here.
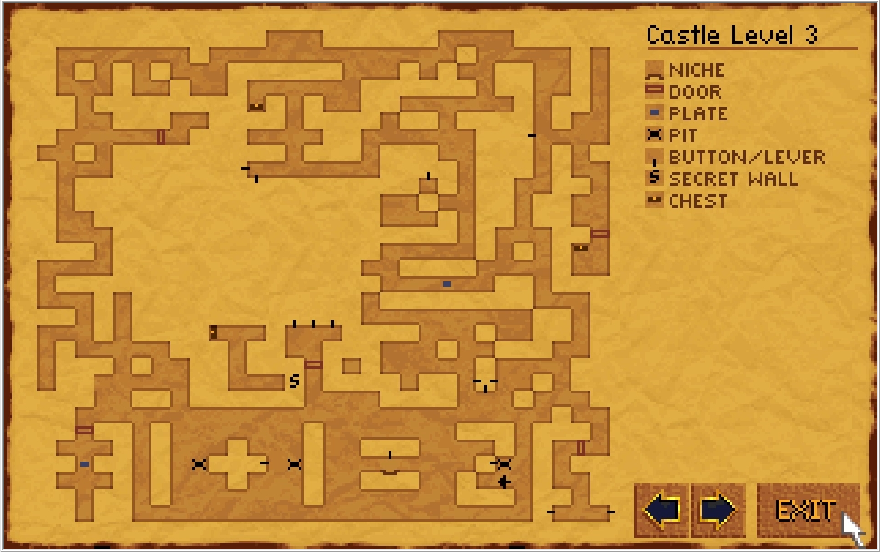
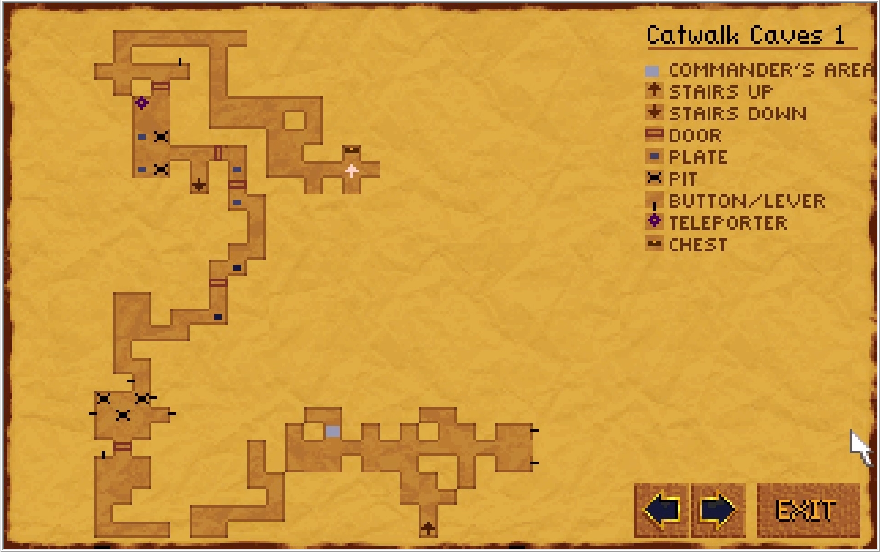
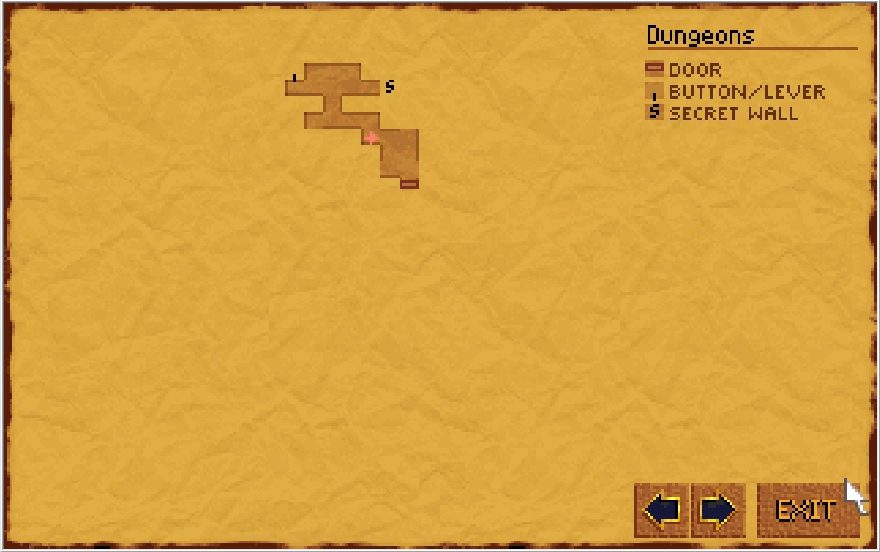
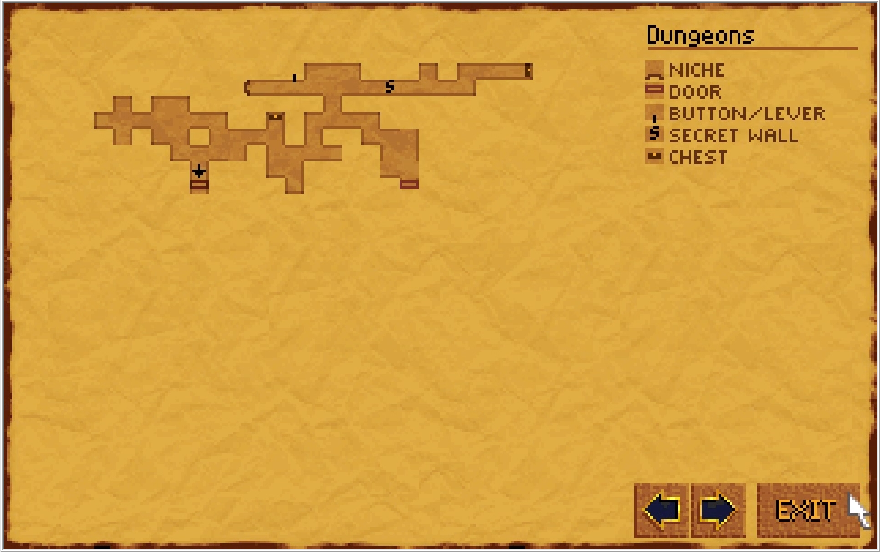
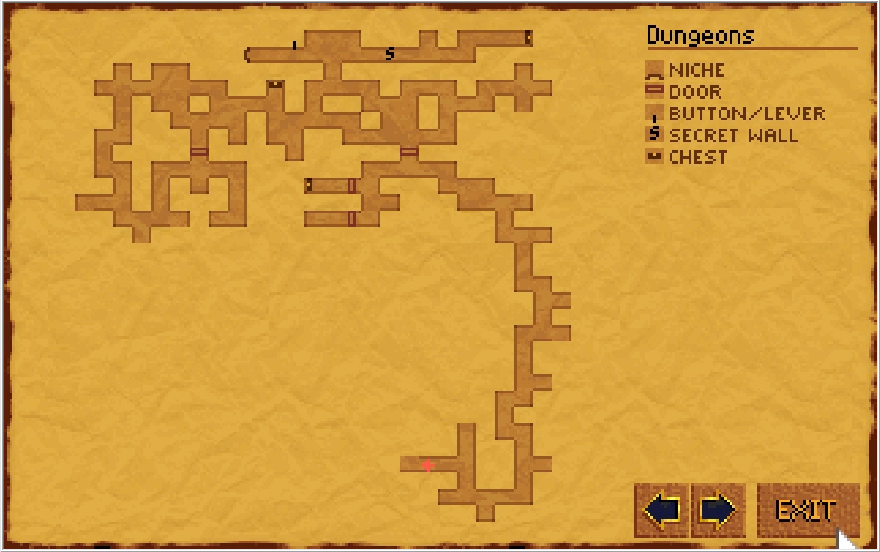
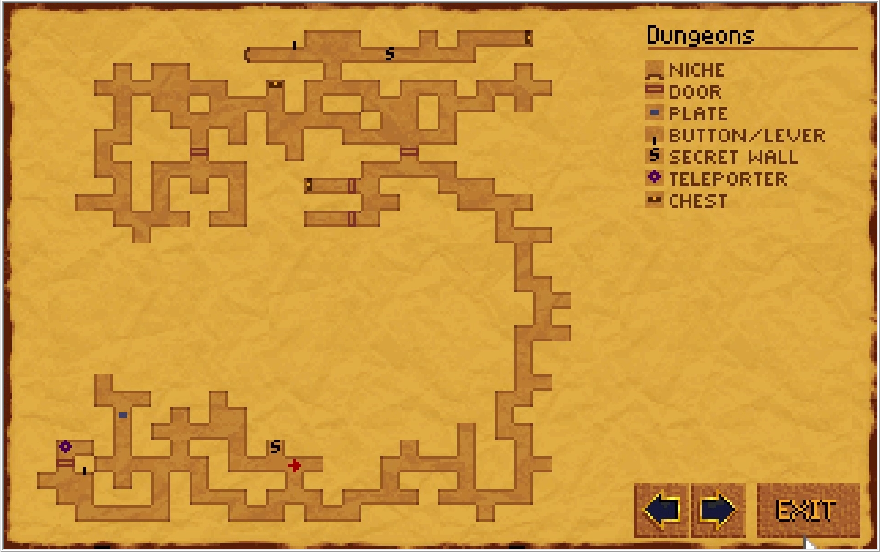
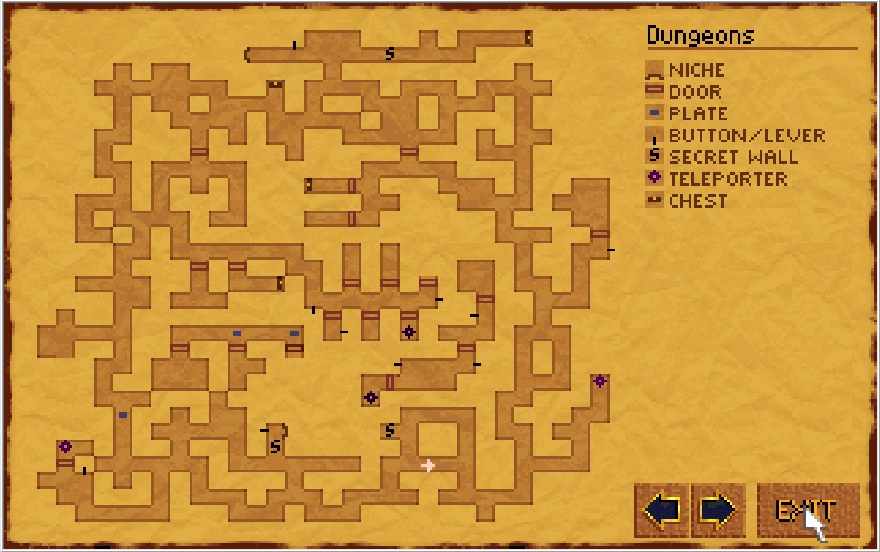
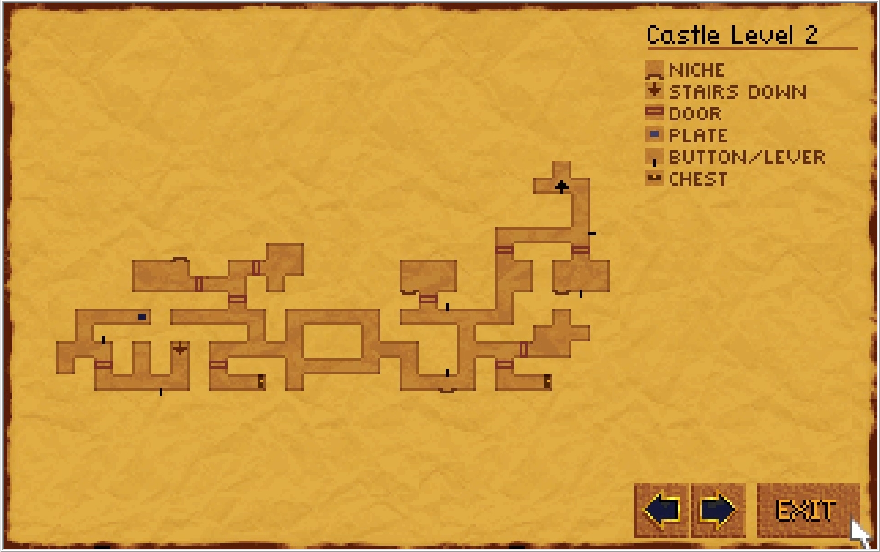
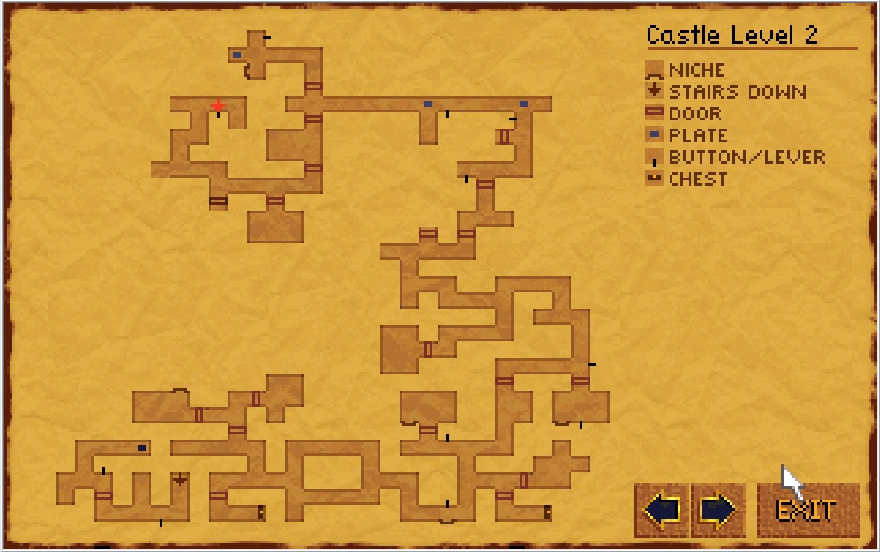
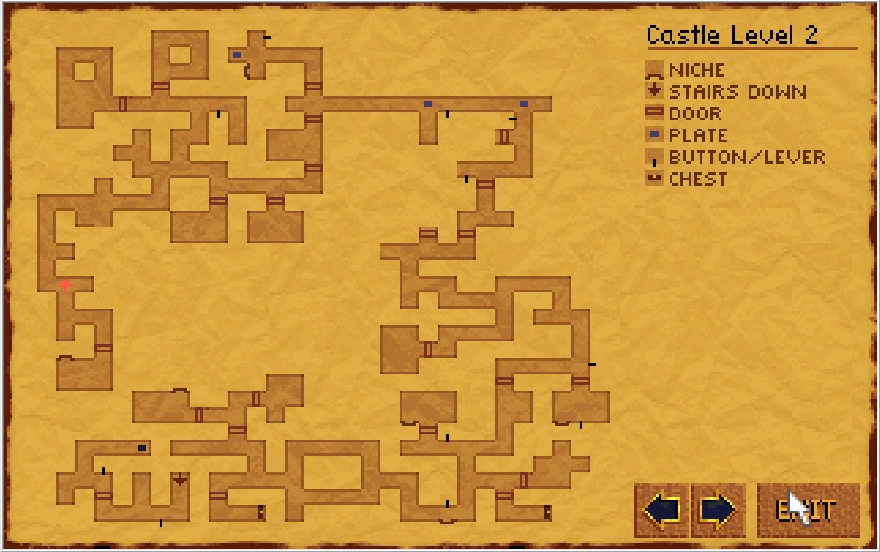
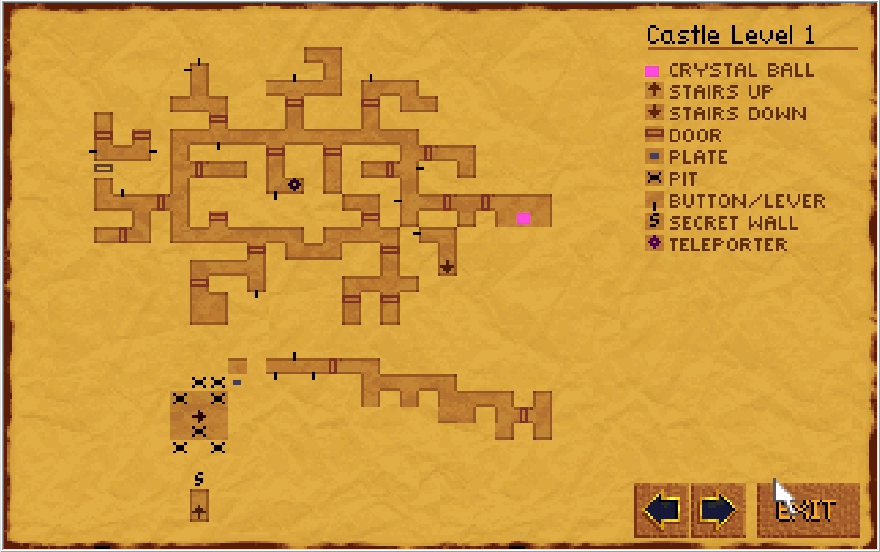
Before we plunge down a pit to return to level 2, take a close look at the fully filled southern section on the Atlas. That's almost cute, too bad you're not liable to see this before you actually solve the puzzle. It wasn't until I was recording for this segment that I even became aware of this detail.

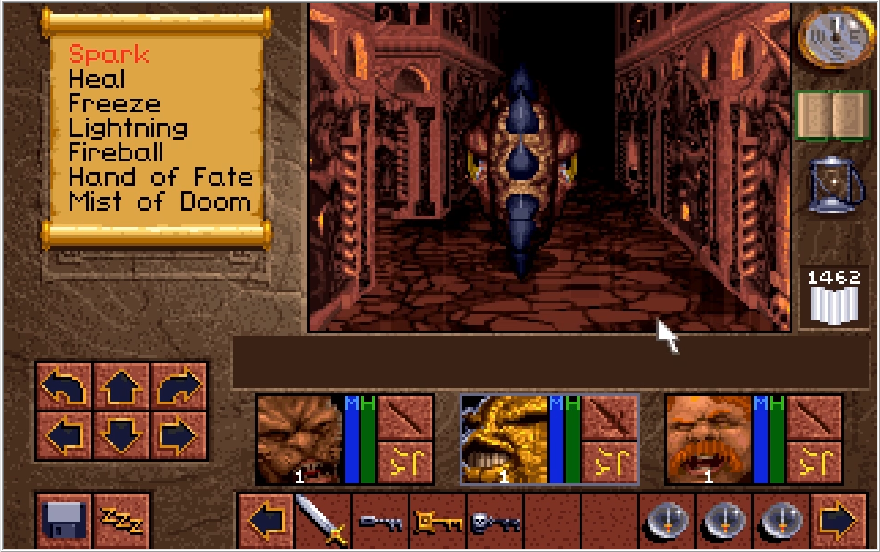
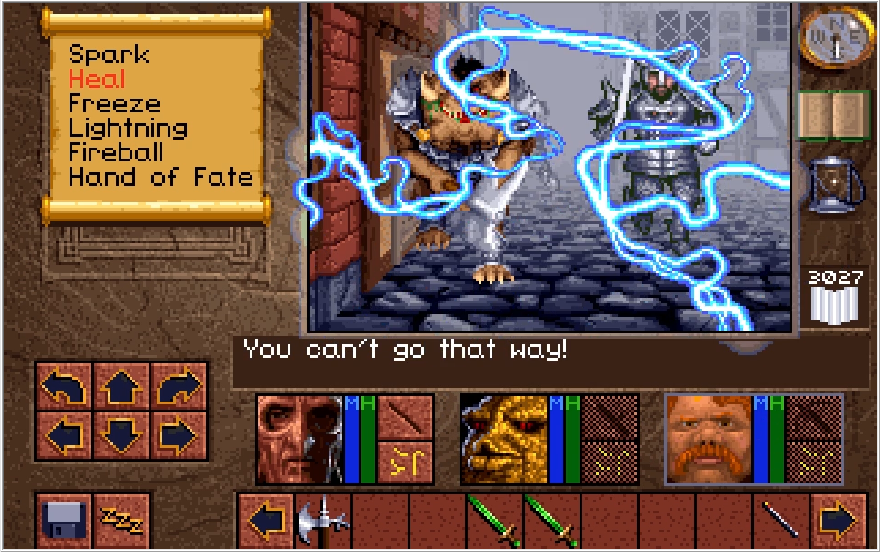
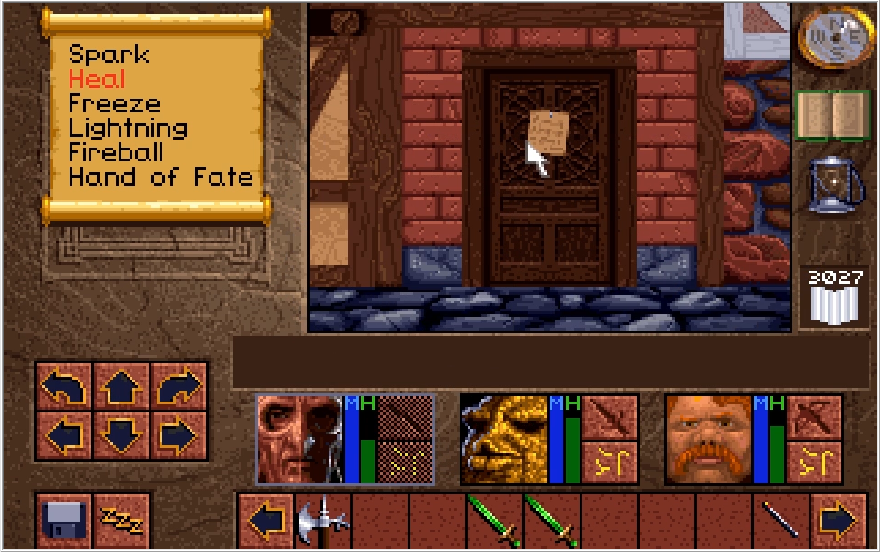
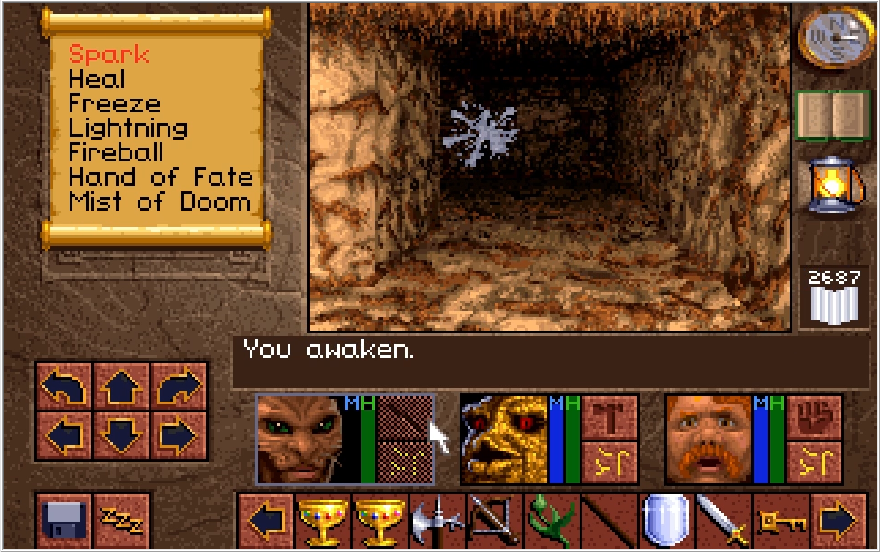
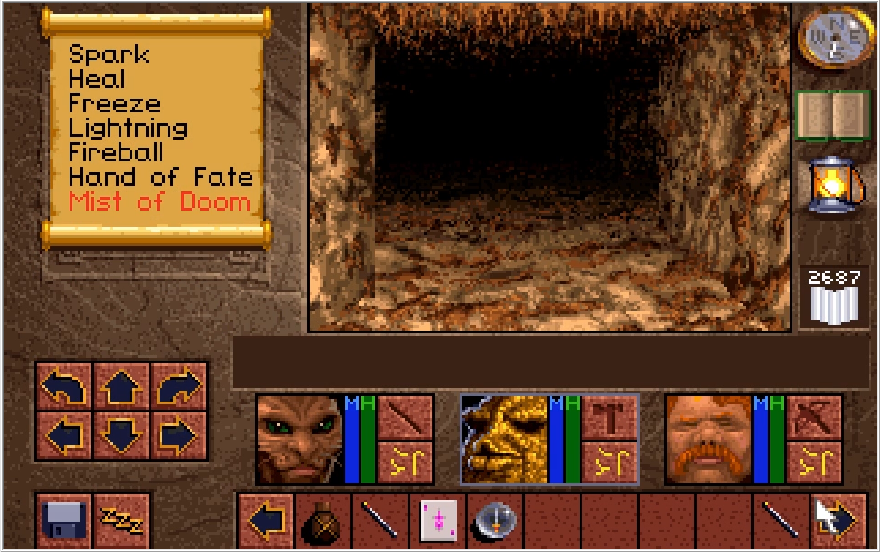
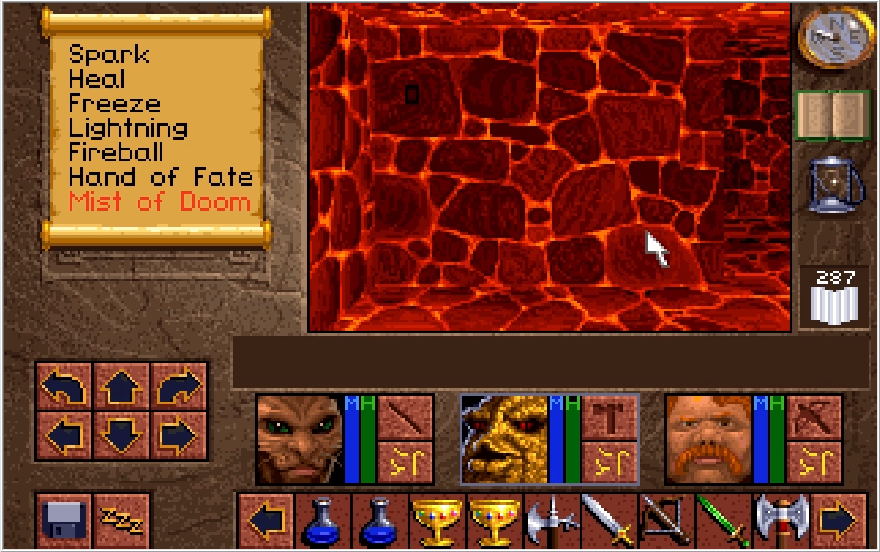
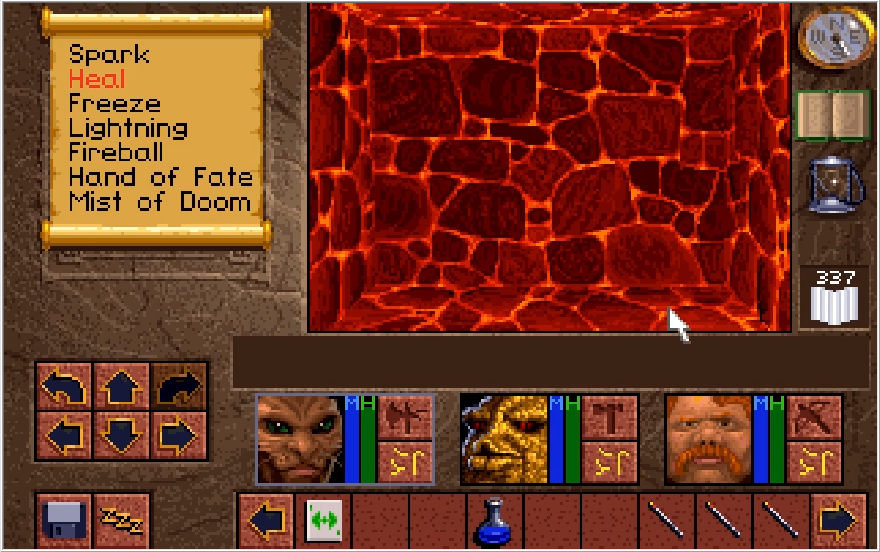
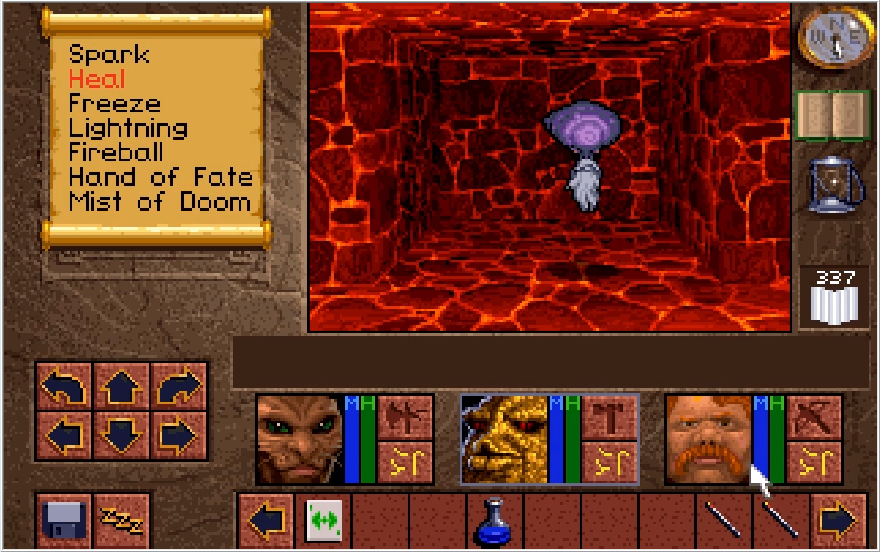
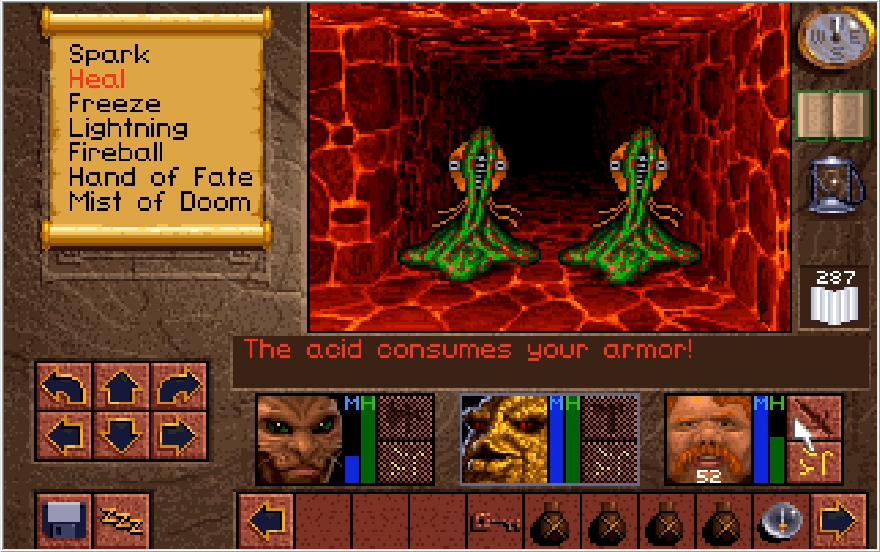
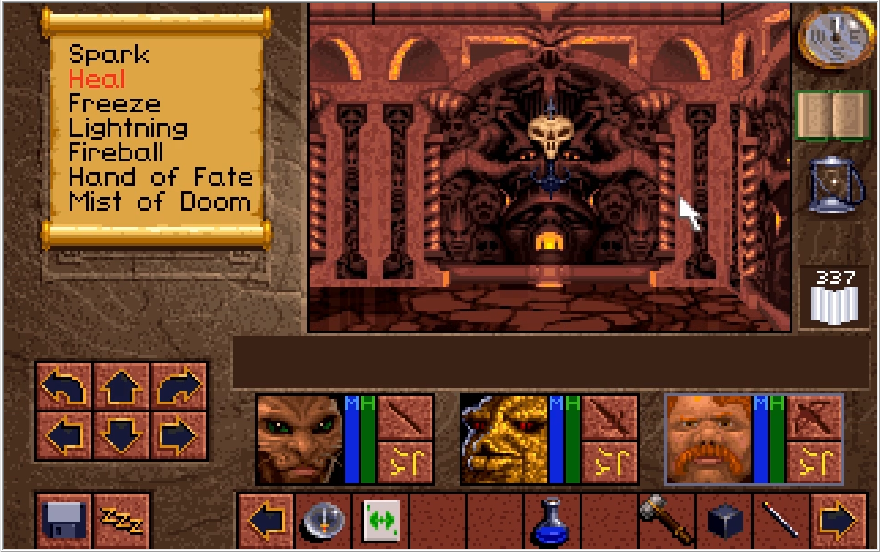
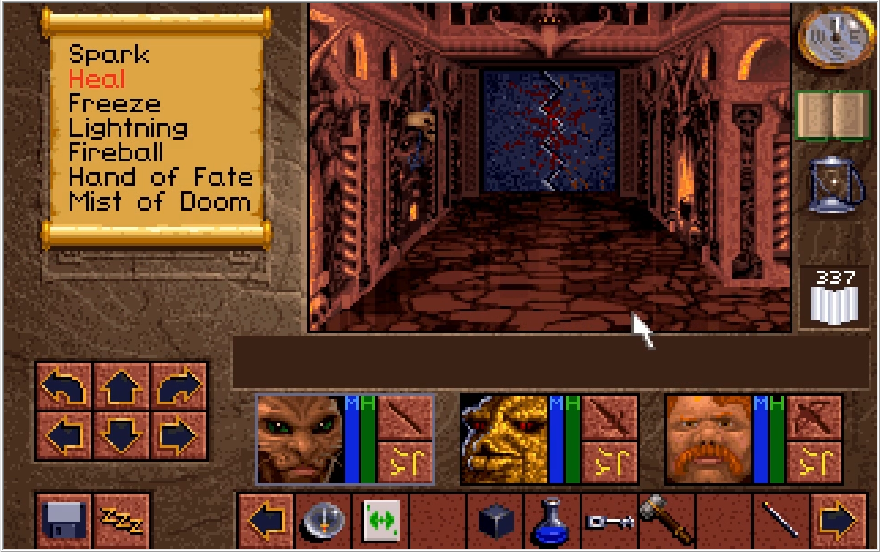
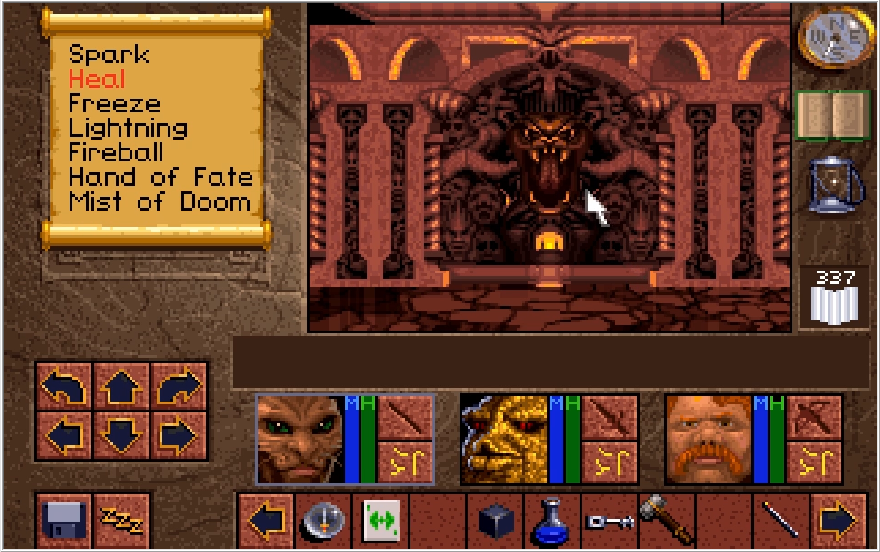
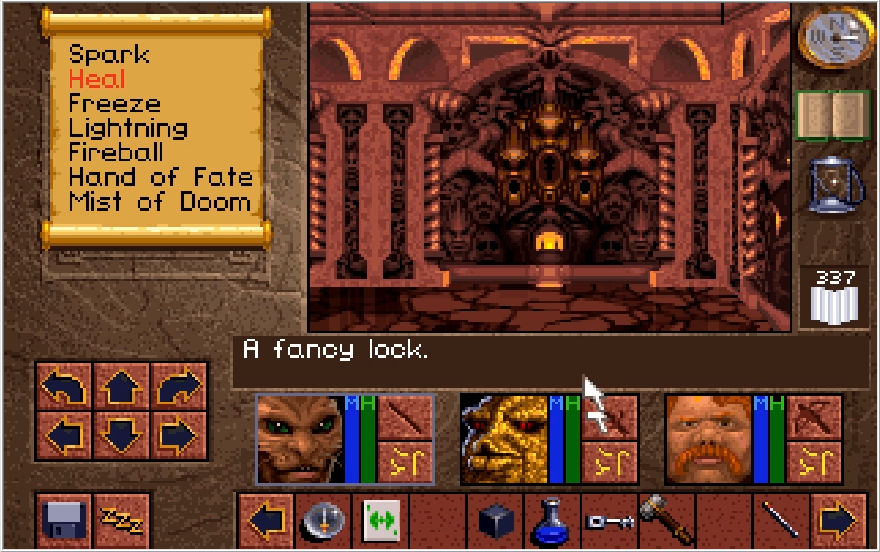
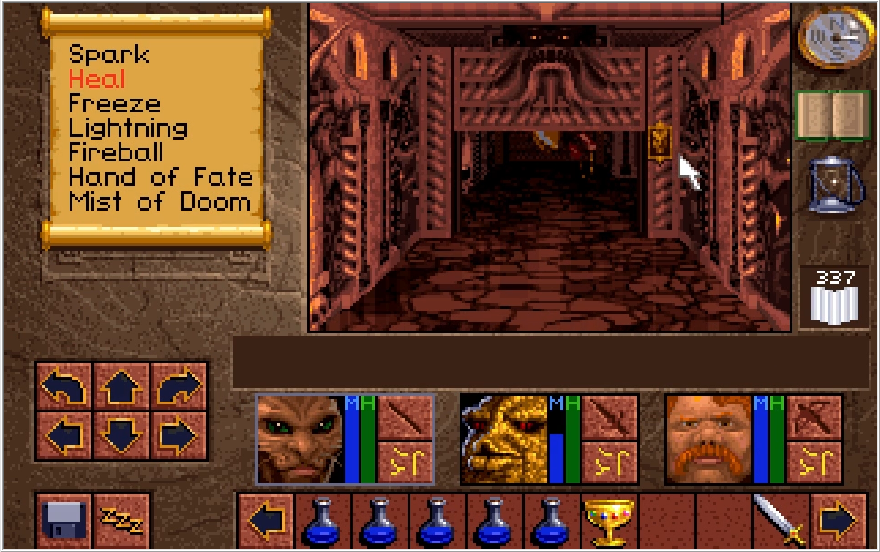
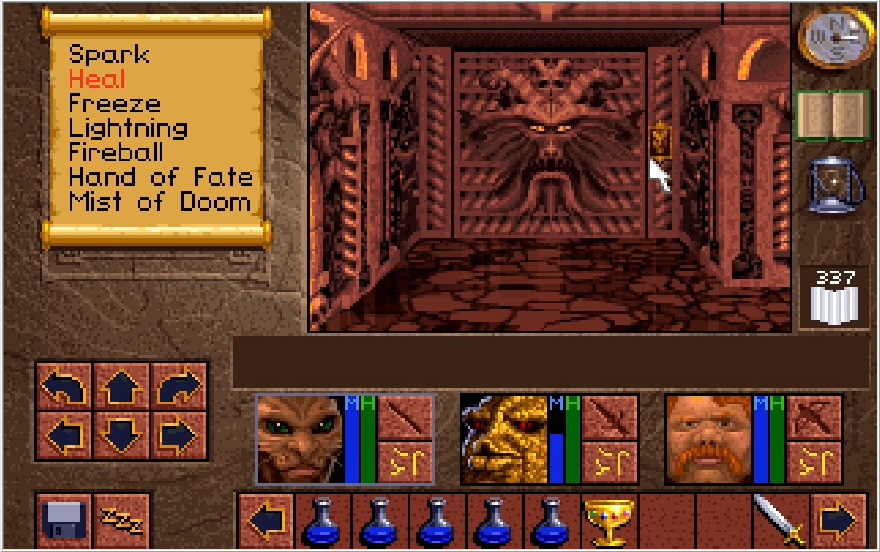
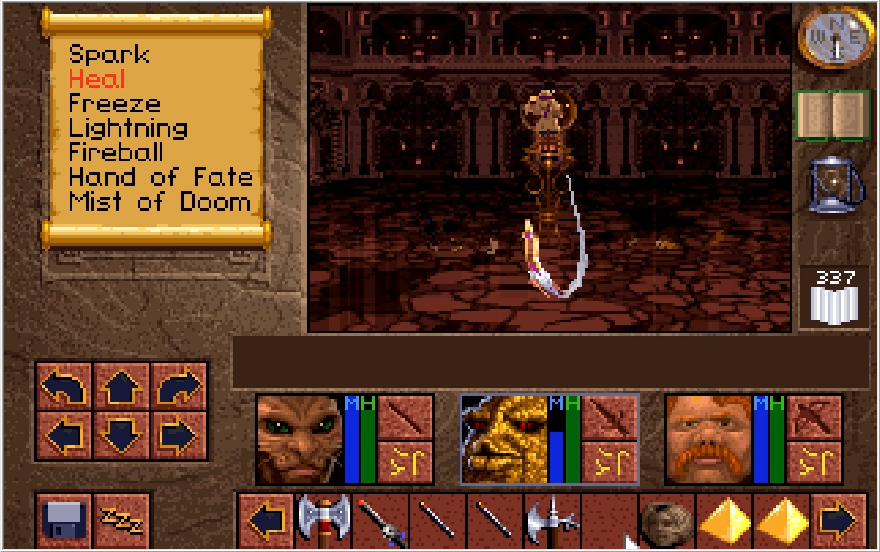
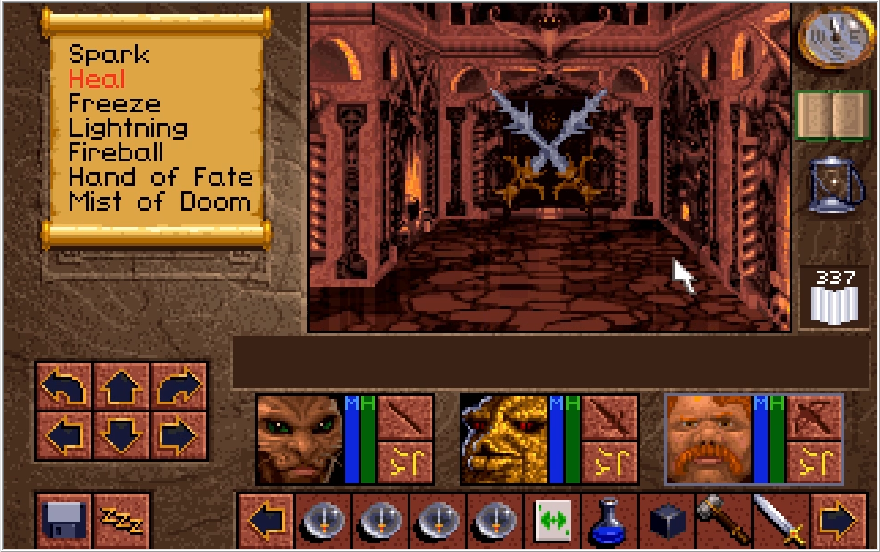
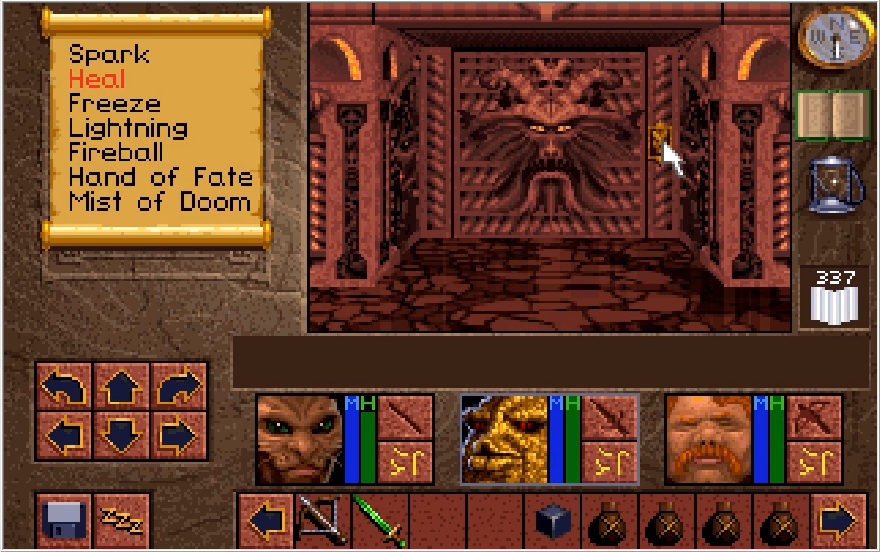
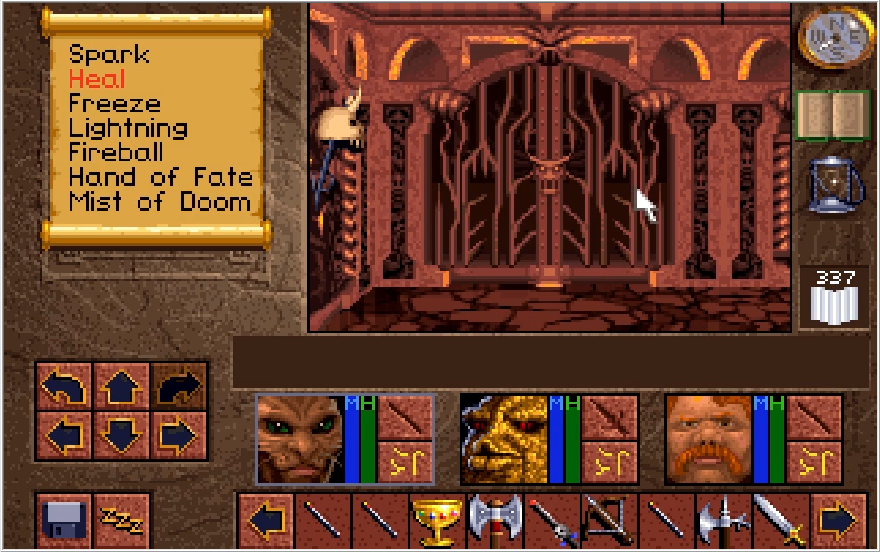
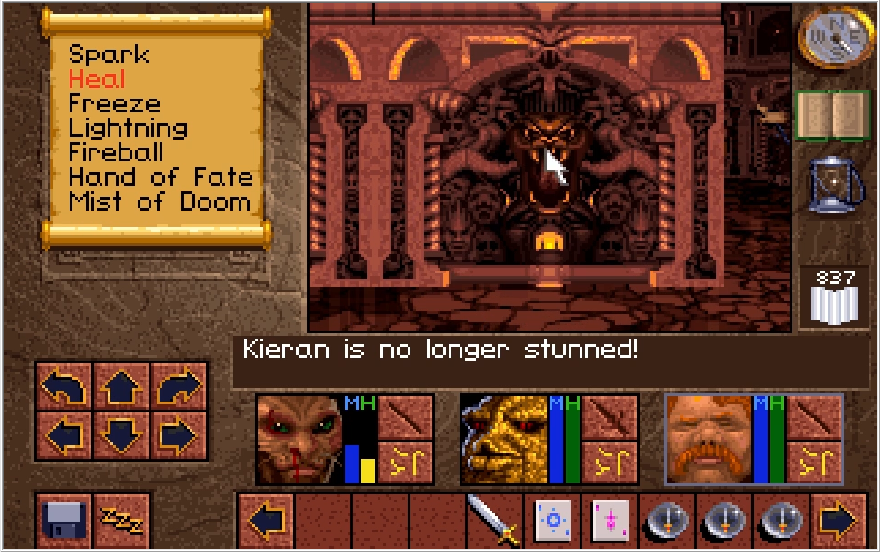
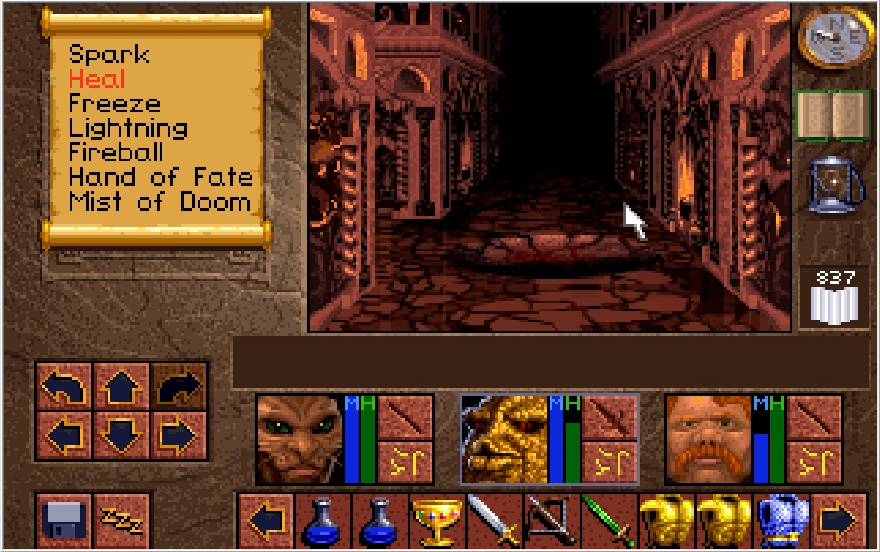
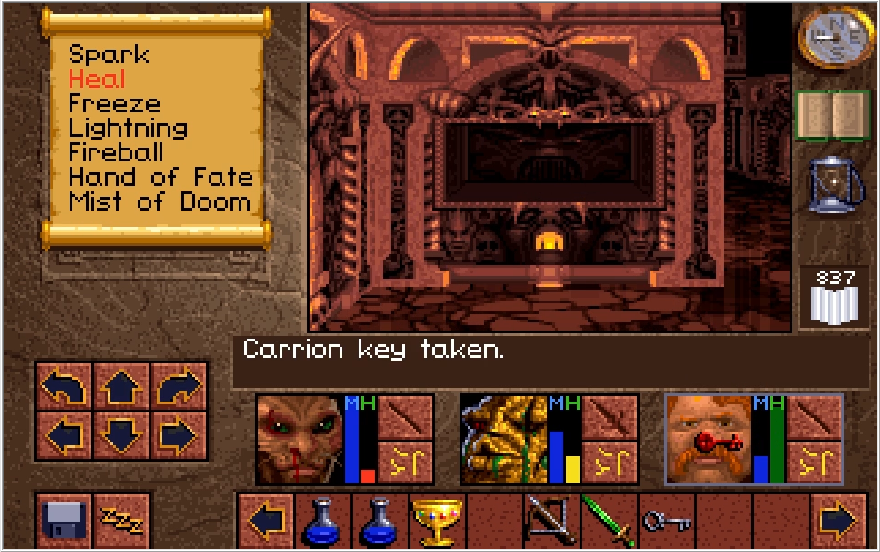
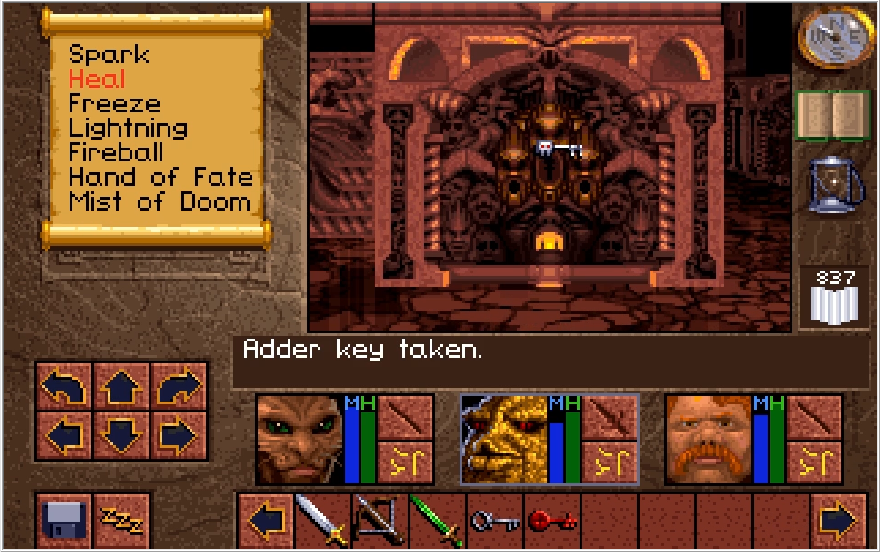
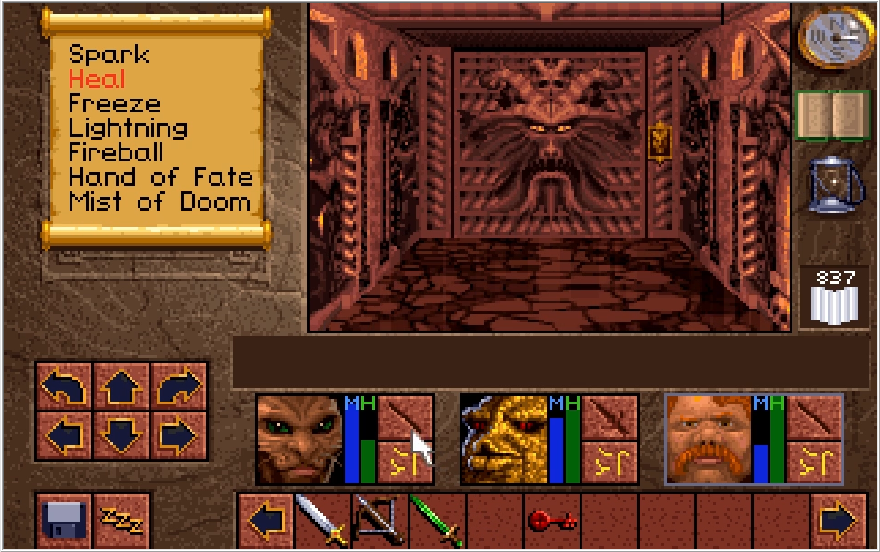
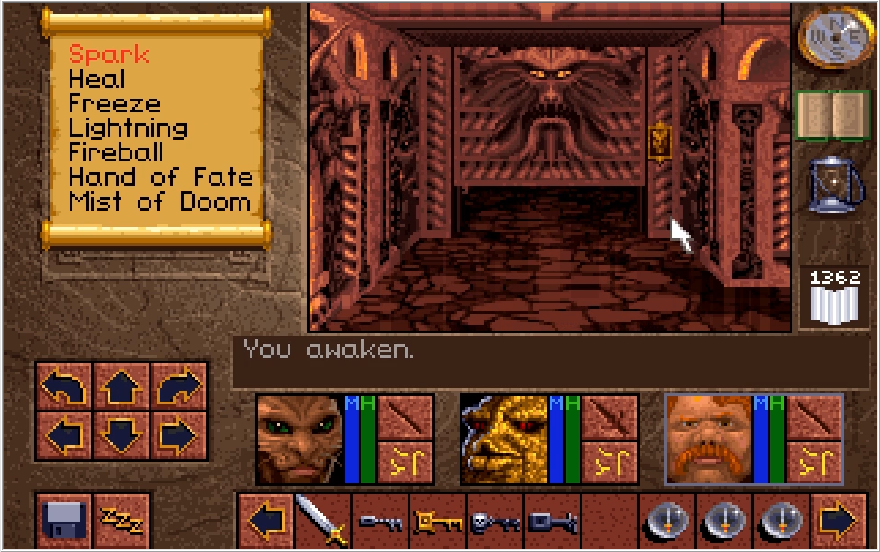
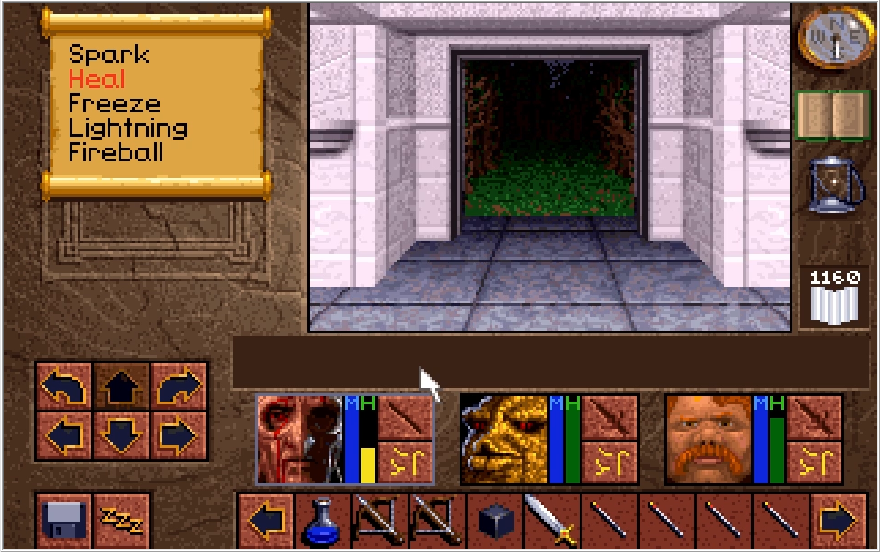
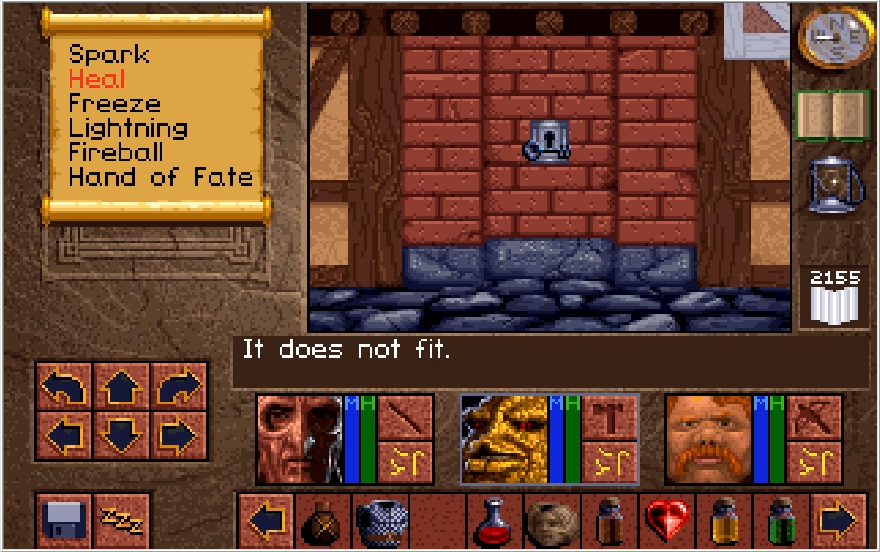
The game decides to throw me into a panic when I drop down to Level 2 as it places me right in front of a fucking wheel that's mid-swing trying to burn my armor. Thankfully, I was able to unequip my stuff and fry it before anything got burned. Now that we have the final figurine, let's return to that lock from the previous update and use our Carrion Key on it.
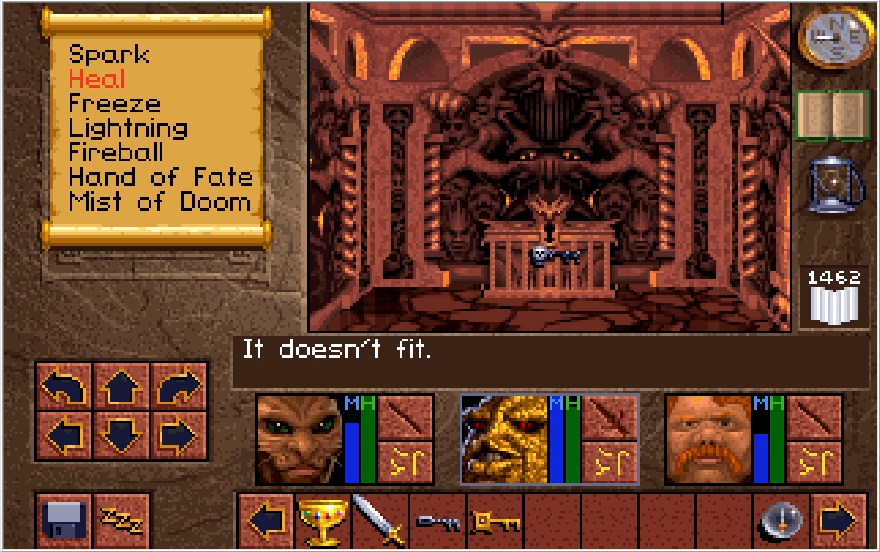
I also tried the Death Key on the Westwood Staff chest and was left disappointed.
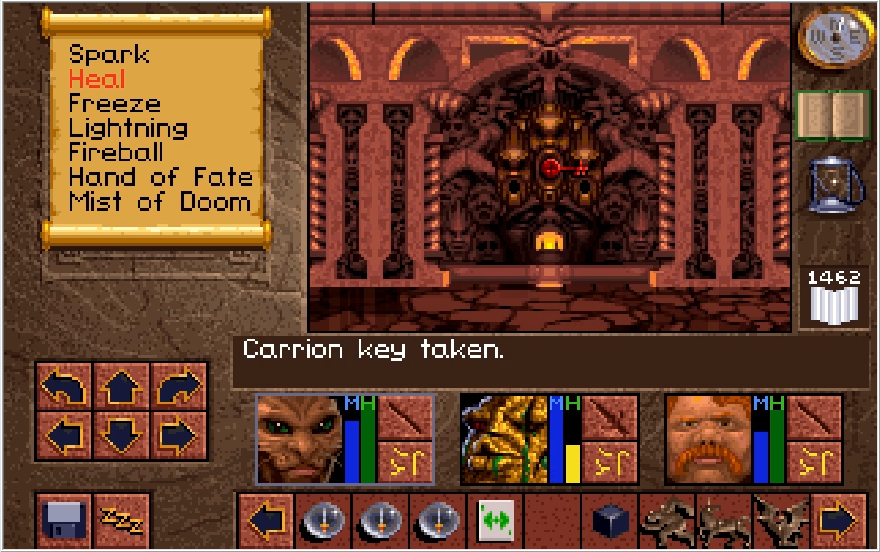
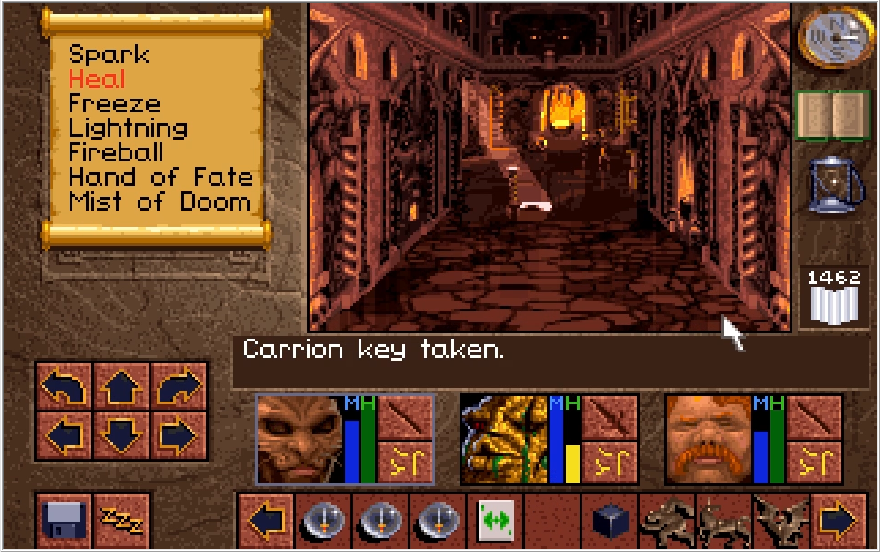
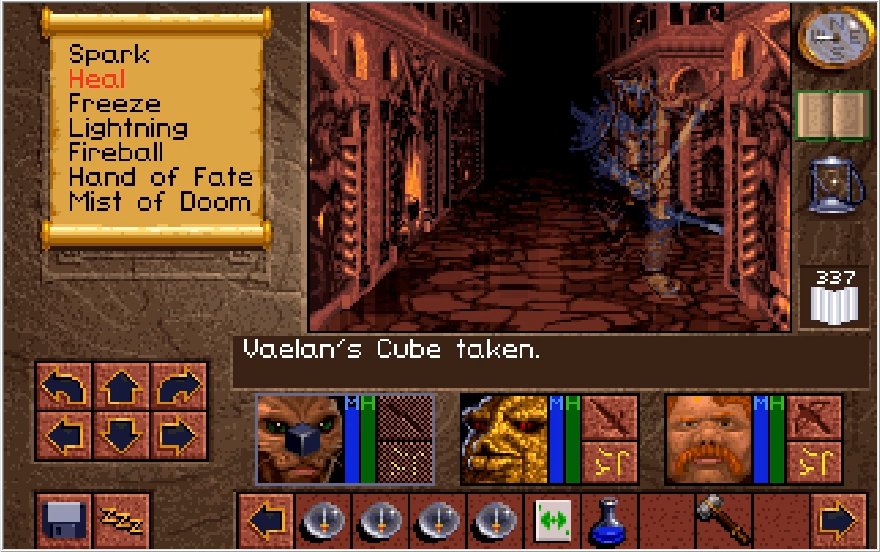
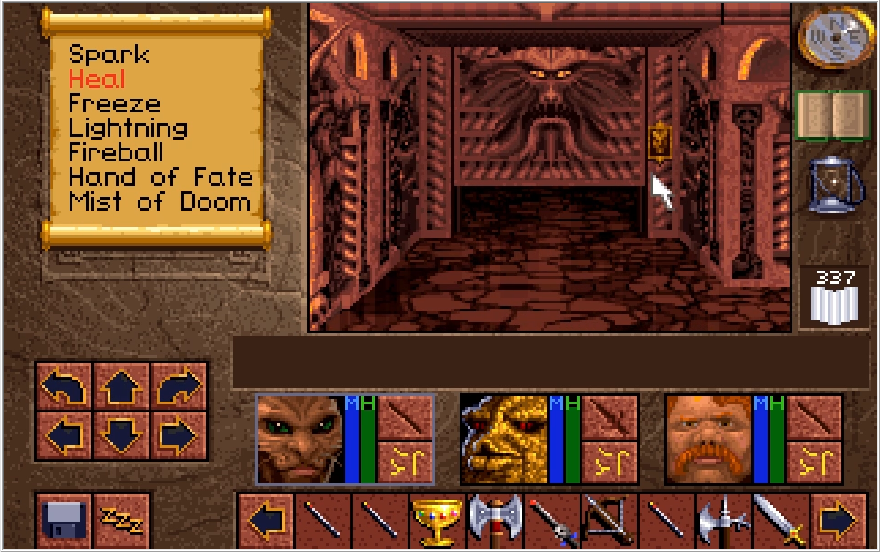
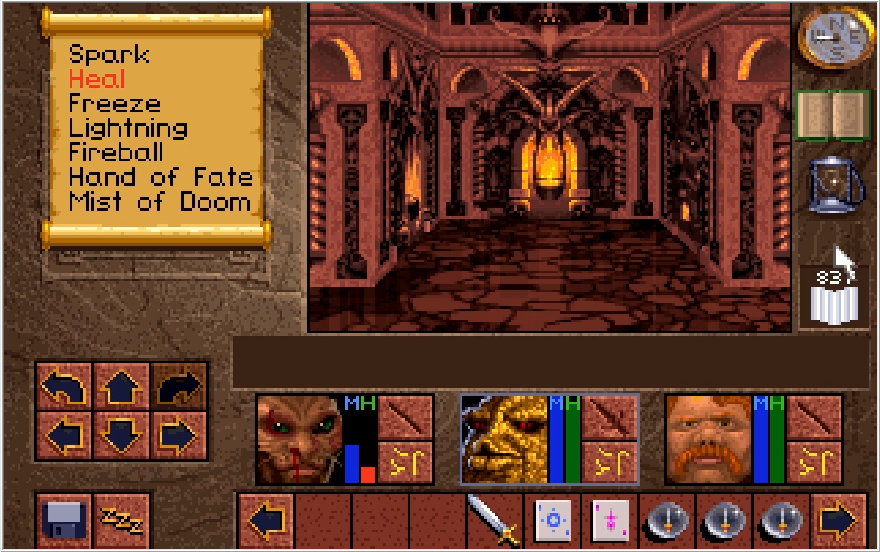
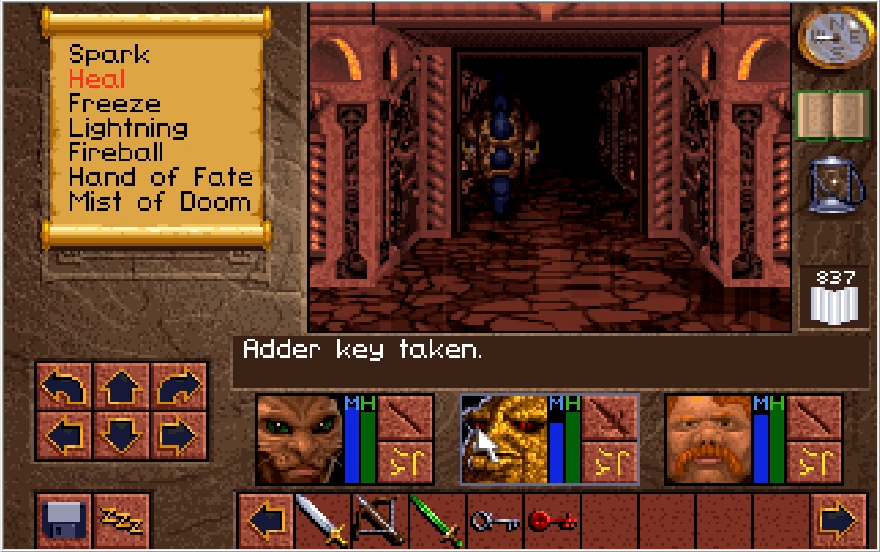
With a turn of the Carrion Key, a new chamber is opened to us!
Music: The King's Room (why is this song 6 minutes long jesus)
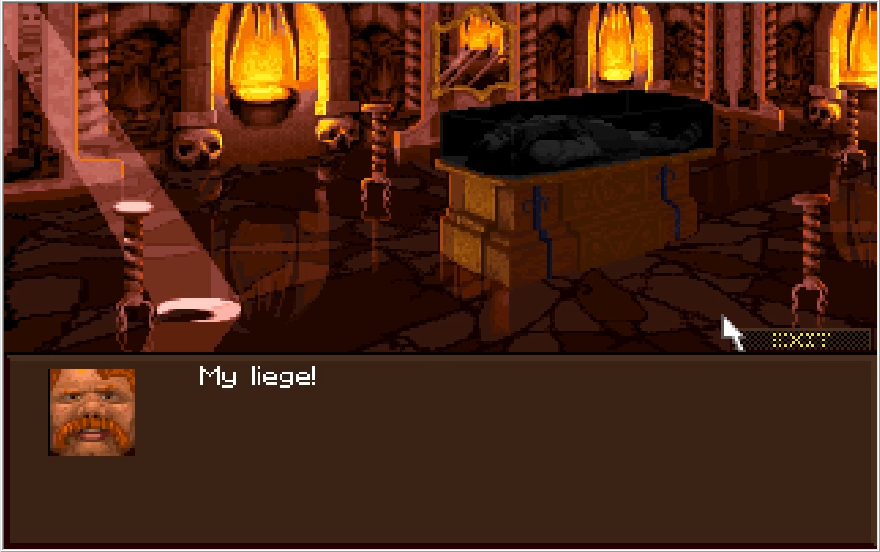
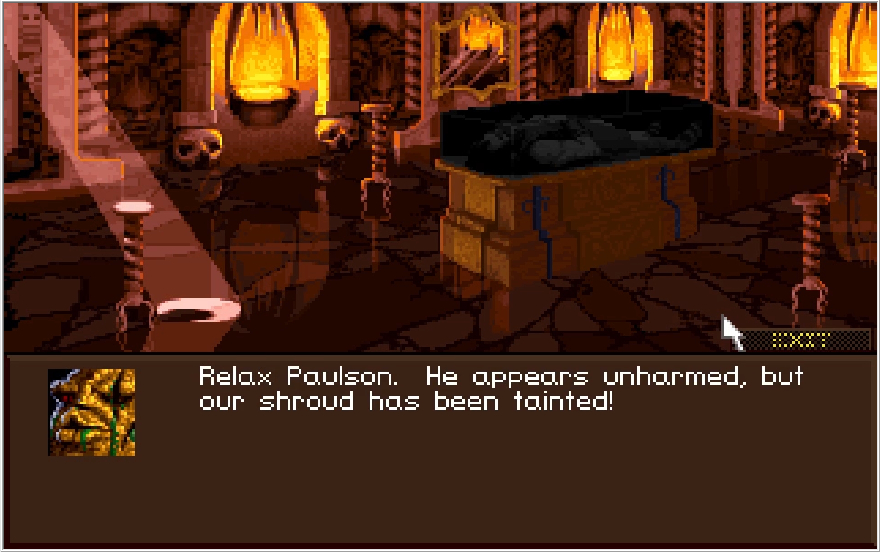
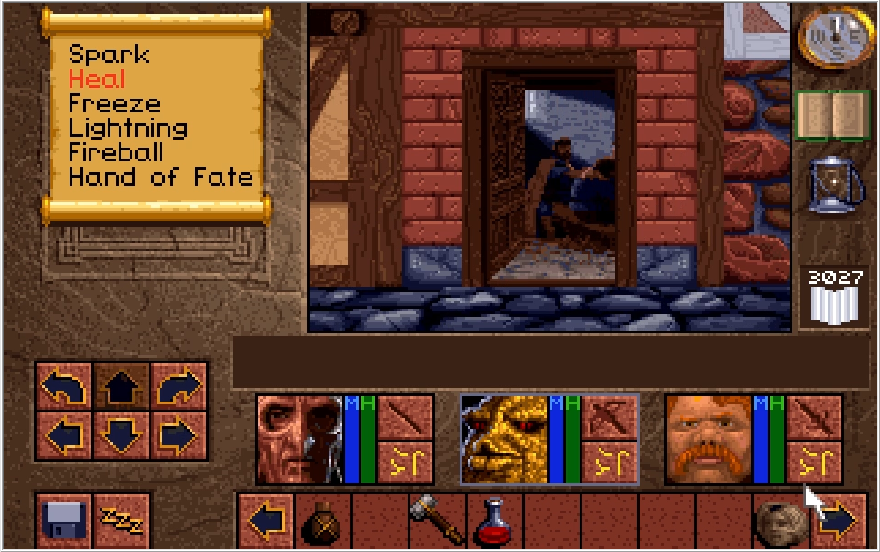
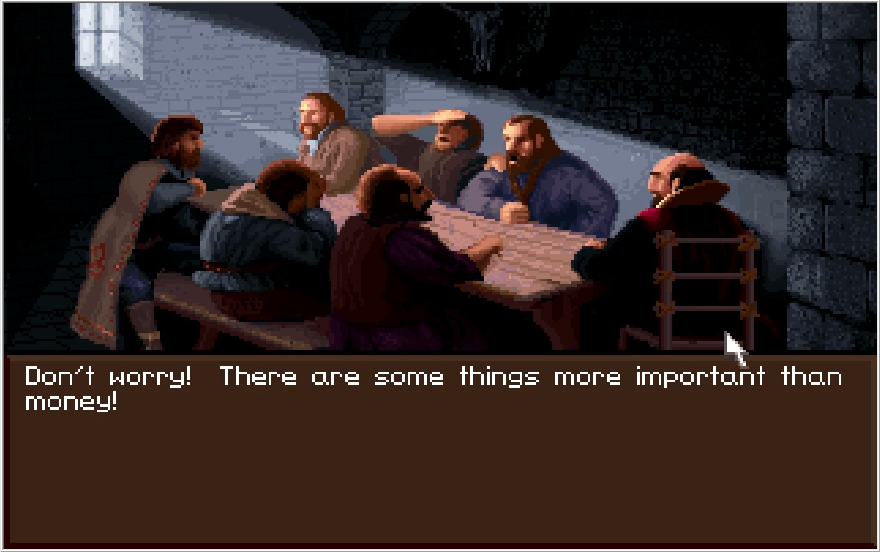
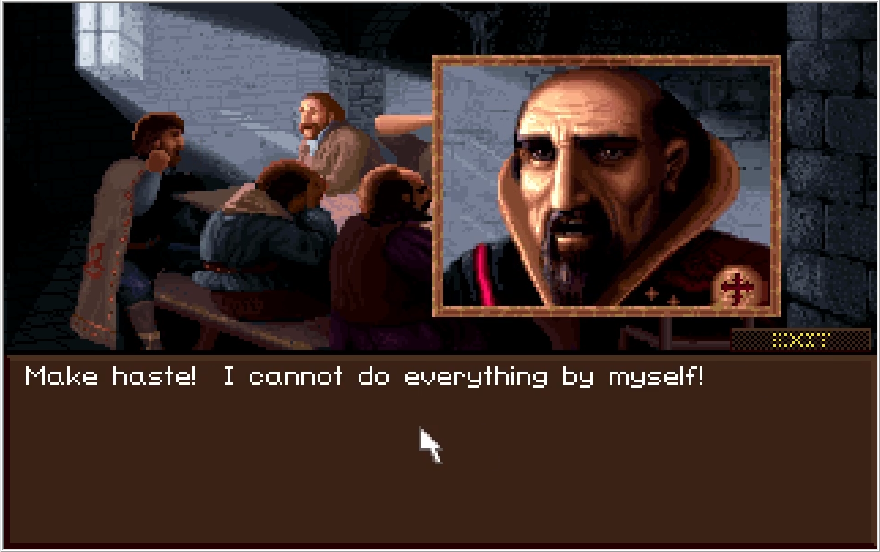
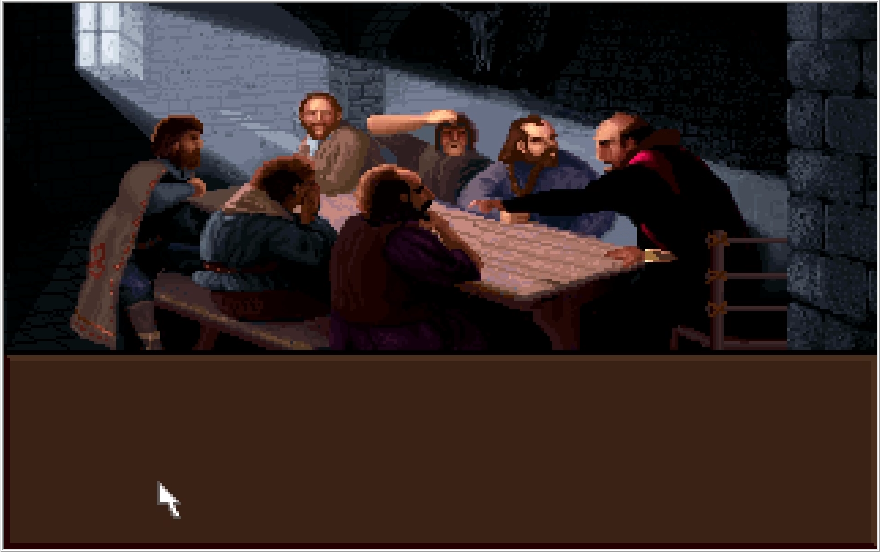
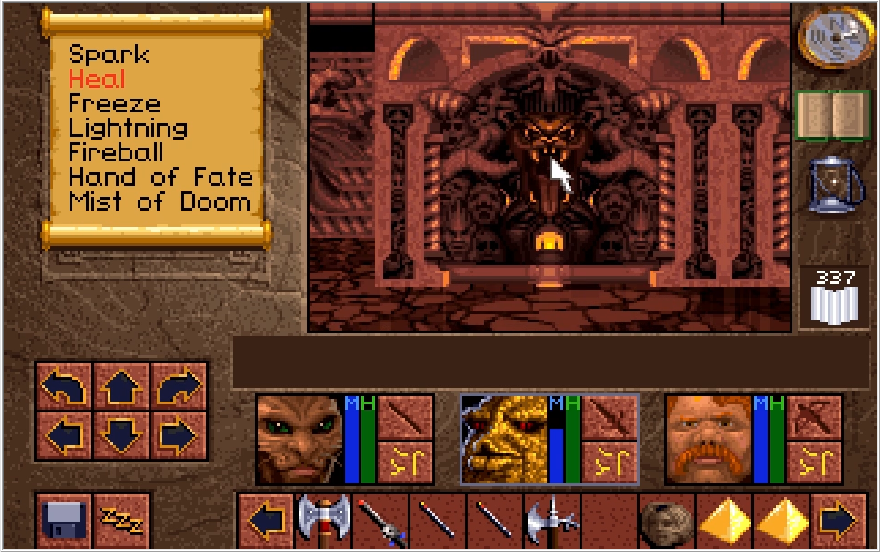
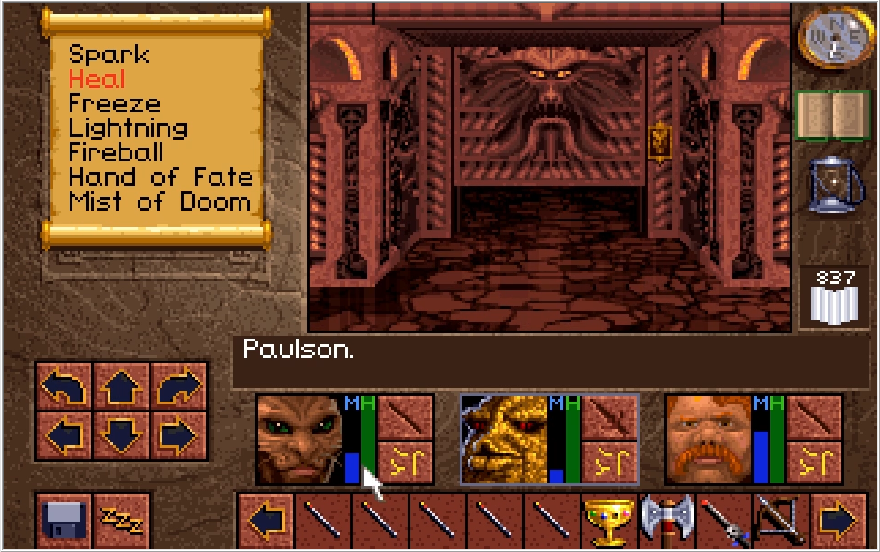
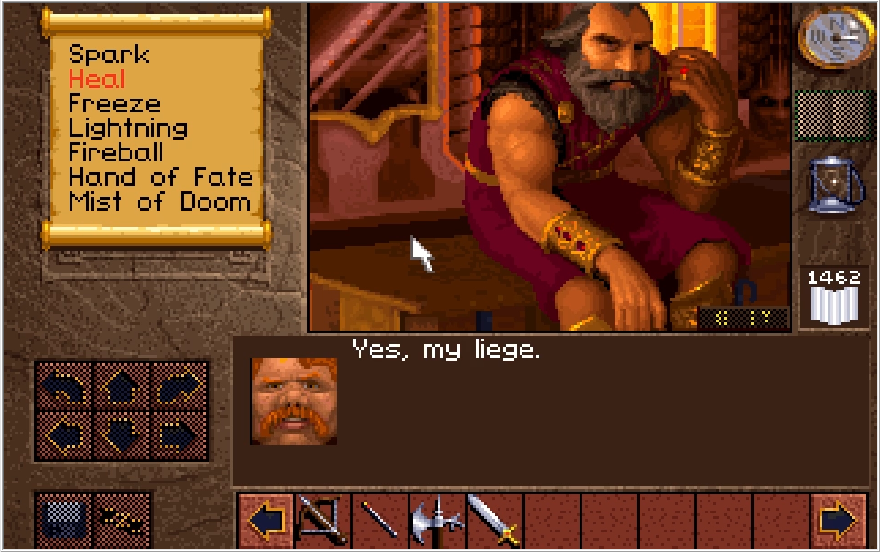
Paulson suddenly remembers that he exists with a loud proclamation, and Baccata has to tell him to chill the fuck out.

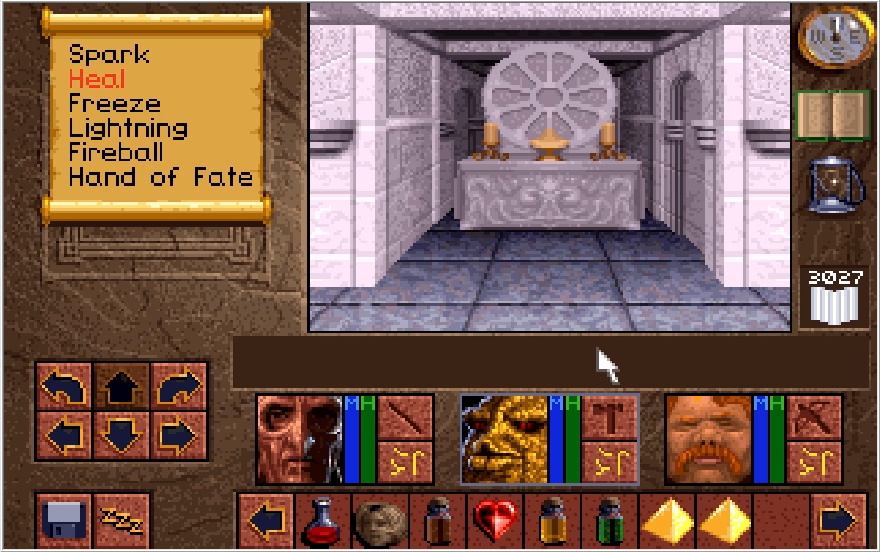
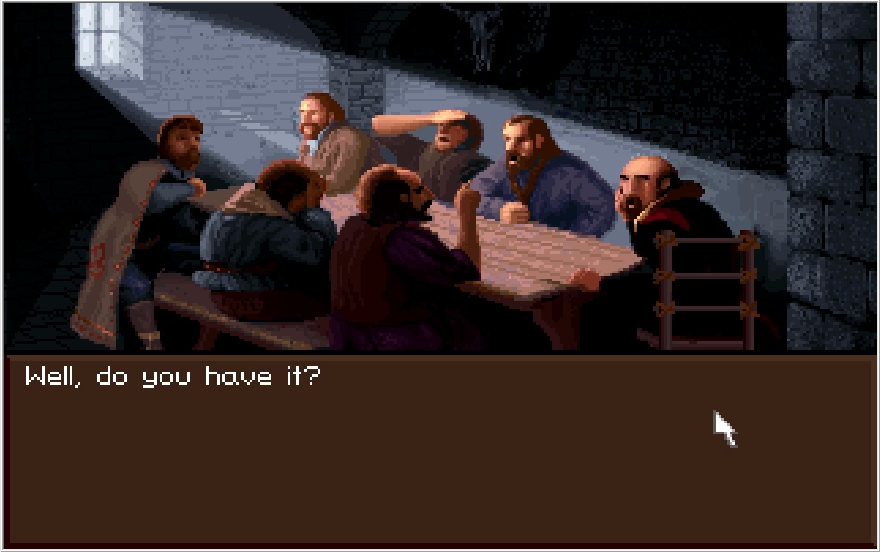
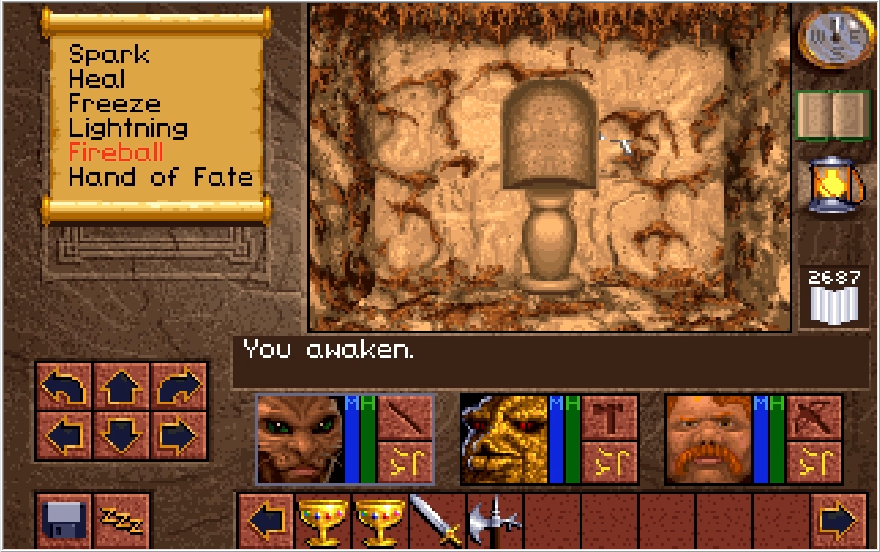
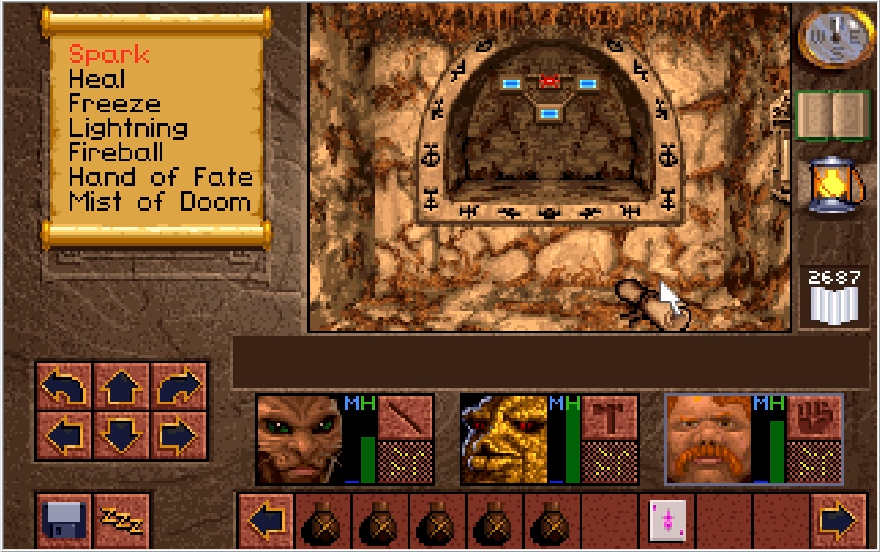
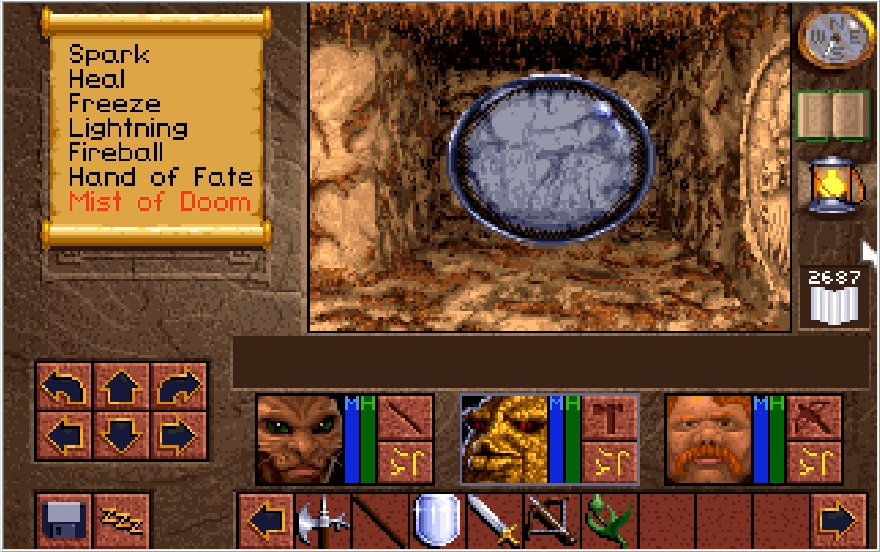
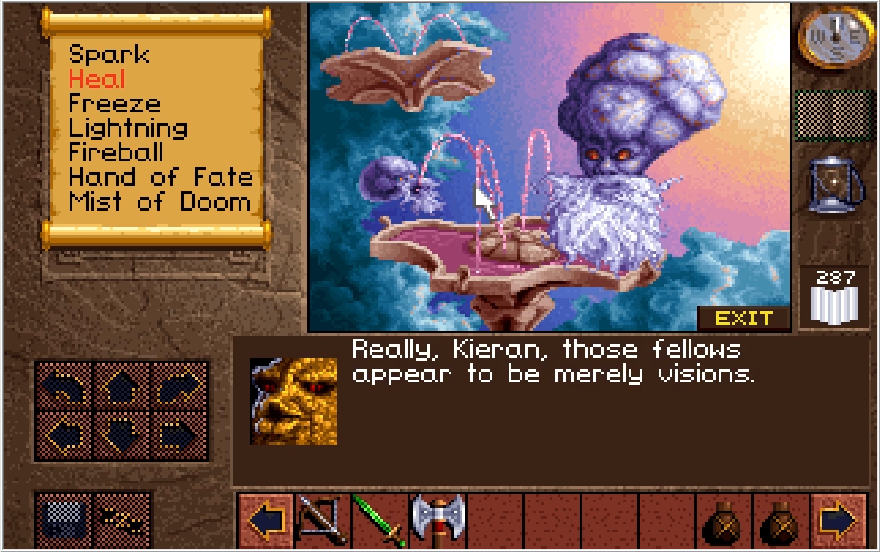
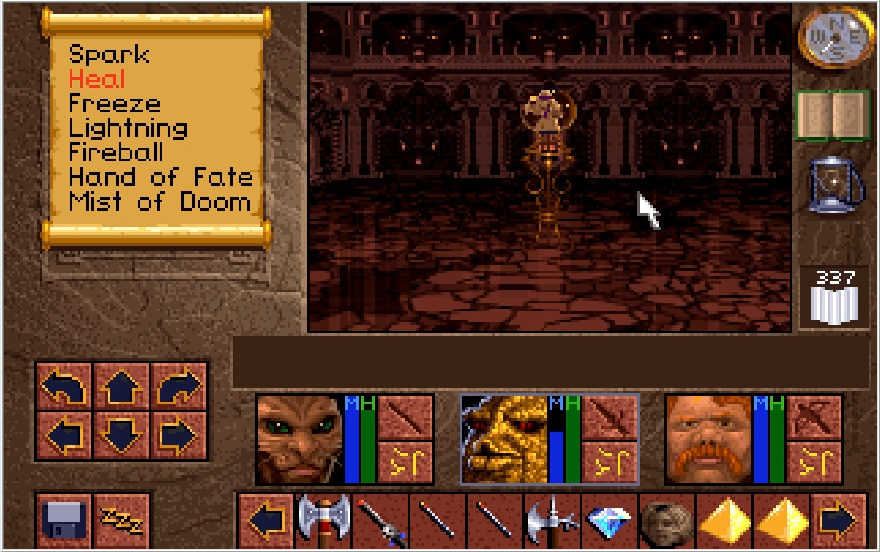
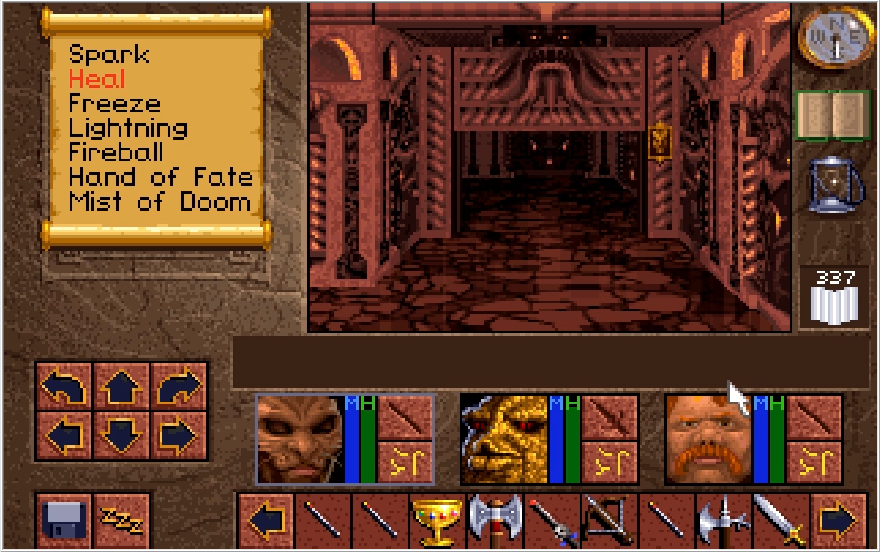
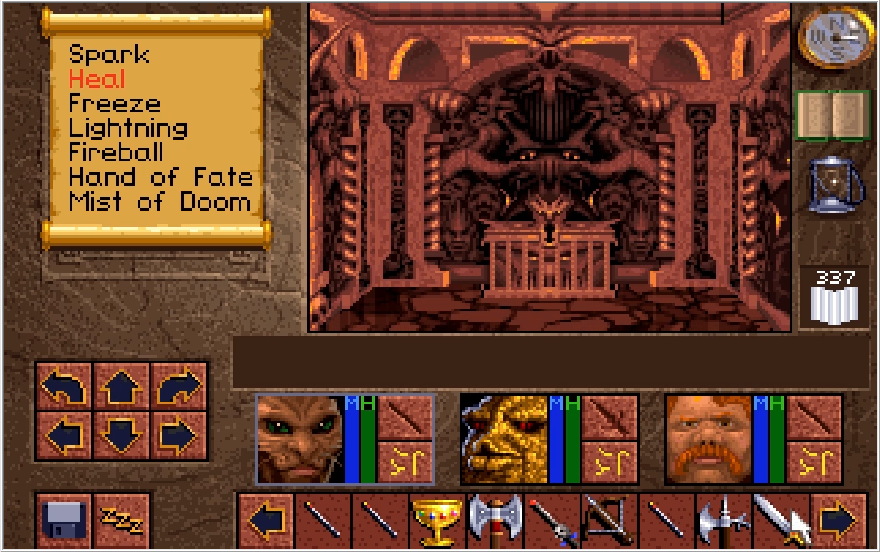
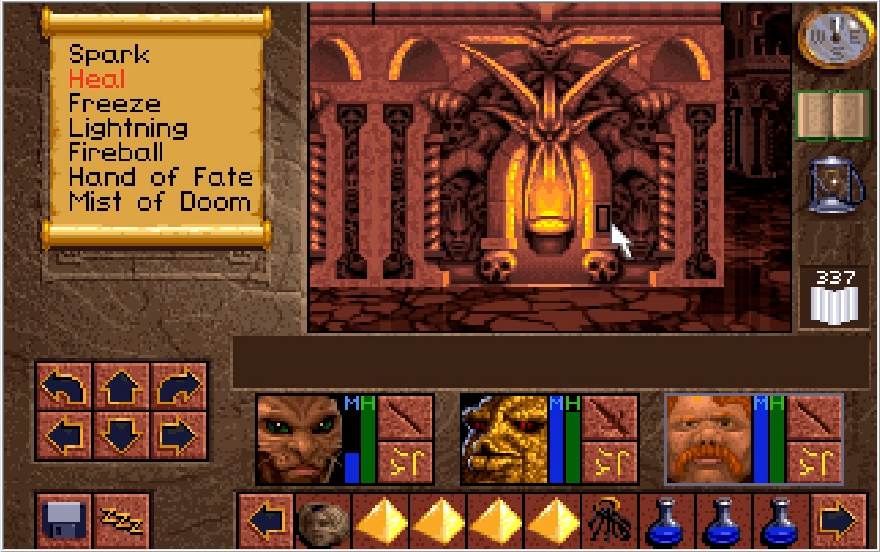
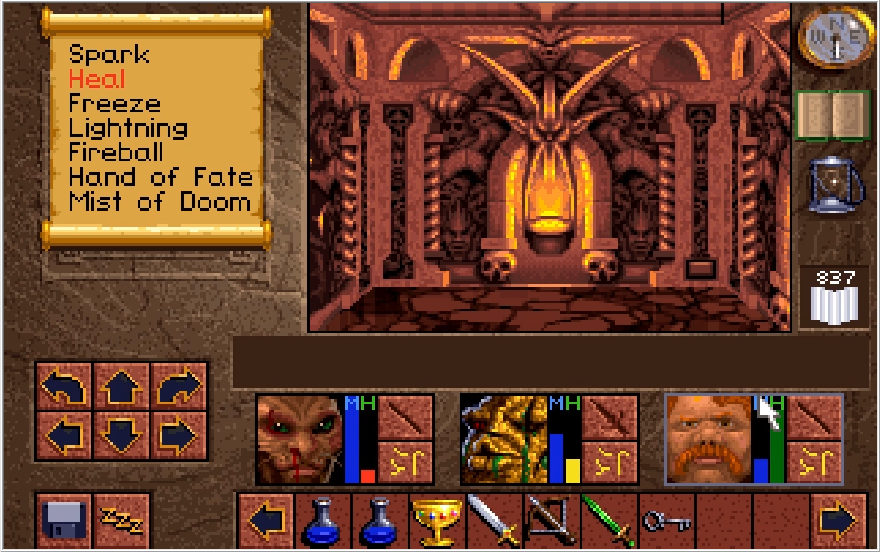
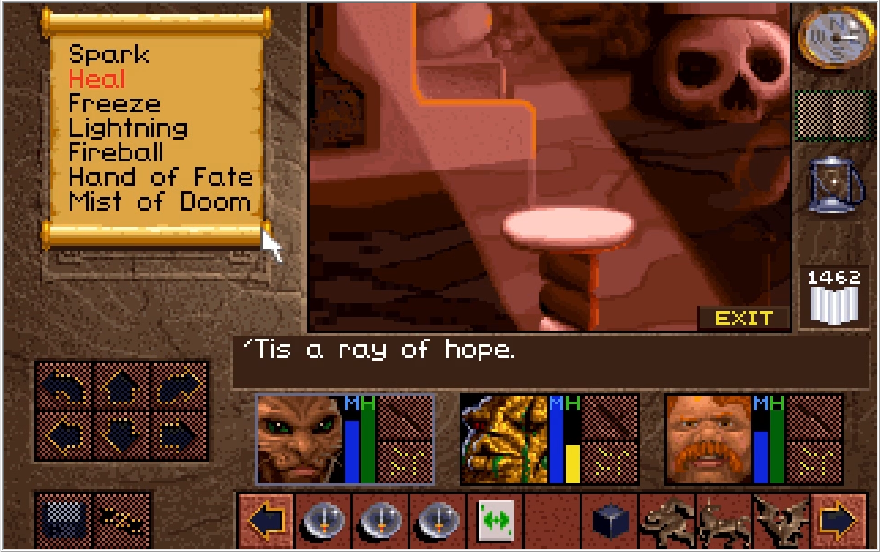
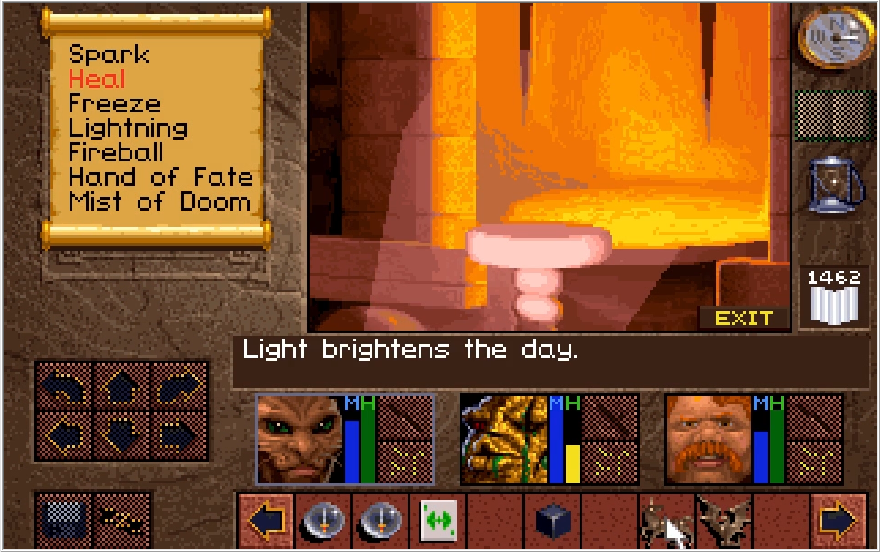
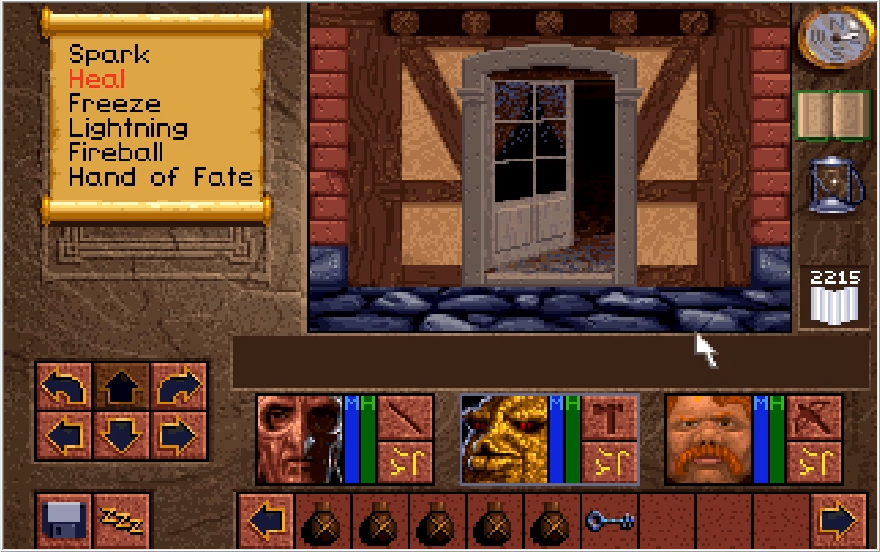
But how do we do that? Well past King Richard, you've probably also noticed the pedestal with the conspicuous light pouring onto it.
Certainly an unusual sight for this place, Paulson.
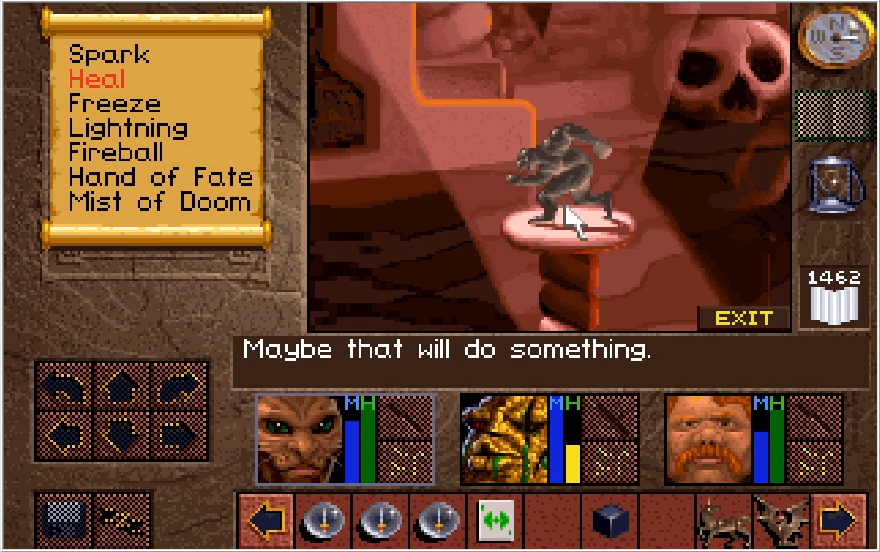
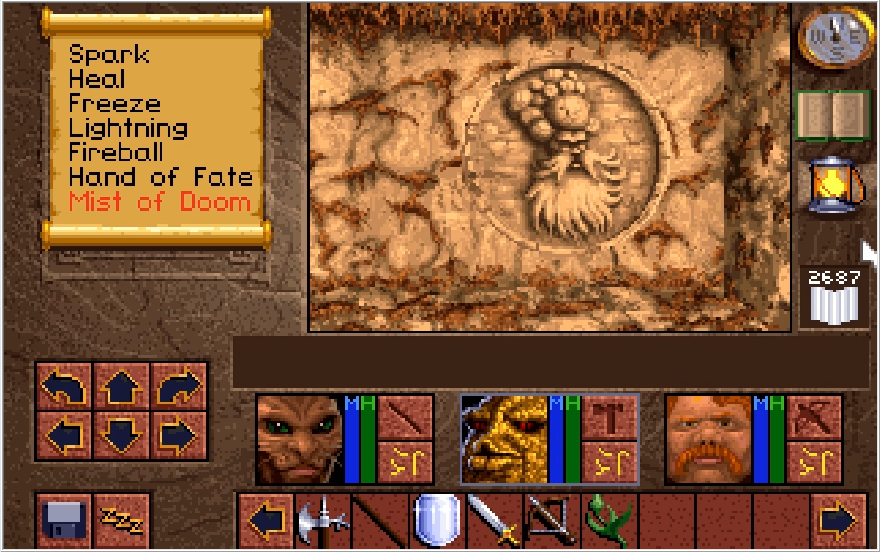
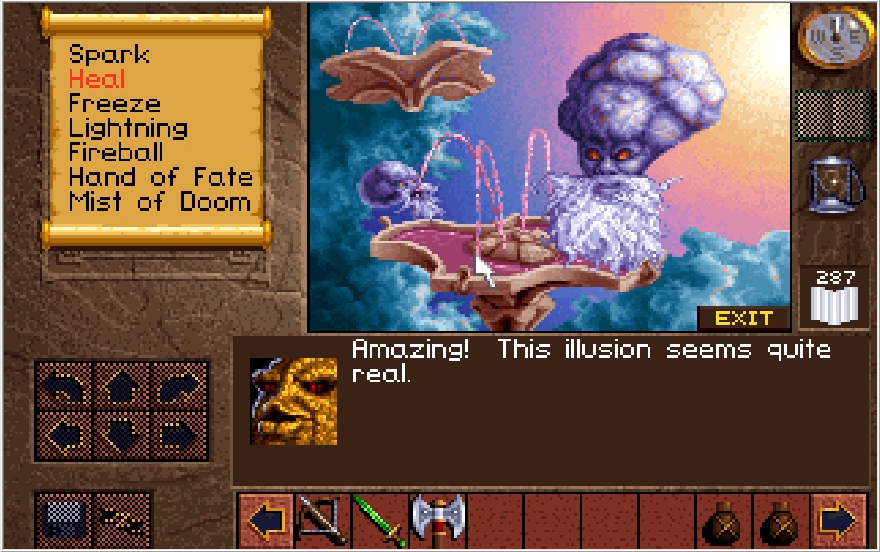
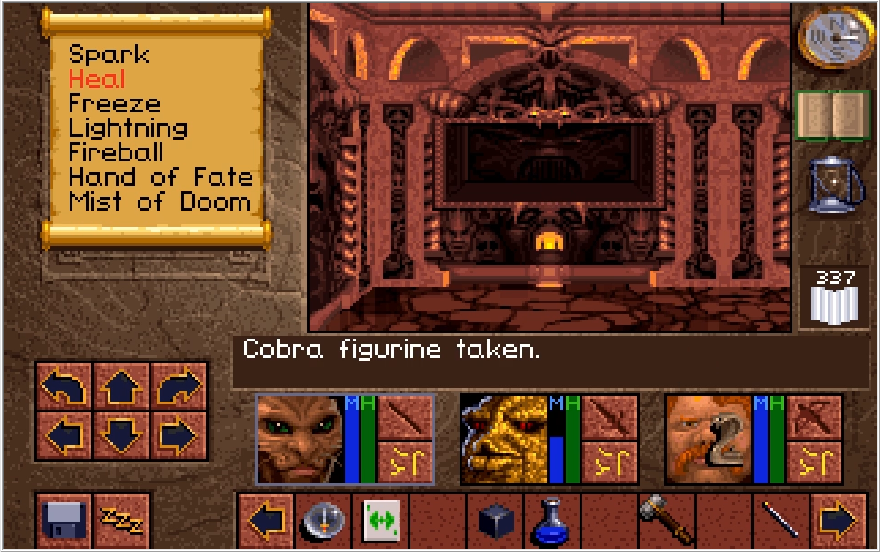
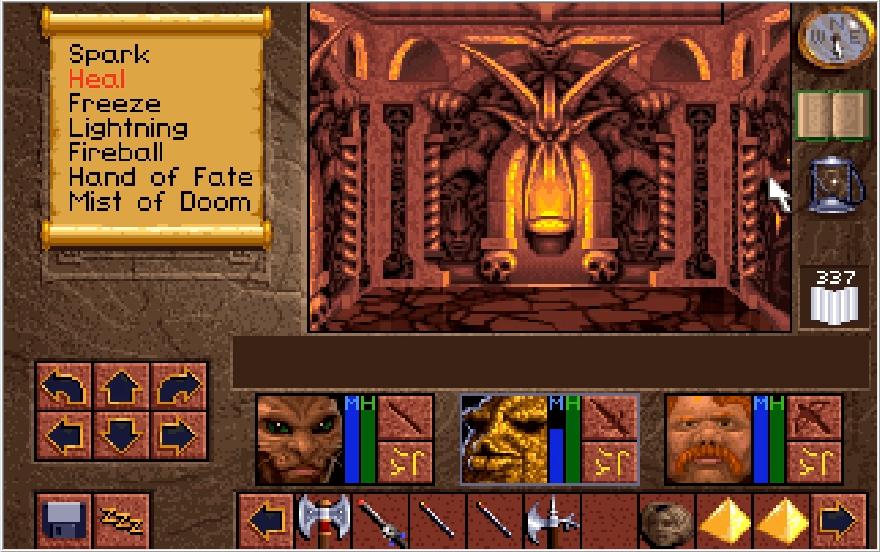
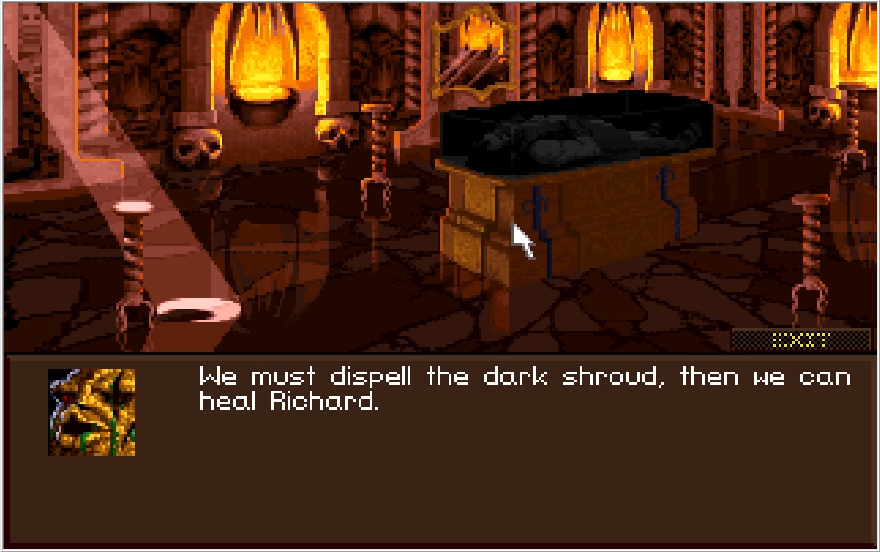
Now we can place our figurines on the pedestals, but each one requires a specific figure to properly direct the light.
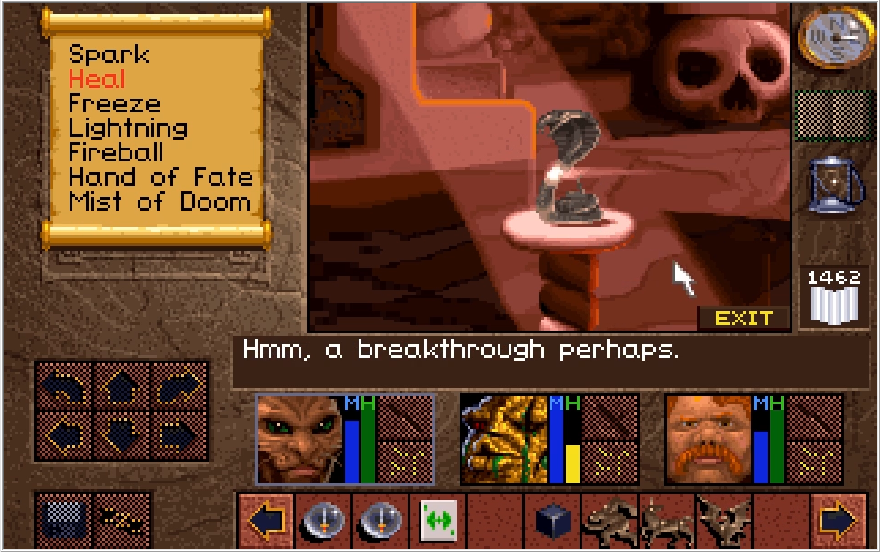
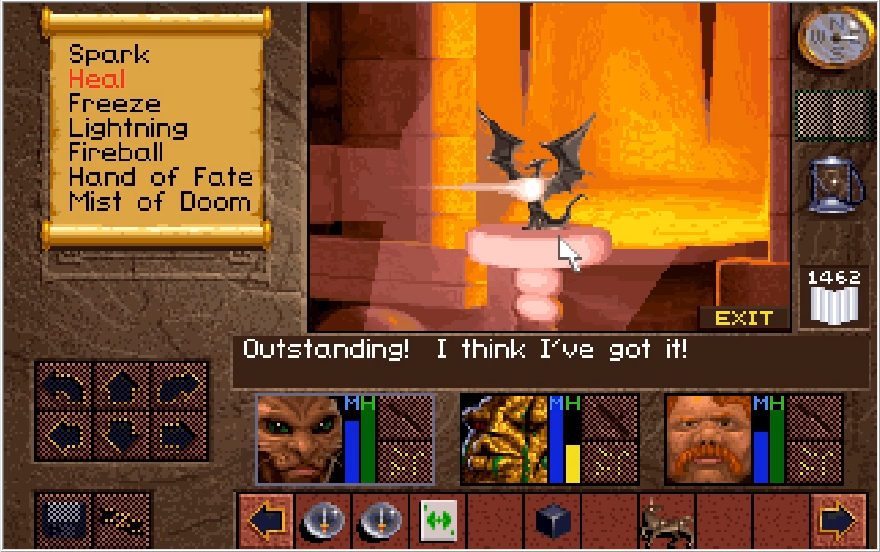
For this first one, the Cobra figure does the trick.
Each time you place the correct figure, the light beam connects to another pedestal in the room.
I assume he just means with the path of the lighting, because I have no idea how the order you place these figures in is supposed to make any sense.
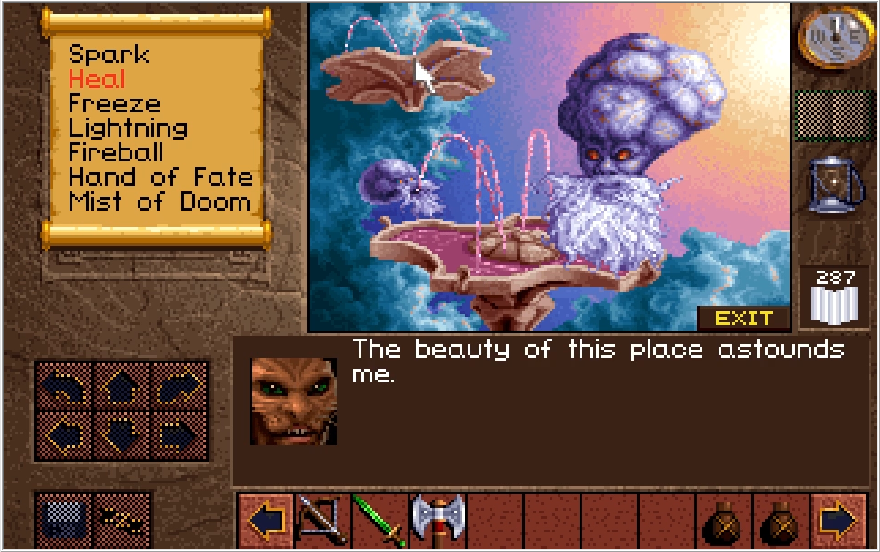
I think Paulson speaks about as many lines in this room as he has spoken since joining the party. Good to see he's got some life left in him.
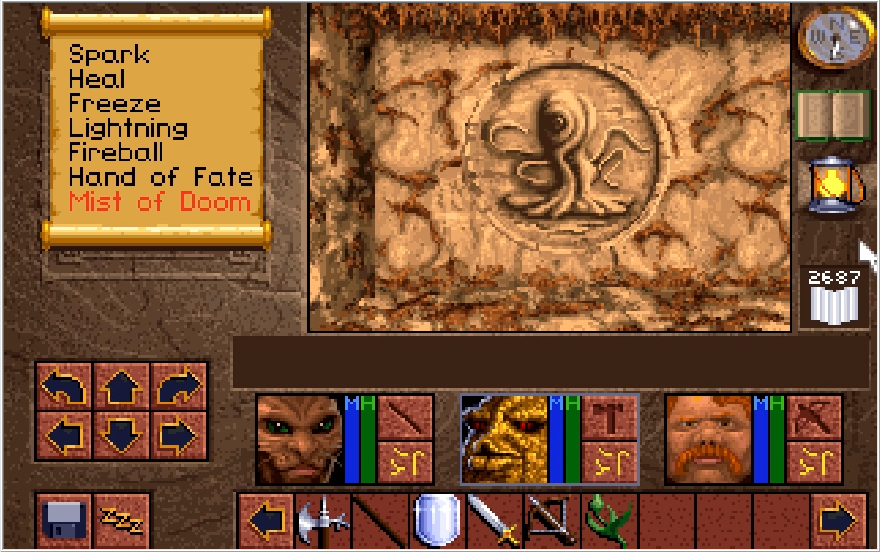
Like I guess I can kind of see the connection between a Cobra figure and a humanoid figure, not quite the snake I imagine when I think of temptation but I suppose there is something resembling a theme there.
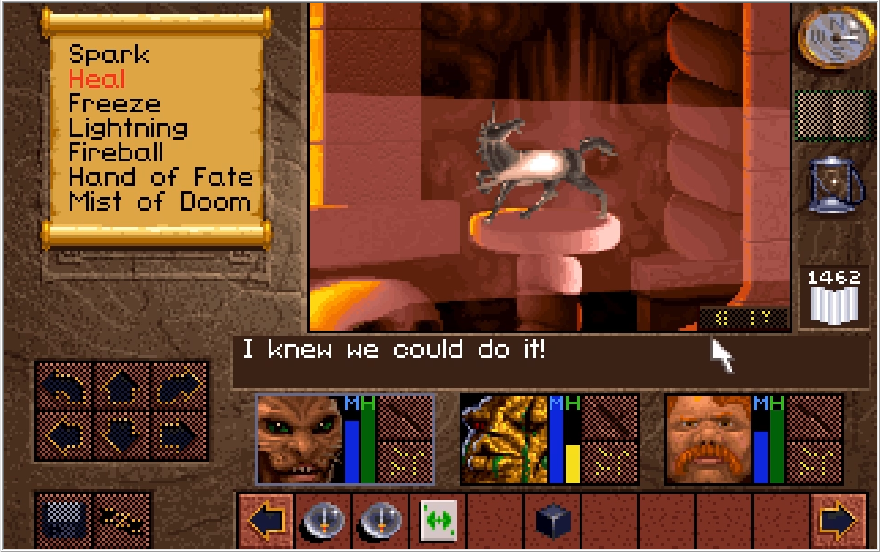
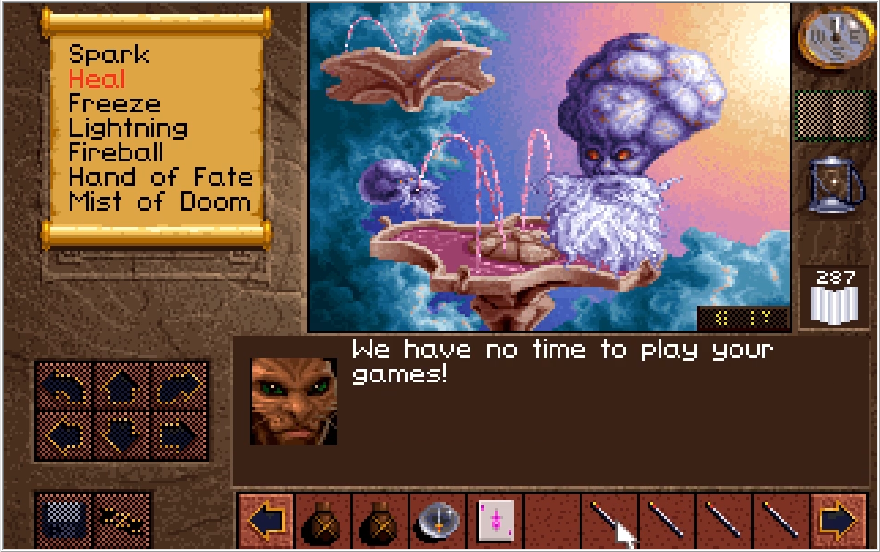
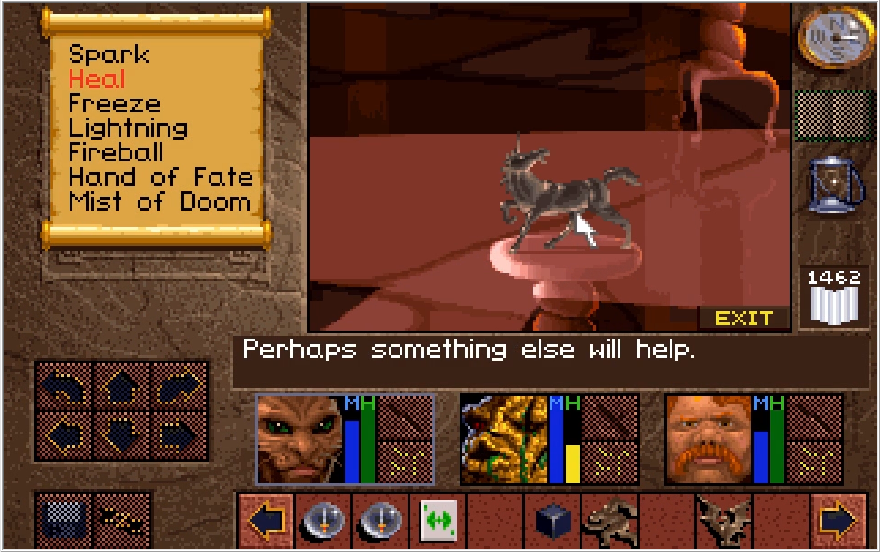
How humanoid connects to dragon which then connects to unicorn is a mystery for the ages. Post your theories!
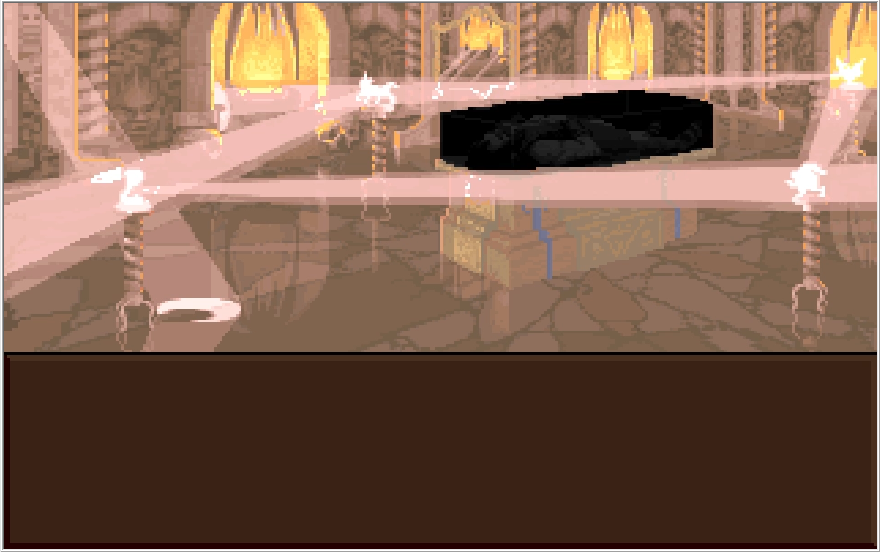
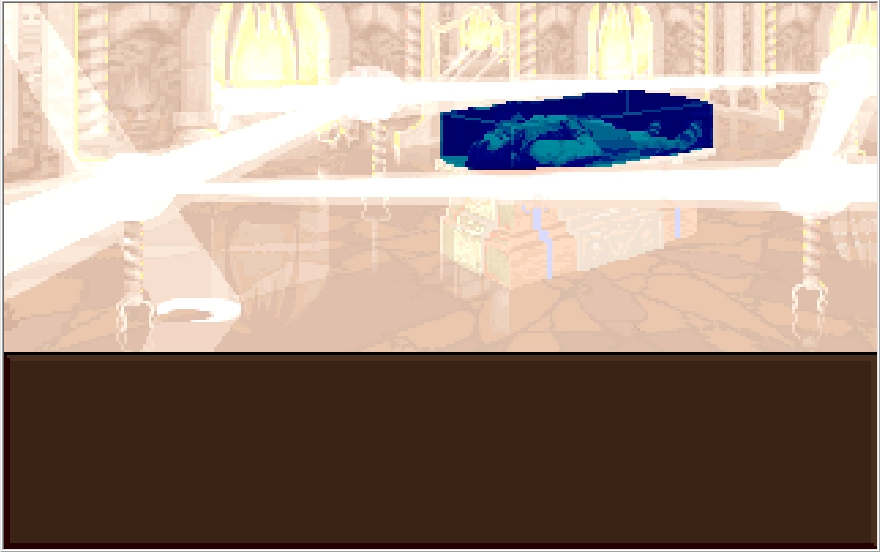
Oh yeah and once you place all the figures the room lights up like a Bandai-Namco splash screen and the corrupting shadow is banished from Richard's shroud.

The resolution of one fetch quest immediately feeds into the conclusion of two others!
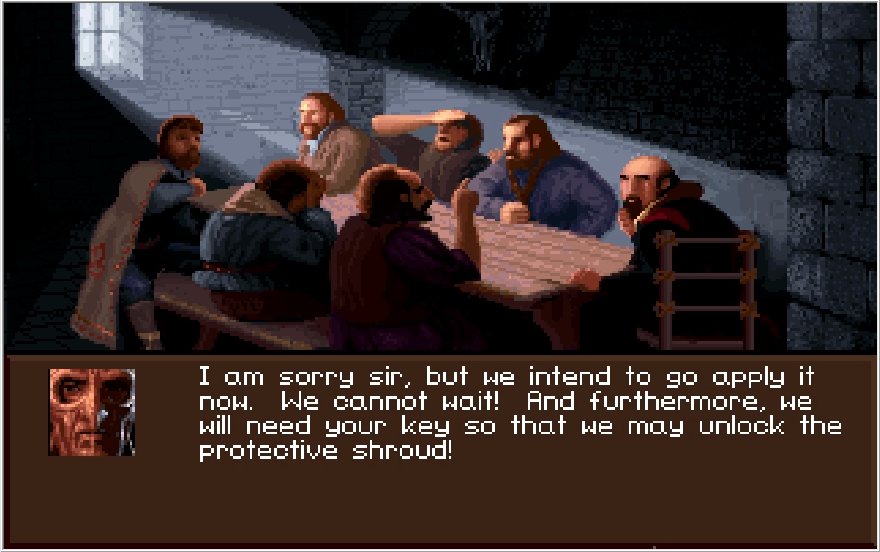
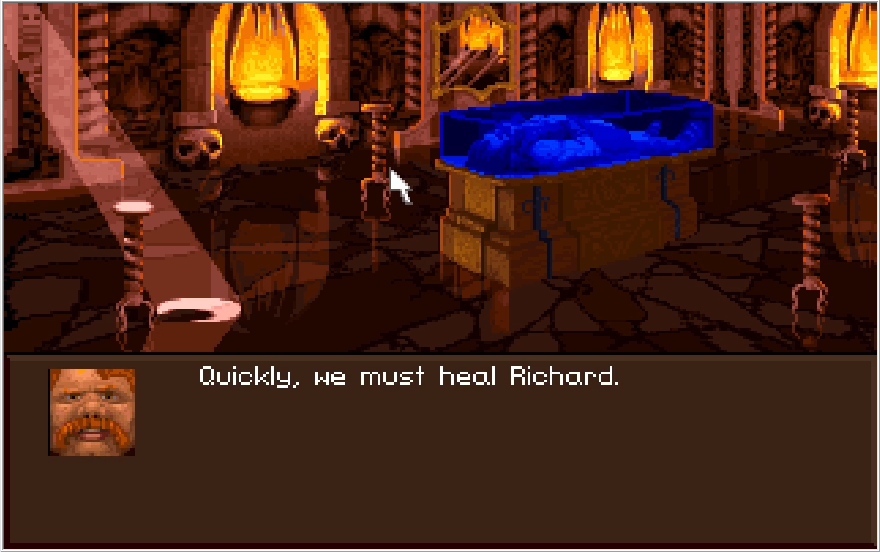
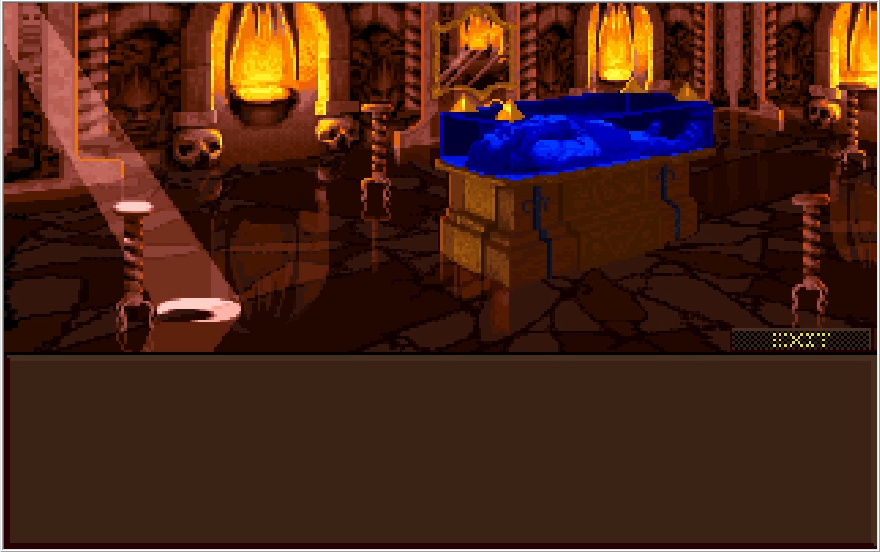
We must now place the keys we've been collecting onto the corners of the shroud.
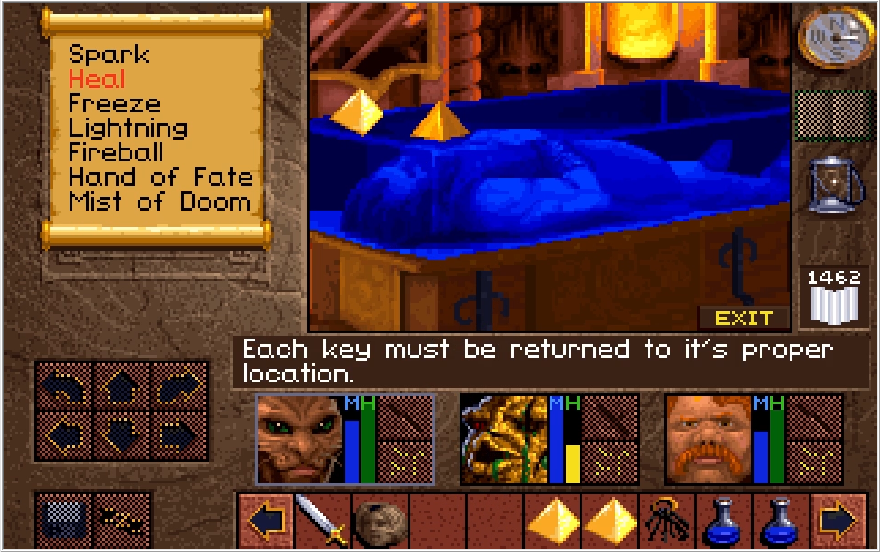
It's a bit hard to tell where each key is supposed to go. I guess the positions kind of correspond to where each council member was standing when the shroud was created, though since they were all one one side of the room it doesn't work super cleanly. You'll likely have to fumble with this for a bit to find the right spot for each key since that was like 6 hours of game time ago and two months worth of updates.

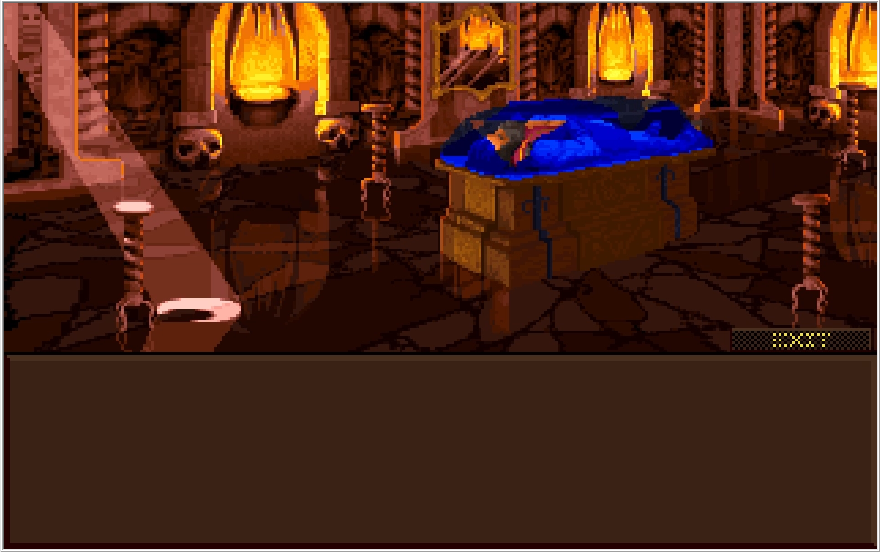
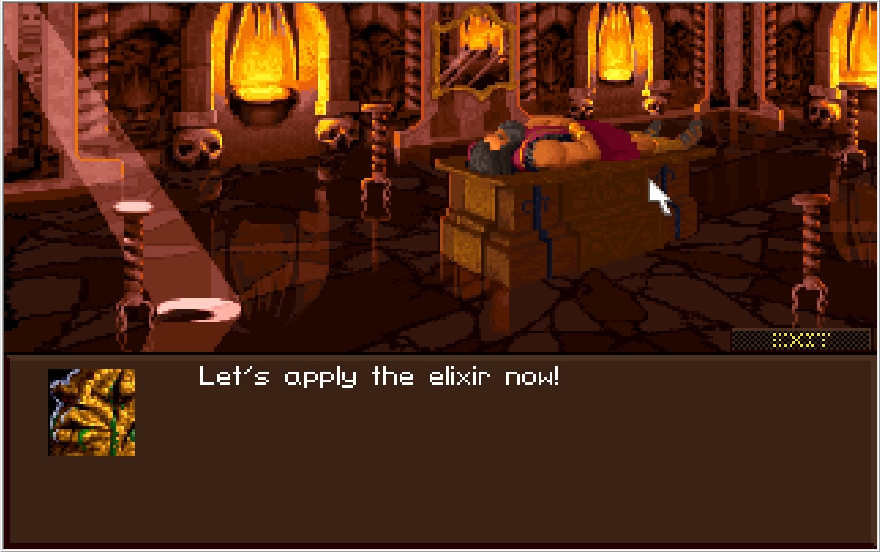
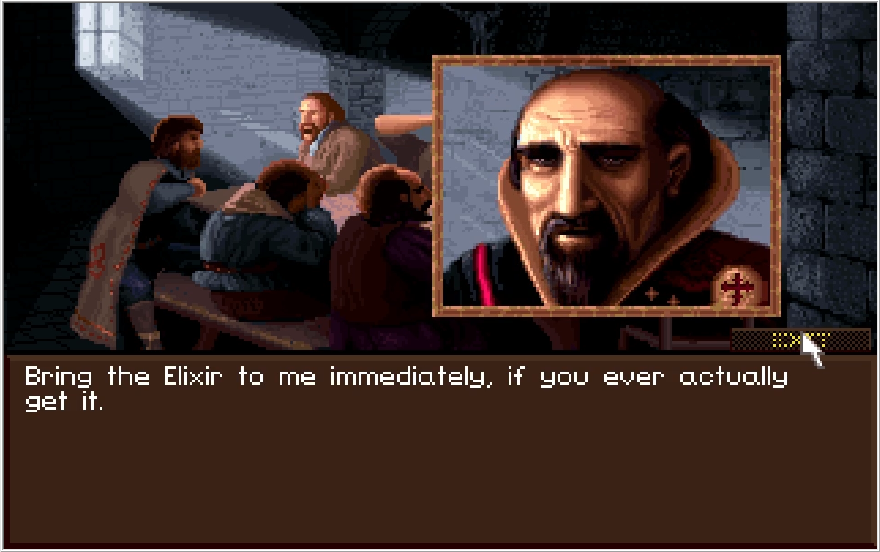
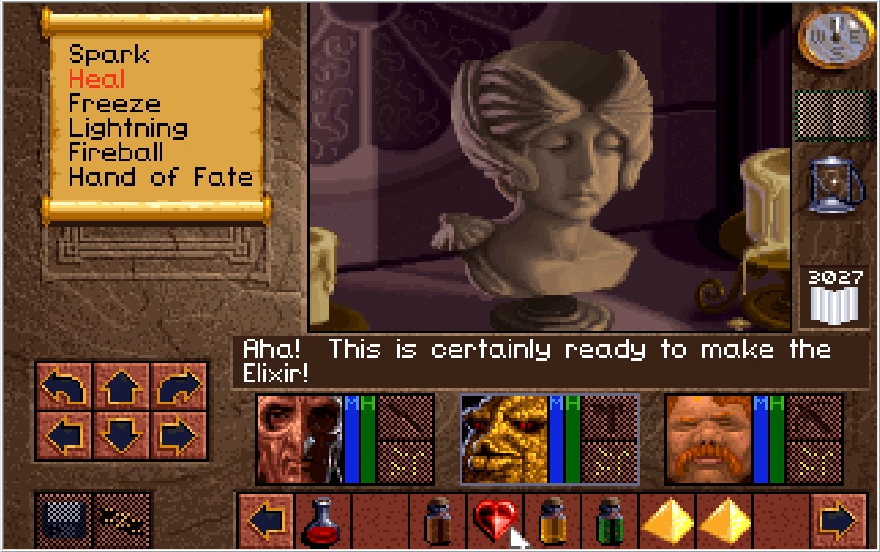
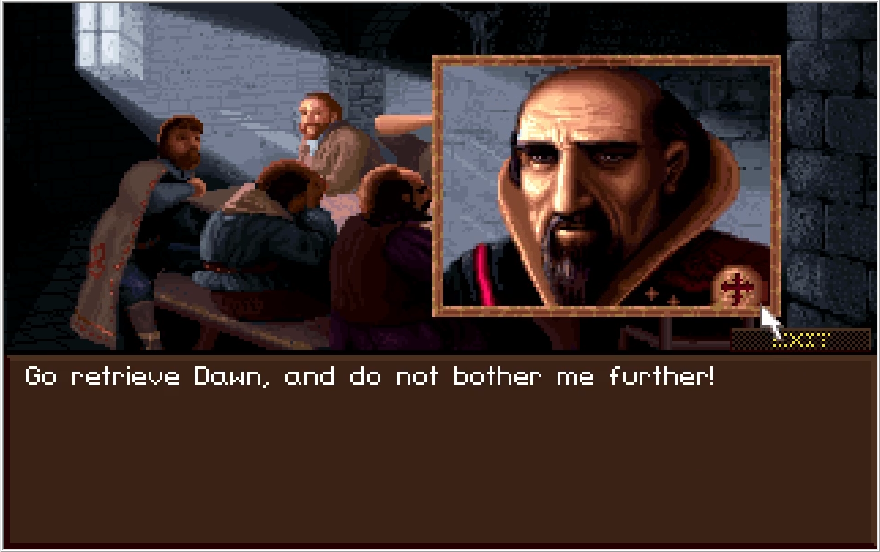
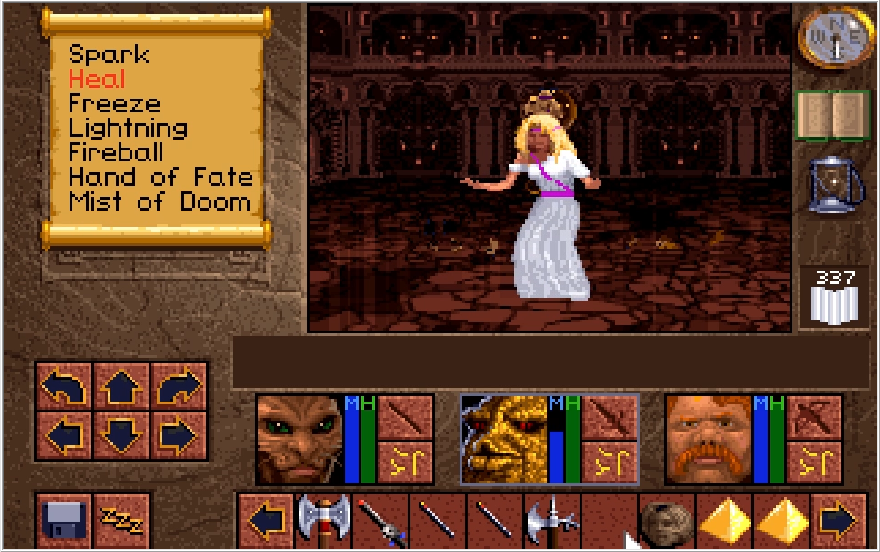
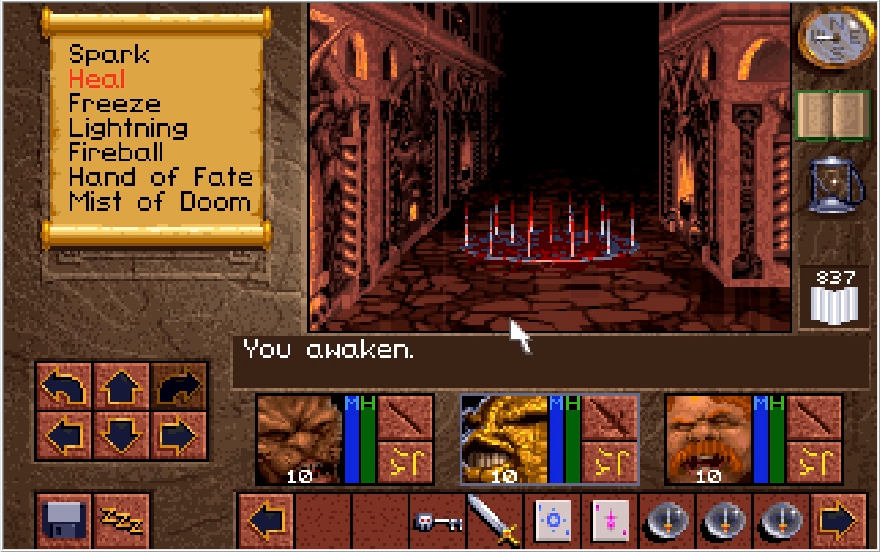
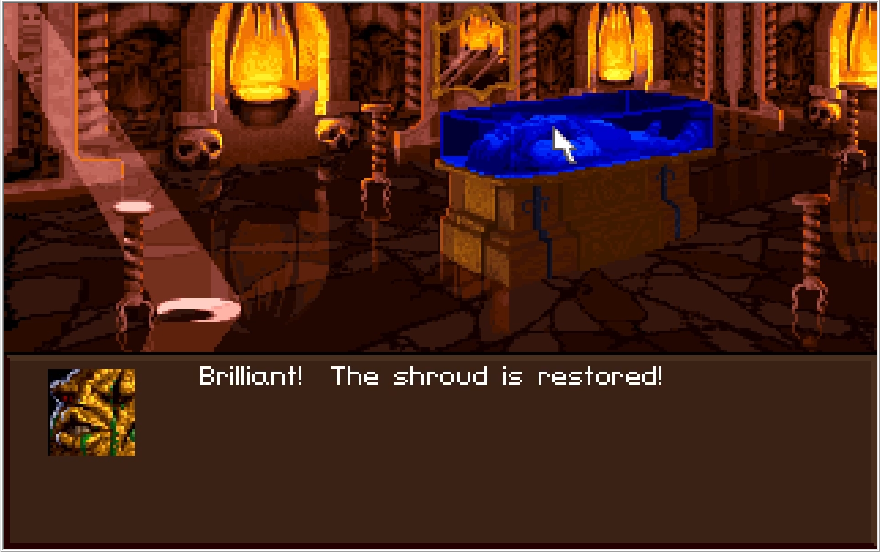
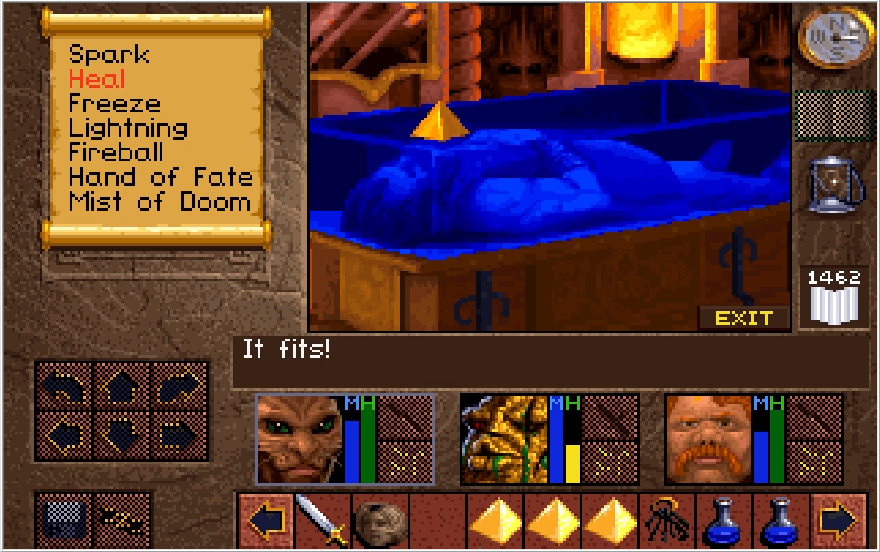
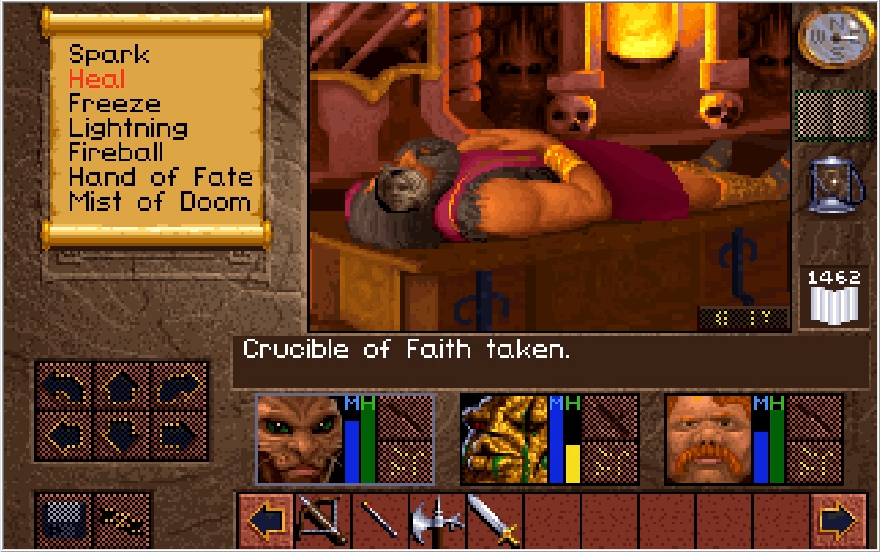
Once the keys are placed, they flash brilliantly and the shroud is cleared, allowing us to give Richard the Elixir! Man, was that a protective shroud or a tanning bed? Richard looks like he's been bathing in tanning oil.
Music: Healing Richard
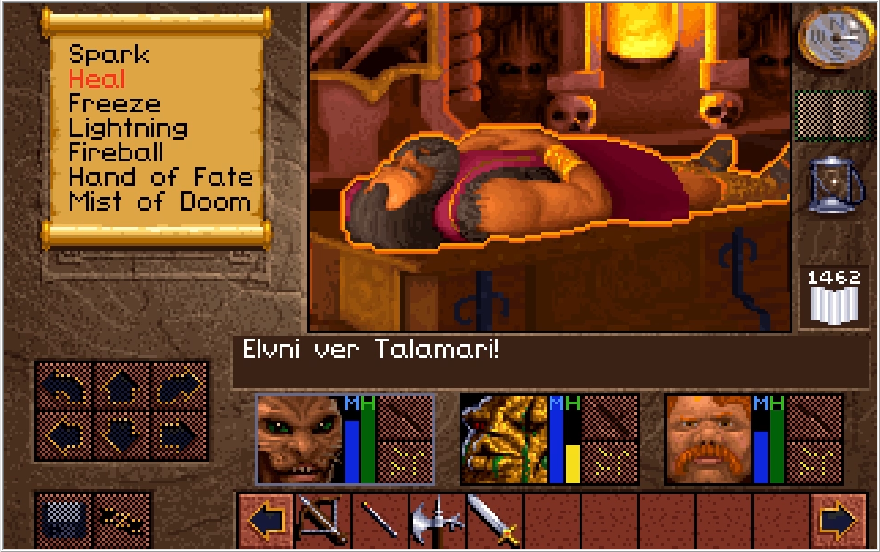
If you watch the video, Kieran's incantation has way more words than they actually bother to subtitle.
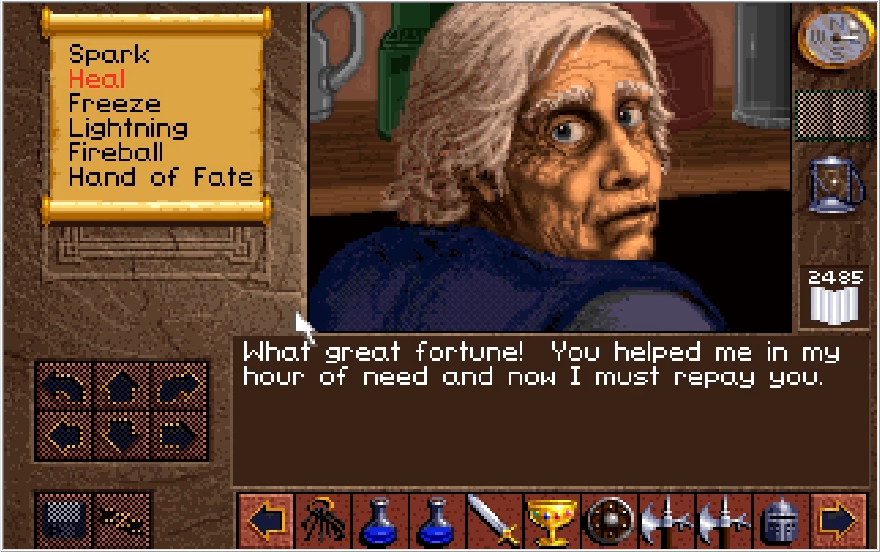
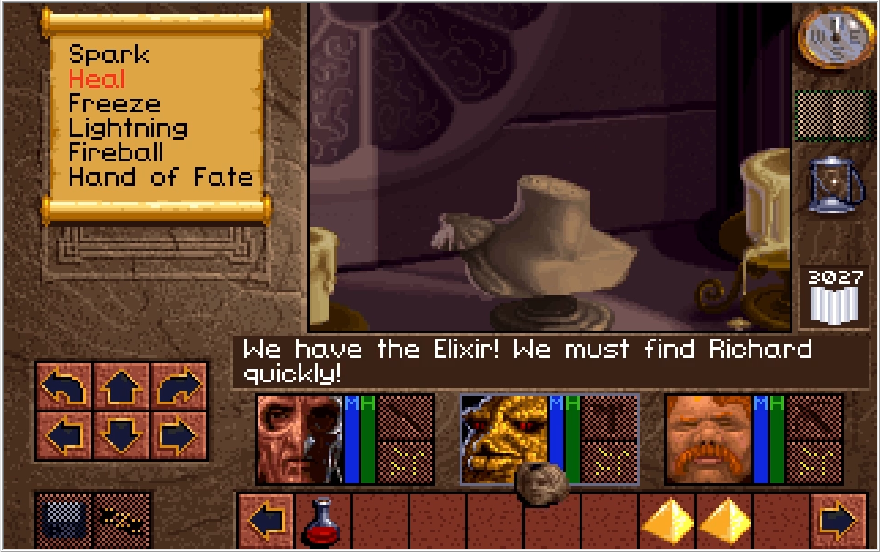
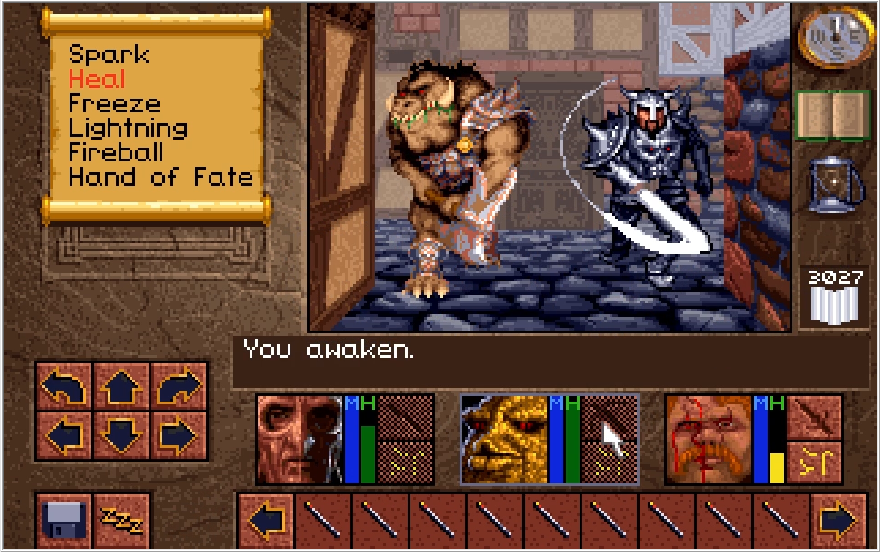
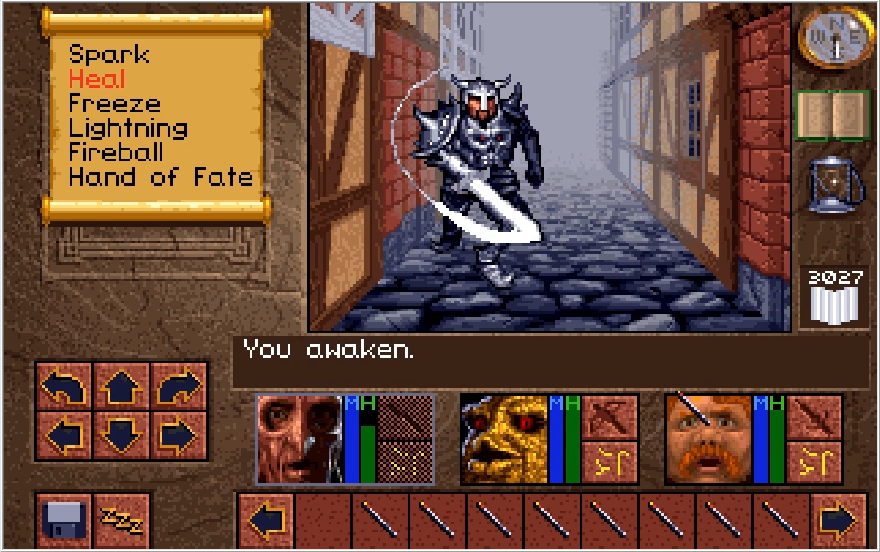
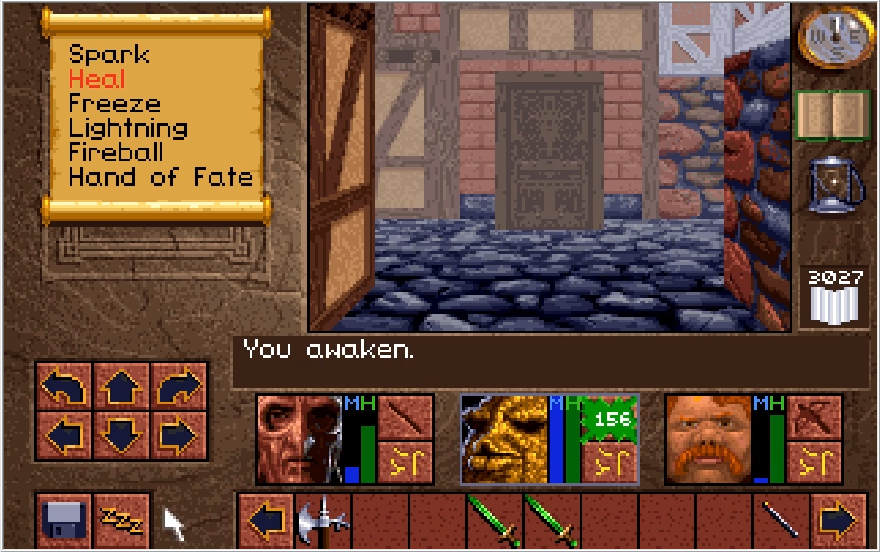
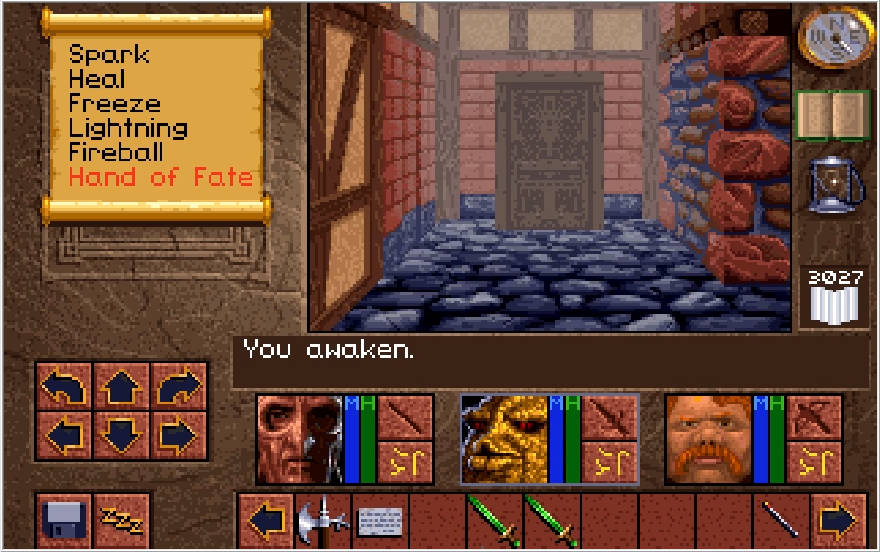
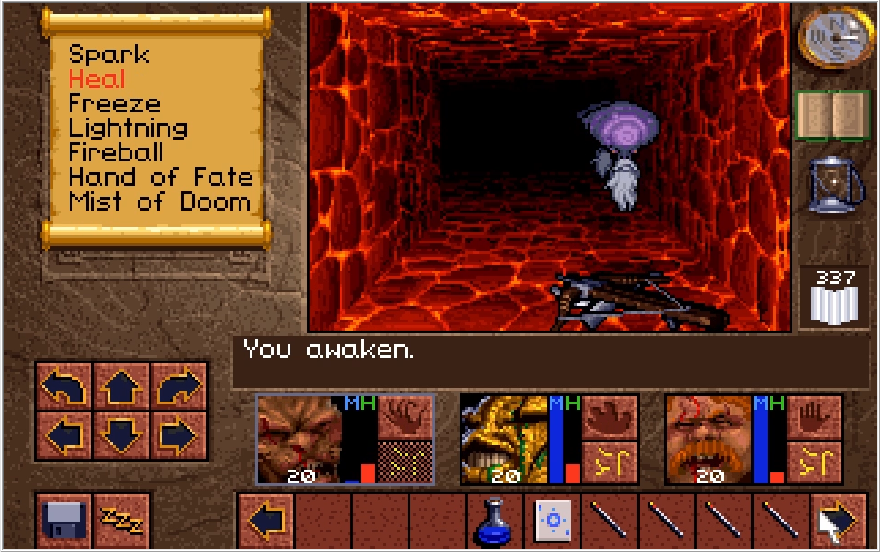
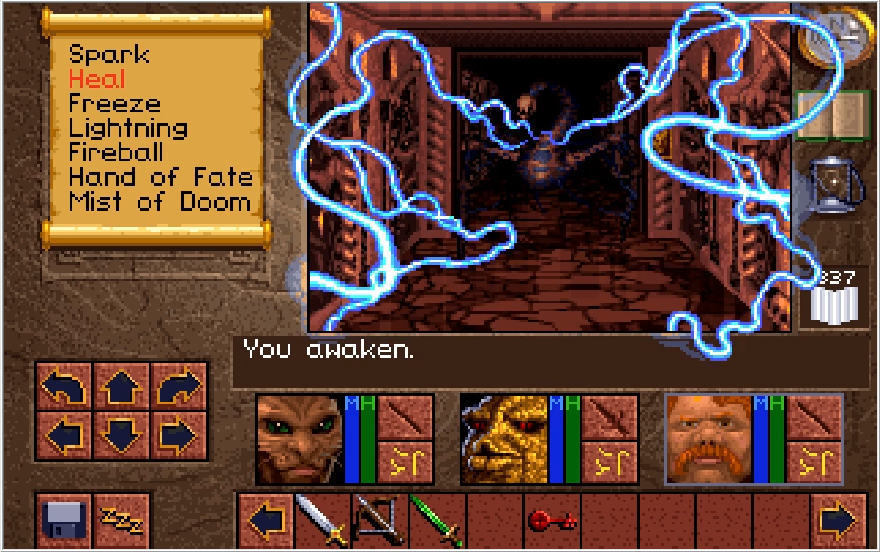
With a gasp, Richard awakens! I hope the Elixir eases the stiffness in his muscles, I can't imagine that bronze bed he's on is too comfortable.
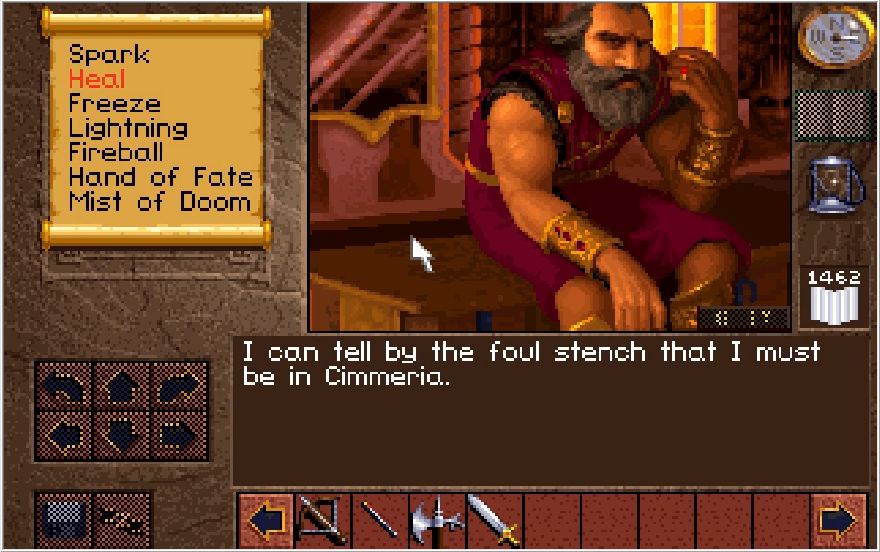
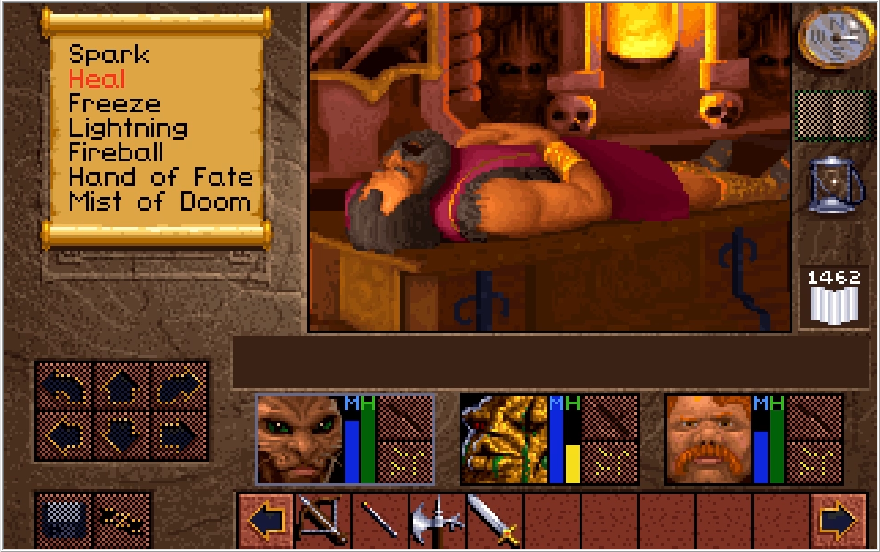
Apparently Cimmeria has some serious stank in the air. It's been so long since we've heard Patrick Stewart's voice that it's kind of weird to remember he's in this game.
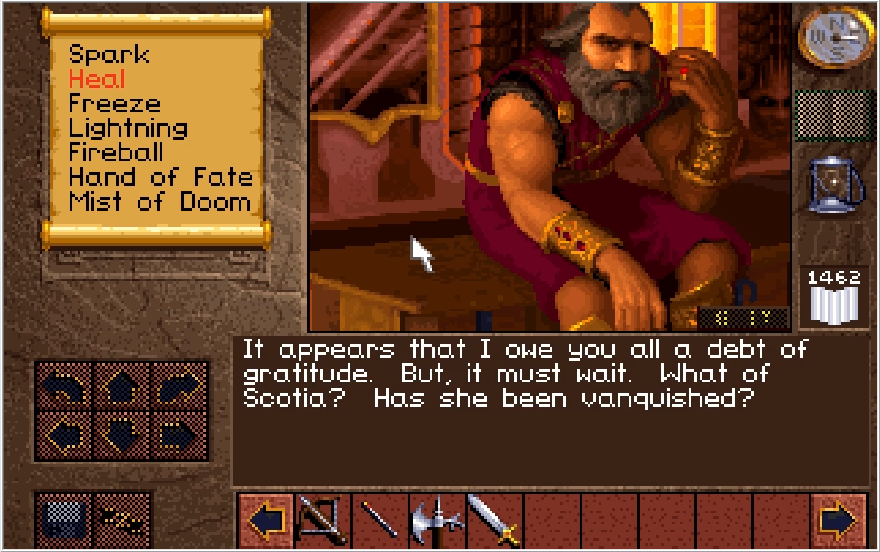
Dude has been out cold for days under the effects of lethal poisoning, and the only thing he can think upon waking up is "have you killed that old bitch yet?" Are we sure Richard isn't an iron-fisted and blood thirsty tyrant?
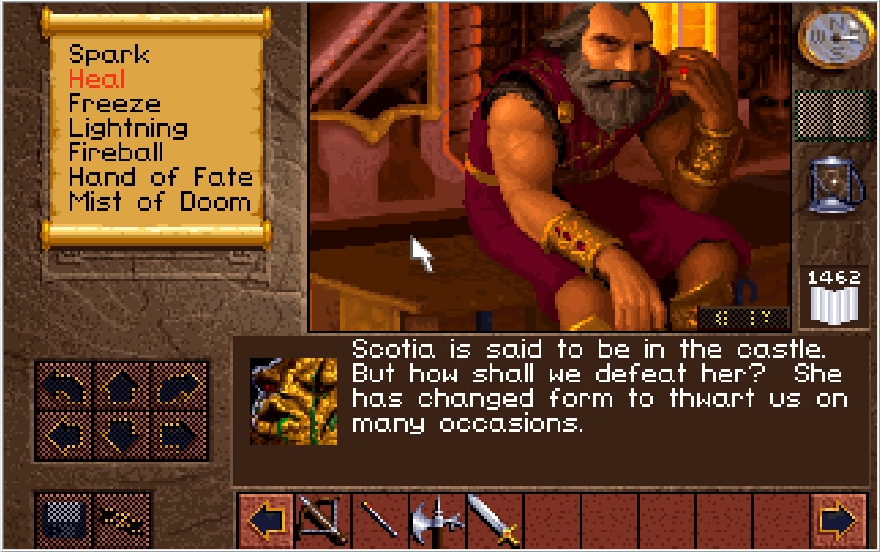
This is one of those lines that makes me think the game was meant to be longer. Baccata had only two encounters with Scotia, only one of them did she transform in an effort to fight us and we beat her ass in that instance.
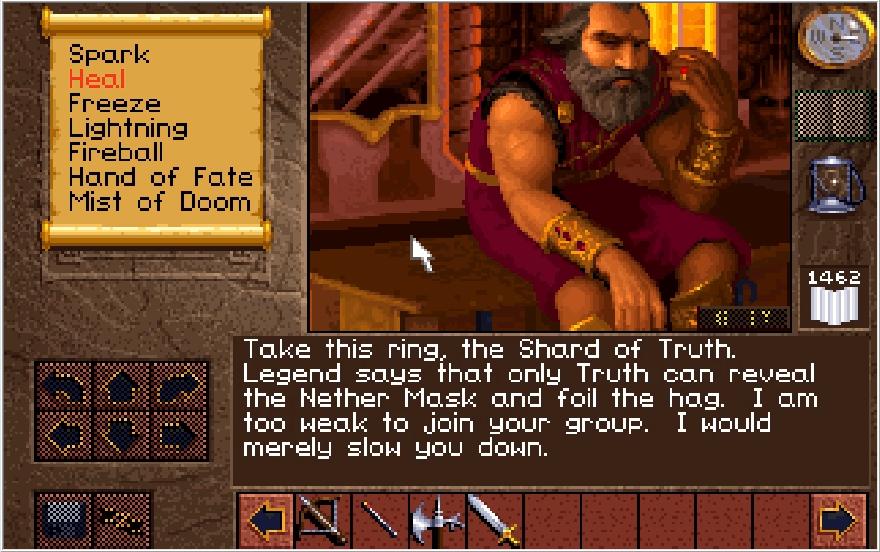
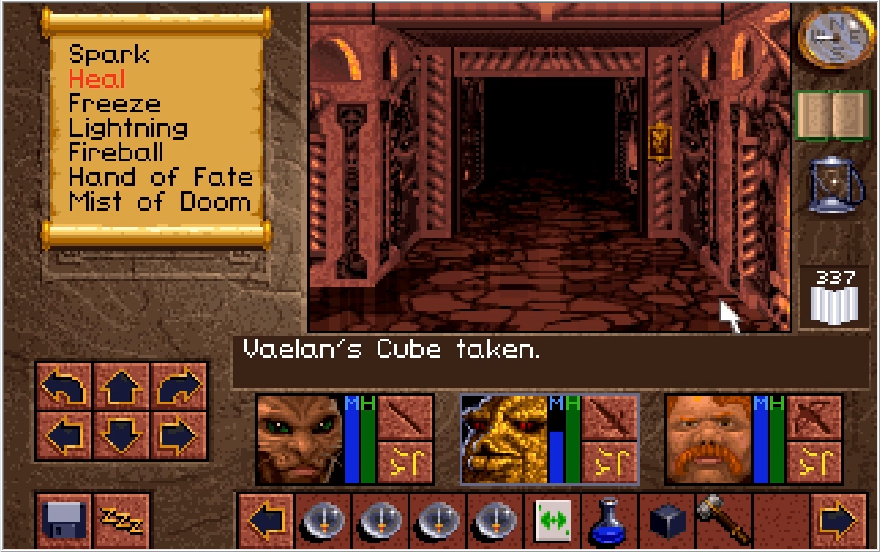
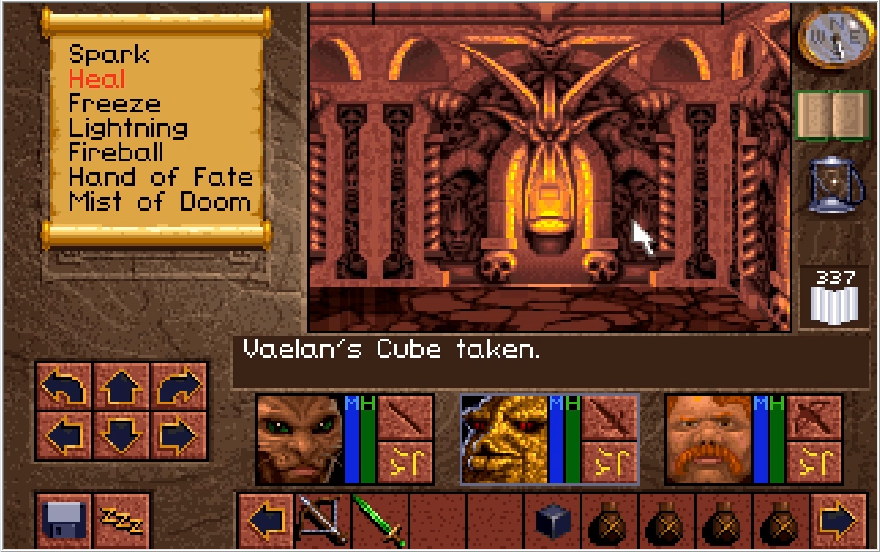
Finally that bit of lore from the mini-update comes back into relevancy as Richard bestows upon us the Shard of Truth!
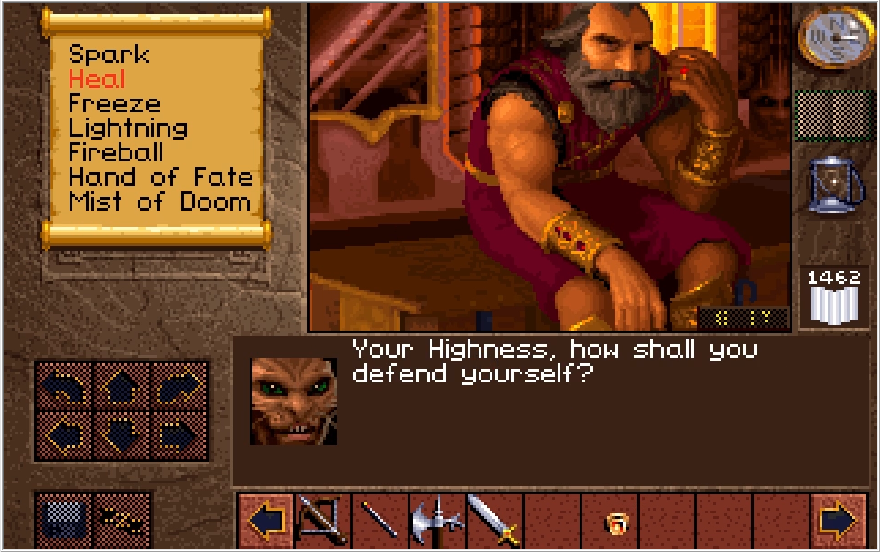

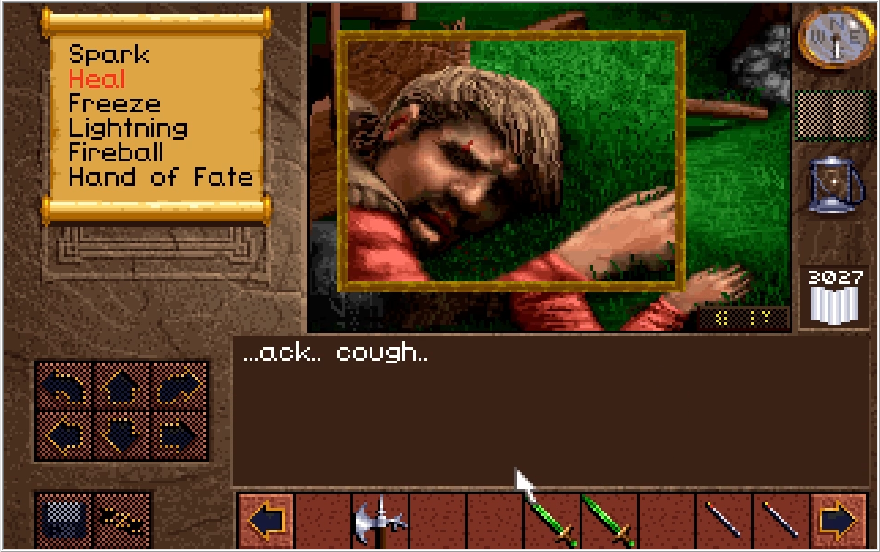
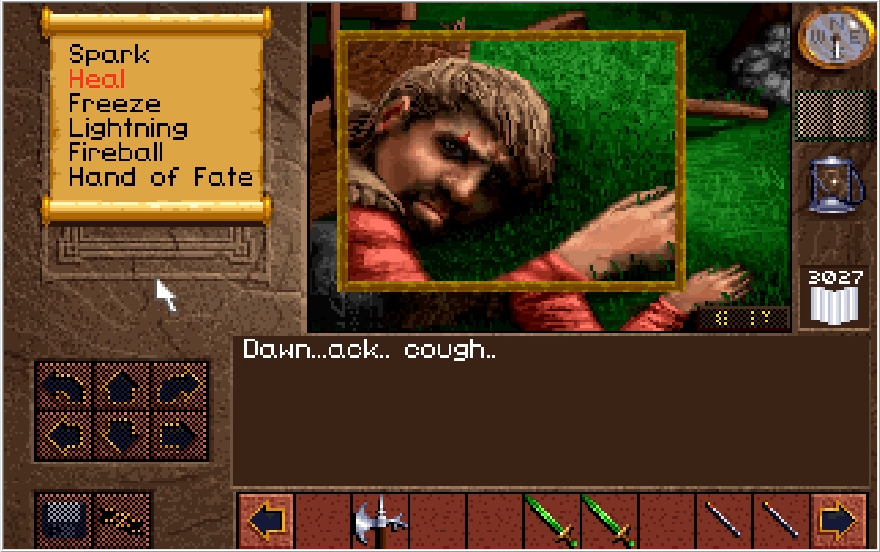
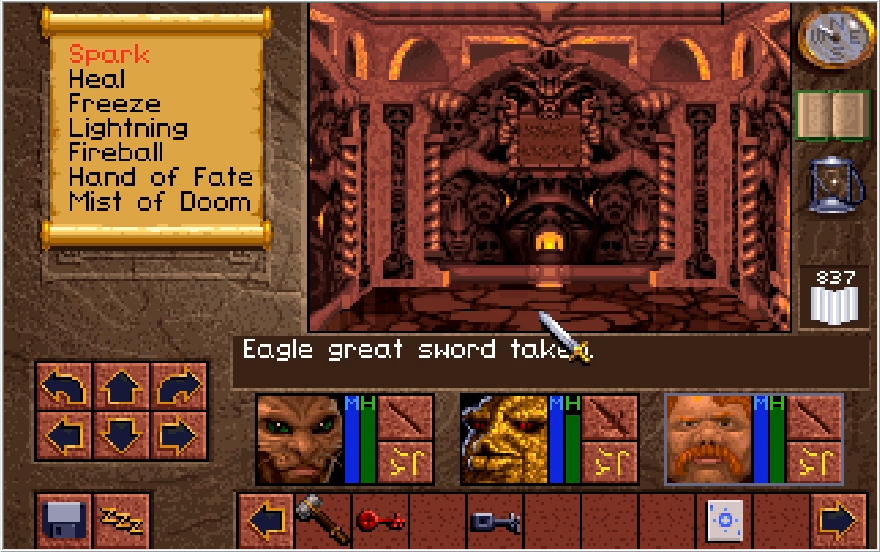
The game gives you the option of giving Richard a weapon in turn. Like saving Dawn, this affects precisely nothing. We have a bunch of spares though, so why the hell not?
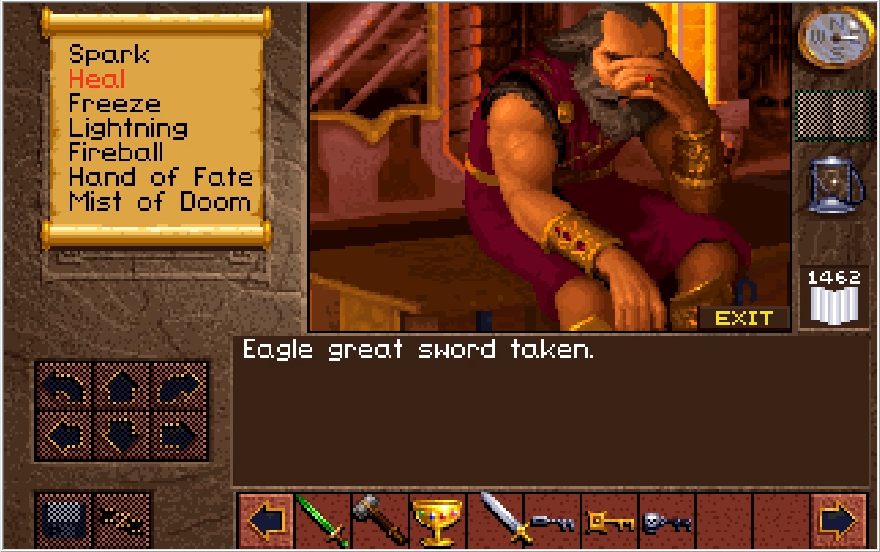
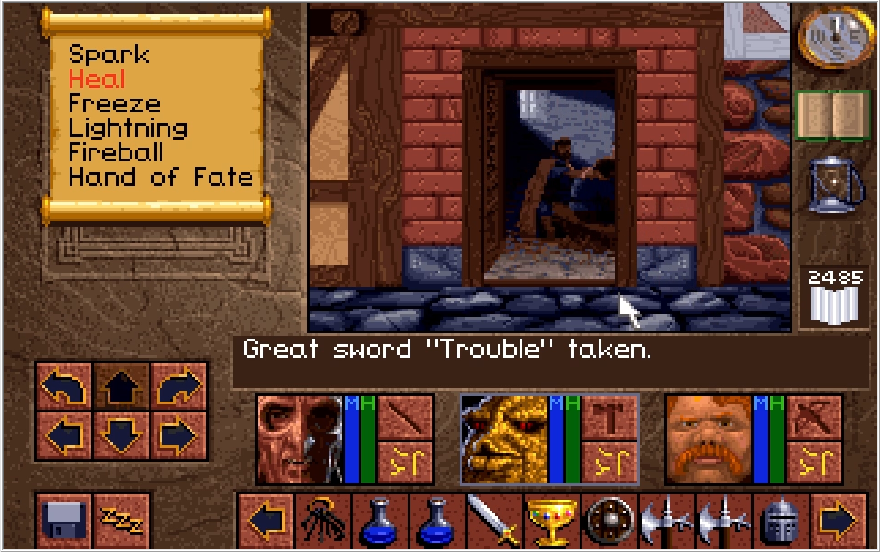
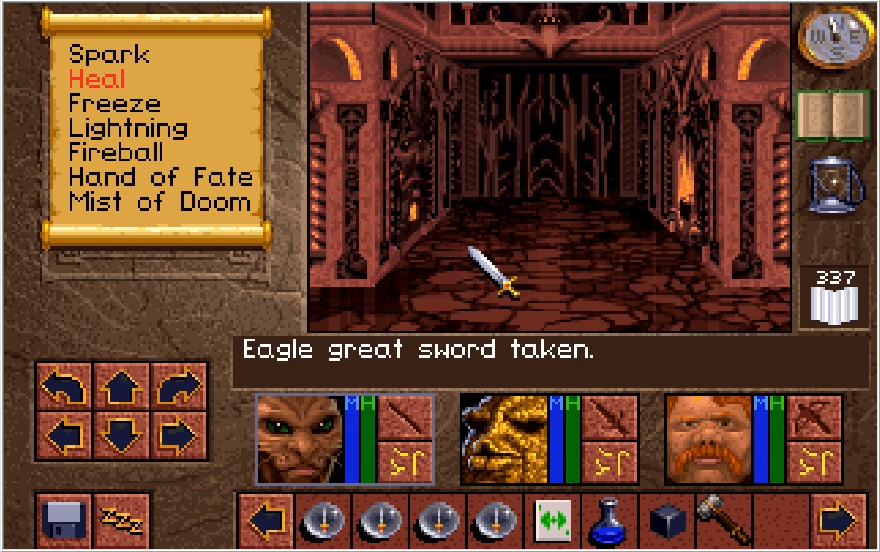
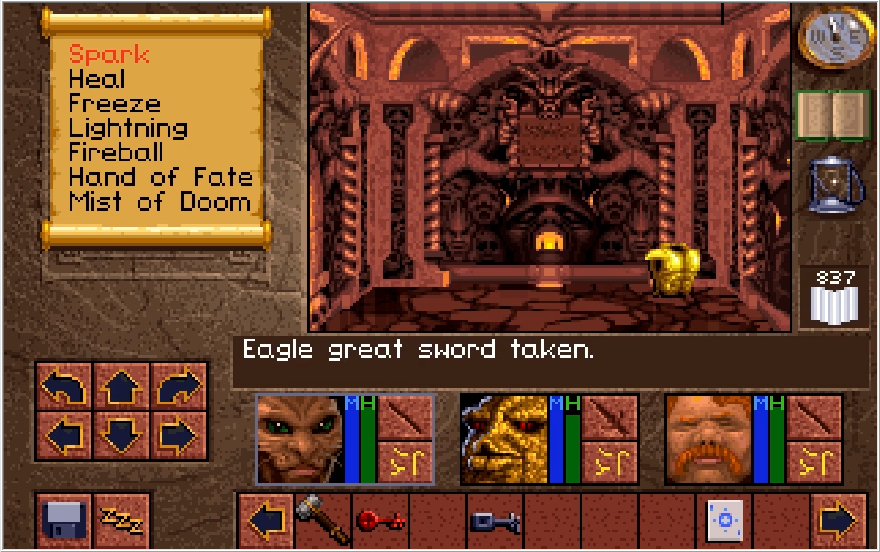
I remember that the Eagle is Richard's mascot, so this Eagle great sword should suit him perfectly!
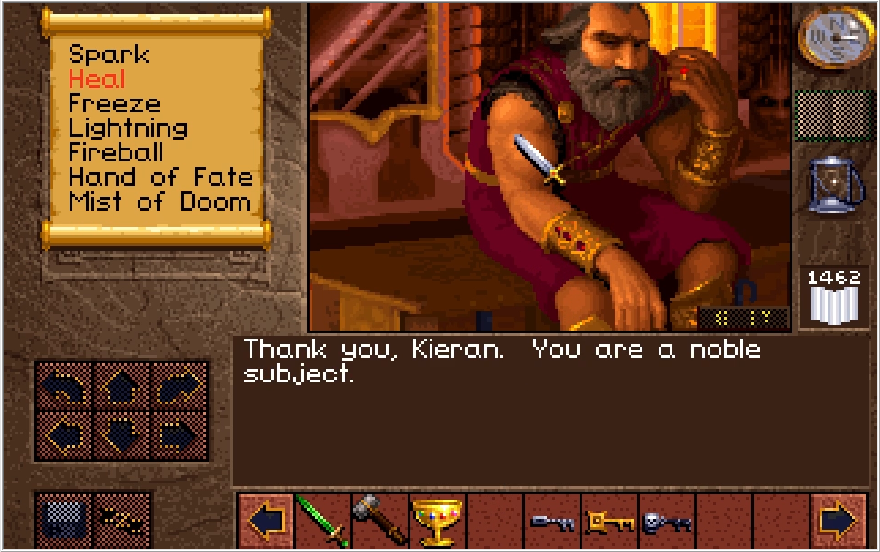
"Thank you sir, please don't turn and execute me once this is all said and done."
So, the Shard of Truth. On it's own, this does not do anything. No use as an item and equipping it yields no results. It does have a unique function though.
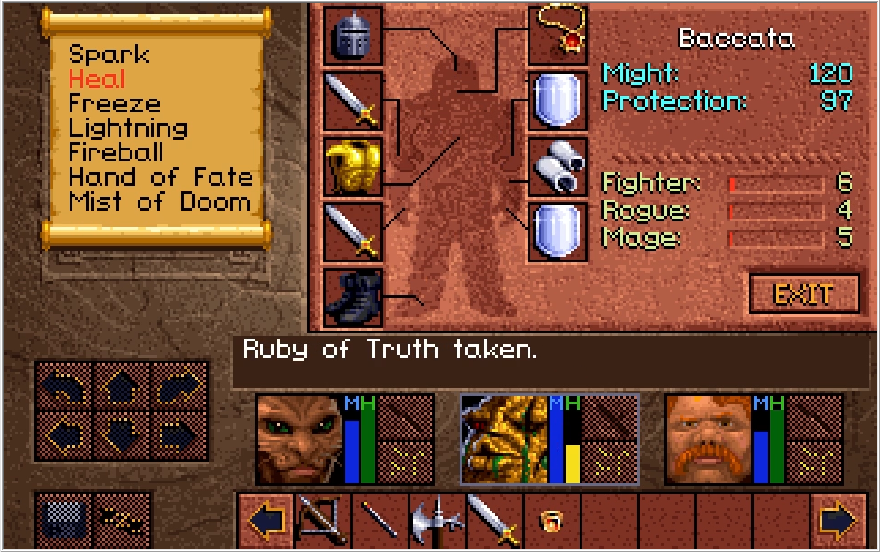
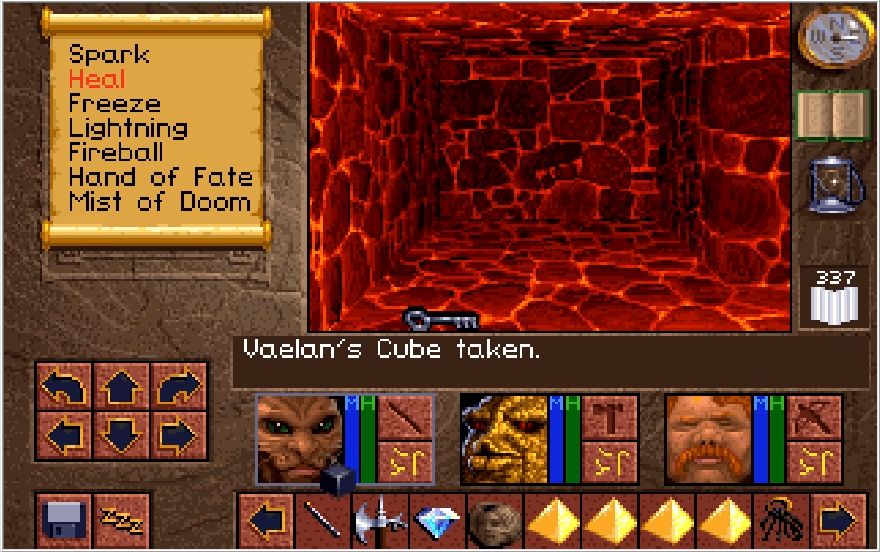
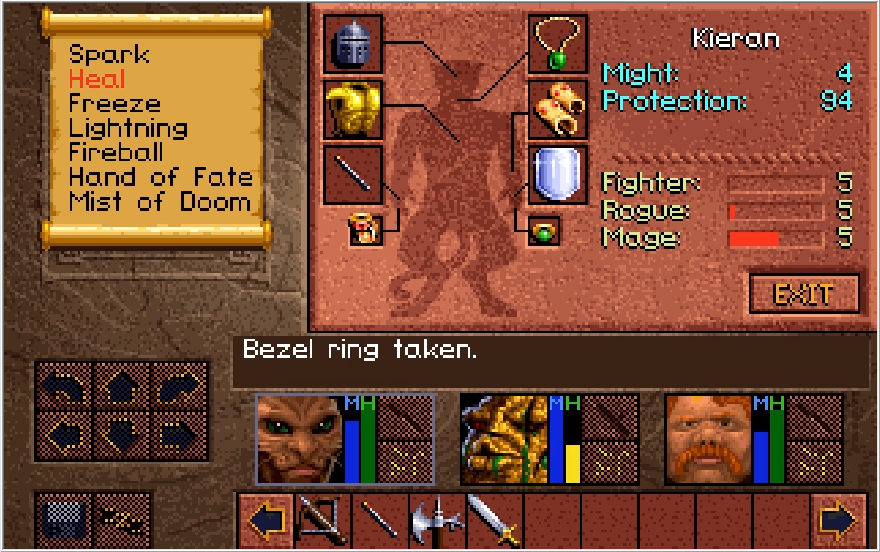
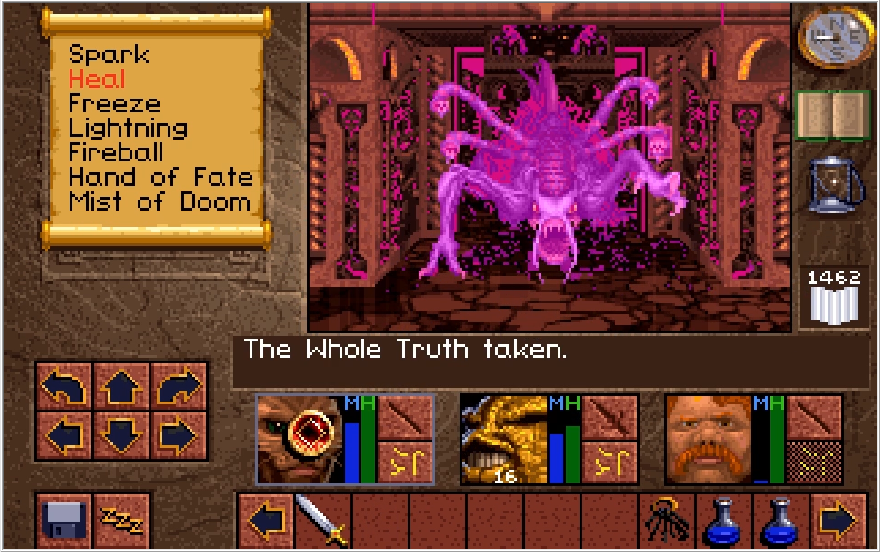
I wouldn't be surprised if you forgot Baccata was wearing the Ruby of Truth. This thing has not been relevant in 12 updates, but you better have it now because we'll need to use it in tandem with the Shard. By clicking on the Shard with the Ruby in hand or vice versa...
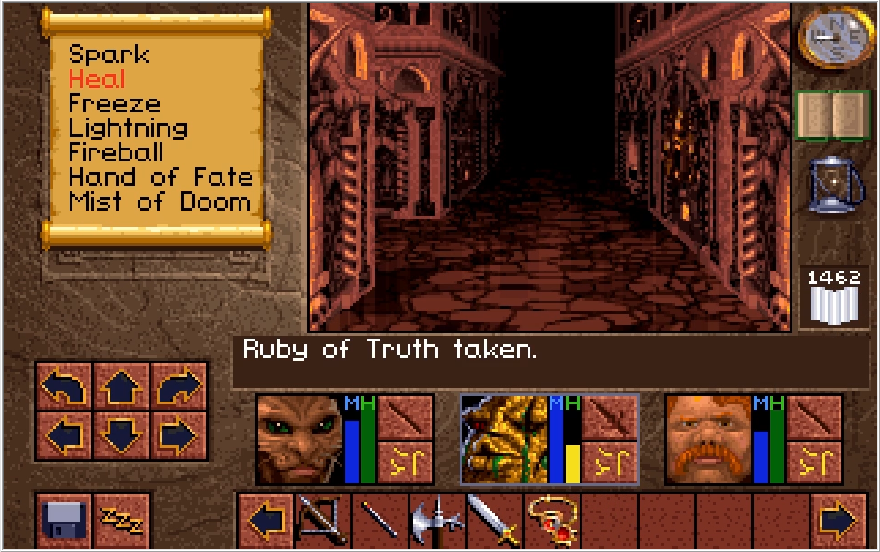

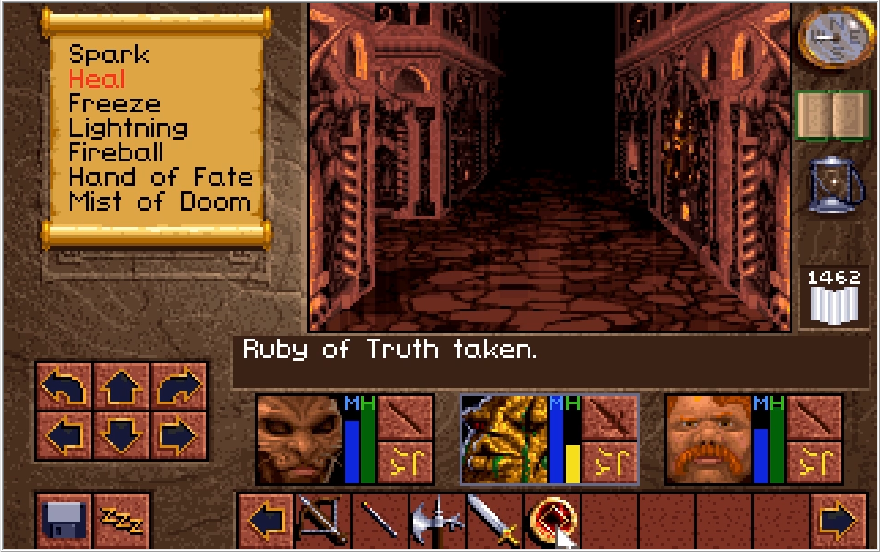
The two combine to form the Whole Truth! There is not a single other moment in this game where you can combine items in this fashion, and I don't know if there's anything that tells you to do this in exact terms. I wonder if anyone got stuck here without a guide, because you do need the Whole Truth to defeat Scotia. Speaking of,
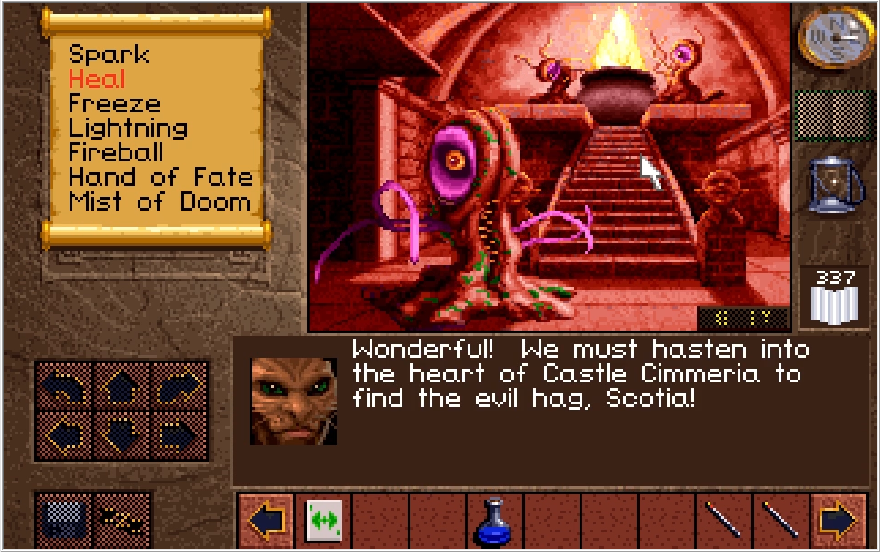
We can now return to the third floor and fulfill our destiny!
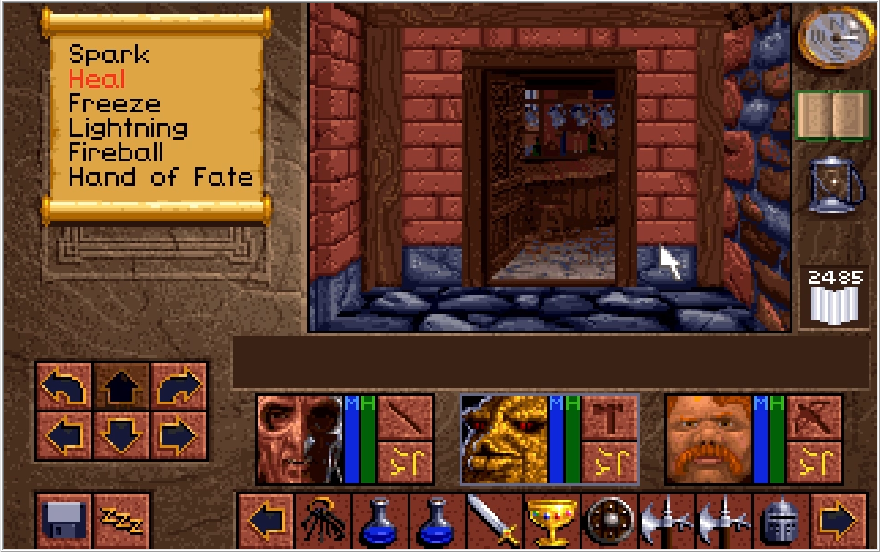
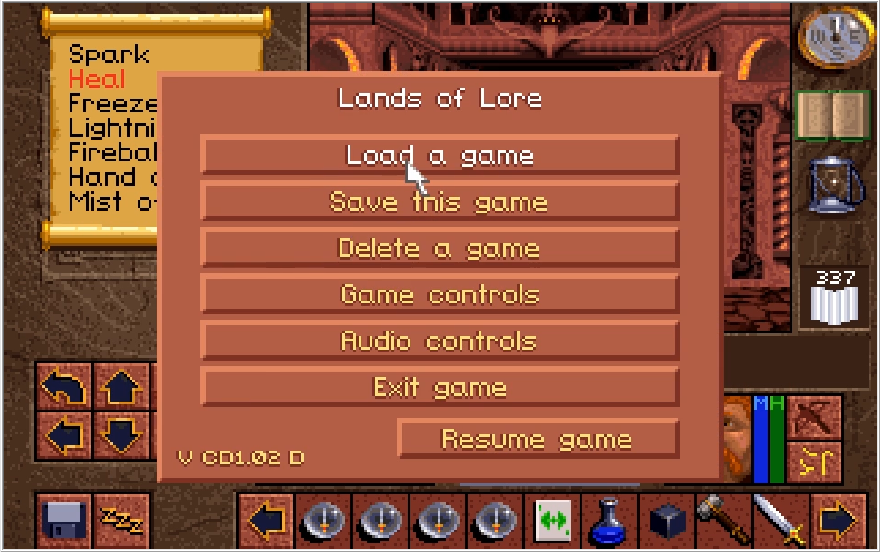
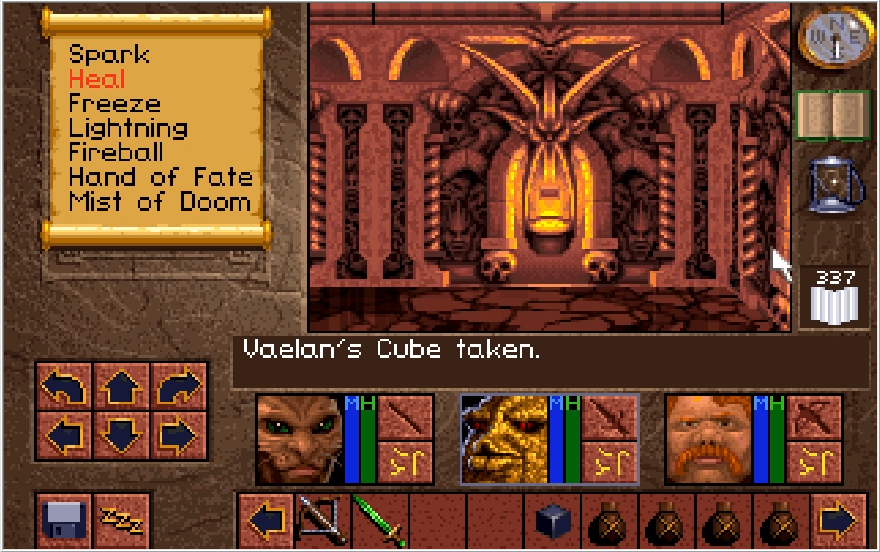
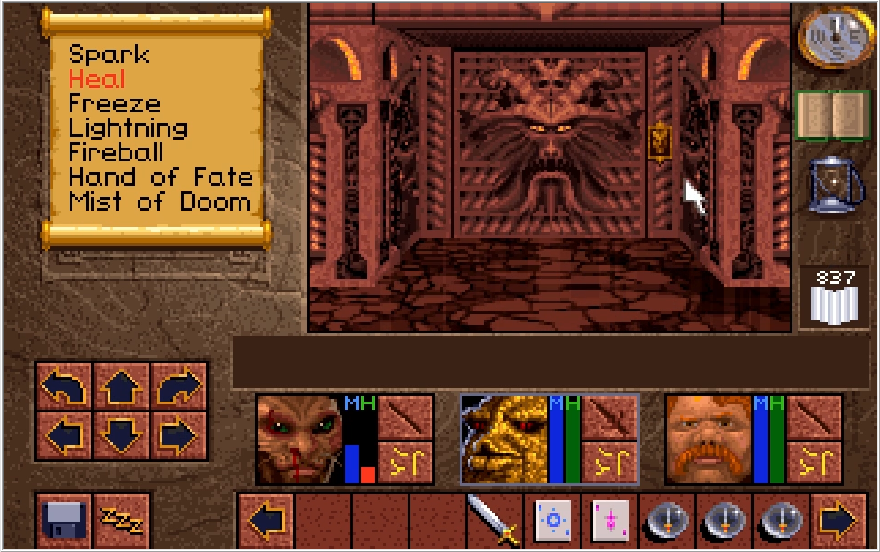
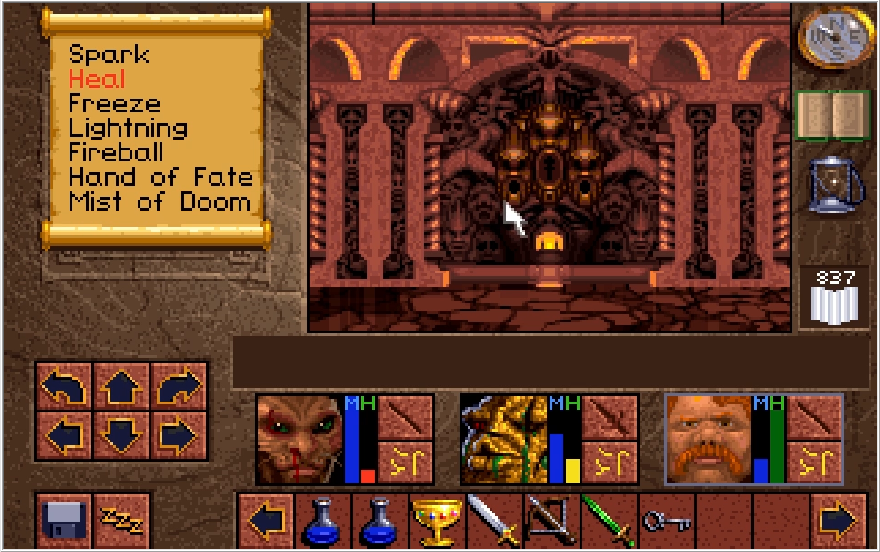
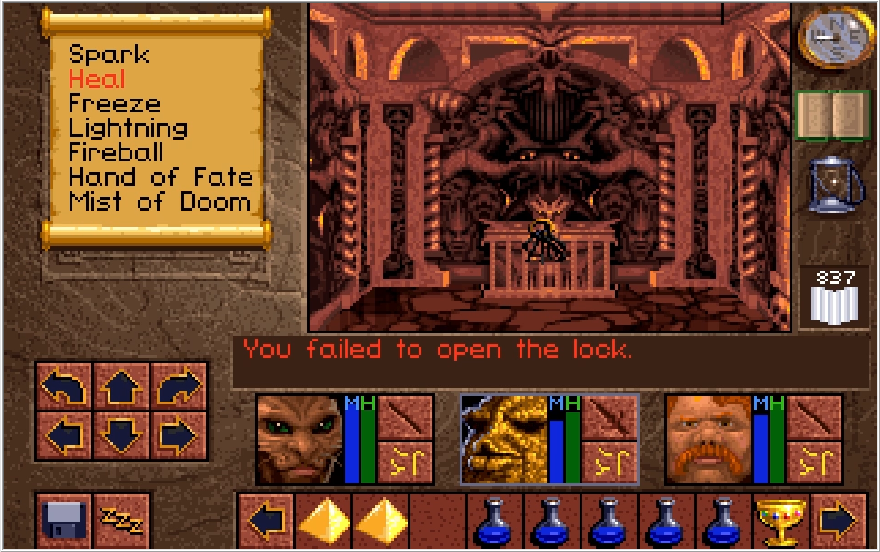
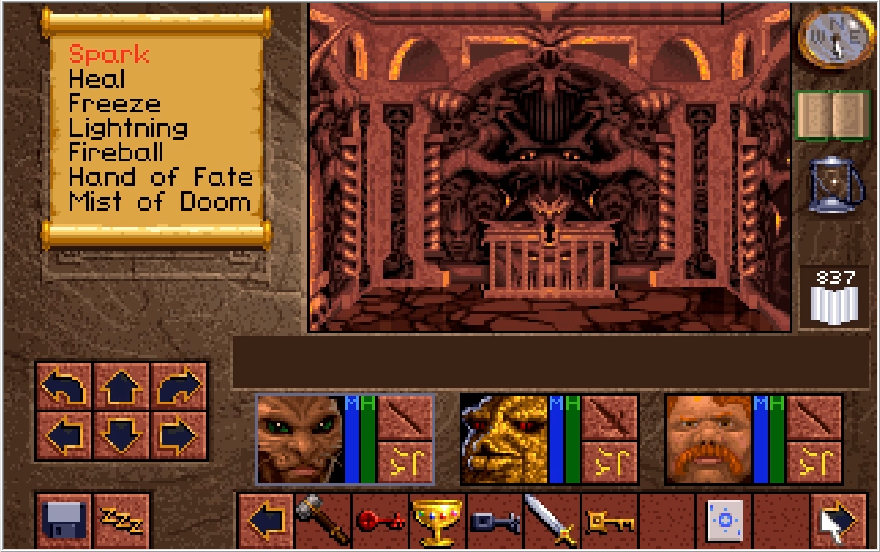
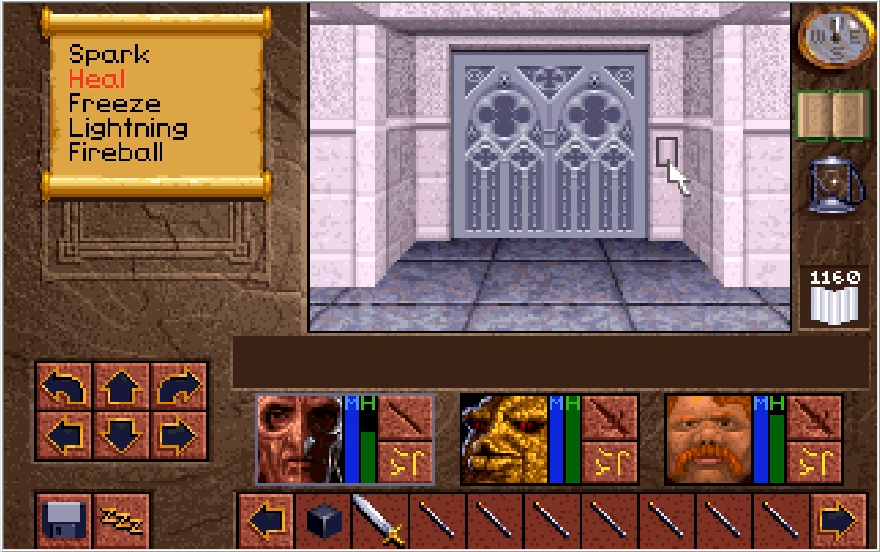
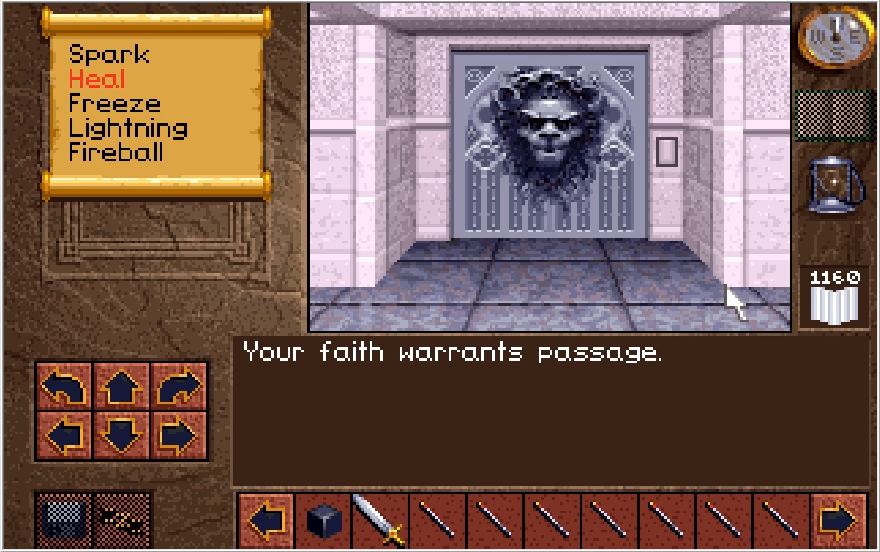
Heading into the central chamber, we can pop the locks and throw the central switch to unveil the door to Scotia's lair. First things first...
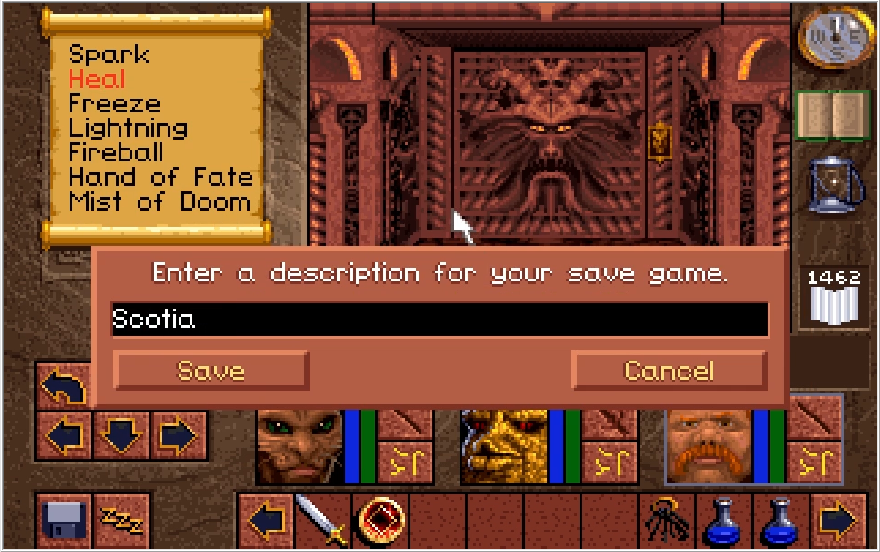
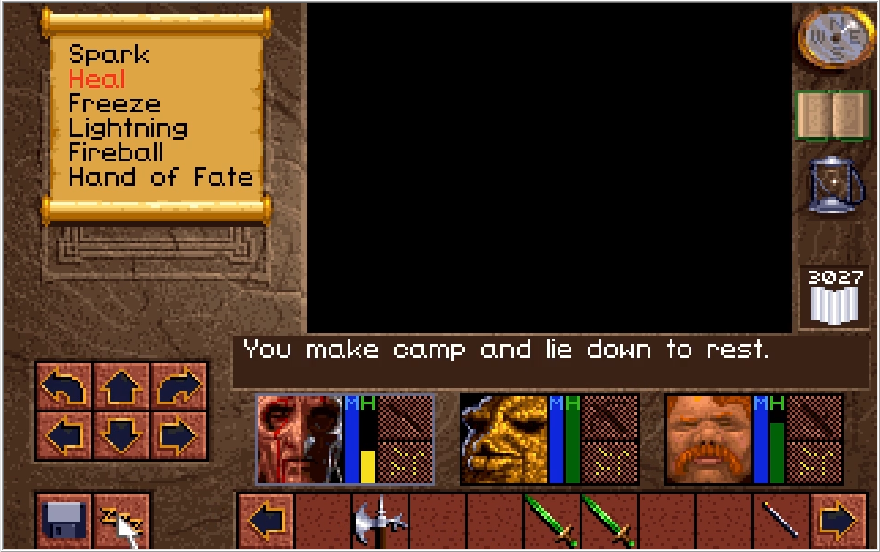
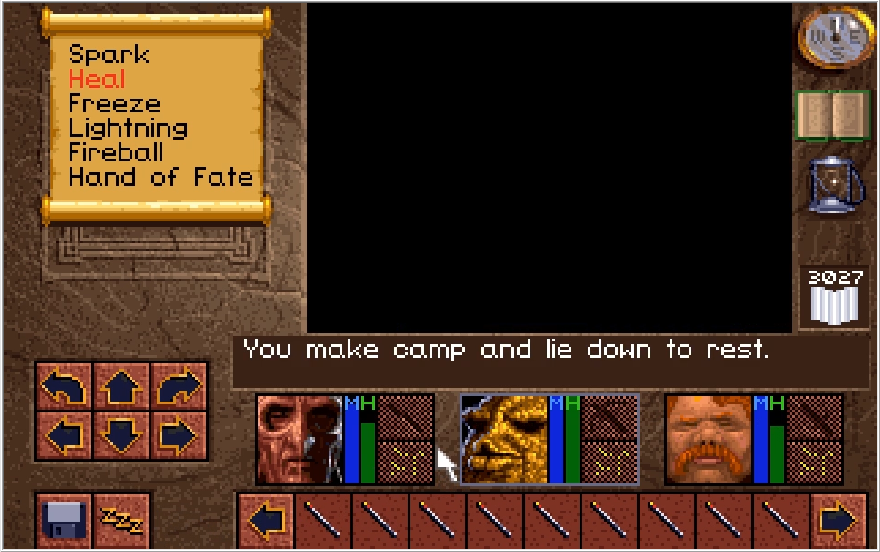
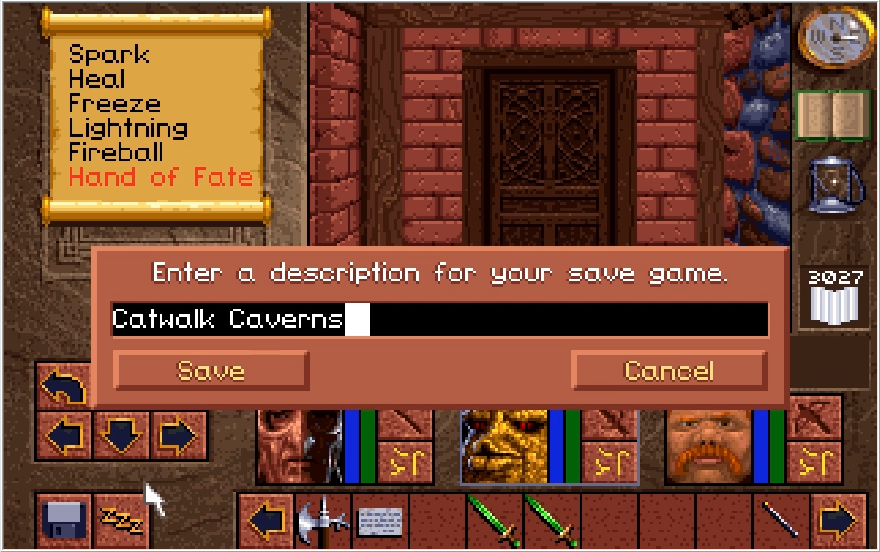
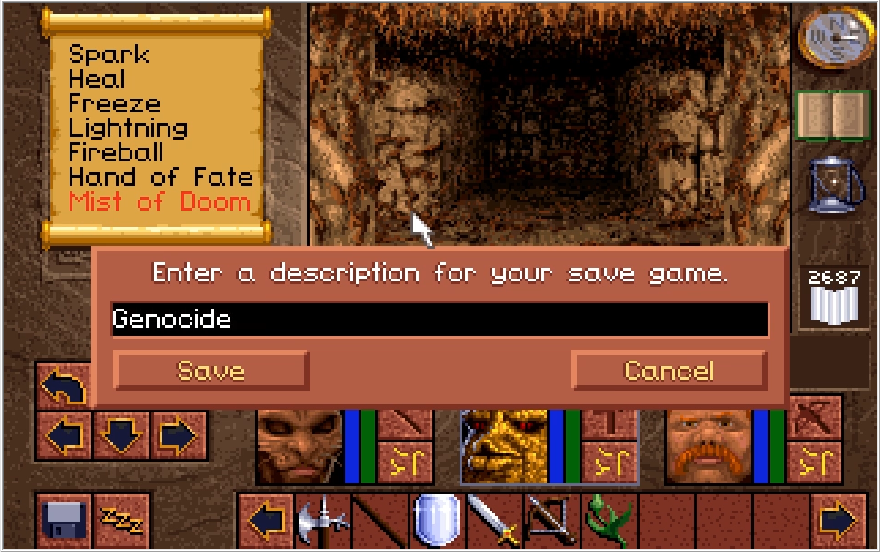
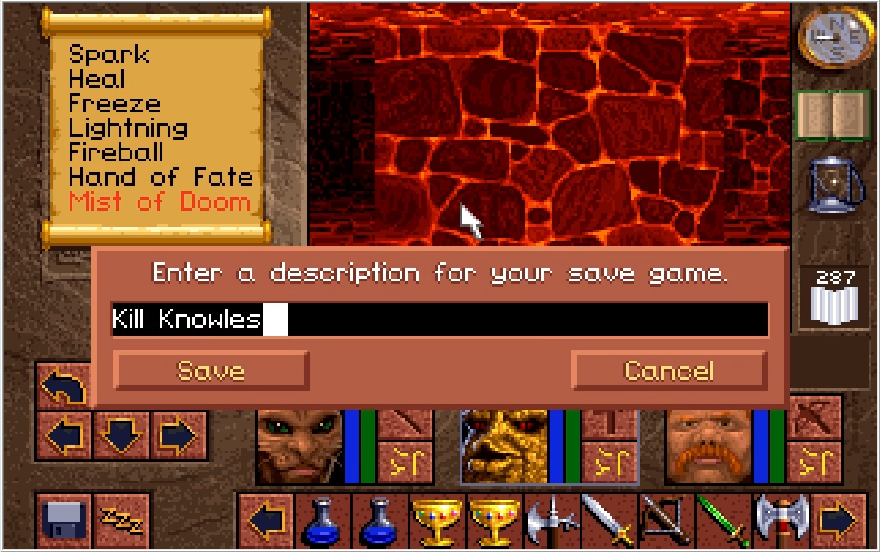
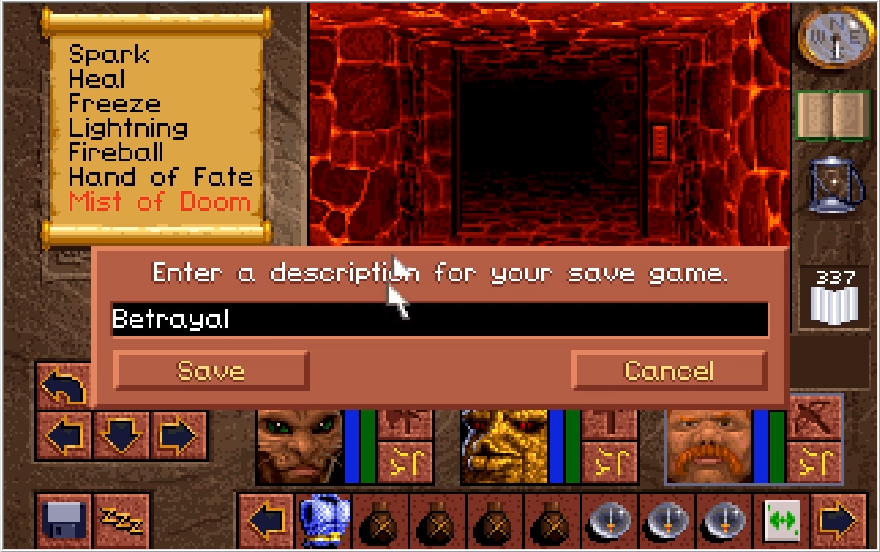
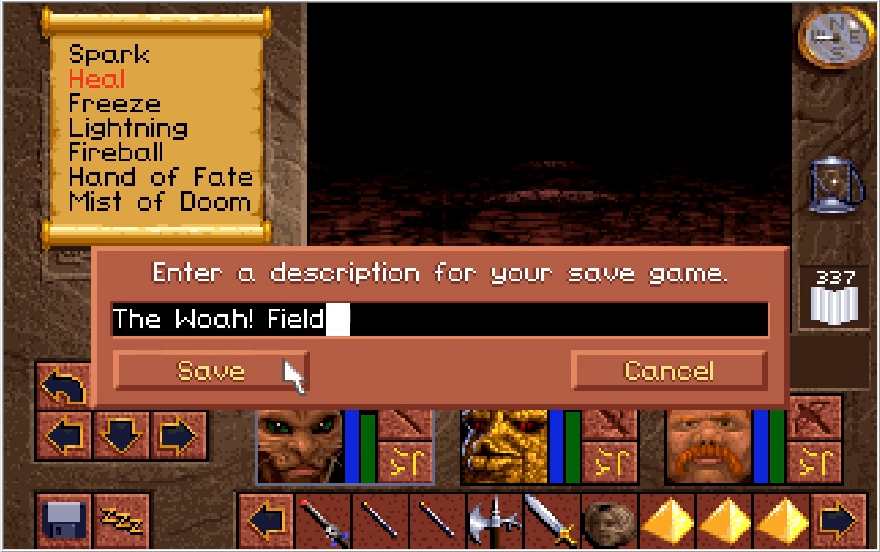
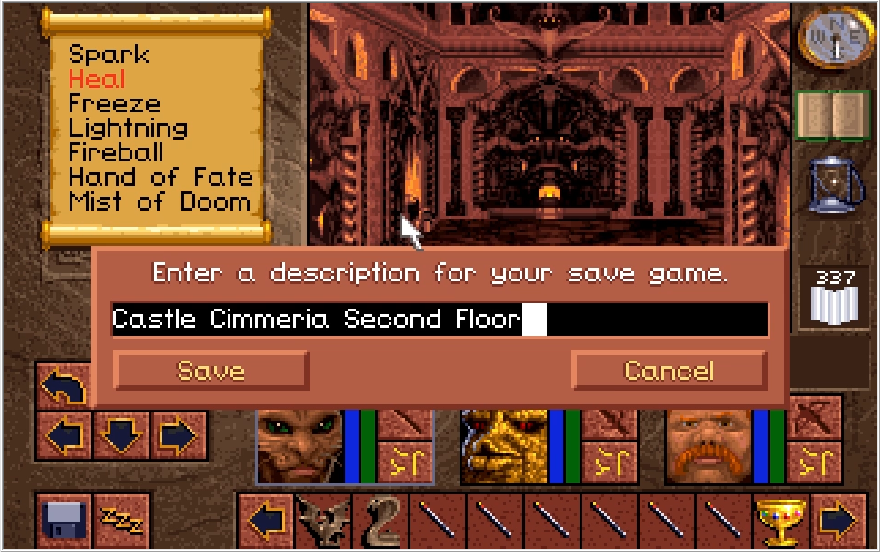
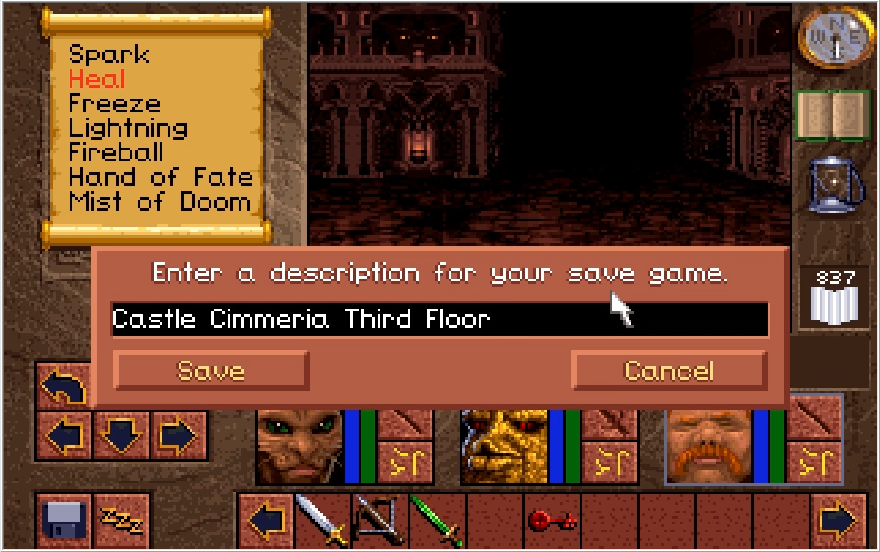
I make my final save of the game, and then....
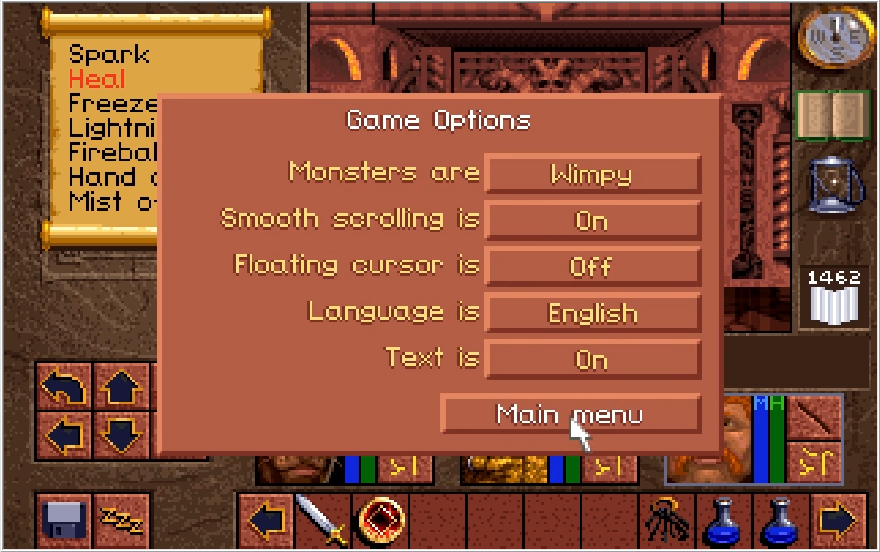
I set the difficulty to wimpy? I have something I want to demonstrate before killing Scotia properly, so I just lower the difficulty so I can take care of that first. We will kill her on Ferocious, don't worry.
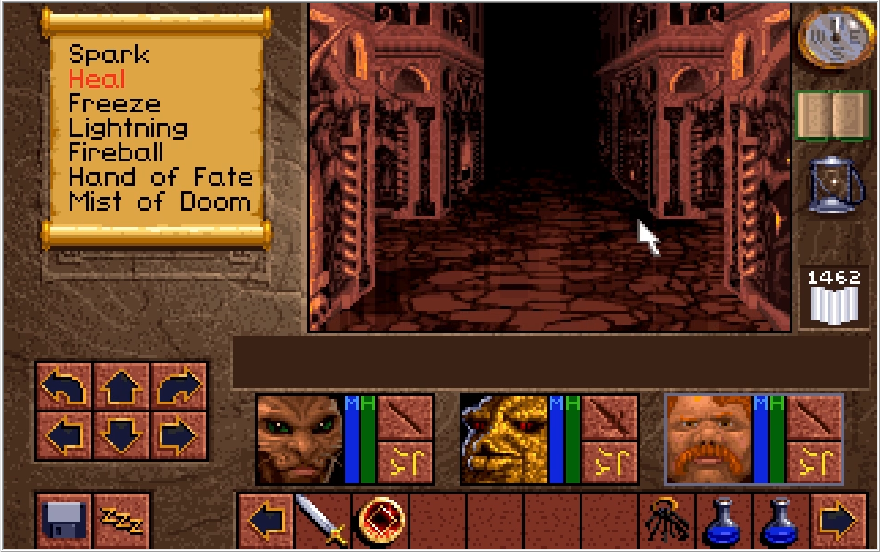
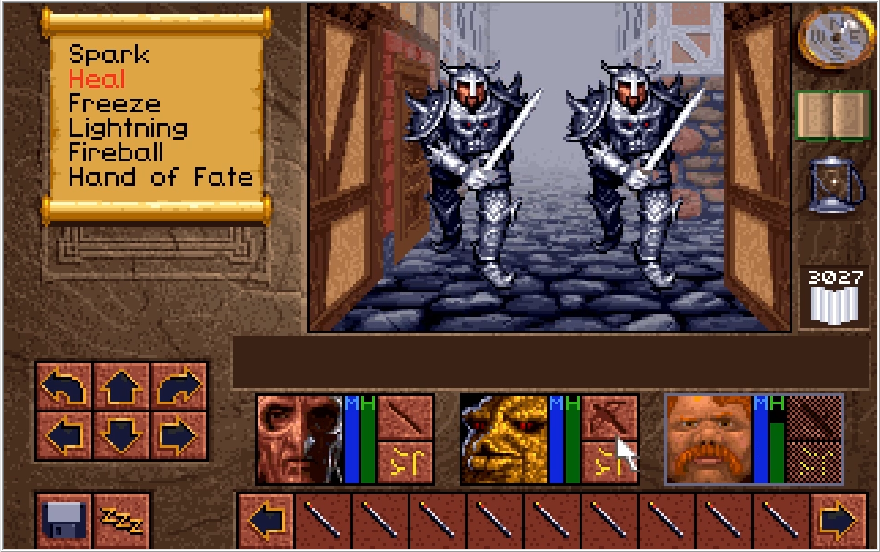
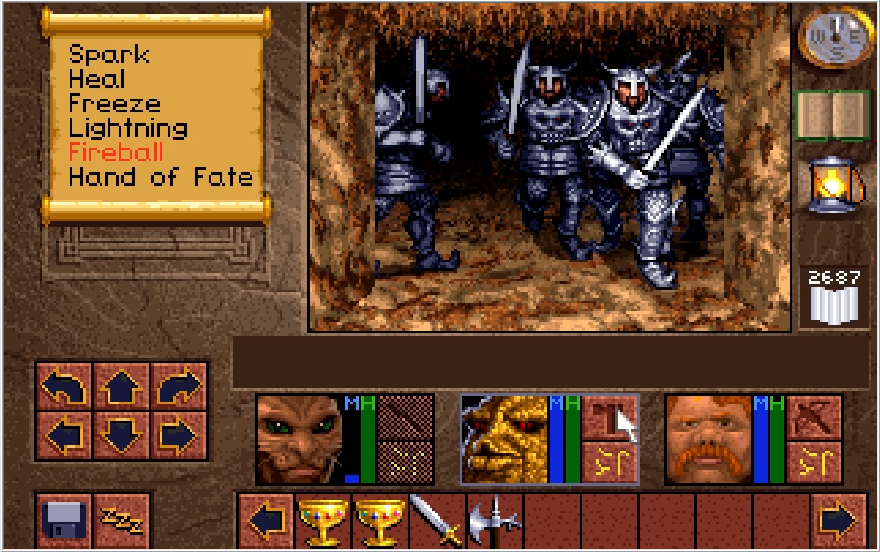
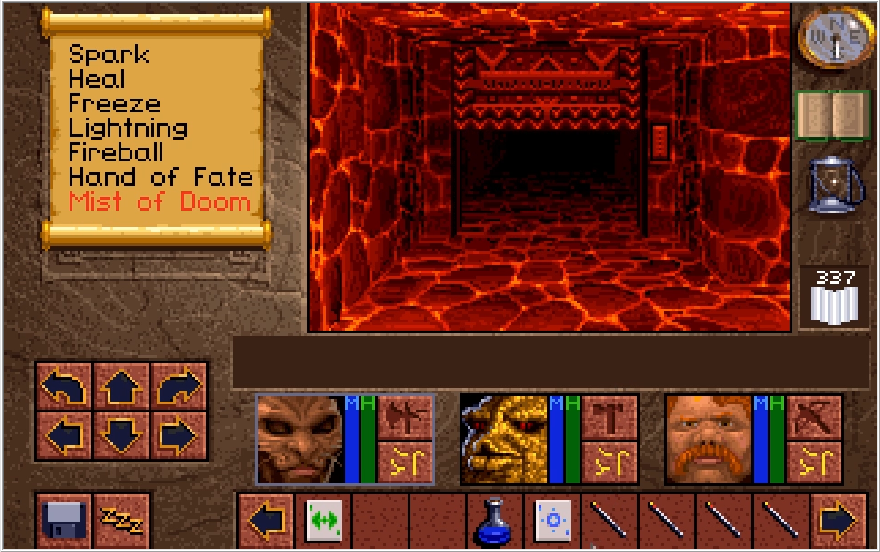
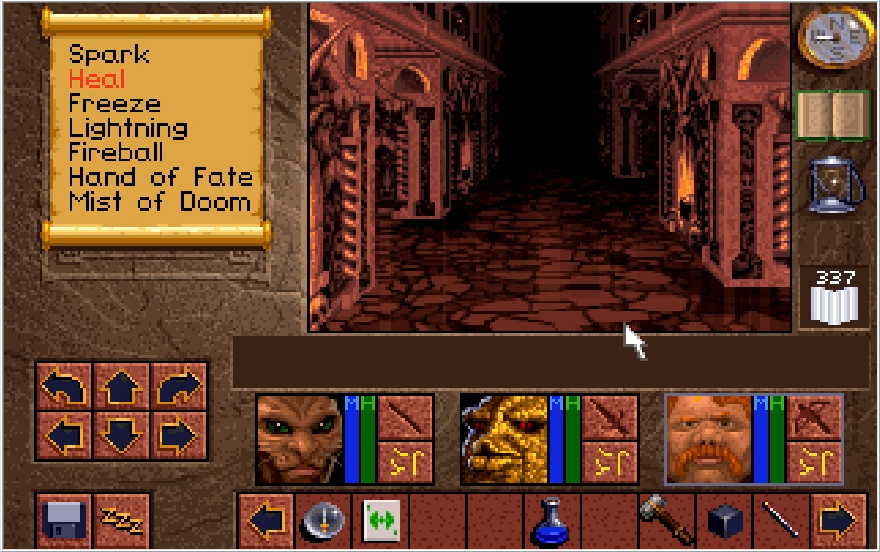
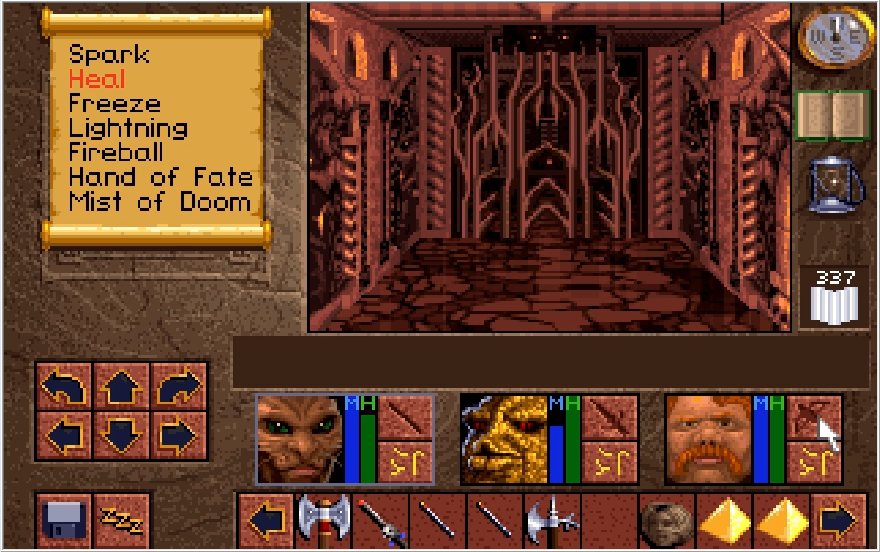
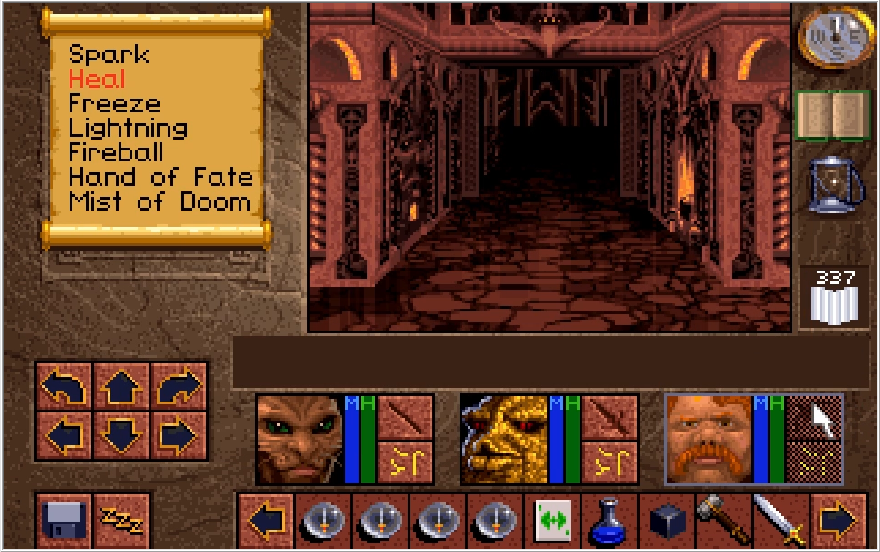
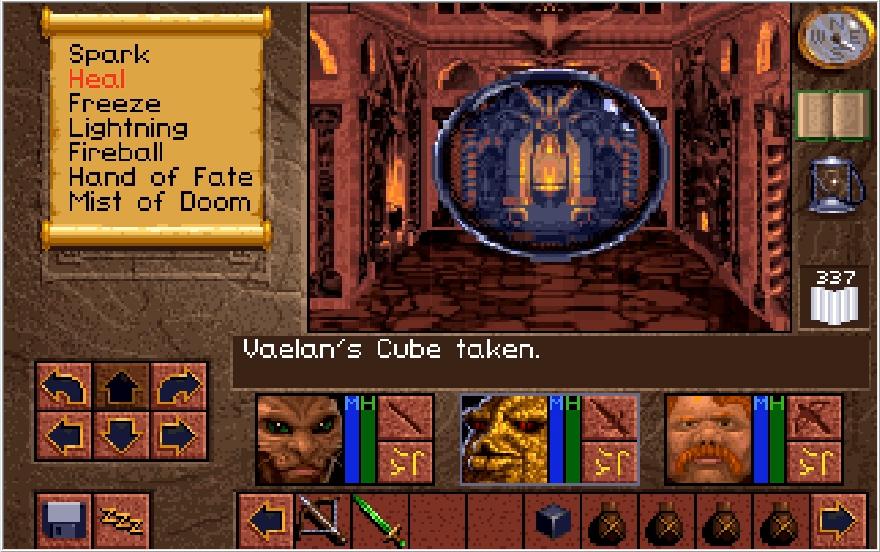
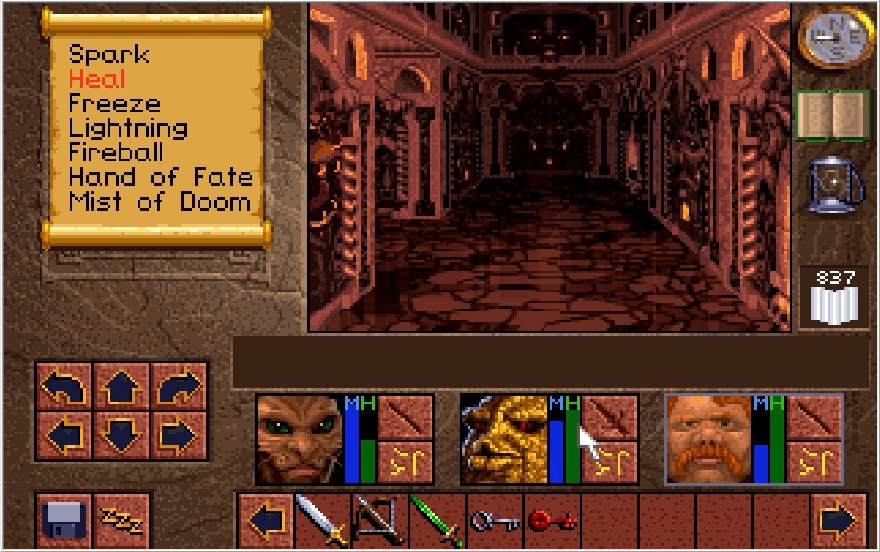
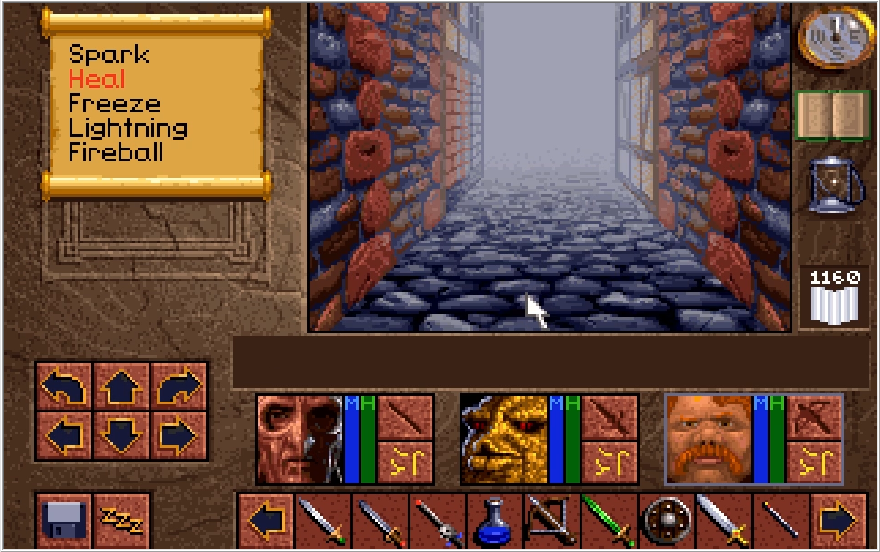
As mentioned previously, upon entering Scotia's lair the wall will seal behind us. If you lack the Whole Truth at this point, you've just wandered into an unwinnable situation. The lair itself is laid out like a series of halls divided by pillars, though sadly they don't do anything interesting with this layout when fight time comes.
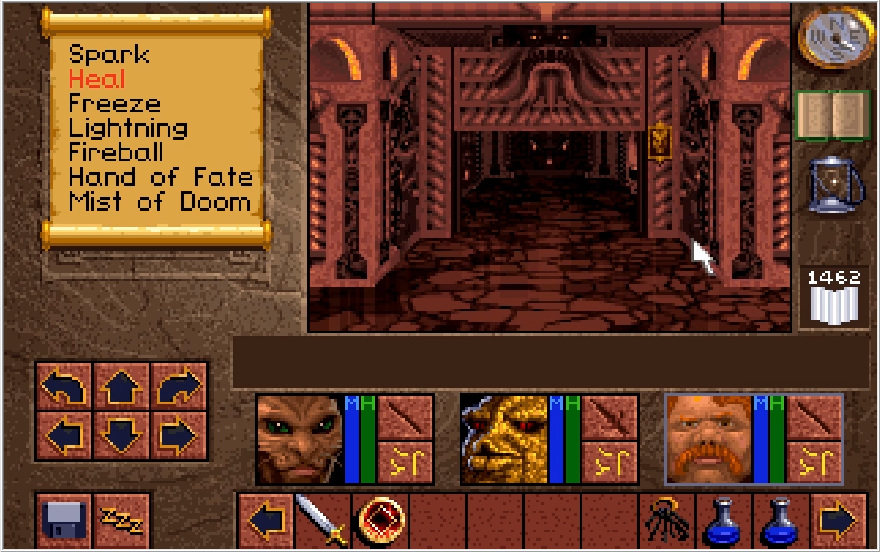
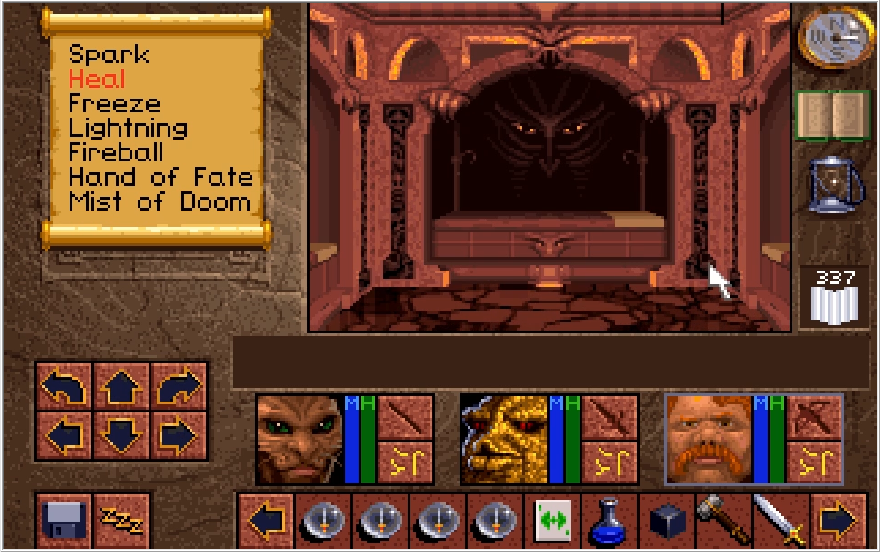
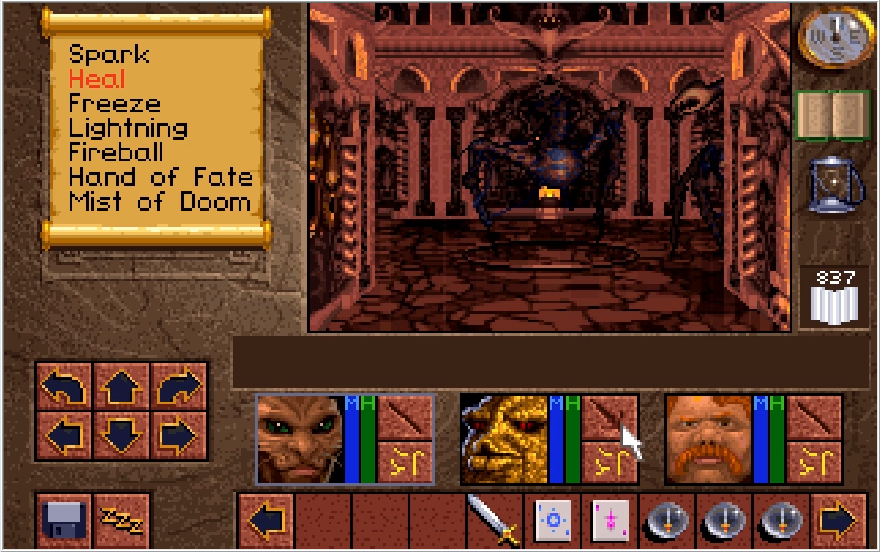
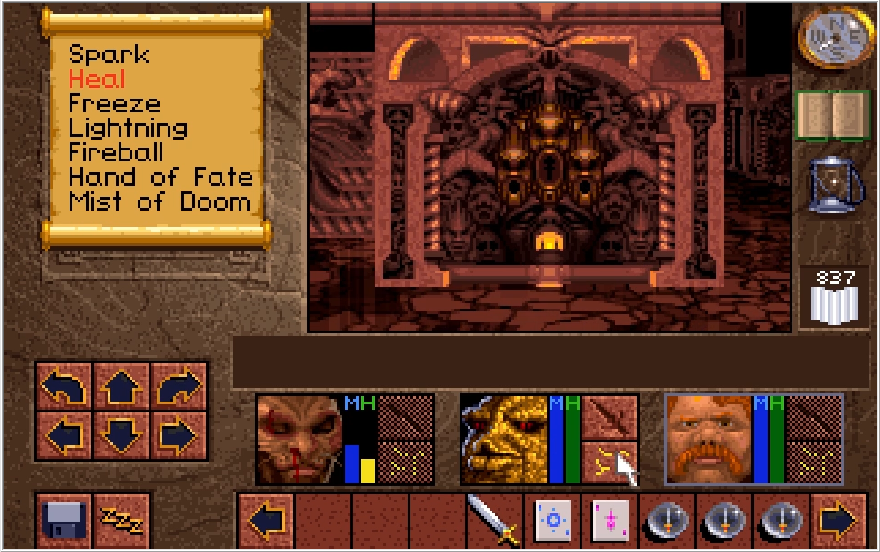
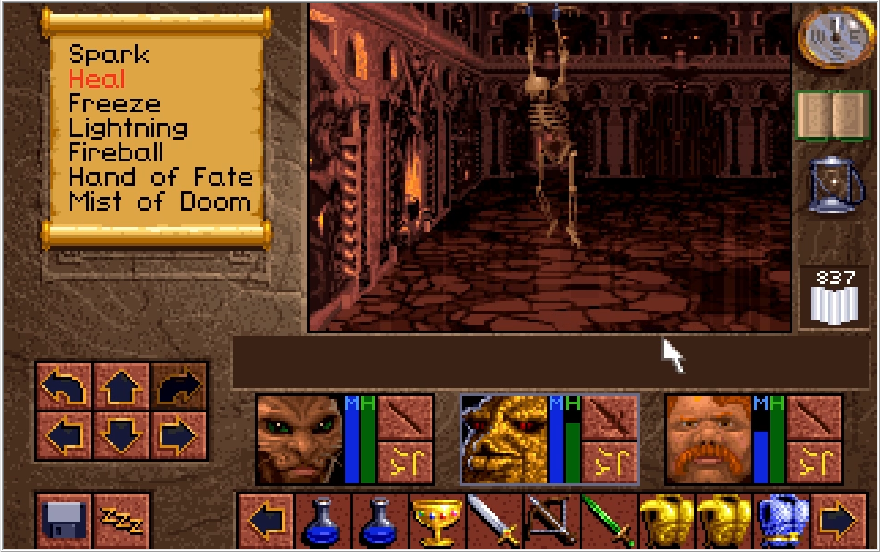
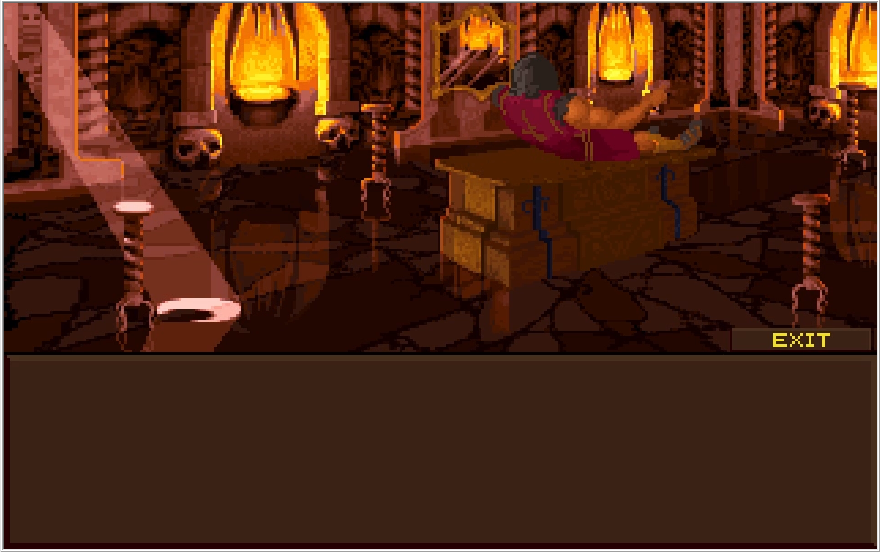
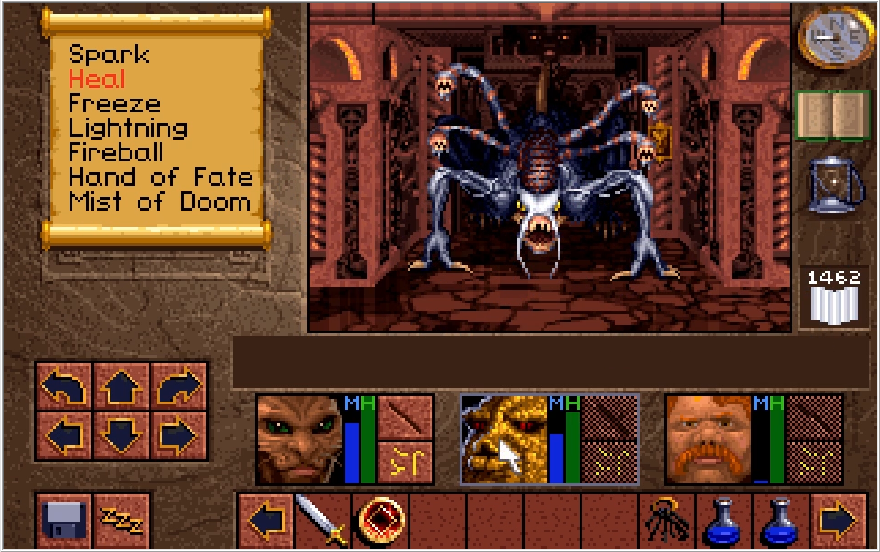
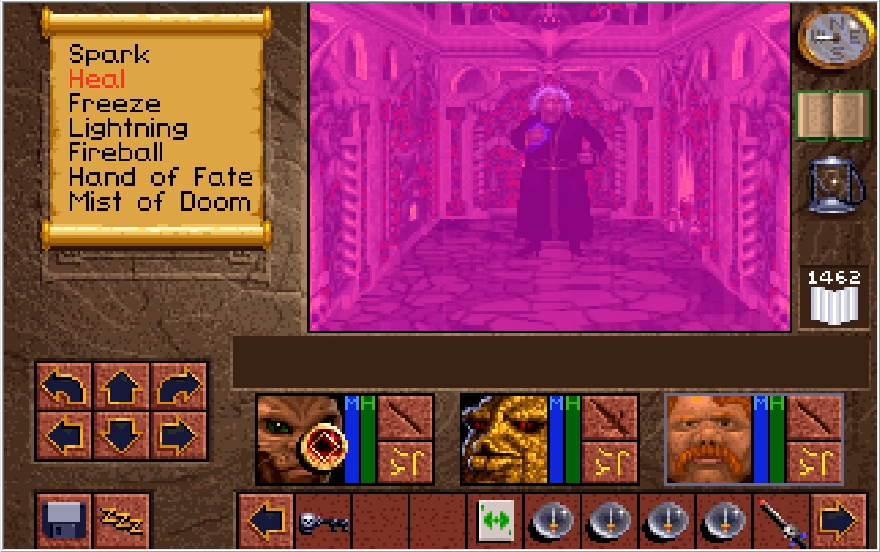
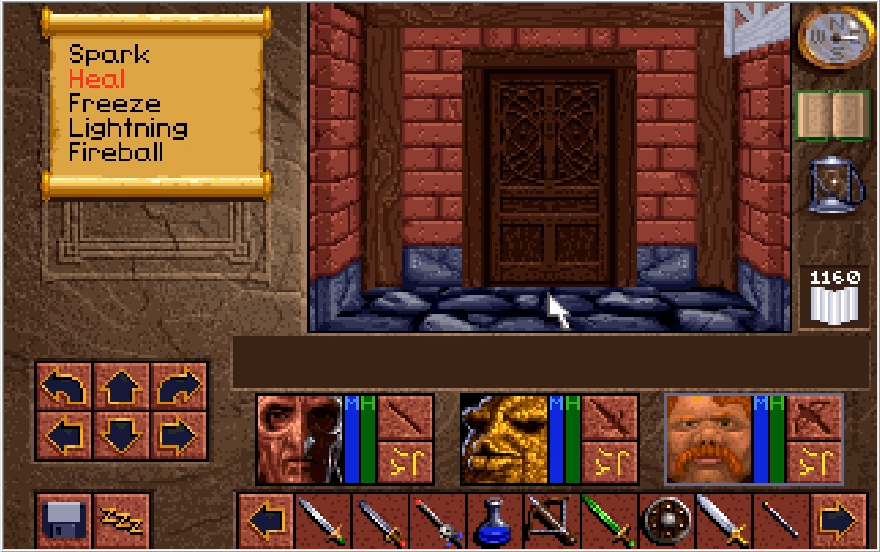
Towards the back of the lair is a door, which opens to a room containing our final foe!
Music:Scotia Last Encounter
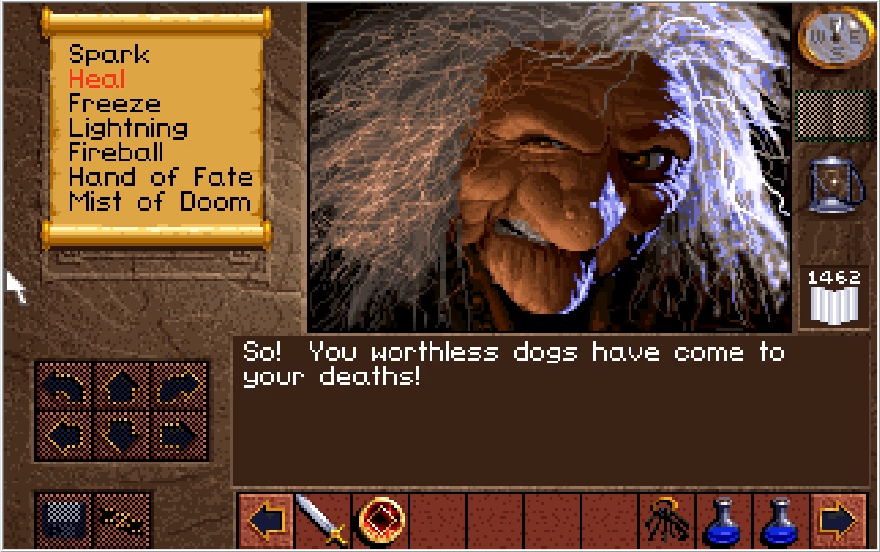
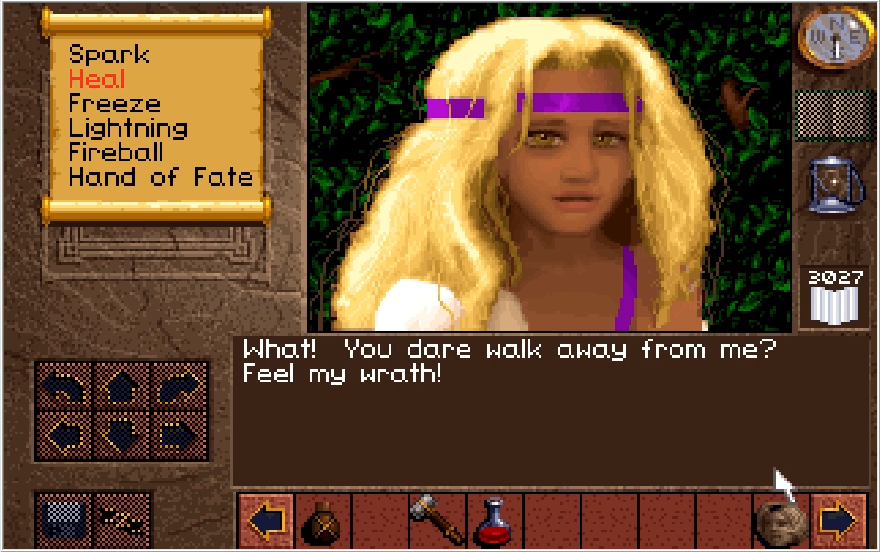
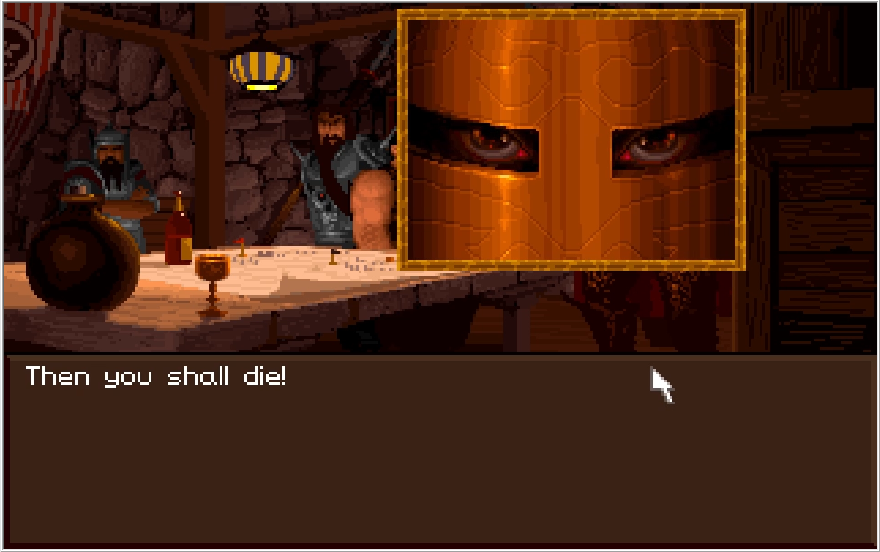
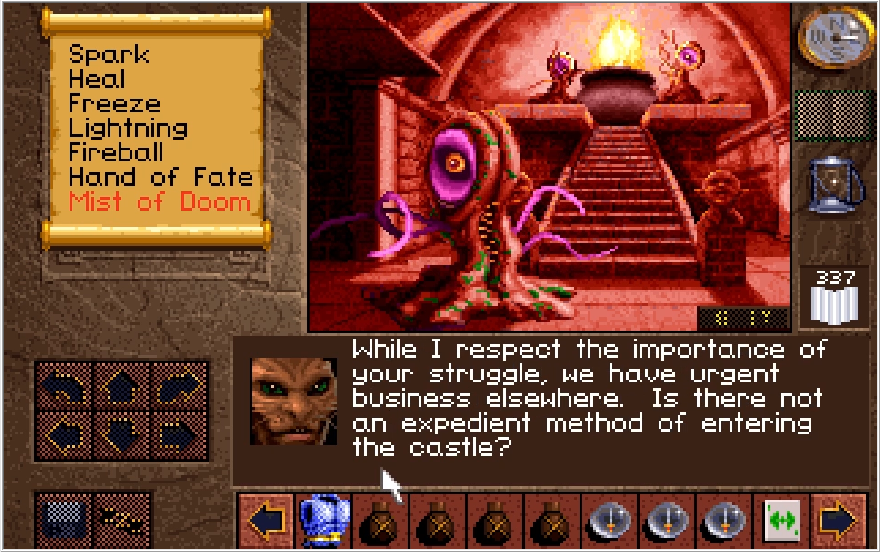
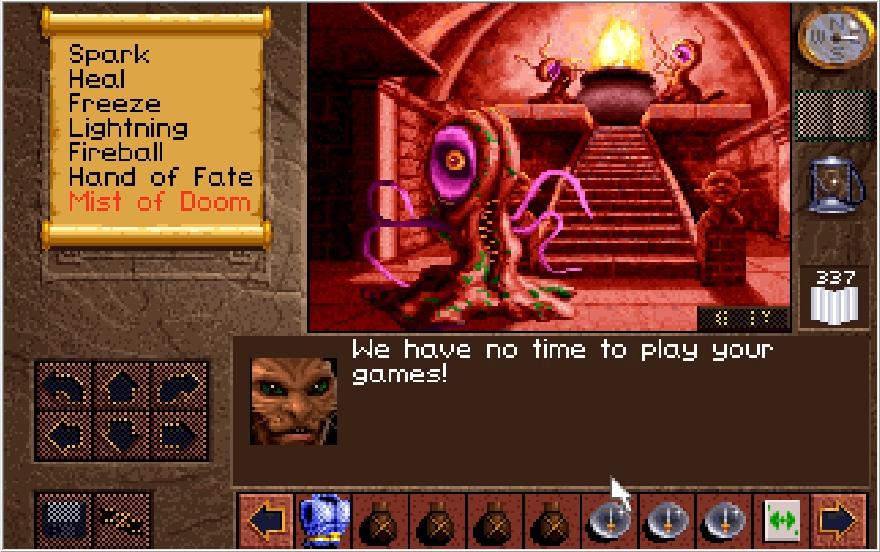
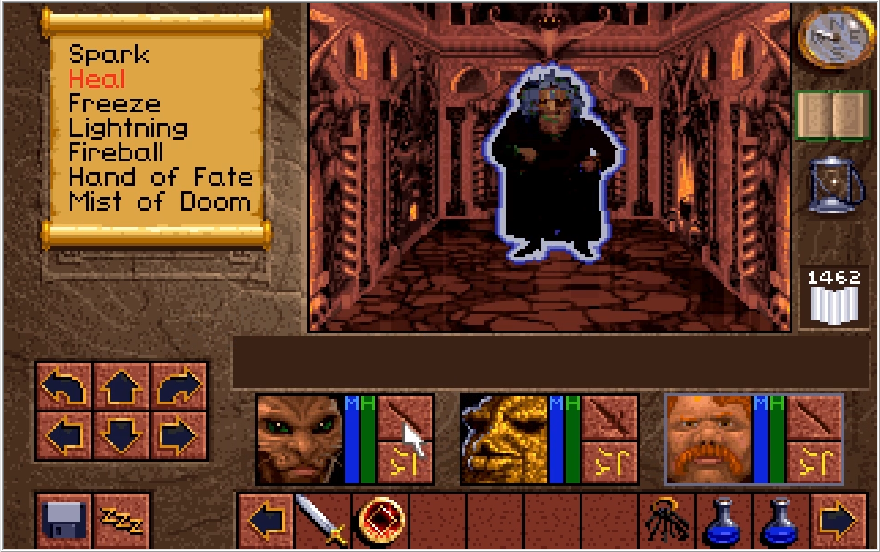
I can only imagine Scotia is leaning in like the close-talker from Seinfeld to give us this image.
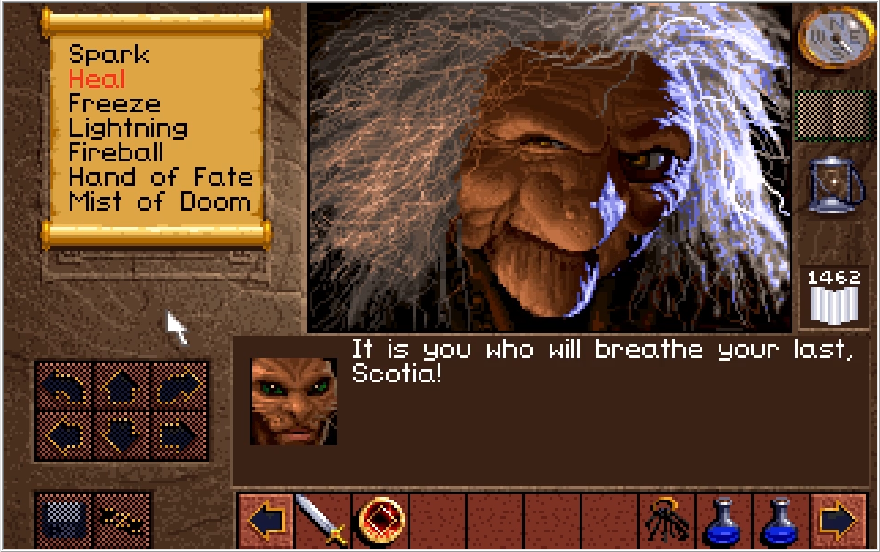
Kieran comes in swinging with the classic "NO U" response. Sadly, this is Wimpy Universe Kieran who's about to die horribly.
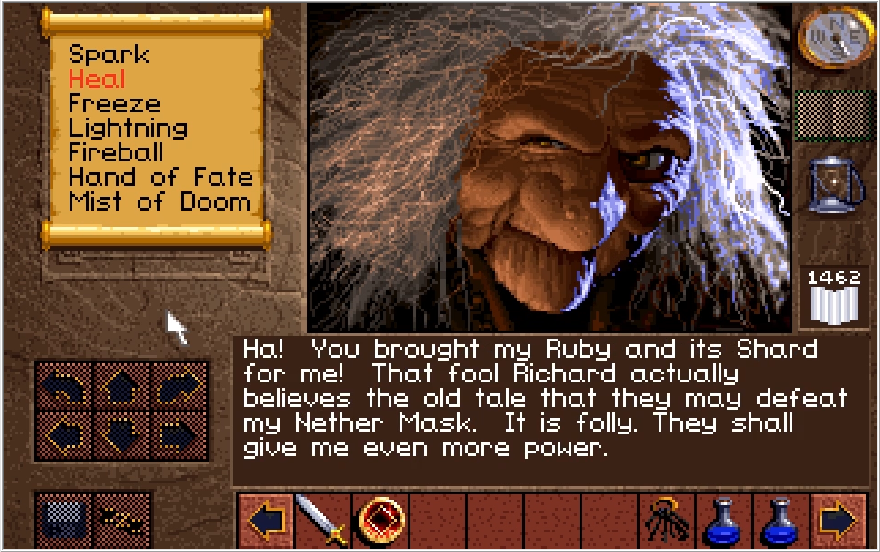
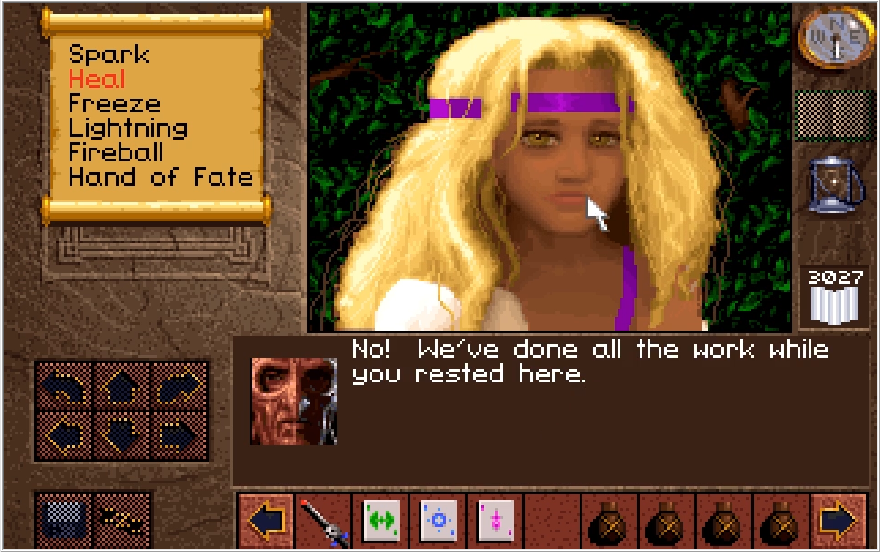
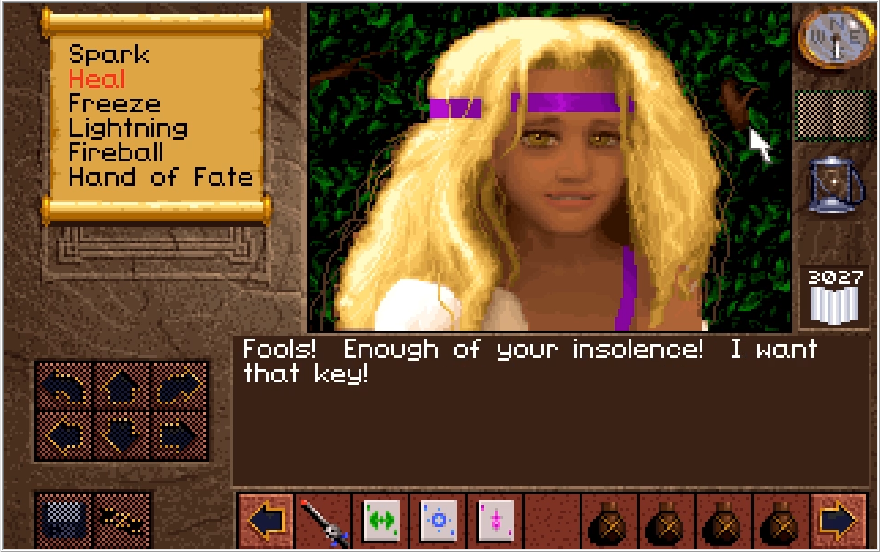
What exactly Scotia would do with the Whole Truth is something we sadly never get to learn.
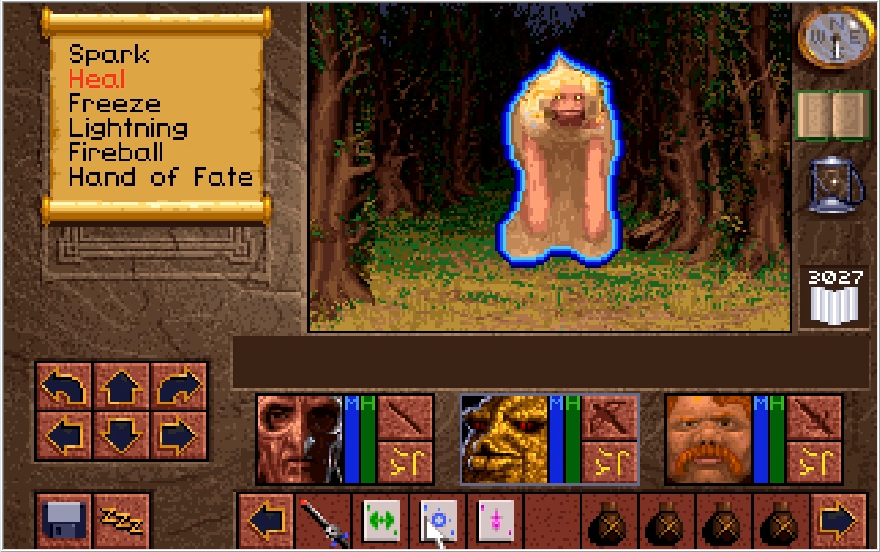
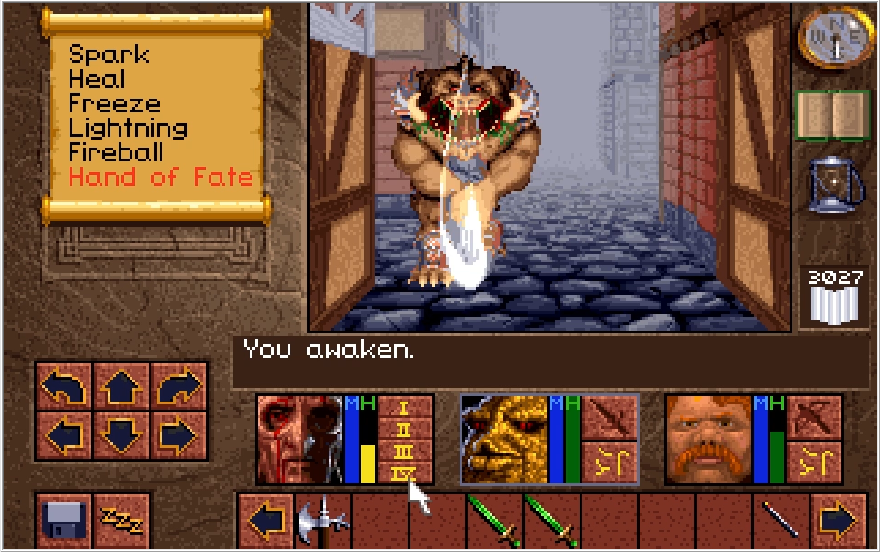
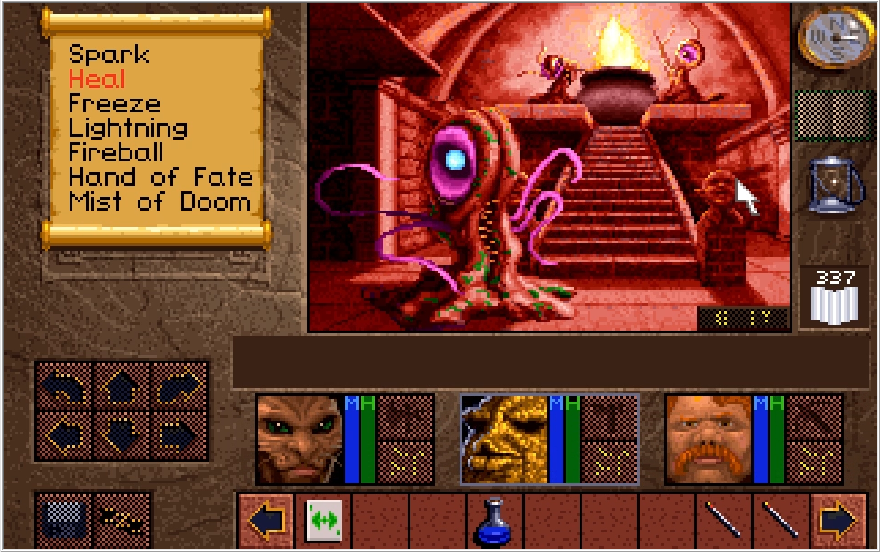
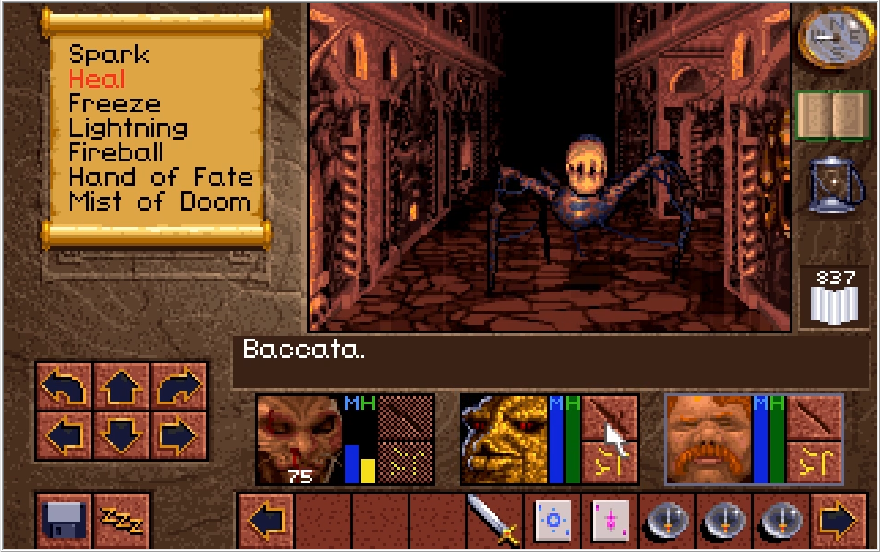
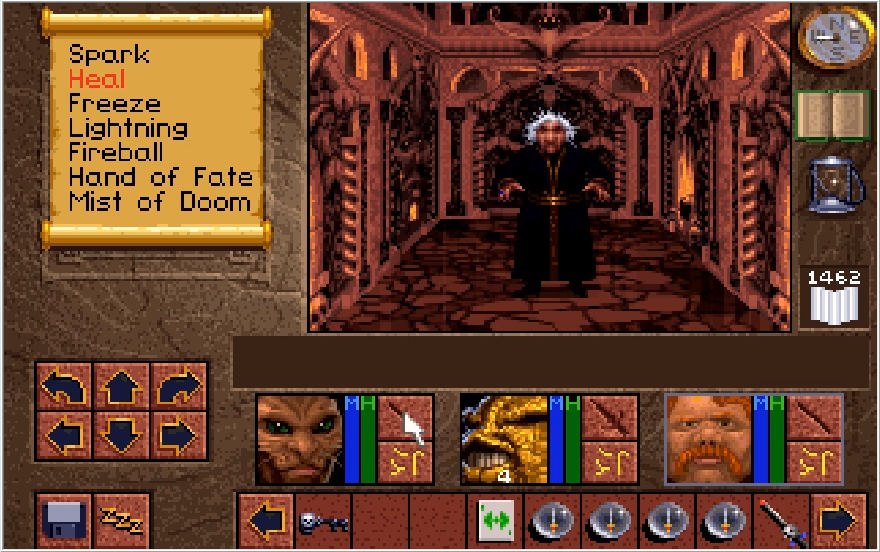
Now if you want to defeat Scotia, you need to use the Whole Truth like you would a Wand as she is transforming. Let's see what she brings to the table this time though!
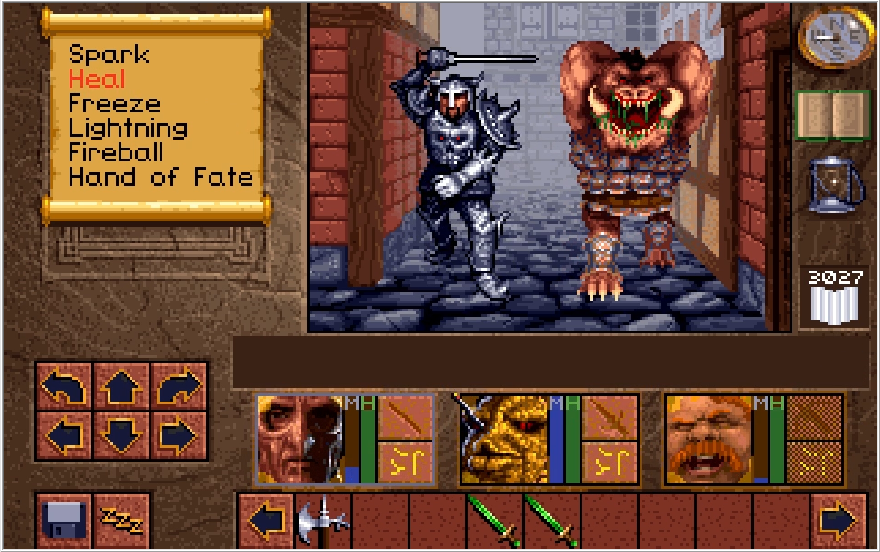
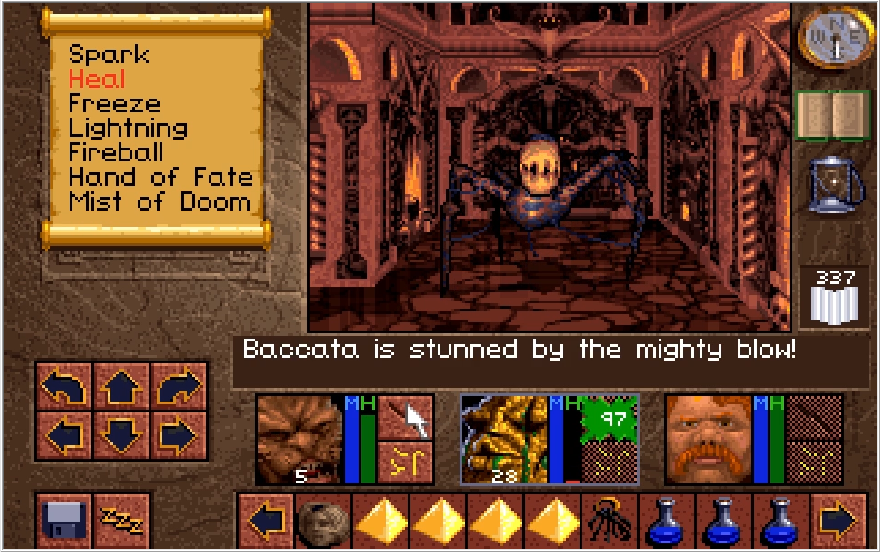
Toadulus? Seriously? I killed 6 of those on the way here.
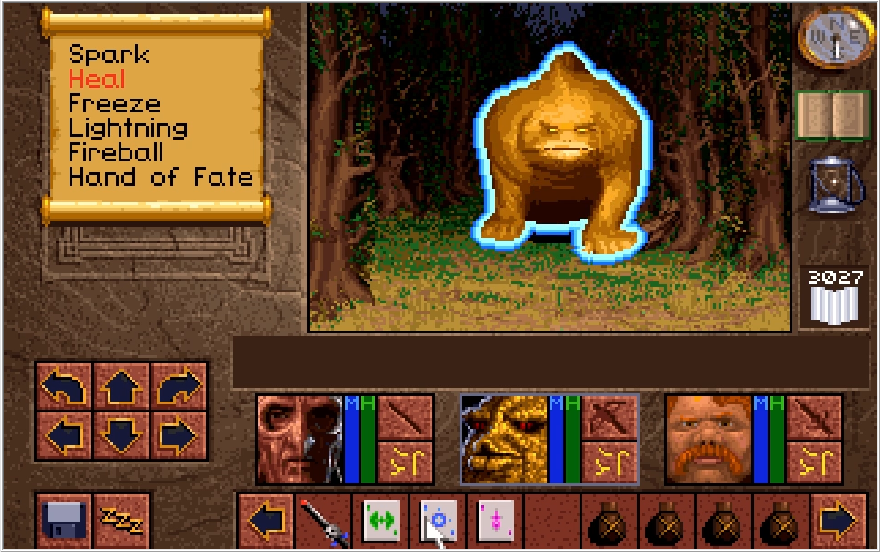
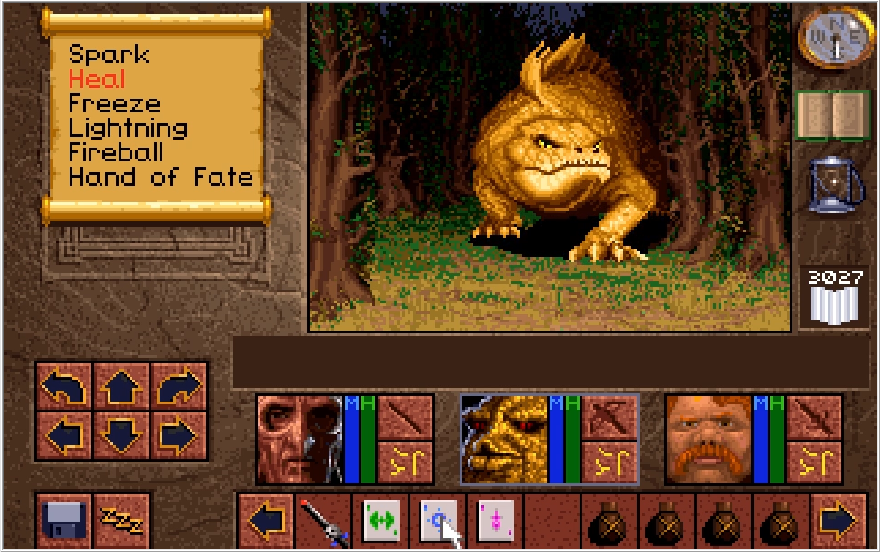
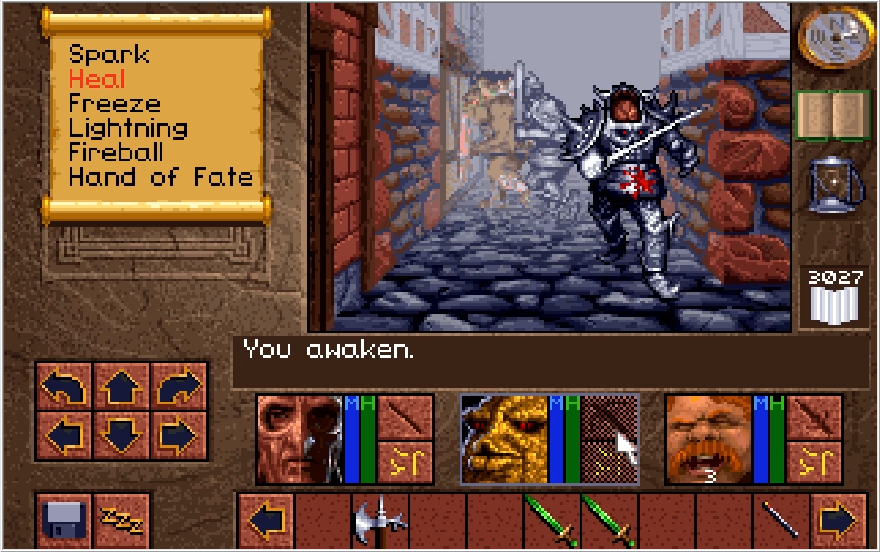
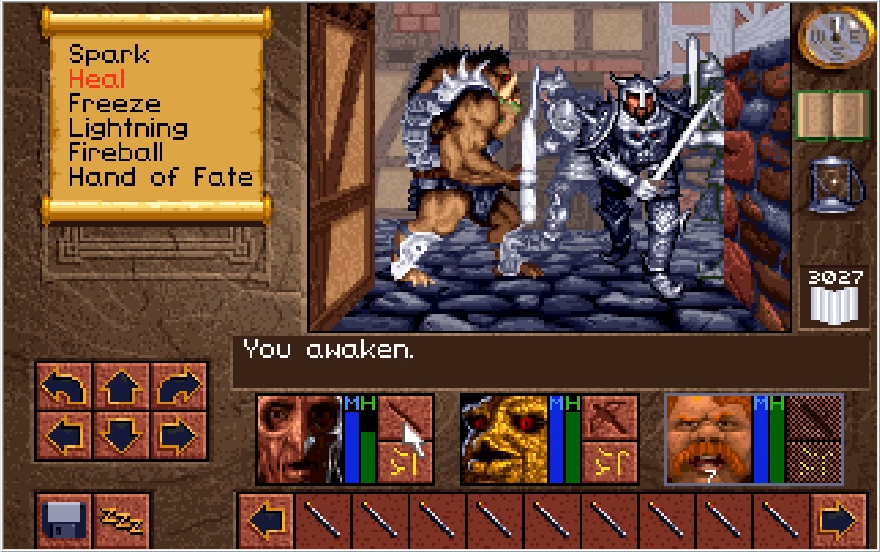
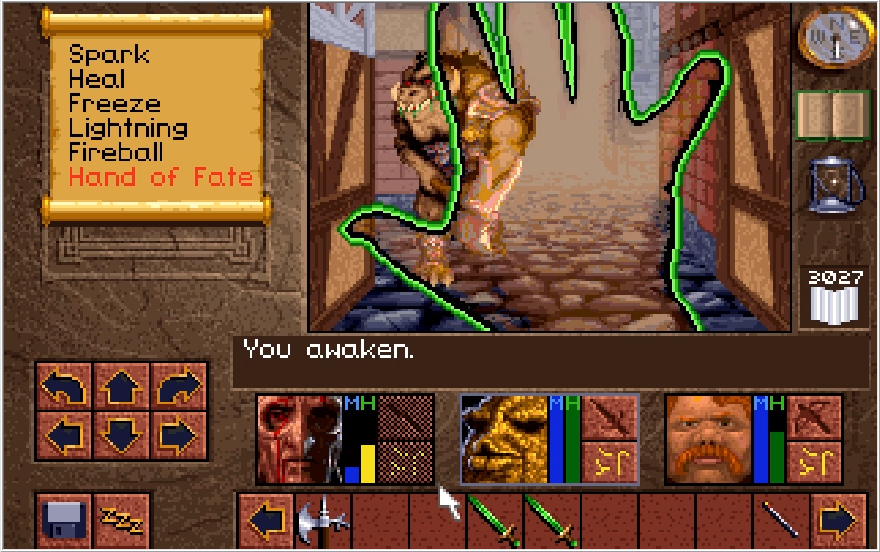
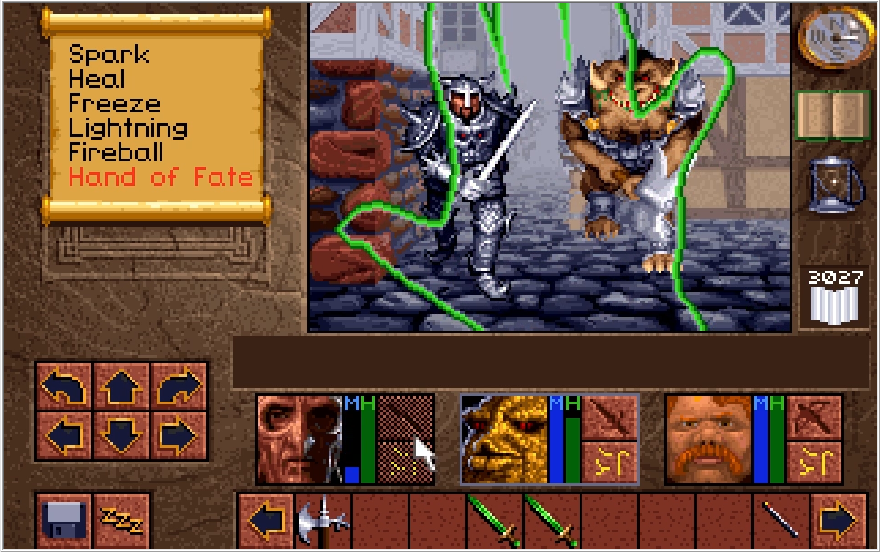
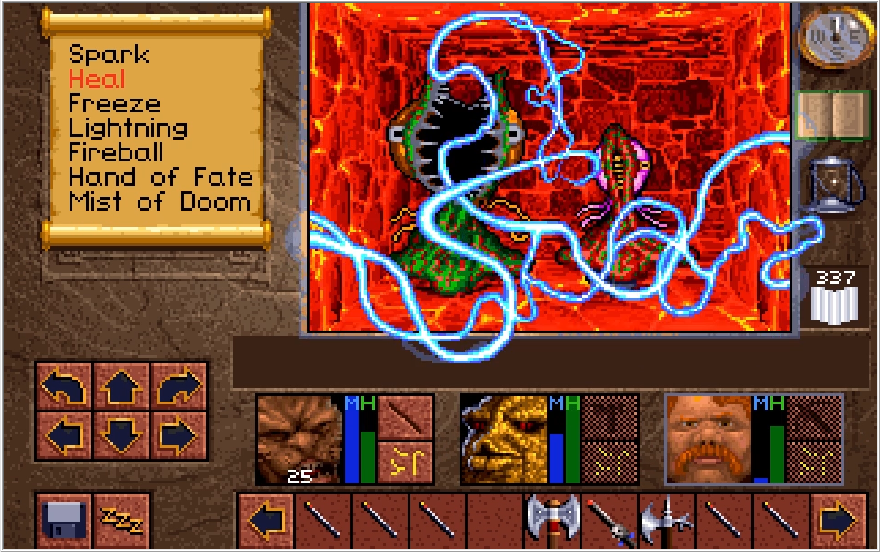
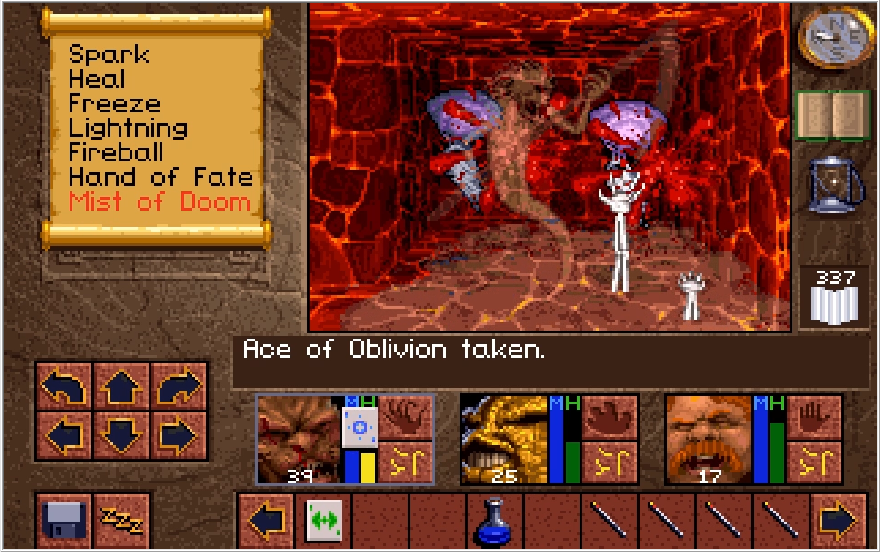
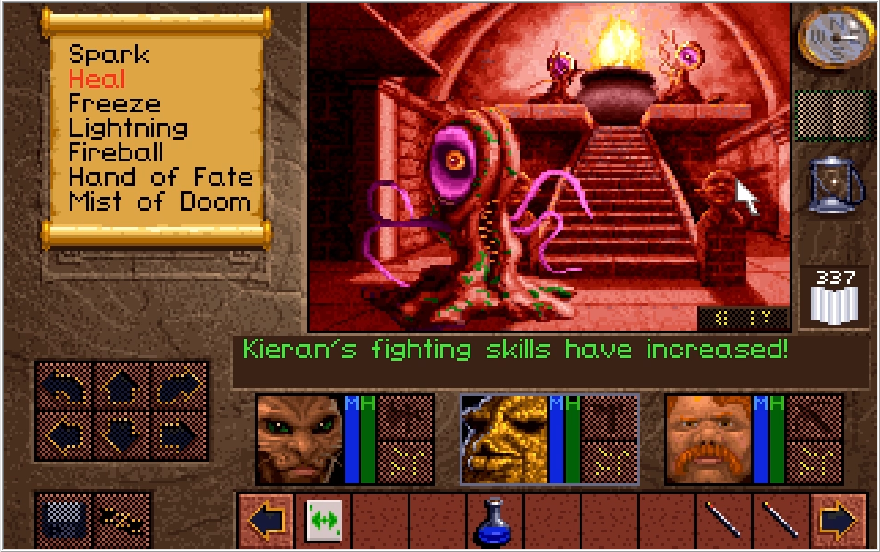
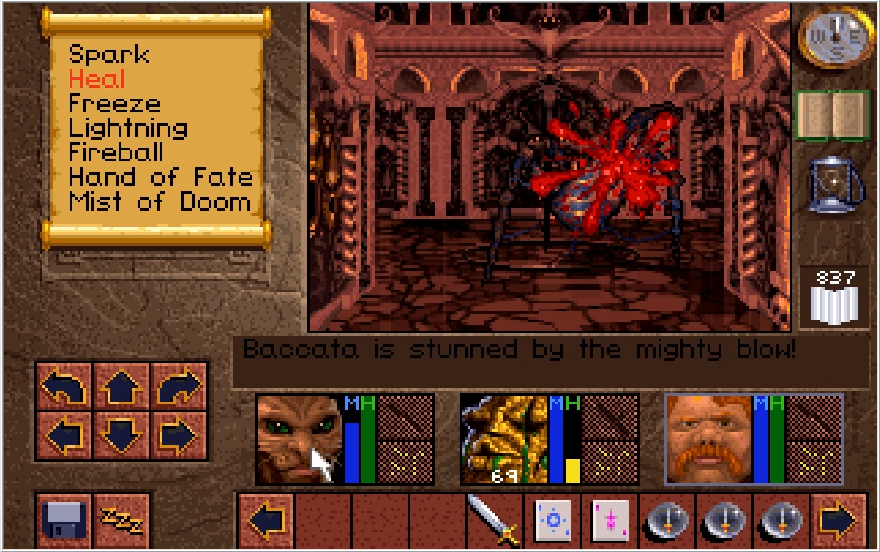
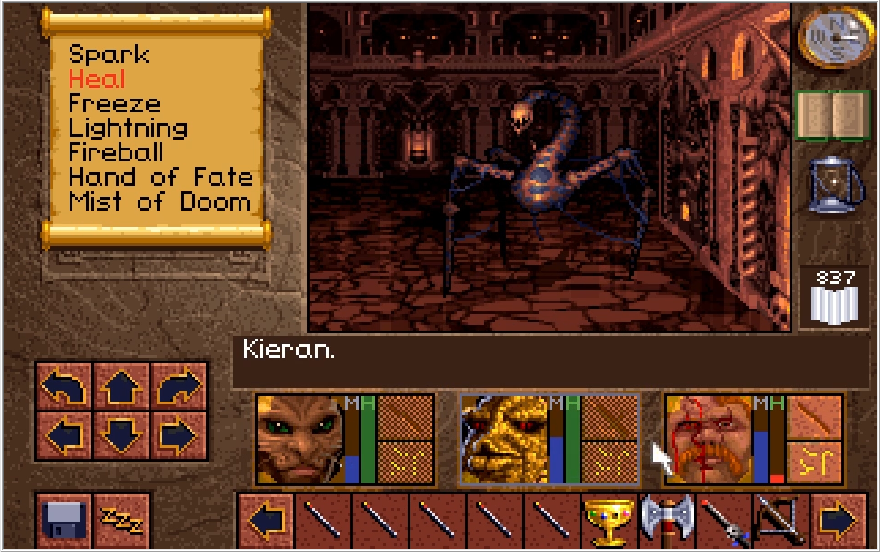
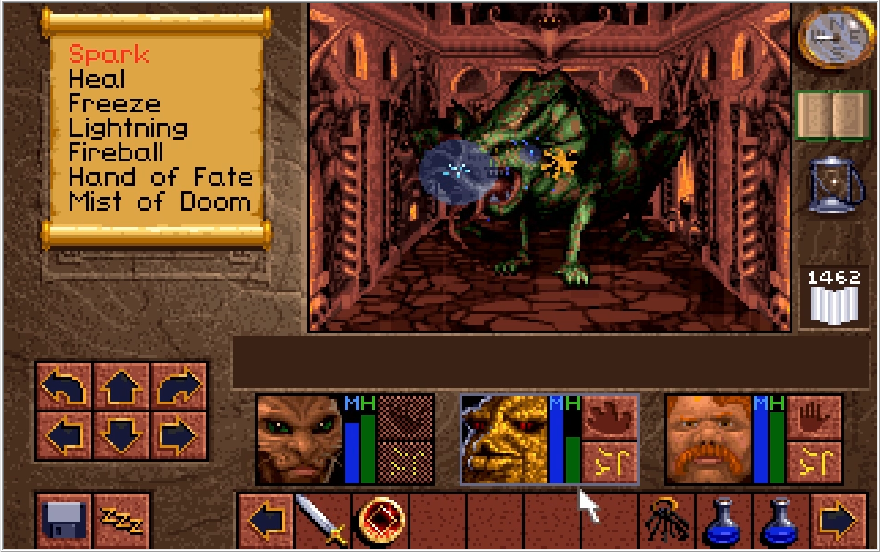
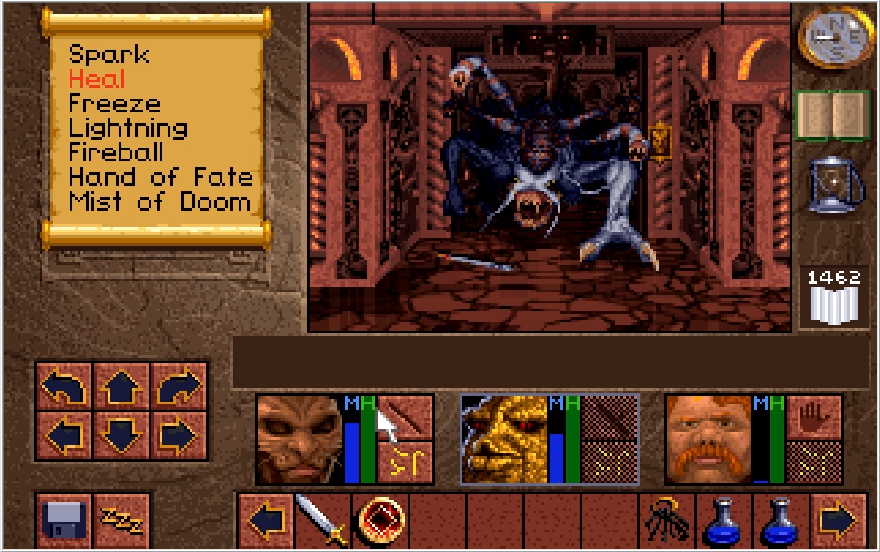
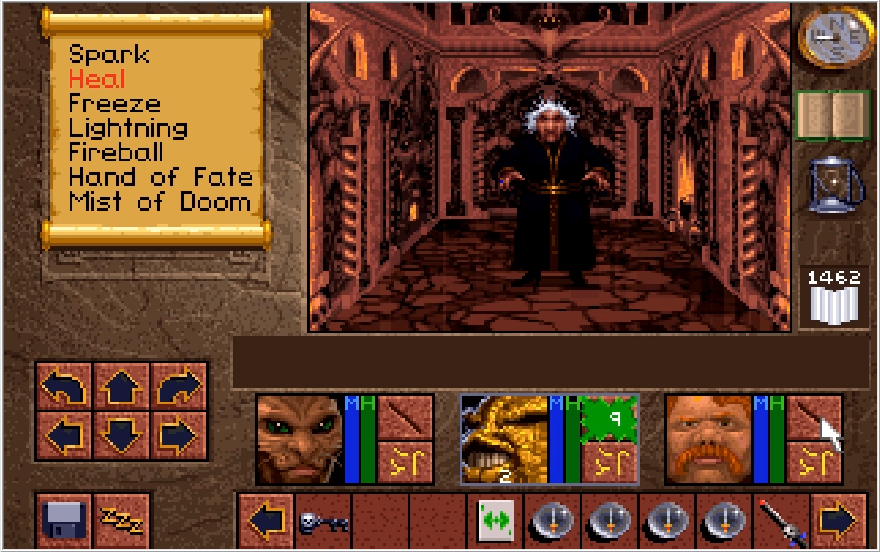
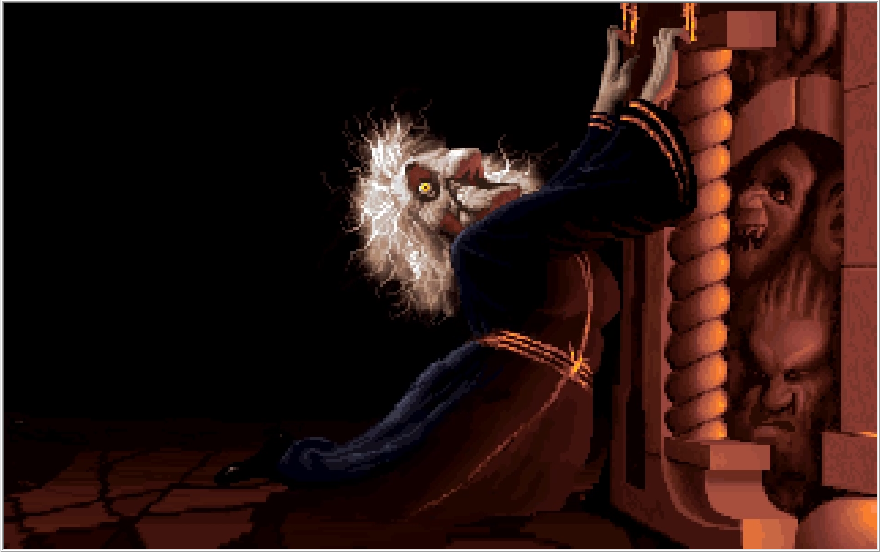
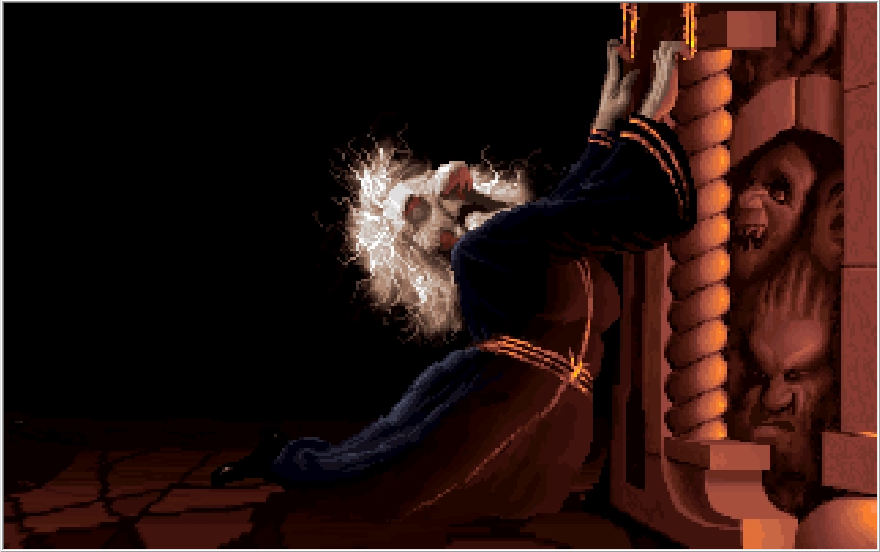
Using standard toad busting tactics makes Scotia realize she needs to step up her game, and she becomes a much cooler looking worm monster.
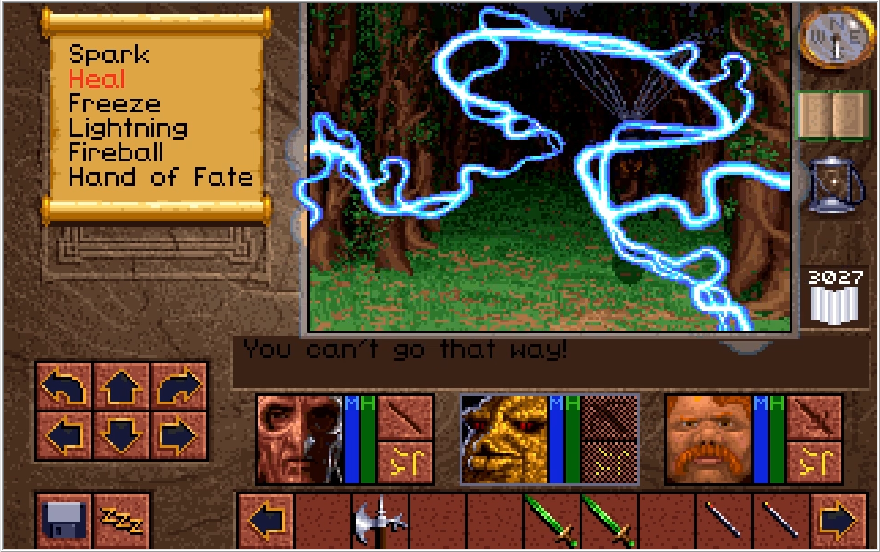
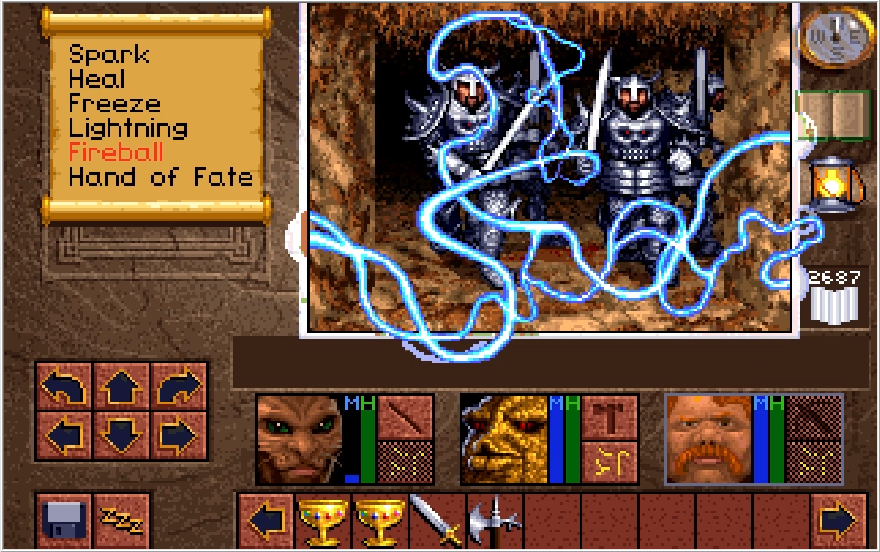
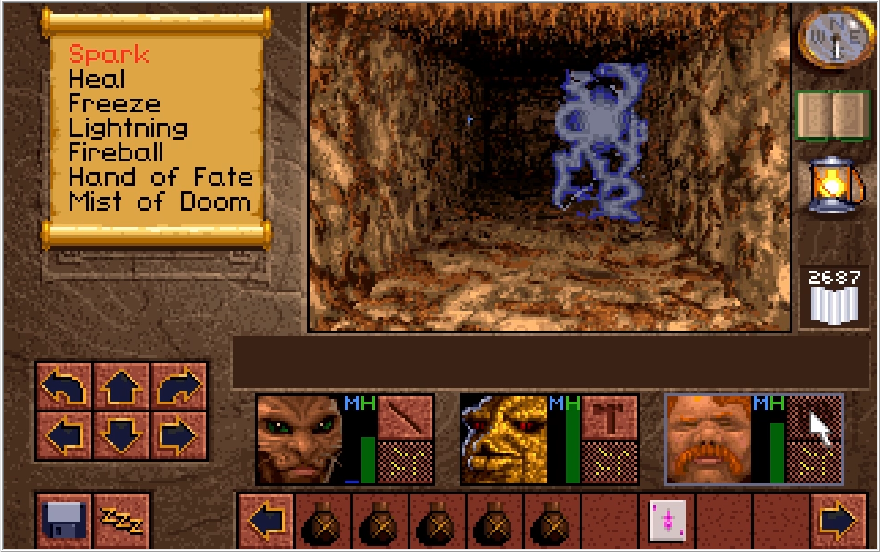
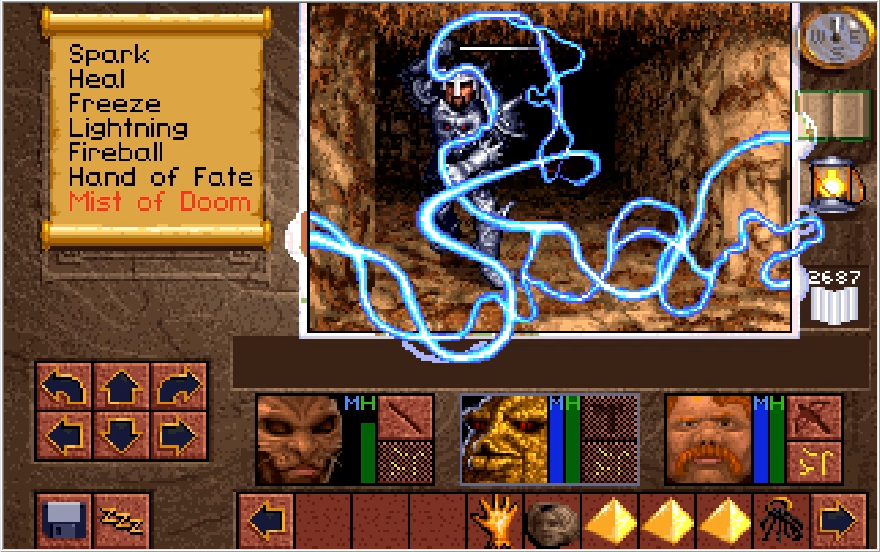
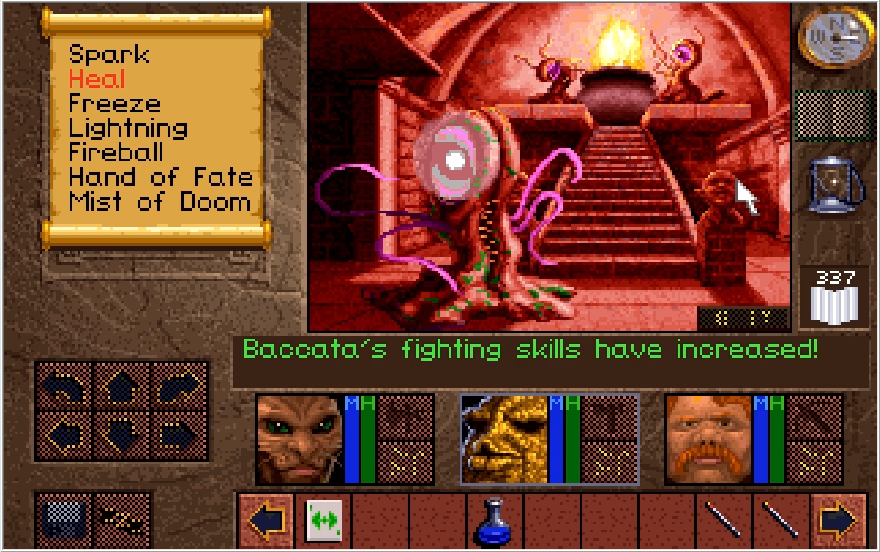
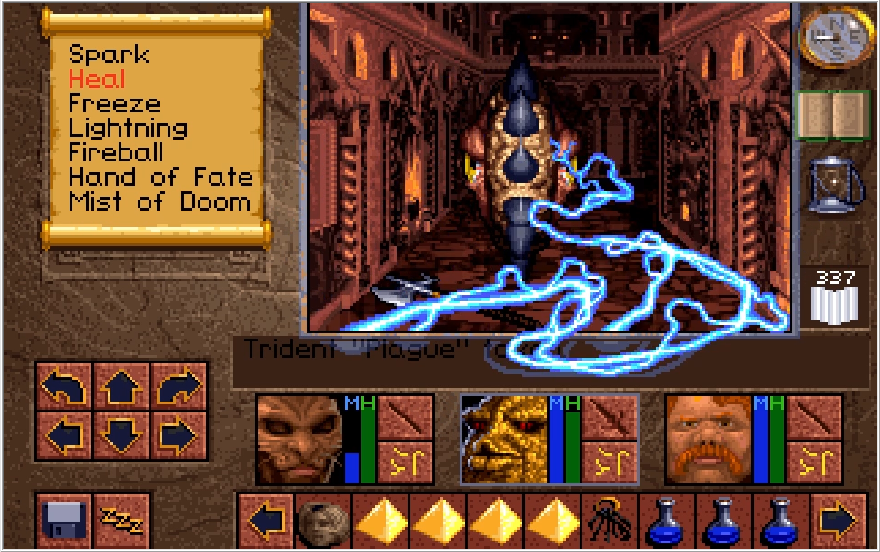
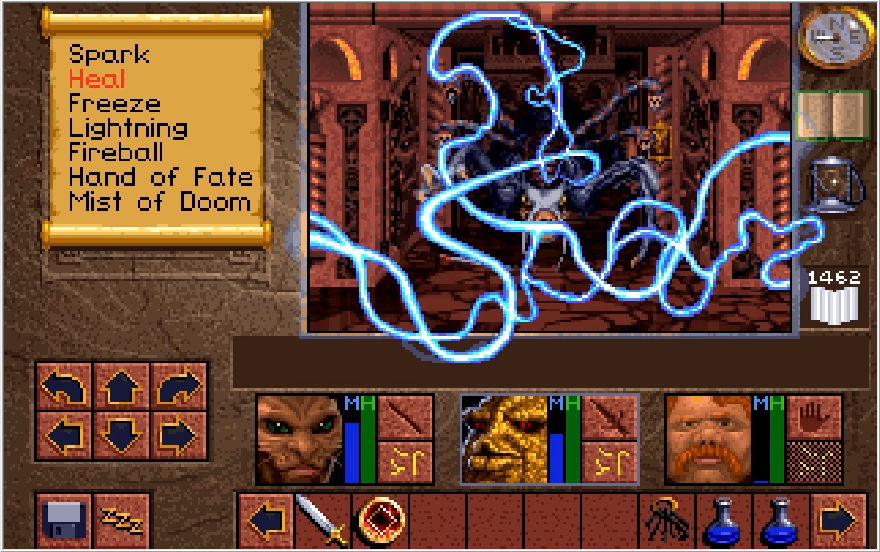
She also gains the ability to blast us with the Wraith Wizard's spectral snake. Cool party trick, but I don't think she's prepared for Baccata.
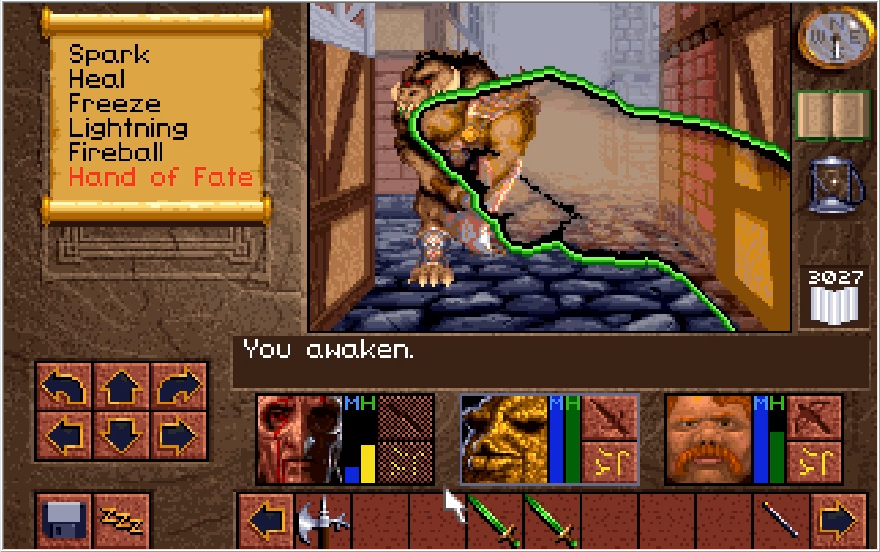
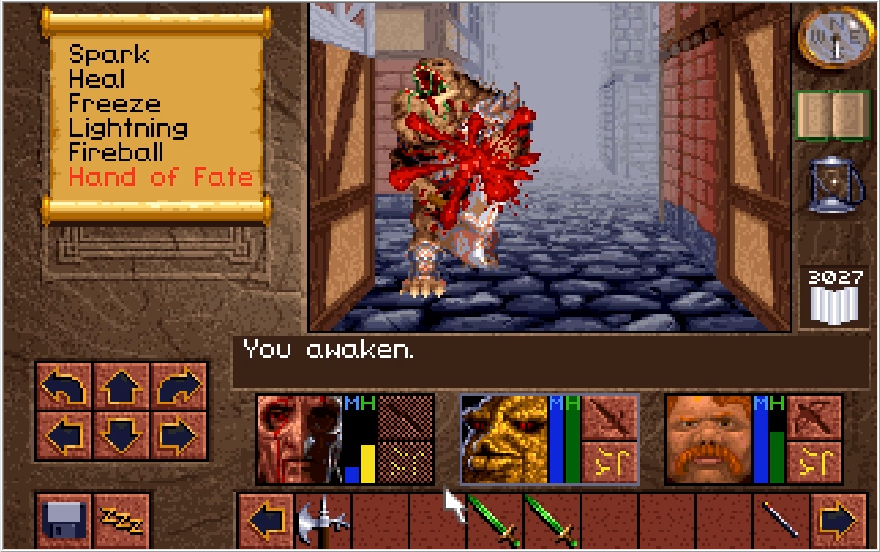
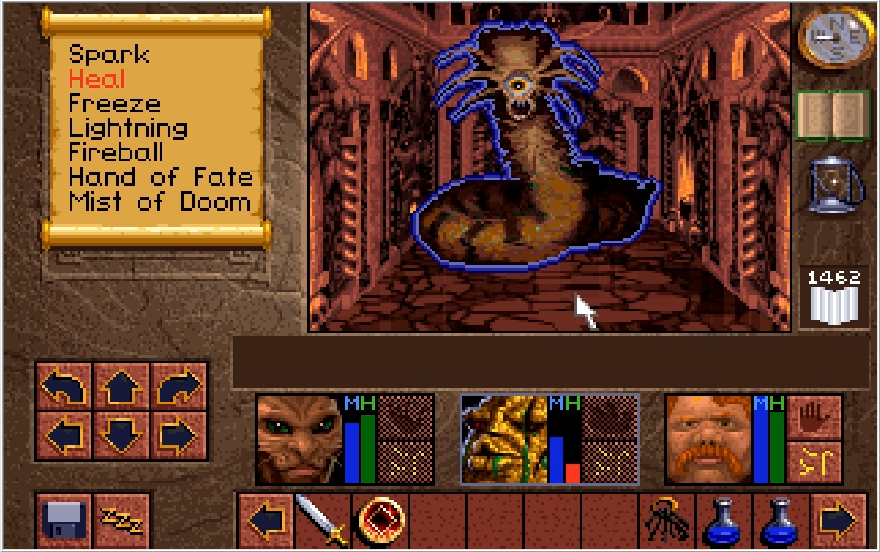
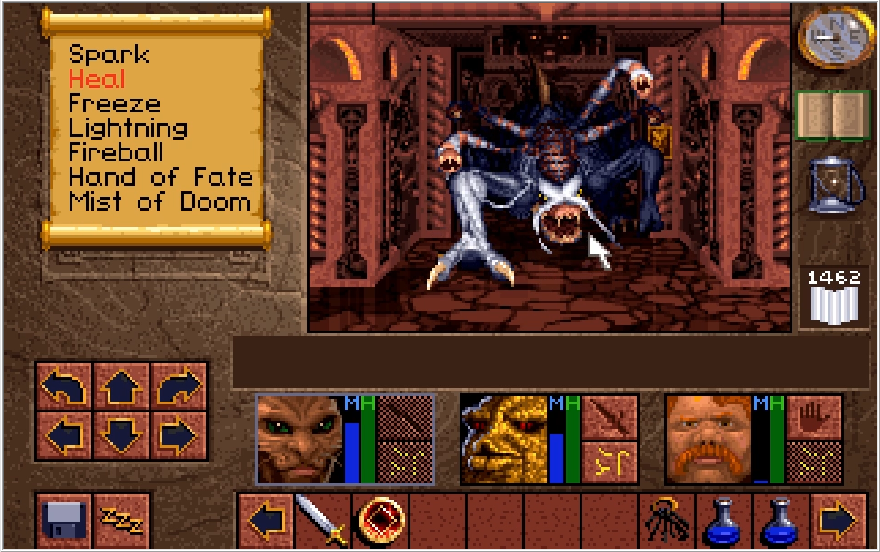
Because this is Wimpy mode and she has like no HP on this difficulty, a single crushing blow from Baccata prompts another transformation.
Ooo, scary. You know what's scarier than that though?
Unlimited power!
Uhhh. That did not seem to work.
As a matter of fact, nothing I'm trying here seems to work. Maybe now it's time for the Whole Truth?
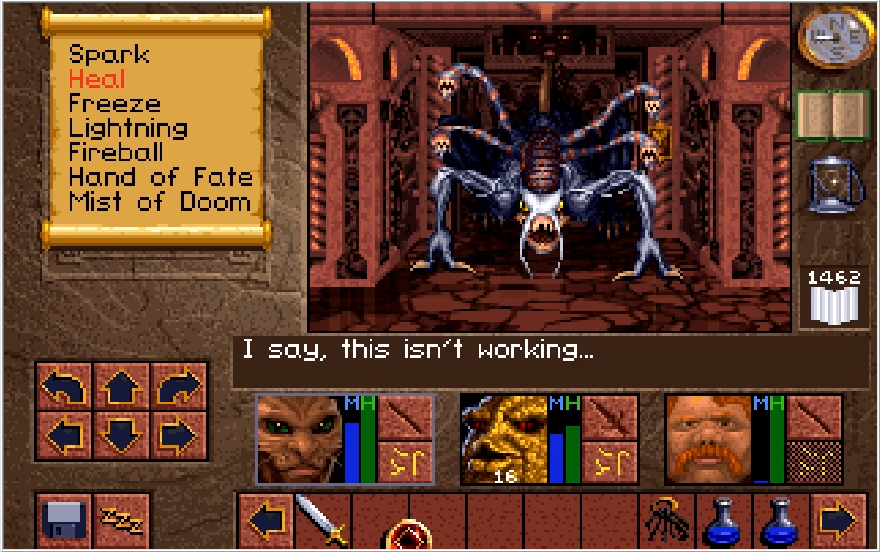
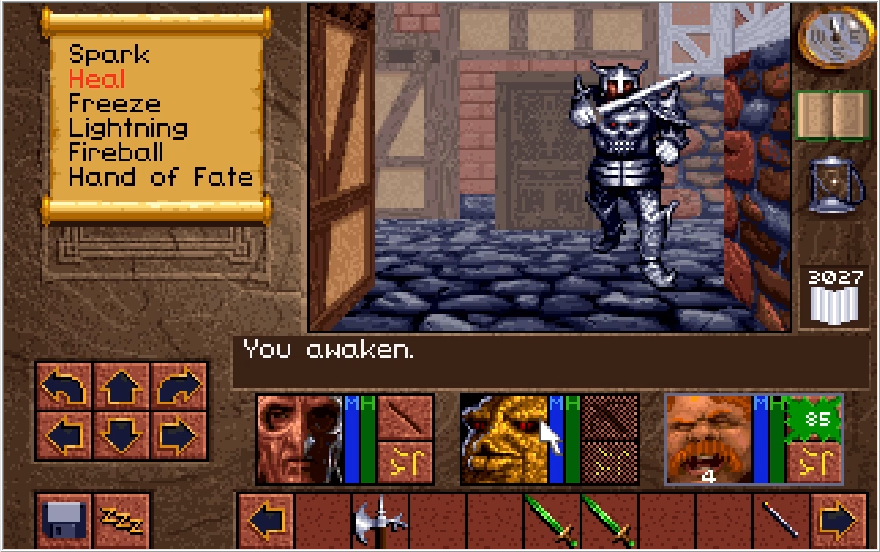
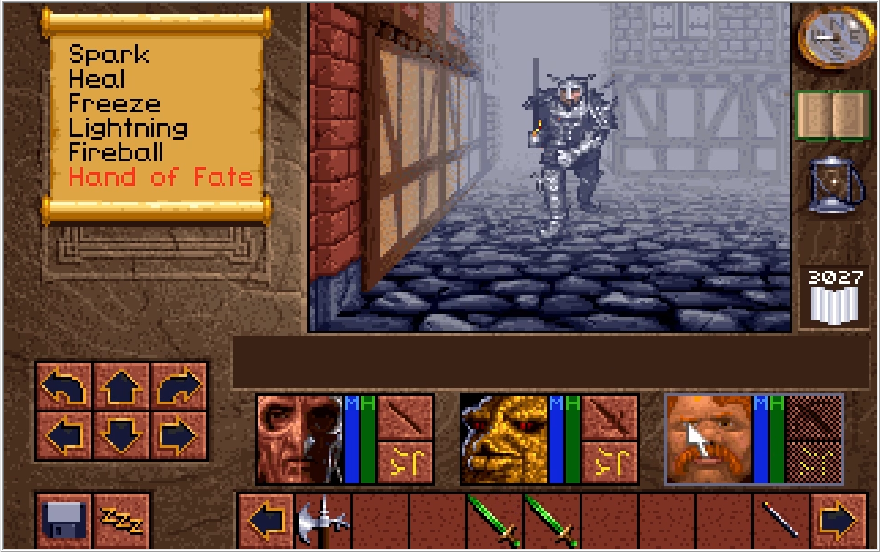
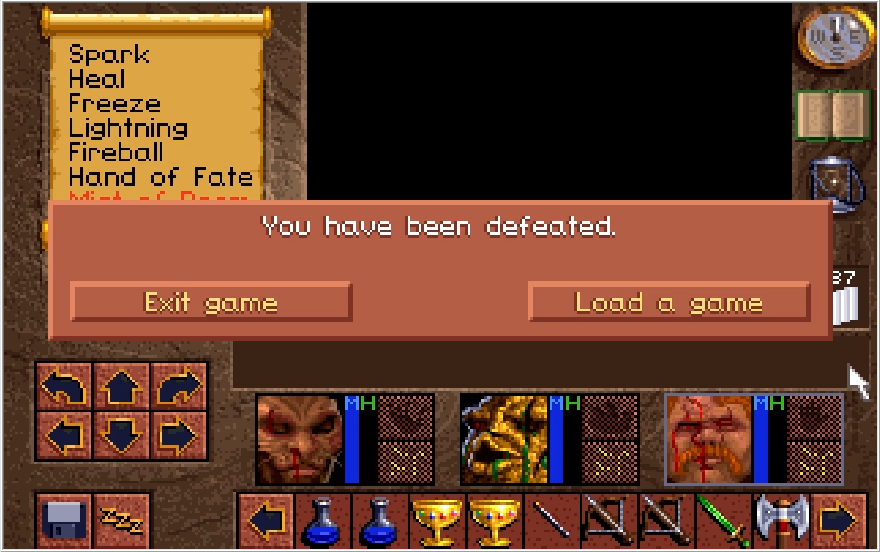
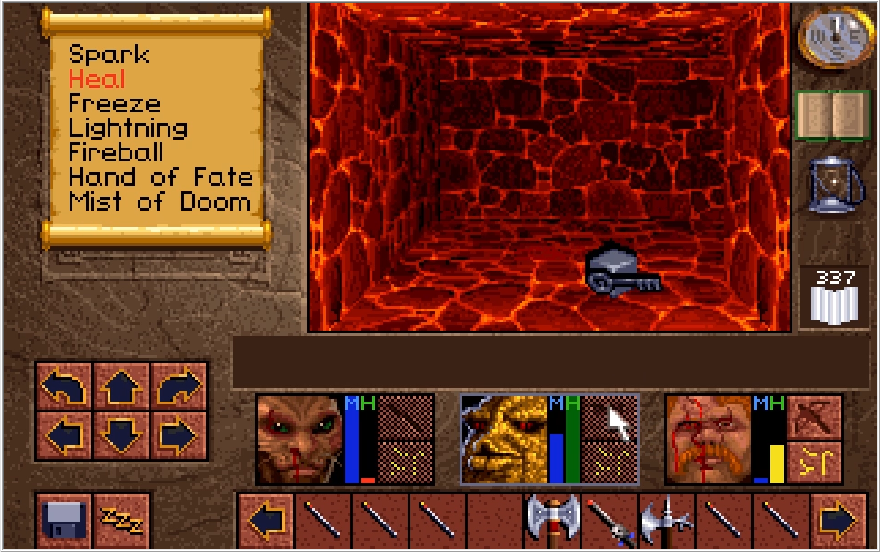
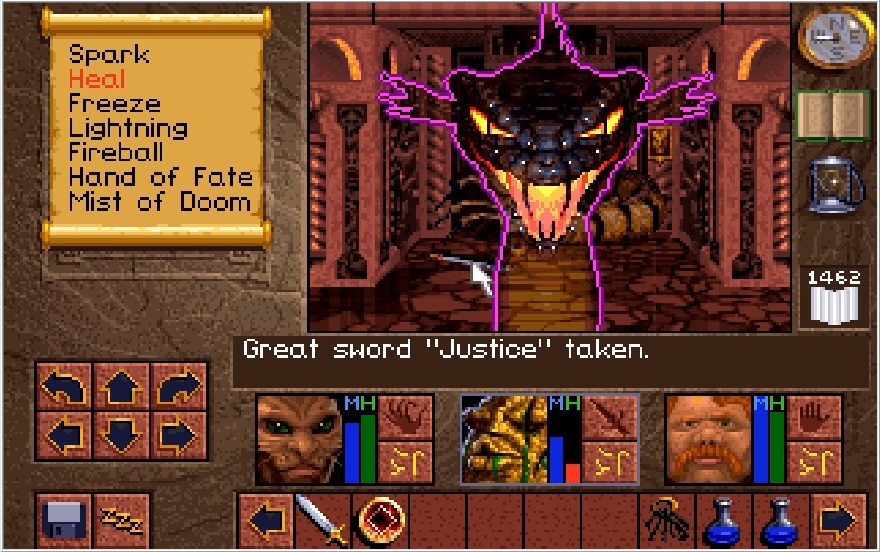
Well, fuck. Say hello to the Executioner, as well as the end of your game. The Nether Mask allows Scotia to take any form she can imagine, and it finally clicked for her that she could just become something invincible to destroy us. The Whole Truth can only interrupt the Mask, it cannot break a transformation that has already been made. Nothing you do can damage Scotia in this form, and you have no recourse but to let her kill you at this stage. It's kind of a shame the fight with Scotia's different forms go this way, because there's kind of a cool set up for a final boss here. Imagine if Scotia in her second form weaved through the pillars and blasted you with projectiles as you tried to close the distance between you and her. Then, once she took the form of the Executioner, you need to evade her as best you could and land glancing blows until she falls and you could break her transformation with The Whole Truth, giving an opportunity to go in for the killing blow. As it actually is though?
Music: Fighting Scotia
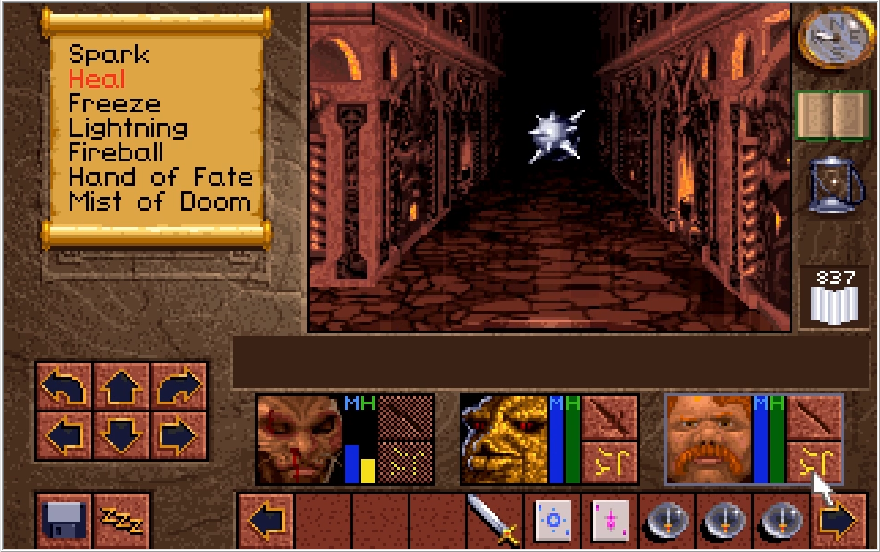
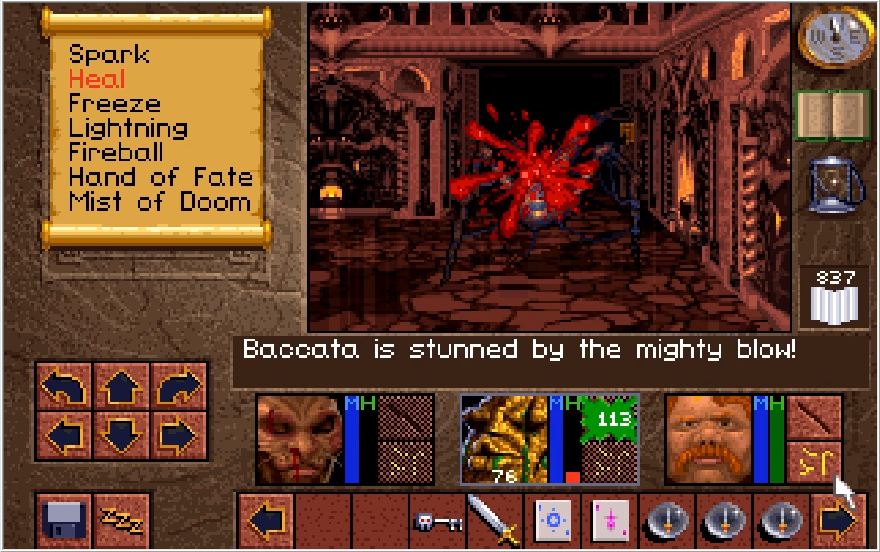
We instead just fire off the Whole Truth to thwart the Mask before the fight even begins. Scotia for her part says "fuck it anyway" and this nonagenarian decides to throw hands with us.
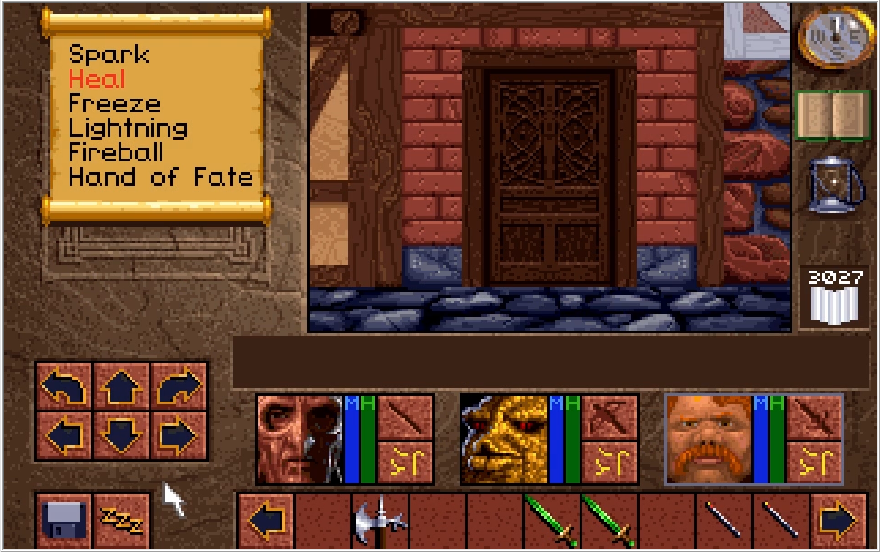
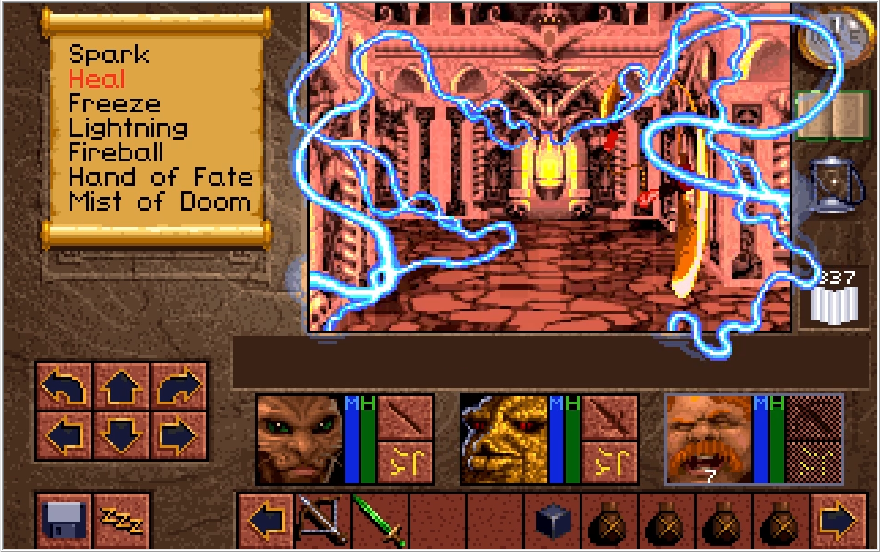
She's quite resistant to the cold steel for an old crone though. She can also quake you, making this a poor approach in any case. Luckily, we have a tremendous stockpile of attack items.
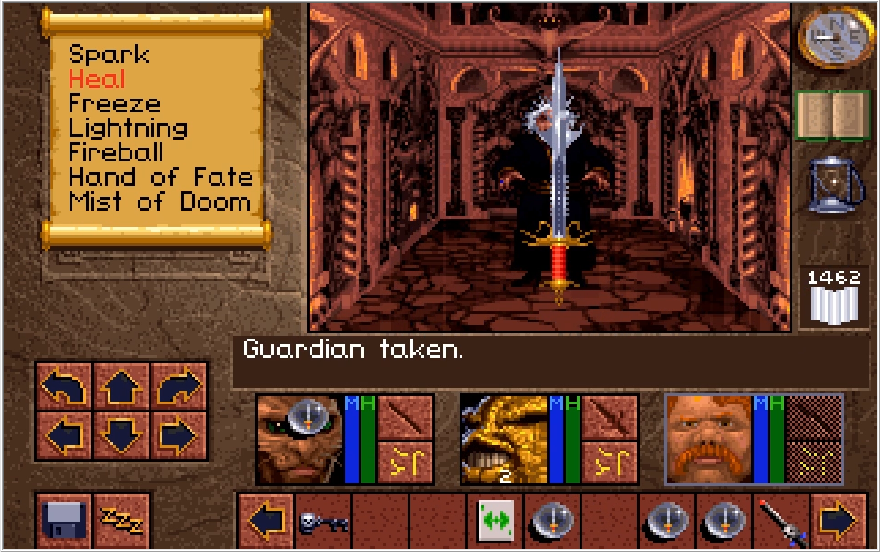
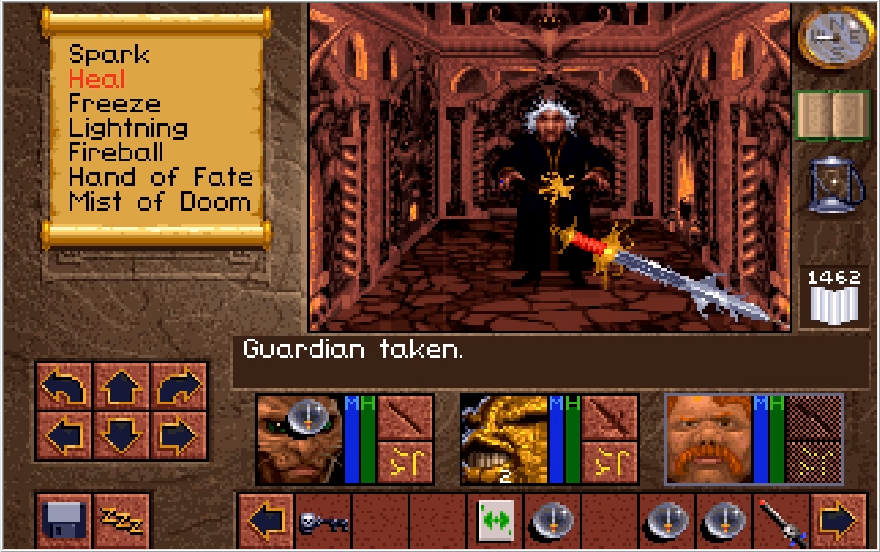
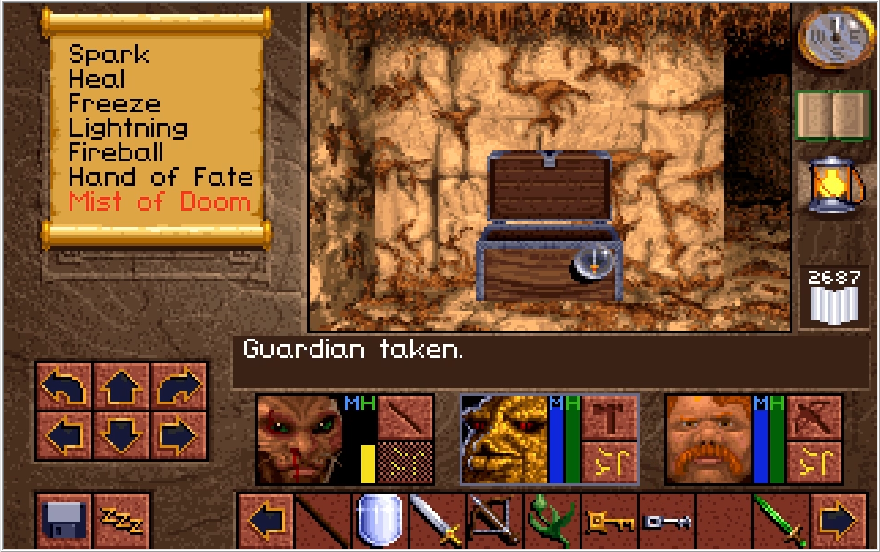
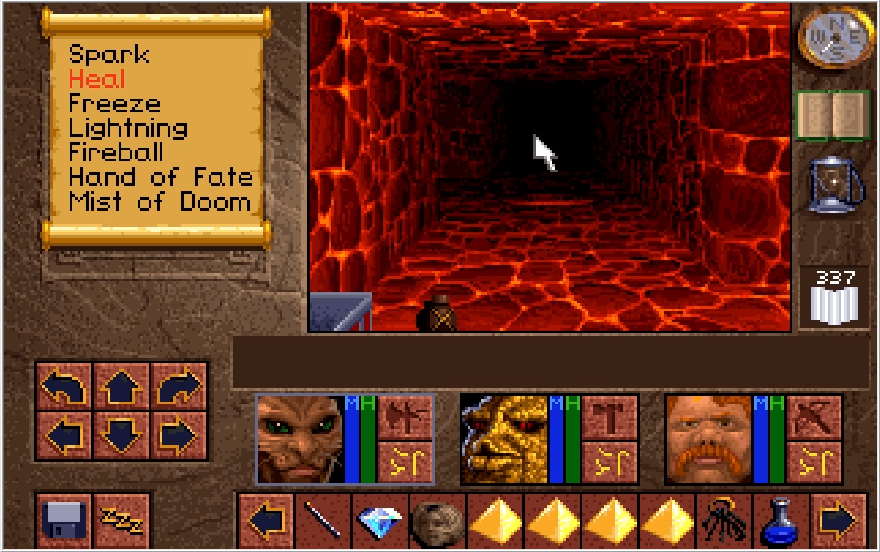
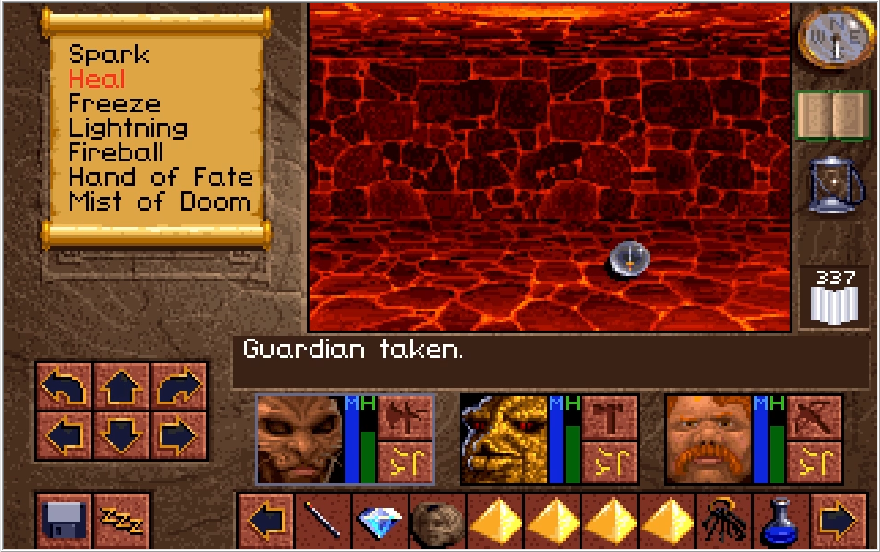
The Guardian is the strongest attacking spell in the game, and on lower difficulties 2 or 3 of these will just kill her outright. Despite her bloodcurdling scream every time she gets hit, Scotia is a bit more resilient than that on Ferocious.
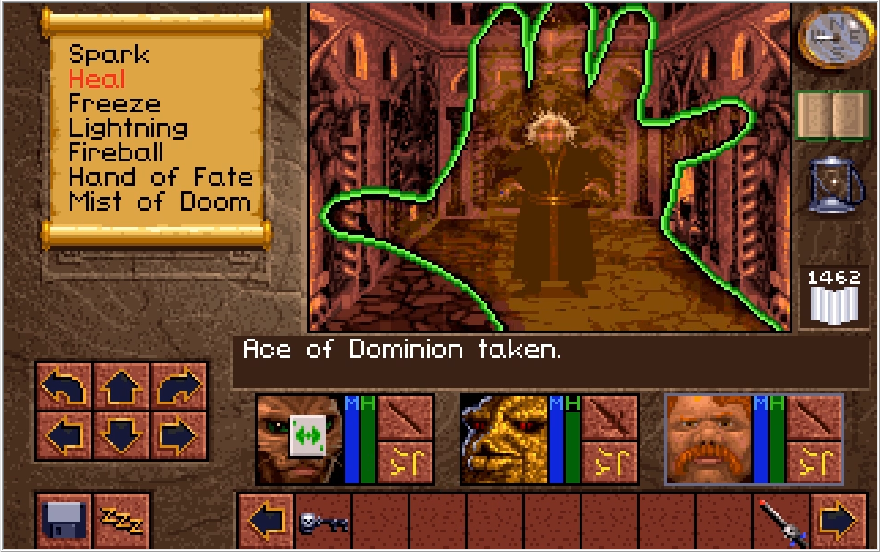
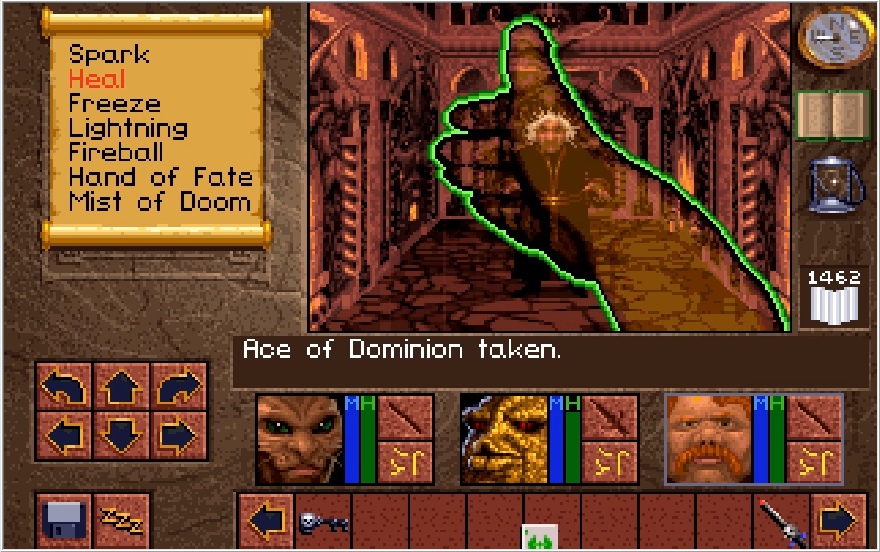
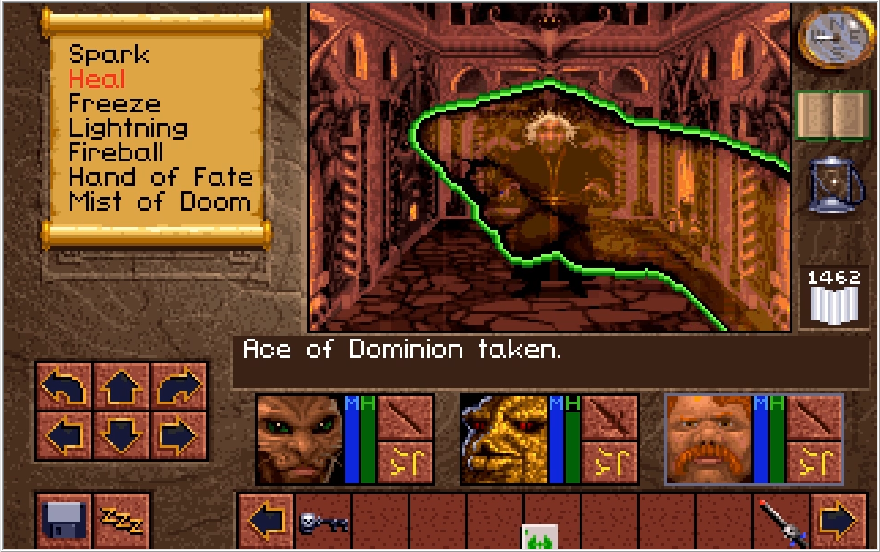
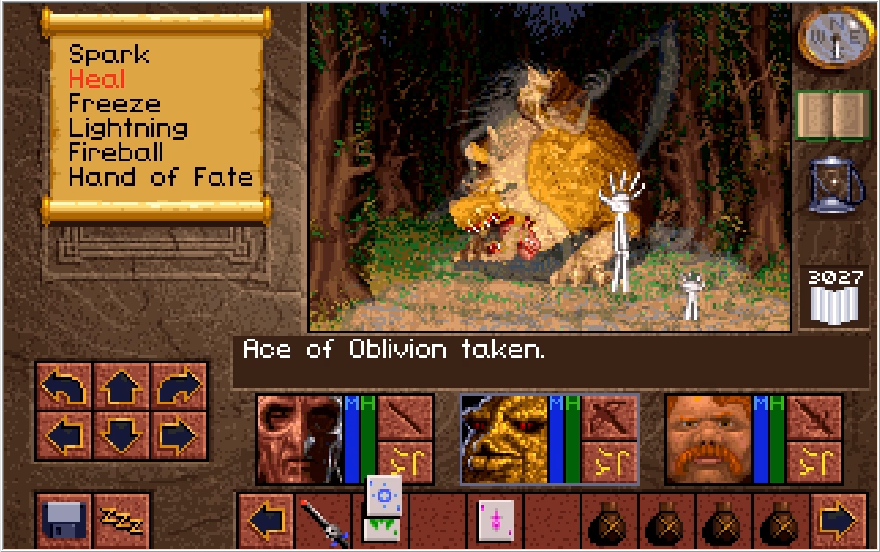
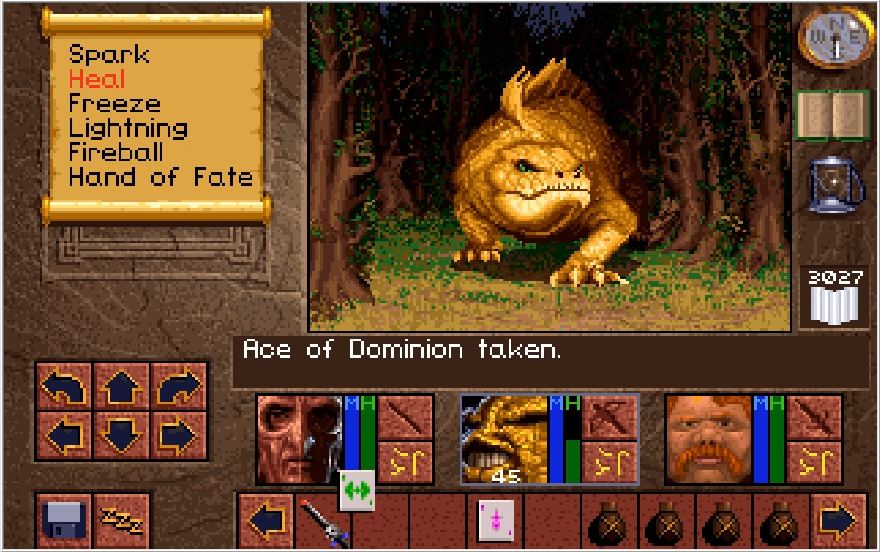
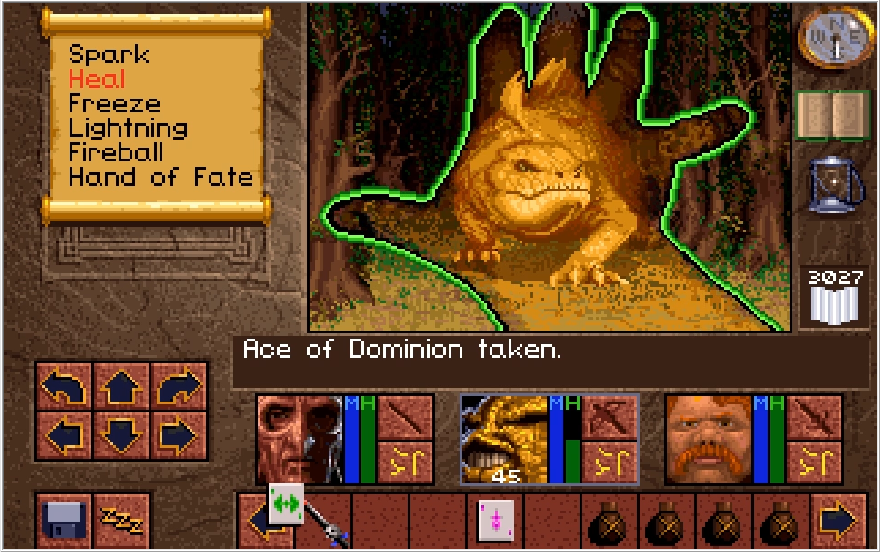
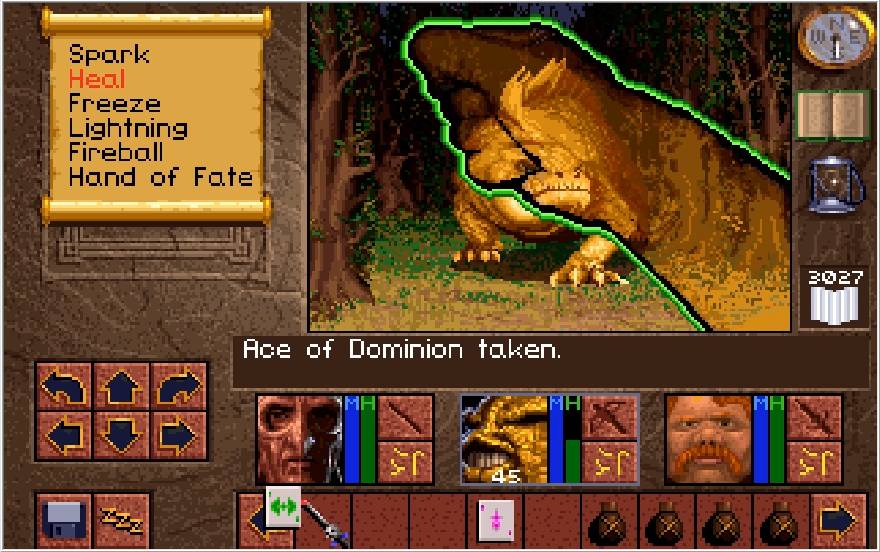
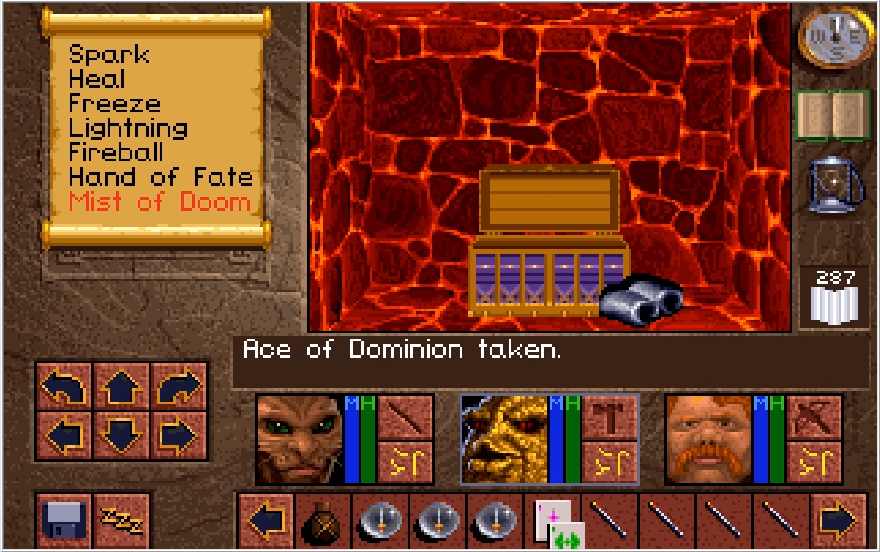
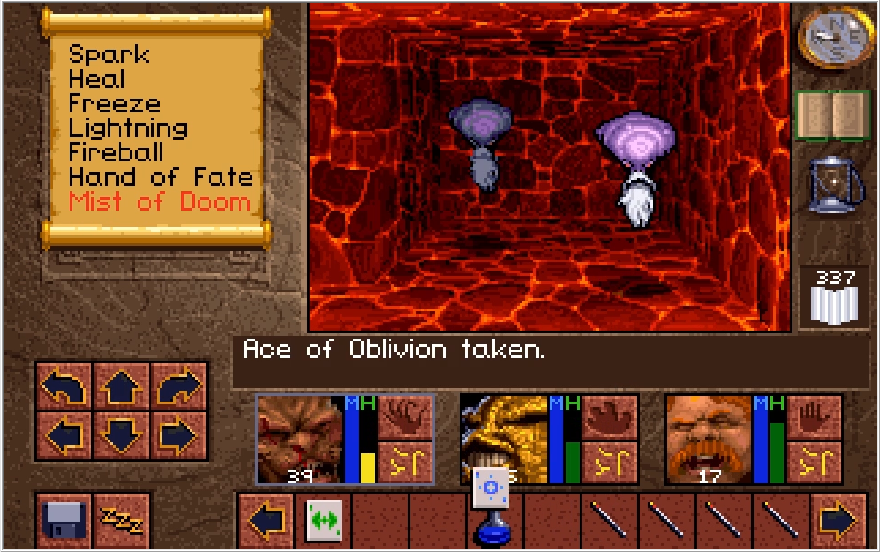
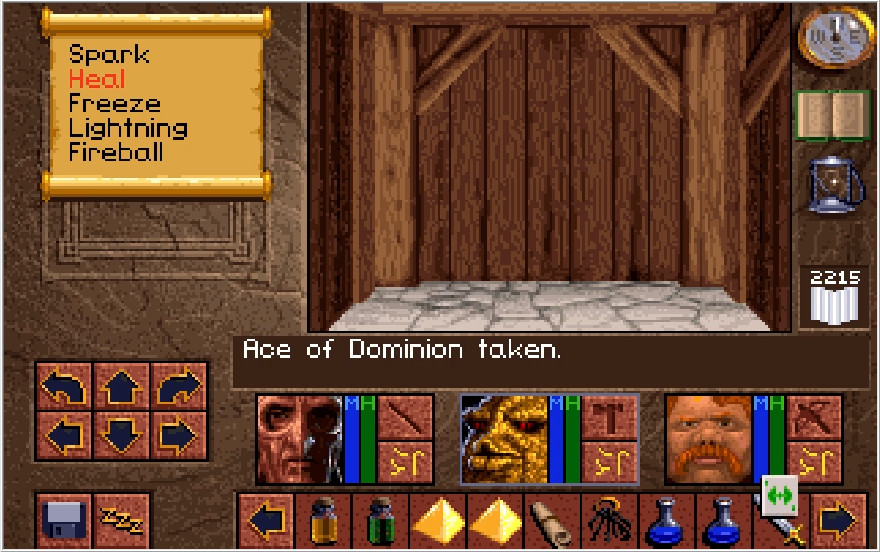
Fortunately, I also have an Ace of Dominion to fire off a spectral pimp hand with...
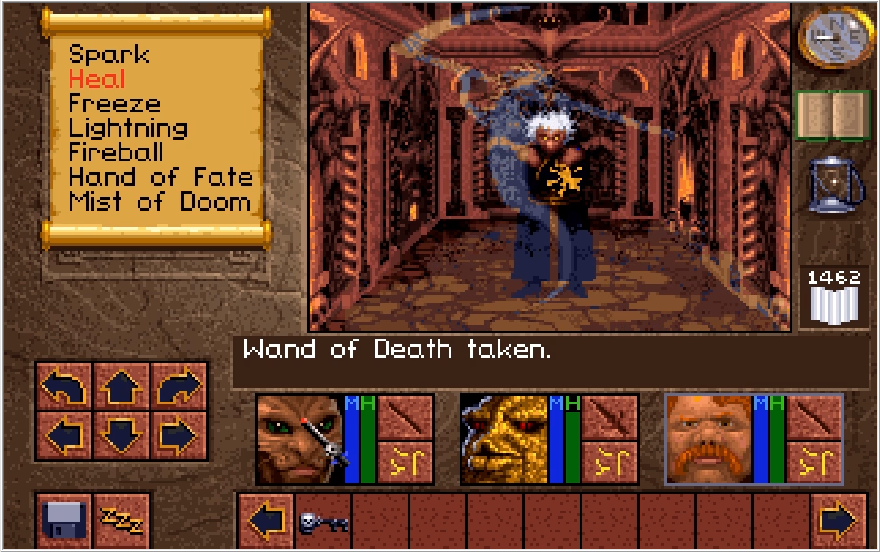
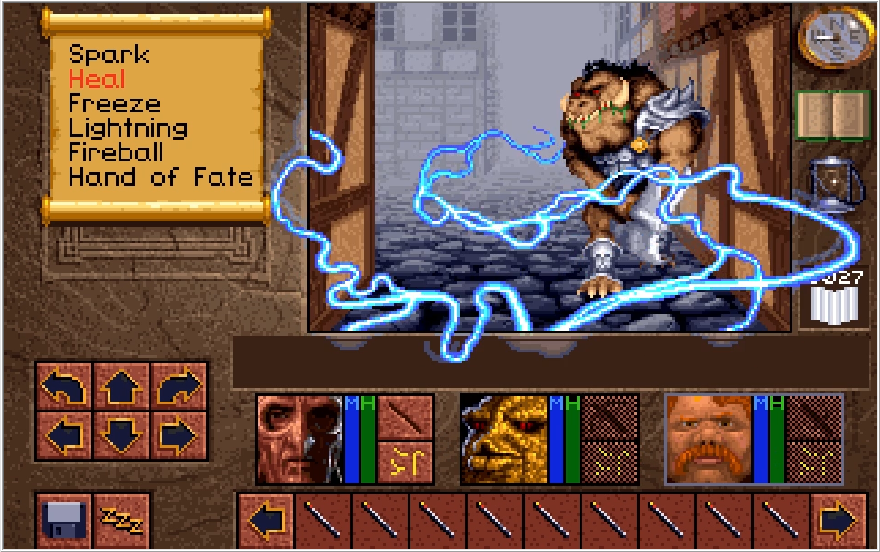
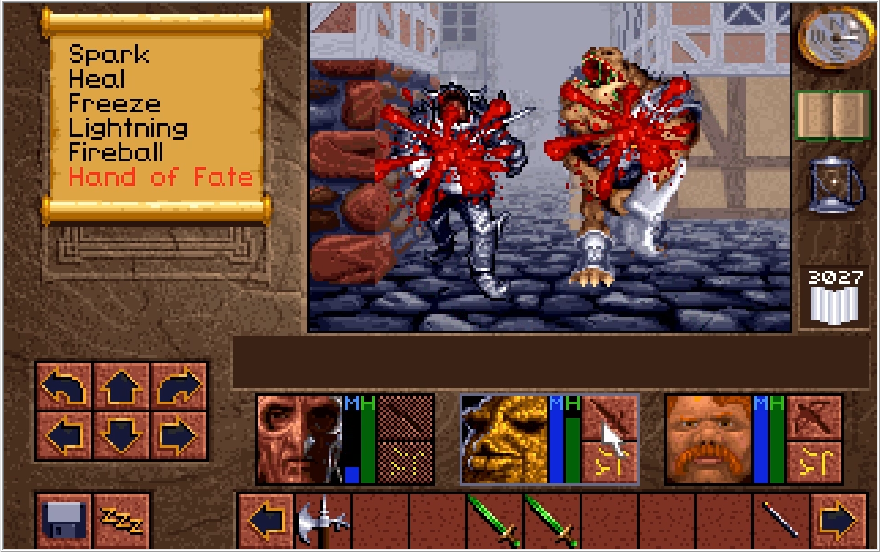
And the Wand of Doom to sic the legions of dead unto her!
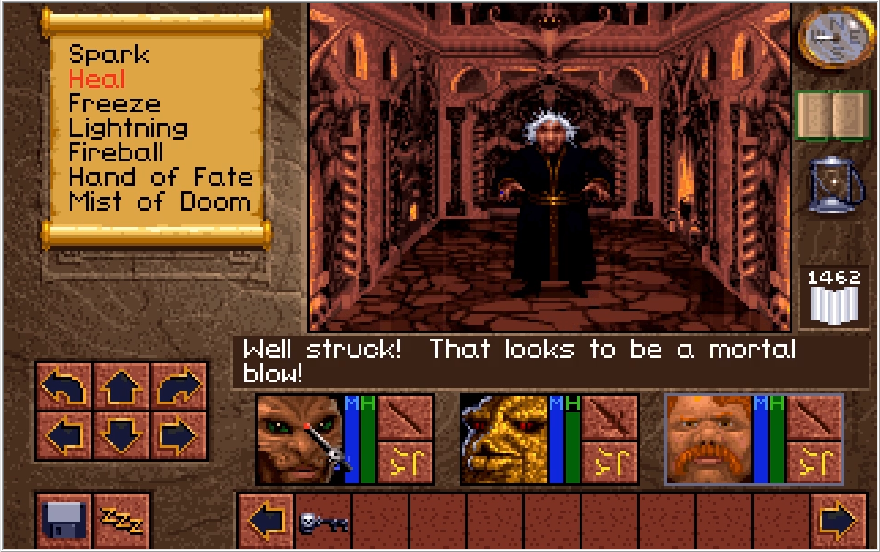
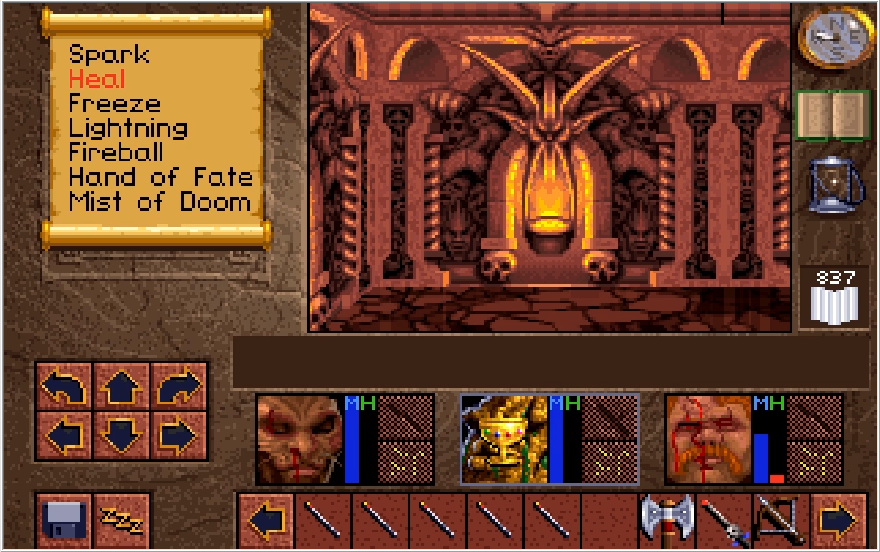
After the previous onslaught, a couple blasts from the Wand was all it took.
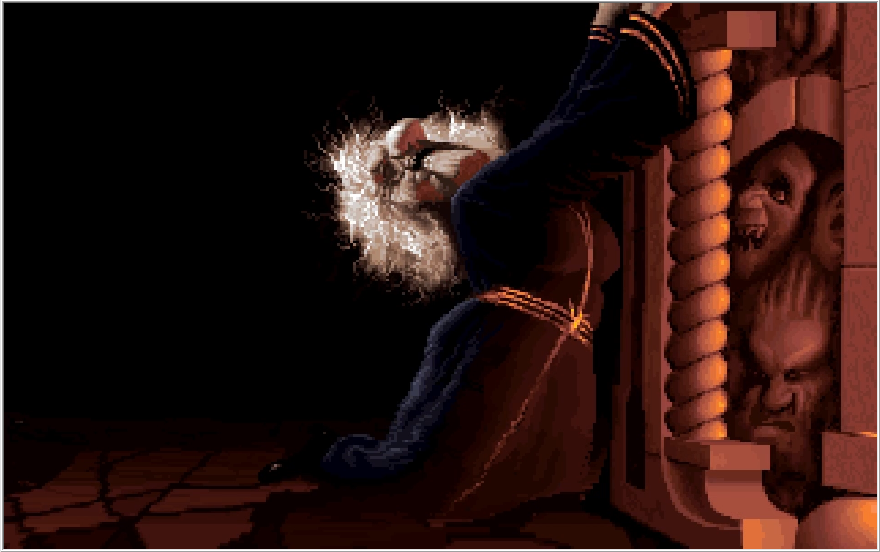
Music: Scotia's Death
:
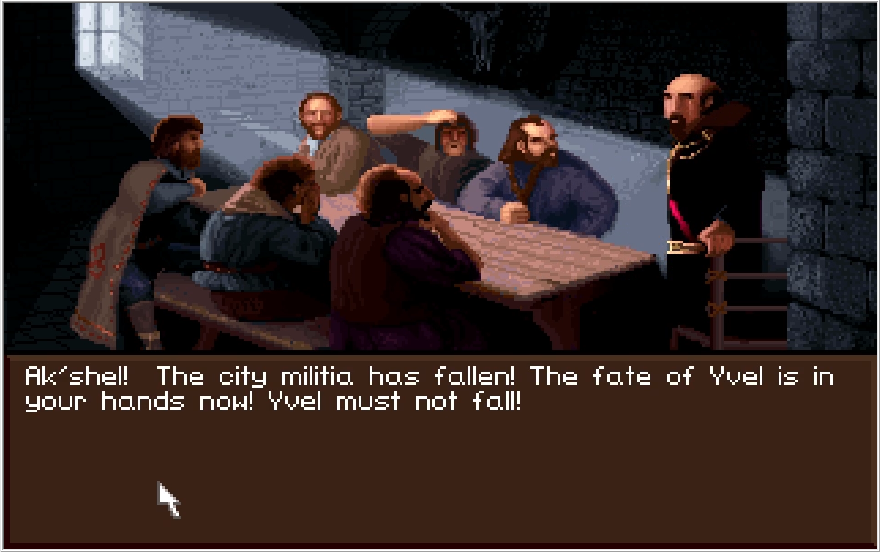
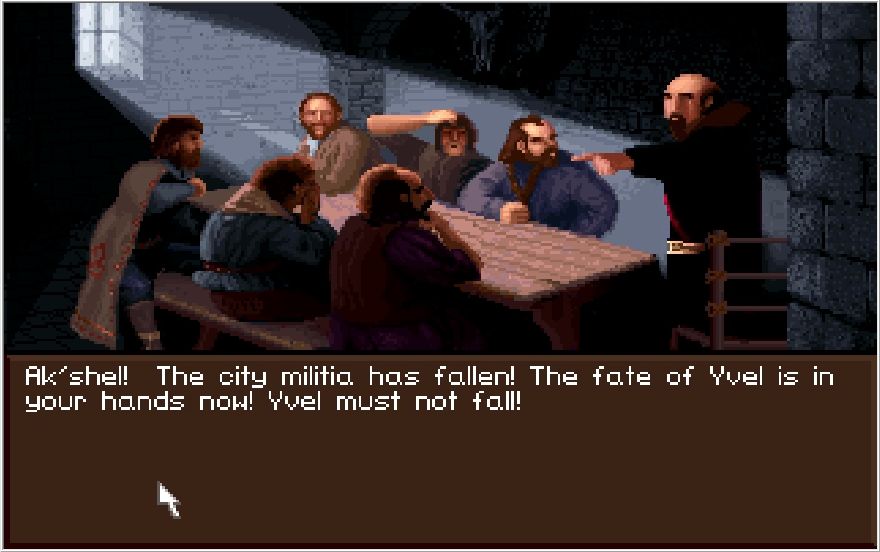
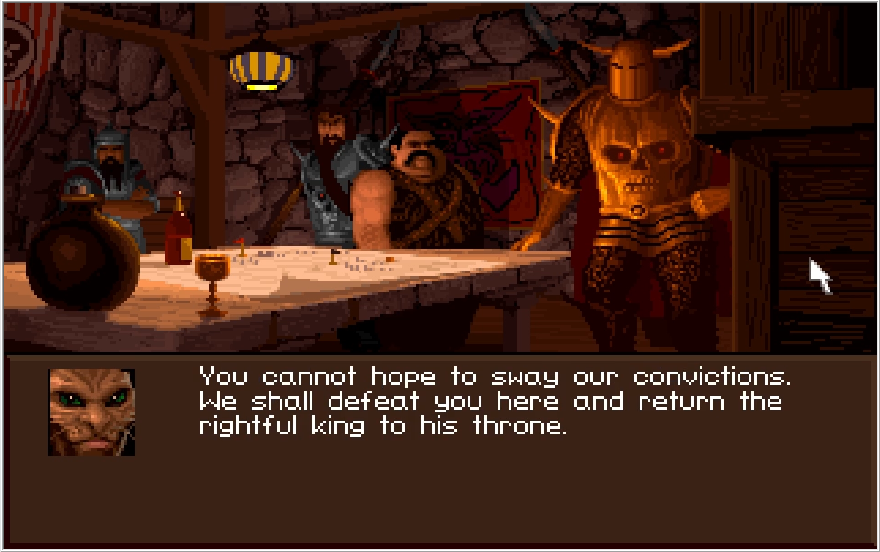
"Fool, my death will not save you from our wrath!"
With a nebulous threat, Scotia crumples down and dies. Not sure what she means by "Our", I kind of assumed Scotia was the defacto head honcho of the Dark Army. She might have just been referring to them in general, but I'm not sure. Possible sequel hook they never followed up on? Lands of Lore 2 goes in a wildly different direction from this game.
Music: Hero of The Realm
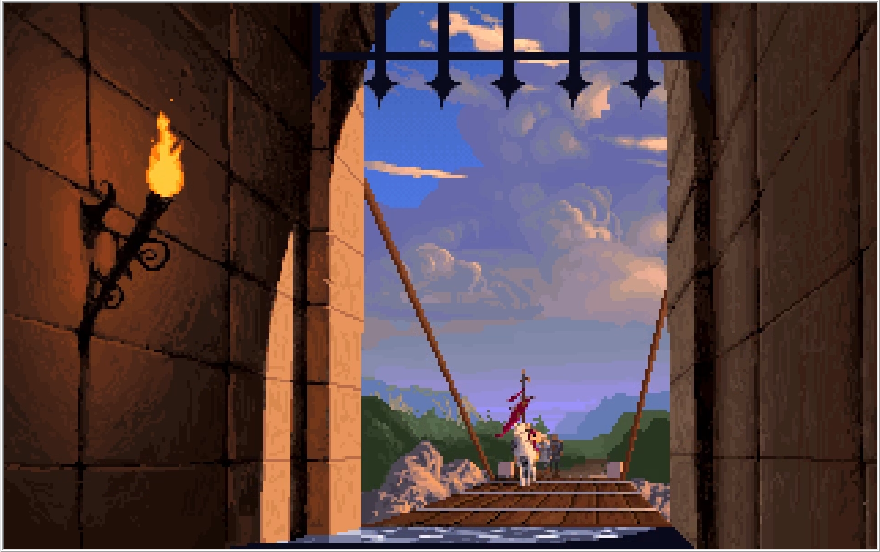
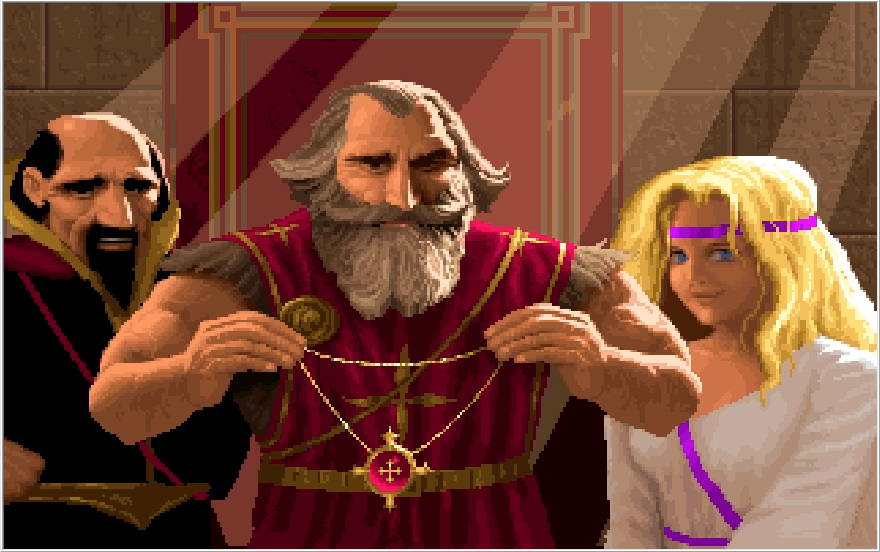
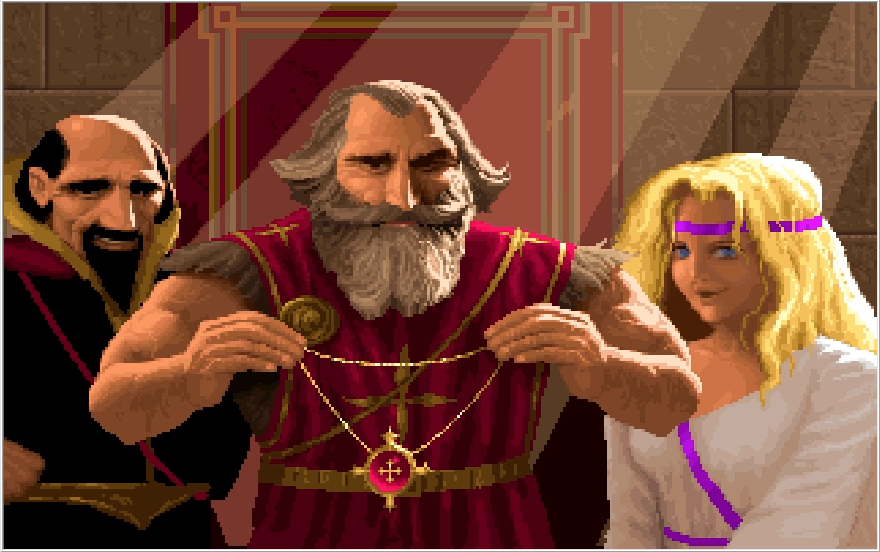
We smash cut to Richard returning to Gladstone, which I guess was repaired after it had been sacked by the Dark Army and its residents scattered to the wind? Best to not think about it too hard.
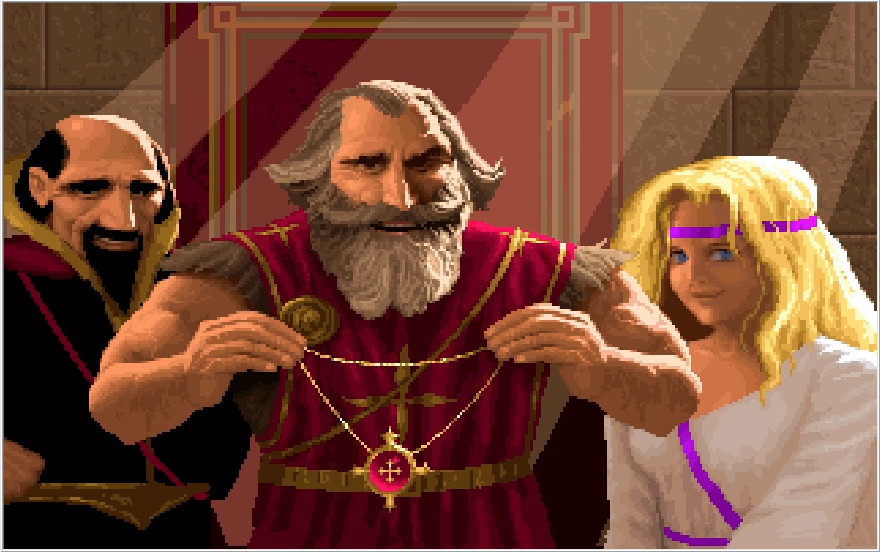
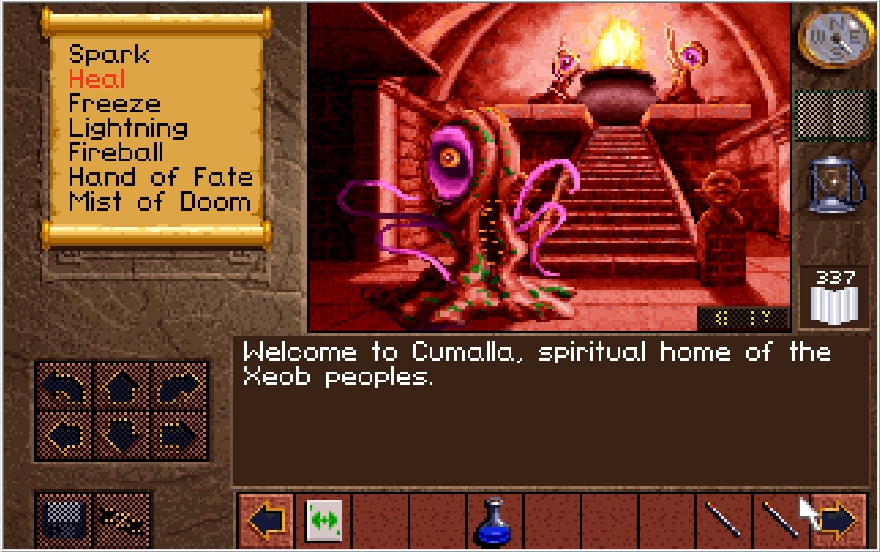
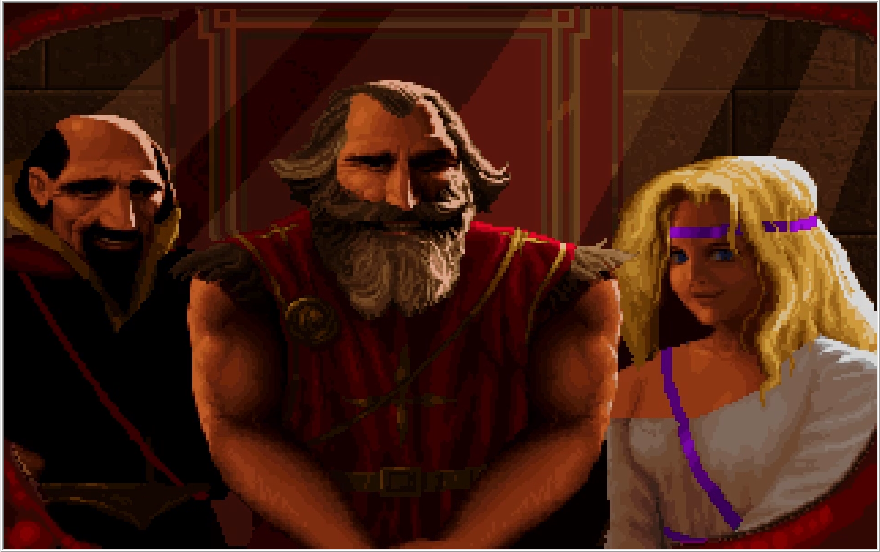
 "Congratulations, Kieran! You have served me well! We will remember you as our greatest champion."
:
"A luckier adventurer, Gladstone never saw!"
Glad to see after we saved the day and covered for several of his screw ups, Geron is still a condescending prick to us.
:
"It has been a pleasure serving with you!"

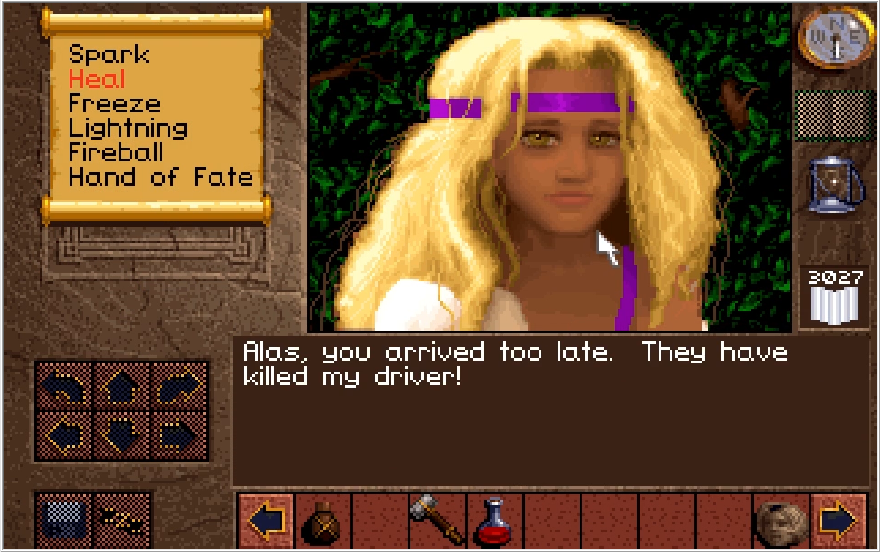
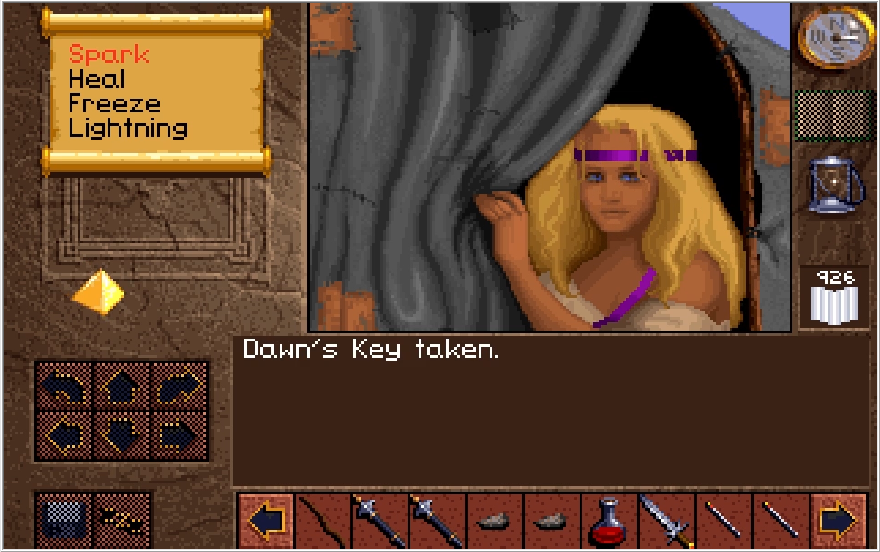
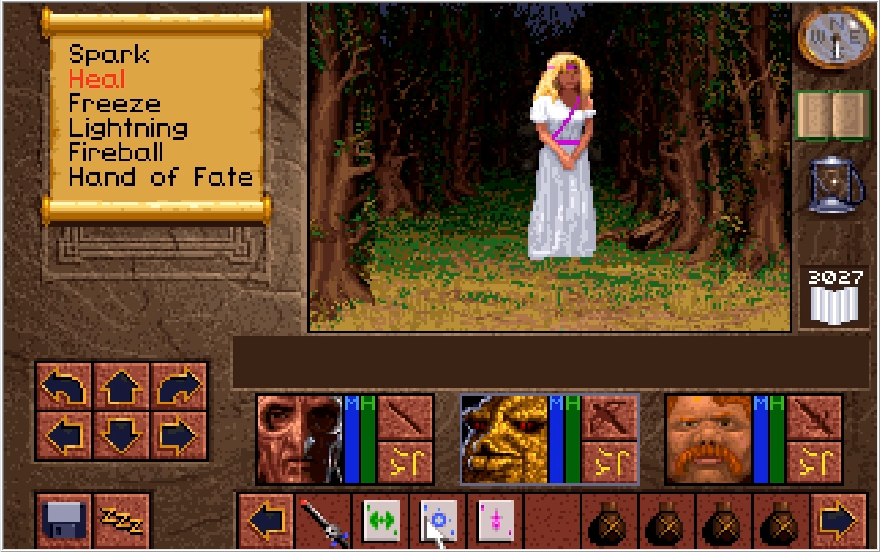
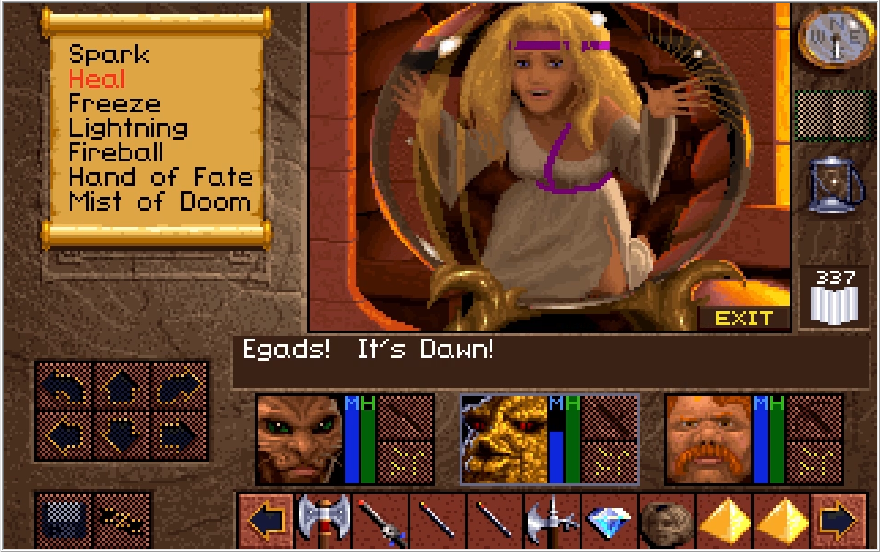
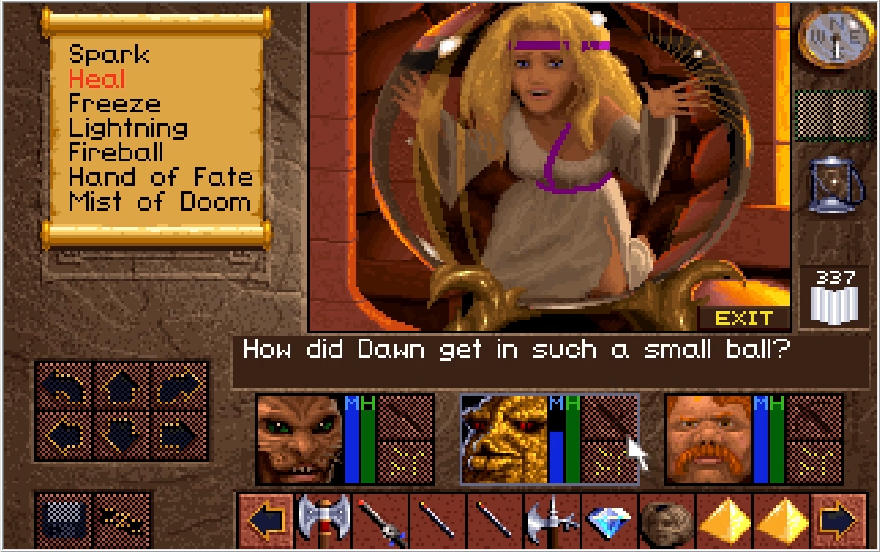
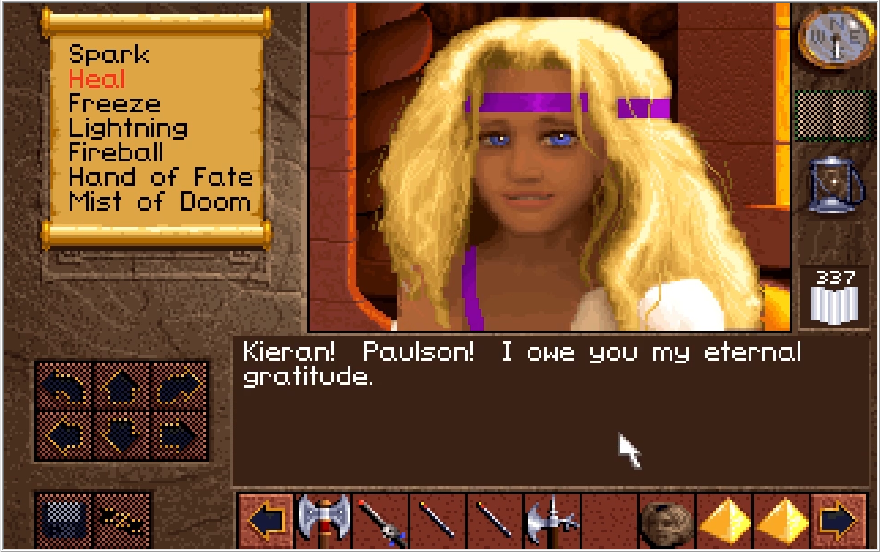
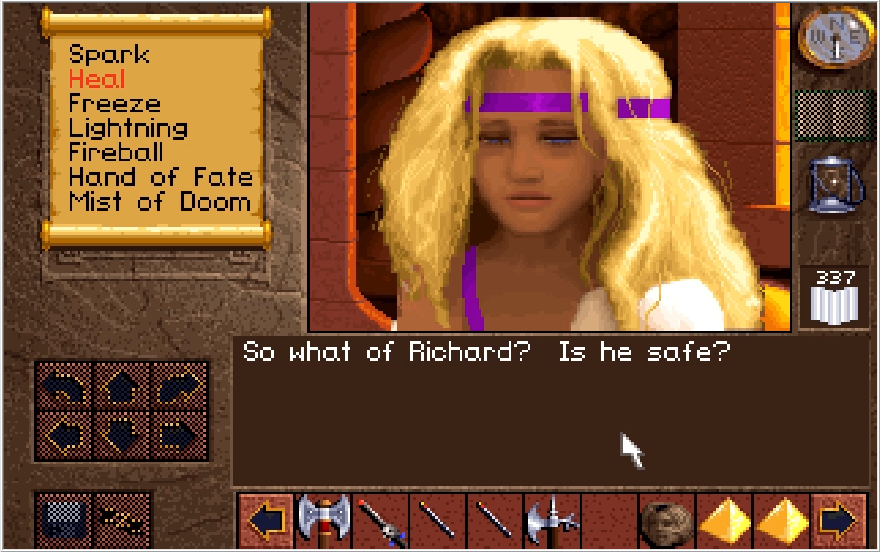
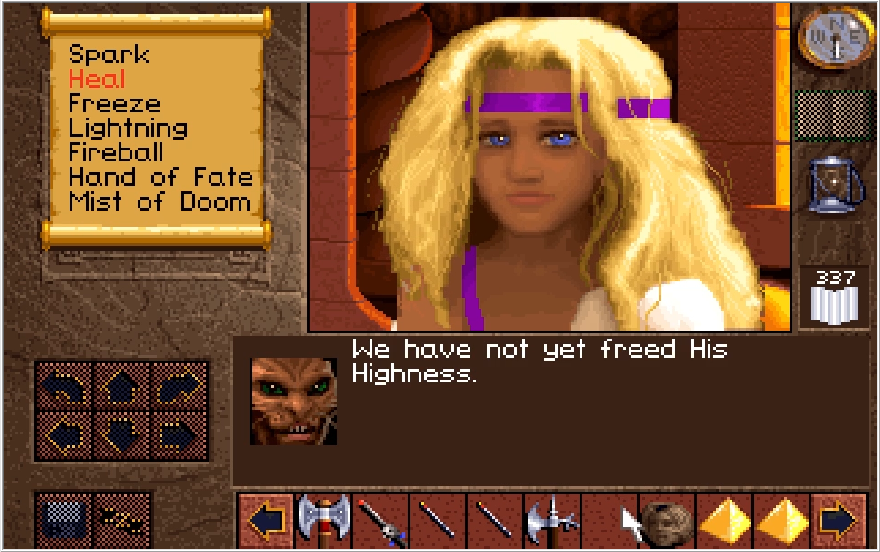
Dawn is here regardless of whether or not you save her. I mean I guess there's nothing stopping us from freeing her after Scotia was dead, she seemed pretty secure in there. It's just kind of funny how she acts like she was a key ally when all she did for us was decipher a riddle and give us some glass jars we didn't need. You can even get the riddle deciphered without her, meaning a "Dawn does nothing" playthrough is fully possible!
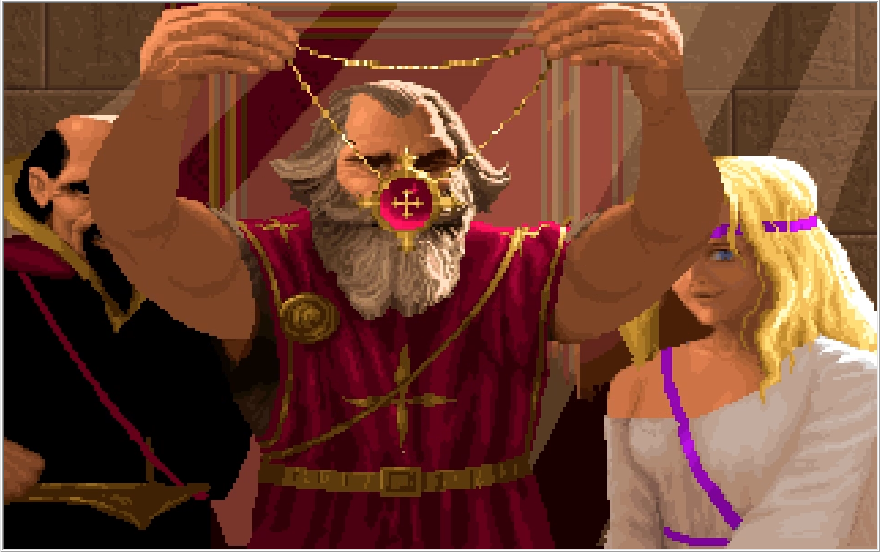

And then kind of creepily, Richard reaches towards the screen and puts a necklace on us. I think that's the Whole Truth? Not sure really.
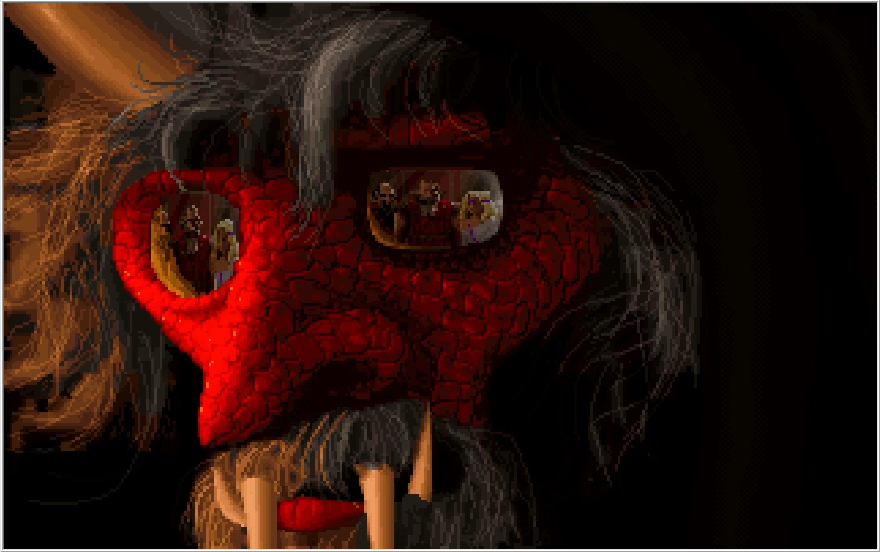
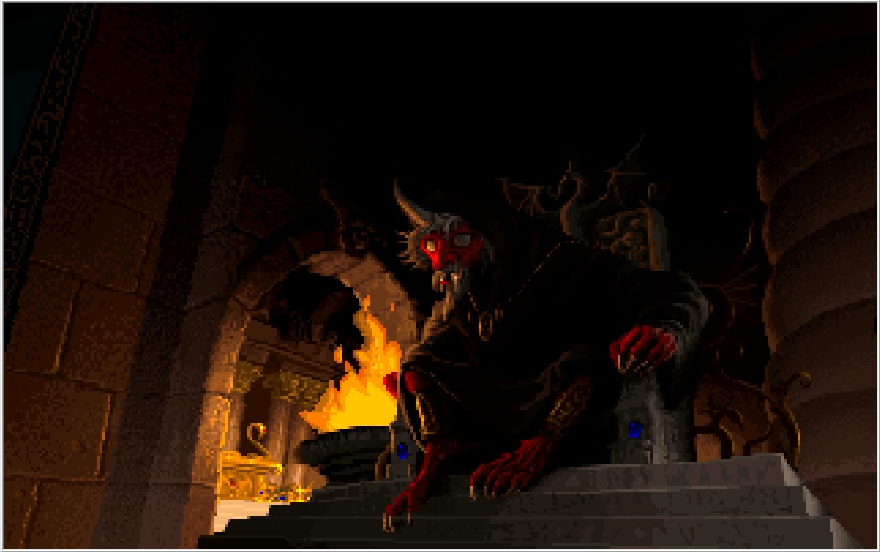
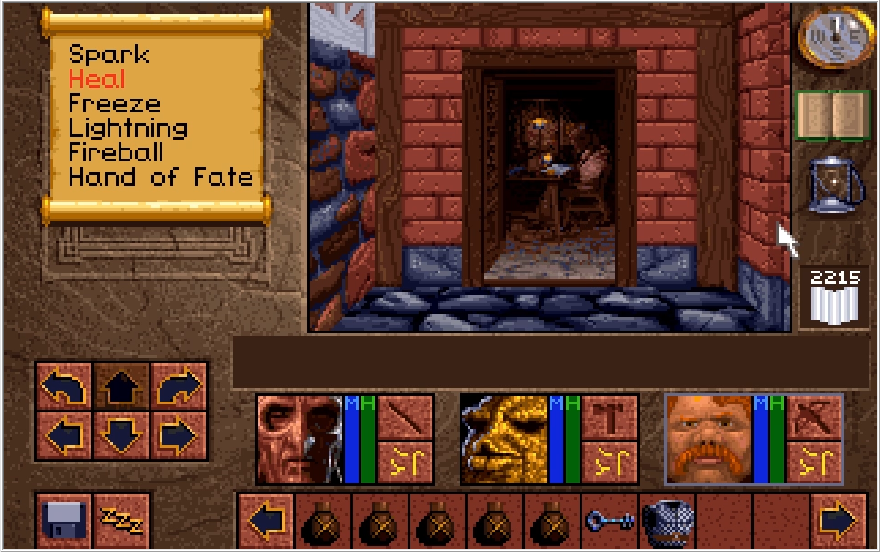
Speaking of creeps, the Draracle is spying on us from his abode in what feels like the center of the Earth. I guess Lora wasn't the company he was hoping she'd be.
This image is somewhere between kind of depressing and reminding me of Peter Griffin saying "aww sweet a schizo thread!"
Music: Staff Roll
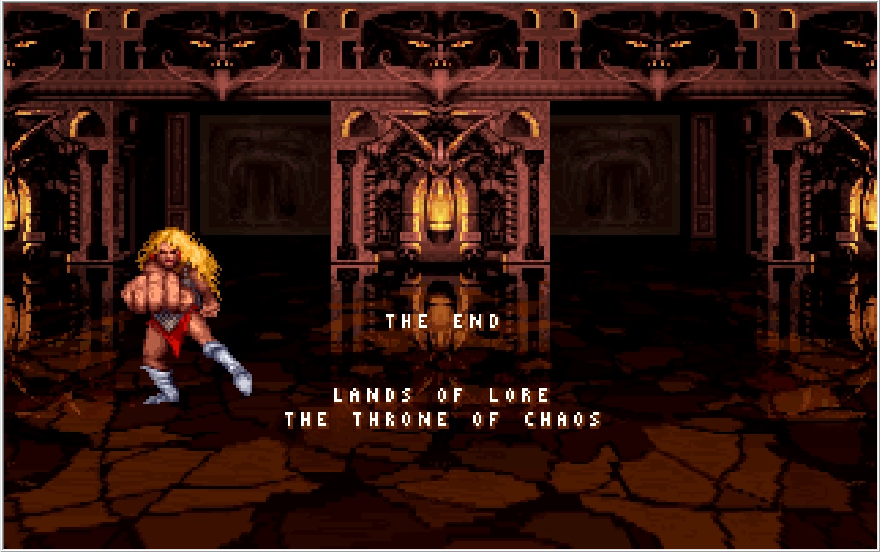
And with that, Lands of Lore: The Throne of Chaos has come to an end! We get a cute little staff roll where various enemies from the game pour out of the doors of Castle Cimmeria to pose at us, while the makers of the game get their credit.
Remember those bandits we fought in the Draracle's cave and then never saw anything like them again? Well if you forgot, they're here too!
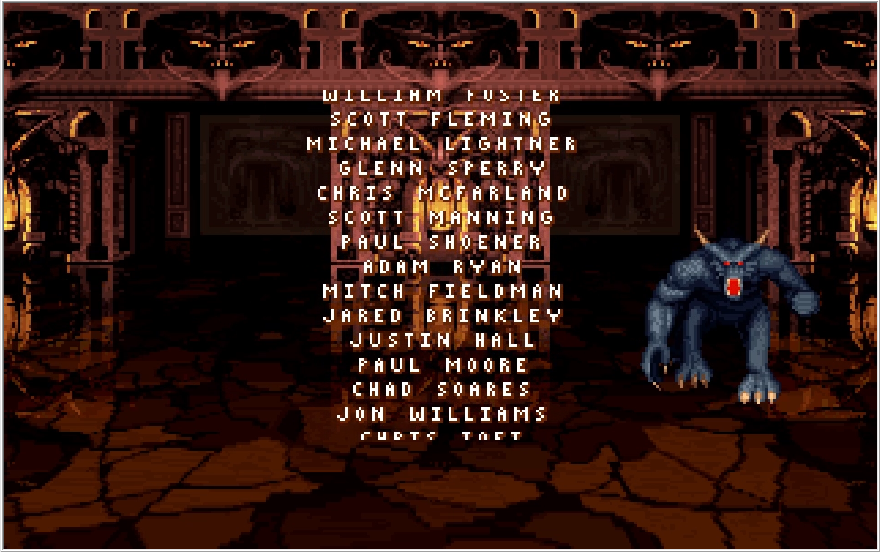
This one's kind of interesting, this is an enemy we never actually see in the game. It's very obviously the base sprite for the Pentrog, but we never actually see one that looks like this guy right here. Even in the end credits there's unused content. That's some next level stuff there!
This LP was actually the first time I ever bothered to fight Scotia the "Wrong" way, so I had also thought this worm was a dummied out enemy as well.
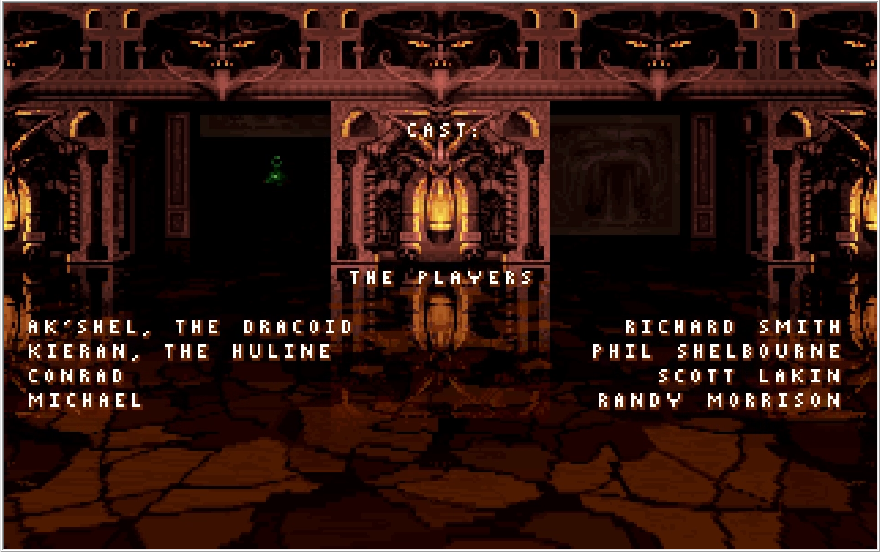
Here we get the voice credits for the various characters of this game, plus the official titles for each character! I like how Ak'shel and Kieran are singled out by their race, while Conrad and Michael are just.... themselves.
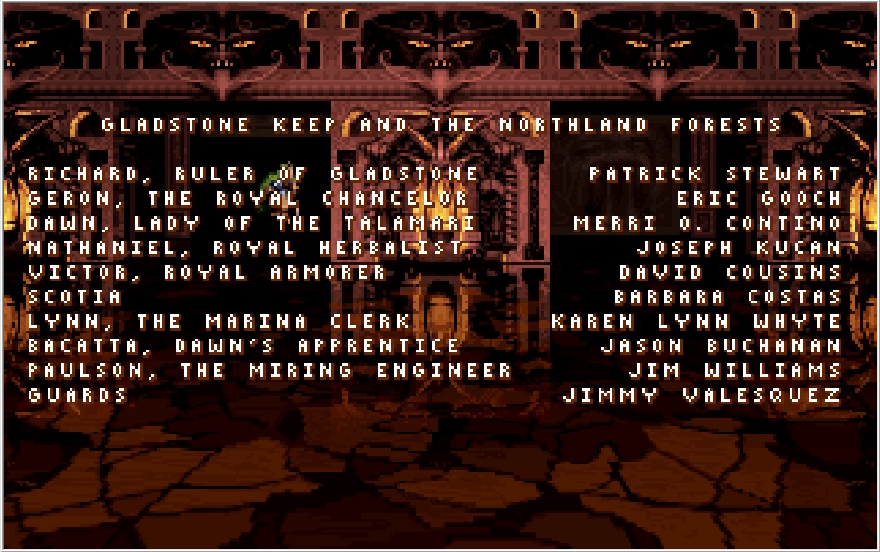
If Talamari is supposed to mean anything, I don't know what it is. I'm not sure what a "Miring Engineer" is, I think they might have just made a typo on "Mining" since we encountered Paulson in the mines.
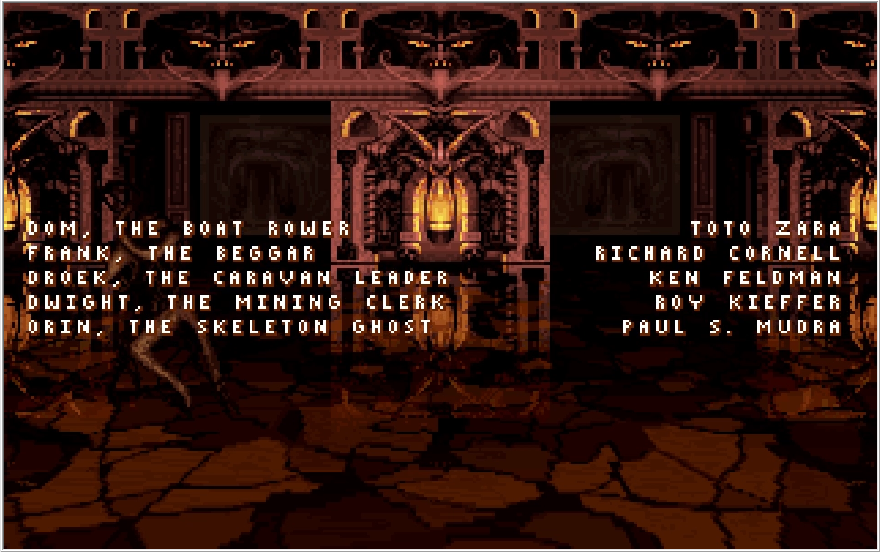
Remember the guy who rowed the boat to get us to Opinwood? Turns out he has a name, Dom. The Beggar also has a name we see nowhere else, apparently he's Frank. "Orin, The Skeleton Ghost" is a very funny credit if you happened to have forgotten who that is by this point.
And that's a wrap! Phew, what a journey! I know this LP got a little negative in the final updates as the game just dumped ass for its final levels, but I had a lot of fun making the LP and playing the game. There were many things I learned both in the process of practicing for this LP and actually doing it, and it gave me an appreciation for the more obscure elements at play in this game. It was also just fun to check out all the alternative options I never really had any reason to, there are some hilarious instances of your characters being dicks in this game if you take the "evil" options. I think very fondly on this game, since it was one my dad played a lot when I was little and it triggers a lot of nostalgia for me. I used to be scared of the Great Orcs, and now I slaughter them by the dozens! It was gratifying to finally revisit it and finish it properly. I've probably put more effort into this game than the overwhelming majority of people who have played it, which is one of those not-at-all worthwhile badges I can wear with pride.
Of course huge shout outs to everyone who followed along and posted in the thread! I was worried this wouldn't go over very well because this was my first attempt at a screenshot LP and it's a fairly obscure game. It was cool to have people discuss the contents of the game and the updates, and even cooler to see people trying the game out for themselves. I also learned a lot as I went about the process of creating an LP like this, and like to think I steadily improved the quality of the updates as I went along. Screenshot LPs are a lot of work, so I suspect it'll be awhile before I take another stab at it, but I imagine when I try again I'll be able to use what I learned to make an even better thread! I already have several ideas kicking around because I'm always looking for the next thing I can do. Again, thank you so much to everyone who followed along with the LP, knowing that the words you put out there about something as silly as a barely finished CRPG from the 90's actually click with people is one of the greatest feelings in the world. There's still one last thing to comment on though!
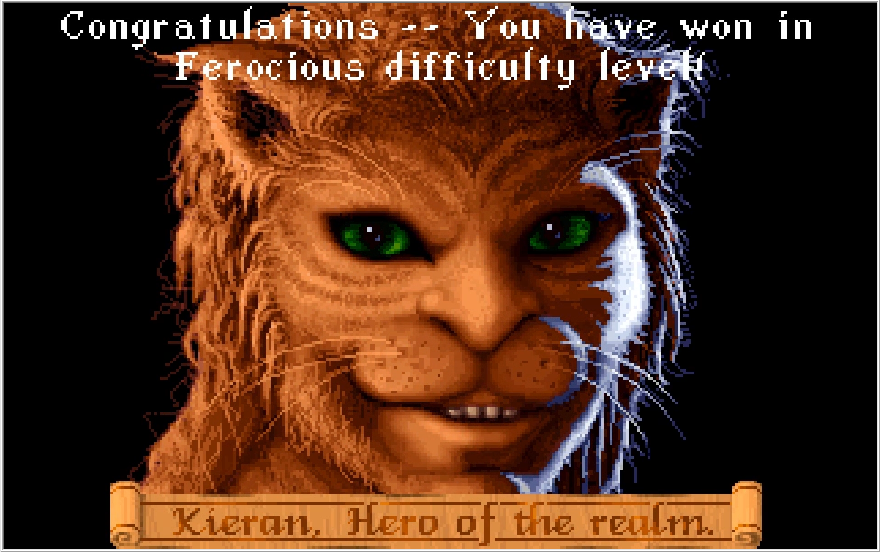
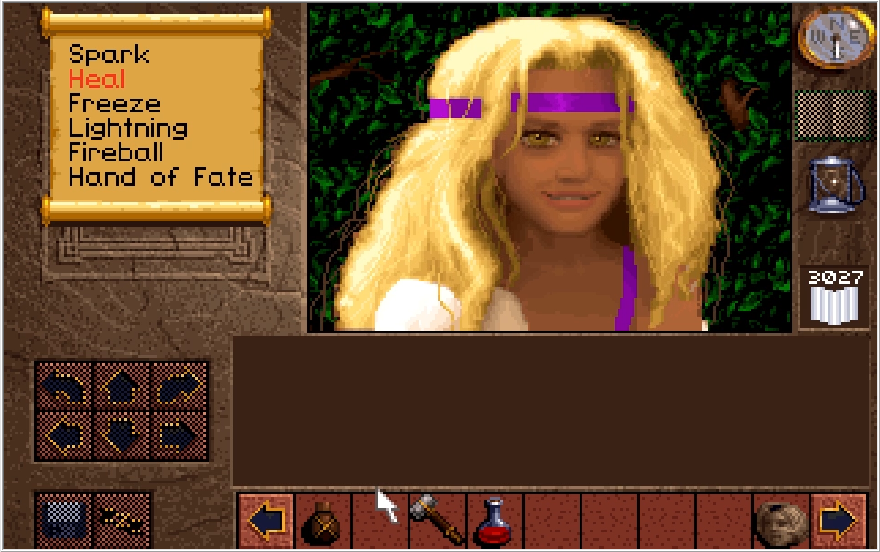
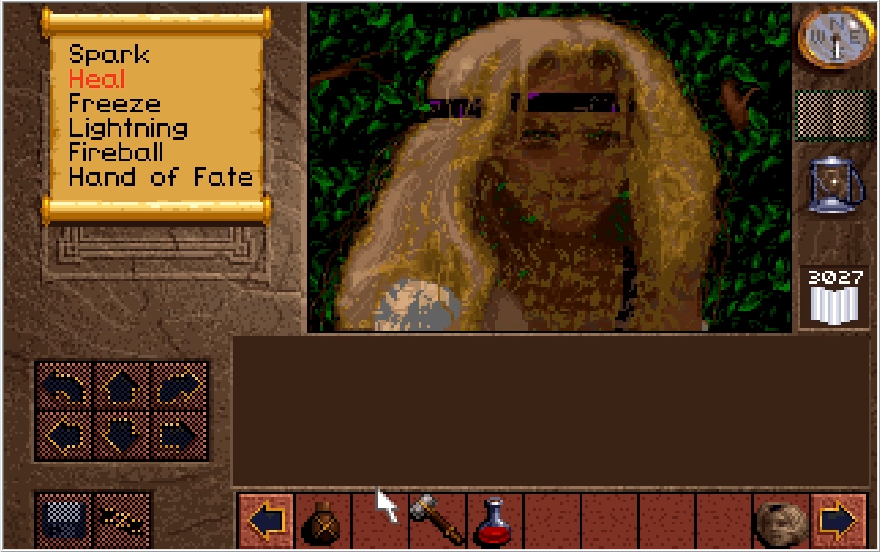
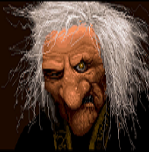
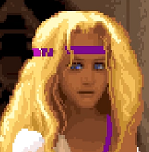
Upon clearing the game, you get an extra detailed portrait of your main character and a banner that declares them the Hero of The Realm! If you cleared the game on Ferocious mode, you also get really gaudy and out of place text along the top of the screen. I'm not sure if the game checks for if you did anything other than kill Scotia in Ferocious mode when it decides to display this text. Regardless, I earned it fairly across all my playthroughs so Kieran can wear that text with pride. He could also use a brush, he's getting a little mangy around the edges. Kieran is actually the canonical hero of Lands of Lore 1, and this very portrait celebrating his accomplishment appears a couple times throughout the sequel. Minus the Ferocious mode text. I know what you're thinking though, what does everyone else's portrait look like? Luckily, I grabbed screenshots as I cleared my practice runs for that! Apologies that these are a little out of proportion with the rest of the screenshots, I just grabbed these with snipping tool when I first got them.
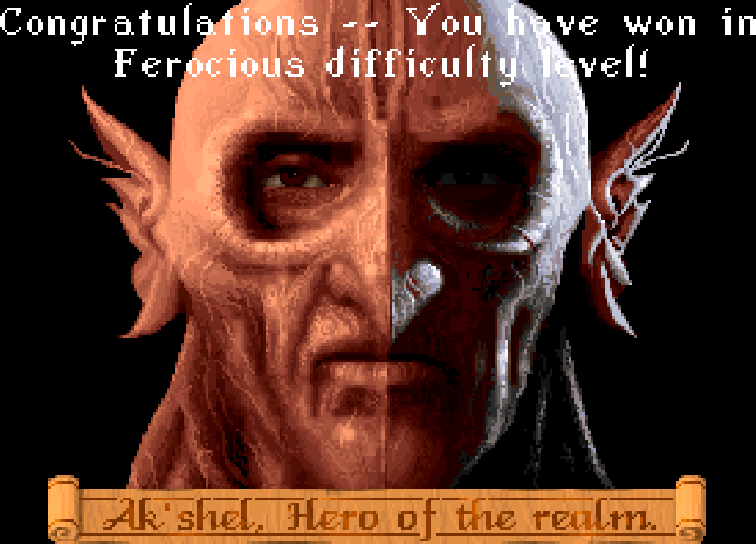
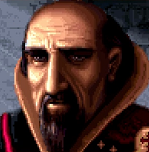
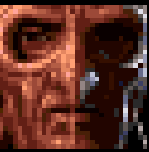
Ak'shel, looking even more stone faced than he usually does in his in-game portrait.
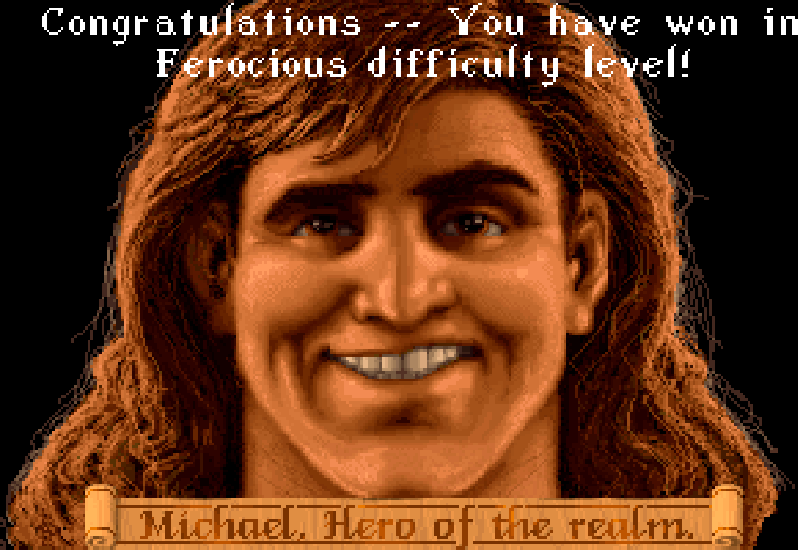
Michael, looking like Fabio if he had a court order that forbade him from living within 100 yards of a school zone.
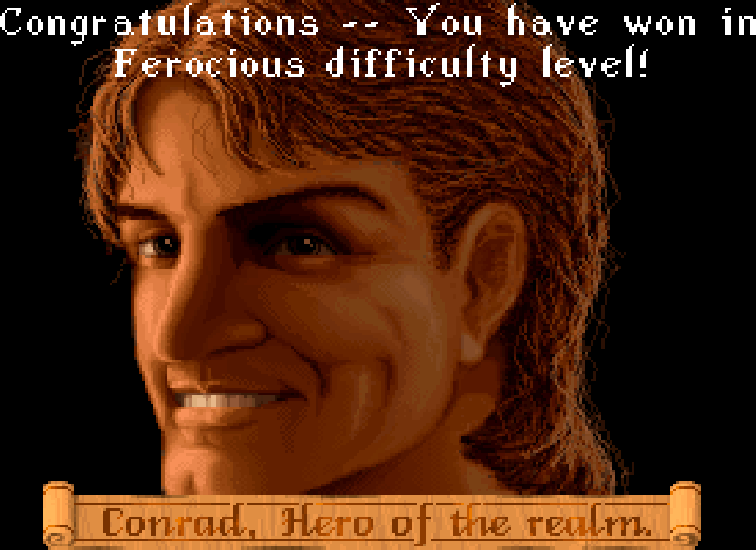
And of course, the man who brought us to the rodeo: Conrad! Looks like he just got back from his botox injection. Guess we know what he decided to use his silver crowns on!
And with that, I bid adieu. Until next time everyone!


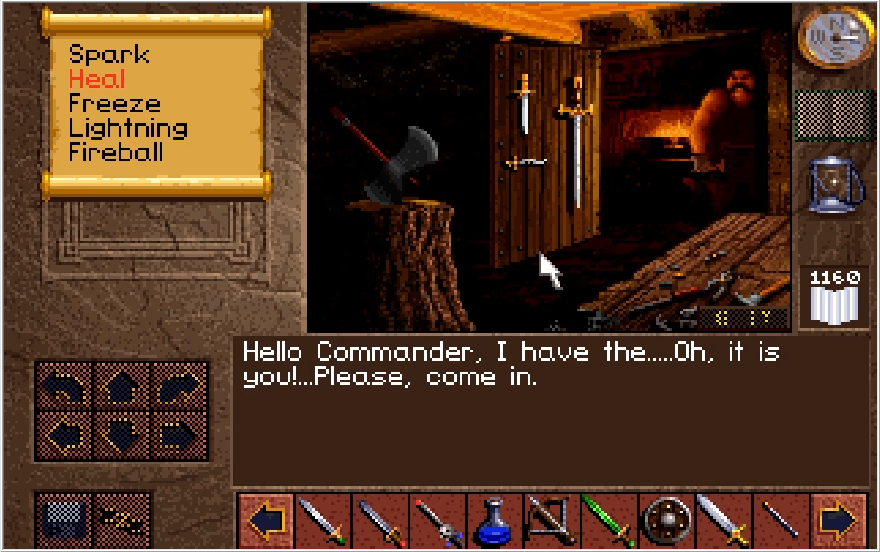
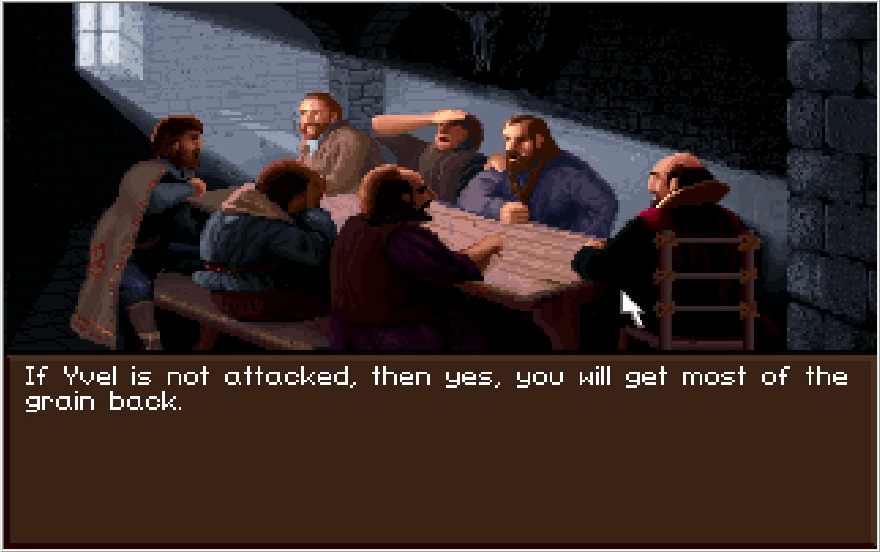
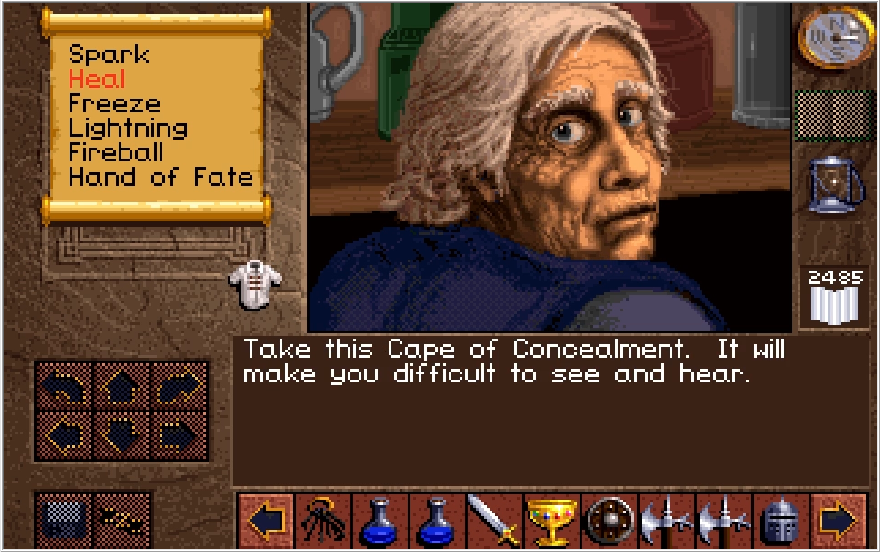
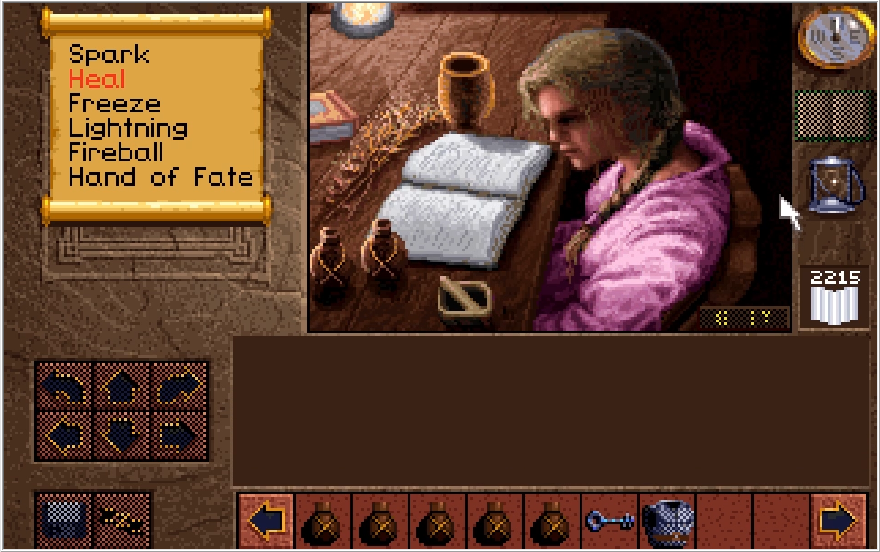
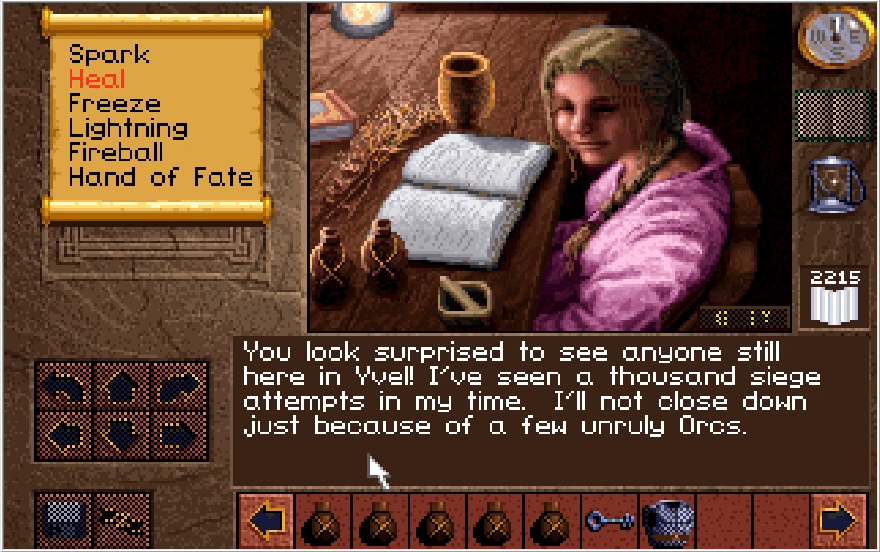
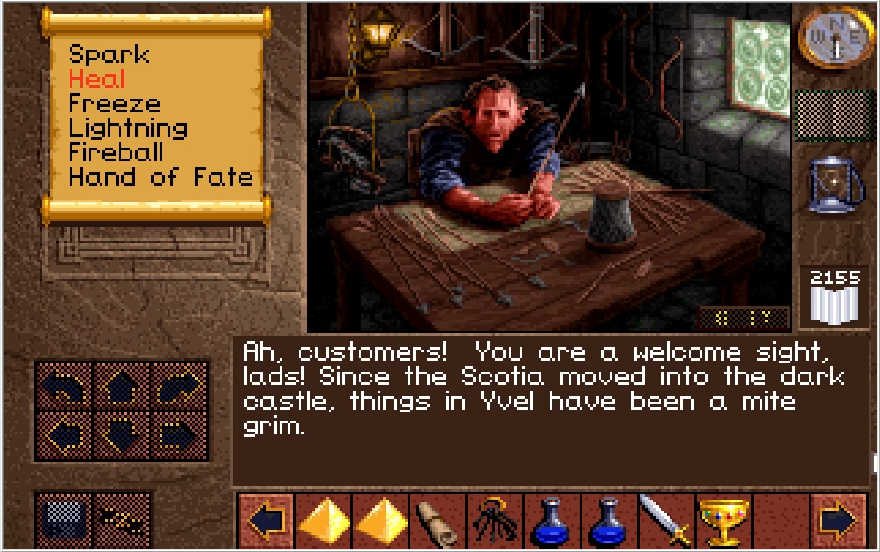
 : "It is quite a boost to see you again Victor! Gladstone takes comfort in the support of all patriots like you!"
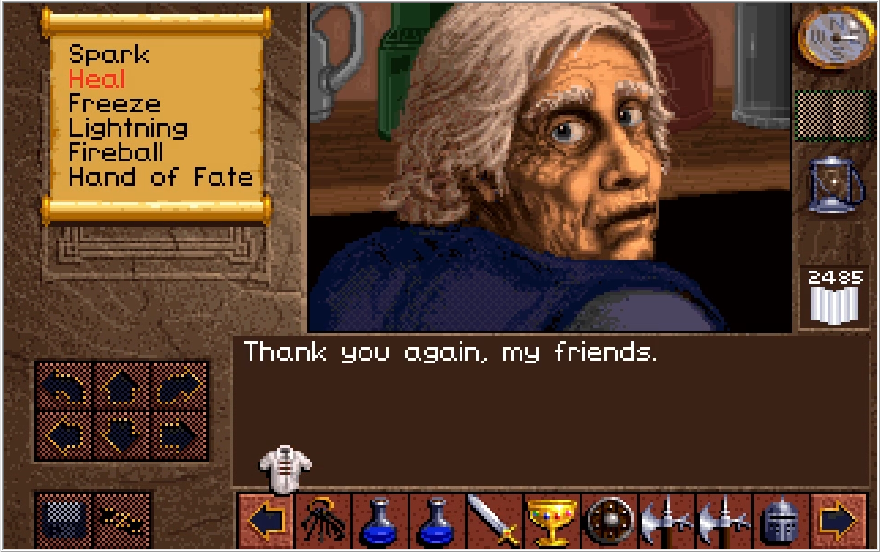
 : "Ak'shel, Baccata, Paulson! Welcome. I have now my new shoppe here."
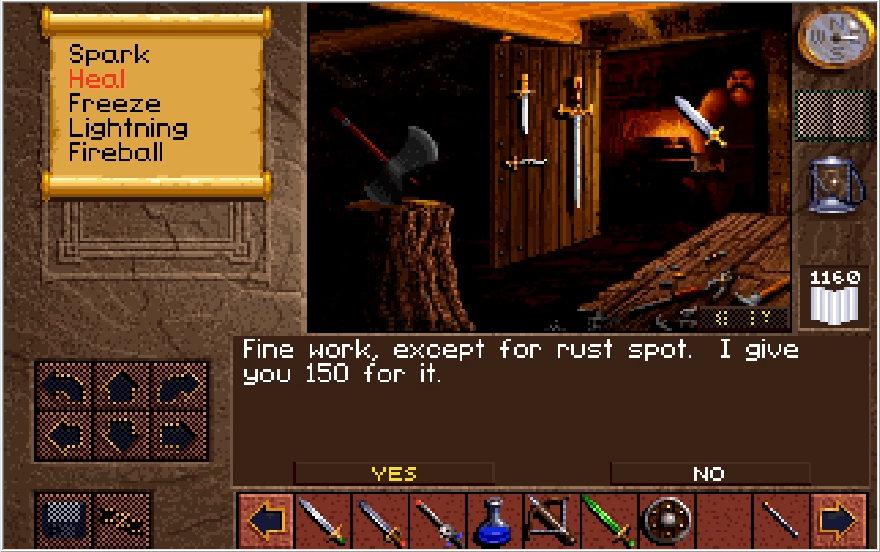


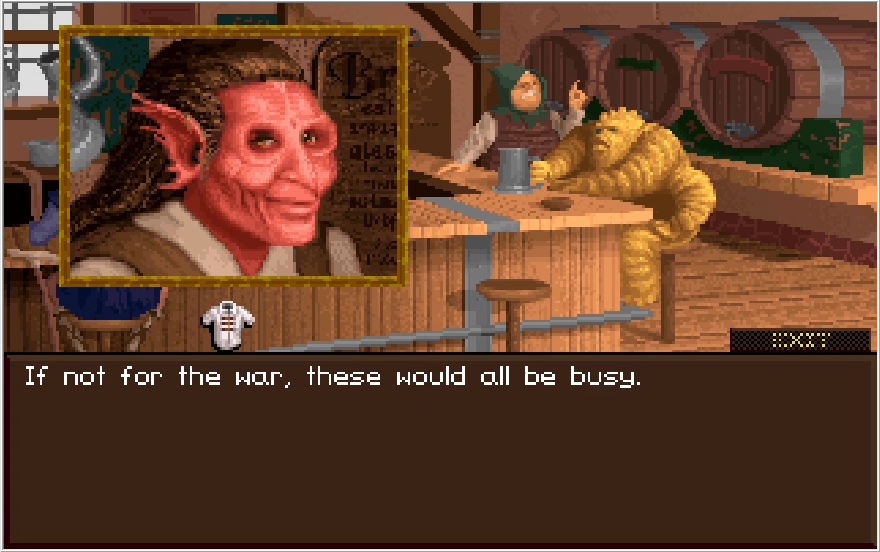
 : "What are you looking for?"

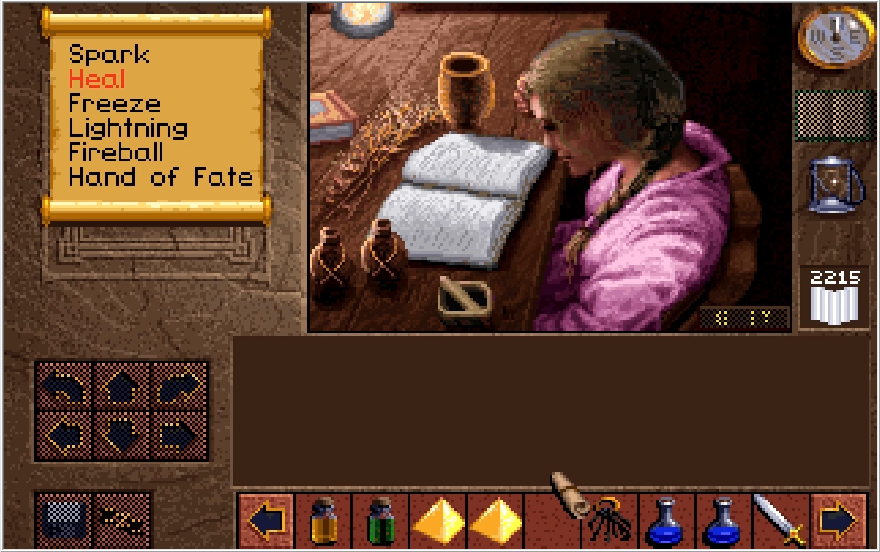

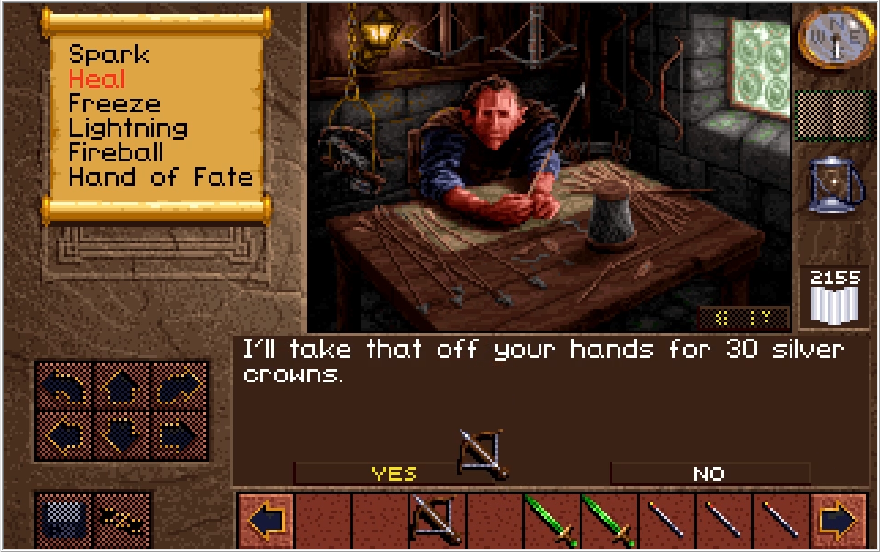
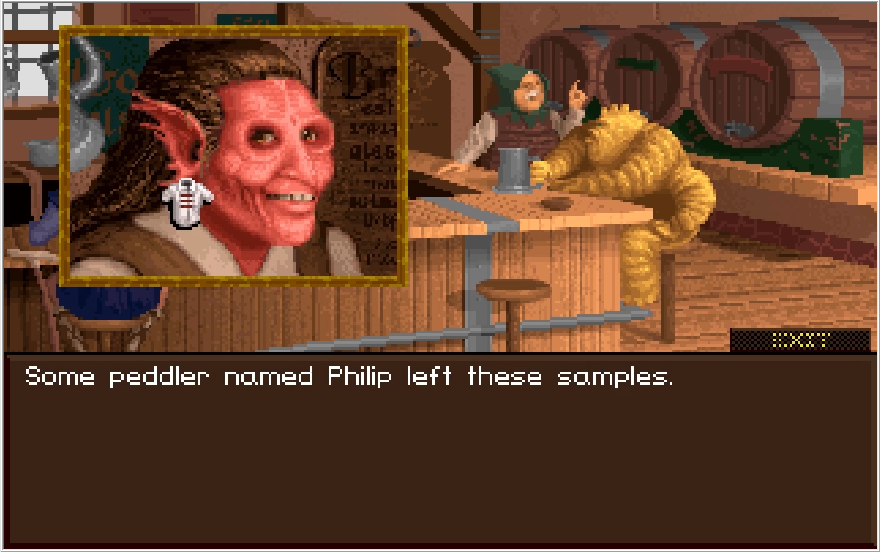
 : "A full supply goes with every bow sold."