Back to the beach - Kai's Time to Shine.

- Talking with everyone before the banquet.
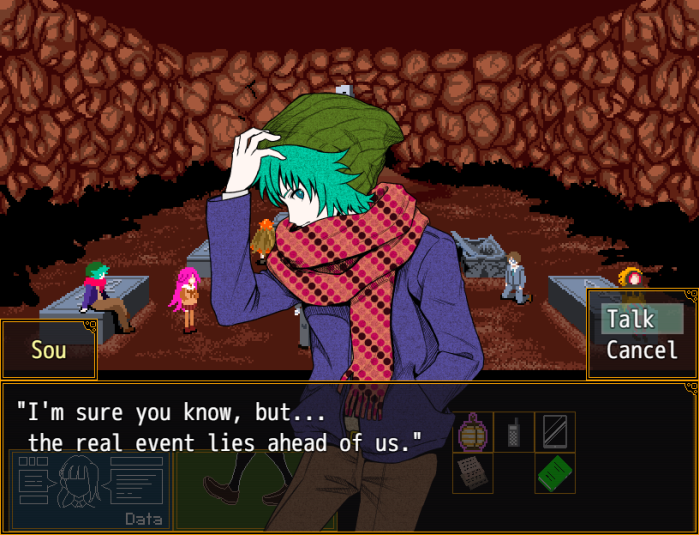
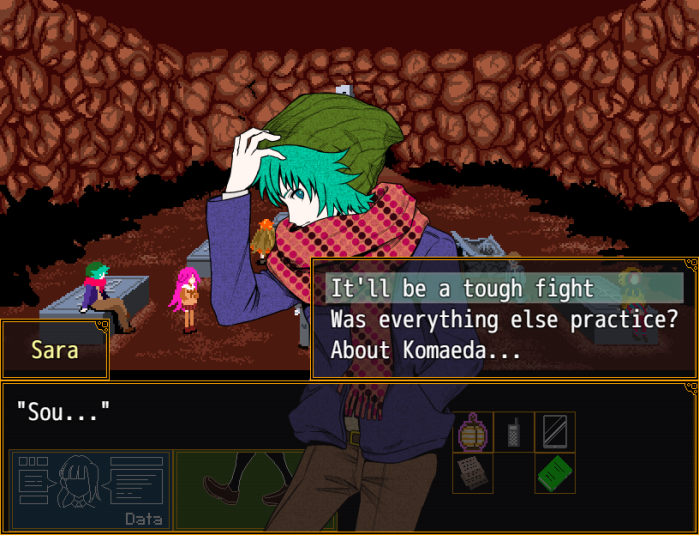
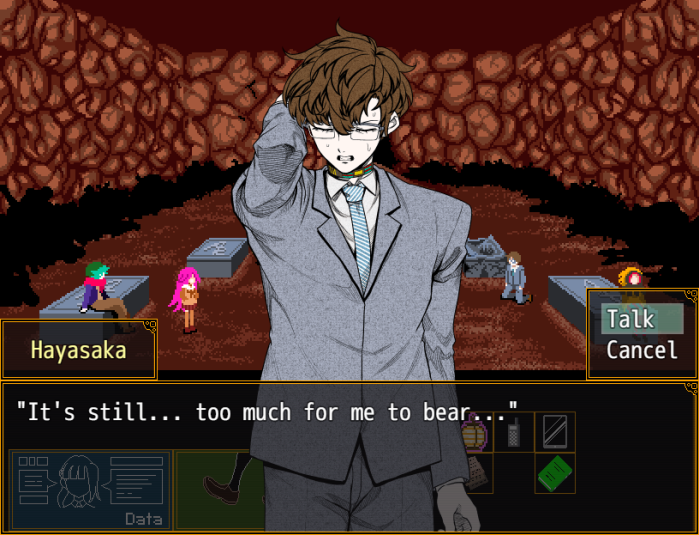
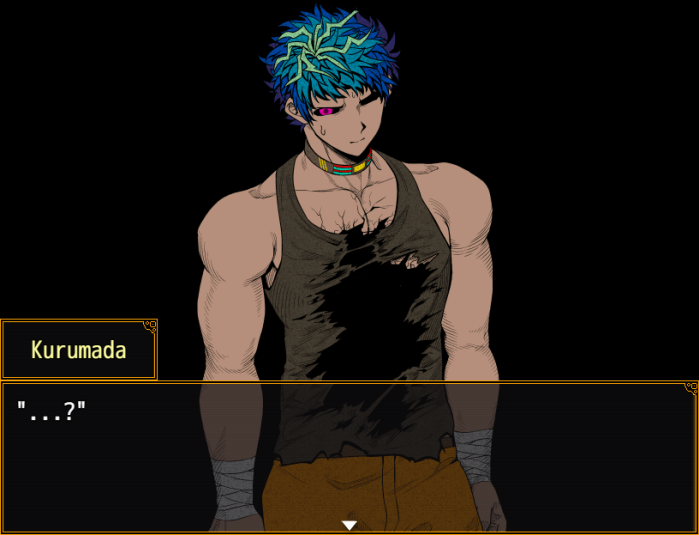
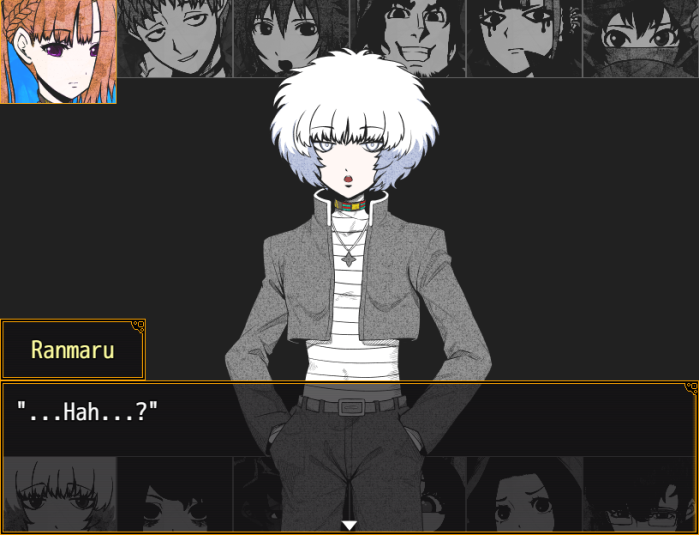
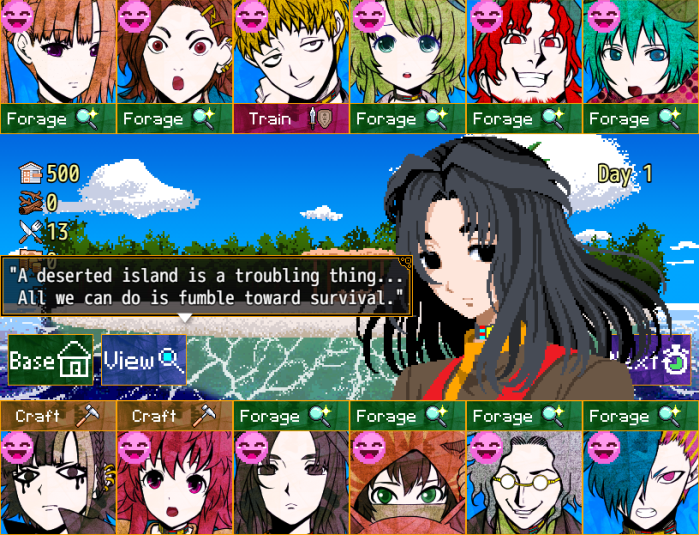
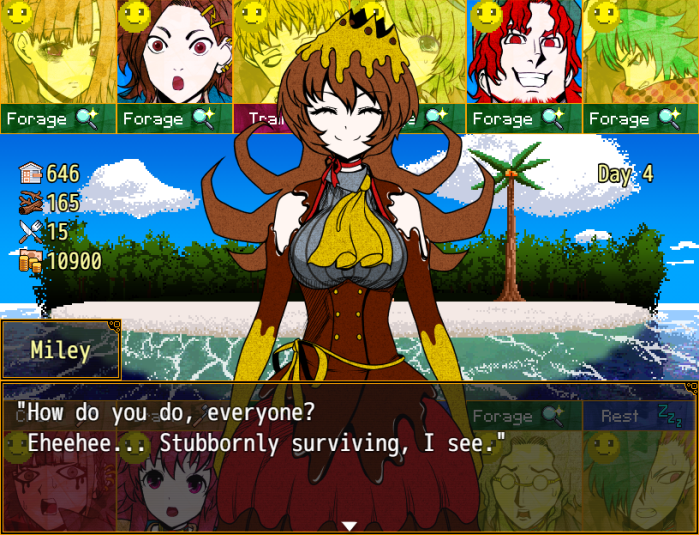
 "It'll be a tough fight."
 "Yep... But I think it's true. Komaeda was afraid."
 "Fear can change a person... "He must have a weakness to exploit, Miss Sara." "..."
 "Haha... Still, I have to say..."
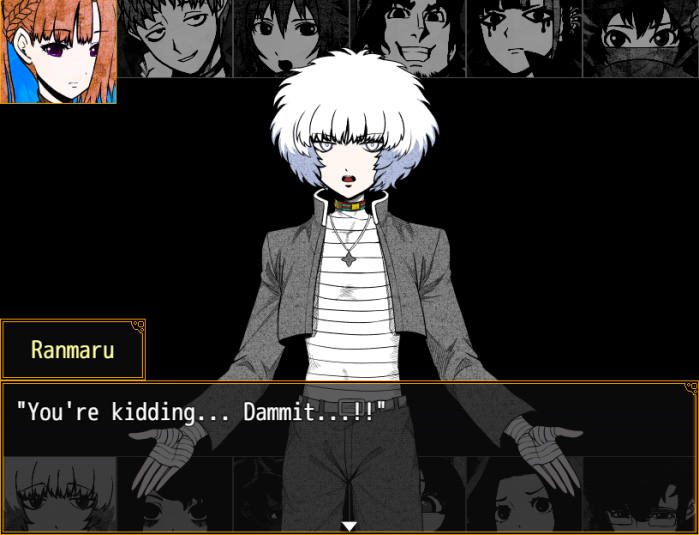
 "Ranmaru... He did something pretty outrageous."
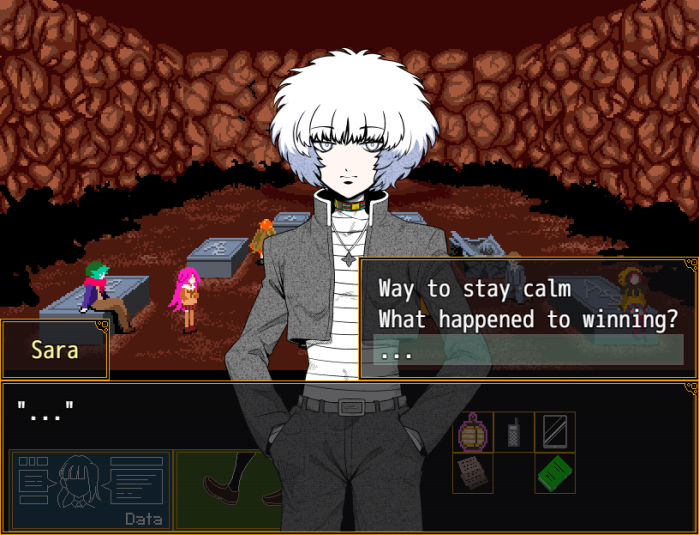
 "Even I didn't expect he'd kill miss Reko... Who needs a doll that brings harm to humans? Ahaha."
 "...Aren't you sad, Sou?" "Sad...?"
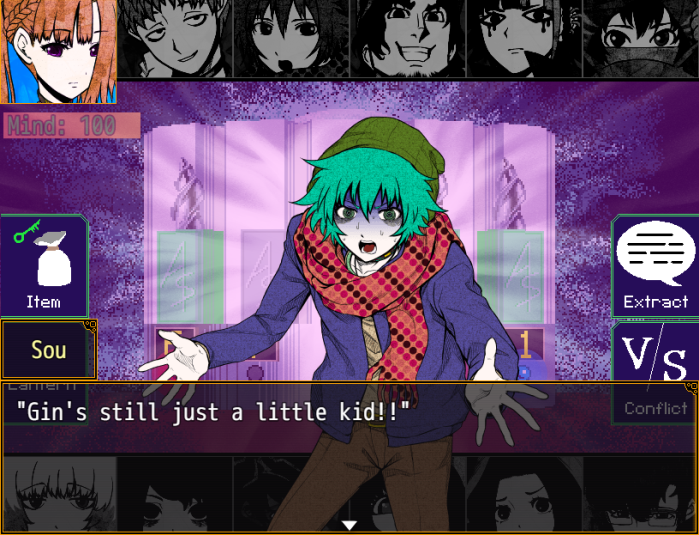
 "I can't even make that kind of feeling anymore." "To me, there's no big difference between Komaeda and you all..."
 "Only... the order. Ahaha..." (Sou...)
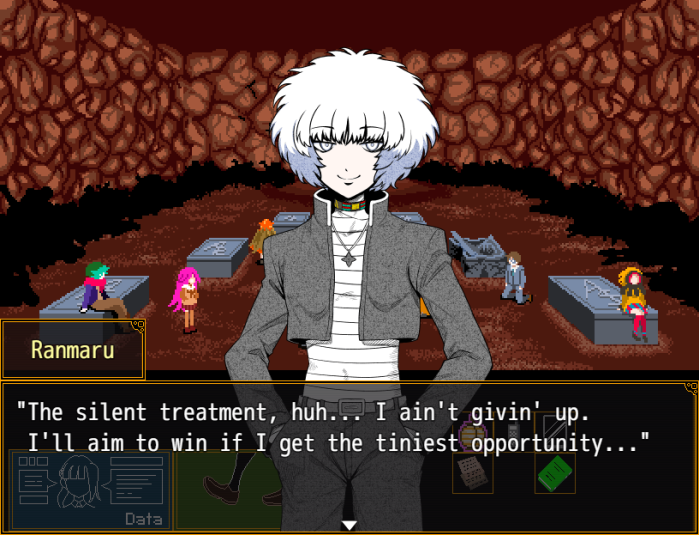
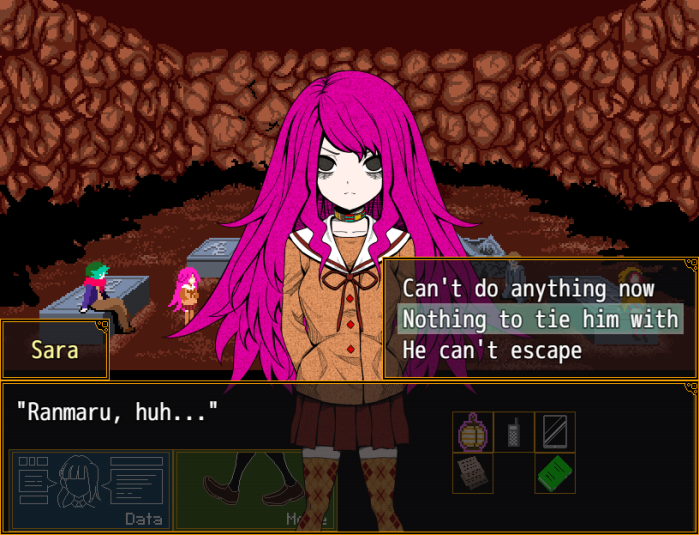 "We have nothing to tie him with... And I'm sure he'd resist."
 "Tch... Wanna give him a big kick to satisfy myself."
 "But, well..."
 "After the banquet's over... suppose you can just not bring him back."
 "I mean..." "What's that look? You're gonna forgive him for killing Reko-senpai...?" (I'm not... one to judge.)
 "...Enough. No point taking it out on you, Sara-senpai."
- Gin and Mai say the same thing as they did in Kanna's route.
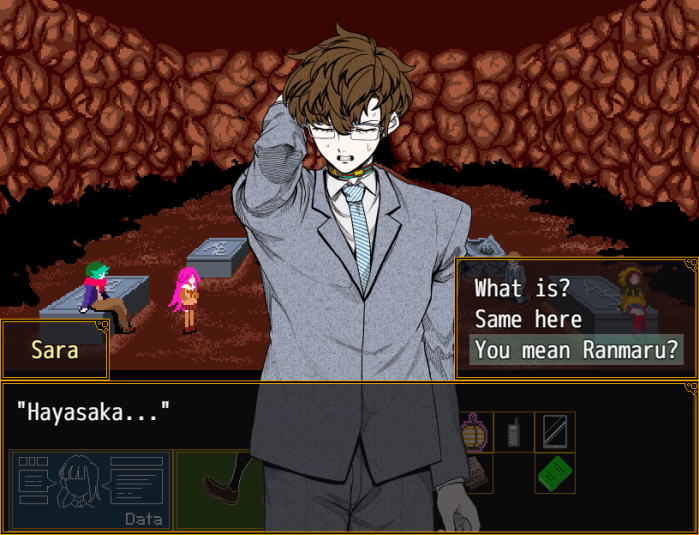 "You mean Ranmaru?"
 “Yes...! You always compromised with us! So why take Miss Reko's life...?!" “...”
 "Look at the state Kurumada is in... If Ranmaru tries something before the banquet..."
 "I'll stop him... I'll throw myself in the way if I must."
 (...!) "..."
 "Well... supposing I even can..."
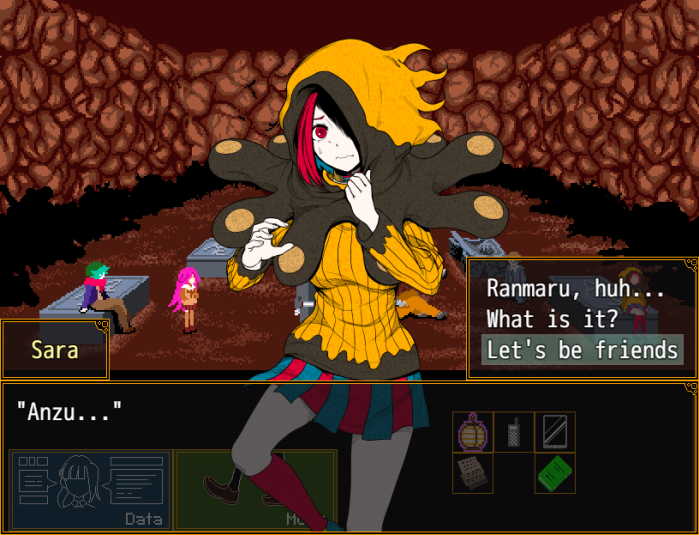 "Don't say that. Let's all be friends."
 "But that Ranmaru's so scary! I thought he was just this kinda weak boy..." "No... If he hadn't met me, he wouldn't have become..."
 "What the heck! That's not right!"
 "If somebody influenced him to turn all evil... That's on him!" "Have you never experienced something like that, Anzu...?"
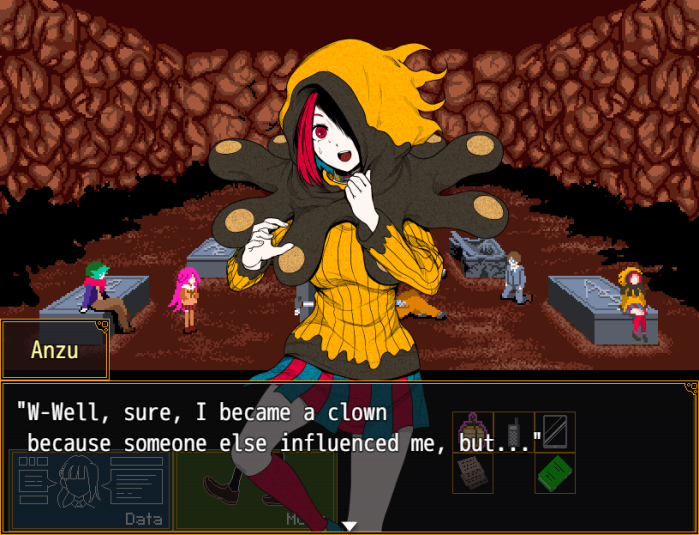 (..........) "But I'd never think about hurting anybody!!" (...Maybe Anzu's showing concern in her own way.)
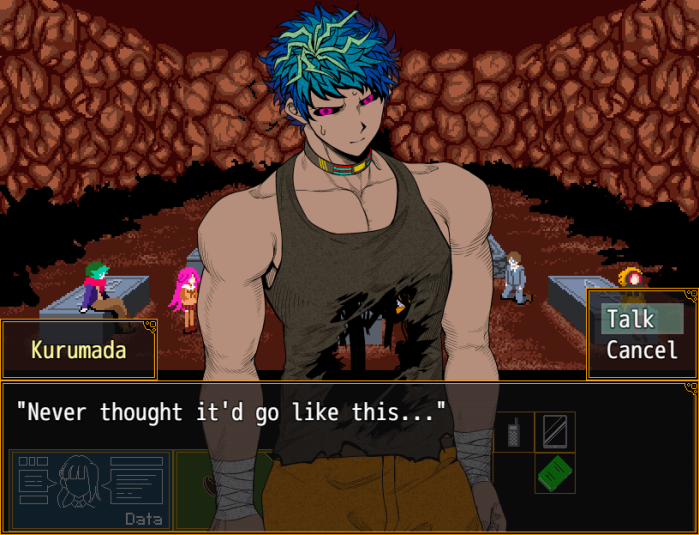
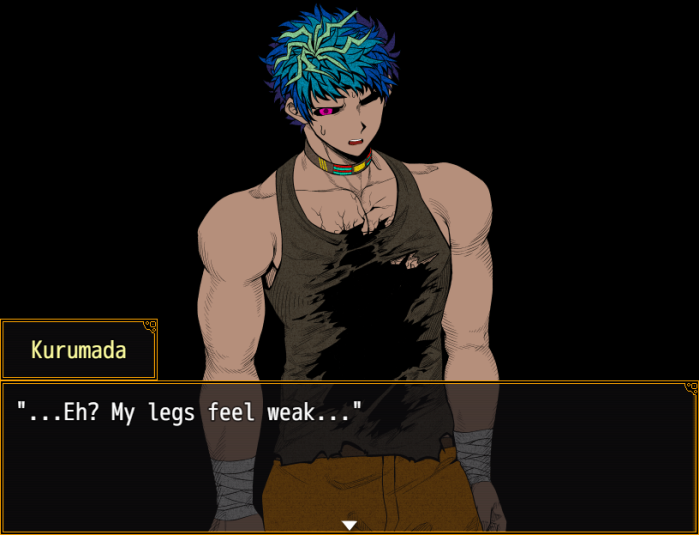
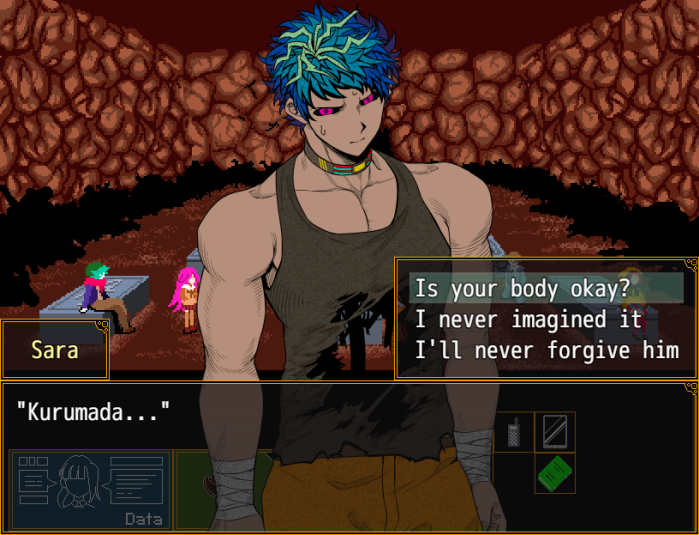 "Is your body okay?"
 "As if that's what matters right now... Shit..."
 "He betrayed us...! He broke our promise!!" "W-We're the ones who were betrayed... It's not like he injured the Dummies..."
- Not for lack of trying though.
 "That ain't the issue...!"
 "It pisses me off... Reko should've been here too..." "I wanted to take pride in seein' that promise through... Shit!!"
 "Dependin' on what the banquet is... Maybe I'll get to off Ranmaru..." "...!"
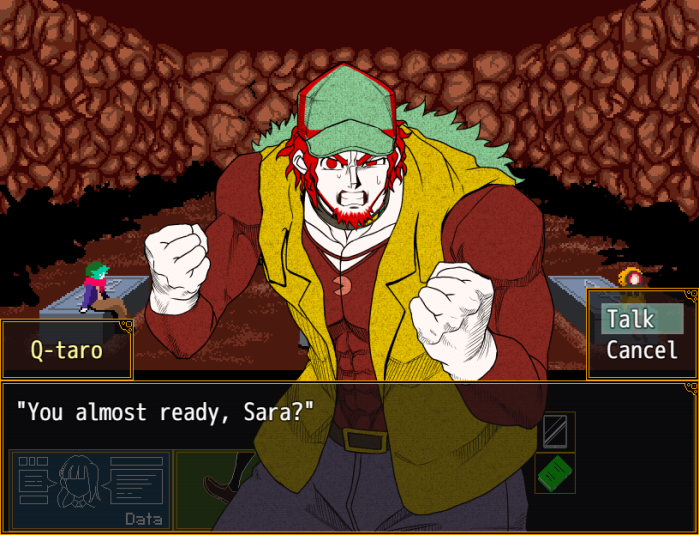
 "What about you, Q-taro? Is your wound okay?"
 "Don't sweat it. If I've made it this far, shouldn't be no concern..." (It seemed pretty deep... I'm amazed.) "...Q-taro, um... Is there... something you haven't told me?" "...!!" "I want to know all about what happened when we were acting separately." ".........."
 "It's all jus' like I told ya..." "…" (If he won't tell me... Then I won't ask... I'm sure I can believe Q-taro.)
 "When yer ready, Sara, give me a holler. We'll start preparing for the banquet."
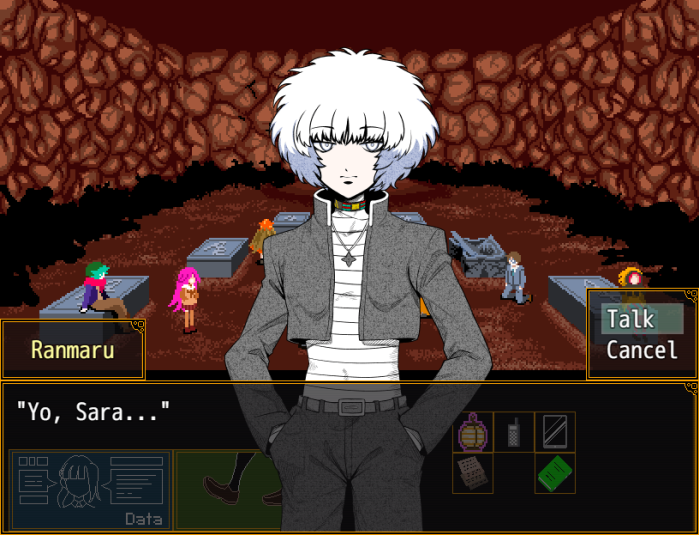
 ".........."
 (It's no good... I don't want to talk to Ranmaru as he is now... No matter how hard I try... I just remember the fact he killed Reko... Not that I... have any right to criticize him...)
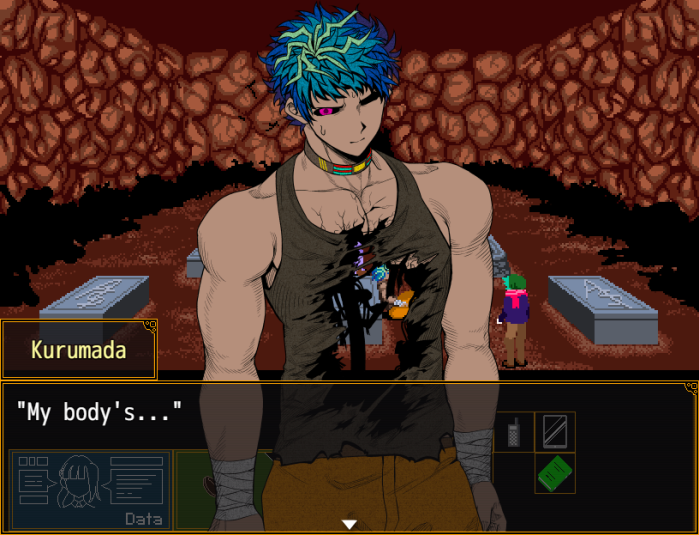
- Kurumada's injuries.
 (Huh...?)
 "What's the matter?! Kurumada...?!"
 "Hey!! Hang on!!"
 “Kurumada...!!! No...! We're going to do the banquet together!”

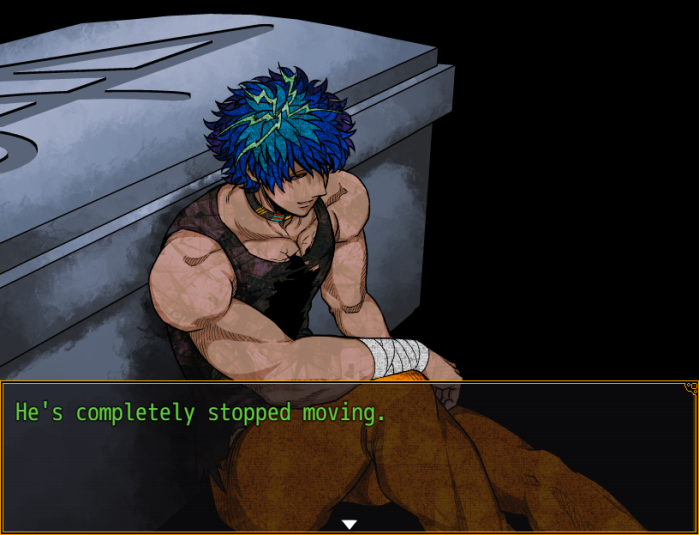


 "Petering out at the very last moment... How unlucky." "Why, you...! Don't say it like that!" "Well, but what is lucky..."
 "Is that he didn't run out of battery... he died of external wounds."
 "Ah...! So his collar ain't gonna activate?!" "Means we might be able to bring him back." (...!)
 "We'll definitely save him, meow...!"
 "So just wait, woof... Muscle punk..."
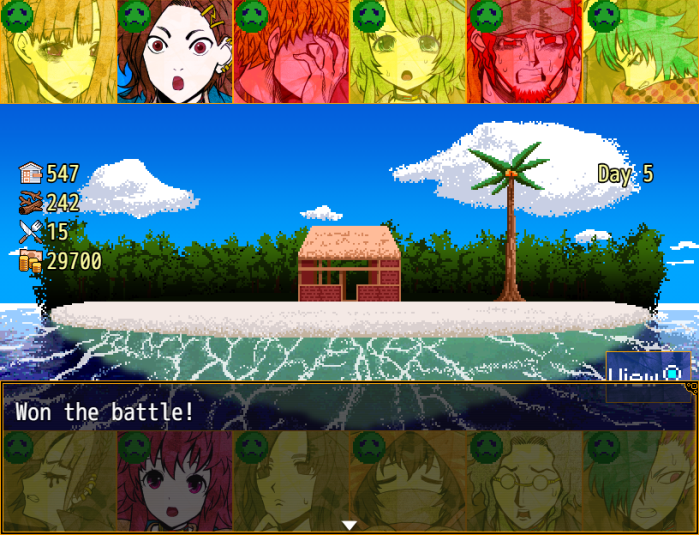
- There aren't that many differences in the banquet; Ranmaru is colder, but essentially doesn't say or do anything differently. Q-taro is the one to work out that Alice accidentally killed the real Hinako (in the Reko / Kanna route, Reko figures it out). Hinako can't be killed prior to the banquet, so the reveal of her being human and her coffin switch with Komaeda is the same regardless of route. If any Dummies are killed prior to the banquet, their bodies are still placed in their respective coffins before the banquet, and the lines after their coffin is drilled reflect that the Dummy was already dead.
- Finding Gin's pod on Komaeda's turn.
 "No... way..."
 "Big sis Sara...!!"
 "I...!! I..." "...Gin..."
- Meister overruling Komaeda's objections to Sara using her wish to force Komaeda to change his selection.
 "Hold on, ain't that strange?" (Ranmaru...!)
 "Listen, there's only two glowing coffins left..."
 "If he doesn't pick Gin here..." "Then we'd be able to pick Komaeda with certainty next turn!" "Wouldn't that mean completely changing the outcome of the Death Game?!" "You...! Whose side're you on?!"
 "It ain't gonna end..."
- Hitting Ranmaru.

- After Komaeda is killed.
 "Well done! You hit Komaeda!"
 "With this, the challenging team wins! However..." "It seems you'll need to pay the price."
 "…" "N... No..."
 "Keiji...!!"
 "No! He can't die like this...! I need to...!!" "Rule violations will be punished..."
- From here the ending is the same as Kanna's route.
Music stops.
 "Hmm... Yes, I see... Couldn't care less."
 "In this place, you can experience a story that's a bit different from the main Your Turn To Die game. It's purely a bonus, so please enjoy it as a breather after playing through all of the main story. Eheehee!"
Music stops.

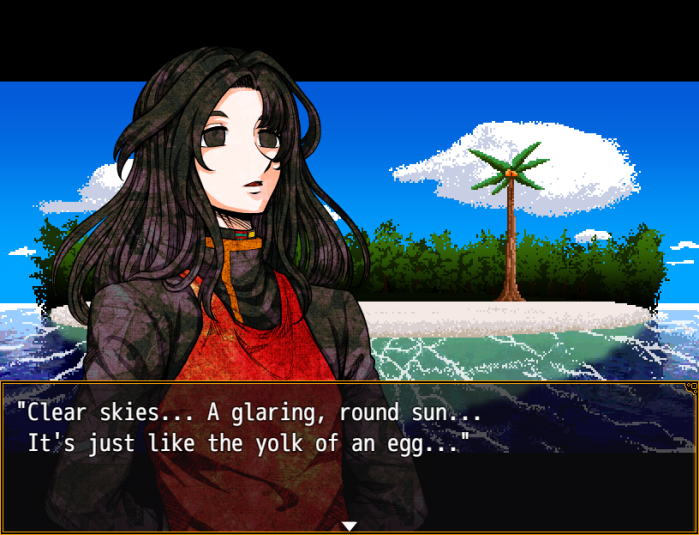
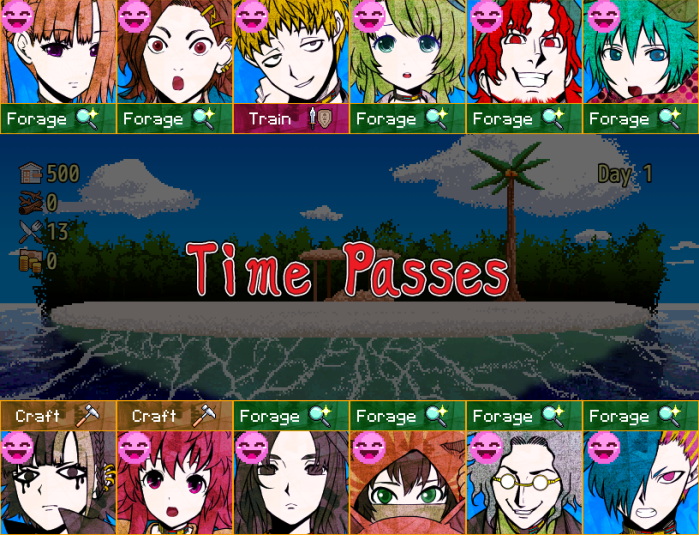
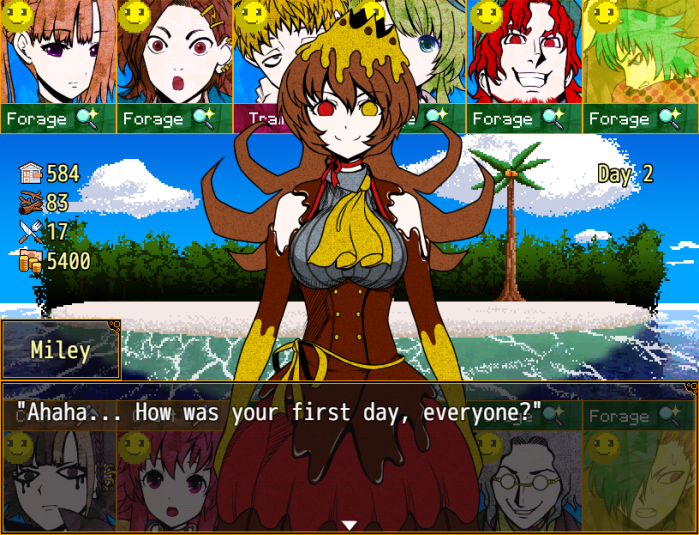
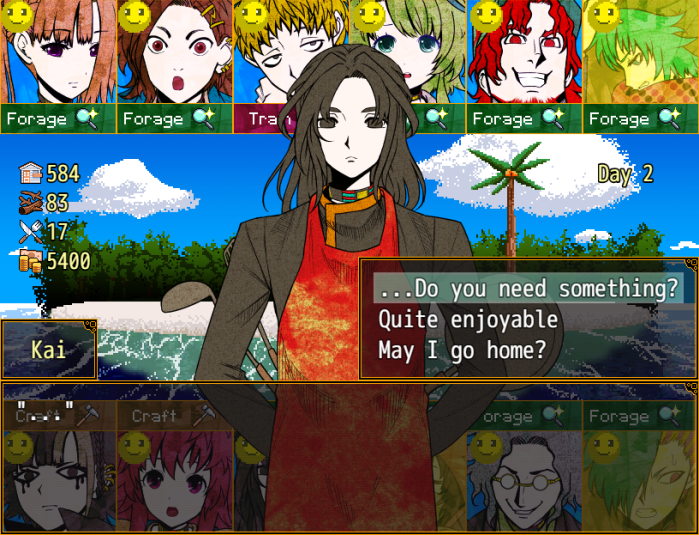
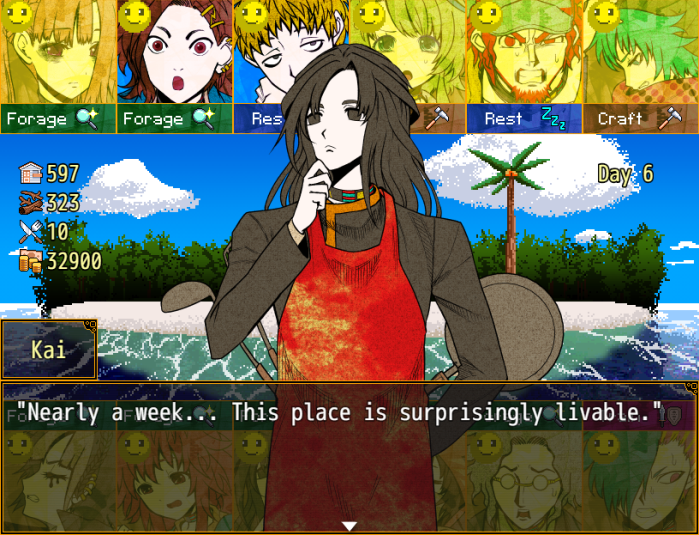
 I am Kai, a homemaker with a bit of a hidden side.
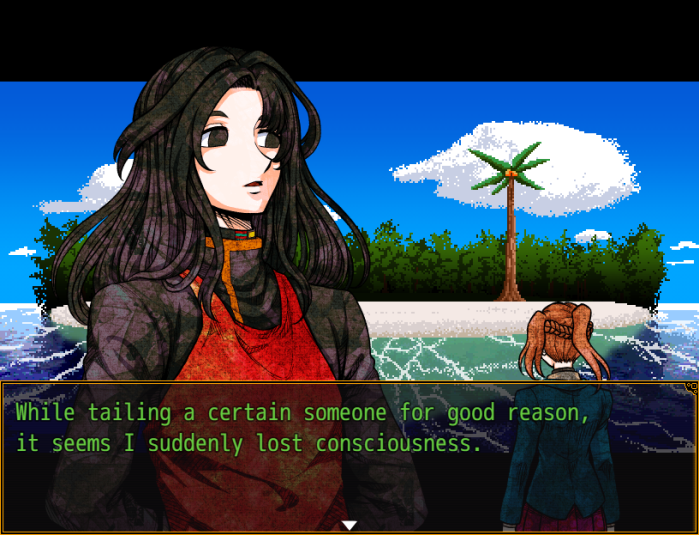
 "And I awaken on an island... Is this a kidnapping?" "Ya think so too, eh?"
 "Who traps people on an island...?!"
 "And also, gathering this many people together... What do they intend to do with us?" "Waaah! I want out of this hot place, meow!!"
 "Seems we've got no choice but to work together... Cooperation is key."
 "Err... My name's Sara Chidouin. I'm just a high school student."
 "I'm Jou Tazuna, but just call me Joe! I'm Sara's bud! Ask me anything about her!"
 "I'm Keiji Shinogi... Workin' as a policeman."
 "I'm Kanna Kizuchi, a middle schooler! ...And she's not here, but I have a big sister!" "Q-taro Burgerberg's the name! I'mma pro baseballer! ...Second-string, tho!"
 "I'm Sou Hiyori. I don't really want to say it, but... I guess you'd call me a job-hopper."
 "Name's Reko Yabusame. I'm a singer-songwriter."
 "My name's Nao Egokoro! I'm attending art college right now!" "I am Kai Satou. As you can see, I work as a homemaker."
 "I'm Gin Ibushi, meow! Don't underestimate me 'cause I'm just a grade-schooler, woof!!"
 "I am Kazumi Mishima. I work as a high school teacher, teaching the subjects of art and Japanese."
 "...Gonbee Yamada. My occupation is that of a model prisoner... I won't be taking any further questions."
 "Seems we've got a dangerous one here..." "Um... Come to think of it, what about you?"
Music stops.
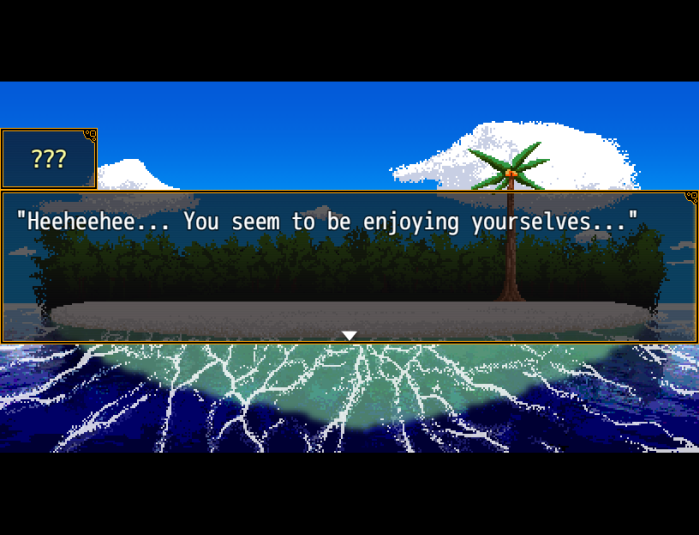

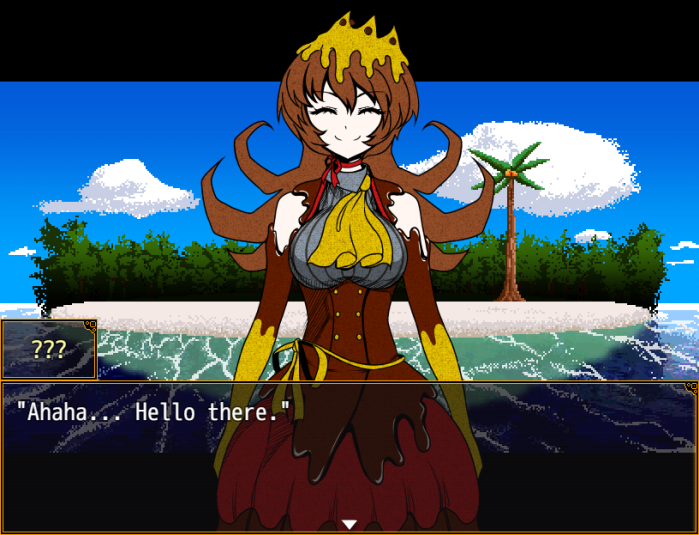
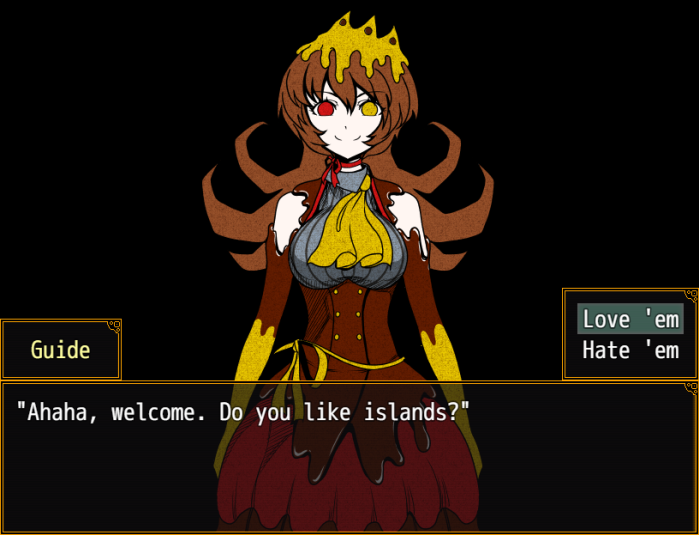
 "W... Who the hell're you?!" "I am the Island Master, Sue Miley, the Laughing Doll." "Well, everyone? Are you pleased with the island?" "Are YOU our kidnapper, meow?!" "Ahaha... What a dreadful way to put it."
 "I merely issued you all an invitation to this wonderful Isle of Memories."
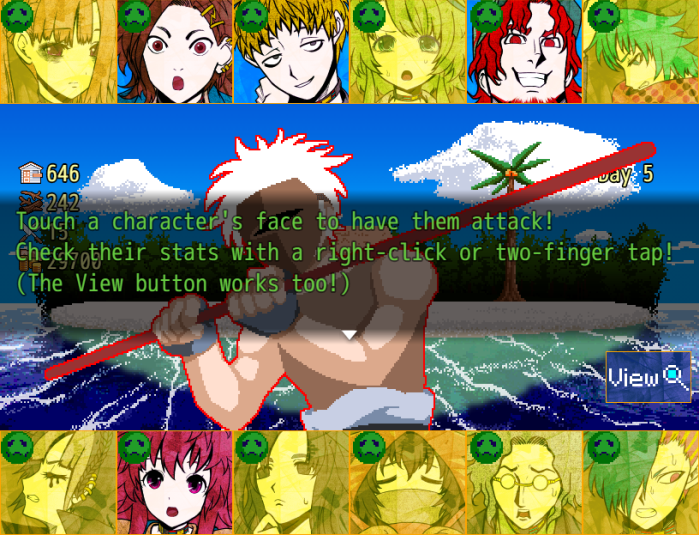
 "What in the world do you mean to have us do?" "Eheehee... A most wonderful game of survival." "It's all very simple. You must merely survive here for 30 days." "Go foraging for food, craft defenses for your base, and keep your lives amongst dangerous creatures and trap-laden facilities." "W-What are you talking about?! Let us go right now...!!" "Ahaha... Please do give it your all."
Music stops.
 "Dammit!! You hold the hell up, lassie!!"
 "Looks like she got away..."
 "Hmph... What of it? A mere 30-day sentence is practically a vacation."
 "T... That's awfully positive of you...?" "Nothing we can do. Let's all work together to overcome this."
- Apologies for the short update, but I'd like to take a different approach with the fondness events* this time; namely, getting as many as possible.
The basic story, key events, and endings in Kai's scenario are the same as Mishima's scenario, barring some minor dialogue changes. The one major difference, aside from the fondness events, is a new sidequest (which has retroactively been added to Mishima's scenario), and includes a minigame which is unique to Kai (Mishima has his own minigame, which I will likely cover once we're finished with Kai's scenario). Winning at the minigame unlocks a new ending.
Without the fondness events, Kai's scenario is going to rehash a lot of content previously covered in this LP. I'm planning on two people crafting until the second level base is built and all base facilities are unlocked, and at least one person training. Kai and everyone else will mainly be foraging. I'll still initially take votes every five days, but these will be to decide who will be crafting and training, meaning it's unlikely we'll get a fondness event from them over that five day period.
With that said, please vote for two people to craft and one person to train for days one to four. Please note that Kai's events with Mishima are different from the events Mishima had with Kai.
*Your Time to Shine mechanics can be found here if you want a refresher.

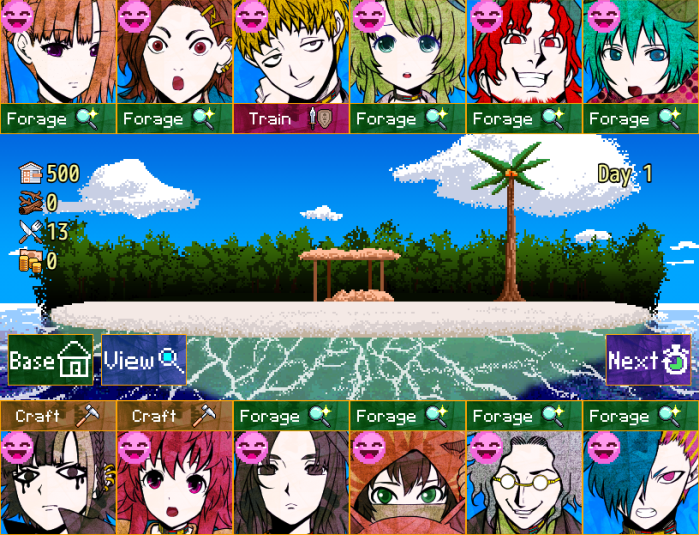
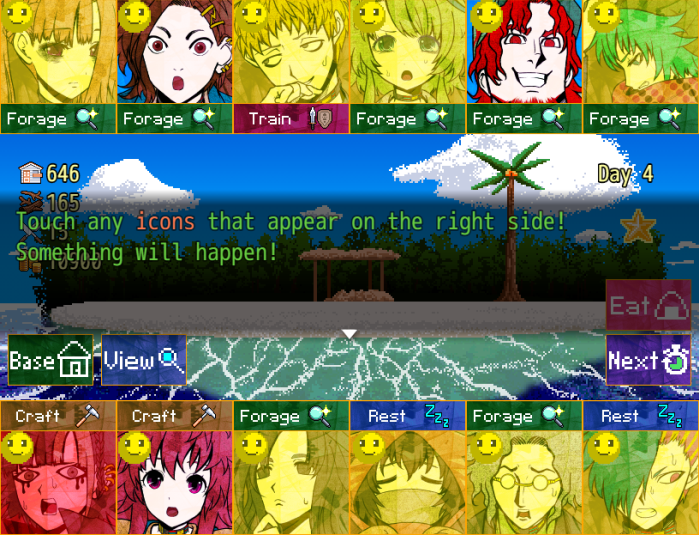
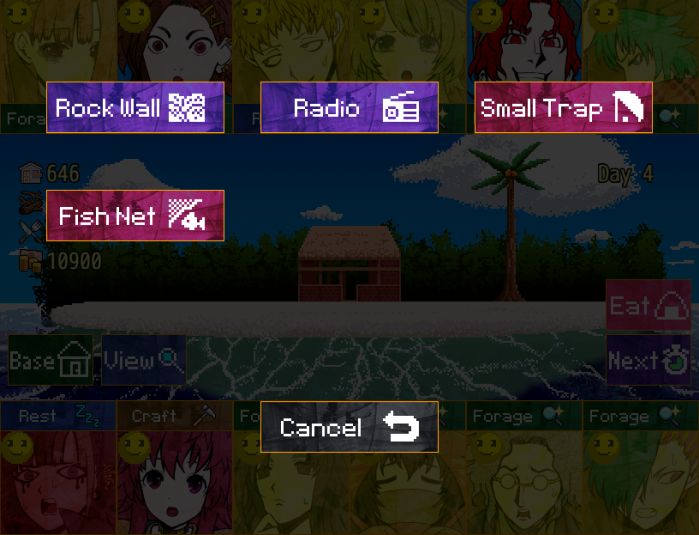
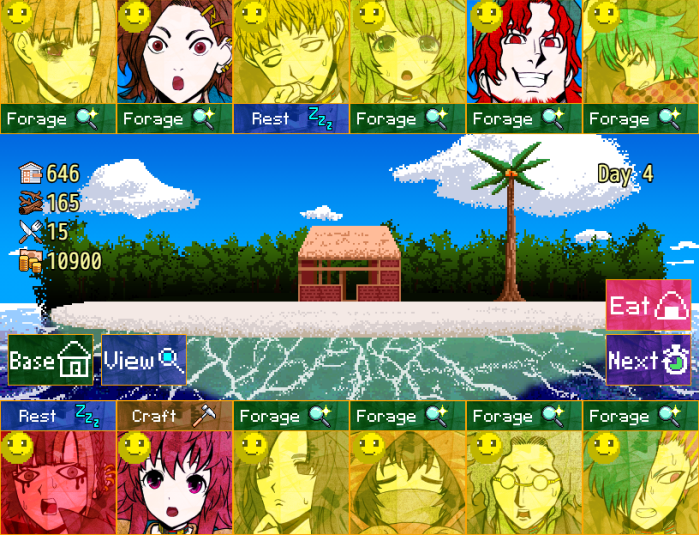
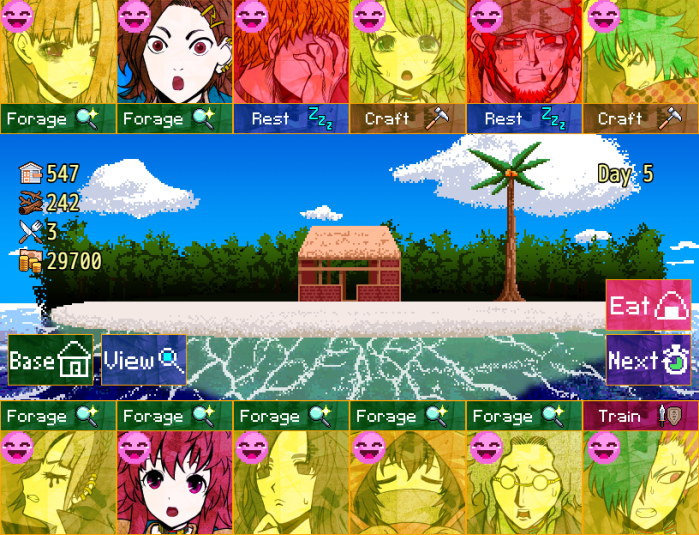
- The gameplay is unchanged, you assign each character to forage, craft, train or rest each day.
- One minor addition, if you click on the base, you get Kai / Mishima's thoughts on the current situation.
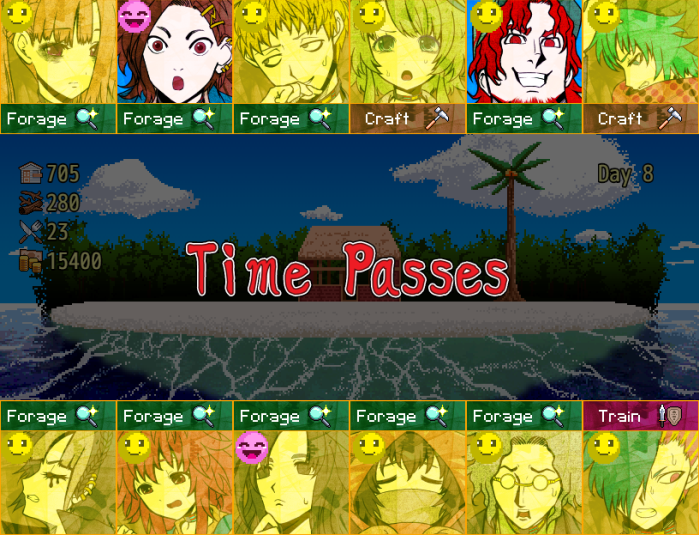
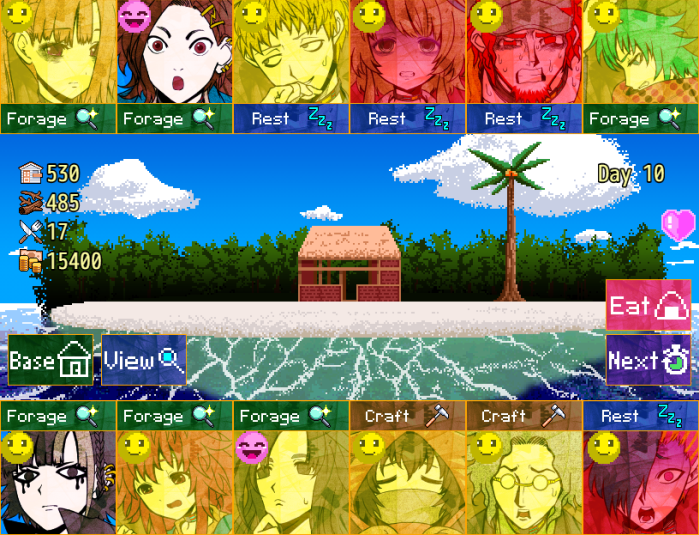
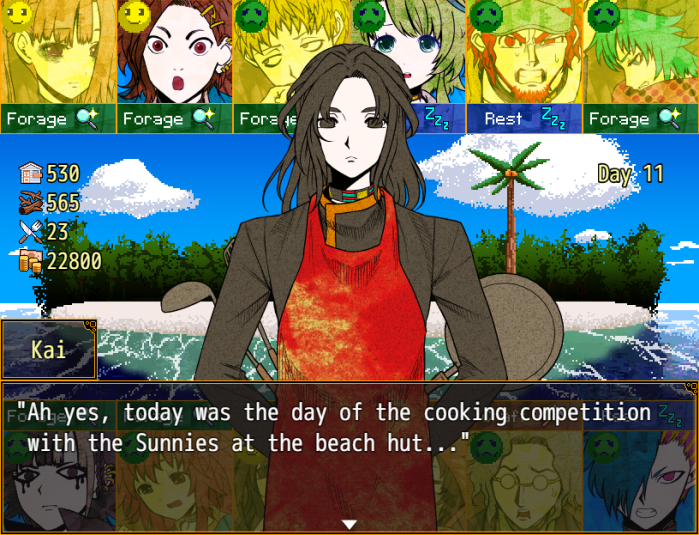
- Day 1 results:
 Found 4 food, and 35 material (used unique ability to forage twice).
 Found 3.200 yen.
 Trained twice successfully (used unique ability to train twice) and had a craft score increase.
 Found 2,200 yen.
 Failed to find anything, but avoided injury.
 Injured.
 Increased base points by 21.
 Increased base points by 65 (used unique ability to craft twice).
 Found 20 material.
 Injured.
 Found 30 material
 Injured.
Art for the special abilities is the same as Mishima's scenario.
 "...Do you need something from us?" "Eheehee, those defiant eyes... You're giving me shivers..." "Ah yes, everyone. Are you not getting hungry?" "If you do not share and eat your food, you may just die of starvation." "You should be able to tell how hungry you are by the color of your face." "Currently, you're all at yellow. At this point, you will still be all right without eating anything, but..." "If you were at green, your health would degrade... And at purple, you'd undoubtedly starve." "Please do your best. For if you die on this island... Your memories will vanish..."
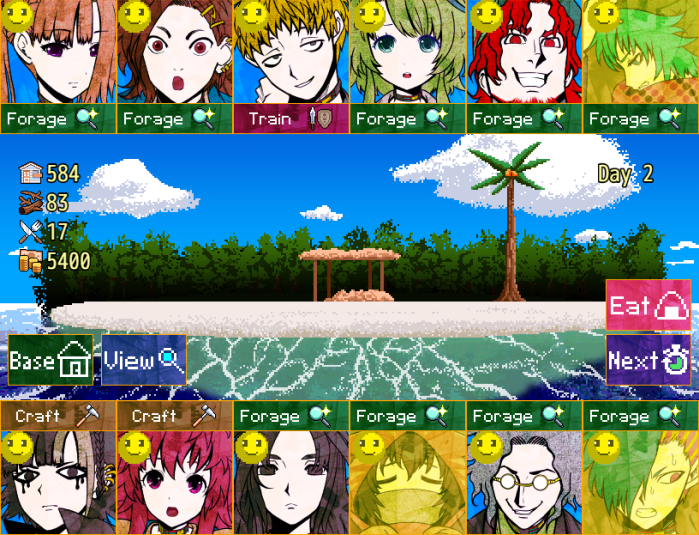
- Day 2 results:
 Injured.
Found 2,800 yen, forging score increased.
 Injured.
 Injured.
Found 20 material, foraging score increased.
Found 2,800 yen, foraging score increased.
 Injured.
Increased base points by 29, crafting score increased.
 Injured.
 Injured.
Found 28 material.
 Injured.
 "W... Wha?! Are you a victim, too...?"
 "M-My name is Tia Safalinnn... And sorry... but I'm not your ally..."
 "Then you're our enemy?! Don't just show up all casual, dammit!!" "Ah, n-no, that's not iiit!"
 "Please keep this a secret from Miley, but... I came to sell you itemsss..."
 "Items, you say...?"
 "Y-Yes... I'll sell you food and the like in exchange for money..." "Mwahaha... Commerce while in confinement... What an absurd thing."
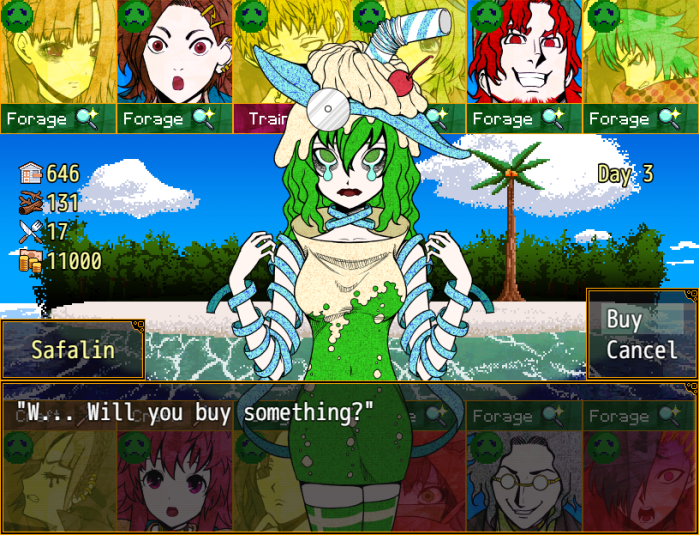
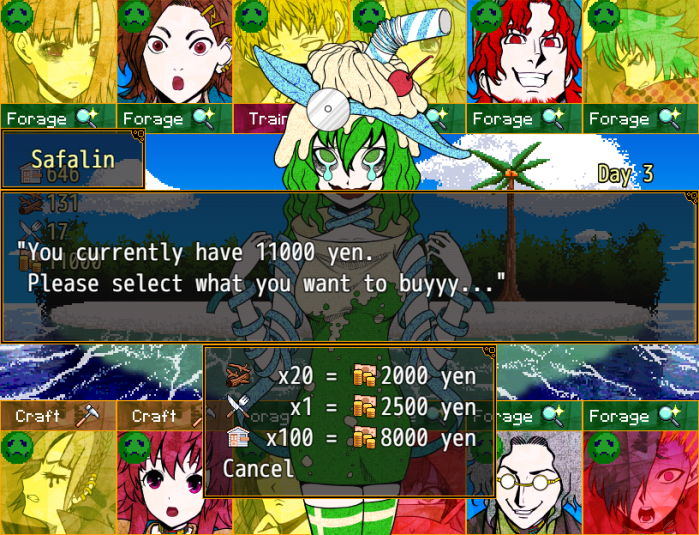
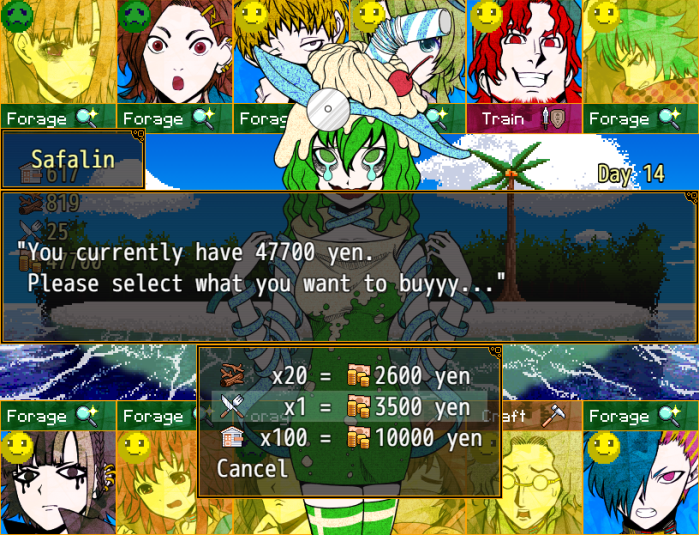
- The shop design has changed – as always, I just buy food.
 "I... I'll stock up and come back again...
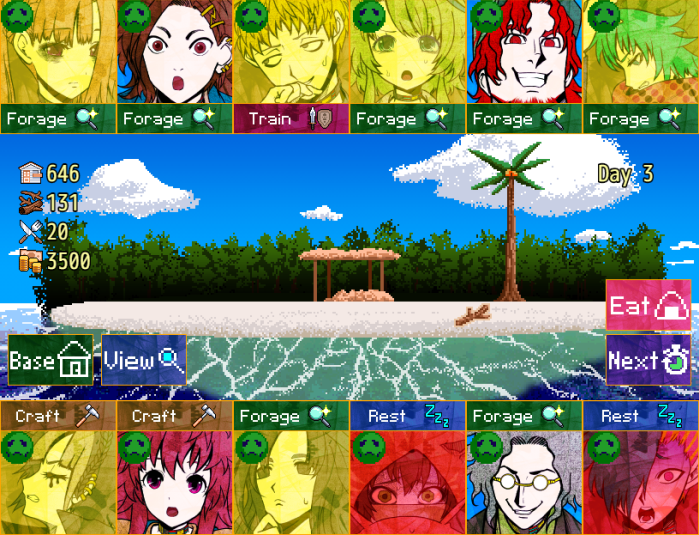
- Unfortunately, I have to send Gin and Gonbee off to rest, they can't take any more damage.
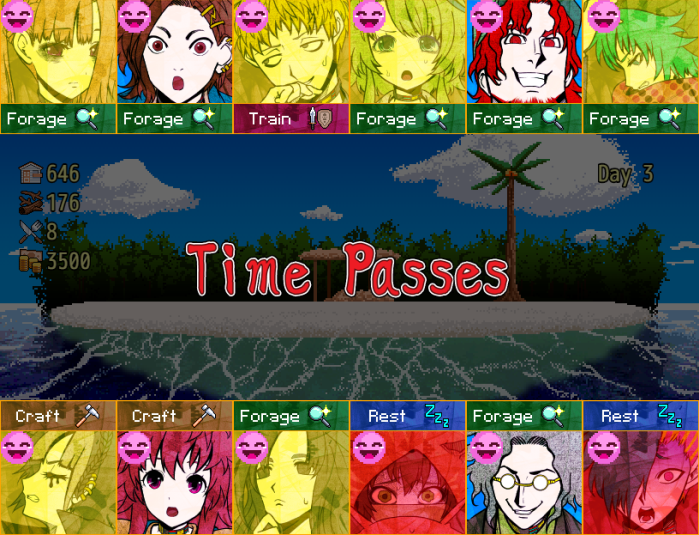
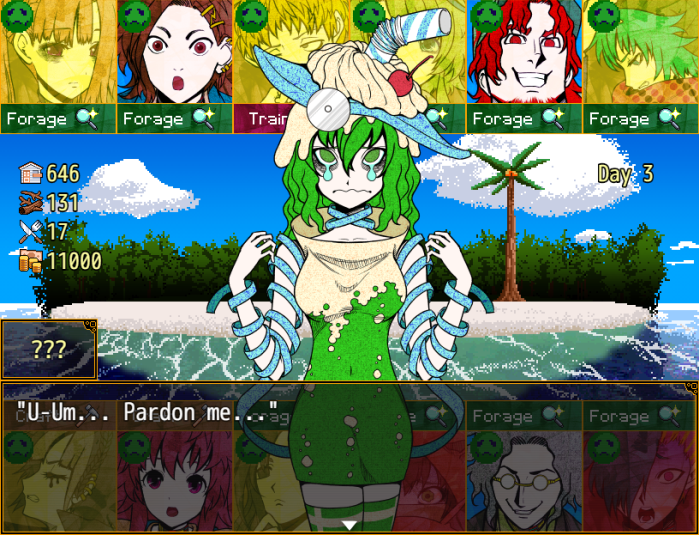
- Day 3 results:
Found 4 food and 3,330 yen.
Failed, but avoided injury.
Trained twice.
Found 1,700 yen.
Found 2,400 yen.
Found 29 material.
 Injured.
Used material to advance base.
Found 3 food.
Regained one stage of health, crafting, foraging and fighting score increased (used unique ability to increase all scores when resting).
 Injured.
Regained one stage of health.
 "You show yourself surprisingly often. Is it lonely by yourself?" "Eheehee... Trying to make me lose my temper? I'm just coming to give you advice."
 "W... What did you say?!" "Eheehee... See, I gave you a warning. Aren't I so kind?"
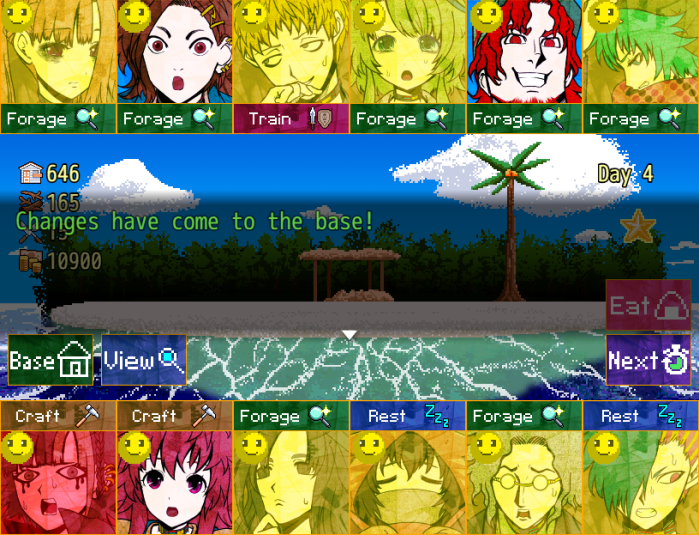
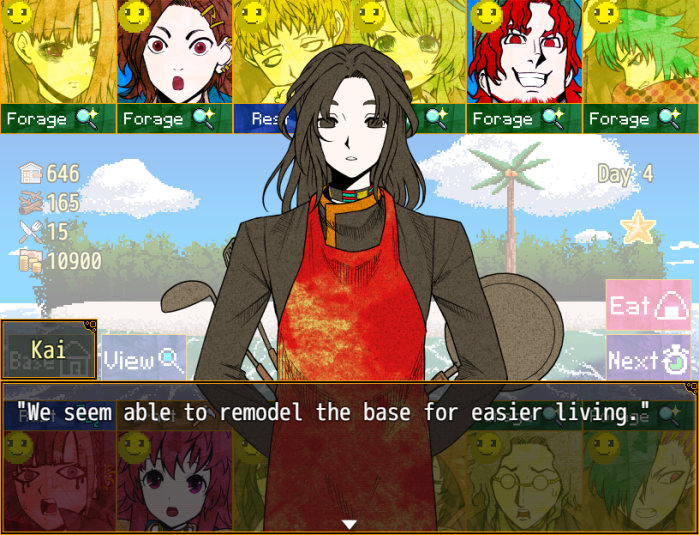
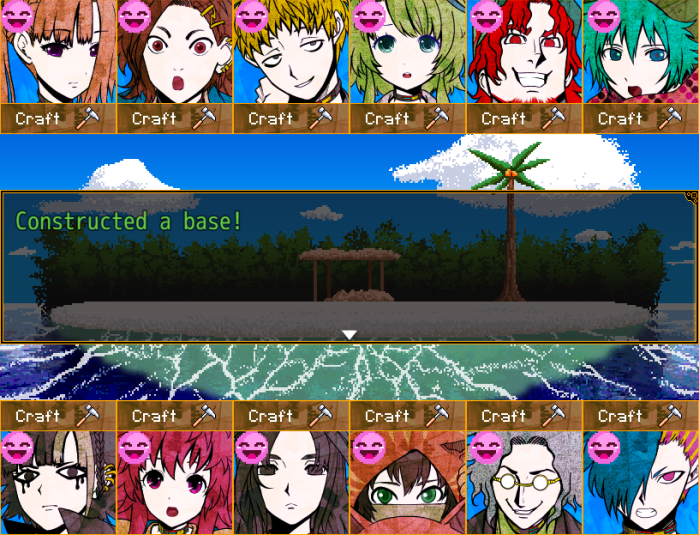
 “We've also created a workbench inside, making it possible to construct necessary tools.”
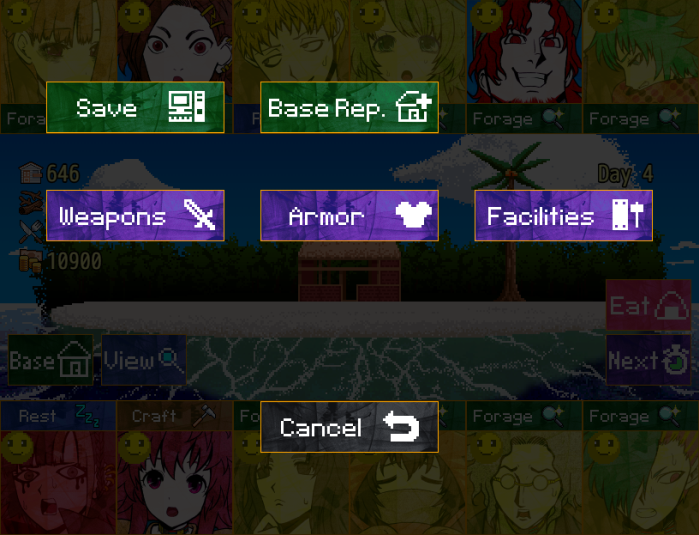
- The facilities are unchanged.
- Reko needs to rest, and I also send Keiji for a rest – as he's training he's not gaining any fondness points, and it's preferable to have the fighters at full health before a battle.
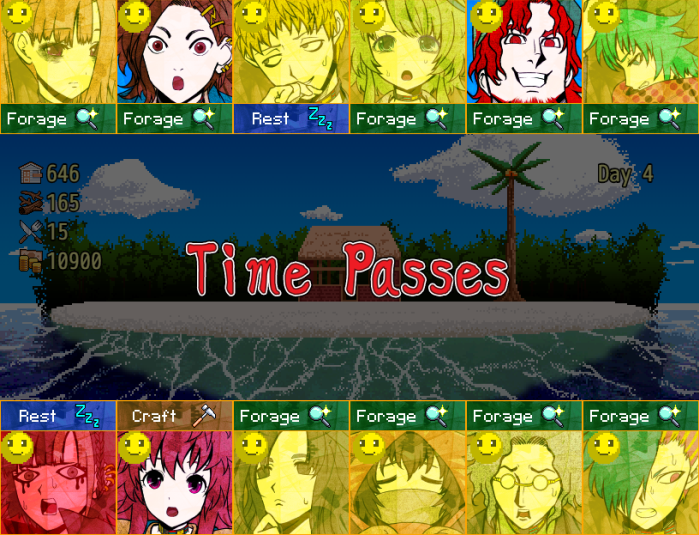
- Day 4 results:
Found 34 material and 3,400 yen.
Found 2,700 yen.
Regained one stage of health.
Failed but avoided injury.
Found 2,700 yen.
Found 27 material.
Regained one stage of health.
Failed but avoided injury.
Found 2,900 yen.
Found 2,800 yen.
Found 3,700 yen.
Found 18 material.

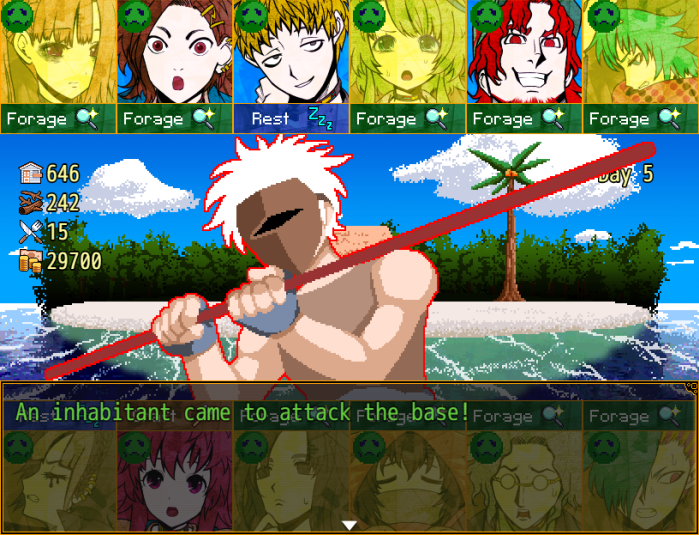
- The battle is won, but both Keiji and Q-taro took a battering.
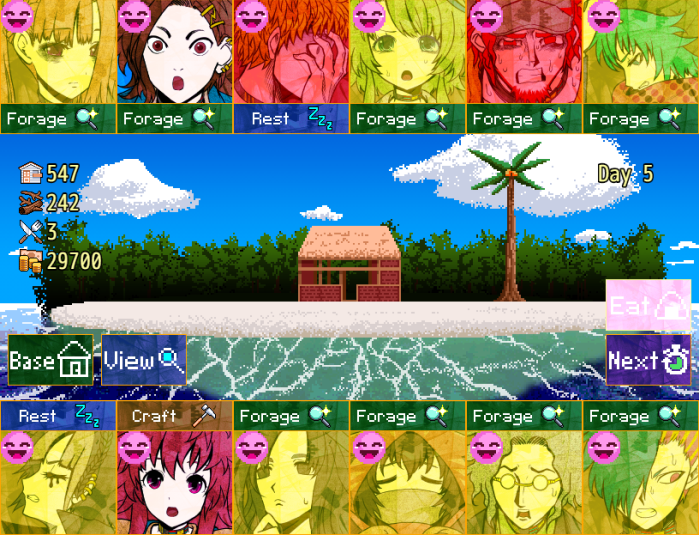
- Who should craft and train on days 5 to 9 (inclusive)? Keiji and Q-taro will need to rest on day 5, but they'll be able to pick up their assigned task from day 6. At the moment, all the foragers have 8 fondness points with Kai, except for Gin and Gonbee, who have 6 due to them needing to take a day for rest. Reko, Nao and Keiji have no fondness points with Kai yet.

- Day 5 results.
Found 4 food and 33 material.
Found 3 food.
Health fully recovered.
Increased base points by 28.
 Health restored by one stage.
Increased base points by 22.
Found 22 material.
 Injured.
Found 26 material.
Failed, but avoided injury.
Found 3,200 yen.
Trained successfully.
 "Doesn't change how y'can't play baseball here!"
 "I want a million yen prize or something for successfully surviving, woof! It'd really help our finances, meow!"
 "Still, though... What're they having us live on an island for?"
 "Doesn't feel like they'd abduct us here just to keep us from escaping, huh."
 "Perhaps... this island has some kind of secret." "When you put it that way, this place does seem kind of unusual..." "Almost as if it was made by human hands... Am I right?" "An artificial island?! You for real...?!"
 "But... It's not just the island that's odd. Even the sea and sky are changeless and quiet..." "So you mean... all this nature's artificial?! Even the whole environment?!"
 "I-Inconceivable... Such a leap of logic. Though I don't deny it's a strange island..."
 (Isle of Memories... It's an unsettling name.)
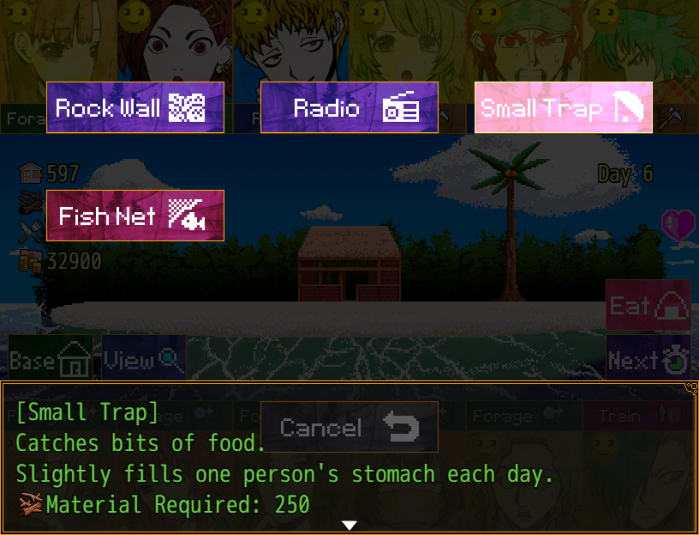
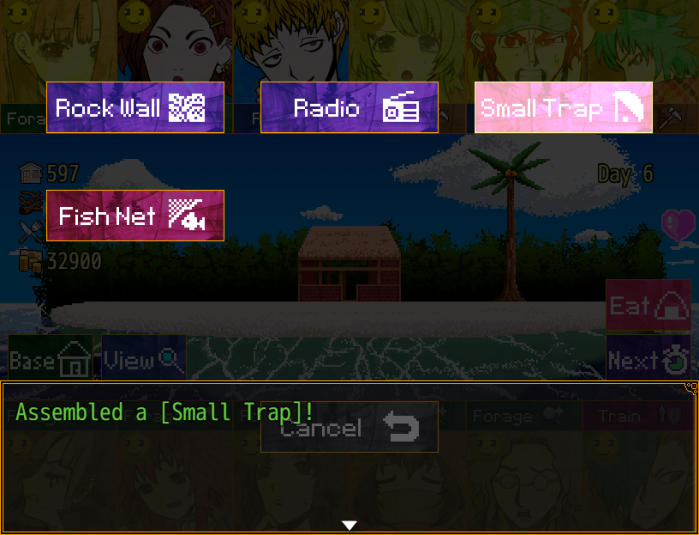
- I build a small trap - this restores one stage of hunger for one random character each day.

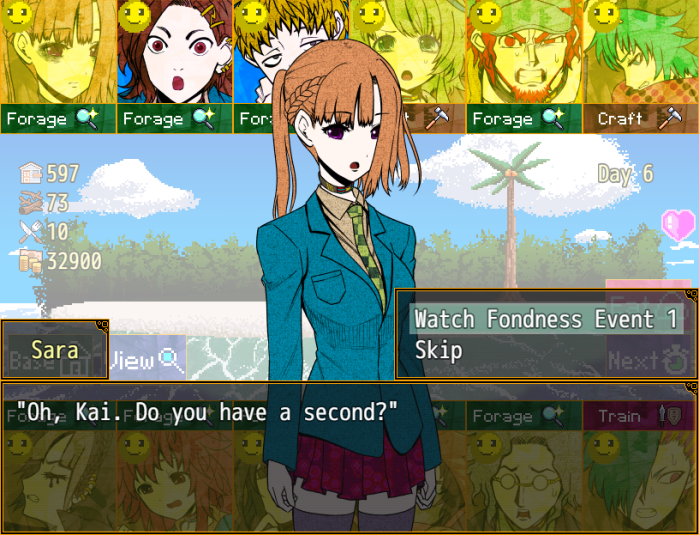 "Yes, it is I, Kai. What's the matter?" "I found this large fruit. But... it's so tough, I can't even get inside it..." "Hm... For a fruit like this..." "There's actually a simple way of opening it." "Oh?! Please, teach me!" "Well then. Please, strike along this white vertical seam." "With a closed fist?" "...I imagine it would be difficult barehanded. Let us use that thick log over there." "Hrm... it's pretty heavy..."
 "It should be easy for a kendo master like yourself. Assume posture!"
 "Eh?! O-Okay!" "Give it a men strike!"
 "Mennn!!" "Brilliantly cleft in twain."
 "Amazing, Kai! You really know everything about food!" "Yes, of course." "Ah, the juice is spilling out... What a waste." "…" "Incidentally, it's hellishly sour." "...!! Ugh, it is...!" "...Dislikes sour things... noted." "*cough*... Tell me before I eat it next time, Kai!" "Apologies. But I have obtained new data." "D-Data...?"
 "*sigh*... I thought it could at least be food..." "Not to worry, it can be cooked to be edible. You shouldn't throw it away." "Huh, is that right?"
 "Ah, wait! Don't go, Kai!" "We've got nothing but time here! Don't dodge the question!!"
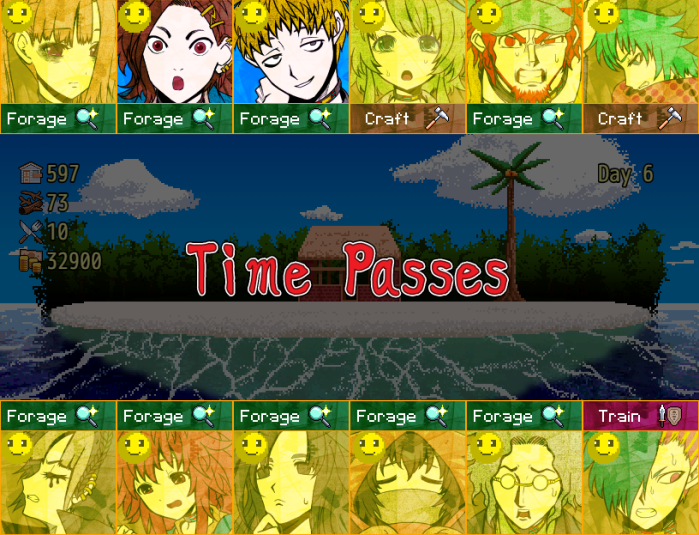
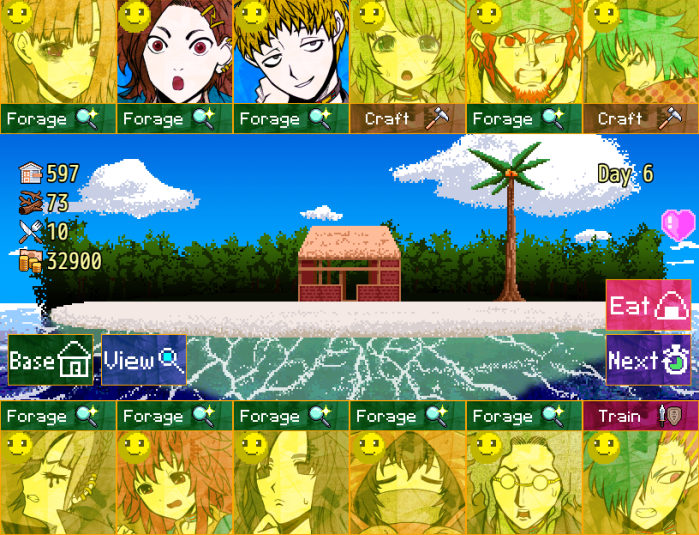
- Day 6 results:
Found 39 material and 4 food.
Found 27 material.
Found 29 material.
Increased base points by 28.
 Injured.
Increased base points by 23.
Failed, but avoided injury.
Found 2 food.
Found 2,800 yen.
Found 30 material.
Found 4 food.
Trained successfully.
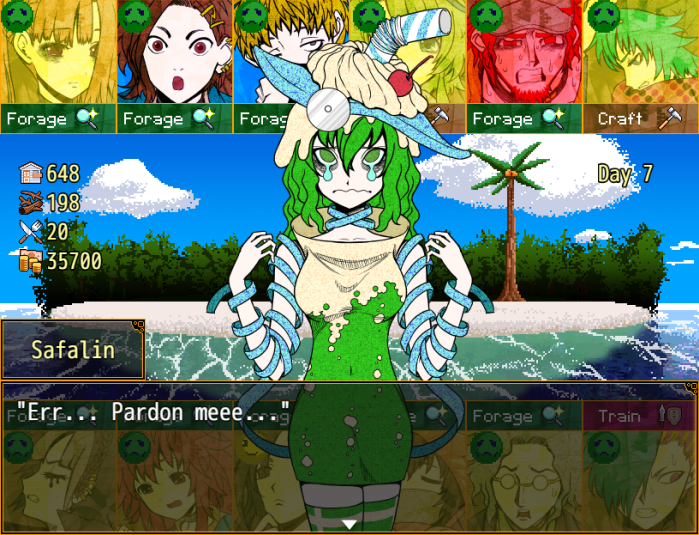 "Oh my, miss Safalin." "Yes... I came to sell to you again today..."
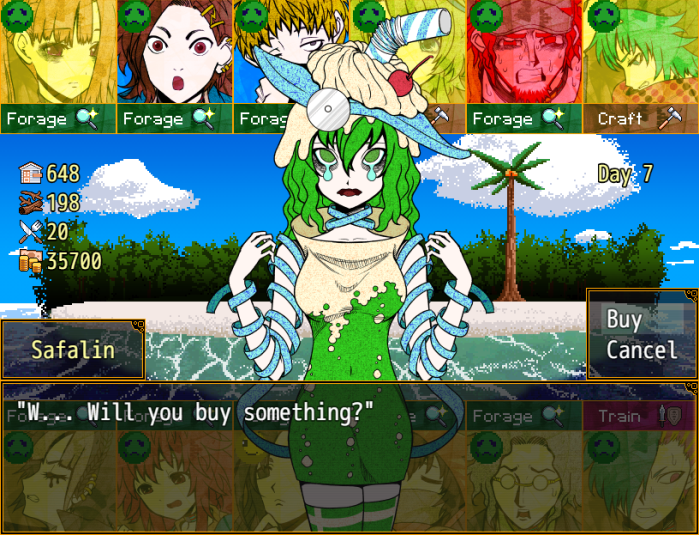
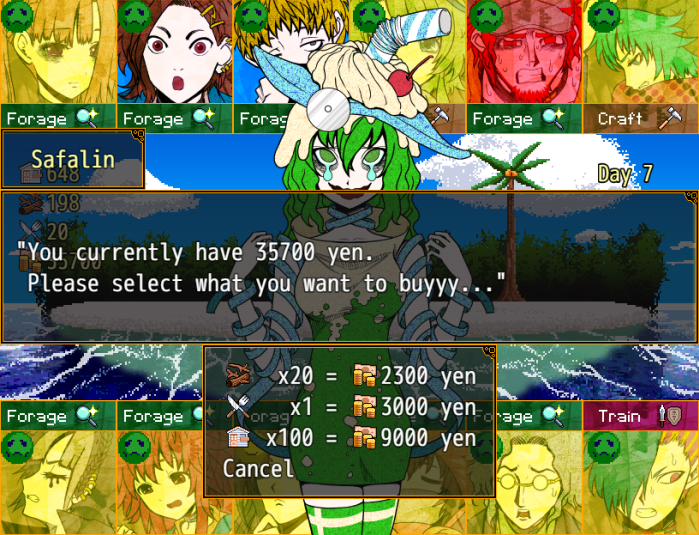
- As always, I buy more food.
"I... I'll stock up and come back again... Please keep this a secret...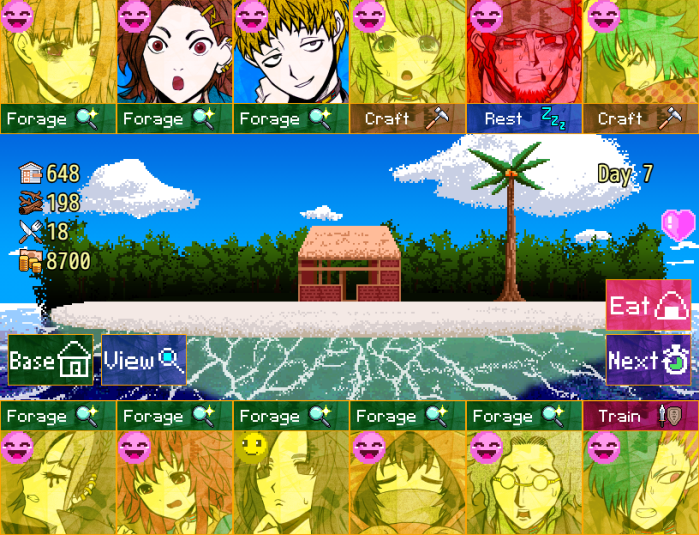
 "Oh, Joe. What's the matter?" "I just wanted to ask you..."
 ".........." "Hm... So you've noticed." "You mean...!" "Indeed..." "Was my kebab that day tasty, Joe?"
 "Wha?! The owner of the kebab place on the way home from school...?!"
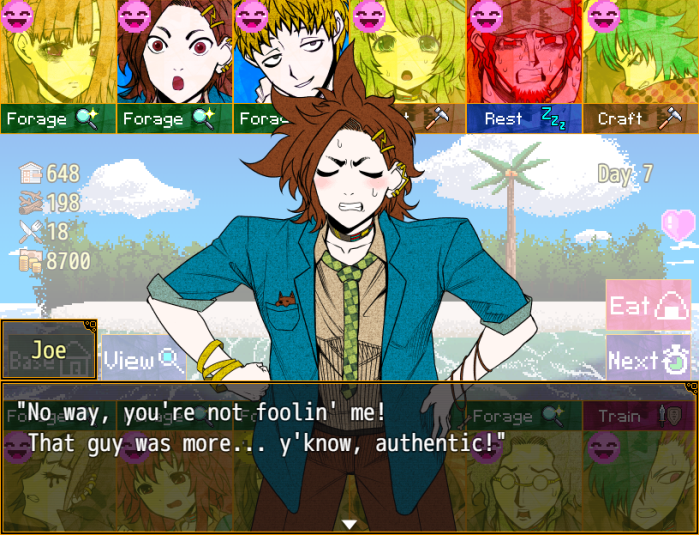 "That's just what you think. Memories are not always accurate." "If you insist, then where's your proof?!" "In the taste." "The flavor of that kebab you ate... What do you say I recreate it?" "The flavor, eh...?" ".........."
 "Heh heh heh... 'Zat right, Kai...!"
 "Just so you know, you're makin' a big mistake if you think that'll gloss things over!" "'Cause I never forget the taste of somethin' tasty I ate!" "Oho..." "Then allow me to have you taste it again. Will that satisfy you?" "Yep! If you perfectly recreate the same flavor, I'll recognize ya as the owner of the kebab place!"
 "Haha... Then let us hone our blades until the day of that decisive battle." "Heh...! Don't try to run, Kai!"
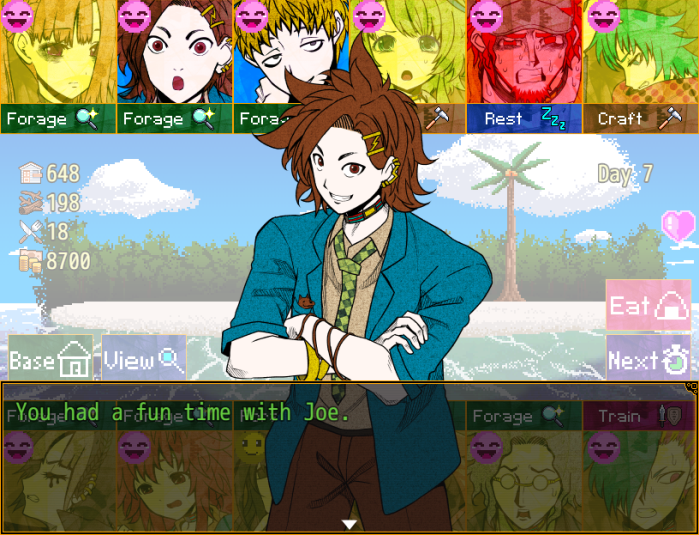
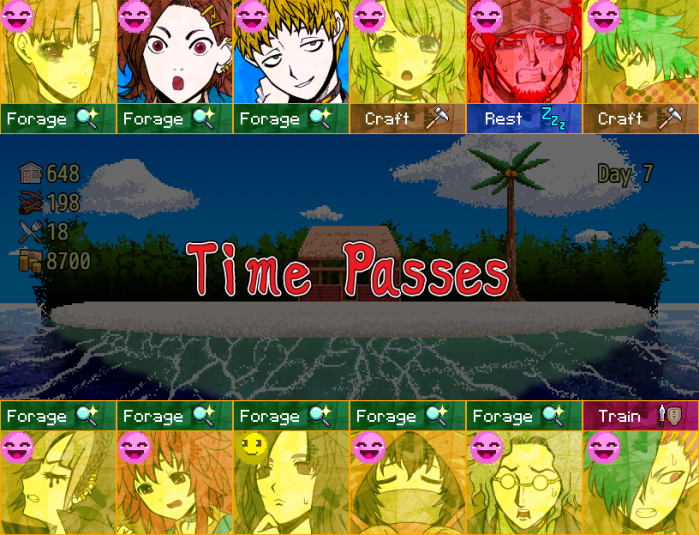
- Day 7 results:
Found 4 food.
Found 3,330 yen.
Injured.
Increased base points by 30.
Health fully recovered.
Increases base points by 27.
Found 26 material.
Found 2 food.
Found 24 material.
Found 3,400 yen.
Found 32 material.
Trained successfully.
Music stops.
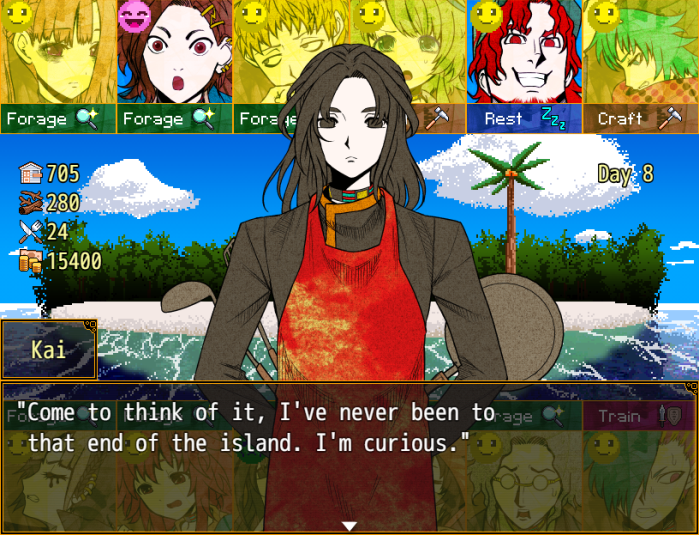
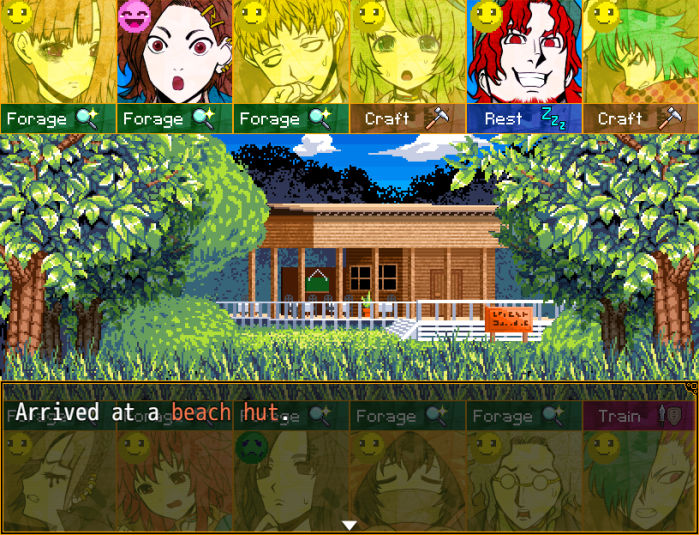
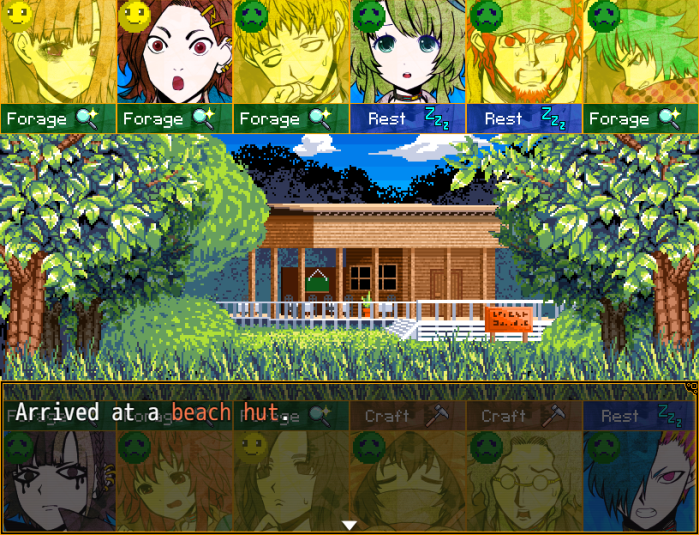
"What could that house be...?"
 "We'll never finish our menu at this rate!" "There are people here, too...!"
 "This seems interesting. I shall take a look." "We'll never finish our menu at this rate!"
 "Dammit, Anzu, how can you call this sushi?!" "How dare you say it like that?! I just used a fish that looks a little funny! It's probably delicious, so try it!"
 "I-I'm feeling it would be best if we had miss Mai do the cooking..."
 "I can make anything as long as it's bread or pastries!"
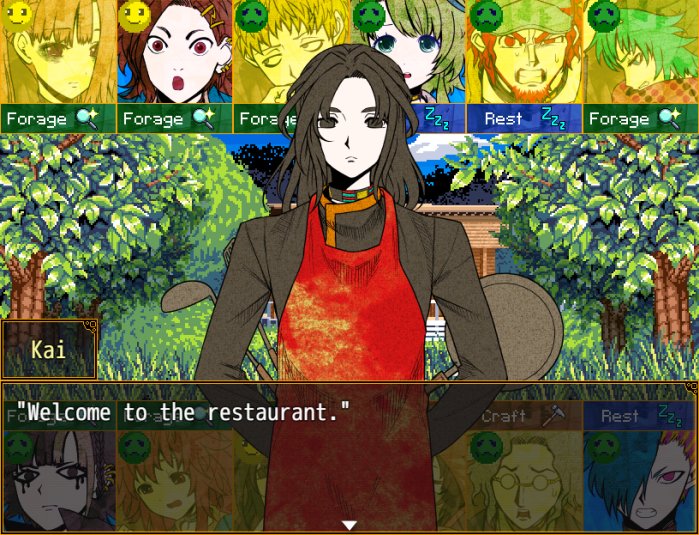
 "Ugh... If only a skilled cook could show up right about now... "Hold on a sec...! Uh, I can see a frying pan outside?!" "So I've been found out." "What's your problem?! Why're you peepin' into people's houses?!" "Hang on, guys. Take a look at his get-up..." "An apron...?! Could you be... a cook?!" "I am a homemaker."
Kai explained how he came to the island.
"Huh... So you're struggling too..." "Is now the time for sympathy?! We've gotta make a menu for our Beach Hut here!" "...Beach hut? Things sound quite fun over here."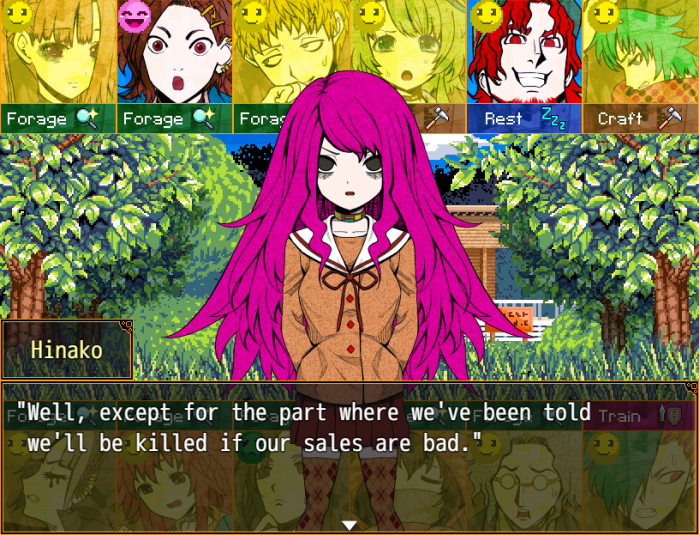 "'Twas not fun in the slightest." "Hey, mister Kai! Whether you're a chef or homemaker or whatever, would you help us make our menu?!" "Me...?"
 "Wahh, that's a brilliant idea, Anzu!"
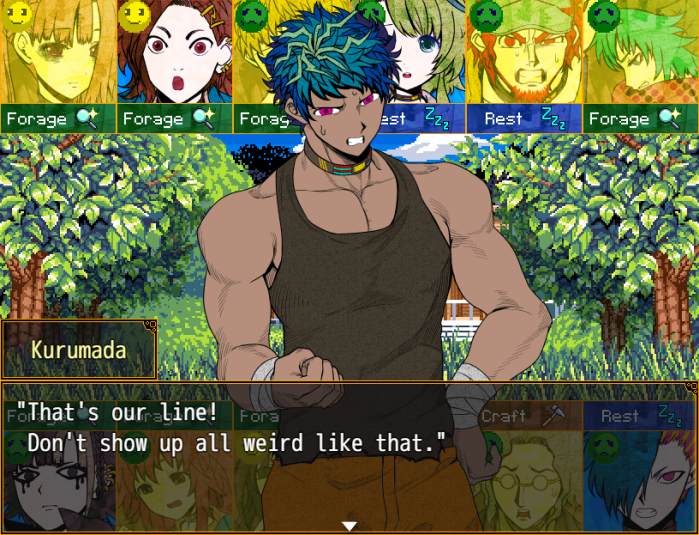
 "We've been doing cooking competitions for a week now, but we just can't put together a menu!" "Kurumada's just selfish! My sushi is surely delicious!" "No... you were right not to eat it.
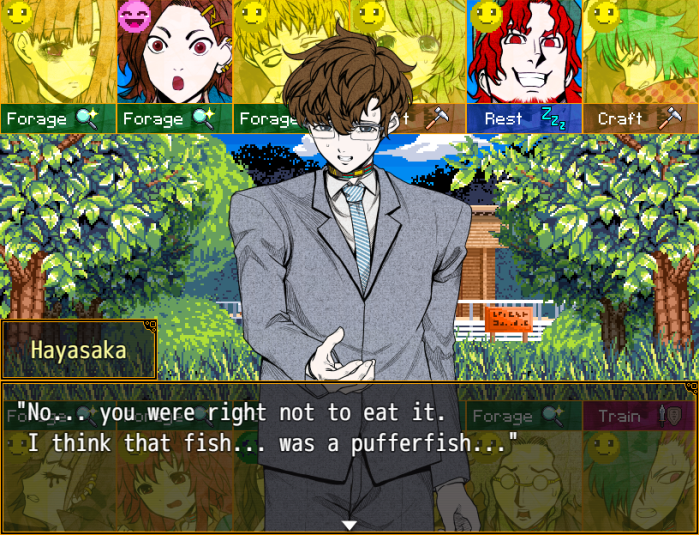
 "Huhhh?! But I took a nibble?!"
 "Spit it out, spit it out!!" "...Indeed, I think it's best if I assist."
 "Really...?! You're gonna do it?!" "Just so we're clear... I'll be real mad if you half-ass it." "Of course. Please judge my cooking in your cooking competition or what have you."
 "Well, there ya go. If you make somethin' good, we'll give you a prize." "Don't go speaking for us... What can you give him?" "How about I give YOU away, ya stupid runt?!"
 "You're meeean!!"
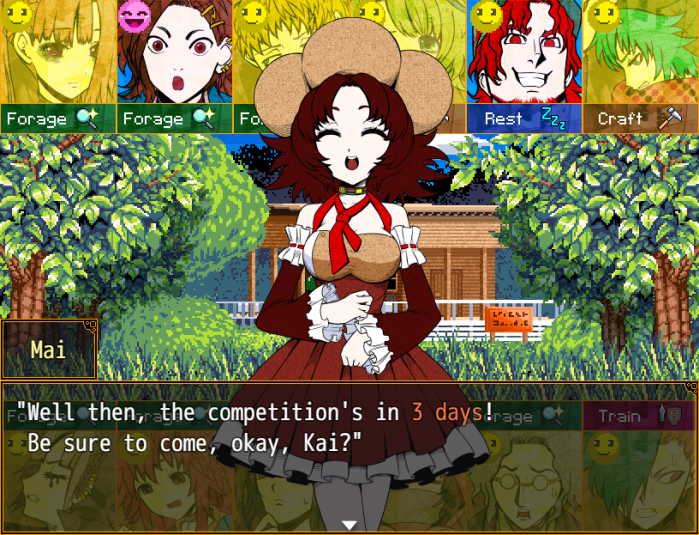 "Understood. A competition in 3 days." (I should be sure to prepare food first...)
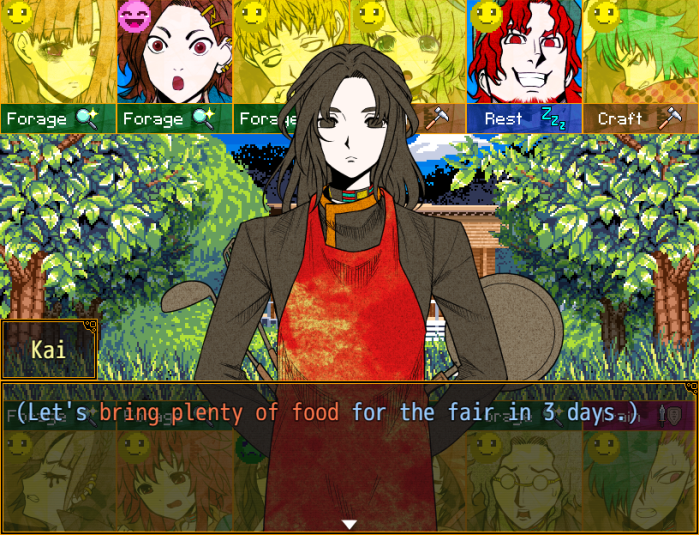
- I'll go into more detail next update when we'll actually participate in the cooking competition, but the competitions can be quite a drain on food if you have bad luck with RNG.
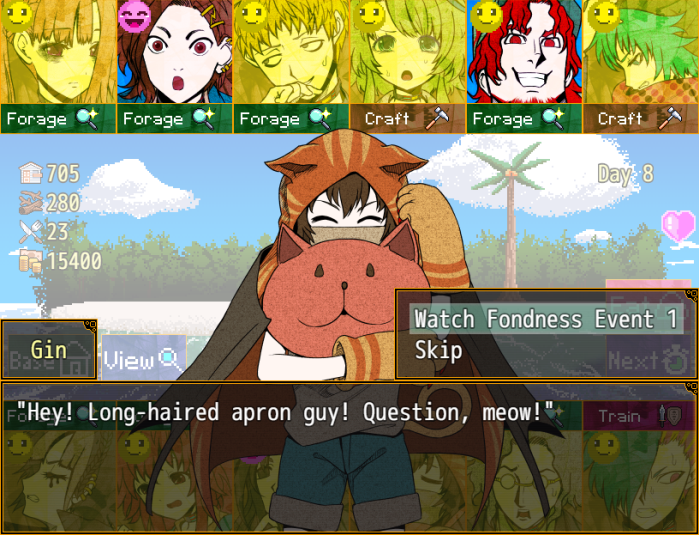 "Please, call me Kai." "That's for ME to decide, woof!"
 "If you could bring one thing to a deserted island, what would you bring, meow?!" "You ask this now...?" "Now's the perfect time, woof!" "Hm..." "I would have to say a lighter." "You wanna smoke that badly, meow?" "No, because it can be used to cook." "If you want to smell of smoke, you can get it from smoked meat." "What's smoked meat?" "Meat is but one thing that can be "smoked"... enshrouded in smoke, essentially, for flavor."
 "Sounds yucky, meowww!" "I shall make a delicious smoked meal later. Incidentally, what would you bring, Gin?"
 ".........." "Surprised by my cleverness, woof?" "Yes, surprised indeed." (Quite the interesting child...) "Gin, I think you may have a talent for commanding people."
 "Like a squad leader or something, meow? No thanks, I don't wanna bother, woof!" "Oh, really? I look forward to what your future holds." "Heh heh! Ahh, how many more sleeps until I'm a grown-up, woof...?" "You're surely close. You ought to prepare for it." "Will I get taller too, meow?" "Yes, indeed. ...As long as you eat well without being picky." "Whoaaa! Bring on the smoked meat, woof!!" "Tonight's dinner is decided, then."
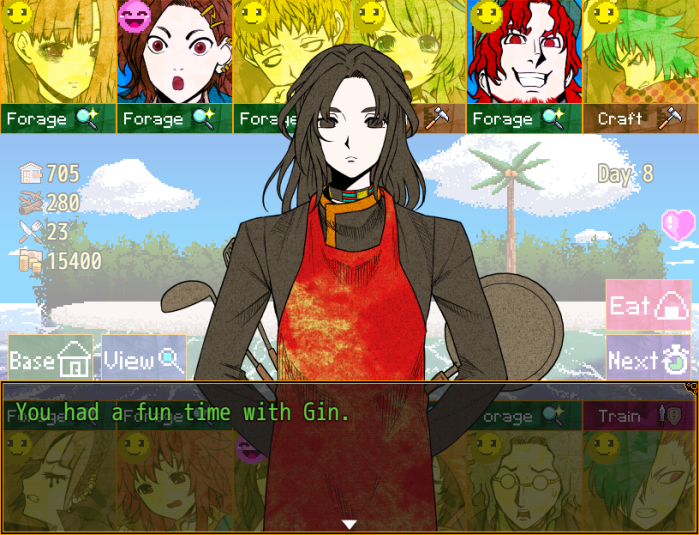
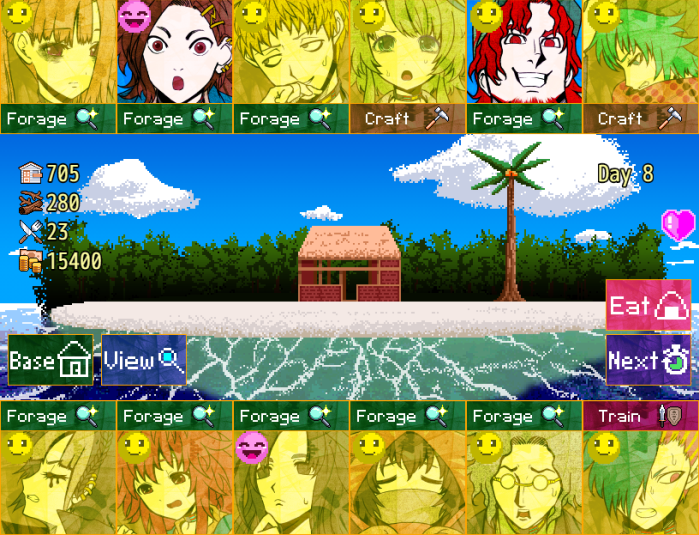
- Day 8 results:
Found 4 food and 39 material.
Found 35 material.
 Injured.
Increased base points by 29.
Injured.
Used material to advance base.
Injured.
 Injured.
Found 26 material.
Found 37 material.
 Injured.
Trained successfully.
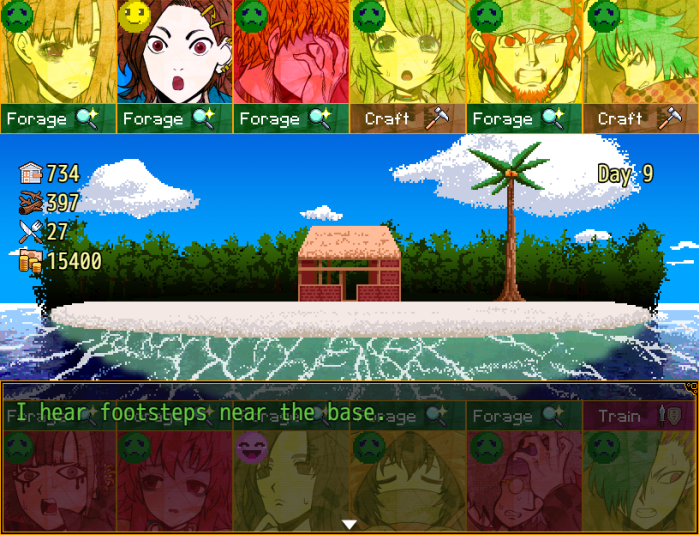
 "Oh, a guest? Who might you be?"
 "I'm... a castaway who washed up on this island... Are you here to rescue me...?" "No, I am similarly waiting for help. Terrible, is it not?" "I see... I've got a base too, elsewhere. ...But I've run out of food."
 "I injured my leg... so I can't even hunt now..." "Hey... please... Could you share just a little food...?" (Troubling... It is a homemaker's duty to oversee the food. Should I share some...?)
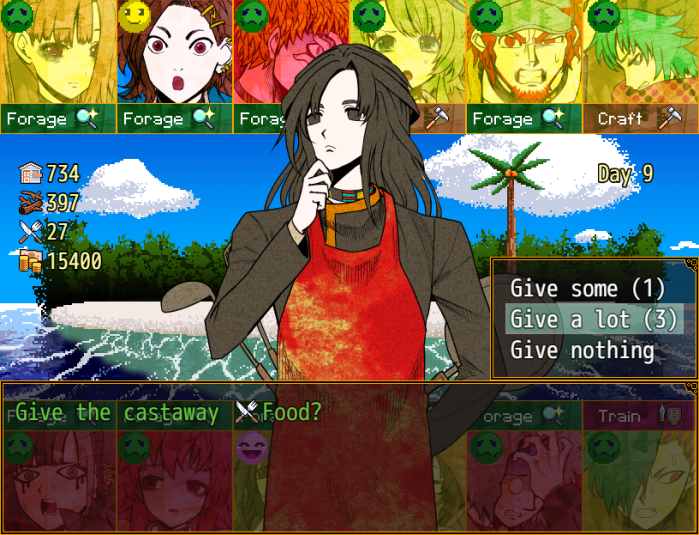 "T... This much...?! Are you sure?!" "Indeed. We must help each other in times of trouble." "Thank you... Thank you... I'll definitely repay you..."
Music stops.

- I move Kanna and Sou to foraging today – there are too many people needing to rest due to being at red health / a battle on the next day. Plus, both of them are only two points away from their first fondness event.
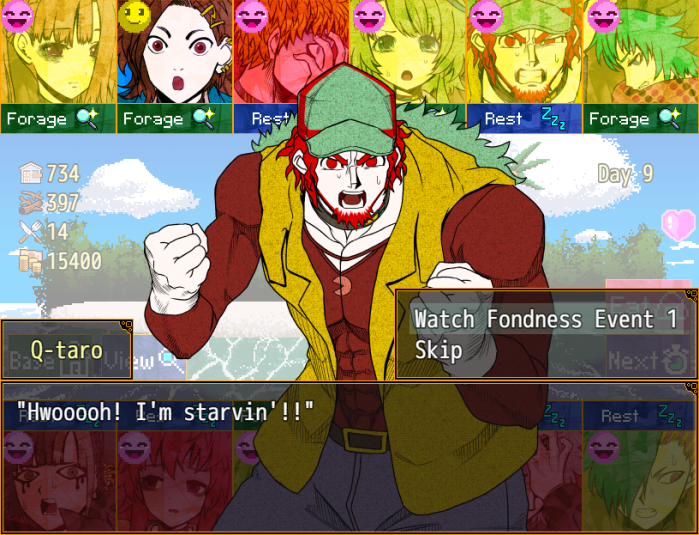 "How troubling... I don't have any food on hand." "Couldja make, like... driftwood nice 'n' edible or somethin'?!" "This is worrisome. Heat and hunger have caused Q-taro's common sense to fly the coop."
 "I wanna eat meat..."
 "Indeed... If you don't get protein, your body may start to break down your muscles." "A slender Q-taro... is a bit scary to imagine." "Beefff... porkkk... chickennn..." "...Though you're already being quite scary."
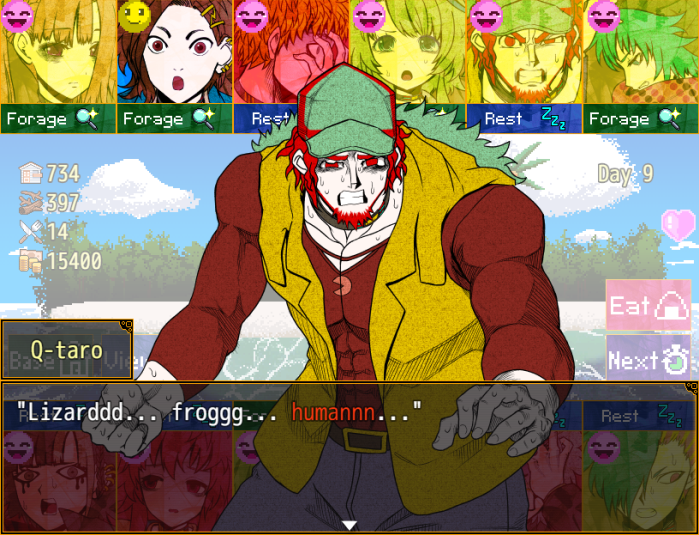 "...That's not a good thing to hear."
 "Aghh...!!"
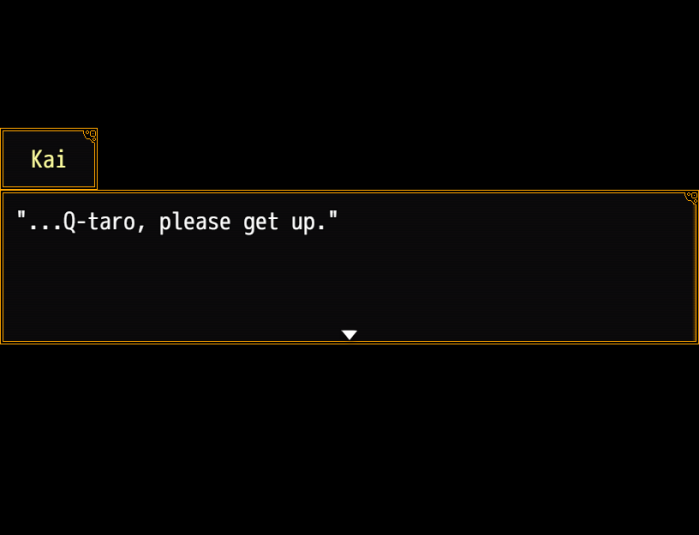 "Hah...!"
 "I feel a cool breeze... Was I sleepin'?" "Yes. You likely fainted from hunger and the heat." "Huh... And you were fannin' me the whole time?" "Yes, indeed."
 "...Huh... Y'know, if ya hadn't saved me, you mighta just solved any food woes..." "I see. Well then, shall I cut you up?" "Whoaaaaa! Don'tcha dare!!" "It was a joke." "Urk..." "It's just the facts... Bein' this huge, I gotta eat a lot too..." "Indeed you do... Shall I secretly give you extra?" "Anythin' but that!! A grown man draggin' everyone down'd be the worst!" "Yes... I suppose." "Fairness can be a tricky thing." "It's fine... Inequality's what starts fights..." "We got a good team here. If I'm jes' gonna be causing discord..." "Better for me to get out, y'know?" ".........." "I... do not care for that calculation." "To subtract someone so the team can survive... It is too cruel." "I much prefer that everyone add their powers and help one another." "Kai..."
 "As it happens, making do from day to day is a homemaker's expertise." "Perhaps you would try believing in my ability?" "…" "Yer right... My bad. I'm just thinkin' all about negatives..." "Understandable. And in doing so, you surely have a clear picture of the future." "That viewpoint may save us from peril someday. I would appreciate if you remained here." ".........."
 "That is the spirit."

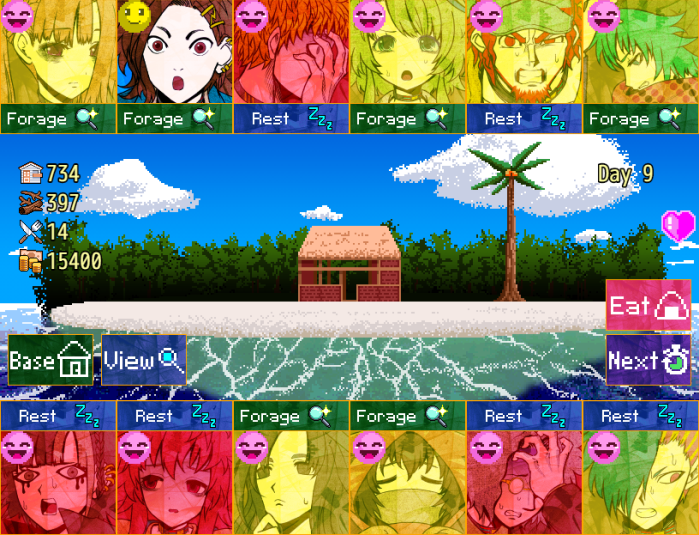
- Day 9 results:
Failed, but avoided injury.
Found 33 material.
Regained one stage of health.
 Injured.
Health fully recovered.
Found 29 material.
Health fully recovered.
Regained one stage of health.
Found 26 material.
Found 4 food.
Regained one stage of health.
 Regained one stage of health.

- As usual, please vote for who should craft and train for the next five days.
 "Searching for food. I want everyone to get their fill." "You're hungry as well, aren't you, Sou? You look like skin and bones..." "Ahaha, that's just how I always am." "How I... always am..." "...It appears I touched on a sore spot." "N-Nothing like that..."
 "Oh my... I feel it would anger some people to hear those words." "Maybe it would... But I'm serious, really." "I'm always chilly... I get colds every winter... The downsides of being skinny are rough." "I see... Hmm..." "Then what about eating plenty of food you like?" "Hmm... Food I like..." "Like stew...?" "Ohh... Yes, that would do." "So do you think I'd gain weight if I just slurped enough stew broth?" "Please include some ingredients." "Ingredients? Nonsense... Those floating bits of meat and veggies... If I eat too many, my stomach'll...!" "...Well, it's a meal to be eaten with others." "Then, is there anything else you like?" "If it's not spicy... I like curry too." "Not spicy, you say... Well, all right." "That reminds me, I've heard that naan has more calories than rice. Could you eat naan with it?" "Y-You want me to add carbohydrates when I've got my hands full with curry...?!" "Once again too much, then..." "Curry's amazing, though. If you keep boiling it, all the ingredients vanish... It's so easy to eat." "You're drinking at that point, not eating."
 "Urgh...! Same thing! It goes in your stomach...!" "If you like liquids, how about a smoothie? Stir vegetables, fruit, and milk in a mixer..."
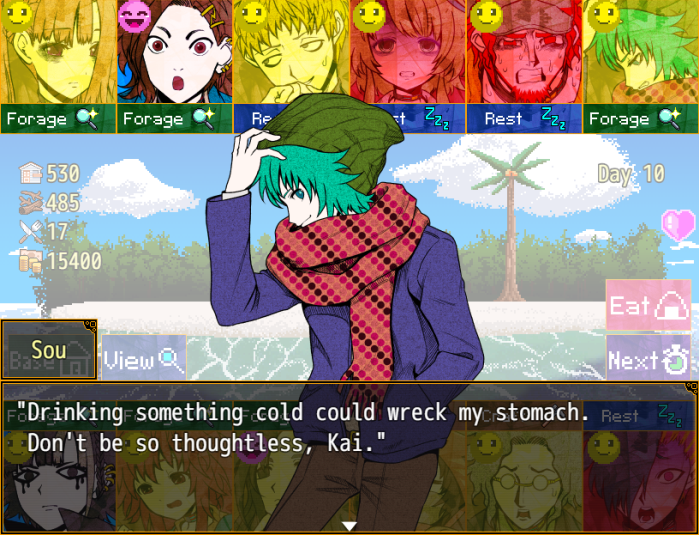 "Y-You're saying I'm to blame...?" "*sigh*..." "A-And even sighing at me...!"
 "Very well... I shall consider a meal that will be able to fill you up." "I-I'm fine. Don't take it so seriously..." "No, Sou, I have grasped your tastes."
 "Huh?" "You like warm liquids. Or rather, that is all you can eat."
 "Urgh...! You're talking about me like I'm some weird creature!!" "I will certainly prepare for you a warm liquid that is delicious and high in calories. Prepare yourself." "Hahaha... Got it. I accept..." "But if it ruins my stomach, you lose! Won't this be fun...!" "I welcome the challenge...!"
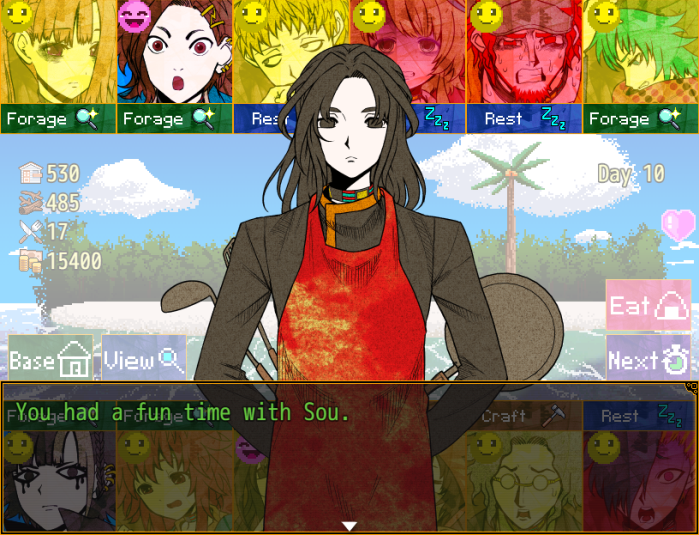
- Day 10 results:
Found 4 food and 40 material.
Failed, but avoided injury.
Found 3,600 yen.
Health fully restored, used unique ability to restored Gonbee's health by one stage.
Health restored by one stage.
Found 36 material.
Found 24 material.
Found 2 food.
Found 3,800 yen.
Failed, but avoided injury.
Used material to advance base.
Health restored by one stage.
Music stops.
 "We get to eat tasty food today, right?! I'm excited!"
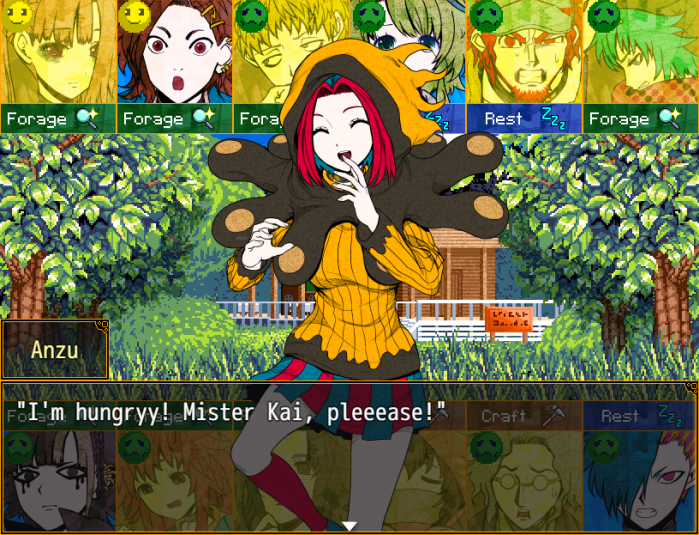
 "Hey now... this ain't fun and games. We gotta judge properly."
 "Yes, while considering how to make it ourselves."
 "I imagine it'd be hard to prepare for all of us, so maybe we'll just have three judges?" "Understood. Bring on as many as you will." "I shall show you the full power of a homemaker!"
Music stops.
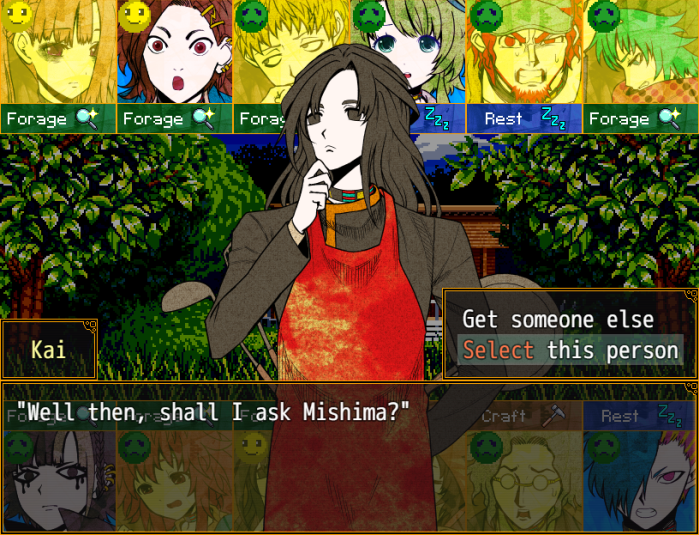
"Well then, you ready for the competition?" "Yes, I was just hoping to start." "Here's the three judges this time..."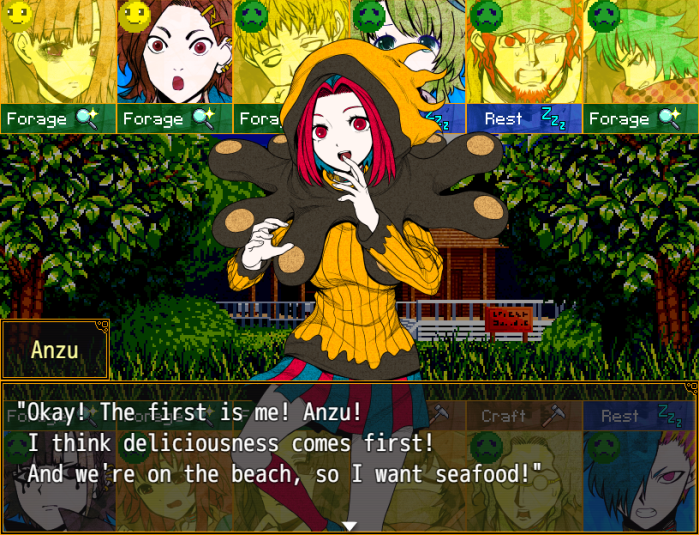
- The judges are random.
"All right then... Give us your best cooking, Kai." "Hm, I see... Being made to adapt to tastes is a fine way of demonstrating of my skills." "Now... First of all, I should prepare some ingredients to start with.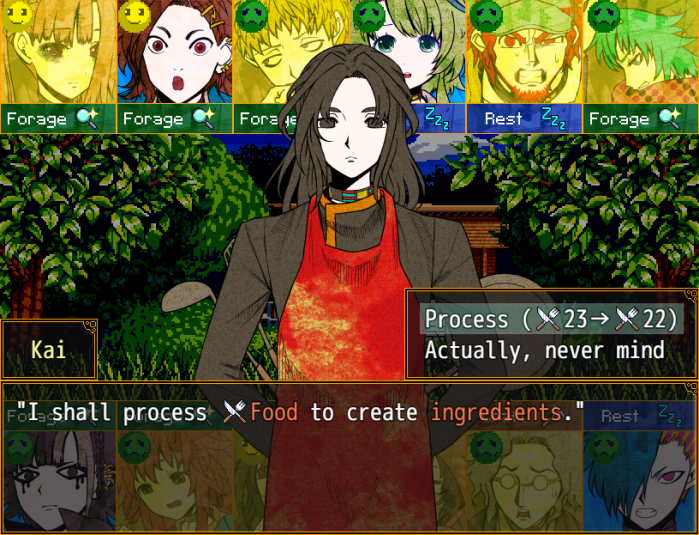
- Kai runs away from the competition if you select the second option.
"Here I go...!"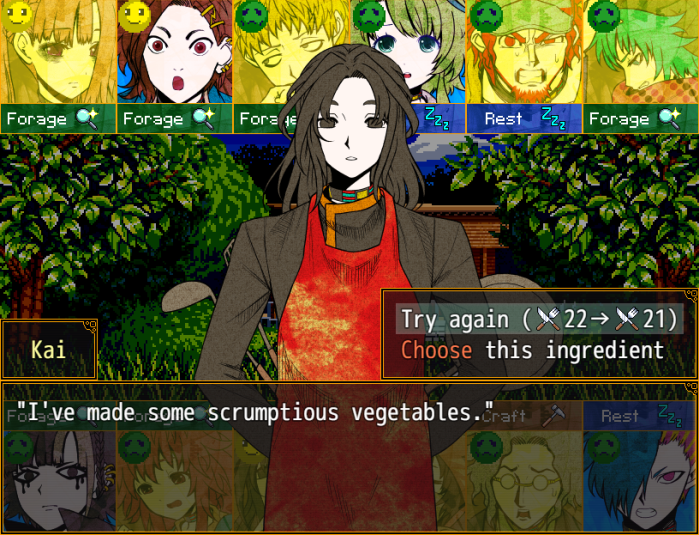
- This is where the competition can be a drain on food – there are ten different quality levels (“Scrumptious” is seven out of ten, with one being the lowest quality, and ten being the highest quality), and four different ingredients. The quality level impacts the number of “rounds” to cook the meal, and the ingredient determines whether you'll get bonus points from any of the judges; for example, if the ingredient was fish, we'd get bonus points from Anzu. If you get an ingredient that none of the judges like, or is bad quality, you can, provided you have at least one food, indefinitely keep spending one food to create another ingredient. If you do run out of food, Kai will run away from the competition.
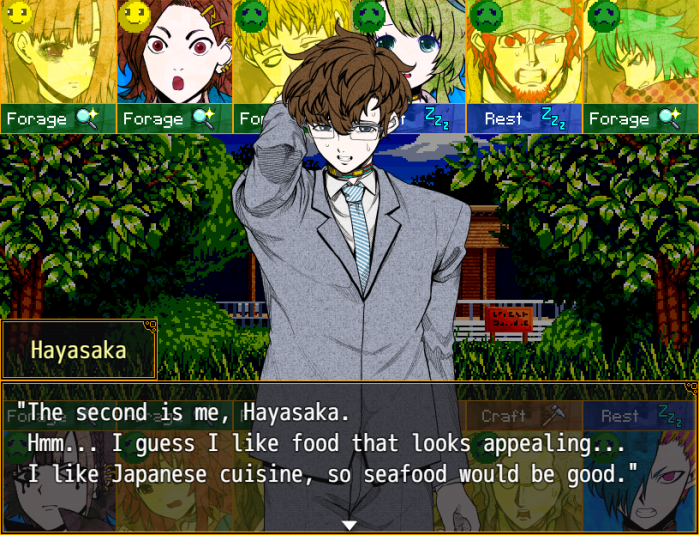
In this case, “scrumptious vegetables” isn't too bad; the quality could be better, but it's still relatively high, and despite what he said earlier, vegetables are Hayasaka's favourite ingredient.
"I've managed to prepare ingredients." "It can be difficult cooking by oneself. Perhaps I'll call someone to help?"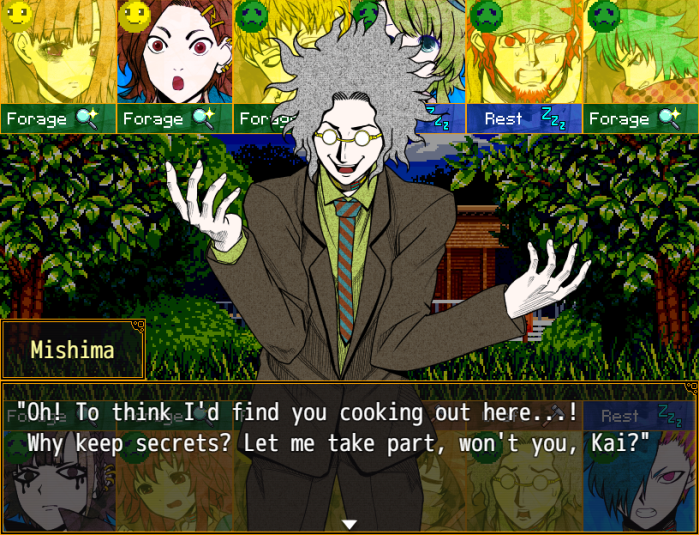
- Unfortunately, this isn't great – if the helper was partnered with a judge in 3-1 (Sara / Ranmaru, Keiji / Hinako, Q-taro / Mai, Sou or Kanna / Kurumada, Alice or Reko / Anzu, Gin / Hayasaka), then that judge will give bonus points. Ranmaru gives double the bonus points if Sara helps when he's judging; conversely, Kurumada only gives a very small bonus if Sou helps, though he gives the usual bonus if Kanna helps. Anzu gives the normal bonus regardless of whether Alice or Reko helps. The helper has no other effect on the competition, so you don't really want Mishima, Nao or Joe showing up. You can choose to reject whoever shows up to help twice (rejecting the third helper will result in Kai having to cook alone) , but doing so will cause a drop in fondness points for whoever you reject. Since I'm aiming to get as many fondness events as possible, I'll be sticking with the first offer.
"My regards, Mishima. "Indeed! Consider yourself in good hands! I, too, look forward to how you cook it, Kai." "Well then, let's get into the cooking."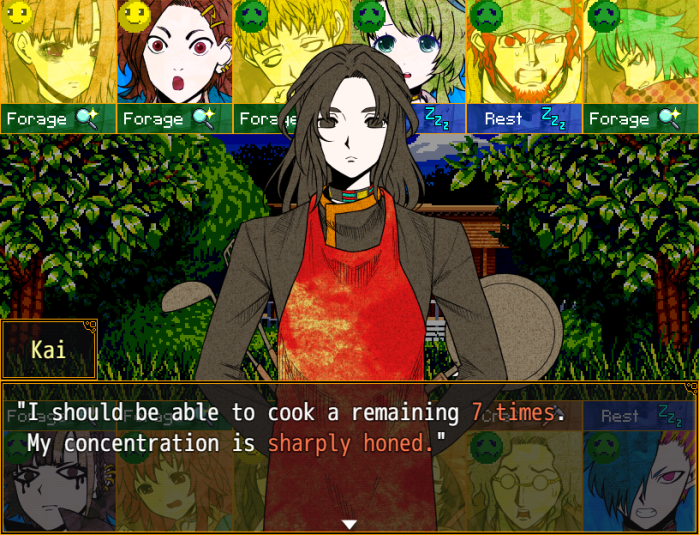
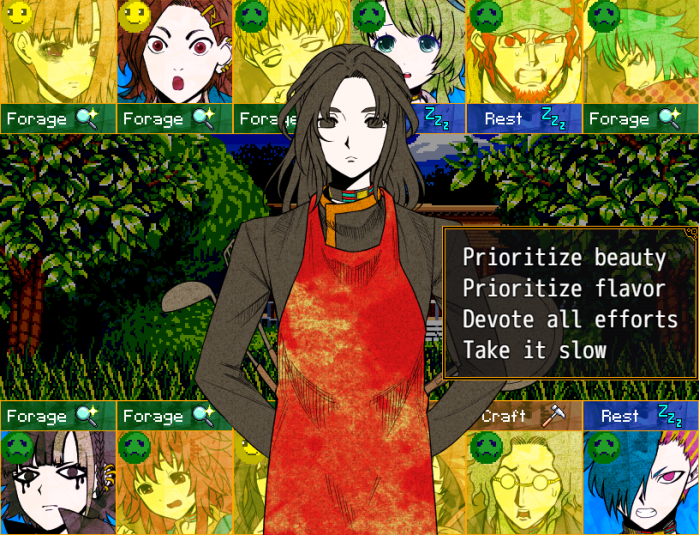
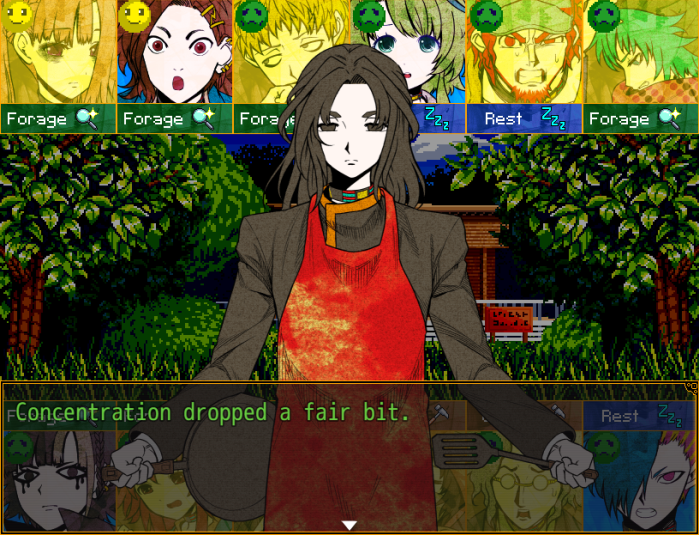
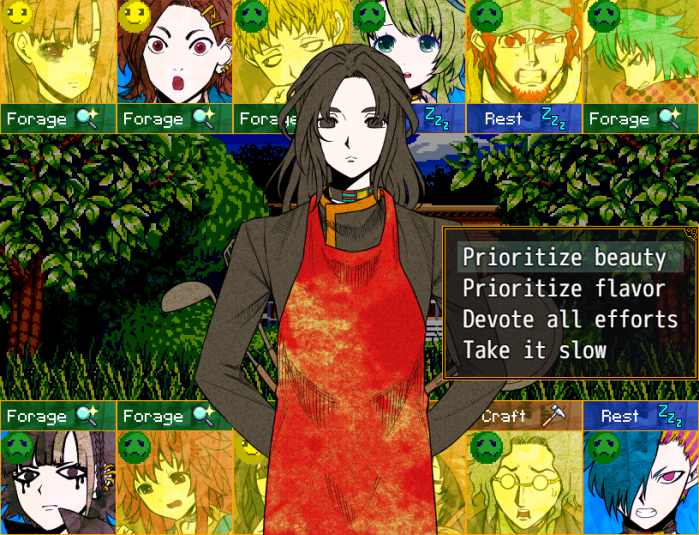
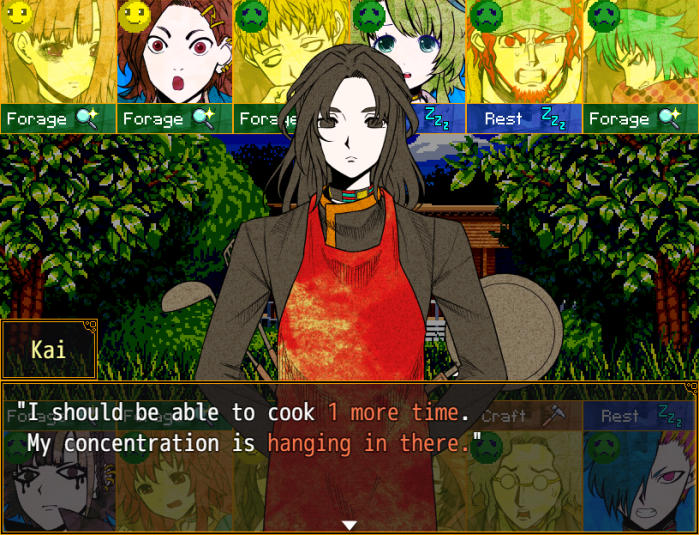
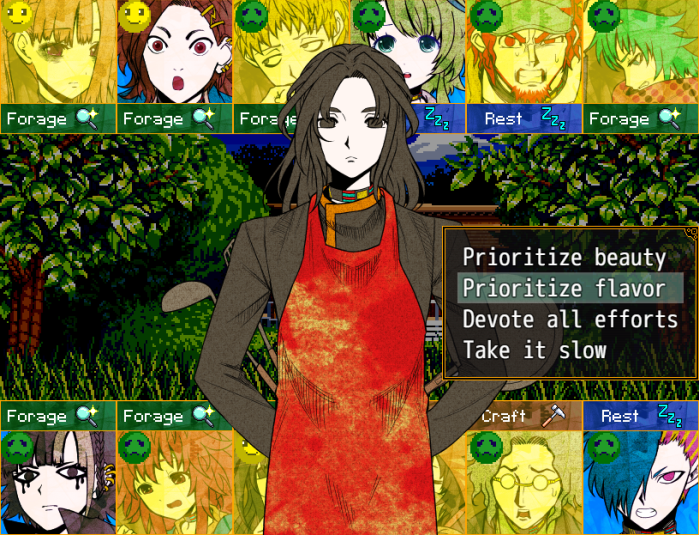
- As mentioned above, the number of times Kai can cook depends on the quality of the ingredient, for a maximum of ten times. Taking the “beauty”, “flavour” or “all effort” options reduces Kai's concentration – “beauty” reduces it between 25 – 55%, “flavour” reduces it between 30-60%, and “all effort” reduces it between 30-95%. If Kai's concentration is reduced to zero, he'll take damage, and his concentration will be restored to 100%, unless Kai is at red health, in which case, Kai will refuse to continue cooking, even he still has some cooking actions left. The “take it slow” option allows Kai to restore between 10-25% concentration. The amount of concentration Kai loses during cooking, and the amount he regains by taking it slow is determined by Kai's combined foraging and fighting score.

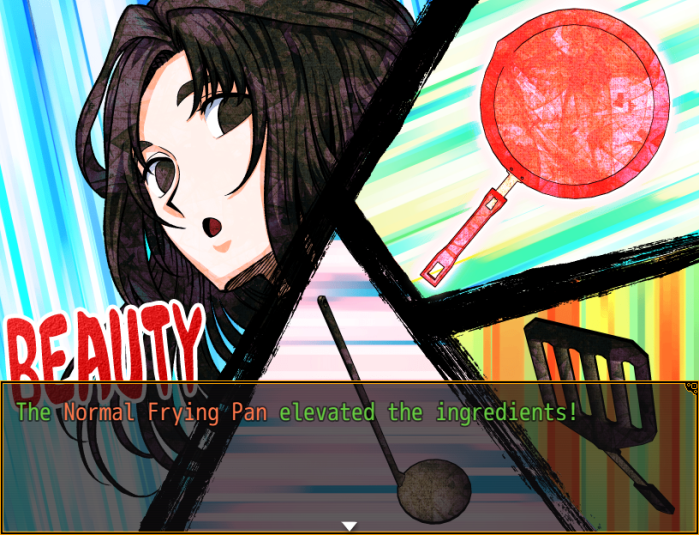
- I opt for “beauty” since all three judges have high standards for that. The meal has a base score for appearance and flavour. When an action is chosen, a random value is added that determines how well Kai will do at said action. Additional points, based on Kai's crafting score are added to the random value. There is a random chance of one or more utensils activating, which will also add bonus points.
The total random value is then partially allocated to appearance and flavour depending on the action chosen - “beauty” adds 50% of the random value to appearance and 25% to flavour, “flavour” adds 55% to flavour and 20% to appearance, “all effort” adds 65% to both appearance and flavour and “take it slow” adds 10% to both appearance and flavour.

- Kai's currently at yellow health, so it won't be too much of an issue if his concentration drops to 0 – however, that would mean that he'd have to rest after the competition, and I'd prefer to avoid that.


- With quite a bit of concentration restored, I try to improve both appearance and flavour.


- It pays off, with Kai having a fairly good result. The downside is Kai's concentration takes another hit, so I have him take it slow again to regain more concentration.


- Going for appearance again...


[/i][/list][*]And took it slowly again, with little reward.[/i][/list]


- For the last action, I take a risk, and work on the flavour, luckily Kai's concentration only drops a little, avoiding damage.
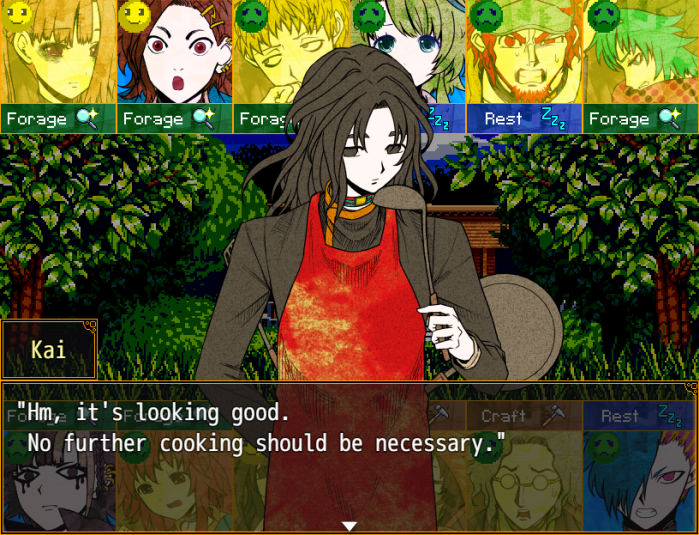
 "Now we just wait for judging... Exciting."
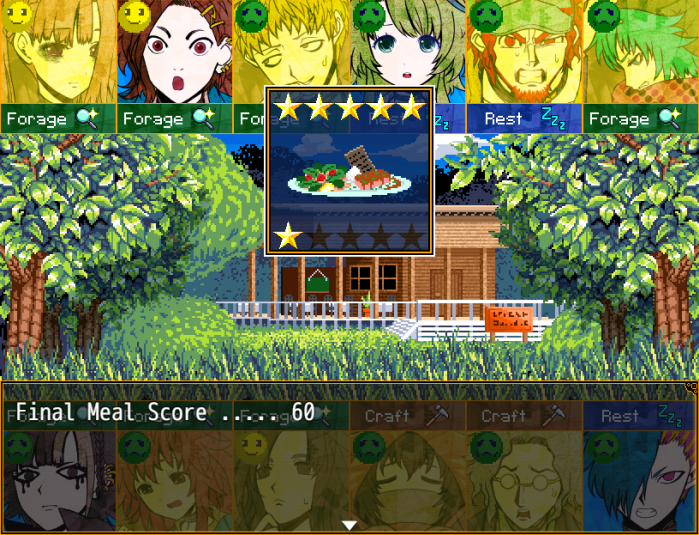
 "I've been waiting! You're confident in it, right?!" "I never present a meal I'm not confident in. Please, give it a taste." "Whoaaa...! This guy! This guy's capable!!" "Then I've got no worries... Here goes!!" "Alright, let's start with how it looks..."
 "It looks pretty normal. I was worried you'd present something weirder..." "Well! Now for how it tastes..." "Huh, it's kind of average. Not too different from what I normally have at home..." "I'll go second." "I made sure to use plenty of vegetables." "I'm glad... Did you aim to match my tastes?" "Well then, let's start with appearance..." "It's surprisingly normal. I assume you played it safe instead of getting weird?" "Well, let's see how it tastes..." "Mm! It's delicious! You know, I like this meal!" "I'm up last."
 "First off, the appearance..." "Hmm... Pretty standard. Not exciting, but not disappointing either..." "Now for the taste..." "Hmm, it's so-so. Not that good or bad... just an ordinary meal."
- Individually, Ranmaru is probably the toughest judge, having high standards for both appearance and flavour and no favourite ingredient. Anzu also has high standards for both appearance and flavour, but she likes seafood. Hayasaka and Mai both like vegetables and have the highest standards for appearance. Hayasaka has the lowest standard for flavour, Mai has slightly higher, but still low standards for flavour. Hinako and Kurumada both like meat (Kurumada will give double bonus points if you serve meat, but will subtract points if you use anything other than meat – with the rest of the judges, you just miss out on bonus points if you don't use their favourite ingredient). Hinako has medium standards for appearance and high standards for flavour, Kurumada has the lowest standards for appearance and the highest standards for flavour.
Bonus points are mainly applied to flavour, only a small number of bonus points go towards appearance.
 "Hmm... Will this meal really work out? It feels like an even gamble... "You'll surely be the most famous restaurant on the island." "I... If you say so, Kai, then I'm sure it'll be fine..." "I'll do my best to recreate this flavor!"
 "Right... It's important to believe." "Well then, here. ...The reward I promised."
 "Good for you. You can blow your nose on it." "...Thank you very much."
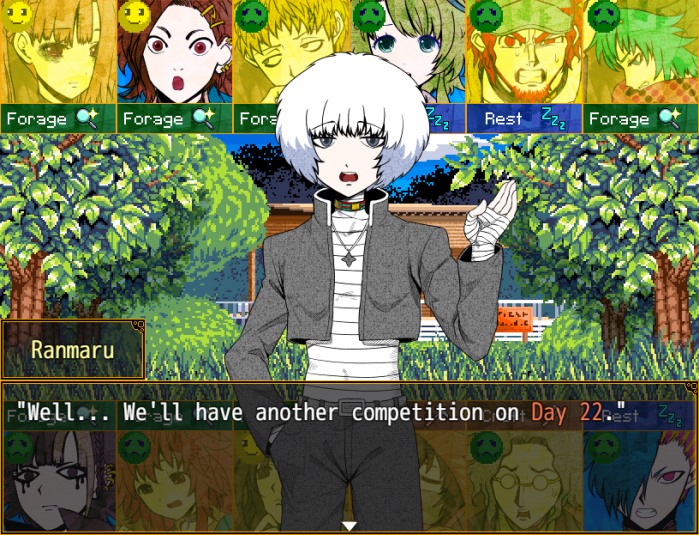 "...Was this one not sufficient?" "A single meal can't last forever, right? The customers'll get bored." "True... Very well. I will return here on Day 22." "Right, counting on ya."
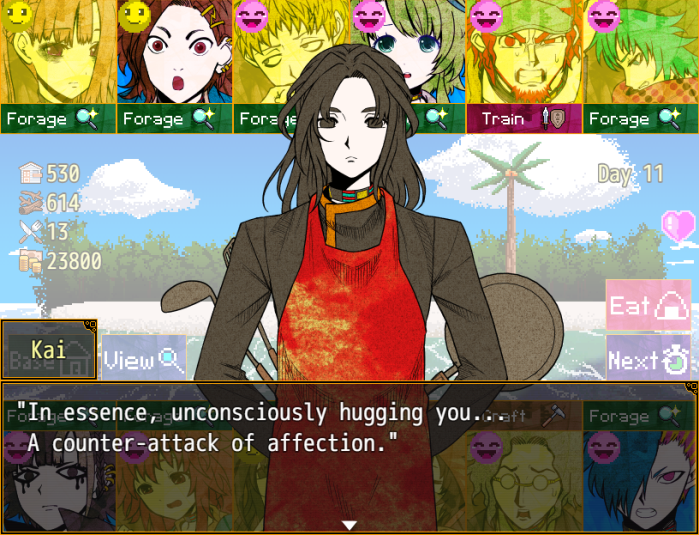
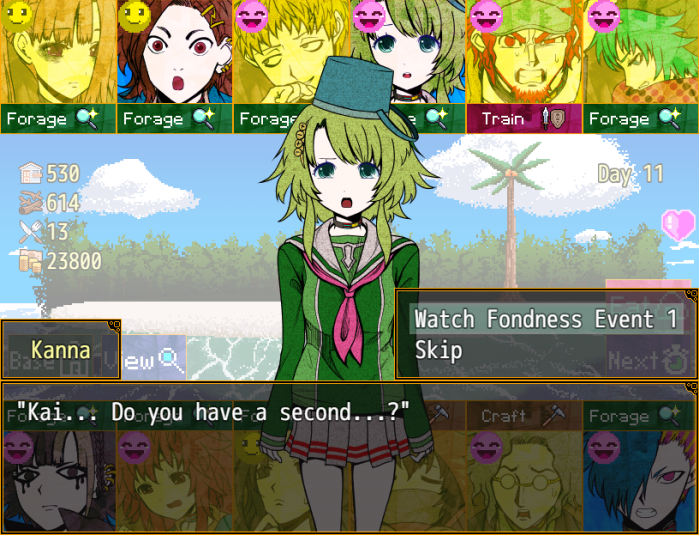 "Miss Kanna. What's the matter?" "U-Um... err... excuse me!" "...? Er, miss Kanna, why are you running over here so..."
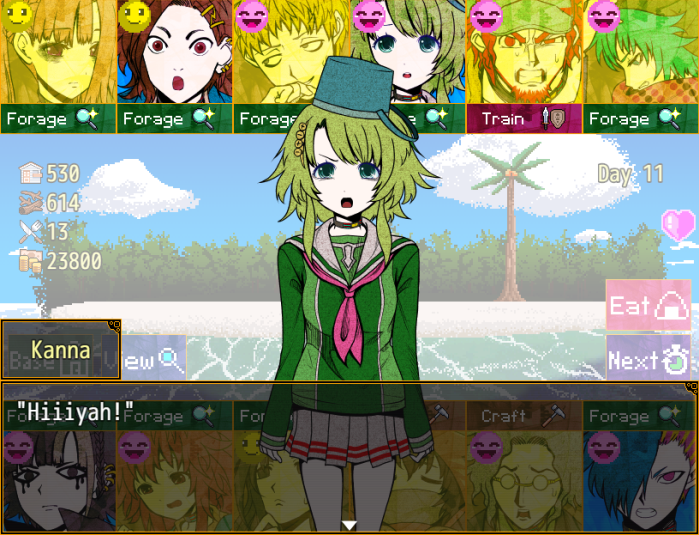
 "…" "...Ah!" "Are you all right?"
 "S-Sure enough...! It was true!" "...?" "It's flat! Maybe Kai is a man, then..." "...You wanted to verify?" "Um, sorry to test like that..."
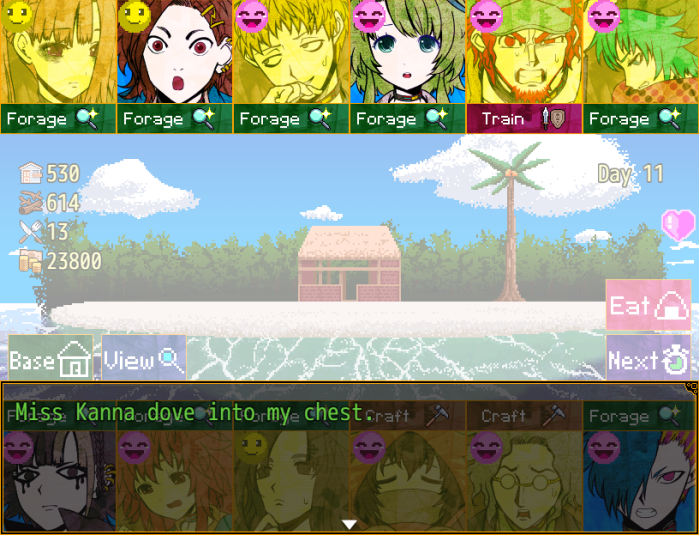
 "Kanna... couldn't really believe it. That someone so pretty was... I mean..." "I'm not mad in the least. When living with others, it's natural to want to clear up any doubts." "However, if you suddenly tackle me... you do risk me counter-attacking by second nature." "C-Counter-attacking...? Why do you have a habit of that?"
 "Ohh, huh! Kanna's glad!"
 "Go ahead!" "Oh my..."
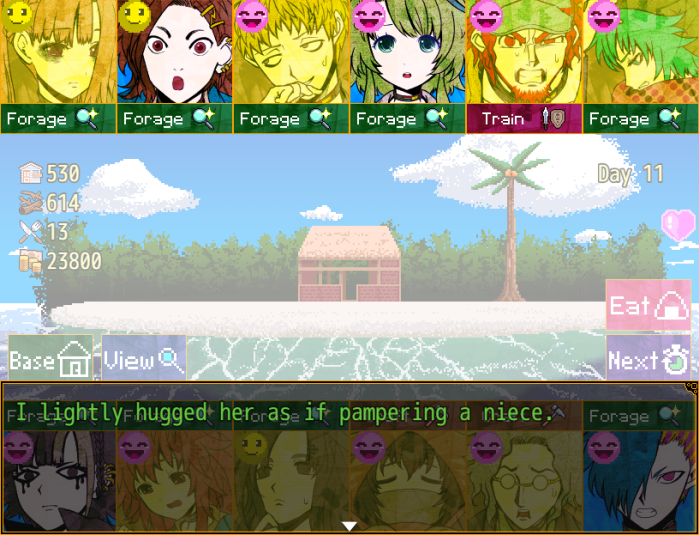 "Eheheh! You really are like a mom!" "...As a reminder, I am a man." "Ah! Yes, right!"
 "T-Then, that means Kanna just... Waaah..."
 "P-Please don't tell anyone, okay? It's embarrassing!" "She appeared like a storm, and left the same way..."
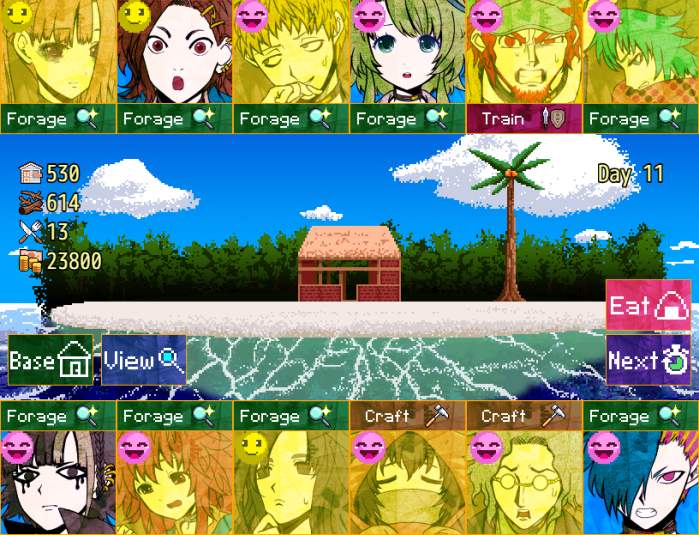
- Day 11 results:
Found 4,400 yen.
Found 3,700 yen.
Found 34 material.
Found 2,600 yen.
Trained successfully.
 Injured.
Found 24 material.
Failed, but avoided injury.
Found 3 food.
Injured.
Increased base points by 27.
Found 2,500 yen.
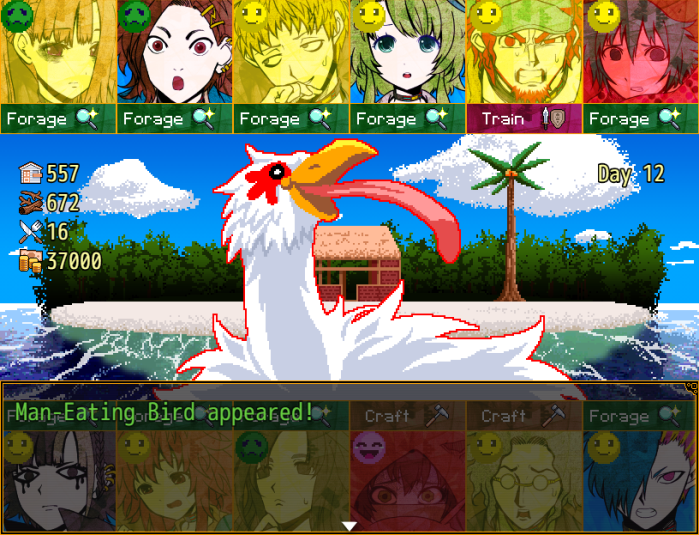
 "Mwahaha... It's survival of the fittest here. It'll surely make good food if we beat it." "What do we do...? Once we start a fight, I doubt we can get away."
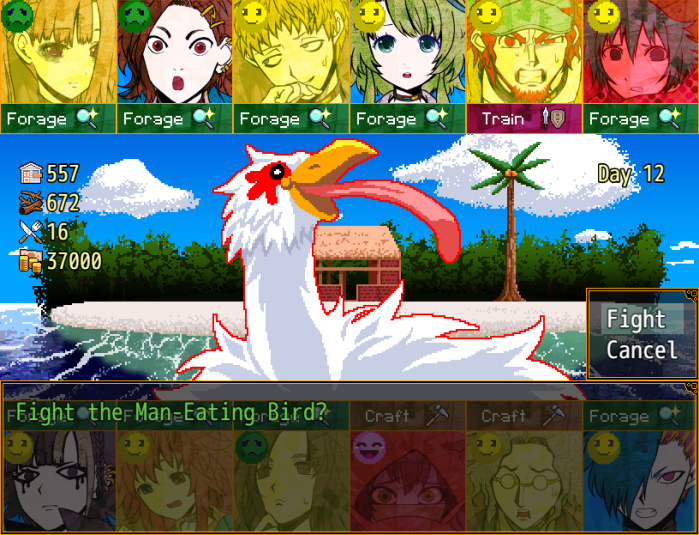
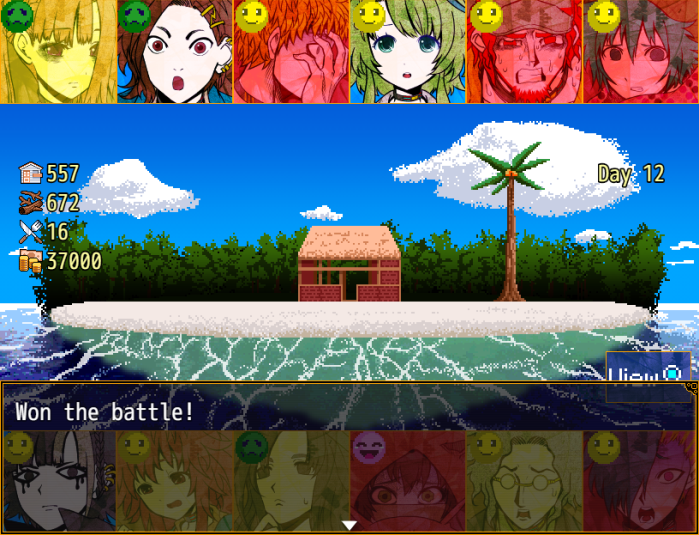
 "Our efforts were worthwhile."
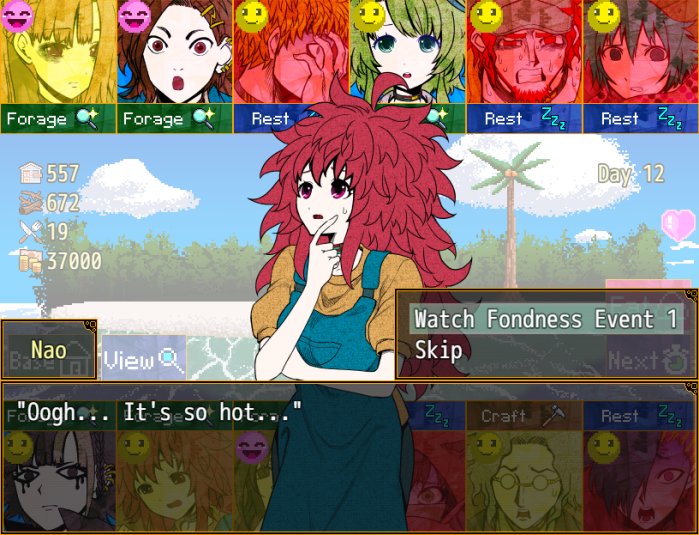 "Be sure to drink water and rest."
 "Hyah?! Kai...!" "...Ah, did I startle you?"
 "S-Sorry. Somehow I just didn't notice you at all...!" "I dedicate myself to not making audible footsteps."
 "Whaa...?! That's scary!! Why do you do that...?!" "To get in the mindset of a homemaker." "I-Is that so...?! Then maybe I'm not cut out to be a homemaker..." "You'd be fine, I'm sure. Miss Nao, are you aiming to become a painter?"
 "Y-Yes... But, only a very small number of people are able to make it as painters..." "Even at college... some students are just bursting with individuality. Seeing them makes me feel like I'm just..." "Hm... I feel you show great individuality even just in your appearance, Miss Nao." "...You don't have to be considerate. I know I'm clearly just average all around..." "I wasn't trying to be considerate..."
 "Every time I feel like giving in, I call people, go meet people... I'm always relying on others..." "But..."
 "Still, if I had the chance to do a job involving art... I'd do whatever I had to!"
 "Because I believe in it! ...Eheh!" "What fantastic conviction... Those feelings will surely allow you to do anything."
 "Eheheh... I'm just echoing someone else's words, though!" "How did you end up on your current path, Kai...?" "Me?" "Hm... I was born into it, I suppose."
 "B-Born into it...?" "Indeed. I did not have the kind of family where I could choose what I wanted to become." "I received intense training... Had all kinds of techniques drilled into me... Trained mentally in endurance and restraint..." "Whaaa...?! Techniques... You mean, like cooking?!"
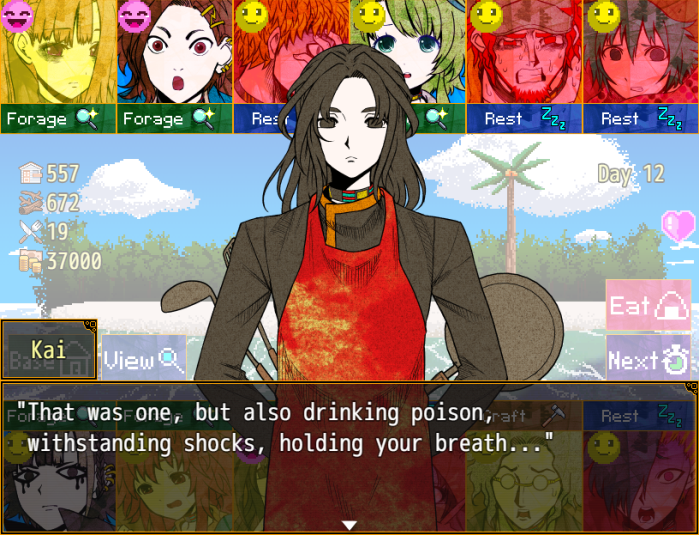 "I-Is... is it that rigorous being a homemaker?!"
 "I'm not finding anything to fondly laugh about!!" "Well, now that you know this, I cannot allow your safe return."
 "Hyaaaaah!! Please don't erase meeeee!!" "It was a joke..."
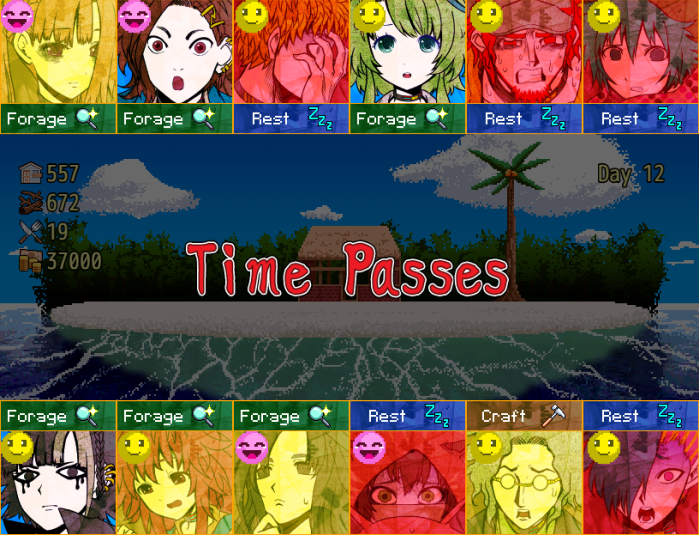
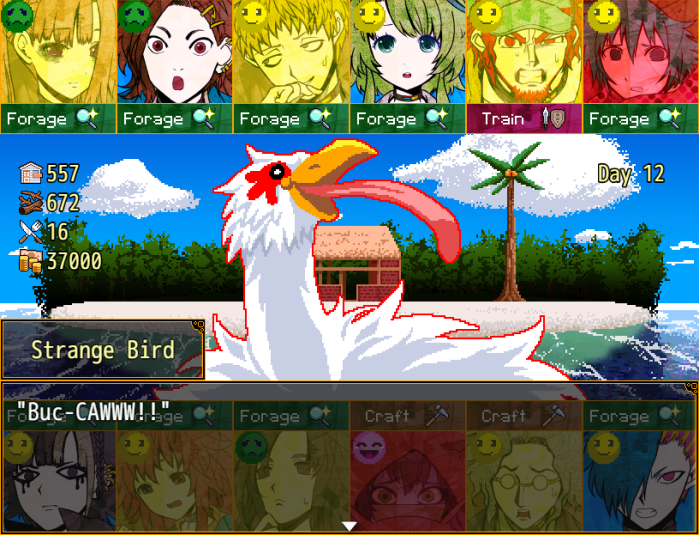
- Day 12 results:
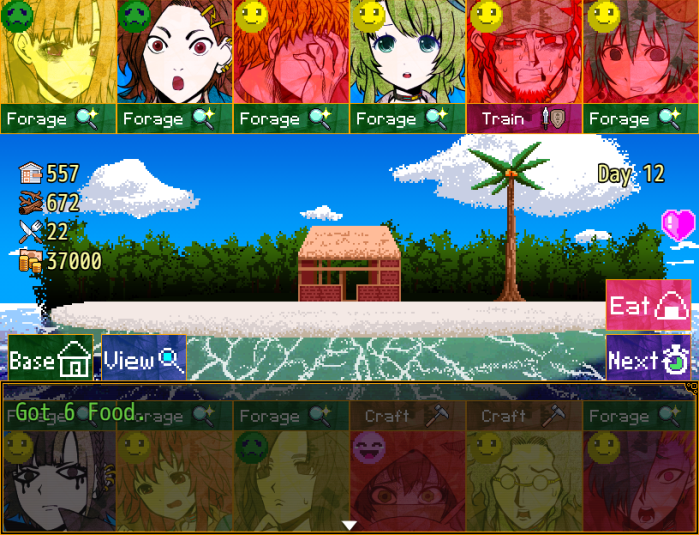
Found 42 material and 5 food.
Failed, but avoided injury.
Health fully recovered.
Found 3 food.
Health fully recovered.
Health restored by one stage.
Found 2,900 yen.
Found 3,000 yen.
Failed, but avoided injury.
Health restored by one stage.
Increased base points by 29.
Health fully recovered.
Music stops.
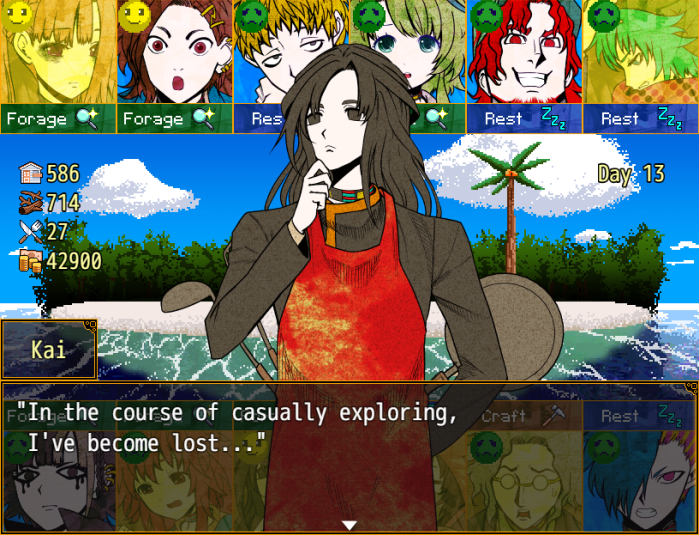
"Hm...? What could that over there be?"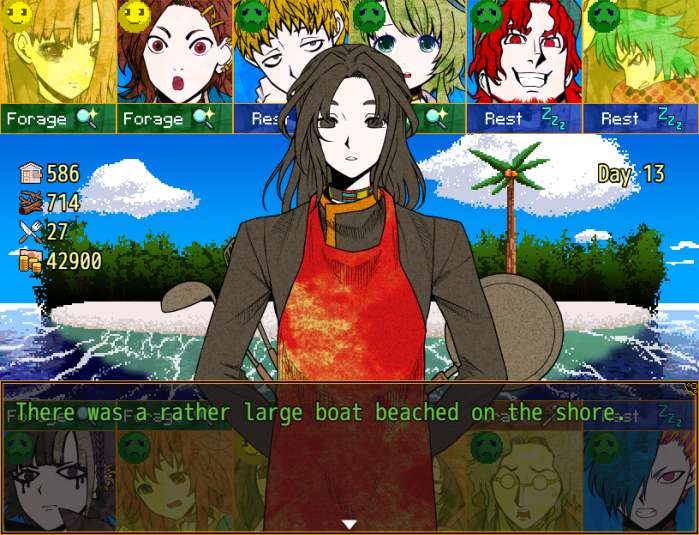 "Now what have we here? It's all but screaming "use me to escape.""
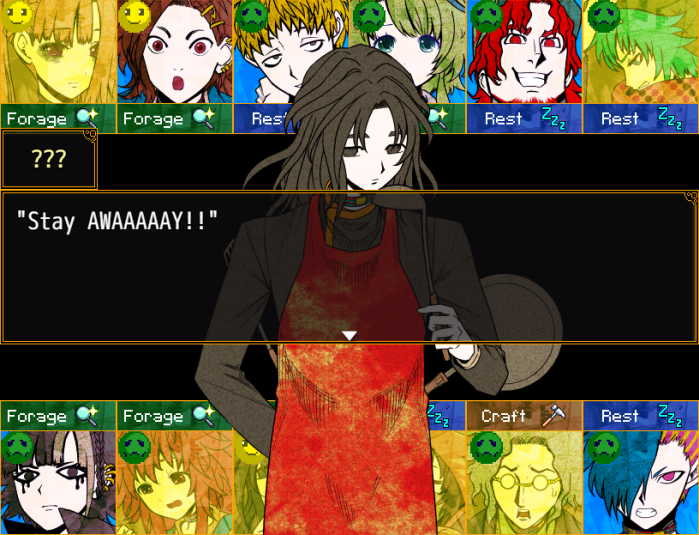
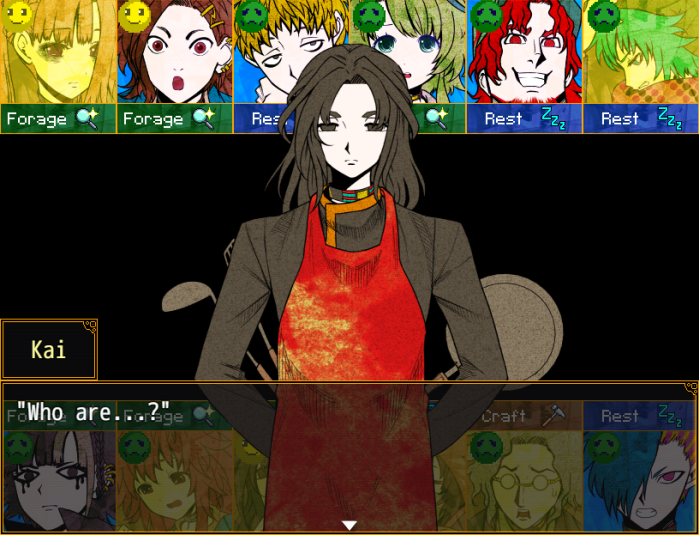

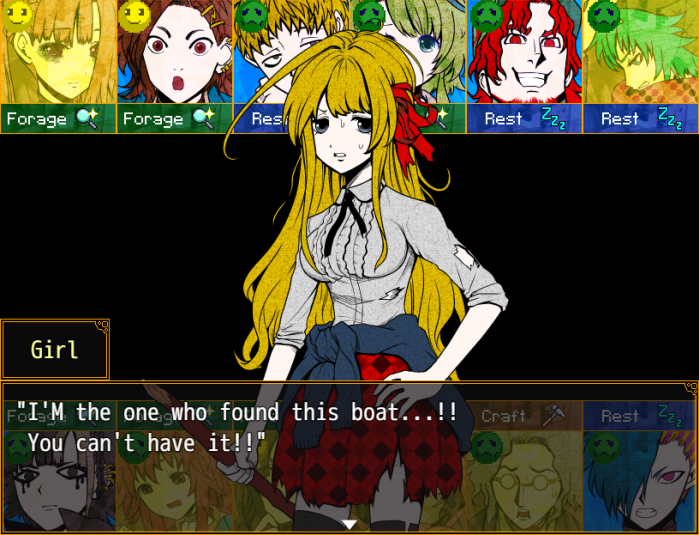 "...A girl?"
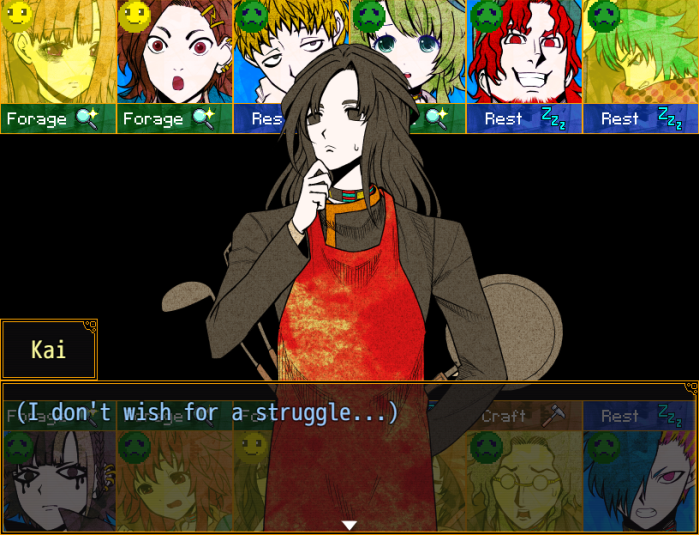
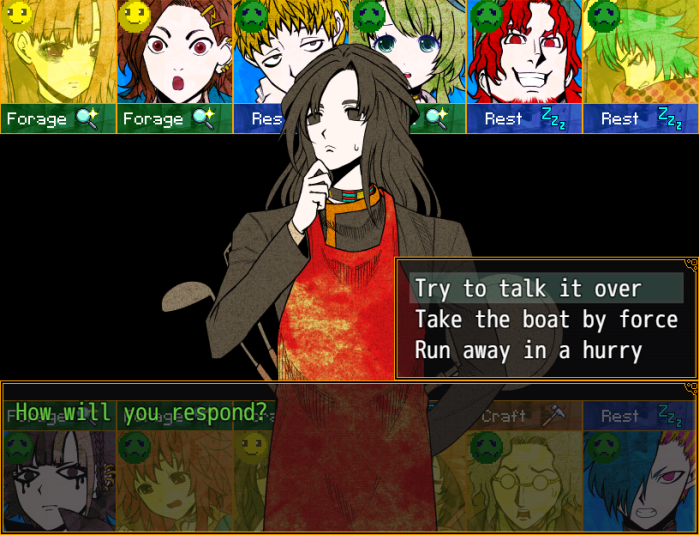
- If you pick the second option, Kai, like Mishima kills Touko, promptly forgets about her, checks the boat and realises that it's too damaged to use without repairs from a specialist.
"Could we talk? I have no intention of harming you." "S... Shut up!! Forget everything you saw and beat it!!" "Either way, one of my allies will soon take notice. It is futile."
Music stops.
 "N... No way... Please... Don't take my boat... I need it to get home..." "It would seem you, too, came to this island unwantedly."
 "Well, obviously I didn't wanna come here..."
 "I'm Touko Rikuno, a college student. I'm here all on my own..." "On your own... Does the boat not work?" "It's broken in places, and missing parts. If only it worked, I could probably sail it..." (Perhaps our material stores would contain usable parts... Should I hand some over?)
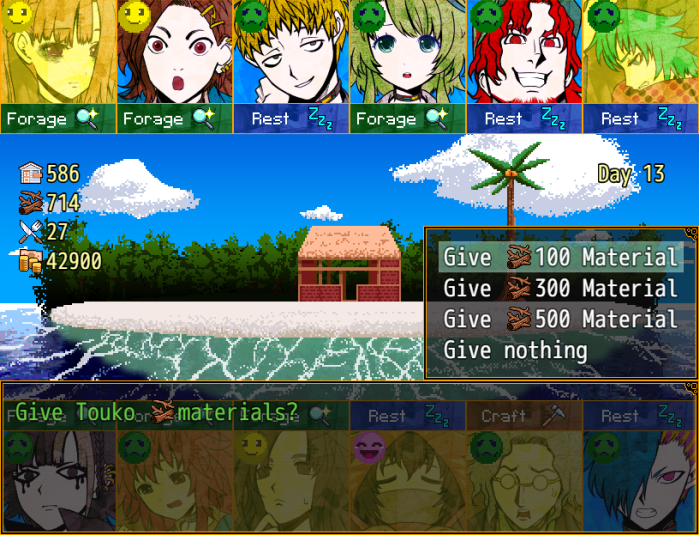
Music stops.
"W... What's the meaning of this?! You're giving this to me?! "Yes, in the spirit of cooperation. Though I leave its use up to you." "I... I'll take it, but... It's not as if I trust you or anything!"
 "If you're thinking you'll creep up on me and steal my boat the second I fix it... I'm gonna take you down with me!" (Her toughness reminds me a bit of Miss Sara...) "...Here. Take this."
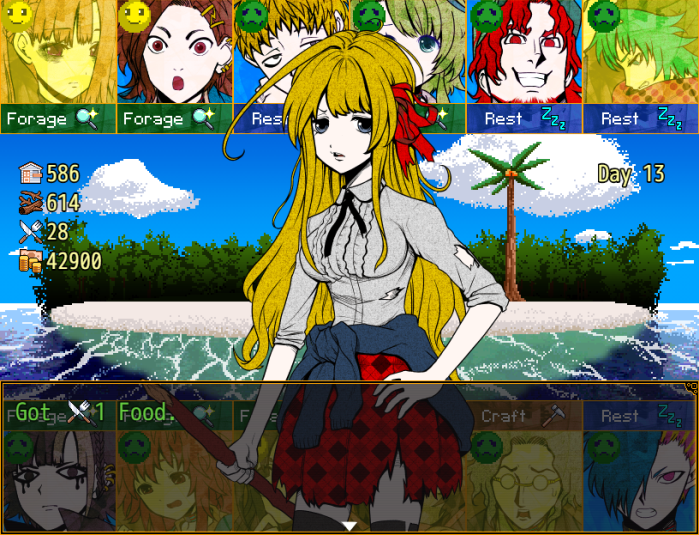 "If you come back here, you better come alone... And as thanks, I won't take your life..."
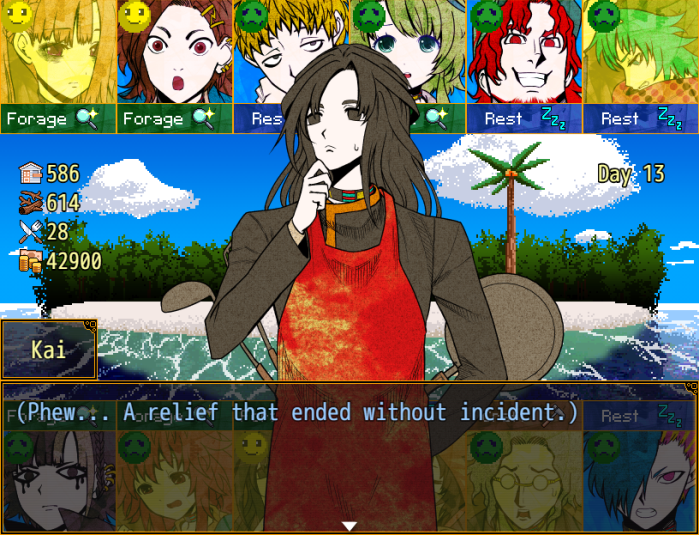
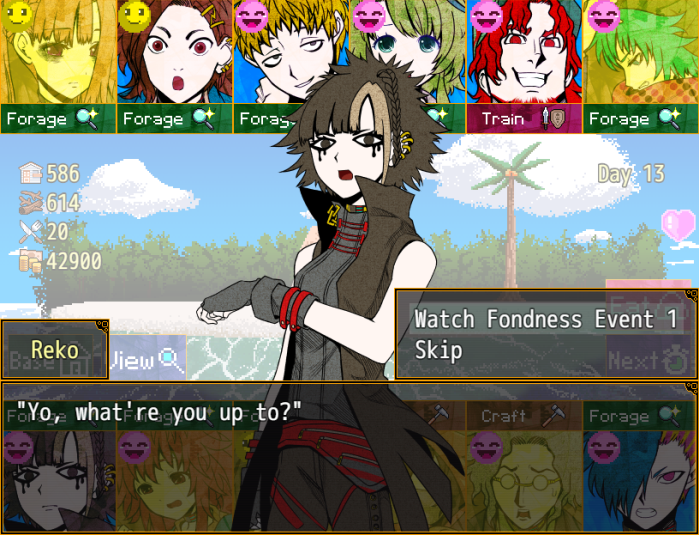 "Miss Reko. May I ask the same of you?"
 "Foraging, duh. Not like I'd go strolling around to kill time in this heat, right?" "I was going for a relaxing stroll, myself..." "You slackin' off?! What the hell, man!!" "Hm, true..." "It simply shouldn't be that I'm slacking off and yet you're working, Miss Reko."
 "Yeah, that's... uhh...? Huh?" "You should slack off to match me." "Why the shit should I do that?!" "Please don't kick sand at me." "Don't just sit down!! Help me forage!!" "No, Miss Reko, please sit down with me." "W-Why should I have to sit with you?! I'll kick your ass!!" "Hmm... understood. Then at least allow me to offer you a story to cool you down." "To cool me down?" "Indeed. Summer is the time for ghost stories. Let us cool off with stories that give us chills."
 "G-Ghost... stories...?!"
 "Q-Quit it, Kai! Ain't no point to that, and I don't care!" "That is only because you have not experienced the sublime heights of terror."
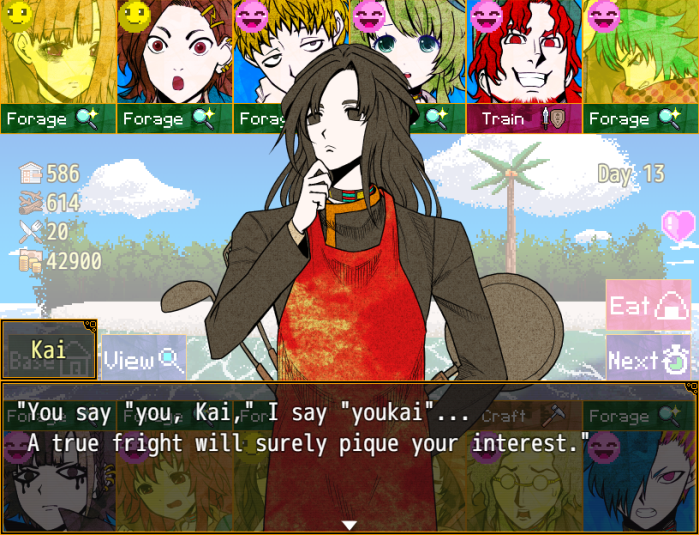 "S-Stop it! Don't get serious about it!! I'm sorry for sayin' I didn't care!" "Which is to say, you're deeply interested...?" "Hell nooo!! I, I... I've gotta go!!"
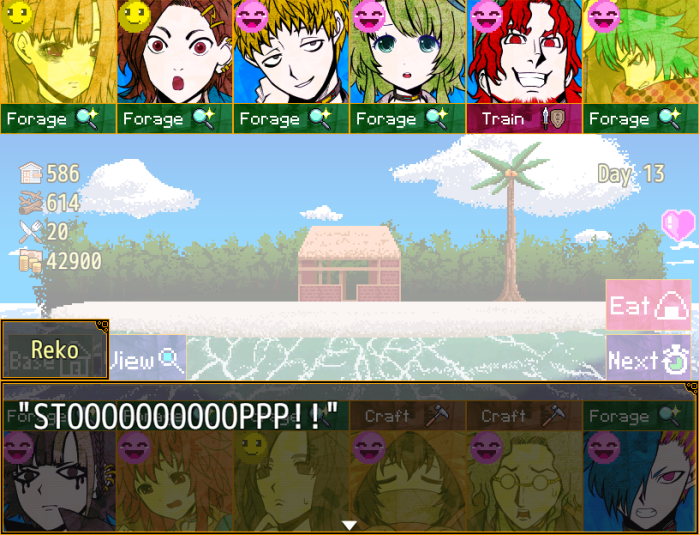 "When the driver looked ahead, there was a man in a red apron standing there..."
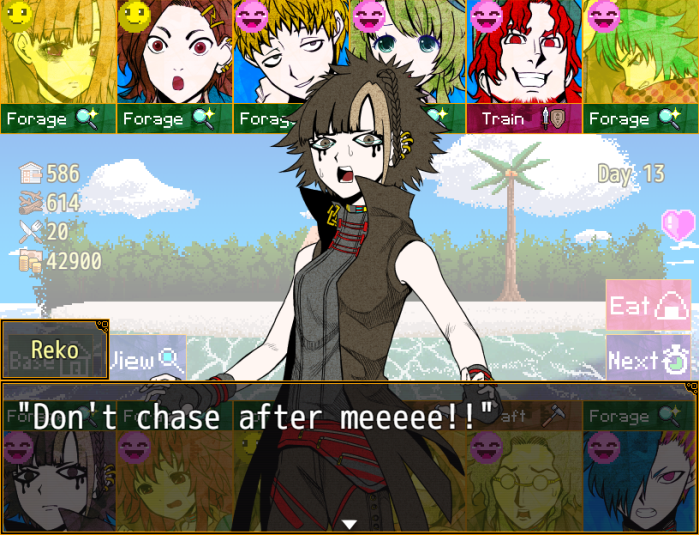
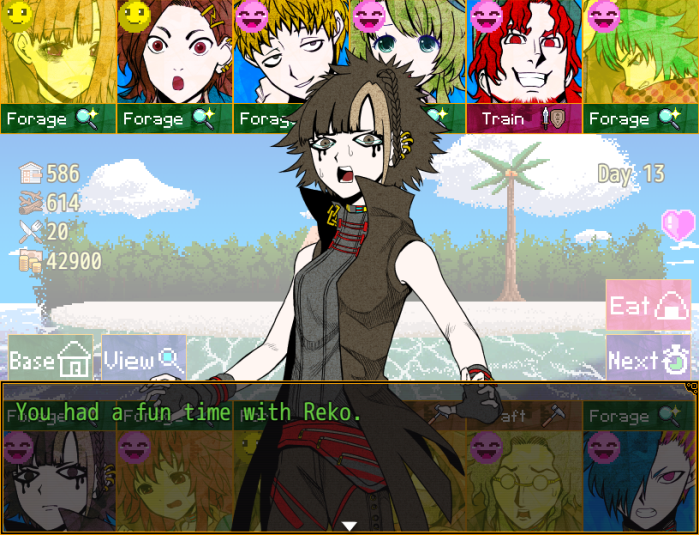
- Day 13 results:
Found 44 material and 5,200 yen.
Found 4 food.
Found 37 material.
Found 3,100 yen.
Trained successfully.
Found 38 material.
Found 31 material.
Found 23 material.
Found 34 material.
Used material to advance base.
Increased base points by 31.
Found 18 material.
 "Ah, the trader miss Safalin." "Yes... I came to sell to you again today..."
 "I... I'll stock up and come back again... Please keep this a secret...
 "...I don't get the sense this is an ordinary chat." "Oh yeah? This is kinda just how a policeman's gotta act..." "Policeman, you say... That's already dubious." "Then are you really just an ordinary homemaker, Kai?" ".........." ".........." "...We don't appear to have a conversation going."
 "Seems we've both got lines to not be crossed." "Then how about this? We each answer one question from the other." "Feels kinda insipid... Like an interview." "Let's use the rule "it's okay to lie."" "...Is there a point, then?" "Wahah... Anything'll do if it lets us have a fun talk." "Then I will go first..." "Please... tell me your real identity." "A criminal..." "…" "And your question?"
 "Huh? You're not surprised?" "Indeed, since lies are allowed." "Ah, gotcha. Well..." "Are you... a good person, or a villain?" "...A villain, perhaps." "…" "Haha! Well, that puts me at ease." "Do you feel like arresting me?" "Not sure... Not really feeling the urge yet." "But it's piqued my interest, alright." ".........."
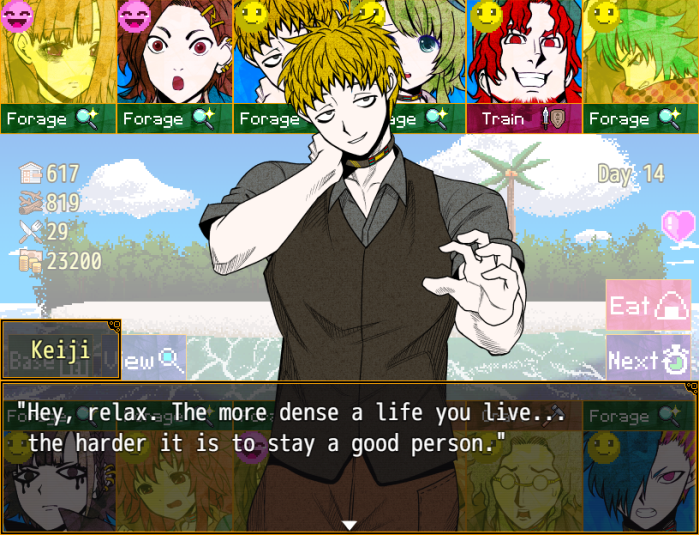 "That means for better or worse, your life's not a flimsy one." ".........." "...I see. This is an interesting rule." "Right? I'm pretty fond of it." "...However, I'd like to talk a bit more peacefully next time." "Okie-dokie, Mr. Villain... Next time, then."
- Day 14 results:
Found 4,800 yen.
Found 35 material.
Found 41 material.
Found 2,800 yen.
Trained successfully.
Found 38 material.
Found 34 material.
Found 27 material.
Found 3,500 yen.
Increased base points by 23.
Increased base points by 35.
Found 2 food.

 "Don't give me that!! Who's going to flirt with you, huh?!" "Then is this a mugging...? Intending to rob me of the shells I collected?" "Who wants that?! What are you even gathering those things for?!" "To connect them into a necklace, naturally."
 "Are you a child...?! What decent adult would do such a thing?!" "I've actually finished one already. Will you try it on?" "Hm...?! Me...?!" "Indeed. No one will see you right now." "Y... You...!!" "The design... is pretty good, hmm?!" "Of course. With shells, I always shell out." "These here are shells I can show with confidence."
 "What do you think?"
 "Thank you very much." "Hey, you! How much? How much must I pay...?!" "Ah, this isn't for sale." "It is to be used for concentrating your mind... A uniform of sorts for meditation." "Hmph... Meditation...?" "Please watch..."
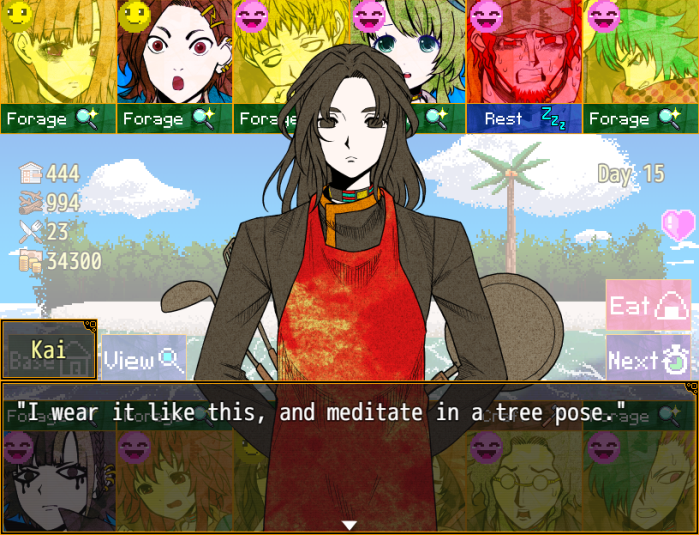
 ".........." "...Well, fine. I understand how it's done... Now lend that to me." ".........." "…"
 "...Ahem. Kai Satou...?" ".........."
 ".........." "After you said you'd lend me it...!!" "Enough!! I won't forget this, Kai Satou...!" "I'll absolutely make you regret not lending that to me!!" ".........." "...Urk... It's effective..."
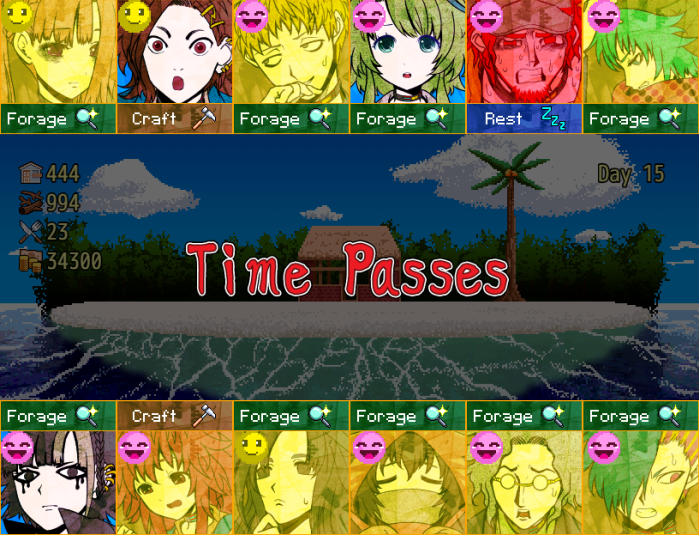
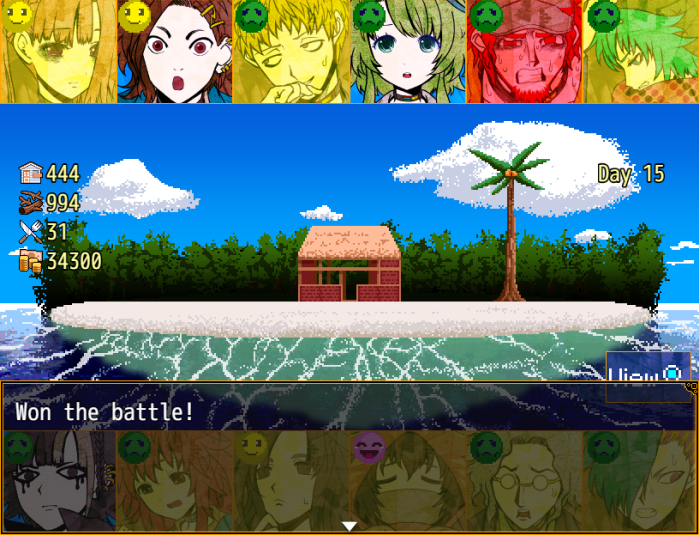
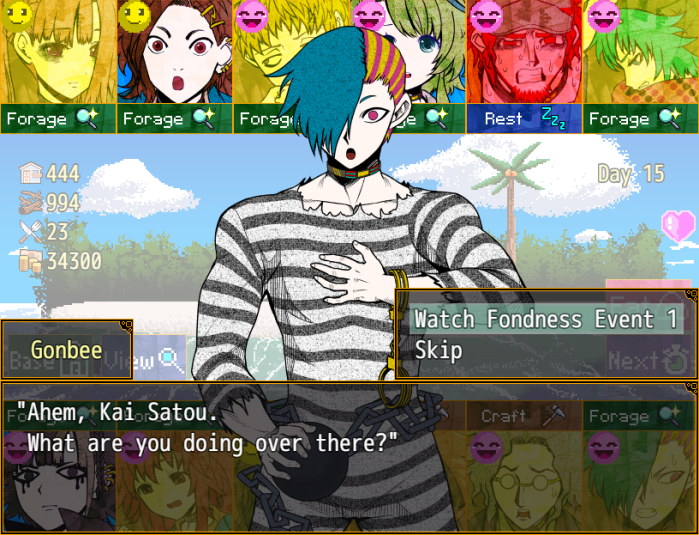
- Day 15 results:
Found 87 material.
Increased base points by 25.
Found 4 food.
Found 27 material.
Health restored by one stage.
Failed, but avoided danger.
Found 4 food.
Increased base points by 41.
 Injured.
Injured.
Injured.
Found 21 material.
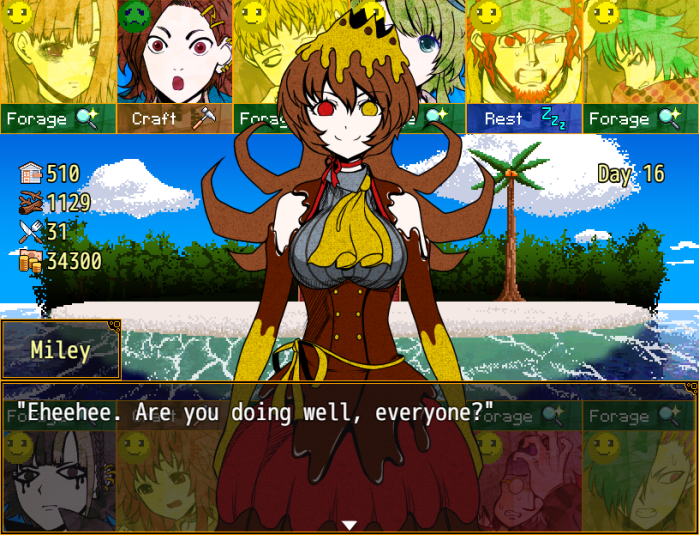 "What'd you come back for?! Use your eyes, dumbass! We're still kickin' it!!" "Eheehee. You say you're doing just fine...?" "You ought to take a careful look. Do you know how many of you there are?" "As if I would forget. There are 12 of us. Just as when we arrived on the island." "Ahhh... Is that a fact?" "You said that with such a knowing smile, woof!! What's that about?! Stop it, meow!!" "I suppose it's about time I told you about this island..." "Eh...?" "There is a terrifying curse cast on this Isle of Memories." "A curse...?" "A curse of memory erasure." "Those who lose their lives on this island have their existence forgotten by all." "Ahaha, isn't it frightful? If an old friend who was with you until yesterday died, you'd completely forget they existed." "W-We're all helping each other! We just... have to not let anyone die...!" "Then again... perhaps many have already died, and you've simply forgotten? Eheehee..."
 "...!!" "You're free to not believe me, of course. ...As you wouldn't even know how to be sure." "P-Please, stop it... I don't want to hear that..." "Please give it your all in surviving, so that your existence doesn't vanish."
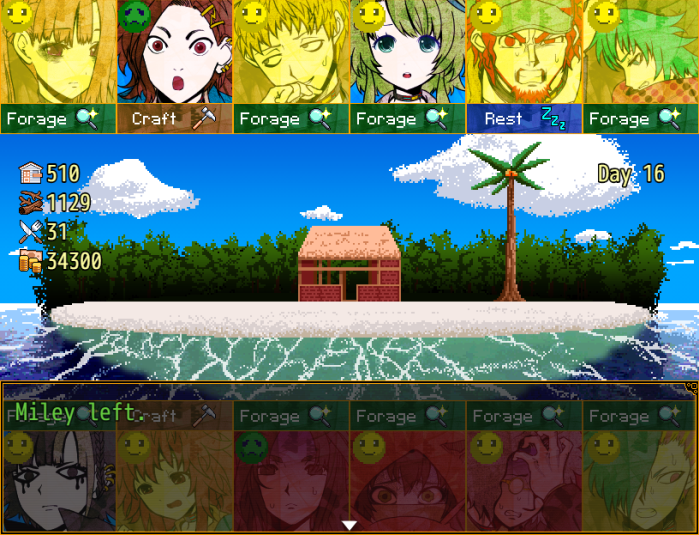
Music stops.
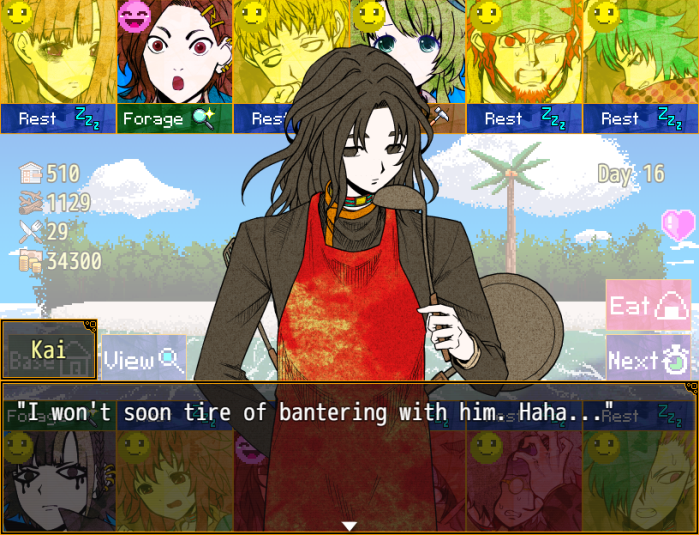
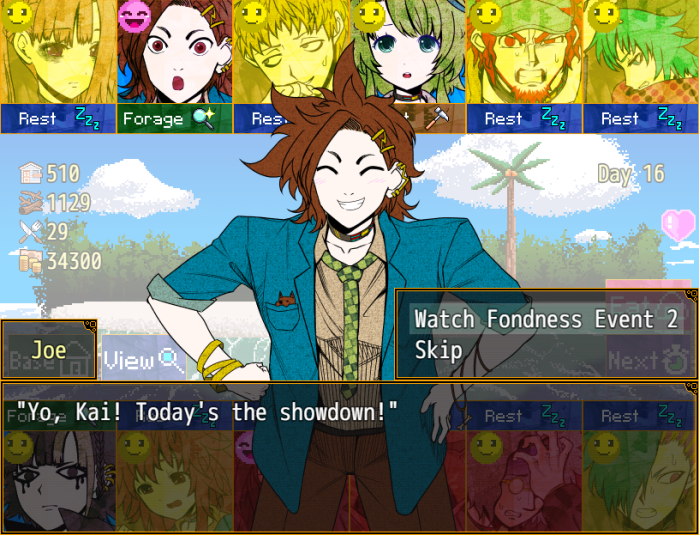 "Hm? Showdown?" "Don't play dumb, will ya?! You're treating me to a kebab!" "Yes, that's right. I shall try to recreate the same flavor as the kebab of your memories." "Heh heh... Show me your skills!" "Then here I go..." "'Course, even making a kebab on this island is..." ".........." "Huh? You're using that branch for cooking...?" ".........." "Whoa! And then doing that for the meat...!" ".........." "Daaang! Talk about talented...!" ".........." "Smells good... Just like when I passed by the kebab place!!" ".........." "A-And finally, giving it a twist...?!" ".........." "It's done...! You really made a kebab!" "*munch, munch*..."
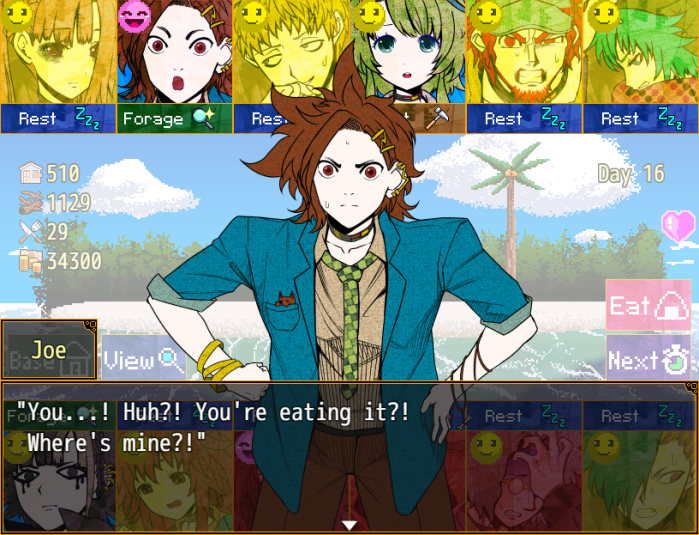 "Ah, right. Here you are." "Yikes! Glad I interrupted the bit!" "Man, this looks good!! Time to eat!" "How is it?" "It's delish! Tastes just like that kebab shop!!" "I imagine so. However, I would take it a step further." "What...?!" "I'll sprinkle this on." "Seasoning...? What'll that do?" ".........."
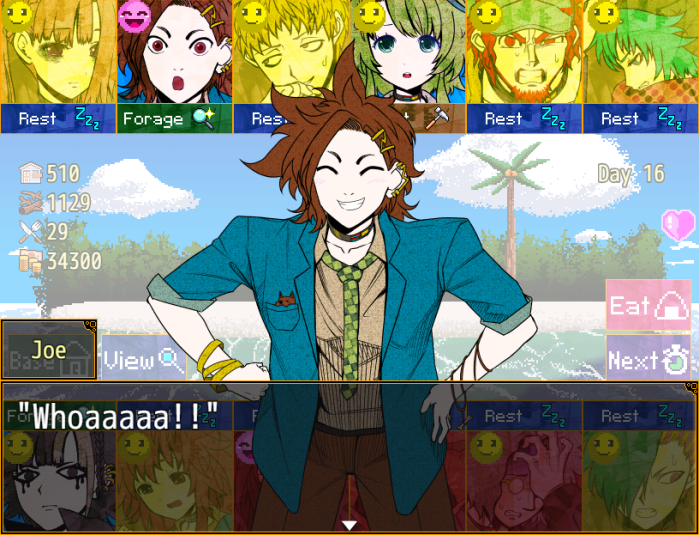
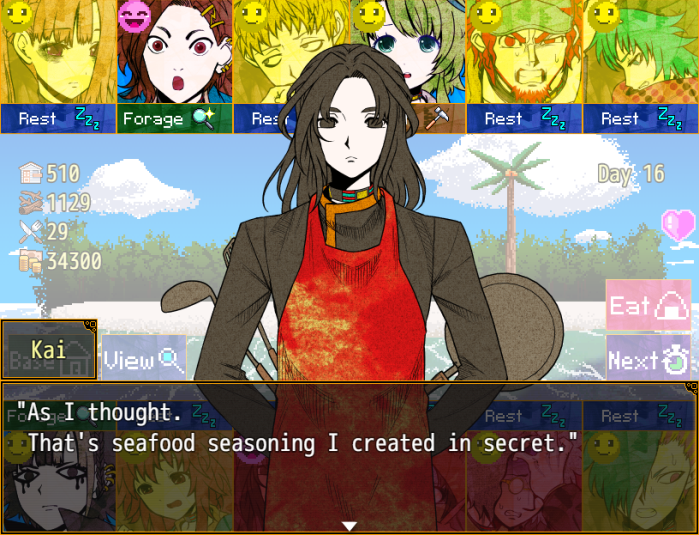 "Seafood seasoning...
 "D... Dang, dude!"
 "Yeah, yeah!" "Then here you are." "Woohoo! Thank you, Kai!!" ".........."
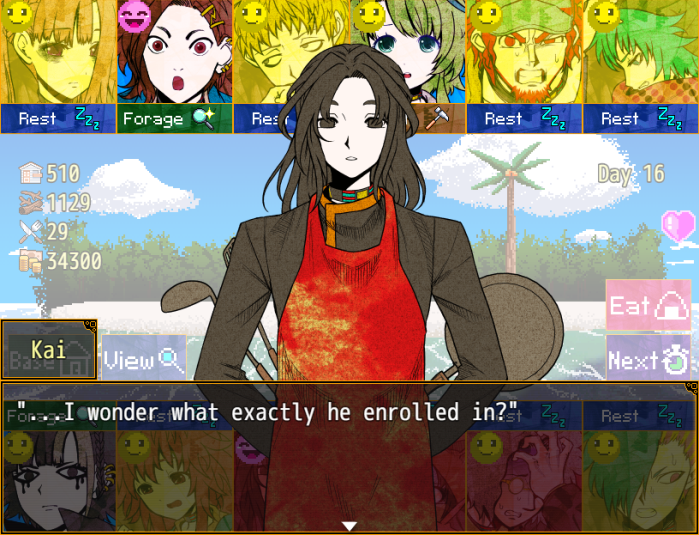
- Day 16 results:
Health restored by one stage.
 Injured.
Health restored by one stage.
Used material to advance base.
Health restored by one stage.
 Health restored by one stage.
Found 36 material.
Health restored by one stage.
Health fully recovered.
Health restored by one stage.
Health restored by one stage.
Health restored by one stage.
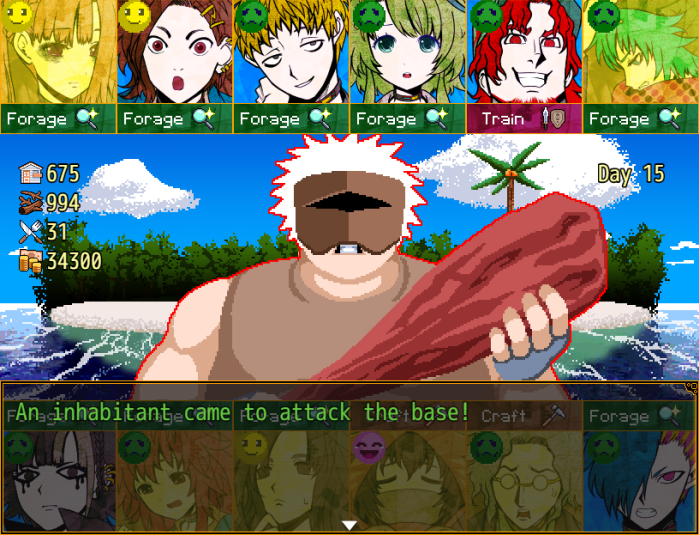
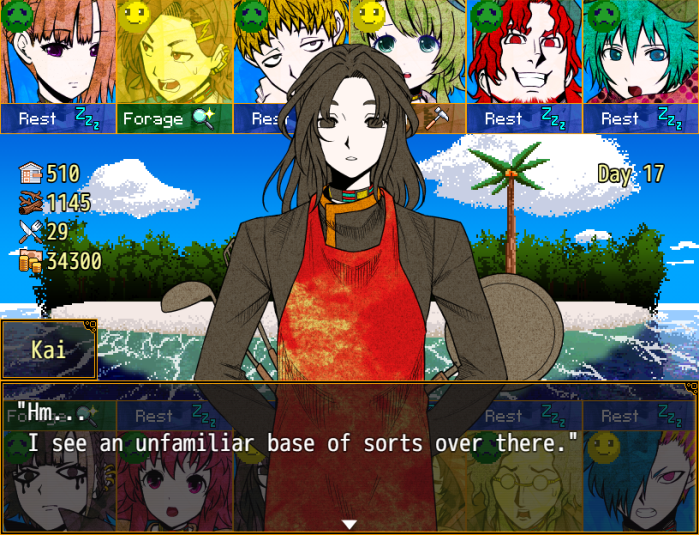 "Is there someone besides us living there...?" "I do hope it's not one of those attackers." "Wahaha... Shouldn't let our guards down, but let's take a looksee inside."
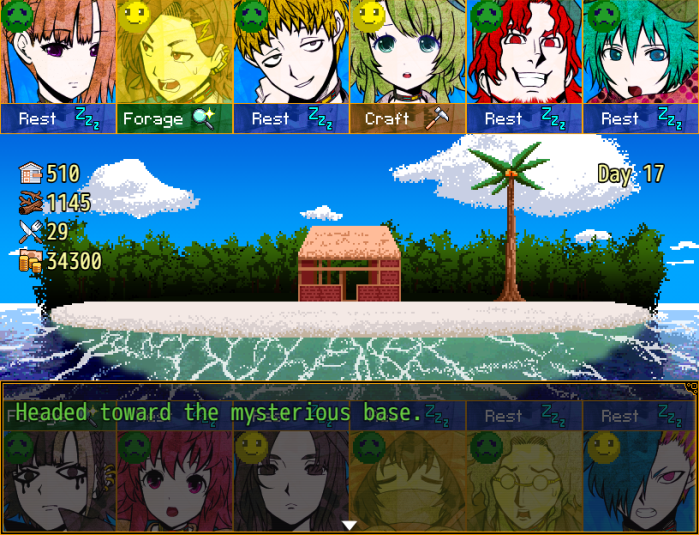 "Hello? Pardon me."
 "Ah! You're...!" "I'm in your debt for before...! So you're still alive... I'm glad." "You're looking healthy and glossy-skinned. Is your injury all right now?"
 "Nah... It's not getting any worse, but it's gonna need a hospital visit."
 "But even if I can't move, I've been hanging on here at my base using the food you gave me, and made a new weapon."
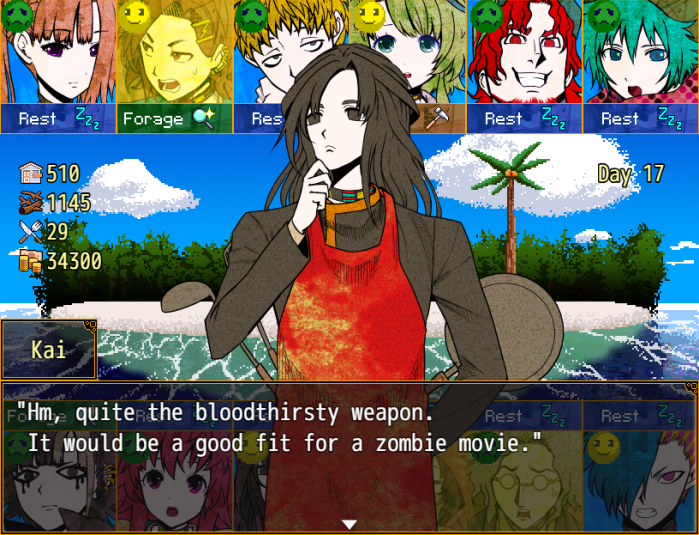 "Used to be an engineer, you see. Never thought it'd come in handy like this..." "I managed to kill one of those weird giant birds... and get my revenge. Oh yeah, I should thank you." "On top of repaying the food you gave me, I'll give you some resources too. And cash, I suppose... I've got no use for it."
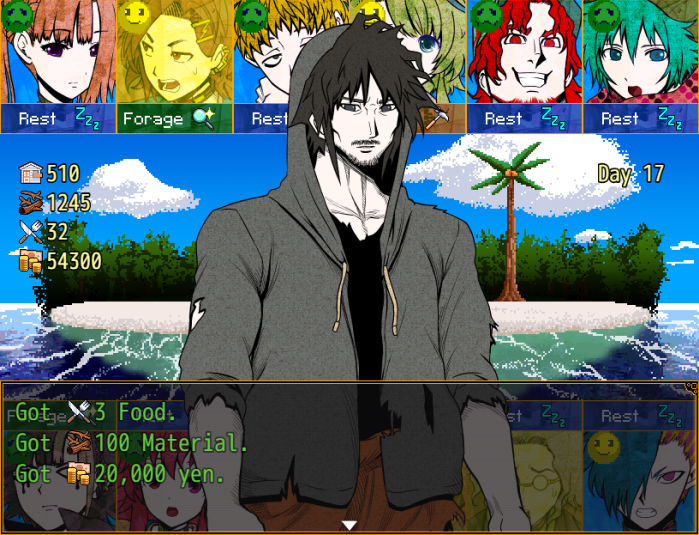 "I'm surprised to be provided this much..." "It's alright. With this weapon, I shouldn't worry for food." "Oh, yeah. And tell me your name." "Ah, I was late to mention. I am Kai Satou. And yourself?"
Music stops.
"I'm Jin Mutou. Come again sometime. We'll survive and leave this island together."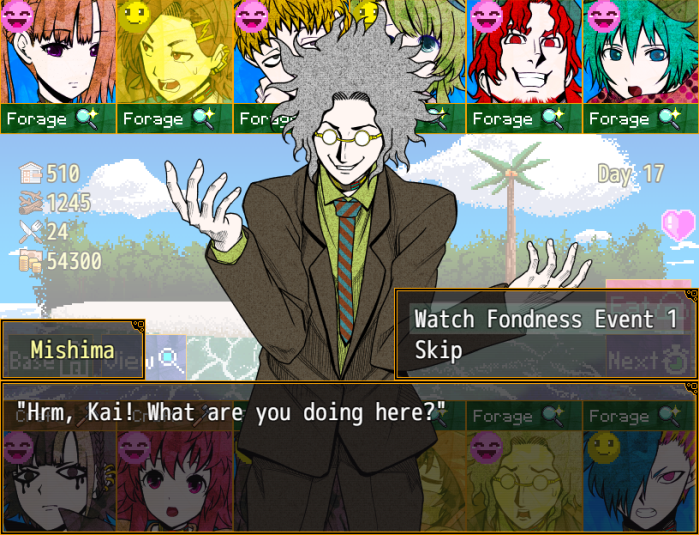 "I was feeling the breeze."
 "Mwahaha... I see. Going by climate alone, this place does feel like a resort..."
 "Times like this are perfect for a smo..." "Smo...?"
 "E-Erm, it's nothing! Indeed." "…" "Oh, Mishima. There's something by your feet." "Hrm...? Where?" "This here..." "Oh... Is this a cigar?" ".........." "Mishima..."
 "...How strange. Whose could this be...!" "Does this not belong to you...?"
 "Oh, I see... Excuse me." "It's truly a mystery! I'll dispose of this...!" "Shall I smoke it?"
 "W-What did you say...?!"
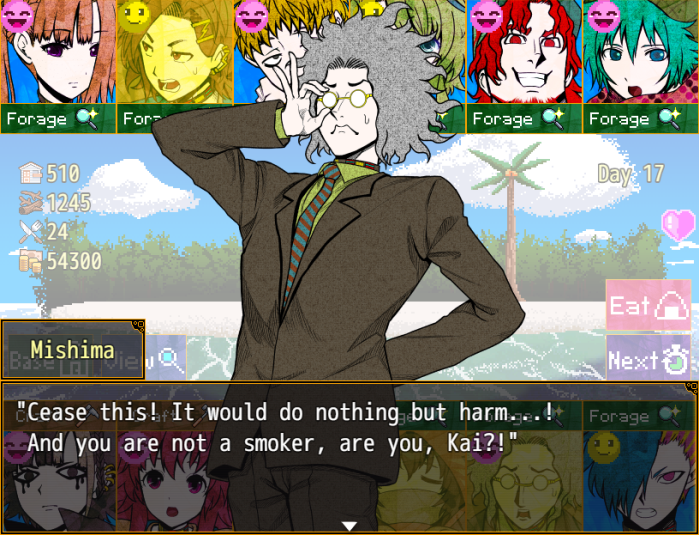
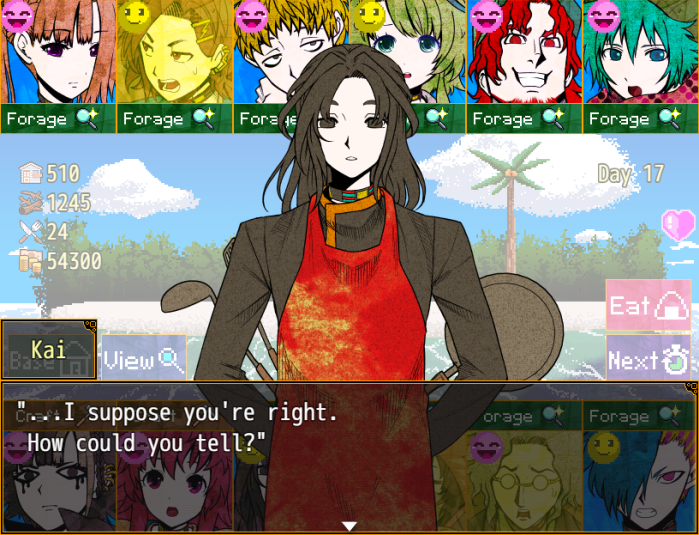
 "J-Just intuition. Indeed...!" "Hm..." "I have no experience with luxuries like this." "In fact, I've hardly experienced much at all in the way of amusements."
 "...A strict household, I take it." "Treating worldly things as a poison to be excised... Perhaps that was how they showed their care for you."
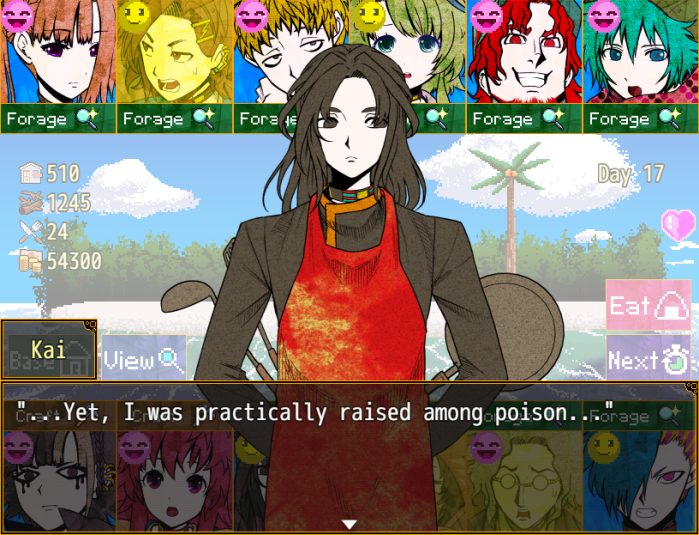
 "A-Ahem...?" "...It's nothing." "At any rate, let us cease such ideas." "Indeed, suppressed children often try to take back their lives once they become adults, but..." "This only has the potential to shorten that life." "There are many more things you can enjoy. I'll take responsibility and prove it." "Why are you taking responsibility for that?" "W-Well, because I'm a teacher...! I have a duty to teach safe ways of having fun." "Now, allow me to throw this thing away already!"
Mishima runs off.
"...How suspicious."
- Day 17 results:
Found 96 material.
Found 4,400 yen.
Found 41 material.
Found 27 material.
Injured.
Found 4,200 yen.
Increased base points by 27.
Increased base points by 39, and used material to advance base.
Found 4 food.
Found 4,500 yen.
Found 4 food.
Found 27 material.
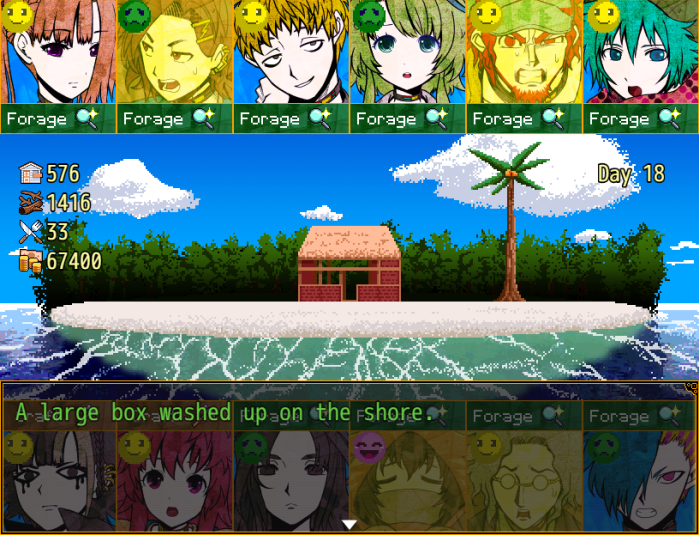

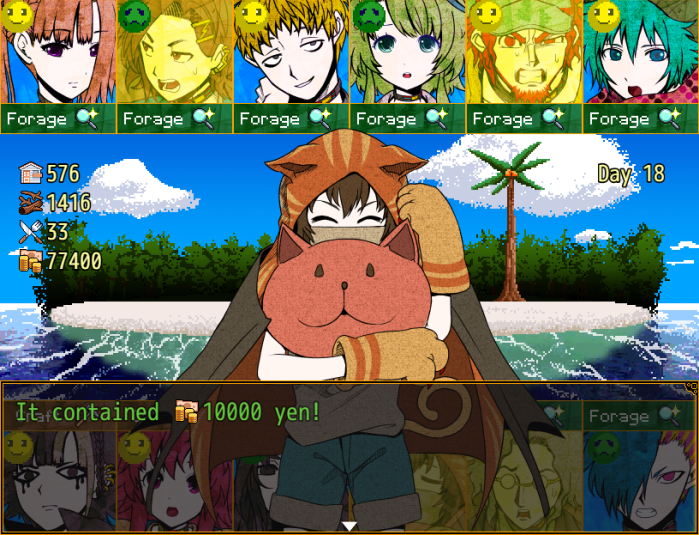
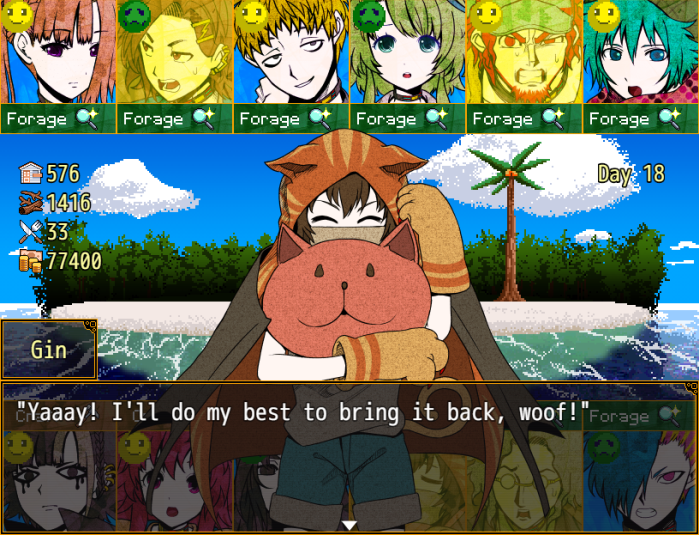
- While you can still get the “berry” (raises or lowers the stats of whoever eats the berries depending on what type of berries they are) random event in Kai's scenario; the random event with a random character for a 2 point fondness increase with that character was removed from Kai's scenario, though it can still trigger in Mishima's scenario. If Sara is dead, there's a 10% chance of getting a random event with Sara's hallucination haunting Kai. In Mishima's scenario, Nao had to be dead for a random hallucination scene.
 "What has you running over here, as if you just found a hermit crab?" "I wanted to press you about earlier!" "You were talking like you knew I did kendo, weren't you?" "Hm...? Did you?" "Huh?! No, playing dumb like that won't trick me!" "You knew my history with kendo! That's an undeniable fact!" "Hm... Caught red-handed by a skilled investigator." "However, I merely judged that you had experience with kendo from your muscles and posture." "W... What?!" "When you stand on guard... you shuffle your right foot forward." "That is unquestionably the "neutral stance," the most basic stance used in middle school kendo." "That is what gave away your kendo experience." "N-No way...!" "You saw straight through to a habit I didn't even realize myself, Kai...?!" "Something like it. So I take it you believe me." "I was so quick to doubt you, Kai..." "It's all right. I am accustomed to it."
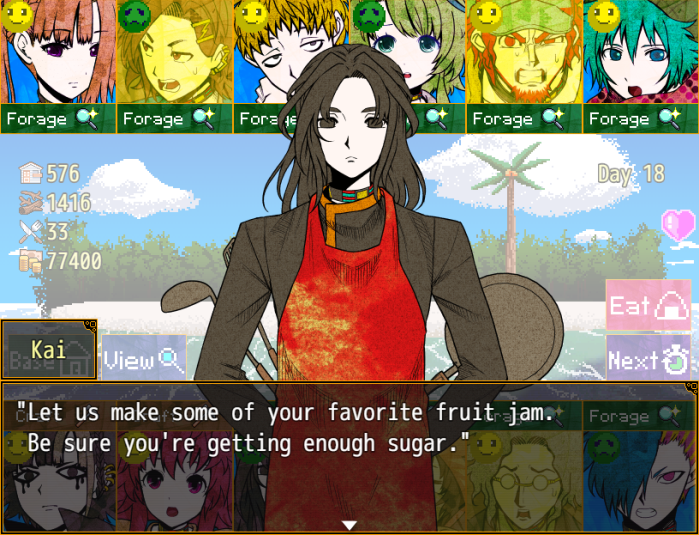 "Kai..." "Hold it right there! How do you know I like jam?!" "It's time. Let us go back, Miss Sara." "Ahh! Don't leave! Such an elegant walk...!"
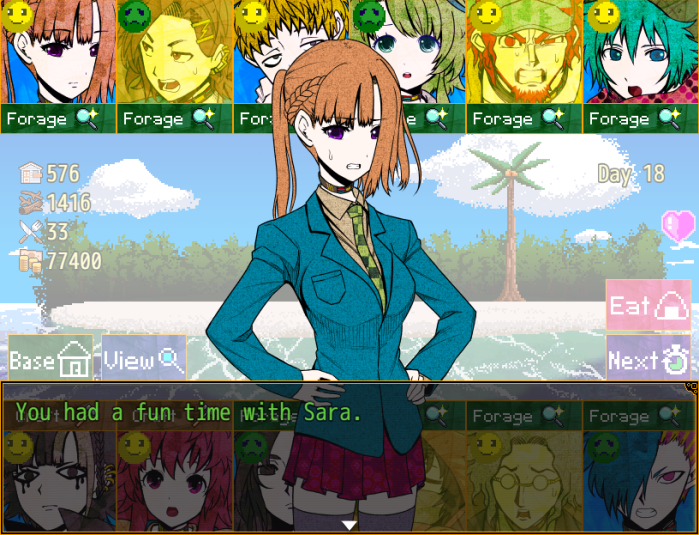
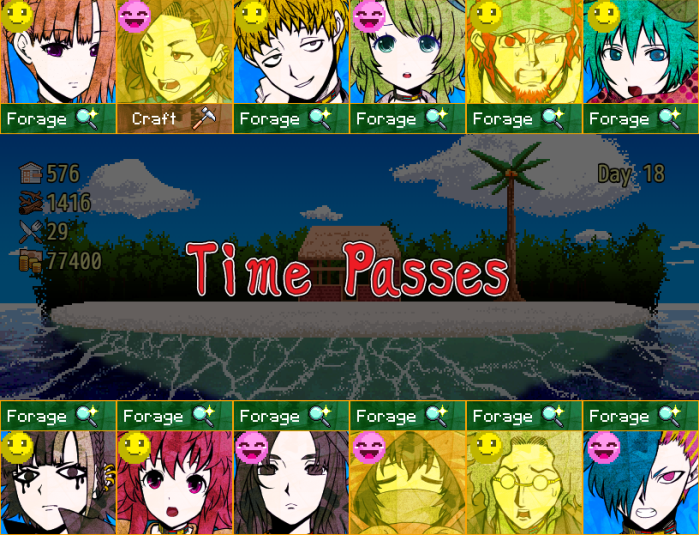
- Day 18 results:
Found 54 material.
Increased base points by 29.
Failed, but avoided injury.
Found 3 food.
Injured.
Found 41 material.
Found 34 material.
Found 24 material.
Found 36 material.
Injured.
Found 42 material.
Found 3 food.
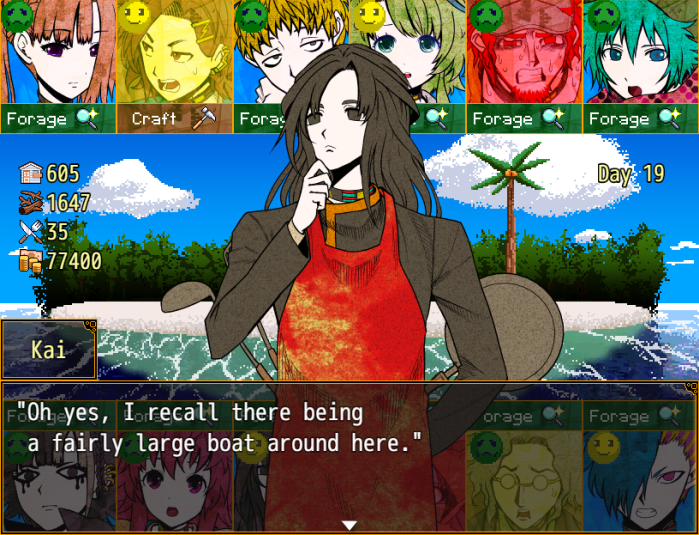 "W... What?! You're back...?" "Indeed. I was worried, so I snuck over alone." "H... Hmph... So? What do you want?" "I believe you said you lack the parts necessary to repair the boat." "Y... Yeah, so?" (Now then... should I give her materials?)
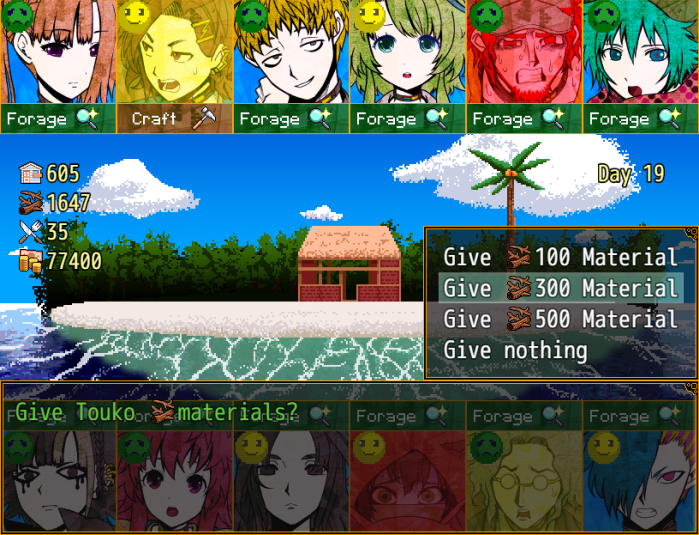
- As before, we need to give Touko at least 500 material for the boat ending. We've given her 400 so far and we'll give her the final 100 on day 26.
"T... That's quite a bit... If you're giving it, I'm taking it, but...! "Then I offer them up. Do as you will." "H-Huh?! You're just gonna hand it over then leave?! Like you're feeding a pigeon in the park...!!" "I don't believe people who do that would leave immediately, generally..." "Oh, shut up! Just take this, okay?"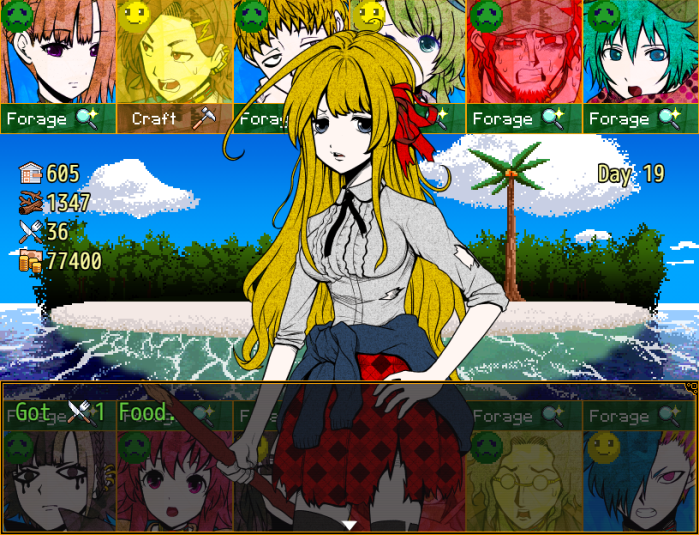 "...If you come back, come alone."
 "I would say I feel like a common mussel, of course." "Err, is that... a good thing...?" "So, yes, Sou. Could you come this way?" "Don't gotta say my name twice... What is it?" "Take a look at this."
 "This is a mixer." "M-Mixer...? Like for mixing foods?" "Yes. I made a super-powerful hand mixer in order to blend the hard fruits on this island." "You made this? Amazing..." "And what I created with it is in that cup." "Waugh... a purple liquid? This is piping hot from being exposed to the sun..." "Indeed. Drink it slowly so you don't get burned." "I'm supposed to drink it...?!"
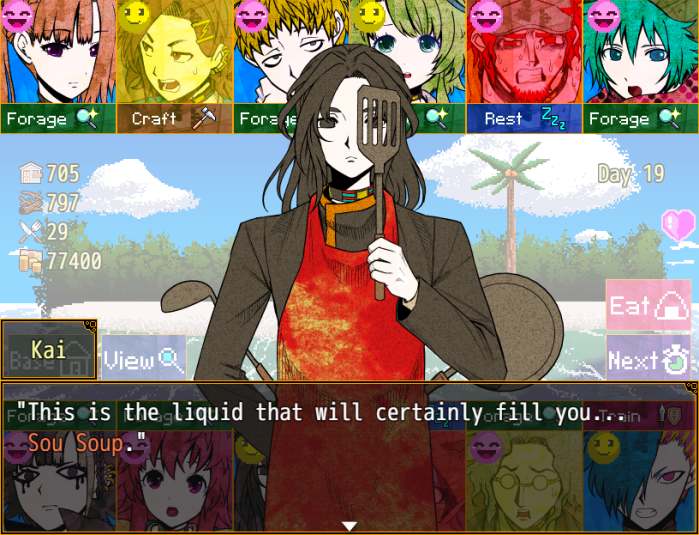 "Ugh... it's gross... I don't wanna drink it..." "It contains nothing strange." "A-And if I drink it, I'll really be able to gain weight, right...?!" "Yes, as you wished." "Urk..." "Ooogh...!!" "…" "It's surprisingly tasty..."
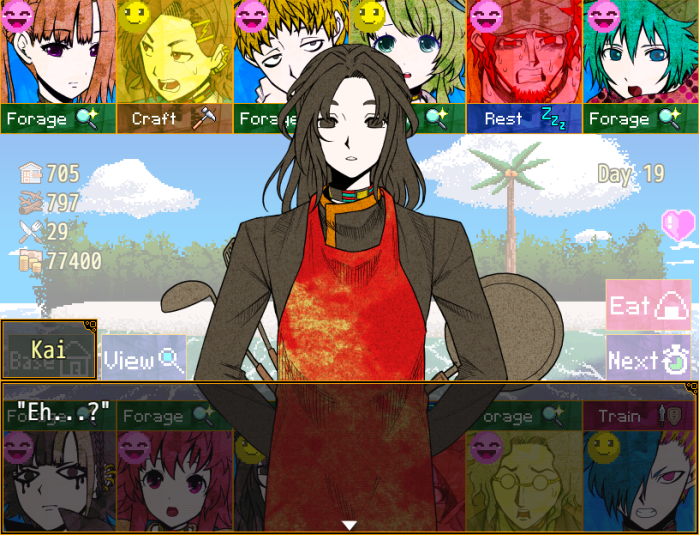

- Day 19 results:
Found 58 material.
Increased base points by 27.
Found 4,600 yen.
Injured.
Health restored by one stage.
Found 5,100 yen.
Found 39 material.
Failed, but avoided injury.
Failed, but avoided injury.
 Health fully recovered.
Found 45 material.
Trained successfully.
- I've been neglecting training, which isn't ideal as the enemies seem to have had a health increase – prior to the release of Kai's scenario, it was usually quite easy to one shot enemies in the mid-game – now it takes multiple (at least three) hits to defeat an enemy. As we have a lot of material, I get the first tier of weapons for Keiji, Q-taro, Alice and Joe. Reko has a better base fighting score than Joe, but as Joe's had two fondness events to Reko's one, Joe currently has a higher fighting score than Reko.
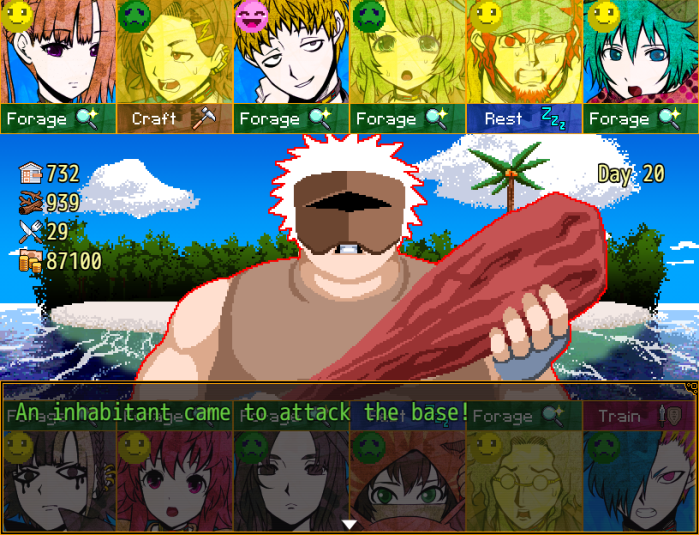
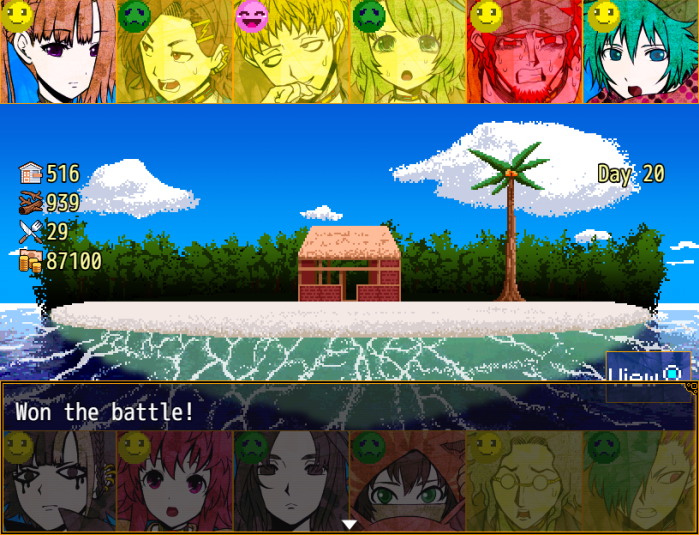
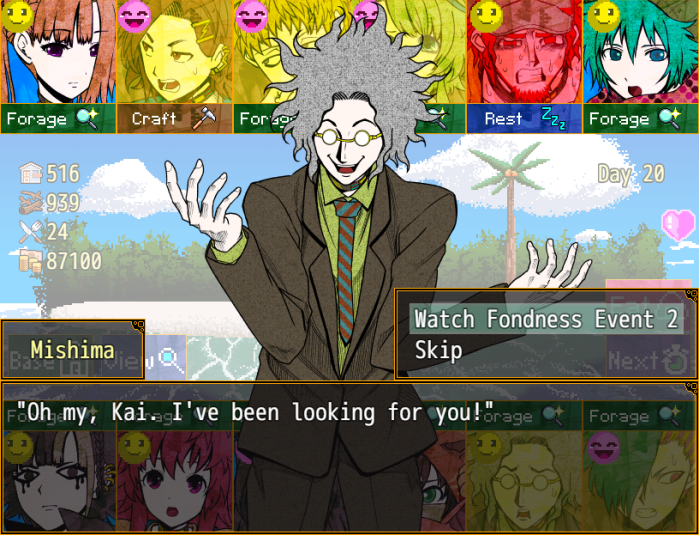 "I've been found. Do you want something?" "Hahaha... Do you remember our previous conversation?" "Yes, I believe it was about your favorite brand." "I'm telling you, I don't smoke...!!" "...I said nothing about cigarettes." "So you didn't! A leading question... oh, how dangerous..." "...It certainly seems like it was on your mind."
 "At any rate! I'm sure I declared to you! That I'd show you something more fun than a cigar!" "Come to think of it, you did declare that. But did you really prepare something...?" "Indeed! I brought this just for you, Kai!"
 "Now, I shall show you! Here it is!" "Hm...!" "It's... a flute... made from a shell?"
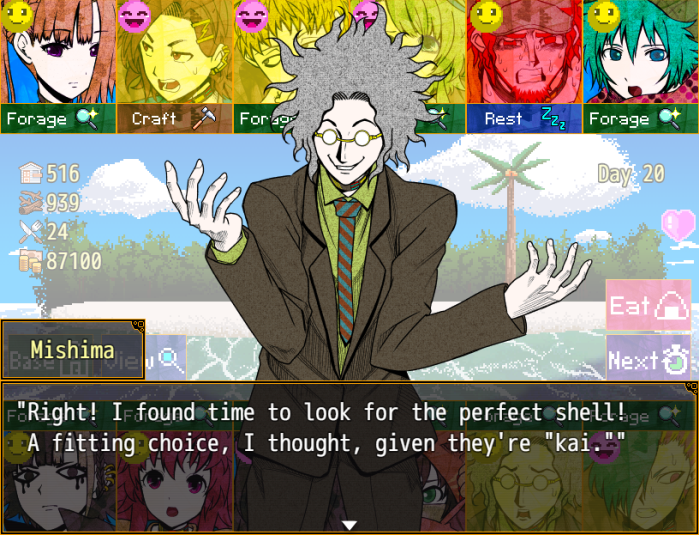 "And by making a mathematically and acoustically perfect hole, I turned it into a flute!"
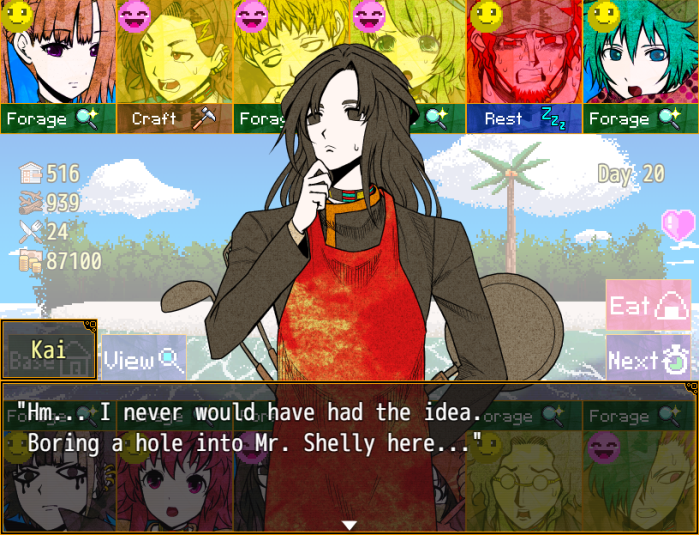 "And I've never seen someone call a shell Mr. Shelly before, either. Now, try playing it!" "R-Right..."
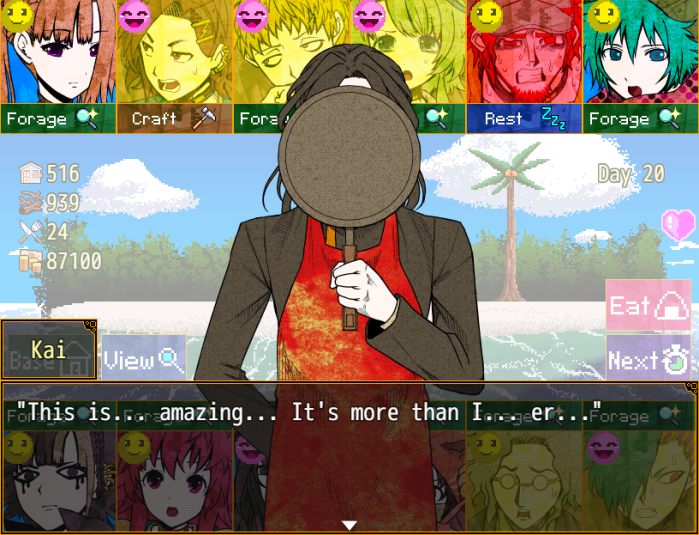
 "Really! Bwahaha...!" "Can I have this...?"
 "Indeed! Though it's just a prototype and can't make some sounds, so there's much room for improvement." "No, I quite like it how it is."
 "Hm... Is that so..." "...It's unusual." "Perhaps in the past, I would have felt nothing from the sound of this flute."
 "...I understand."
 "Go ahead... as much as you like."
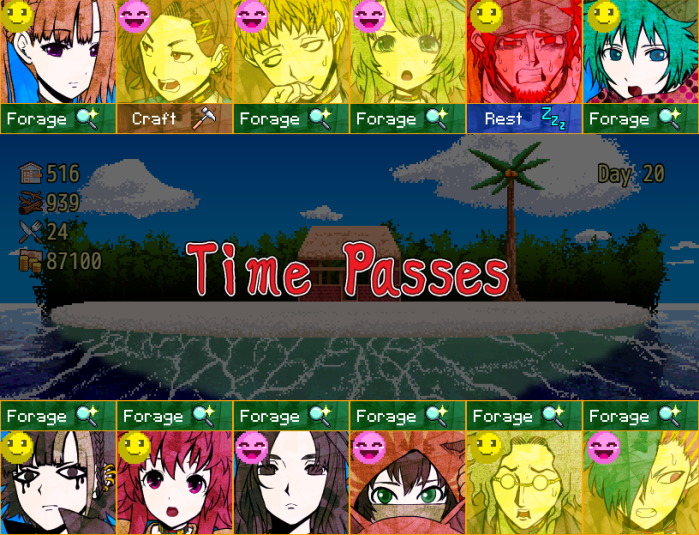
- Day 20 results:
Found 5,900 yen.
Increased base points by 31.
Found 5 food.
Failed, but avoided danger.
Health restored by one stage.
Found 43 material.
Found 4,200 yen.
Injured.
Found 3,900 yen.
Found 4,100 yen.
Found 47 material.
Found 28 material.
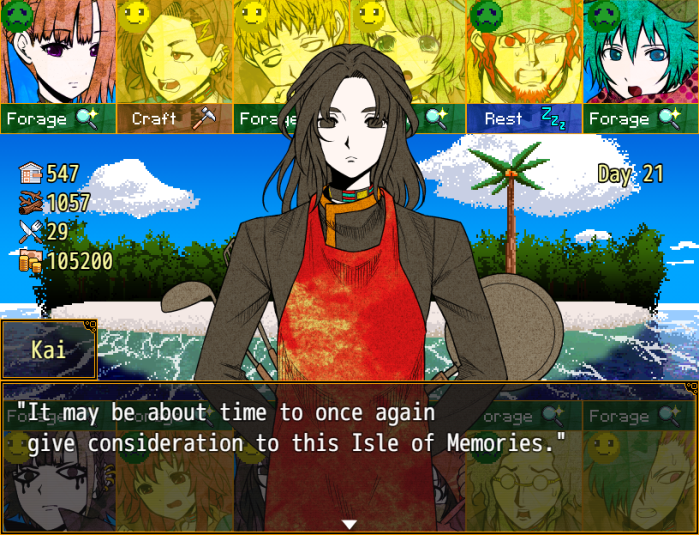 "Mya... But what should we be looking at, woof?" "Everything about this profoundly mysterious island - residents, animals, weather, sea - is strange." "We've been opting not to trust anything Miley says, but..." "If everything is indeed as the Island Master Miley says..."
 "It's possible that we really have lost our memories of someone who died..." "Even if we forget the dead existed, shouldn't there still be traces of their lives left?" "True enough... Even if memory vanishes, the footsteps one has left remain...!"
Music stops.
 "Huh? Wait... Whose belongings are these?" Why hadn't I noticed? It had been there for a long time. A bag just sitting there, getting no one's attention. "B-But! There's often wreckage that comes onto the island..." Yet the bag was not dirty enough for it to possibly have drifted ashore. "I suppose there's no choice but to open it." ...I opened it up. A blank notebook. Complicated books. Stationery. These were things that wouldn't be unusual for a kidnapped person to have left behind.
 "Whose could this... be...?"
 "Was there really... an ally of ours here...?" "Why... can't I remember...?"
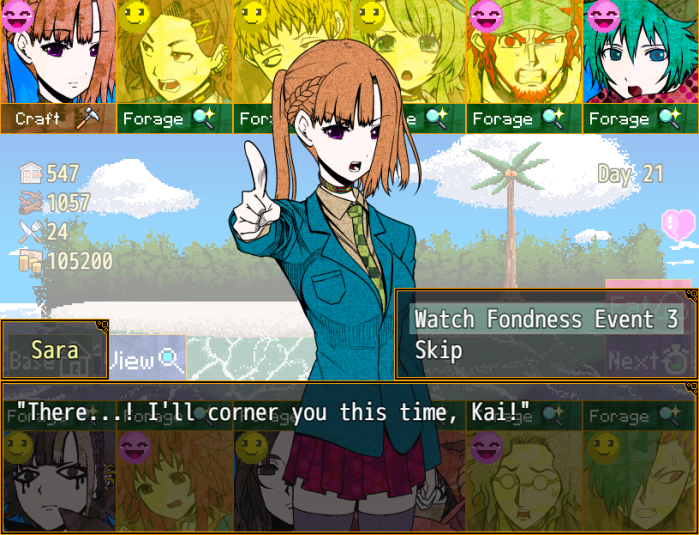 "What has you running over here, as if you just found a venomous cone shell?" "Kai, you know way too much about me for this being our first meeting...!" "Even things only people close to me could know... Why in the world is that?!" ".........." "...I'll ask you back. Why do you think that is?" "H... Huh?!" "You may take anything I say to be a lie, thus..." "Perhaps you should try to reason it out yourself?" "For I believe you are very sharp-minded, Miss Sara." "Urk...!" "First of all, I have to imagine that you were looking into me before coming to this island..." "Oho..." "That'd explain the kendo and my food preferences... You could find those out if you were looking."
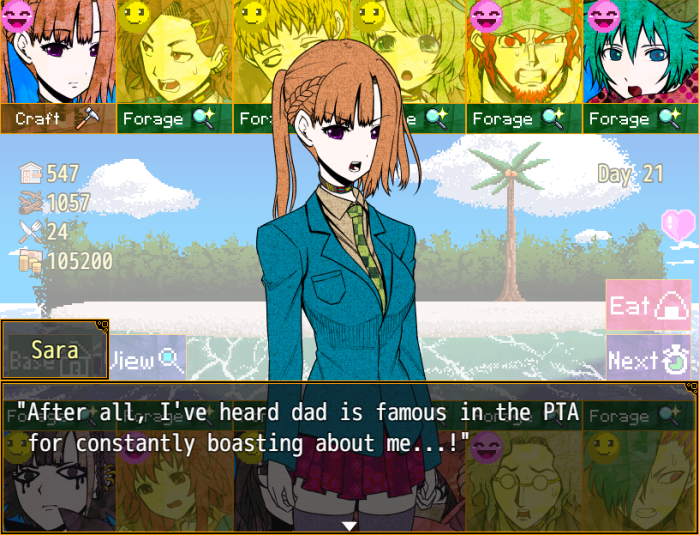 "...Famous, you say..."
 "Now, why would you investigate someone you've never directly talked to...?" "...!" "I've arrived at the truth, Kai...!" "Please, tell me."
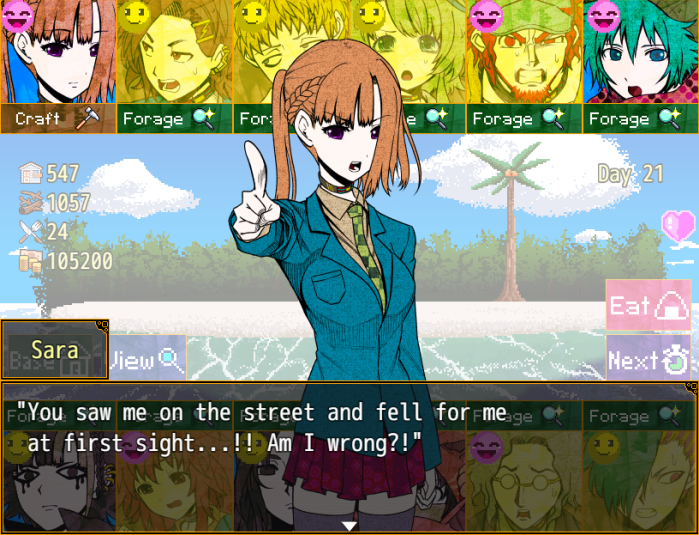 ".........." "W-What is it?! Don't give me that playing-dumb look, it's futile!" "...No, I was simply thinking "aha." I find no inconsistencies with that idea." "So then it's right, right?!" "...Let us say it is..." "Alright!!"
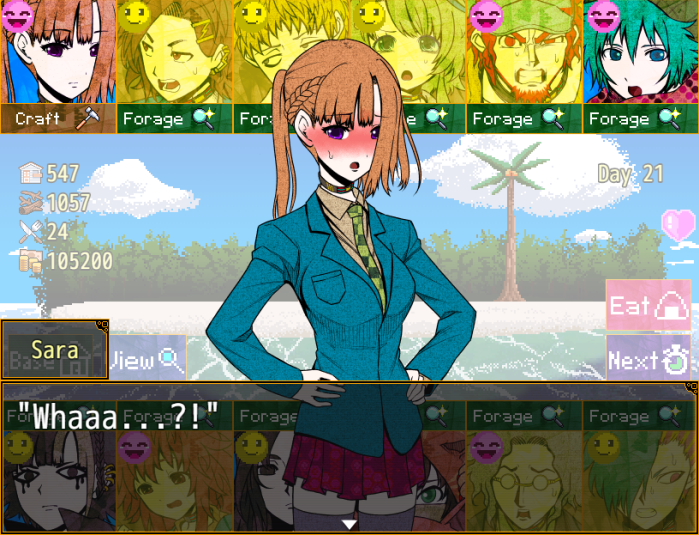 "…"
"…" "H-Hold on a second!! That's a problem!!" "Ahem...?"
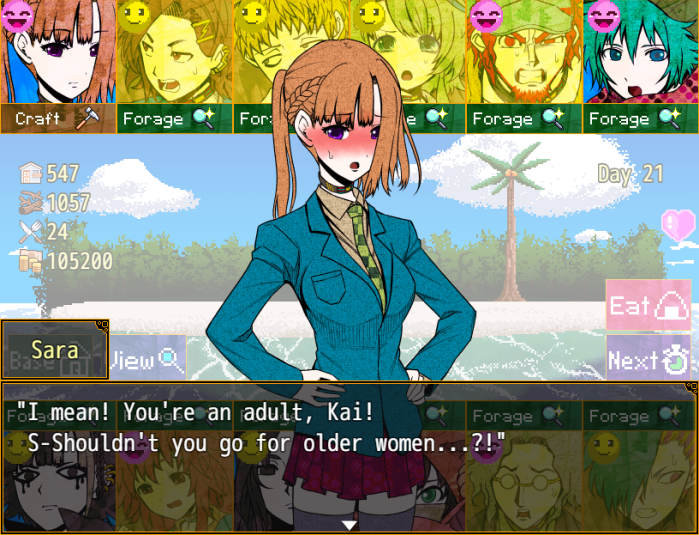
- Kai and Keiji are the same age. Their exact age has never been stated, but it's late twenties.
 "D-Don't tell me you're one of those "age has no bearing on love" people?!" "Did I say anything like that...?" "I understand you're not a bad person, but this is a whole different matter!!" "I-I... just... don't know about all that, okay?!" "Waaah!" "...She ran away." "Sure enough, it appears even Miss Sara has difficulty with certain subjects." "She may have gotten the wrong idea about me... but I learned much from that."
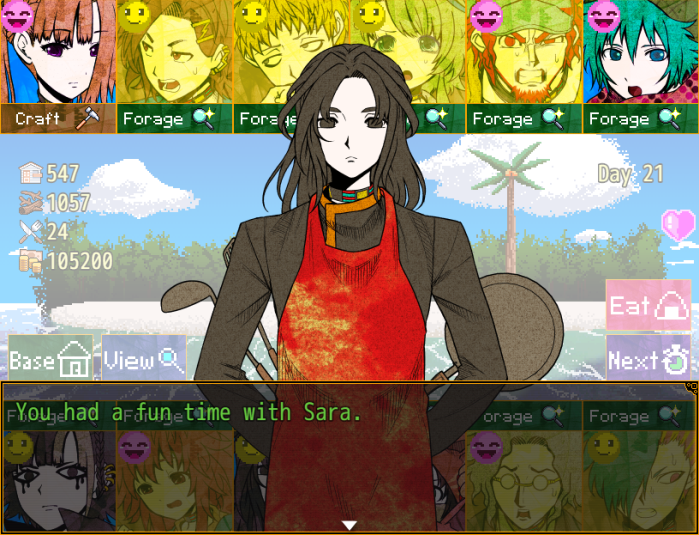
- Day 21 results:
Increased base points by 45.
Found 43 material.
Found 47 material.
Found 3,500 yen.
Found 4,200 yen.
Found 4,400 yen.
Found 44 material.
Found 28 material.
Injured.
Found 41 material.
Injured.
Found 30 material.
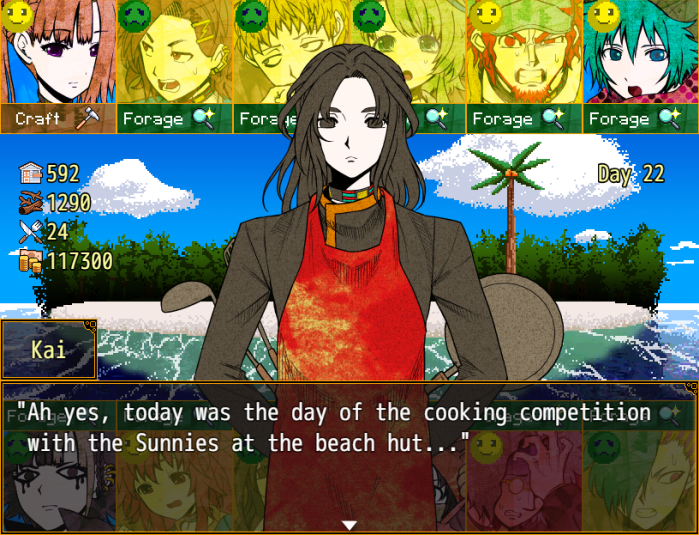
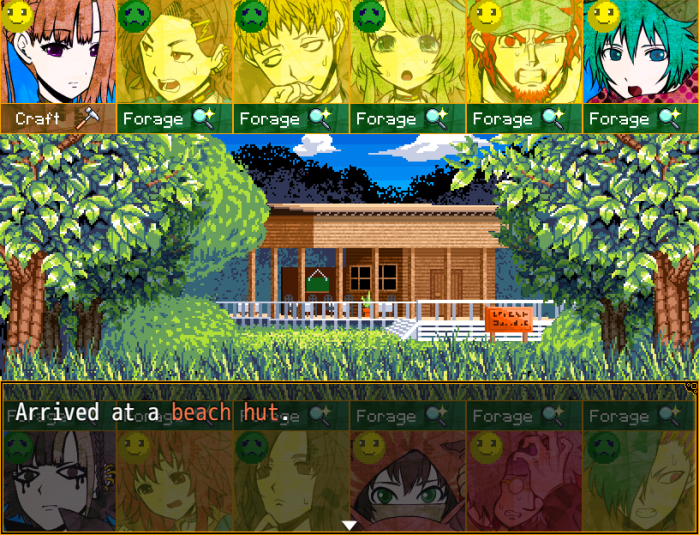
Music stops.
 "Ohh... You remembered." "We're doing just fine!"
 "'Course, the customers're starting to get bored of the flavor." "A single meal has its limits..."
 "So won't you teach us another meal, Kai?!" "Of course. I came here to do just that." "I shall show you the full power of a homemaker!"
Music stops.
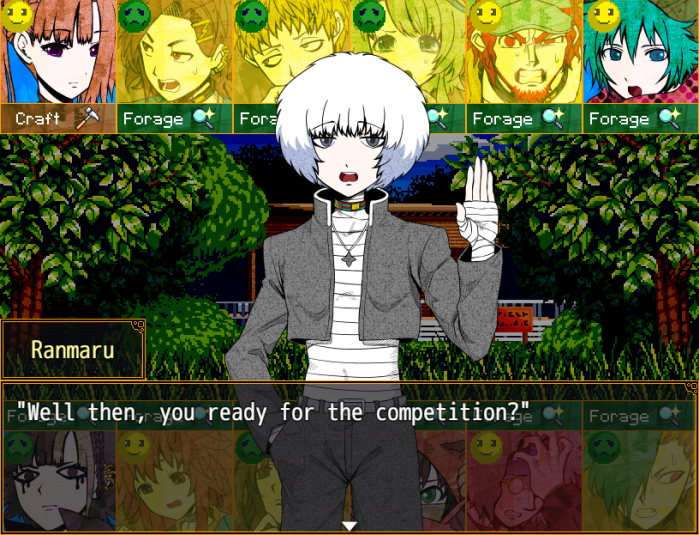 "Yes, I was just hoping to start." "Here's the three judges this time..."
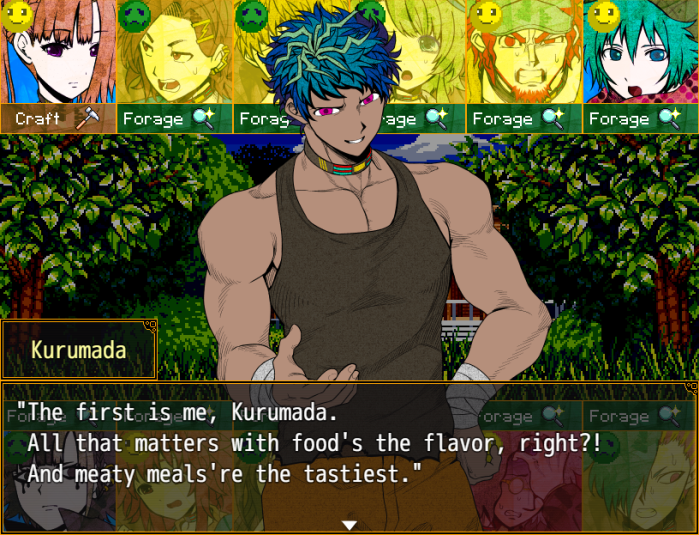
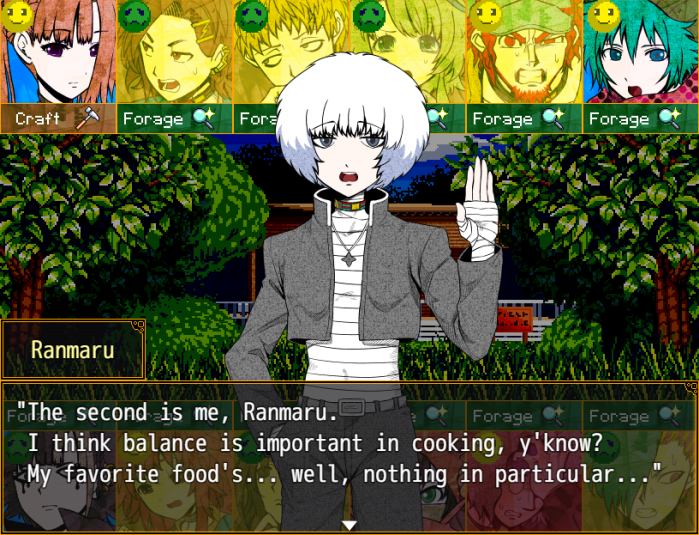
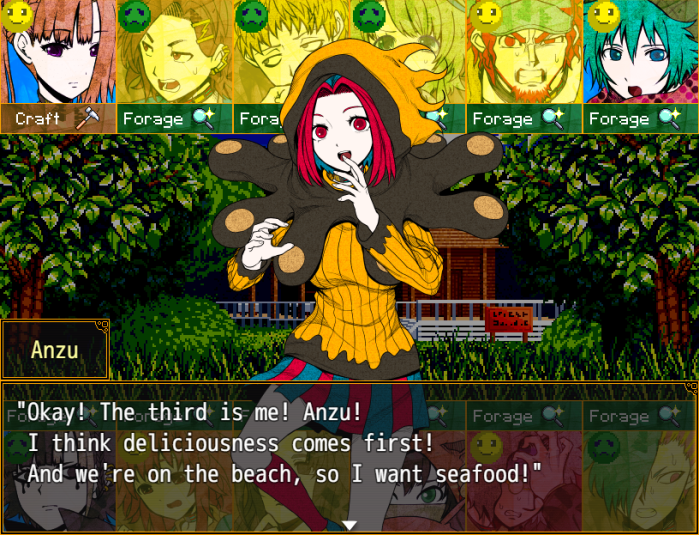 "All right then... Give us your best cooking, Kai." "Hm, I see... Being made to adapt to tastes is a fine way of demonstrating of my skills." "Now... First of all, I should prepare some ingredients to start with.
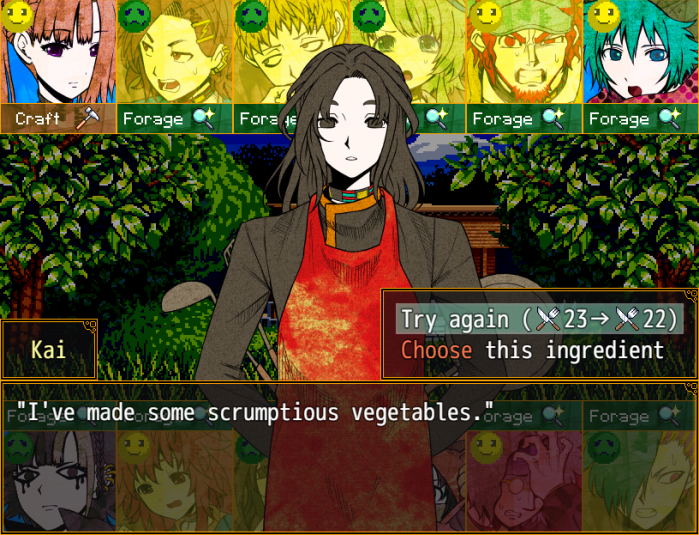
- This is what we got last time, this time I'll try for something else, as none of the judges this time favour vegetables.

- This is the highest quality ingredient you can get, but none of the judges favour eggs, and with Kurumada as a judge, ideally you really want meat as the ingredient. Still, between the quality and not having that much food currently, I decide to go with this.
"I've managed to prepare ingredients." "It can be difficult cooking by oneself. Perhaps I'll call someone to help?" "Kai! I'll help ya if yer in a pickle! Jes' count on me!!"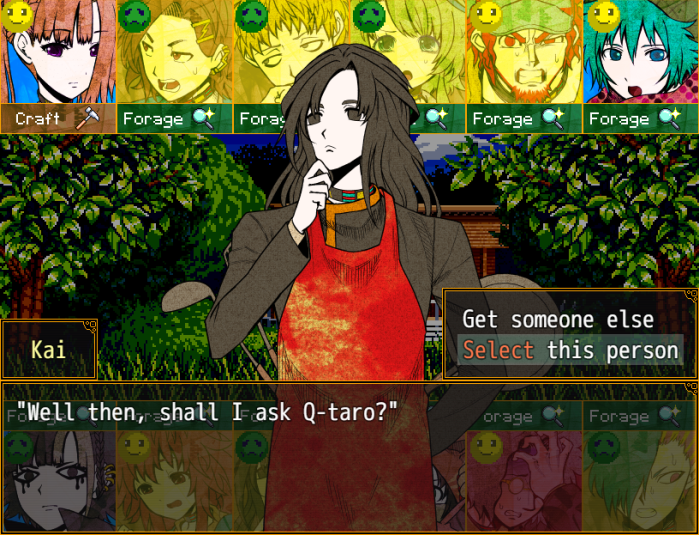
- Mai isn't judging this time around, so Q-taro won't be of any help, but again, I don't want to lose fondness with Q-taro by turning him down.
"Heardja loud'n clear!! I'll cook with all my spirit fer the customers!!" "Well then, let's get into the cooking."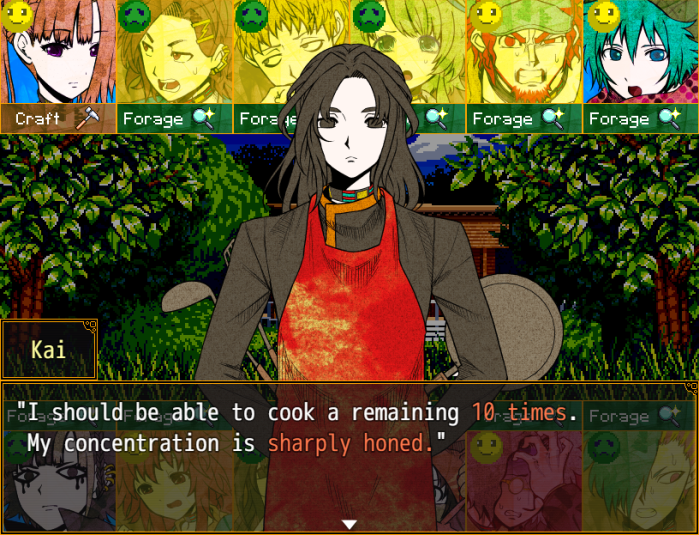
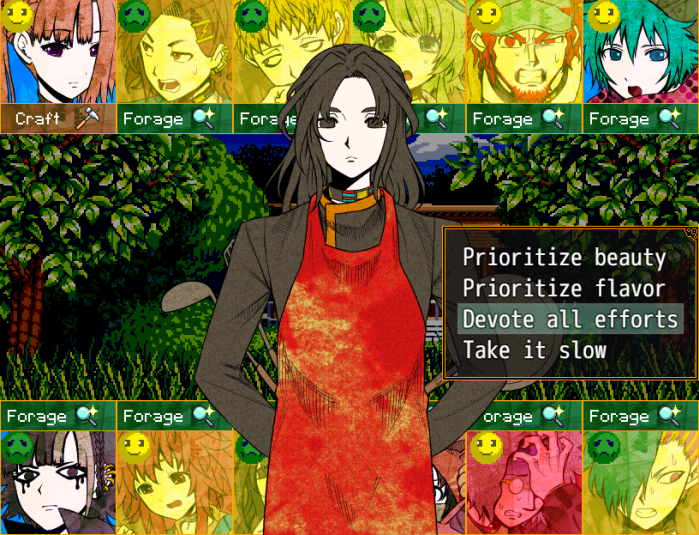


- I opt to “devote all effort” for the first two turns. The second turn doesn't go as well as the first, but the spatula kicks in to improve the food quality.


list][*]With low concentration, Kai has to take it slow for the next two turns. The first turn is a failure, but it's partially salvaged by the frying pan. The second turn is more successful, and the frying pan kicks in again.[/i][/list]

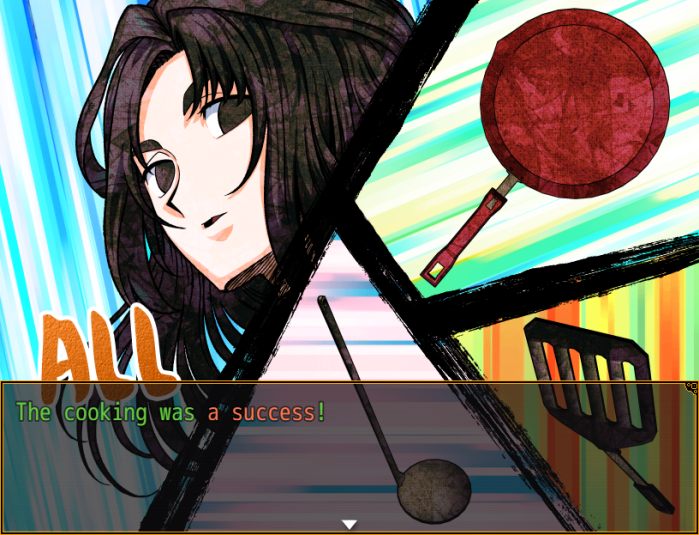
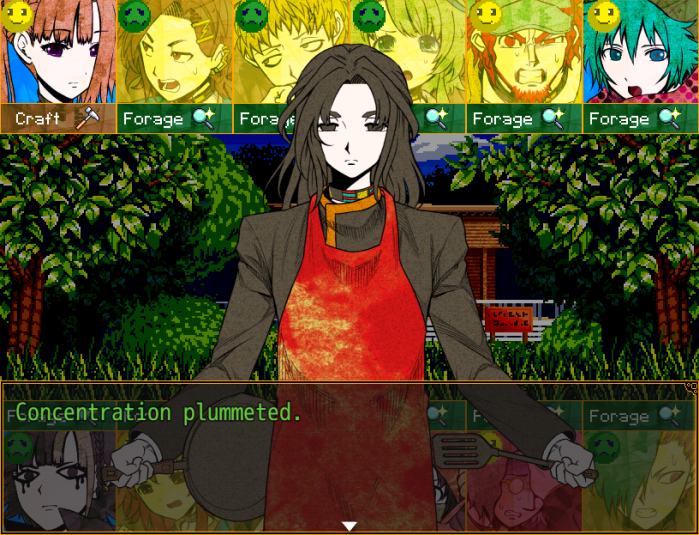
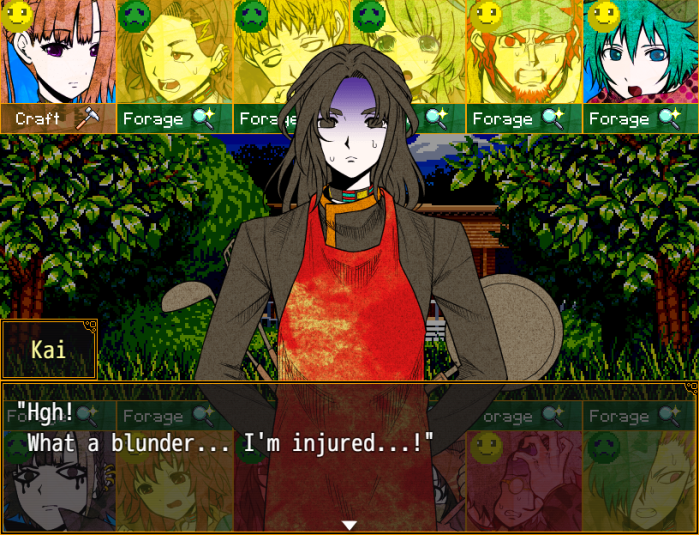
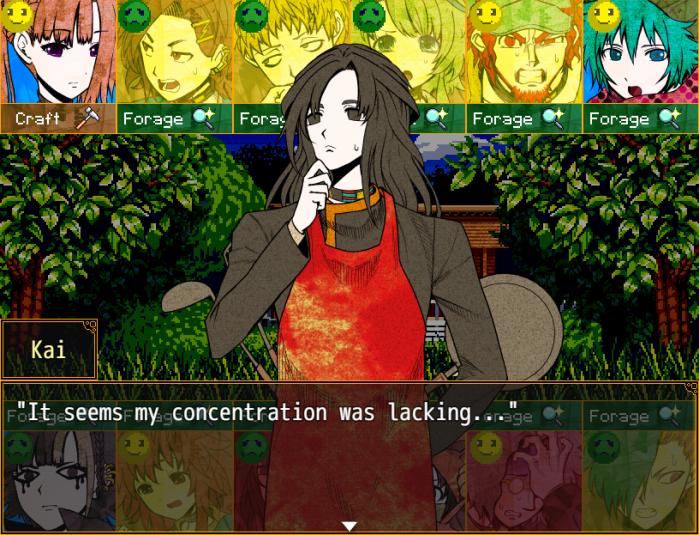
- I jump the gun here, and have Kai “devote all efforts” again; although it's a success (helped, yet again by the frying pan), he runs out of concentration, and takes an injury as a result. As Kai was at yellow health prior to the competition, this doesn't have an immediate impact, but he will need to spend the day resting.
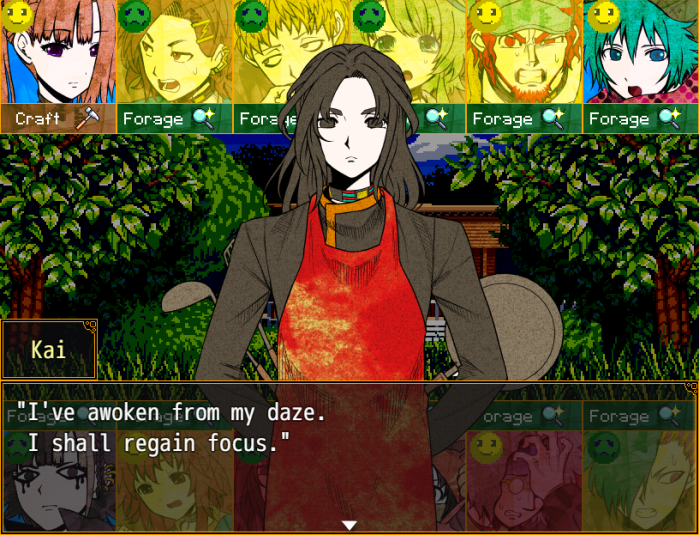


- Kai does regain full concentration after taking an injury – I immediately have him “devote all effort” yet again, but unfortunately, not only is the turn a “bit of a failure”, even the frying pan refrains from kicking in.
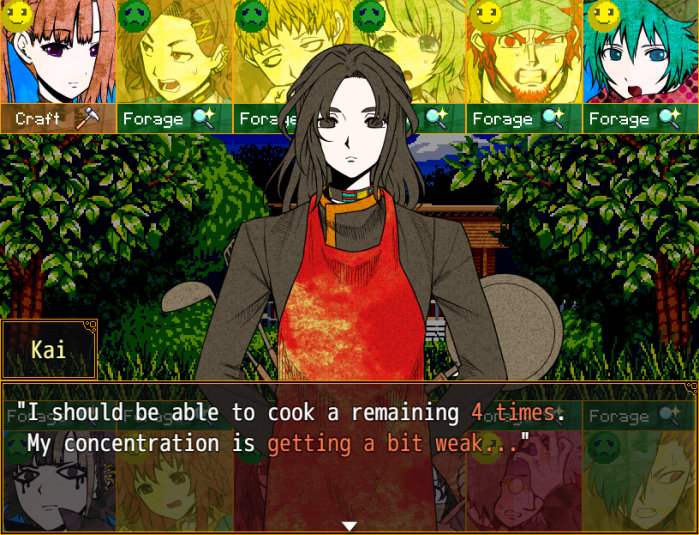


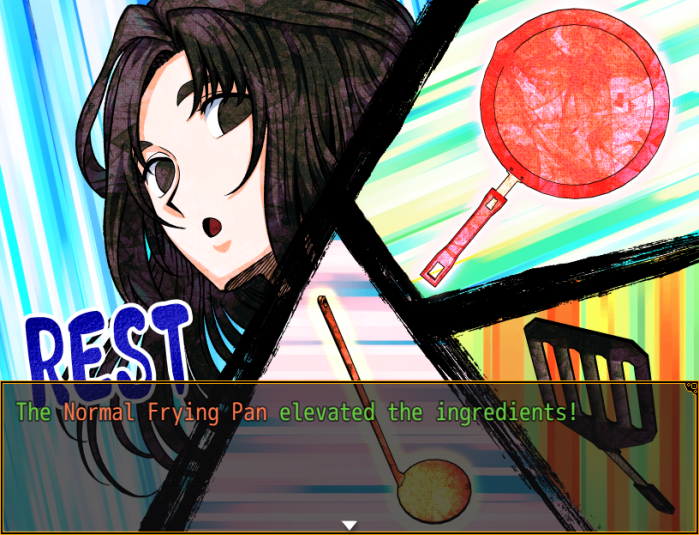
- Can't risk Kai getting injured again, as that will end the competition, so I have him rest the next two turns. Both are successful and both the frying pan and the ladle also kick in on the second turn.
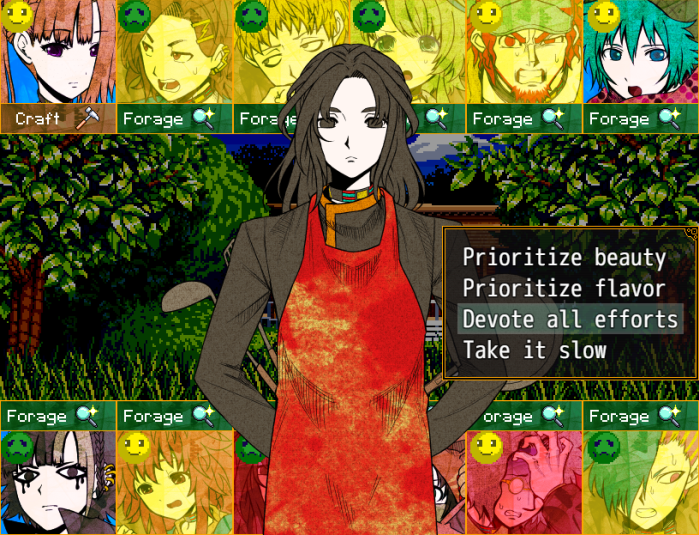
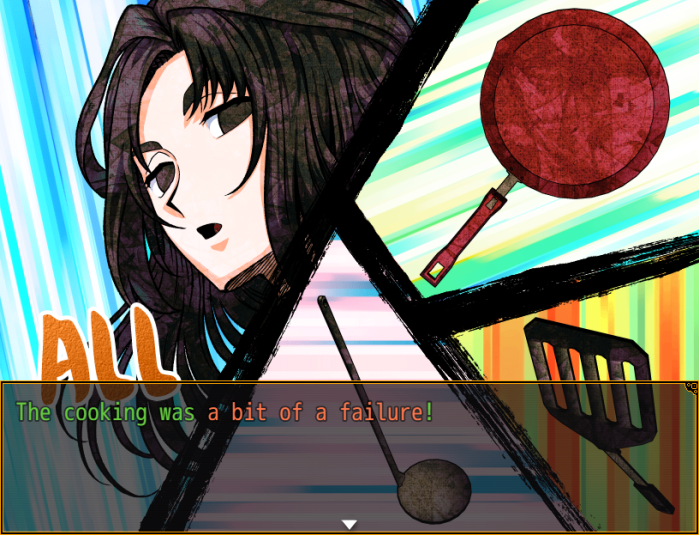

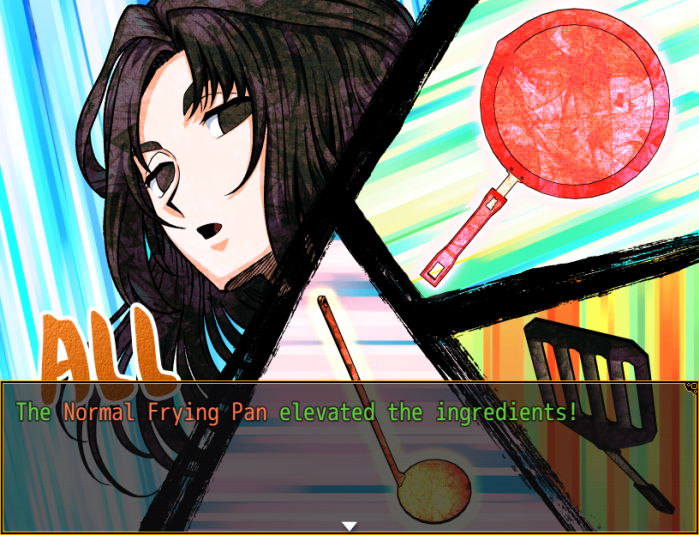
- Kai regained a reasonable amount of concentration after resting, so I try the “devote all effort” option again. The cooking doesn't go well, but luckily both the frying pan and ladle come to the rescue again.


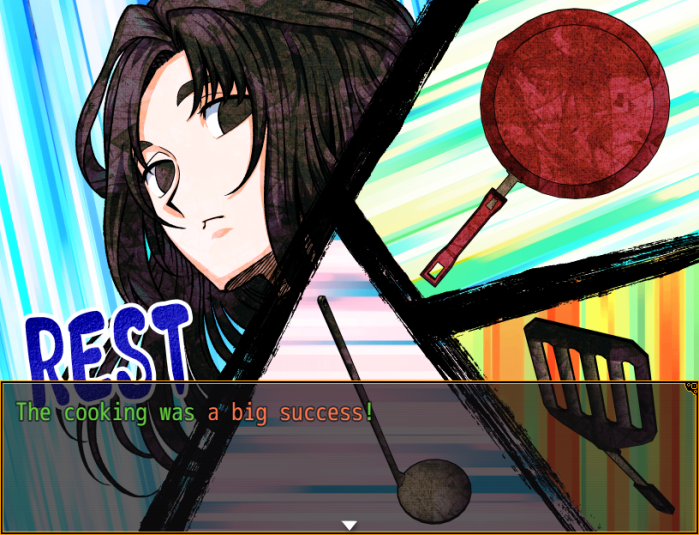
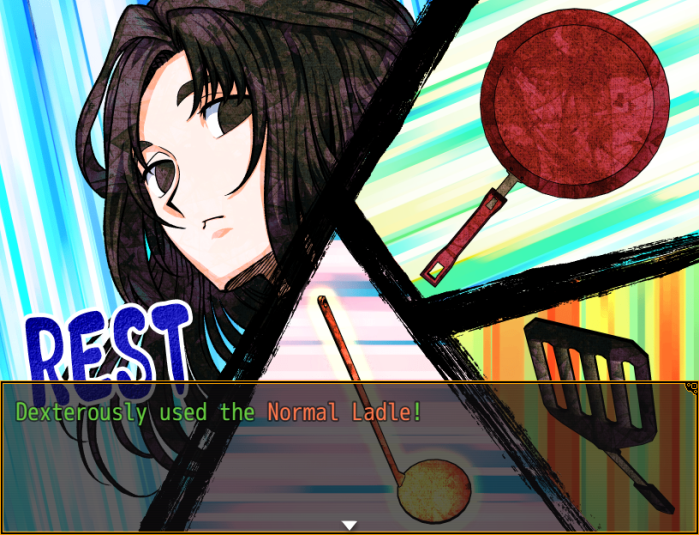
- Kai's low on concentration again, so I have him rest for the final turn and the ladle decides to make one final appearance.
"Hm, it's looking good. No further cooking should be necessary." "It's up to the judges now! Can hardly wait!" "Done already? Made somethin' tasty?" "I never present a meal I'm not confident in. Please, give it a taste." "Hah, don't you sound cool..." "Let's see here... Down the hatch!"
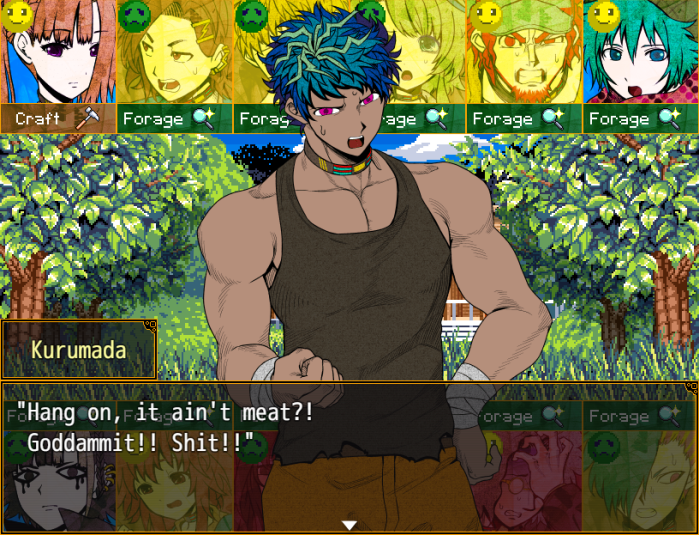
 "Well, so first, how's it look?"
 "Whoa, whoa! This looks tasty as hell!! Lemme chow down on this, who cares about judging!!" "But what's important is the taste..." "Hah, now this is great! Gets me in a good mood to eat somethin' tasty!" "I'm up second." "First off, the appearance..." "Whoa?! This looks really good...! It's like it's sparkling!" "Now for the taste..." "Whoa!! This is super tasty...! You seriously made something this good out of the food on this island?!" "And lastly, me!" "Alright, let's start with how it looks..." "W-W-Woooow! What in the world?! I've never seen such a delicious-looking meal!!" "Well! Now for how it tastes..." "Waaaaah!! It's delicious!!!! I'm so lucky to get to eat a meal like this!! Marry me, Kai?!"
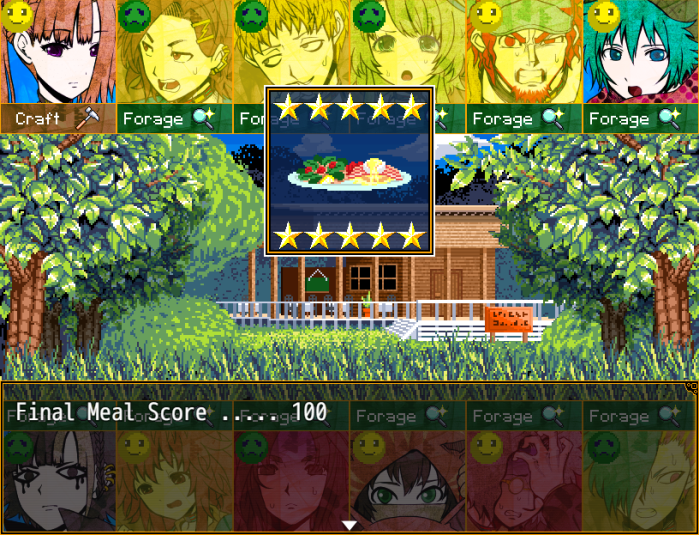
 "Not bad! If we can serve a meal this tasty, our place is gonna be thriving for sure! "You'll surely be the most famous restaurant on the island."
 "Now we just have to replicate it well...!"
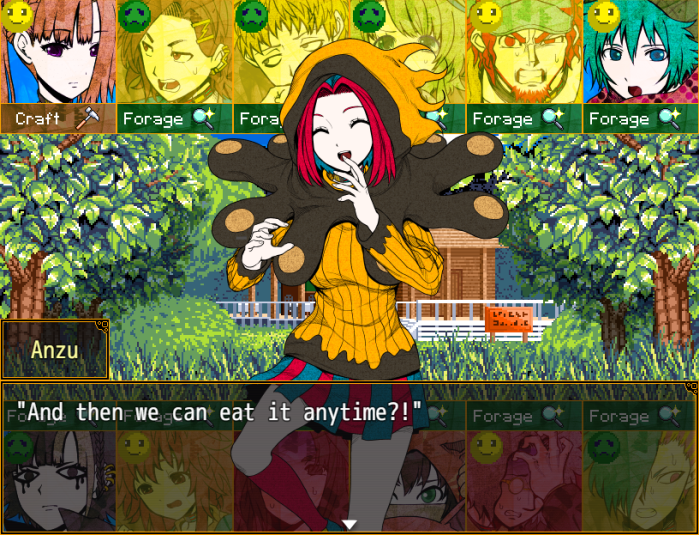 "Haha... It's strictly for our customers, you know..." "Well then, here. ...The reward I promised."
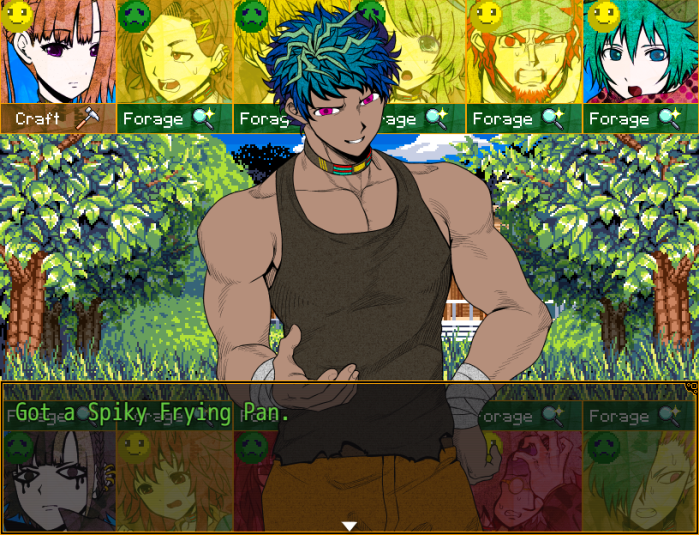 "What have we here...!" "An upgrade for you. Should be able to make even tastier meals with that, right?"
- If you get a score of 90+, you get a cooking tool upgrade. In hard mode, Safalin also sells the upgrades in her shop. If you get a score of less than 90, you get yen as a reward – the lower your score, the less yen you get.
"Thank you very much." "Well... We'll have another competition on Day 33." "So days with repeating numbers are beach hut days, then..." "Oh, hey... you're right. Seems like a good omen..." "Understood. Then I will return here on Day 33." "Right, counting on ya."
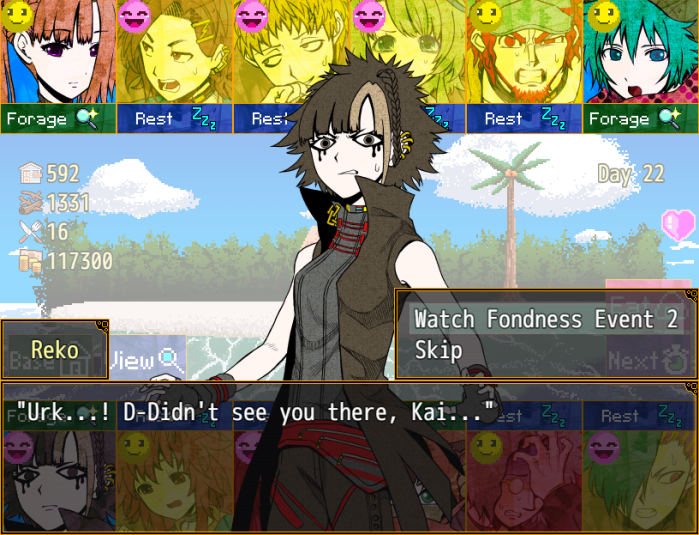 "Oh my, Miss Reko. You look quite displeased."
 "N-Nothin' like that..." "You aren't insisting I go forage today?" "O-Of course not. I ain't a demon or nothin'." "Is that right... Speaking of demons, I have an interesting story." "S-Stop screwin' with me!! I don't wanna hear it!" "...Oh? Do you dislike interesting stories?" "Obviously you're gonna tell a scary story!! You ain't gonna trick me!" "Unfortunate... It was simply one of my favorite jokes..." "Jokes...?" ".........." "W-Well, maybe I'm a little curious..."
 ".........." "Ah! Grr, you...! Don't ignore me!" "...Haha." "B-Bastard! You're remembering it and laughing?!" "...? You want to hear it?"
 "N-Not really...!"
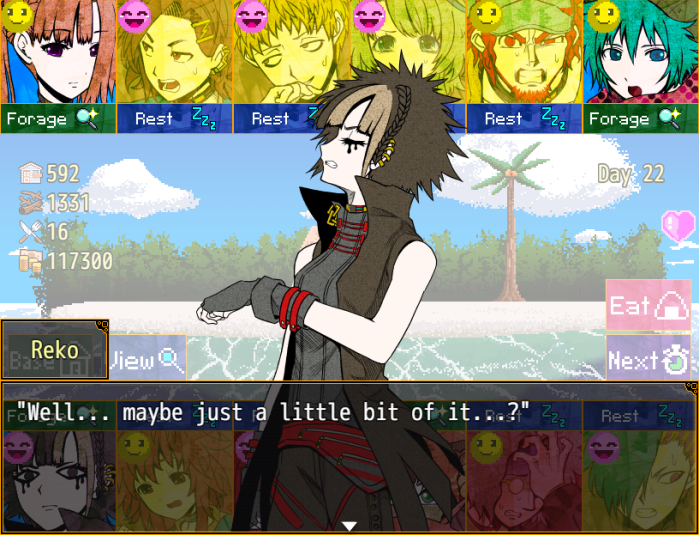 "No, I wouldn't force you..." "Huhhh?!" ".........." "...Haha." "I said to tell me a little bit!! Want me to turn that long hair into a twist perm?!" "Please spare me." "Then you know what to do! Right?!" "How greedy... Fine, just a bit." "W-Wait! Just saying, but if it's scary, you gotta take responsibility...!" "Of course." "Okay! Say it!"
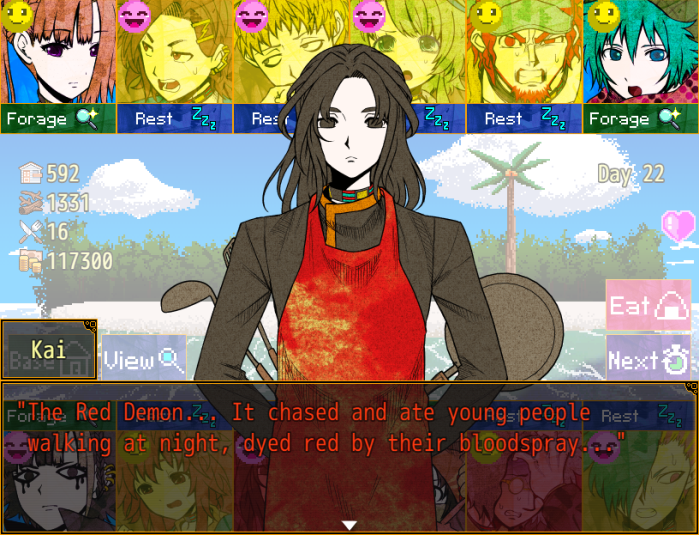

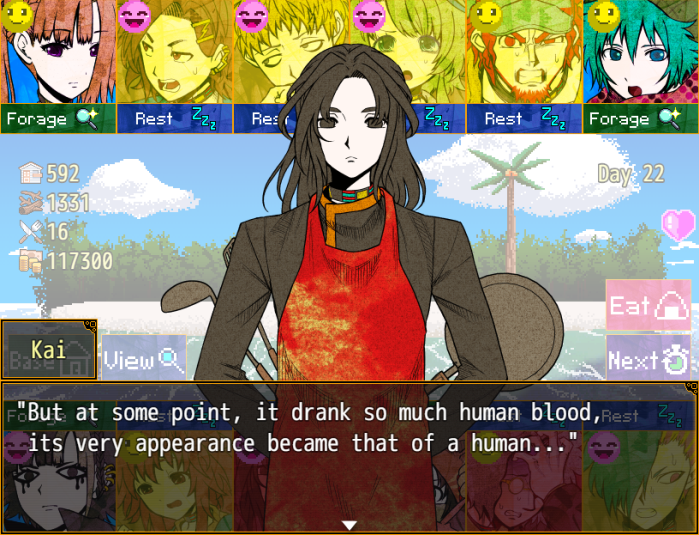

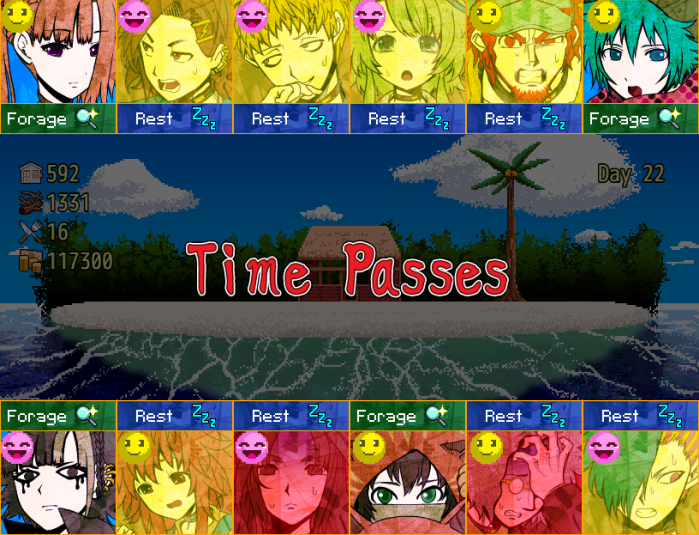
- Day 22 results:
Found 7 food.
Health restored by one stage.
Health restored by one stage.
Health restored by one stage.
Health restored by one stage.
Injured.
Found 4,700 yen.
Health restored by one stage.
Health restored by one stage.
Found 4,400 yen.
Health fully restored.
Health restored by one stage.
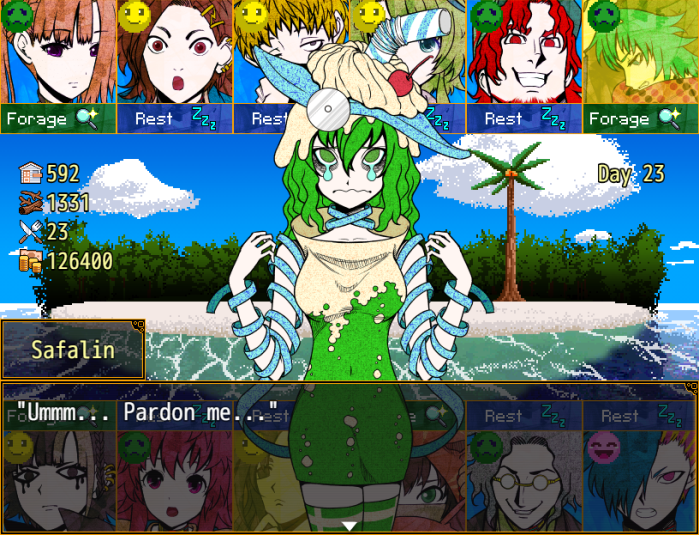 "The trader Miss Safalin has appeared once more." "Yes...! I came to sell to you again today..."
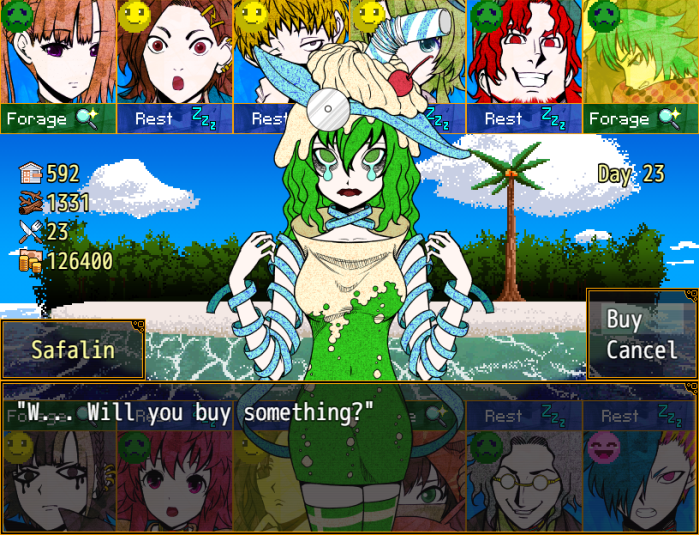
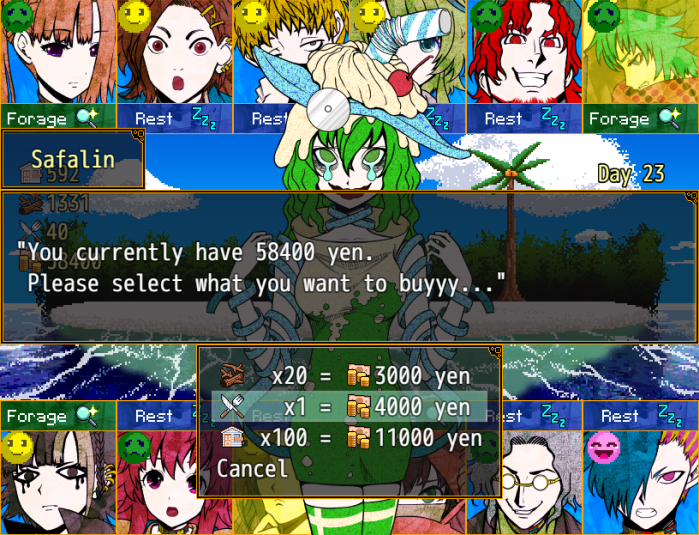 "I... I'll stock up and come back again... Please keep this a secret...
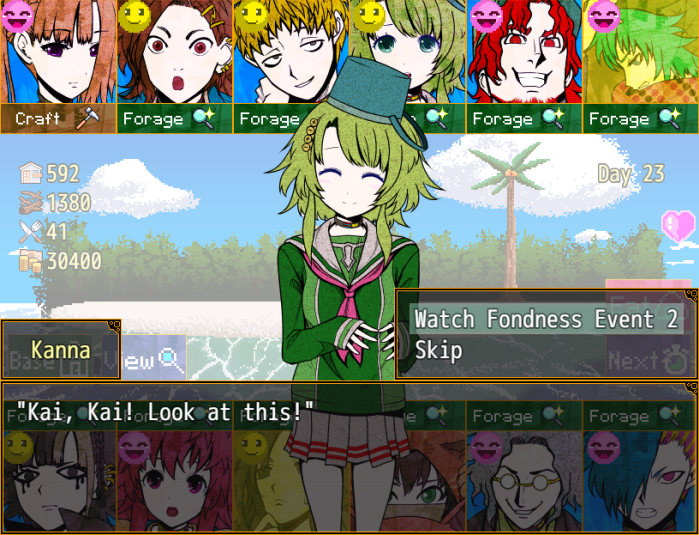 "Oh, it's Miss Kanna. What's the matter?" "I found something that might be useful for survival!"
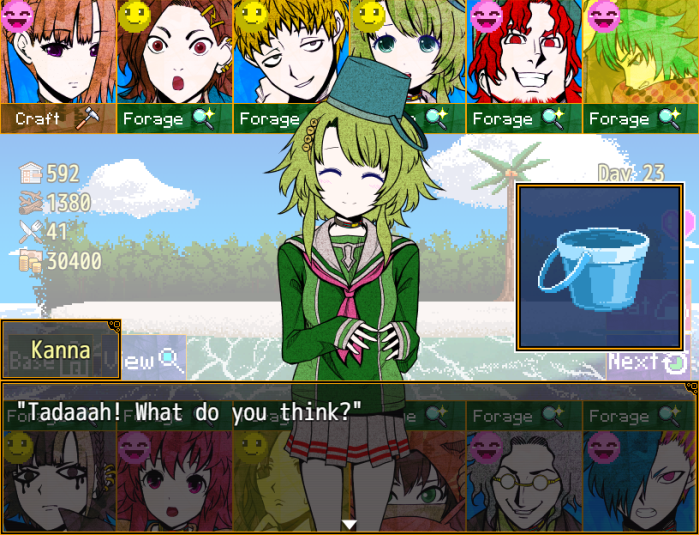 "This is..." "…" "...?"
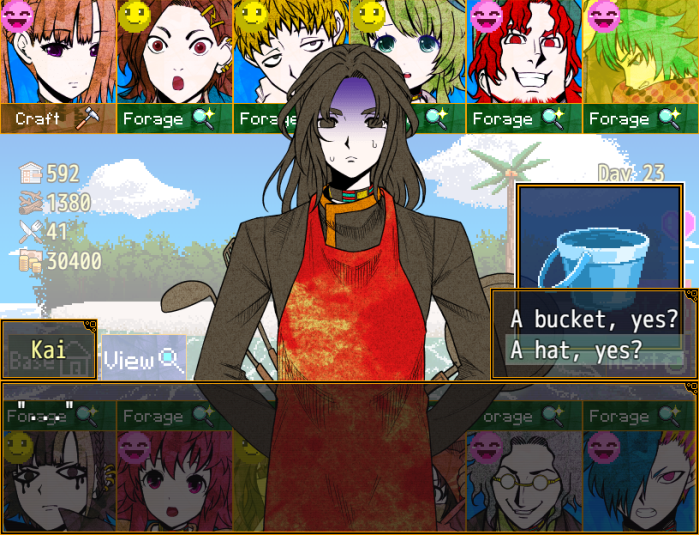 "A hat... yes?" "H-Hat...? What do you mean, Kai?!" "It's a bucket... Definitely not a hat..." "E-Excuse me... You did say it might be useful for survival, true." "Um... Miss Kanna." "What you're wearing, on your head..." "Eh...?" "You mean my hat? What about it...?" "Oh, no... I was just thinking, what a wonderful hat." "Eheheh! Thank you very much!"
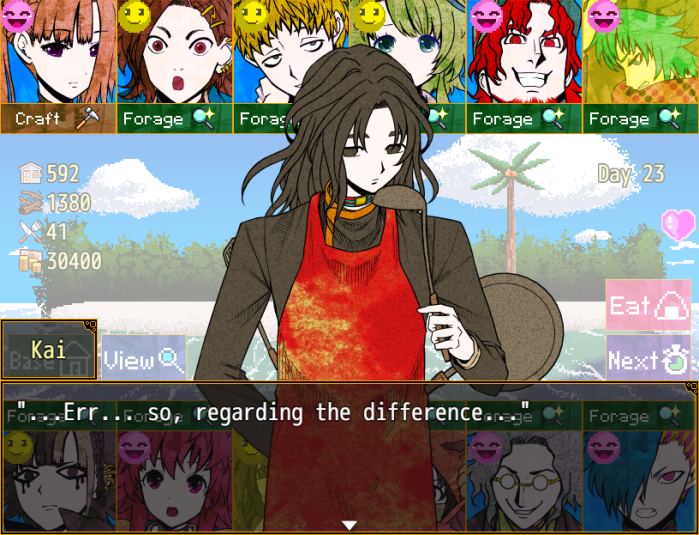 "Difference...?" "Oh, no... It's nothing at all..." "...?"
 "You want it, do you...? My hat?" "Oh...?" "Ahh! I get it! It'd definitely suit you, Kai!" "D-Do you think so? I'm glad." "But there are no shops here. We won't be able to get you a similar hat..." "Is that so? It seems a similar color and size..." "What does?" "Ah... yes, what indeed. Perhaps I'm a bit tired..." "Huh?! You're tired? You're making Kanna worried!" "If there's anything I can do to help, please let me know!" ".........." "...In that case, could you close your eyes for just a bit?" "Whaaa...?! I-I can't do that, Kai! You only do that with someone you like...!!" "Er, I don't believe it's what you're thinking." "Oh, okay...
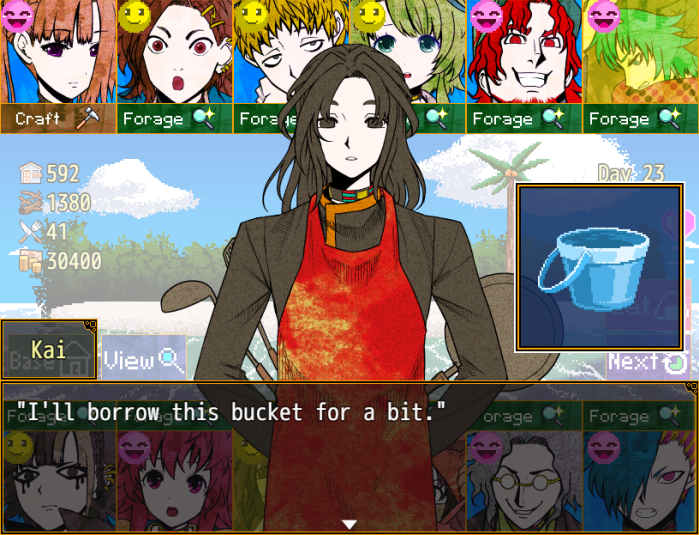 "Okay..."
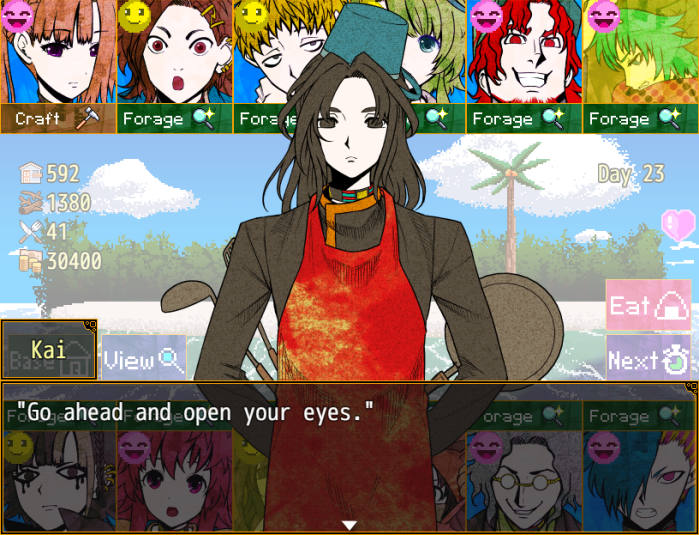 "Yes..." ".........."
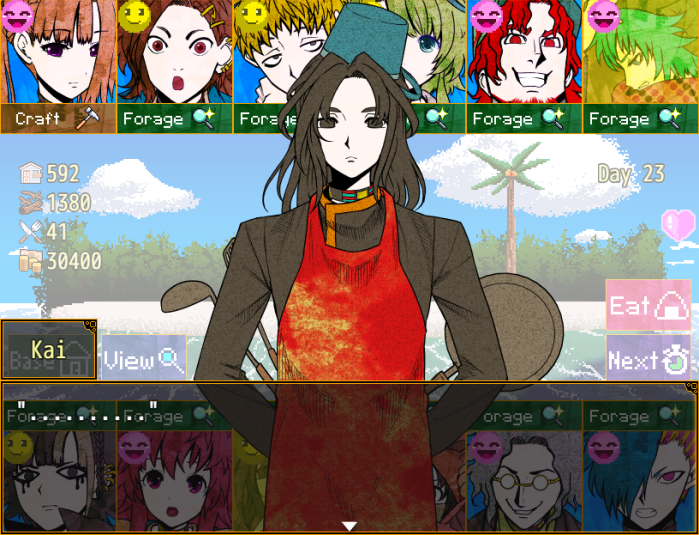
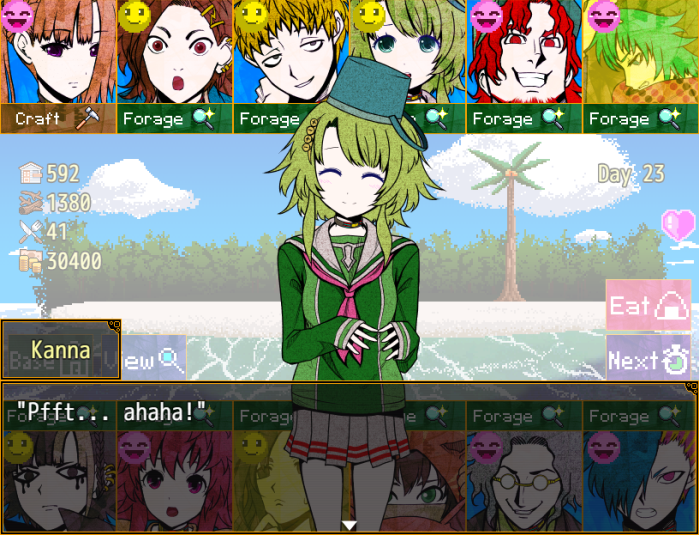
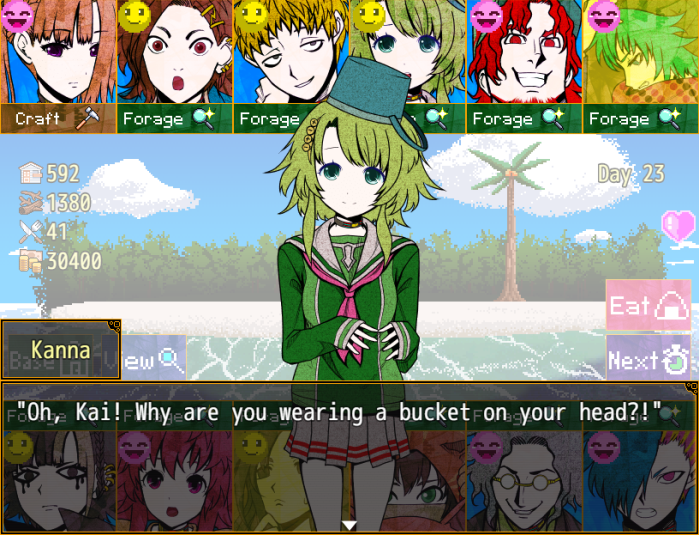
 "Isn't that obvious?!" "W-Well then, could you close your eyes once more?" "And... similarly, Miss Kanna... could I perhaps borrow your hat this time...?!" "Heehee! Never mind that, we should get back to the base soon!" "P-Please, wait! No..." "You're such a silly person, Kai! Kanna had lots of fun!" "A... Ahhh..." "Hurry up, Kai!"
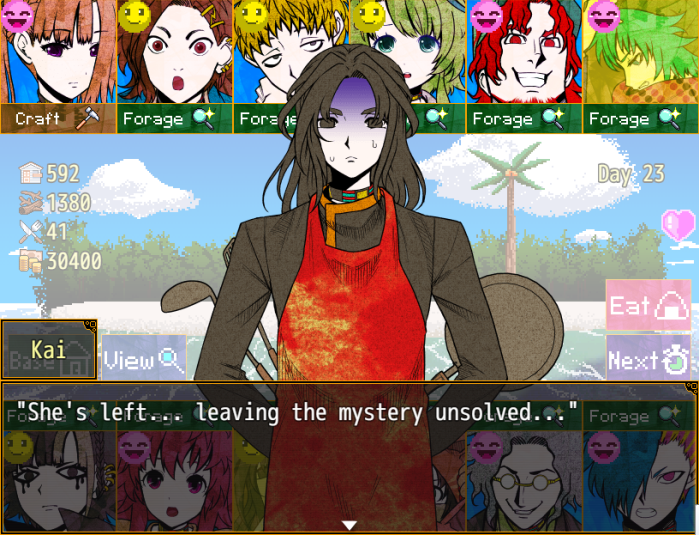
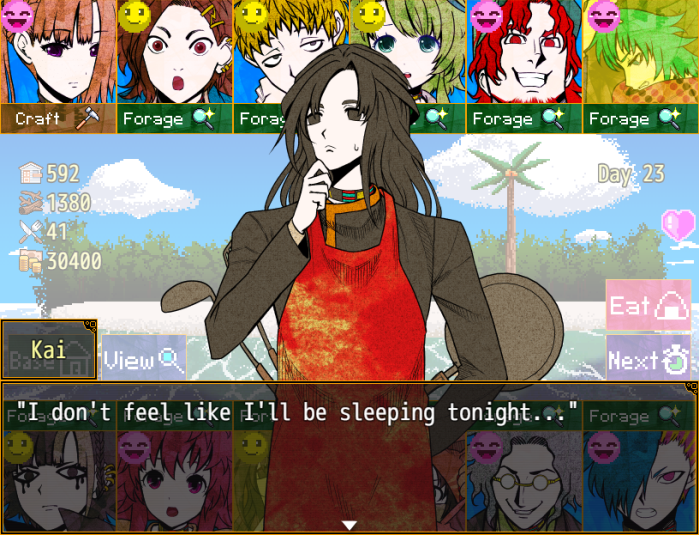
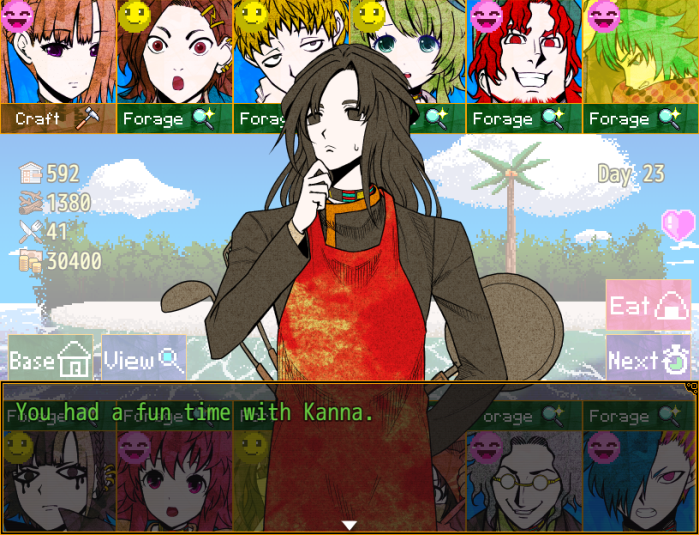
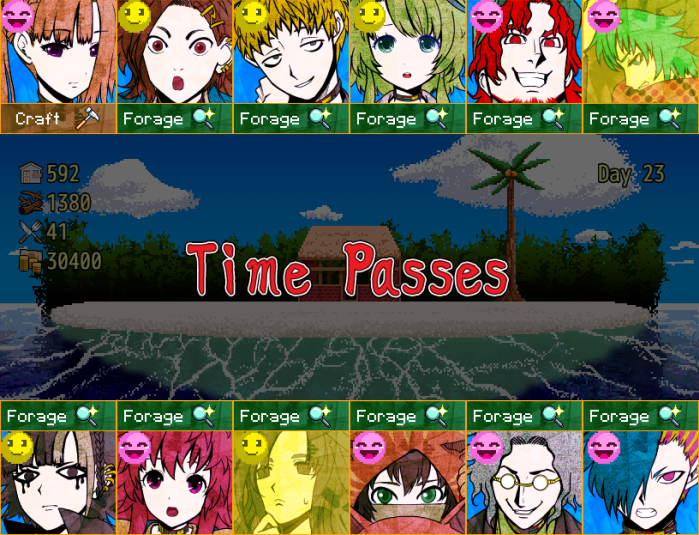
- Day 23 results:
Increased base points by 42.
Found 4,400 yen.
Found 5 food.
Found 33 material.
Found 4,200 yen.
Found 5 food.
Failed, but avoided injury.
Found 28 material.
Found 39 material.
Found 40 material.
Found 5 food.
Found 31 material.
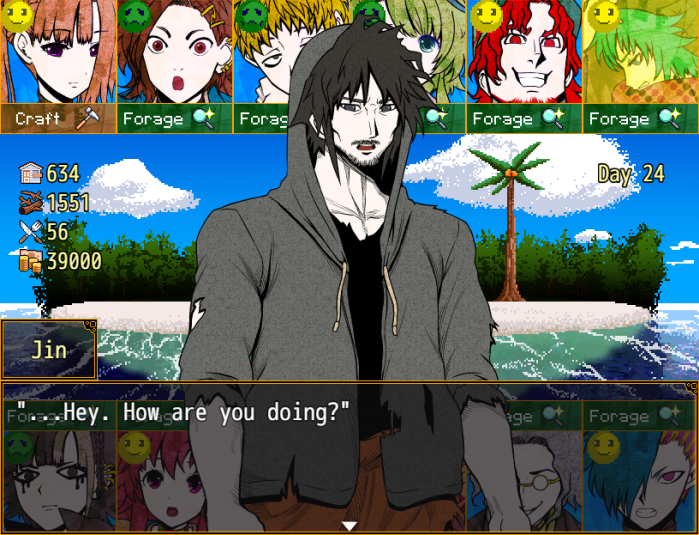 "Bearded Jin. What brings you here?" "I was passing by... So I just thought I'd talk. Here, a little present."
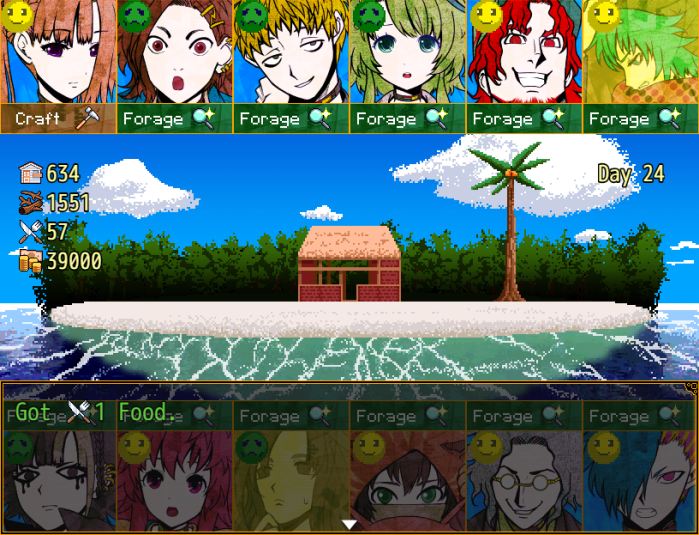 "...I get it. So if you survive for 30 days, this Miley gal says she'll let you go free..." "That's the long and short of it... A mystifying promise, isn't it." "Can you really trust her...? You might be better off making a raft and trying to escape on your..." "...Nah, never mind. Not gonna happen. I tried that myself..." "You tried that?!"
 "Yeah. I've gone out to sea on a small raft... But I guess the tide or something always sends me back before I know it." "Without something with an engine like a boat, escape is impossible." "H-Hey... You're an engineer, right? Not gettin' my hopes up, but could you, y'know, build a boat?" "I might be able to repair one... But no way I could make a boat from scratch." "Dammit... Plus, I don't know anything about the sea! Used to know somebody who did, but..." "You used to...?"
Music stops.
"She got done in... By one of those huge birds who attacked the back of our base...!" "...!" "I just wanted to save myself, so I ran away and left her there..." "I've looked for her... but never found her. By now, I'm sure she's..." "Isn't it a little early to give up?" "What...?"
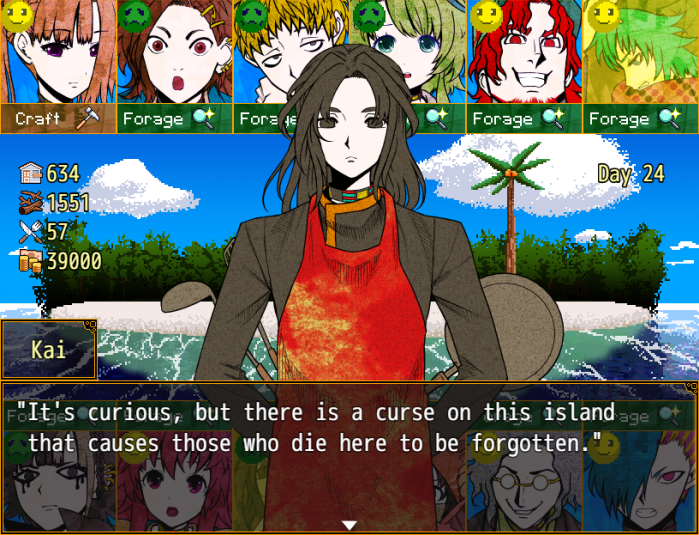 "H... Huh?" "Are you being serious right now?" "Indeed, I am serious. I am not telling tall tales." "If you have not forgotten that person, there is only one reason why." "...True, there's been a lot of weirdness here." "I hardly remember washing up here..." "Maybe a whole bunch of us washed up at first... Besides me and her. But then all of them..."
Music stops.
"...No, there's no point in thinking about memories I don't got." "You're my benefactor, so I'll trust you. The one I still remember... I'll go look for her." "Yes. I am sure you can protect her." "See ya, Kai." "Good fortune upon you..."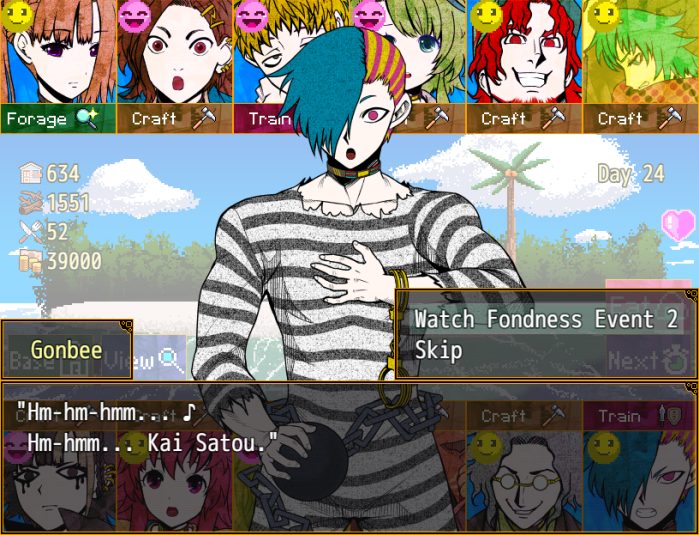 "Ah, you're in a cheerful mood, Gonbee." "Hoh... Does it look that way?" "Hm! That thing around your neck...!" "Mwahaha... You've noticed..."
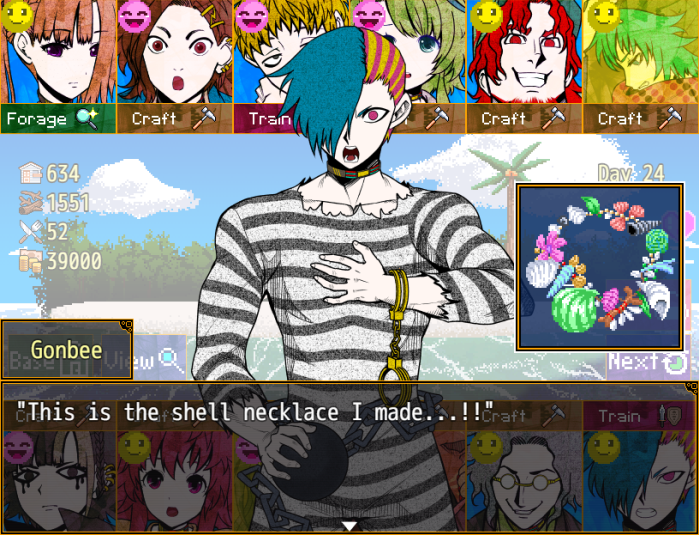 "Impressive... The colors... the combinations... the sizes... I can tell you selected them carefully." "Mwahaha...! Indeed!" "I drew out the parts I needed on the sand, and collected the closest possible combinations...!" "So in essence, you made a blueprint?!"
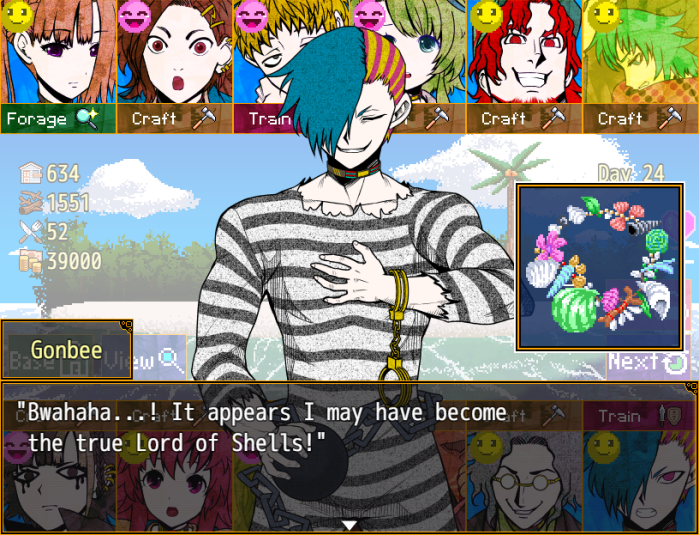 "You're not making much sense, but the depth of your confidence is clear..." "No longer do I need some shell necklace you made..." "Hm...?" "My creation... has surpassed yours!!"
 "Go ahead and do yoga forever with that unbalanced necklace! Hahaaa!!" "W-What a rude remark...!" "Do you have an objection? Hmm...?" "I-Indeed... Your creation is very beautiful..."
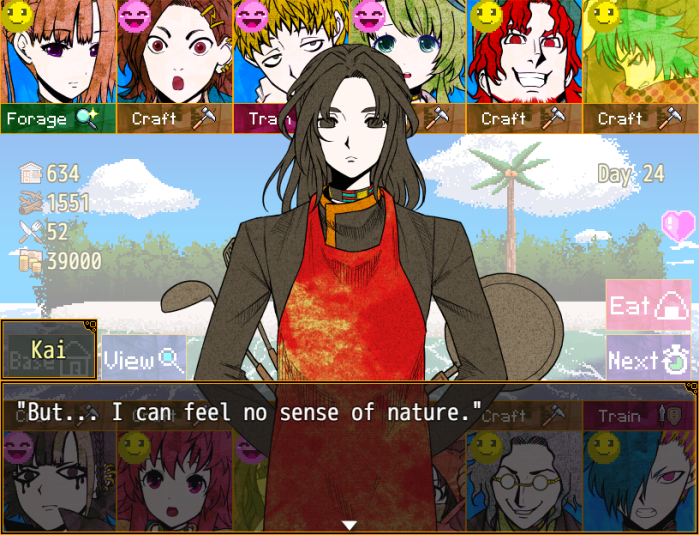 "What...?" "You drew a blueprint first, then carefully selected only shells that fit it..." "A creation using only smooth and pretty shells without deformities has only a resort-like beauty!!" "W-Why, you...!!" "Ah..." (Shoot... I got carried away...) "Listen well, Kai Satou...!" "Both your natural necklace and my resort necklace are of equal value!" "A cityscape at night can be its own kind of beautiful compared to a rural view of countless stars...!This is the same thing, Kai Satou!!" "Hrmm...!" (What a passionate soul... To think I'd be so pressed over shells...)
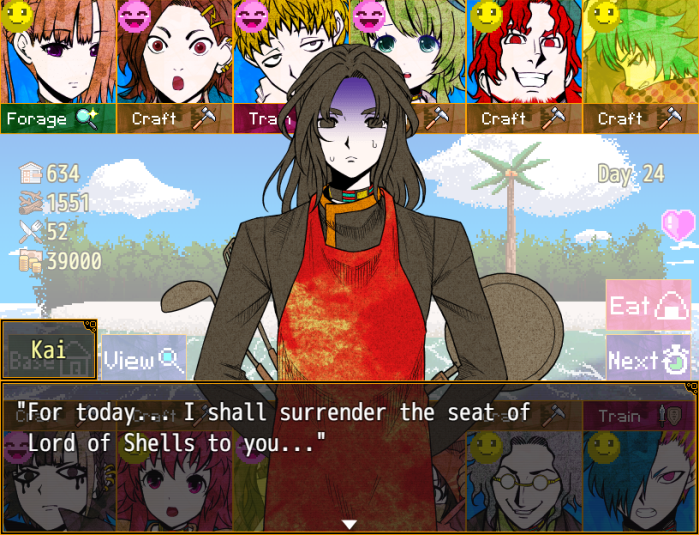 "Hmph... You're not making much sense, but I suppose that means I win..." "Indeed..."
 "As if a conceded victory... would satisfy me!!" "We'll settle the score, Kai Satou...! Next time, I'll deliver you a crushing defeat!!" "...Very well. I welcome the challenge, Gonbee." "Hmph... You'll get what's coming to you..." (I could well be bested if I'm not careful...) (What a terrifying person. Perhaps my greatest rival...)
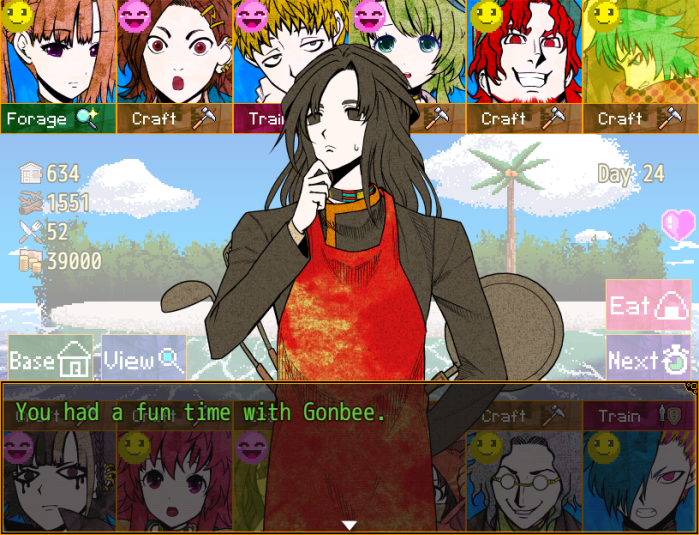
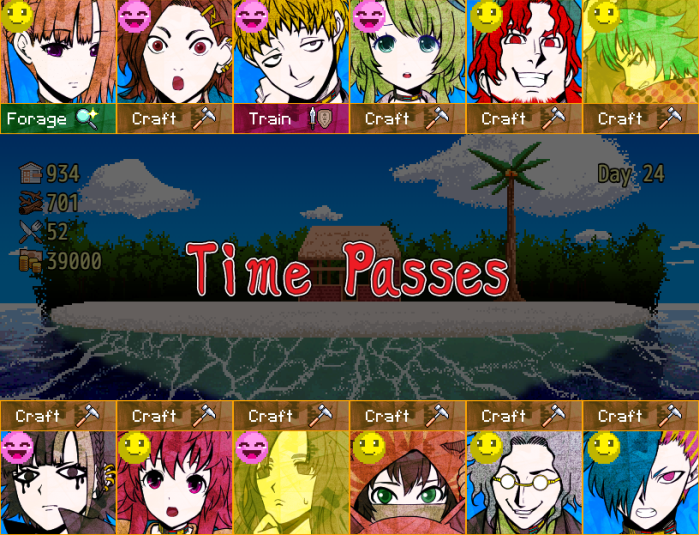
- Day 24 results:
Found 6,800 yen and 66 material.
Increased base points by 34.
Skipped due to a bug.
Used material to advance base.
Increased base points by 12.
Increased base points by 40.
Increased base points by 35.
Increased base points by 83.
Used material to advance base.
Used material to advance base.
Increased base points by 46.
Increased base points by 23.
- I'd really like to finally unlock the second base, and we have quite a bit of food right now.
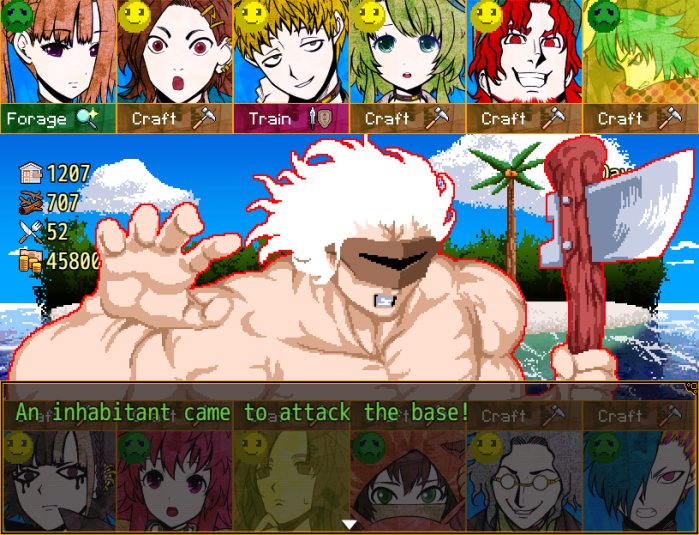
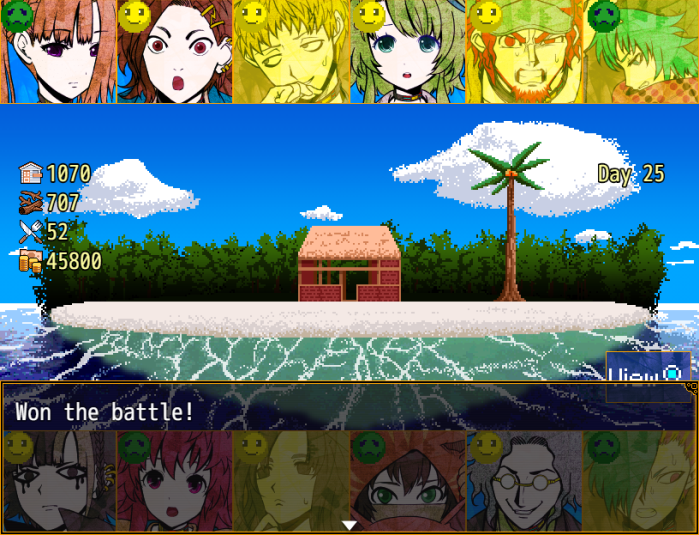
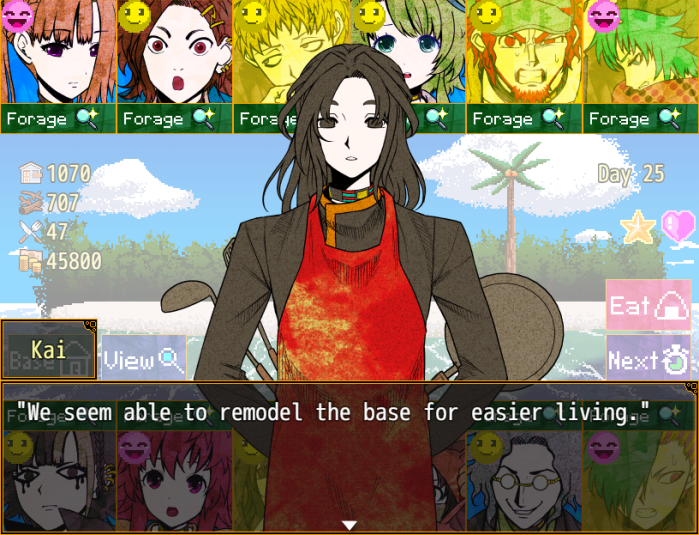
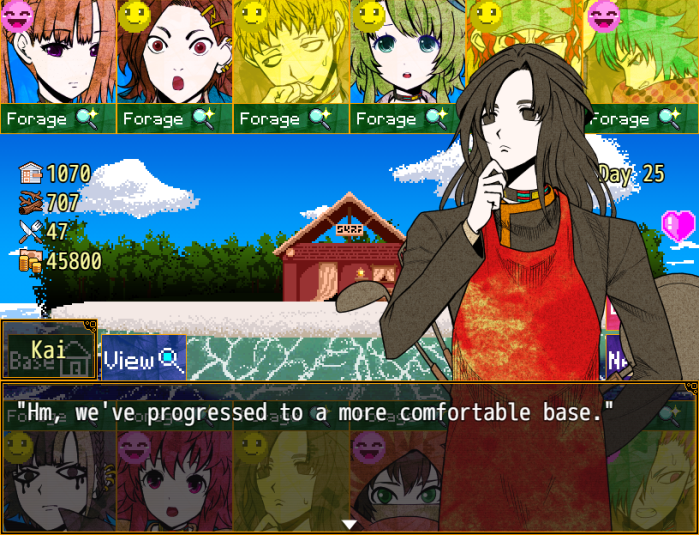
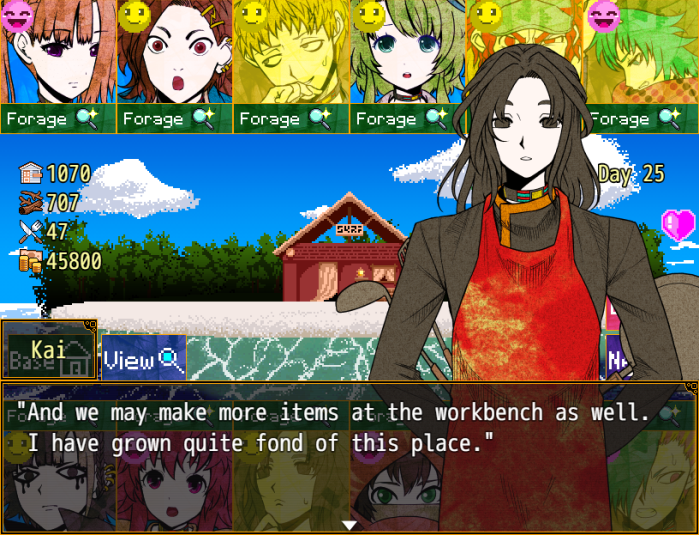
 "Does it have to be me?" "Sure does... Here."
 "It's pretty huge... About 30 centimeters? Nearly double an ostrich egg." "Hmm... Could it be an Aepyornis egg? No, surely not..." "Eepy... orn... what?"
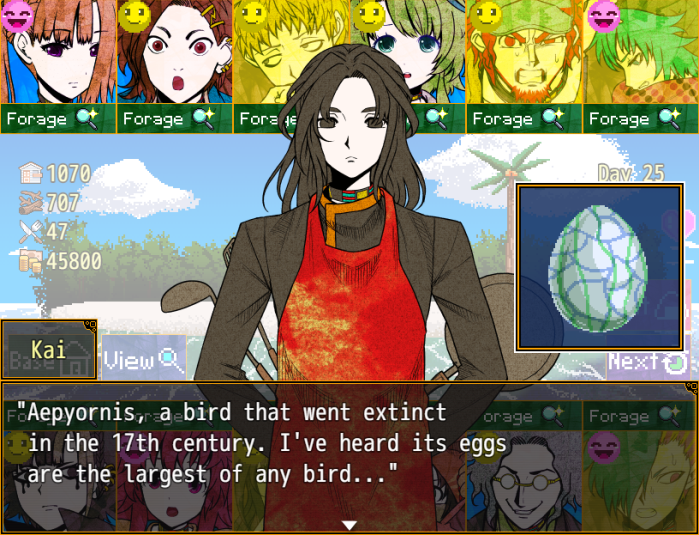 "Now that you mention it, this island does have those giant birds..." "Those are just weird birds." "Oh, gotcha..." "In any event, it certainly seems to be a bird egg. Hmm..." "Hmmm..."
 "Wanna eat it?" "Eh...?" "Certainly, I've never heard of a bird egg that's poisonous for humans, but..."
 "How are you able to say something so unsettling with that serious look?"
 "Kai... You opposed?" "Y-You thought I would be in the least bit approving?" "After all... how do you intend to cook the yolk after extracting it?" "Just slurp it down raw." "You mean to drink it...?" "Rather than something so wasteful, I could make a delicious egg dish..." "Tastiness isn't everything, Kai." "I really don't understand." "Enough. Our discussion's over."
 "Hyah!"
 "..."
"..." "Huh...?" "Mm... I had this weird dream. I tried to drink an egg, and then you..." "A strange dream indeed. Well, let's work hard today." "Okie-dokie." (Good... He seems to be back to normal.) (Does he lose control when faced with rare delicacies...?)
- Day 25 results:
Found 13,700 yen.
Found 5 food.
Failed, but avoided injury.
Injured.
Found 37 material.
Found 46 material.
Failed, but avoided injury.
Found 31 material.
Found 36 material.
Injured.
Found 50 material.
Injured.
 "You're here again?! Like you're feeding a pigeon...!" "Yes. Today, I bring bread crusts." "...That's a feast on a deserted island. So what is it?" "You required parts to fix your boat, I recall." "...Yeah." (Hm... Should I give her materials?)
 "I-If you're giving it, I'm taking it, but...!" "I hope it can be used for repairs.” "...Here. Take this."
Music stops.
"...Um. I think... I've got enough for repairs now." "Oh, do you?" "Just looking it over... I shouldn't need any more materials..." "What I need... is an expert who can fix it..." "Oh my..." "I know the sea and boats because of my parents... But I can't possibly do any repairs..." "...I'm sorry. You gave me all this... But I'm too stupid to make use of it..." "...Now, now. Would you come back to base? The kidnapper says we can return on Day 30..." "You're trusting in a kidnapper...?" "But... I guess we're in the same predicament. I can't hope for a miracle from a boat I can't fix..."
Music stops.
"...Let me think it over some more..." "Please... do not make any hasty decisions."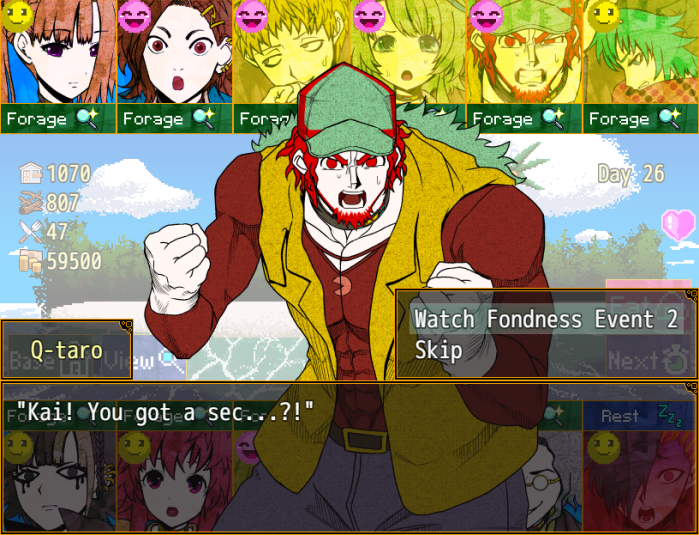 "It's hard to say this, but... Somethin' pretty bad's goin' down!" "Is it another food issue...?" "Nah, not that. It's the weirdest thing... Feels like I don't have to eat that much no more!"
 "But on the other hand, now I got a different problem...!"
 "...I'm... losin' muscles...!" "Shall we go look for them, then?" "I don't mean like that!! The body I trained up so much is shrivelin'!!" "Any way you slice it, it's gotta be degradation from lack of nutrition...!" "No, I would call it evolution." "Your body is changing to adapt to an environment where food is hard to come by."
 "No, you will." "No I won't!! I'm 80% muscle, y'know?!" "...That's quite a percentage." "I was not aware baseball players needed muscles to such an extent."
 "Whazzat? It ain't good to have too many, it reduces yer range of motion." "...Then is it not good for them to shrink a bit?" "...!!!!" "...W..."
 "Your unbearable feelings came out as a yell." "*pant*... *pant*..." ".........." "Kai... Y'know, you're exactly right...!" "A baseball pro shouldn't have an excessive amount'a muscle...!" "But at some point... maybe I just started pursuin' muscles that made me look good...!" "True, being seen is part of your job..." "But it is your play that should draw most attention." "Exactly...! Ya hit the nail on the head!!" "Haha... So then, you intend to say farewell to your excess muscle."
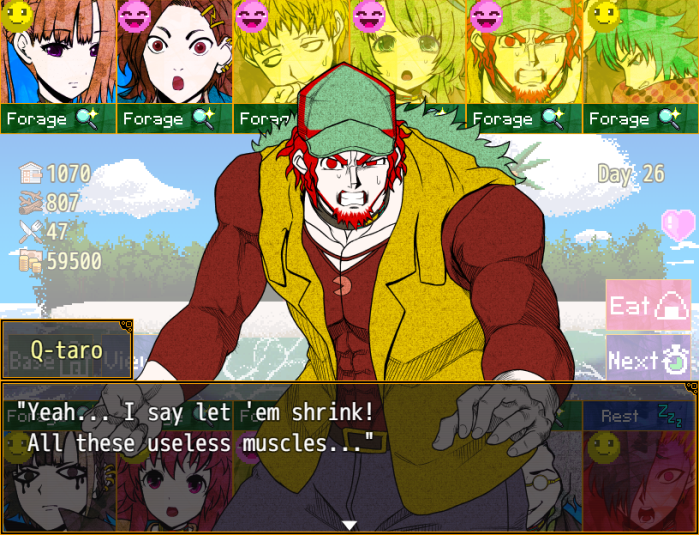
 "…" ".........." "I don't wannaaaaa!!" "This is an important crossroads, Q-taro..."
- Day 26 results:
Found 7,500 yen and 7 food.
Found 5,300 yen.
Injured.
Found 4,100 yen.
Found 4,600 yen.
Failed, but avoided injury.
Found 48 material.
Found 3,500 yen.
Injured.
Found 4,900 yen.
Found 51 material.
Health fully restored.
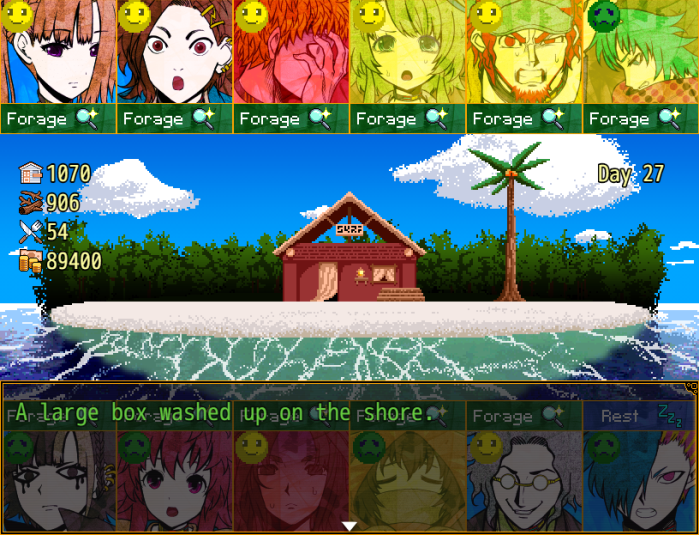
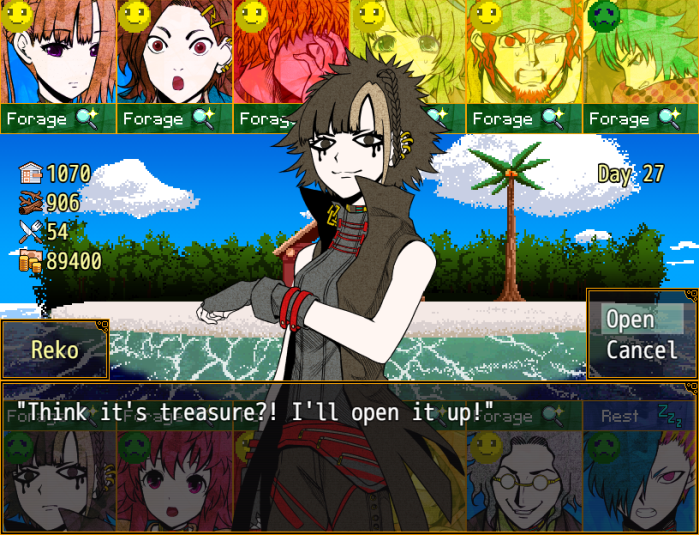
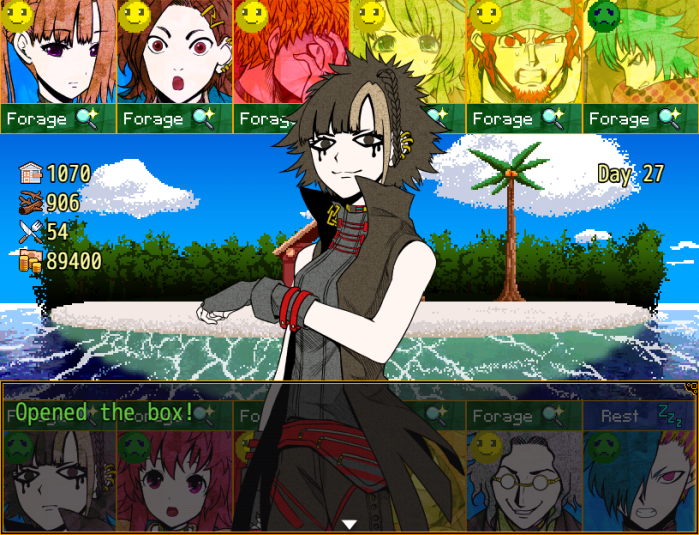
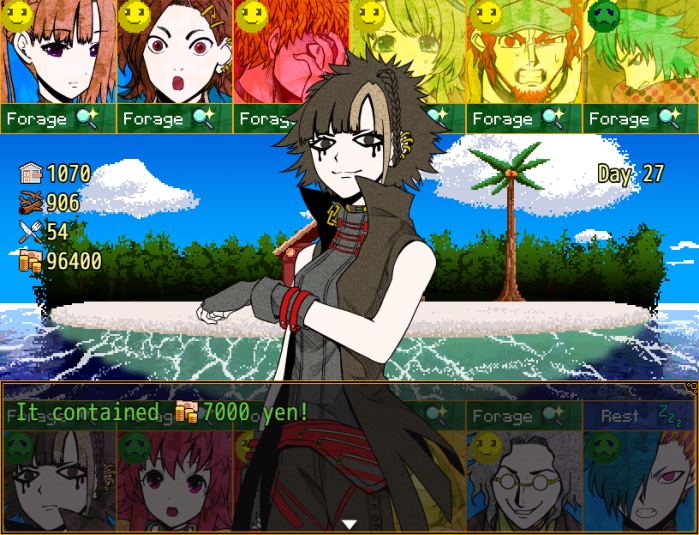
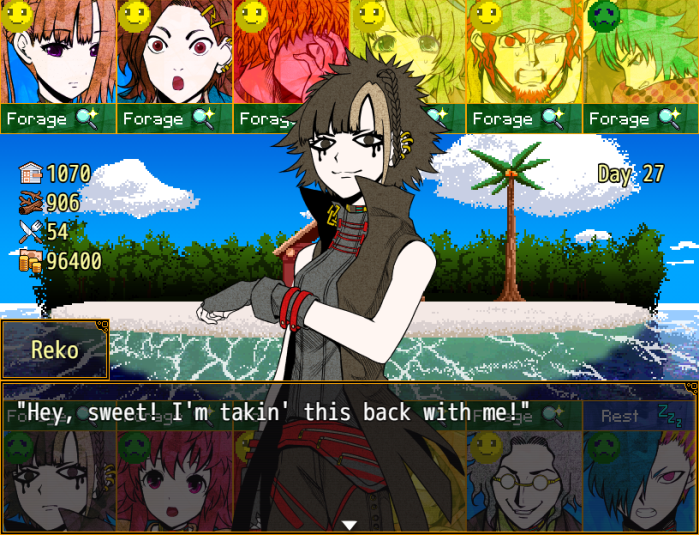
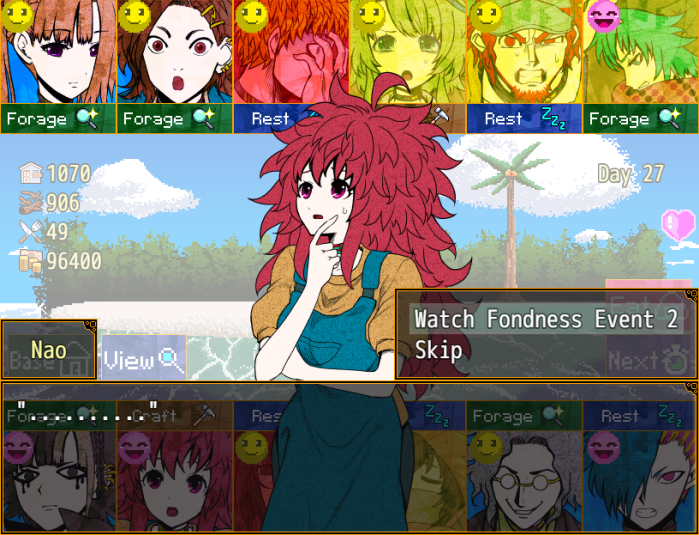 "Oh my. Why were you sneaking up on me from behind, Miss Nao?" "Hyaaaa! How did you knowww?!" "Did you wish to attempt what I did before?" "S-Sorry... I was just a little curious..." "...Although, did you just notice me without even turning around?" "Indeed. No matter how hard you try to conceal them, you have distinctive footsteps, Miss Nao." "D-Do I...?! What do they sound like?!"
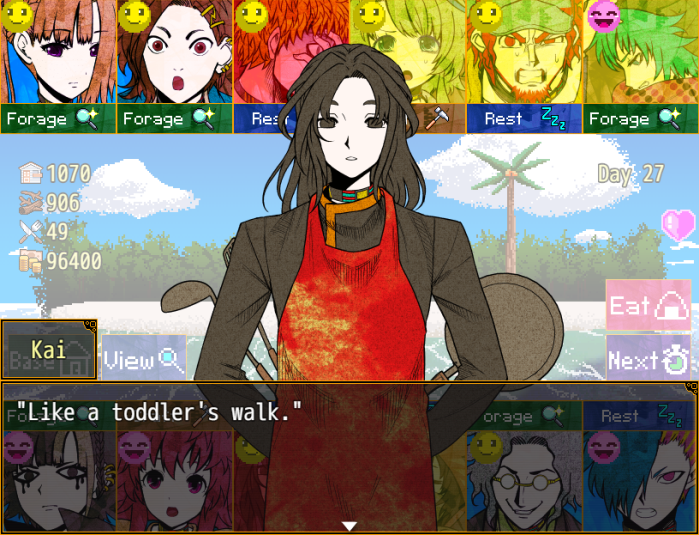
 "A toddler..." "They sound of defenselessness. The gait of someone living peacefully, not even imagining any accidents or encounters with evildoers..." "You should beware of kidnappings and the like." "Ahh! I will!" "That even goes for myself. Since you stood behind me, I nearly went "swish" on you. Quite the close call." "S-Swish... huh?! Wait, what exactly would've happened to me?!"
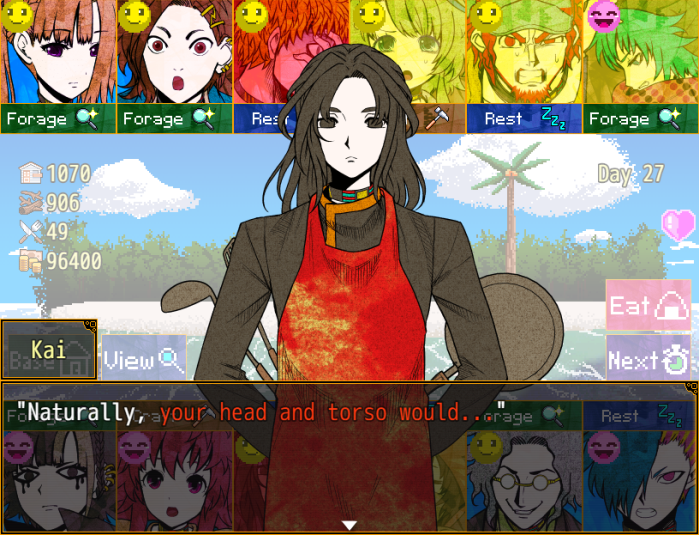 "Stop!! This sounds like it could only be scary!!" "Smoothly... ah, is that so. I will refrain from saying the rest." "Smoothly...?! Wait, now I'm curious!" "Haha... Always one to entertain my jokes, Miss Nao." "O-Oogh... I'm always getting teased, aren't I..."
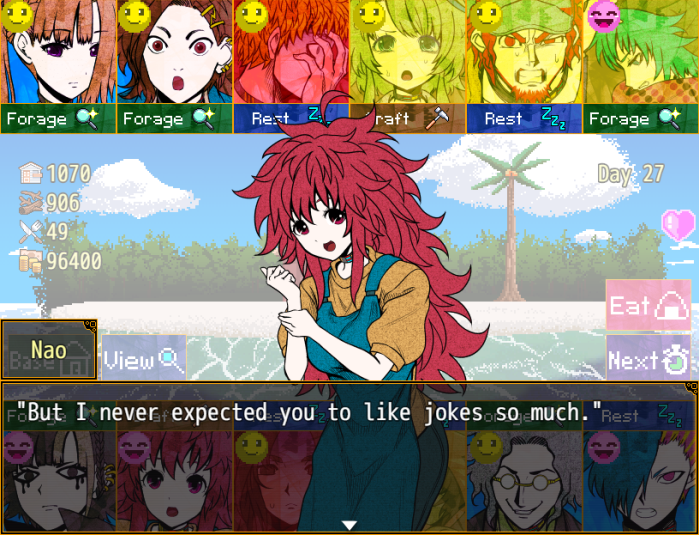 "Did I give off a bad impression?" "Not at all! It's more that you're more silly and cute than I thought!" "O-Oh... Thank you very much." "Heehee! It's true!" "Miss Nao... You said that with such honest eyes." "Ah! I-I'm sorry... I bet you don't like being called cute..." "It's not that, exactly..." "Well, good! Eheheh..." ".........." (How troubling. Before I knew it, I was the one being played with.)
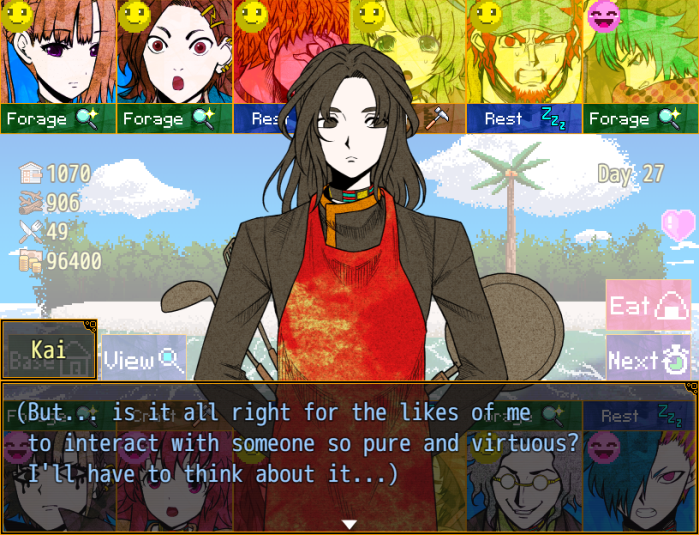
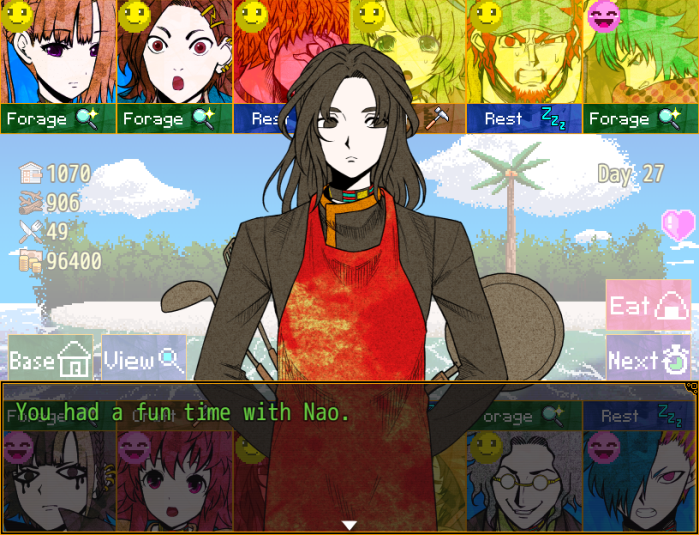
- Day 27 results:
Found 68 material.
Injured.
Health fully recovered.
Increased base points by 42.
Health restored by one stage.
Found 4,700 yen.
Failed, but avoided injury.
Increased base points by 46 and used material to advance base.
Health increased by one stage.
Health fully recovered.
Found 50 material.

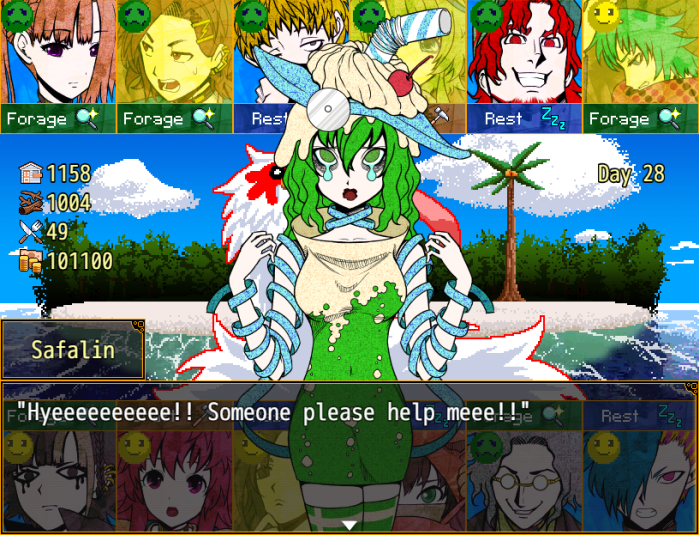 "Hm... Miss Safalin is being attacked by a bird."
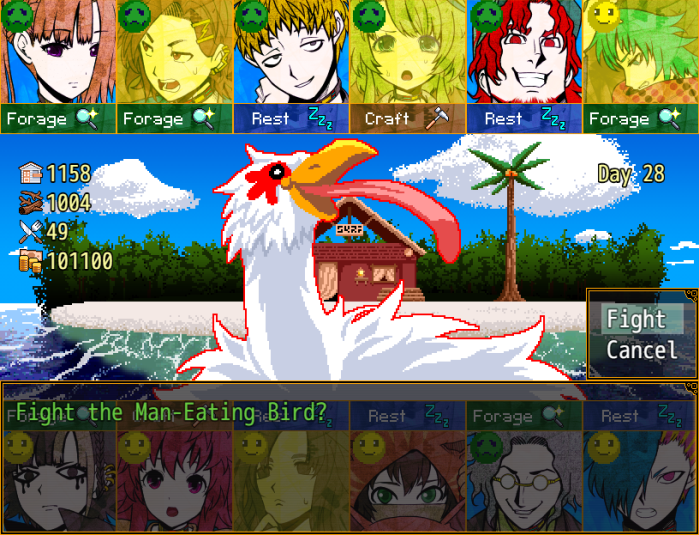
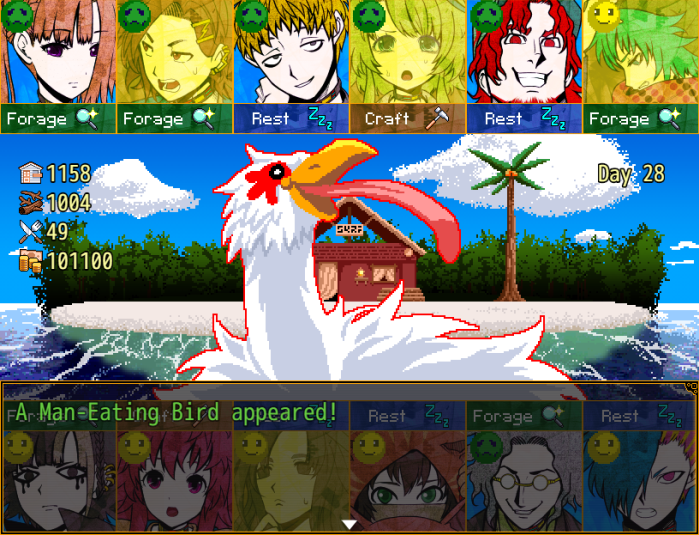
Music stops.
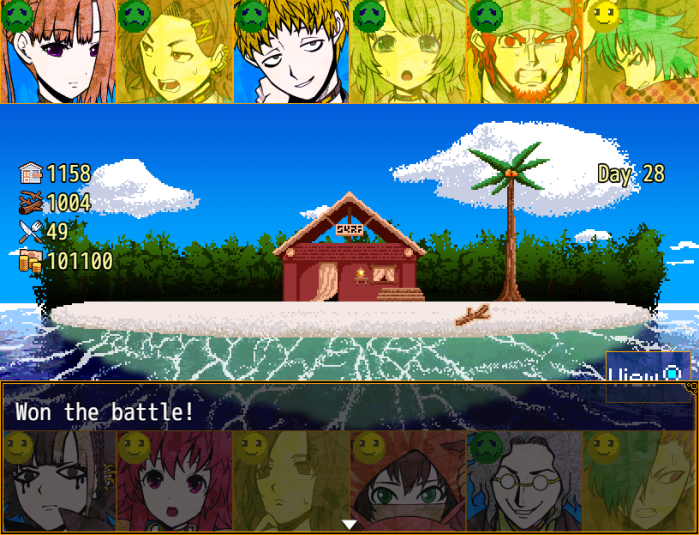
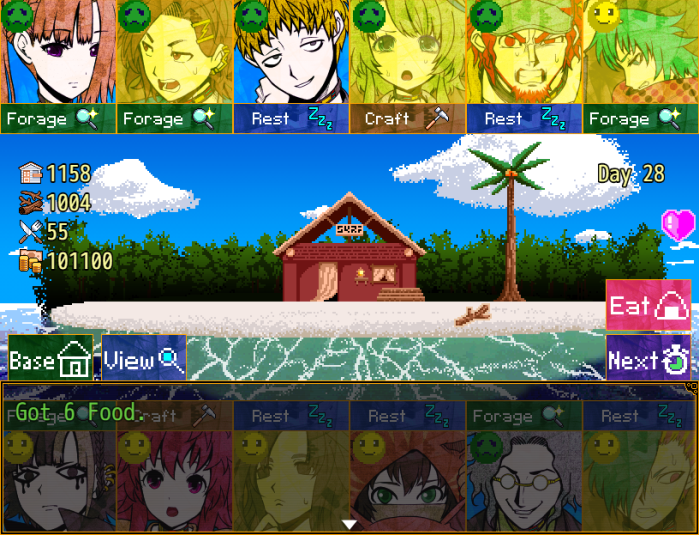
- I mentioned the increase in enemies health before; when I covered Mishima's scenario, Gonbee was able to take out the bird in one attack – this time, it took one attack from Q-taro, two from Gonbee, and one from Keiji – both Q-taro and Gonbee have a fighting score over 90 at this point.
"A close call, that one." "Aaaah, thank you so muuuch!!" "H-However should I thank you?! I'll do absolutely anything I can..." "If you'll do anything, then... your shop." "Eh...? Aah... understood..."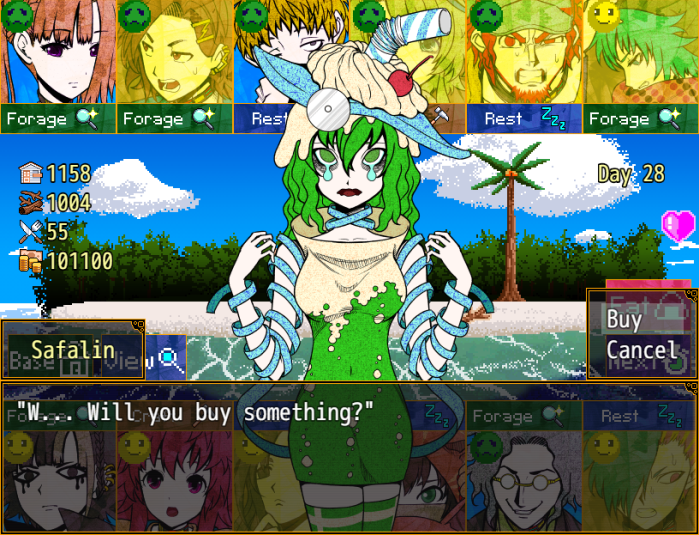
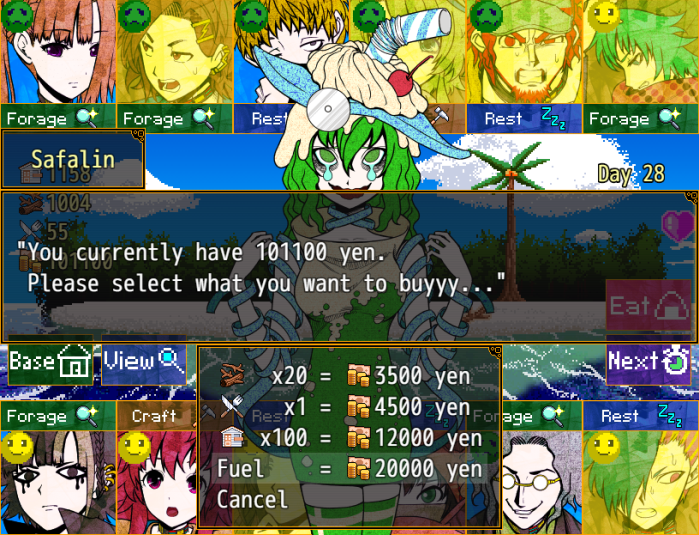
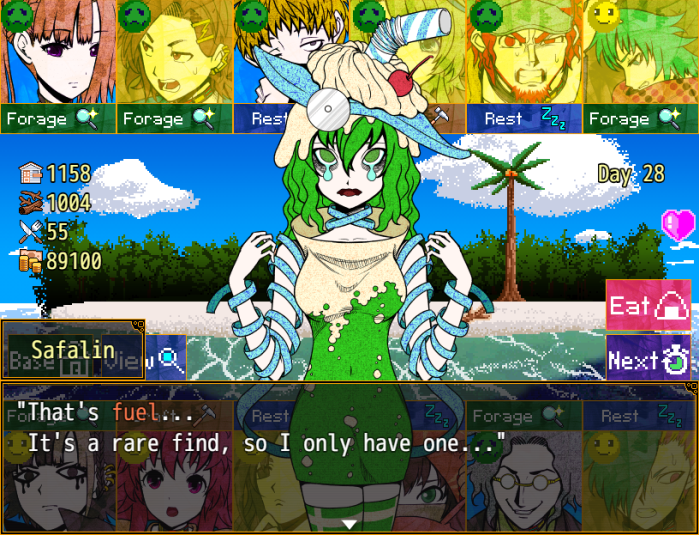

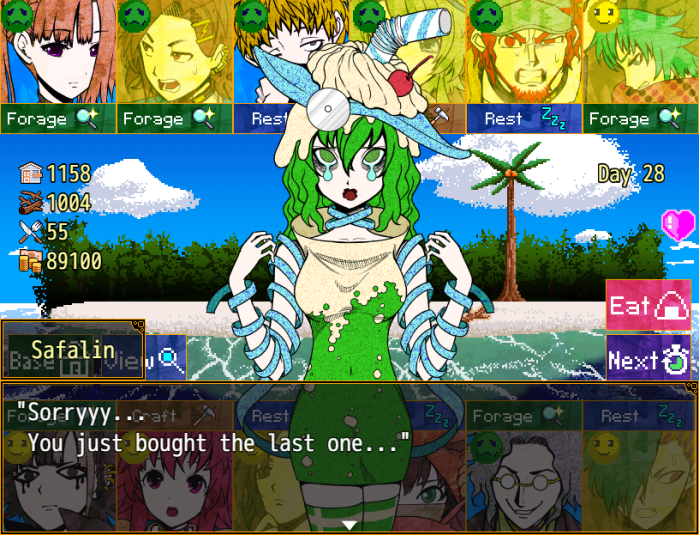
- Prior to Kai's scenario being released, you could buy as much fuel as you could afford, even though you only need one fuel for the Normality Regained ending.
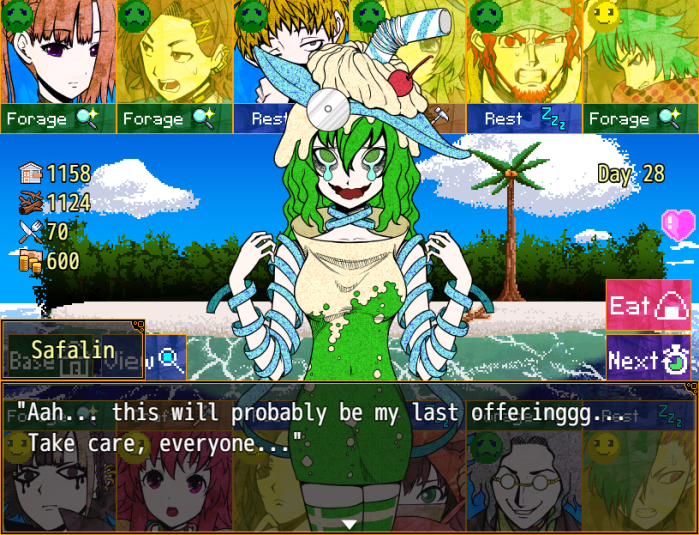
- This is also new, previously Safalin just gave the normal remark about stocking up and coming back – now she points out that this is the last time the shop will be available.
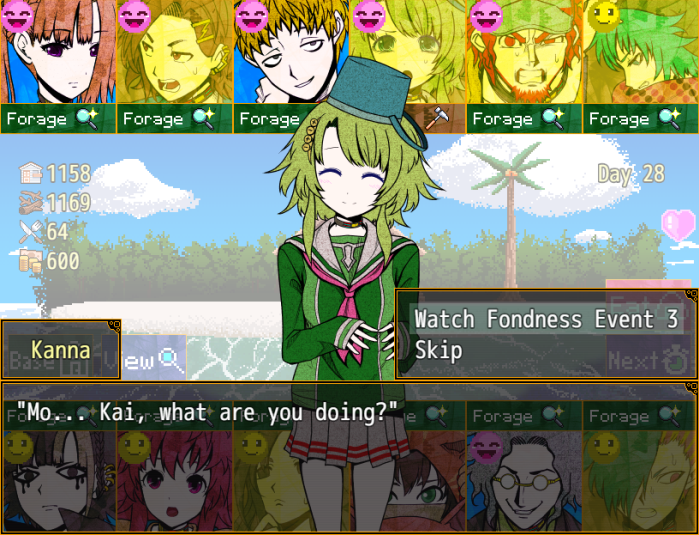 "You were about to say "mom," I take it." "N-No! I wasn't! Not at all!" "I... I said "my Kai"!" "My Kai...?" "That's right! It's polite! Like saying "my lady" or "my dear"! That's just common sense!" "I see. Impressive, my Miss Kanna." "Don't go calling me something weird!" ".........." "...Oh..." "Sniff... sorry. I was actually about to call you "mom"..."
 "Kanna's a bad kid for trying to hide it..." "No, I'm the bad adult for teasing you about it." "Don't say that..." ("Mom," hm...) "Do you like your mother, Miss Kanna?" "Yes! I love her!" "She's kind... umm... and cool!"
 "In that case, I'm glad to be mistakenly called your mother, if you love her so much." "A... Are you really?" "Indeed. By all means, tell me more." "Err... Mom knows everything Kanna doesn't know!" "Hmm, yes." "She's harsh sometimes, but... she always supports me, saying "we'll do our best"...!" "Also, heehee! She's stronger than dad sometimes! She's so cool!" "A reliable sort." "But... she's lonely at times, too..."
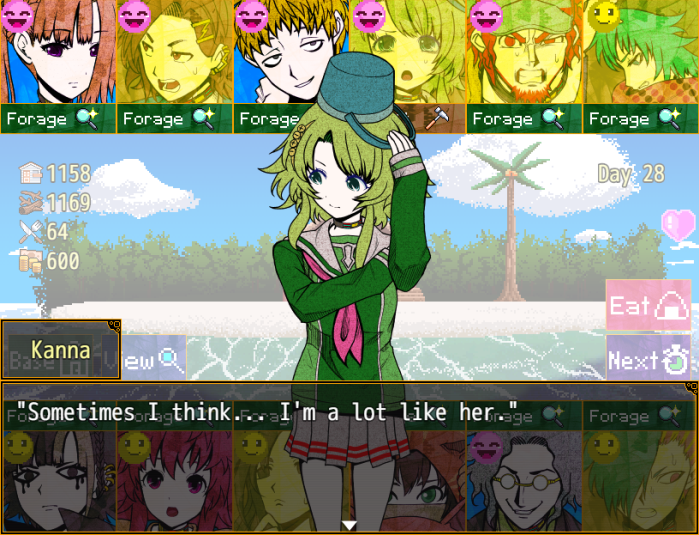 "Even though we're not blood-related... I guess families are just like that! Heehee..." "Indeed, I'm sure it must be so." "Right? Eheheh!" "...That's why..." "I'm sure she's missing me right now... so I want to get back to her soon."
 "K... Kanna has all of you, so... S-She's not lonely, but..." "Miss Kanna..."
 "I-I'm sure... mom is... w-waiting for..."
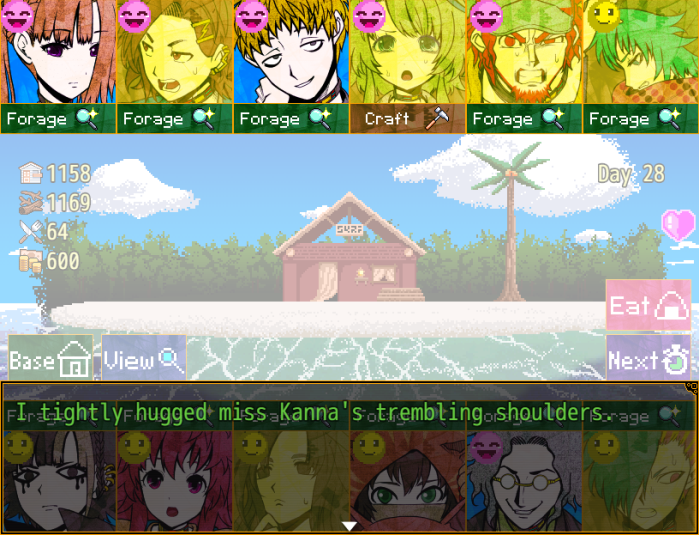
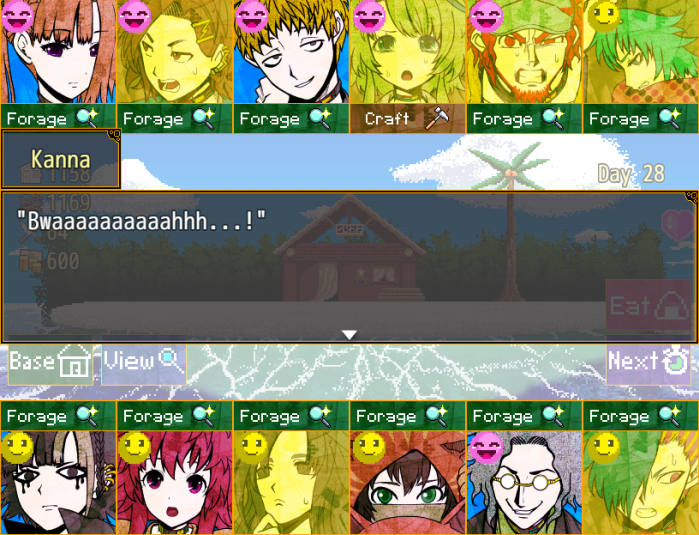 "...Have you calmed down?" "Yes... Sorry, Kai..." "Oh, there's nothing to apologize for." "Okay..."
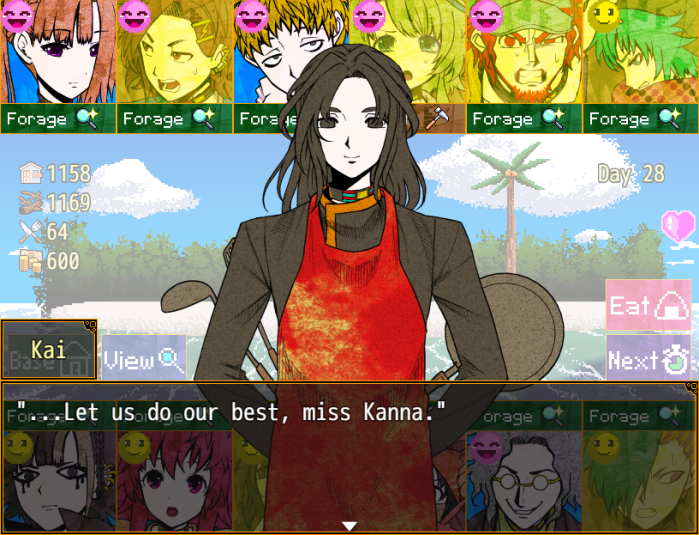 "Kai..." "You're a strong girl, much like your mother." "Tell her "I'm home" with lots of cheer, won't you?" "Yes...!" "While we're here, I will protect you. Whatever dangers may come..."
 "Hyaaah...! Please don't say that to anyone else!" "It's embarrassinggg!" "My, my... She's left again."
- Day 28 results:
Failed, but avoided injury.
Found 5,700 yen.
Found 51 material.
Increased base points by 48.
Injured.
Injured.
Found 50 material.
Found 4,600 yen.
Found 38 material.
Found 44 material.
Injured.
Found 3,600 yen.
 "Ah, bearded Jin." "You're getting close to escaping, right? Hope you make it back okay." "Did you find the person you're looking for?" "...Nah. Never ended up finding her." "I see..." "Well? What do you say to returning with us?" "…" "You... still intend on searching, then." "Yeah. Because... I still remember her. Her face... and her name..."
Music stops.
"Touko Rikuno... That damn cheeky rich girl." "Miss... Touko...?" "You know her?!" "Yes. Please follow me." "Touko!!" "H-Hyeeeeek! Jin!!" "What are you doing out here...?!" "I'm sorry!! I'm sorry!!" "I'm glad... you're okay..." "Huh...?"
 "Jin was looking all over for you, it seems." "Y... You aren't mad...?" "W-What're you saying? That's backwards... You aren't gonna yell at me for leaving you to that flock of birds...?" "I-I mean... I was the one who wanted that egg, and acted on my own... who ignored what you said..." "Dummy... That's not..." "...I'm sorry..." "Alright, let bygones be bygones. More importantly, what are you doing over here?" "It's because I found a boat... And I figured, "if Jin were here, he'd fix it."" "But I thought you'd died... So I just stayed here staring at it. Ignoring the reality, I guess..." "Is that how it went? Good job staying alive... You're stronger than I thought."
 "Well, obviously... Heheh..." "Kai... Thank you. Without you, I probably wouldn't have found Touko." "Yeah, Jin's got no sense of direction." "To see you reunited is what's most important. What do you intend to do now?"
 "Oh, but wait! We don't have fuel, Jin!" "Urk... Well, that's not good. Gonna have to do something about that..." (Fuel...? Oh, could this be fate as well? I just happen to have some.)
 "Here, to commemorate your reunion." "What?! It's fuel...!! You're sure?!" "Indeed. I have no use for it anyhow." "I'm in your debt as always... I really don't have words... Ahh... I couldn't owe it to you any more. Truly, thank you..." "Touko, you say thanks too." "Ehhh...?" "Just kidding... Thanks."
Music stops.
 "...When our boat's fixed, you can ride too! Heheh..." "Let us both survive and escape."
 "...Oh? Miss Nao." "Huh? What's the matter...? You don't look very cheerful..." "D-Do I not...?" "I was just... thinking about things." "Do you mean... you're having worries...?" "Because, if you are... I think sometimes... it can help to talk about them!"
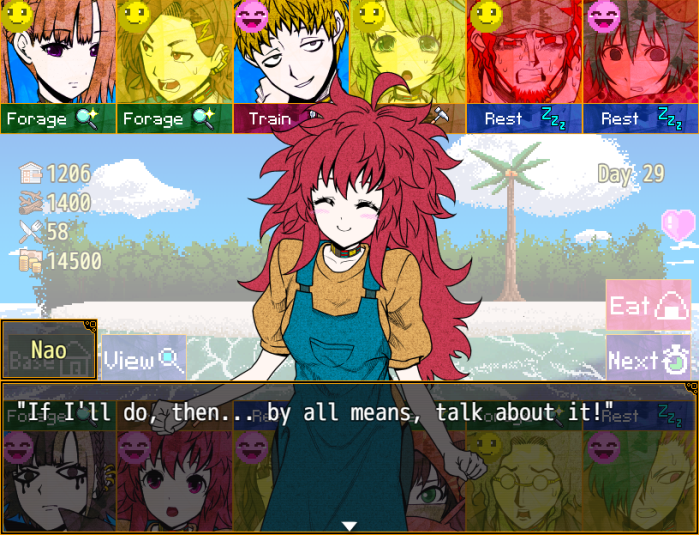 "...No, I don't have "worries" per se..." "Really...?" ".........." "…" "...Please don't be angry with me." "Of course!" "I... err..." "I am... uneasy when I'm with you, Miss Nao." "Ehhh?! I'm sorryyy!! Did I do something wrong?!" "No, not at all." "If there is a problem, it lies with me..." "With you, Kai...?"
 "...Whenever I interact with kindhearted people... an uneasiness spreads through my heart." "Oh no..." "And my restraint speaks up... Telling me "you cannot involve yourself anymore."" "W-Why would that be...? I mean, Kai, you're just a normal..." "A normal homemaker... Do I look that way...?" "I mean...! All that stuff before was just jokes, right...?!" ".........." "I have... spent my life in much darker places than most." "If this darkness someday leaked out, and endangered people living happily..." "...I would not be able to stand that." "I... I don't really follow! What "darkness" are you talking about...?"
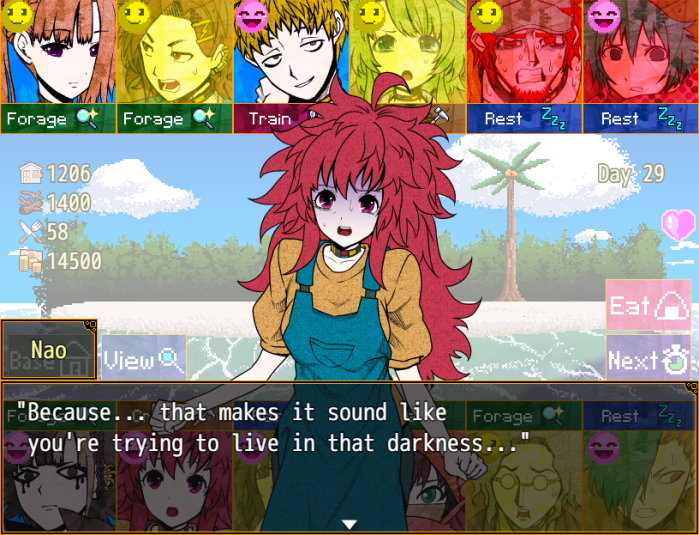 "...Indeed." "It's like... you're not thinking at all about making yourself happy..." ".........." "...Truly an artist at heart. It seems I may have gotten it across without directly saying anything." "N-No way...! That's way too sad... I hate it...!" "...You are somewhat mistaken, Miss Nao." "To protect people living happily from the shadows... That is what makes me happy." "I don't want to see any disaster or tragedy. So I simply work to prevent it... that's all." "I-I don't understand at all...!" "Because... I want you to be happy too, Kai!" "...!" "Please... don't talk like you belong in "darkness"..."
 "I don't want you to think... that you can't involve yourself with others...""...""...I understand.""R-Really...?" "Indeed. Mind over matter, as they say." "T-That's right!"
 "Nghh...!!" "Kai...?" "Urgh... *cough*...! *hack*...!" "...?" "Ah! You're laughing, Kai!" "W-Whatever could you be talking about..." "Heehee! It's fine, Kai, you can laugh out loud instead of hiding it!" (My word... Miss Nao is indeed incredible.)
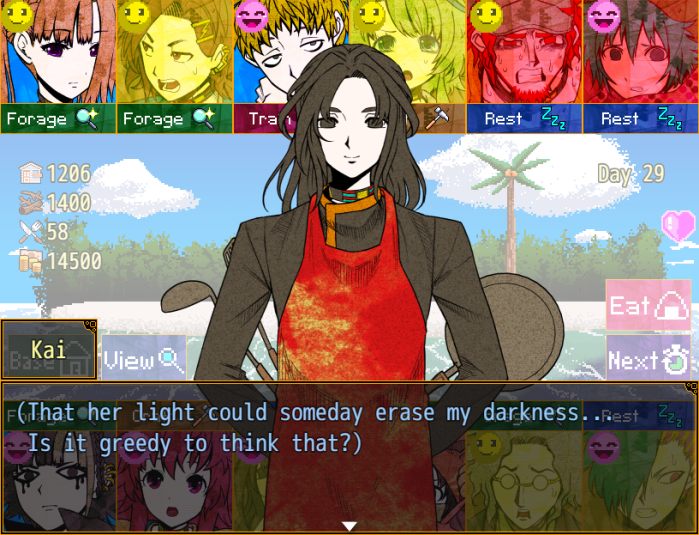
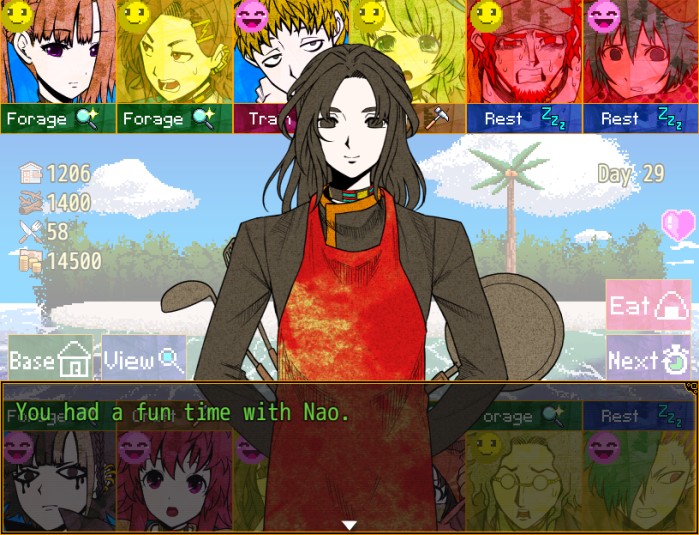
- Day 29 results:
Found 69 material.
 Injured.
Trained successfully.
Increased base points by 49.
Health restored by one stage.
Health restored by one stage.
Injured.
Increased base points by 52.
Health restored by one stage.
Found 44 material.
Found 55 material.
Health restored by one stage.
Music stops.
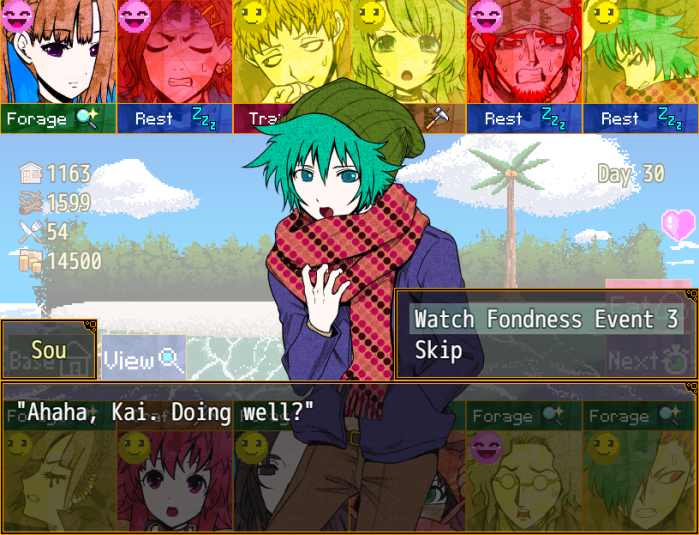 "Sou, your complexion seems better than usual..." "Haha, true... I'd say I feel like... a common mussel." "What...? Such a scary expression..."
 "D-Didn't you say that yourself?!"
 "Well, whatever... I'm in a good mood right now." "Did something good happen?" "You can't tell just looking at me...?" "I gained weight." "Did... you... now...?"
 "True, it is amazing to gain even a bit of weight on such a harsh deserted island." "I'm sure it's because I drank that strange liquid you made..." "It was full of nutrients and calories, after all." "Even if the ingredients were a bit, well..."
 "Urgh...! I-It's fine... I'm opting not to ask what was in that liquid..."
 "More of... that...?" "If I gained 100 grams from drinking one..."
 "If I drink a hundred, I can gain 10 kilograms...!" "A hundred...? A-Are you serious...?"
 "It must be possible in theory! Kai, my fate depends on your skills." "I beg to differ. Drinking one hundred of those would shorten your lifespan."
 "Please settle down. You aren't in a calm state of mind."
 "Ahahahaha... Don't chicken out, Kai..." "I can make my own decisions about my health... You just make the liquid for me, your ally." "I cannot do that... Please, let go!" "Huh? Where're you going, Kai...?"
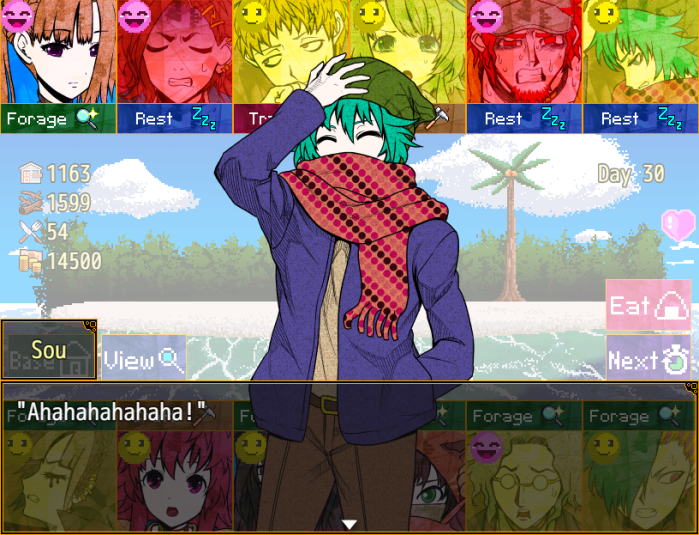
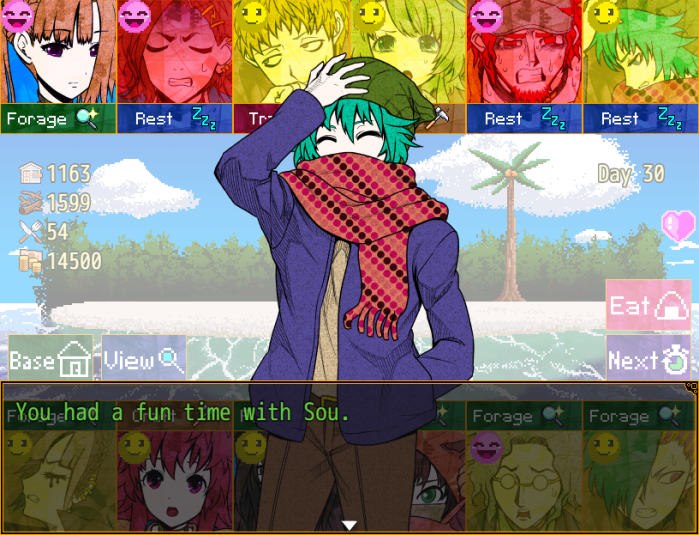
- Day 30 results:
Found 69 material.
Health restored by one stage.
Trained successfully.
Used material to advance base.
Health restored by one stage.
Health restored by one stage.
Failed, but avoided injury.
Increased base points by 54.
Failed, but avoided injury.
Found 5,000 yen.
Injured.
Injured.
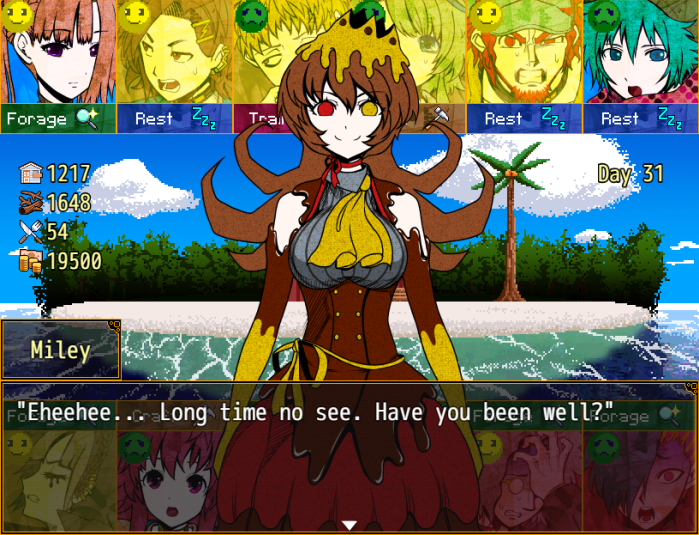

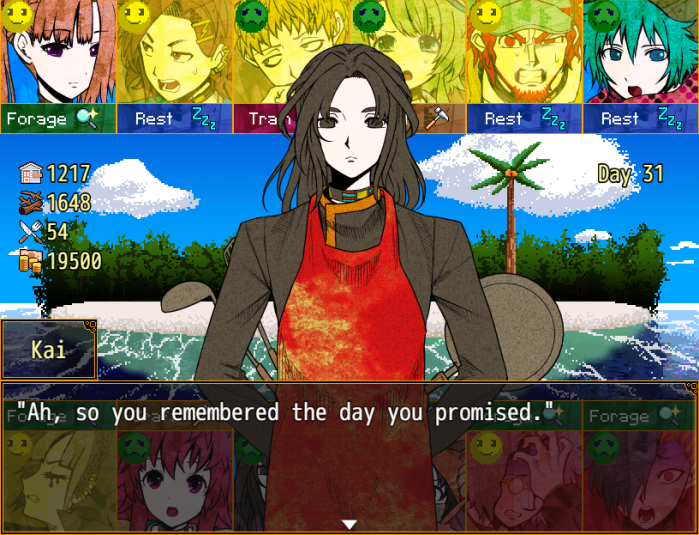 "Eheehee. Relieved I didn't stand you up?" "We survived, just like you told us to...! Now let us go!!" "Heehee, but it seems you could go a little longer. Shall I extend it by 10 days or so?" "Don't joke with me! We're already at our limit here!!" "What meaning does this island thing have anyhow? Even this friendly policeman's got no clue..." "Ahaha... Well, there would be no meaning to you learning that, either." "You'd just forget it anyhow." "Say what?!" "Oh, fine. If you want to return, then I'll take you back to where you were, as promised." "R... Really?! You'll really take us home...!!"
Music stops.
"Eheehee... Do you have an option besides trusting me?" "I leave it all to your judgement." "Return to where you came from with me...? Or stay, and share your fate with this crumbling island?" "Now... Make your choice..."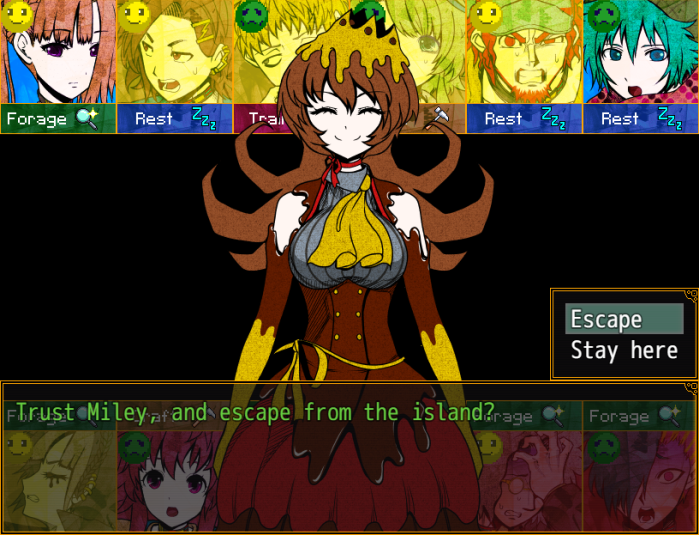 "Very well. I choose to trust you and escape." "Eheehee. That's good." "Now, drink this water, and go to sleep." "Ggh...!" "When you wake, you will all be free." "Please, go and feel just a moment's happiness." (My body feels heavy... Must analyze the situation... Where is this...?)
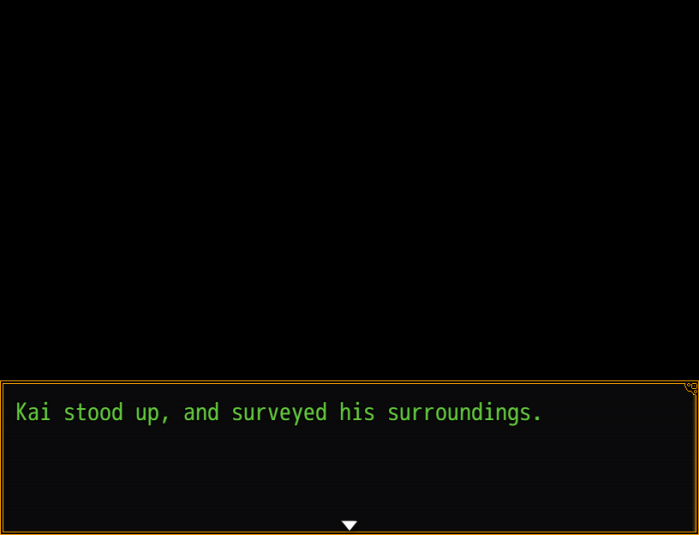
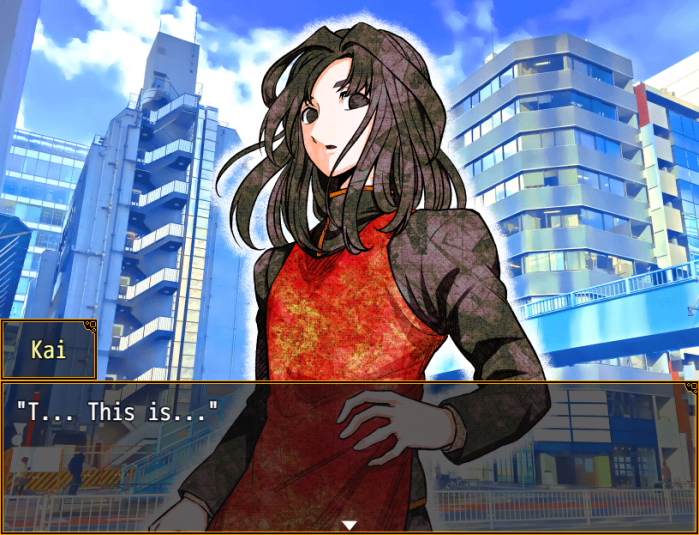

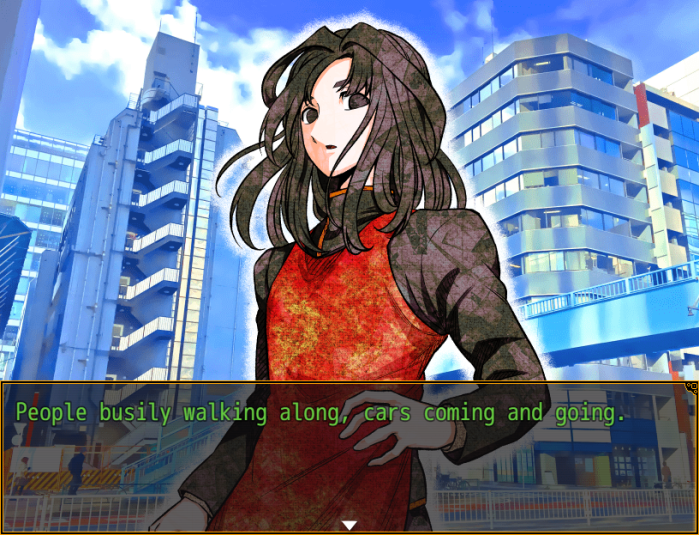
 "I was truly... able to make it back...? That promise... wasn't a lie?" ...That's right. What of the others...? Miss Sara! Joe! Where are you...?! I don't see them anywhere... Did they... return home?" Suddenly, something occurred to me. "...Someone is watching me..." Gazing eyes... Something felt off, like I was being observed. "Who are you?! If you don't answer, I'll...!"
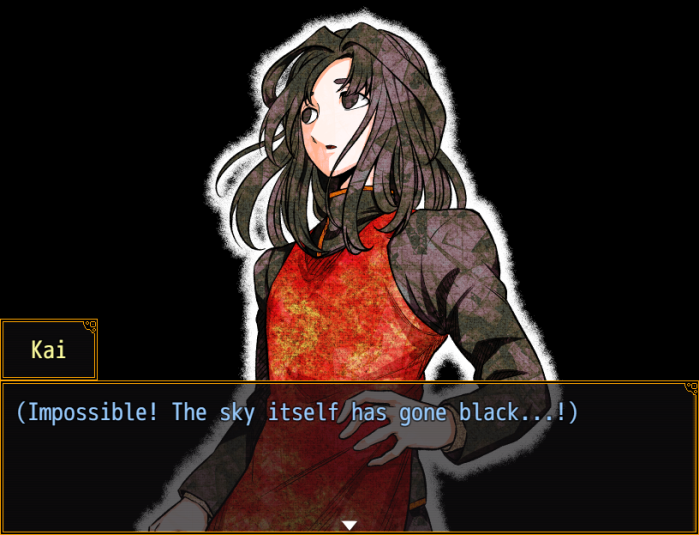
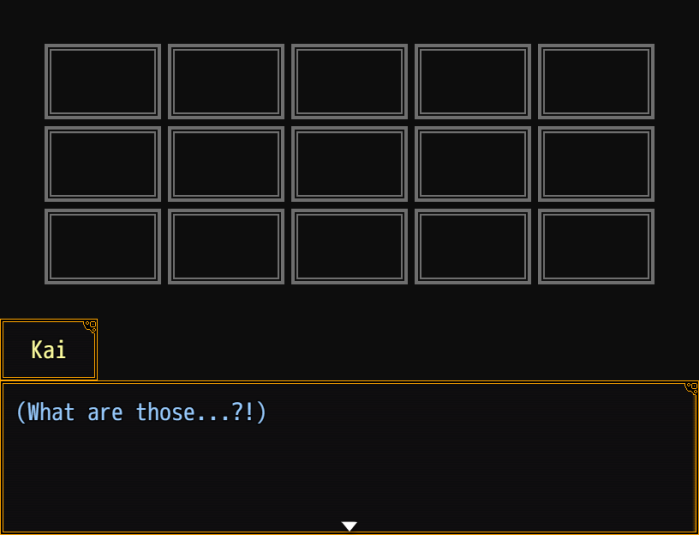 (Windows? And quite a few...) As I approached, I noticed something. (Someone's looking through these windows...!) "Who's there?! What's the purpose of this observation...?!"

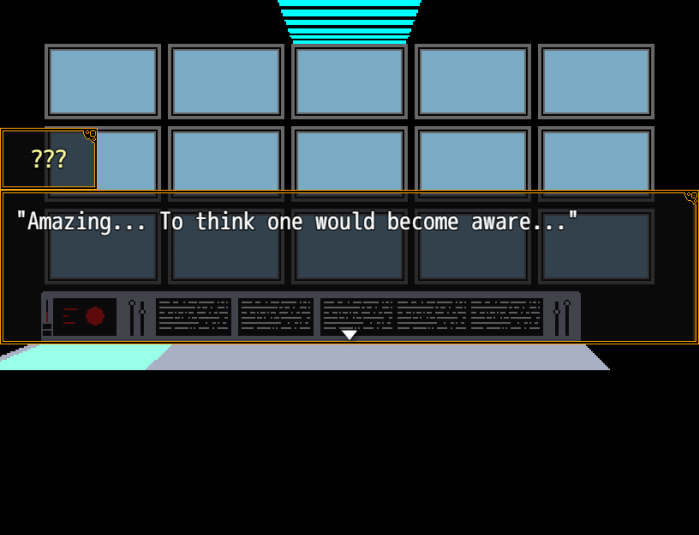
 "...It's not all that unusual." "We've already gotten the experiment data... What should we do? "...Ah, she's arrived just in time. Let's leave the decision to her.
Music stops.
 "Eh...?"
 "Y-Yes... Understood..."
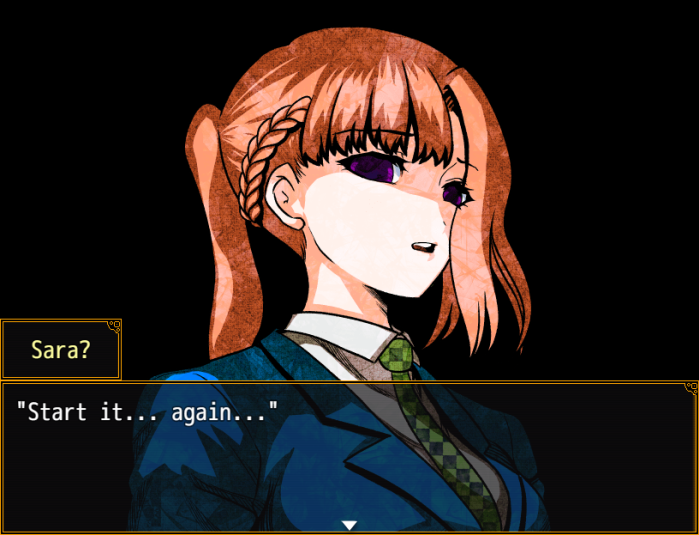
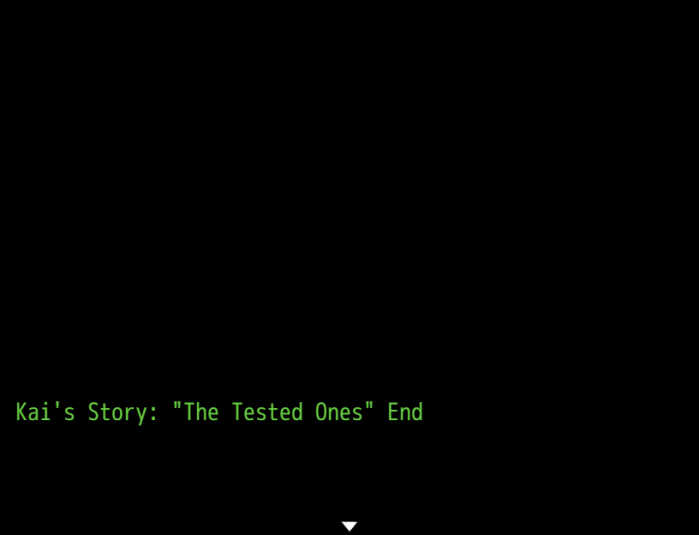
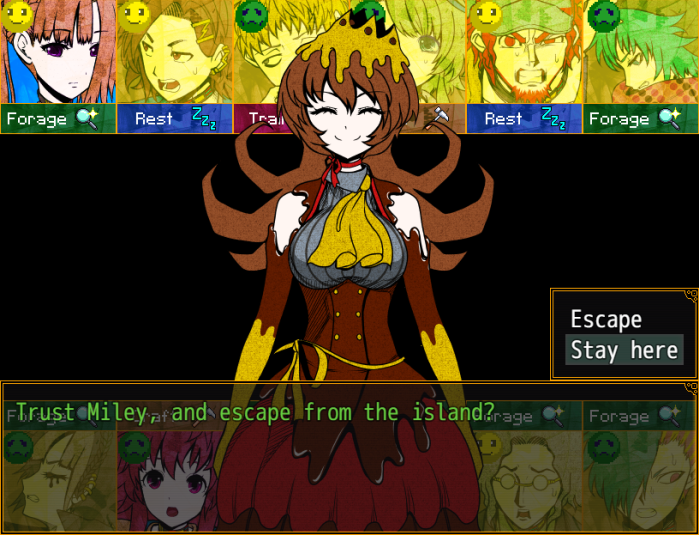 "Hm... I simply can't trust that. I will remain on this island."
 “...” "Are you sure?! If we let this chance go... We really might be stuck on this island...!" "That's no reason to believe what someone this evil is telling us, meow!" "Eheehee... How interesting..." "Ahaha! You truly are bizarre...!" "See if I care... There's not a single thing to be gained from staying on this island..."
 "Even so, Kanna and everyone... will escape their own way...!!" "Ahaha. Then go ahead and struggle for me." "...Until we meet again."
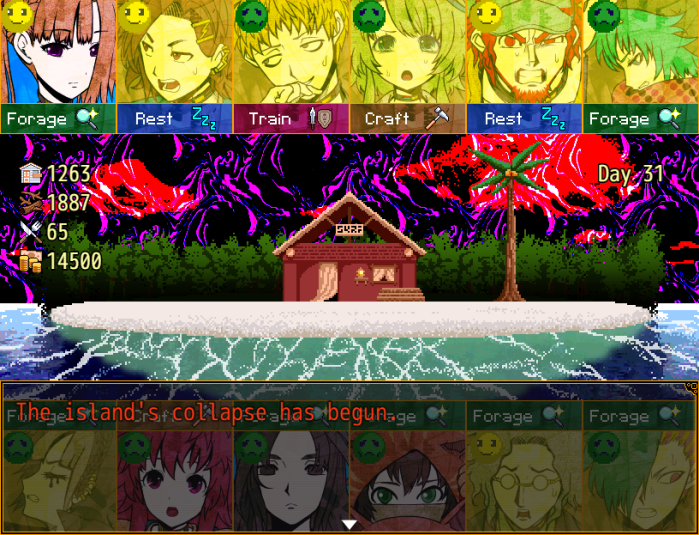
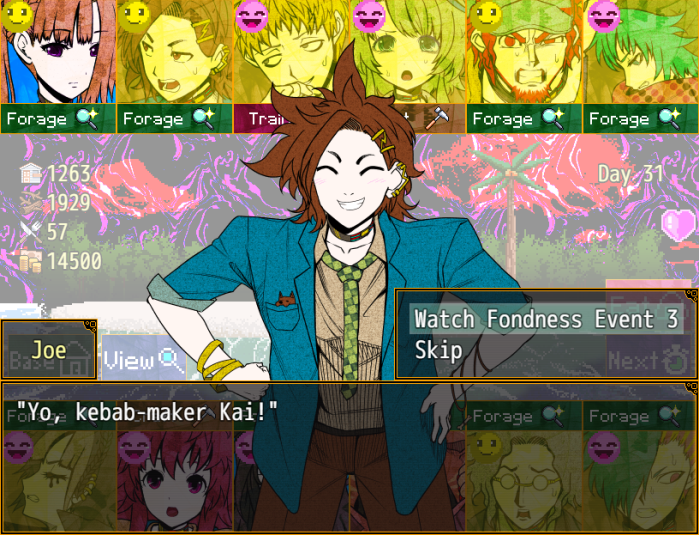
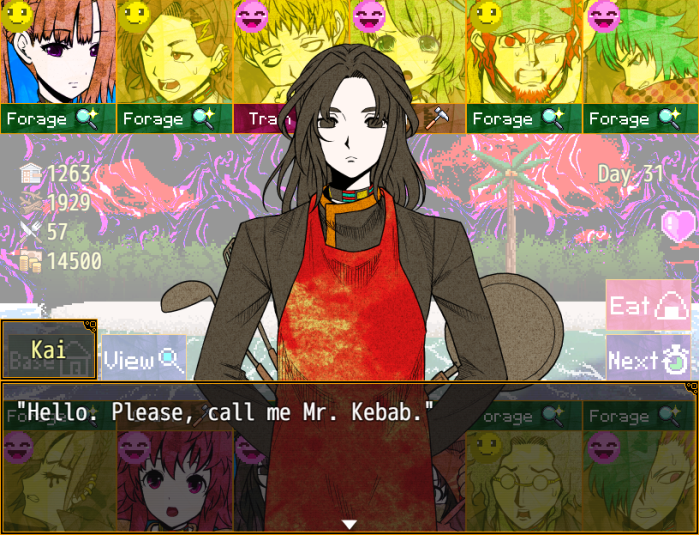 "Hwoooh! Mr. Kebaaab!!"
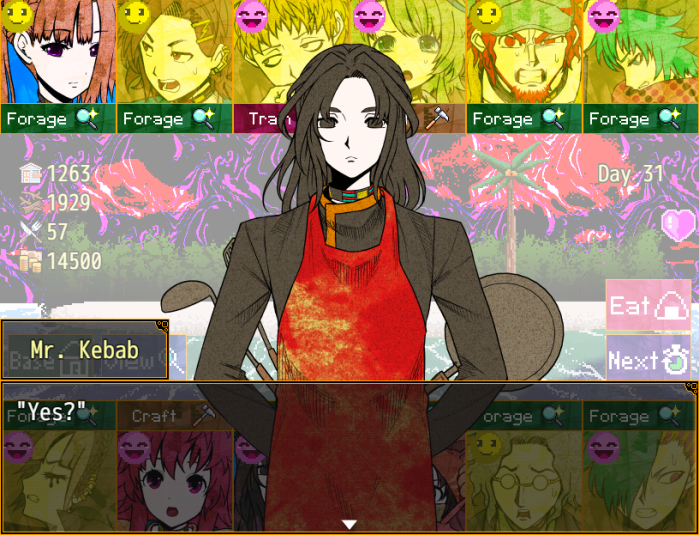 "Hahaha! You're on a roll today!" "What should I call you, Joe?"
 "Huh! Me?!" "I'm embarrassed if it's just me being Mr. Kebab. Please, tell me what you're best at." "Hmm, what I'm best at..." "It doesn't have to be a meal." "Basketball... nah, track...? ...Nah, it's nothing worth writing home about." "…"
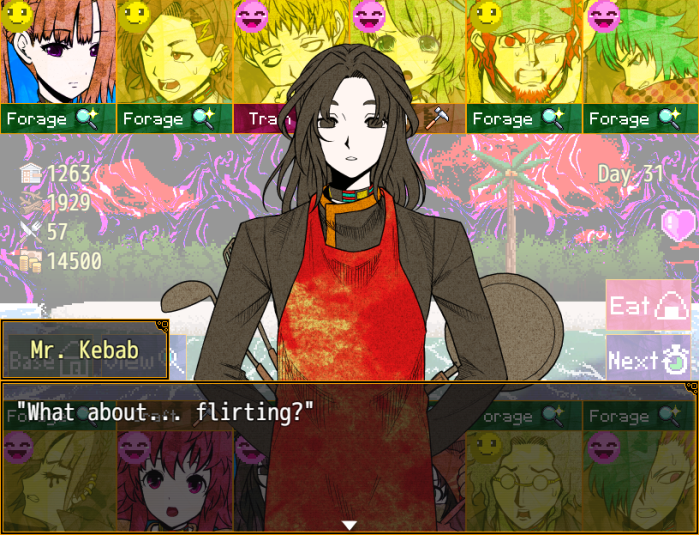
 "Why that?! I've never done that kinda stuff!!" "Oh, really? How surprising." "Surprising...? I'm not some kinda womanizer like you're thinking, Kai!"
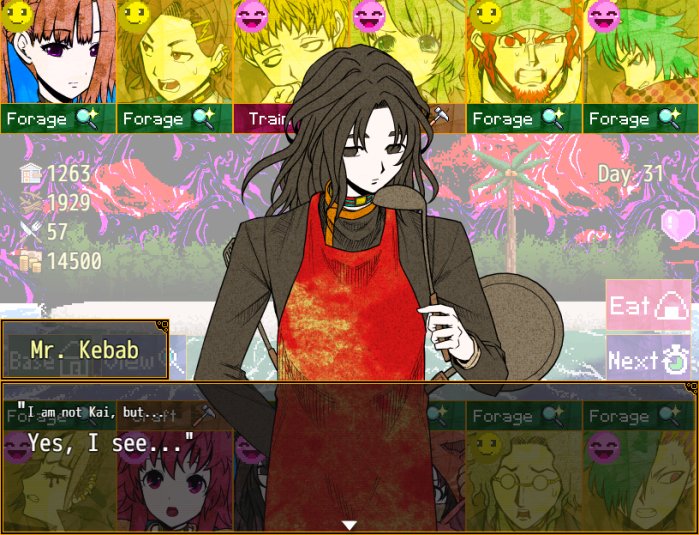 "Well then, if there's someone in class who seems lonely, what do you do?" "Urgh...! What's with that question?!" "I-I mean, I'll talk to 'em... But their gender makes no difference there, so..." "So you have no leaning based on gender...?" "You kinda changed up the wording there!!" "Well then, if there were someone who looked like they'd be captured by a villain and involved in something terrible, what would you do?" "I'd run like the wind and grab their hand to run away together!" "But what if you were captured as well?" "Wha?!" "Suppose some kind of life-threatening situation, like you'd find an action-packed movie." "If you could abandon them to save yourself... What would you do?"
 "..." "...I don't know, man..." "Oh my..." "Right now, I think there's no way I would... but how would I know what I'd really do, y'know?" ".........." "But..." "It'd be... nice if I could save us."

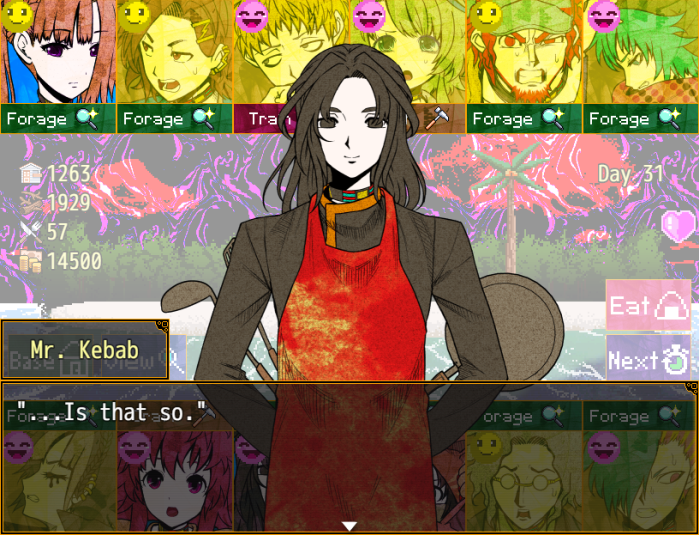 "But hey, why am I giving it actual thought?! We're in a real serious situation already! Heh heh!" "Very true. Let us do our best to avoid something like that happening on this island."
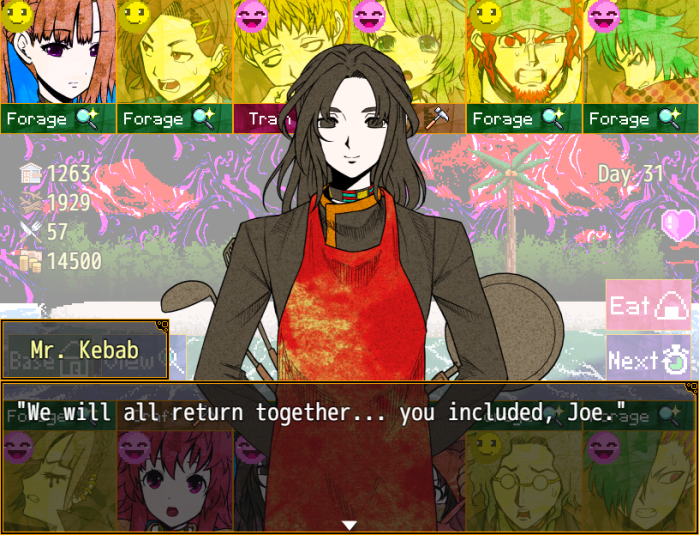
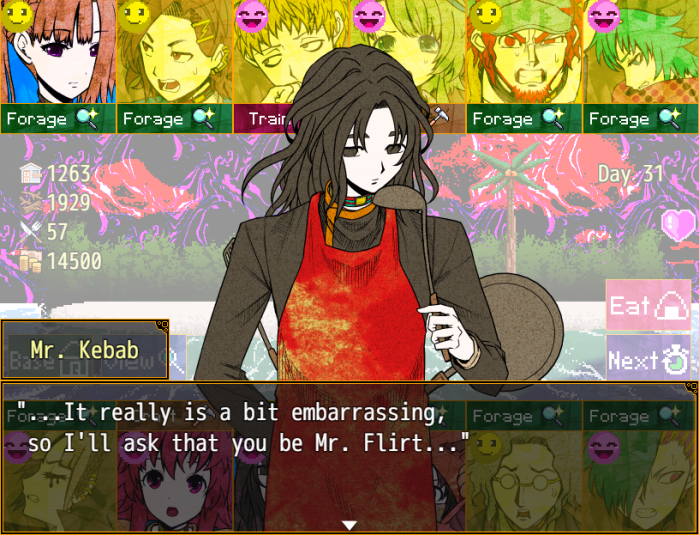
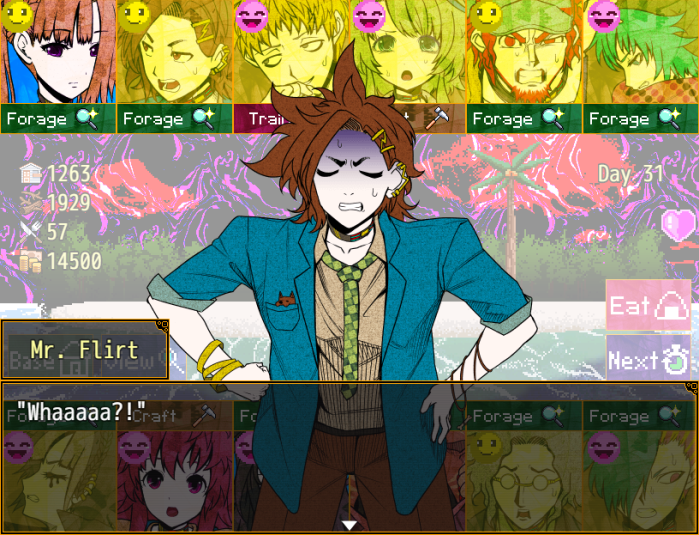
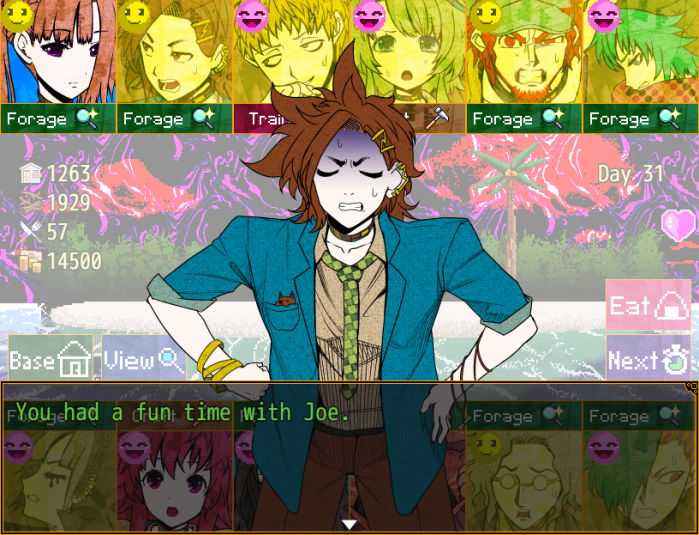

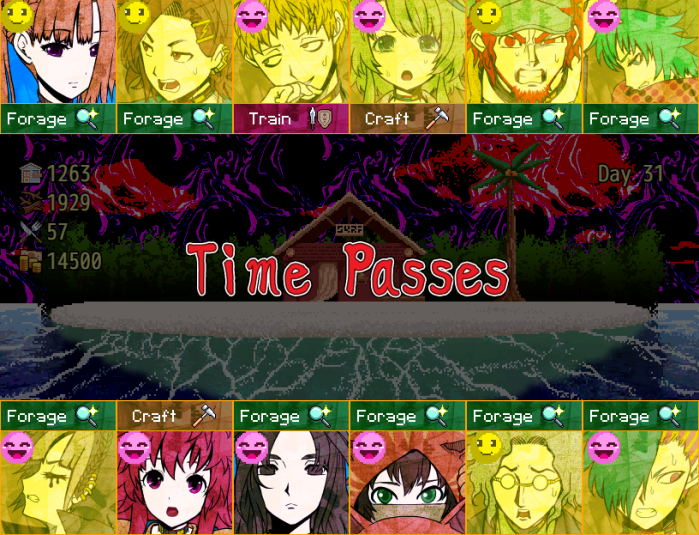
- Day 31 results:
Found 68 material.
Found 56 material.
Trained successfully.
Increased base points by 52.
Found 45 material.
Found 52 material.
Failed, but avoided injury.
Used material to advance base.
Failed, but avoided injury.
Found 51 material.
Injured.
Injured.
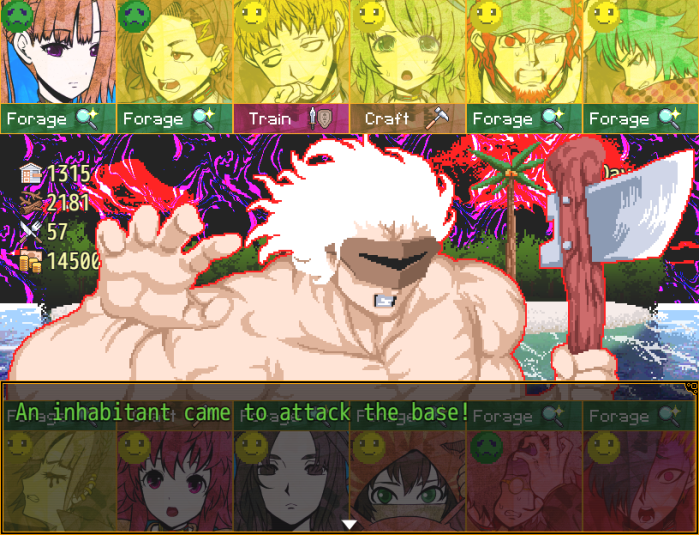
Music stops.

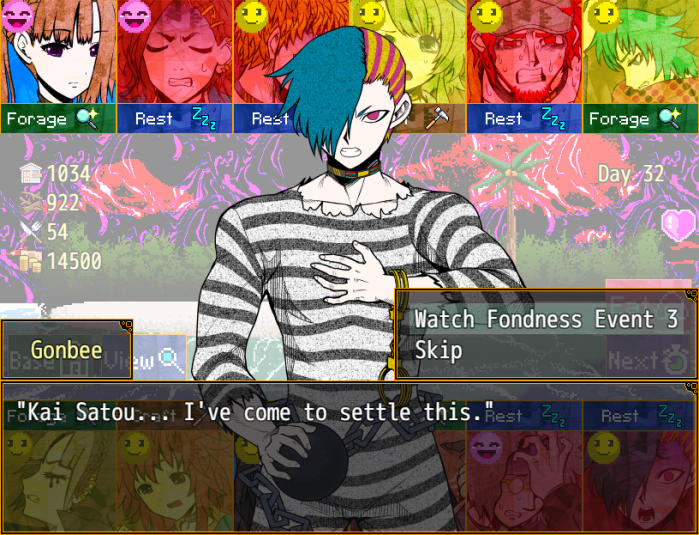 "I've been waiting, Gonbee." "The time has come to see who the real Lord of Shells is." "You're not making much sense... but yes." "...Let us begin by searching for shells together."
 "Indeed, for fairness's sake... Let's go!" "Hoh... this shell..." "Ah, that's a big one. It seems hard to use." "A-Ahem...! Don't look at other people's shells! And don't pipe up with comments, either!" "Pardon me..." "..." "Hm, this shell is quite nice..." "Hmph... Isn't it rather warped? And fragmented, too.. Even if you value nature, this is surely..." "Hrm... You're making comments, too." "H-Hmph! It was just a warning! It would be boring to win too easily...!" "H-Hold on... If we combined those two...!" "...! You're right! That could work...!" "Take this, and..." "Add in this...!"
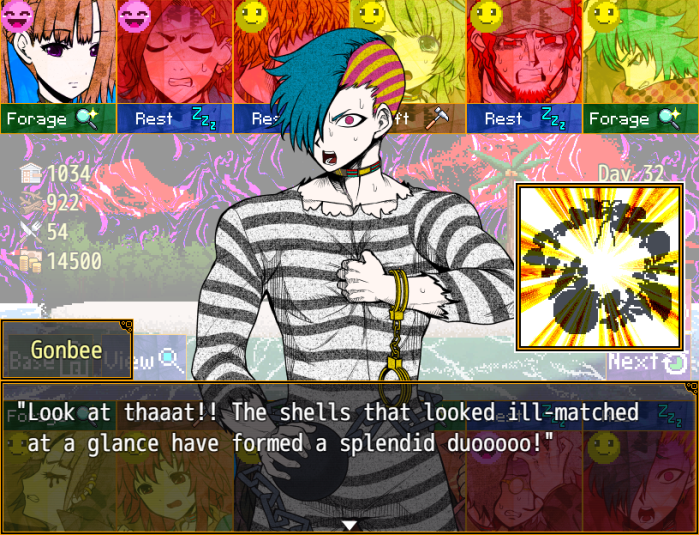 "Who'd have thought...!" "Hwohhh! Kai Satou!!" "Gonbee...!"
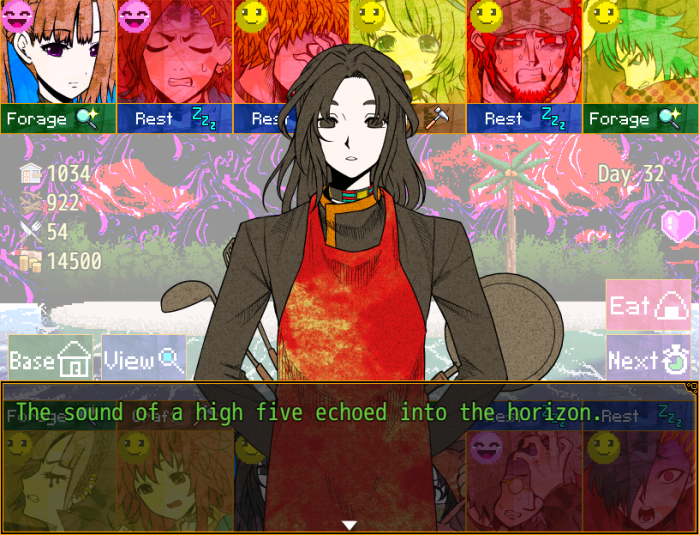 "Tch...! So... was it pointless to fight...?!" "It would seem so..." "What were we doing, truly..." "I apologize, Gonbee." "...The same to you."
 "Long ago... I used to make things like this..."
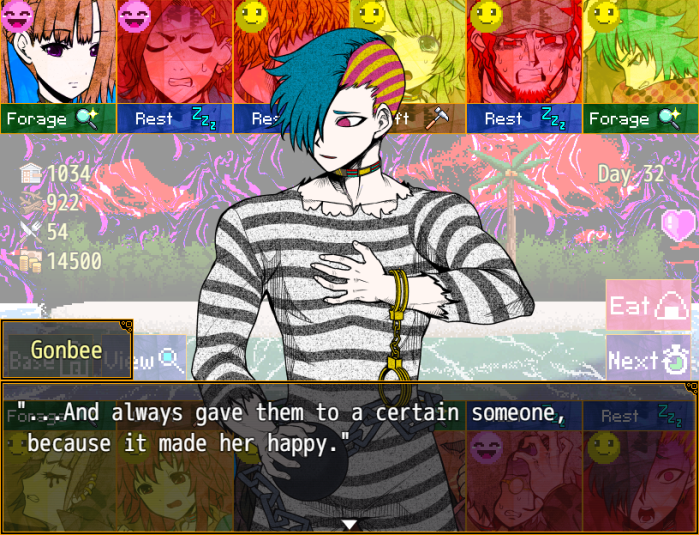 "And since she liked cool things, I always picked out the most rugged shells..." "Little wonder she kicked me when they started digging into her neck."
 "She truly... used to smile often then. Both her thanks and her complaints were said cheerfully... Haha..." "...What do you say to giving her another present?" "With the way I am now, we're..." "Ill-matched, like these shells?" "...!" "Haha... indeed."
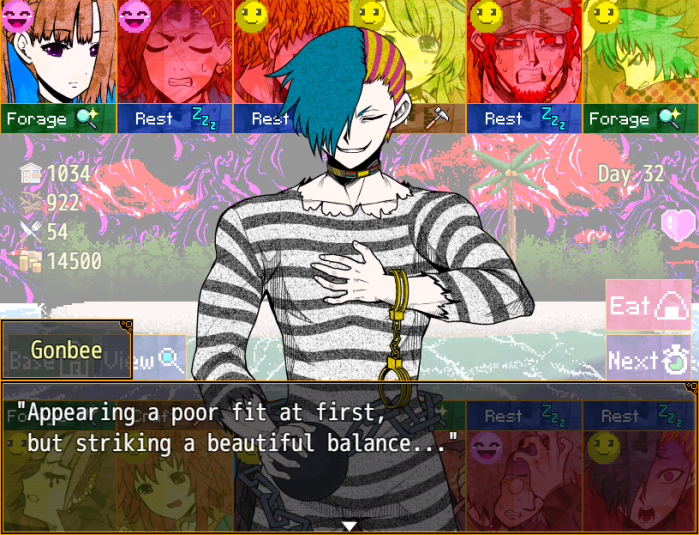 "Truly, what a fine combination..."
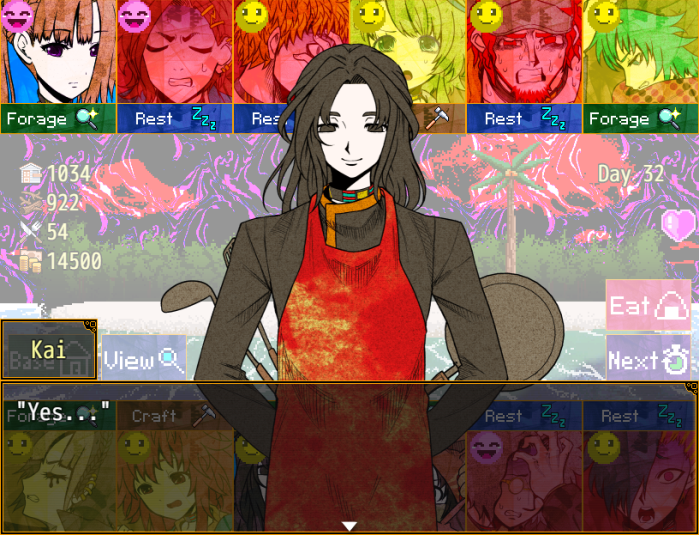 "I'll take these shells..." "Best of luck, Gonbee. That'll be 10,000 yen..." "Don't make me pay for it, will you?!"
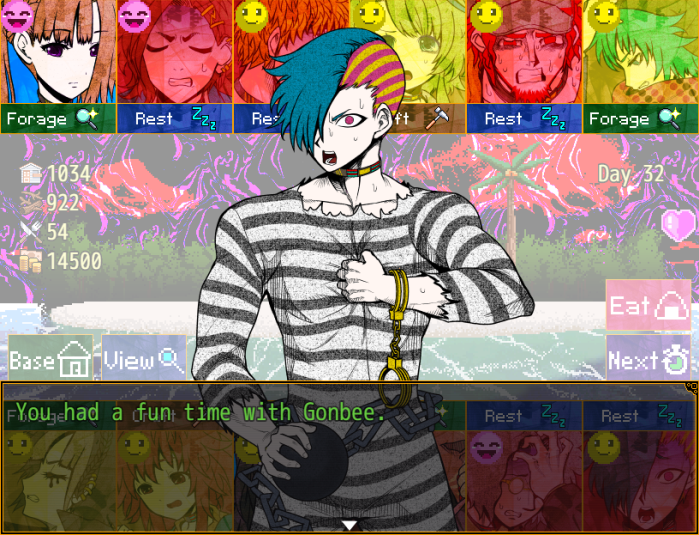
- Day 32 results:
Found 15 food.
Health fully recovered.
Health fully recovered.
Increased base points by 55.
Health fully recovered.
Found 5,700 yen.
Found 5,100 yen.
Increased base points by 56 and used material to advance base.
Found 36 material.
Found 54 material.
Health fully recovered.
Health fully recovered.
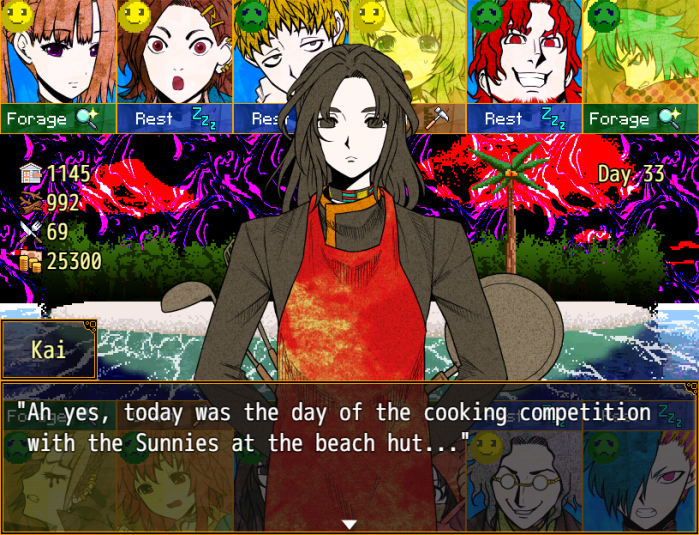
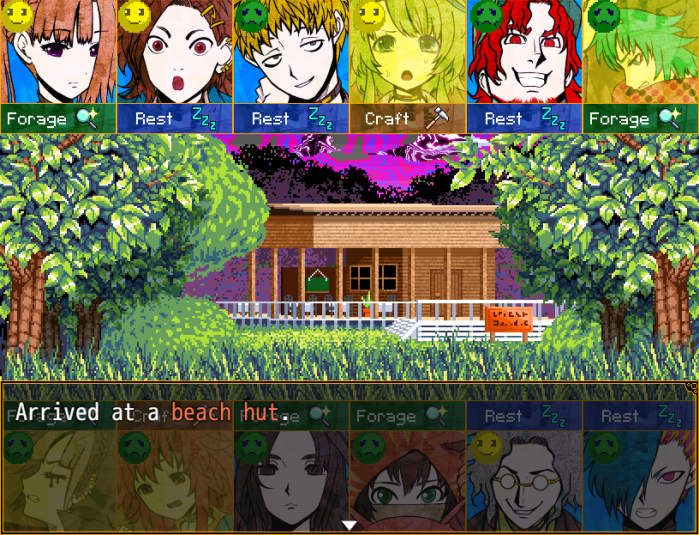
Music stops.
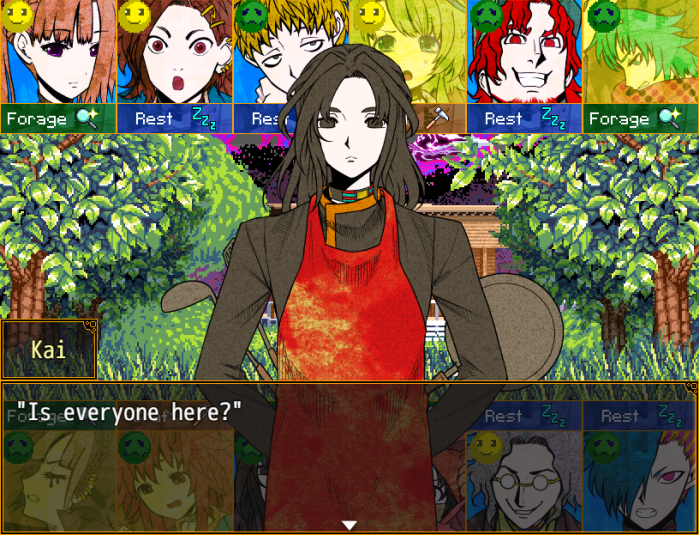 "Kaaaaai!! The island's all weird! Do you know anything?!" "Indeed it is. Has the competition been called off?"
 "Man... talk about laid-back. Even at a time like this..." "Hahaha... That gutsiness is admirable. I'd like to learn from your example..."
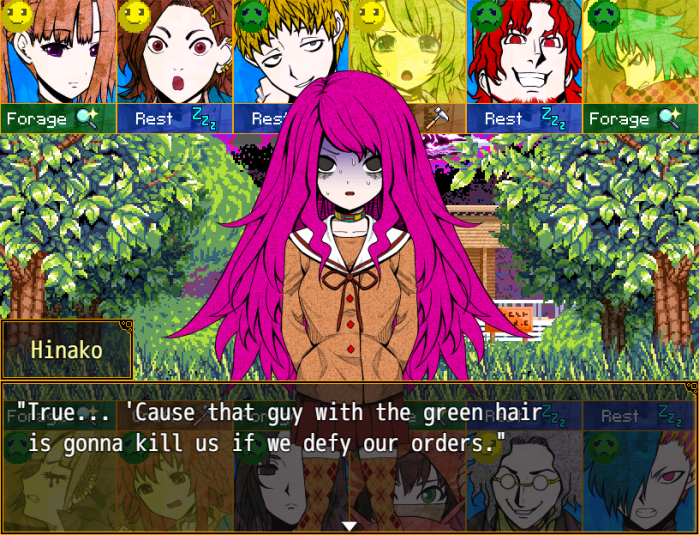
 "Tch...! So we still gotta run the Beach Hut?!"
 "We must, as long as there are customers! Besides... all told, I have a fondness for it...!" "Hm... I don't know what our fate will be, but I came here anticipating the competition." "I wish to see this through to the end... and I'll have you go along with me."
Music stops.
"Well then, you ready for the competition?" "Here's the three judges this time..."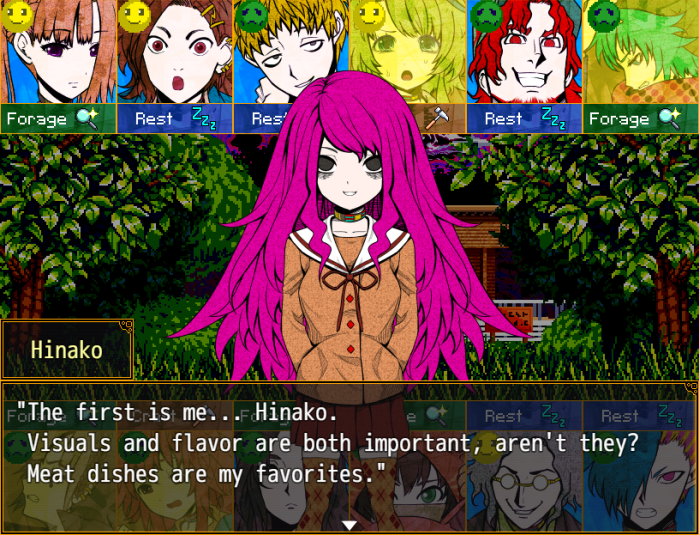
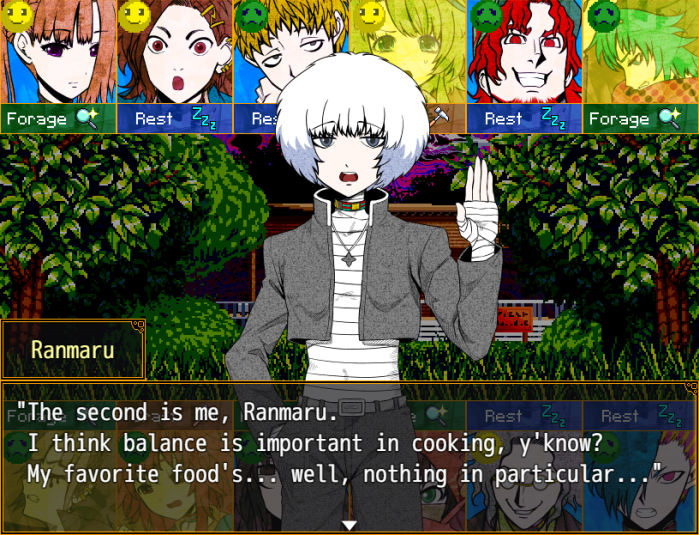
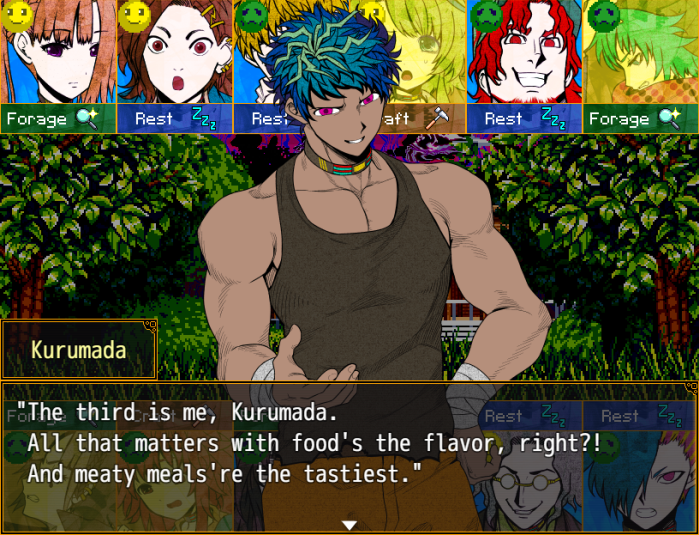 "All right then... Give us your best cooking, Kai." "Now... First of all, I should prepare some ingredients to start with.
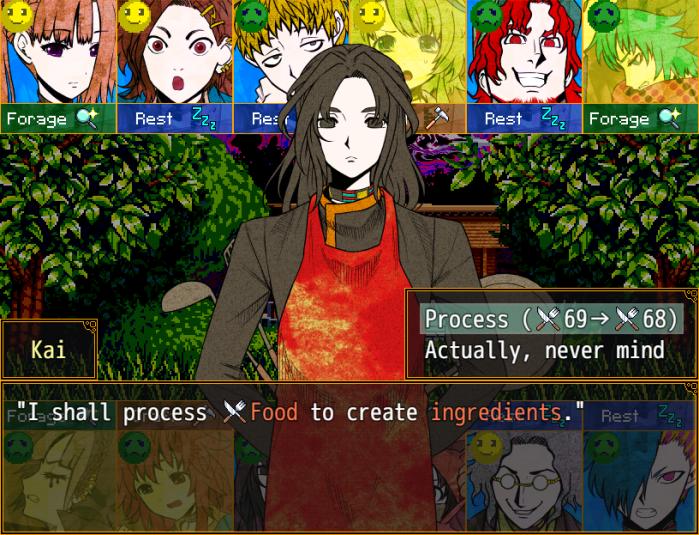
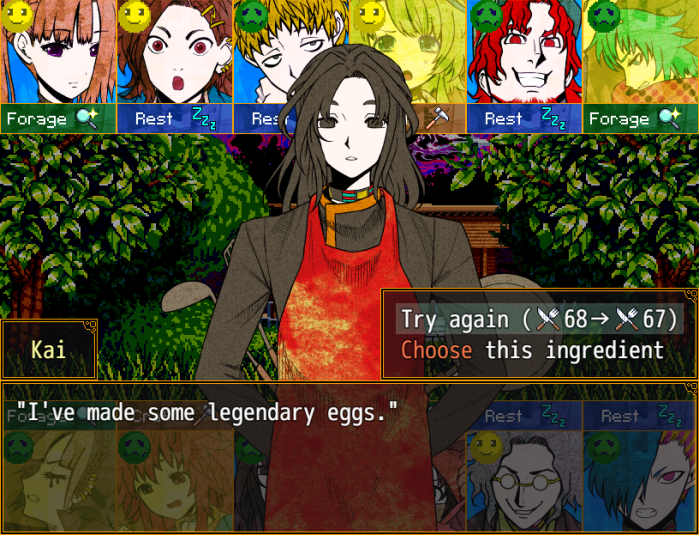
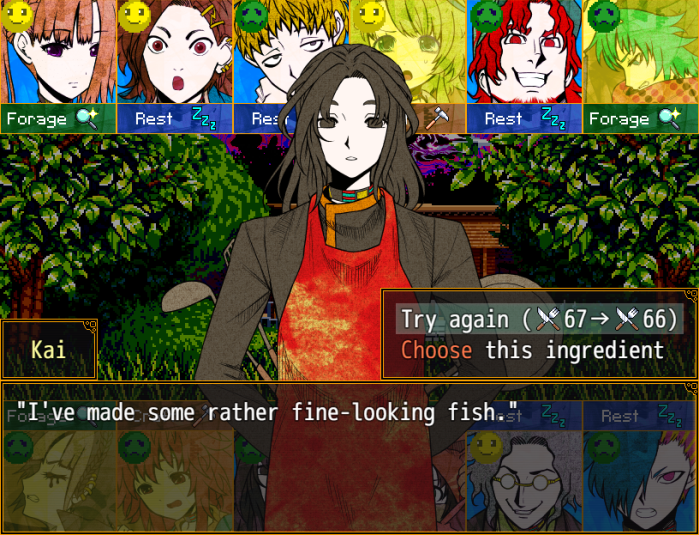
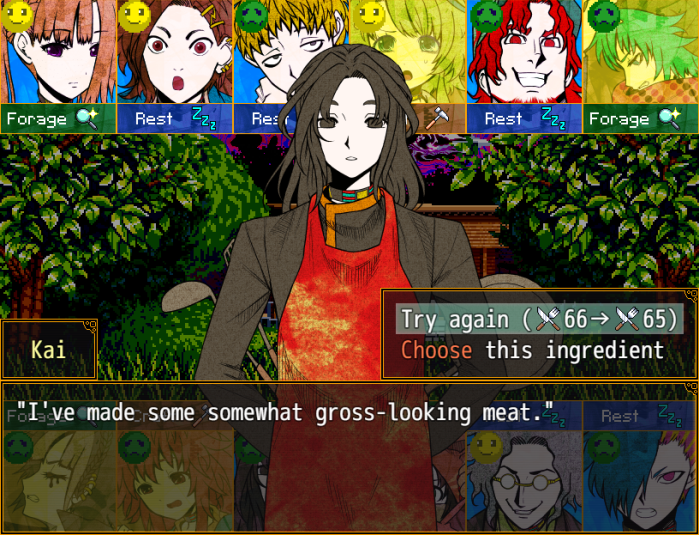
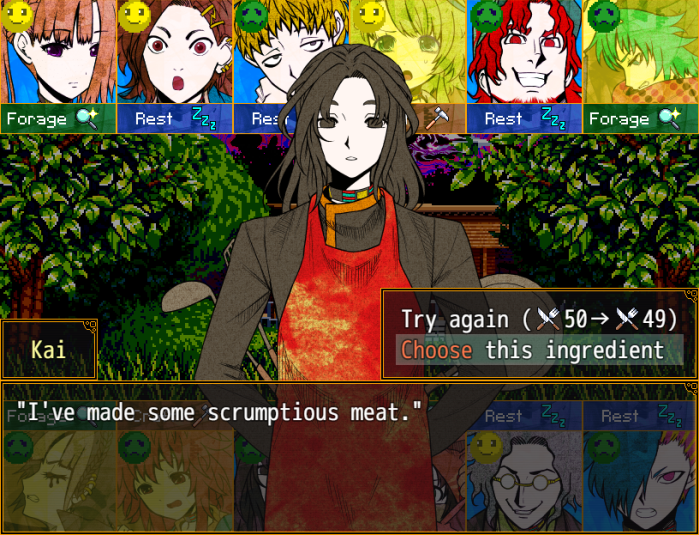
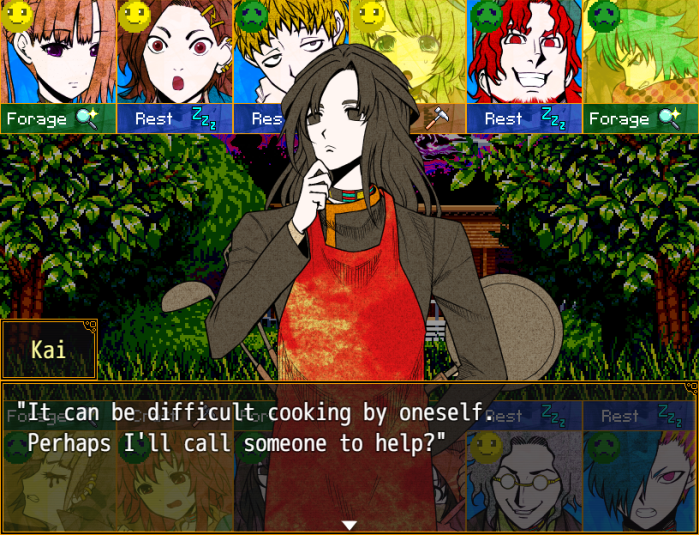
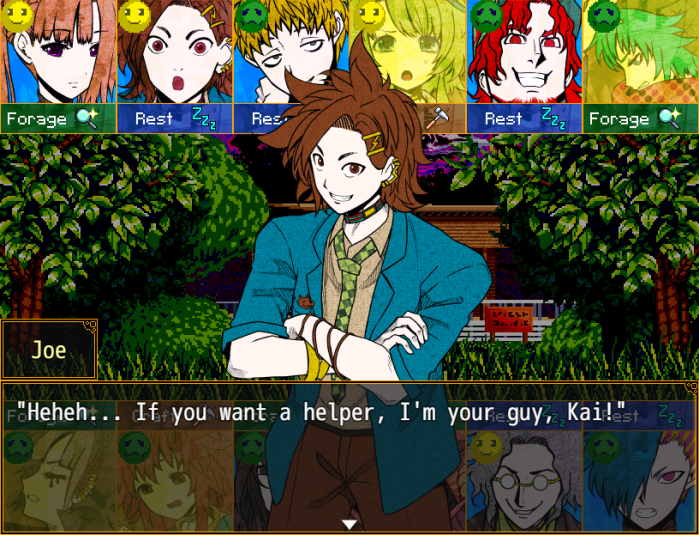

- Not the best luck with the RNG;19 food to get a half decent ingredient, and yet another non-partner helper. I could safely turn Joe down, we've seen his three fondness events, but there's no guarantee we'll get a “useful” partner, and it'll hurt his feelings.

"Yep! Let's cook a meal that'll boggle their minds! Heh heh!" "Well then, let's get into the cooking."- I hope no one minds, but I decided against going over the cooking competition this time, nothing has changed gameplay wise since the last one, and this update is already covering quite a bit of content.
 "Awright! Now to wait for judging!" "Well, that was certainly fast. You seem confident." "I never present a meal I'm not confident in. Please, give it a taste."
 "No complaints here if it's a delicious meal." "Well, let's have a bite." "I heard that you like meat dishes, so..." "So you complied with my tastes... Not bad." "Okay, let's start with the appearance..." "Well, well... That's some excellent quality. Bet this'll be tasty." "Now for the flavor..." "Wha...?! Can food this delicious exist?! I've never even had this at a first-class restaurant!" "I'm up second." "First off, the appearance..." "Hey, this actually looks tasty! It's getting my appetite up!" "Now for the taste..." "Mm, it's great! Nice! No complaints!" "And I'm the last." "I have a juicy meat dish for you this time." "Heck yeah! Now here's a guy who gets it...! Meat's that good stuff!!" "Well, so first, how's it look?" "Whoa, whoa! This looks tasty as hell!! Lemme chow down on this, who cares about judging!!" "But what's important is the taste..." "Whoaaa, what the?! This is crazy good! Bring as much of this as you got, Kai!!"
 "Not bad! If we can serve a meal this tasty, our place is gonna be thriving for sure! "You'll surely be the most famous restaurant on the island."
 "It's a sad thing to consider... What will you all do?" "We'll keep it thriving to the end, and get off this island."
 "There... does at least appear to be a boat to escape on underneath the beach hut." "If it comes to it, we'll just have to sock the guy with the green hair and run for it..." "...I do hope I've been of help." "No way... You've done so much for us, Kai..." "Right. So we won't bother you anymore. Really, Kai, thank you." "...Understood."
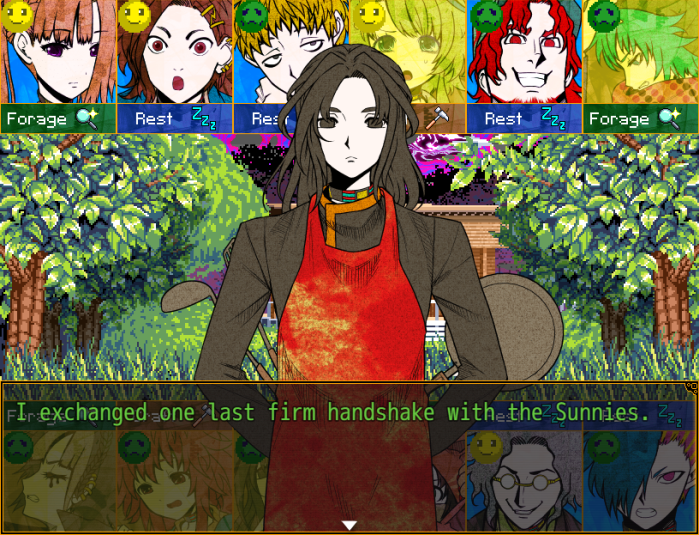
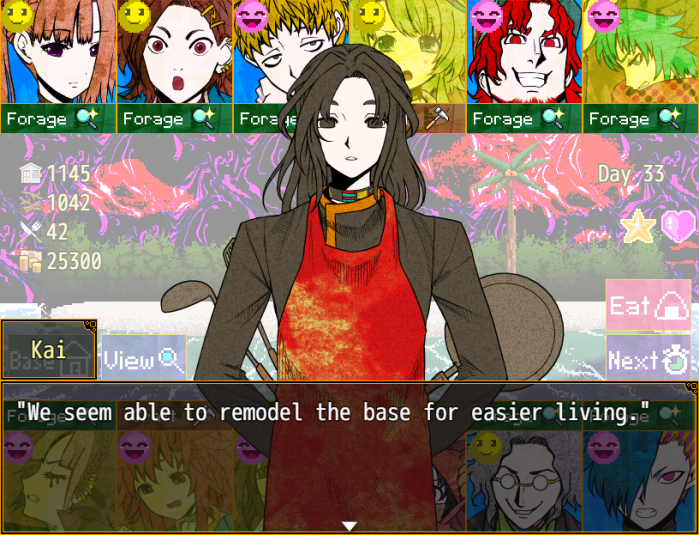
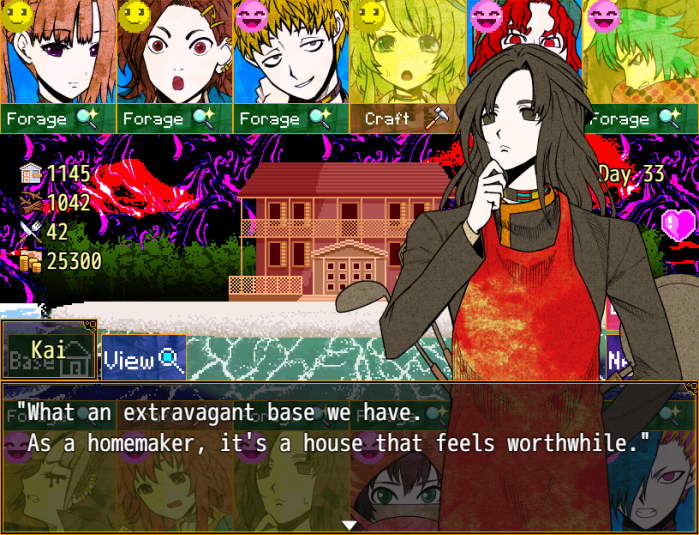
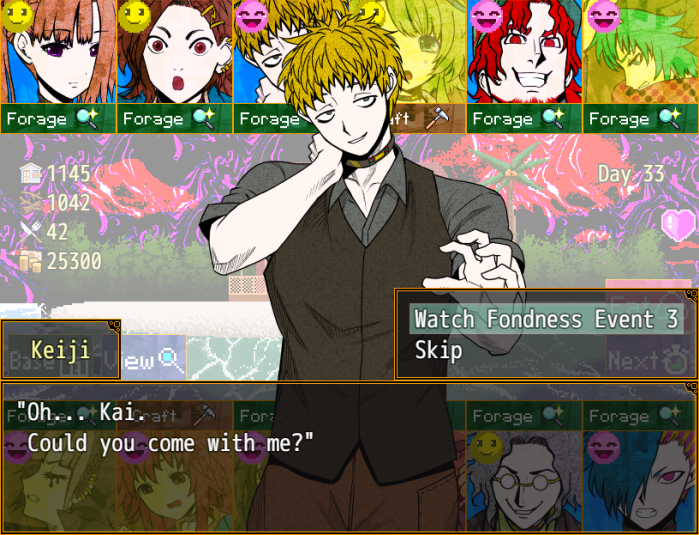 "What is it this time?" "Truth is, I found something that could threaten the safety of this island..." "What could that be?" "Here..."
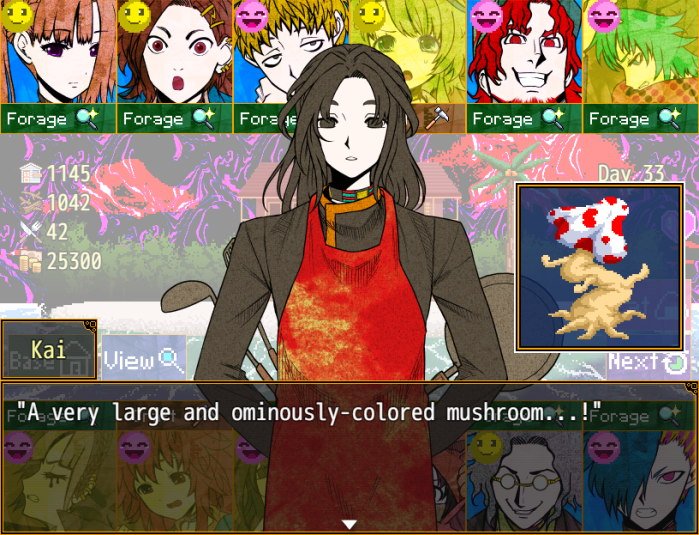 "Yep... If you get close, it scatters these purple spores..." "Curious... It's possible it detects human threats and releases spores as a defense mechanism." "Sure enough... you think it's poisonous?" "It has a dangerous aroma. I think we shouldn't go any closer." "I see, I see..." ".........." ".........."
 "Alright... Let's give it a taste..." "...?" "Hold on, please. How did we arrive at that...?" "Listen, Kai. I can't just ignore this threat, for the sake of peace on the island." "Yes..." "And if I eat it, the threat will go away..." "I imagine the threat would attack you directly...!"
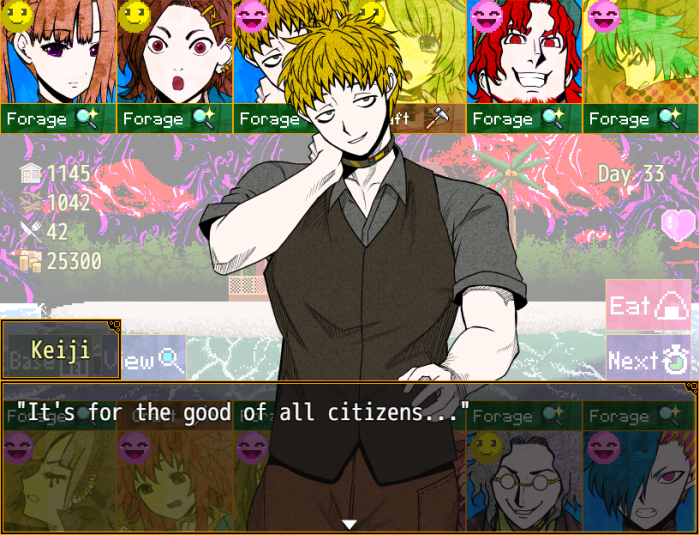
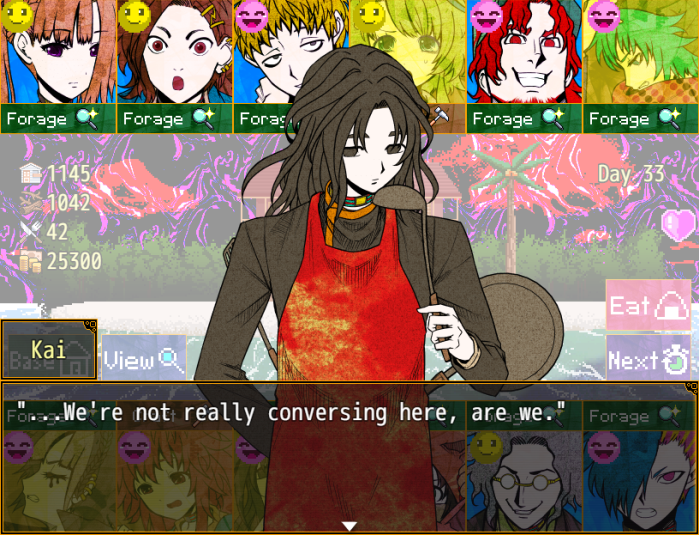 "Huh... I thought you might understand..." "Not at all." "Listen to me. I am no doctor. If it's poisoned, I cannot cure you." "True... Bet you couldn't cure me, huh..." "But what you can do... is cook that mushroom into a delicious meal." "You want me to cook it...?!" "Kai cooks, Mr. Policeman eats... To think I'd find the perfect buddy at a time like this." "I refuse. If you're unlucky, you will die." "I could go for a butter saute..." "We have no butter. Please, listen to me. Ah...!"
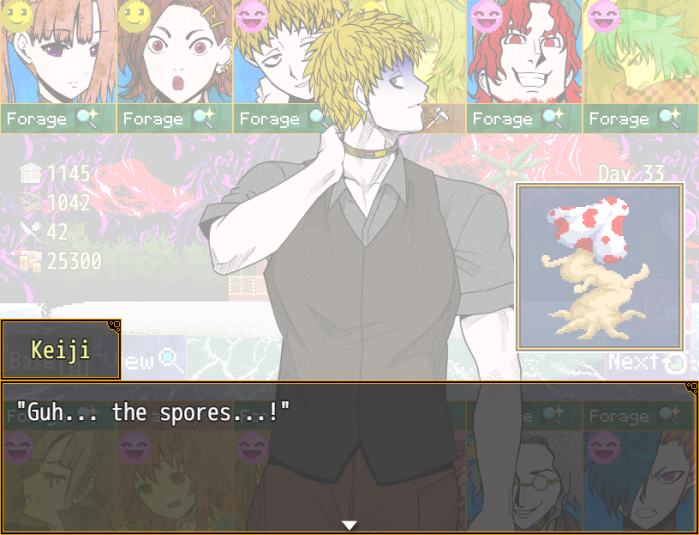 "A-Ahhh..." ".........." "I picked it... Kai..." "Please don't bring that near me." "*cough*... Butter saute..." "You're covered in spores...!" "*cough cough*... Kai..." "F-Fine, I understand...! I'm not to blame for what might happen, you know!"
 "Whew... That was delicious." "How are you feeling...?" ".........." "Feels like my nails grew..." "Really...?" "Hmm... Might just be my imagination." "But if it's an effect of the poison, I might need some nail clippers..." "...I'm glad it doesn't seem to be anything serious." "Yeah... But I gotta go back to society to get my hands on nail clippers..." "…"


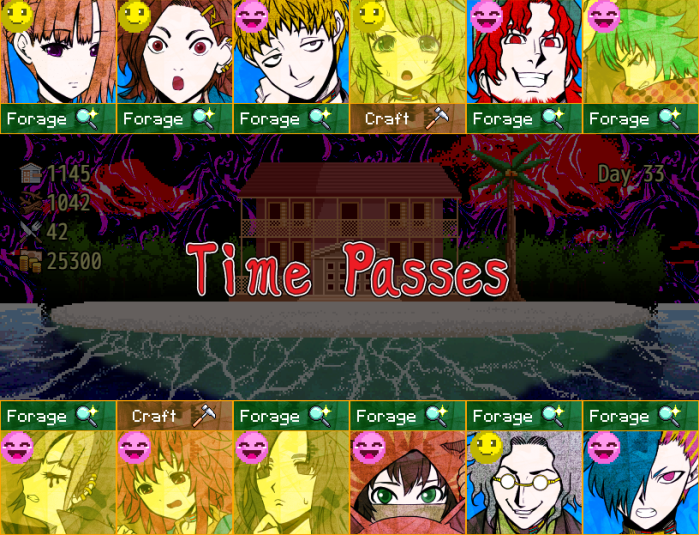
- Day 33 results:
Found 70 material.
Found 5,900 yen.
Found 6 food.
Increased base points by 57.
Found 5 food.
Found 6,000 yen.
Found 51 material.
Used material to advance base.
Injured.
Found 5,000 yen.
Found 55 material.
Failed, but avoided injury.
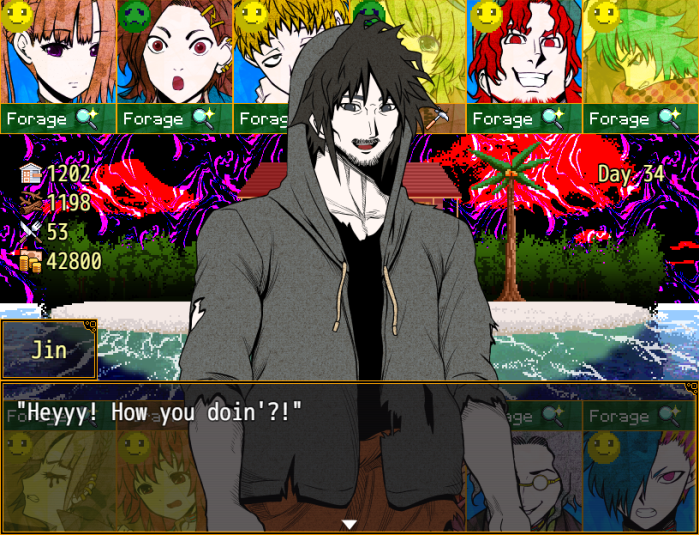
 "Bearded Jin. So we meet again." "Hmph... We simply refused before she could trick us. A decisive judgement... Mwahaha..." "But hey, perfect timing! We have good news!" "We fixed the boat! We put in the fuel, too... And it works!" "Whoaaa!! For real?! That means you can escape!!" "Yep! We can say adios to this island!" "Heehee... There's still room for more. What will you do?" "You mean... We can get on it too?!"
Music stops.
"Naturally! You think I'd leave the one who saved my life?!" "Heheh... You can trust us more than that Smiley lady, right?" "Alright... Get on right away! We're escaping!"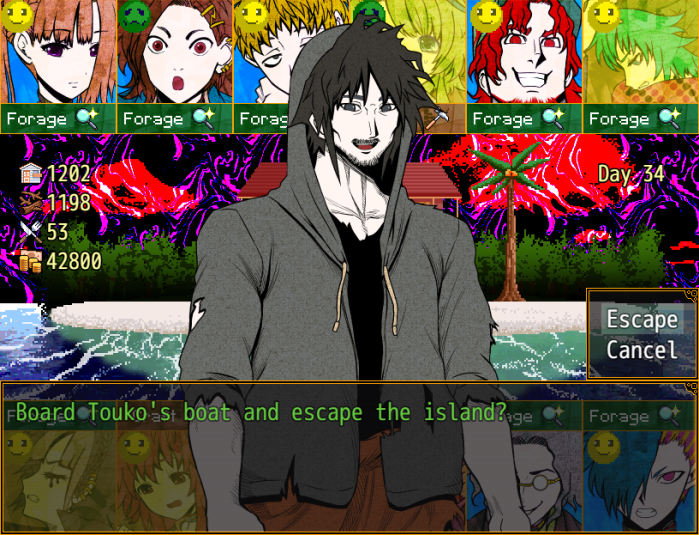 "Then I gratefully accept. "Alright! Let's go!"
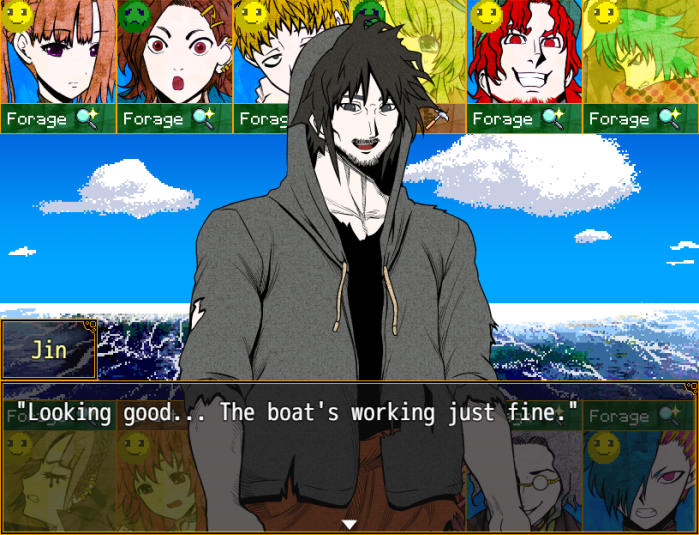 "Which is to say, we can make it home?" "Leave it to me! Our heading's perfect!" "It'll take some time, but we're moving along. While we wait, we can talk about what we plan to do when we get home."
 "Well, I think first I need to contact my friends and put them at ease." "And I'm going to tell on you, Kai! How a bad grown-up deceived me!" "Gotta contact my parents and Ryoko, for sure!" "Also, Kai... I mean, Mr. Kebab! I want you to treat my class to your cooking! No, seriously!" "Guess it's back to work for your friendly policeman..."
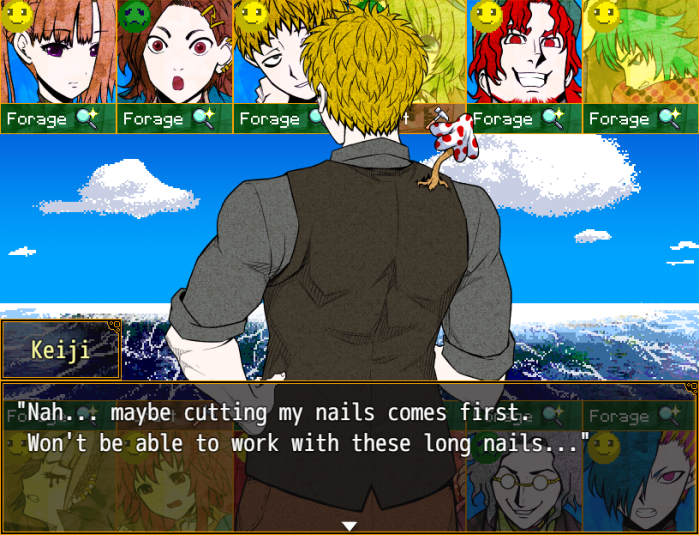 "Kanna wants to meet her sister soon! She might be crying..." "Well... Kanna cried too, though, eheheh... I guess it's even! Yeah!" "I'm gonna resume baseball practice pronto! A second-stringer vanishin' ain't a good impression!" "And I'm gonna look into body modification...! To see if such a thing as excess muscles even exist!!" "Ahaha... It's not like me, but maybe I'll go out for something tasty."
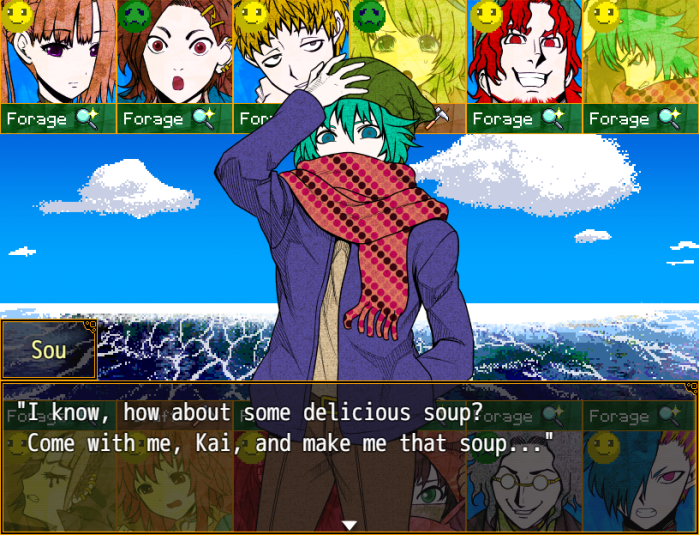 "No question here - I'm getting back to my band! I've got fans and bandmates waitin' for me!" "I wanna be back to music pronto! To fill my head... and forget about all those ghost stories...!!" "Ehehe... I've never gone so long without painting before, so... I want to sit at a canvas right away!"
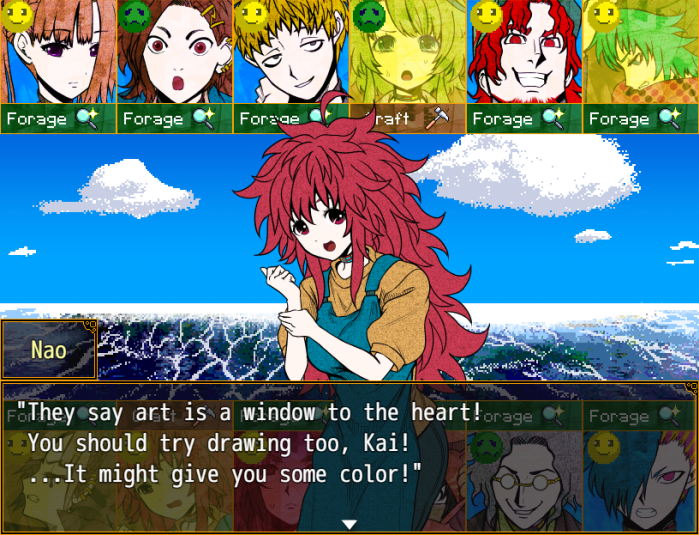 "I didn't like it at first, but island life was pretty fun, meow! "Oh! And I'll feed mom smoked meat, woof! Hey, long-haired apron guy! Teach me how later, meow!" "I'll tell my students about this experience. Extraordinary stories are a hit with them!" "And I actually brought a shell flute as a souvenir! Perhaps I'll give it to someone in a music club." "Mwahaha... I suppose I'll be sent right back to the slammer, hmm..." "...Kai Satou. I think I'll try, despite myself. For some combinations may appear ill-matched... but turn out to be good ones..." "By the way... What will you do, Kai?" "Me...? Hm..."
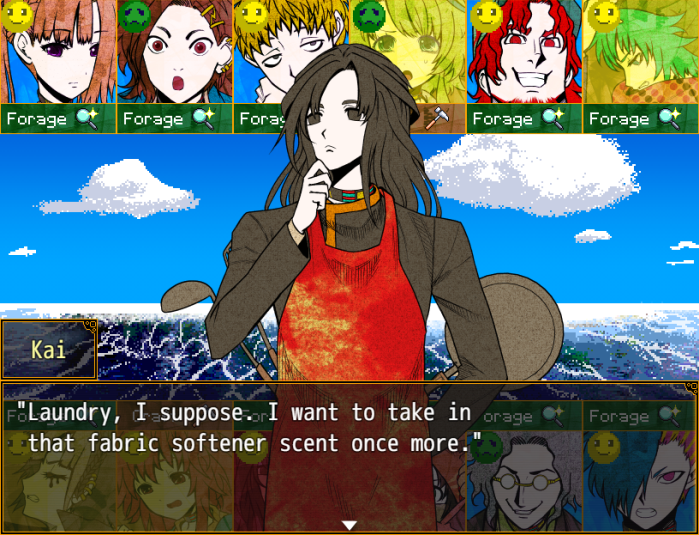 "You're too hard a worker! Get a little rest!"
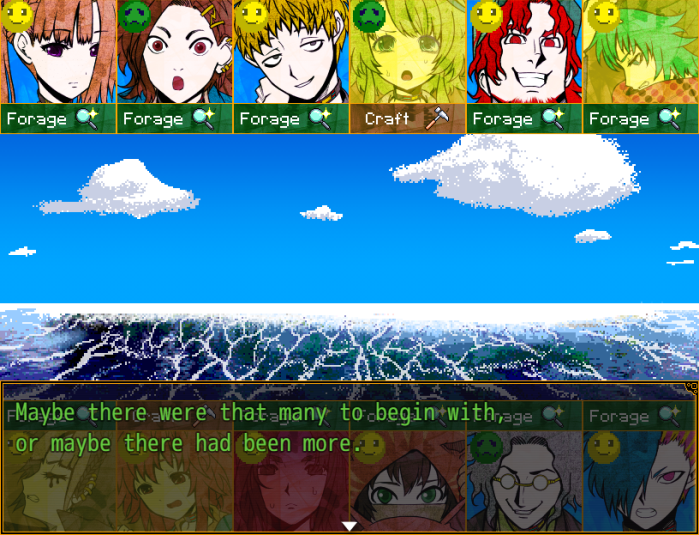
 (It's over... I can return to the ordinary life I sought...) (I must say... I'm exhausted...) "...You can take a nap. I'll wake you when we arrive." "...Do you have a sleeping mask?" "Don't ask too much!"
Music stops.
 "I can't... look at this..." "S-Sniff... umm...Then... are you going to stop...? "...Repeat it again... ...Please..." "It will... only cause you pain..." "...It's fine... I'll repeat it... over and over..."
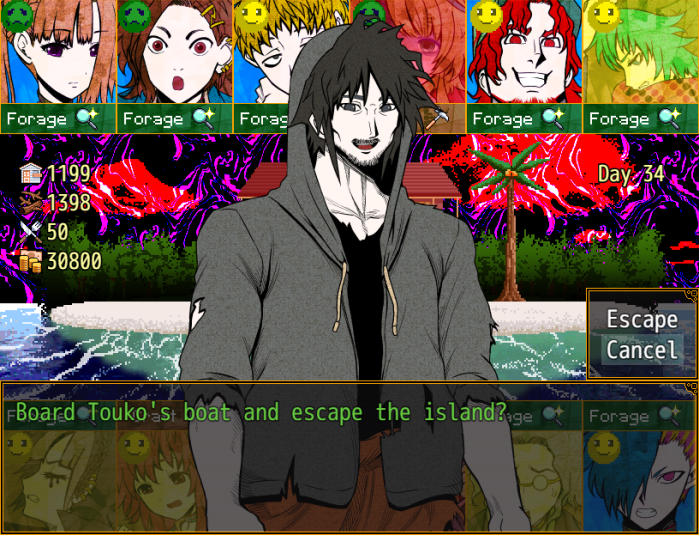 "No... I shall remain." "What...?! Why?! What else could this island have?!" "I feel I'm on the brink of learning something. I cannot leave this island until then." "No way... I thought we could escape together... We're not going to come back here, you know...?" "...Alright. We'll be... praying for your safety..."
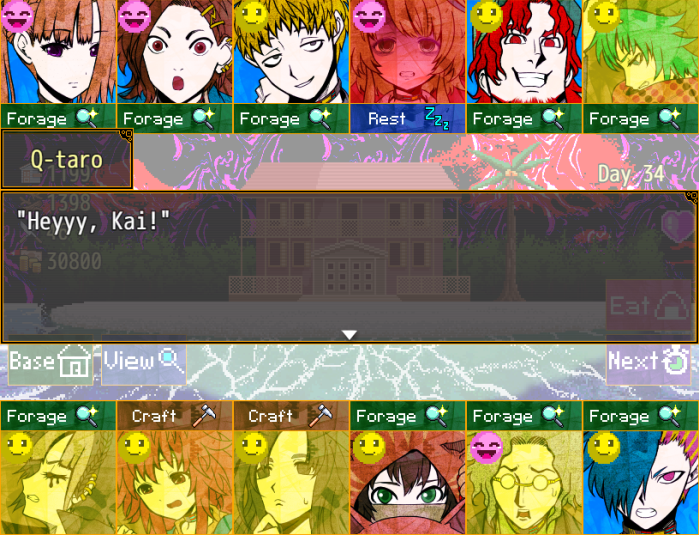
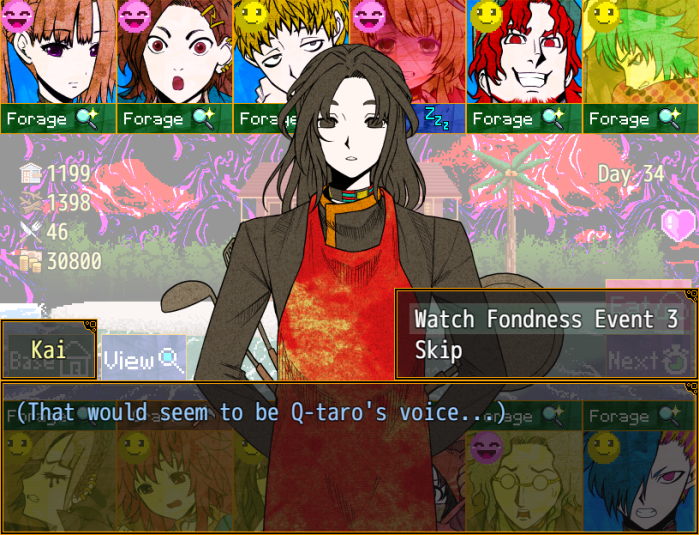
 "...?" "...E-Err. Are you Q-taro...?"
 "Well! Perhaps it... is your beard...? It feels like your physique changed quite a bit..."
 "You did say something like that."
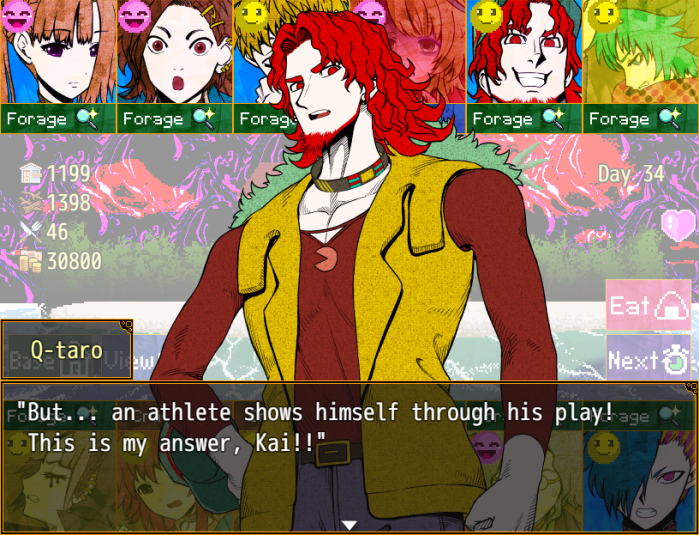
 "I won't laugh... It just feels so off, it feels like I'm talking to a different person..."
 "...Come to think of it, isn't your accent a bit less pronounced as well?"
 (How repulsive... I can't accept it. This elegant Q-taro...)
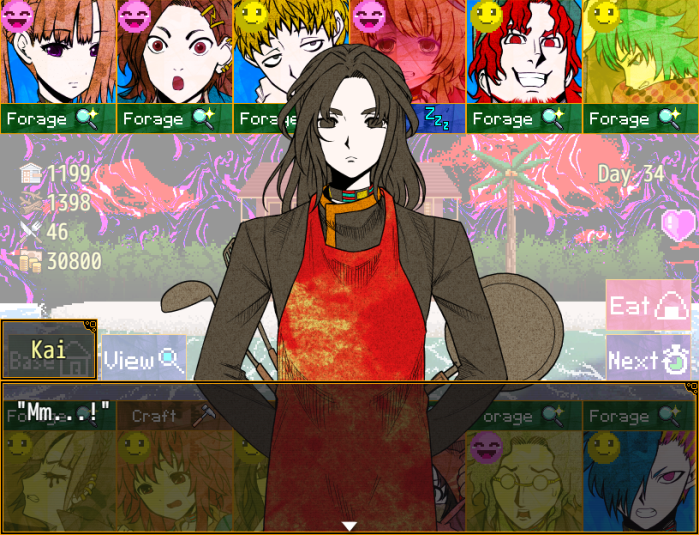
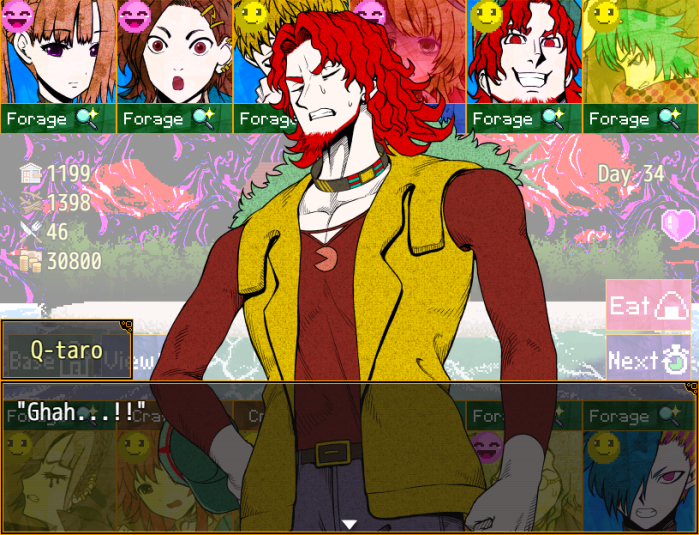
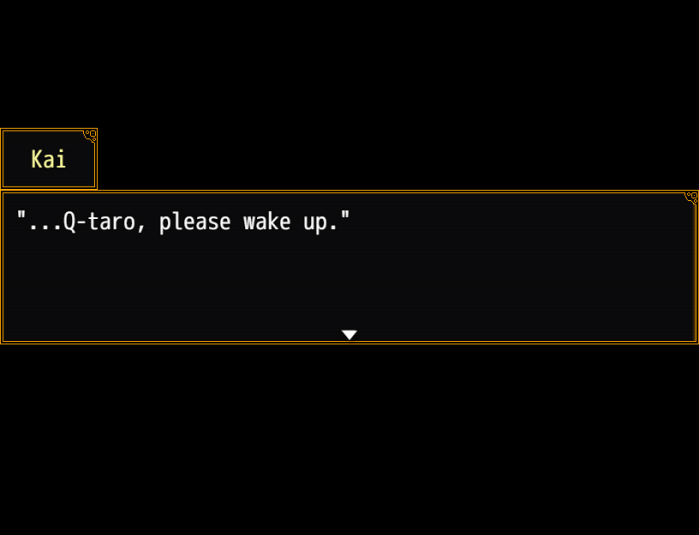
 "I feel a cool breeze... Was I sleepin'?" "Yes. You likely fainted from hunger and the heat." "Huh..."
 "Think I had a weird dream, I was so starvin'... Where I lost my muscles and stuff..."
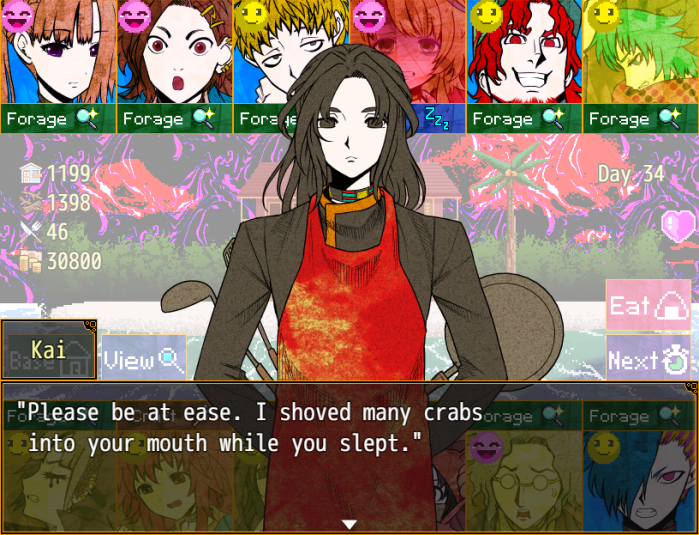 "No wonder I feel so full..." (To think, filling him up reverted him to normal...) "Wakin' up from a dream like that... it makes me reconsider..." "Sure enough, I gotta..." "Become a first-class baseballer 'longside my muscles!!" "Losin' 'em, I realized for the first time... That these guys are my allies, too...!" (It seems my selfishness changed fate... Quite an awkward feeling.)
- Day 34 results:
Failed, but avoided danger.
Failed, but avoided danger.
Found 6,500 yen.
Health fully recovered.
Found 52 material.
Found 53 material.
Injured.
Increased base points by 55 and used material to advance base.
Increased base points by 37.
Found 5,600 yen.
Found 57 material.
Found 41 material.
Music stops.
 "Yes, yes. It's Kai." "So you're like, a househusband, meow? What's the hardest chore, woof?" "The hardest... chore?" "There's nothing especially difficult, generally. Chores are things that anyone can do." "But continuing to do them every day, thinking of those who will be coming home..." "Perhaps the hard part is not just "protecting" their daily life, but "continuing" to protect it."
 "That's a super complicated response, meowww! What'd make you happy to have help with, woof?!" "Ah, you want to help out?" "Yeah! I think if I start helping out a bunch when I get back, my mom'll be really happy, woof!" "How gallant... I feel like I'm on the verge of tears from this heartwarming feeling."
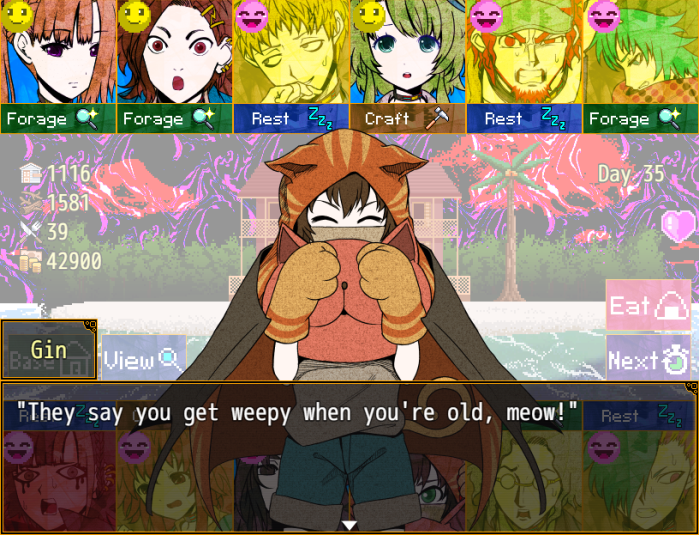
 "At any rate, that is a wonderful idea, Gin. I shall assist." "Assist?" "I will teach you all these is to know about chores, and execute Project Make Your Mother Cry With Joy...!"
 "Myaaaaa?! I wasn't up for that big of a project, meow!!"
 "I don't wanna, meooow! This just sounds like training, wooooof!"
- Day 35 results:
Found 74 material.
Found 6,200 yen.
Health fully recovered.
Increased base points by 54.
Health fully recovered.
Found 52 material.
Health fully recovered.
Increased base points by 56, and used material to advance base.
Found 37 material.
Found 57 material.
Found 56 material.
Health fully recovered.
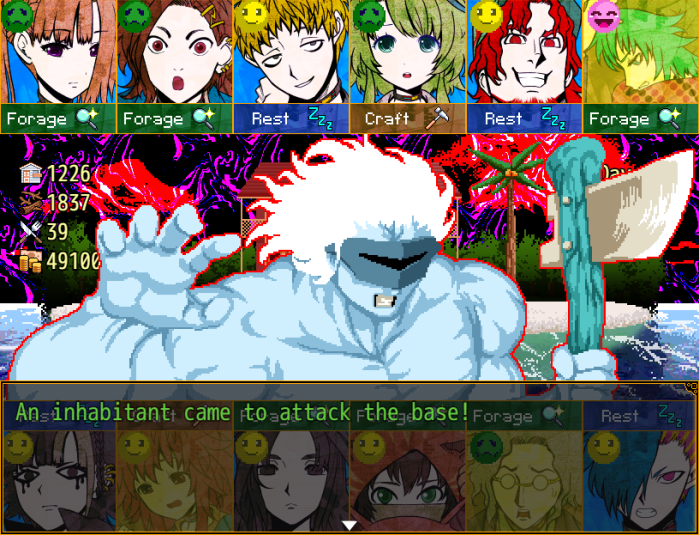
Music stops.
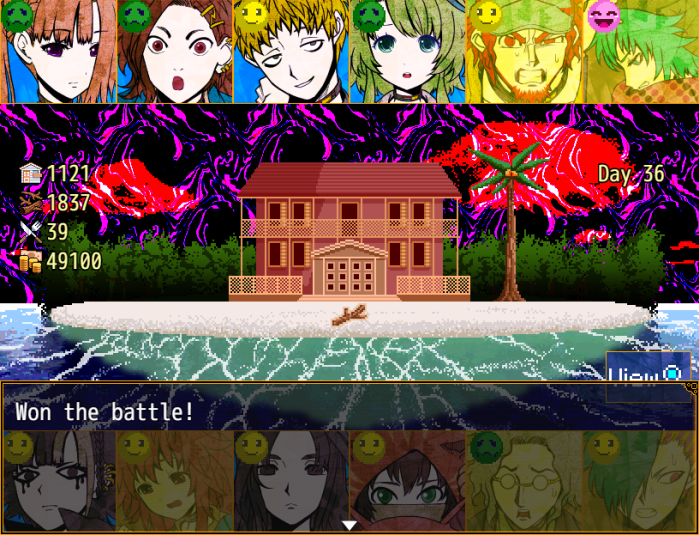
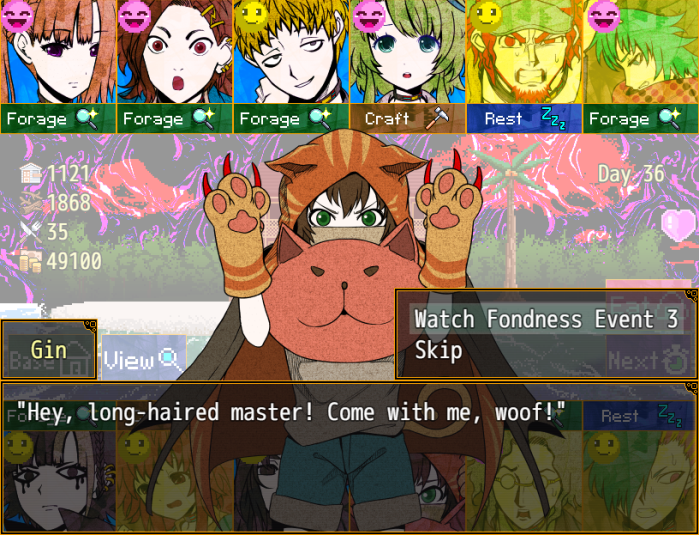 "Oh? What is the matter, my disciple?" "Look, look! What do you think of my dishwashing skill, meow?" "Hm... You did all this yourself?" "Y-Yeah! I worked hard, woof!!" "A fantastic thing to hear... Your chore skills have grown dramatically." "They say children learn quickly, but this is beyond my expectations..." "Eheh! Right, meow?!" "If you've reached this level, then I'm sure your mother will be delighted when you return." "Heheh! I wanna go home soon, woof!" "Long-haired master, you wanna see your wife too, right, meow?" "...Wife?" "Mya..." "...You mean you don't wanna meet her, woof?" "No, no... not that..." "That's no good, meow! Married couples have to reconcile after fights, woof!" "...That's a problem, then." "Because first of all, I'd need to meet her..."
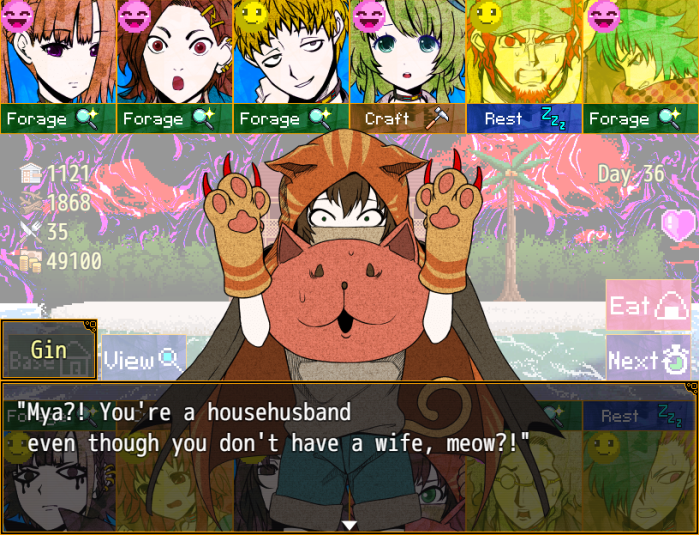 "Indeed. Adults are complicated, are they not?" "What're you saying, meow?! Don't call yourself a house-"husband" then, woof!!" "Oh...? It's just the difference between whether I've come upon a wife yet or not." "It's like asking whether the chicken or the egg came first." "It's totally different from that, woof! You really are weird, meow!" "I'm weird...?" "Anyway, relax, meow! This time I'll help you out, woof!" "Which is to say..." "I'll definitely find you a fitting wife, meowww!" "...No, it's not worth the trouble..." "Don't be modest, meow!" "Since you look girly, long-haired master, I'll find you a big buff wife, woof!!" "Please, wait. No, really, wait." "Let's gooo!! Meooooow!!"
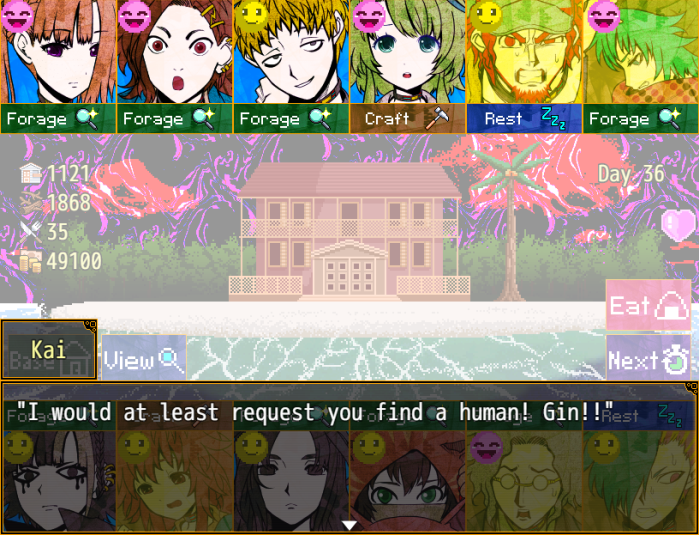
- Kai's off screen chasing after Gin.
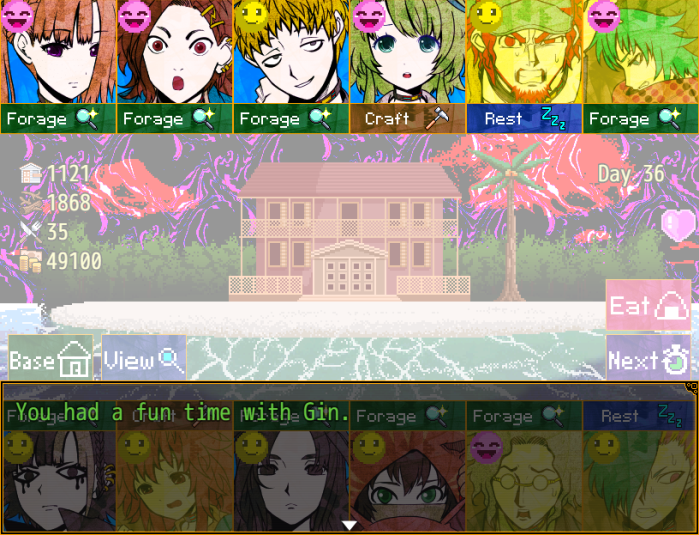
- If you get the Normality Regained ending after seeing this fondness event, instead of asking Kai to teach him to cook smoked meat, Gin plans to search the zoo to find a wife for Kai.
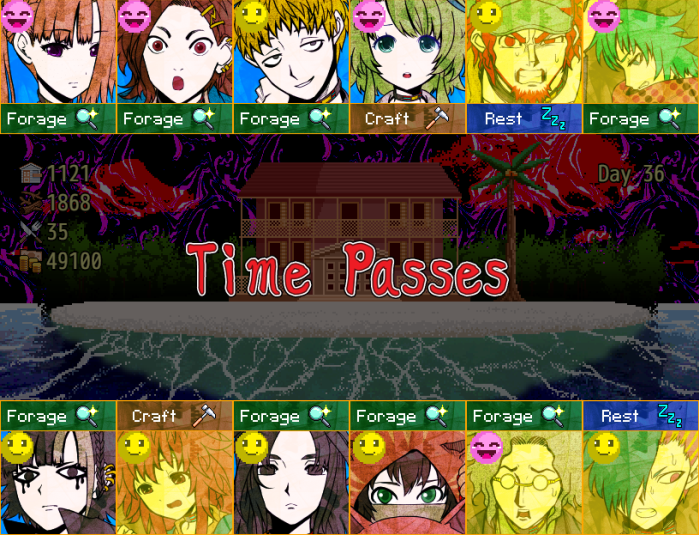
- Day 36 results:
Found 8,200 yen and 75 material.
Found 59 material.
Found 6 food.
Increased base points by 58.
Health fully restored.
Found 5,500 yen.
Found 5,500 yen.
Used material to advance base.
Injured.
Found 65 material.
Found 5,700 yen.
Health fully restored.

Music stops.
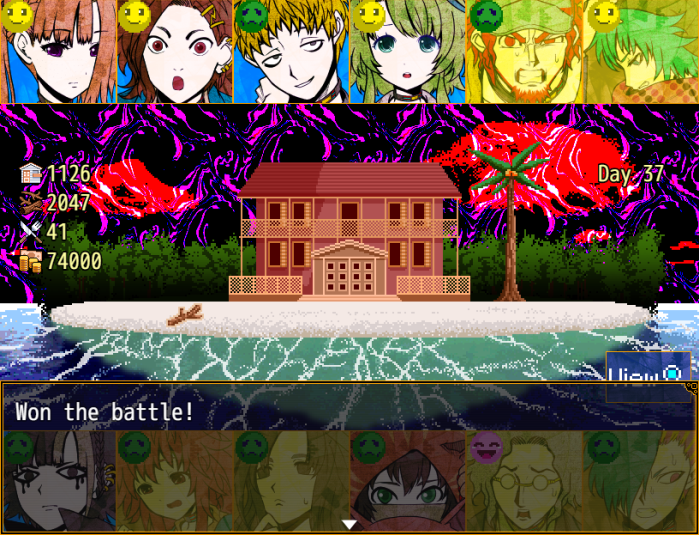
 "Your complexion looks very poor. Are you feeling unwell?" "It's your damn personality to blame!! Tricking me into all these scary stories!"
 "'Cause of that... your damn face keeps showing up in my dreams, and I can't get any sleep...!!" "Ah, love." "Don't tell me you got a scary story for that!!" "…" "*pant*... *pant*..." "Ugh..." "…" "You truly seem to be at wit's end..." "Yeah..." "Apologies. I did not mean to bully you." "Liar..." "In truth, I just wanted us to have fun conversation." "...Er... you see, I..." "...did not know fear when I was young."
 "...Hmph. Must've been real reckless..." "Though yeah, I was kinda like that myself..." "I cast aside all unnecessary emotions..."
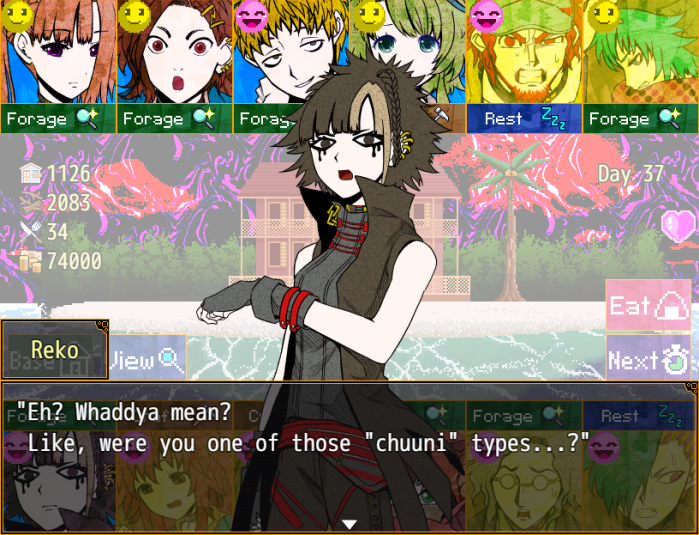 ".........."
 "...You're... serious?" "Yes... which is why..." "I gained an interest in stories that could bring me to feel fear."
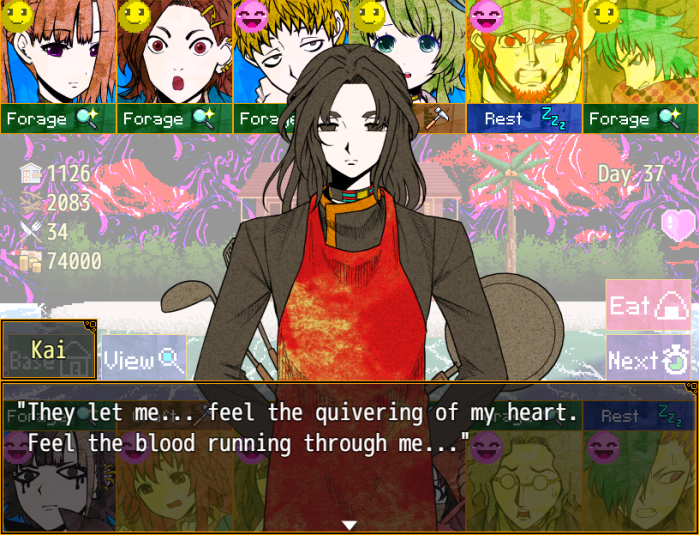 "But I had no need for such things..." ".........." "If you directly confront reality... you'll find it brimming with all kinds of fear." "You cannot erase your emotions. I simply chose not to think about them..." "Perhaps in truth, I was far more scared than the average person." ".........." "Damn... I dunno what happened with you, but..." "Ain't that reason to go have more fun than the average person, too?" "...!" "I thought you were this guy there was no figurin' out..." "But I'm relieved to see you got some humanity." "Miss Reko..."
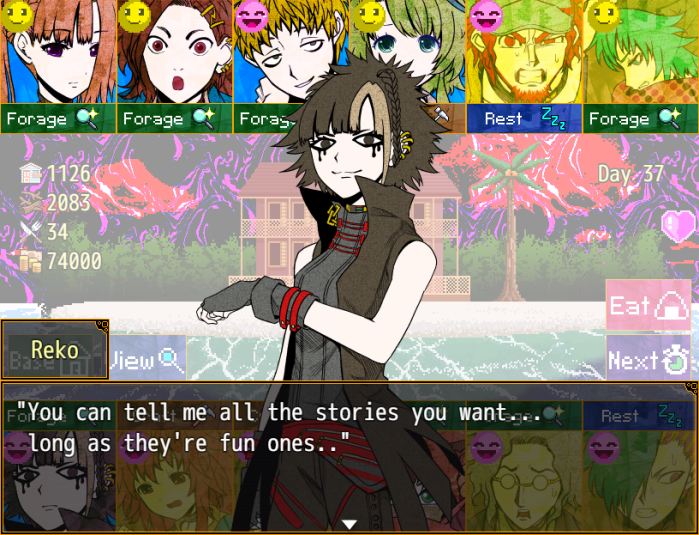
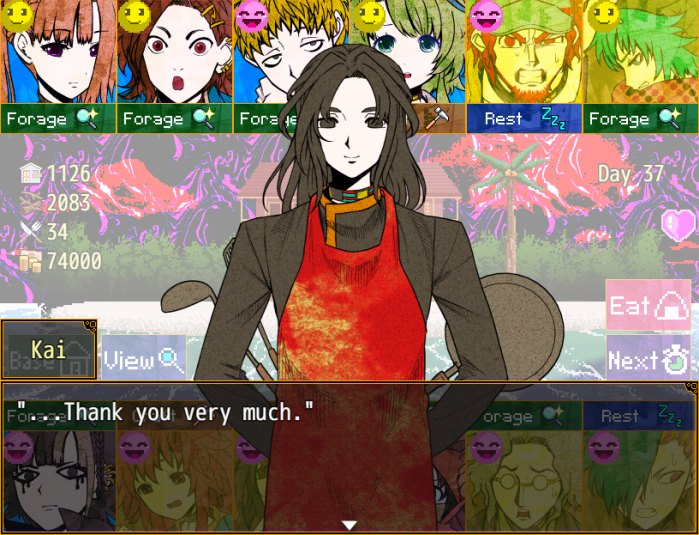 "Haha! Now we can sleep soundly tonight, eh, Kai?" "Hmmm... You seem to be enjoying yourself..."
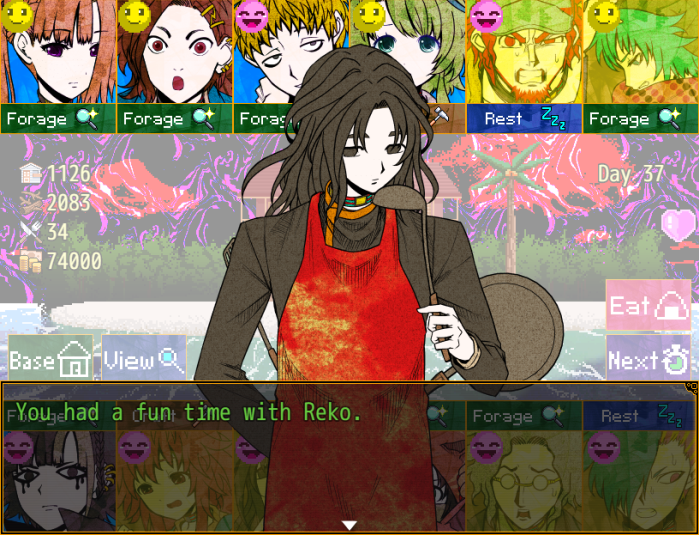
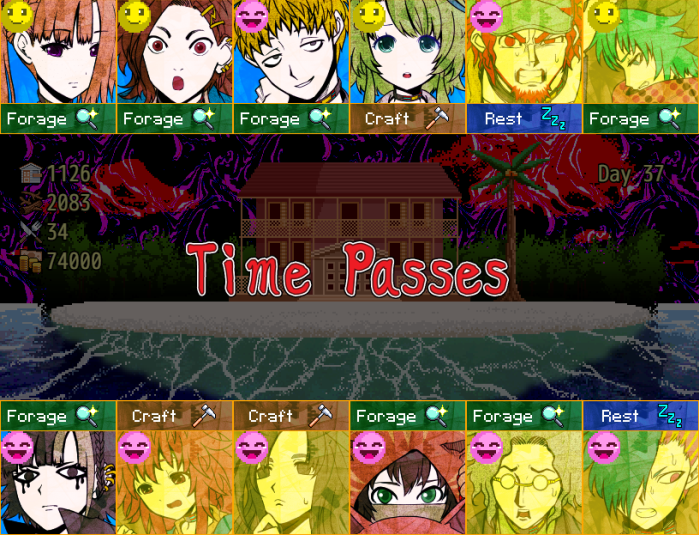
- Day 37 results:
Found 7,400 yen.
Found 58 material.
Found 6,000 yen.
Increased base points by 55.
Health fully restored.
Injured.
Found 54 material.
Increased base points by 113.
Failed, but avoided injury.
Found 7,000 yen.
Found 6 food.
Health fully recovered.
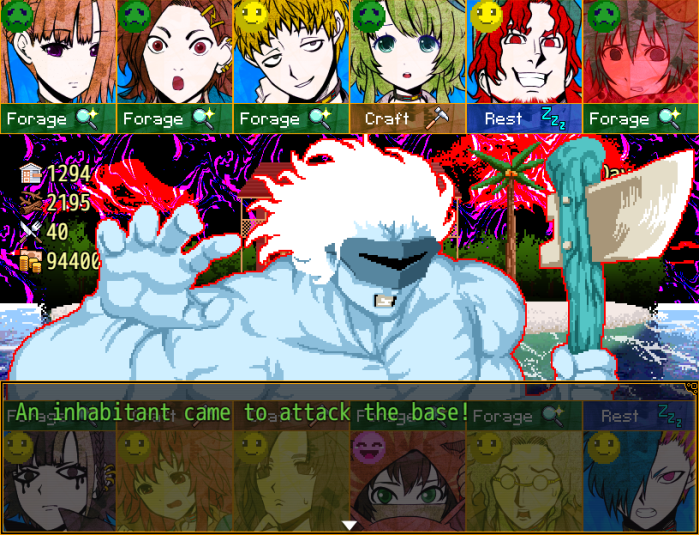
Music stops.
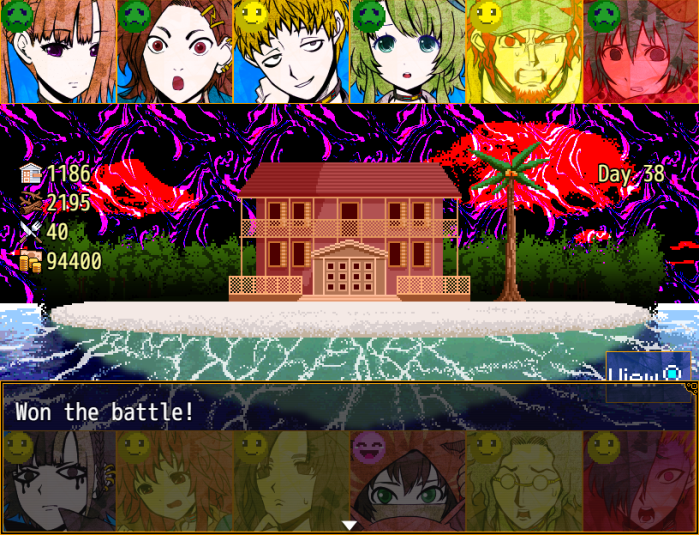
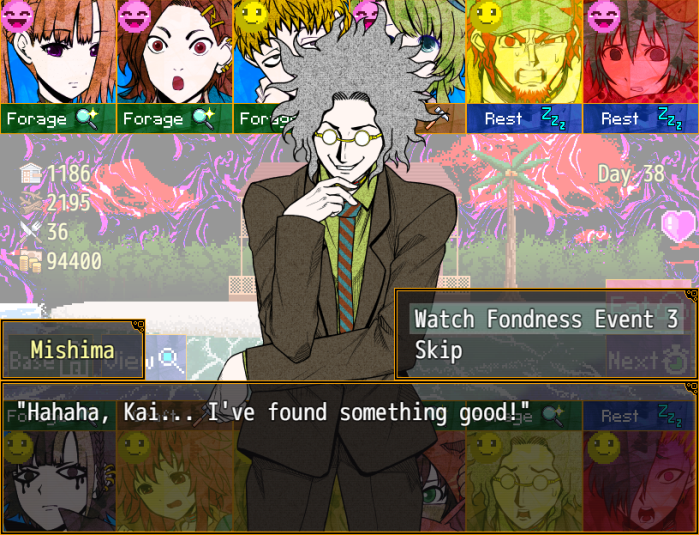 "Mishima. What have you discovered?"
 "Is this a modern high school textbook...?" "It's the very same as one I work with daily. Mwahaha... What a familiar sight!" "But... I doubt it would be readable even if it were dried..." "Indeed. However, I have it all in my head, so it doesn't matter." "All in your head...? That's impressive."
 "Not at all... That's the bare minimum if I'm to teach my students with confidence..." "I wish I were a truly fine teacher, the kind who could answer any question I'm asked..." "Right now... it feels like I'm just barely managing to teach art and how to study..." "Is that not sufficient...?"
 "Hrmm...?! That's only scratching the surface!"
 "You're quite the ardent teacher..." "...That was how the teachers I looked up to were." "But I lack the ability to replicate them... In skill... in experience... in popularity...!" "You have a scary appearance, indeed." "T-That's unrelated...!" "I'm sure I'm simply inexperienced yet..." "Hm..."
 "*sigh*... If I could assemble a hundred of myself who had led different lives..." "I imagine if we gave lessons all together, we could teach anything!" "Hm... That sounds..." "A bit boring, actually."
 "What...?" "If you combine the opinions of 100 people..." "You have too many cooks... and it just becomes mild." "Mild, you say...?" "Surely, it's a single Mishima who has concentrated his efforts that can be most exciting." "Hmm...! I see!" "Hrmmmmmmmm...!!" "How interesting! You have a strange persuasiveness...!!"
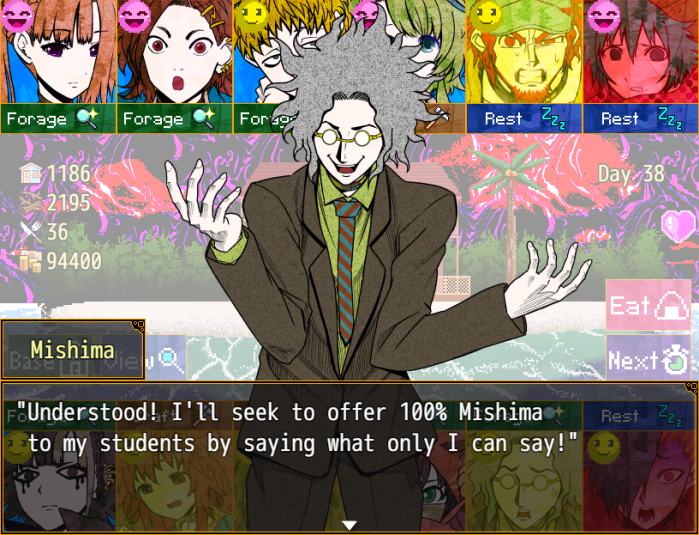
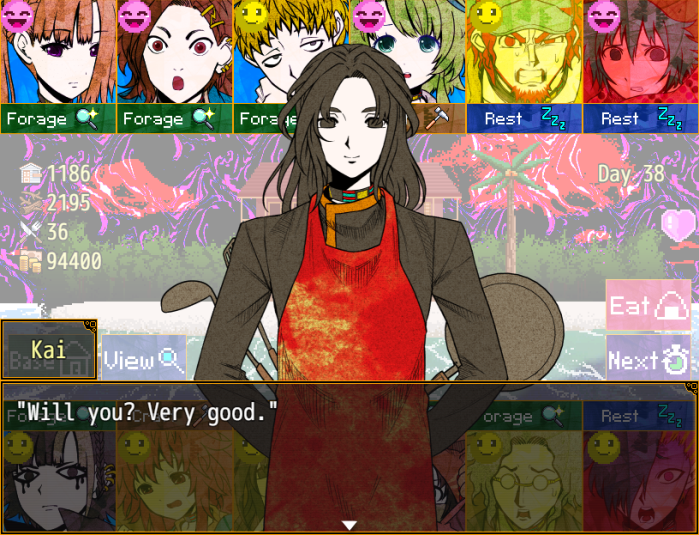 "Thank you very much... Professor Kai!!" "A-Ah, no... I'm no teacher..." "Mwahaha...! Humans are always learning and growing!!" "You really are a bit scary, aren't you..."
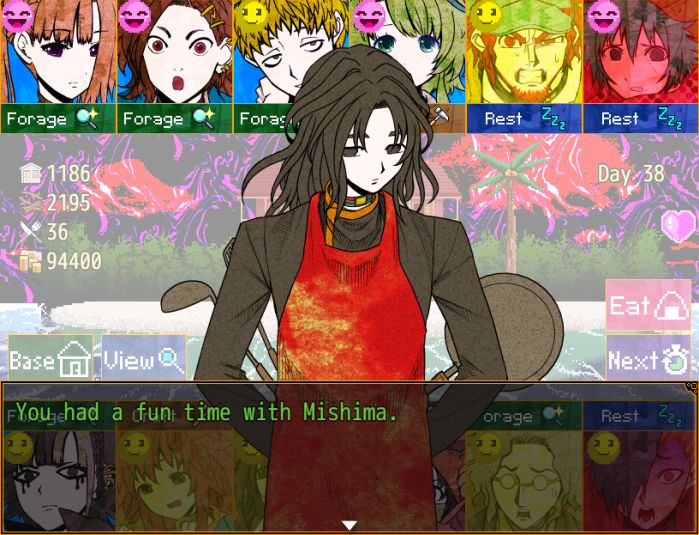
- This was the last fondness event.
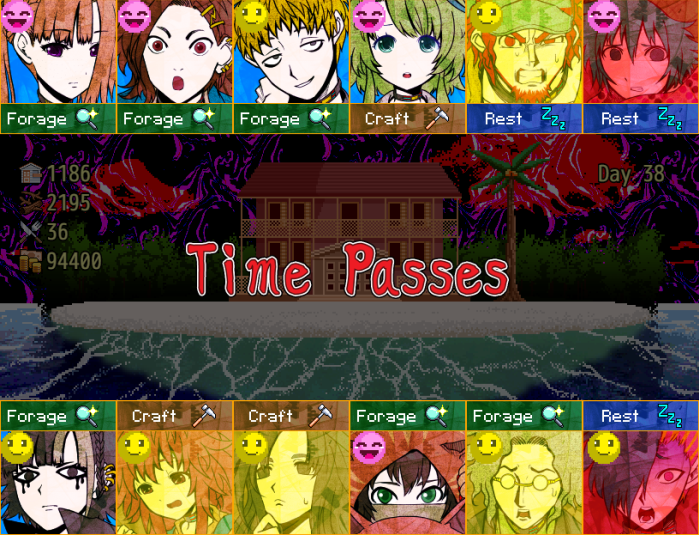
- Day 38 results:
Found 7,770 yen and 8 food.
Found 6,600 yen.
Found 6,500 yen.
Increased base points by 56.
Health fully recovered.
Health fully recovered.
Found 54 material.
Increased base points by 55.
Increased base points by 38.
Found 65 material.
Injured.
Health fully recovered.
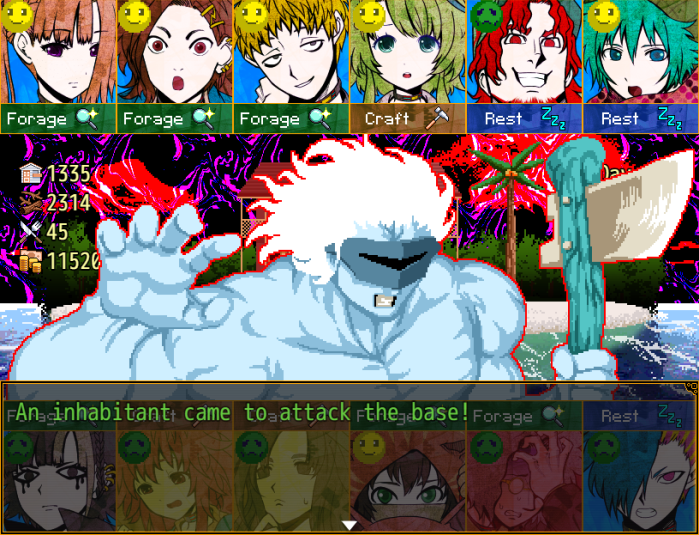
Music stops.
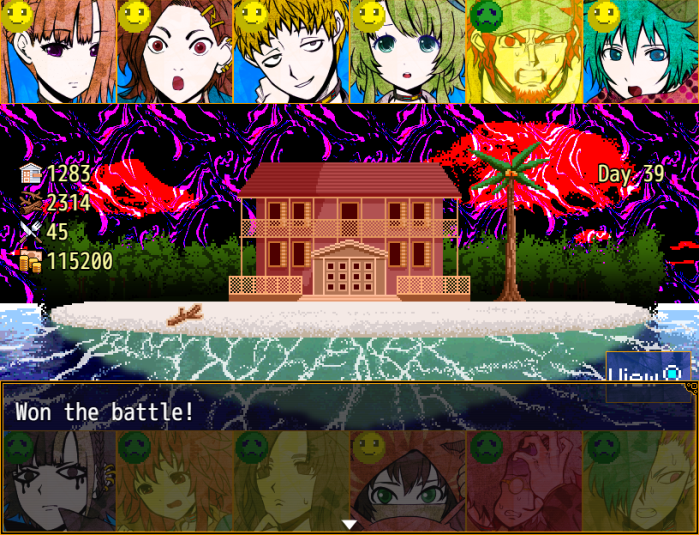
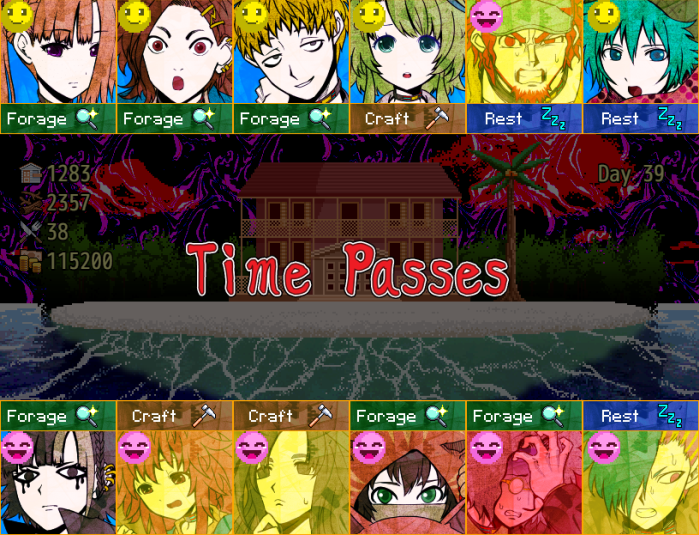
- Day 39 results:
Failed, but avoided danger.
Found 60 material.
Found 7 food.
Used material to advance base.
Health fully recovered.
Found 6 food.
Used material to advance base.
Increased base points by 38.
Found 6,500 yen.
Found 7 food.
Health fully recovered.
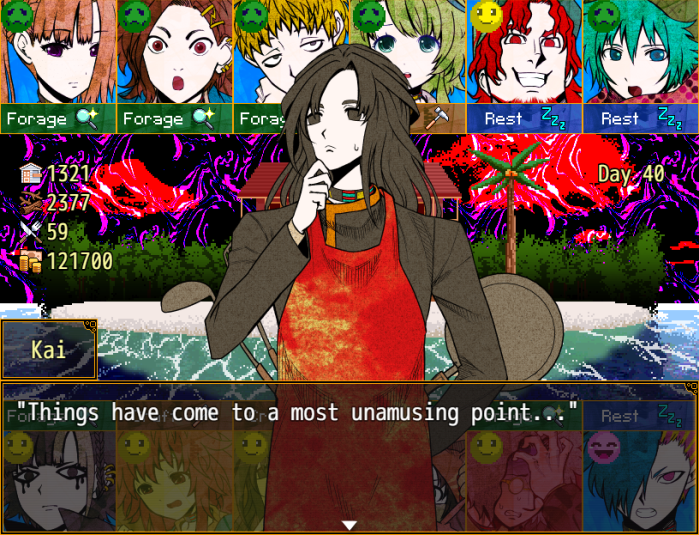
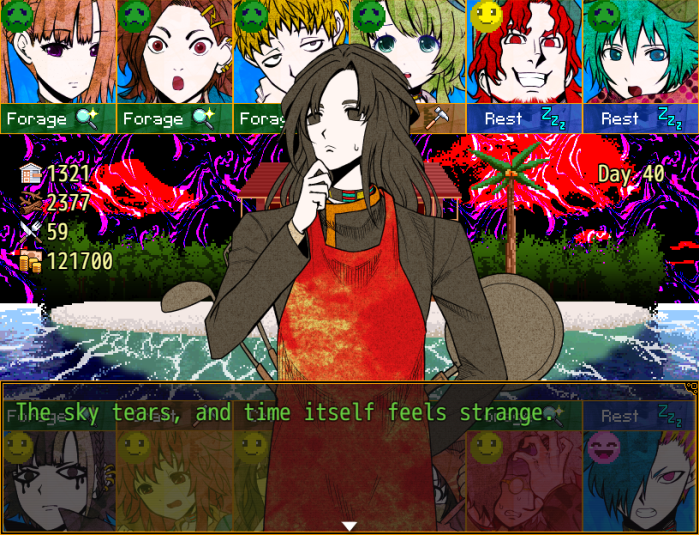 "...Perhaps... this is it..." My legs give out, and I fall to my knees. Before my eyes is only despair.
Music stops.
"That's right... What of the beach hut...? If there are no other options... I shall at least see if they're safe..." "Please, let them escape safely...!"
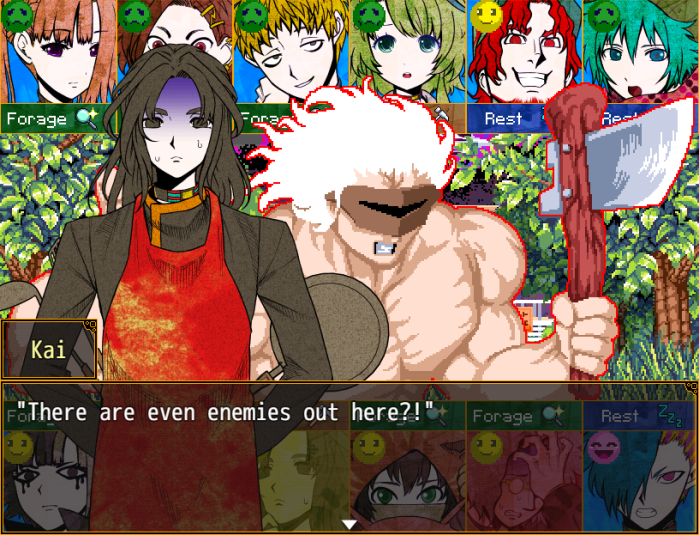
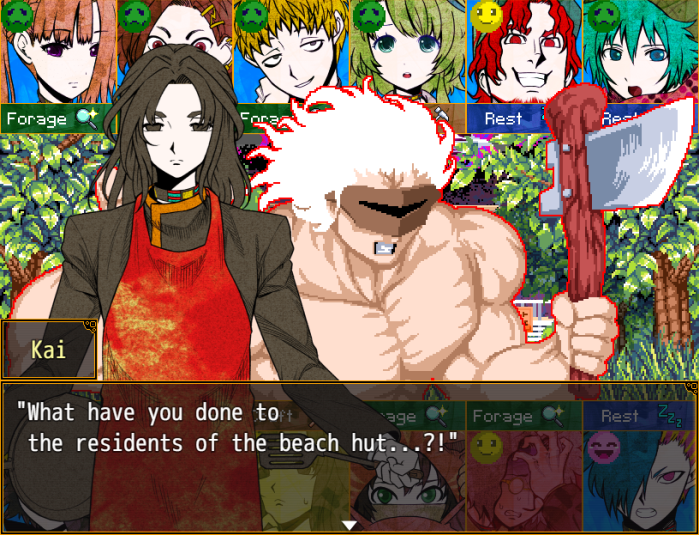
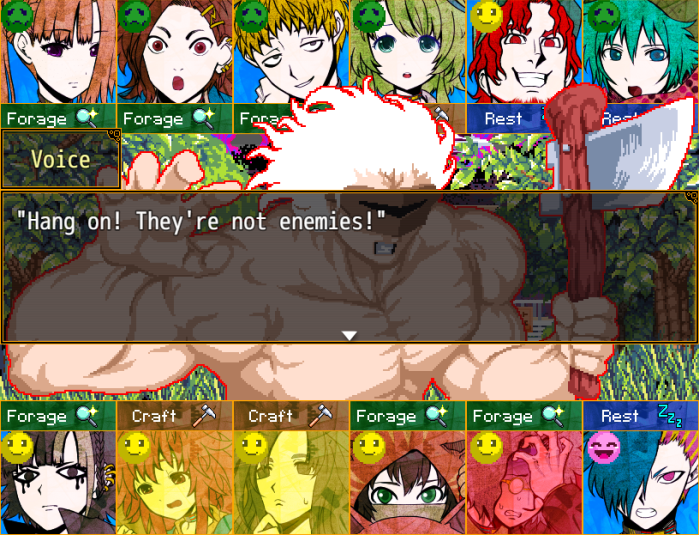
 "They're customers who came running to our restaurant!" "Ah, you're all safe!" "Kaaai! Thank goodness! You're alive!"
 "These inhabitants came to protect the beach hut from the island's destruction!" "Then they truly do have good intentions..."
- I feel a bit bad for repeatedly beating the inhabitants up now; there's nothing to indicate Kai or Mishima ever tried to talk with the inhabitants – maybe it would have been possible to reach a peaceful agreement with them.
"Yeah, it's honestly a problem! We were all set to escape...!" "C'mon, as if abandoning these guys wouldn't be the chump thing to do!!" "So... we decided to stay too!" "Why... How resolute..." "I shall assist you, then."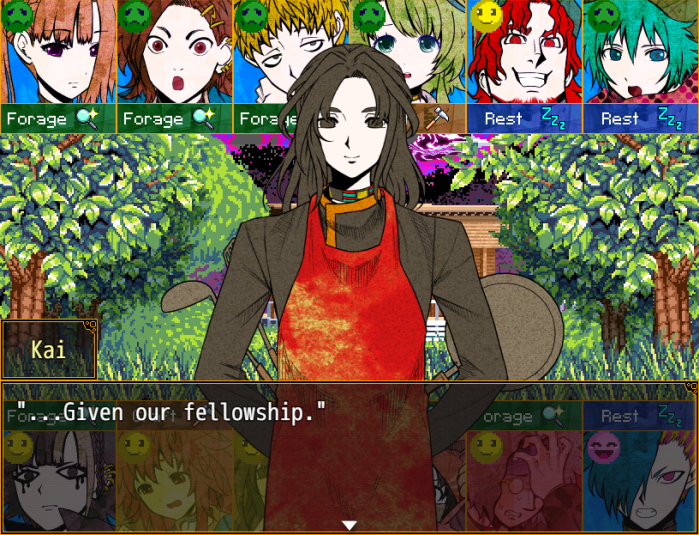
 "We're in your debt, Kai...! We'll protect the customers who love our restaurant!"
Music stops.

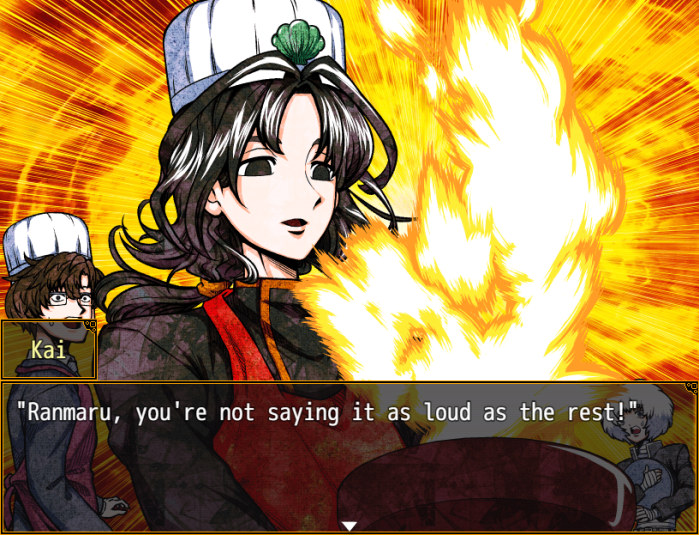
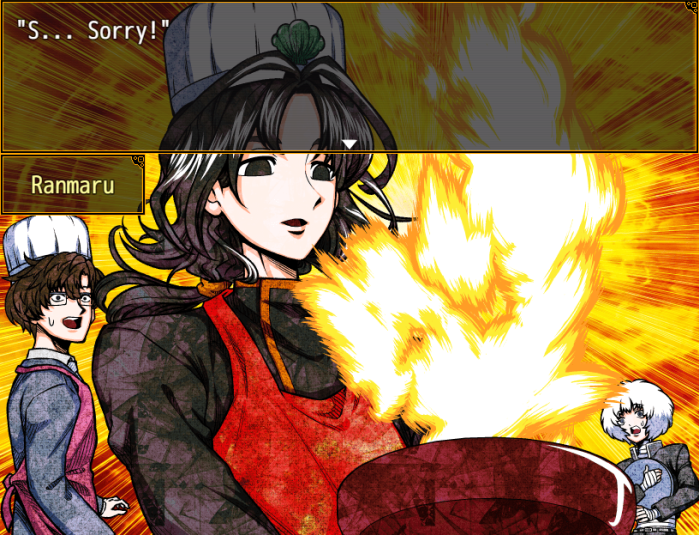

 And now, I work at the Beach Hut as a chef. I could only call it a miracle. Not long after that, the island's destruction suddenly stopped. But that's not to say the damage wasn't great. There was... nothing left on the island. All that remained were people without a place to live. "Let's rebuild the beach hut as a symbol of revival." "It was you all who suggested that..."
 "No, it's nothing."
 "All right. Let's split them, Chef Hayasaka."
 "Move your hands, not your mouth."
 "You may deal with her."


 "Hey, Kai! You spacing out?" "Ah, forgive me." "If there's even a single person in the restaurant, you give your all for them... That's our job!" "...You seem awfully chipper today." "Huhhh? Did you forget, Kai? Today's when that lady's coming, right?" "Hah! That why you're in such high spirits, Ranmaru?" "Hey, Kai's looking forward to it too, isn't he?! She came all the way from off-island to eat here!"
 "No, I..." "You just don't get it, Hayasaka... A chef always wants to prepare the feast with their own hands."
Music stops.
"S... She's here...!"

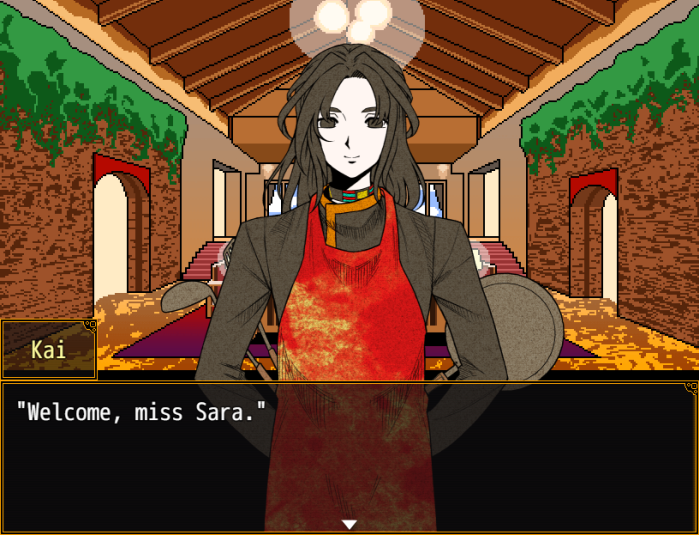
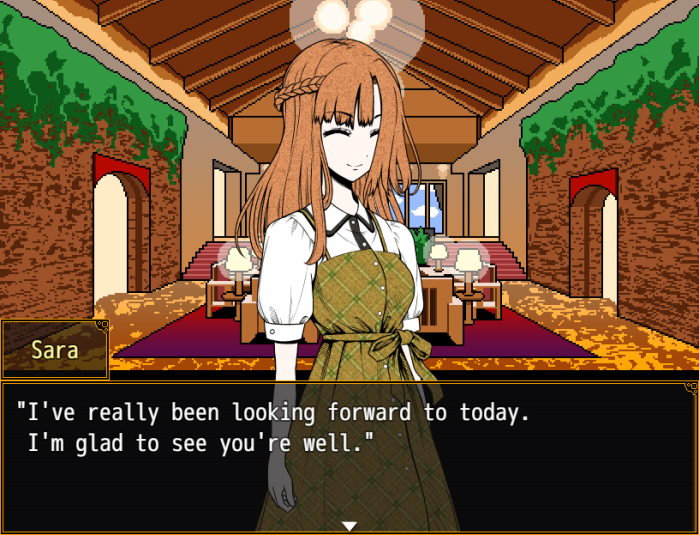
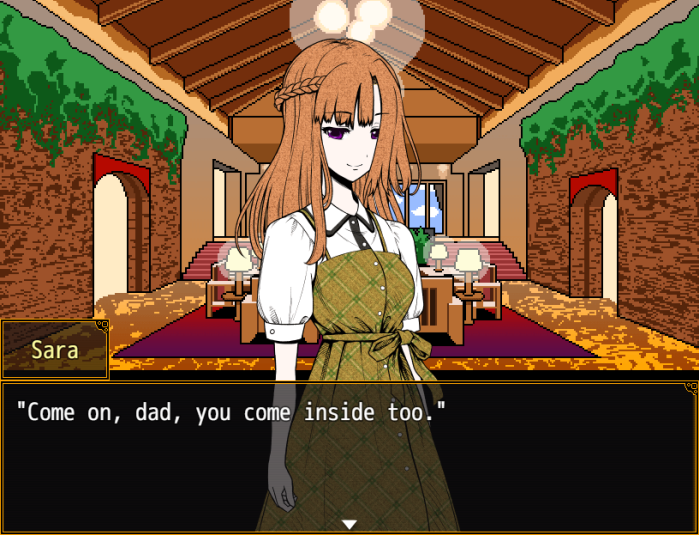
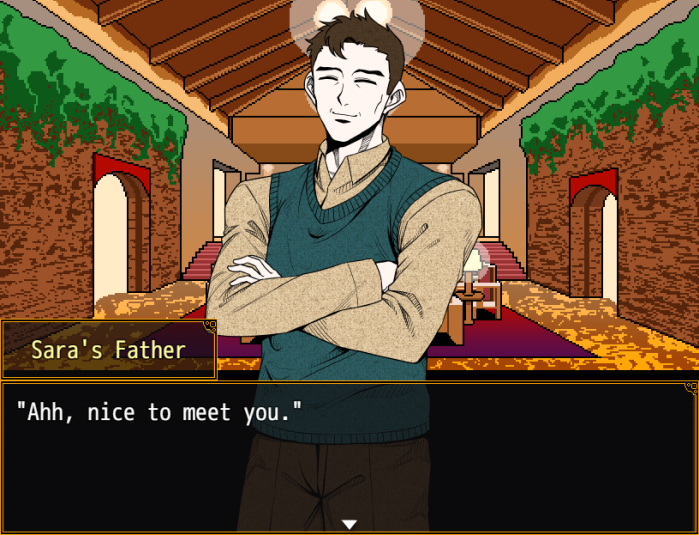
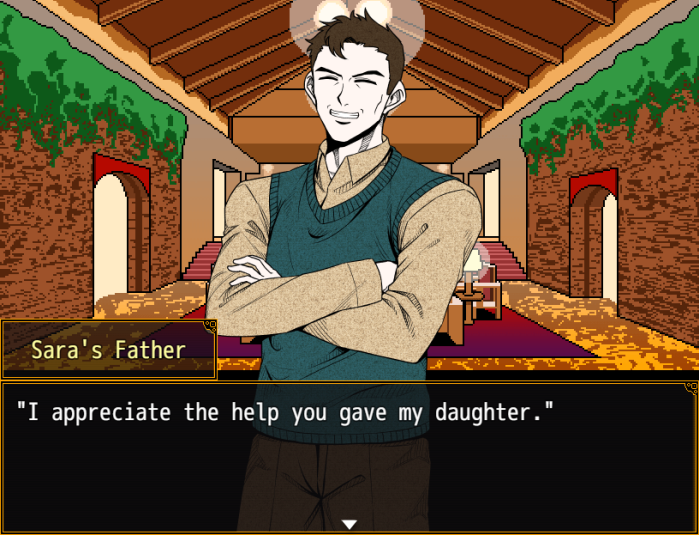
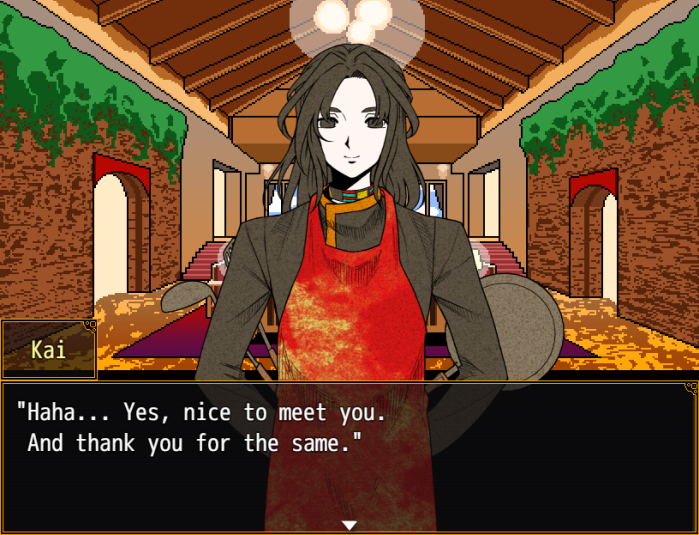
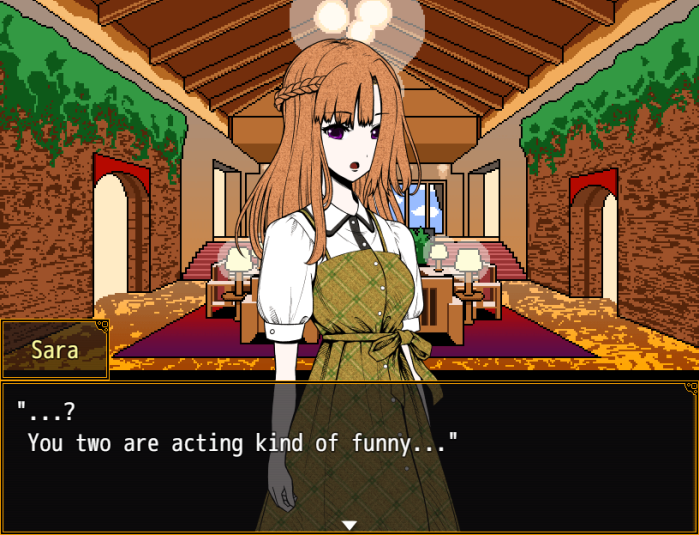
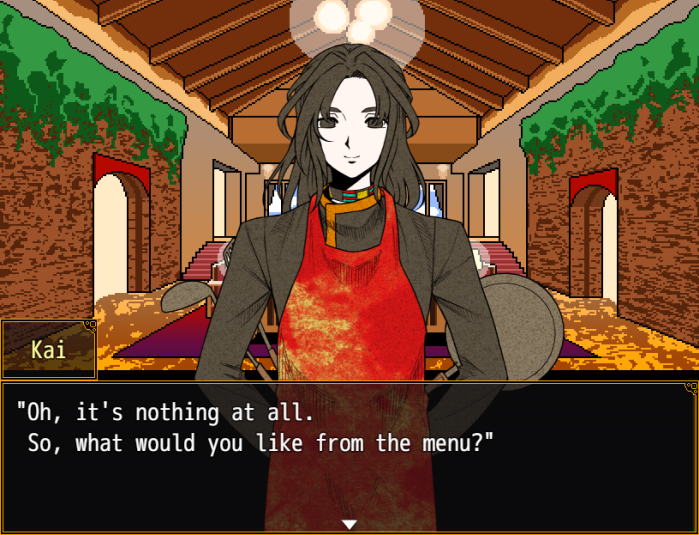
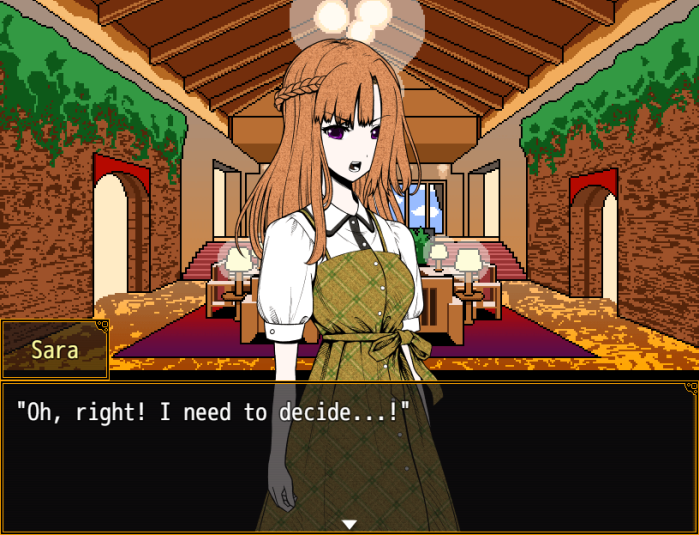
 "I was reading the menu at the entrance, but I still couldn't choose... Could I have some more time?"
 "Haha! Rare to see you indecisive, Sara."
 "Look, I mean...! They're all sure to be delicious! Have you decided, dad?" "Hmm, true... Bet they are all tasty."
 "Heehee... That's not all."
 "Kai's cooking feels somehow nostalgic to me."
 "I wonder why... It's like I've known it forever."
 "Can't wait! Decide quick, okay, Sara?" "Ugh! You're just planning to go with what I pick, aren't you?!"
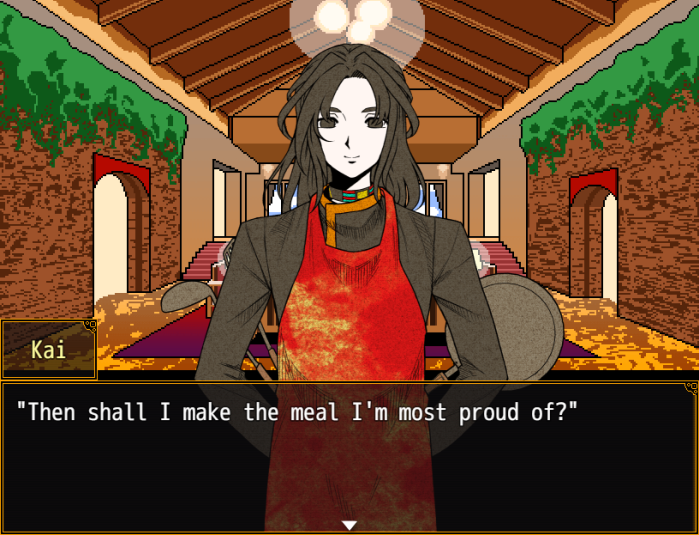
 "Really?! Alright!" "Thanks for waiting!" "Thank you, Ranmaru." "No prob!" "Wow... What an amazing meal! It's radiant!!" "I'll dig in." "Here goes!" "How does it taste?" "Mmm...! It's so delicious!!"
 "My, my..." "Heh... That meal, eh...? You've really..." "...improved, Kai."
 "Wha? Dad..." "Ah..." "You mean... You've come here by yourself?!" "Huh? N-No..."
 "F-Forgive me, Sara... Come on, let's eat before it gets cold."

- If you fail*, or refuse to do any of the cooking competitions, this ending is replaced with the “Island Collapse” ending, like Mishima, Kai finds a diary written by an amnesiac who calls their self “Rei”, who was with the rest of the group, was killed after wandering off, but not before they found an object that restored their memories. Kai finds the object, and realises that there were thirteen people on the island, not twelve, but can't recall anything else about Rei, Kai feels like he's almost grasped “something”, but the island collapses before he can get any further.
- I'm not sure if it's actually possible to fail the cooking competition, at least in the English version. A score of less than seventy in any of the three competitions is supposed to be a fail – in which case Kai is supposed to find the beach hut destroyed and the “Sunnies” missing - but as you may have noticed, I got less than seventy in the first competition, yet the competitions continued. This also happened on my initial playthrough.
Next update will be covering Mishima's Sunnies minigame and ending.
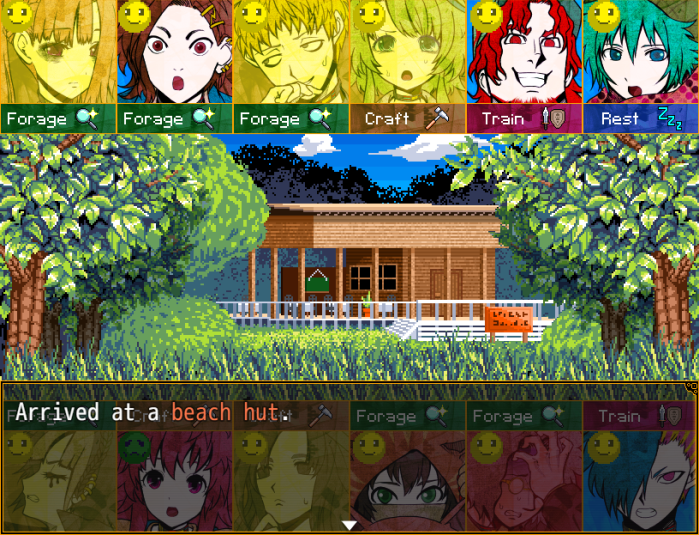 "Oh? Is that a house over there...?" "Hey! What're you doin'?! This ain't the time to bicker! "Then show us what you have, Ranmaru!" "Why...! So there were people here, too!"
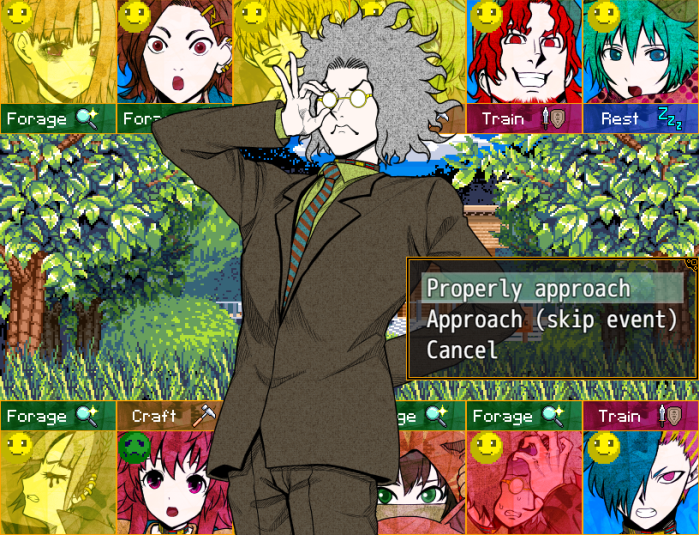
- Once you've completed the game, you have the option to skip certain events, even if you haven't completed the game with the character you're currently playing as.
"I can't overlook people in trouble. I'll observe from outside. "Stop it already! There's no point in us fighting about it!" "That's right...! What happened to our vow, to share amongst ourselves fairly and survive?"
 "Then why's the food gone down so much, huh?!" "I mean..." "Hah! You gonna say it vanished on its own...?" "This food we received to start with is our lifeline, and yet..." "Someone hid it..."
 "Trying to have it all for themselves... without anyone finding out..."
 "How absurd..." ".........." "Do you have a moment, everyone?" "AUGH!! Scary!! Whozat?!"
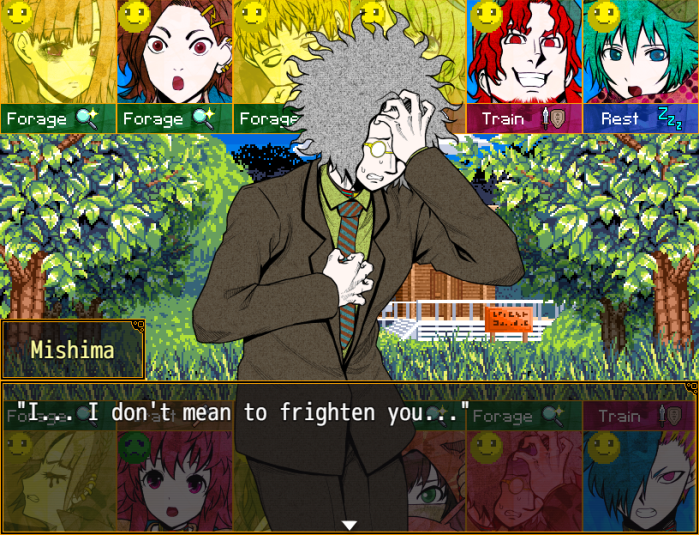 "I'm just a teacher who happened to be passing by. I was curious about your conversation..." "You're real suspicious, huh?! That's the face of a criminal if I ever saw one!!" "No, no, no!! Please don't judge by my appearance!!"
- In the manga, Keiji takes one look at Mishima and immediately puts Mishima in a headlock.
"Don't you have a bad look yourself, Kurumada...?" "You goddamn...!" "This strife is sure to ruin you at this rate." "Urgh..." "Are you trying to say not to doubt anyone...?" "...It's indeed easier said than done..." "…"
 "However, you appear to be under the impression your current food reserves are everything..." "But there are other ways to get food on this island." "Hmph... like stealing from you?" "Why is this a mugging now?!" "You see... I am a teacher. I have better things to steal than food." "What...?" "Such as... the knowledge you need to survive." "Hey now... You trying to make us take lessons?" "Precisely! It's time for study!" "Wh...! You're seriously going to give us lessons on how to survive...?" "And...? It's better than quarreling 'til we all die, right?"
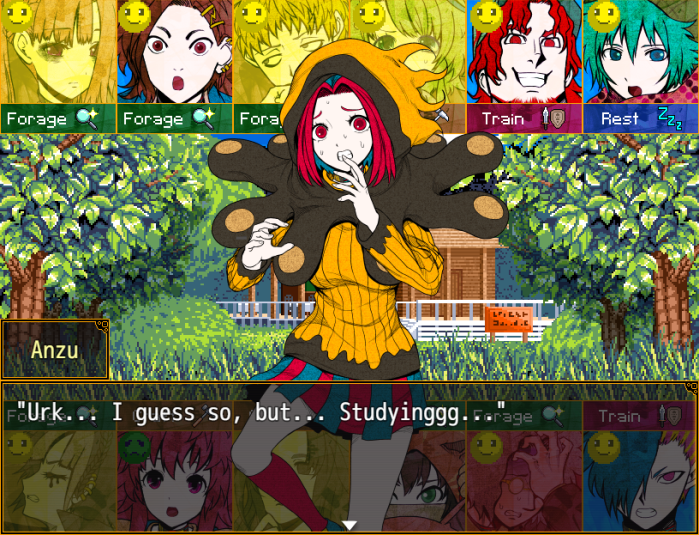 "Outta the question. Knowledge can't fill your stomach!" "...Not in the mood for it today. Beat it, professor..." "Hrm... I see... Then I'll try again in 3 days." "Fine... do as you please."
 "But you know giving us knowledge will reduce your own odds of survival, right?" "It means fighting over the island's limited resources. There's no escaping conflict... get it?" "Very well. The harder the problem, the more worthwhile it is to solve."
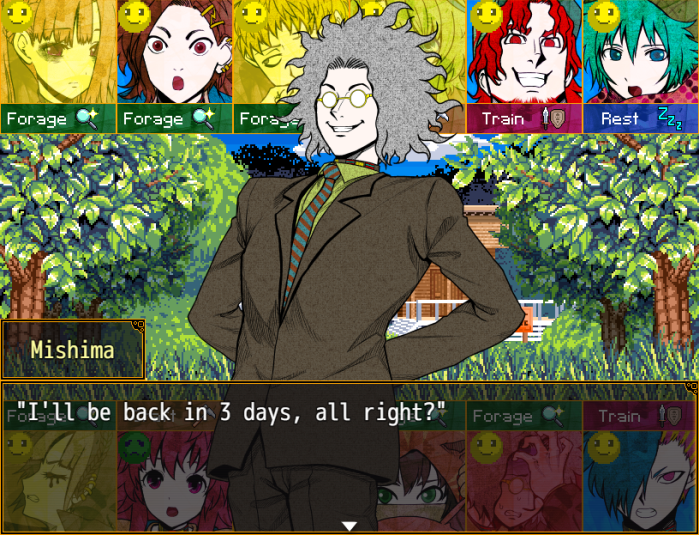
- Jump forward to Day 11...
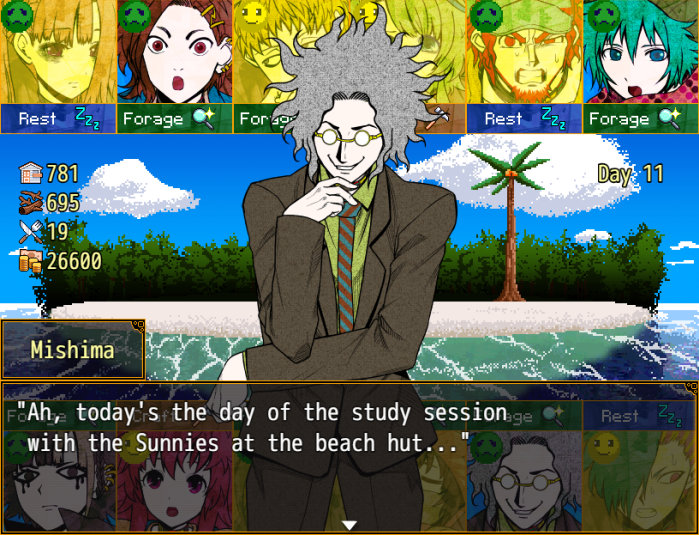
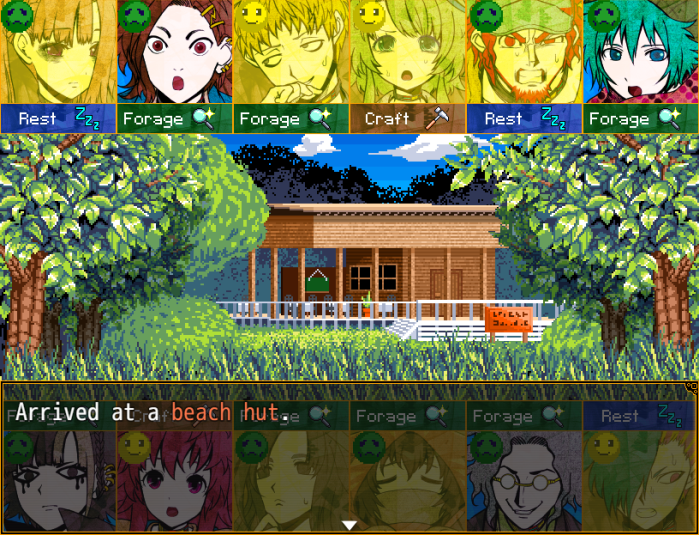
Music stops.
"Hello, everyone." "Guh!! He actually came!!" "Told you so! I win!""Man, why'd I have to make such a weird bet..." "A win's a win. Let's study!""...Yeah, yeah. Just gotta listen and all that..." "Well then, Professor Mishima, go ahead with the study session." "...It seems you were doing some undue gambling, but I'll choose not to concern myself with that." "Now then, it's time to learn!"Music stops.

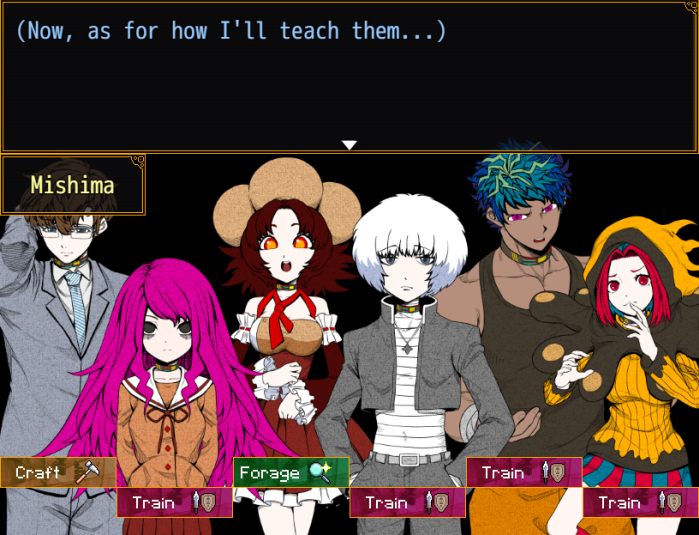
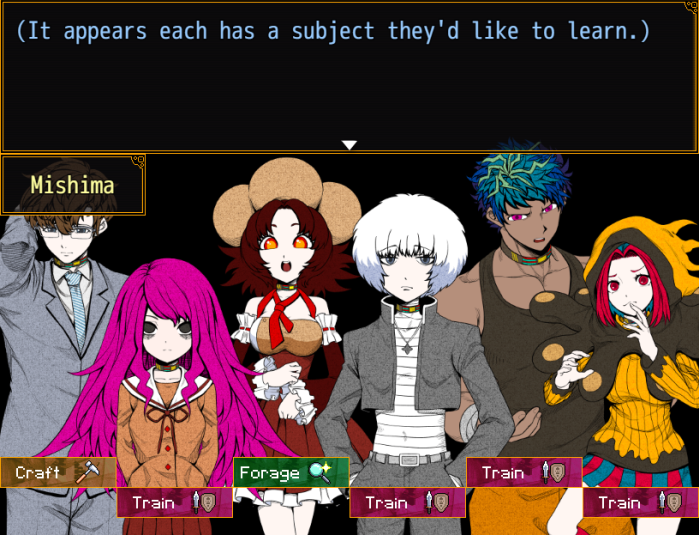
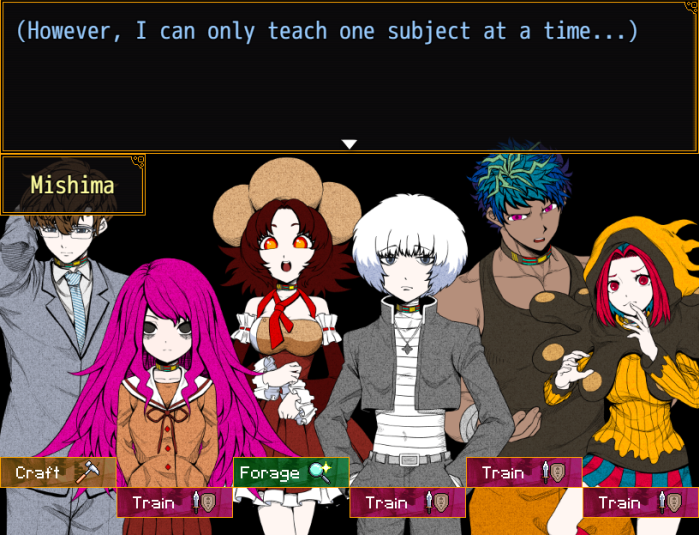
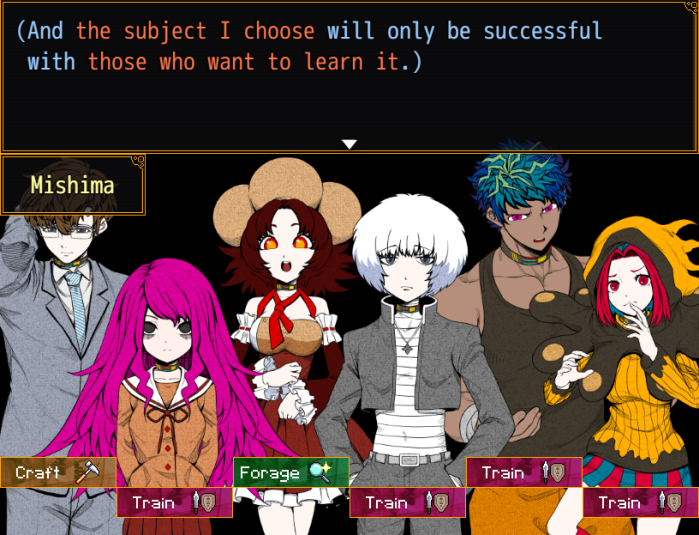
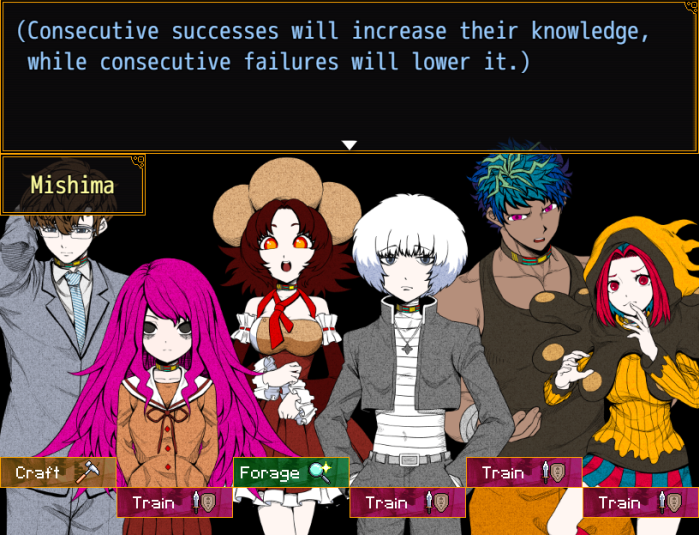
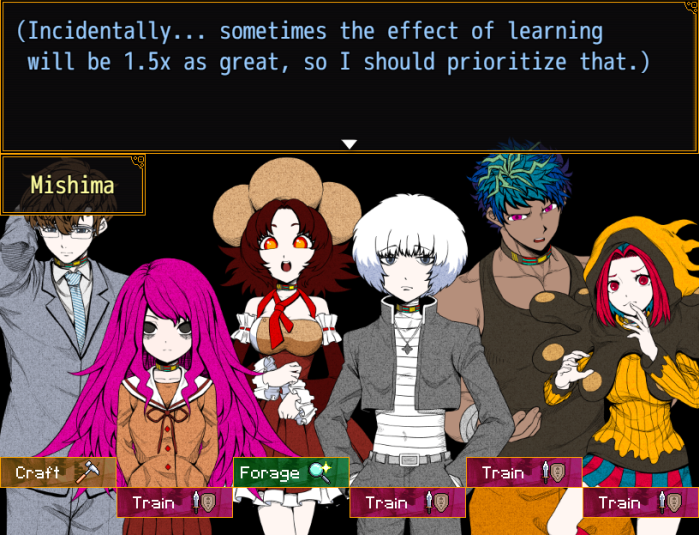
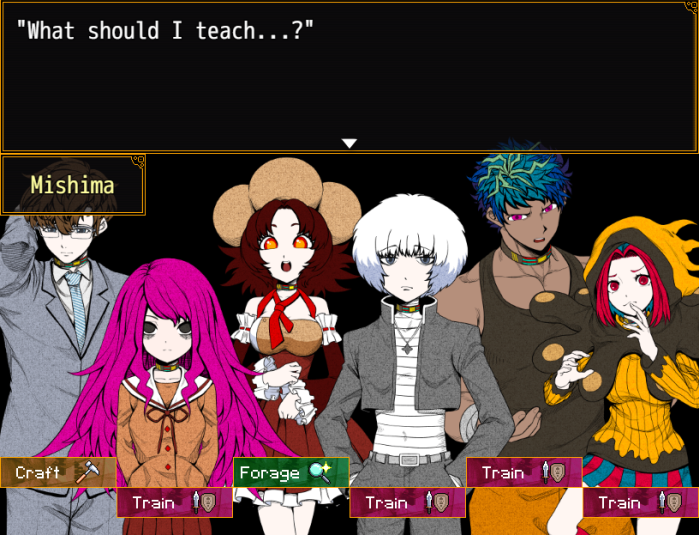

- Every successful teaching increases “study points”. The aim of the minigame is to get the study points to a level Mishima is happy with. Every period one random subject will be worth 1.5x points. Unfortunately, study points are only gained by a character studying the subject they've requested, and in this case, there's only request for forage, and three for training, so I opt for the latter.
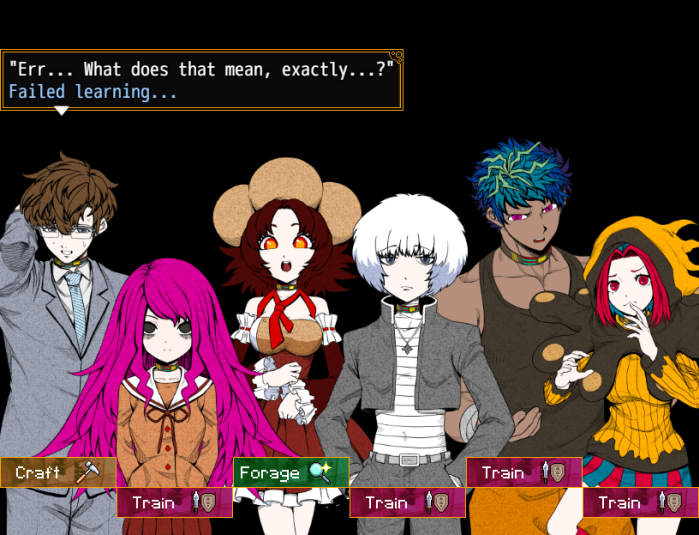


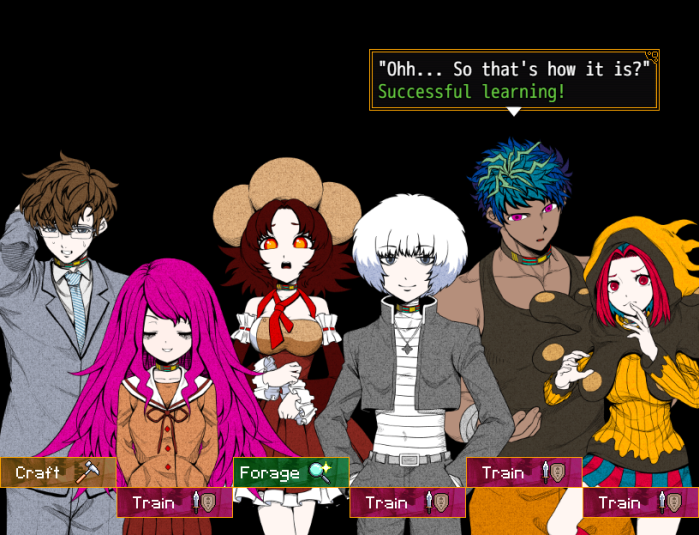
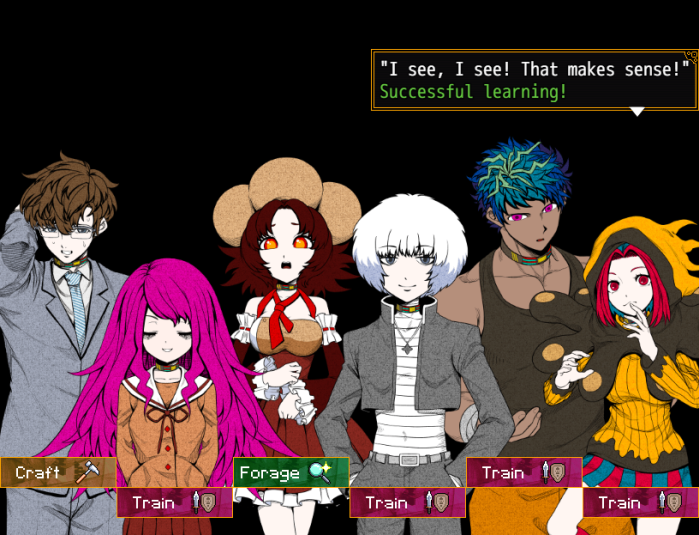
- Expressions change depending on how many periods they've succeeded / failed at. If a character repeatedly succeeds at learning in a row, their study points are multiplied by the number of times they've successfully studied. Conversely, if someone fails to learn multiple times in a row, study points are subtracted in multiples by the number of times they've failed, though this is capped at a maximum of three failures. Because of this, if a character ends up in a failure spiral, it may be better to ignore them in favour to continuing to boost the success of a character who has a successive success rate.

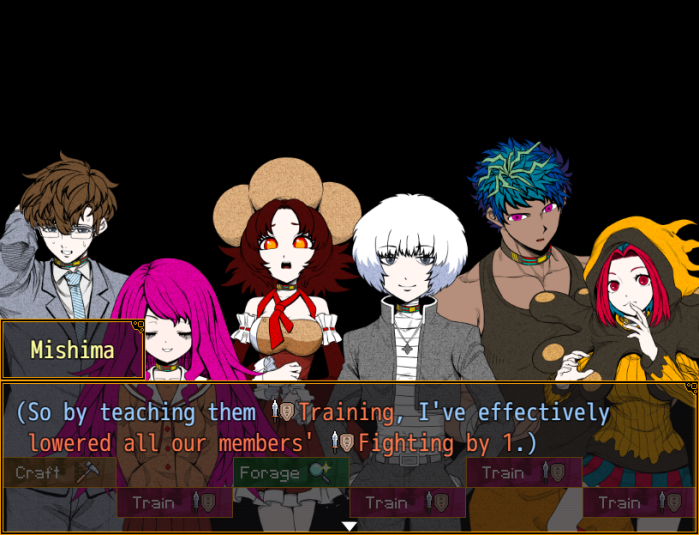
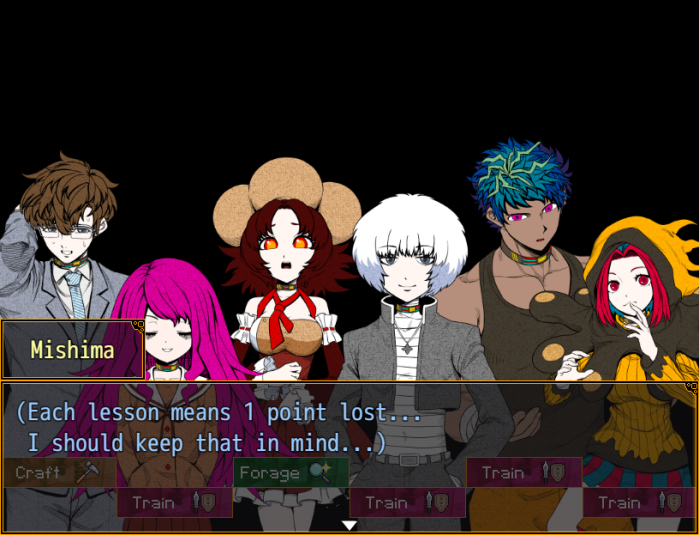

- The loss of one point isn't really an issue – success rates are only increased per every ten points for foraging and crafting. Training has a base 90% success chance regardless of a characters fighting score.
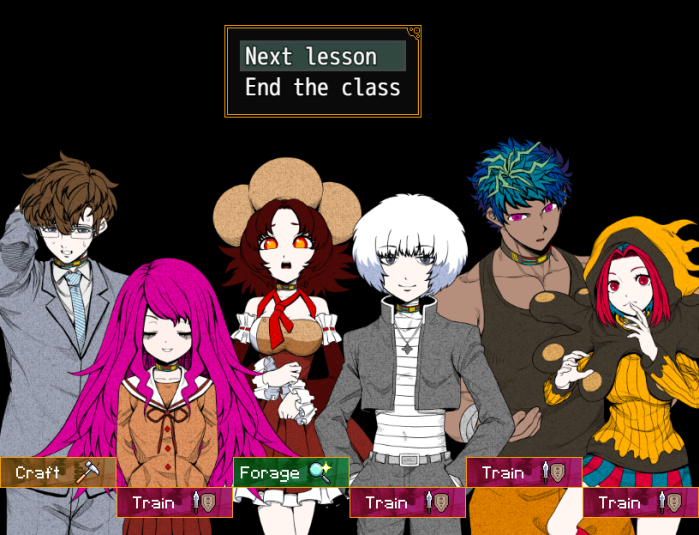
- If you end a class before Mishima confirms it is fine to do so, you will fail the sidequest.
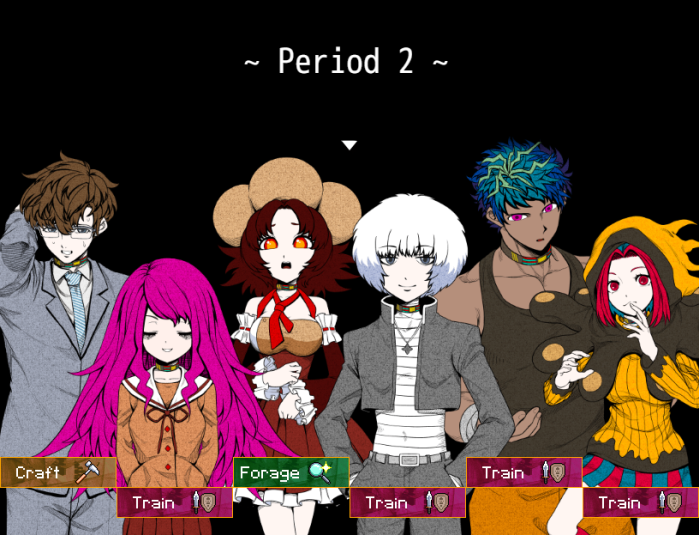

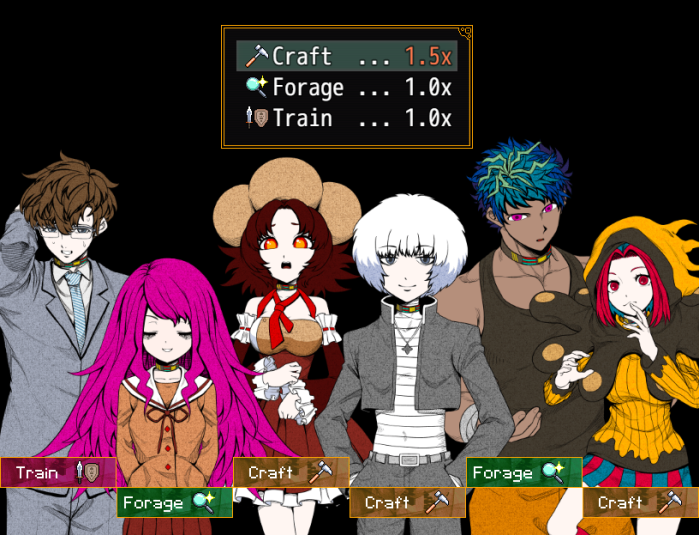
- Luckily, crafting is both the subject with 1.5x points, and the most requested subject this period.

- Unfortunately, this the second time Hayasaka has requested a less popular subject.
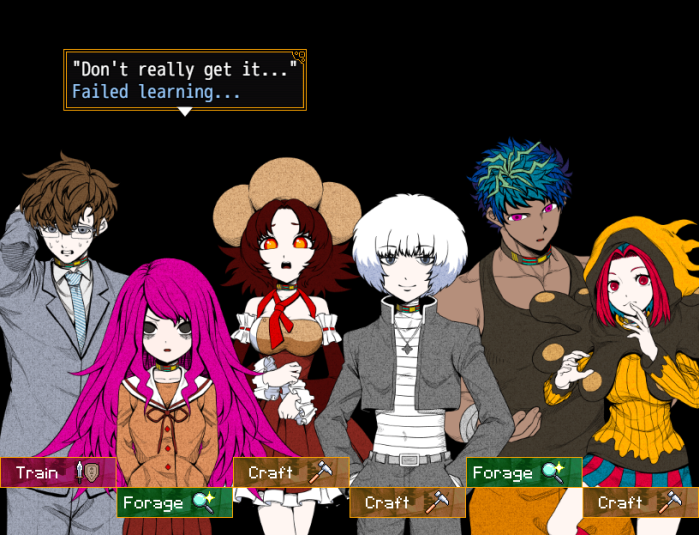
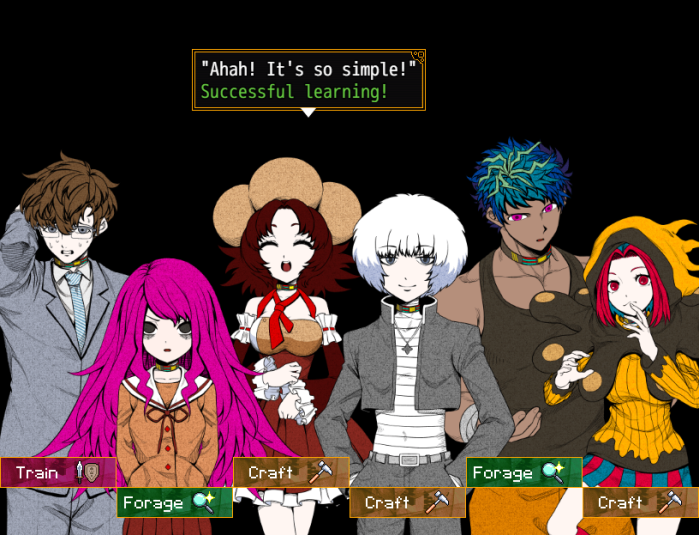
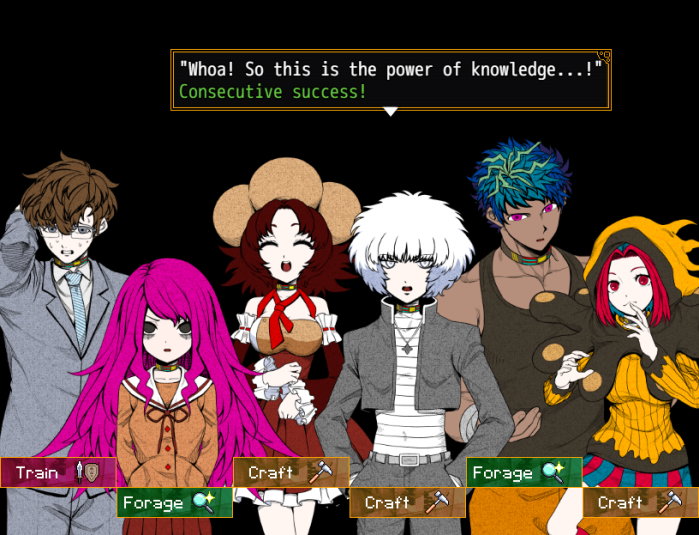
- Ranmaru and Anzu are both on a success chain, which will help make up for the loss of points from Hayasaka.
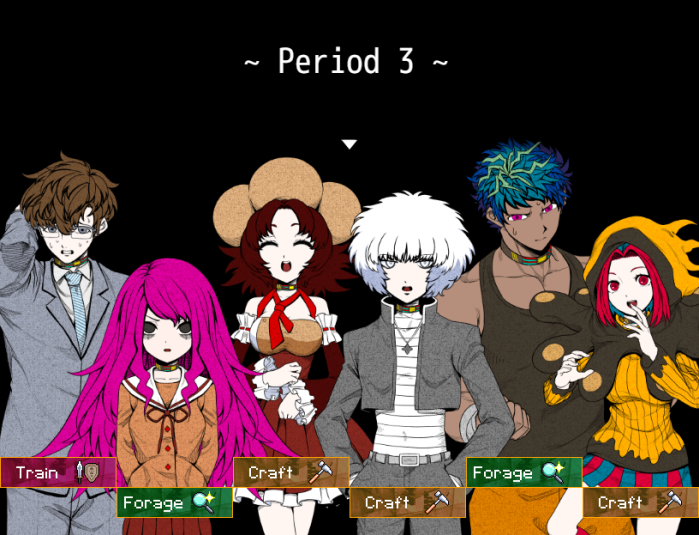
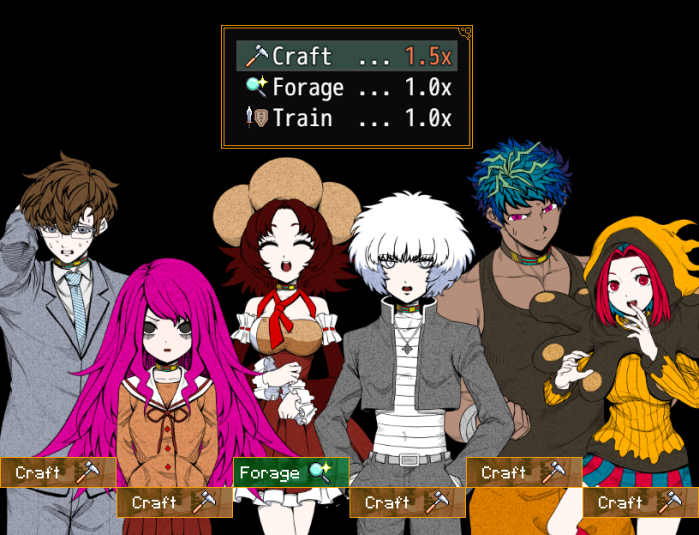
- Same as last period, crafting is both the most requested subject and the one with the 1.5x score.
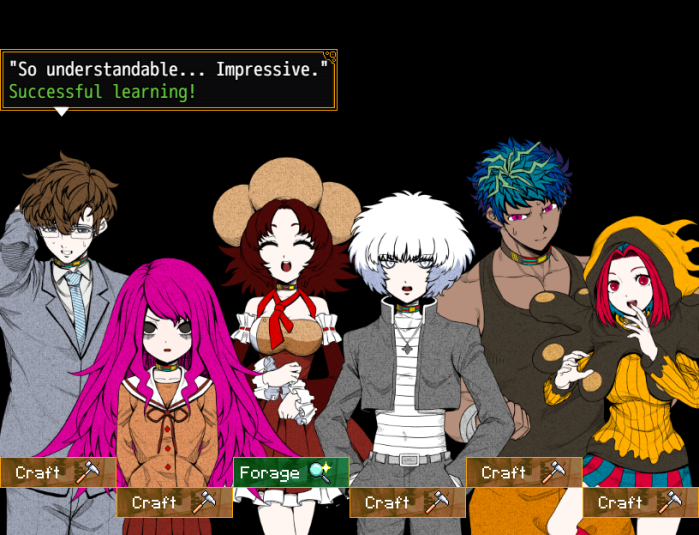

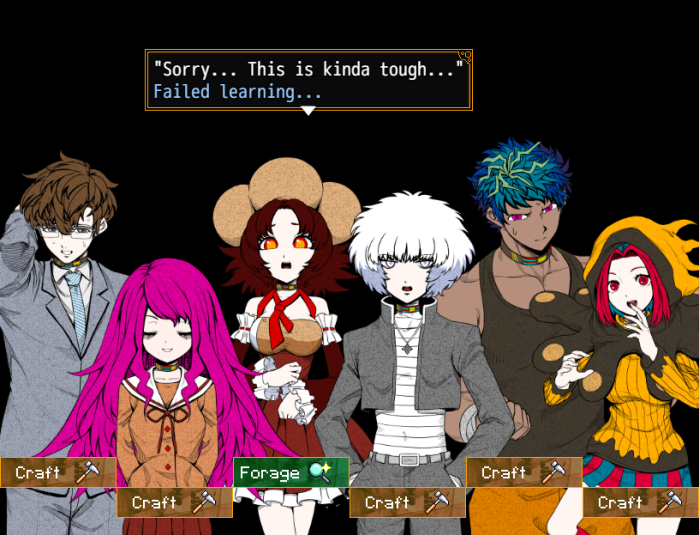
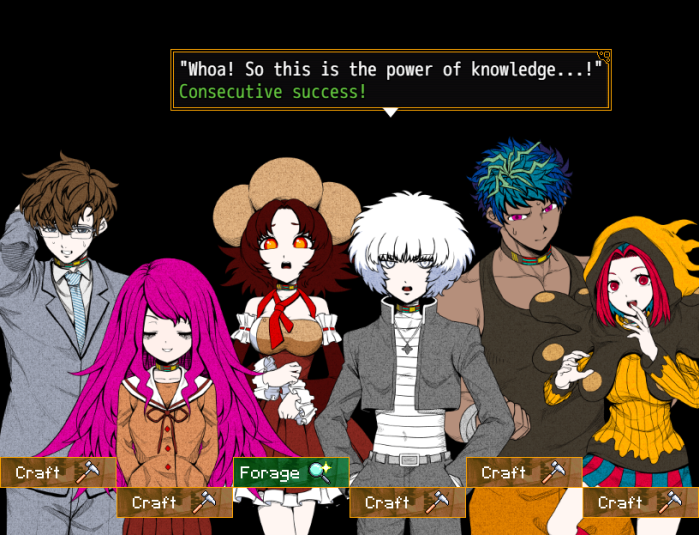

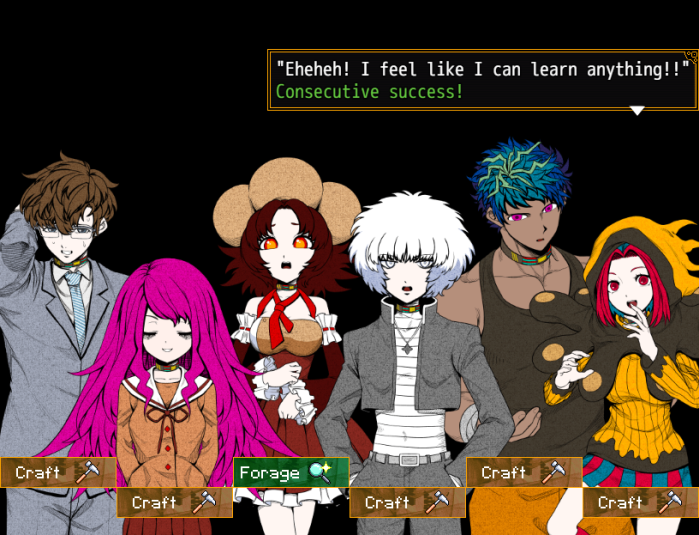
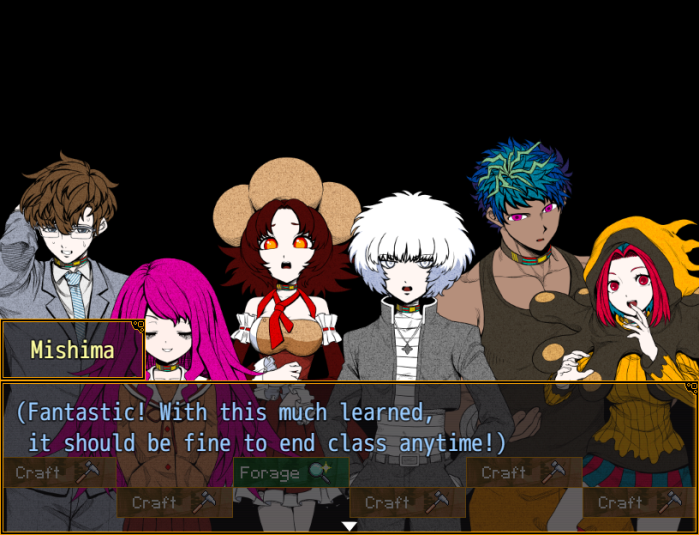
- Which is enough to end the class.
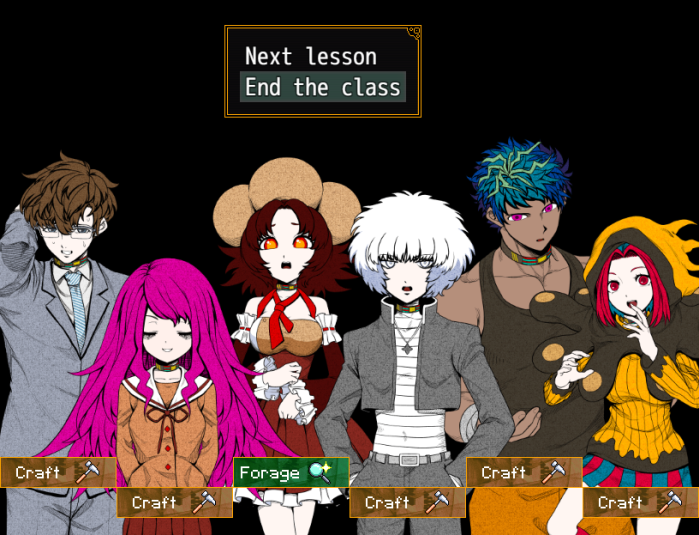
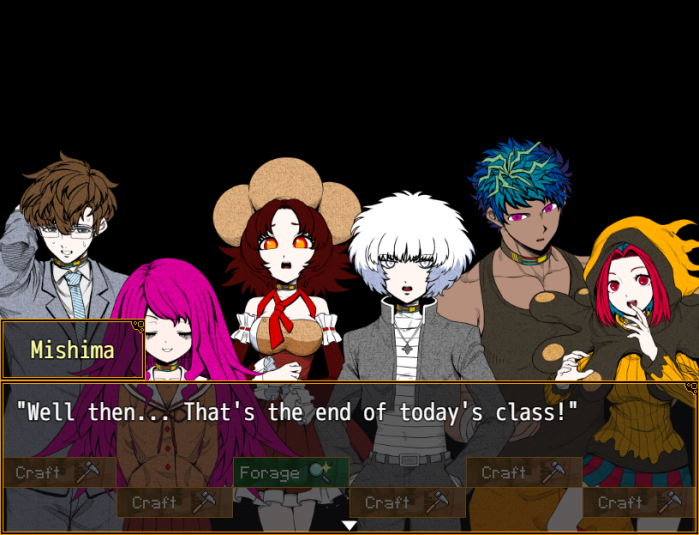
Music stops.
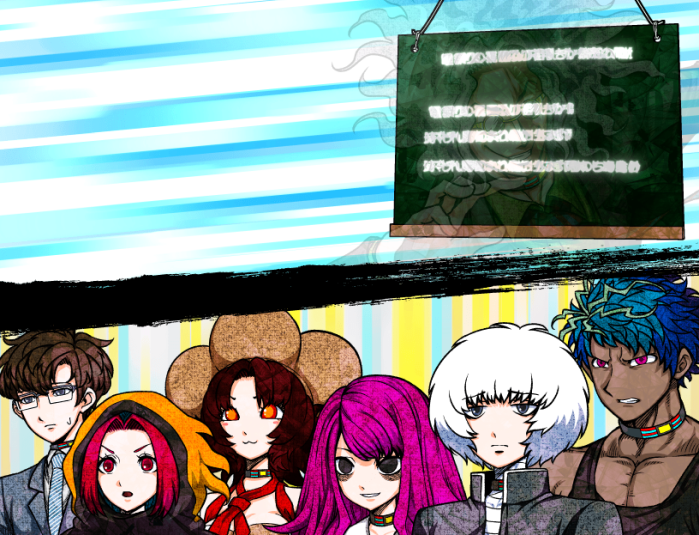
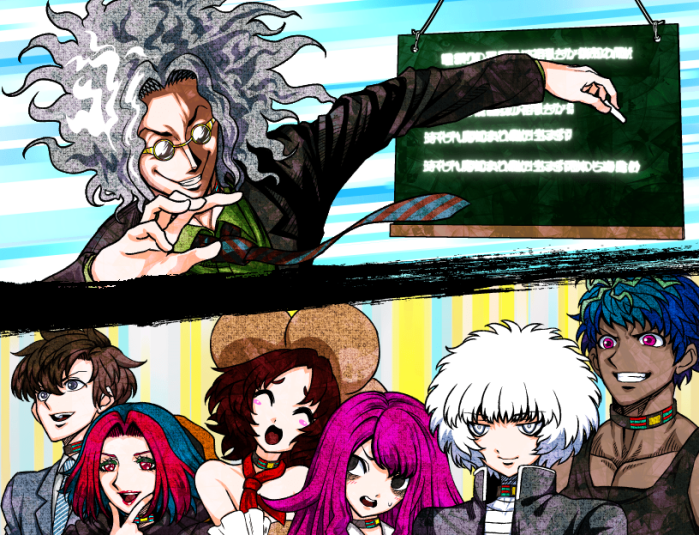
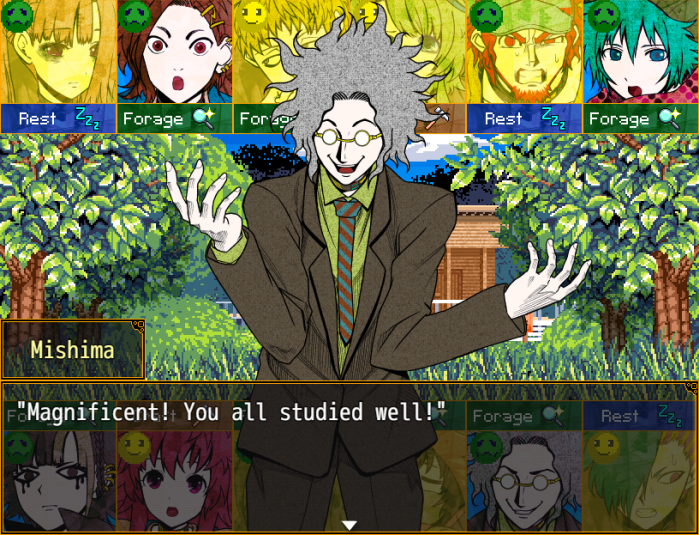
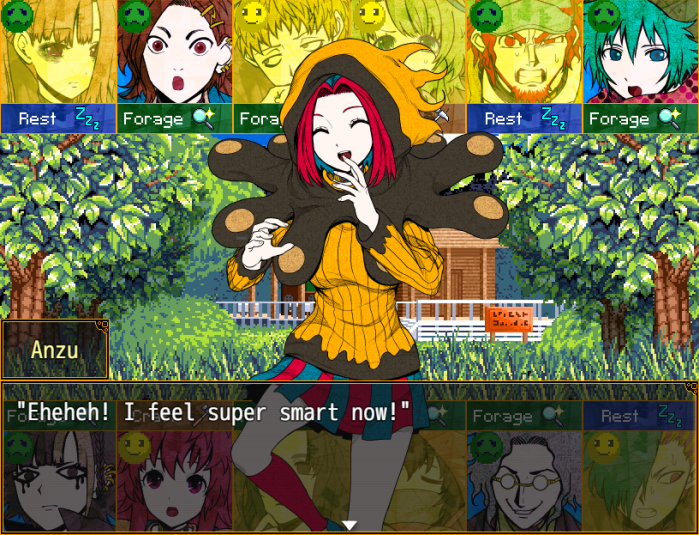
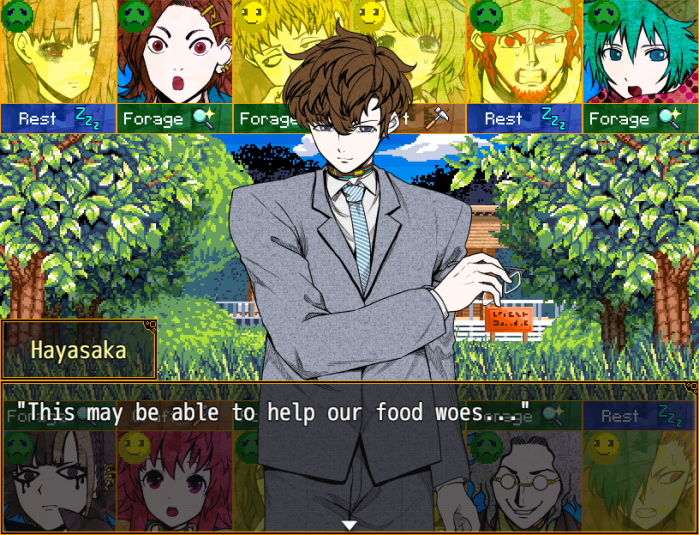
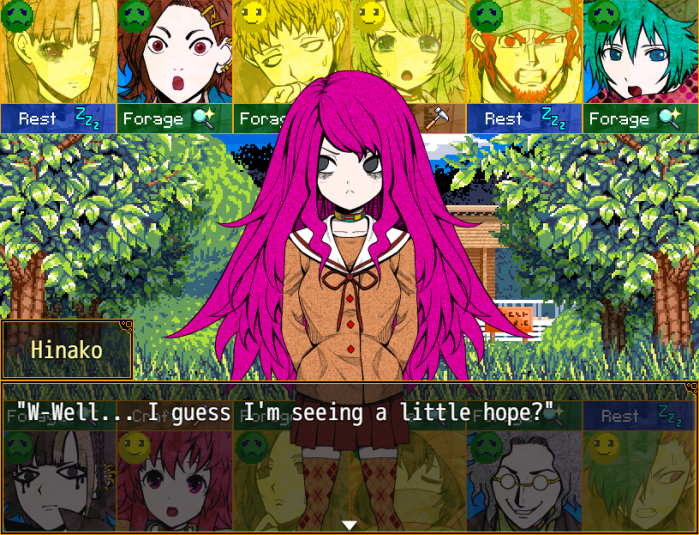 "Hey now... Aren't you getting' a little carried away over a single class...?"
 "True...! There's so much more I want to learn from Professor Mishima!" "Hey, Professor Mishima... Would you help us study again sometime...?" "Indeed, I'll gladly see this through. Until the day I can escape with you, let's keep up our study sessions."
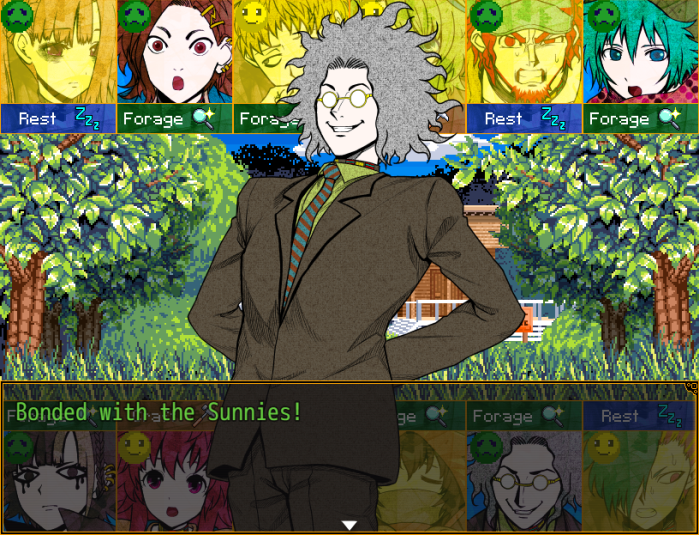
- Day 22...

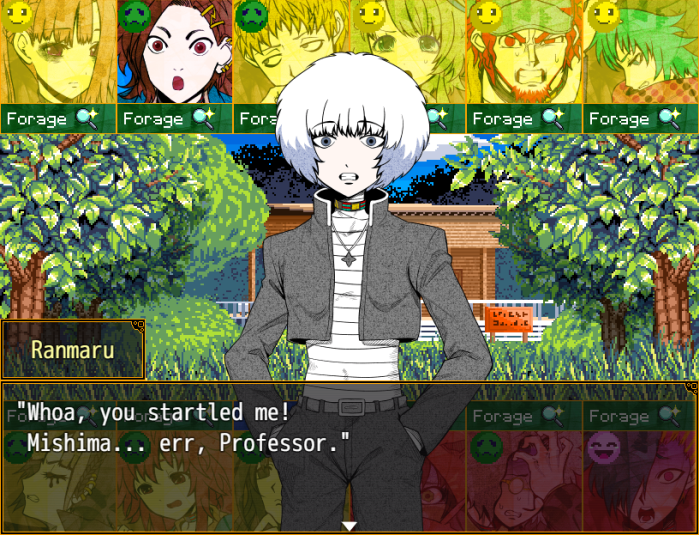 "Look! We're all managing to get food together!" "We're cutting it close as usual... But we haven't been wasting your lessons." "Hah, doubt we can last forever at this rate." "Yes, we're gradually coming upon less and less... The island's resources are limited." "Then we just need to learn more! Right, Professor Mishima?!" "Of course. You've only just begun to learn all there is to know." "Let's begin another study session!"
- I won't show off the second and third sessions; they're exactly the same as the first, the only difference is that the number of study points needed before Mishima is willing to stop the class increases with each session. There is no limit on the number of teaching periods, so it just takes a little longer each time.
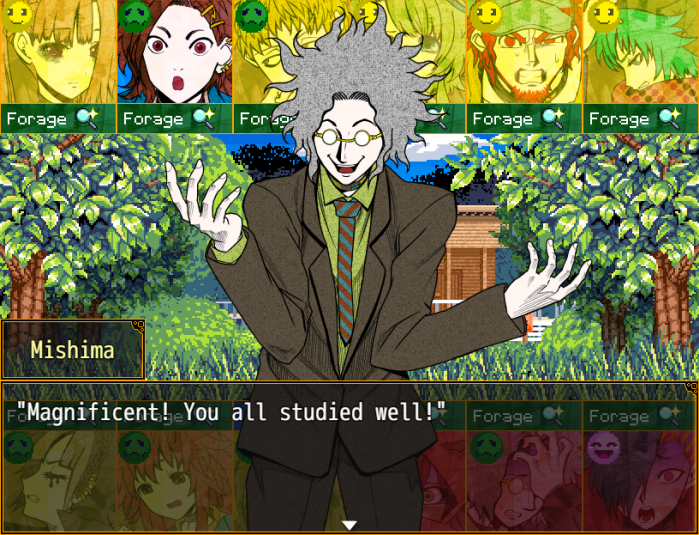
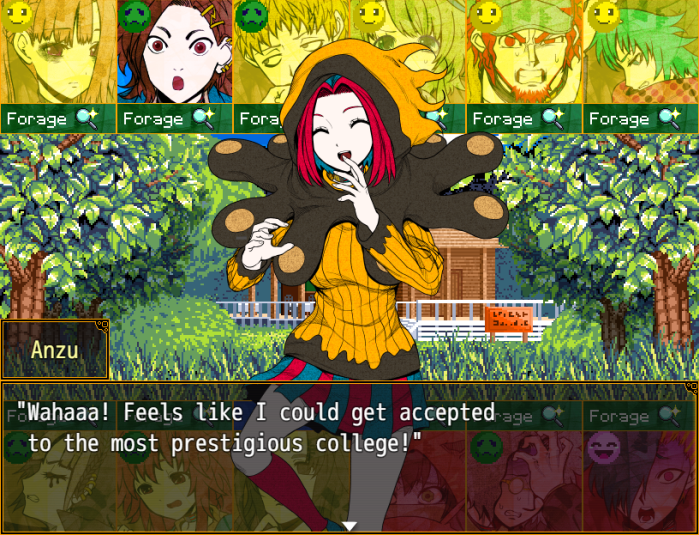
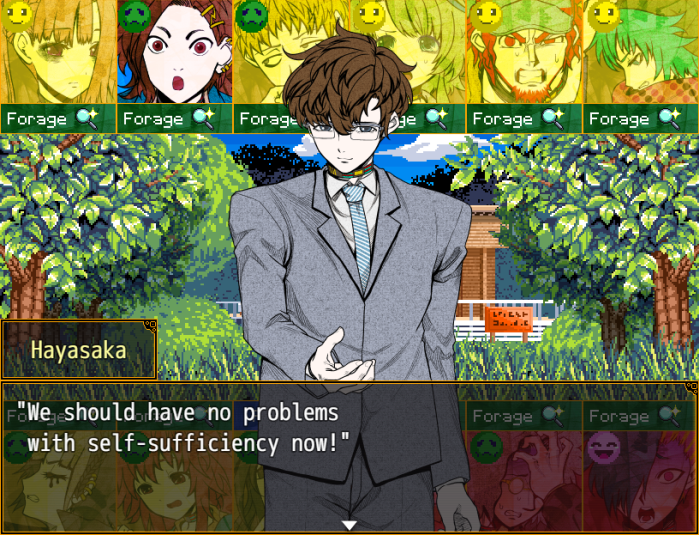 "You guys want to live on this island forever...?" "Yeah, if food's solved, next is how to escape..." "It's okay! We have Professor Mishima!" "Please, Professor... We've come this far, so teach us up to the end!" "Very well. You all are my students. Until the day I can escape with you, let's keep up our study sessions."
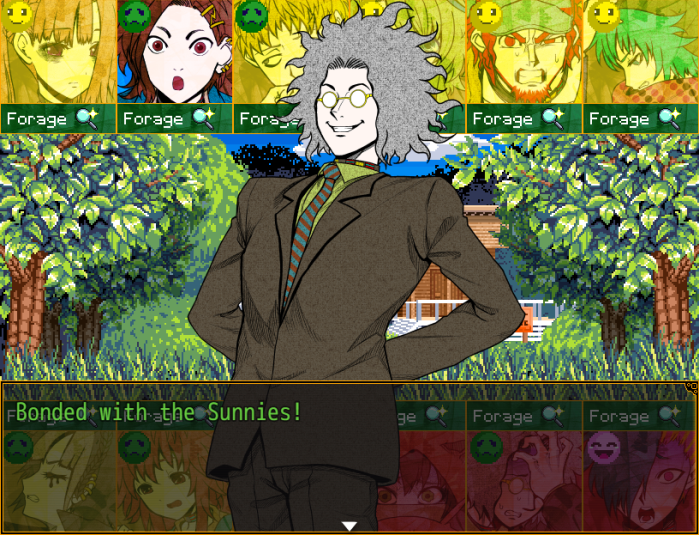
- Day 33.
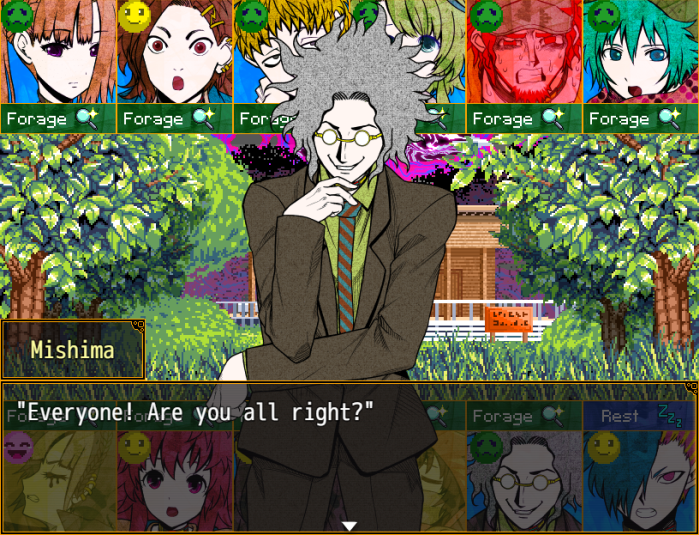 "Ggh...!! Professor Mishima! The island's all weird! Do you know anything?!" "No...! It seems the mysteries of this island are too much for even my knowledge to explain!" "I knew it...! We should escape this instant! I can't stay on this island any longer!" "We're living here because we CAN'T do that! What, did you forget?!" "But... we thought surviving at all was impossible at first. Just quarreling amongst ourselves..." "Hah... You wanna say it's 'cause we believed in the power of knowledge?" "That's right! Right now, we should be asking Professor Mishima to teach us how to escape!" "Understood...! With your mutual trust, you surely have the ability to escape together!" "Let us do this! This is my final study session...!"
- After the session.
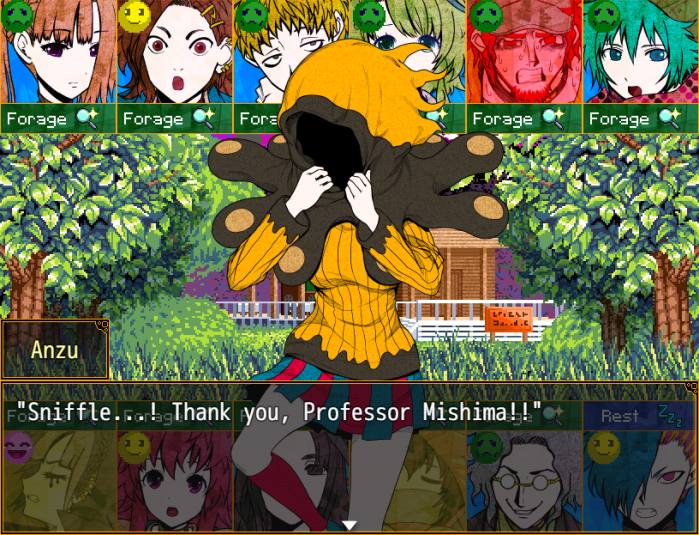
 "This'll work...! We can escape like this!" "Right... All we have to do is split up the work and make preparations..." "I've got any heavy labor covered... Just gimme instructions." "Got it! Let's all work together toward this!" "It would appear you've learned the most important thing of all."
 "Huh...?" "To cooperate with your allies, of course." "Professor Mishima..." "May you make your escape, everyone. We'll surely meet again off the island!"
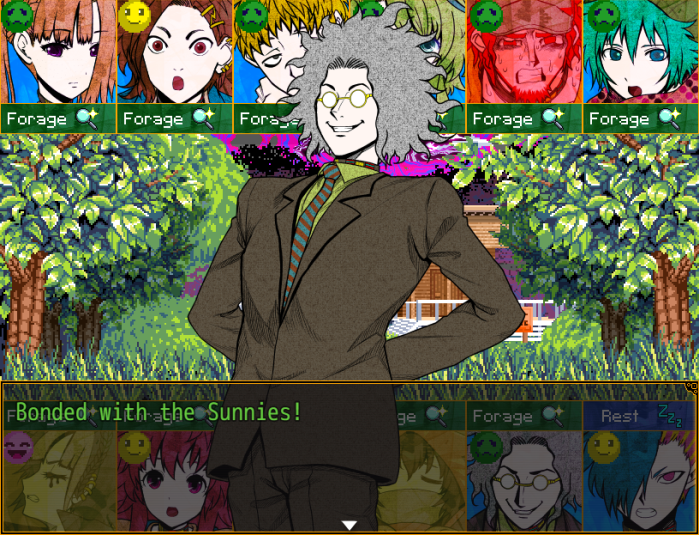
- Day 40.
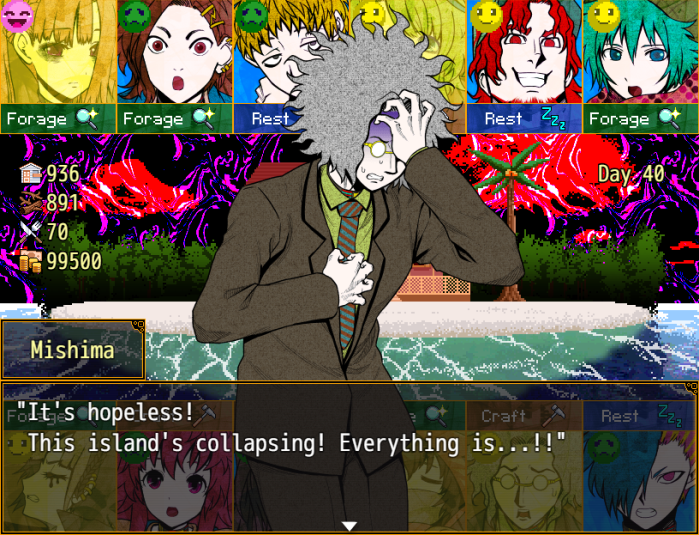
 "There's... nothing left to do..."
Music stops.
"T-That's right...! The beach hut!" "This is not the time to despair!" "I must at least see if they were able to safely escape...!"
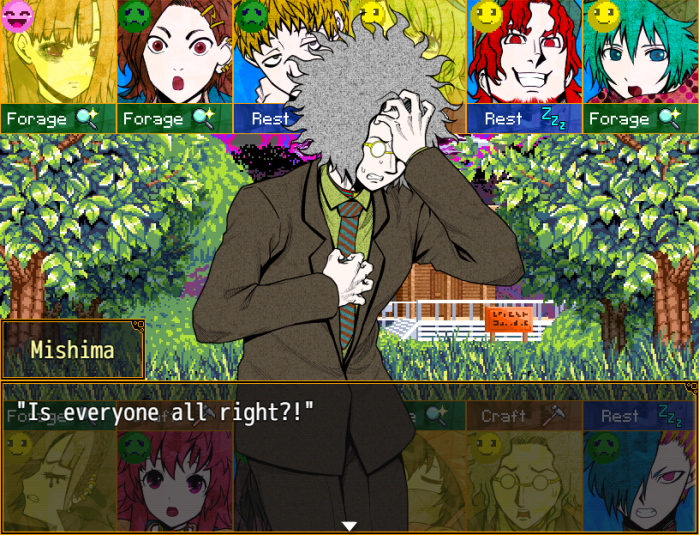
 "What has happened to everyone at the beach hut?!"
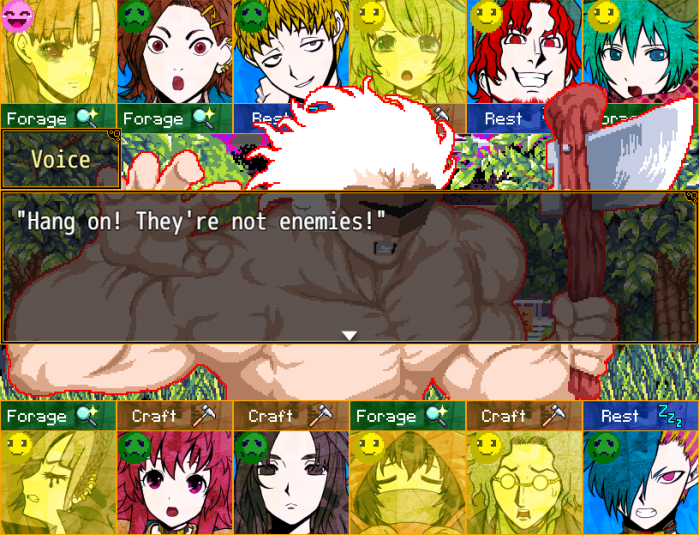 "They just came to us seeking help!" "You're all right?!" "Professor Mishimaaa!! What should we dooo?!" "W-What do you mean? You surely have the knowledge to escape..." "These inhabitants have nowhere to go other than this island...!" "So you mean to help them...?" "Don't act surprised! Didn't you teach us?!" "What's truly important... is joining forces!" "Hell, leaving 'em behind to rot would make us look like real chumps!" "You all... truly are..." "The most wonderful students...!!" "Let us do this! Would a true teacher call his students' decision a mistake?!" "You'll help, Professor Mishima?!"
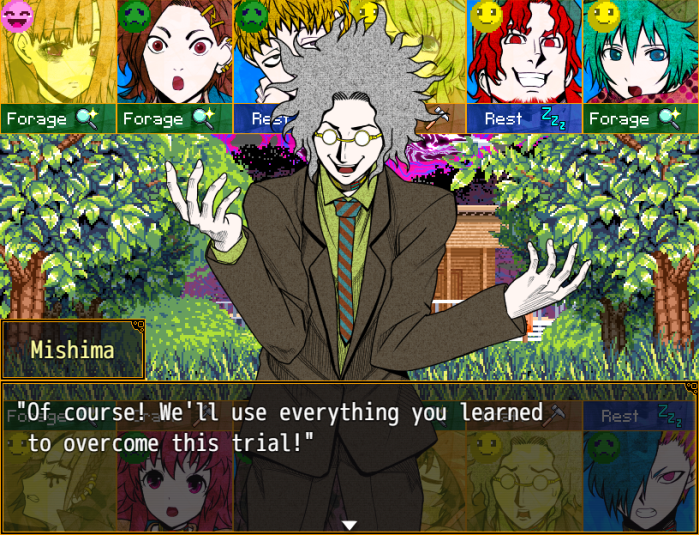 "Professor..." "Ah..."
 "Out of the way, Professor!!" "Eh...?"
Music stops.

 "Ahh... urgh..." Where is this...? It seems I've been put in a bed... "...? I-I can't move!" Is something restraining me...? "Mmmgh...! Hm...?" No... that's not it...? My muscles... seem weak. "I can't... muster the energy... Ugh..." ...Have I been sleeping for a long time? "I-Is anyone... there...?!"

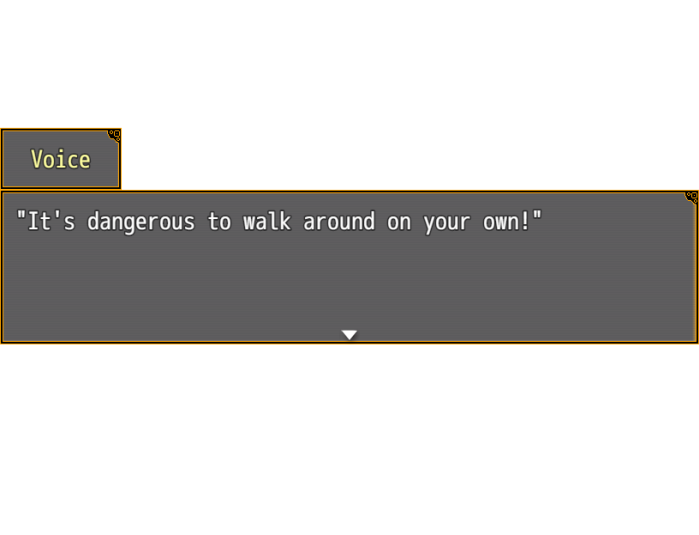

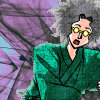 "Everyone... You're all right! Thank goodness...!!"
 "Hah, what're you saying? You're the one who's fallin' apart here.
 "Yeah! You just had to go and sleep for years! Sniff... I'm glad... Professorrr..." "E-Erm! What of the island's destruction...?"
 "It stopped. ...There were hardly any losses. It's come back now, and pretty peaceful, actually?" "M-My word..."
 "Y-You made... a school...?"
 "Not only that, a hospital too! See... nice and comfortable, wasn't it? "I... It's all so amazing, I can't keep up... You were... far greater students than I..."
 "That's right! After some quick rehabilitation, we're gonna have you up and teaching again." "P... Principal?!" "Obviously? It's the Island Academy of Mishima, after all.” "W... Whaaaaat...?!" "That's right - there's a commemorable first job for you to do, Principal.” "Oh yeah! The swearing-in!" "Swearing-in...?" "Get prepared, Principal Mishima! The new teacher should already be at the school!” "Please, wait! I'm not following at all..." "No complaining! She's worked hard to meet you!
Music stops.
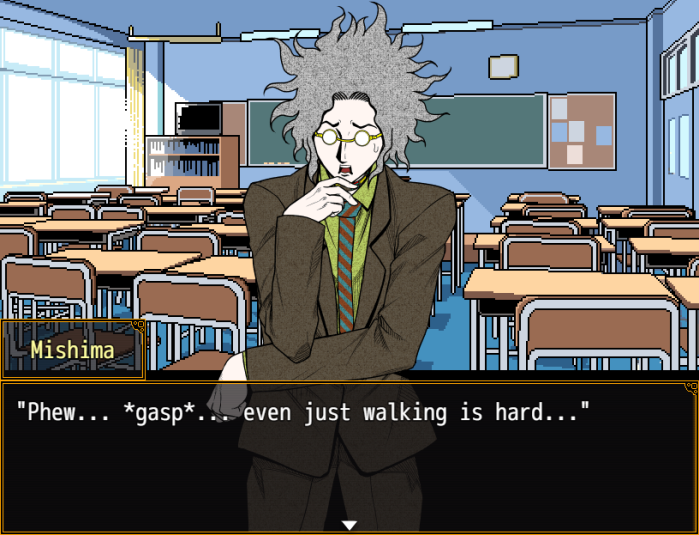 "But... so there truly is a school here..."
 "You mentioned a "swearing-in"... What would you have me do?"
 "...?" "Err... you're..."
 "...You don't know?" "...Miss Nao... aren't you?"
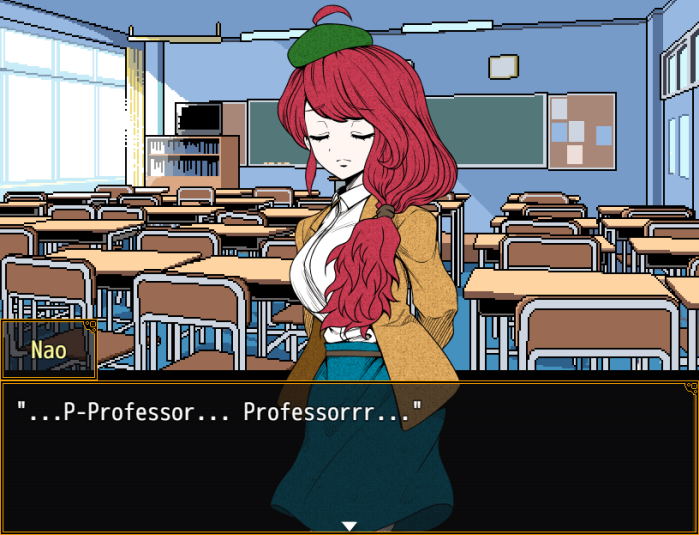
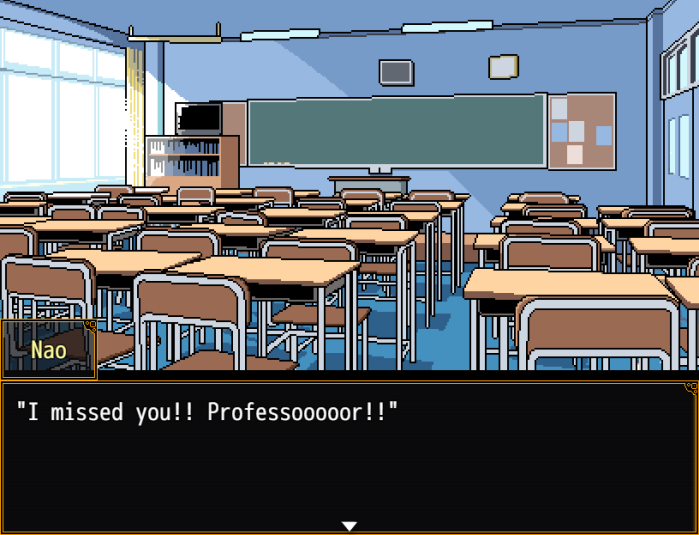 "Hwaugh...?!"
 "Aaah...! I said... I wouldn't cry...! That I'd be strong...! But... as soon as you said my name... Ooogh...!" "Y... You have grown strong! Indeed! I feel I'm on the brink of death...!"
 "Ack!! S-Sorryyy!"
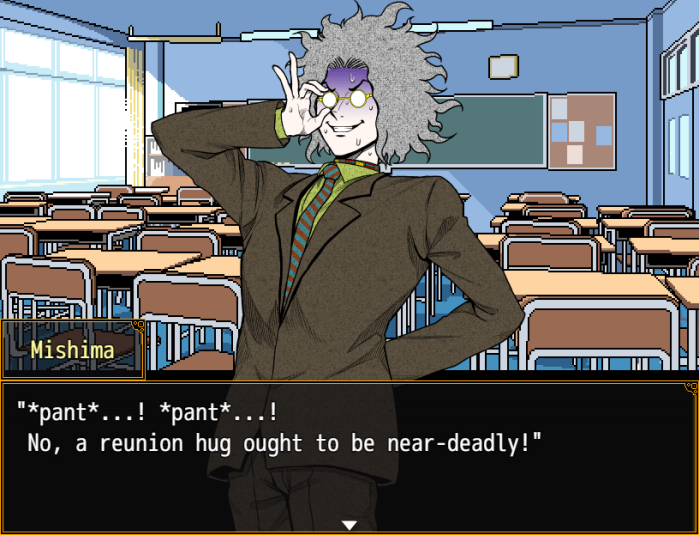 "But... Miss Nao... Could the "new teacher" truly be..." "Y-Yes..."
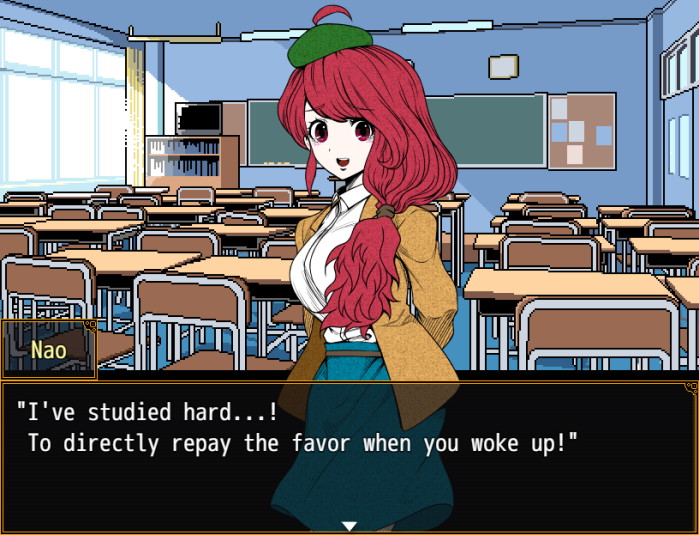 "M-My word..." "Yet... are you all right? I thought your dream was to pursue art..."
 "A cool art teacher!" "Miss Nao...!"
 "Ehehe! Please, keep on teaching me lots..."
 "Principal Mishima!" "...Indeed."
 To see my students grown, wearing these clothes...If this is reality... then I vow it for the rest of my life. To always be a teacher to you all.

They contain spoilers regarding the characters, so it is recommended you only play these after completing the newest part of the story.
- At the moment, only three episodes (Alice, Anzu and Kai) are available. More episodes will be gradually released over the coming months.
 “Well fine, take a look, why don't you! It's only an invasion of my privacy, y'know?!”
Music stops.

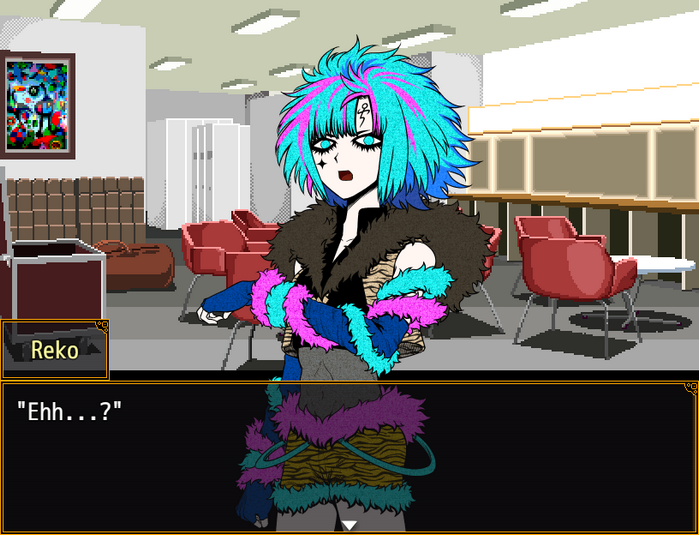
 ".........."
 ".........."
 "...Tch. Finally open your yap again, and that's what you got to say...?"
 "Don't go askin' dumbass questions right before a show, dammit!" ".........."
 "Reko..."
Music stops.
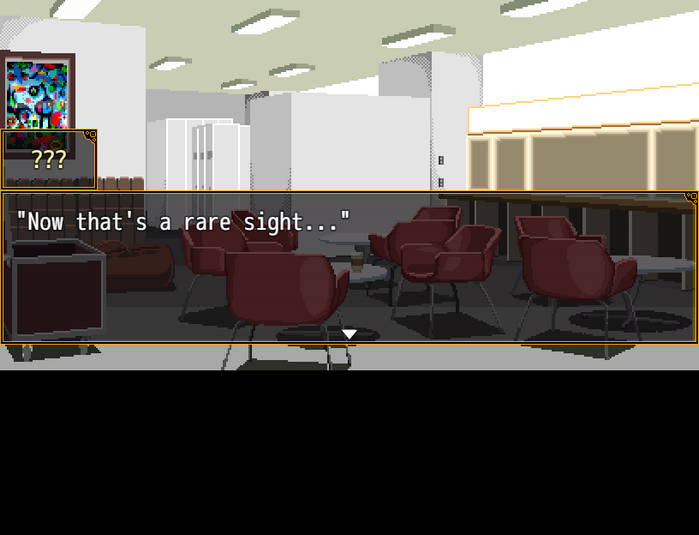
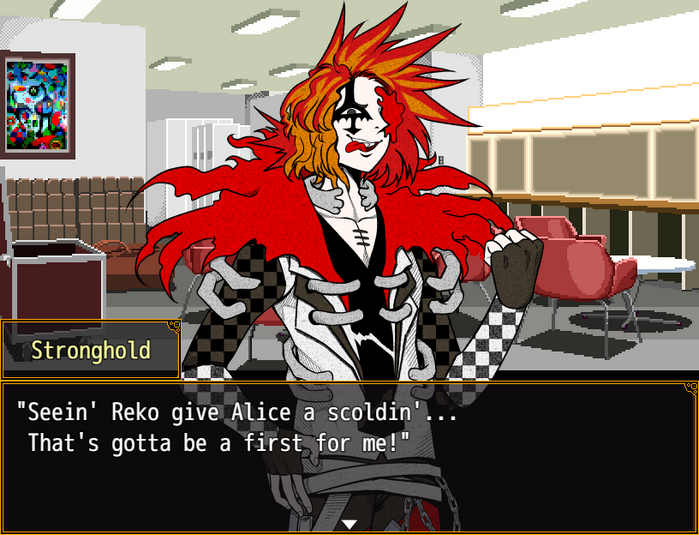
 "Stronghold... It's not like it was a scolding..."
 "Don't sweat it, man! Ain't nobody on the planet can live up to Reko's demands, y'get me?"
 "Like, not even Ursheen can! Right?!"
 "You said it, Ursheen!" "...I think you misunderstand." "I'm just here to round things out at any rate. I don't so much as enter Reko's consideration..."
 ".........." "...I know. Don't worry about it."
 "'Sides, fans only got their eyes on Reko anyway!"
 ".........."
 "...Yeah, 'course Ursheen's a fan of Reko too."
 ".........."
- Might as well continue on the topic of dreams.
"Hey, you guys... What are your dreams...?" ".........." "Just gettin' to be with Reko... That's a dream come true right there, ain't it?!" "But always dream bigger, yeah? We could get enough lady fans for a harem!" "...Does that strike you as feasible?" "A dream that could happen ain't a dream!" "Right... Well, at any rate, it's clear you two are actually finding it enjoyable here."
 "Hmm? You mean you're not havin' fun, Alice?" "..." "...Well, yeah, I get it." "When you're next to a prodigy like Reko, you start to lose sight of who ya even are." "..."Who you are," hm..." "Bein' connected by blood, bein' raised in the same house..."
Music stops.
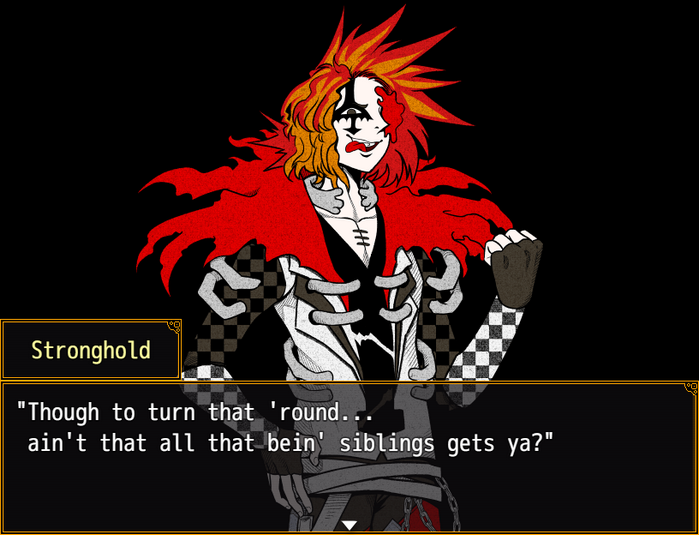 "...!" "When it comes to your points of view, what you can see... you ain't the same, are you?"
 "Feel like ya shouldn't beat yourself up about it." "..."
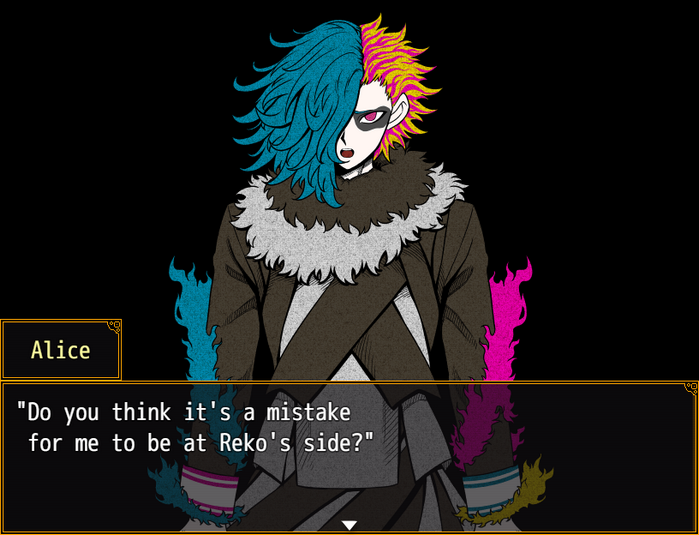 "Well, if it were me, I'd run." "..." ".........."
 "You'd take his place, Ursheen...?! What lengths wouldn't ya go to for Reko?!"
Music stops.
(Reko...)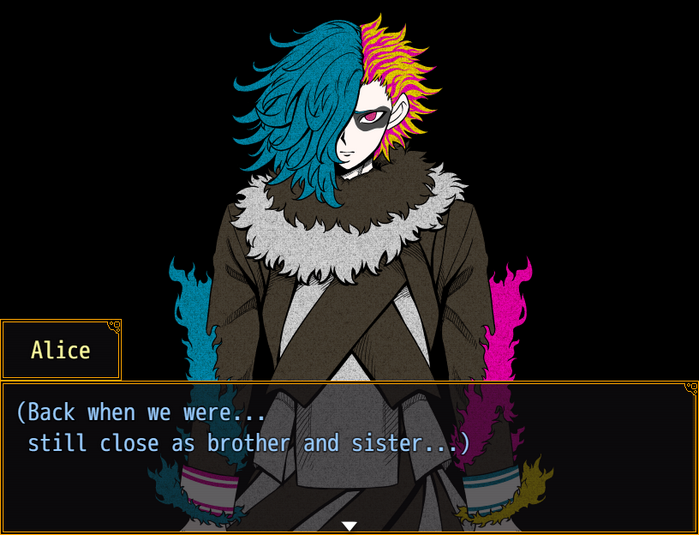
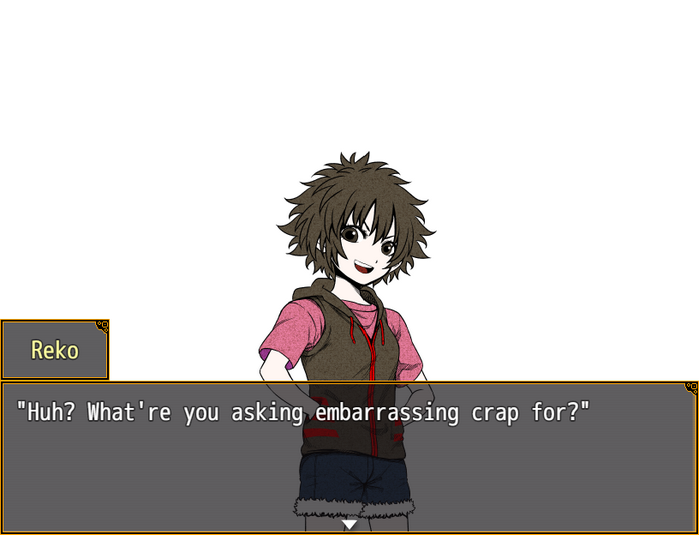
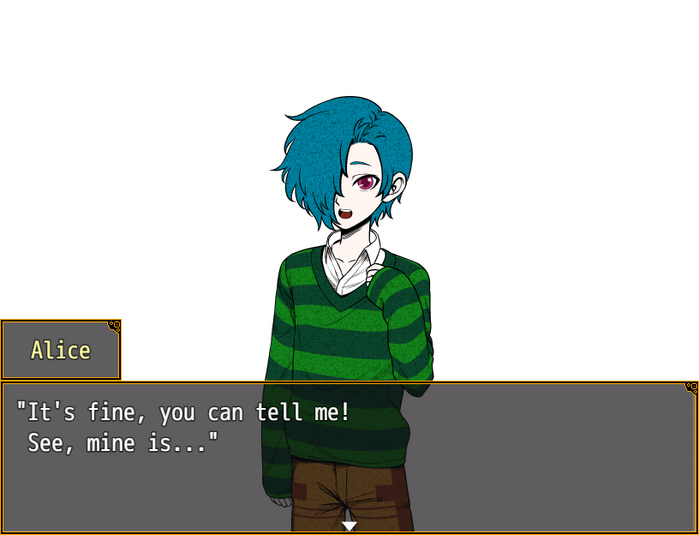
 "Ugh, I know yours, bro!"
 "Eh? Do you really?"
 "Oh! Could it be... your dream is the same as mine...?"
 "Ah, shaddup! Just get climbin' already! We're almost to the secret base!"
 "Ah, wait for meee!"
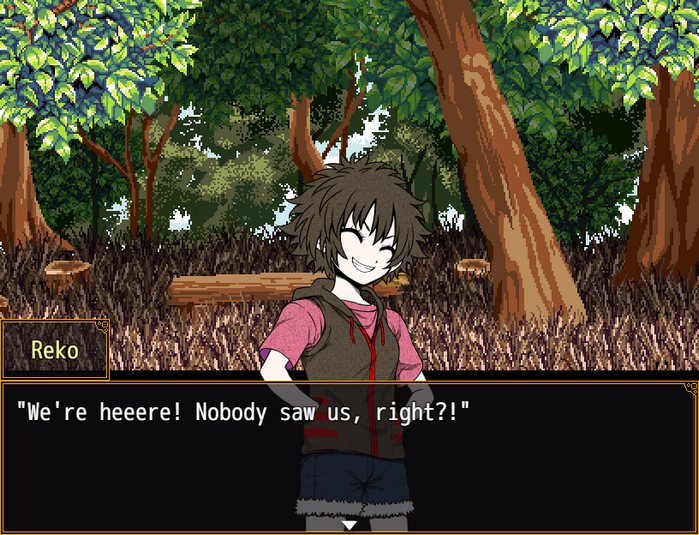 "Yeesh, I'm exhausted...! This is no park! It's like a mountain! A mountain, I tell you!"
 "Quit your whining! We're here now, so who cares." "Ugh..."
 "Huh? What's that drum thingy over there, Reko?" "Heheh... oh, this?"
 "I cobbled it together from some good-lookin' wood I gathered and some tools I bought!"
 "Wha?! You made this, Reko?! That's amazing!" "Heheheh! You think so?!"
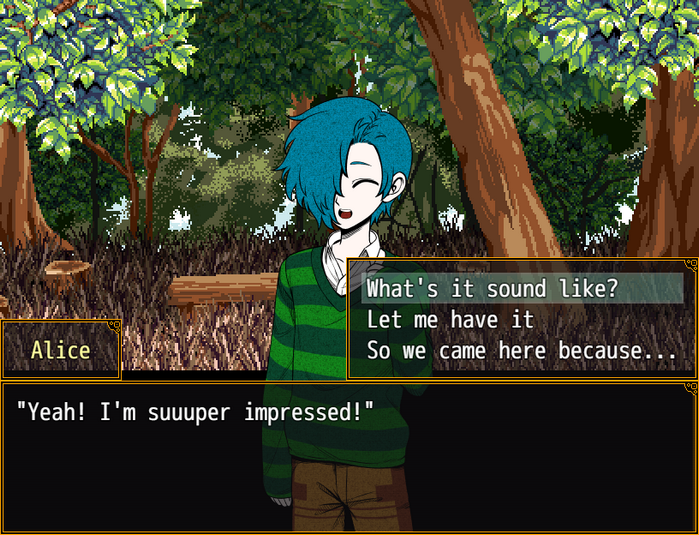 "Hey, Reko, what's it sound like?" "You that curious, huh? Well, fine by me!" "Hooray! Let me hear it!"
 (I wonder... did Reko want to show me this?)
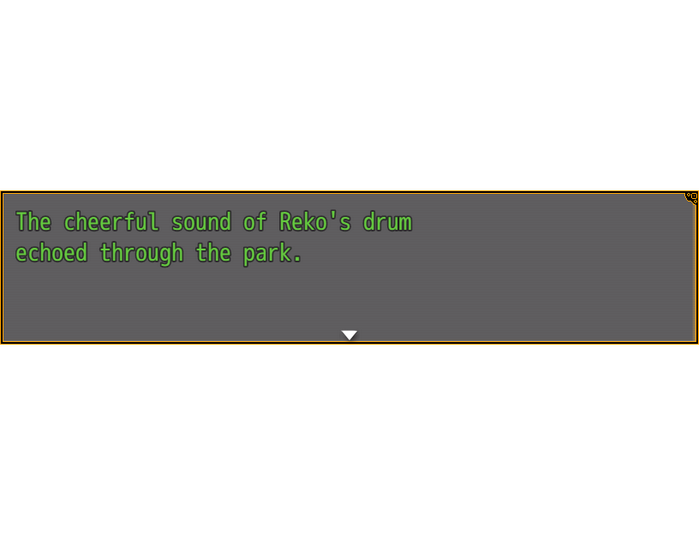
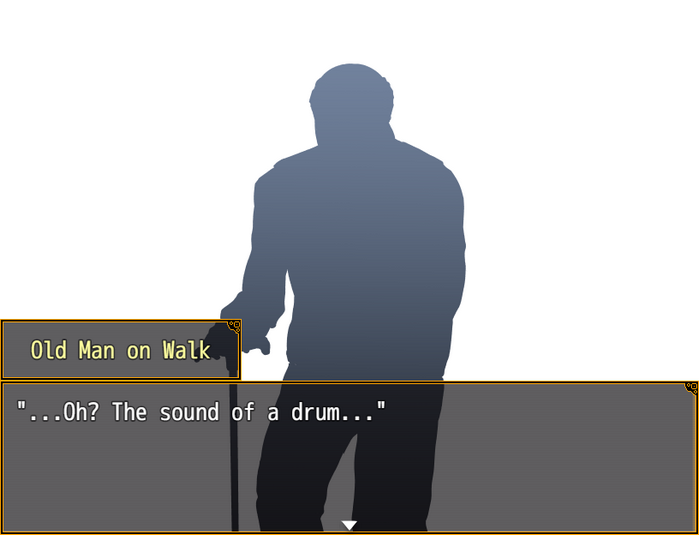

Music stops.
"Heehee! Thanks, Reko!" ".........." "...What's wrong?"
 "Nah, uh..." "How was it? What'd you think, bro?"
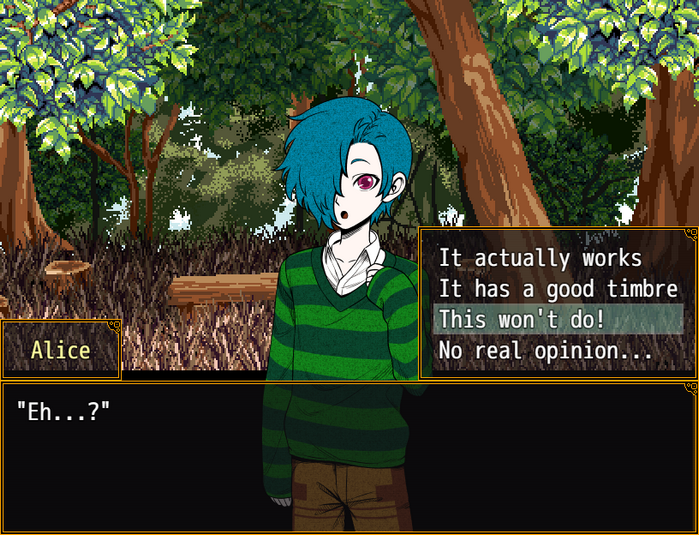
 "This won't do at all, Reko!" "W-What? What part...?!"
 "Err... you know, like..." "Your... posture?" "The hell?! Don't just say whatever!" "Guess I got my hopes up a little. Thought you might be thinkin' the same thing I was..."
 "Huh? What do you mean...?" "Well... it's just..."
 "This sound kinda... doesn't feel good to me..."
 ".........." (My... Reko feels there's something off, does she?)
Music stops.
 (She must have worked hard to make it...) (In that case, I have to help her...!)
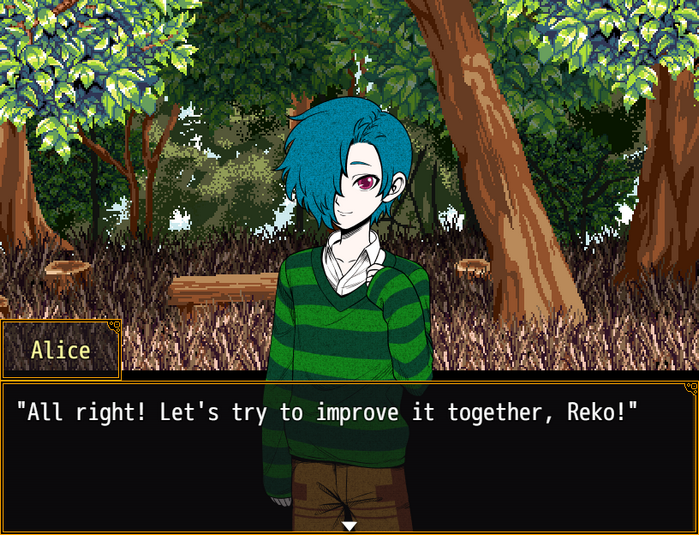
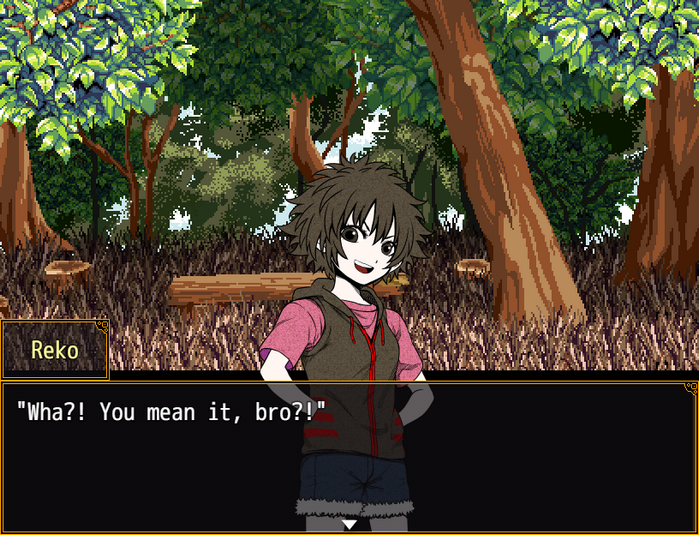
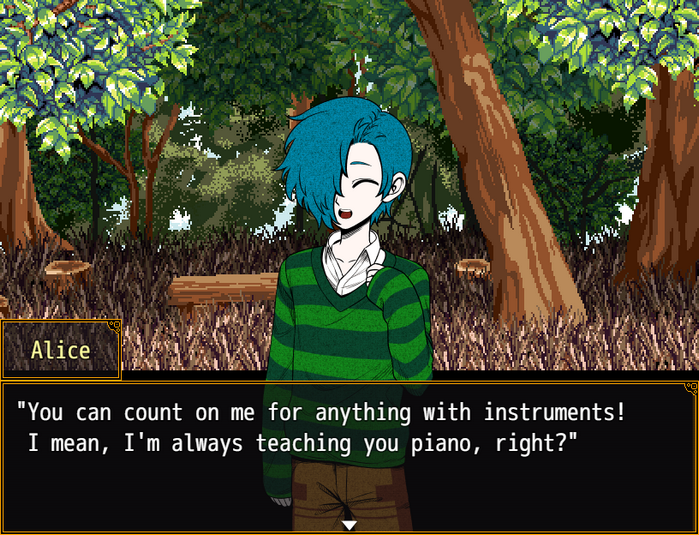
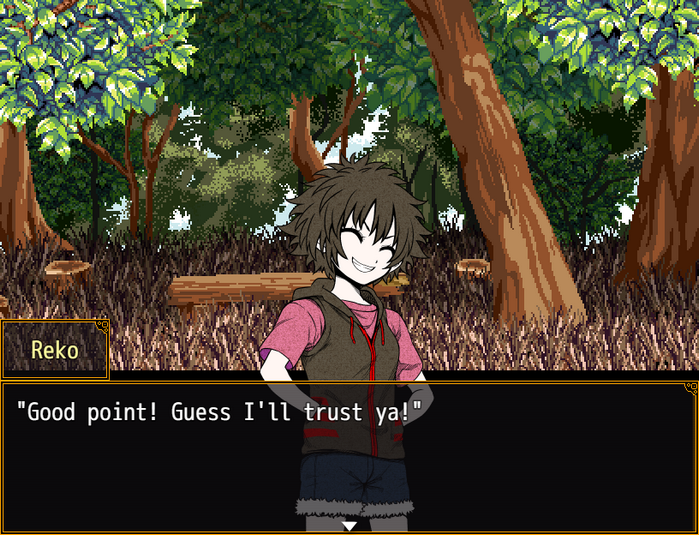 "But let's go home for today, okay? Our parents will get worried." "Huh?! Man, fine..." "But next time we're here... you just gotta!"
Music stops.
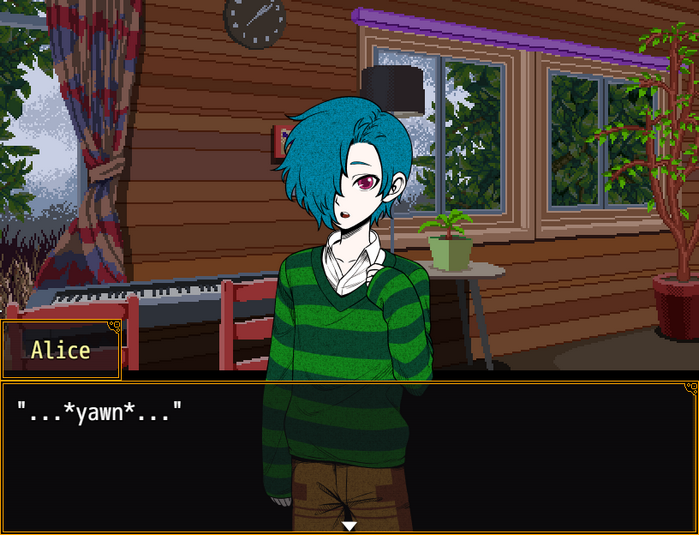 "Brrr... It's cold today..." "Look out the window. It's really pouring..." "...""Ah...!!" "Shoot! I gotta go!!" "Reko...?! Ah, hold on!”
 ".........."
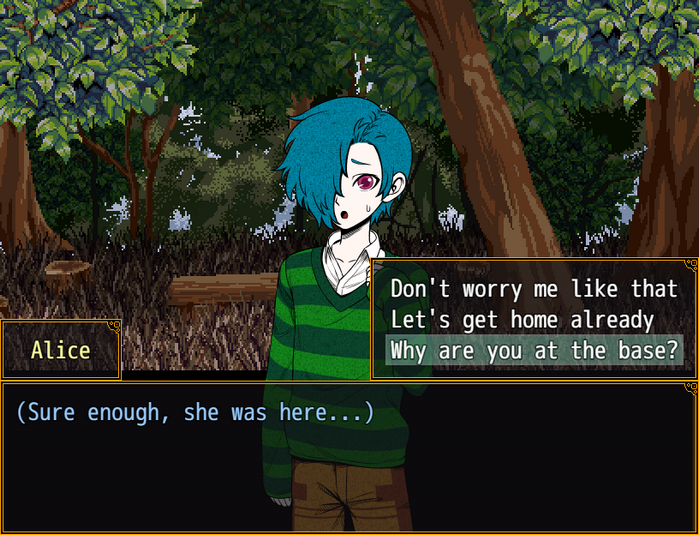 "Why'd you come to the secret base, Reko? You're not, um, running away from home, right...?" ".........." "H-Hey... At least tell me why..." "Heh... heheh..."
Music stops.
 "Hey, bro! Look at this!" "Eh...?" "I thought I was in deep crap 'cause this base doesn't have a roof, see!" "But the drum got all moist, and... see?!" "W-What're you talking about...?" "Just listen and you'll hear it! Here goes!" Reko happily played the drum. "See, see?! It sounds super good now, right?!" "Bro!! This must be what they call a miracle, yeah?!" ".........."
Music stops.
(Eh...?) (I can't tell... Did it actually sound different...?) (Reko... you're out here in the cold rain... And yet you look entranced... What exactly are you enjoying so much...?)
 "Urgh... I'm still sleepy, Reko..." "See?! It's sunny!" "Today's our day to go to the secret base!" (Reko sure is energetic...)
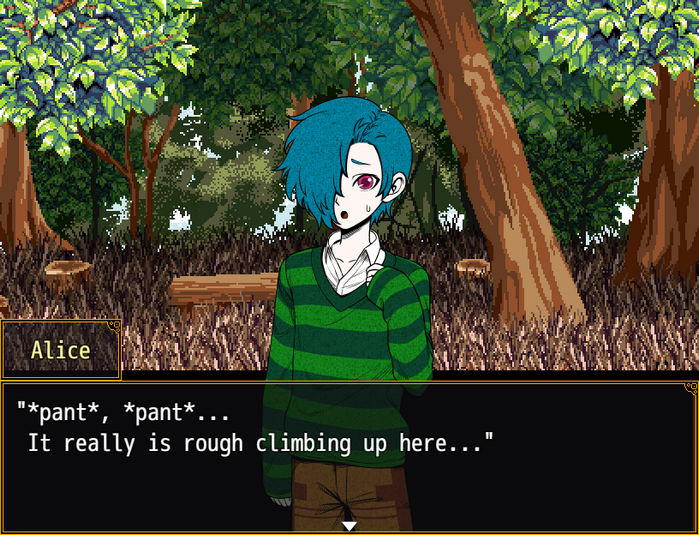 "Hurry it up, bro! You promised we'd improve the drum together, right?!" "Ah... so that's why you were so excited..." "…"
Music stops.
"Hang on a second... I don't see that drum anywhere, do you?" "...Wha?! Can't be...!" "It was right here, wasn't it?" "It's gone! Gone!! Why...?!" "L-Let's look around for it! Perhaps someone took it away...?!" "You gotta be jokin'! I'm gonna look over there!" "*pant*... *pant*... I wonder if it rolled down below?" "If so, it would be around here..." "Ah..." "I found it..."
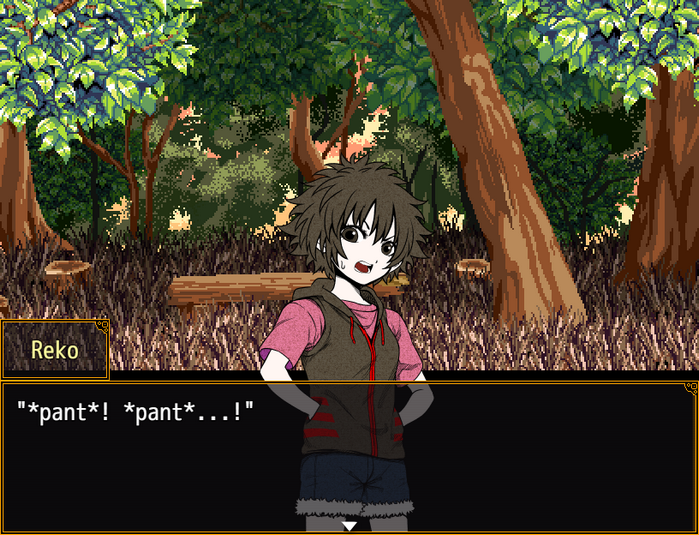
 "Hey! You find it...?!" ".........."
Music stops.
"Nah... it wasn't anywhere..." "..." "...Let's go look again..." "Come on... we won't find it..." "...?!"
 "I mean, we searched the whole park, didn't we? It's nowhere..." "Don't gimme that! There's gotta be somewhere we haven't checked yet...!" "Why don't we go home, Reko...? If you want... I can teach you piano..."
 "...!!" "...So it's like that, huh?"
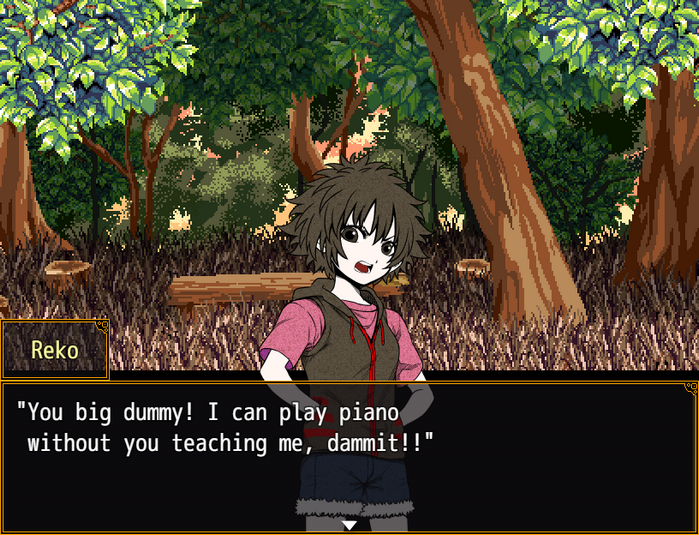
Music stops.
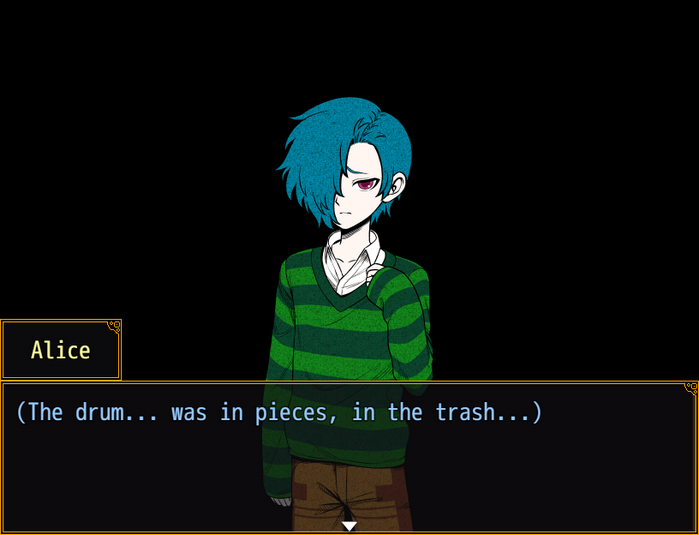
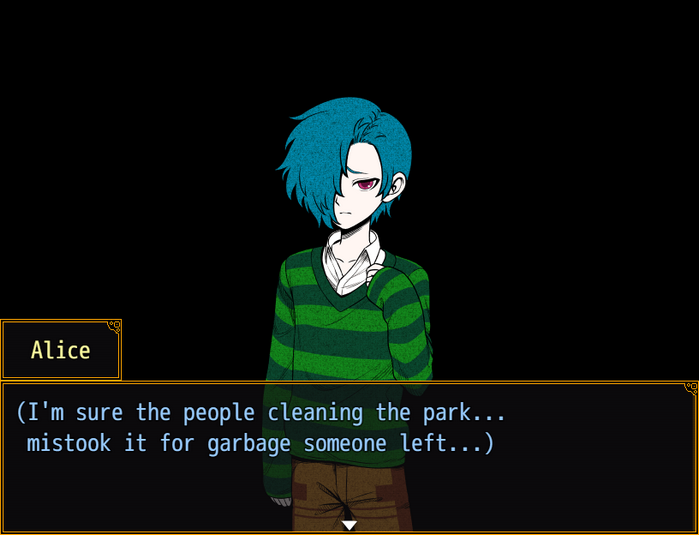
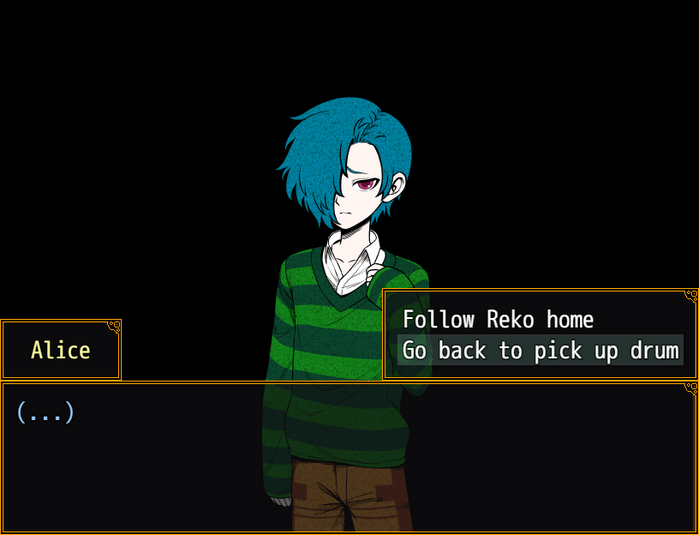
- Alice would do almost anything for Reko.
(...I should at least get it back to how it was...!) (Hold on just a moment, Reko...!) "It can't be... why...?" "It was just in this trash can earlier...!"
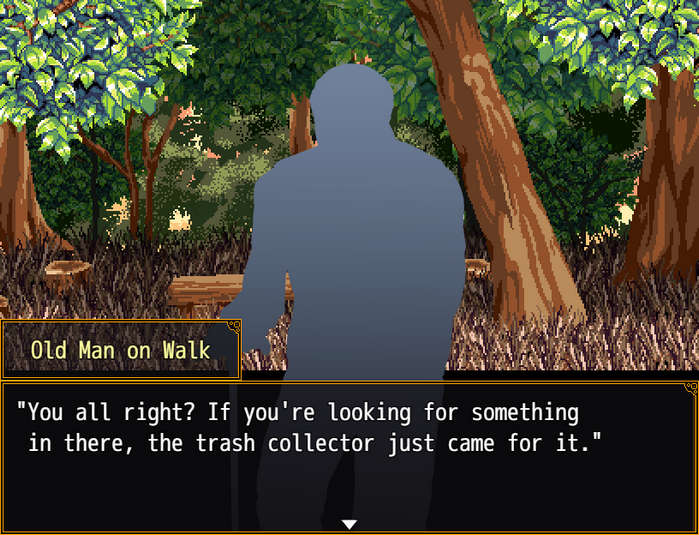 "N-No...!"
Music stops.
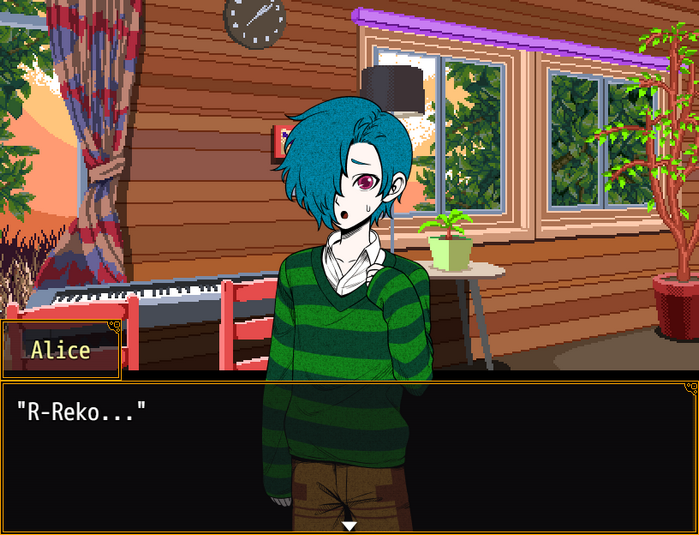
 Reko was playing the piano with intensity. And using techniques far more difficult than what I'd taught her. (Wh... What the...) (When did she learn to play like this...?) (I can't... do anything as advanced as that...)
Music stops.
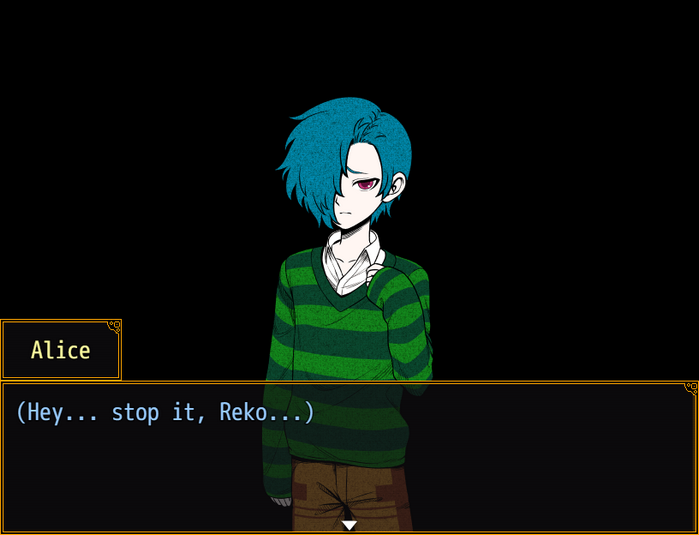
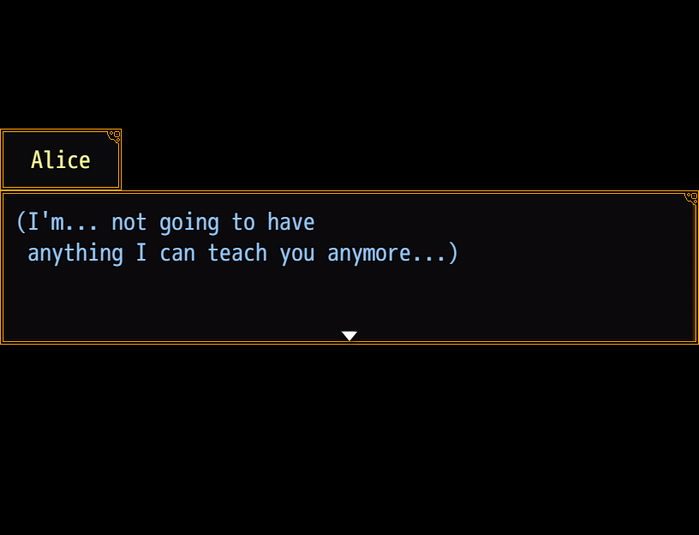 "...Whew..." "Ahh... I feel kinda refreshed!"
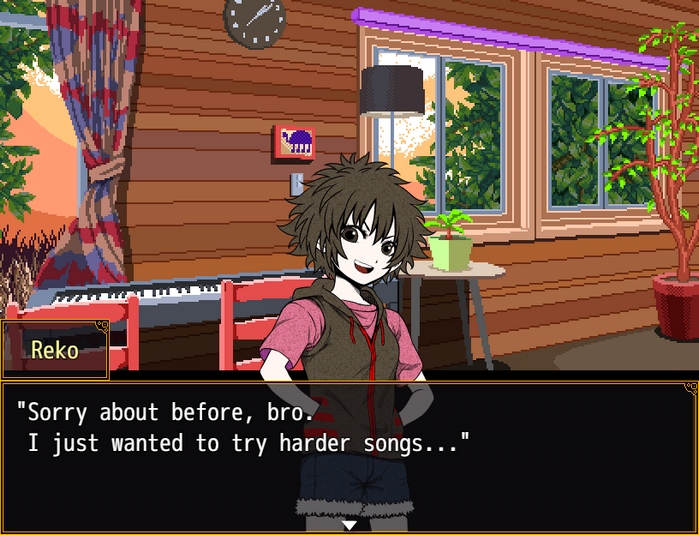 ".........."
Alice silently walks away.
"...""...Where the hell you going?! Ugh...!"
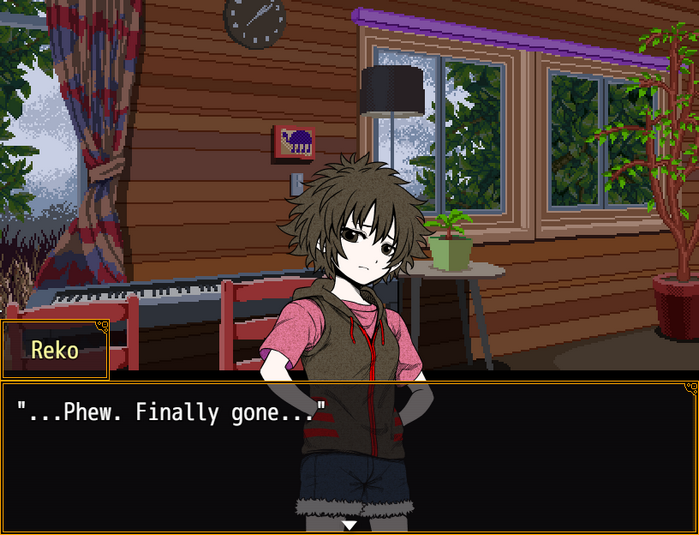 "...Reko." "..."
 "Who was that visitor...?"
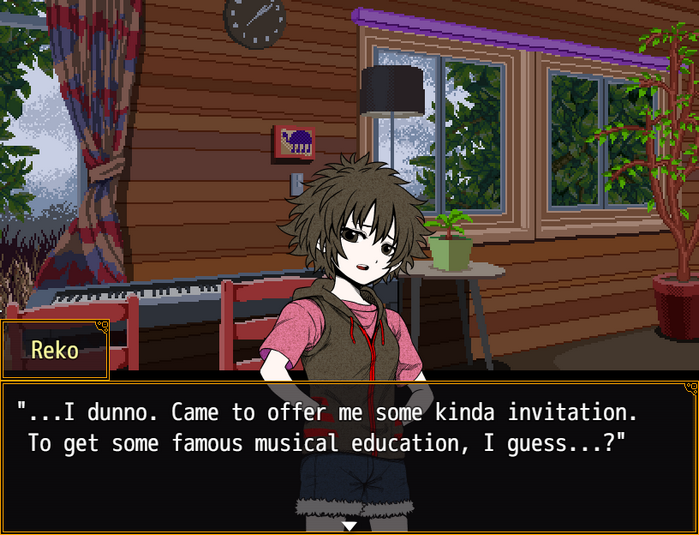 ".........."
 "It's just boring junk! I don't wanna!" "Dad's sure insistent I rethink it, though..." "...Why not accept?" "...Huh?"
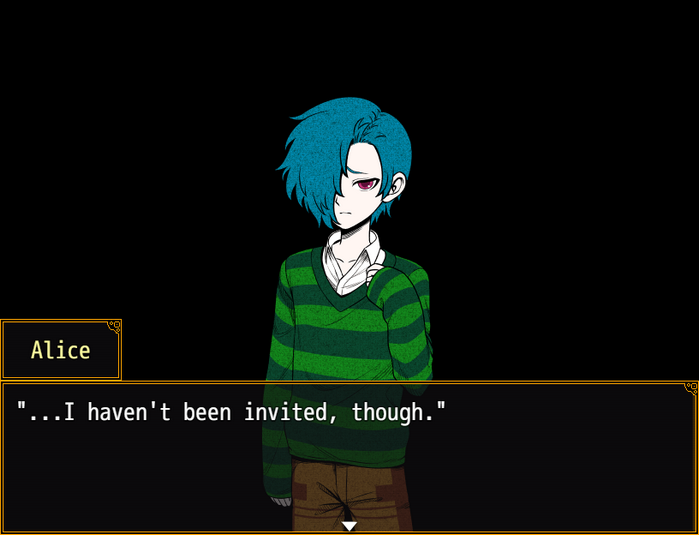 "..." "Reko... you and I are different." "Huh? Whoa, bro..." ".........." "Alice...!"
 "Alice...!!" ".........." "..." "...You said you would, didn't you...?"
 "Sorry 'bout the mess-ups! But look, the audience was goin' wild, Reko!"
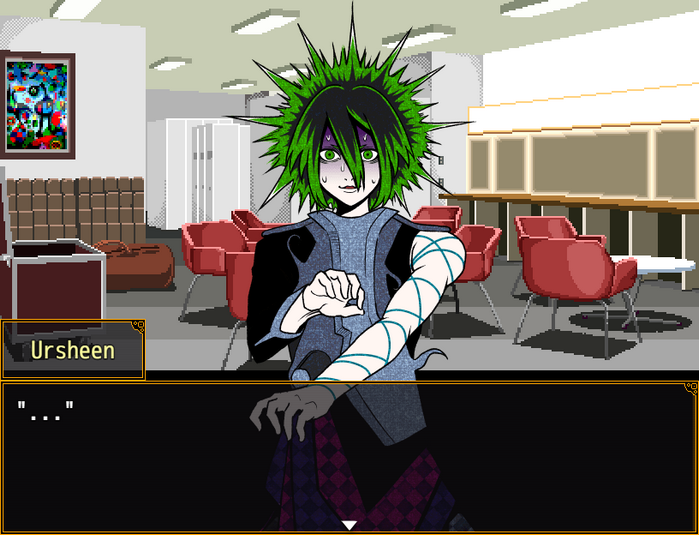
 "You goddamn... If you aren't willin' to take this seriously, then get the hell out of the band!" "Ooogh..." "..." "Reko... do you have a moment?" "Eh...?" "Today IS the anniversary of our band, is it not?" "Ohh! A gift for Reko, our leader?!" Bet you're happy, huh?!" ".........."
Music stops.
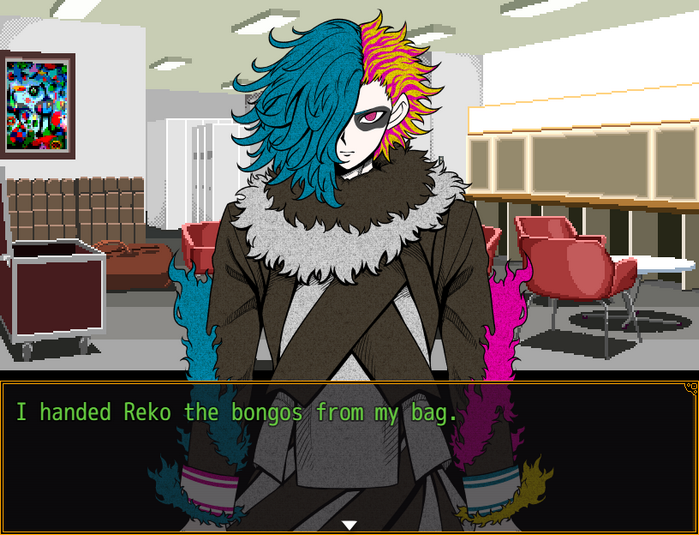
 "...?!" "...Wait, are those drums or somethin'?! Ain't she gonna be mad?! Alice?!" ".........." "...Tch..."
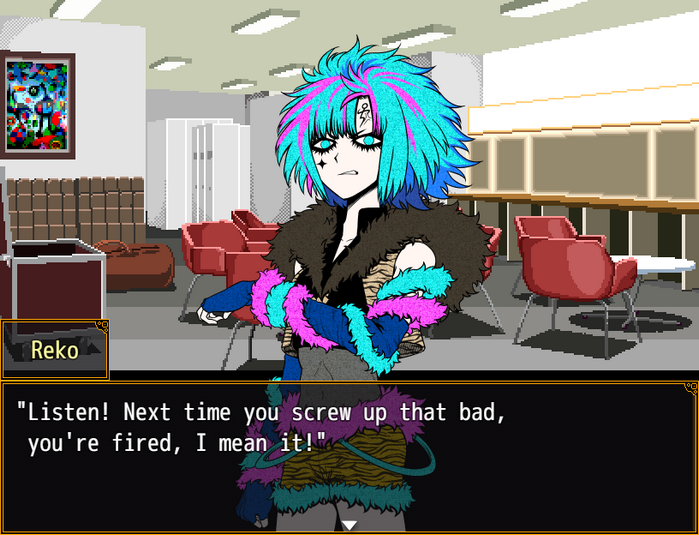
 ".........." "...Indifference, hm..." "...Though... I expected as much." ".........." "...Tch..."
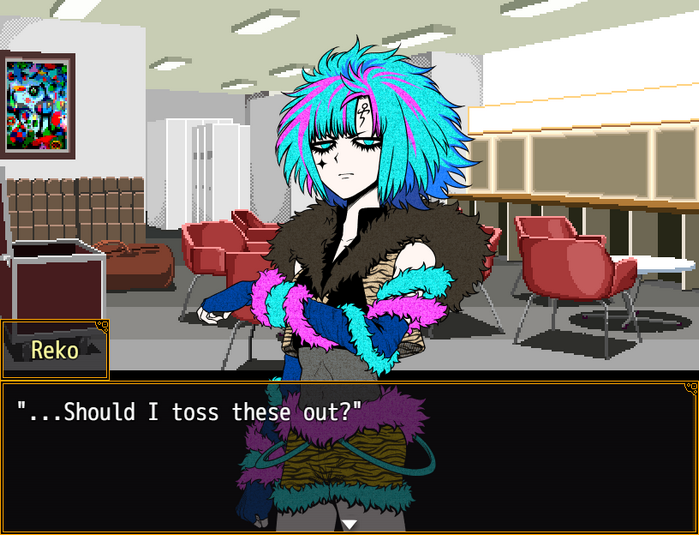 "..............." "Shit... This is irritating..." ".........."

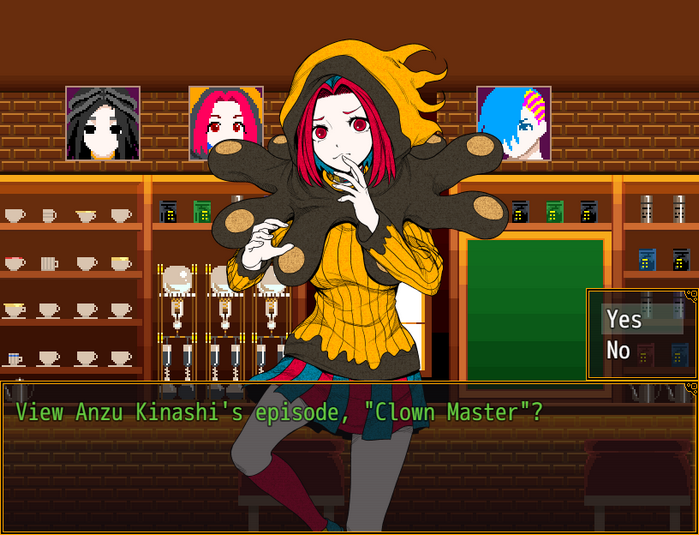
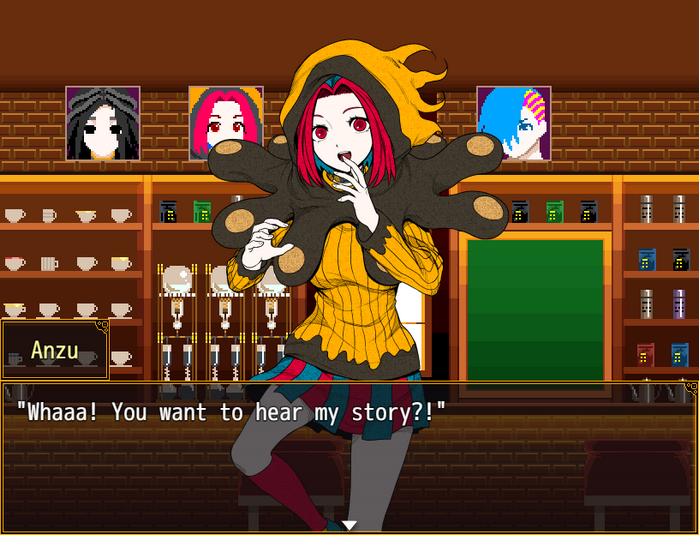
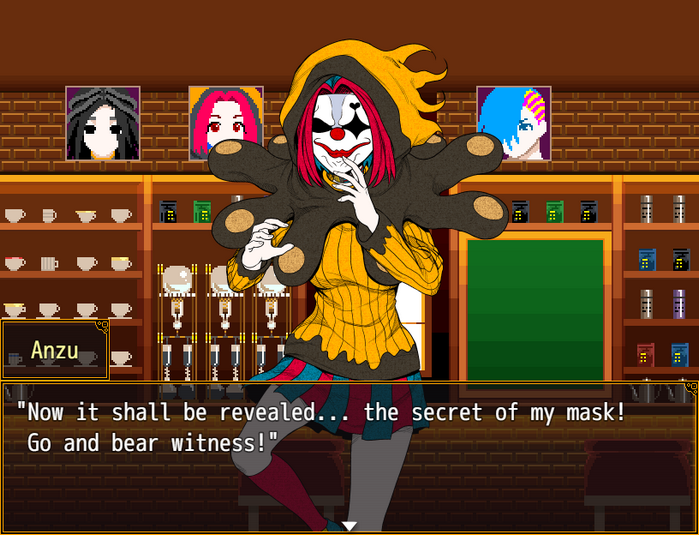
Music stops.


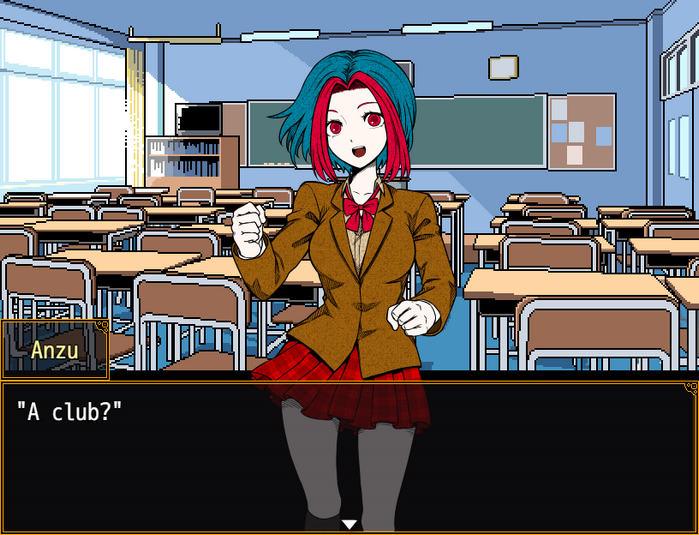
 "Oh yeah, I guess so..."
 (I'd really better think it over, huh. It'll decide my heading for these next three years... A crucial choice to make my days of youth bloom!)
- None of these really feel like a good fit.
 "Maybe drama club! Like, then I could go out on stage for the culture festival and stuff! And be the starring role who makes everyone weep!"
 "I consider myself a pretty good actor, y'know!"
 "Ooh, nice! I'll do that too!"
Music stops.
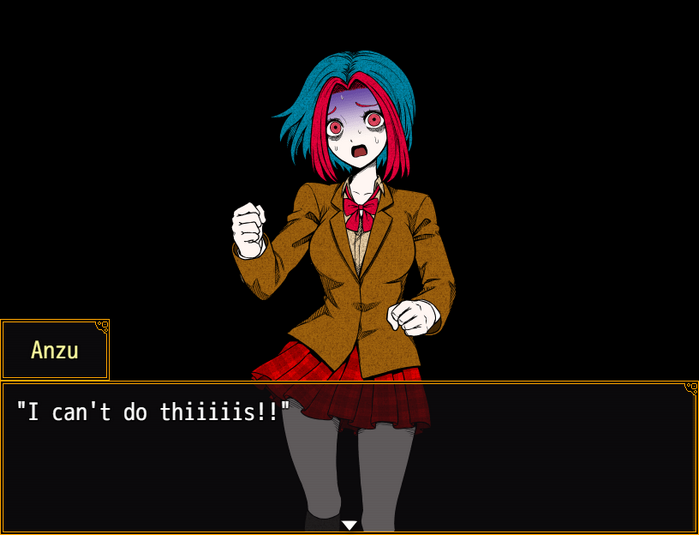
 "Gave up right away after all, huh..."
 "I mean, it's such strenuous activity! I can't handle it!"
 "Why do I have to run laps around the campus and work out just for acting? I'm pooped every day!" "Our arms'd get beefy at that rate..." "Yeah, that!"
- No matter which club you choose, Anzu will drop out.
"But still, you sure that's a good reason to just stay clubless?" "I-It's fine! Means we can go home early anyway, like we are now..." "Well, yeah. Free time's the best. So hey, want to get some ice cream on the way home?" "I want it! Treat me!" "Sure, I'll treat you, Anzu. Out of your wallet."
 "Huaagh...! At least split the bill, please!" "Okay, there's a plaza nearby, so we'll eat there!" "Sounds like a plan! To the ice cream shop!"
 "I've never seen an empty ice cream case before... I asked the clerk 'cause I was like "really?", but...”
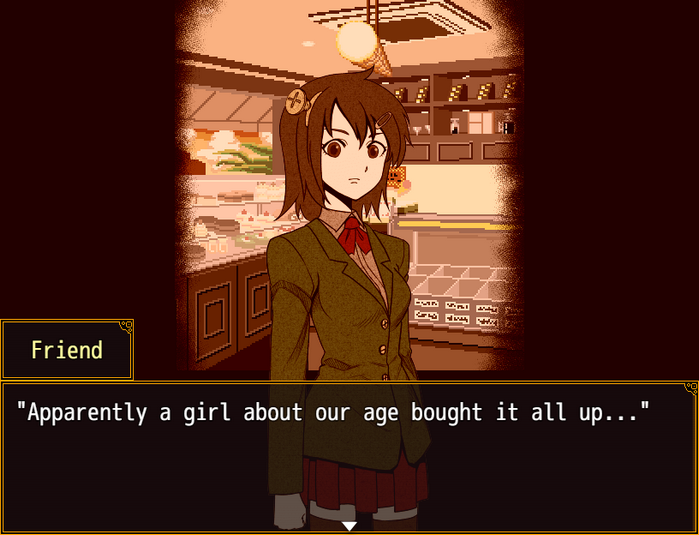
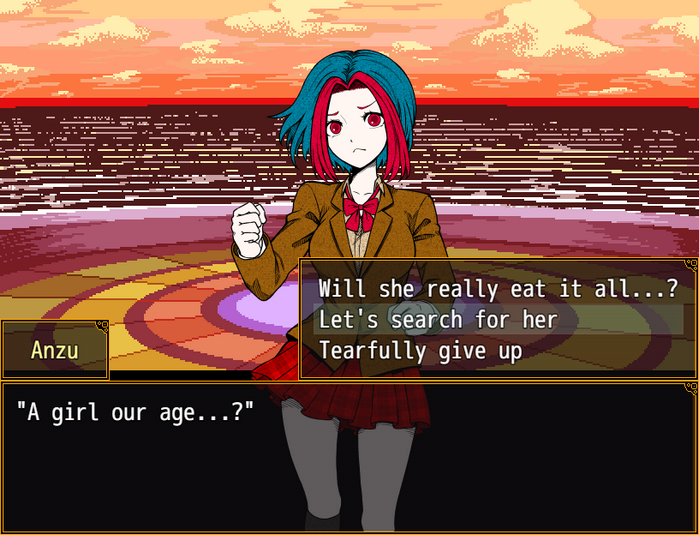 "Let's find that girl, if that's what it's come to!" "Oh? And beat her down?" "I'm not gonna use violence!!" "We'll buy from her! She should offer us a cone or two, at least!" "From a girl who resolved to buy out the whole store? I don't think that's happening..." "M-Merciless... Well, okay. Let's look around for some other shops..."
Music stops.
 "Huh? Is that a crowd forming there?" "Hm! Sure is. Wonder what's up?"
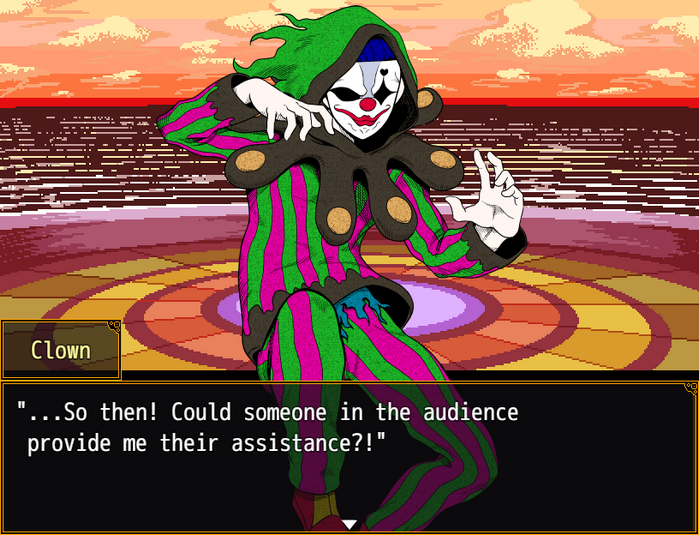 "Ooh, is that a street performer? Didn't know there was something like this here..."
 "Hmm...?! You there, the cute girl! Couldja come over here for me?" ".........." "Wha! Me?!" "Yes, that's right! A middle-schooler, are you?" "Ruuude! I'm in high school...!" "Wahah! Alrighty, now sit yourself down..."
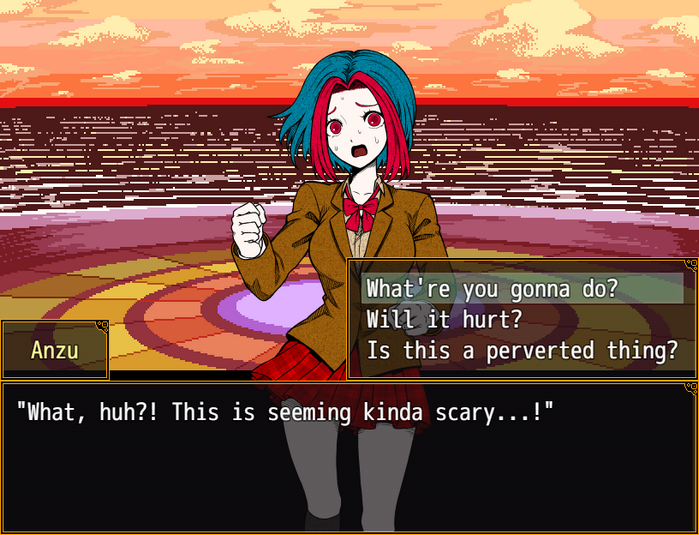
 "What're you gonna dooo?! At least tell me first!!""Seems you can't contain your excitement! Now I'm getting riled up too!"
 "Hyeeeee!!" (She's a scaredy-cat, so I bet she really is afraid...) "Now, now, never fear! You'll do just fine! I'm going to be stacking bowling pins... on top of that radiant forehead of yours!" "Whaaa?! Stacking... wait..."
 "Did you pick me for the quality of my forehead?!" "Hold still, pleeease!" "W-Wahhh, how many are you gonna stack?! They're all gonna faaaaall!" "Don't try to support them with your hand! You're tickling my side!" "Wa-wa-wa-wa-wa-wa...!!"
Music stops.
"Alrighty! It's a success!" "Whoaaaaa!! How?! Amaaazing!!" "Daaang... Glad I got that on camera!"
 "Thank yooou! You strike a pose too, missy!" "E-Ehehe...!" "Well then, thanks for coming to today's show!" "Ahh, I'm glad I got to record that..." "Good work, Anzu. Now let's get home!"
Music stops.
".........." "Anzu?" "Umm..." "Ohh, it's Miss forehead from earlier." "My forehead isn't prominent enough to call me that!" "Hey, how exactly did you do that?" "Wahaha! You're curious? There's actually a trick to it. But it's a secret!" "Eh?! Mr. Clown, are you some kind of magician?" "Sleight of hand is just part of my repertoire. My forte is pure street performing, though!" "Huh! Do you perform here all the time?"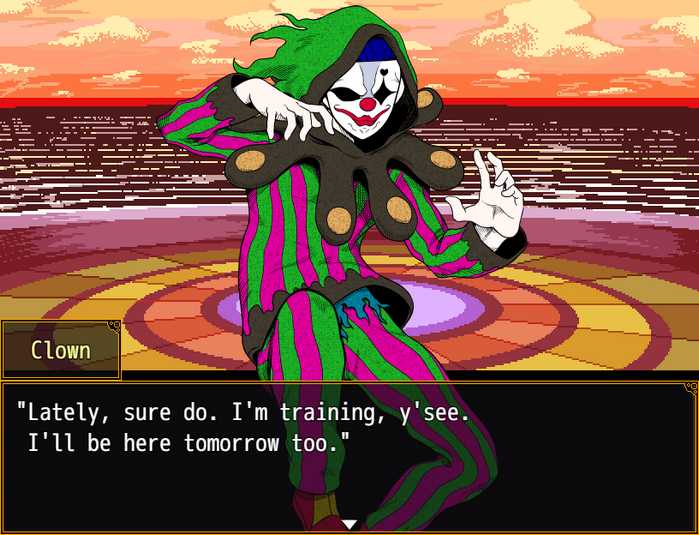 "Tomorrow, huh...?" "...Considering coming to watch?" "H-Hm, I wonder..."
Music stops.
"Tomorrow won't be a magic trick, but the real deal It'll be a great time! I'm confident!" "Hrmmm..." "Please, come waaatch! I...! I'll make it an unforgettable afternoon!!" (Urk! As much he feels like a pervy old guy, his words carry such intensity...!) (Ahh... Why did I have to stop?! I should have just gone home...! It must be... because deep down... part of me is curious... isn't it?!) "Alright! I'll come watch!" "Hooray! Thank you, Miss forehead!" "It's Anzu, actually!!"
The next day...
"Ohhhh! What a performance!!" "D... Daaang..." "Well then, thanks for coming to today's show! How was I, Miss fore... Anzu?" "Mr. Clown..." "That was the greatest, to put it lightly!" "Wahaha! All right!" "Yes I... wait, wha? Is that true?"
 "Yes. Seeing as you were in my area, I decided to come by today... and, um... Today's show... was even more amazing!" "Ohh! I'm glad! Thank you very much!" "Don't mention it. Good luck!" "..." "Whoops! Sorry about that, Anzu." "...Hey, mister." "Yes, yes?" "...I want..." "I want to try these sorts of weird performances, too!" "Eh...?!"
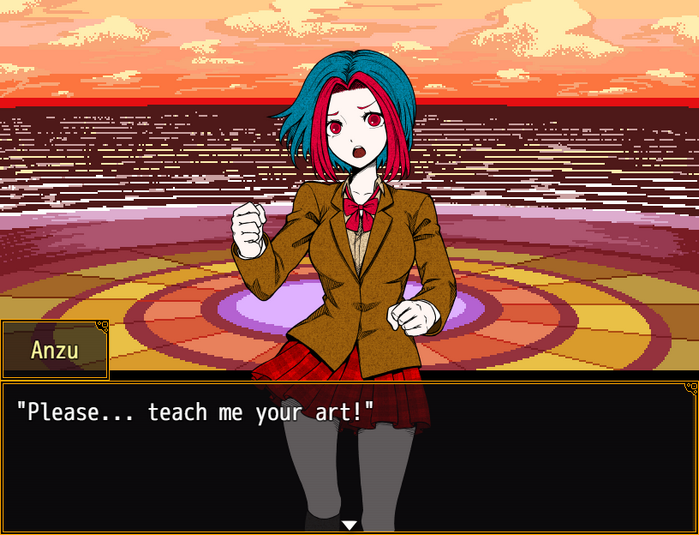
 "M-Master, huh...? Hmmm... Alright! Sure thing! I'll teach ya some real out-there tricks!!" "Hooraaay!! Thank you, master!!"
 "Sorry, going to the plaza again todaaay!" "...Anzu hasn't been hanging out with me lately... Don't tell me, is it a guy?"
 "You traitor... I'll make you pay... *pant*, *gasp*..." "Yes, yes! You're really improving! Gettin' better at controlling your hands and body!" "This is haaard! I feel like I'm gonna get muscle pain in my hand here!" "So there's still a place where you can get muscle pain, eh... Let's go harsher, then!" "Bwaaaah?! You're a demon!!" "W-What're you doing, Anzu...?" "Ah! You came to visit?!" "Oh, is this a friend of yours, Anzu?" "A-Anzu... Don't tell me you became his pupil...?"
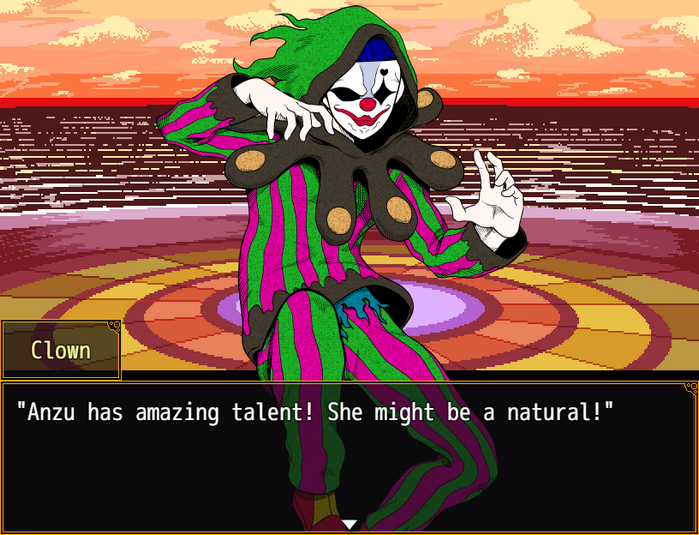 "Dehehe...!" "Please, don't drag Anzu down your weird path!!" "Whoa, whoa! Watch what you say to Master, okay?!" "Look at this! I learned some amazing tricks!"
Music stops.
"Wh..." "Whoaaaaa!!" "See, see?!" "You're amazing... That forehead trick is somethin' else..." "Thanks kindly, friend of Anzu. You're her first audience, you know!" "Whoa, I guess so! Ehehe, I'm so glad!"Music stops.
"Anzu... this time... you're actually serious.... How long have you had an interest in this kind of thing...?" "Wha? Well, until I saw Master's performance, I didn't care one teensy little bit!" "It's just like... when I saw Master then..." "I thought, "This weird old guy's a pro! So cool!"" "Oh...?!" "I was like, shaken to my core, y'know? It was deeply moving! Honest!" "And here I thought you'd started calling me Master just on a whim... I'm glad... really glad!" "Oh, I see... You're used to people saying that, so you thought I wasn't serious!" "N-Not at all! The opposite! It was a first, so I couldn't believe it...!" "Huh, really...?" "Ah, I know... Anzu, I have a present for you to commemorate your first show for an audience." "Wha! What is it, what is it?!"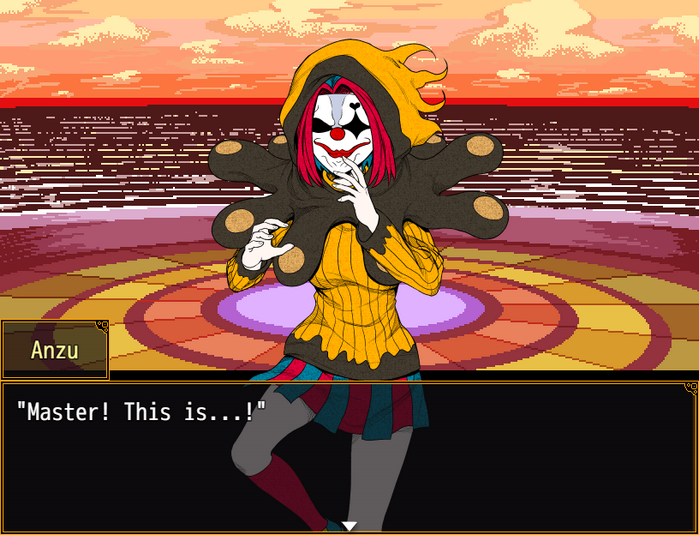 "It suits you real well, Anzu!!"
 "Thank you so much, Masteeeeer!!" "Good for you...!! Just don't wear that to school!"
 "Dehehe!"
 (I'm so happy... but...)
Music stops.
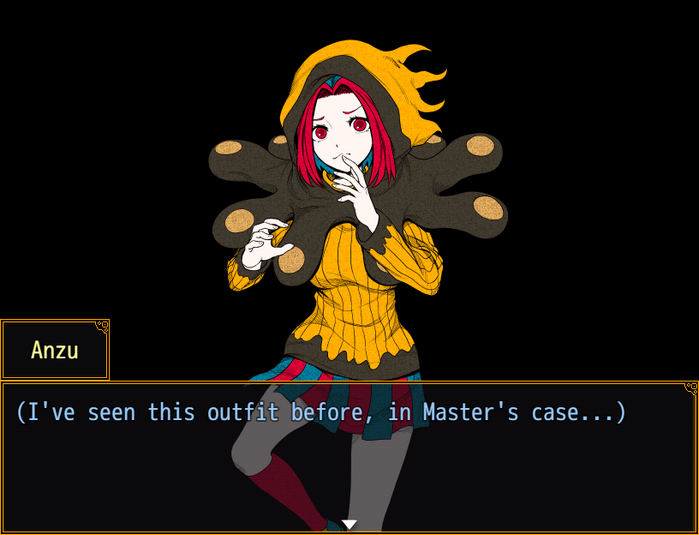
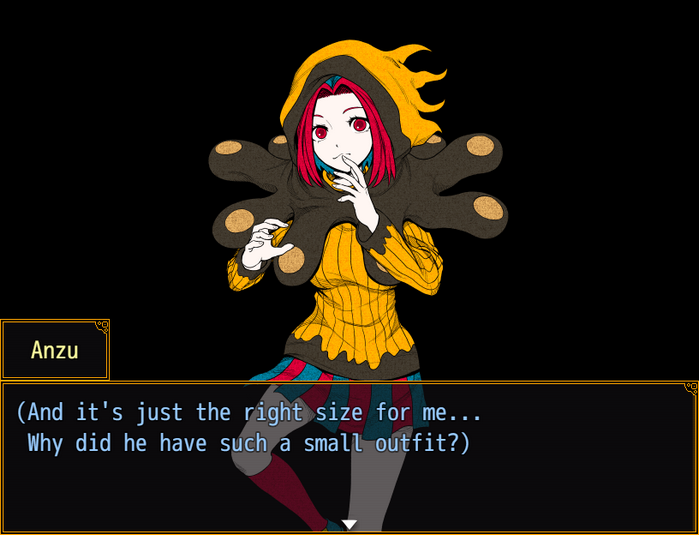 (Well... whatever, I guess...)
 "Heh heh heh! I'm here pretty early today... Maybe Master will praise me!" "Heehee! The dressing room's over there, right? I'd better change into my outfit!"
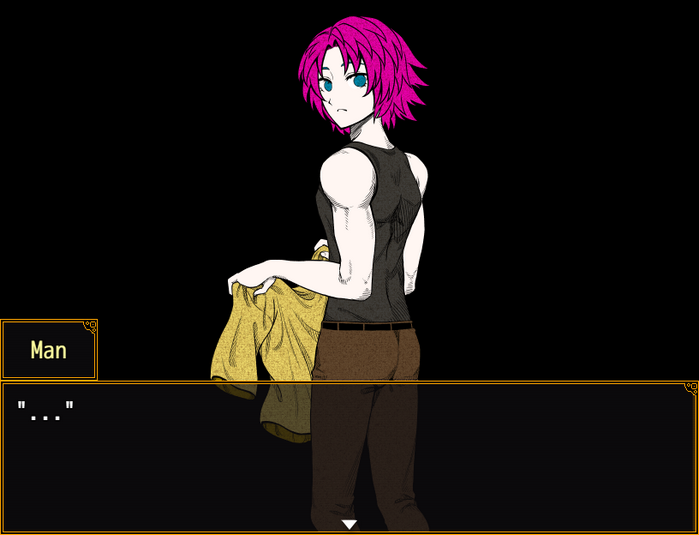 "Wah?!"
 "?!" "P-Pardon me! I got the wrong changing room...!"
 "Wahaha! Even I don't peek on people changing!"
 "But who could that have been? I've never seen someone like that among the performers here..." "Who knows. Could be a newbie." "And also, listen to this! He was a total hottie!" "A-A hottie?"
 "I bet he'll be popular for sure... Dang it..." "What do you mean, "dang it"...?" "I mean, he might steal away our audience, won't he?!" "Even I'd definitely go see him, after all!" "Taking even my pupil...? That'd be no good..." "Just getting a glimpse, that's all! I'm more like a grandchild than your pupil, right, Master?!" "Since when did we become that familiar...?"
 ".........."
Music stops.

 "Hmm..." "That hottie never showed up in the plaza, huh..." "Oughta forget about it. You were glancing around for him even during the show, weren't you?" "I-I wasn't doing anything like that!"
Music stops.
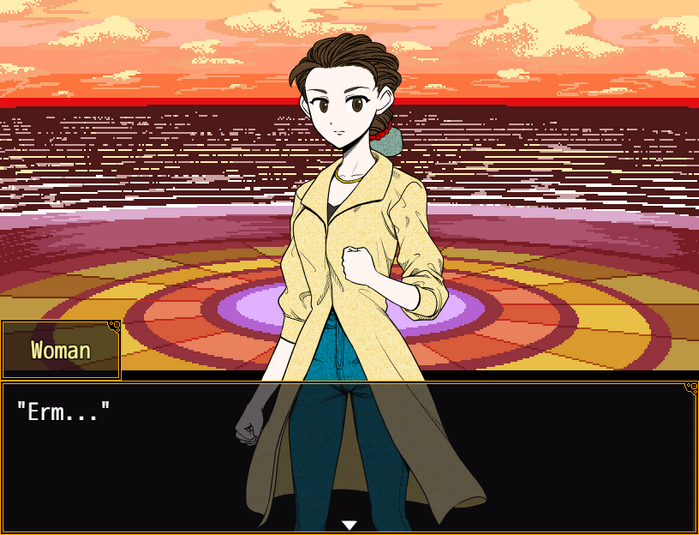 "Ooh, a visitor? Master, someone's asking for you!" "Yes, yes..."
 "..." "...Ack."
 "Sure enough, here you were." ".........." "Wait...!"
 "Please, I want you to come back! To us...!" "U-Um... Do you know her, Master...?" "This girl is... my..." "Eh?!"
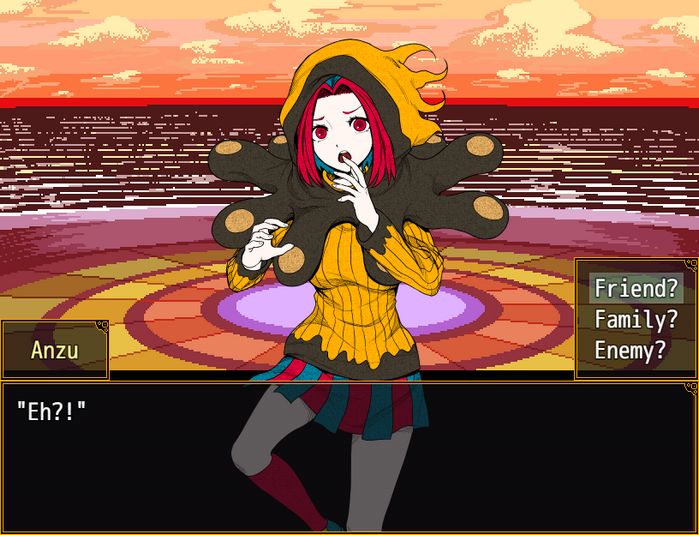
 "Your friend...?!" "No... Something more than that..." "We... were colleagues." "Colleagues...?" ".........." "Please! Come back to the troupe!!" ".........."
Music stops.
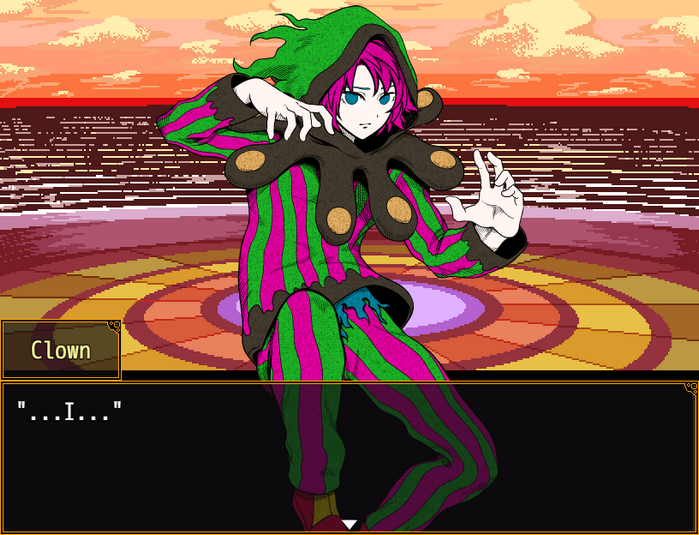
 "M-Master...?!"
 "...I wanted to get away from that troupe."
 "I was the biggest klutz there! So...!" "That's not true...!" "No one blamed me, though... Everyone stood up for me..." "For someone like me, who could never put on a performance worthy of taking center stage...!"
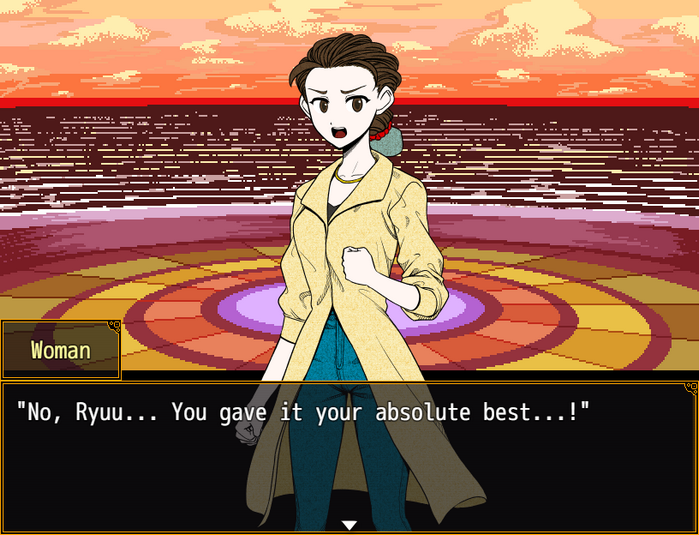 (Ryuu...?) "That's why... I decided to polish my skills while concealing my identity..."
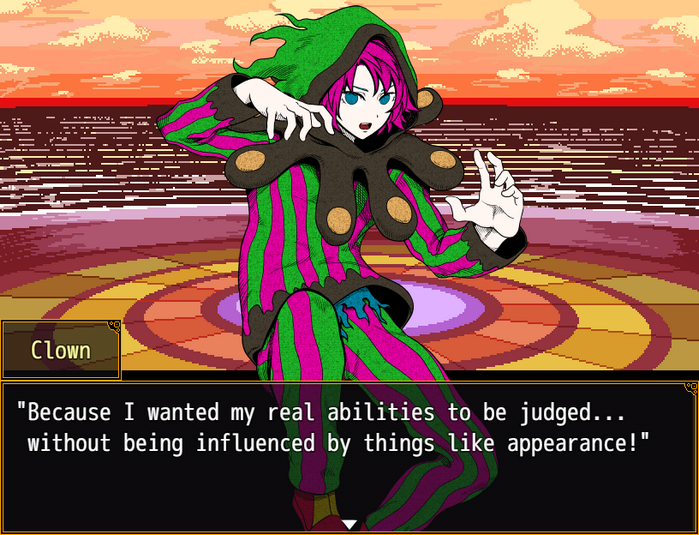 "I... I see..."
Music stops.
"But... Anzu helped me realize." "Huh?!" "If I can move someone deeply... I want to try again! With my current skills, on a grand stage...!" "Ryuu...!"
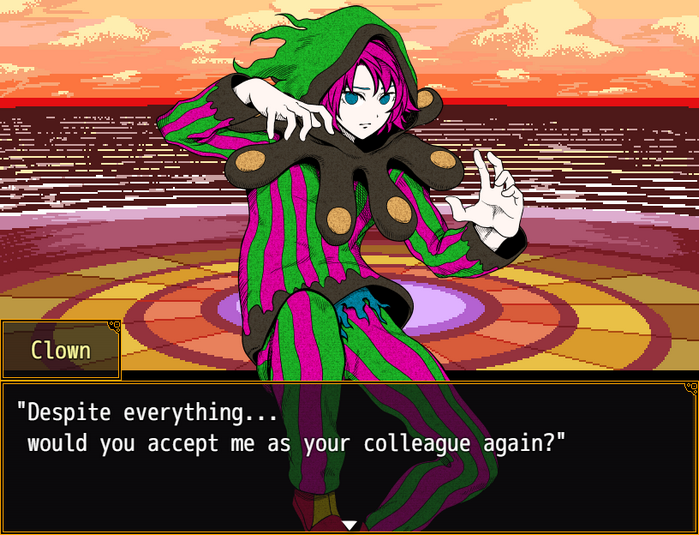 "Yeah...!"
 "Thank you..." "...Err... um, then..."
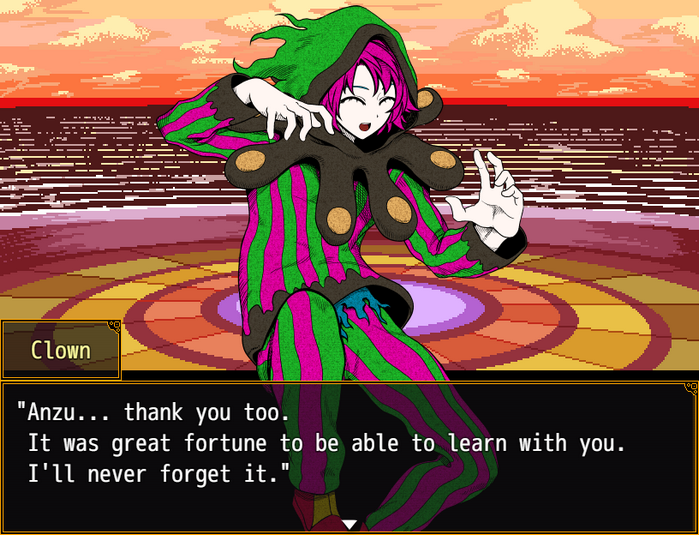 "E... Ehhh...?"
 "Hey, let's get a move on, Ryuu." "Right! I'll go greet the ringleader, and all the others!" "And to help look the part... do you think I should get a buzz cut?" "Absolutely not!! Look, let's just go!"
 "R... Right..."
Ryuu leaves.
Music stops.
"Err... Anzu, was it?" "Y-Yeah...?"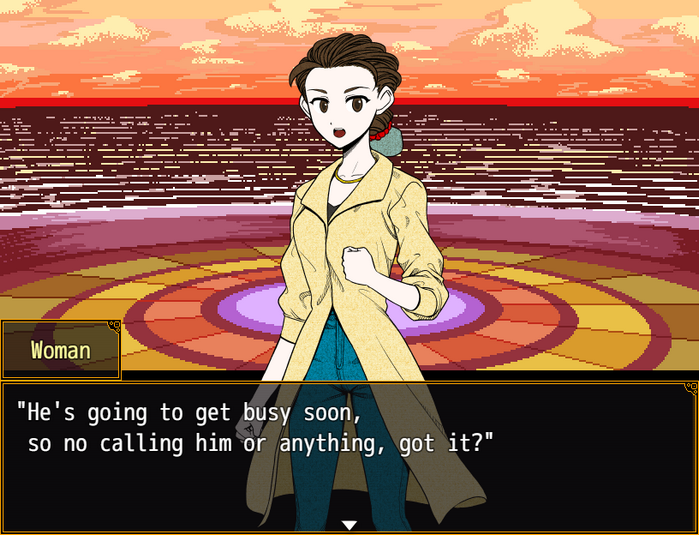
The woman leaves.
".........." "What in the heck..." "That woman's absolutely after Master's looks..." "Even though... I fell for his talents...!" "Now... now who's going to teach me?!"
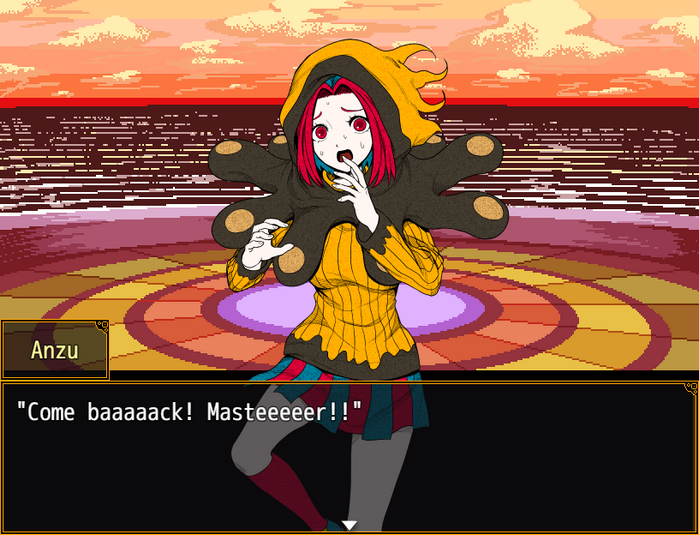
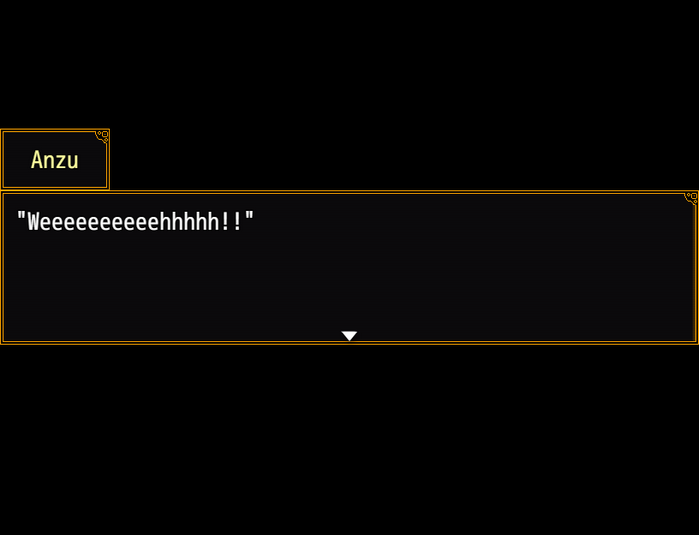
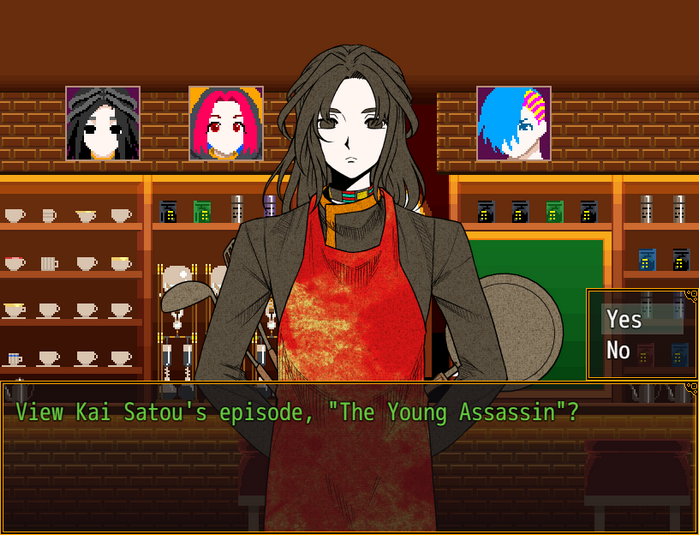
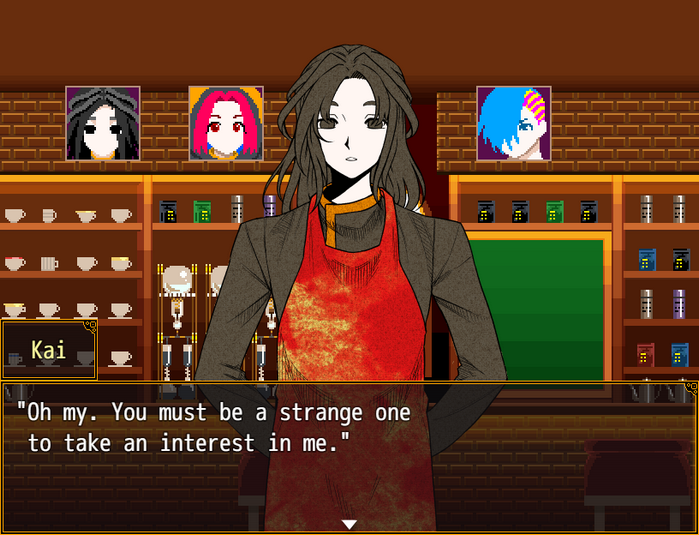
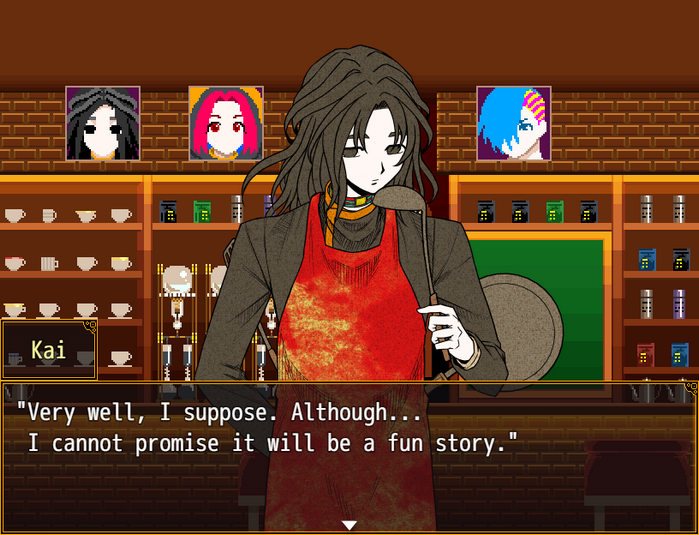
Music stops.

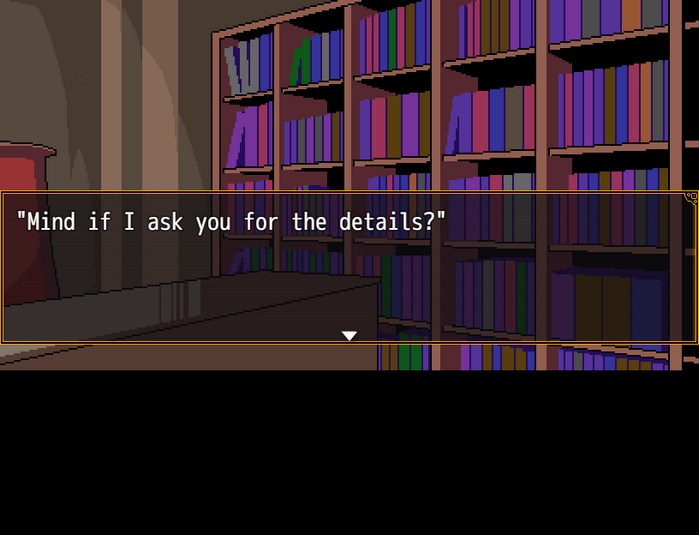
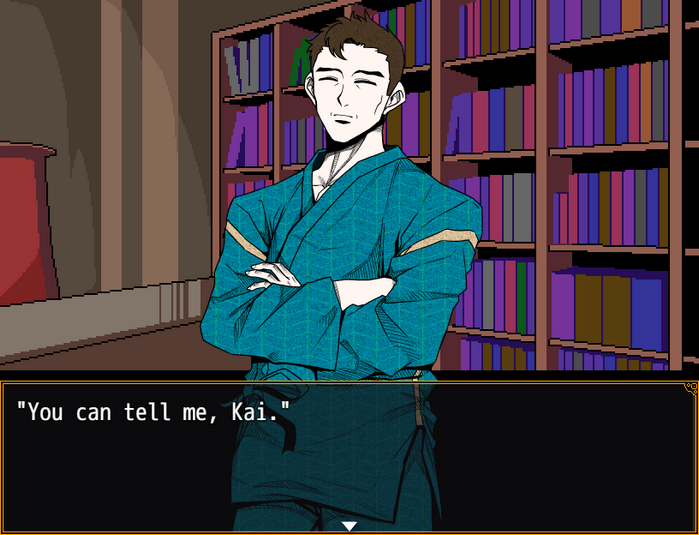
 "Understood... It was... when I was young still.”
 "*cough*...! *hack*...!!"
 "Ugh..."
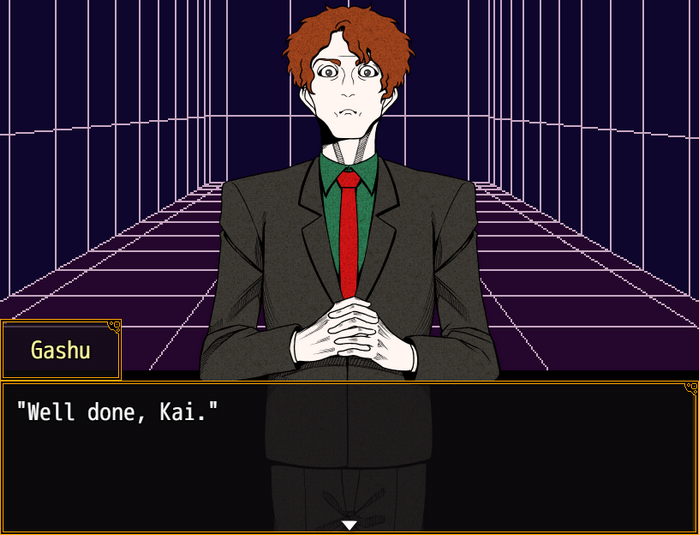
 "F... Father..."
 "Well, I'd hope as much... from a test such as this." "E-Erm...! Be careful, Father! If you stay here, you'll breathe in the gas yourself!"
 "...Are you belittling me?" "I am your father, don't forget."
 "You are, but...!" "...You need only think about your own self." "Y-Yes, sir..." "After poison resistance training, we move onto shock resistance training. Master it."
 "R... Right away, Father...?" "We've no need for breaks." "..." "...What?"
 (I...)
 "I... don't want to do it."
 "I've had enough of this training..." "..." "Do you think you get the choice, Kai?" "Fa... ther..."
 "This is an order." "..."
  "...Apologies. I should not have complained." "Please, let me do the next round of training."
 "Very well. Never speak something so spineless again." "Yes..." "..." "And once you've completed your tasks, there is someone I shall introduce to you."
 "Oh...? Who could that be...?" "..." "...Sorry, I said nothing." "I will proceed with my training." "Indeed..." "..."
Music stops.
 "Cake...?" "You wouldn't be able to taste it properly if it followed poison training, yes?" "So give this next training your all."
 "Y... Yes, Father!" "Hm."
 (Haha, I wonder what kind of cake it'll be? Chocolate cake? A Mont Blanc...? Ooh... I'll have to get my sense of taste back to normal!)
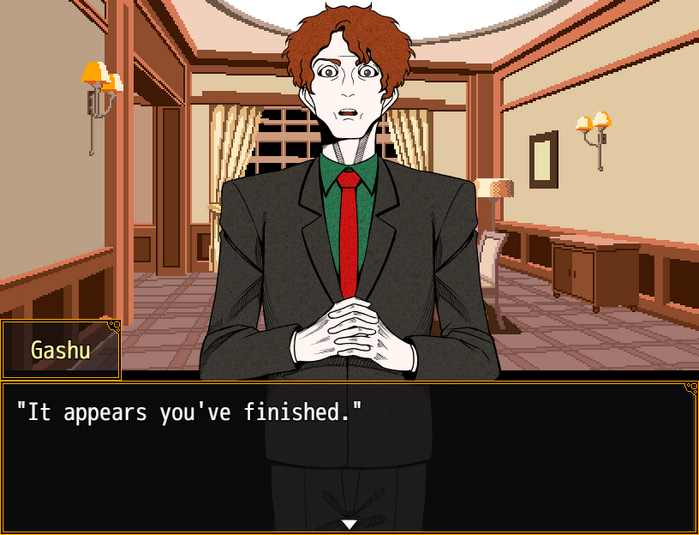
 "*pant*... *pant*... Yes..." "Urk..." "…"
- Kai falls or something along those lines off screen at this point, Gashu picks him back up.
 "Th... Thank you so much, Father..." "...Stand on your own two feet." "You're being watched. Don't show such miserable weakness." "Eh...?"
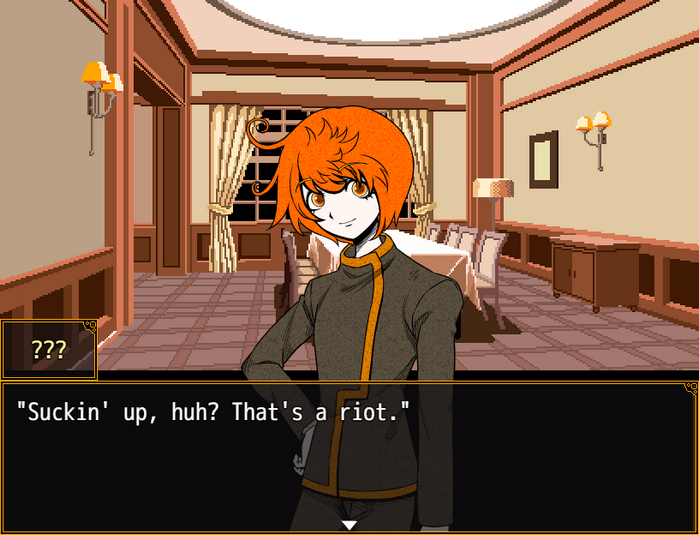 "Who are you...?" "His name is Sei." "He has similarly undergone training by the organization, at the same age as you... and is similarly excellent."
 "This guy, excellent? You for real?"
 "What was that...?!" "Calm down, you two." "Certain circumstances have left Sei with nowhere to stay at present." "So from today forth, I have arranged for him to become part of our family." "What do you mean by that...?!" "Whoa, really slow on the uptake, aren'tcha? Didn't you just hear him?" "I mean that Sei will be your sibling, Kai." "You mean..."
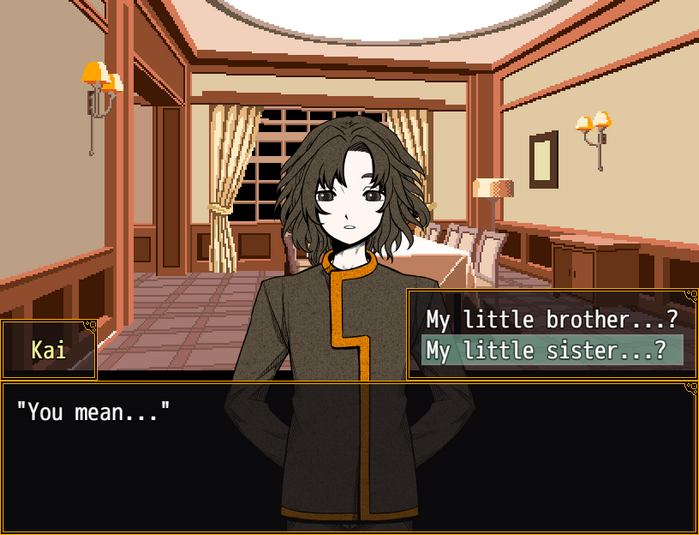 "My... little sister?"
 "S-Shaddup! You tryin' to rile me up?!"
 "Listen here, punk, I'm not your little ANYTHING."
 "The superior one must be called "big brudder"! Got that, bastard?" "Ah... that's most amusing." "F-Father! I'm not amused!"
 "No, the eldest son must be the superior one."
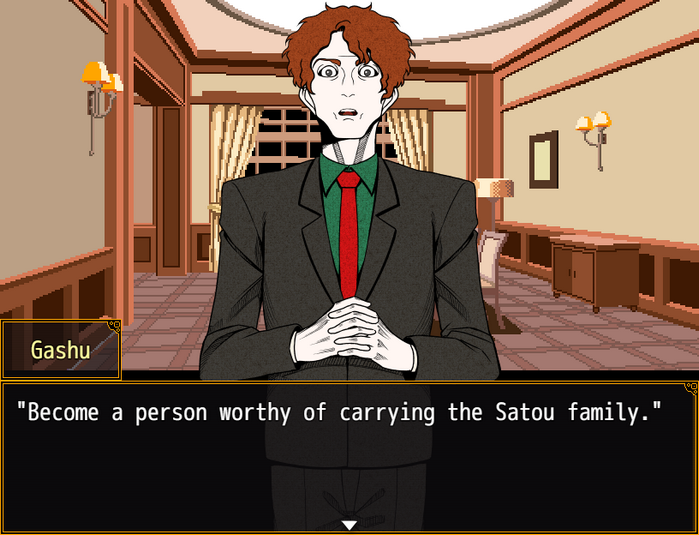 "Yessiree! You can count on me!" "Indeed. Have you anything else to say, Kai?" (What... is going on?!) "At any rate, you two will undergo the same training. It is a settled matter." "You want us to... compete, then?"
 "Both of you, show me your capabilities to their fullest extent. I expect much of you."
 "Gotcha, pops... Err, old man Gashu, I guess." (Y... You...!) "Well, that's enough introduction. Let us eat the cake."
 "Blech... It's all tiramisu, dad?"
- The clothes Gashu wore as Floor Master were based on tiramisu.
 "Yeah, yeah..." (…)
 Music stops.
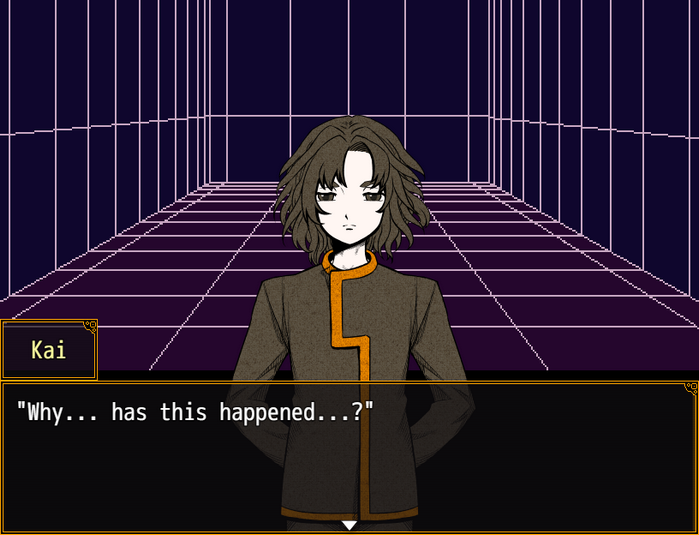 (Did Father bring in that crude boy... because he considered me a disappointment...?) (Has he given up on me...?) "Oh? Whatcha mopin' about now?" "Waugh...! Sei!" "Do I freak you out that much, bastard?" "Shut up! I'm Kai! Call me by my name!"
 "...Haaah?" "Hmm, maybe if you call me "big brudder"...?"
 "I'm smarter, you know." "Ain't that a thing dumbasses say?" "I was taught by Father! I won't stand for you disparaging him!" "Your pops has gotta shave that stubble." "What stubble?!"
 "Whoa!" "Bastard...! You gonna lash out at me?!" "Enough! Don't come near me!"
Music stops.
"Cheeky little squirt... This calls for some discipline!"
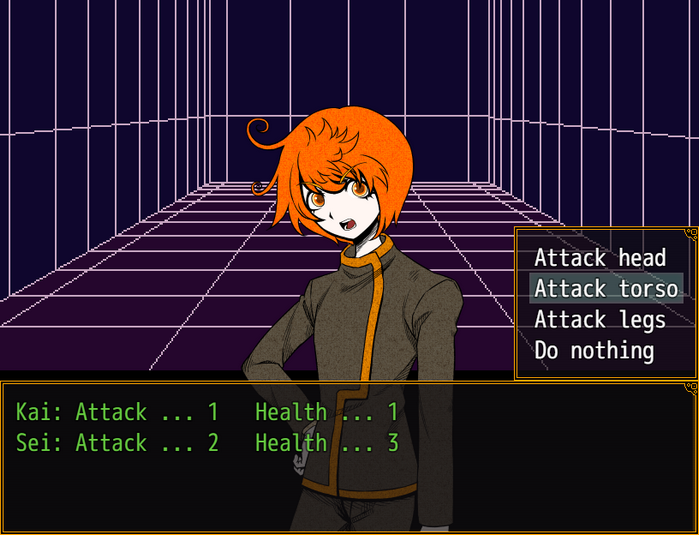
 "You little..." "My turn."
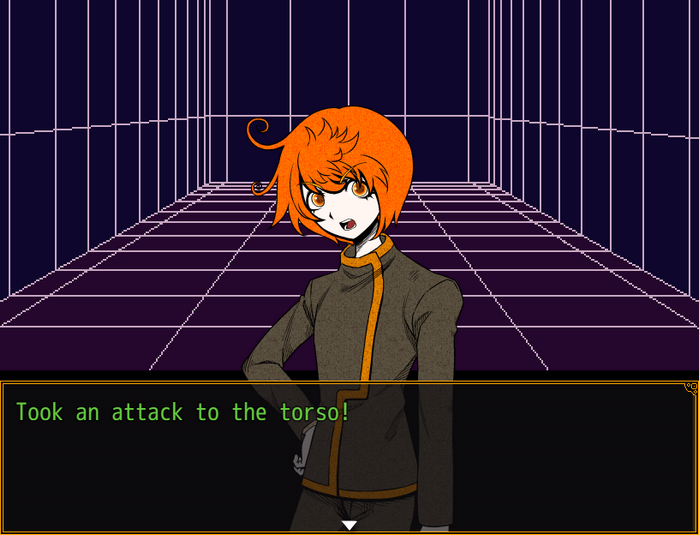 "Ggh... Agh...!"
- Kai falls to the ground.
"Guess that's all you got, huh, little bro?" "...!!" "Gonna reply? Gonna call me big brudder?" "...Who would...?!" "The hell, man, you promised!" "We're gonna be killers, aren't we? Oughta learn that might makes right, yeah?"
Music stops.
"...Sei... damn you..." "I can't lose... to someone like him...!" "Next time, I'll...!" 
- It is possible to “defeat” Sei in this battle – Kai is so pleased at his victory, he lets his guard down, Sei takes advantage and attacks. Kai tries to protest that Sei's sudden attack was unfair; Sei points out that fairness means nothing to a killer.

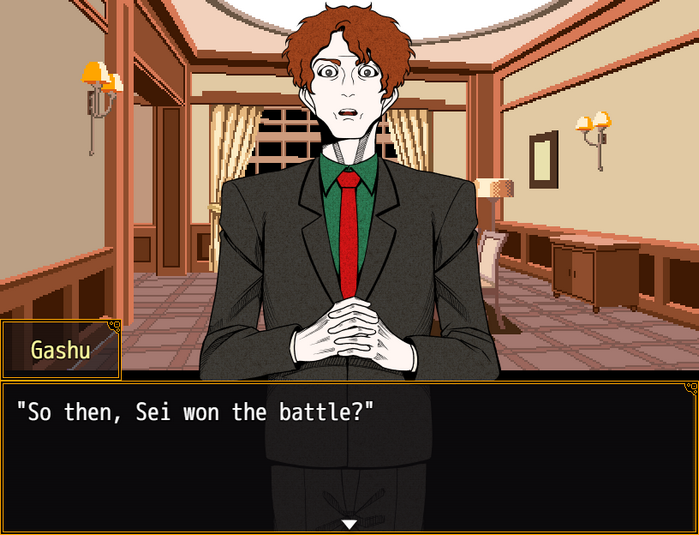 "He was a total pushover, dad." ".........." ".........." "Kai. I'm disappointed in you." "...My apologies." "You must at least maintain your promise." "You did promise in front of me, did you not?" "..." "Hmm? What's wrooong? Something stuck in your ears, Kai?" "..." "...I ad..." "I admit... defeat..." "...big... brudder." "Ha ha ha, sure thing! I'll forgive you!" (Ugh...!!) "...Do you feel vexed, Kai?" "Father..."
Music stops.
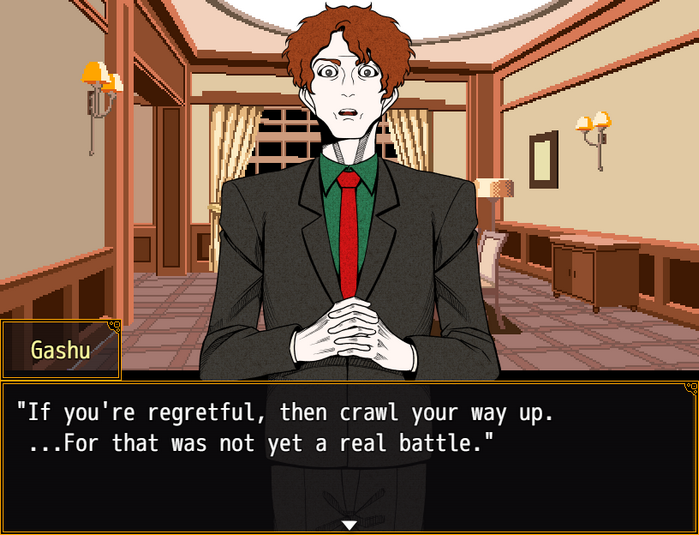 "…" "Hey dad, you got anything for me?" "Right. You did well, Sei." "...Heh heh! Right?! Aren't I the greatest?!" "I shall prepare you tiramisu." "...Ahh, hmph. Tiramisu resistance training might be the toughest of all..." ".........."
Music stops.
(Father... He hasn't forsaken me, I'm sure of it! I need... I need to be stronger...!)
 "*gasp*... *pant*...! H-Hey, me too!"
 "Alright, alright...! I'll teach you if you stop glaring like that!" (What's gotten into these kids...?) "Okay, I'll let you pick. What do you want to train?"
 "Actually, I'll sleep!" "Augh, that's dirty! You sent me into a trap, bastard!" (Phew, good...)
Music stops.
"Well then, that's all for today!" "*pant*... *pant*..." (Just you wait, Sei...!)
 "...Sei? He's absolutely stellar."
 "You don't look too happy about it, considering." "No, that's not..." "…The biased affection of a parent... creates tragedy. Children are delicate creatures, Gashu." "..." "Ah, it seems those two are training outside." ".........."
  "I... I'll undergo it too... teacher." "You're still at it...?! You two... you're going to die like that, I mean it!" "Heh heh... Then let's bring him an early death, huh?" "As if I'd die before you, big brudder...!" "What was that, bastard?!" "Stop it already! Fine, what do you want to learn next?" "I want to learn..."
 "Offensive techniques!" "Alright! Attack training it is! Ready yourself!"
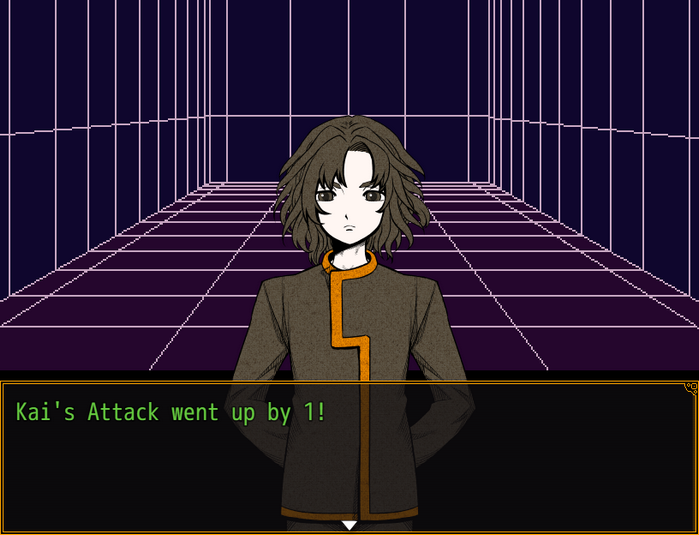
Music stops.
"Well then, that's all for today!" "Thank... you... very much..." "...You two." "Ah! Father!" "Did you come to watch us train, dad?" "Right." "Heh heh! Really? Awright!" "…"
Music stops.
"...What did you think, Father?" ".........." "This will not cut it... you can grow further still." "Rather... both of you can." "…" "Heh! That's right! I'm gonna be way more amazing than somebody like Kai, for sure!" "I-I'm not letting you beat me either! ...Uh, sir!" "I have high hopes for you, Kai, Sei."
Gashu leaves.
"..." "I definitely did the better job showing my stuff today, don'tcha think?" "Ahem..."Music stops.
"Big brudder... you haven't been speaking to Father with respect." "Hwah...?" "Call him Father. Use proper language." "He never tells me I gotta do that." "Geez, that's a weakling for ya. Scrambling for ways to score points even where it doesn't matter..." "What...?!" "Whaaat? I gotta beat you senseless again for you to get it?" "Ugh...!!" "You're just..."Music stops.
 ".........." "Fine, I get you. You really want a butt-kicking, huh?" "I'll spoil you rotten, my useless little brother!"
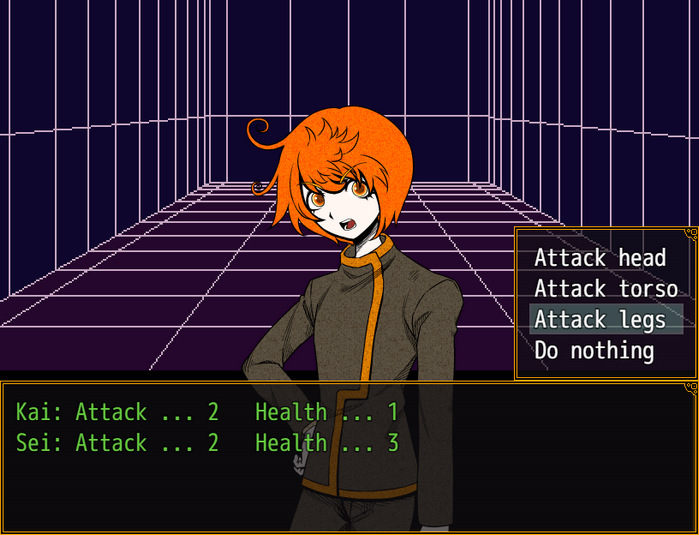
- Despite them training together, Sei, unlike Kai, does not get any stat boosts from training.

 "N-Not too shabby, bastard..." "My turn."
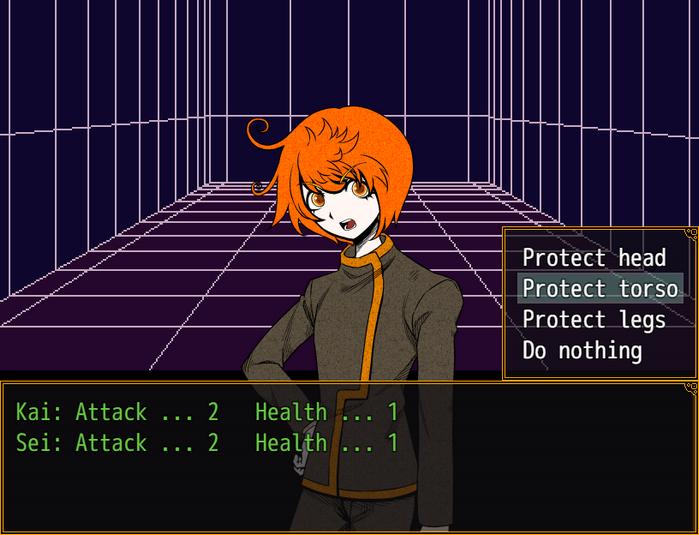
 "Huh, not bad..."
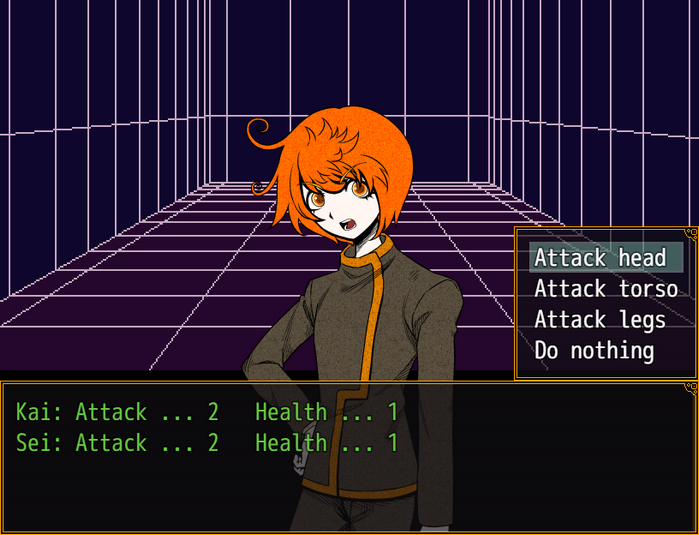

 "Urgh..."
Sei falls to the floor.
Music stops.
"*pant*...! *pant*...!" (I...! I'm...!!) "..." "Huh...?!" (What am I doing...?!) (I was... about to...)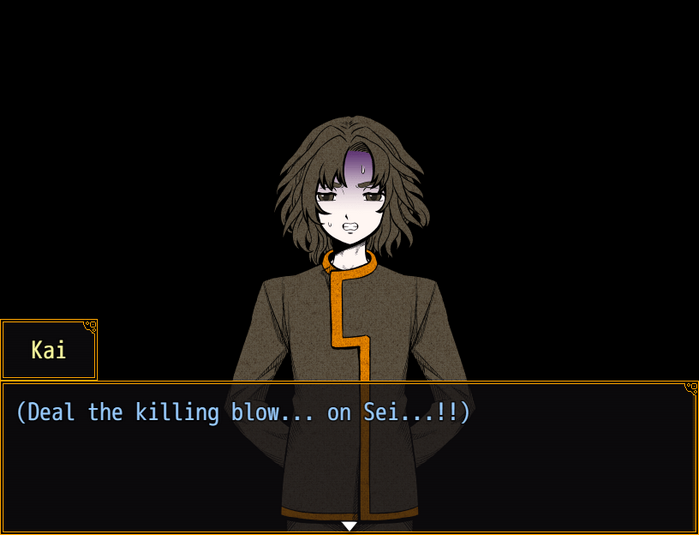 "..." "Kill me, dummy..." "If you're... gonna be a killer... y'know?" "W... What are you saying..." "I'm just... At any rate, I'm just...!"
 "A tool for you to use...!!"
 "No matter how hard I try... I'll just be a pawn...!!" "S... Sei...?" "I'm a rival, brought in to raise you up...!"
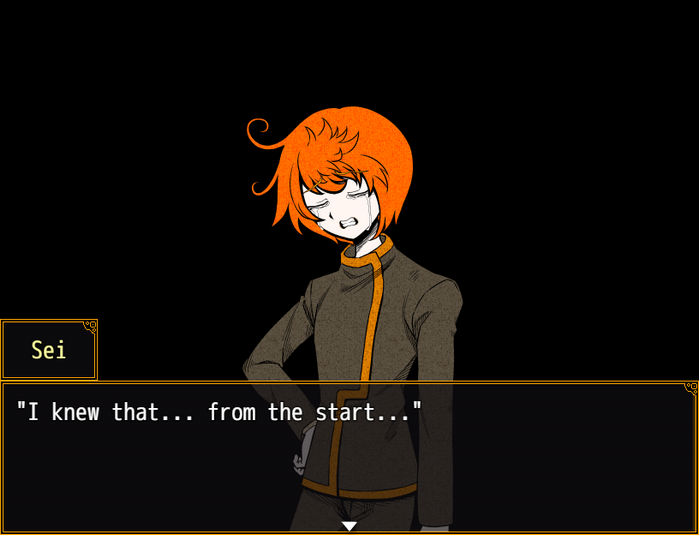
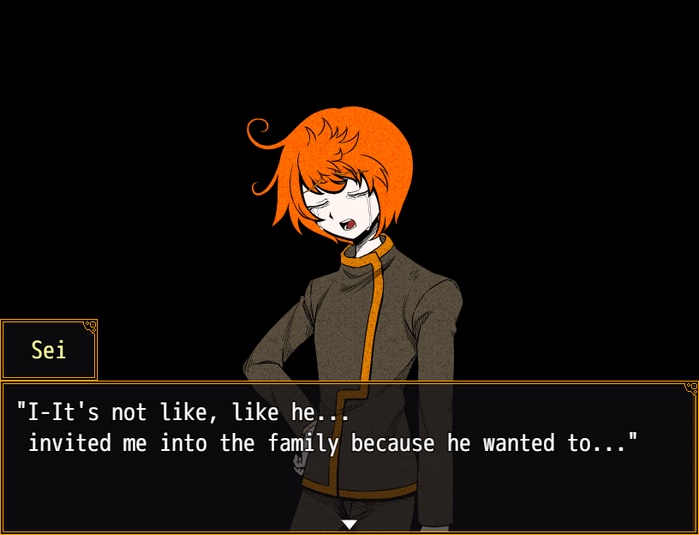
 "No one's s-seriously looking at the likes of me..."
 "Some... some "dad" he is..." "He... he's dead. My pops... my real dad..." "..." "All this shady organization crap... it's so stupid..." "Pops... you should've died sooner..." "If we can't meet anymore... then you should've died before I was born, you bastard...!!" "Sei..." ".........." "..."
 "Sorry..." ".........." "...W... Why you gotta apologize...?" "I'm sorry... I'm sorry, Sei..." "...*sniff*... Oooogh...!!"
- This battle can go either way, since Kai will likely have similar stats to Sei at this point (unless you choose to sleep instead of train both times). Sei winning doesn't really change much – he complains that Kai is weak, then tells Kai to at least be strong before stating that he is just a tool for Kai to use; the conversation from there is the same regardless of who wins the second battle.
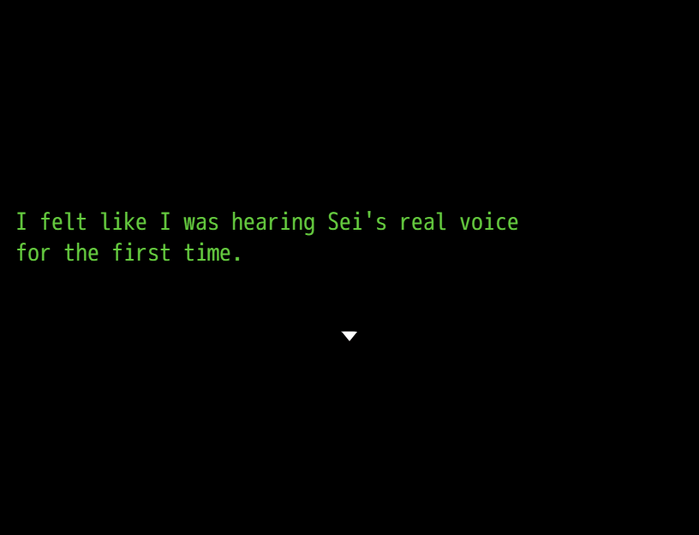
 "Hey... Sei." "What... the hell is it..." "Father... he's strict..." "...Yeah..." "So his moments of kindness... are very few." "...""...That's why... I didn't want even those short moments... to go to someone else..." "...Yeah..."
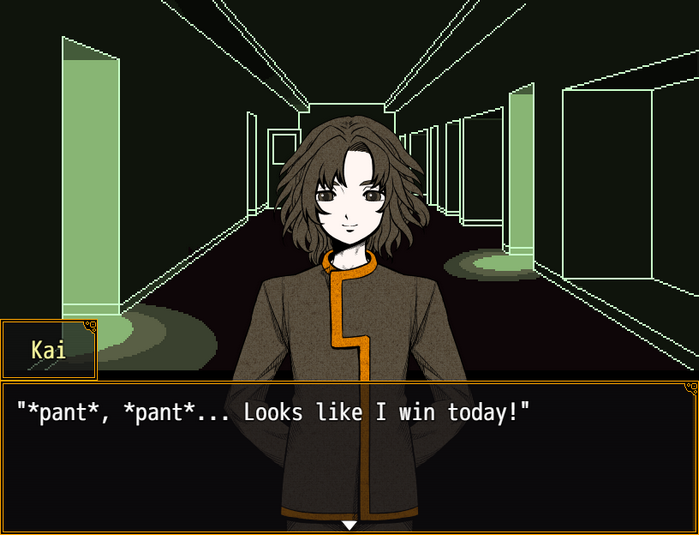 "D-Don't be stupid! We've still got two tasks left...!" "Hmm... Won't you give in, Sei?" "I'm gonna make you weep, Kai!"
 "Ahaha! Then let's give this next one our all!" "You two look energetic." "Father! Y-Yes!" "Yeah, well." "Hm..." "Sei, have you gotten a bit taller?" "Huh...?! G-Good eye..." "...But of course." "I'm always watching you, after all."
 "...!" "D-Don't be embarrassing! Let's go, Kai!" "Yeah!" "Right. Take care." ".........."
Music stops.
"Hm... hold on, you two." "Yes...?" "E-Erm..."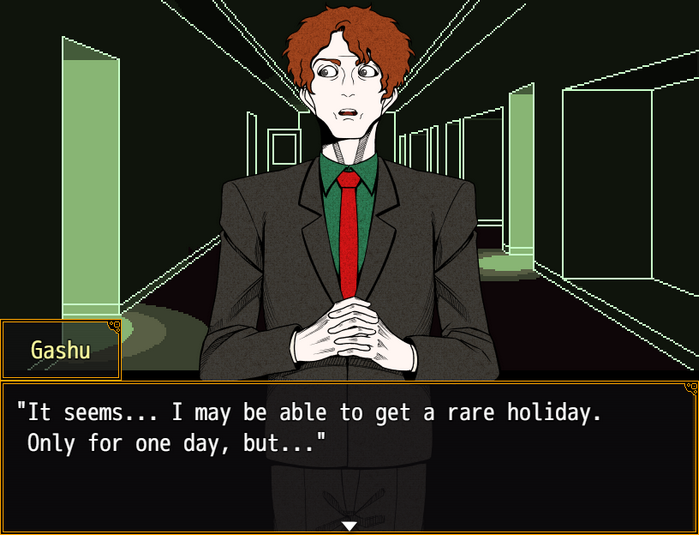 "Wha...?"
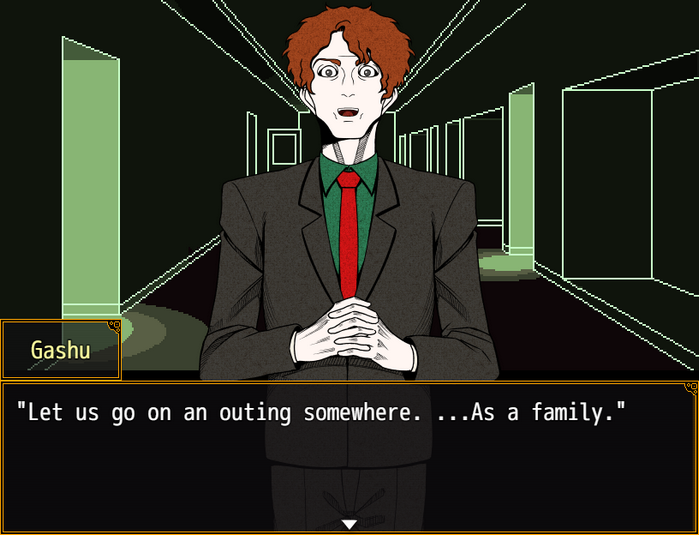
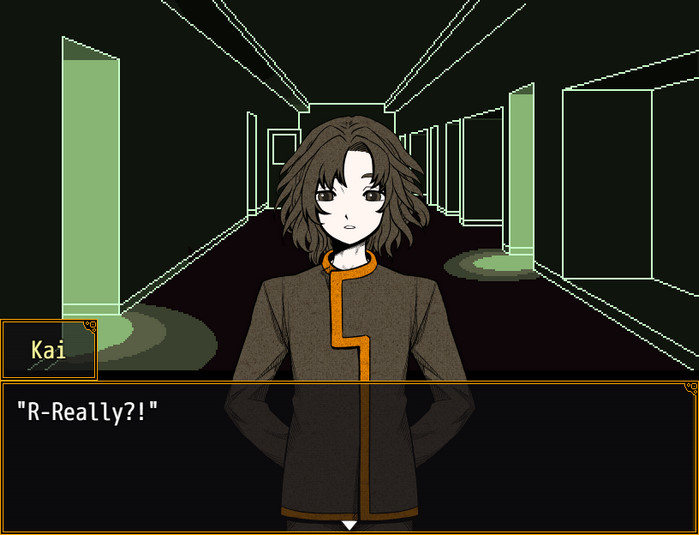
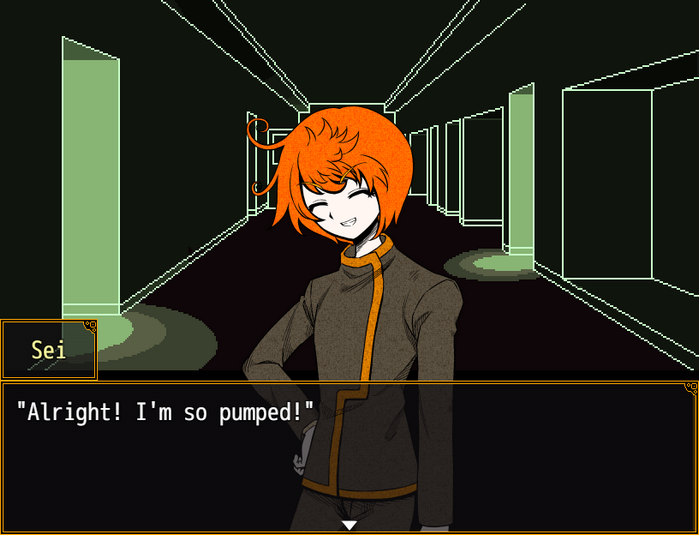 "Ahem. Very well then, that's enough talk. Get to your training now." "Yes, sir!!" "Hah..."
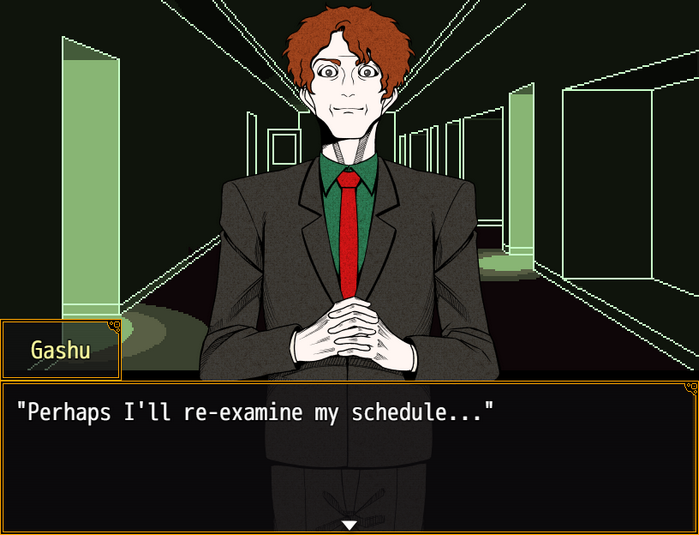
Music stops.
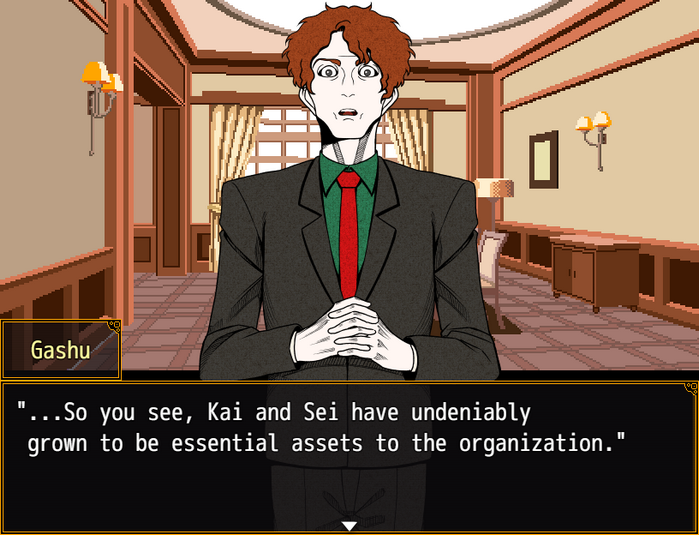 "Wonderful work. These results exceed those of any other house. Those two may just..." "I don't doubt they'll be first-class assassins." "...So. Regarding the matter of our holiday..." "...Gashu." "Yes...?"
 "...?" "There may come a time... for a trial meant to test assassins." "...A trial... like what?" "My... are you not familiar? Why do you think we began raising assassins from a variety of houses at all once?" "Was it not... to form a powerful group with which to take root in the underworld...?" "Surely you jest. We've long since taken root. What we require is a powerful right-hand man. And indeed, one needs only one right hand."
 "...I don't understand what you're saying." "Oh, but I'm sure you do, Gashu."
 "...!" "There should be no cause for fear, you know..."
Music stops.

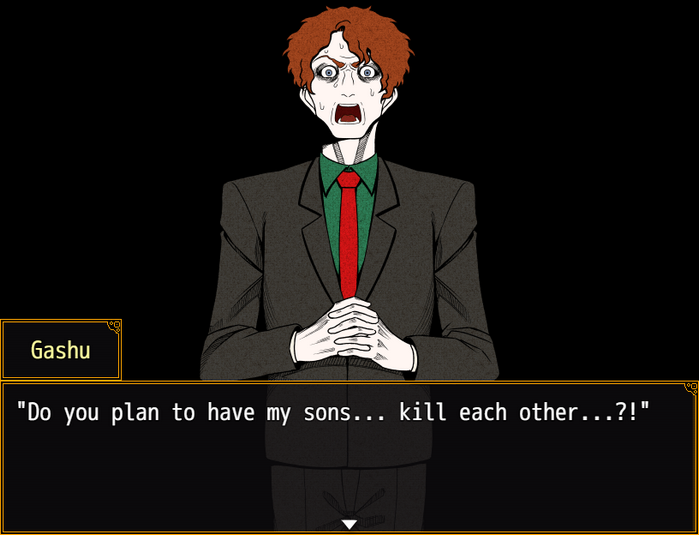
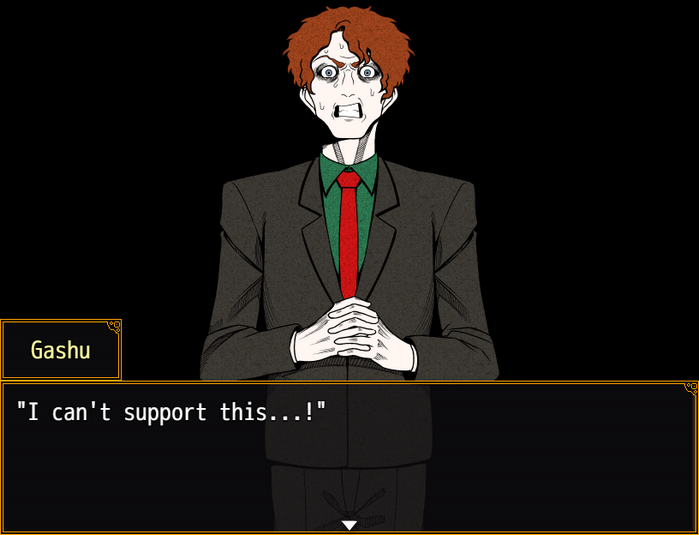
 "Surely the more talented assets you have, the better...?!" "Oh, Gashu... Don't tell me... you would defy the organization? It would seem you've raised them with considerable affection..."
 "...!!" "...Your true loyalty is now being tested. The organization is God. Yes? Isn't that right?"
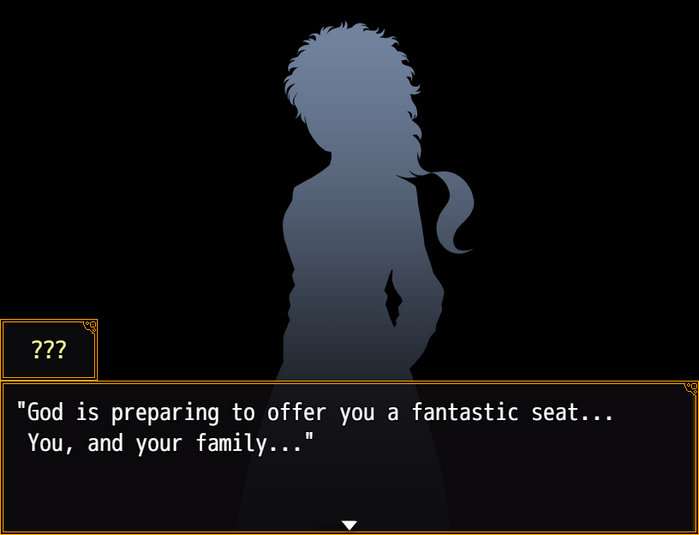
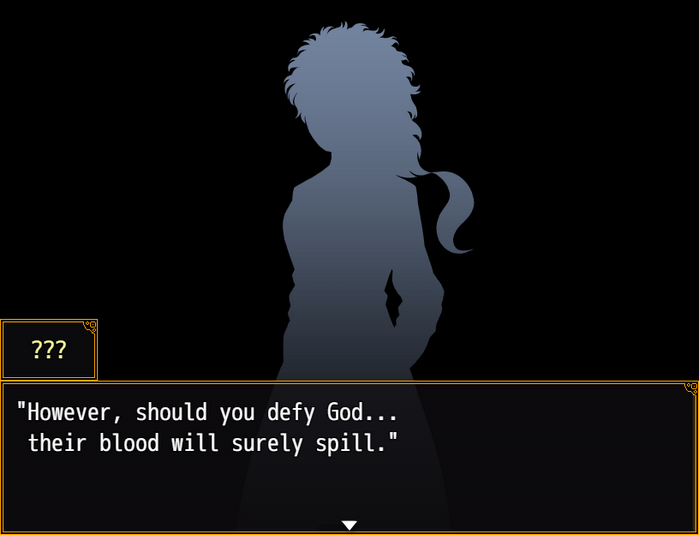
 "...!!" "Go on, make your choice. Will you perish in fear of God's power... Or devote yourself to him, and become a hero?”
Music stops.
“Choose, Gashu...!"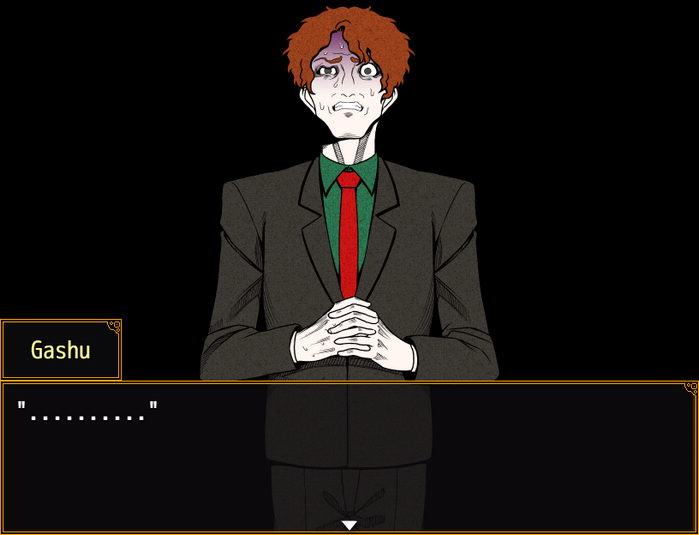
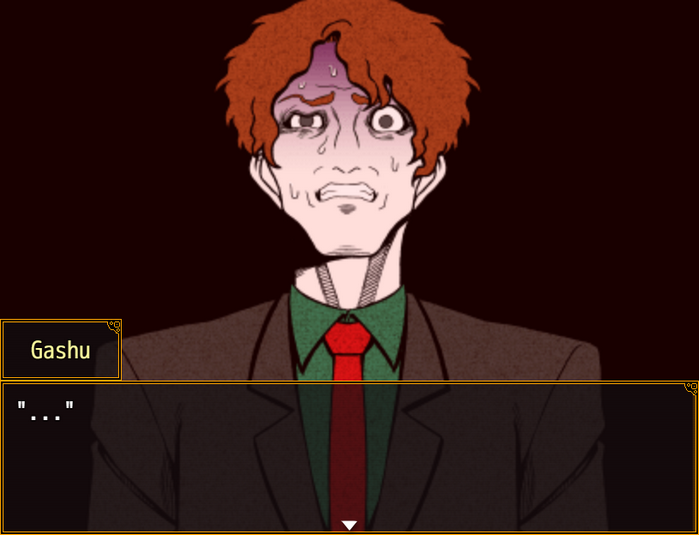
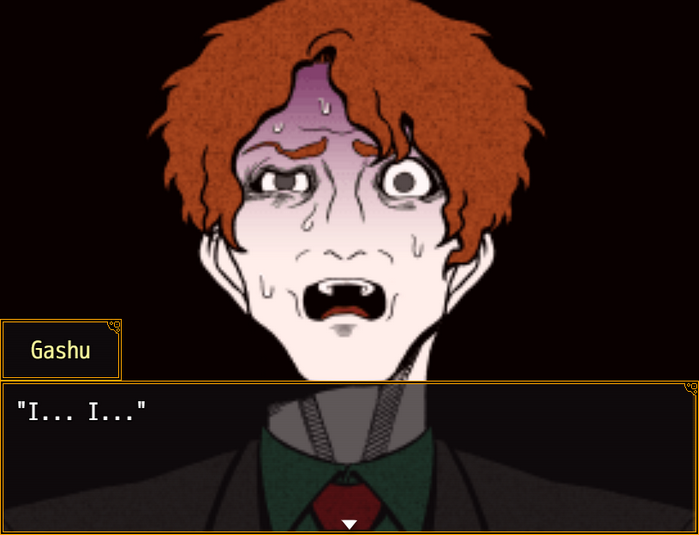
Sound of running followed by a slashing sound.
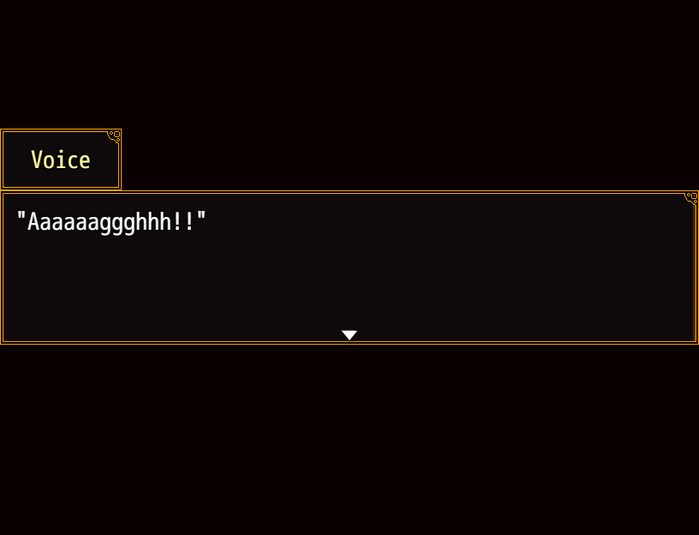

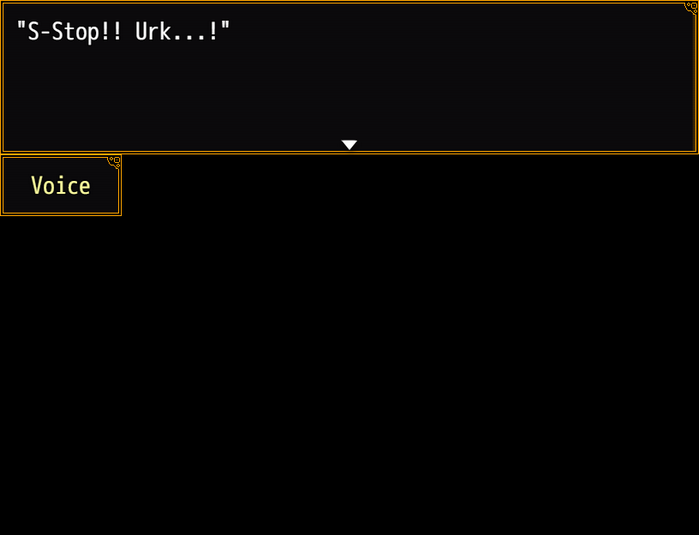
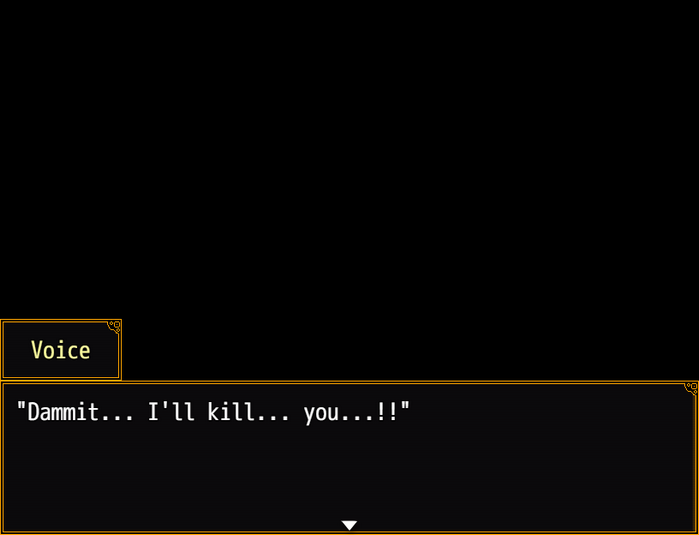
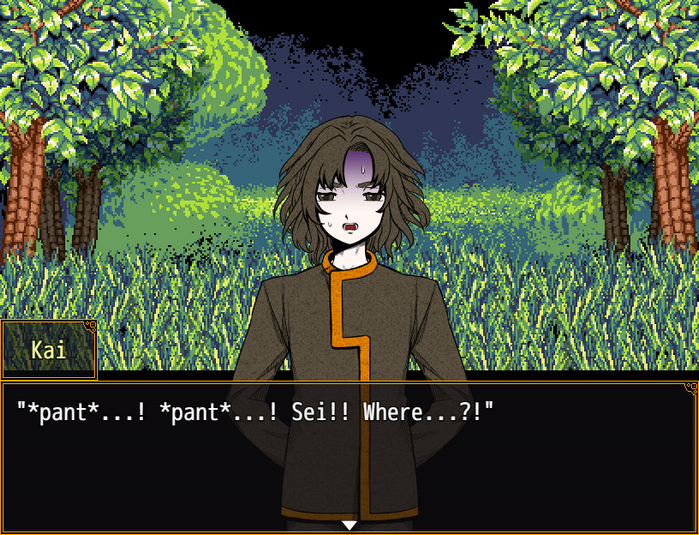
- This place looks familiar.
"...I'm here." "Thank goodness!! You're... alive...?!" "Let's run, Sei! Let's get off this island...!!" "Why?" "What do you mean, why?! You don't know?! They... they've all gone insane!!" "That one in the green clothes back there... He killed someone! The others... killed each other...!" "...I've killed two people already." "Sei...!!" "The hell, man... This ain't the time to suggest fighting together, is it?" "Idiot! Assassins don't need to murder each other like this!" "There's no reason to take part in this...!" "Then where are you gonna live?" "Where am I...?" "We were... trained to kill people."
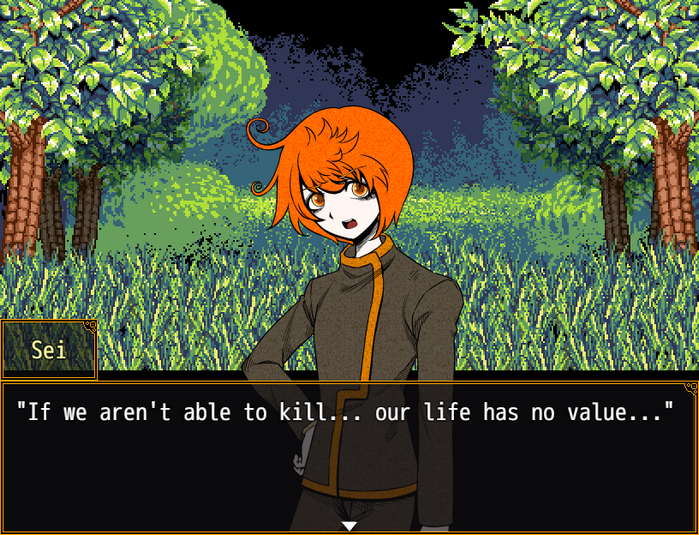 "That's..." "…"
Music stops.
"I'll kill you." "If you're that torn up over it, then I'll take you out, ya bastard." "Sei... don't spout such foolish things..." "What's the problem? You're worthless right now." "...Get ready to die."
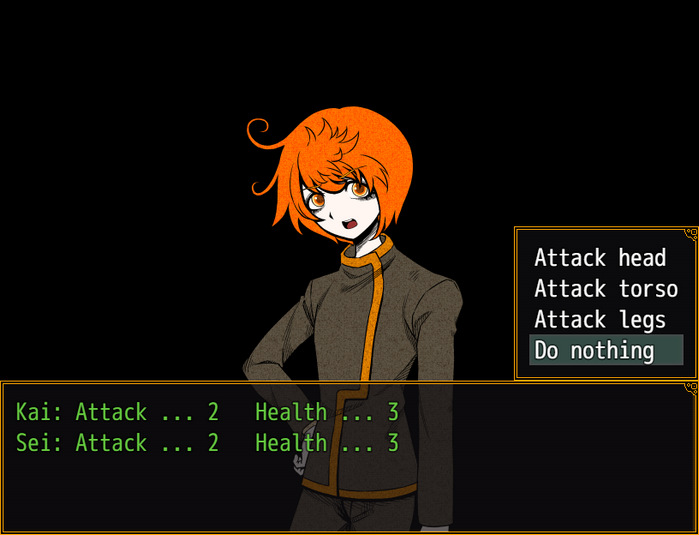
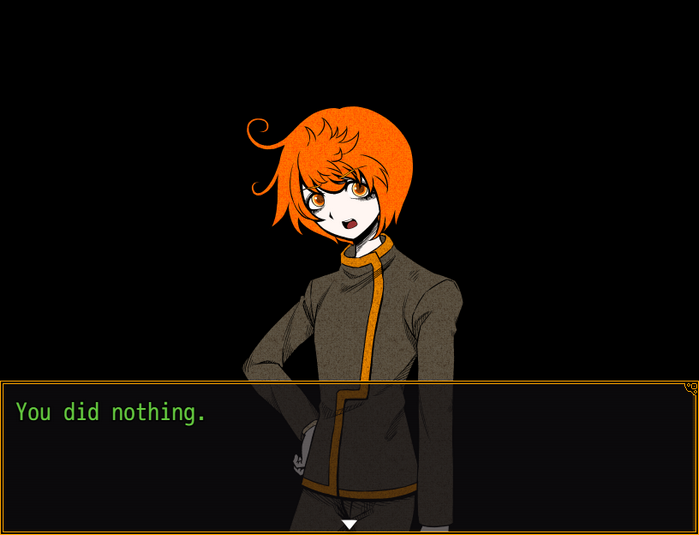 "I don't... want this..." "My turn."
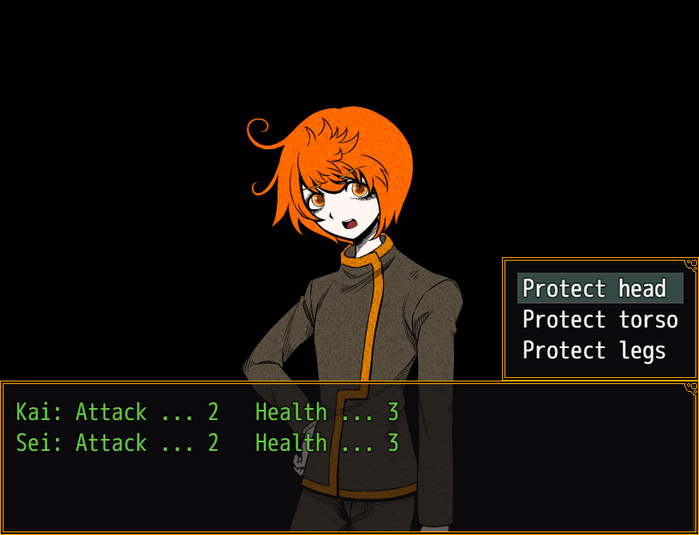
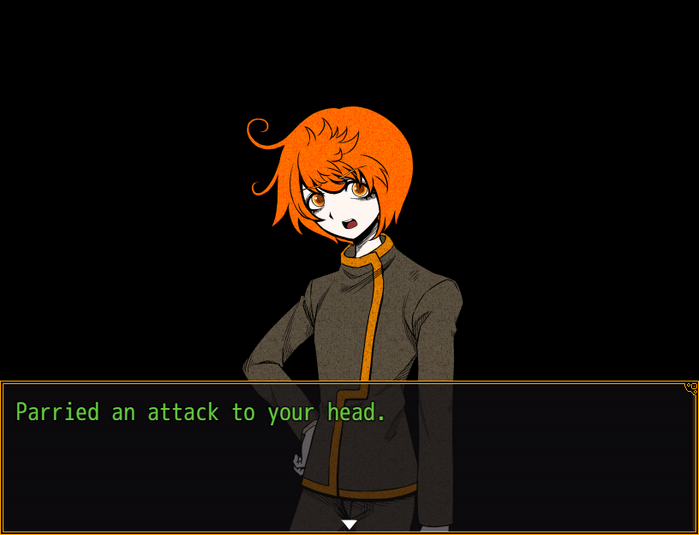
 "…"
"…"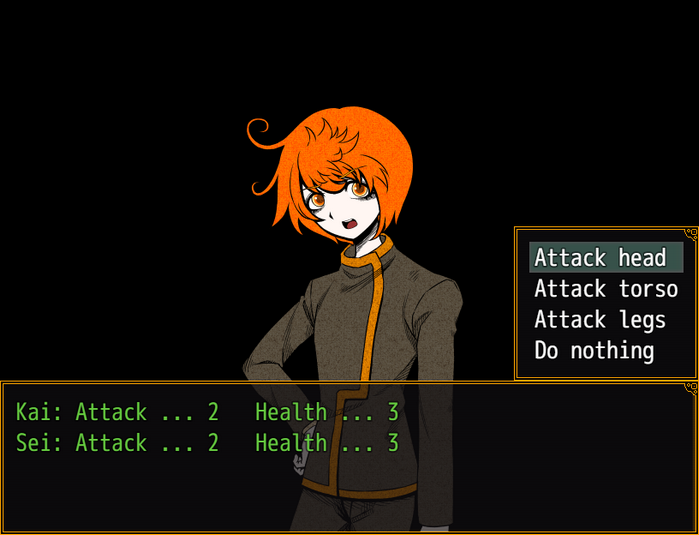
 "...!" "My turn."
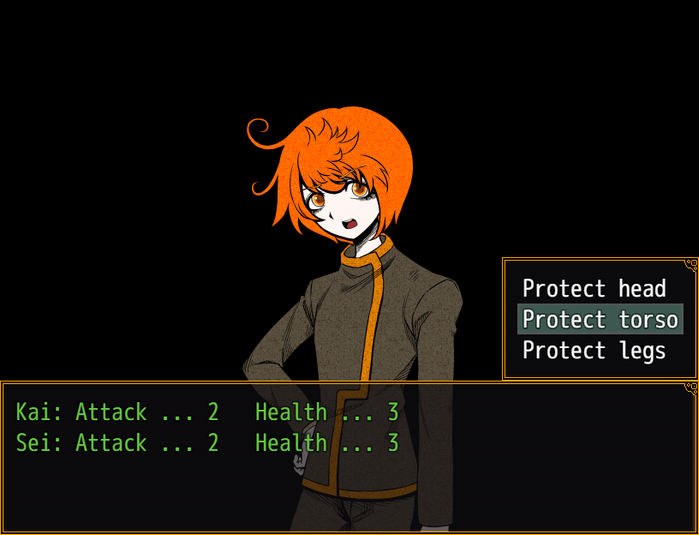

- You can't lose this battle – Sei may block some of Kai's attacks, but Kai will always block all Sei's attacks.
"…"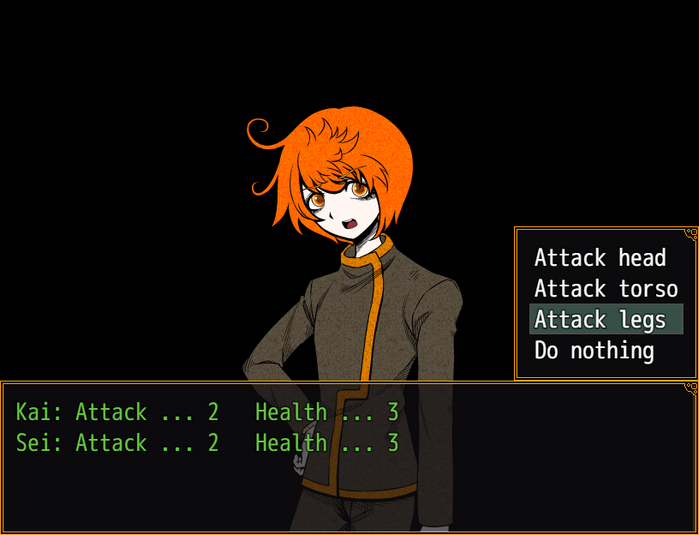
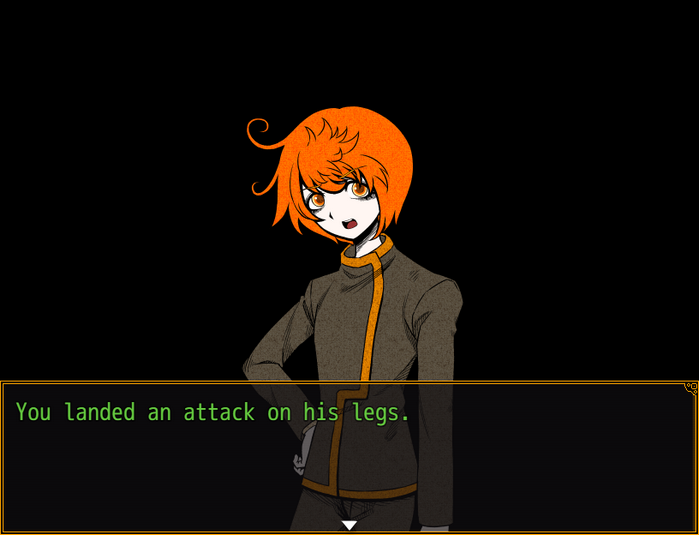 "...Urk..." "*pant*...! *pant*...!"
 "I'm not done yet...!" "Stop it already..." "I... you..." "I don't want... to kill you, Sei...!!" ".........."
 "Lately... you've always been like that.." "You... and dad, too..." "..."
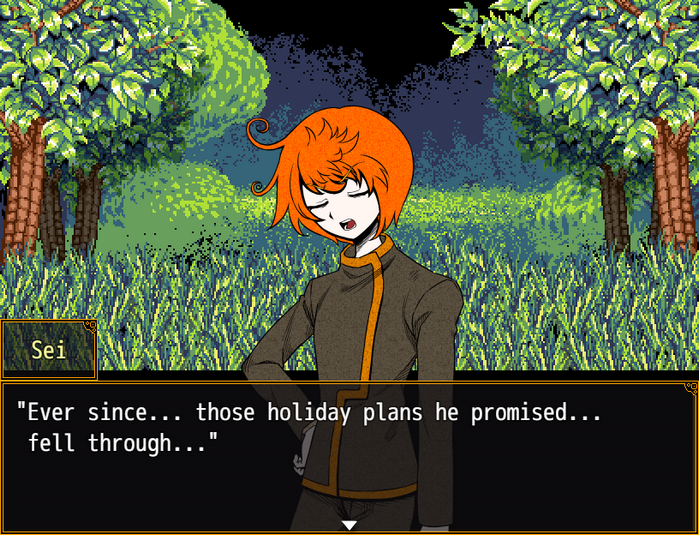 "Dad... became cold all of a sudden..." "He had us do the most hellish training..." "He stopped... treating us like humans." "Even though, not too long ago... he was the kinda guy to give us cake..." "..."
 "Please... don't speak ill of Father...!" "He simply... imposed a higher level of training on us, that's all..." "That's wrong..." "He started... earnestly teaching you alone...!" "...?!" "We were doing... the same training! But..." "It was different... it definitely was! When he was teaching you... dad... dad...!!" "That's not...!" "Well, fine! So that's why...! That's why I can't beat you anymore, Kai!" "But in talent... in effort..." "I'm not inferior to you, Kai! I haven't been bested!!" "Sei...!" "Stop... stop looking down on me...!!" "Don't you dare go easy on me!!"
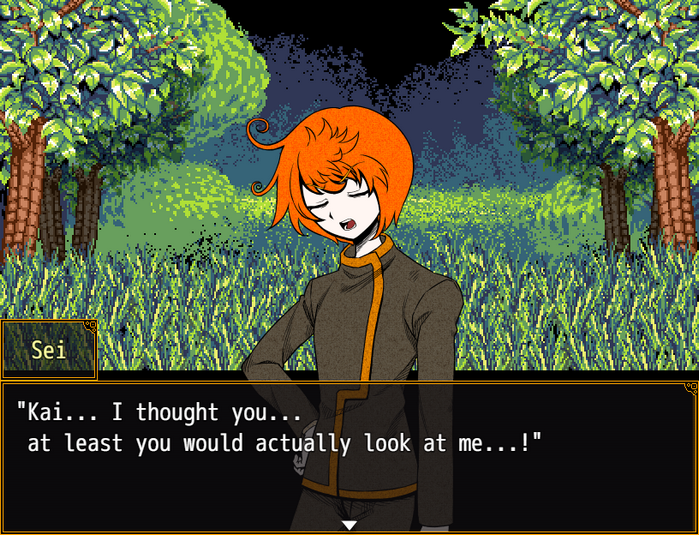 "..." "Take this seriously... I... I don't really..." "My life... doesn't matter..." "..." "...?!" "Sei! Watch out...! Sei...!!"
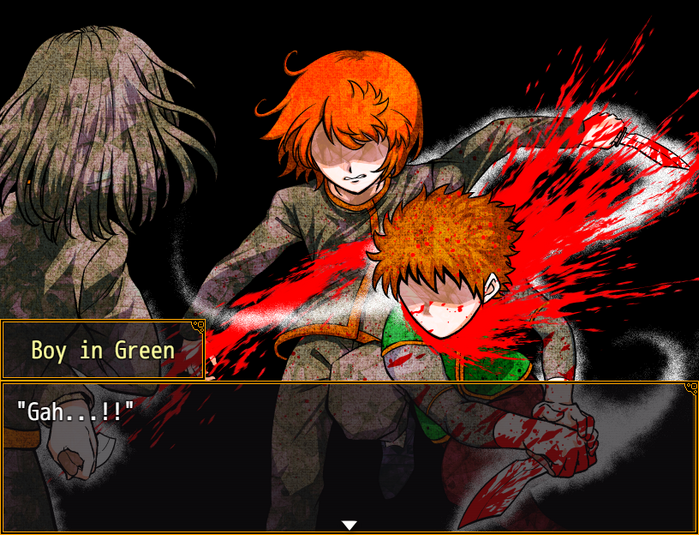
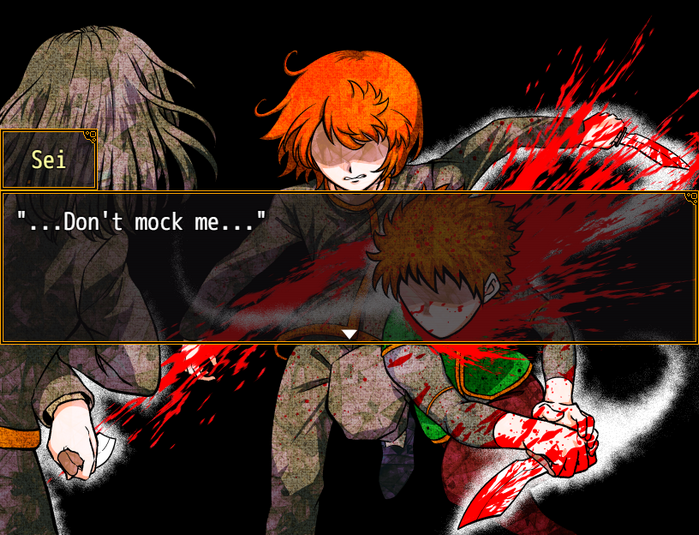
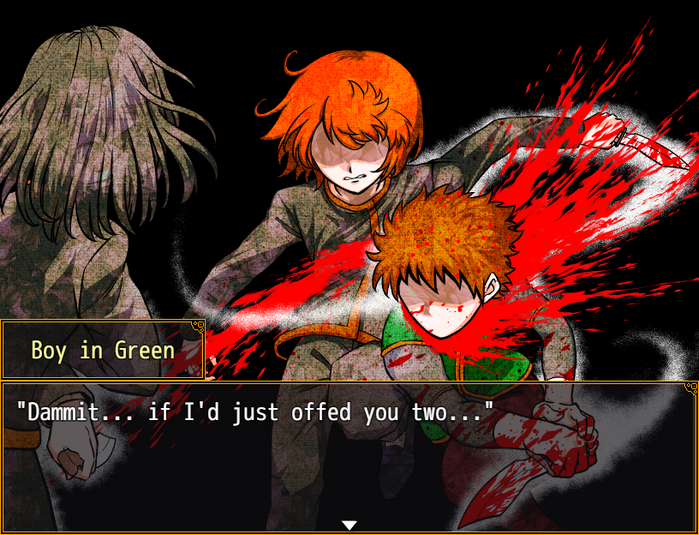


Music stops.
"Sei...! Sei!!" "Gah...! Ugh... hh..." (No!! A wound like this is...! Ahhh...!) "..." "Ahh, man..." "I always... thought it'd end up like this..."
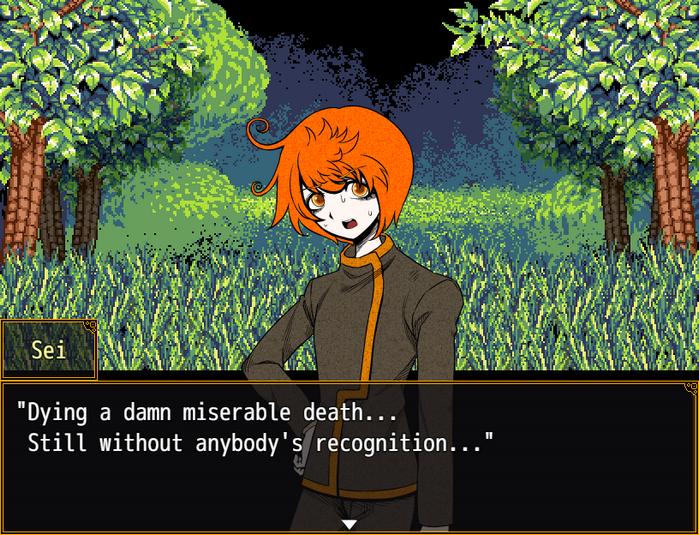 "Still inferior... to you..."
 "Don't speak! I'll... I'll find a way to treat this!" "Hey... Kai...”
Music stops.
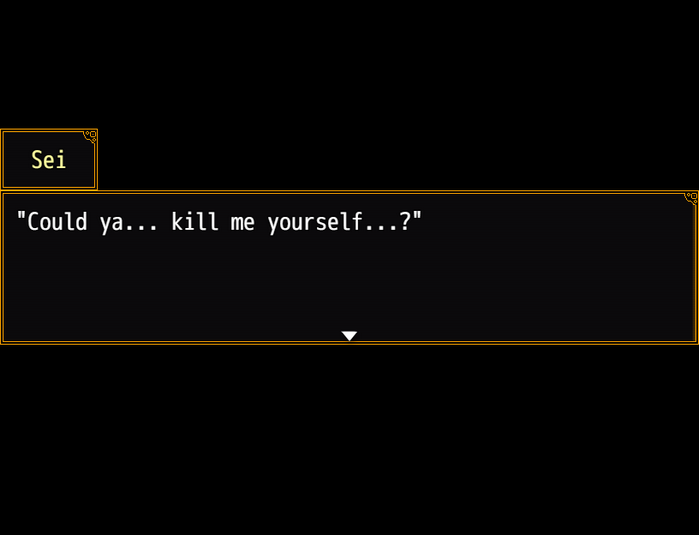 "...?!" "Just... kinda... feels like..."
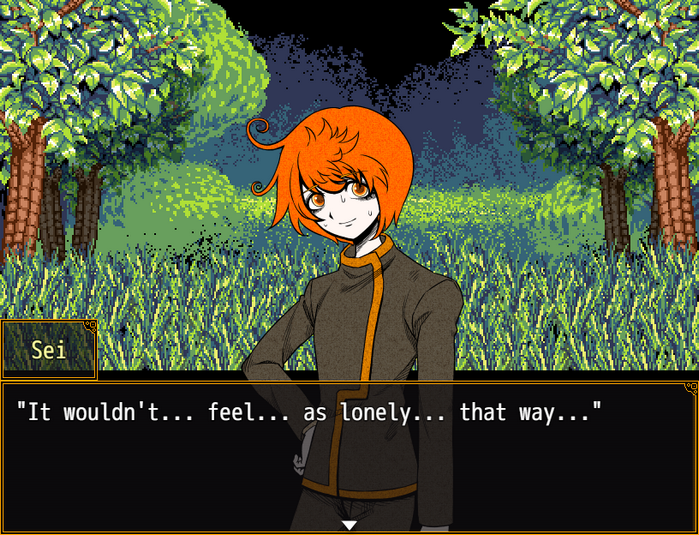
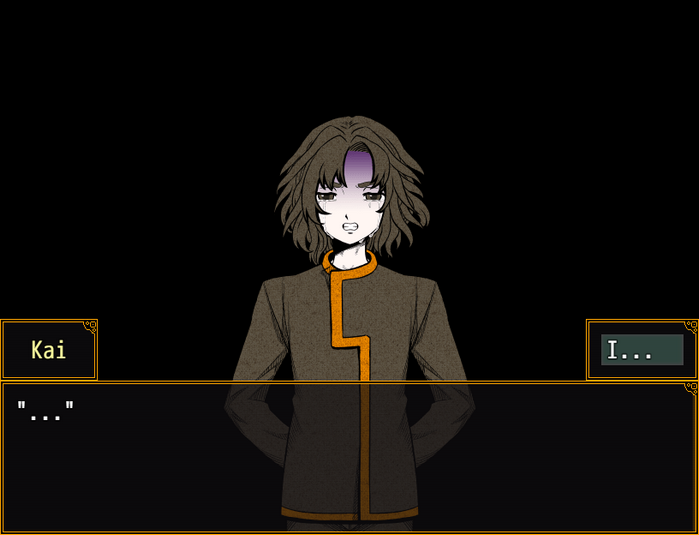

 "Huh...?" "..." "…Kai... Am I really... gonna die...?”
 “I'm scared... It's scary... Kai... Ka... i..."
Music stops.
 "With this... you will be able to conduct a duty that is close to God indeed. How does it feel, having served your God?"
 "...You're happy, aren't you?"
 "..........Yes... This is... the will... of God......I......have done... the right thing..." "...Exactly. You have done well. Believe..." "...Yes... My heart... is with Asunaro..."
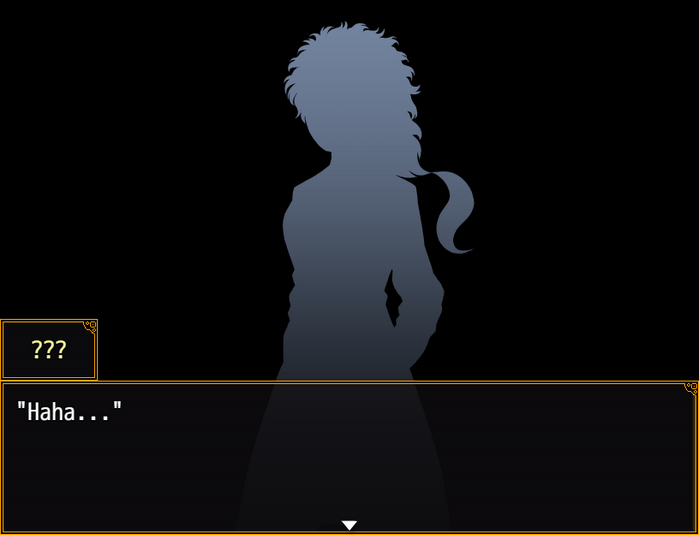
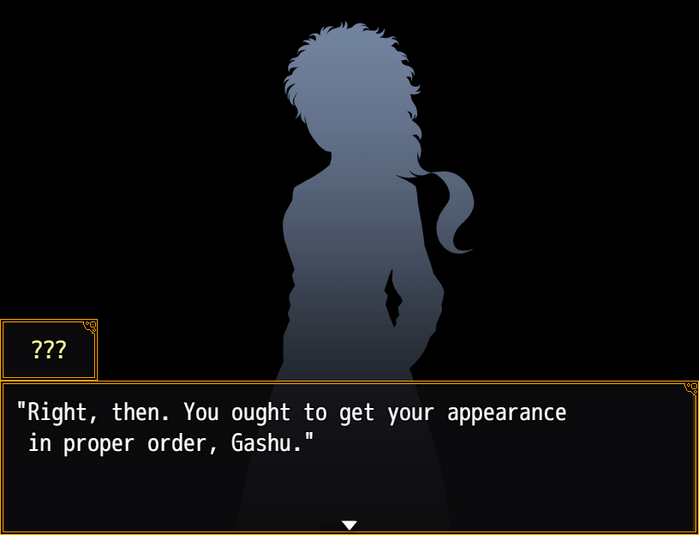

 "Obey the organization, and be honored to devote yourself to it."
 "Your life exists for the organization."
 "I understand." "All right, Kai..." "I shall present you your first duty."
 "As hard as I tried... I kept remembering the sight of Sei's death."
 "...I see." "A coward and a weakling... That is what I am."
 "If I had been aware of my own foolishness from the beginning..." "Perhaps such tragedy would not have unfolded... nor would I have aimed to be a first-class killer." "...That's wrong."
 "Sei protected you.” “So you didn't have to stain your hands with blood..."
 "...!"
 "It's the reason you're here now, being so kind." "..." ".........."
 "That's... true, yes." ".........." "Well... Sara's gonna be coming home soon." "Oh my. I shall hurry to make dinner, then." "Yep, please do." "..." "Thanks for talking to me, Kai." "..."