Update 13, Miner 4 4 5'er
Got my next Persona 3 video rendering at this very moment, so why not work on another LP while that's going?
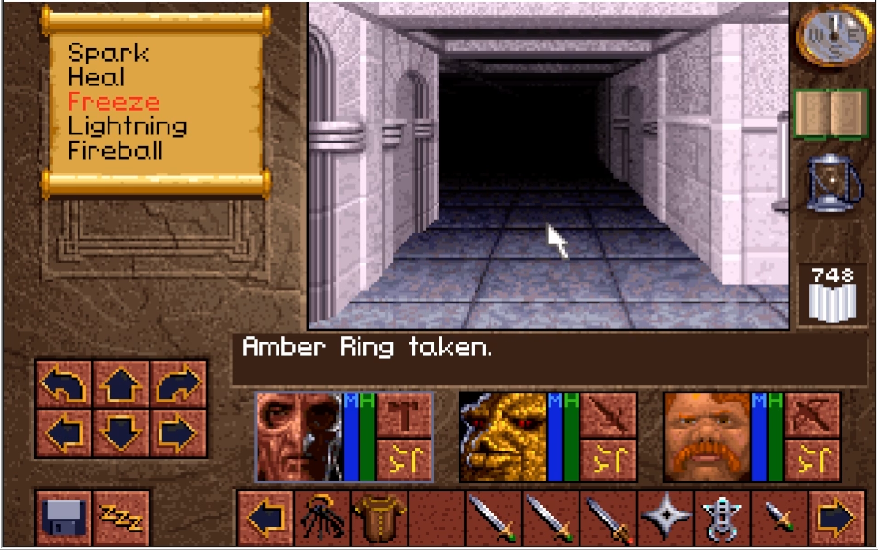
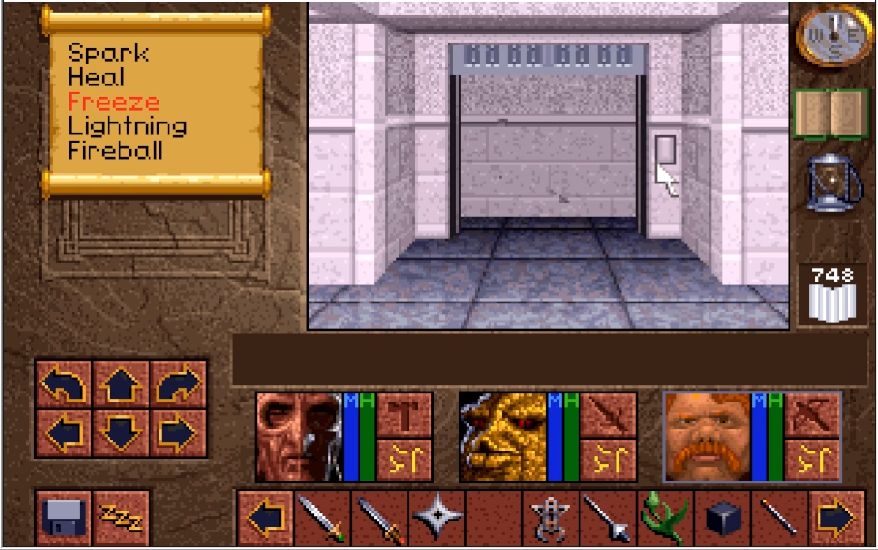
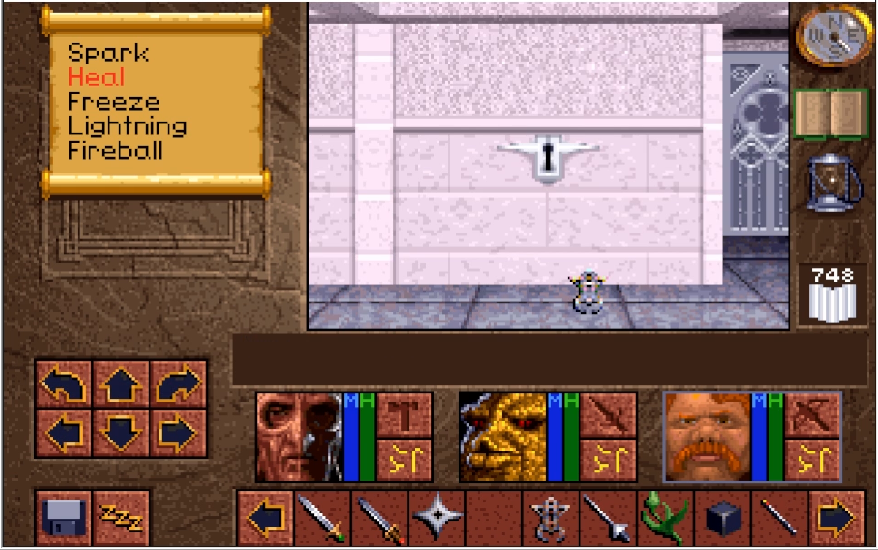
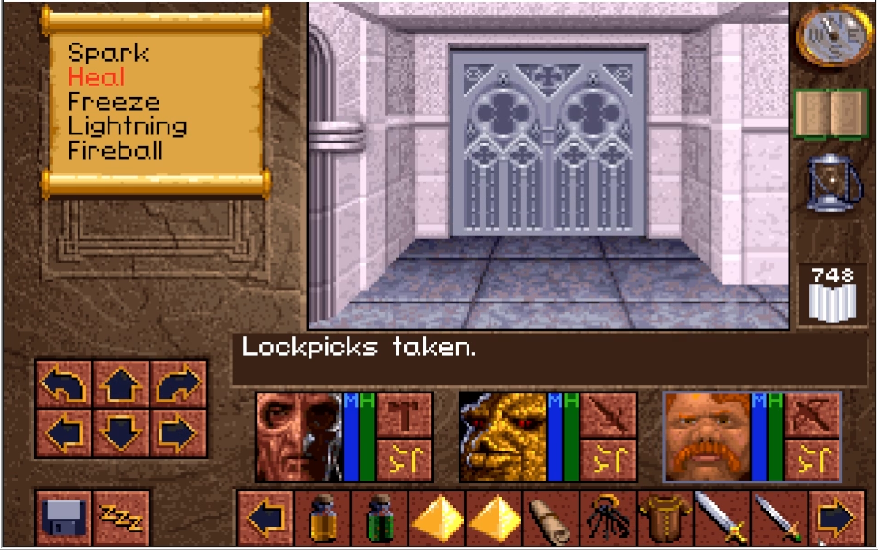
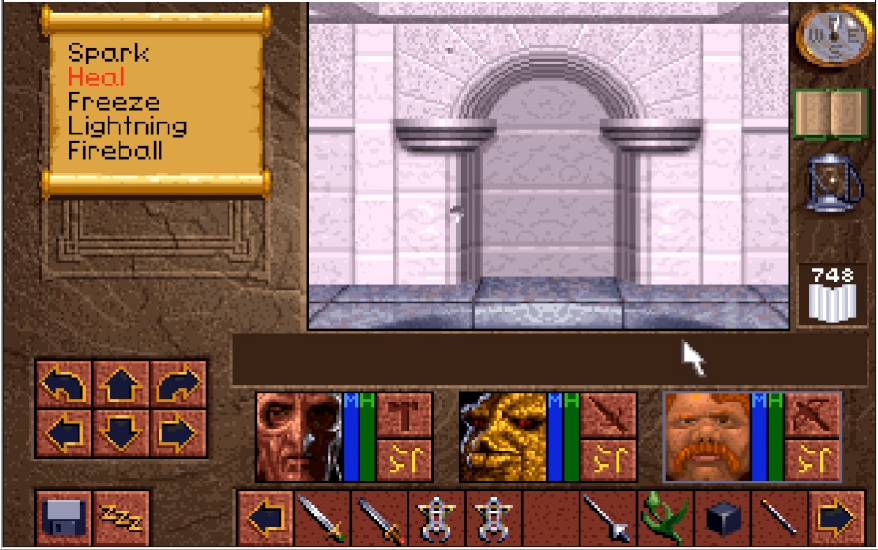
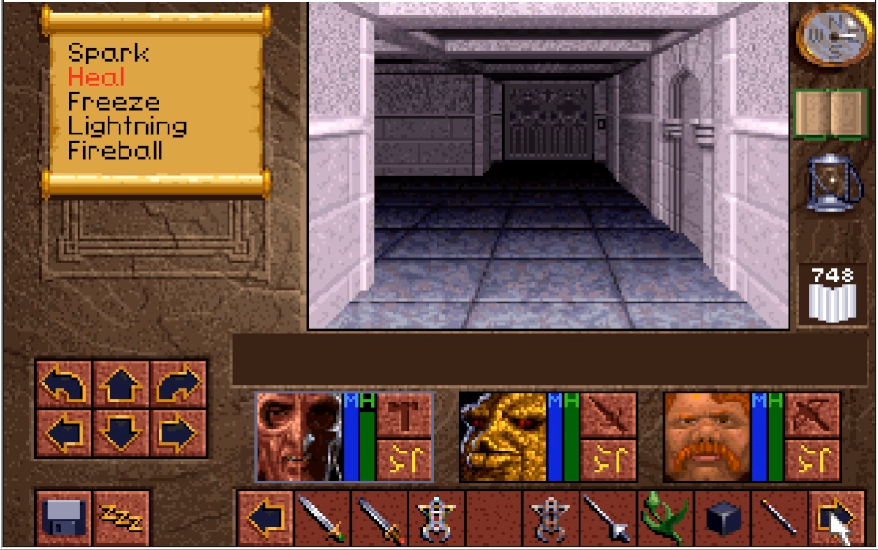
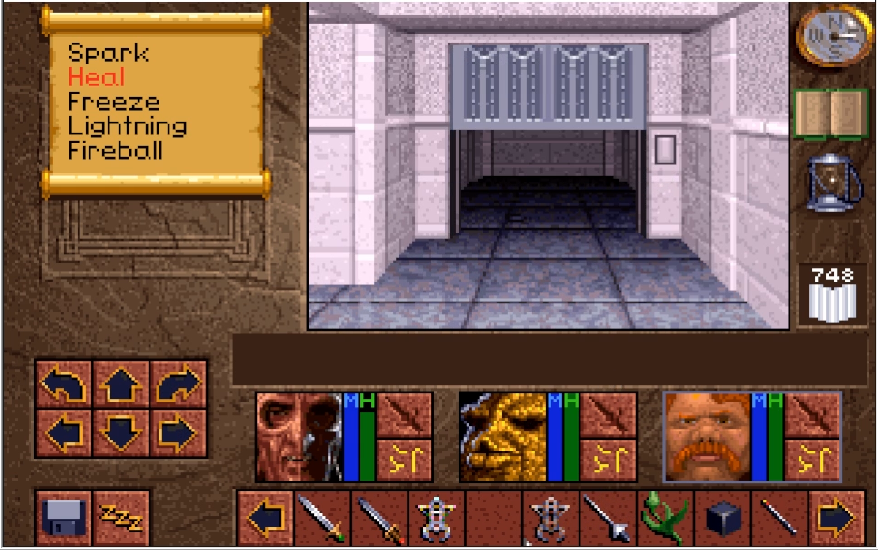
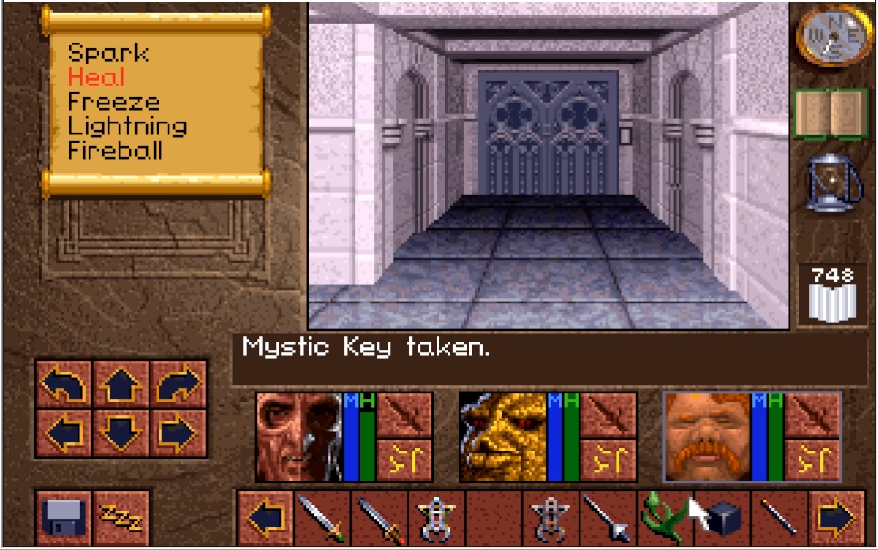
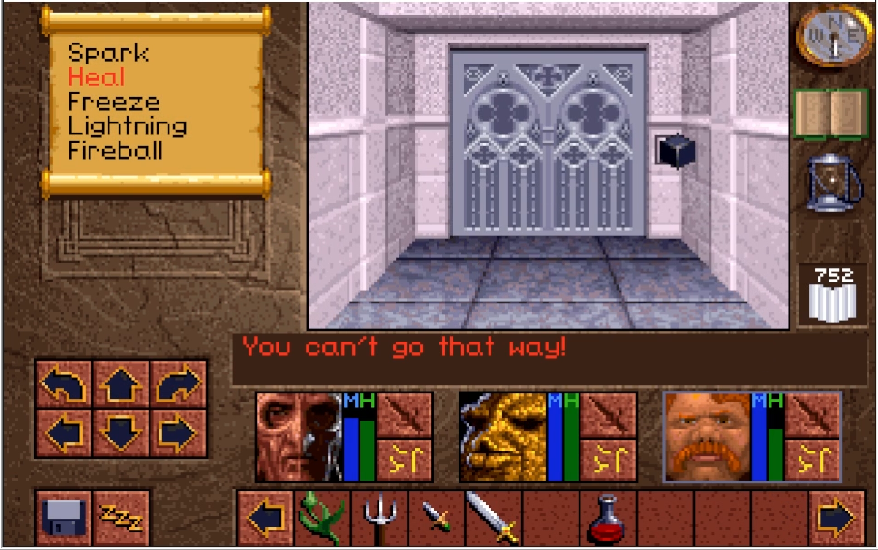
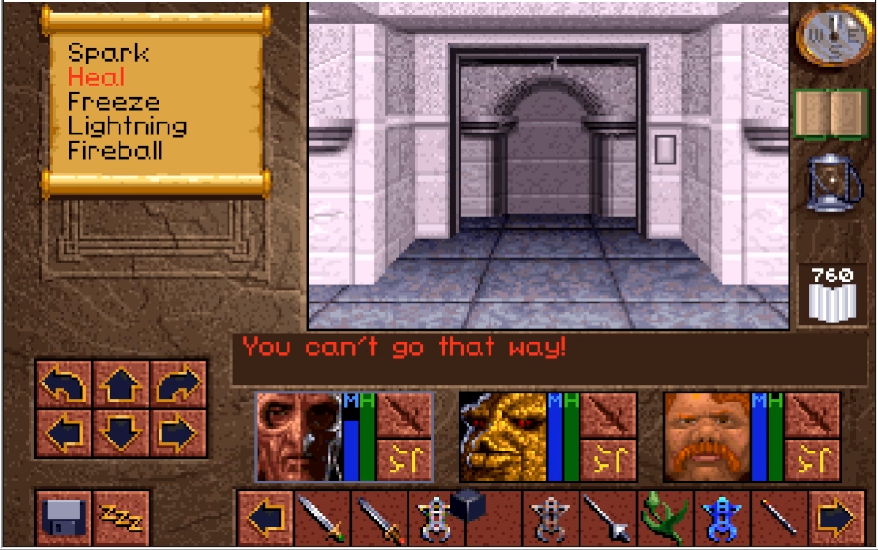
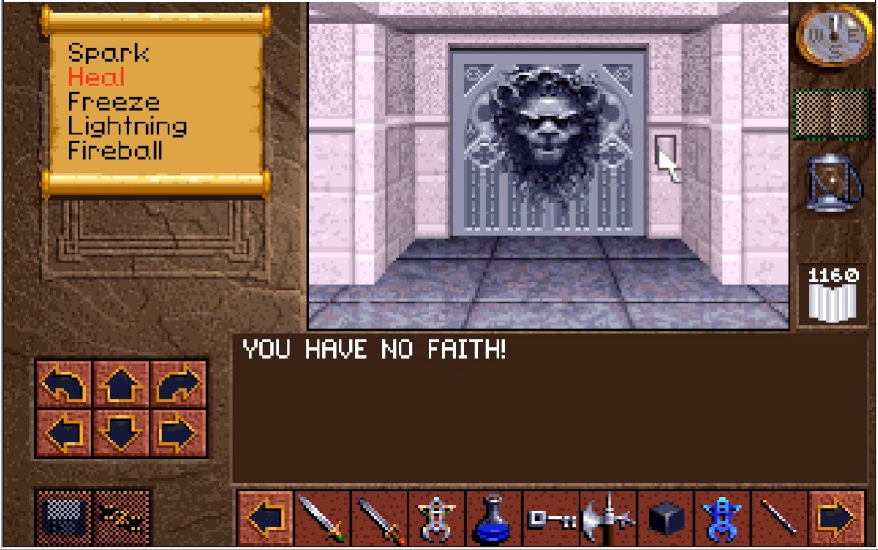
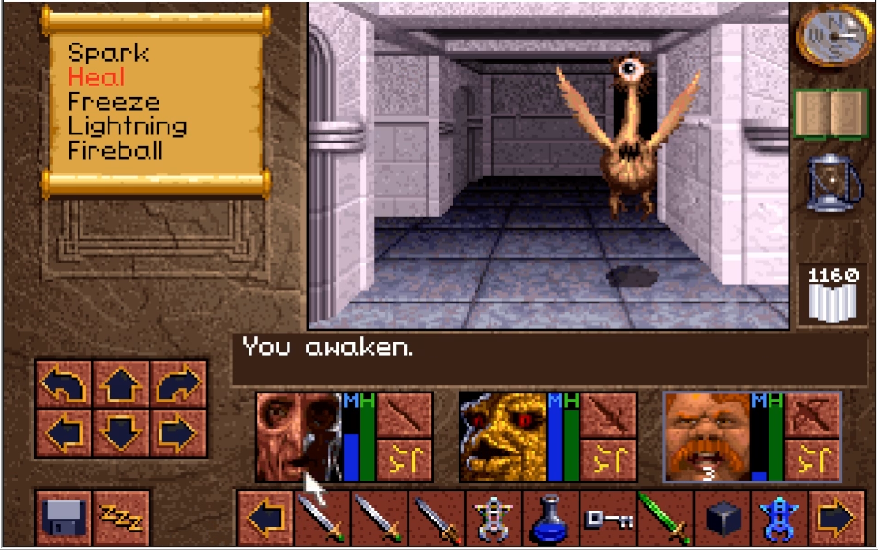
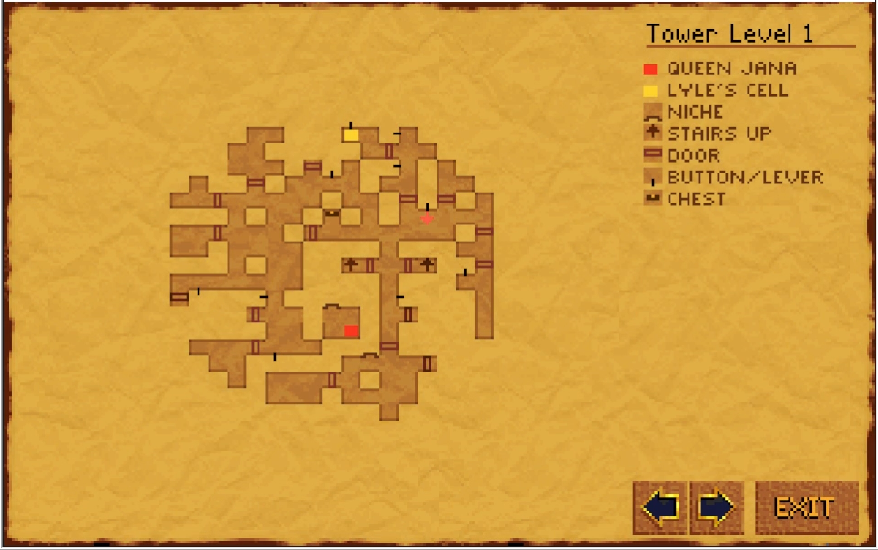
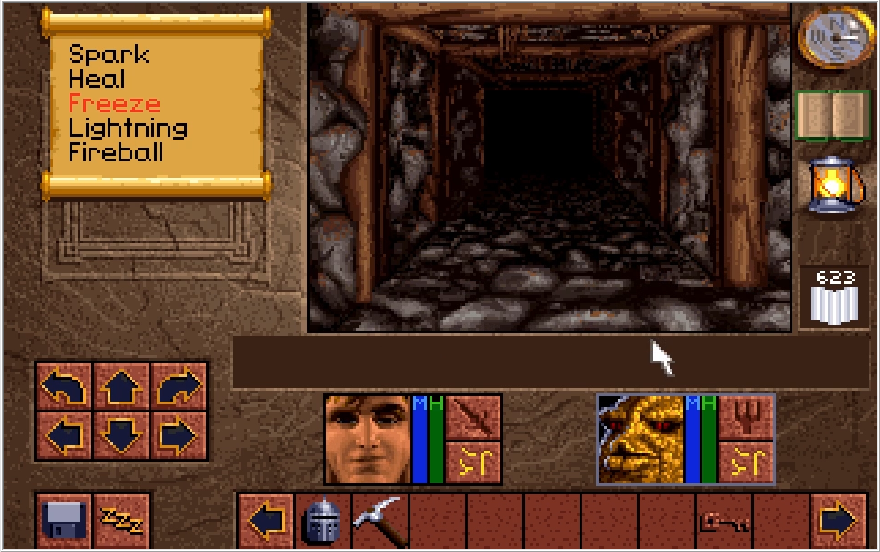
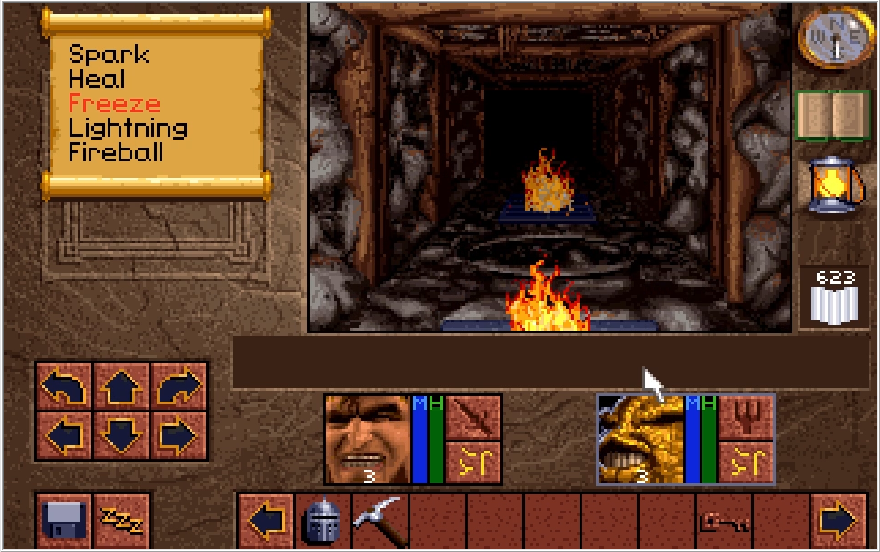
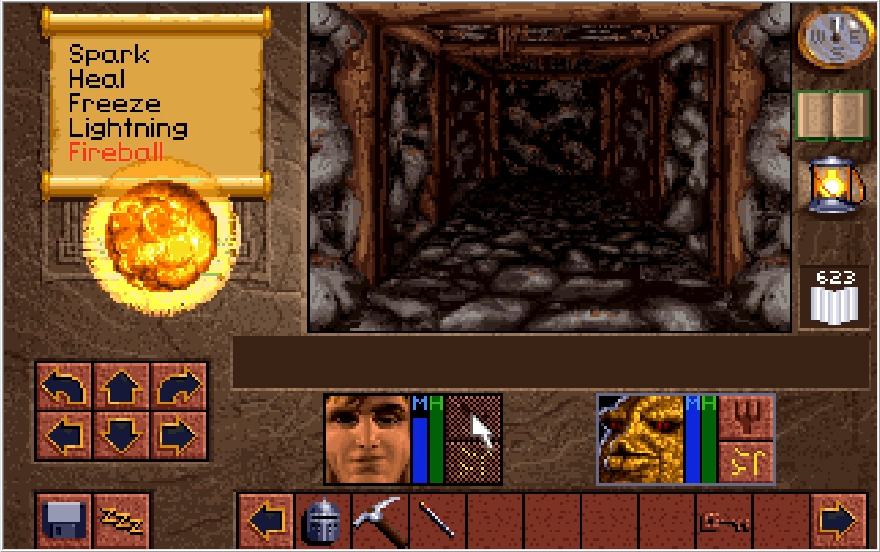
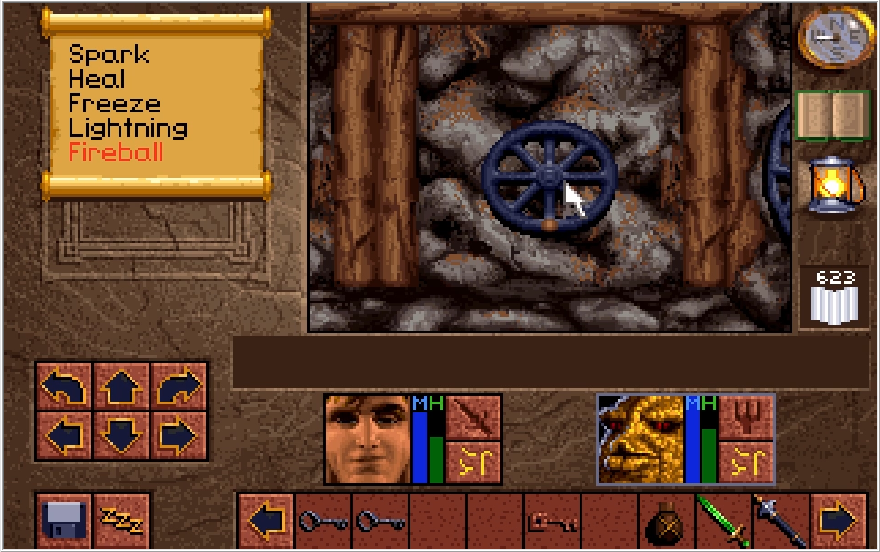
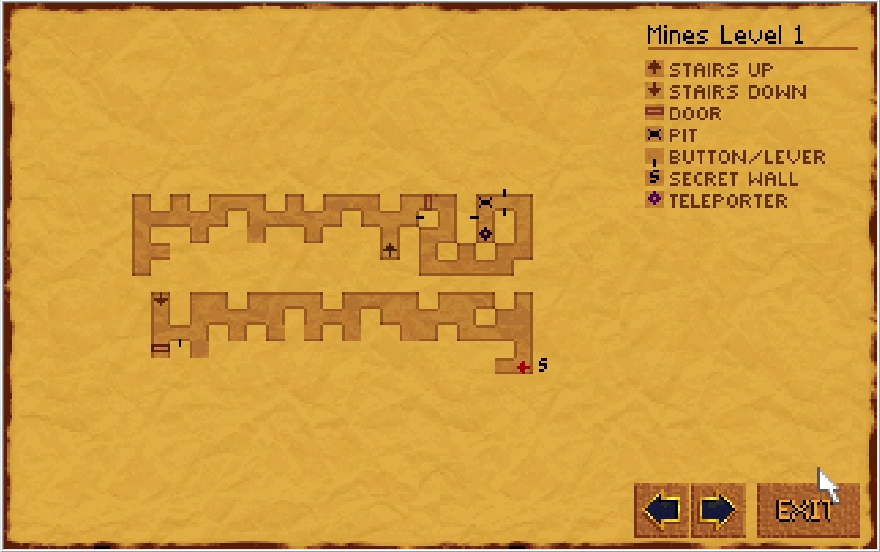
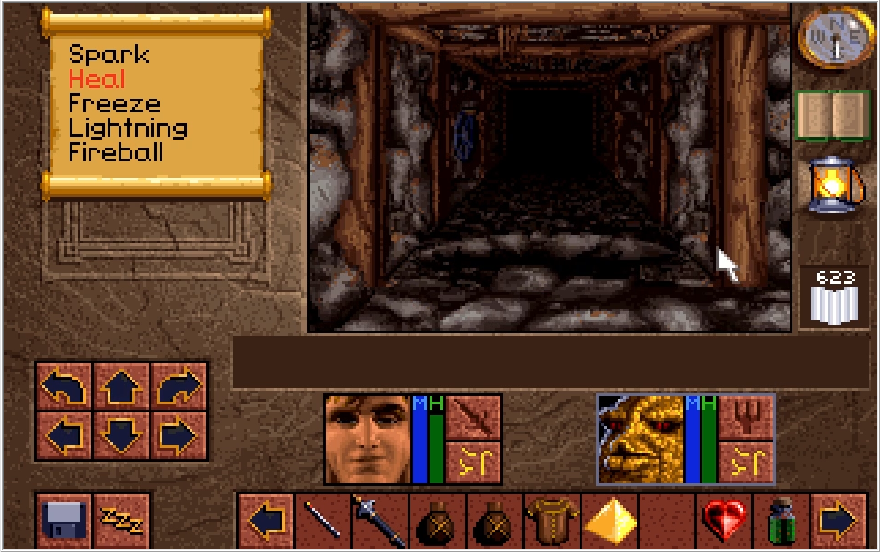
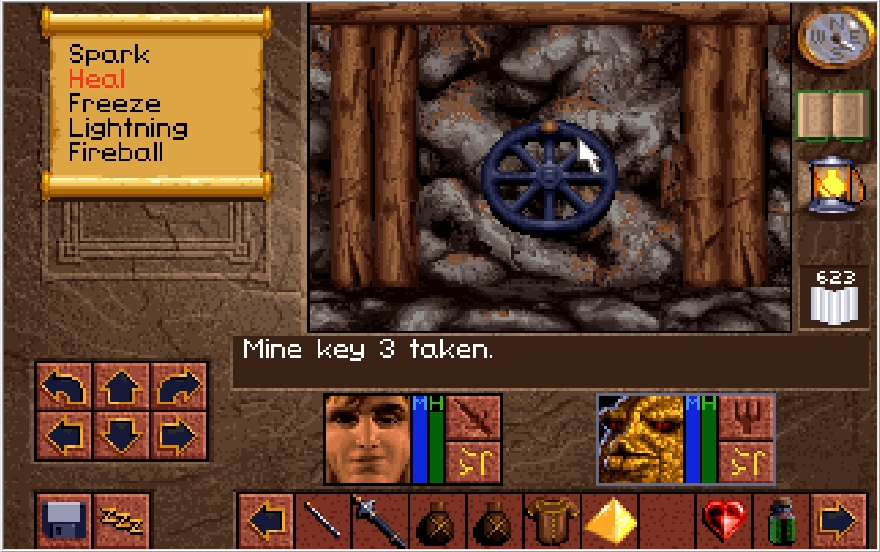
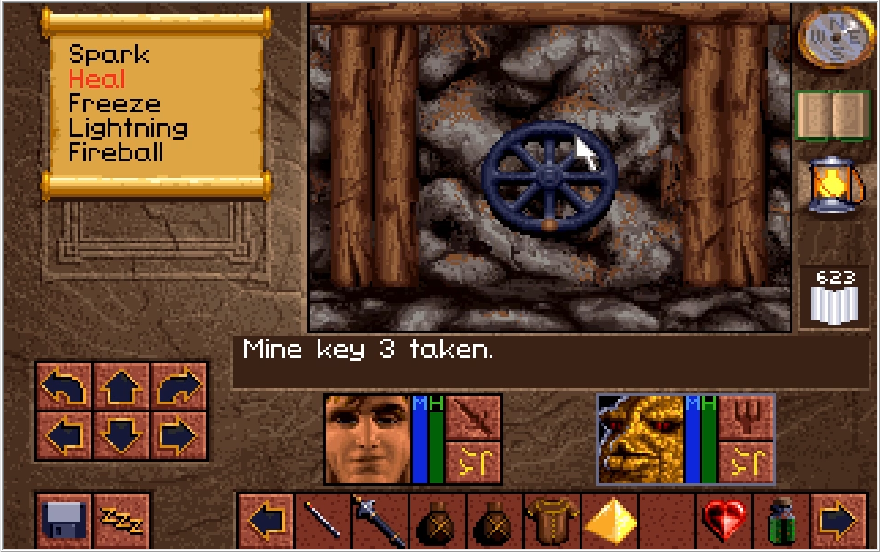
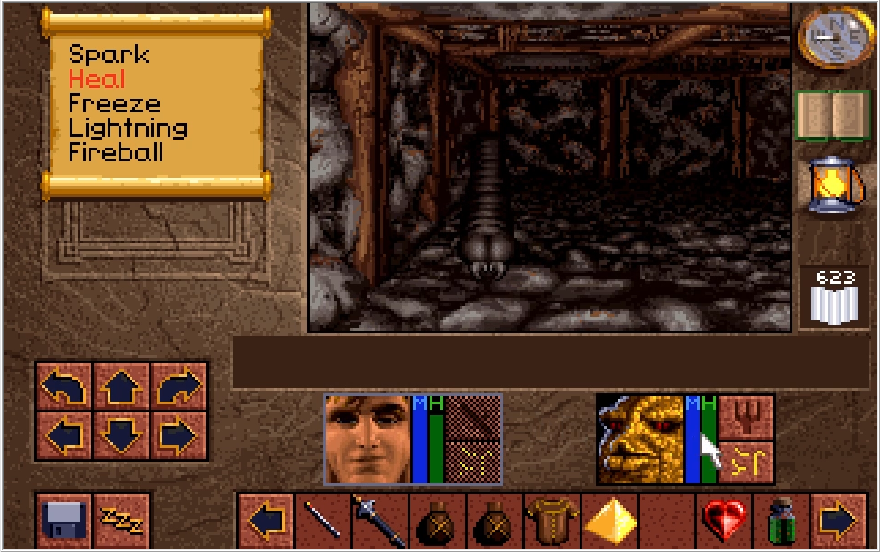
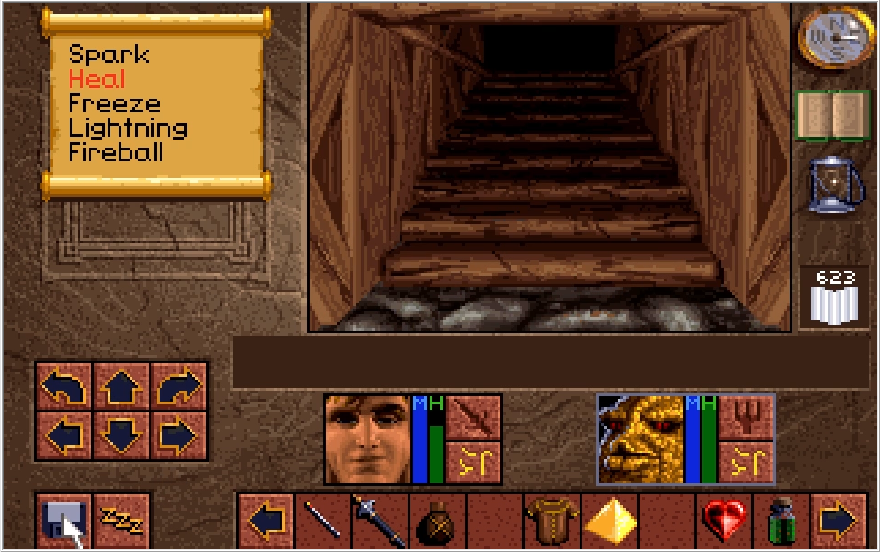
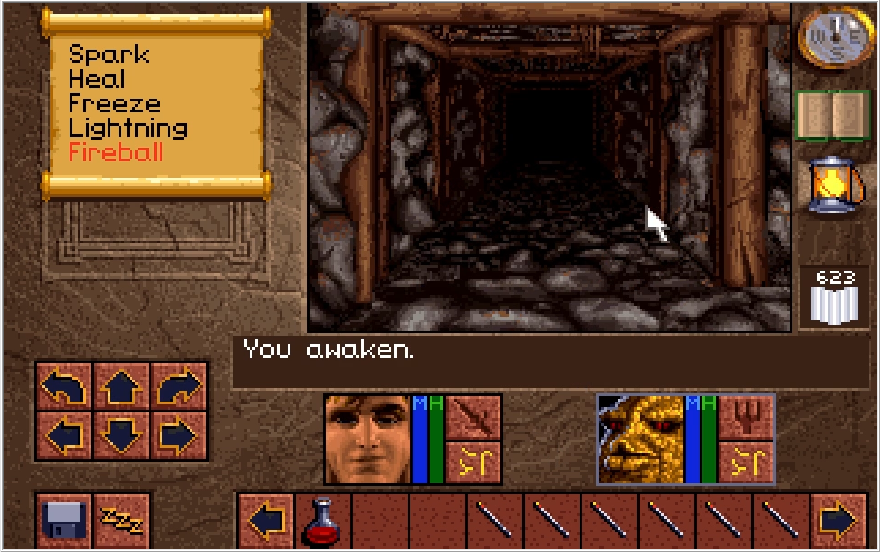
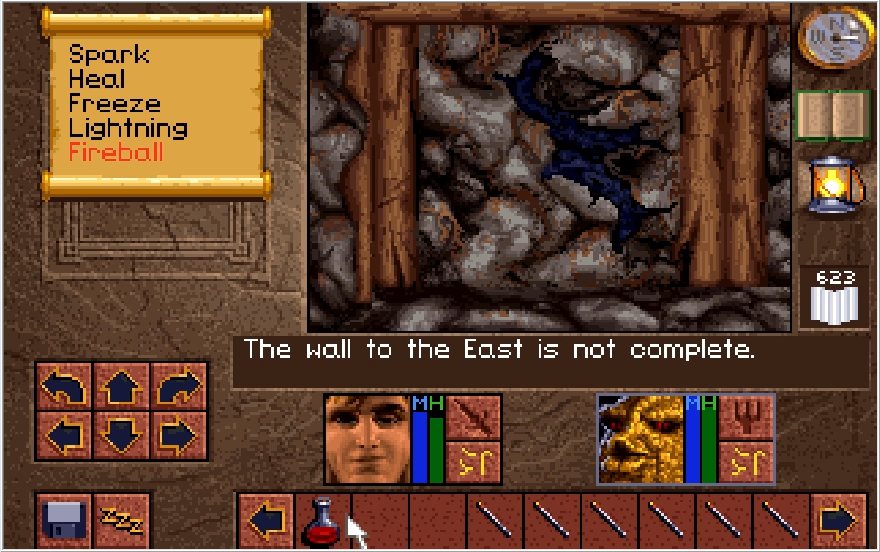
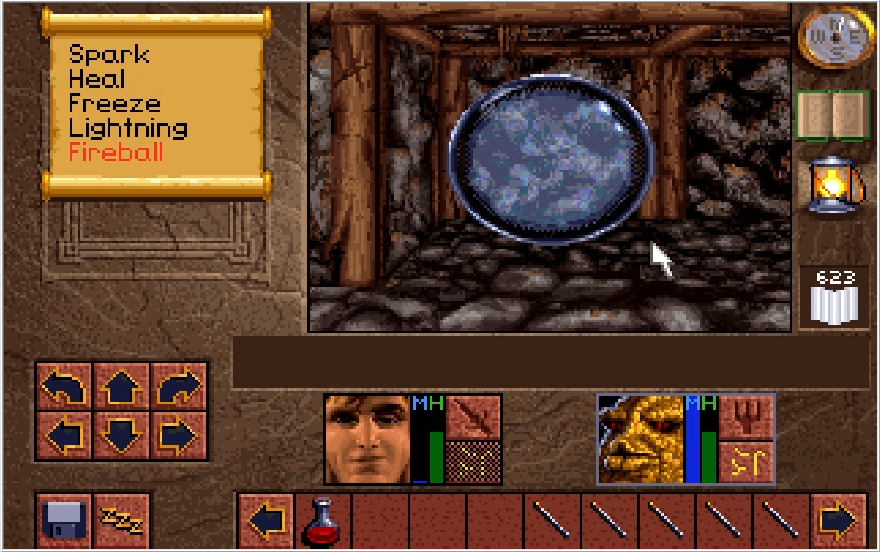
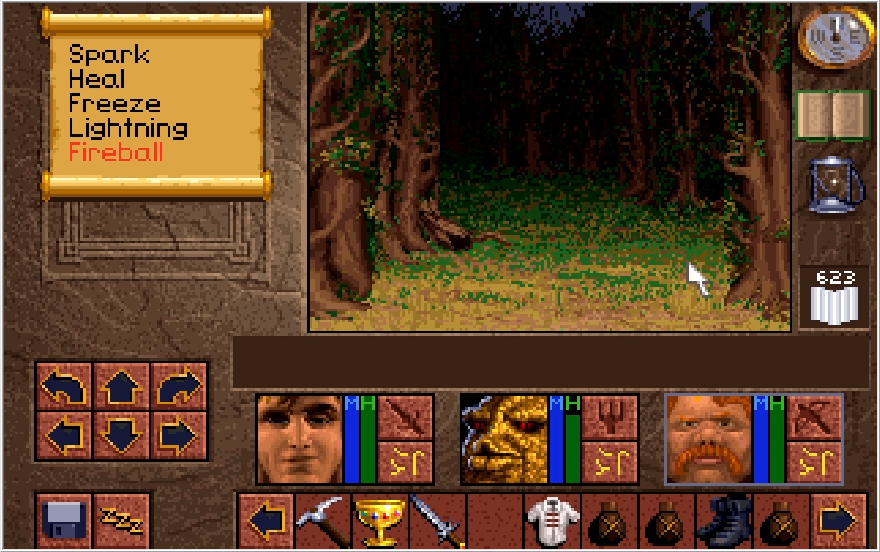
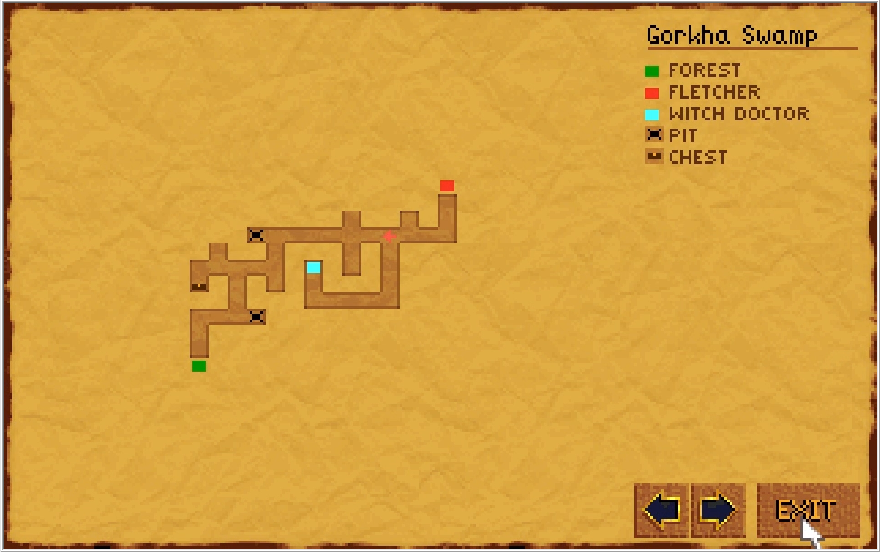
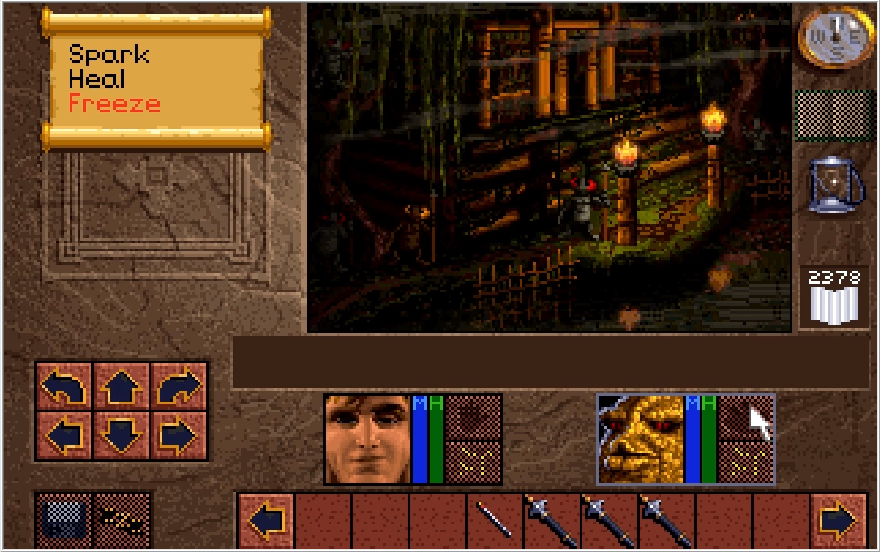
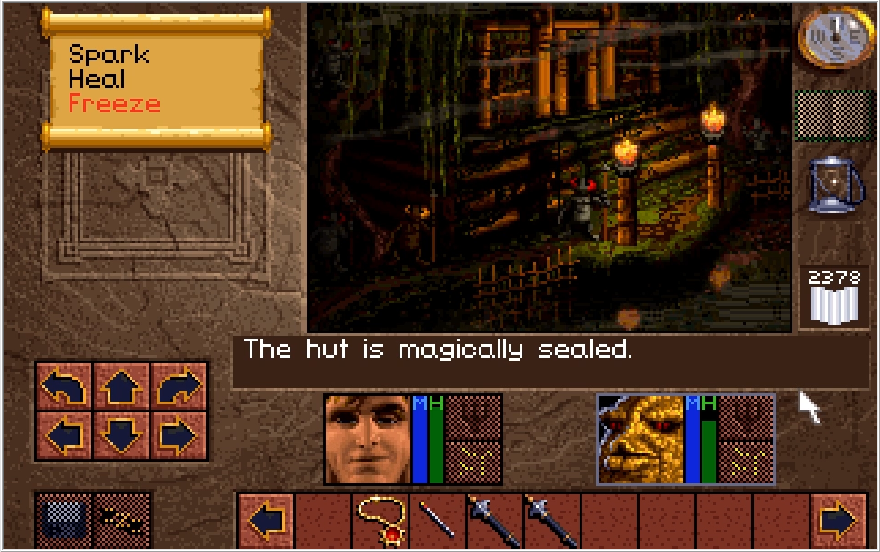
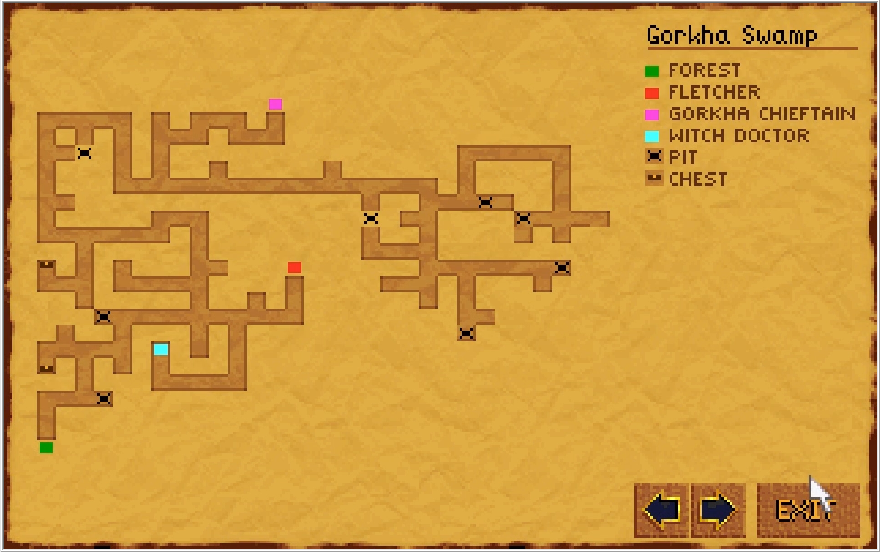
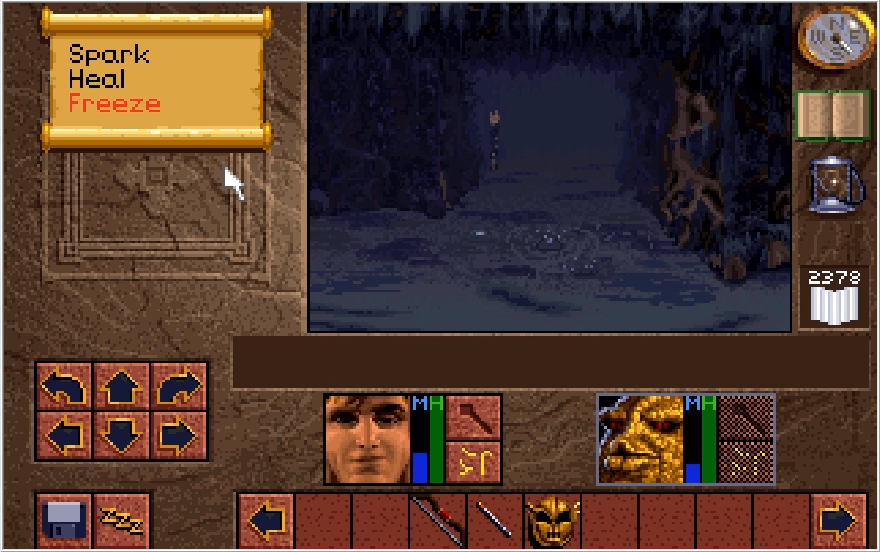
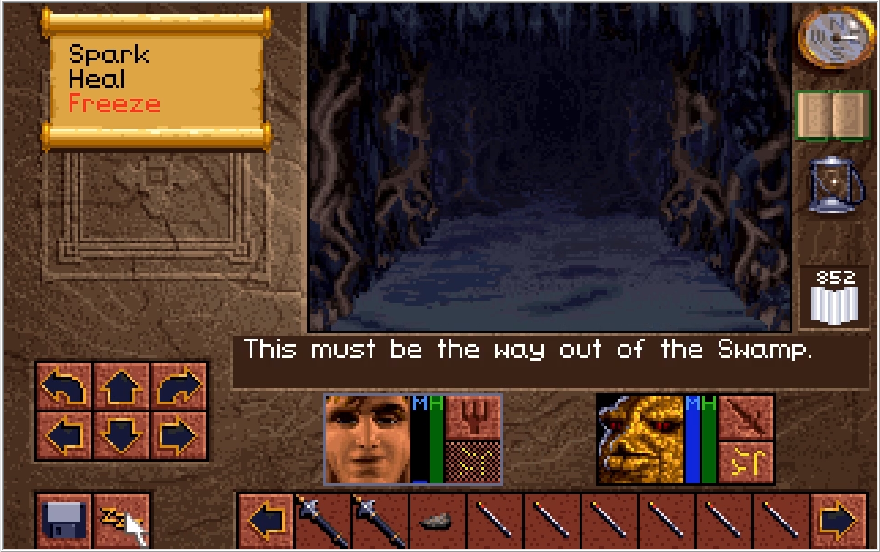
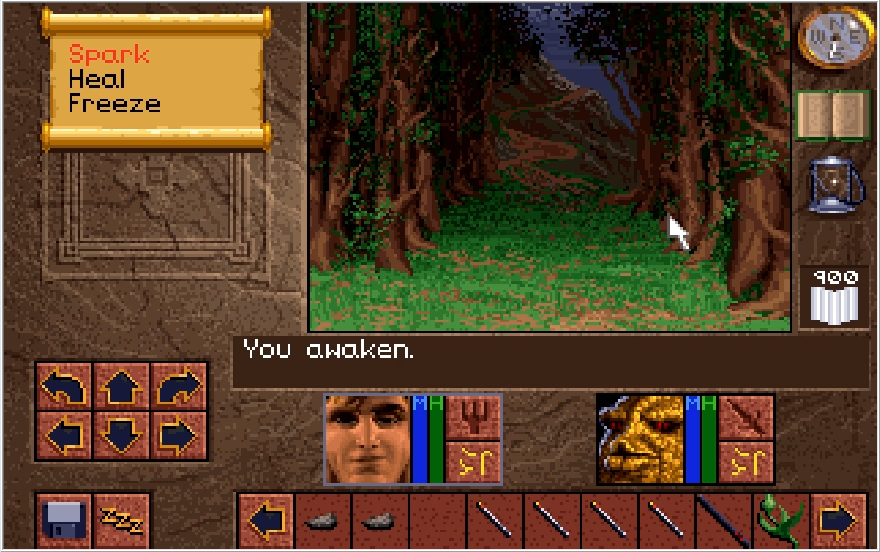
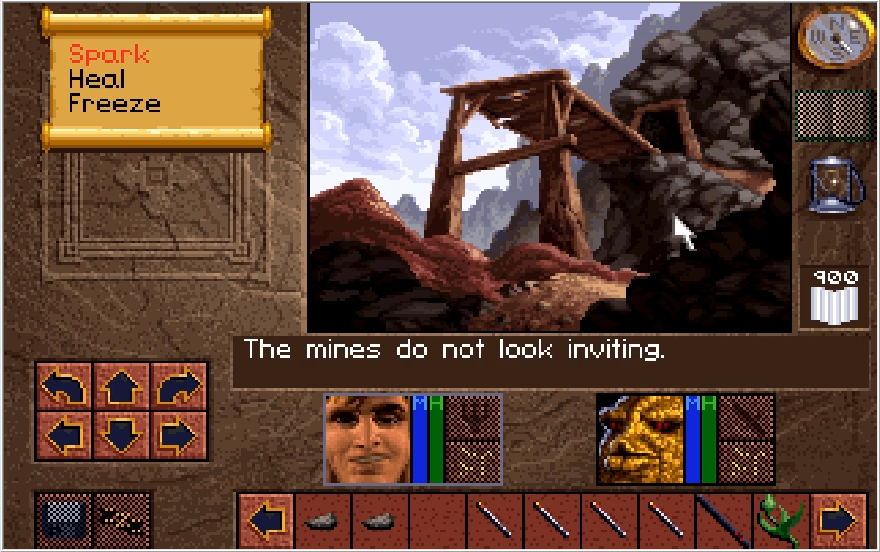
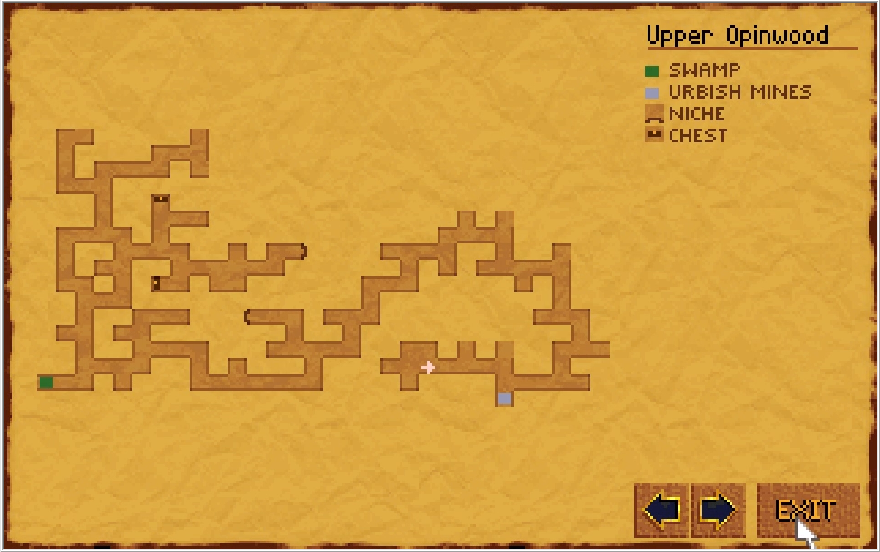
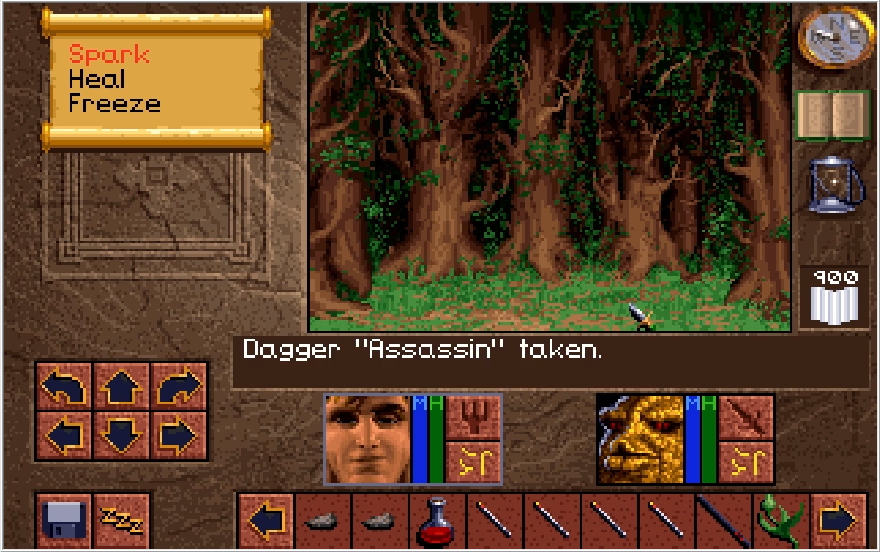
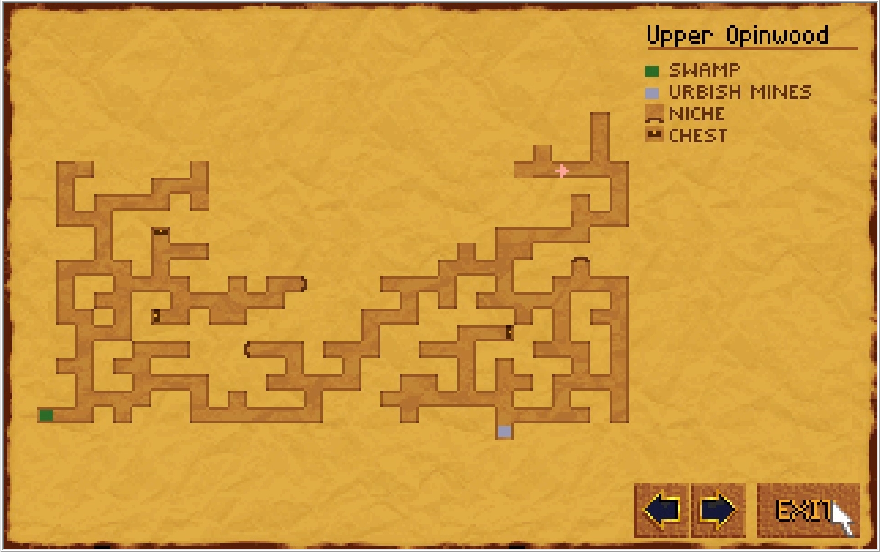
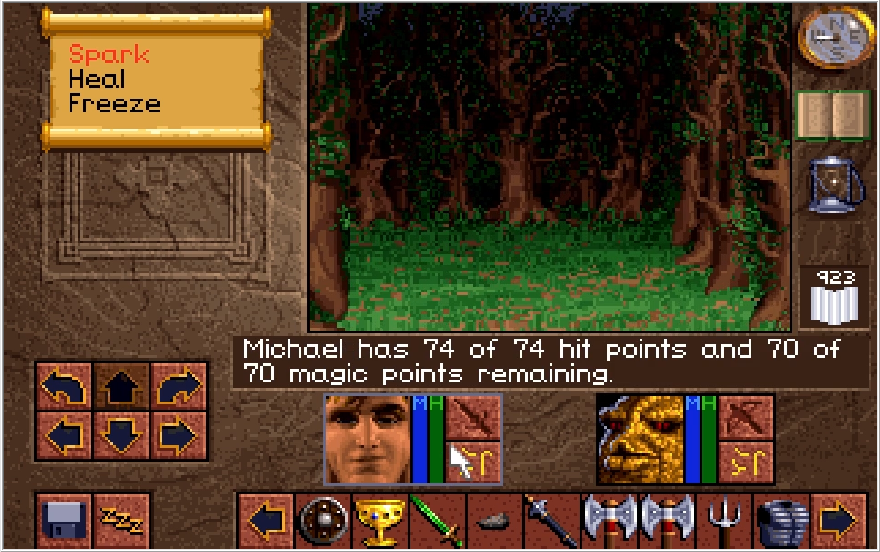
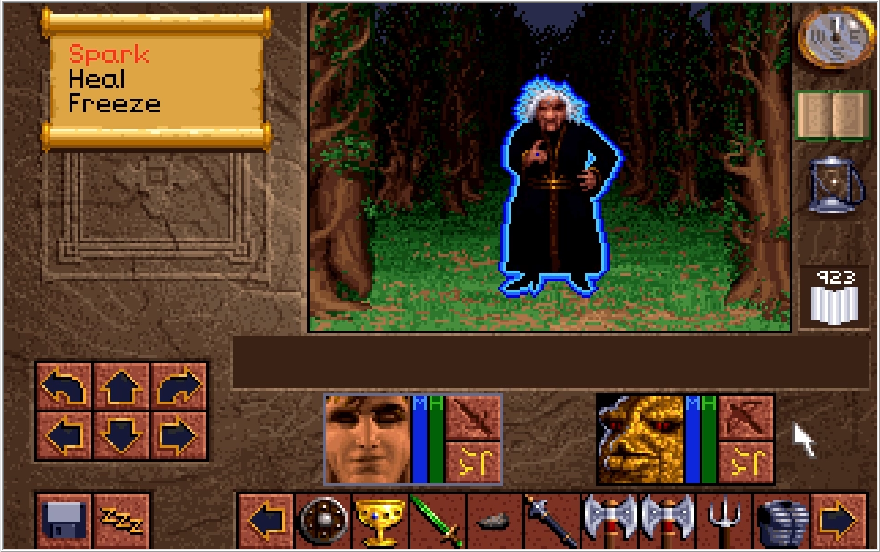
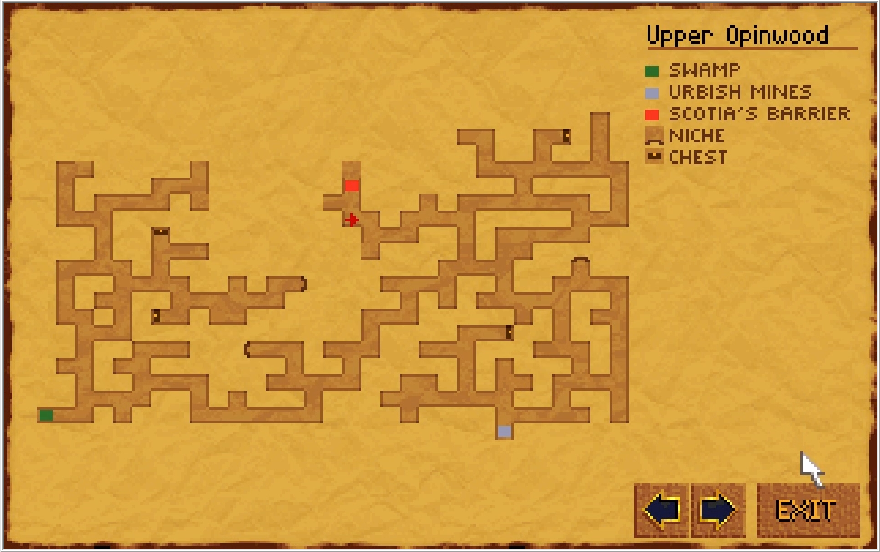
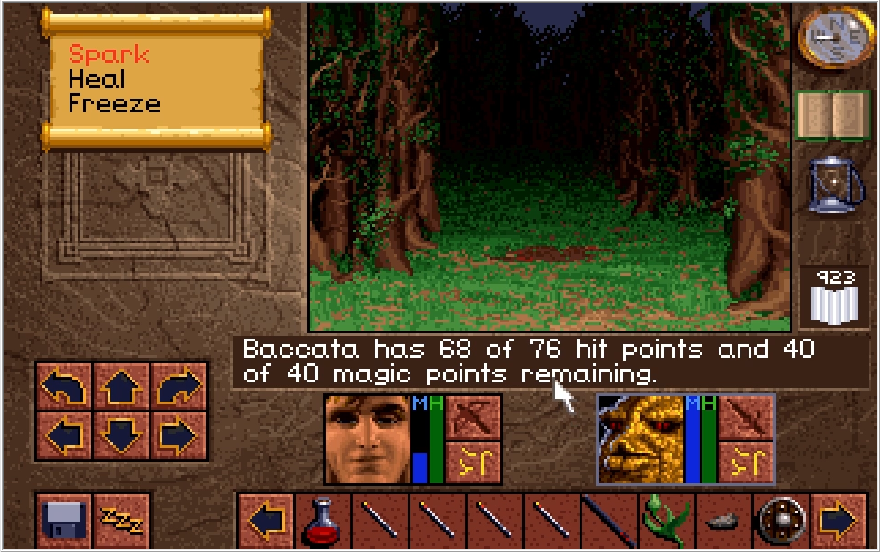
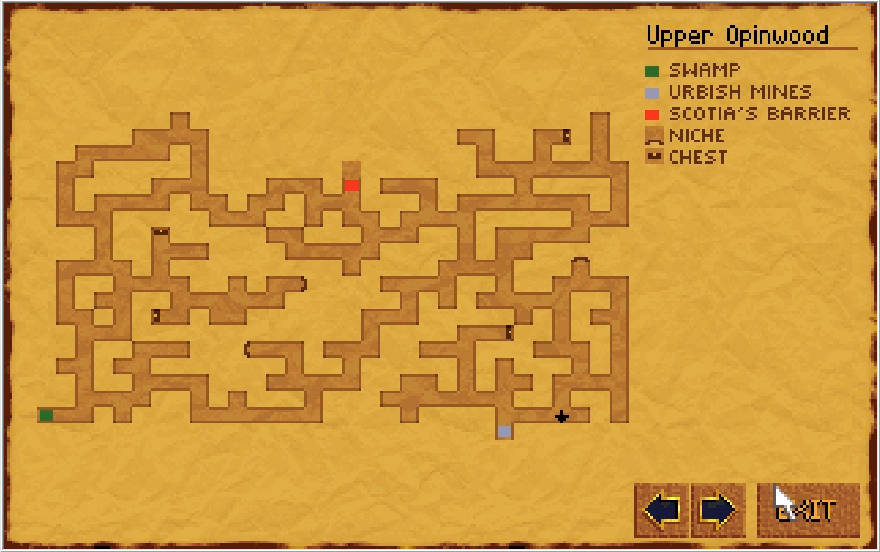
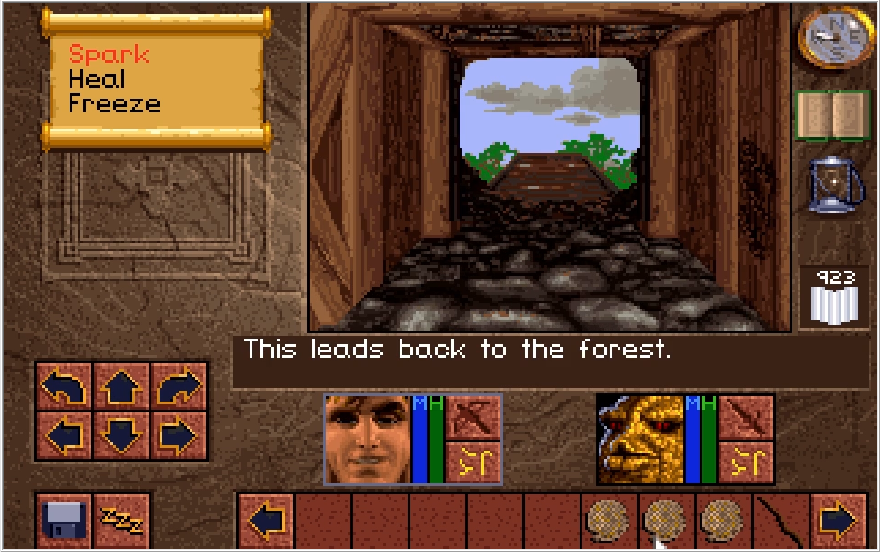
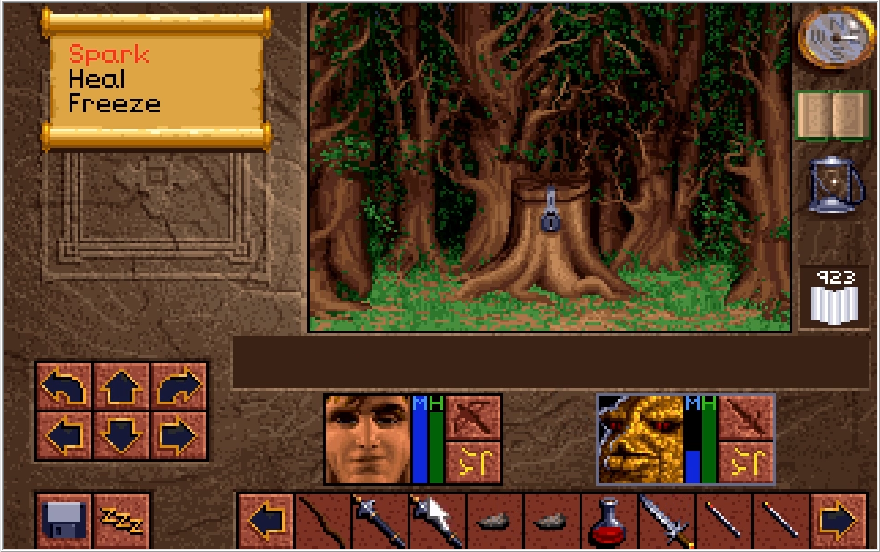
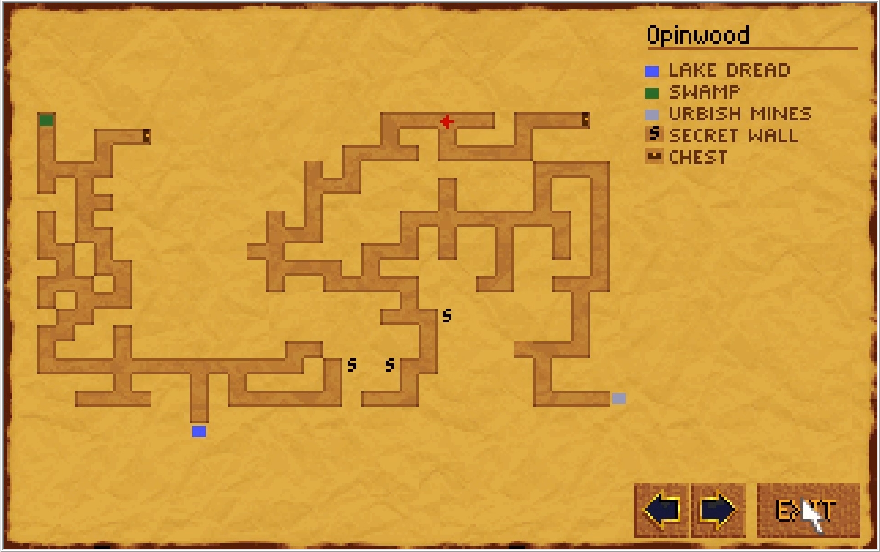
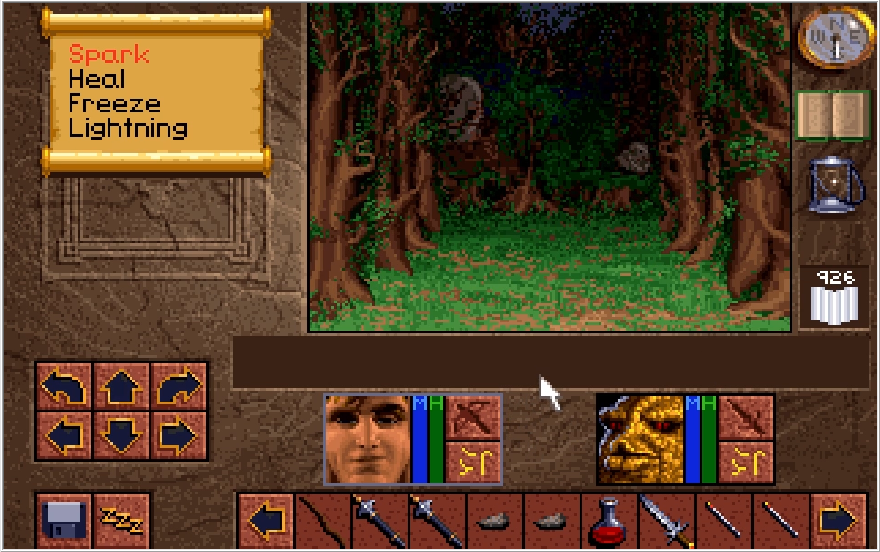
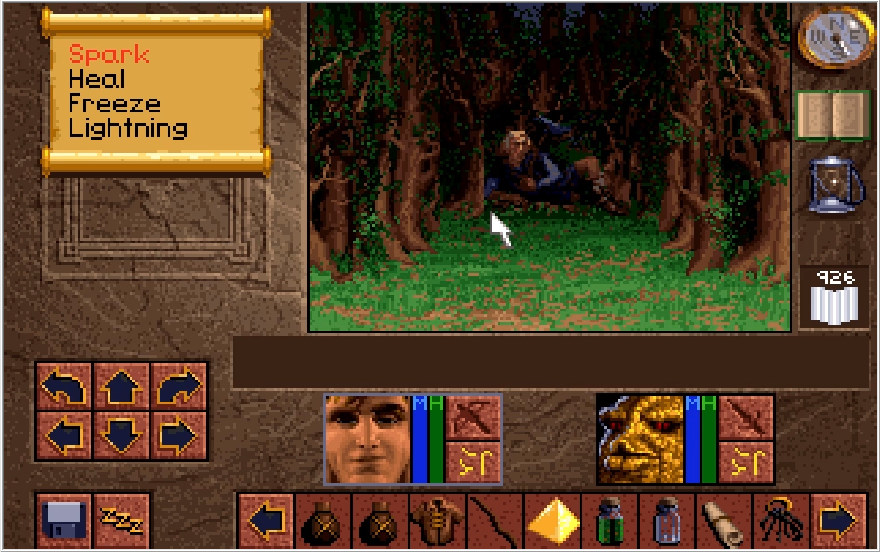
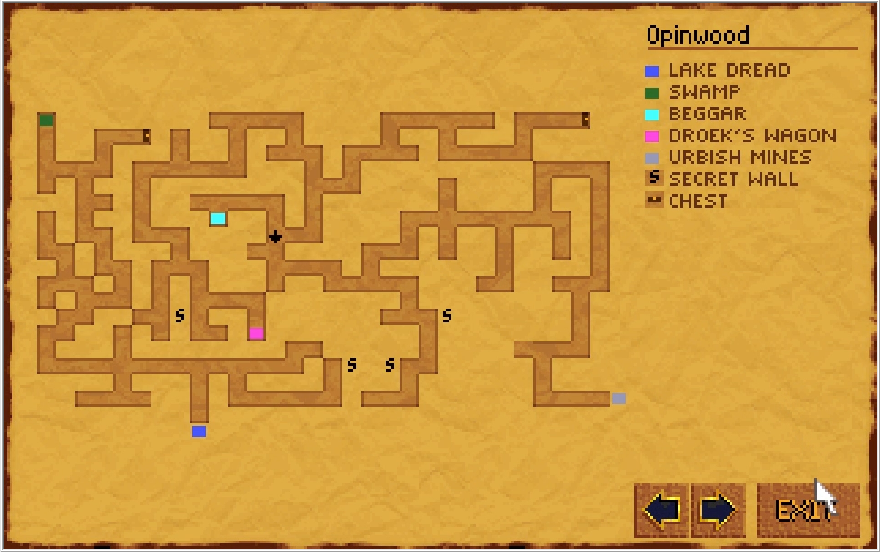
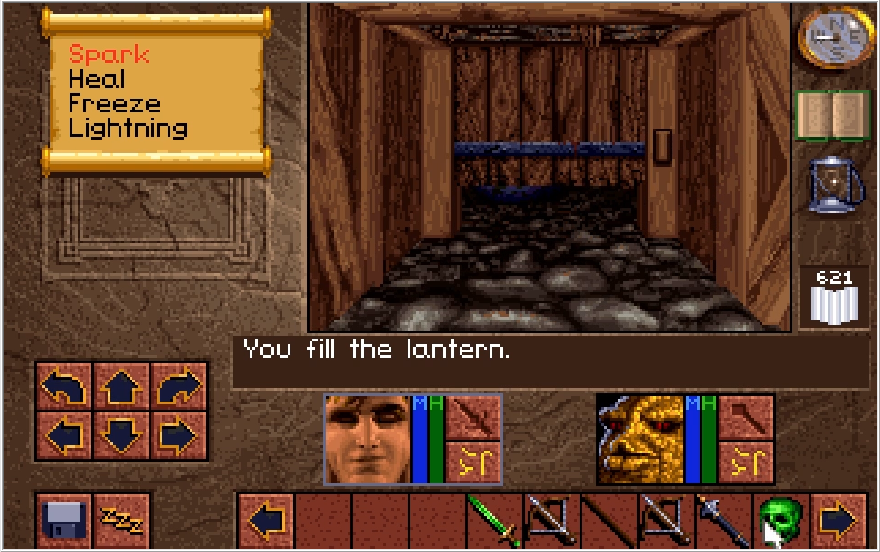
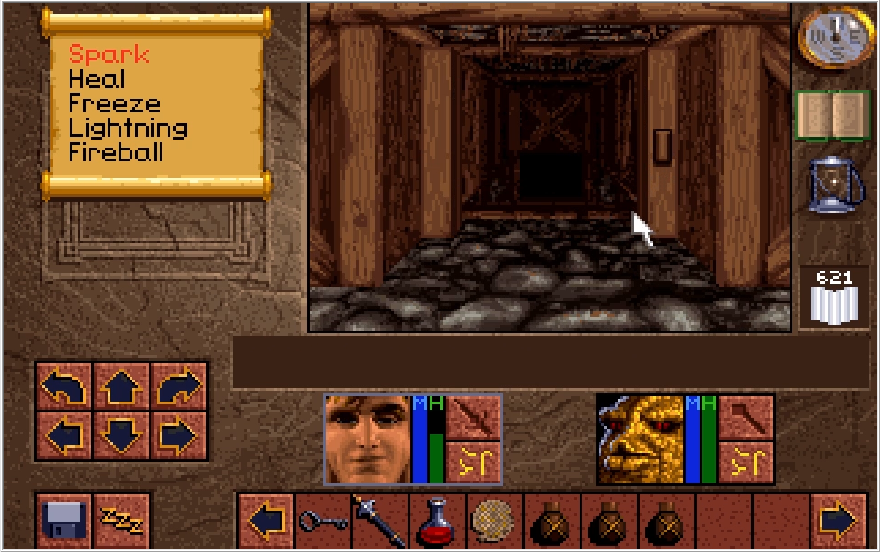
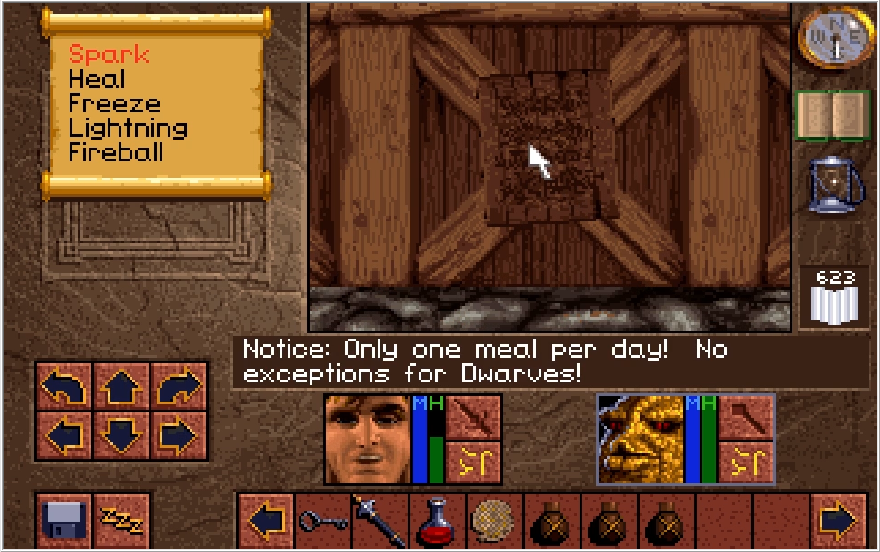
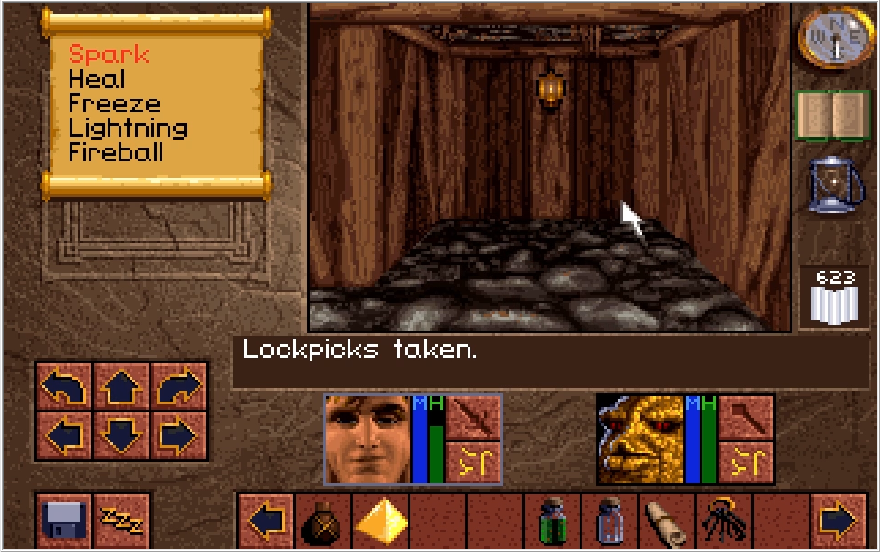
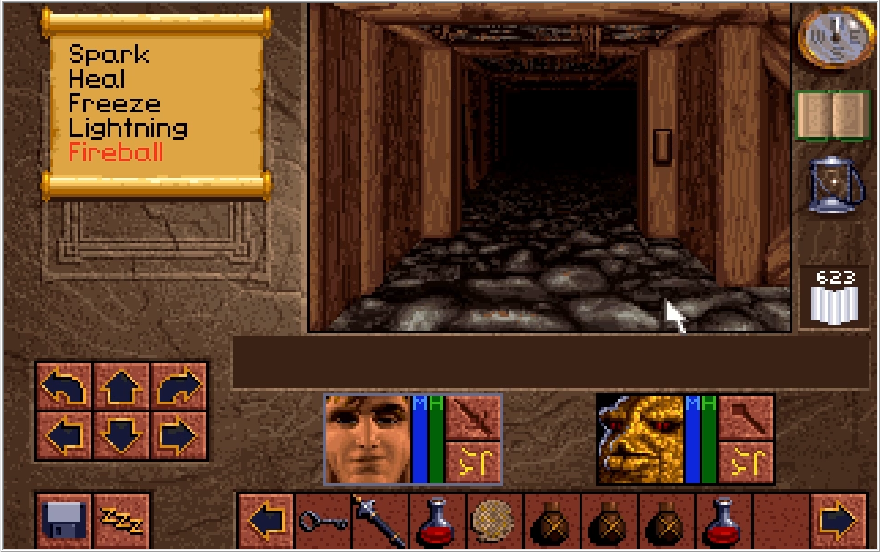
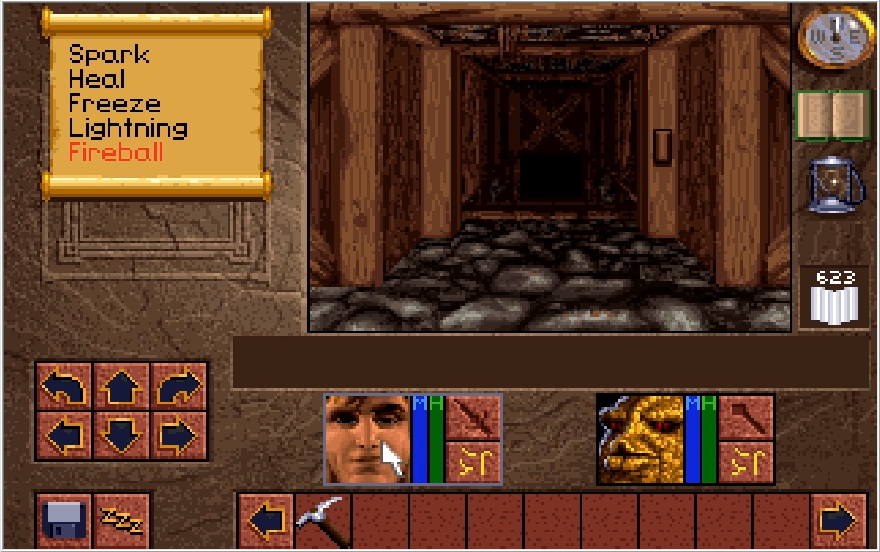
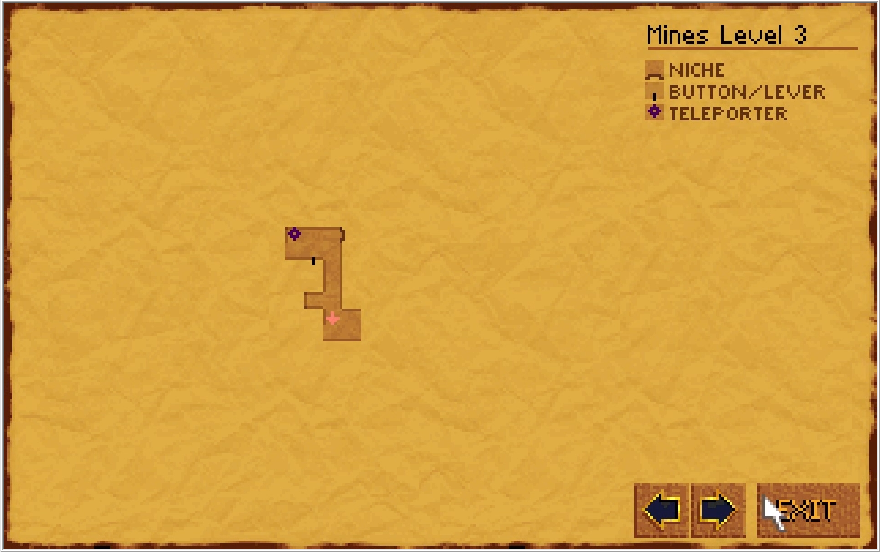
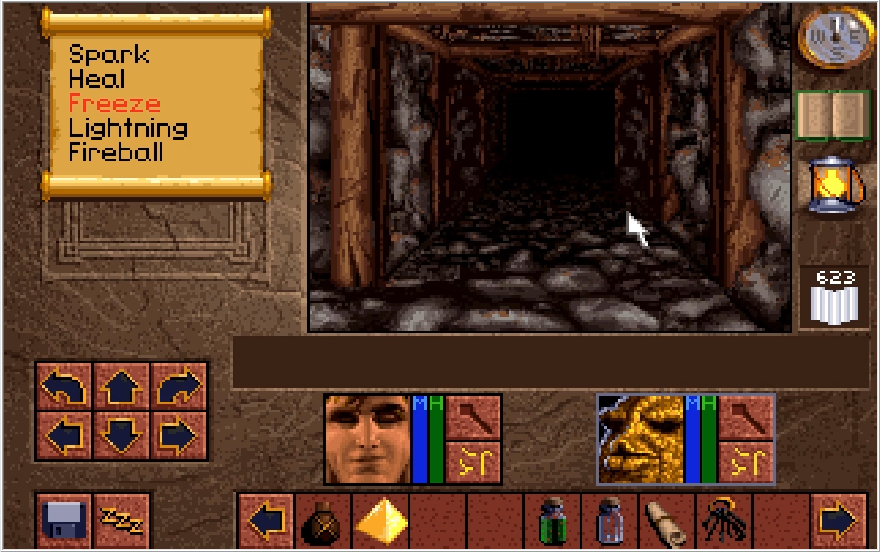
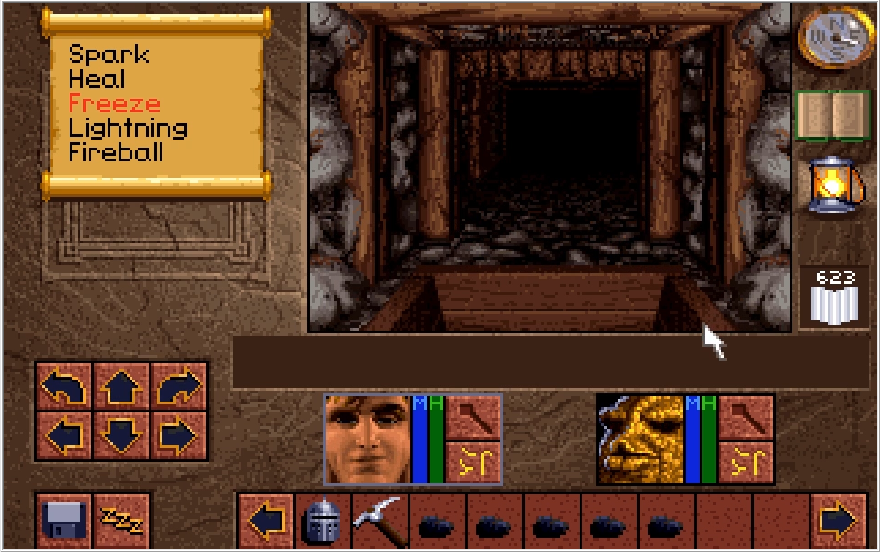
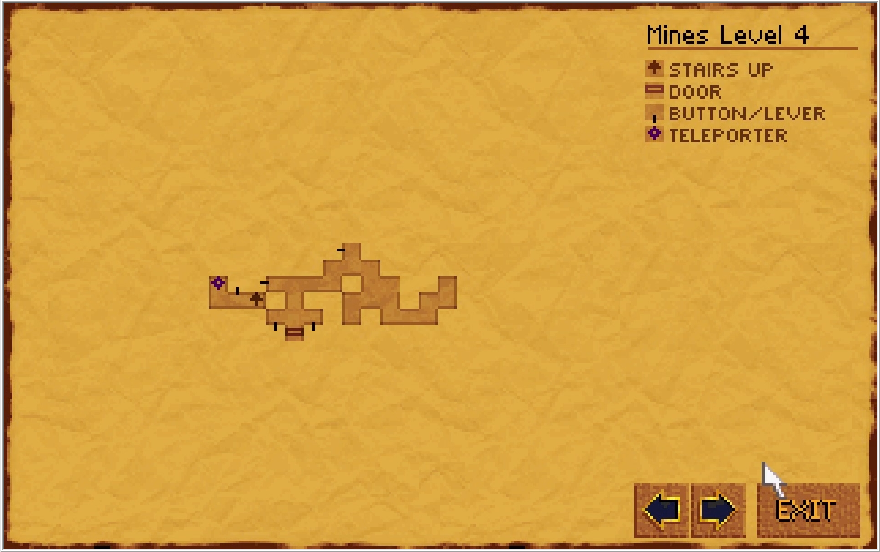
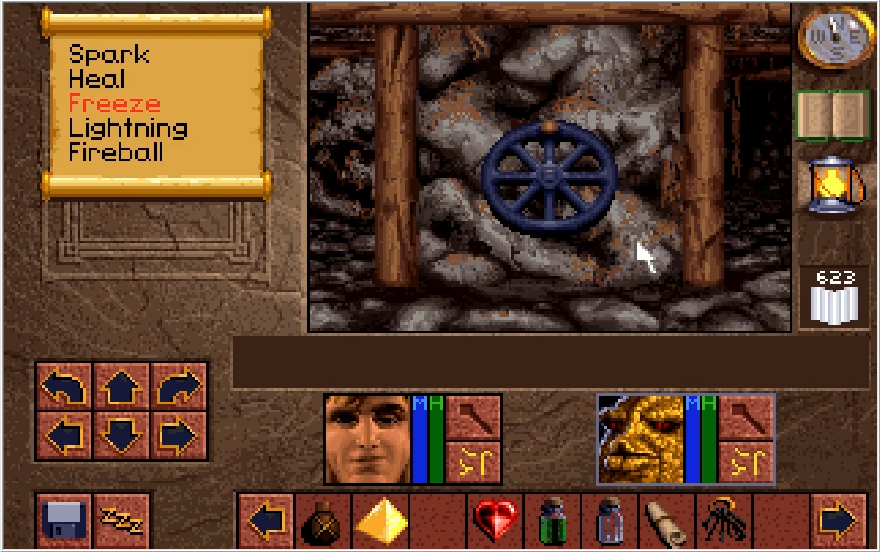
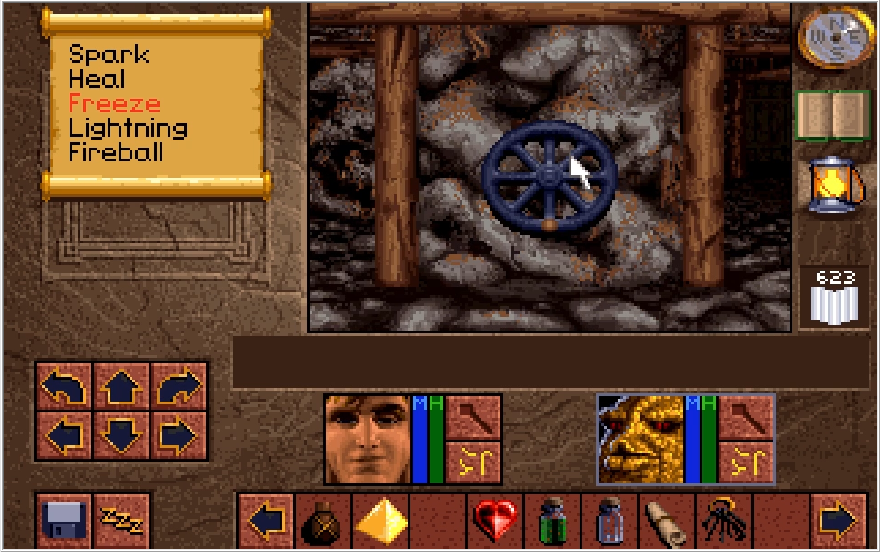
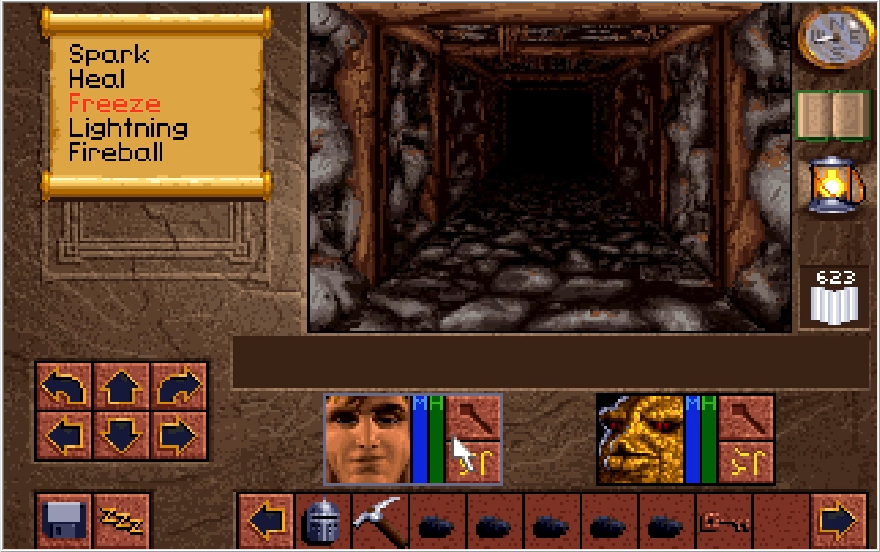
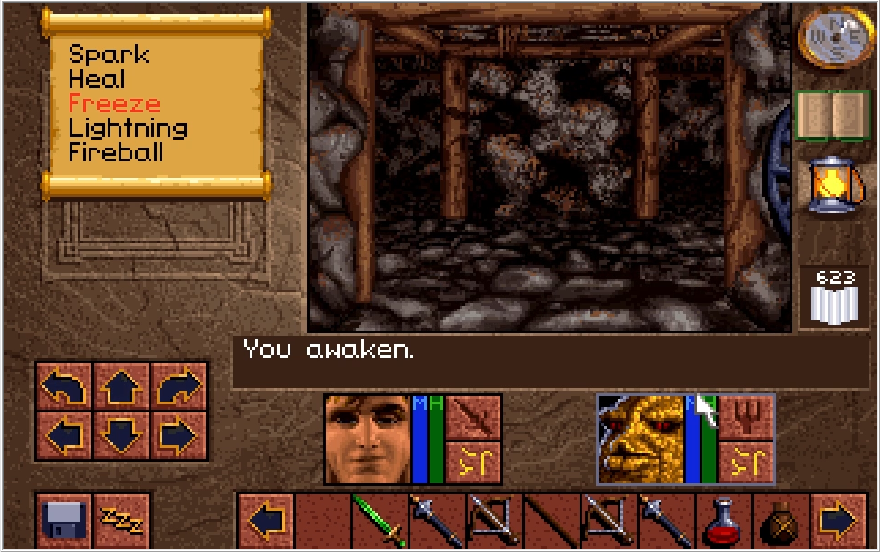
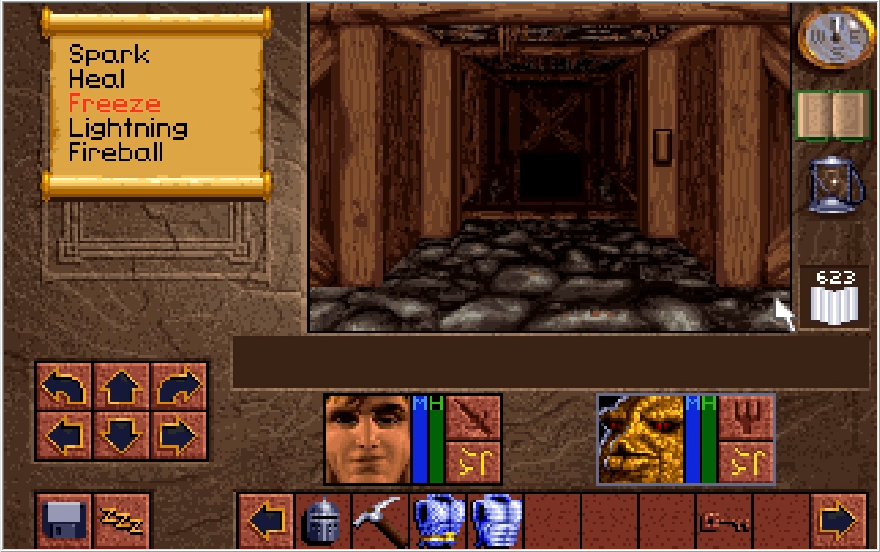
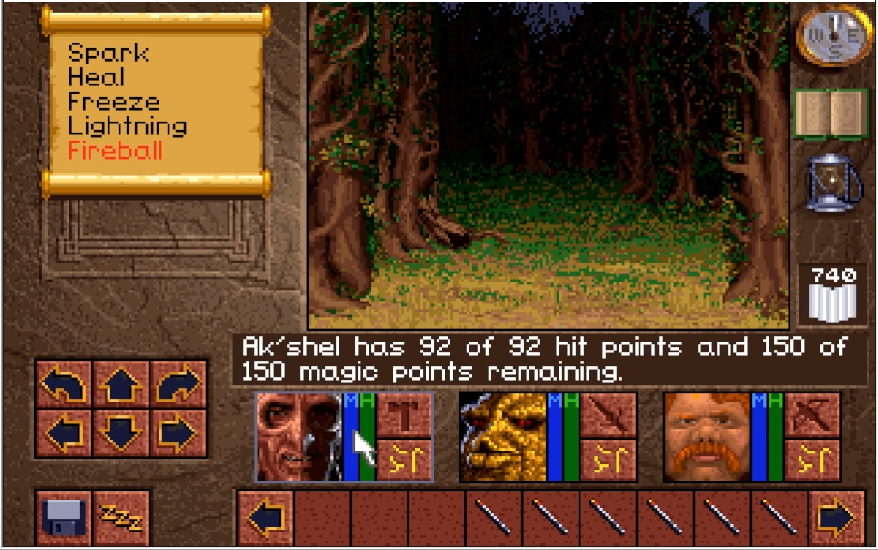
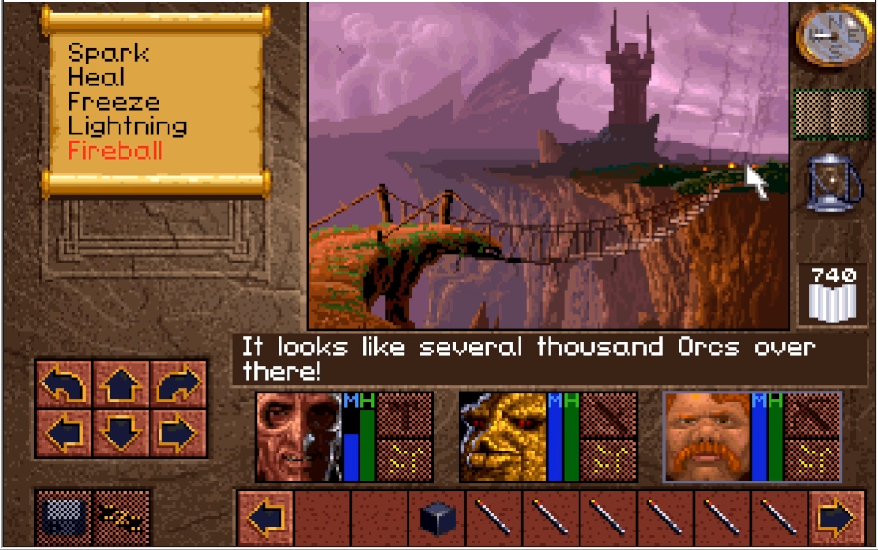
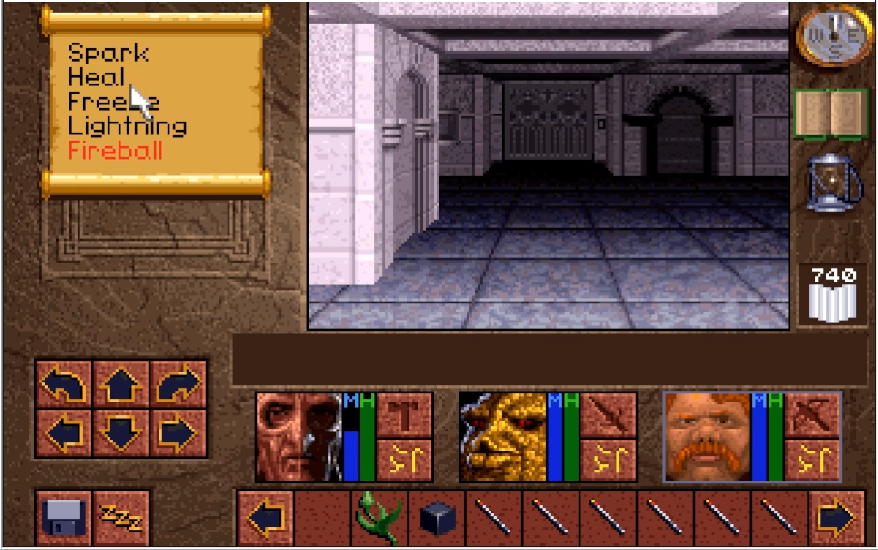
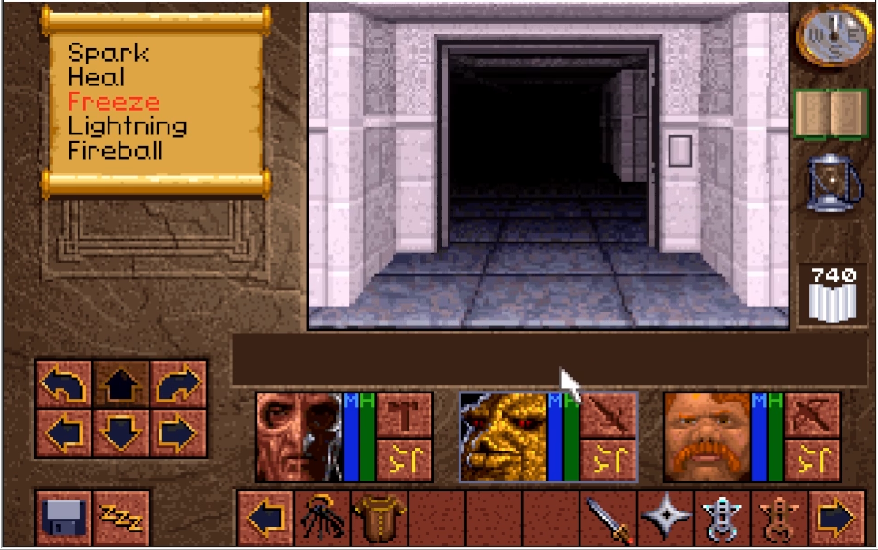
When we last left off, we had just gotten done repowering the mine's water pump device, so in theory that should assist us in exploring the depths of the mines. In practice, it's opened up one room we need to visit, but we'll get there when we get there. Returning to Level 1 of the Urbish Mines Mines, we find ourselves in front of the valves we previously ignored.
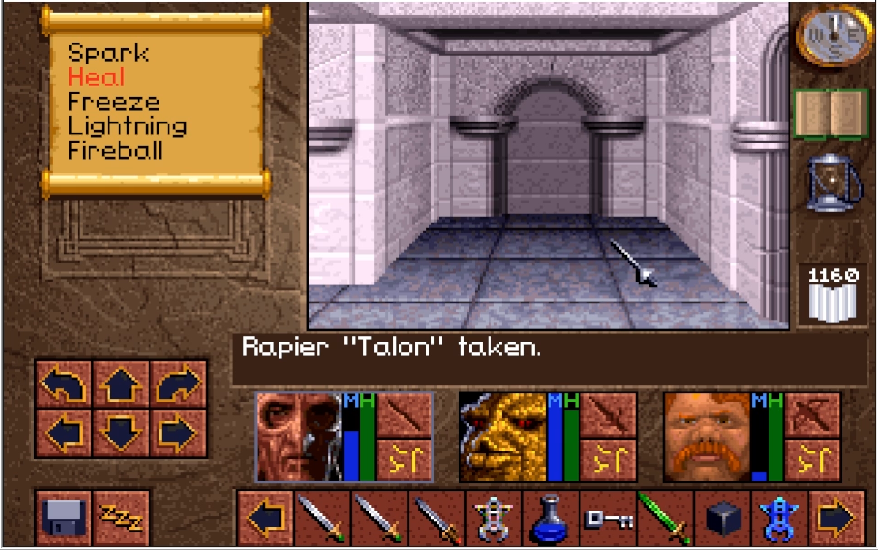
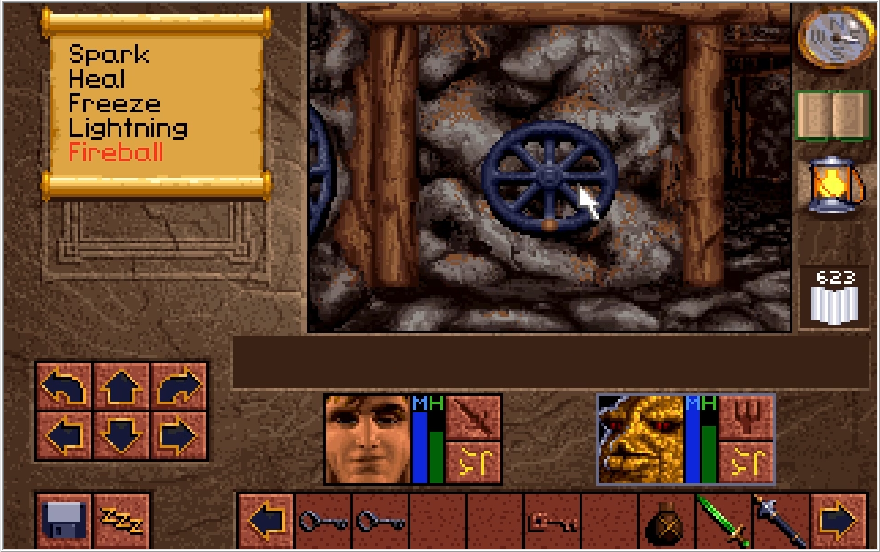
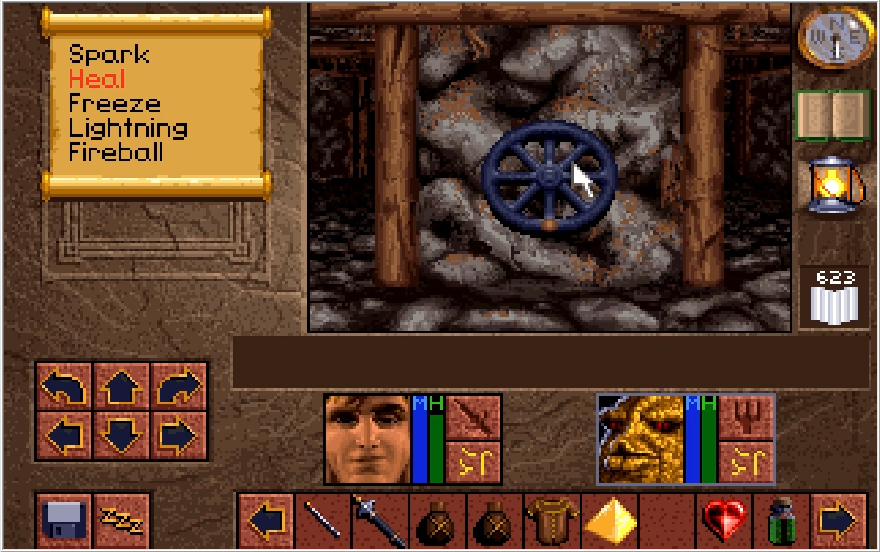
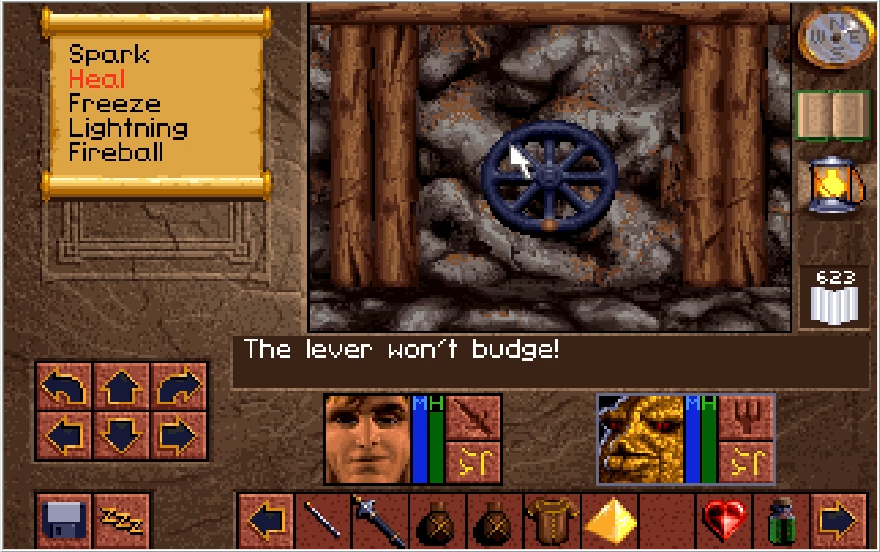
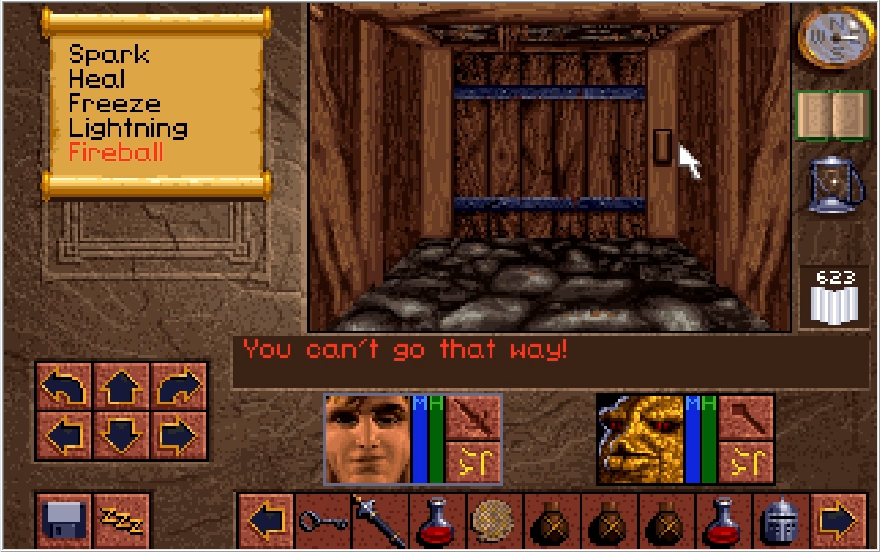
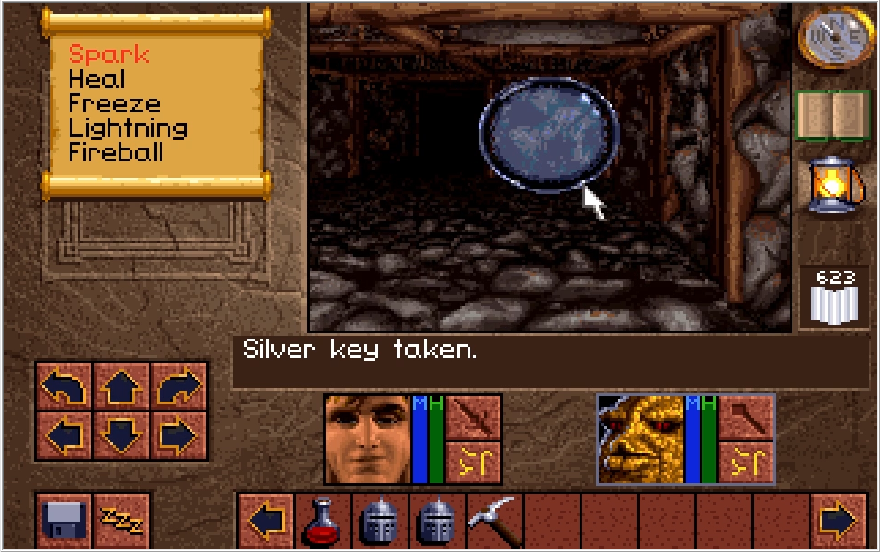
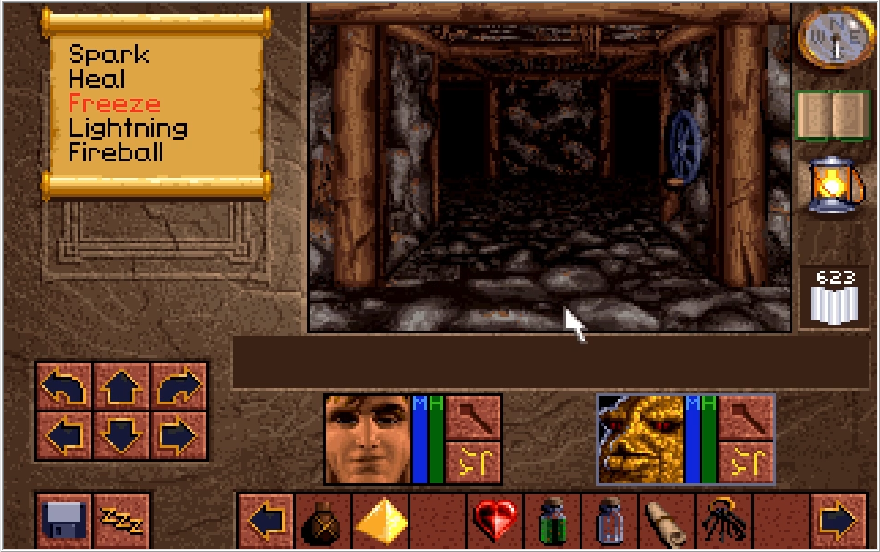
You want to turn the valve on the northern wall specifically. Doing so and re-slapping the wall switch will cause a teleporter to appear. While turning the south valve or both valves at the same time will still result in a teleporter, the teleporter that actually moves us along in the dungeon only appears with the north valve turned alone.
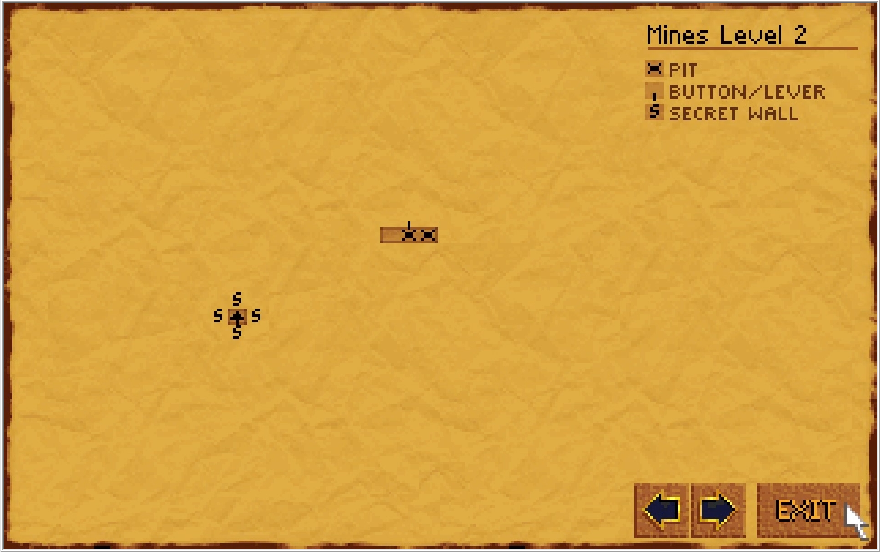
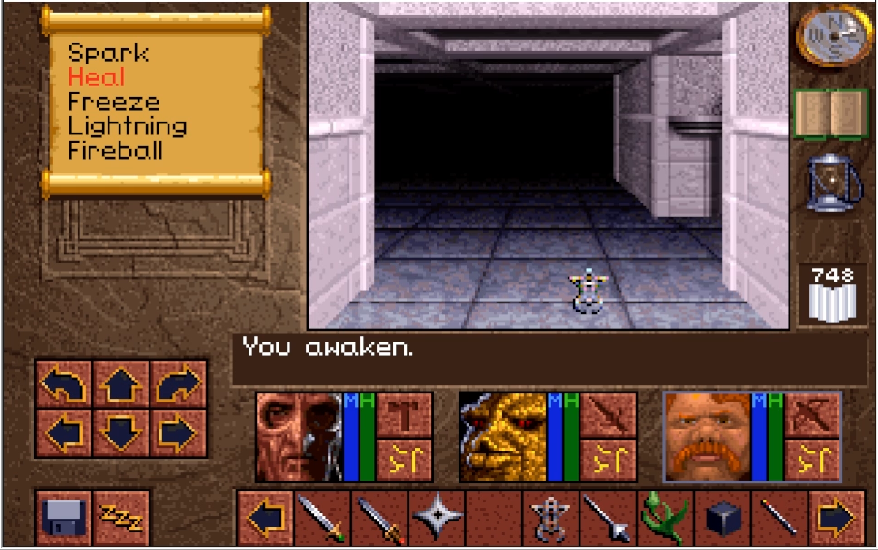
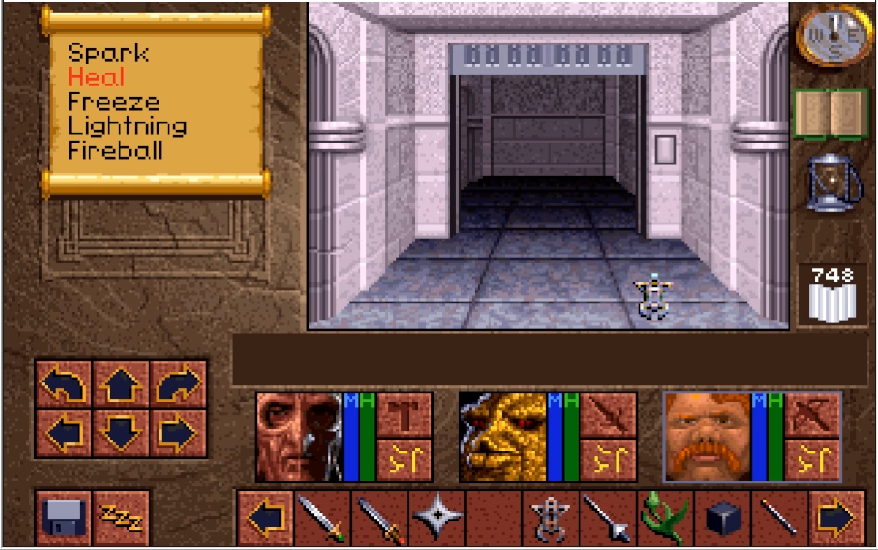
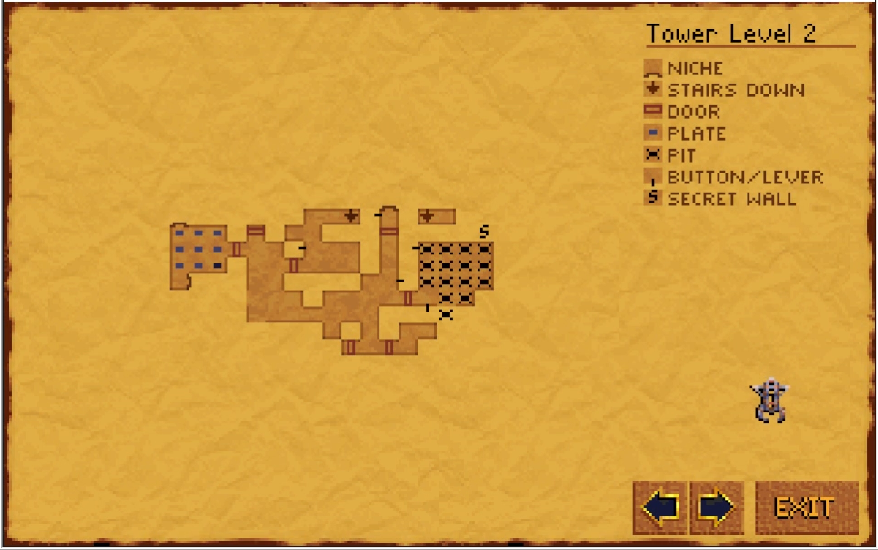
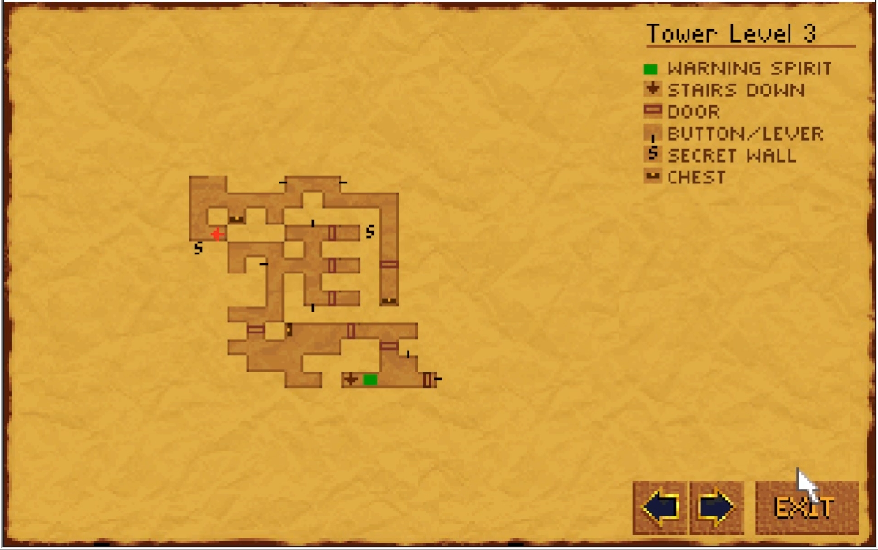
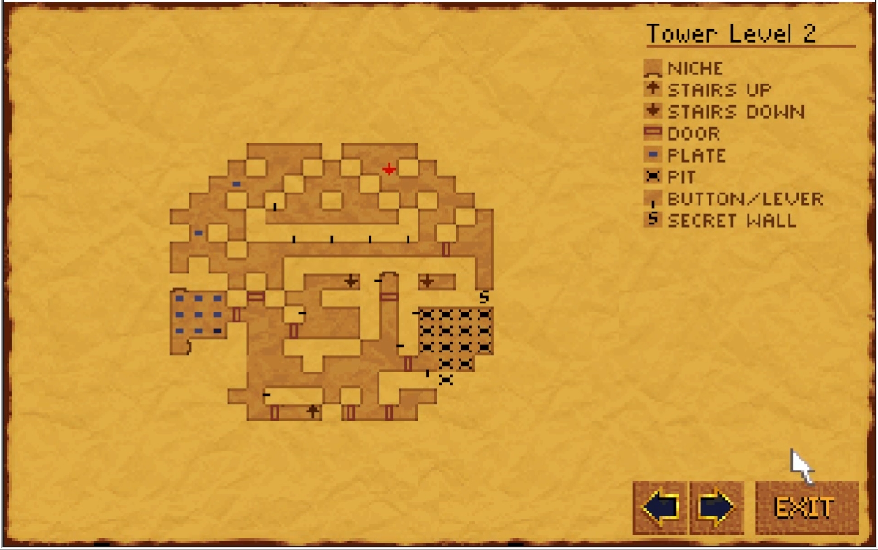
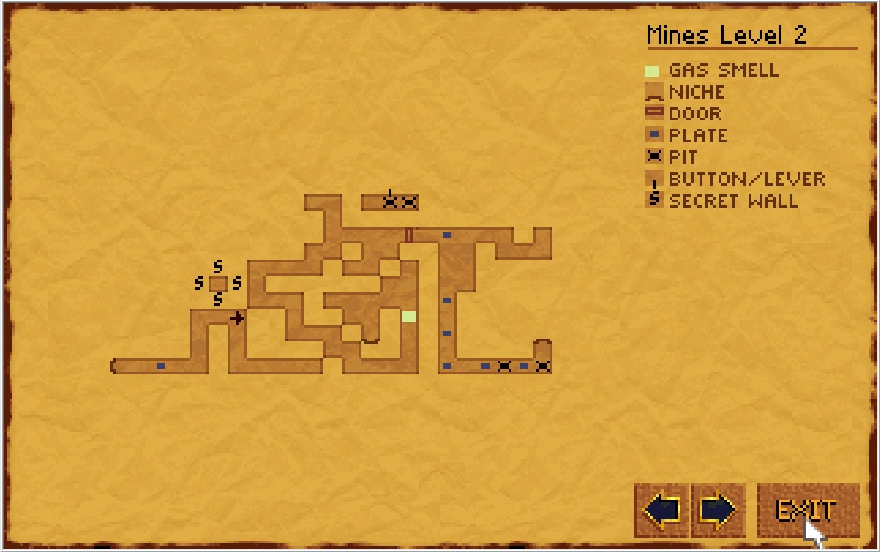
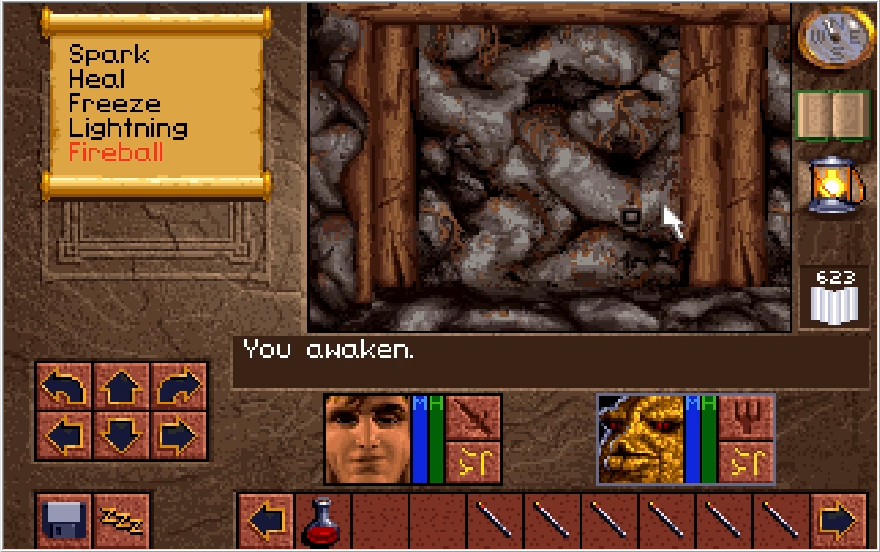
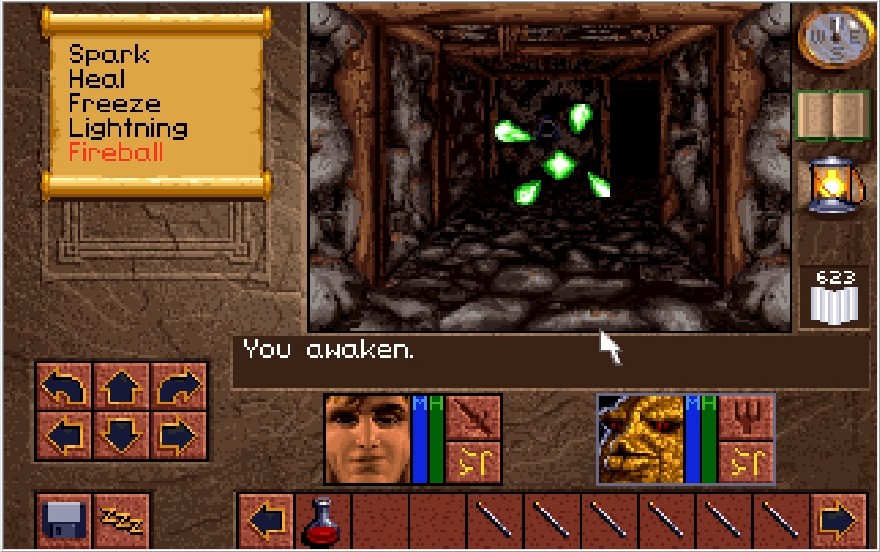
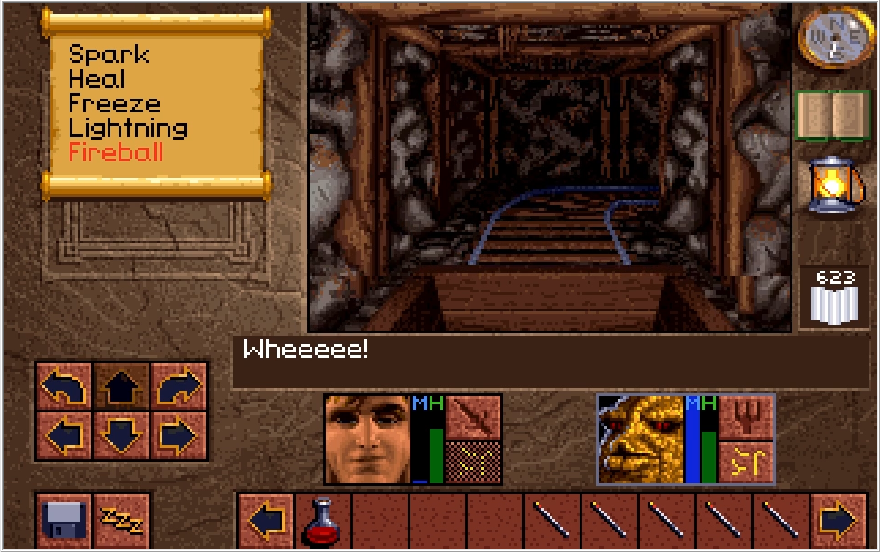
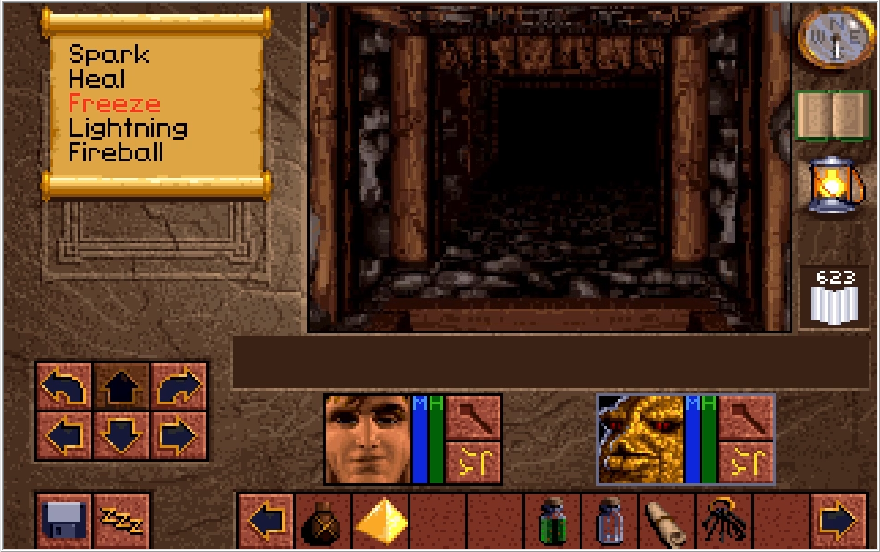
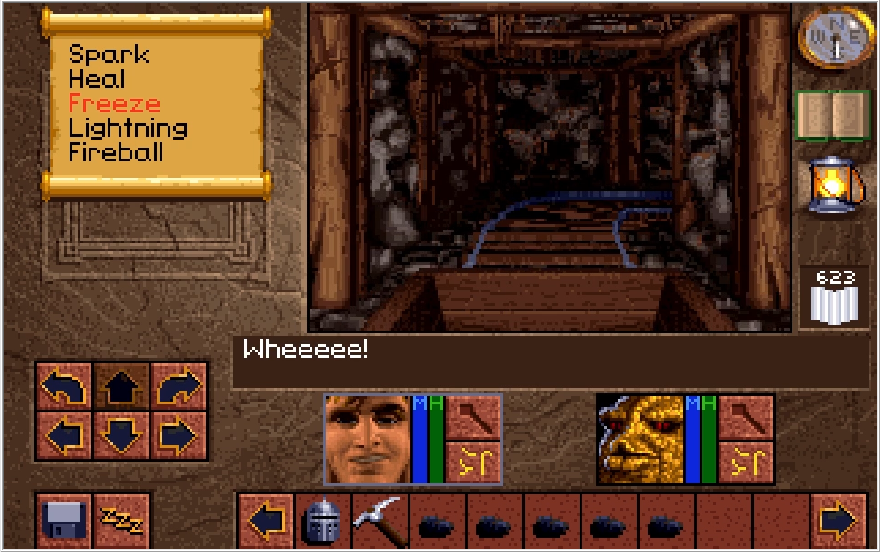
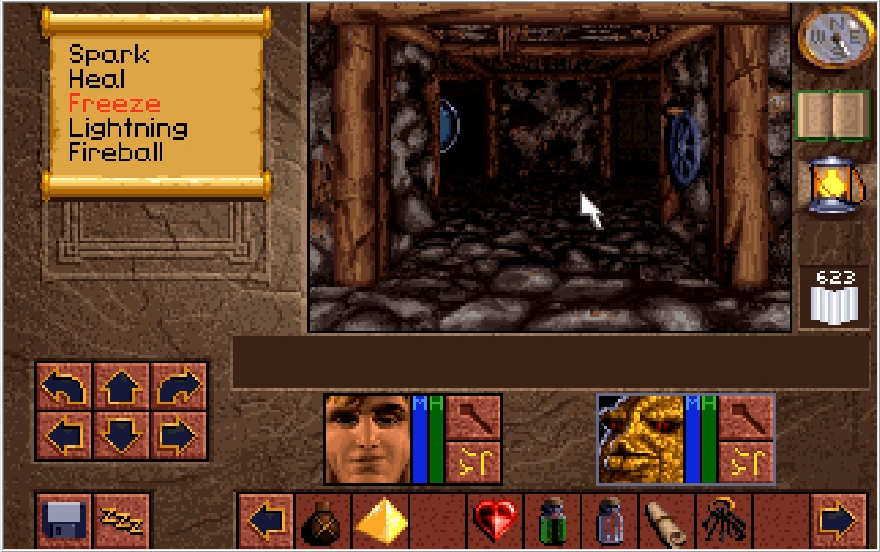
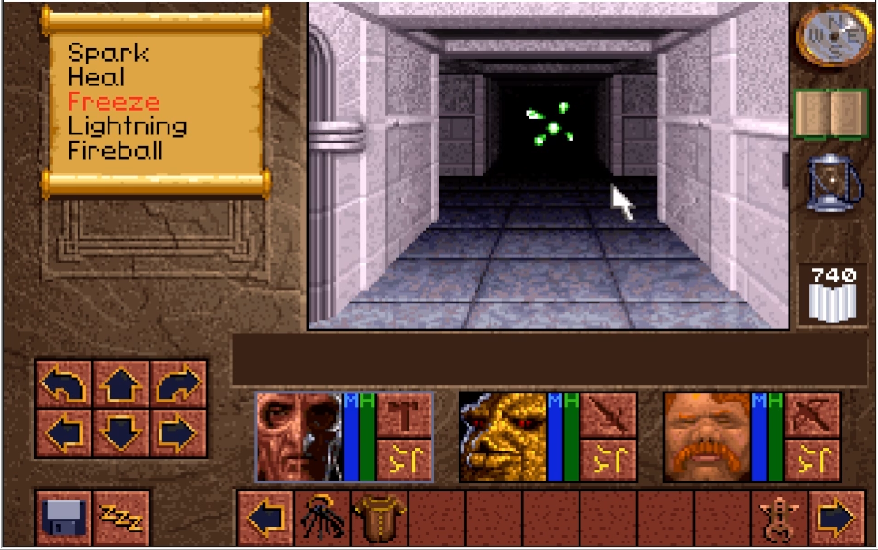
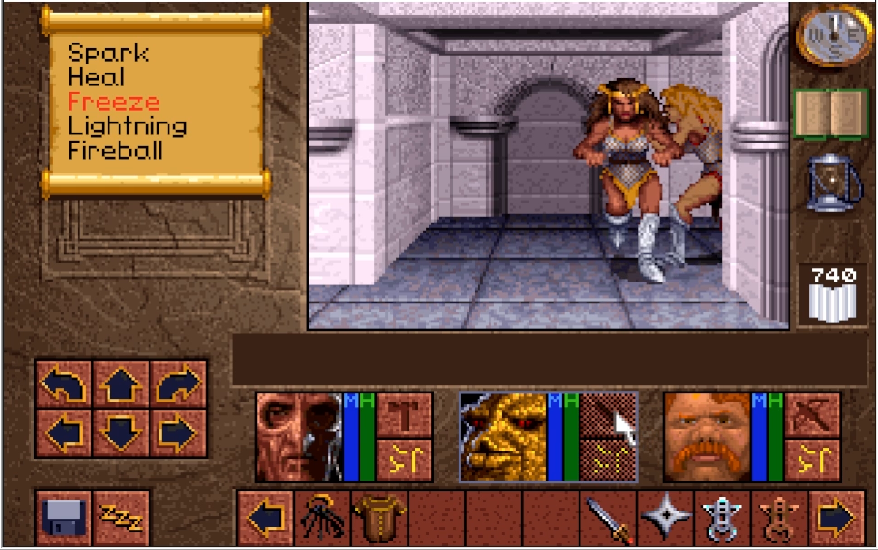
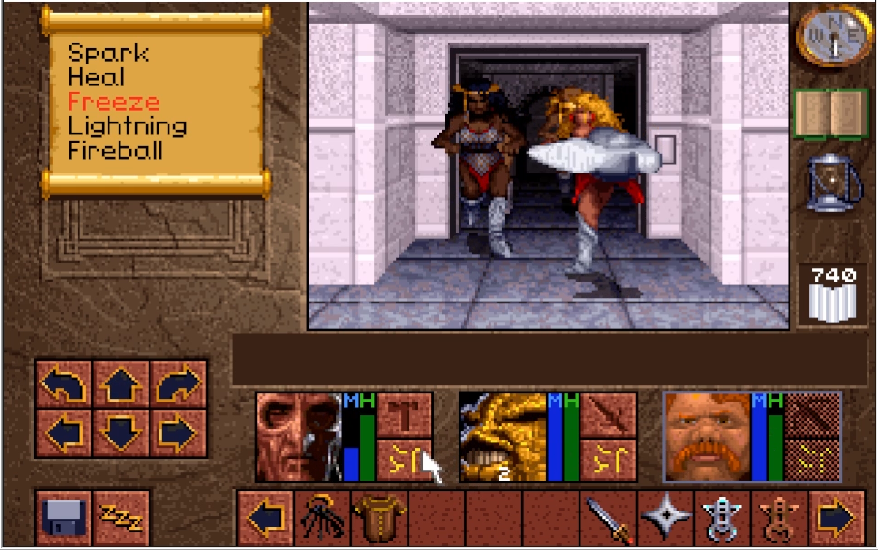
You'll know you got the right teleporter because the game screen will go ape shit as you proceed to spin around rapidly. Once you are sufficiently motion sick, you will find yourself seemingly trapped on a previously unseen part of Level 2. Opening the map reveals that, in truth, we are flanked by four secret walls.
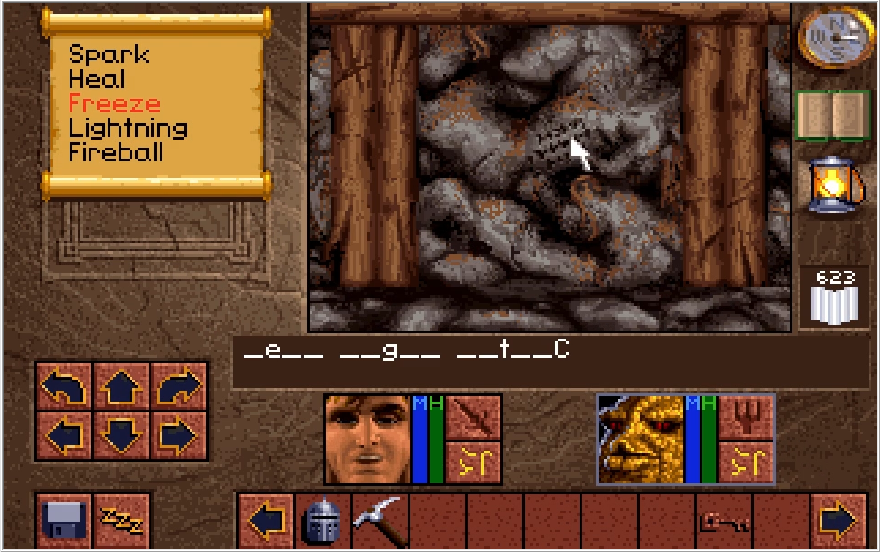
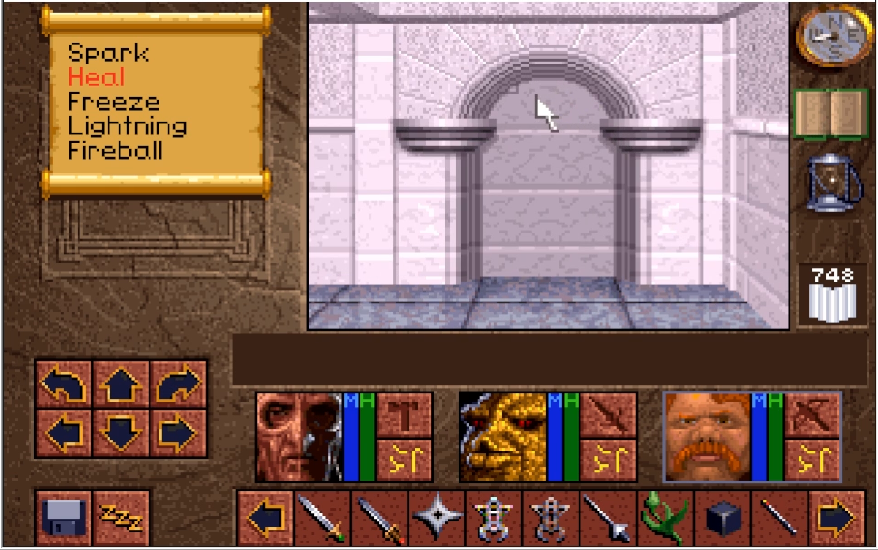
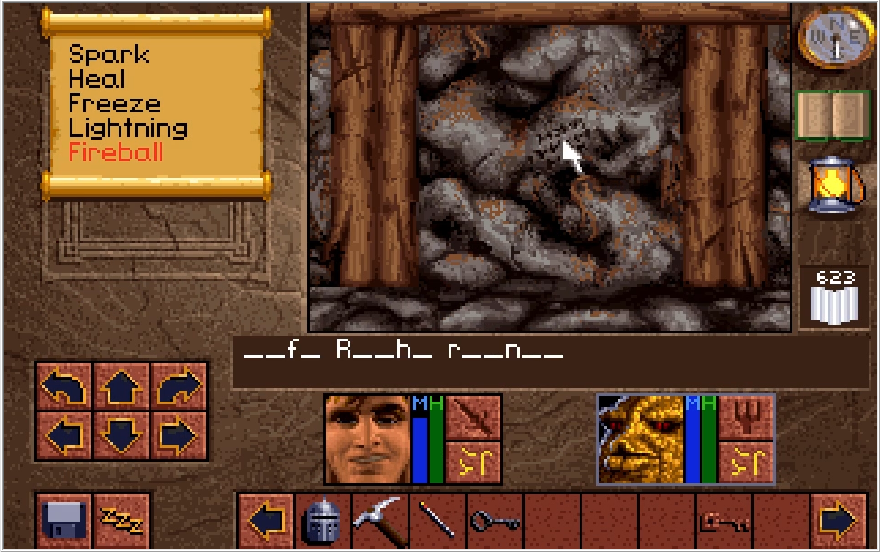
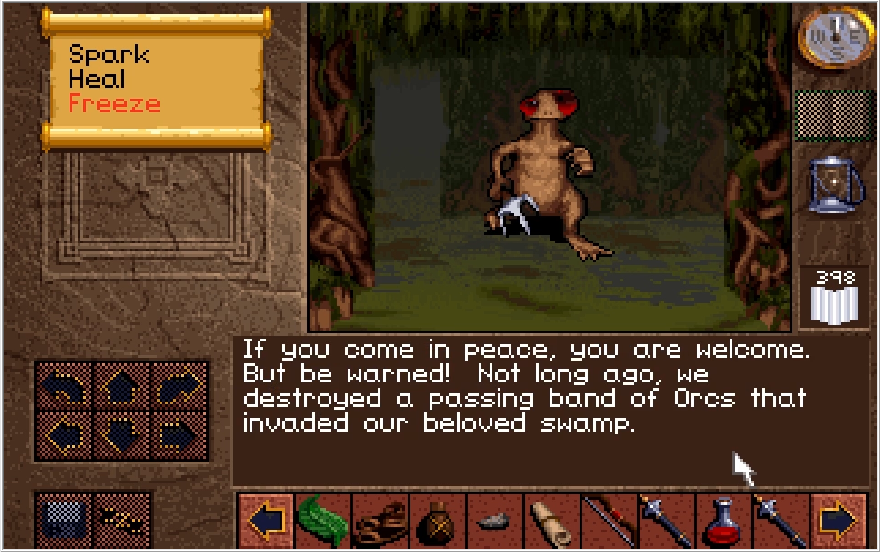
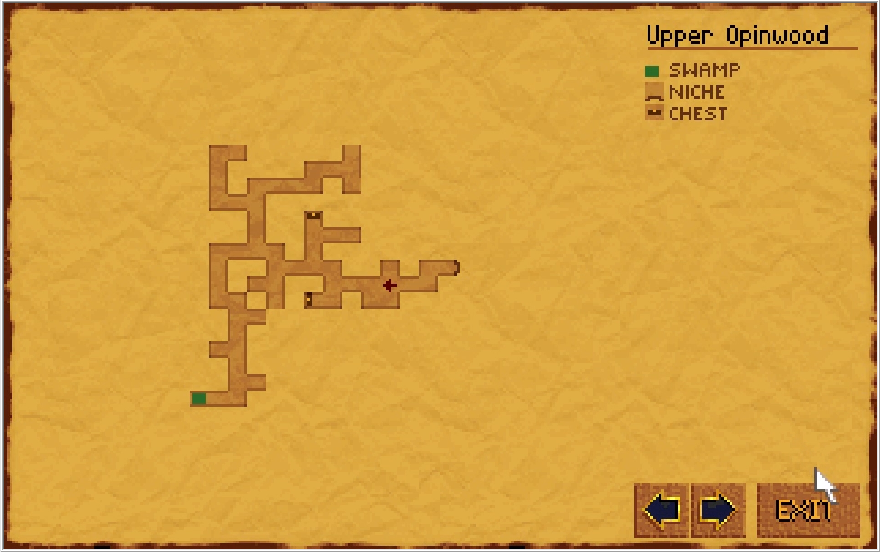
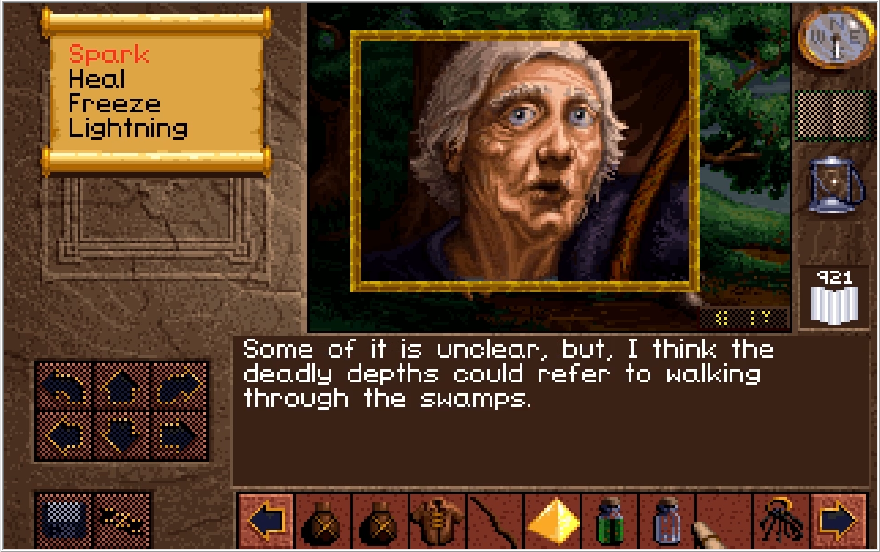
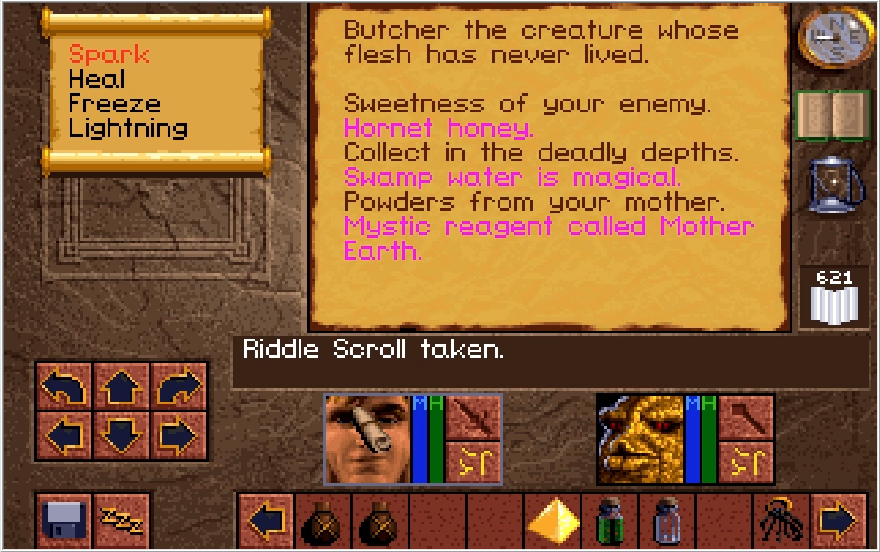
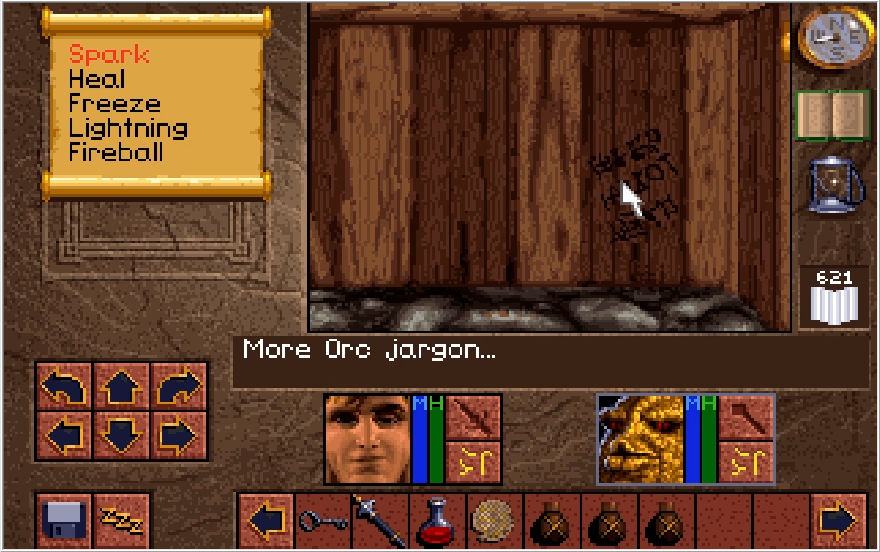
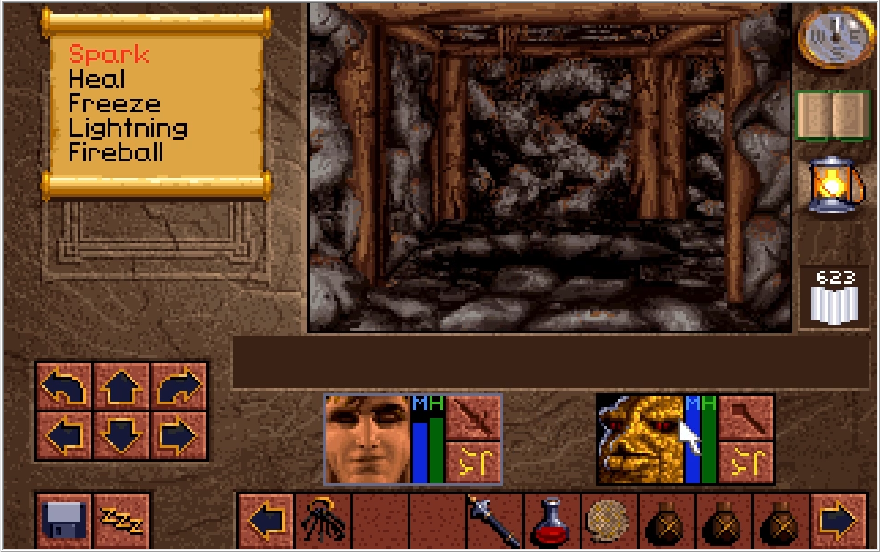
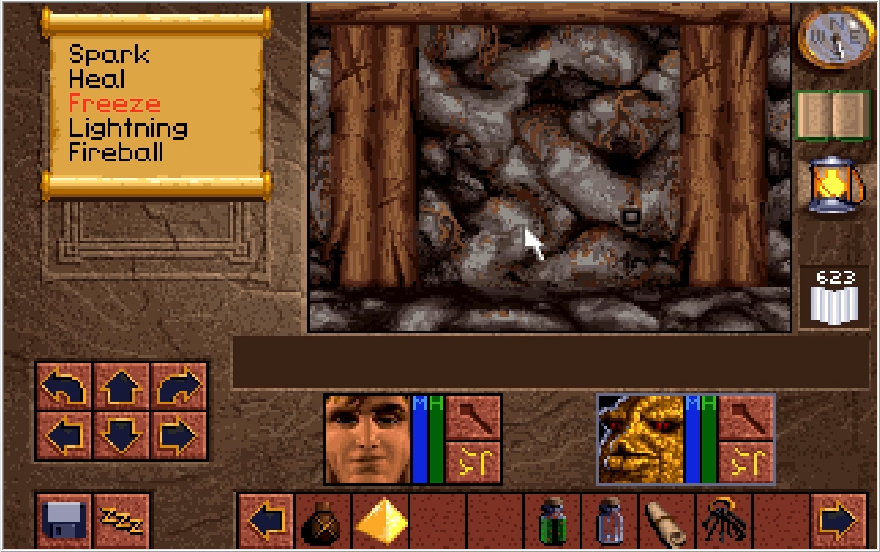
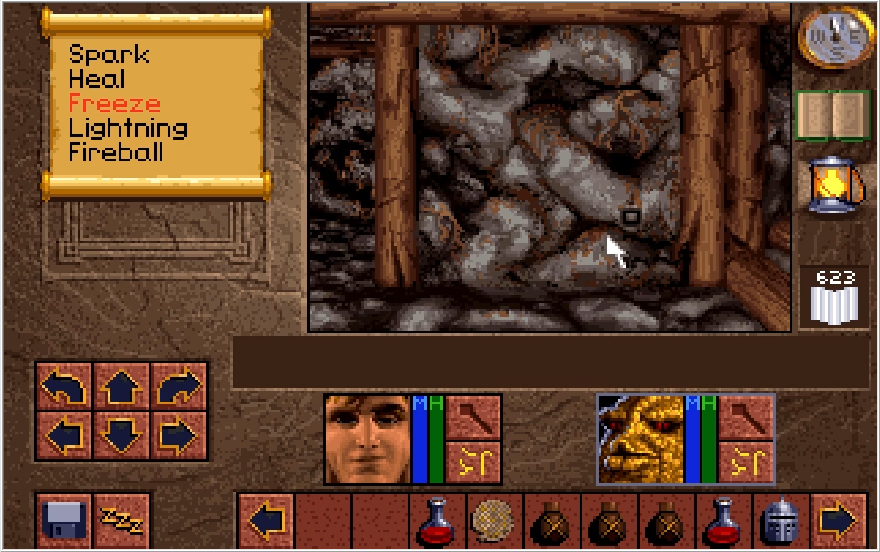
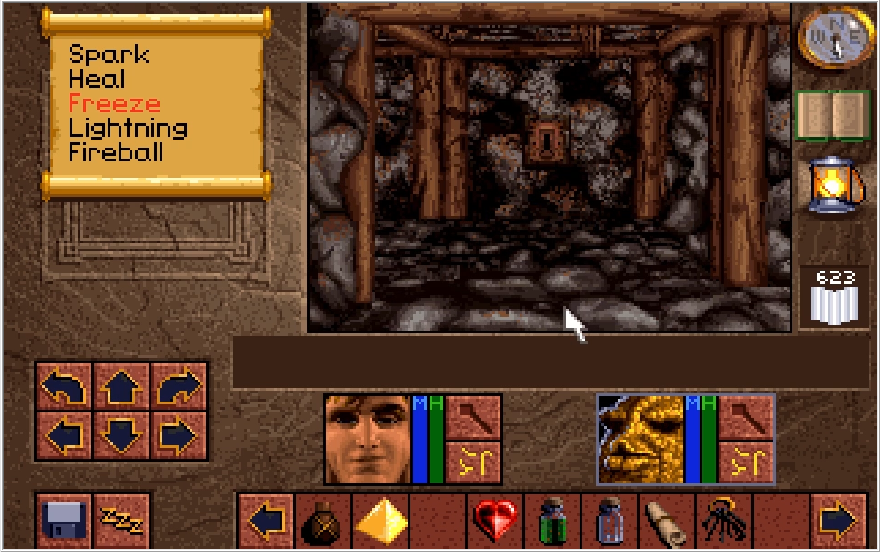
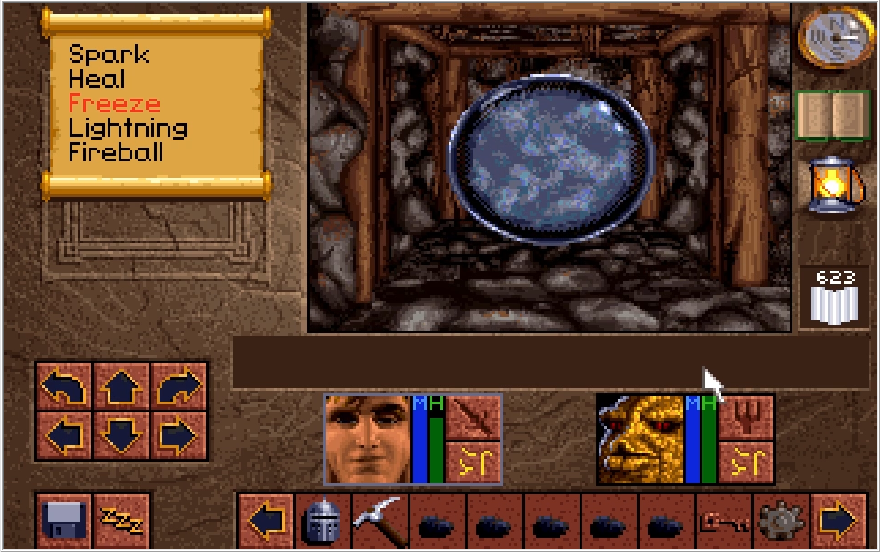
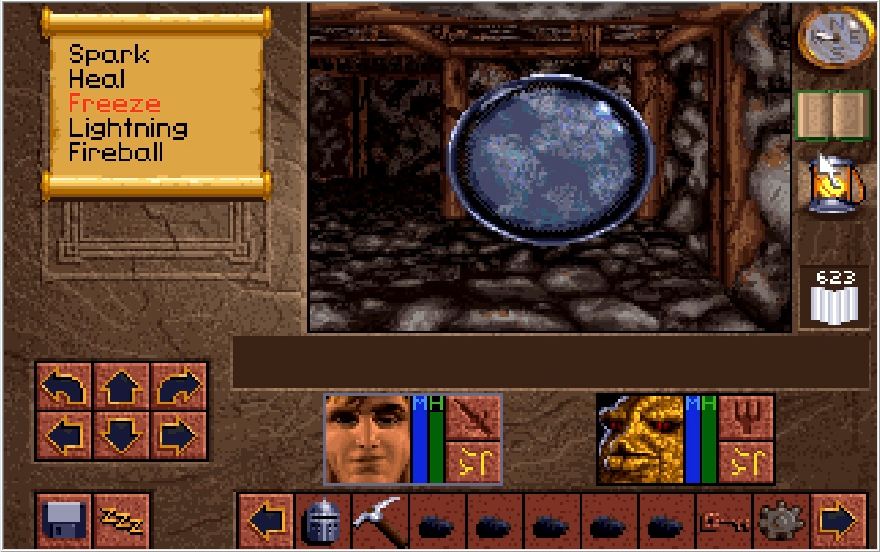
We'll head through the East wall first. We're immediately faced with a cryptic message carved into the wall. The east, north, and south walls all put you in front of messages such as this one. Those of you who are genre savvy to adventure game puzzles can probably already figure out what this is supposed to say. There is a little trick to it that is sadly spoiled by them deciding to capitalize the last letter of this message, but frankly when faced with the area where we can use this clue, you could probably just guess the answer.
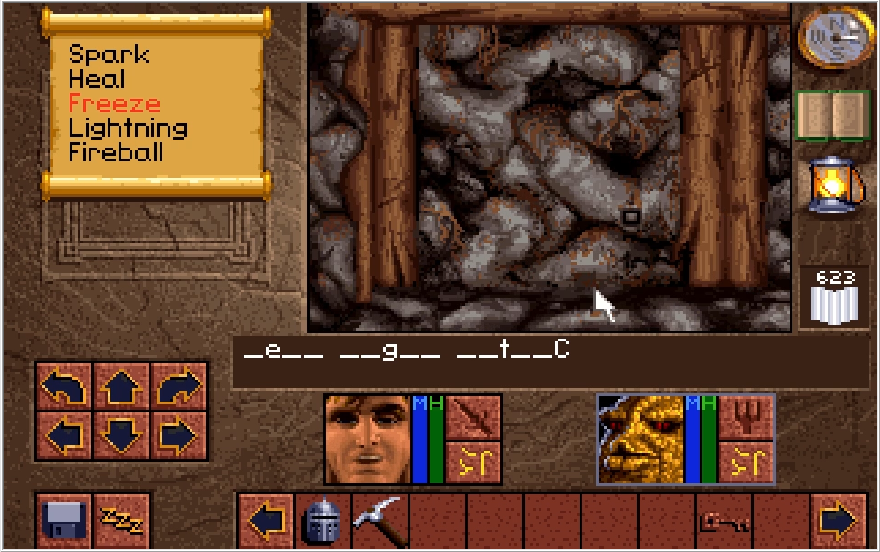
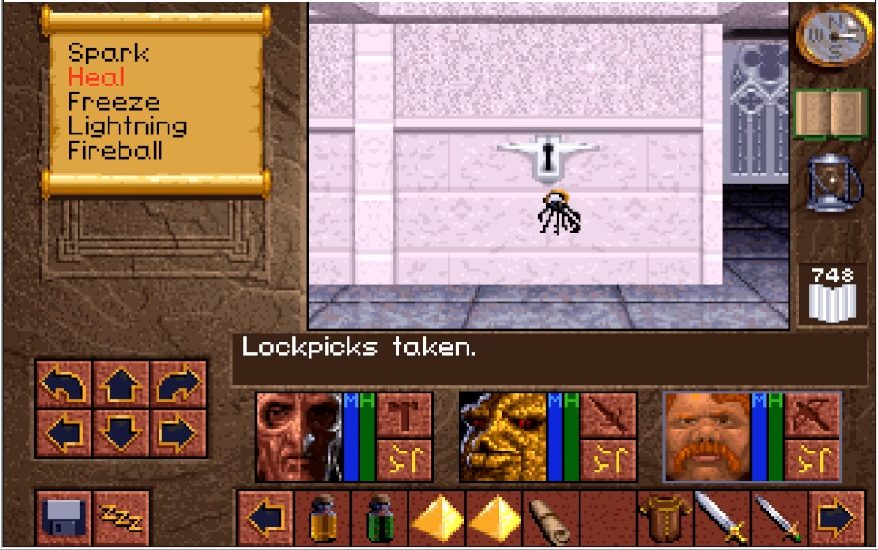
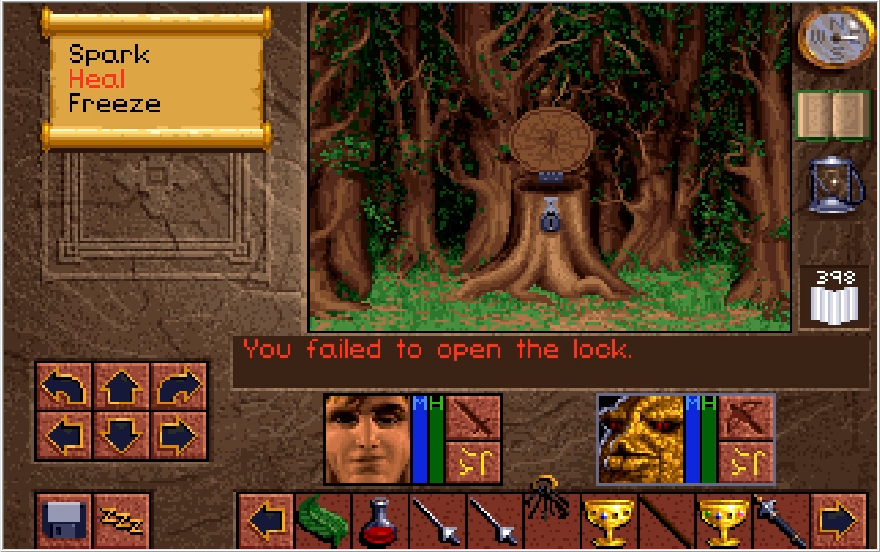
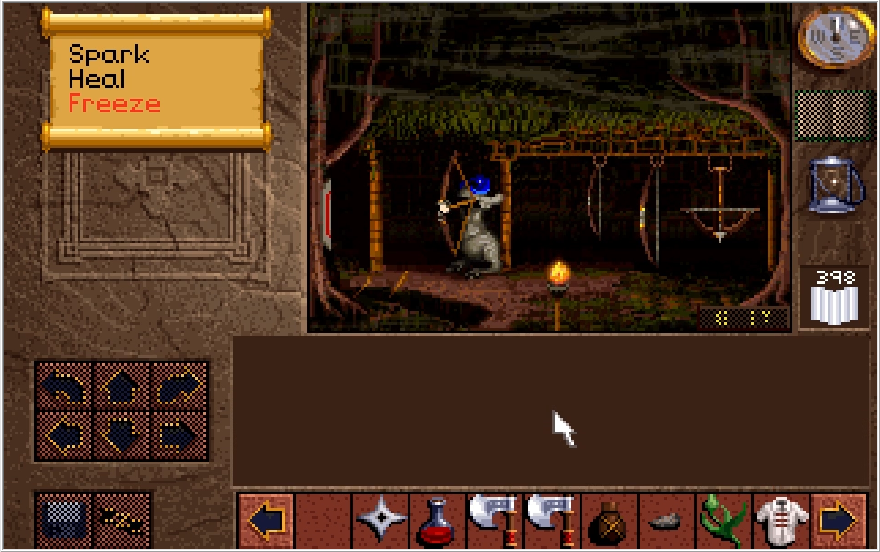
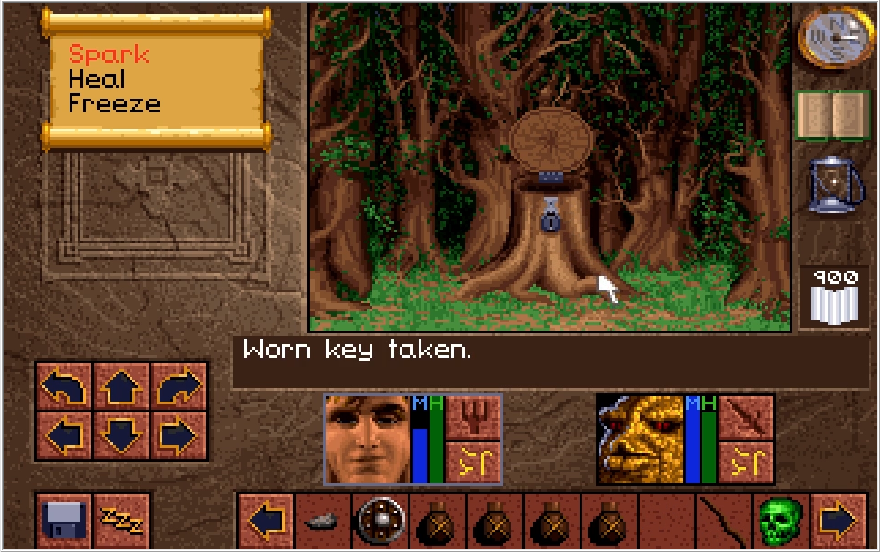
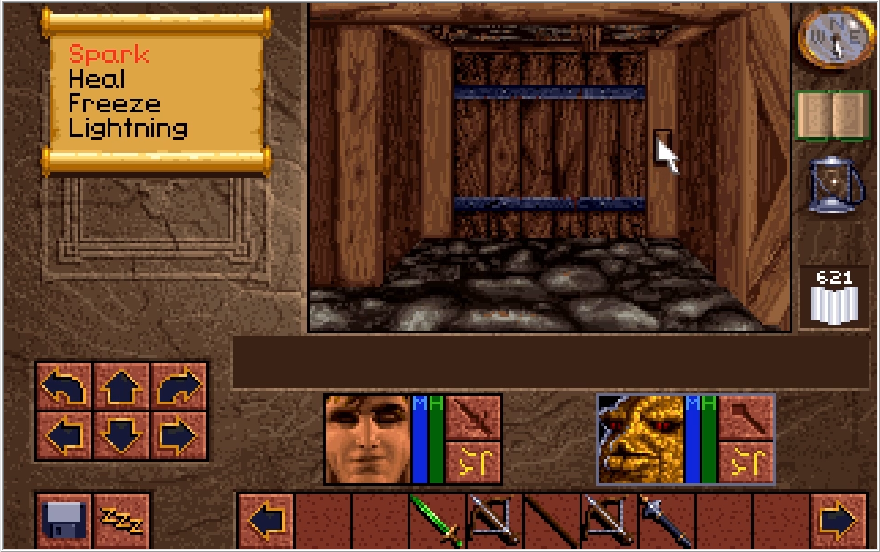
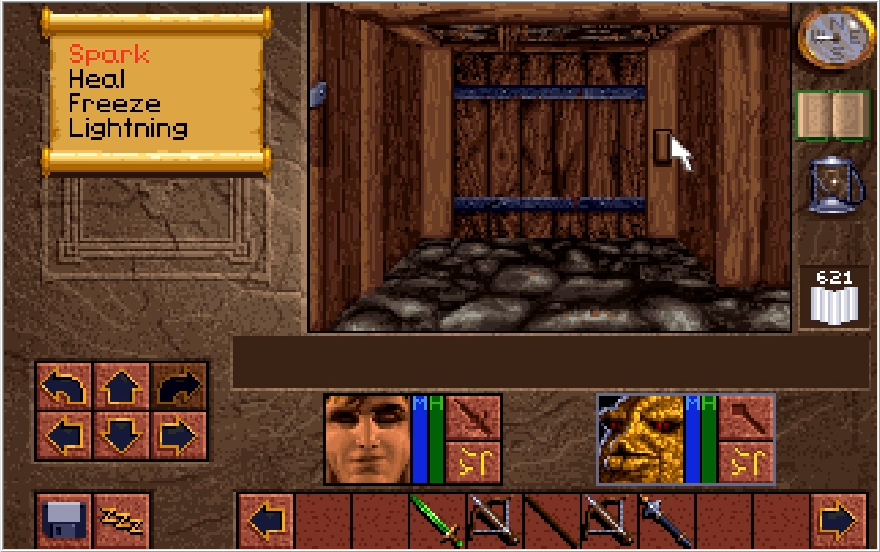
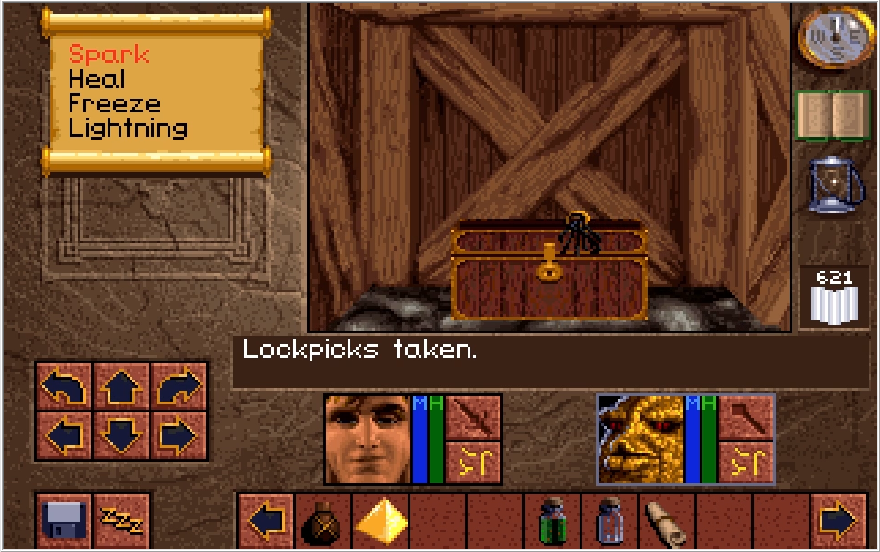
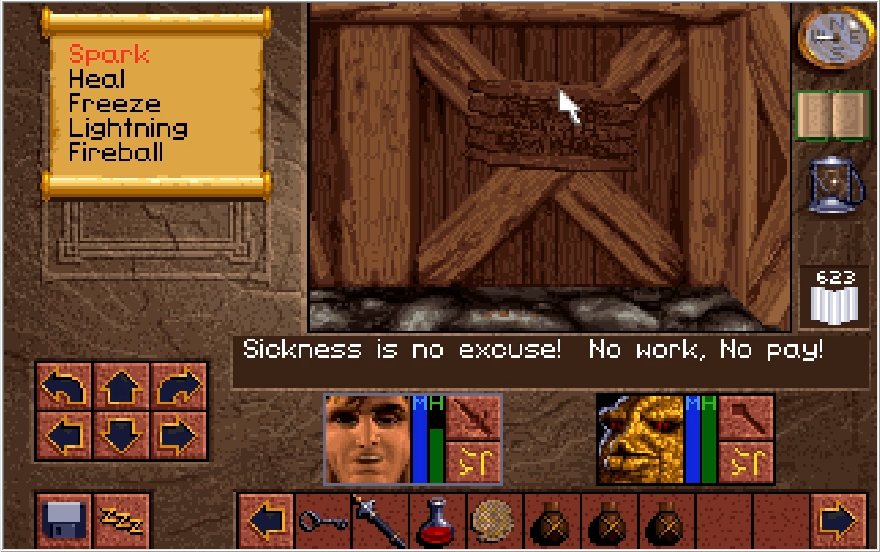
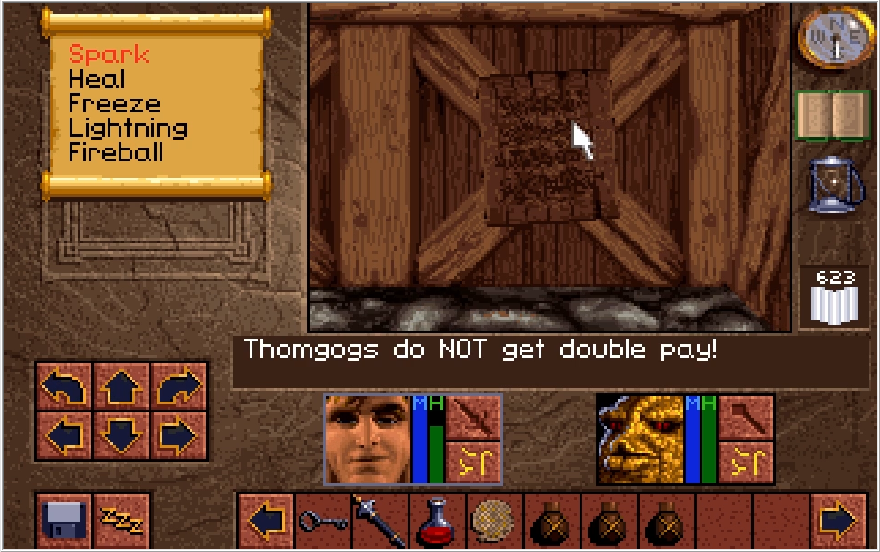
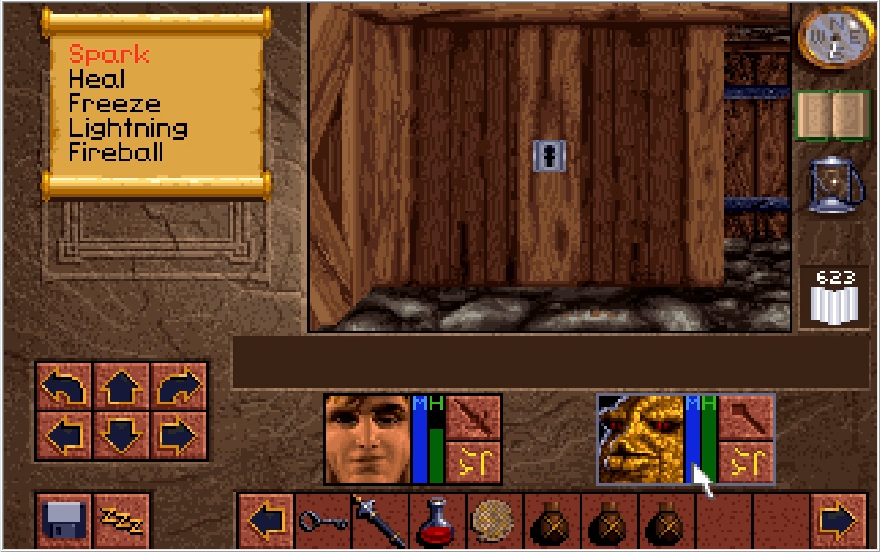
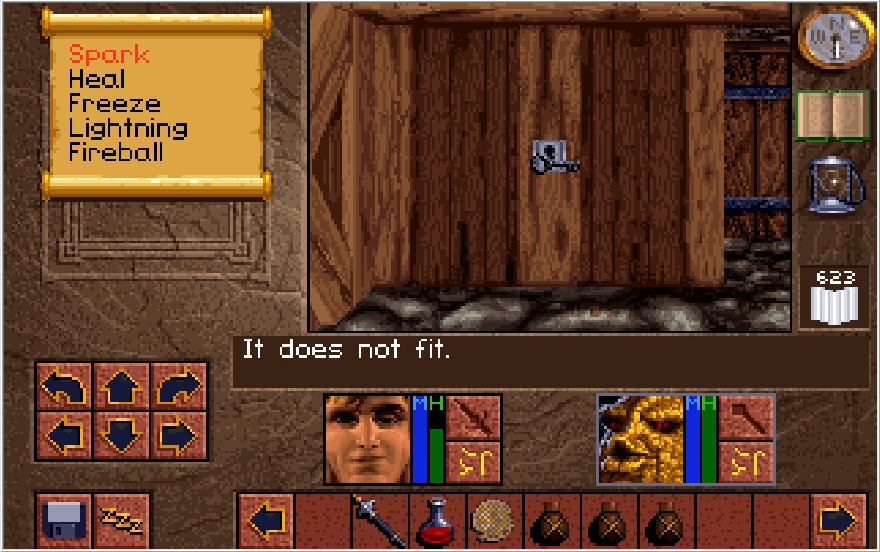
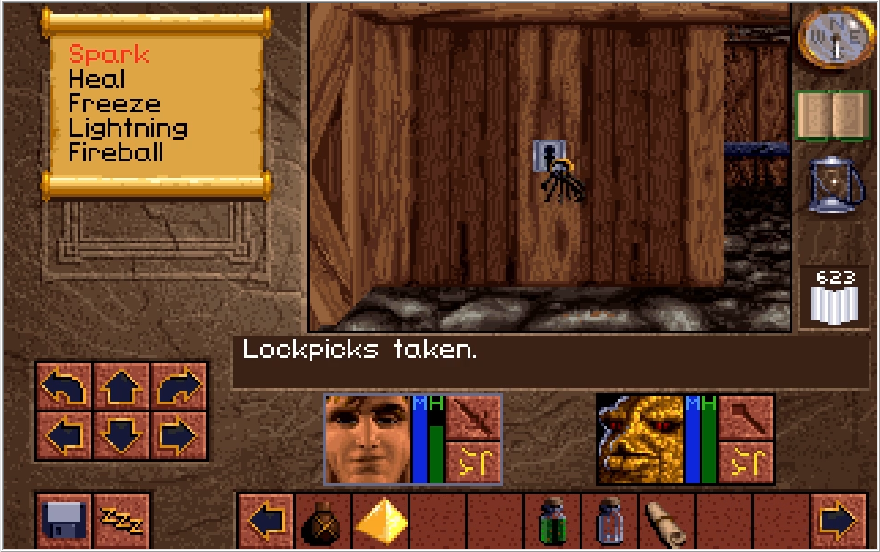
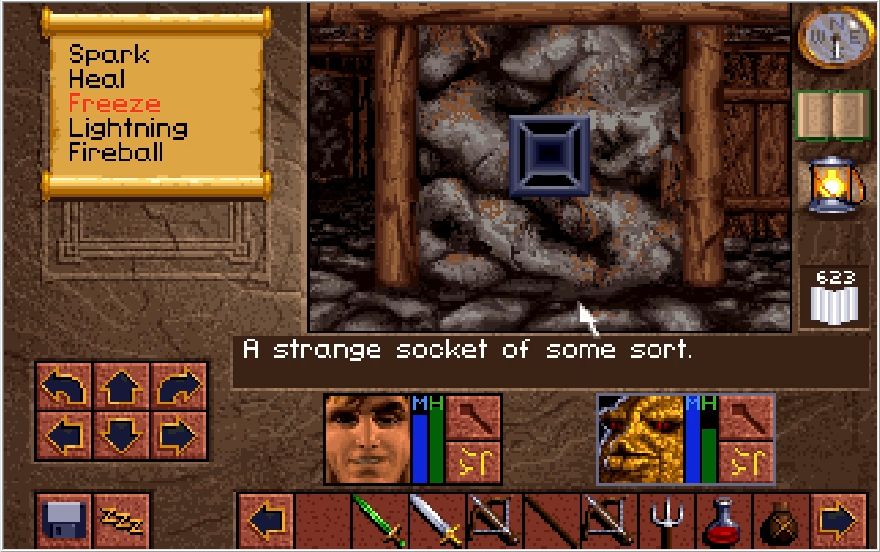
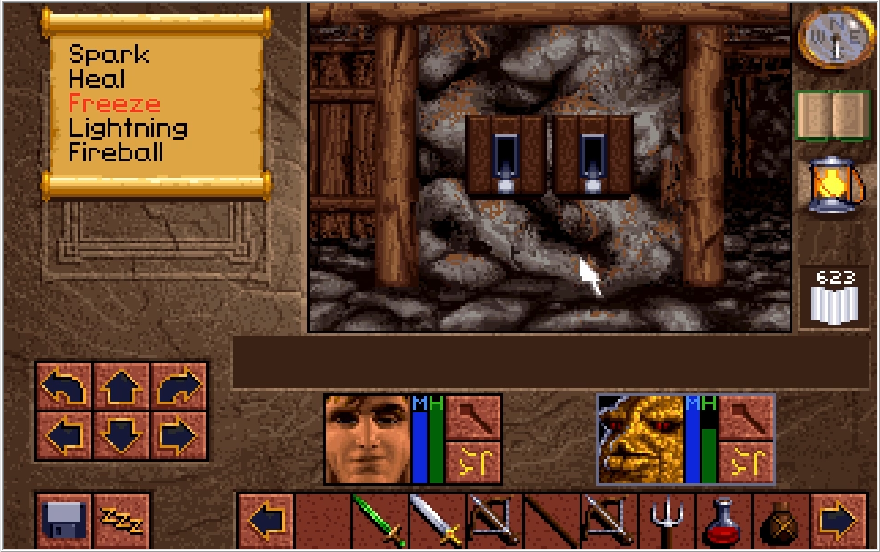
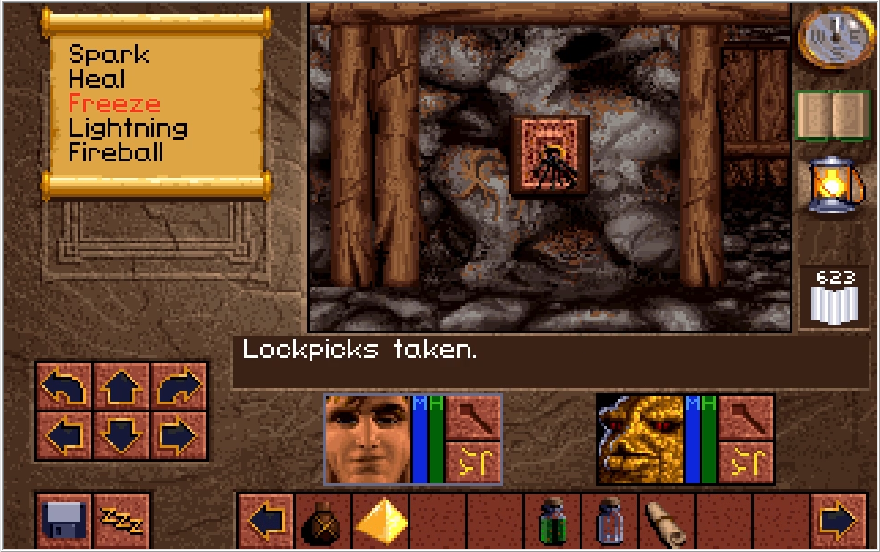
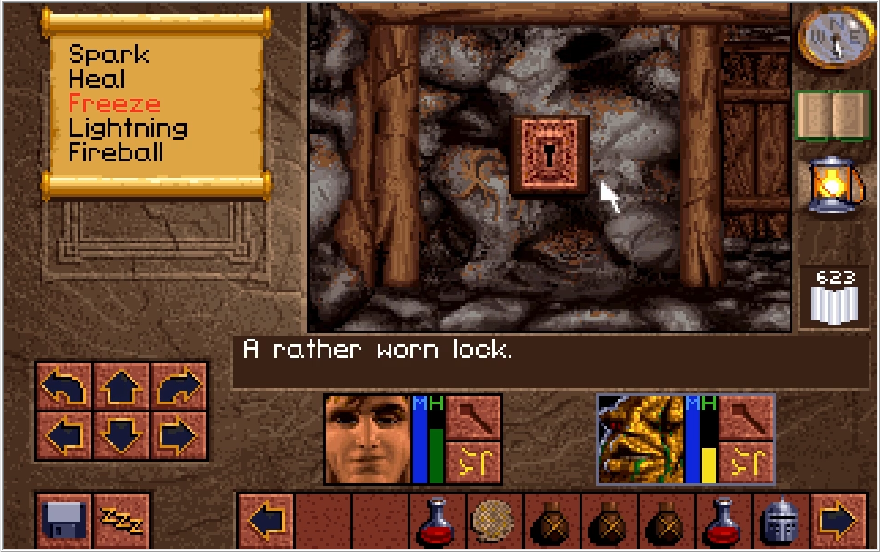
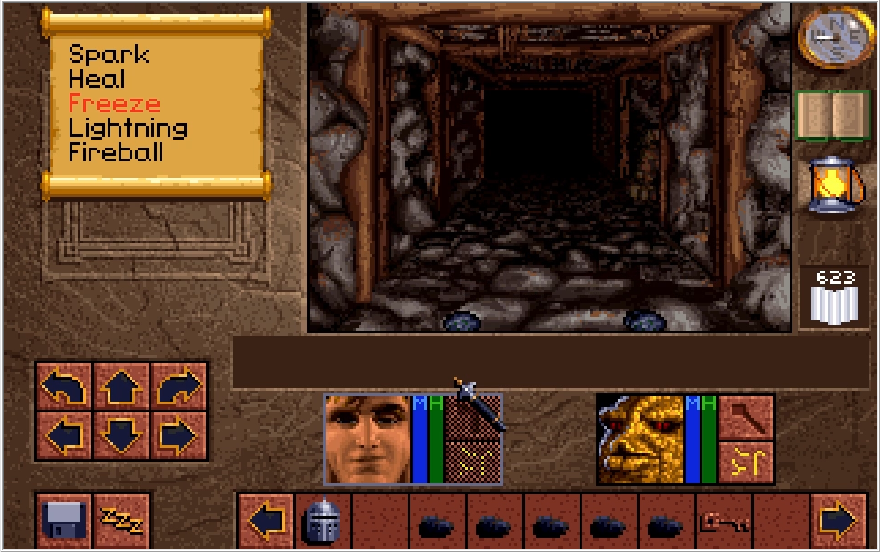
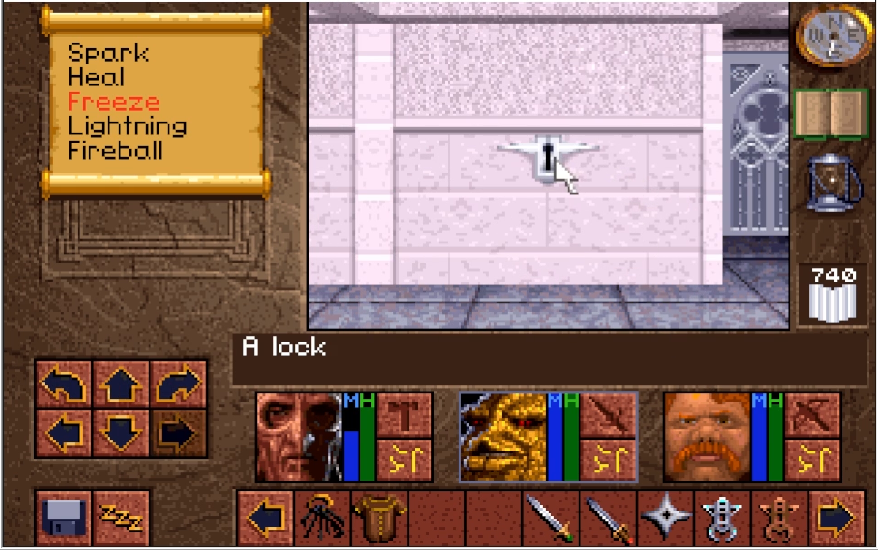
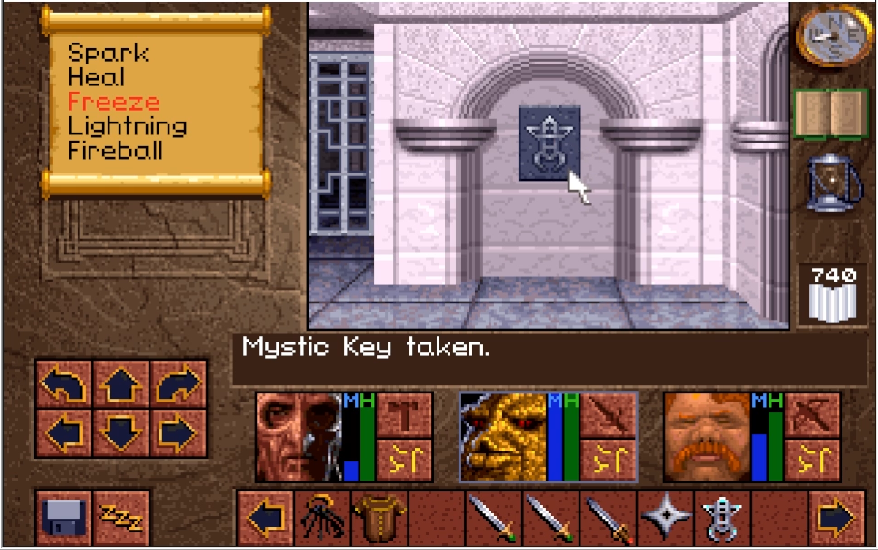
Each hall we step into from the central room has two switches on each side of the message we can read. The exception is the west hall, which has a lock instead of a message. I slap the switch to the left of the first clue wall and make my way to the end of the path it opens.

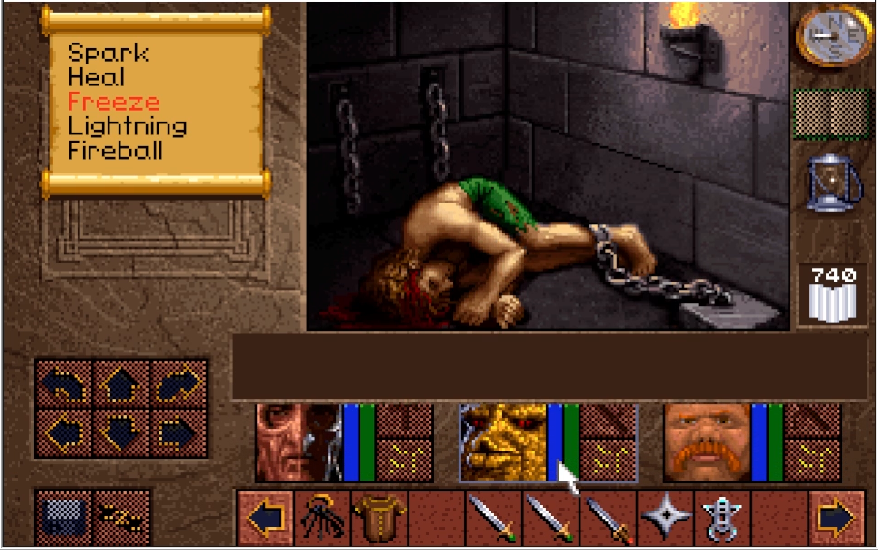
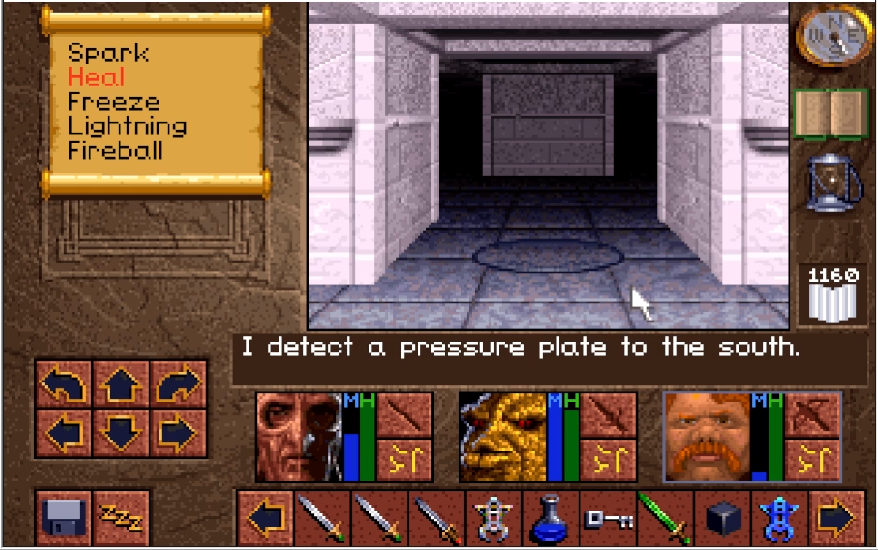
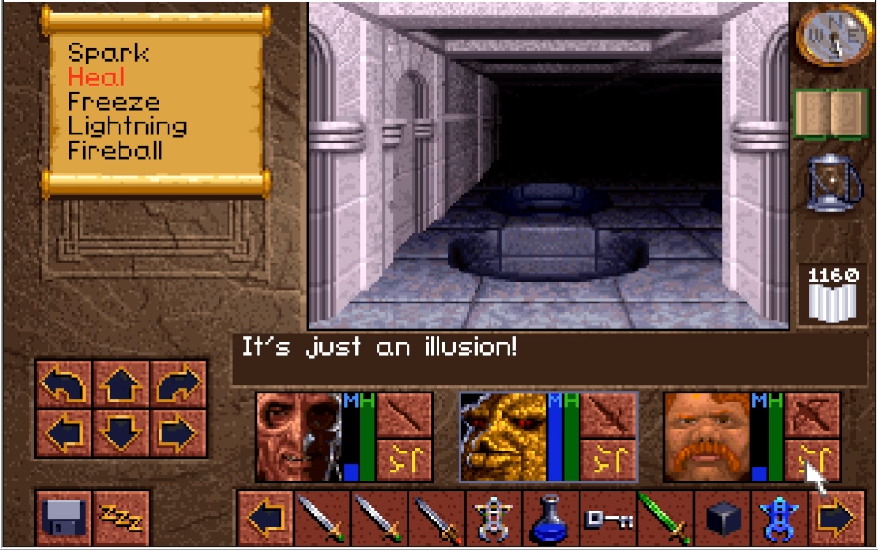
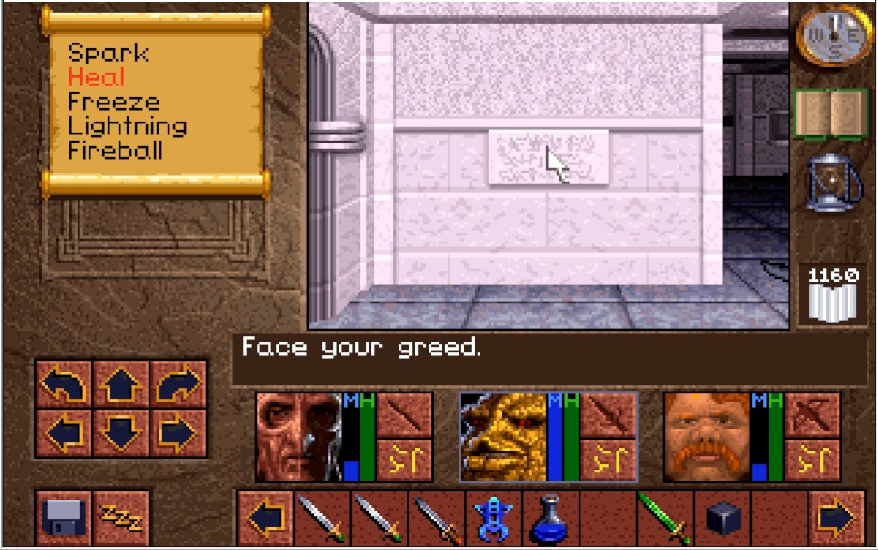
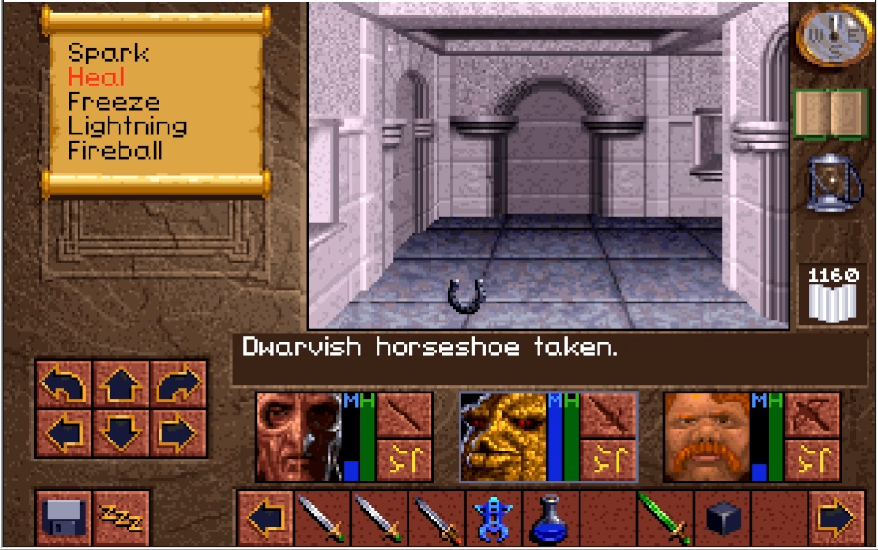
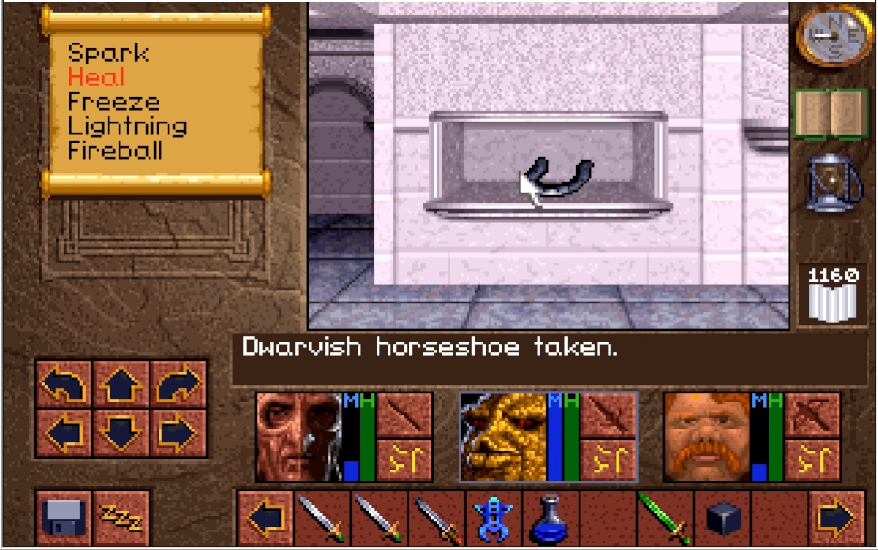
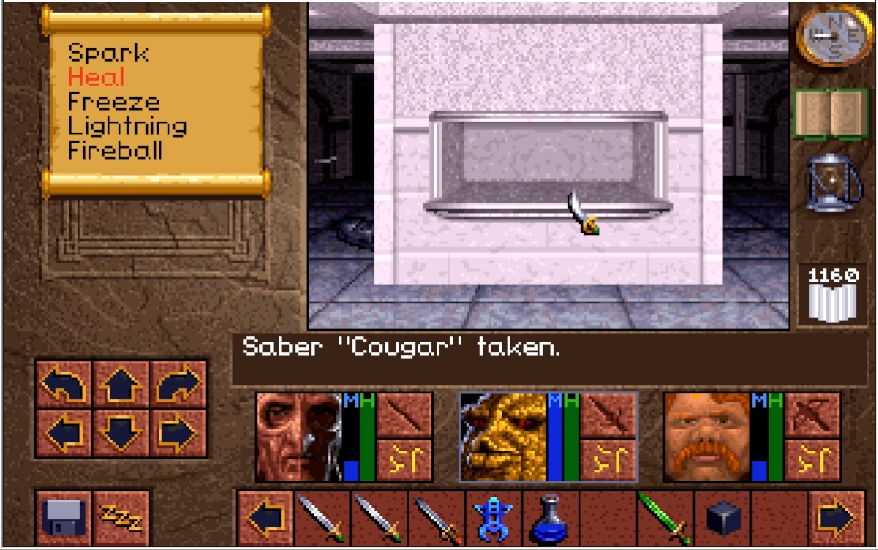
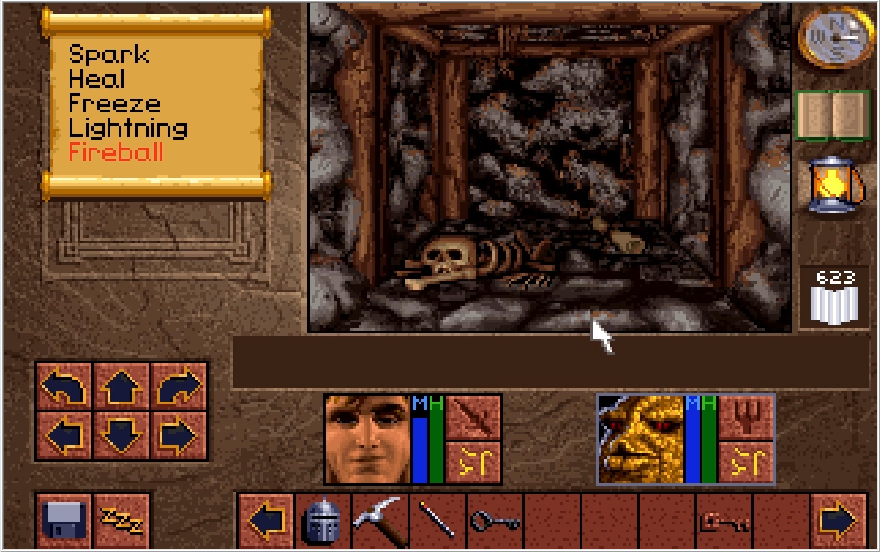
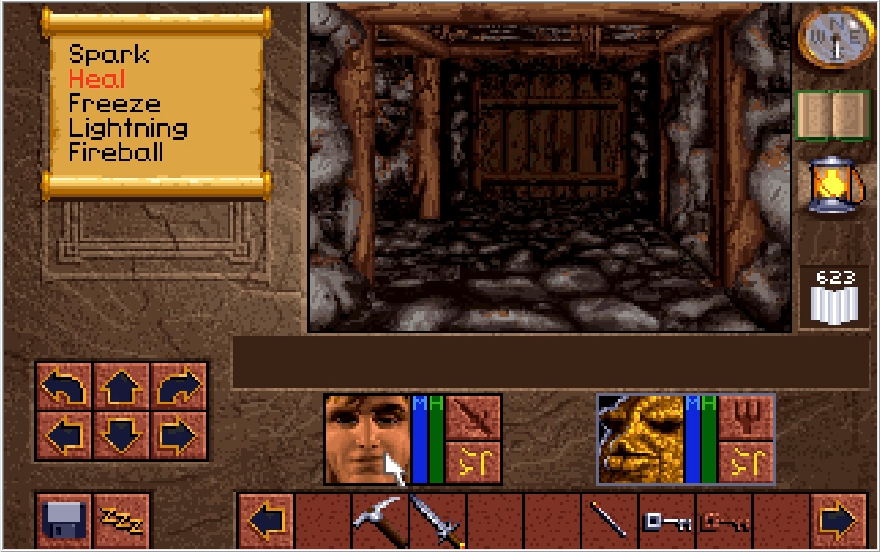
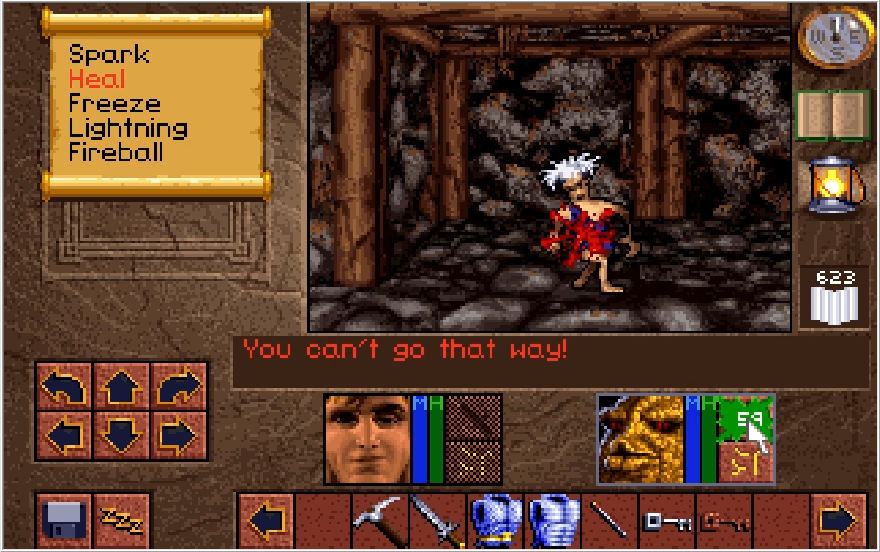
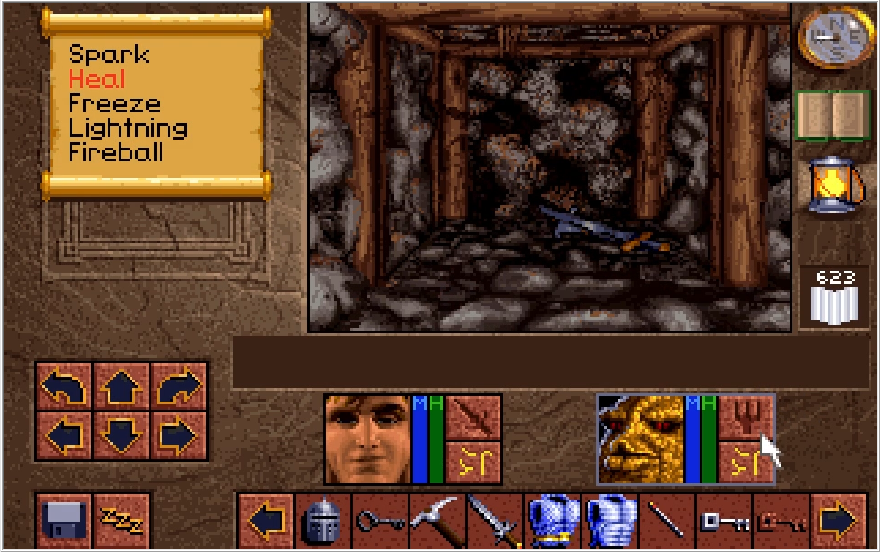
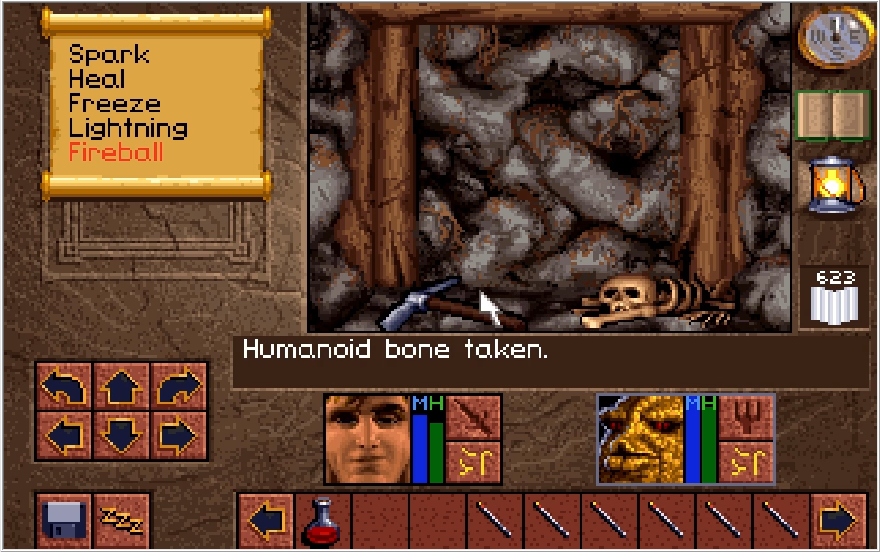
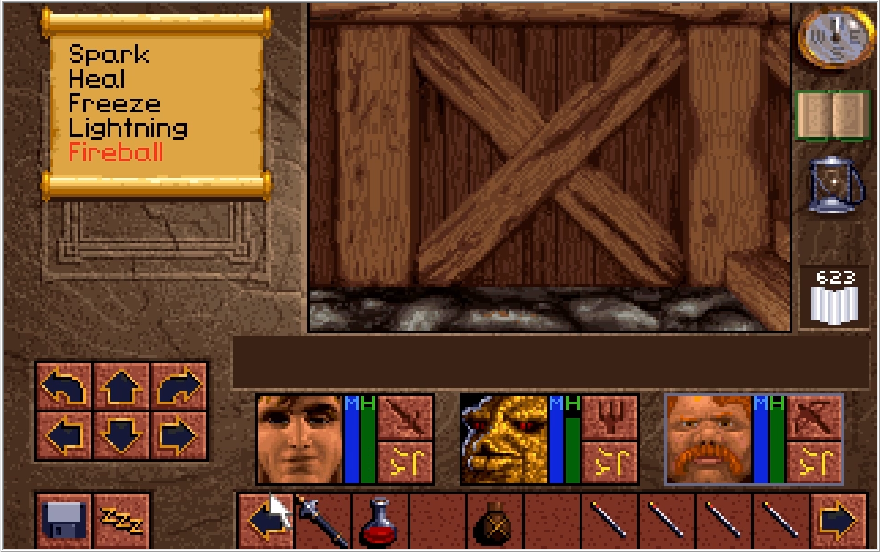
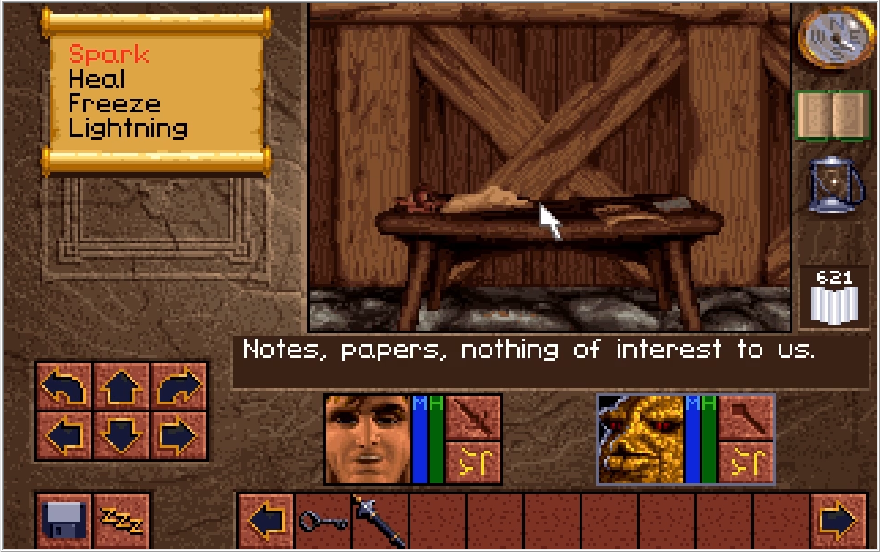
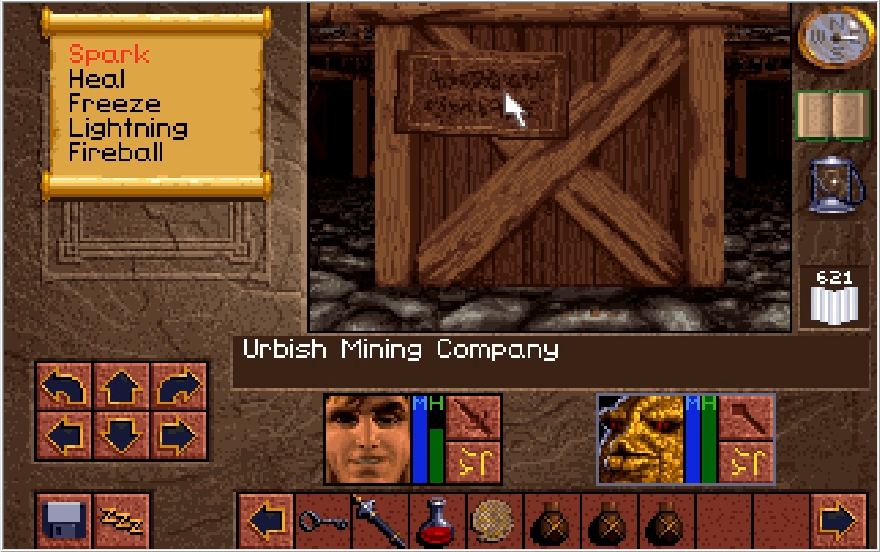
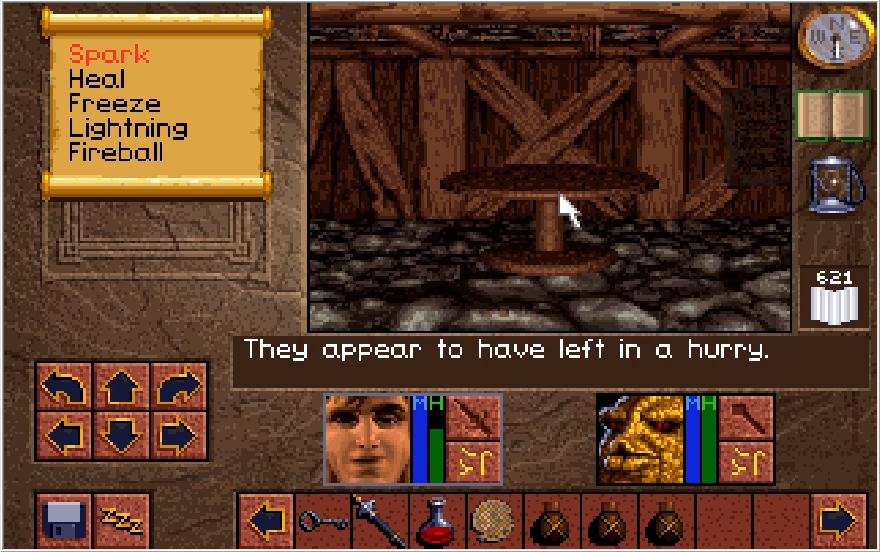
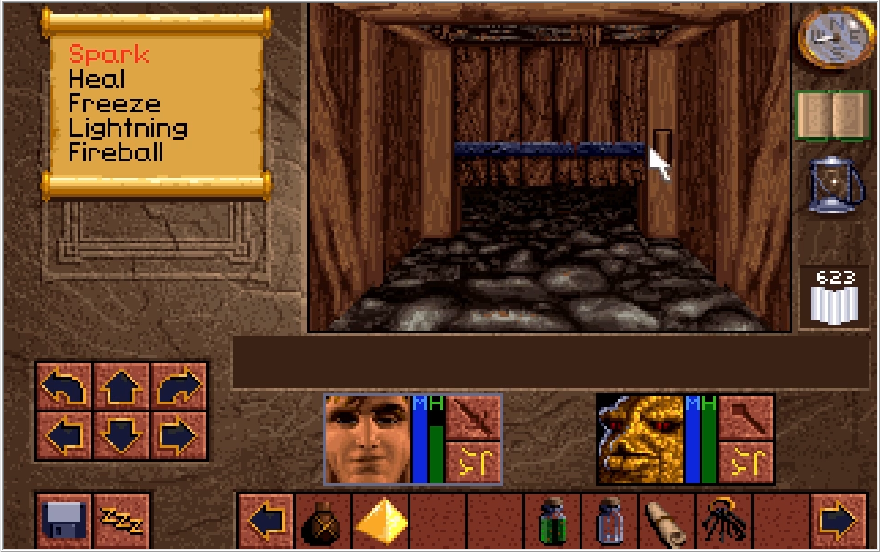
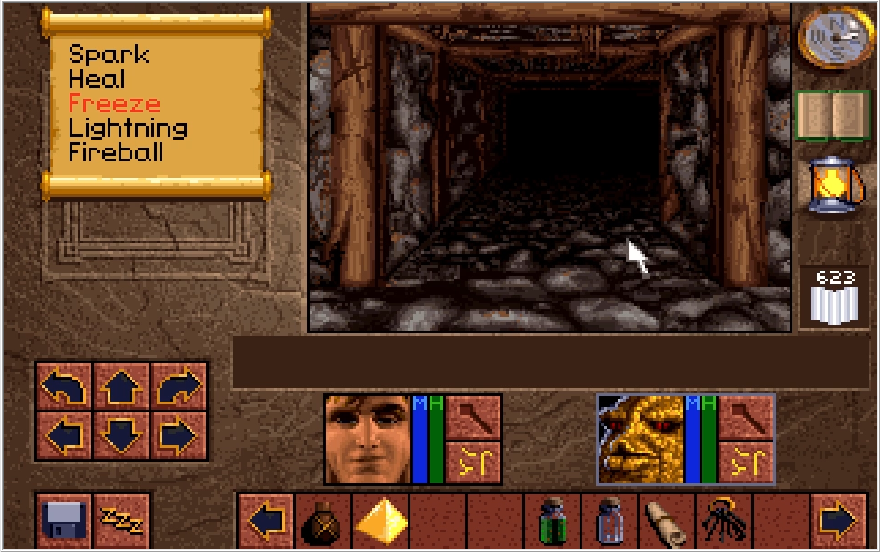
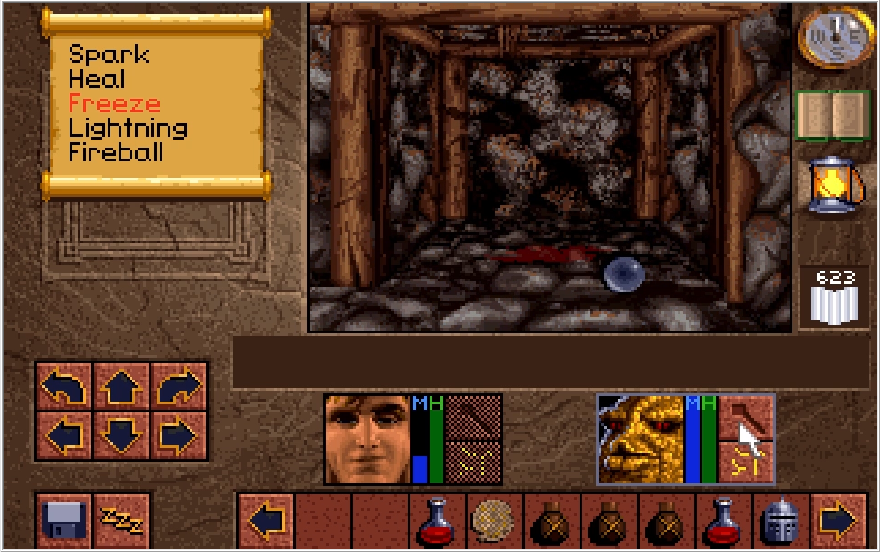
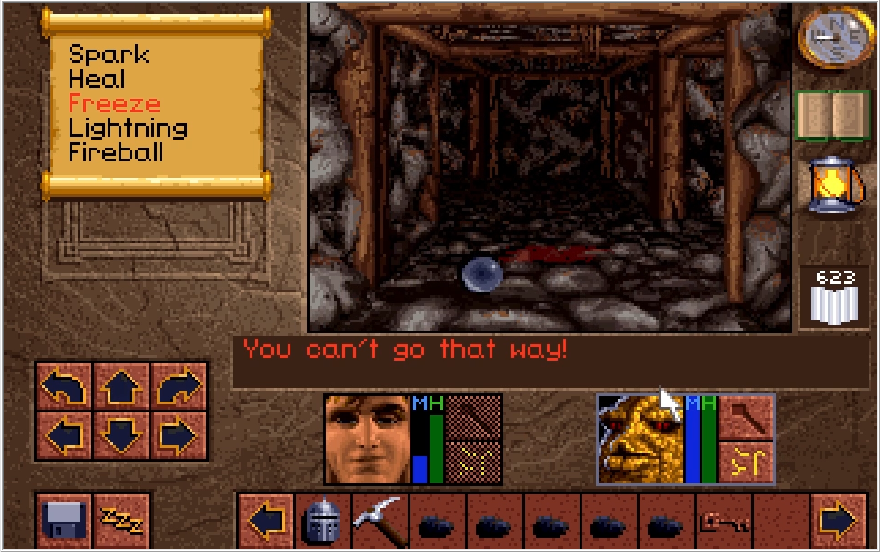
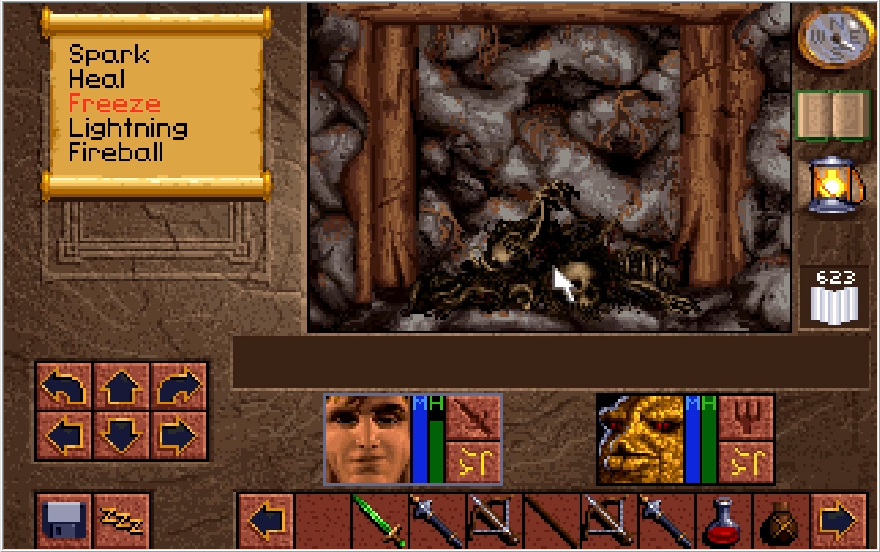
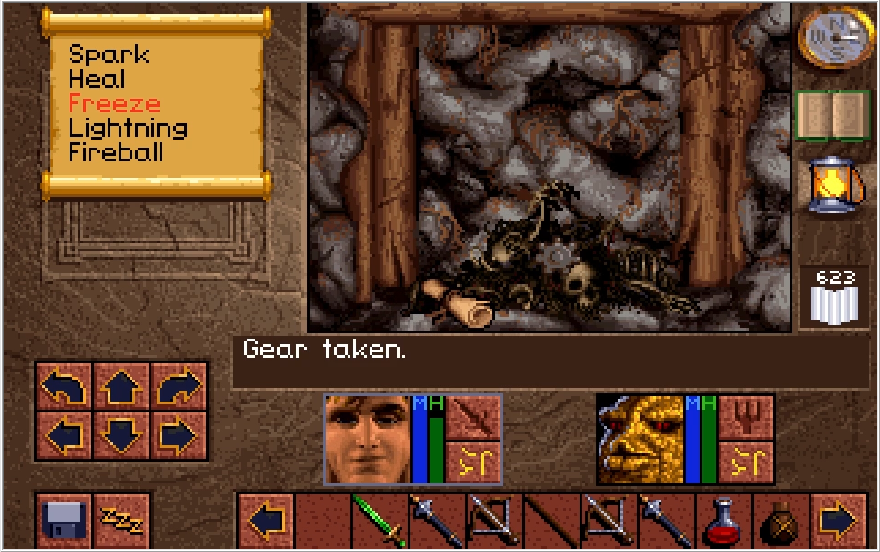
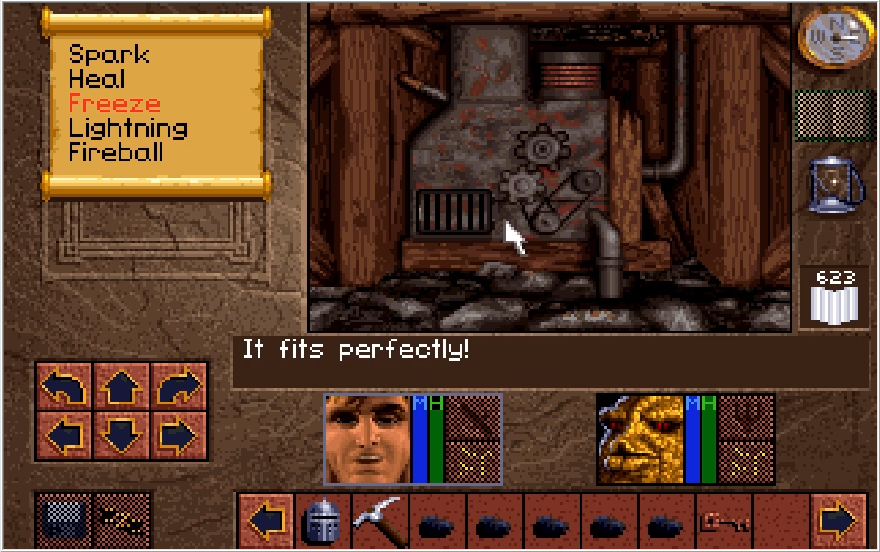
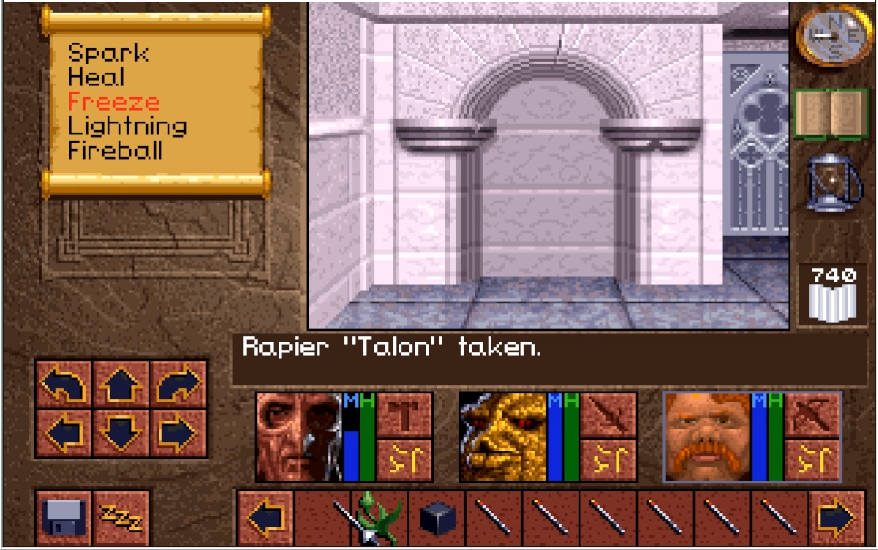
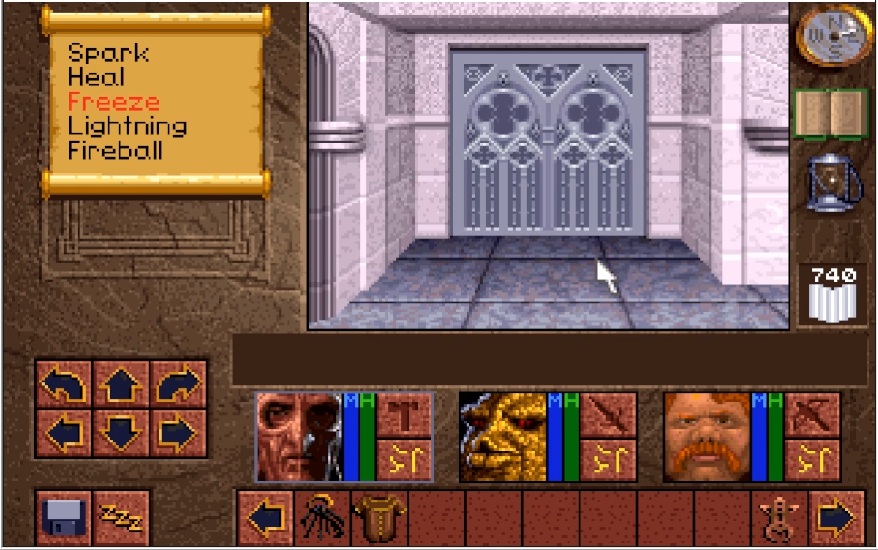
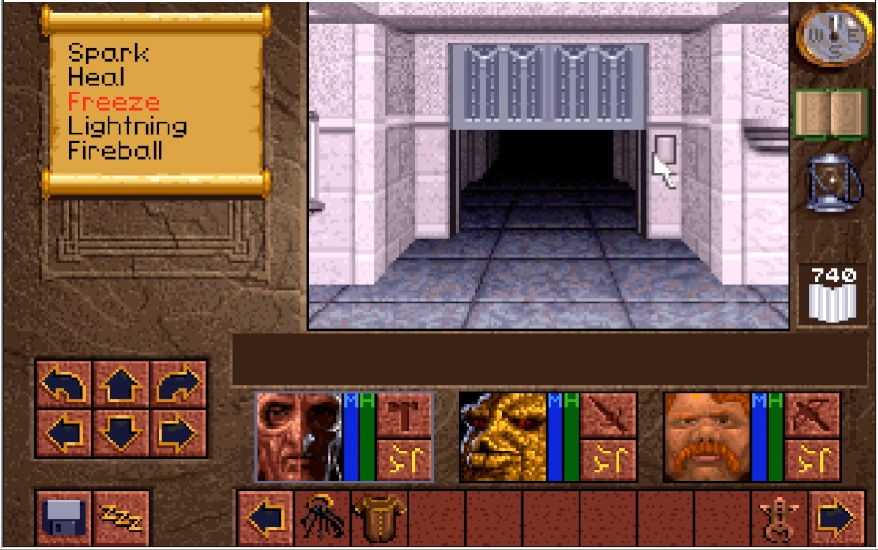
Following it to the end, we hit a door. Opening it up, we step in and trigger a pressure plate that slams the door behind us. We cannot leave this room until we collect the treasure it holds. The path directly in front of us just leads to a dead end, we want to turn south instead.
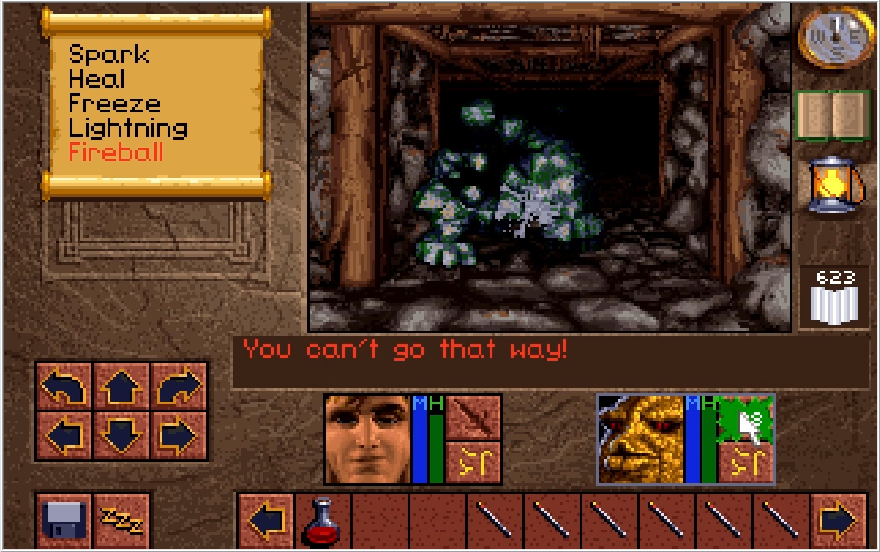
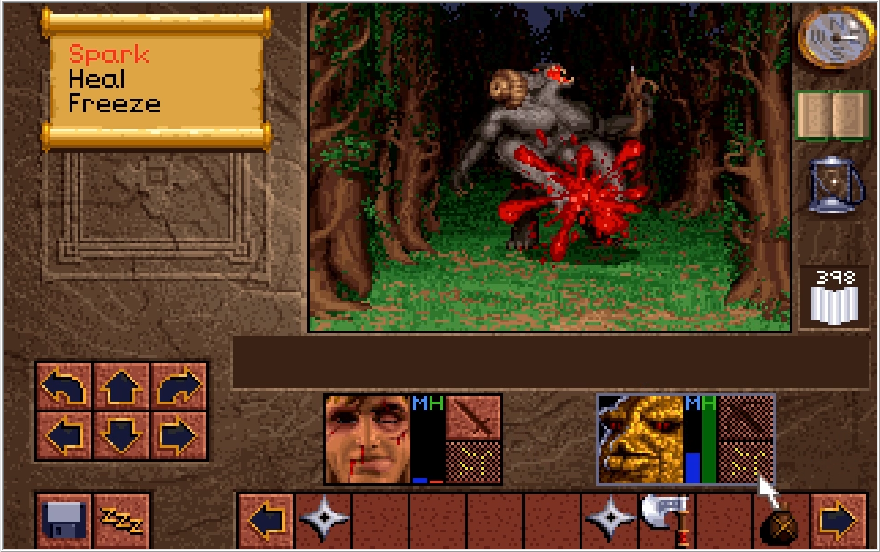
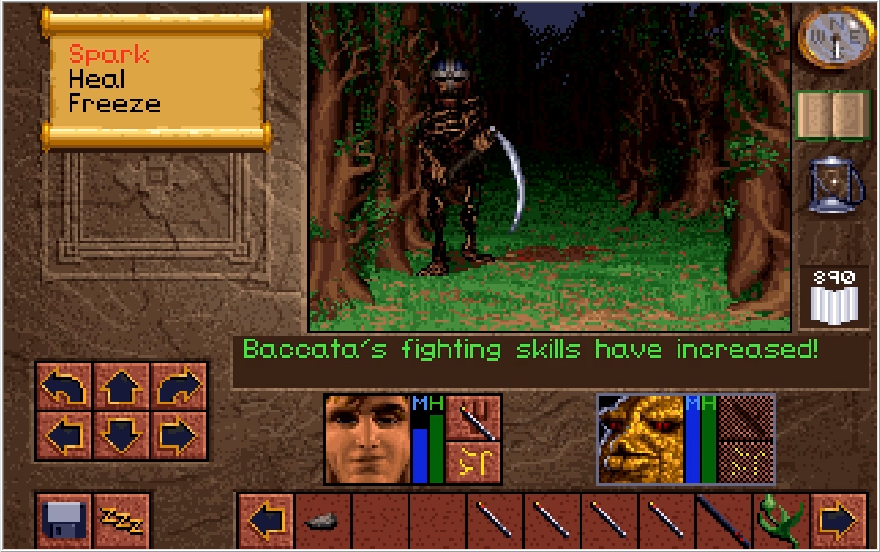
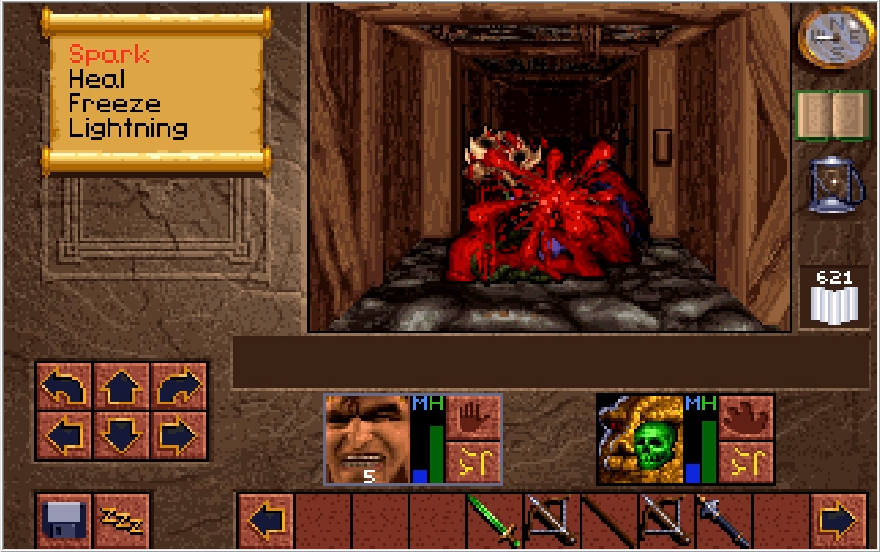
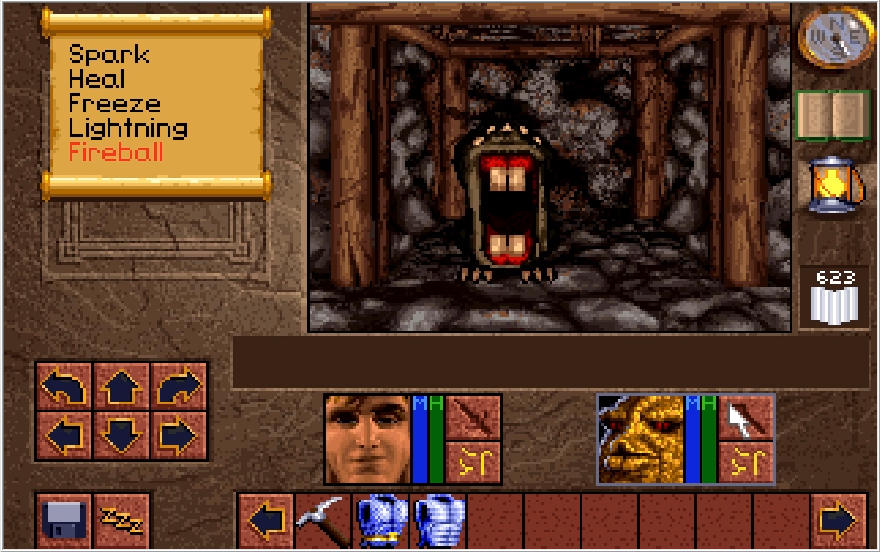
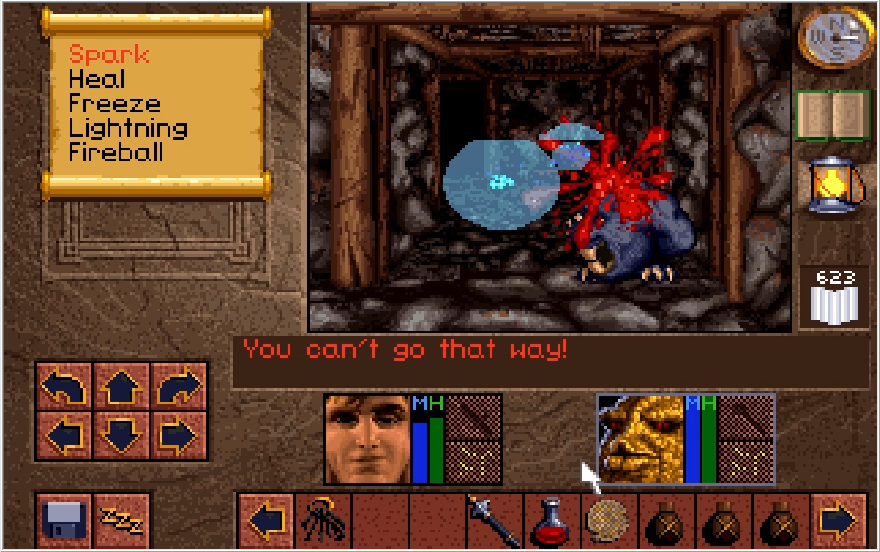
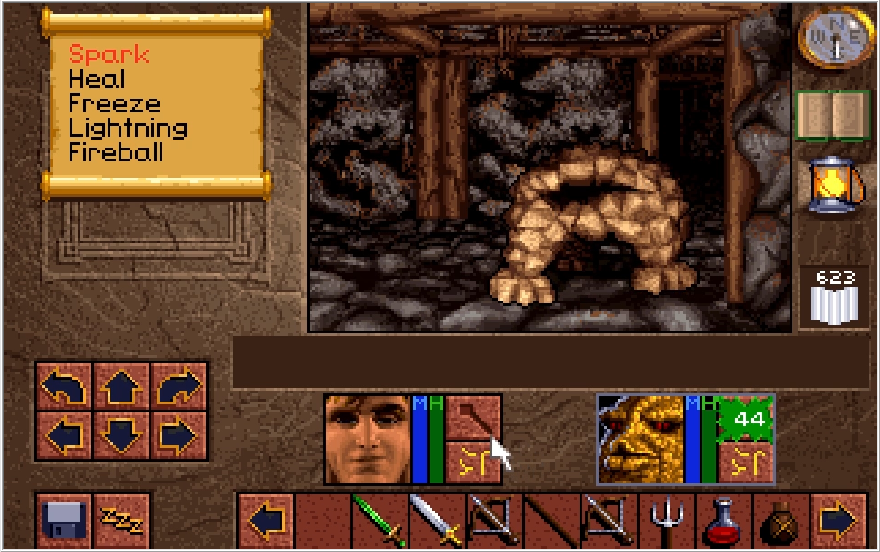
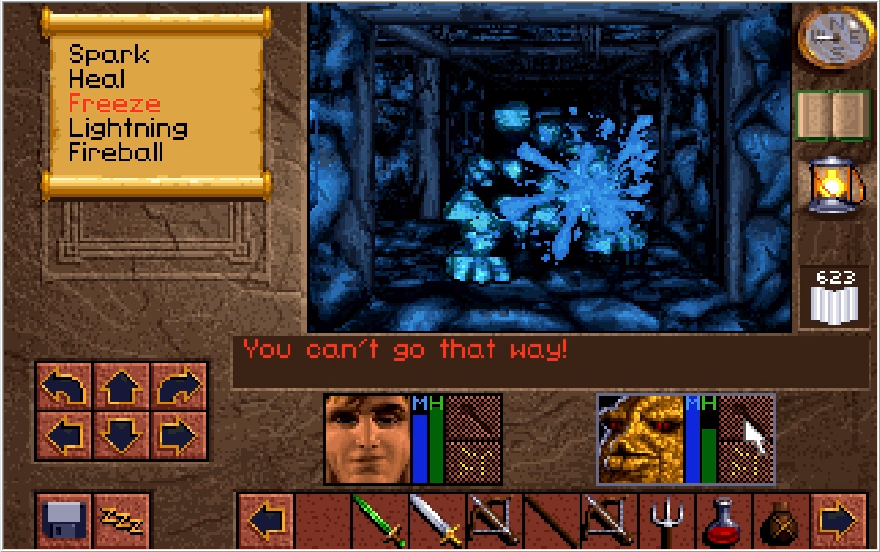
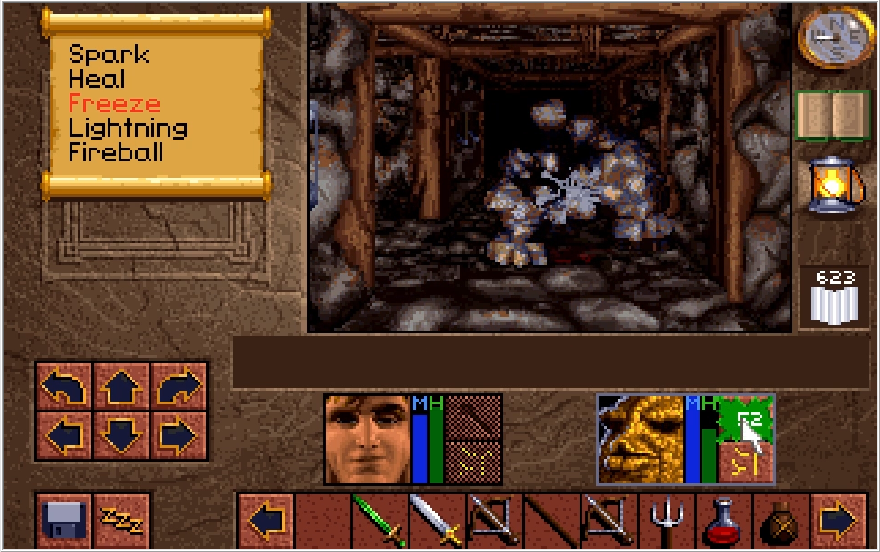
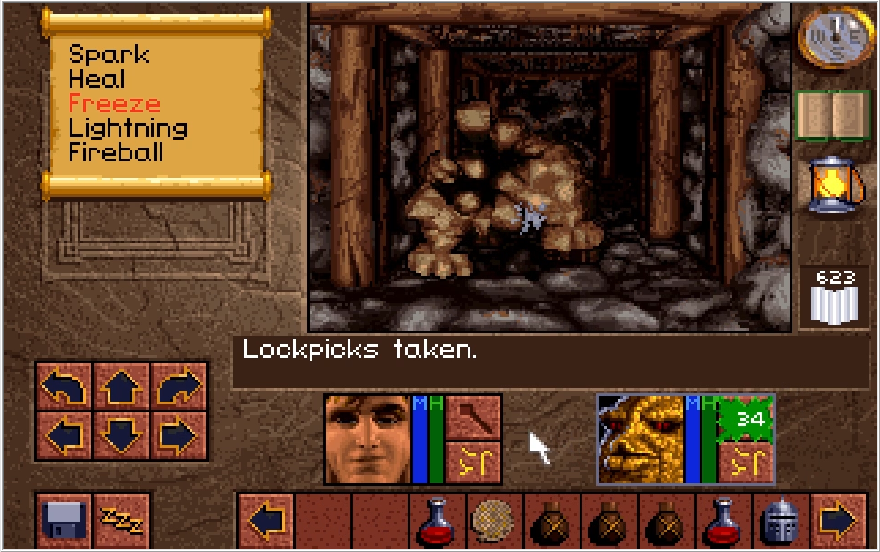
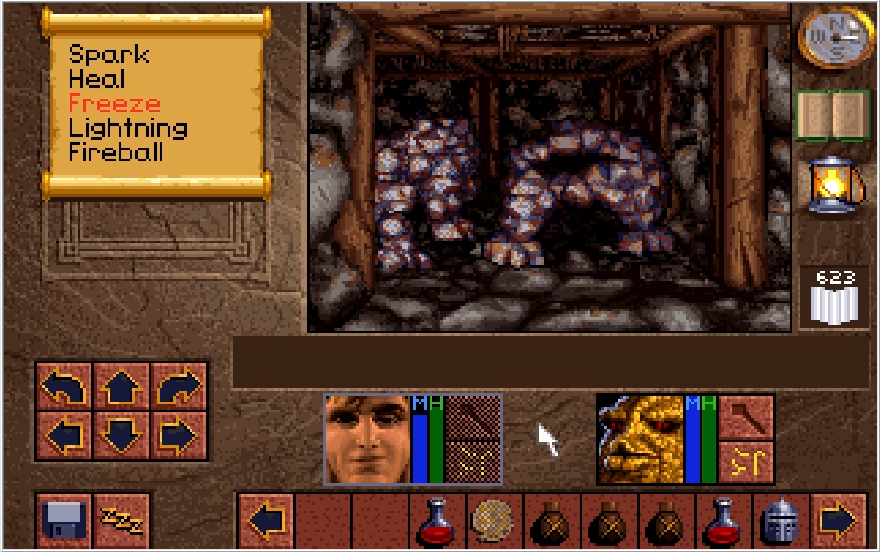
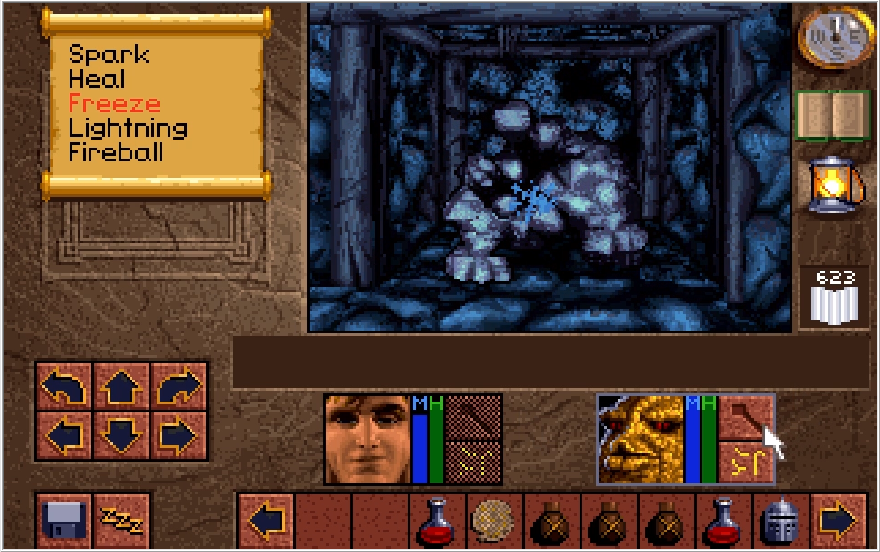
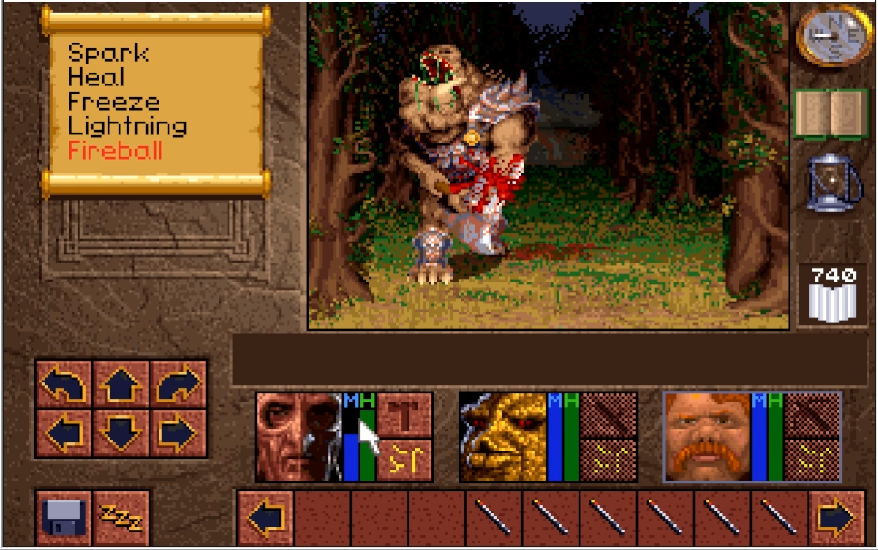
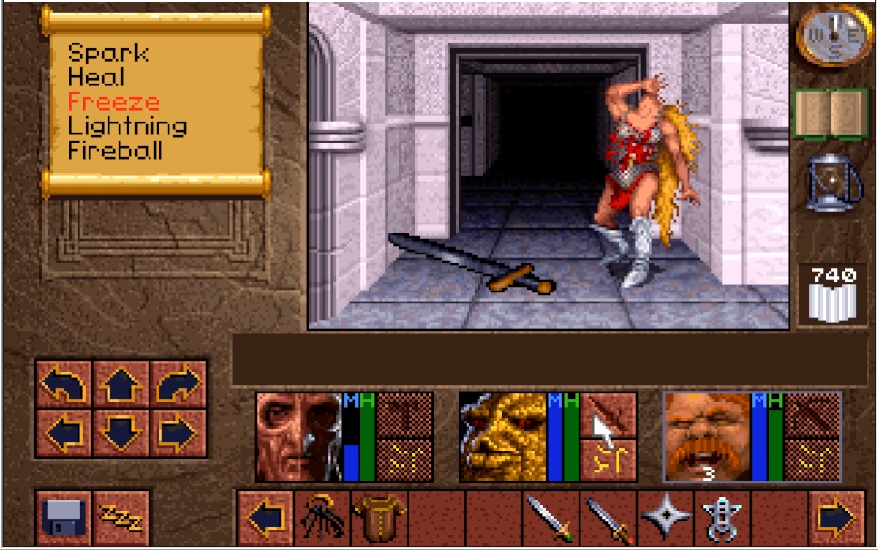
We come across a booby trapped hall littered with pressure plates and fire jet traps. Each time pressure is put onto a plate, the trap stops. When pressure is removed, the trap reactivates. You'd supposed to get through this by meticulously weighing down the plates as you walk through the hall.
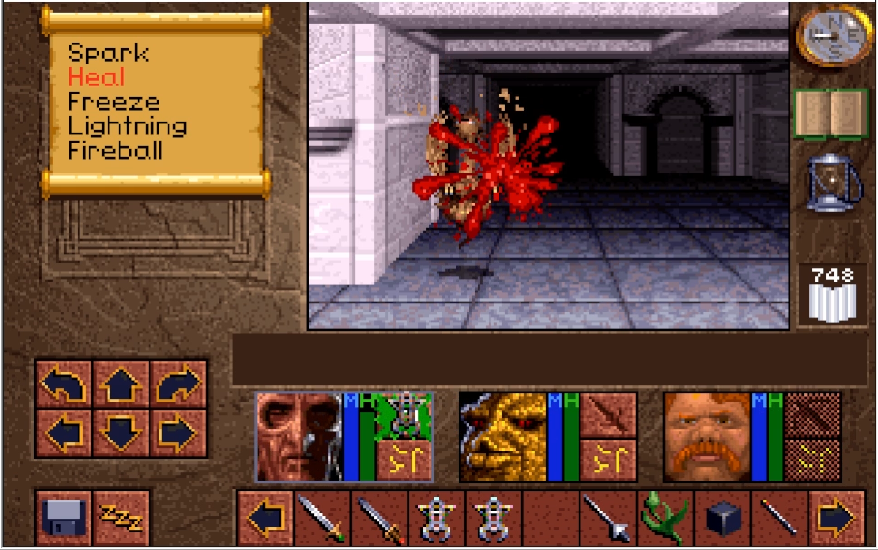
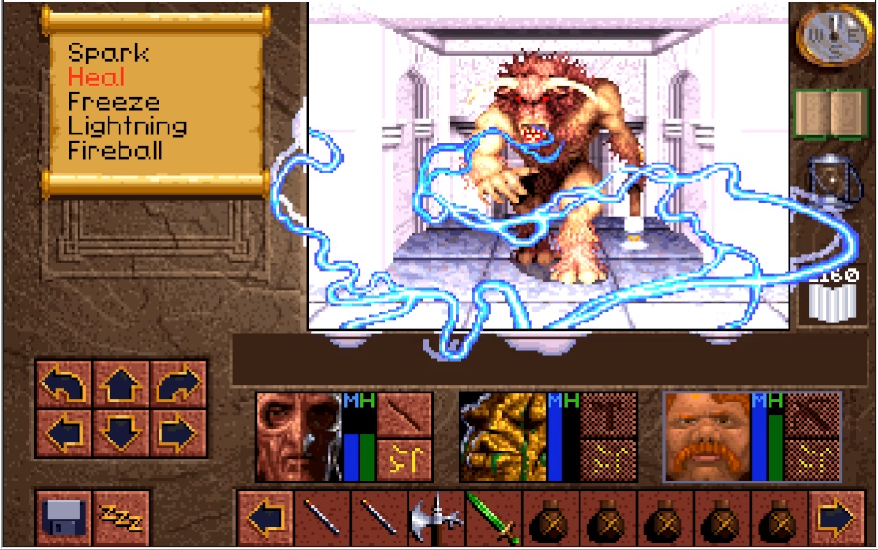
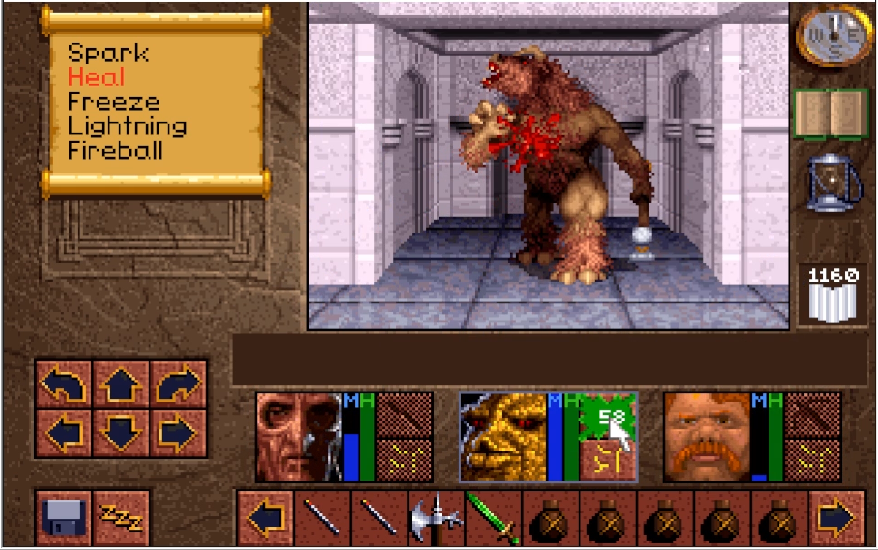
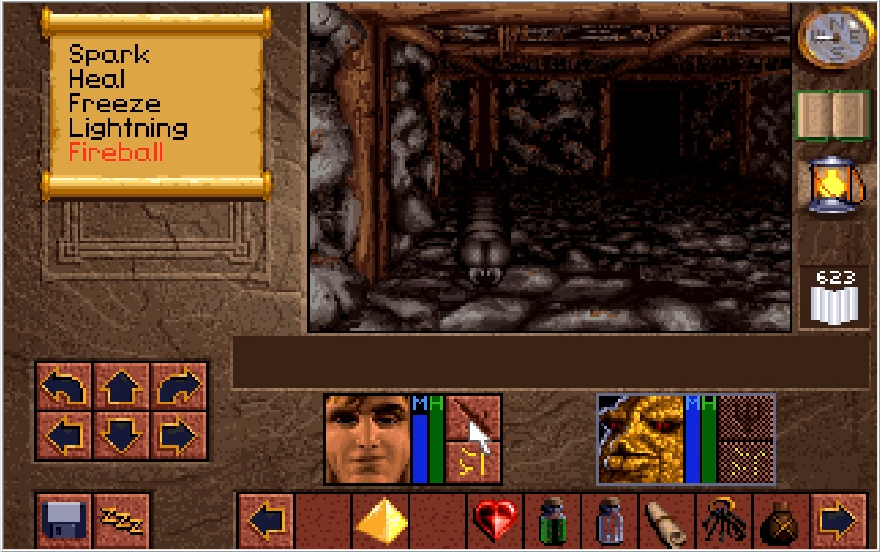
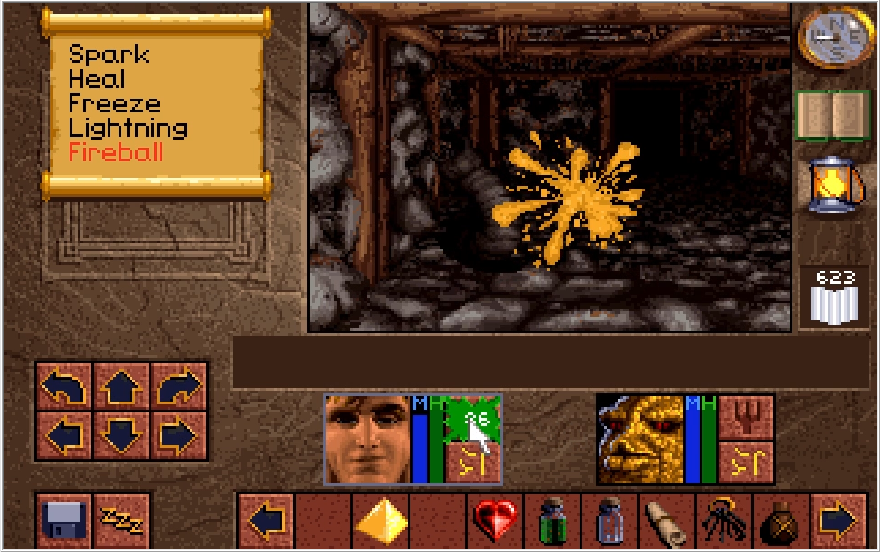
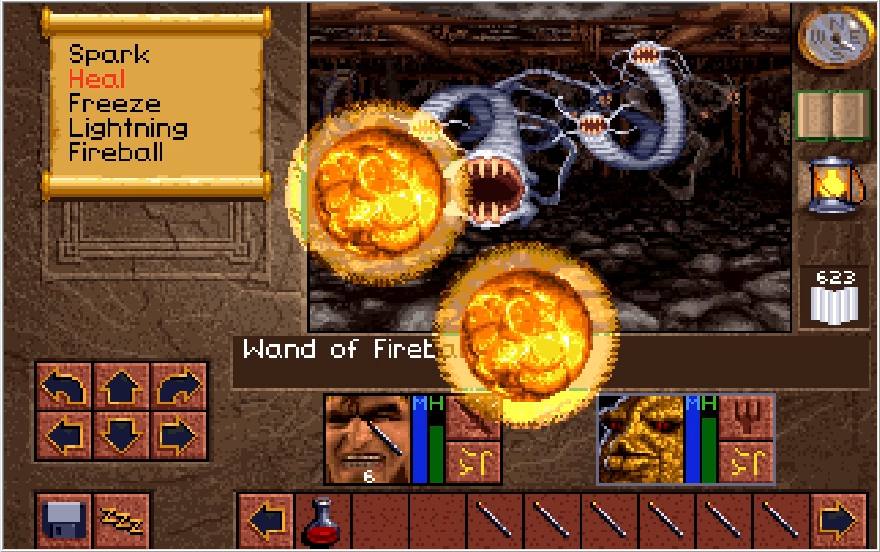
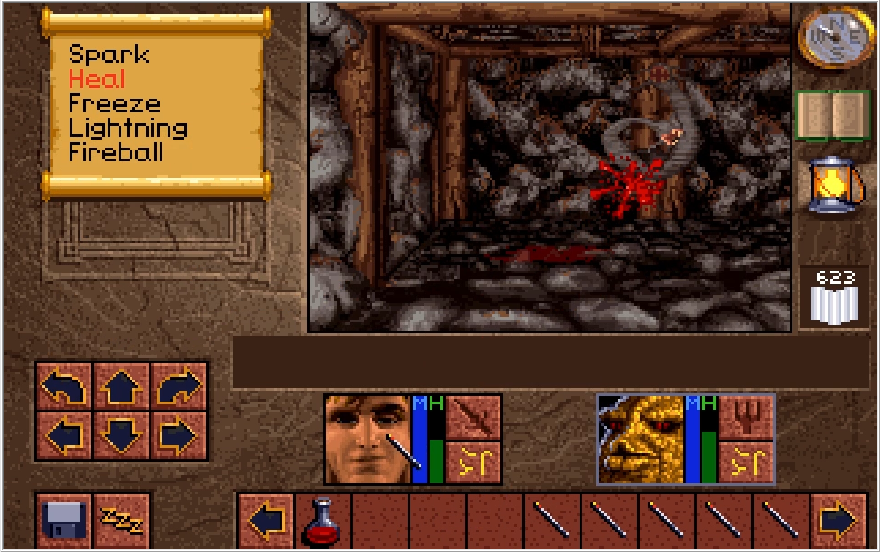
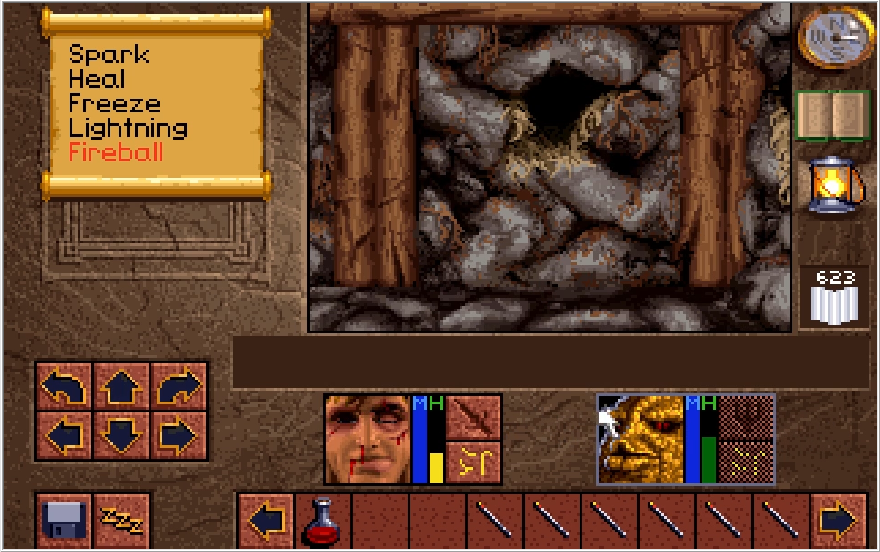
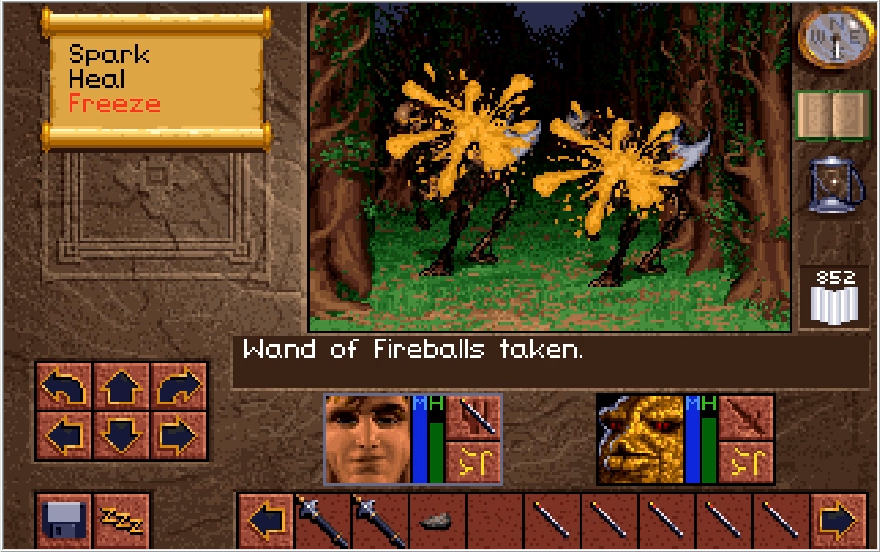
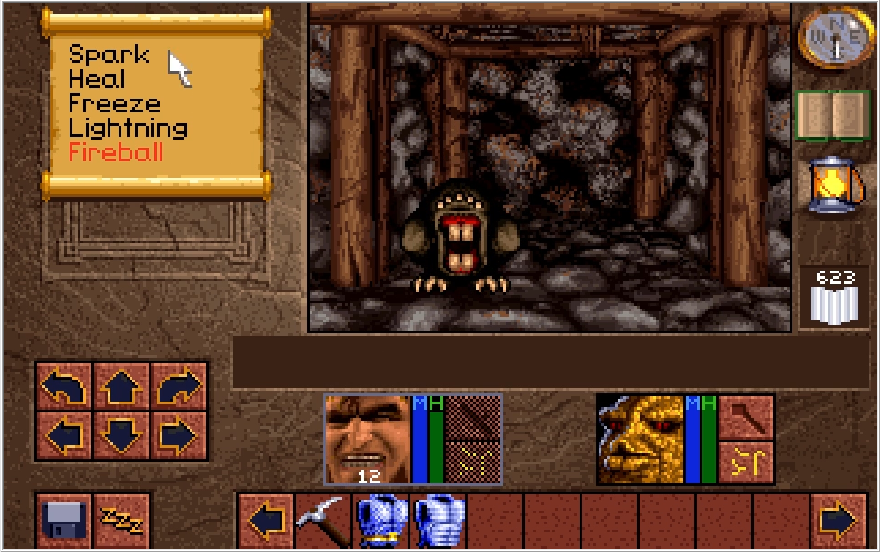
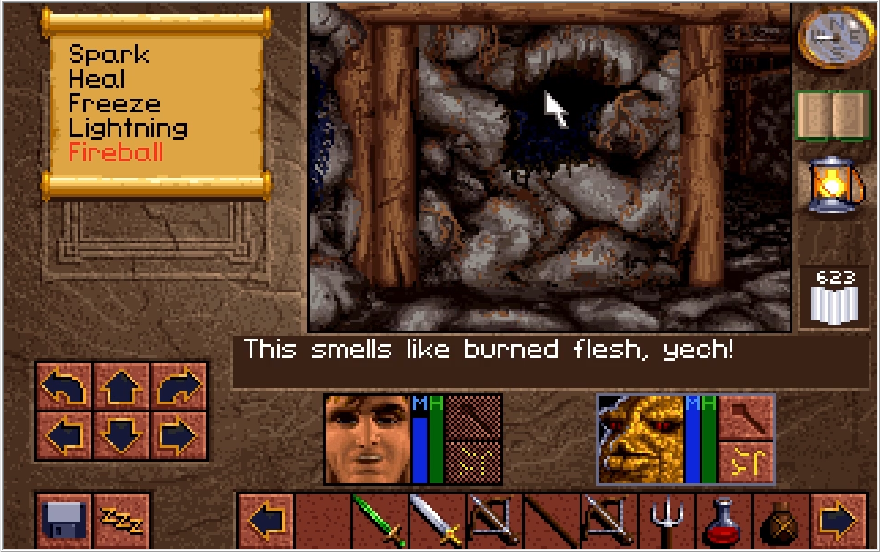
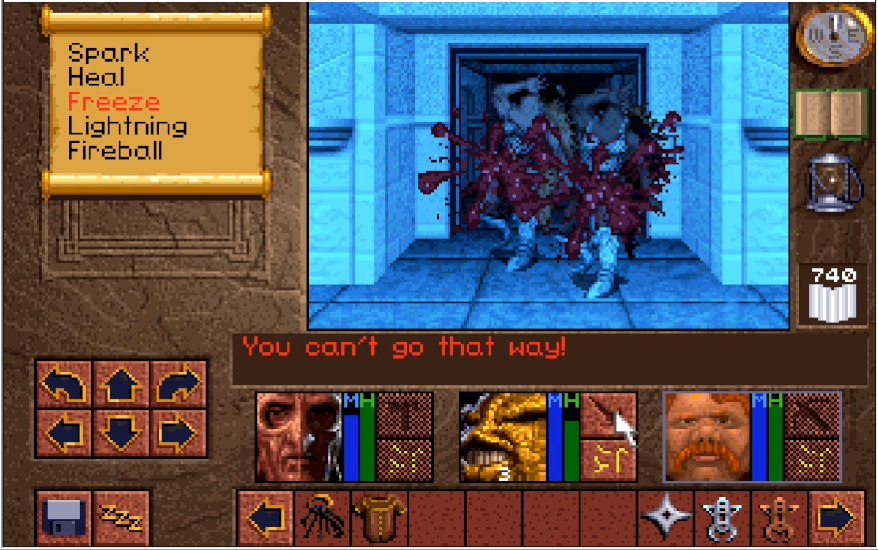
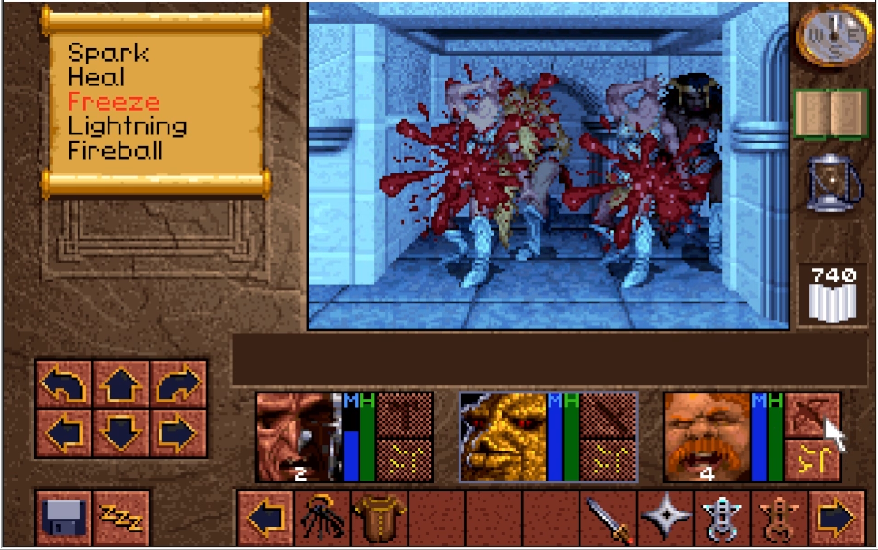
The fire jets don't do nearly enough damage for me to feel like putting up with that nonsense, so I just say "fuck it" and barrel headlong through the hall, soaking up all the damage along the way.

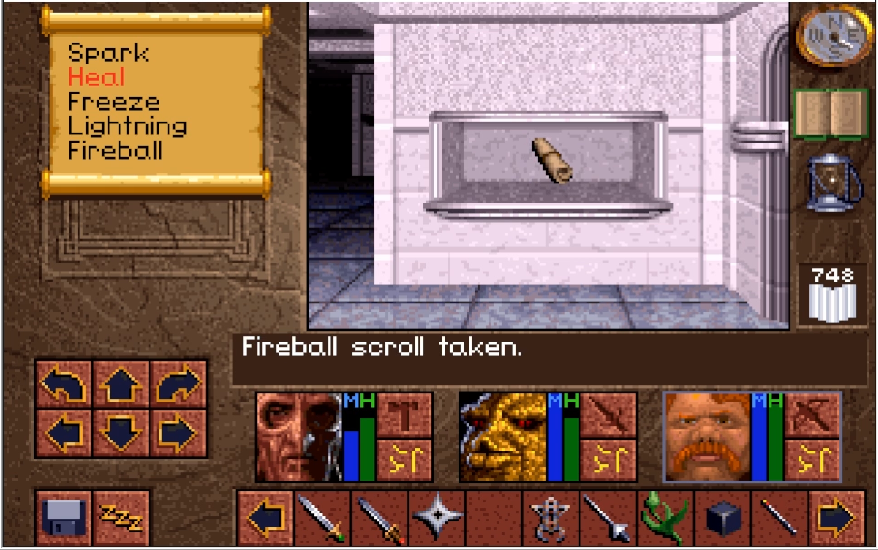
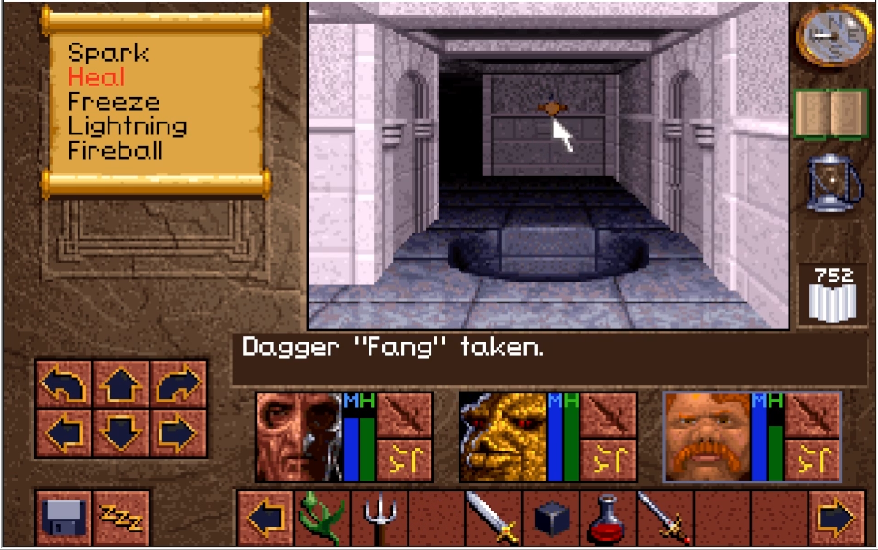
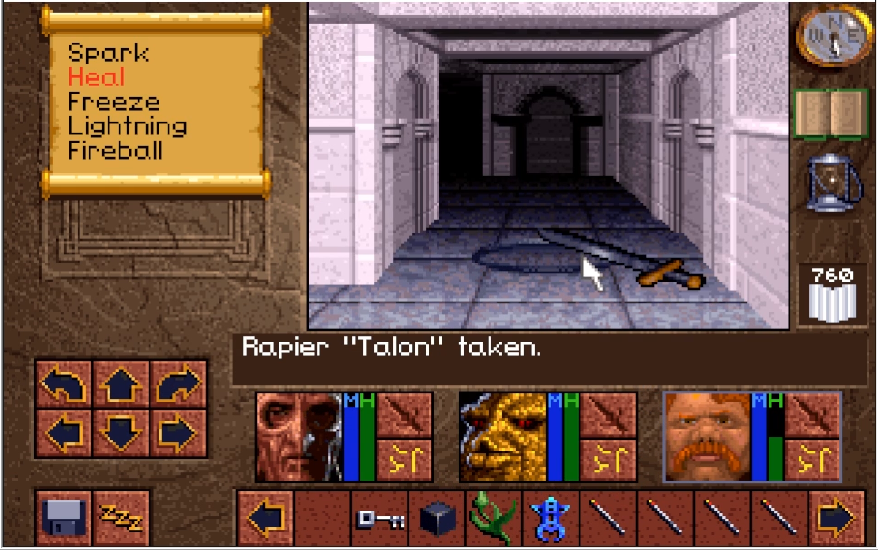
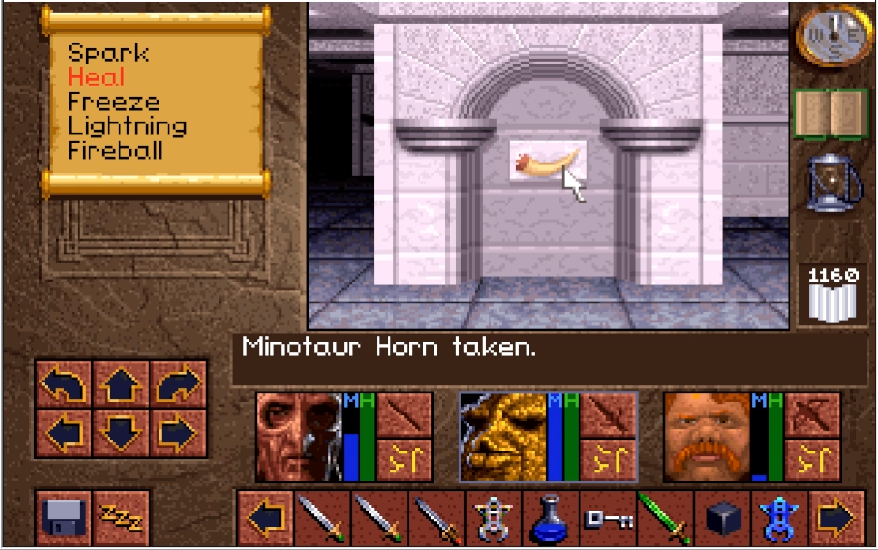
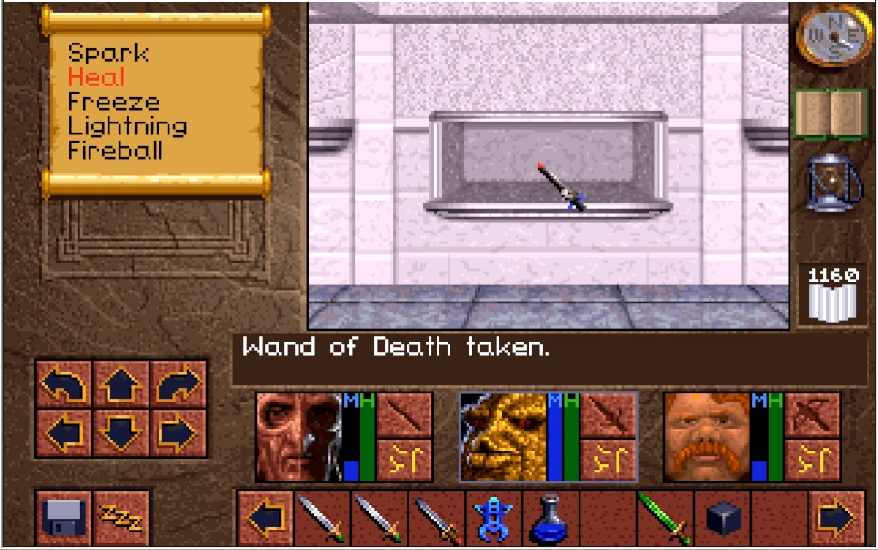
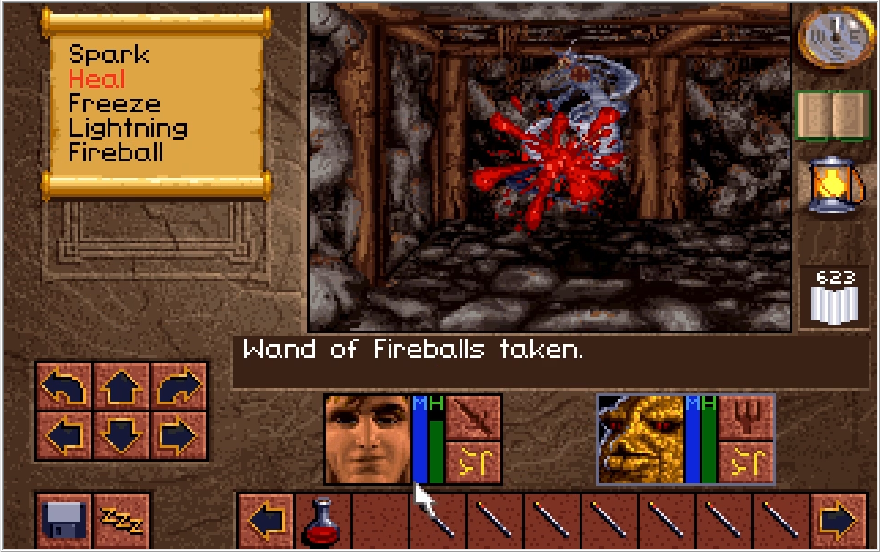
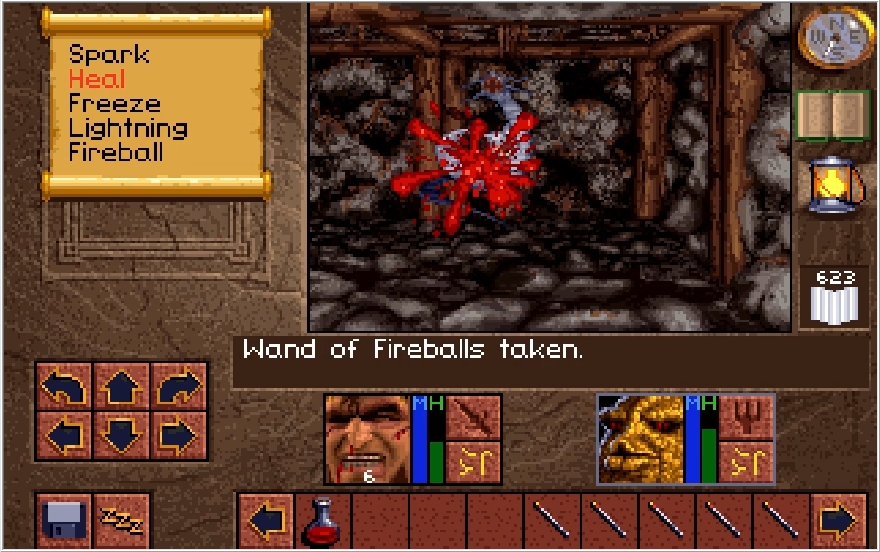
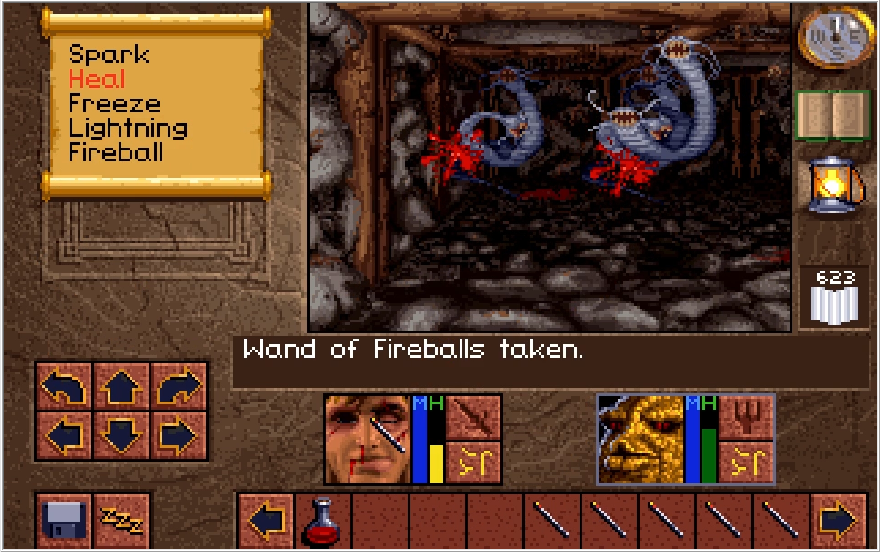
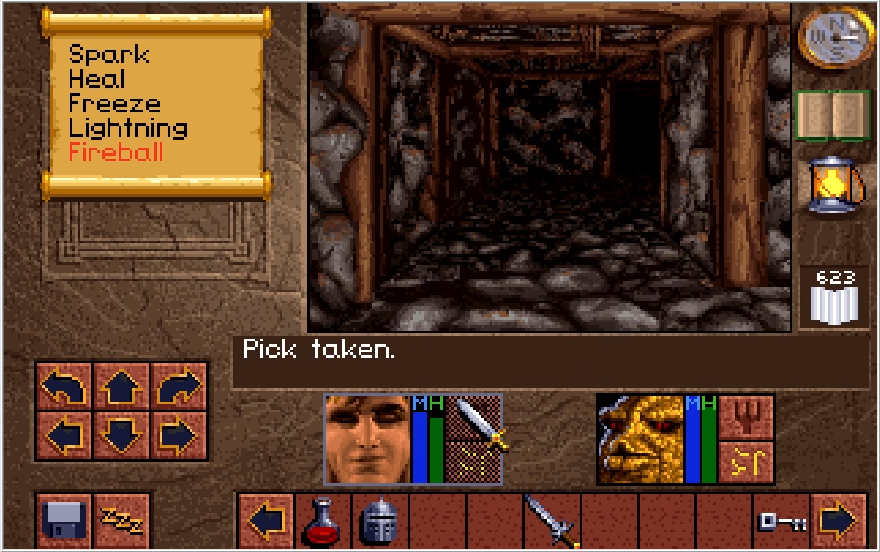
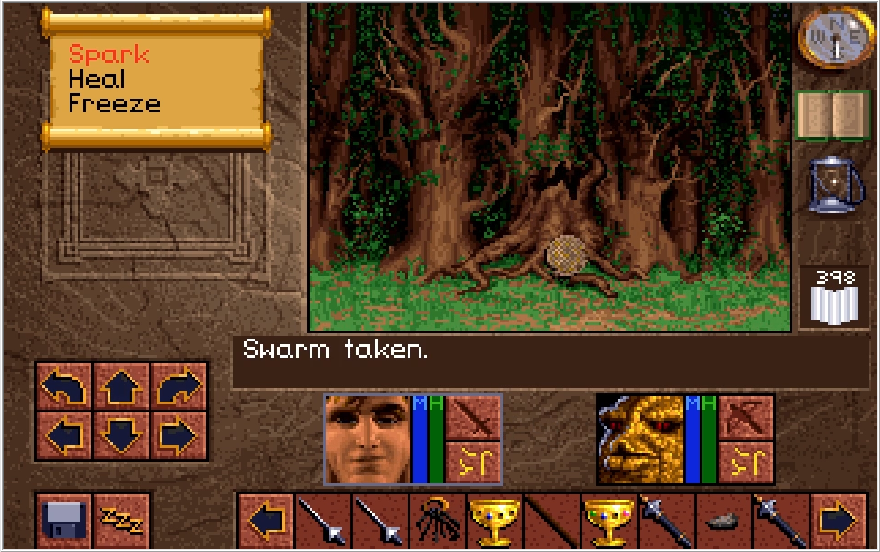
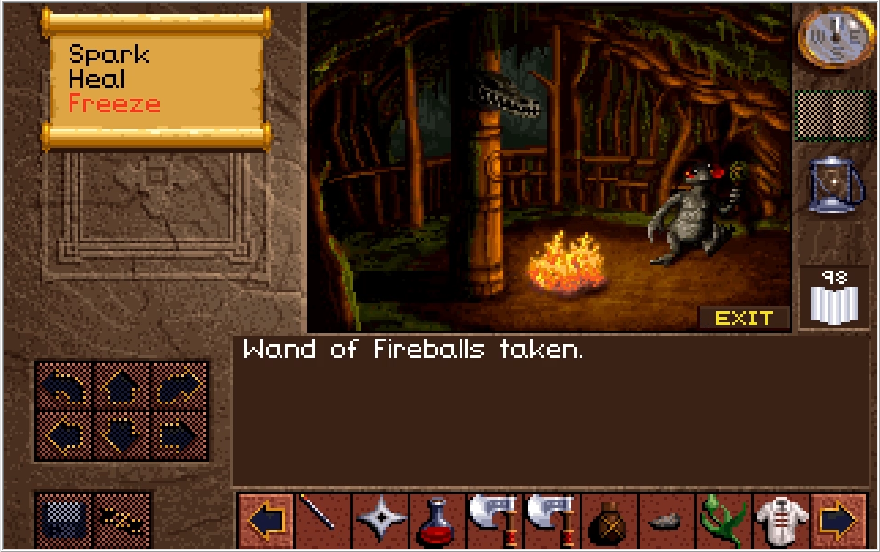
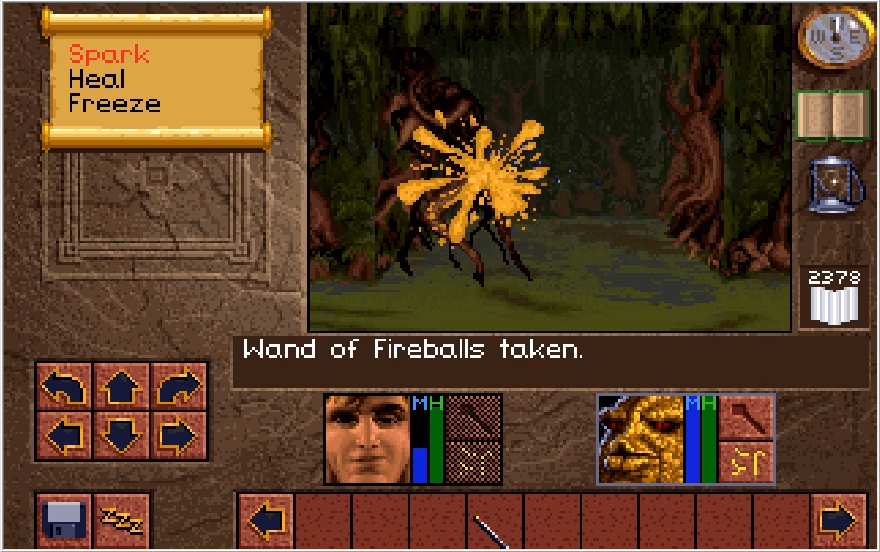
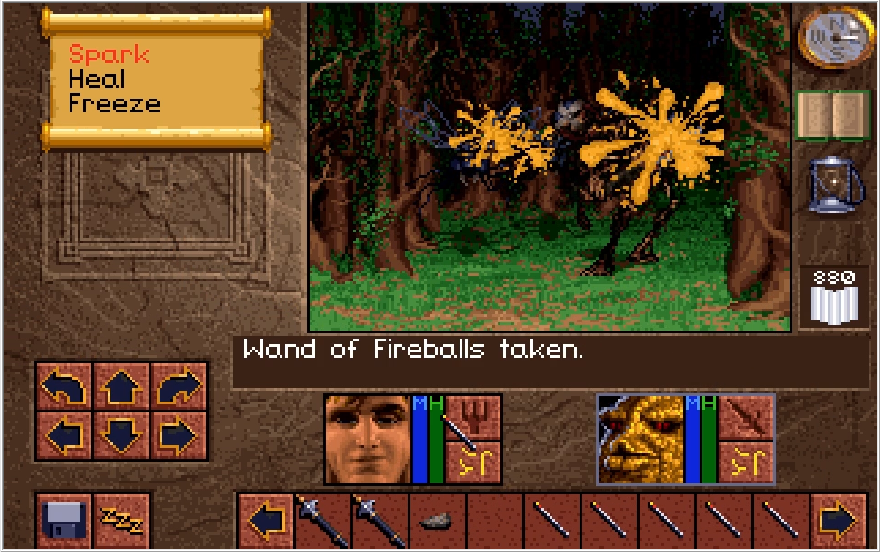
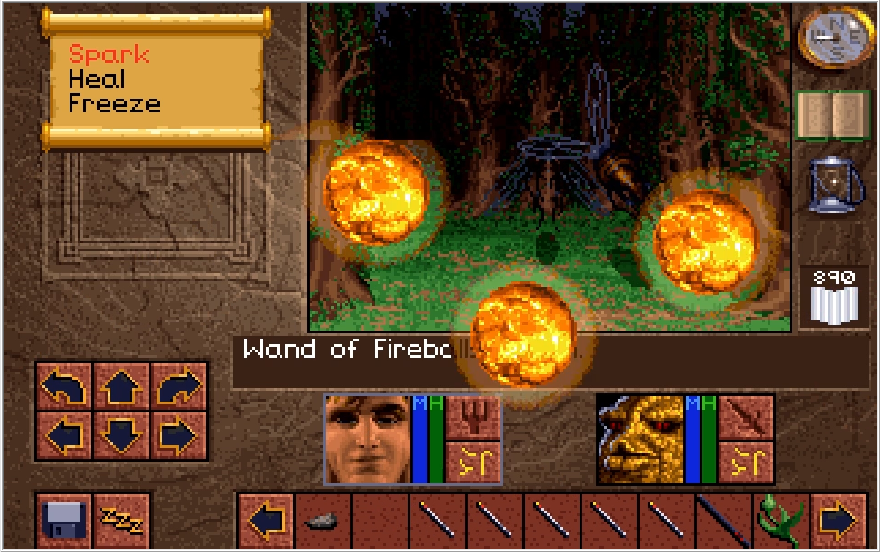
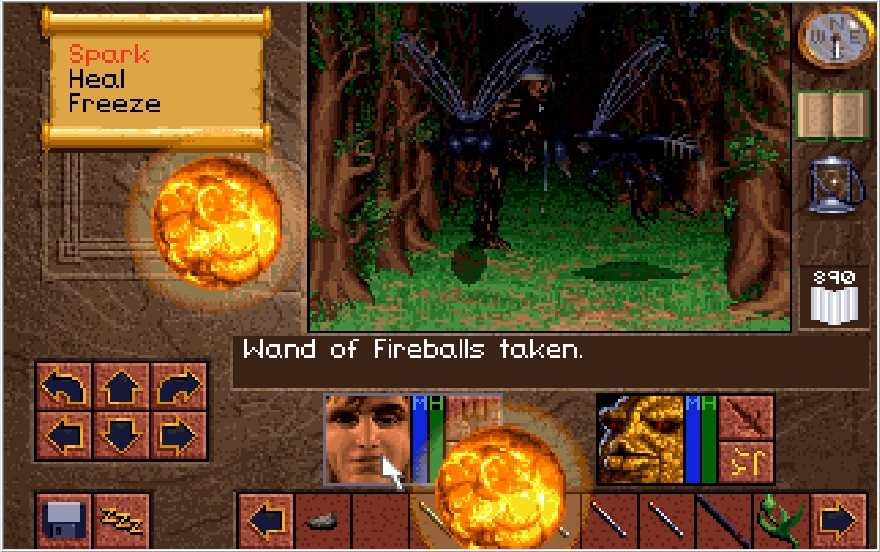
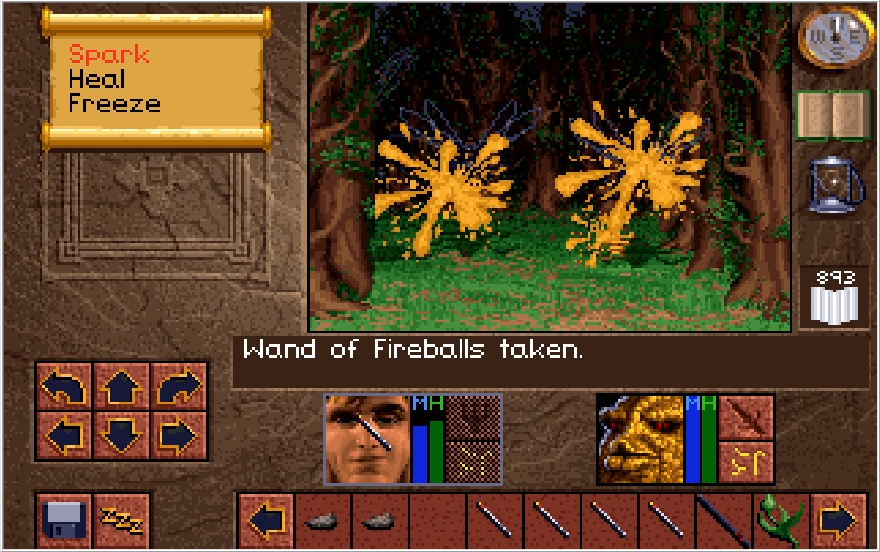
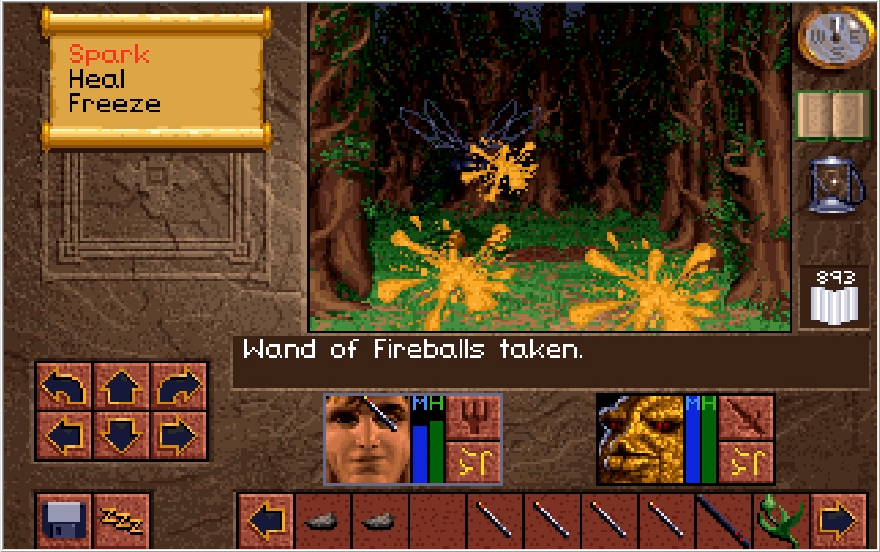
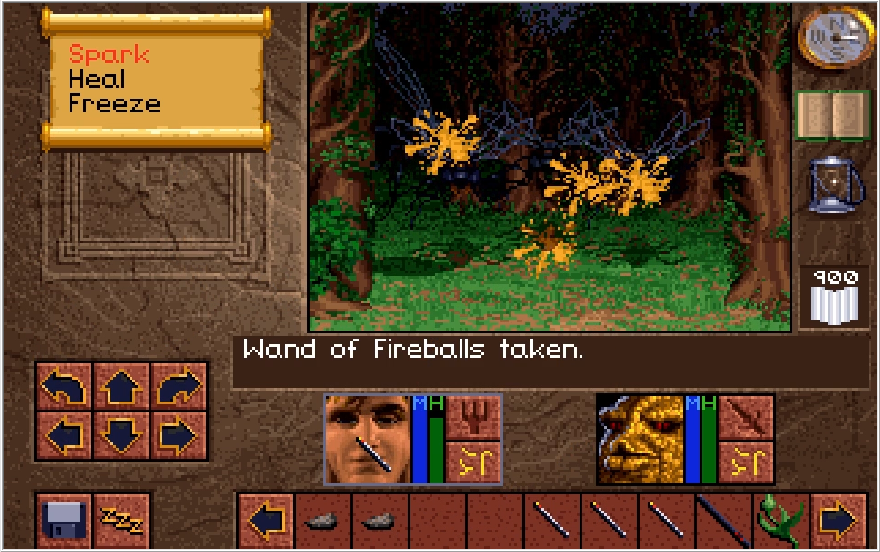
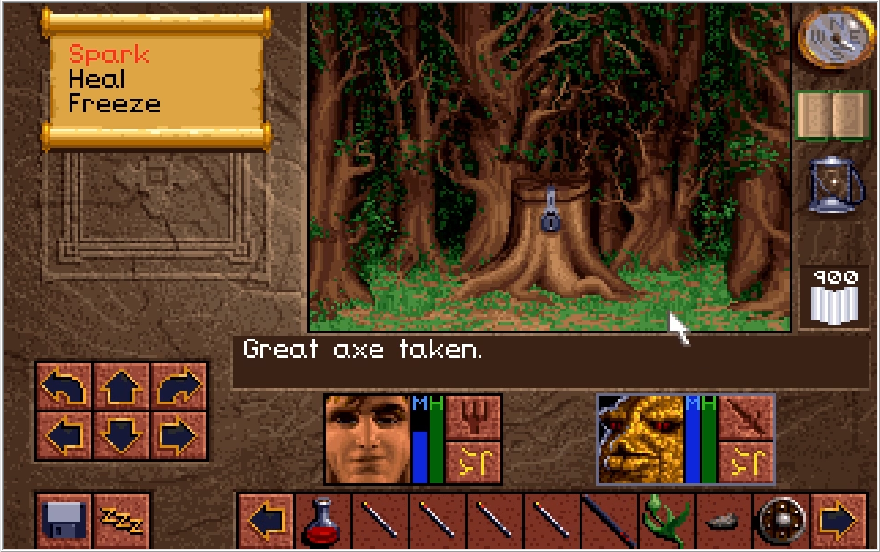
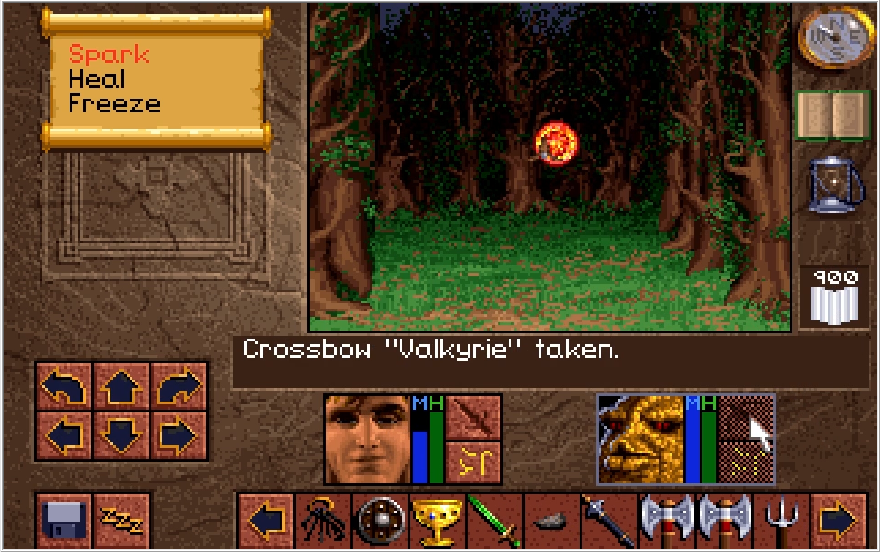
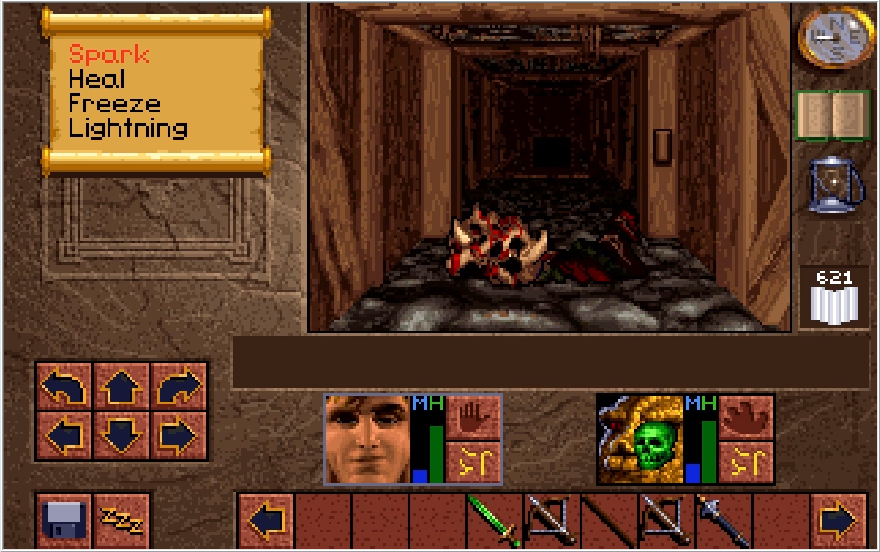
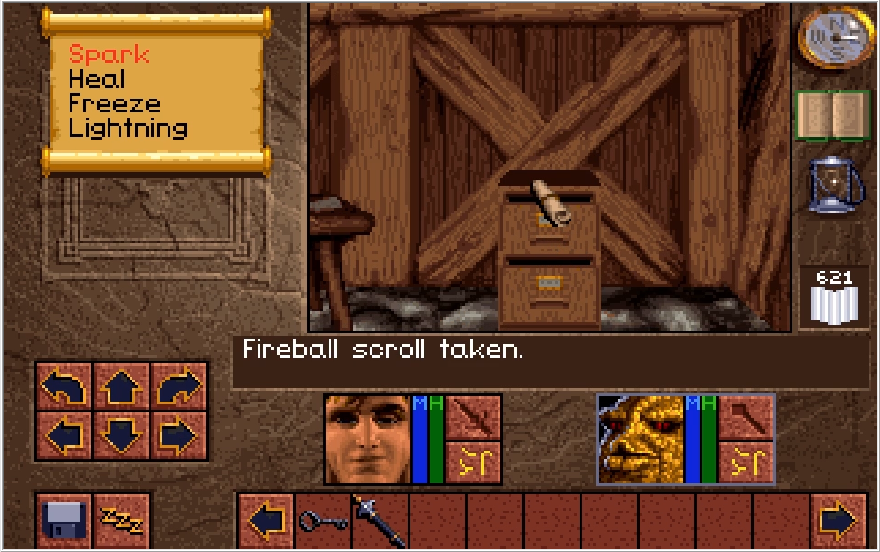
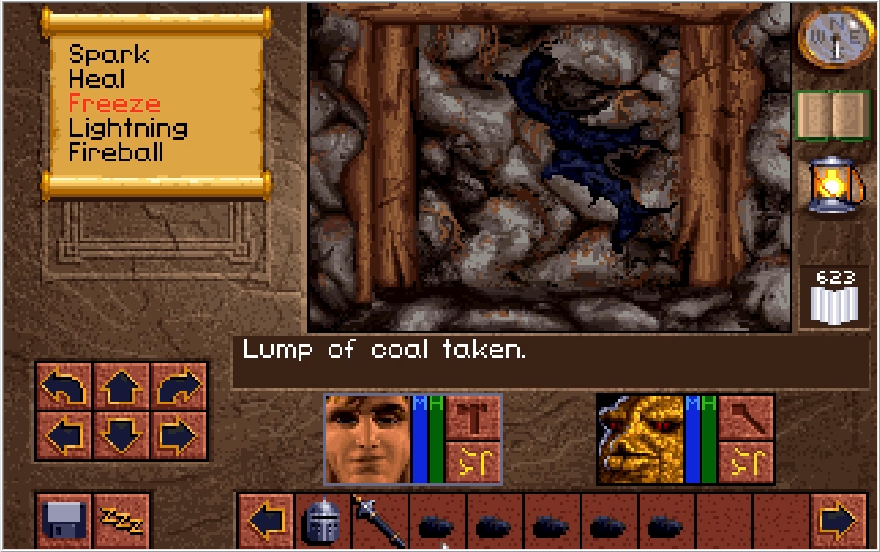
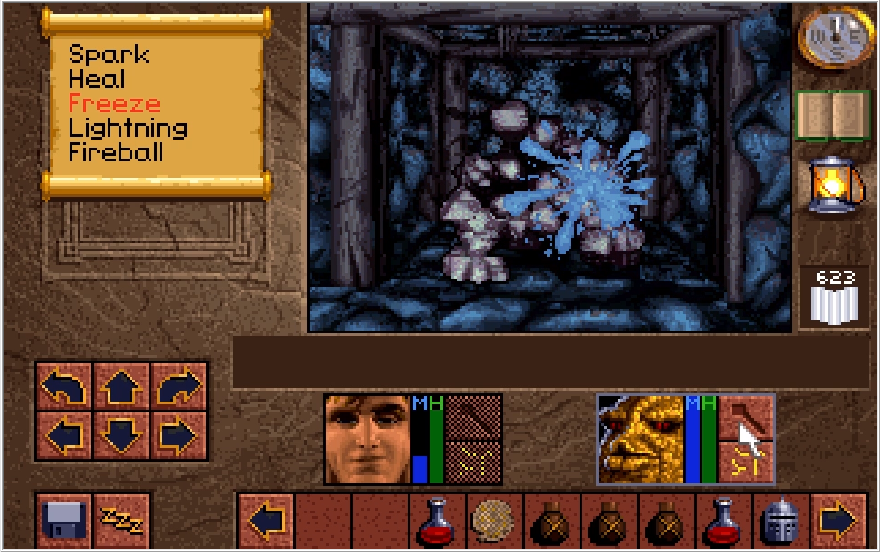
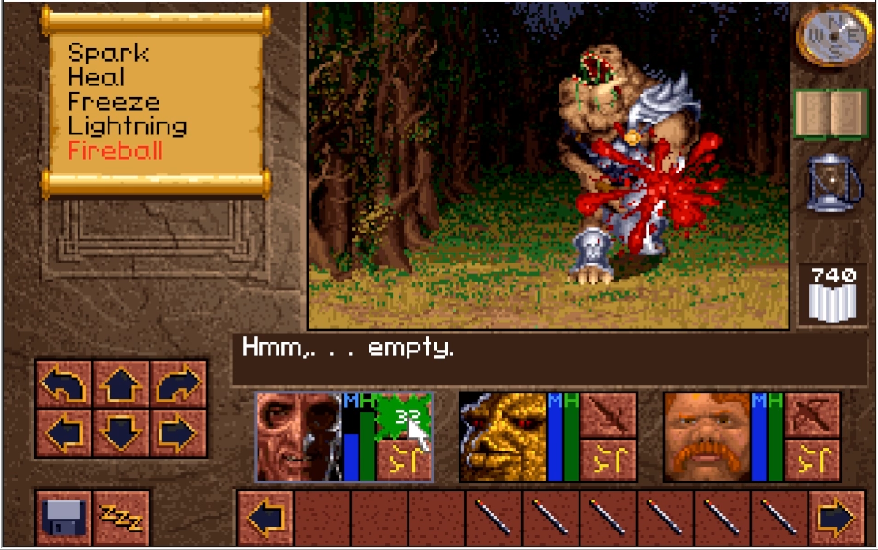
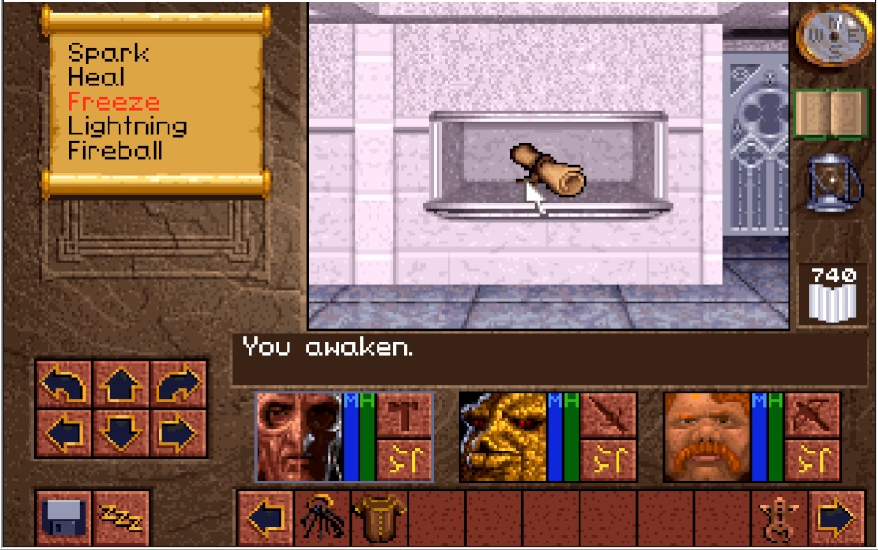
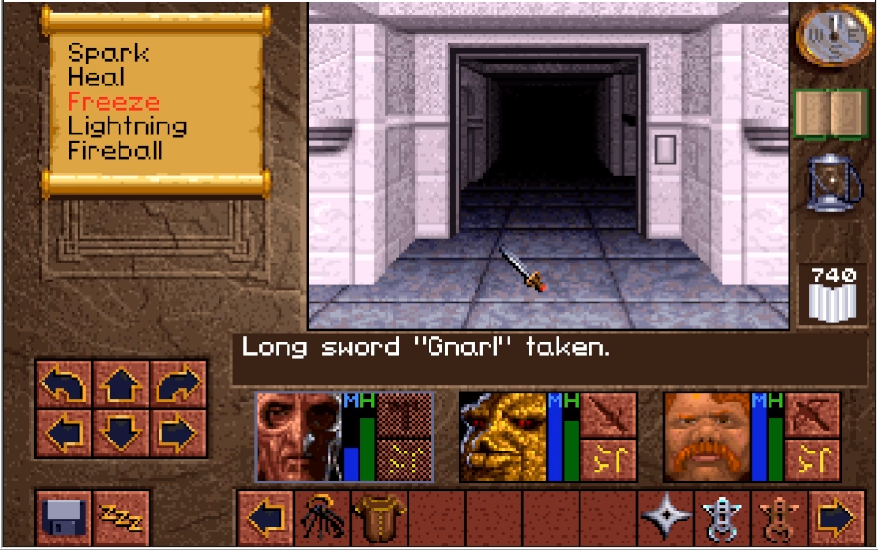
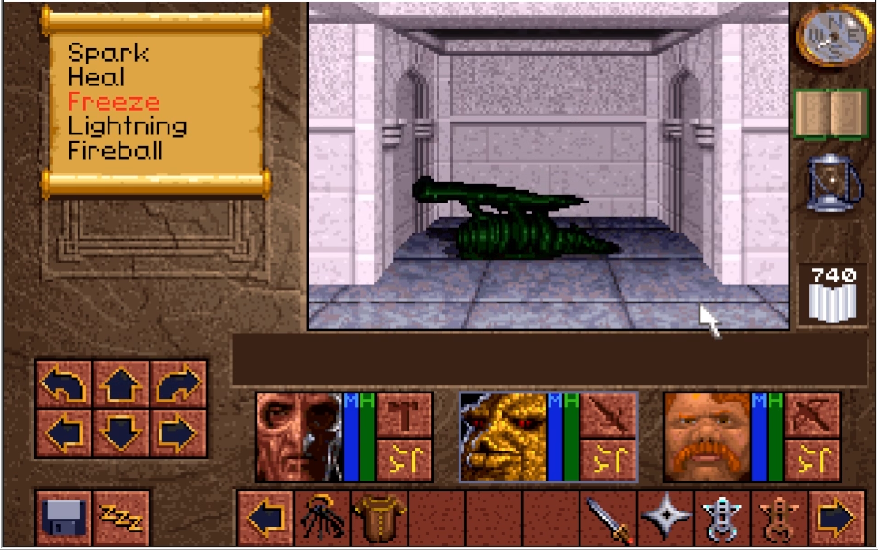
A Fireball wand awaits us at the end! For me, this is just more ammo. This does serve a practical purpose beyond that though, as it being here avoids a potential softlock. There's nothing else here, so let's return to the east message hall and hit the switch to the right of the message.

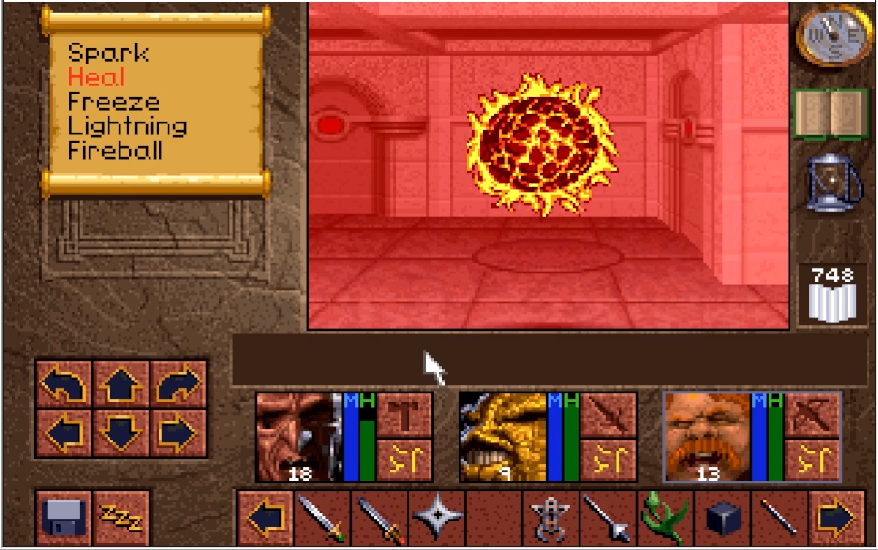
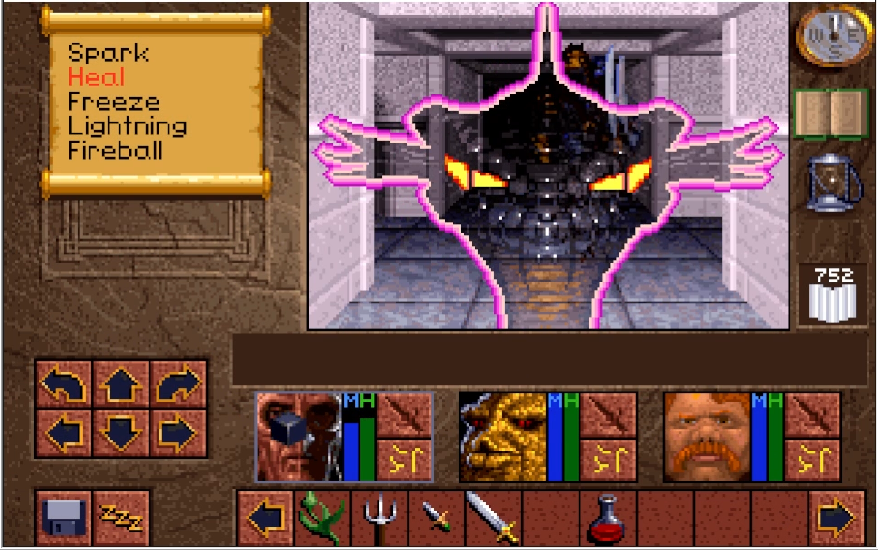
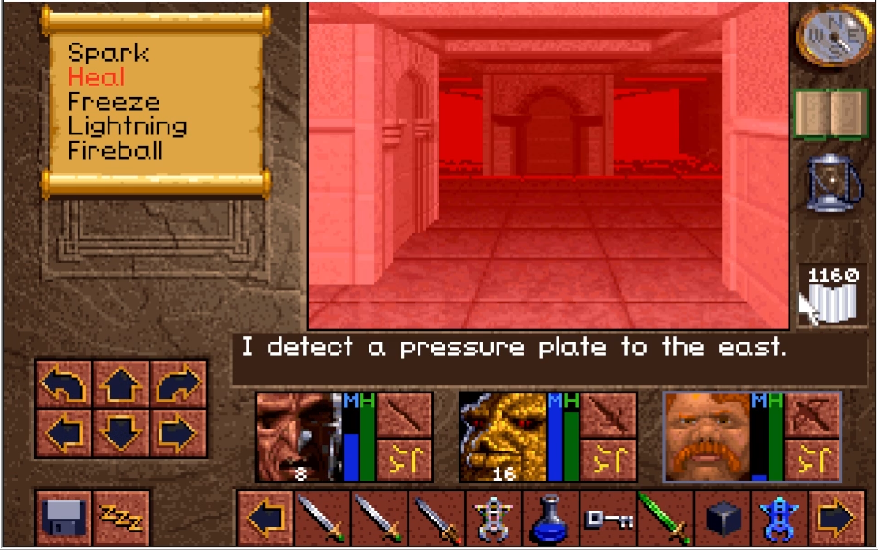
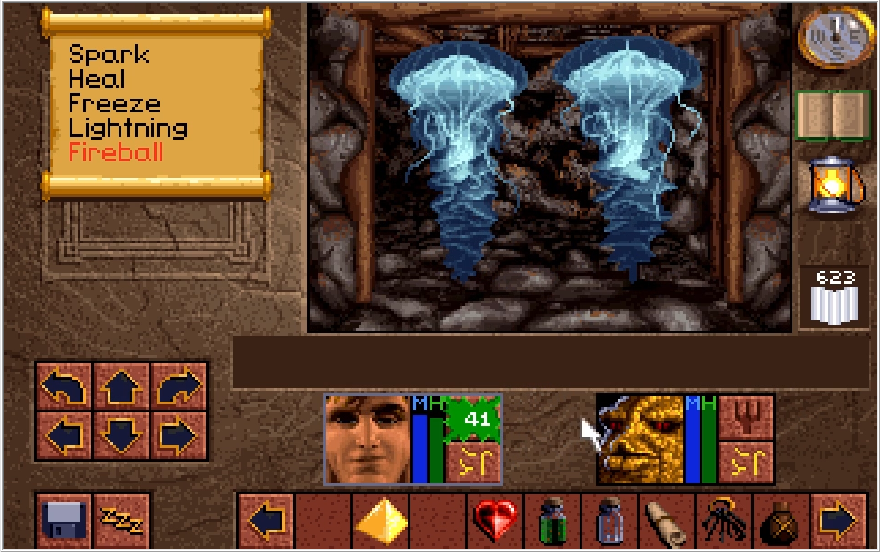
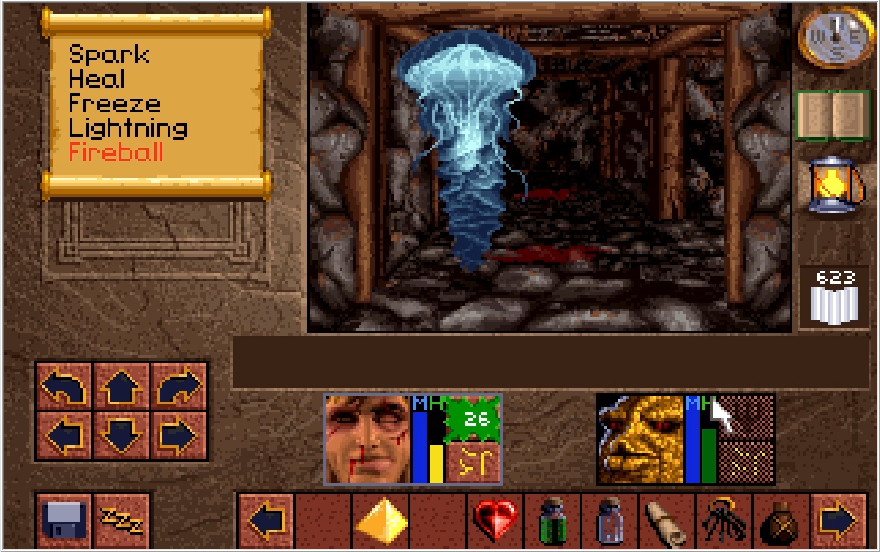
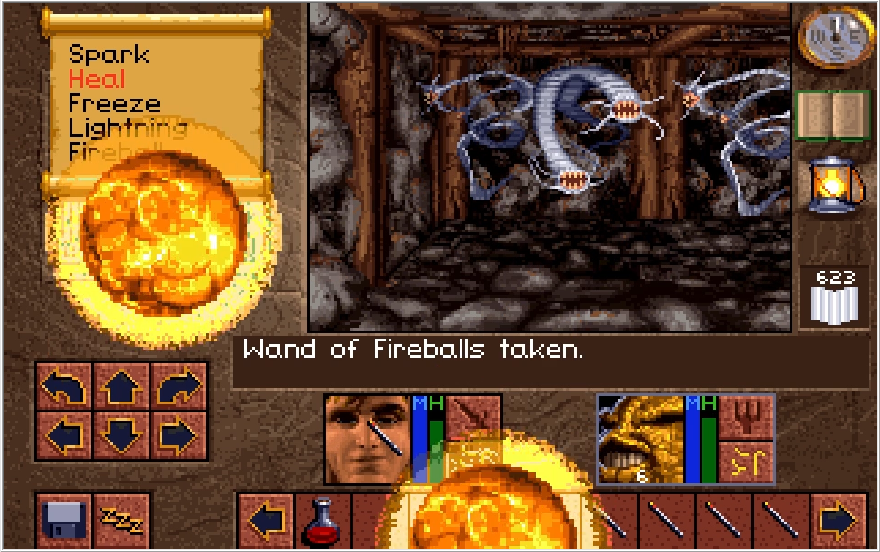
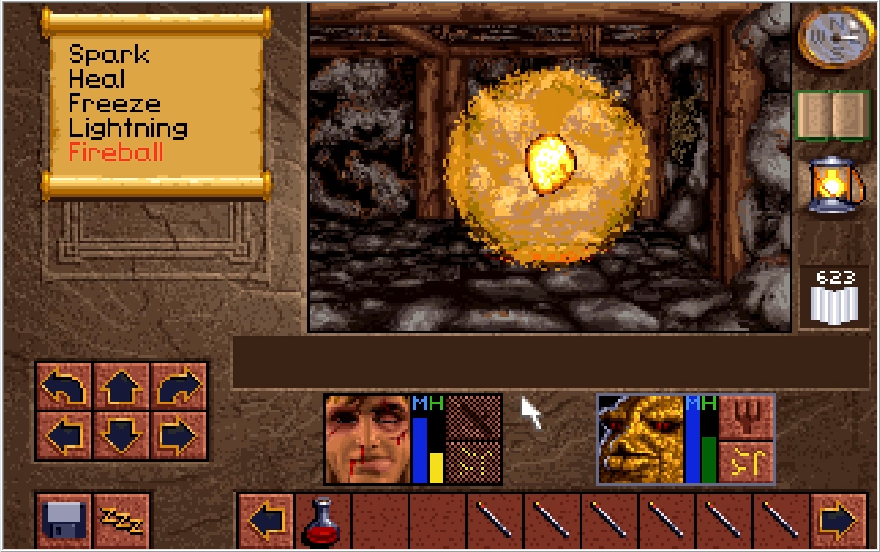
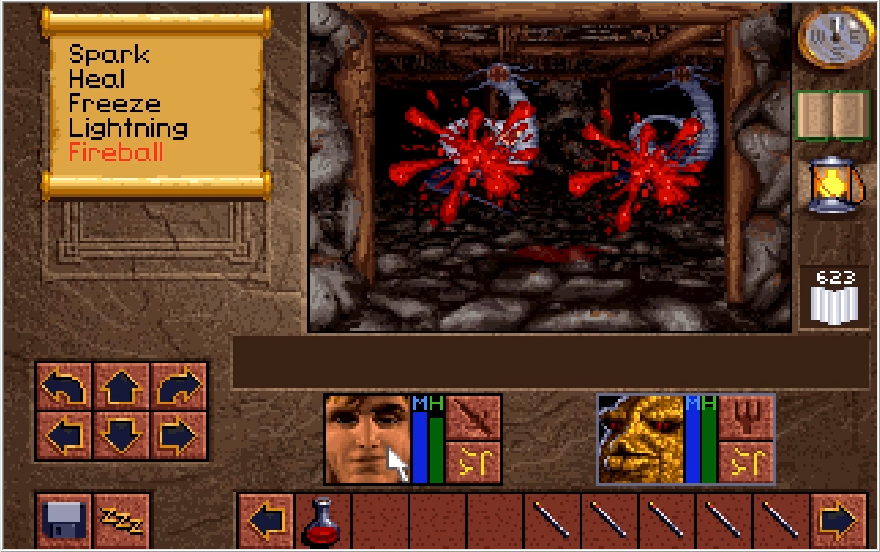
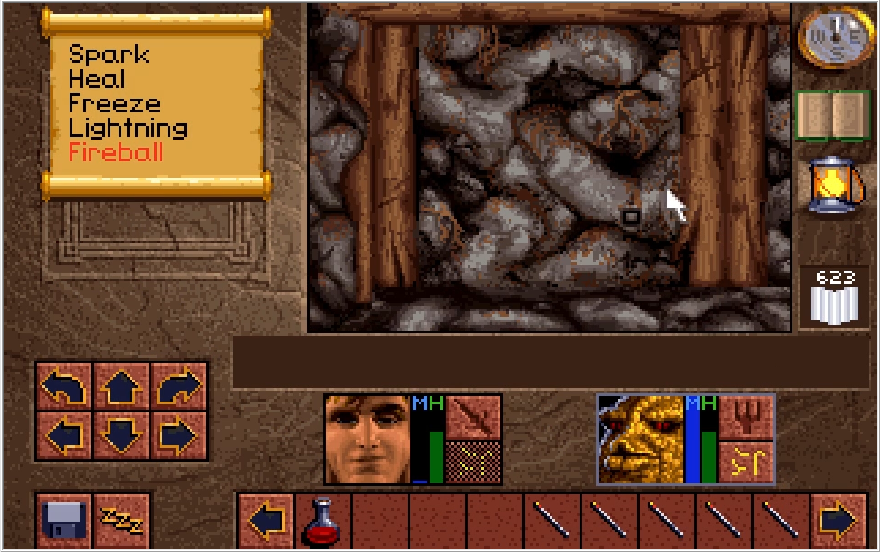
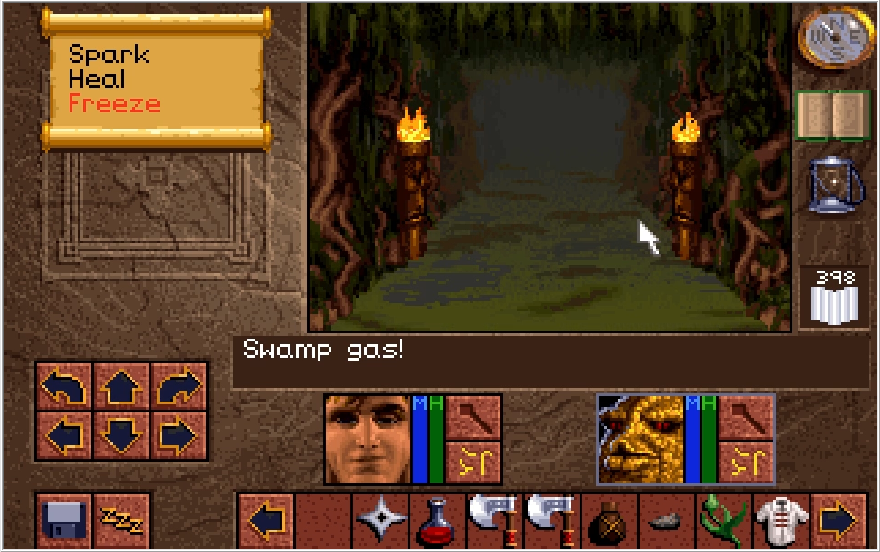
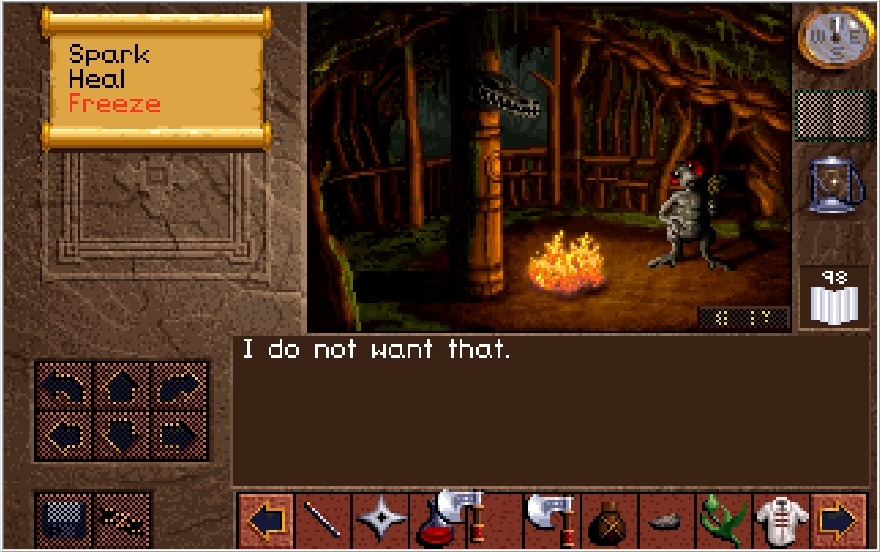
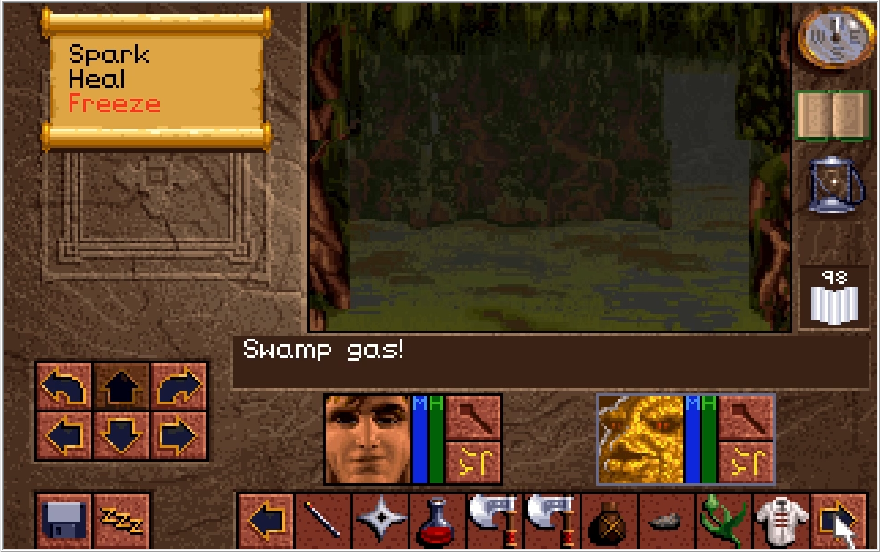
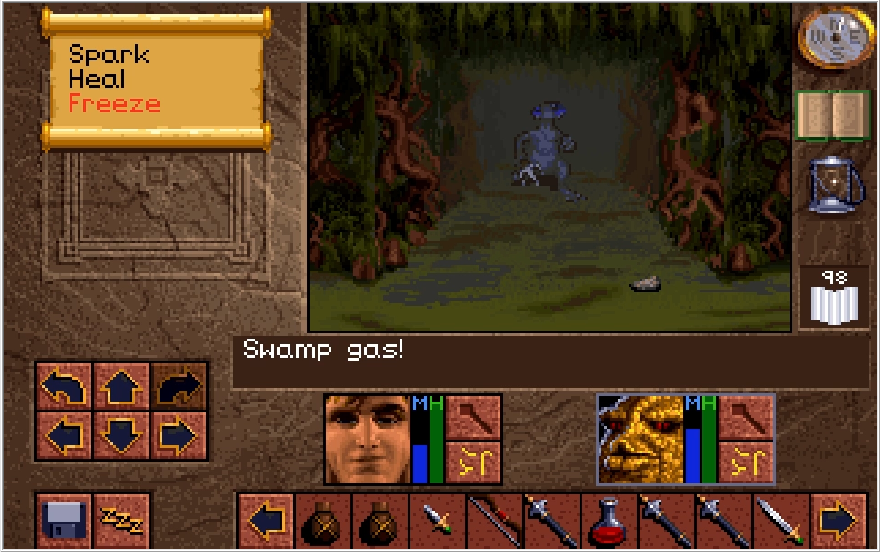
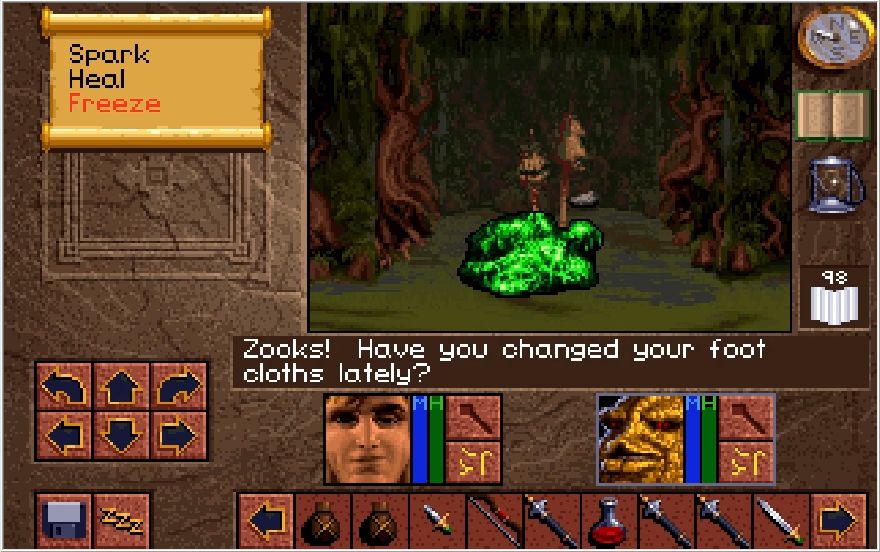
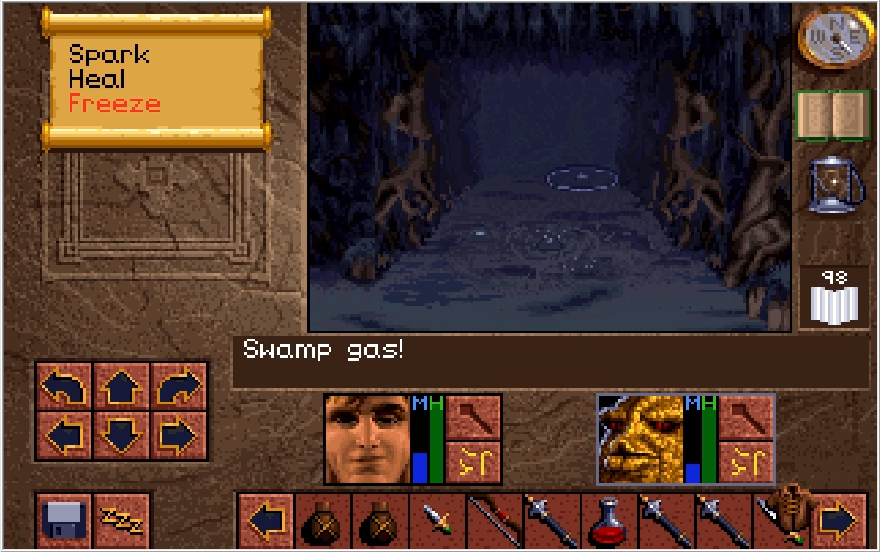
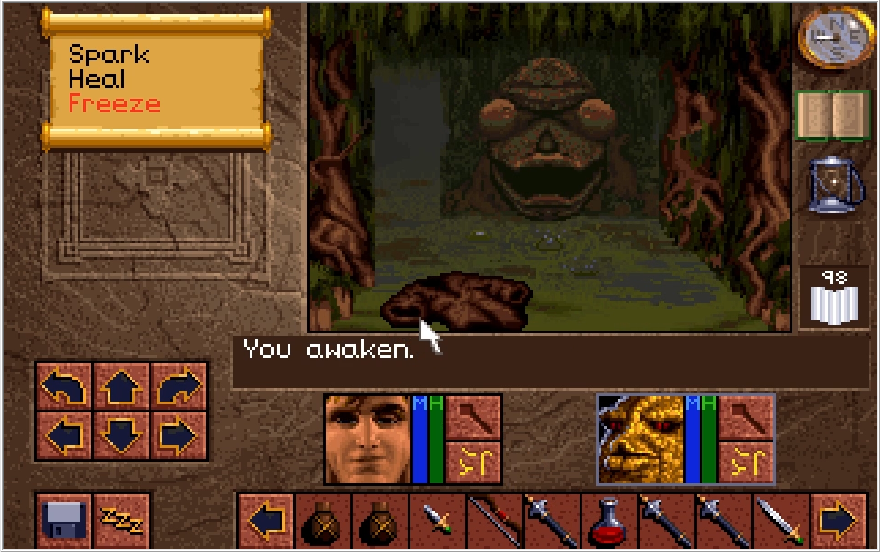
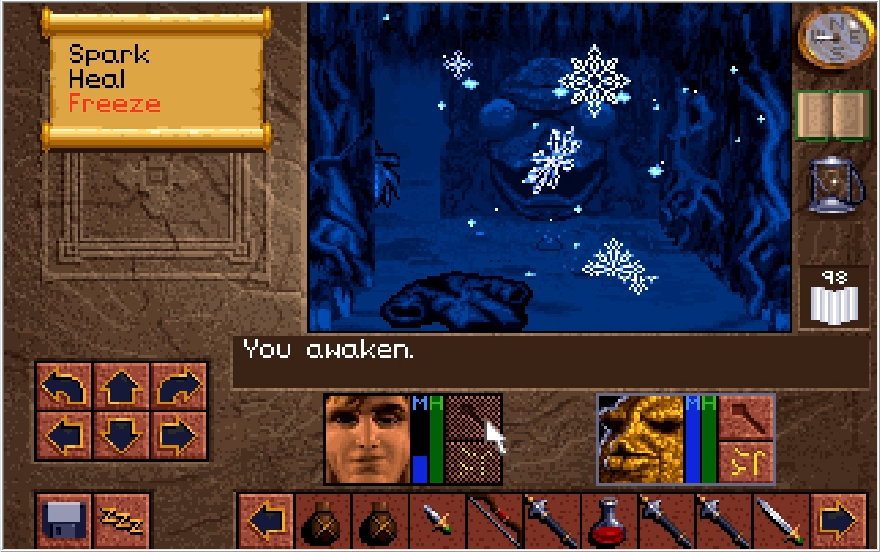
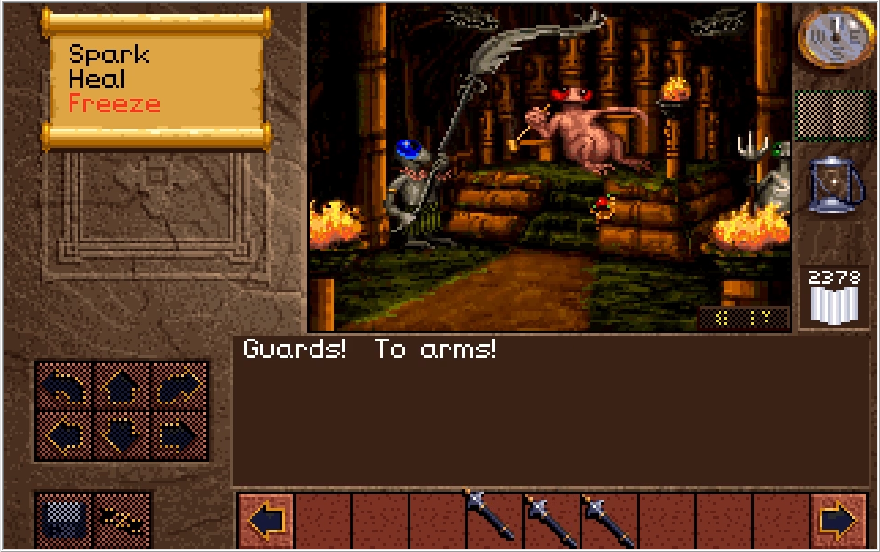
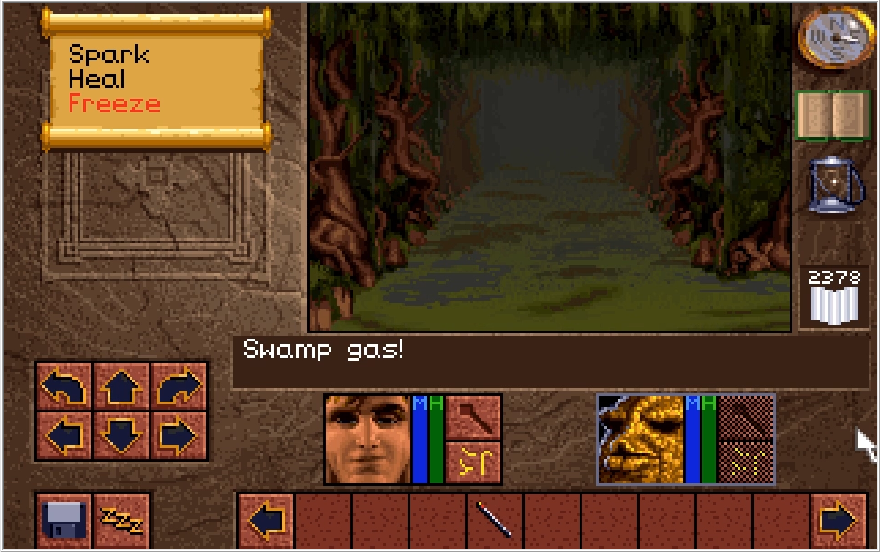
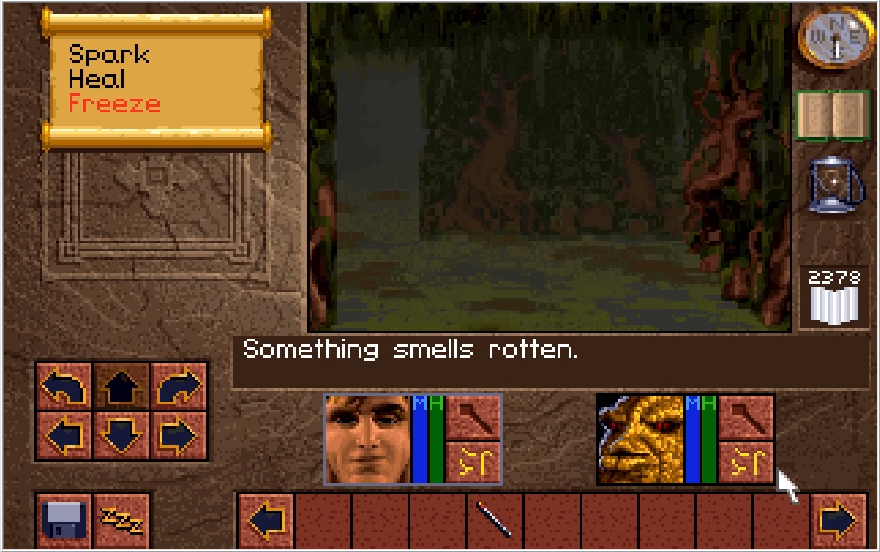
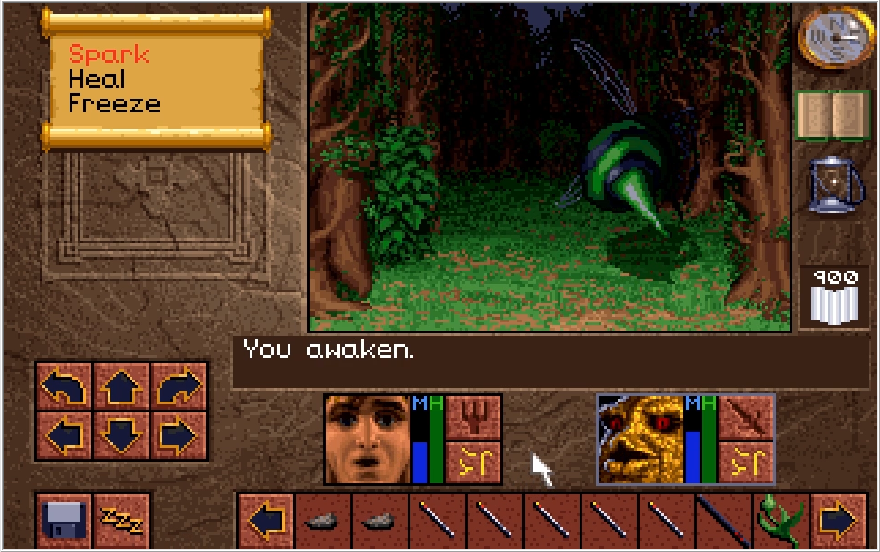
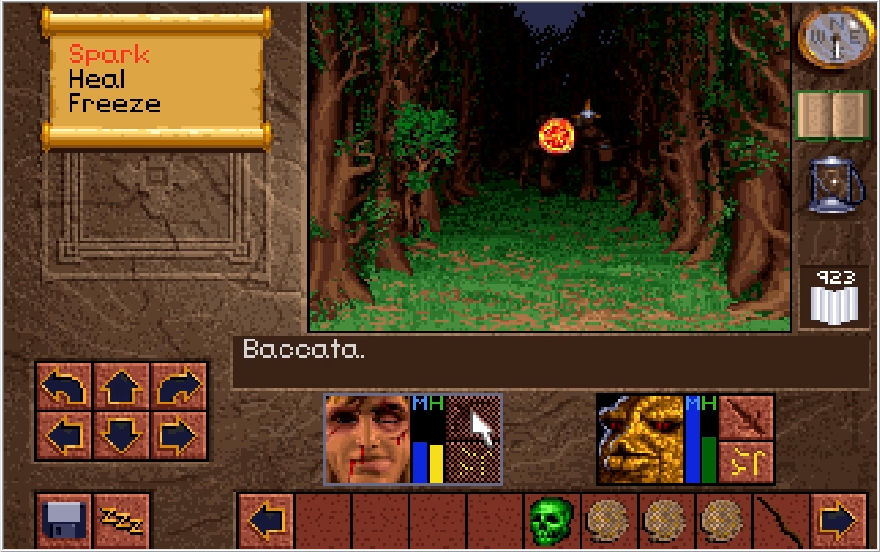
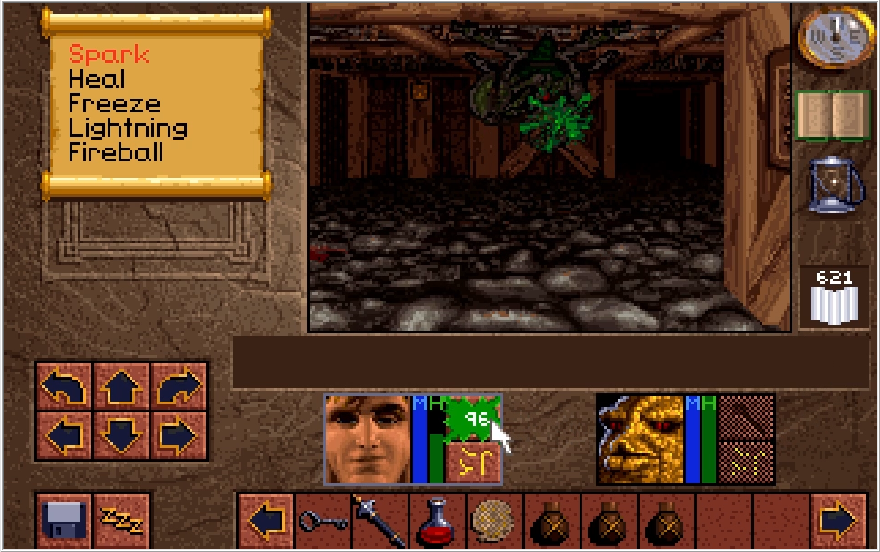
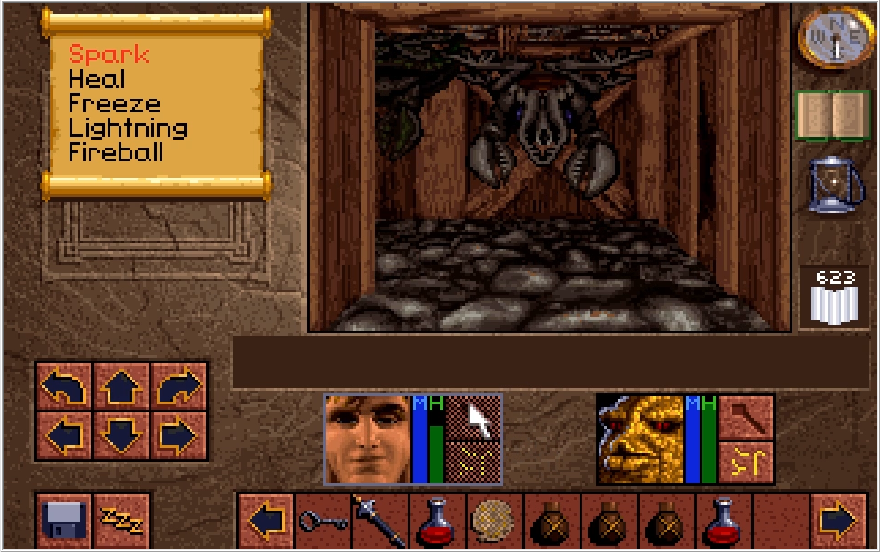
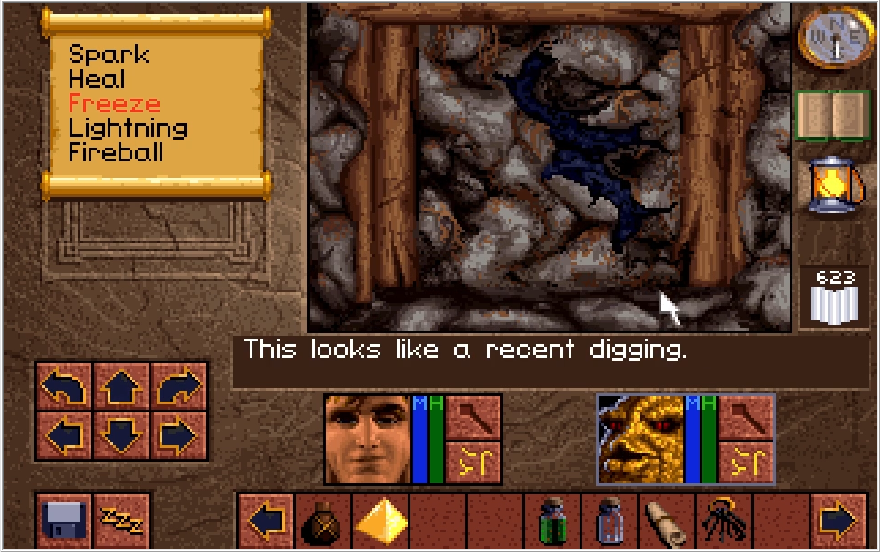
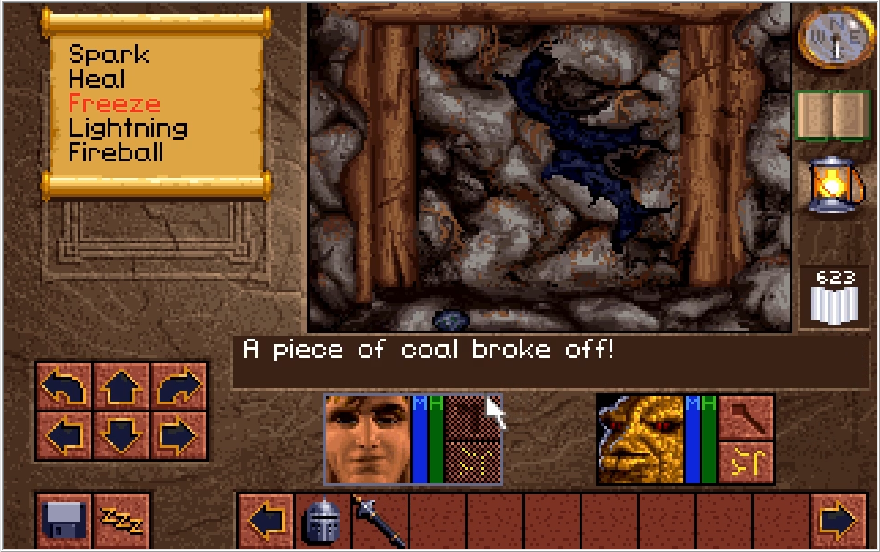
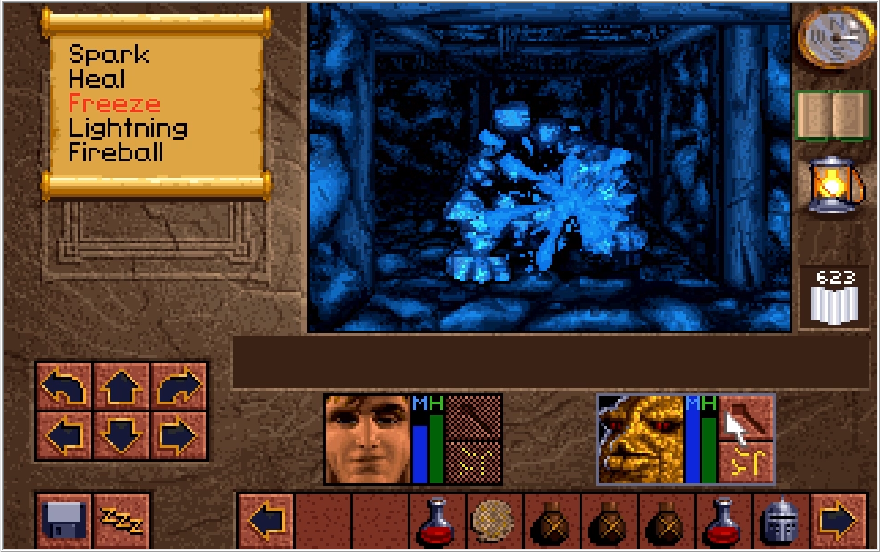
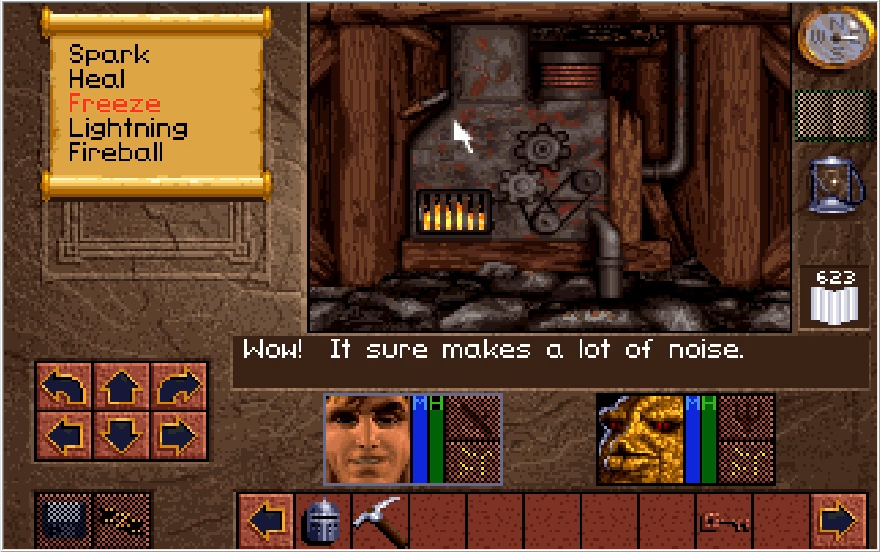
In this hall, Michael detects a strange gaseous odor. No, Baccata did not just let one rip, we just hit a gas pocket in the mines.
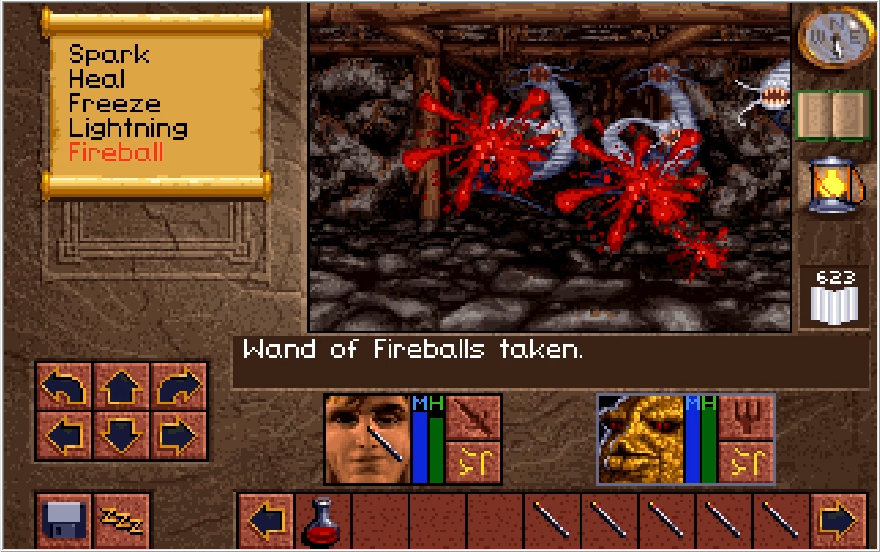
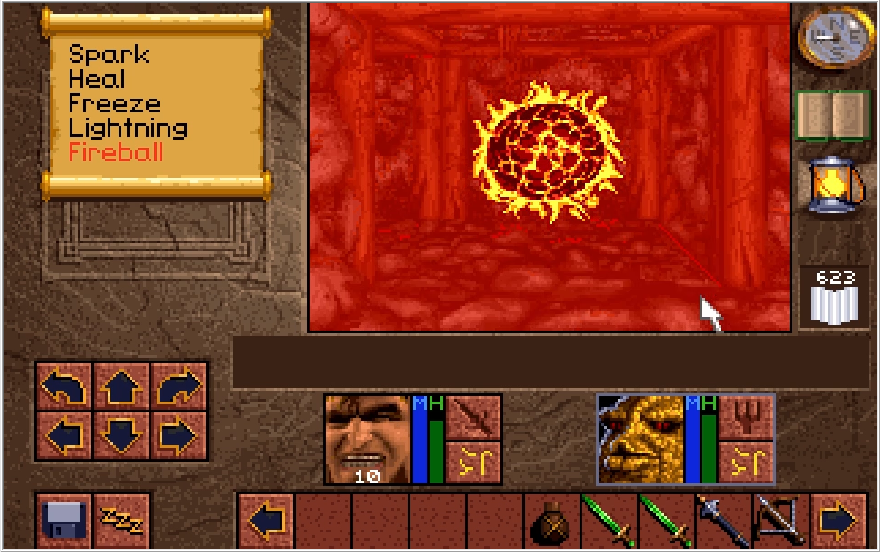
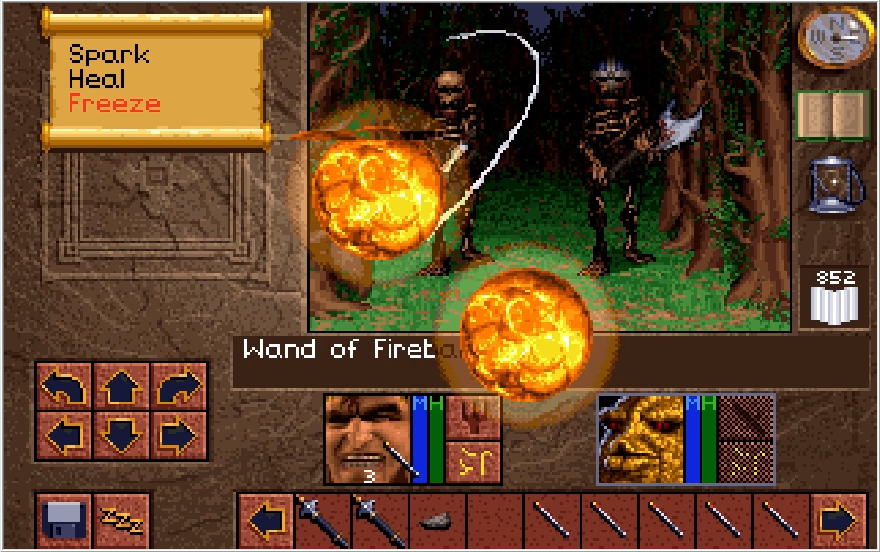
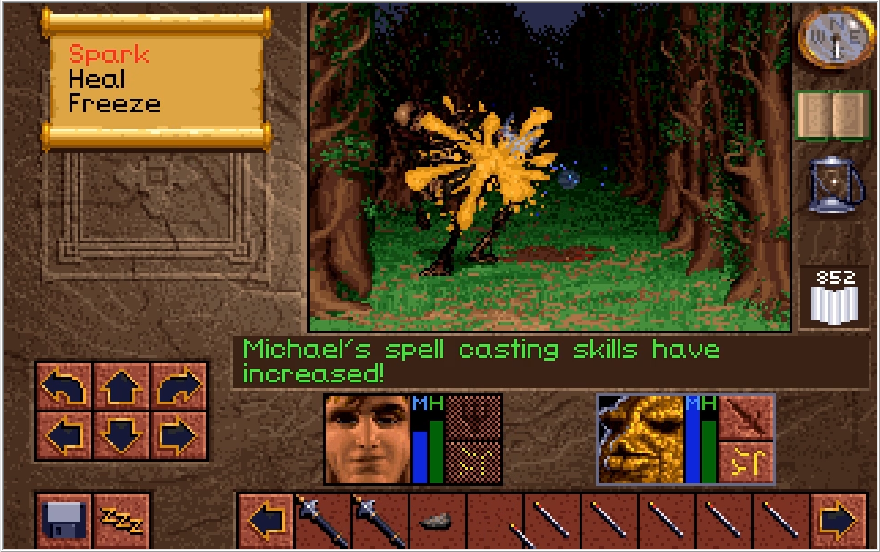
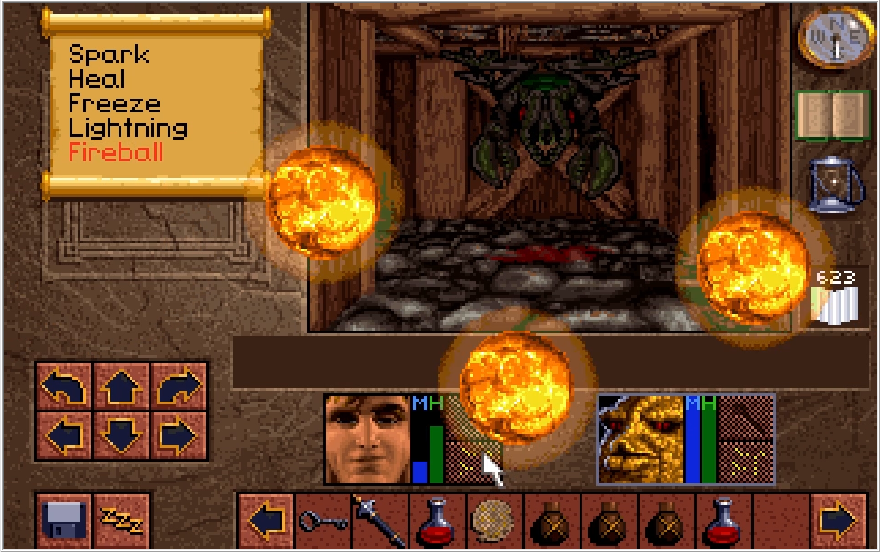
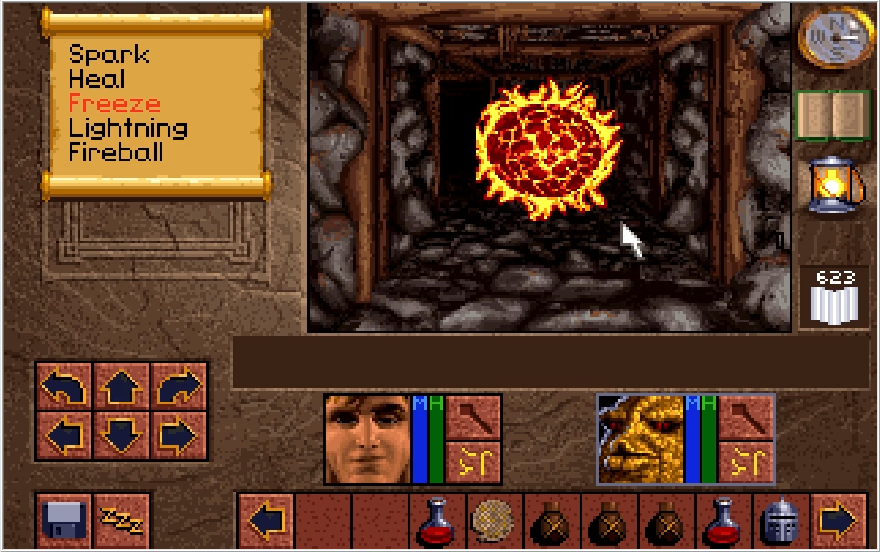
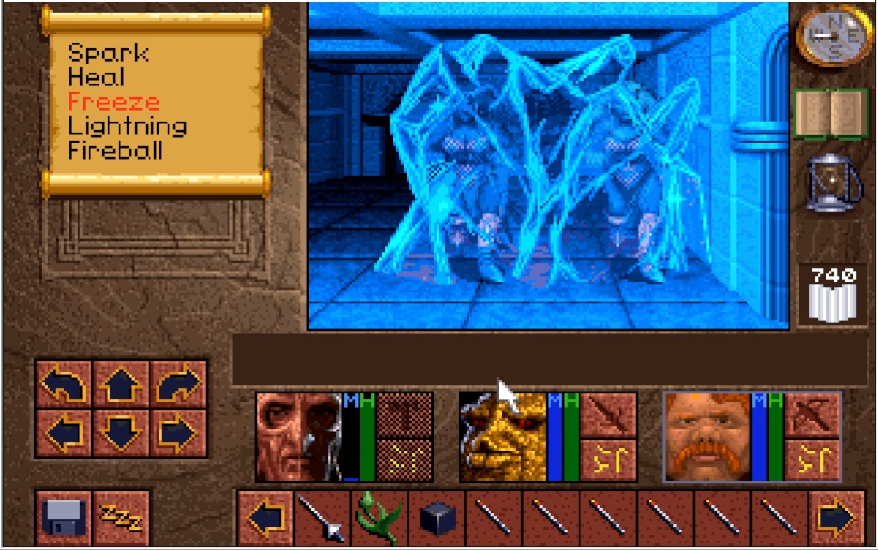
By backing up to before Michael smelled the odor, we can hurl a Fireball to detonate the gas pocket and blow open a path forward. Obviously, if you're standing in the gas pocket when you torch it you will take damage. This is the potential softlock situation I mentioned earlier. If you reach this point without the Fireball spell or a wand, then you'll need the wand from the fire jet hall to get through here. To make absolutely sure you don't end up wasting that wand, enemies essentially don't spawn at all on this Level until you blow this hall wide open. Granted, you could still waste the wand and render the game unwinnable if you wanted, but you'd be pretty willfully stupid there if you did.
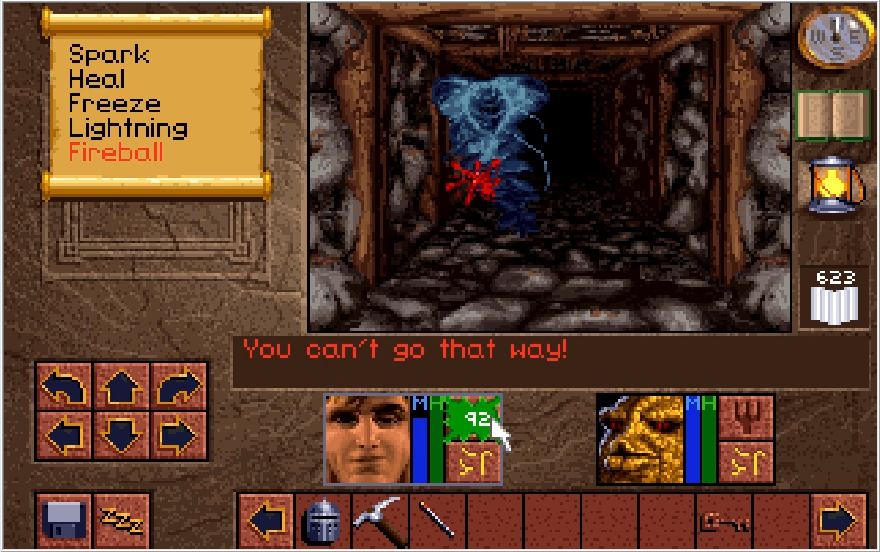
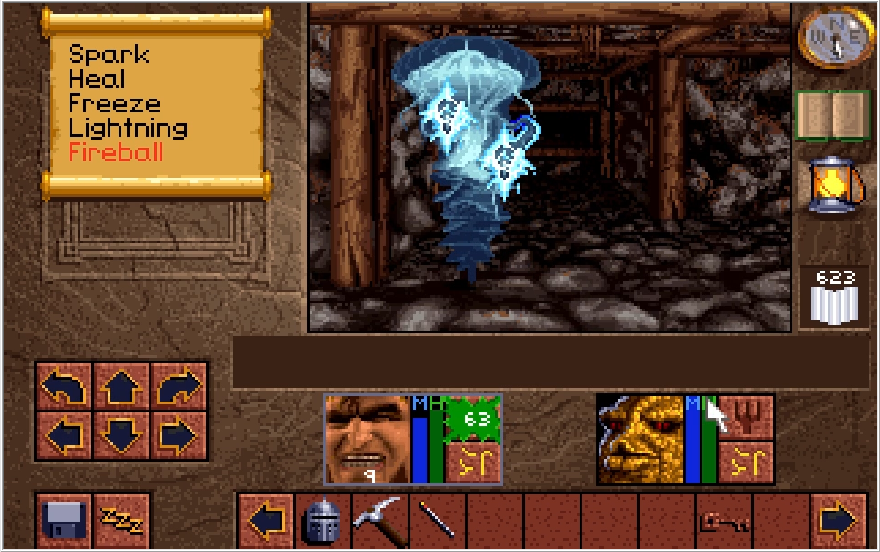
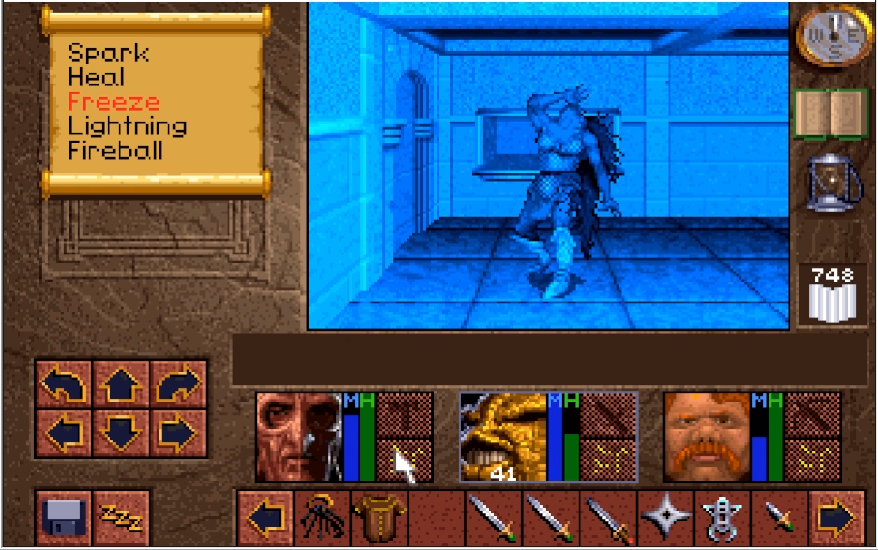
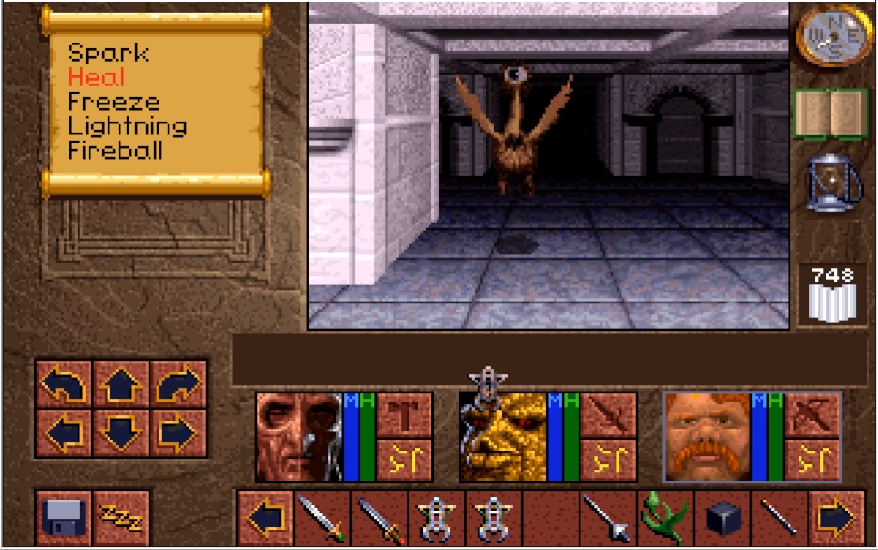
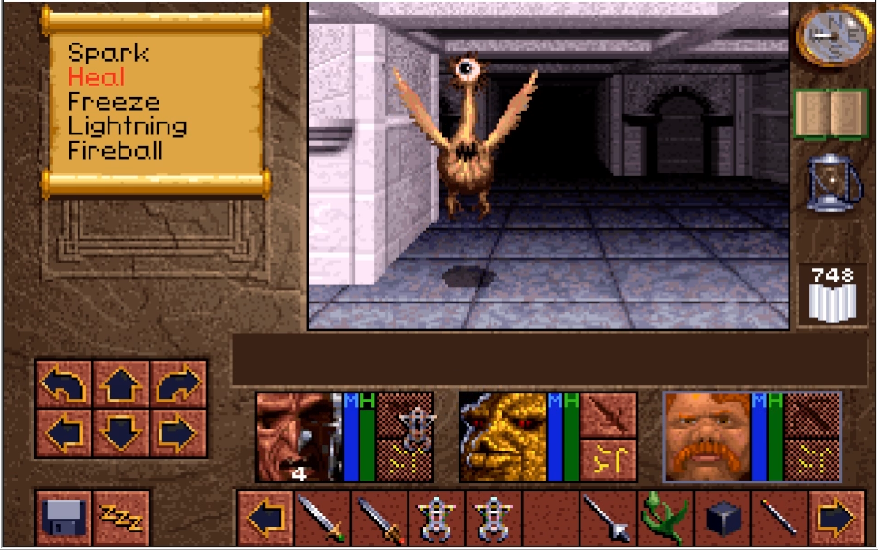
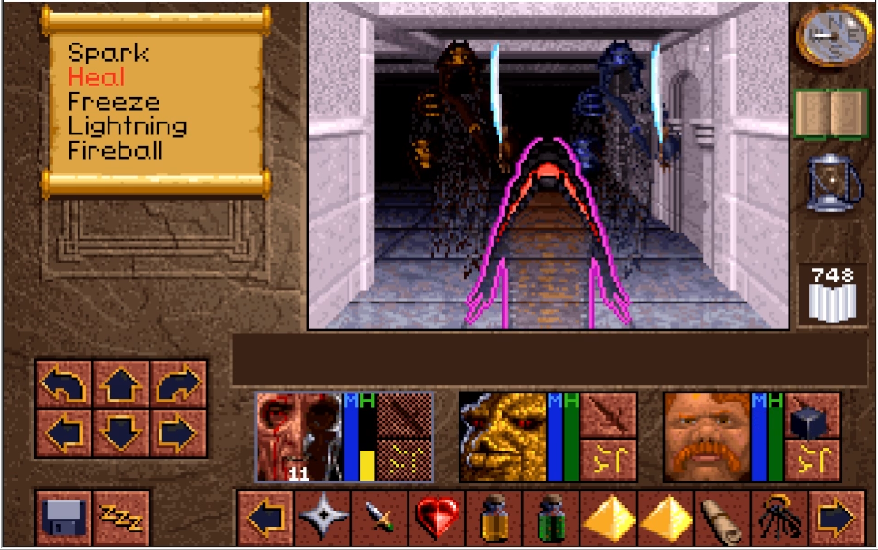
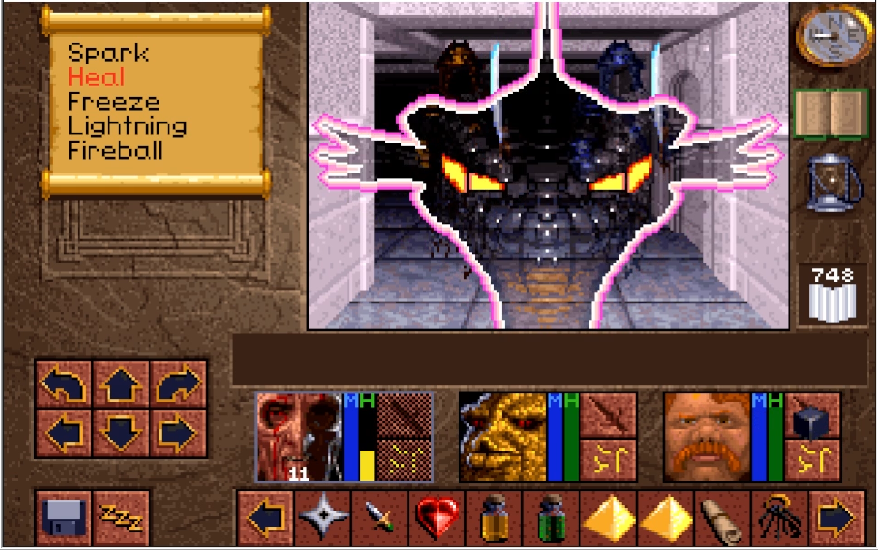
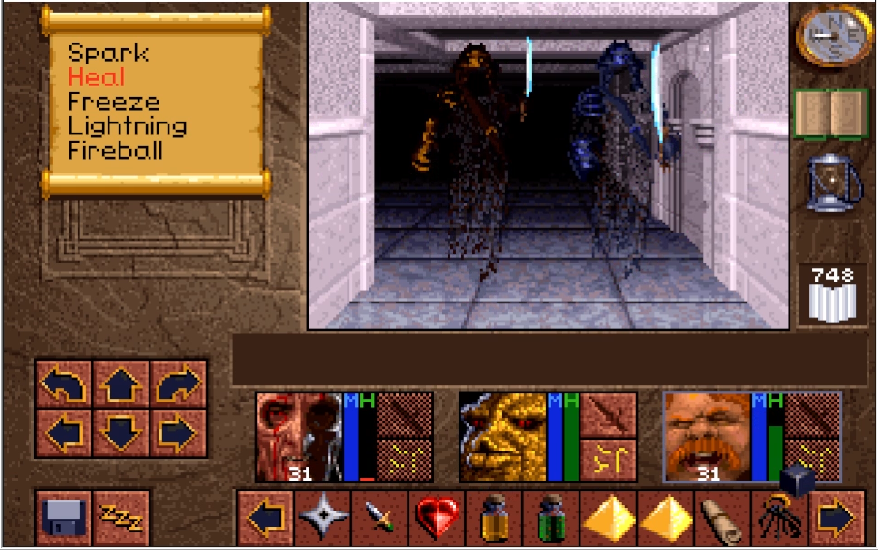
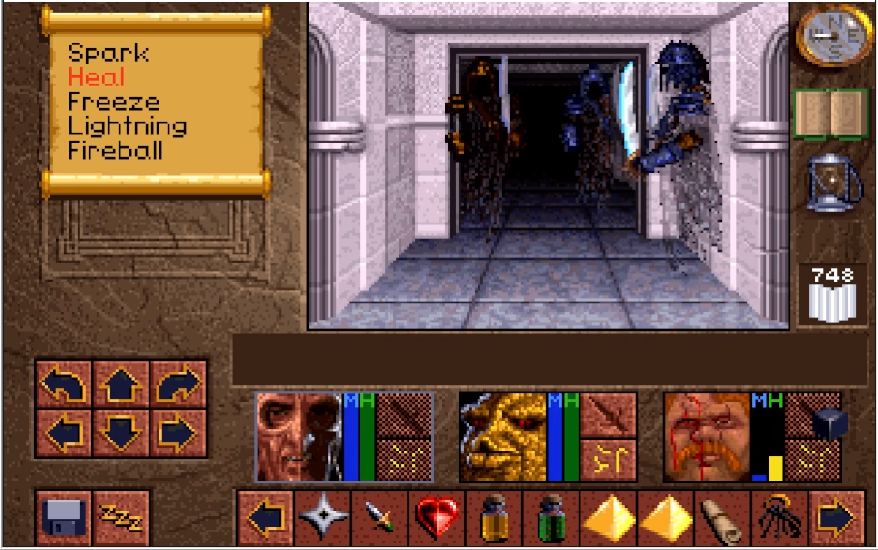
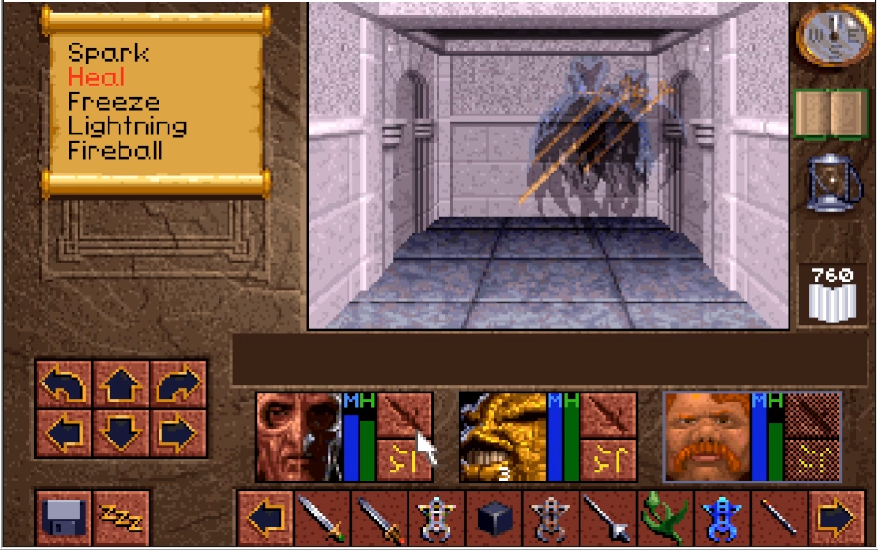
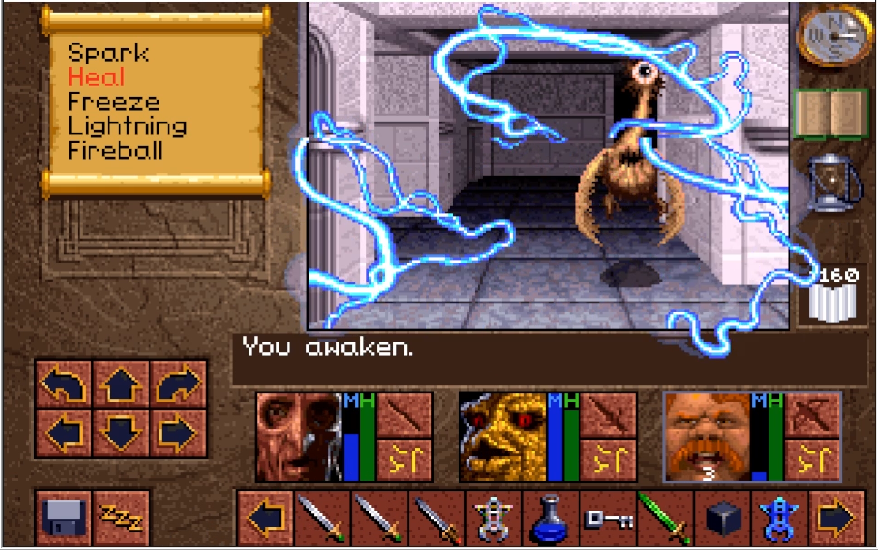
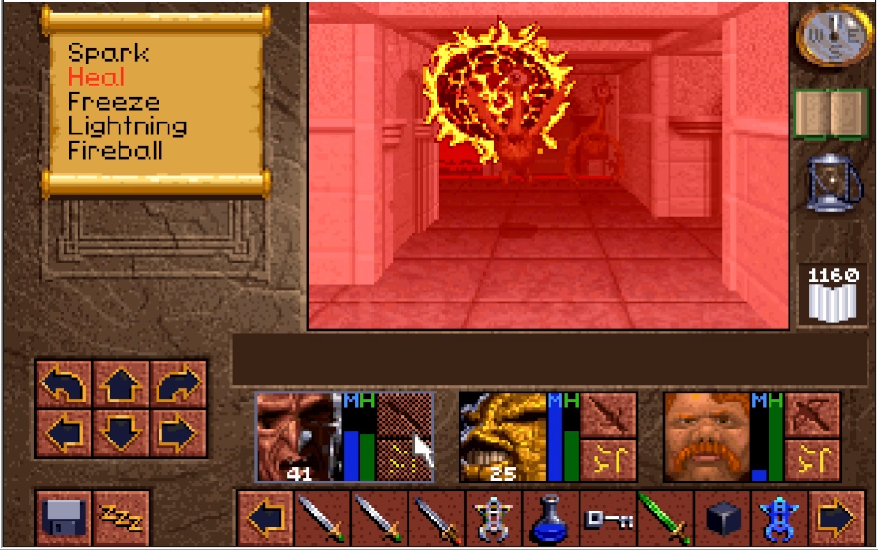
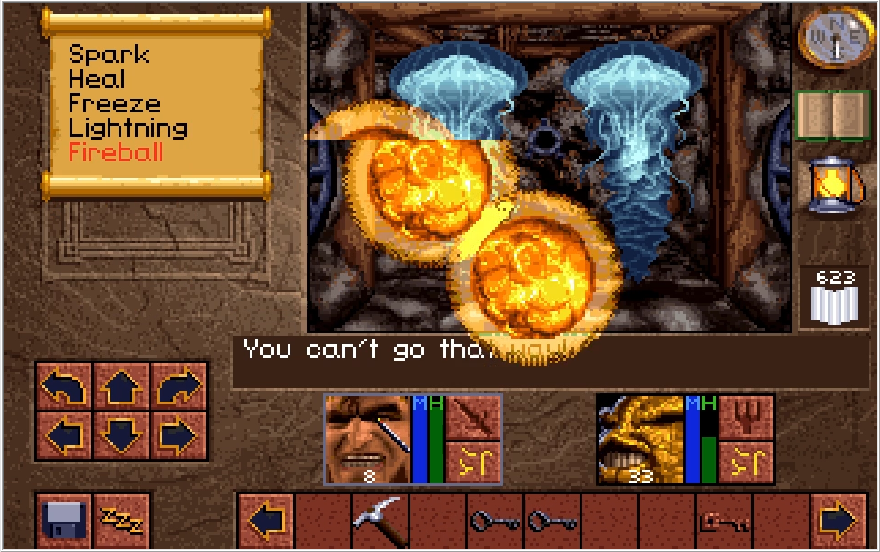
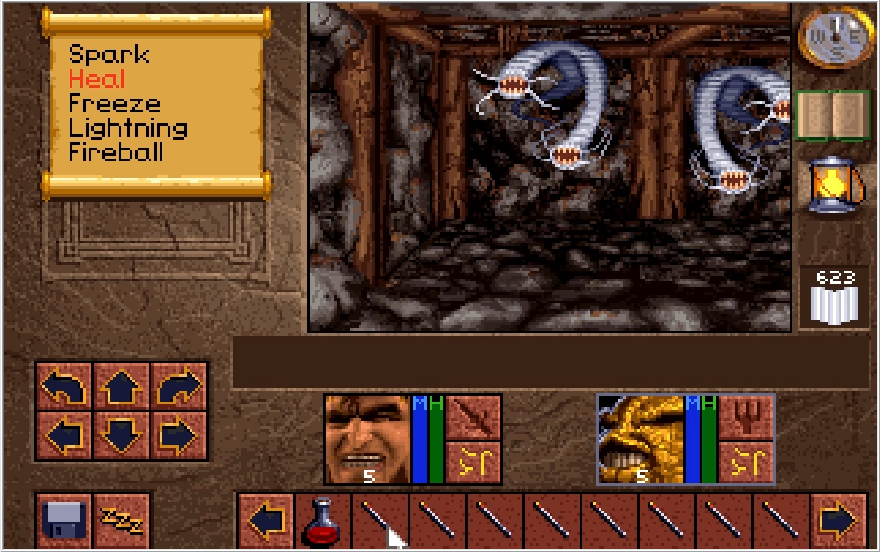
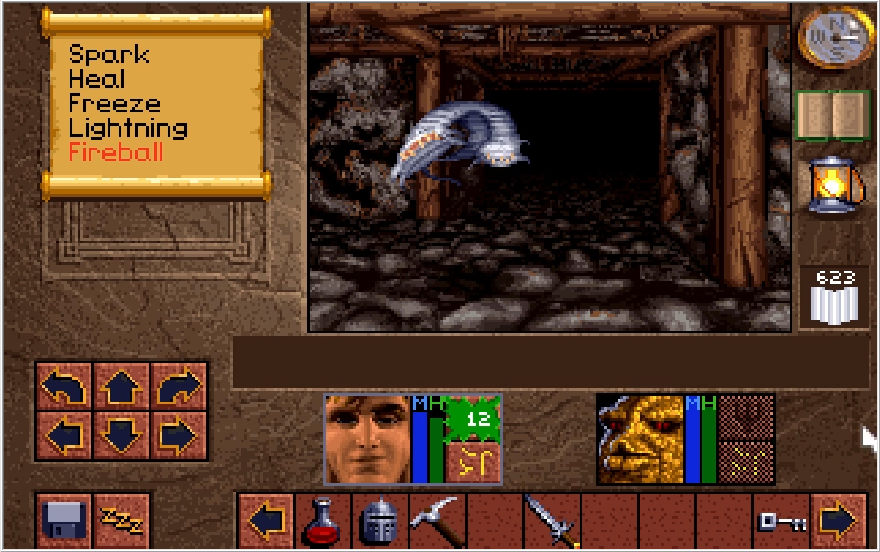
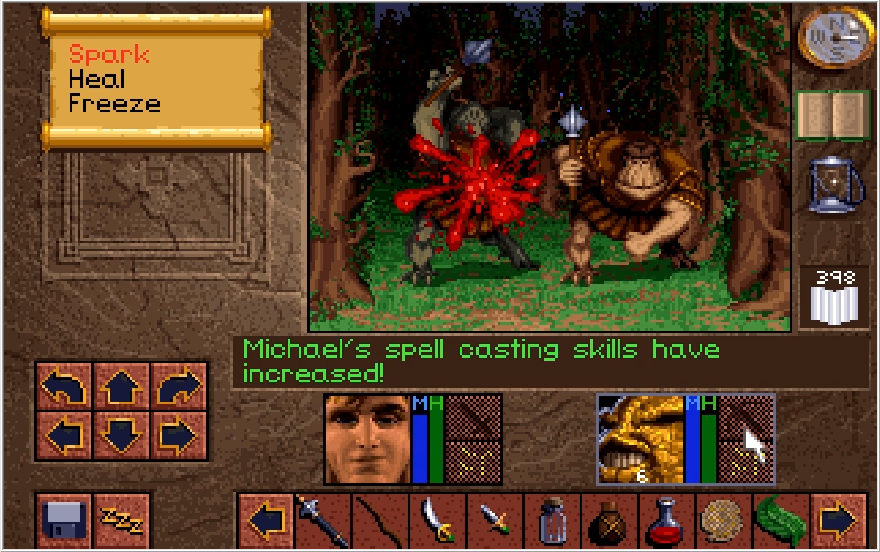
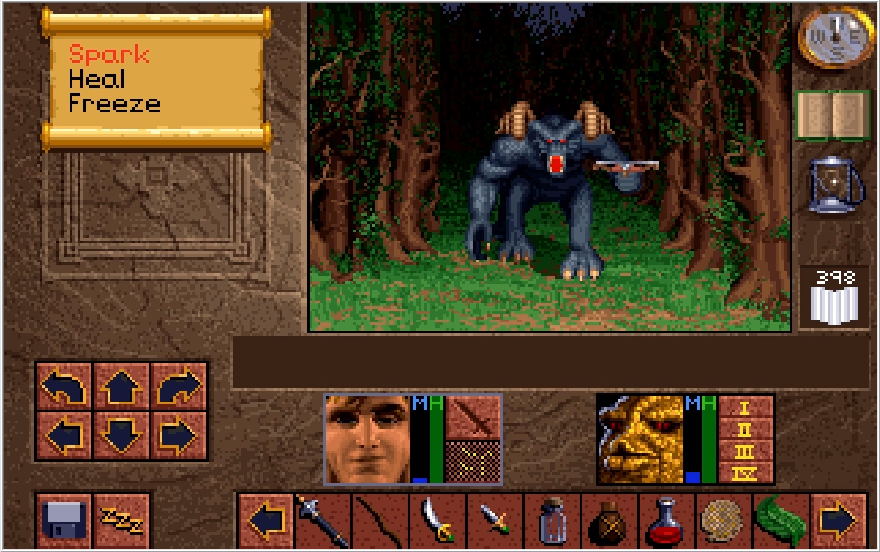
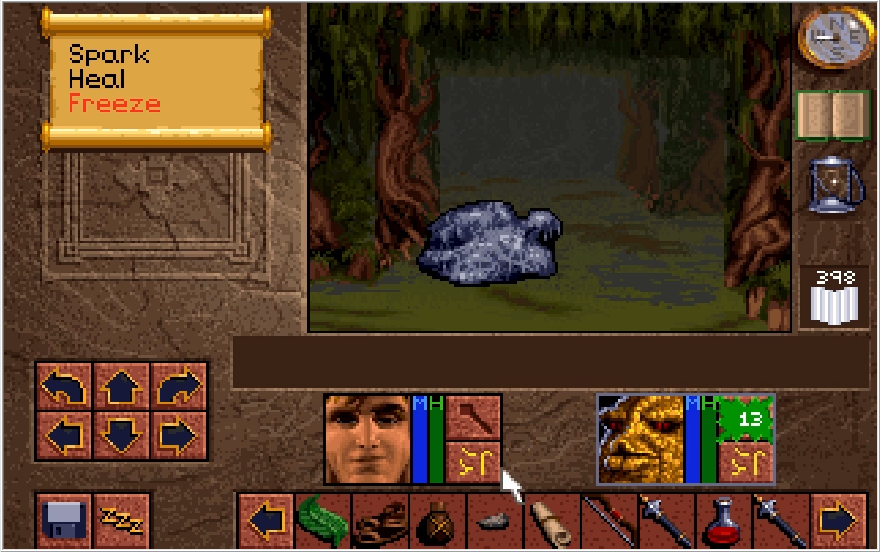
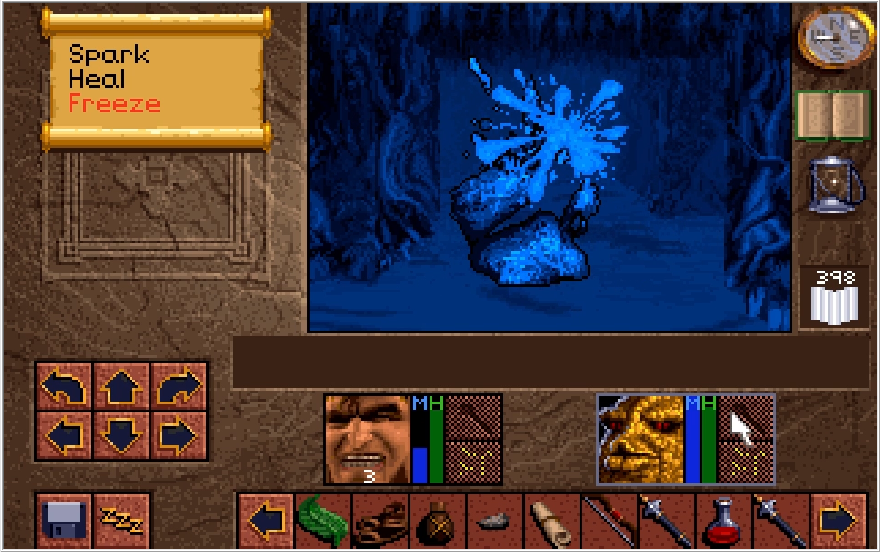
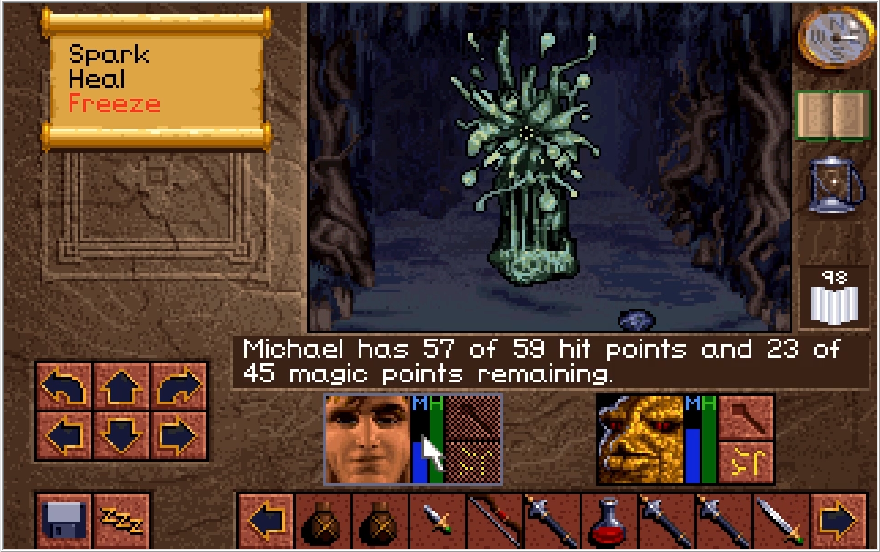
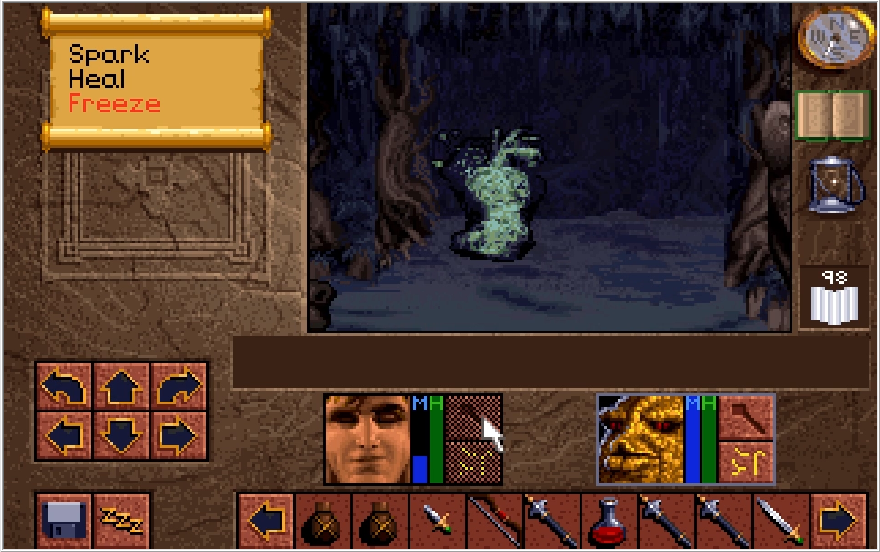
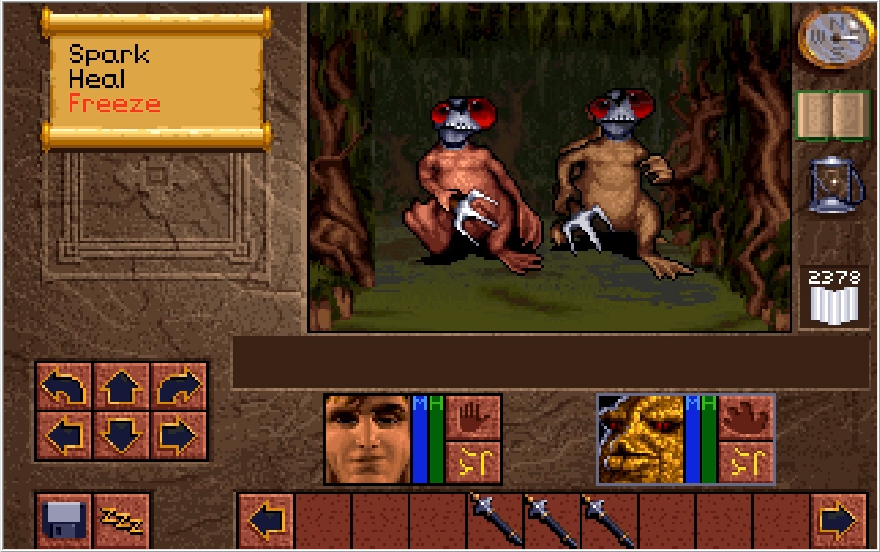
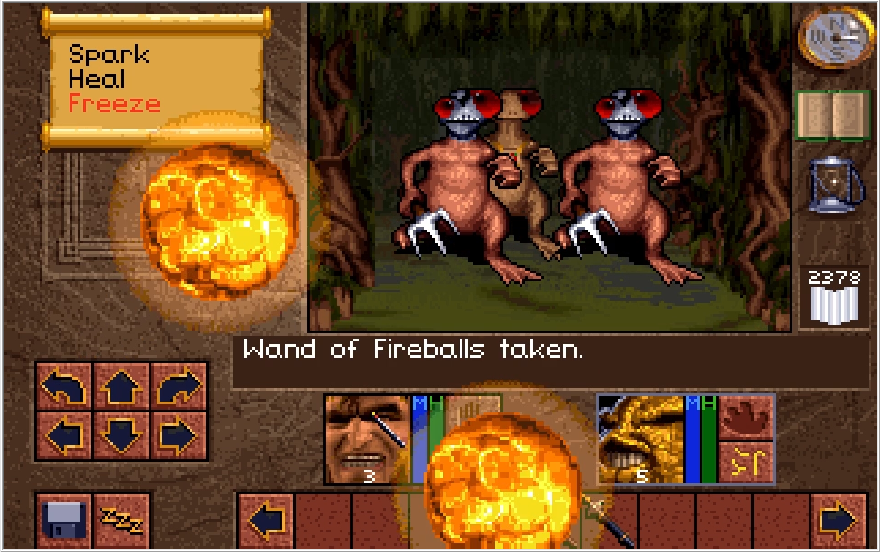
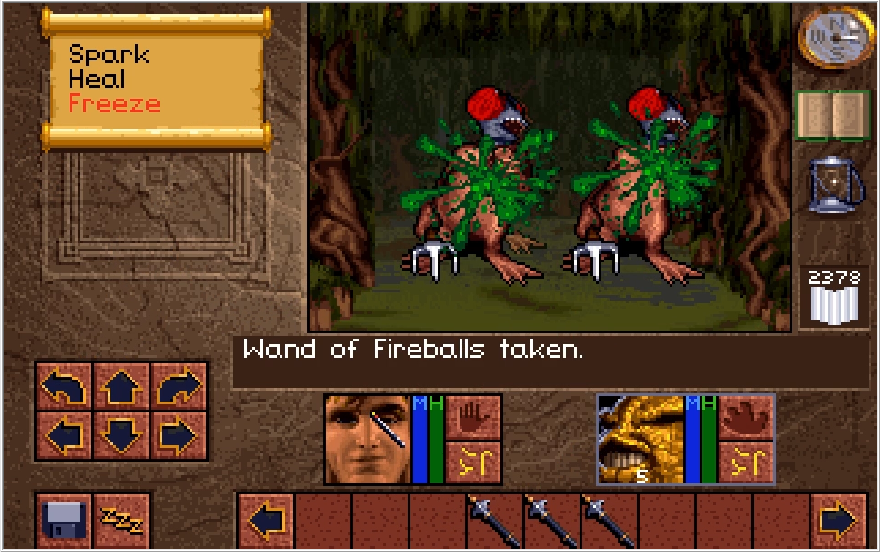
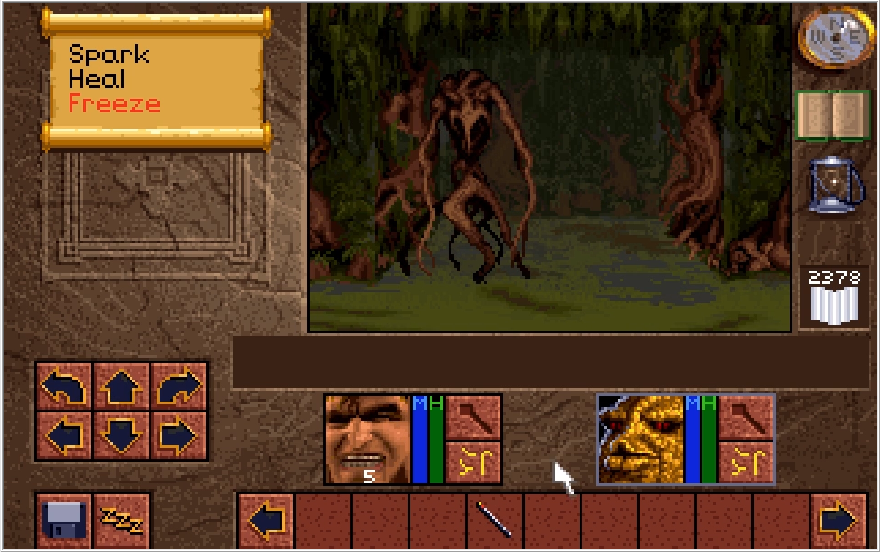
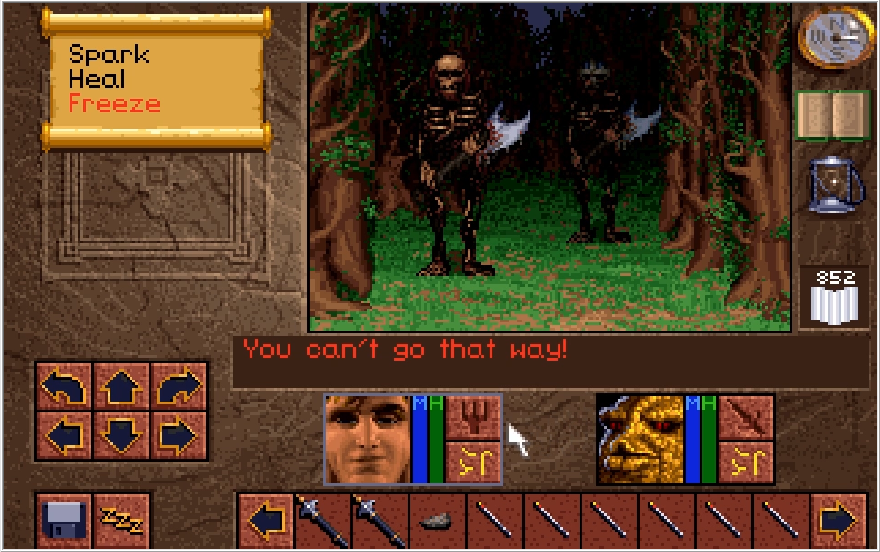
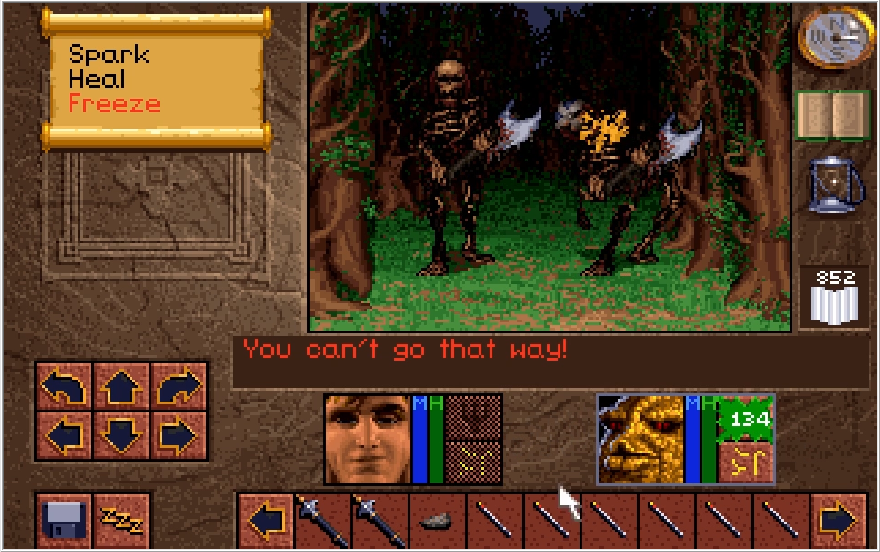
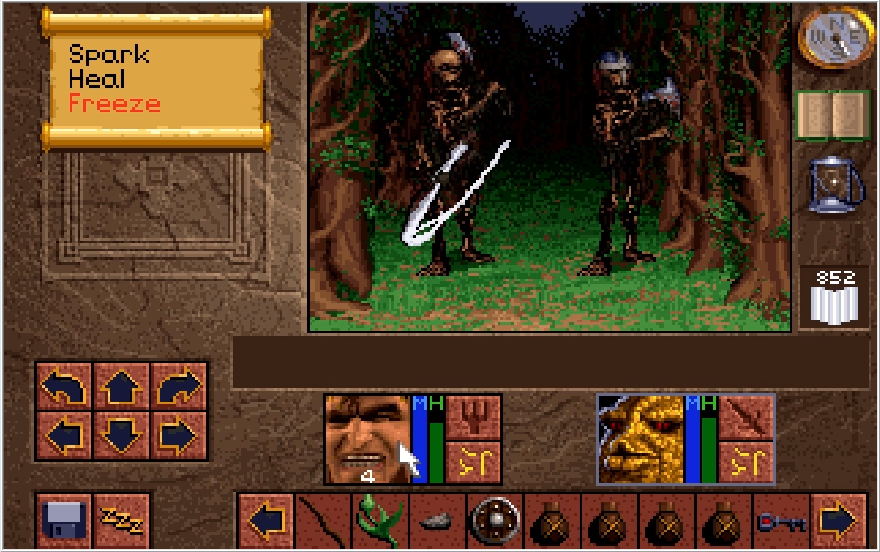
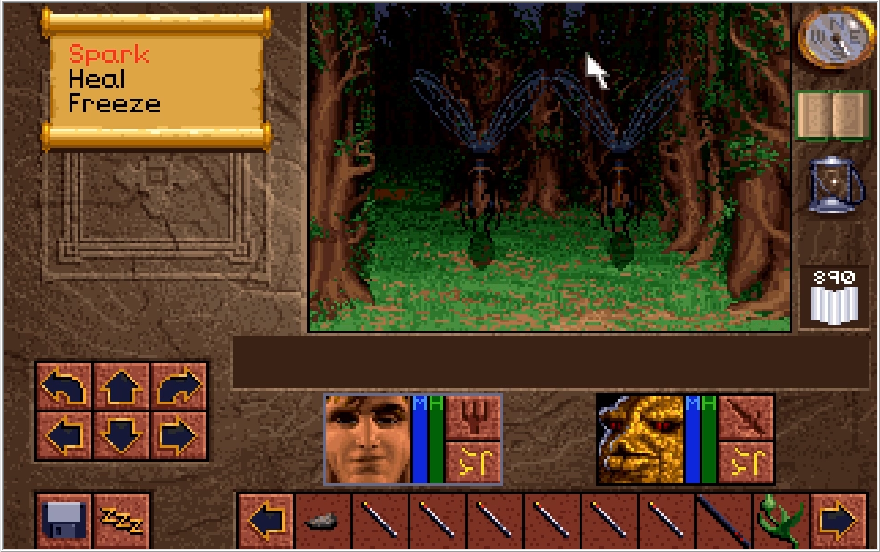
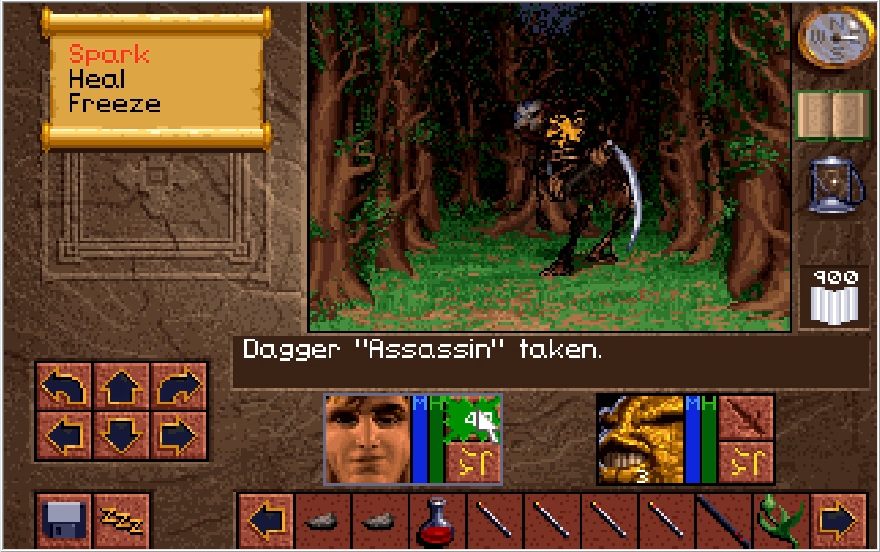
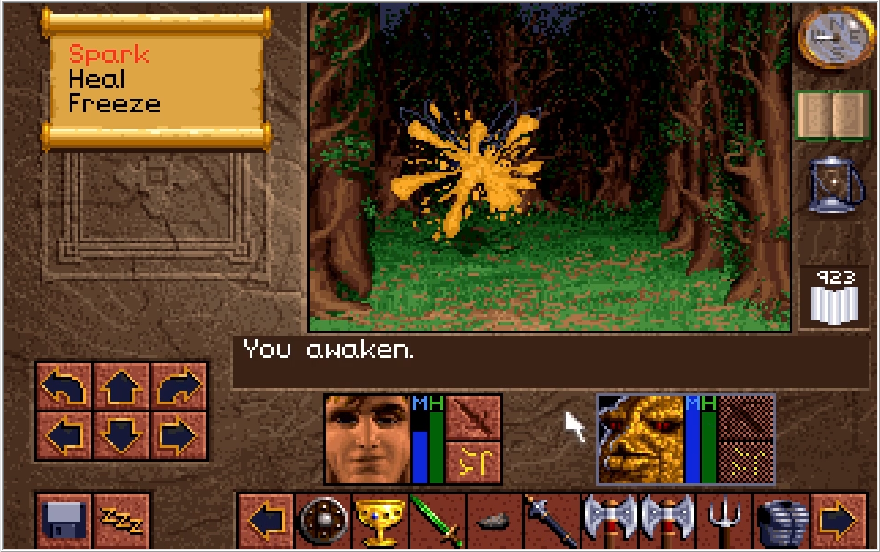
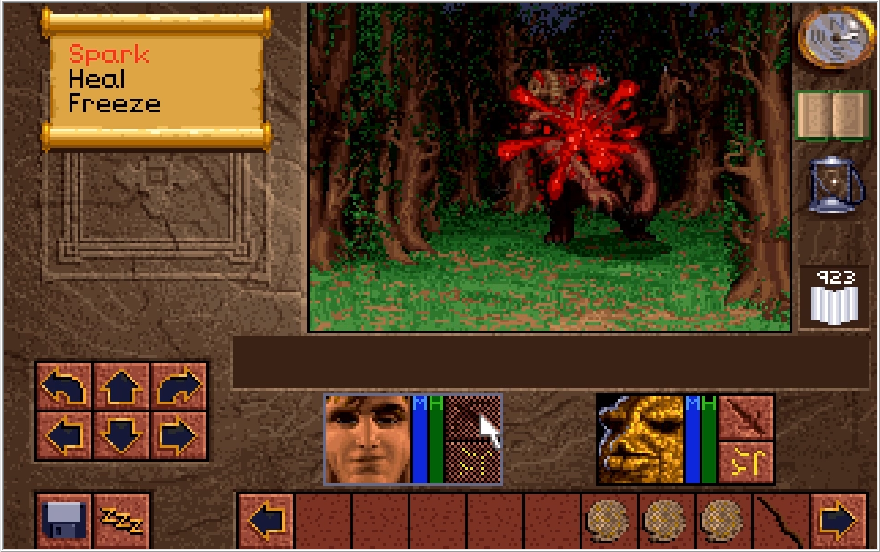
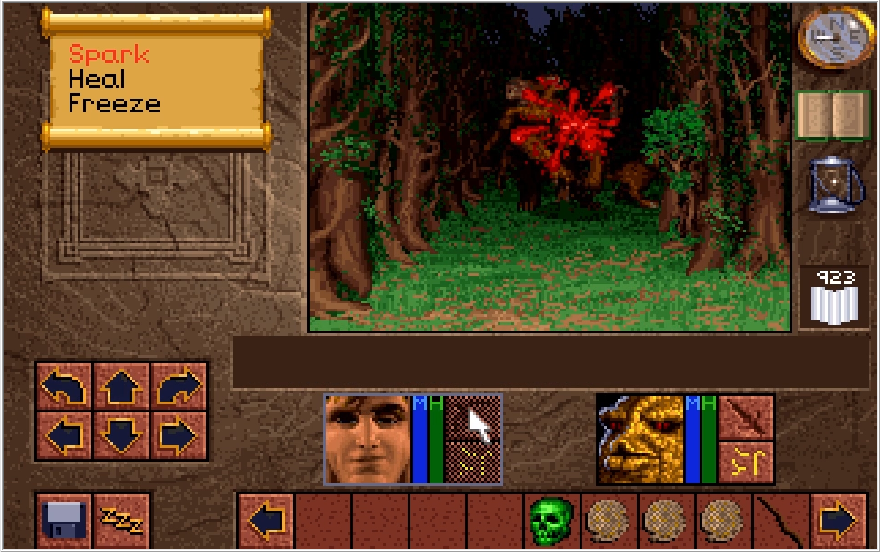
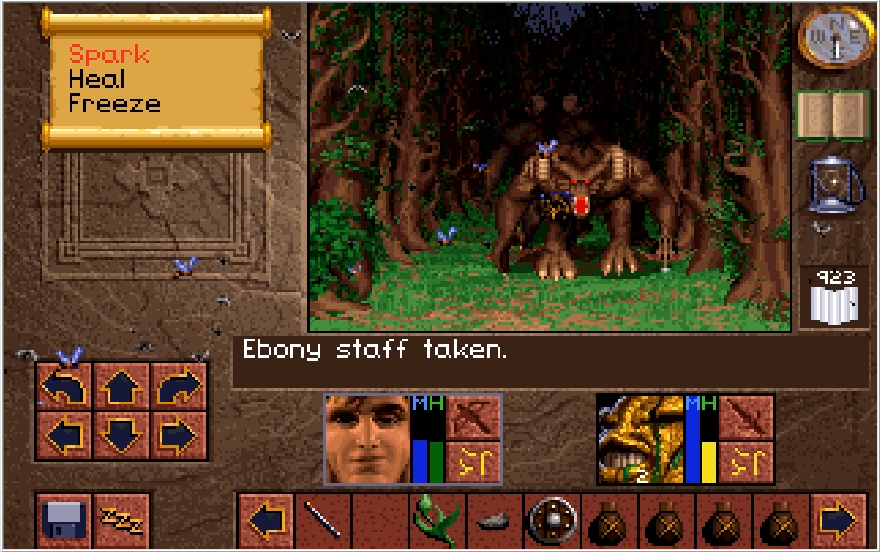
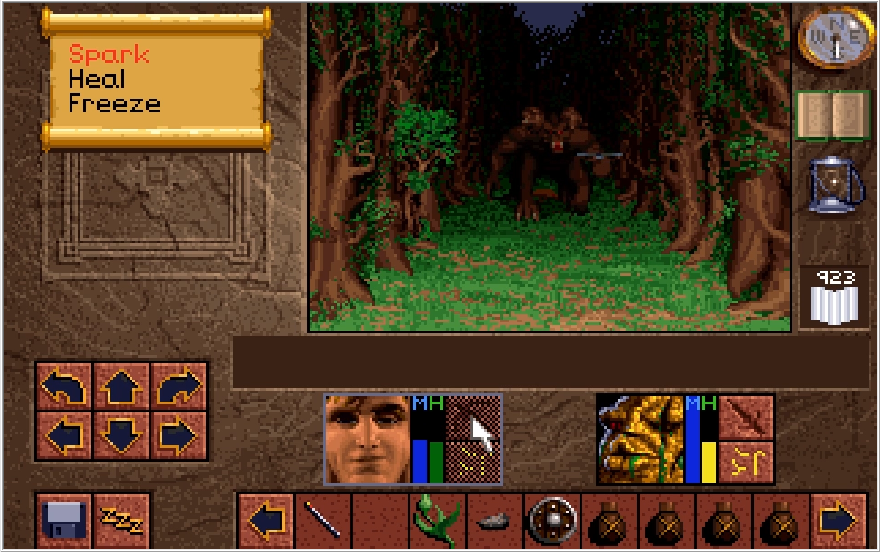
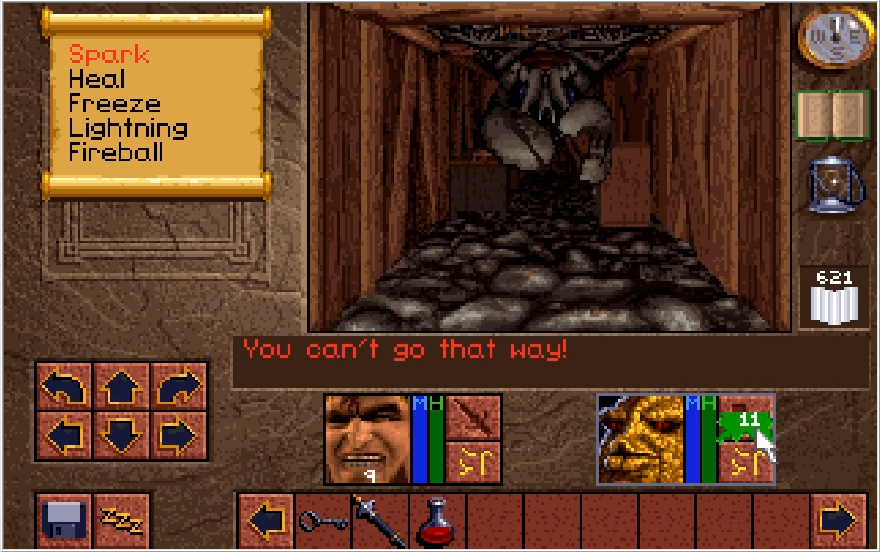
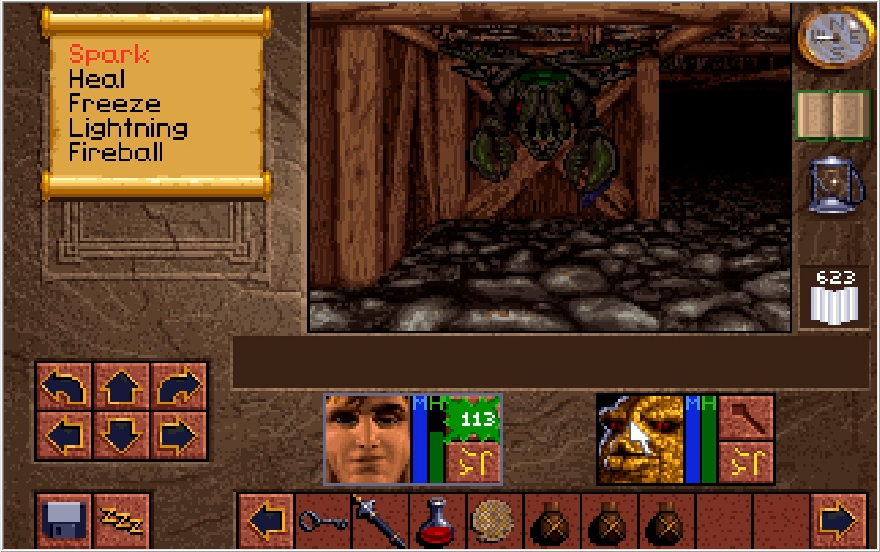
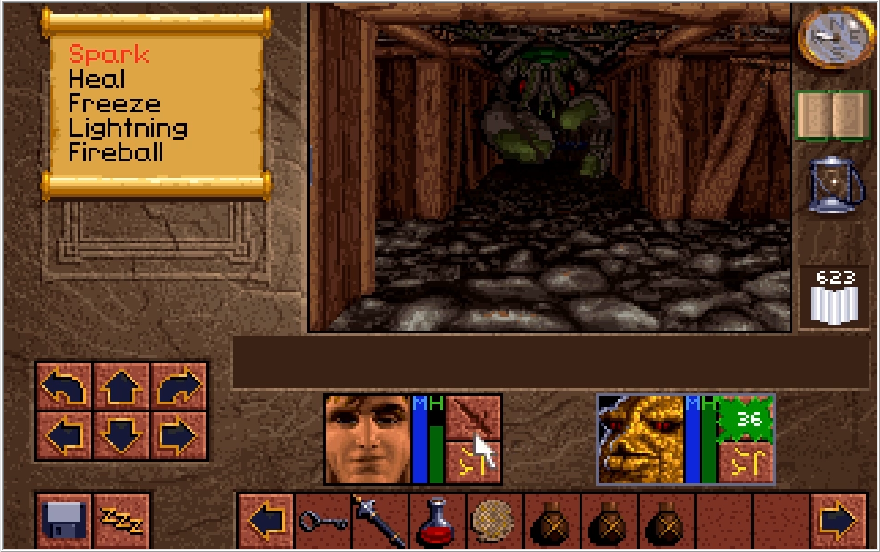
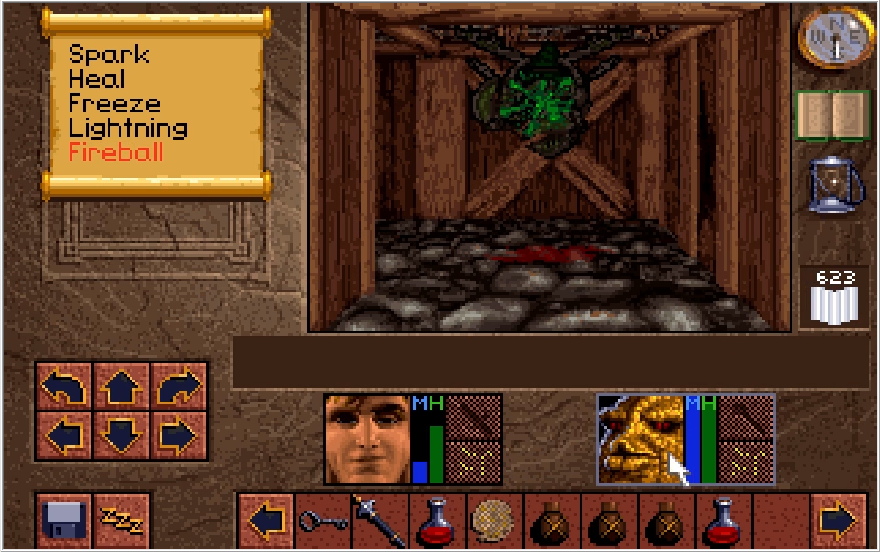
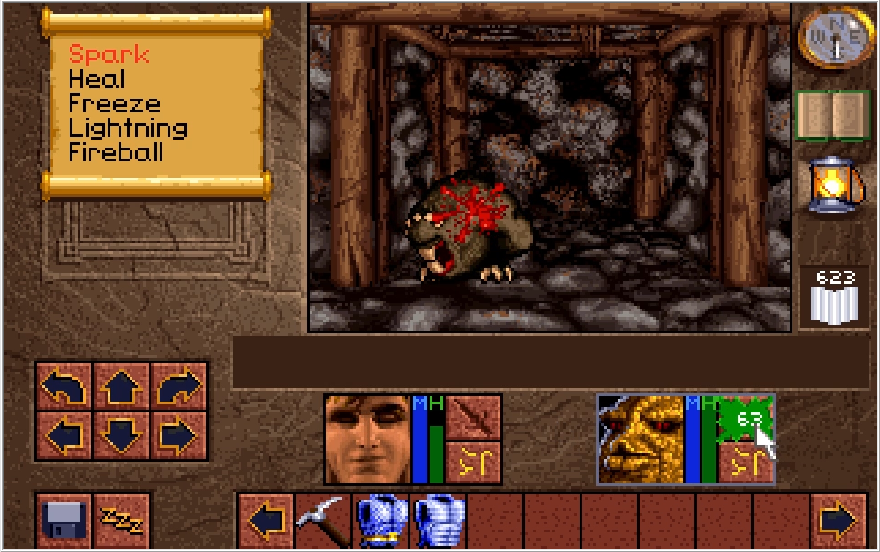
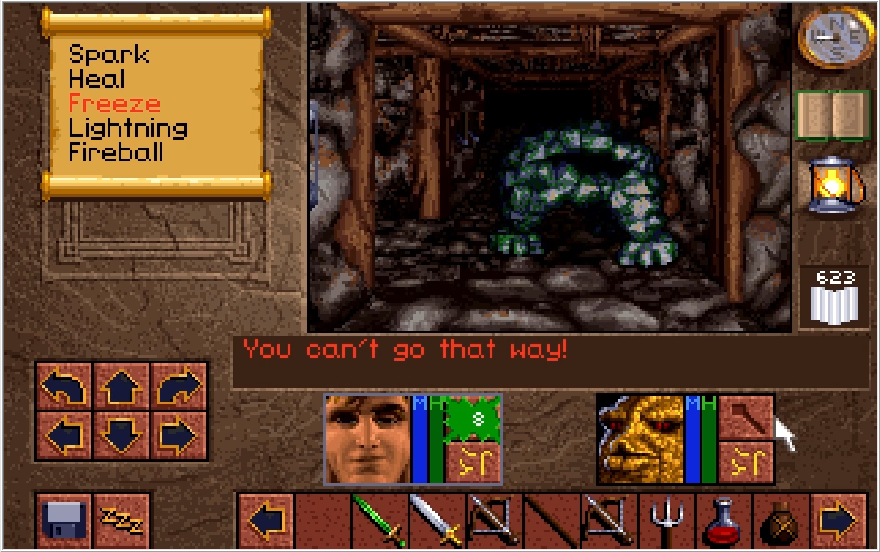
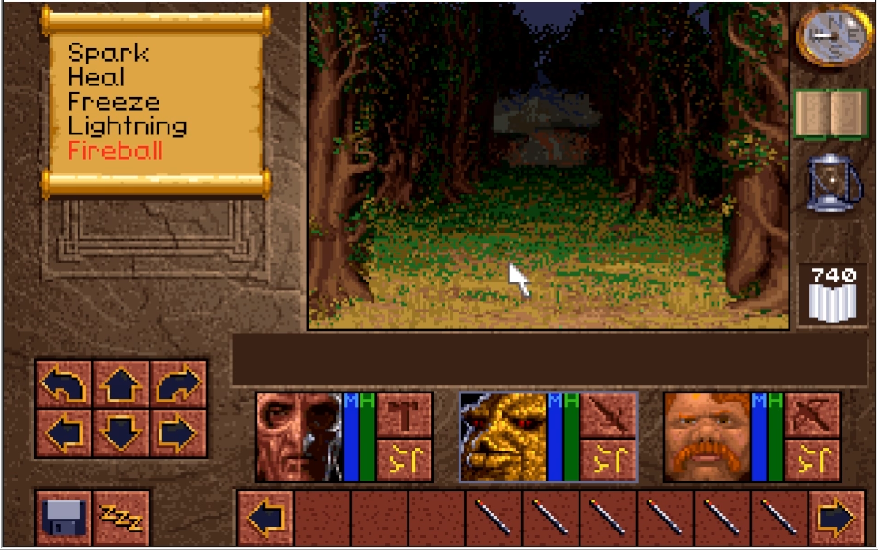
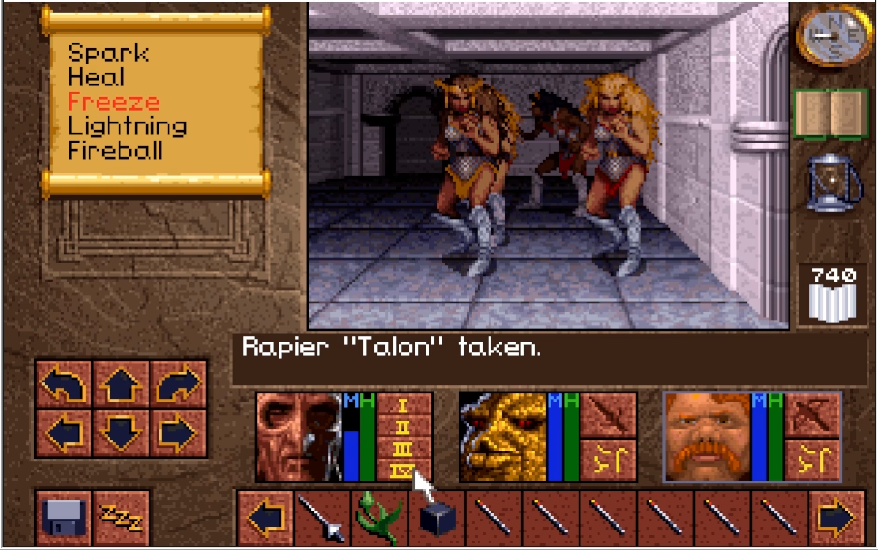
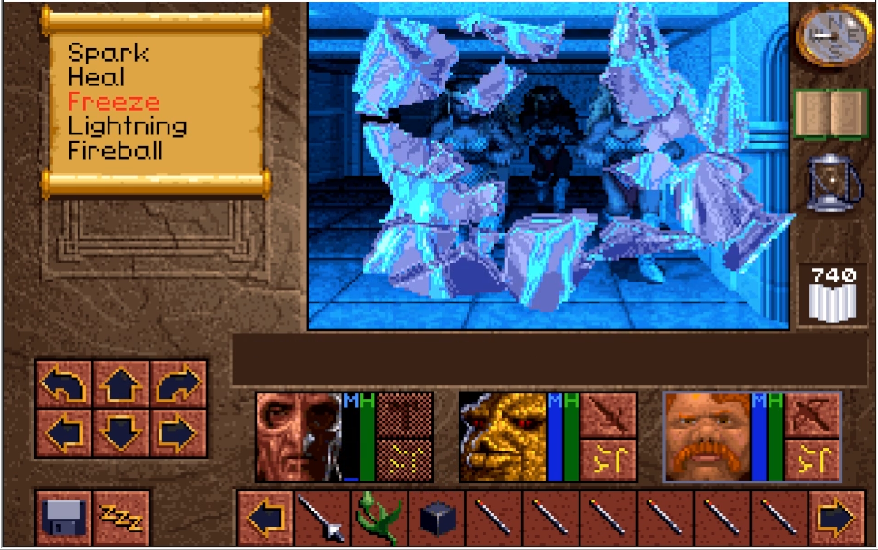
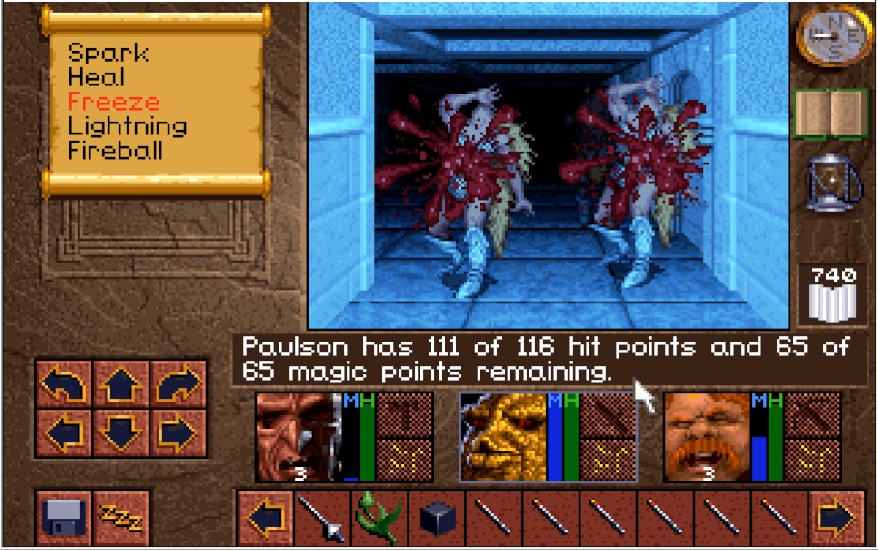
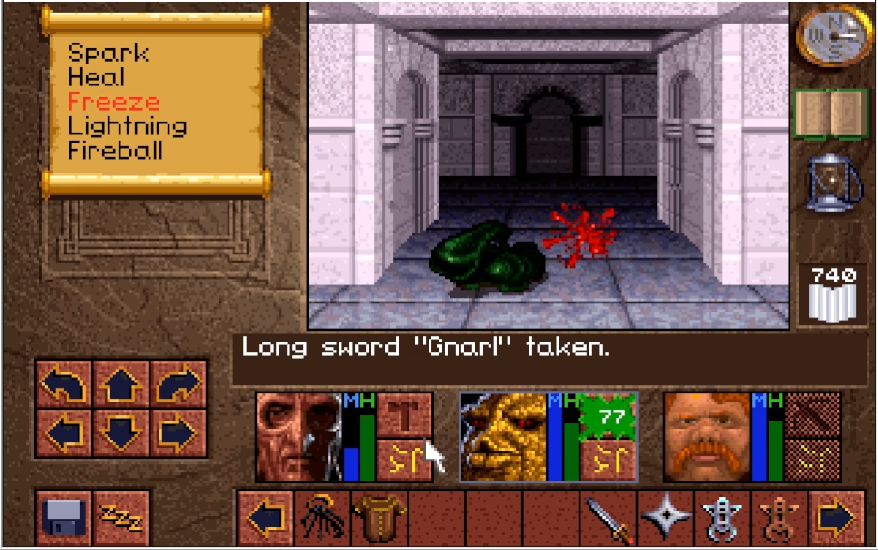
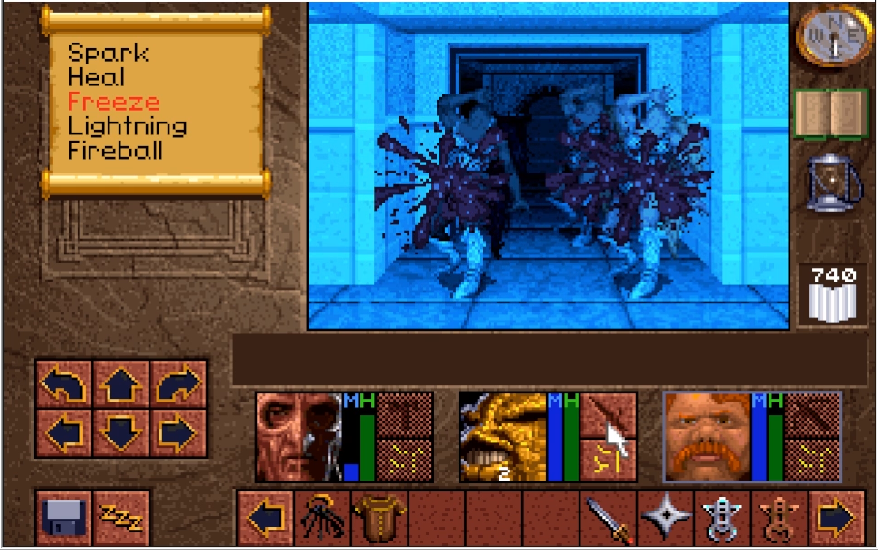
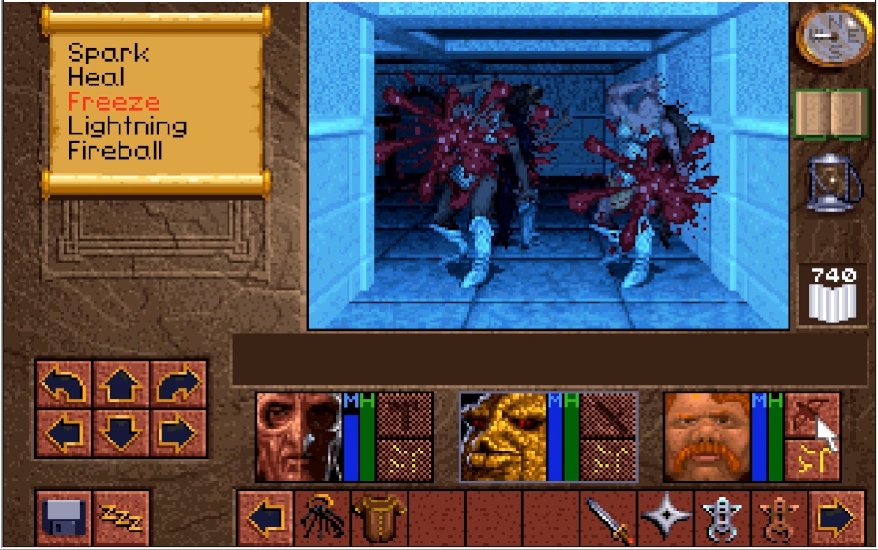
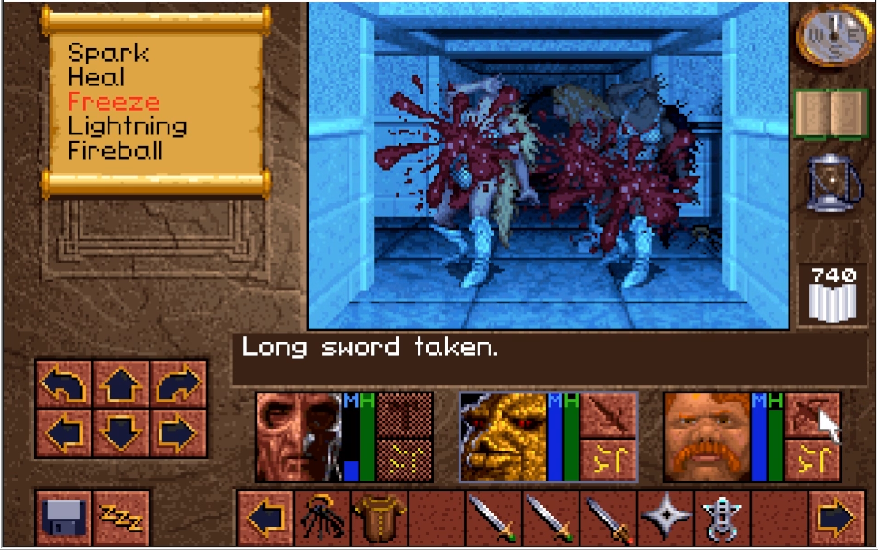
Speaking of enemies, now that the gas hall is blown open, giant flying jellyfish will begin to spawn on Level 2. In spite of themselves, they're pretty vanilla enemies. They hit decently hard, but aren't too evasive, don't have particularly high defenses or HP, and have no special quirks. Keep your Fireball wands handy though, their numbers will rapidly swell the longer you stay on this Level now, and they can overwhelm you quickly if you're not careful.
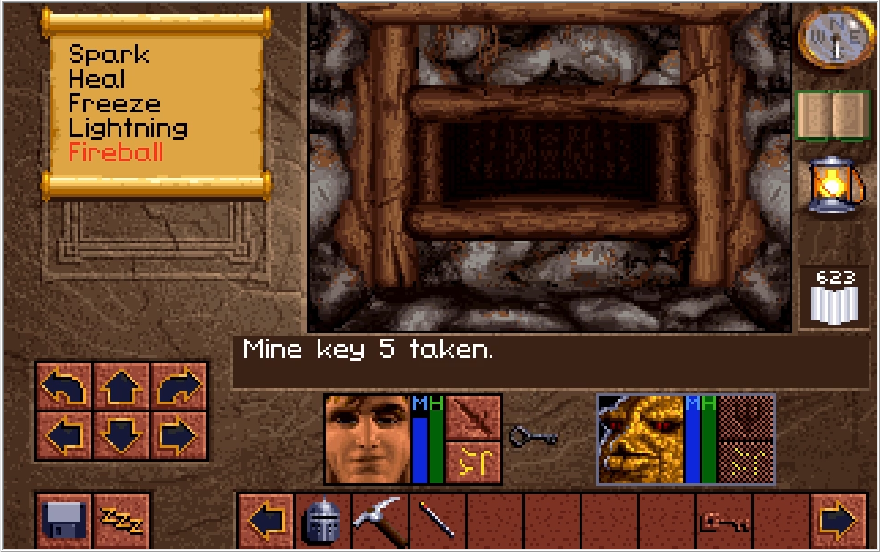
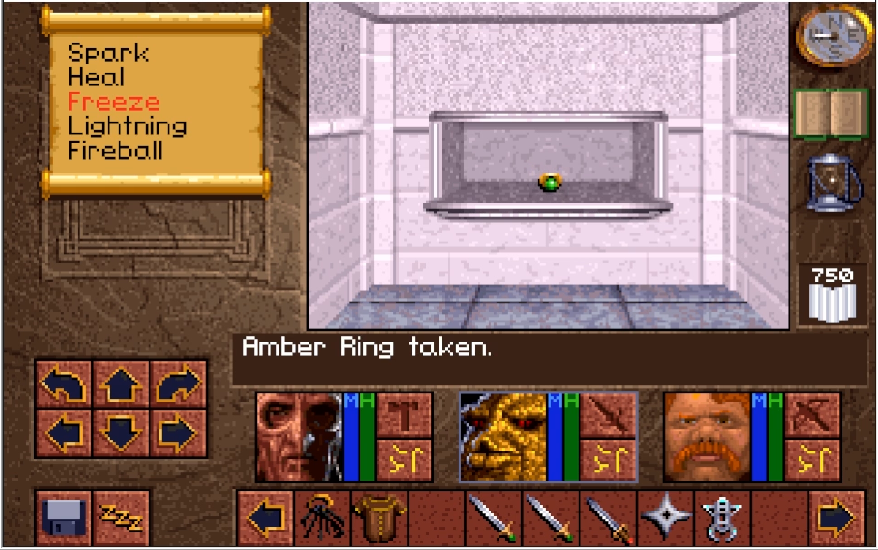
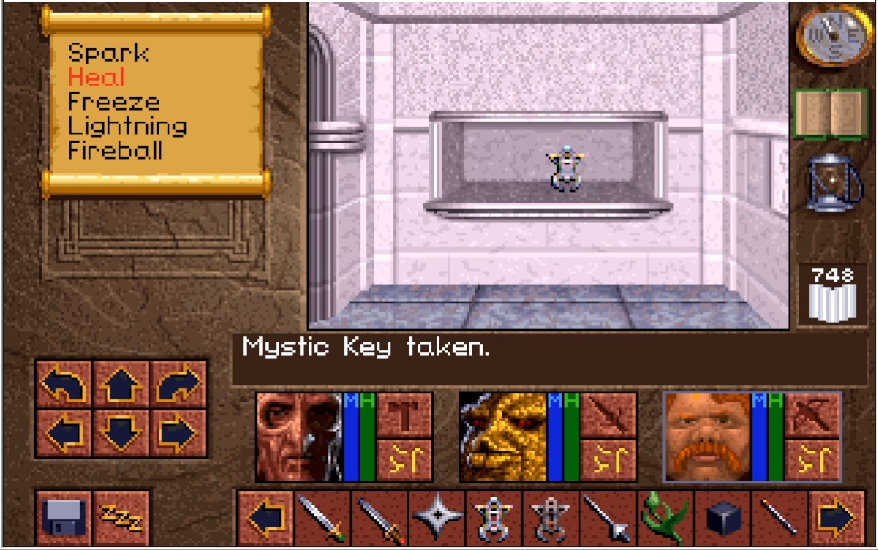
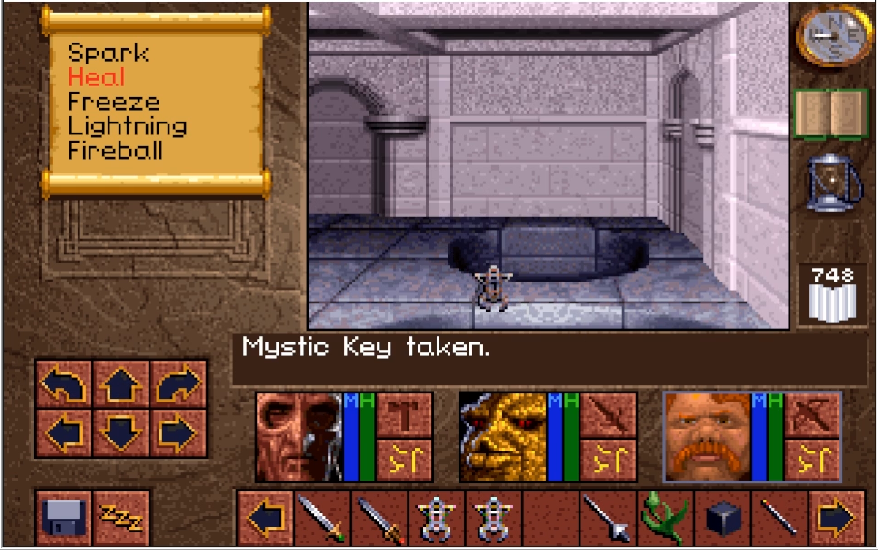
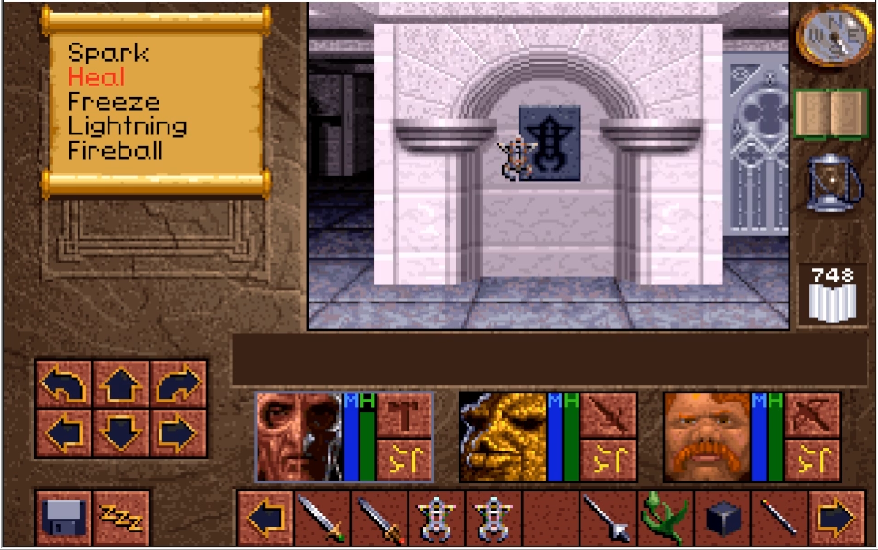
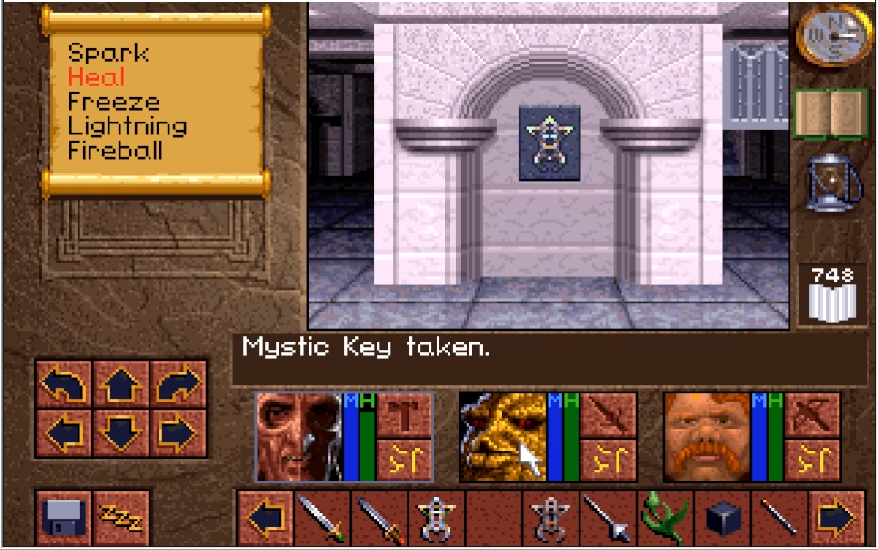
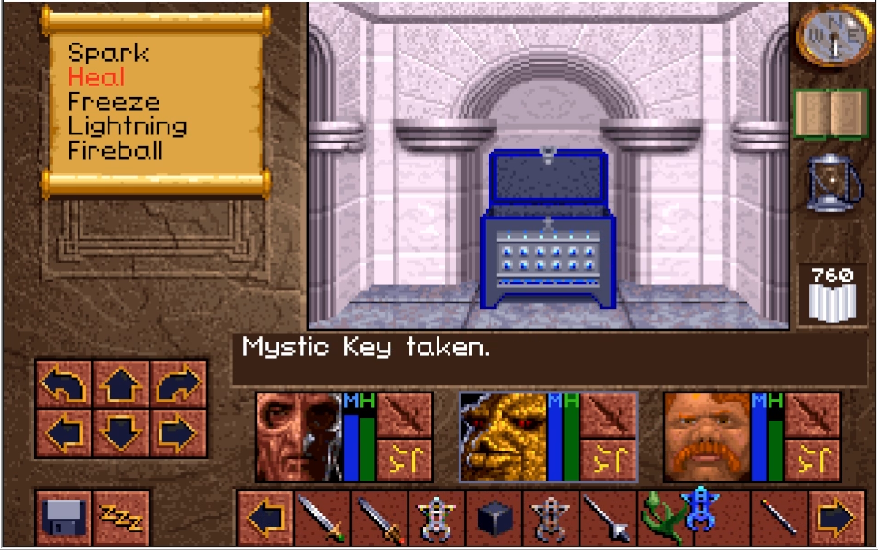
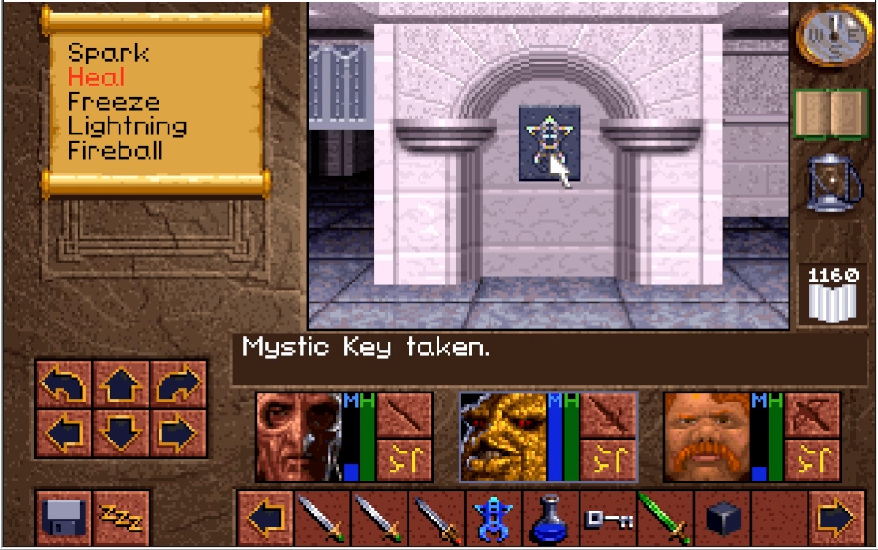
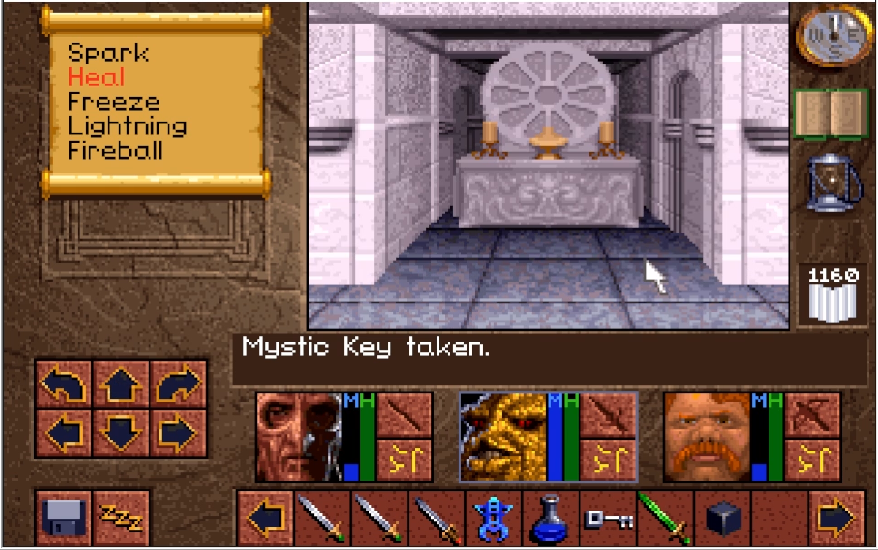
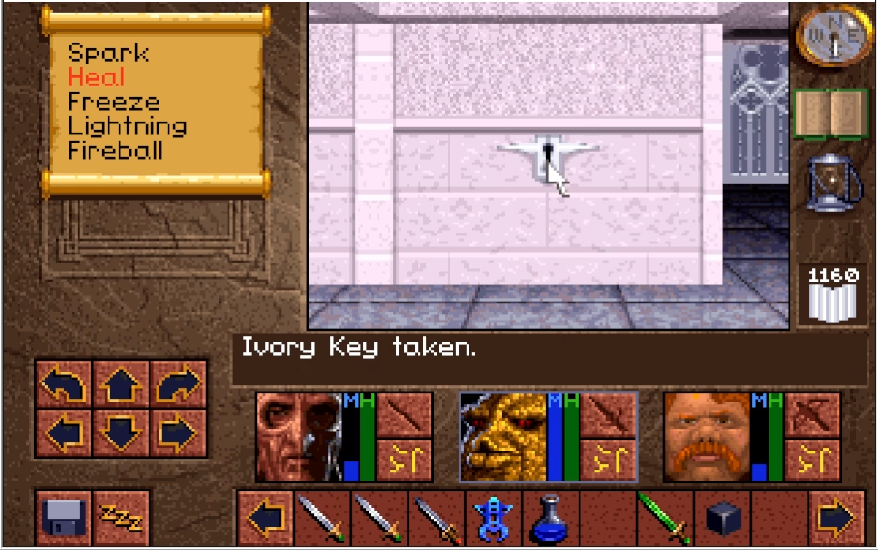
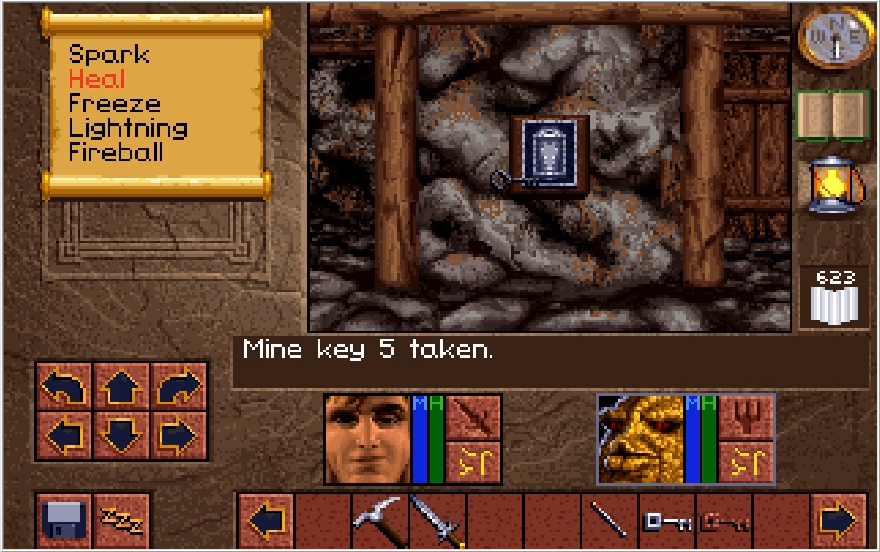
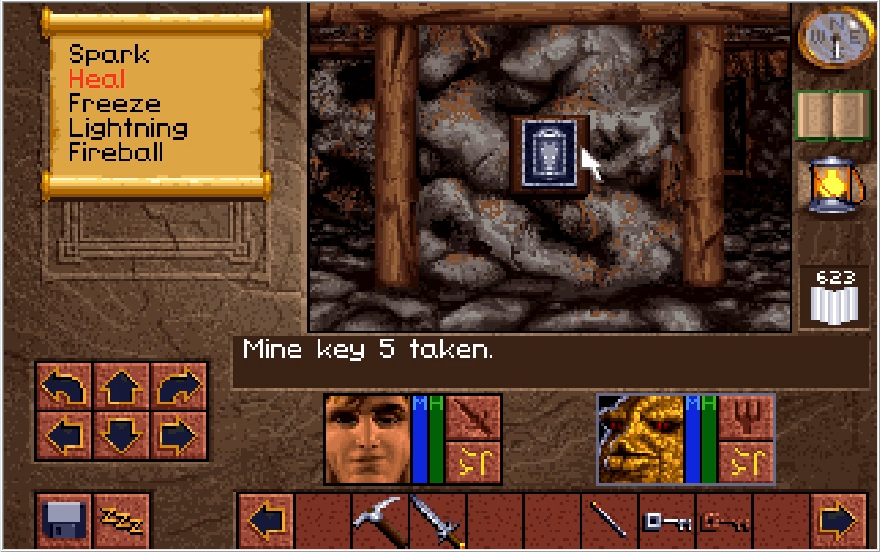
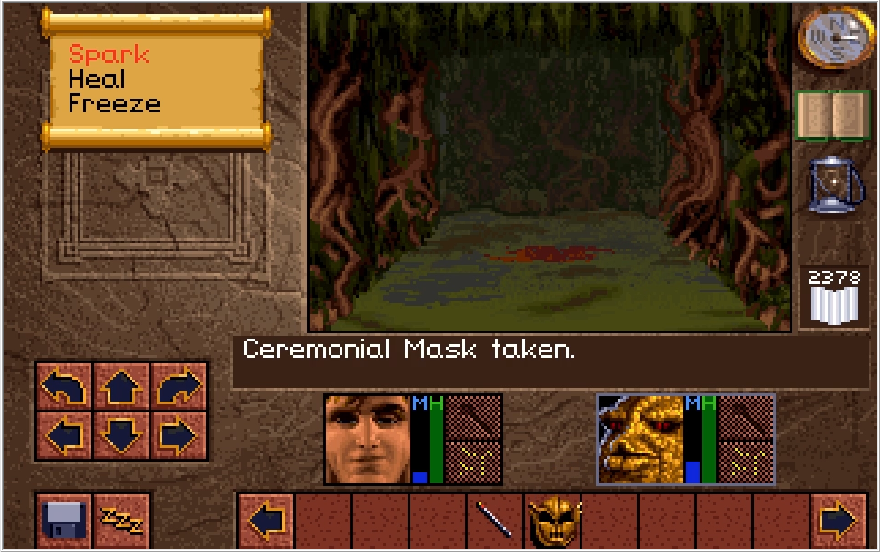
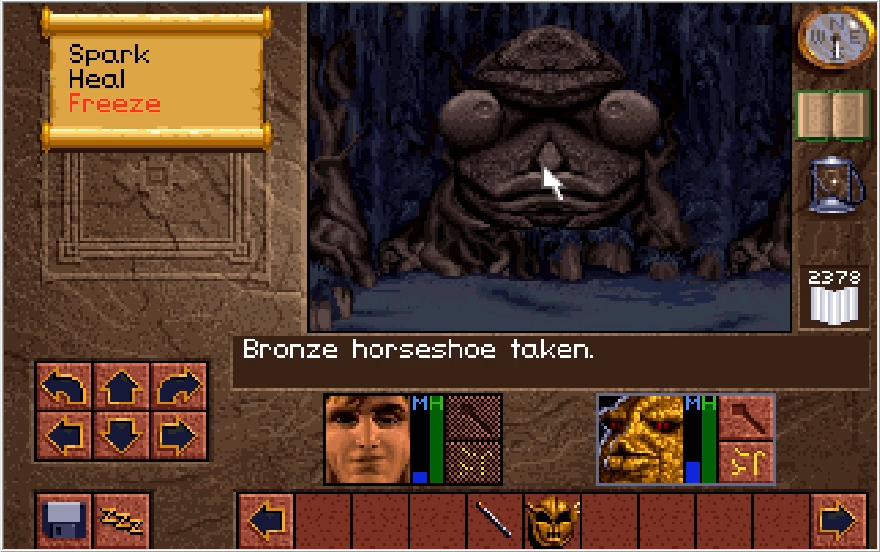
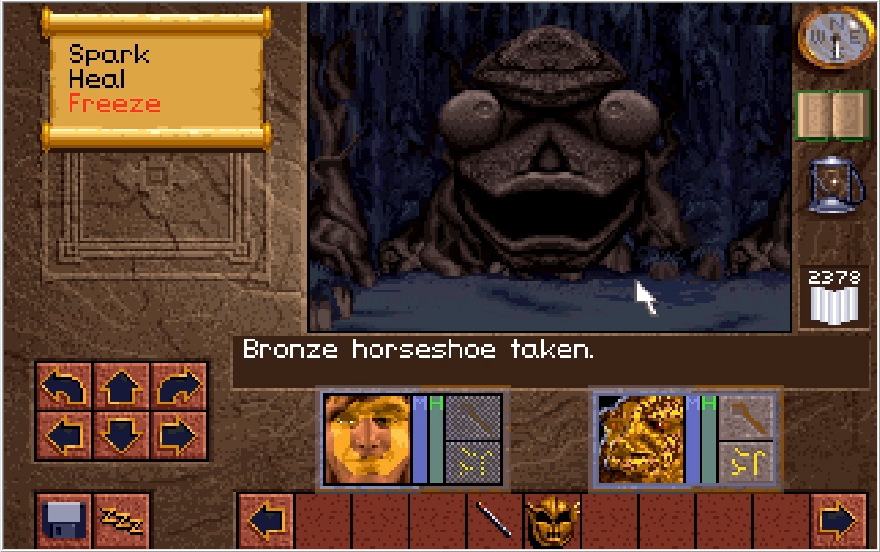
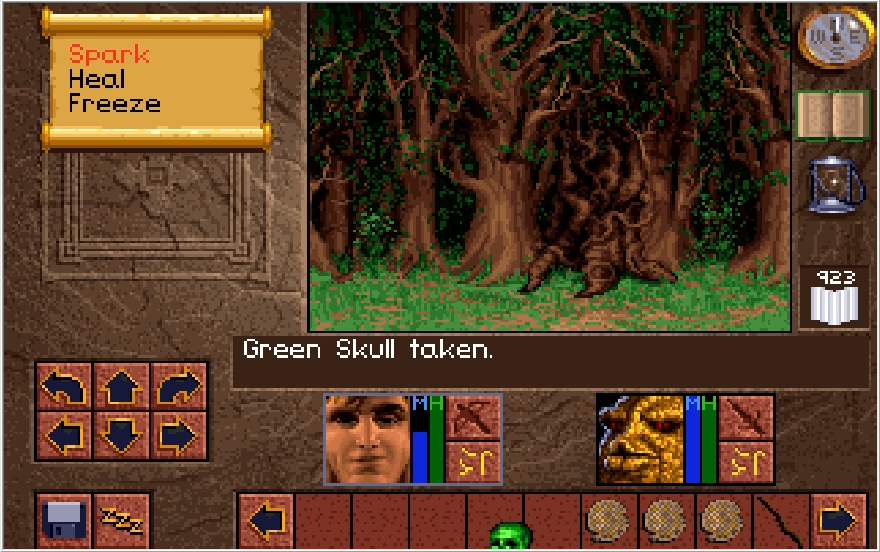
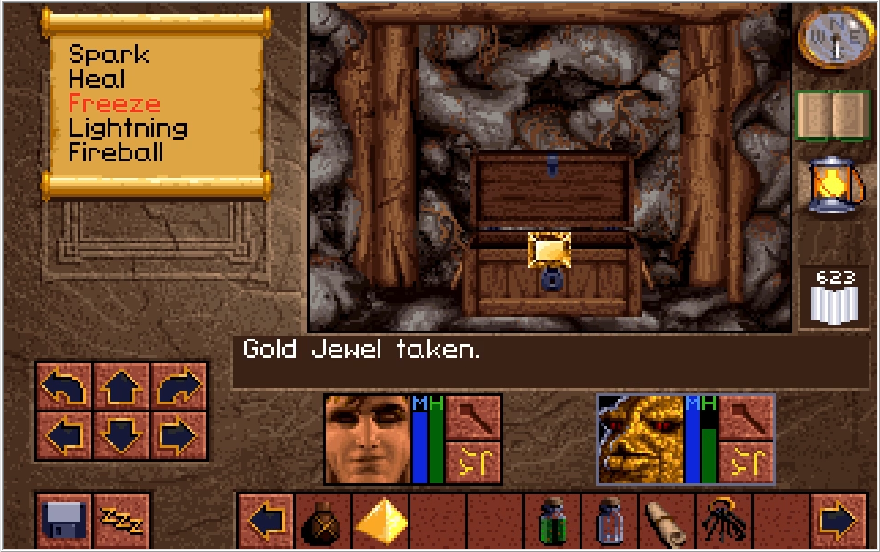
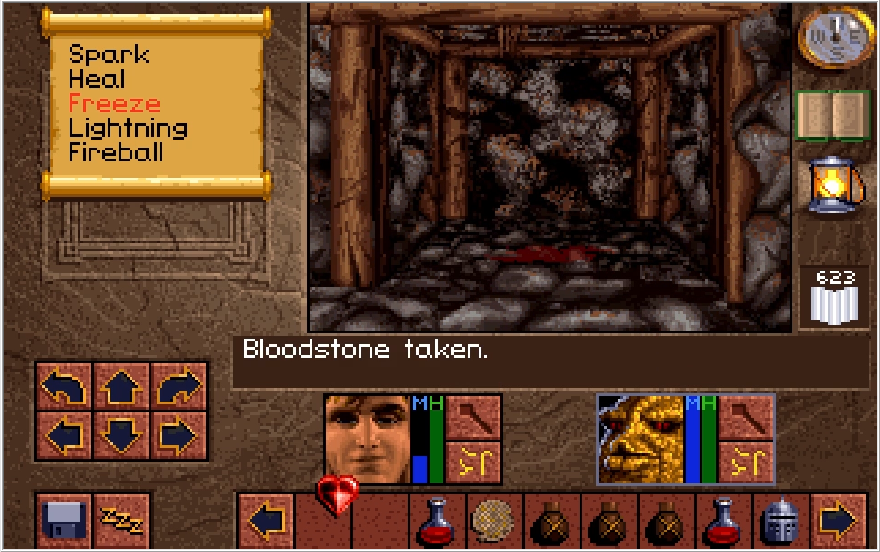
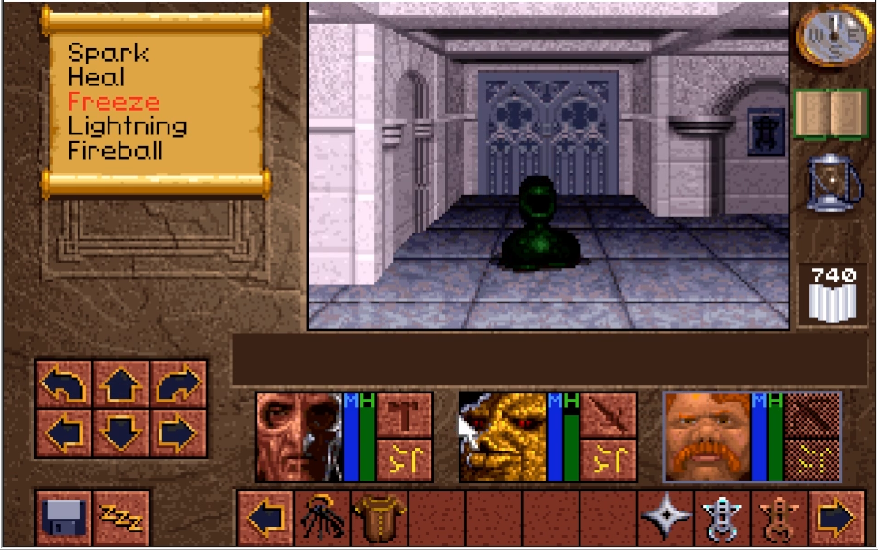
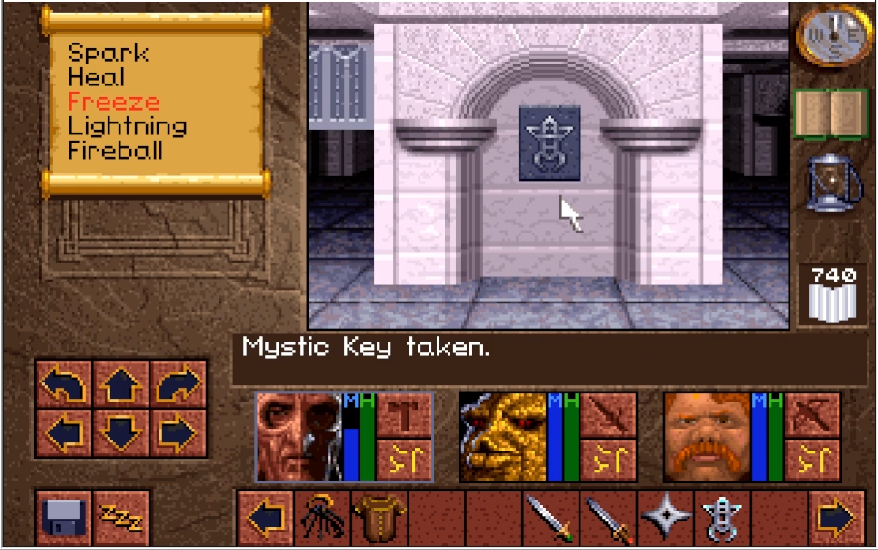
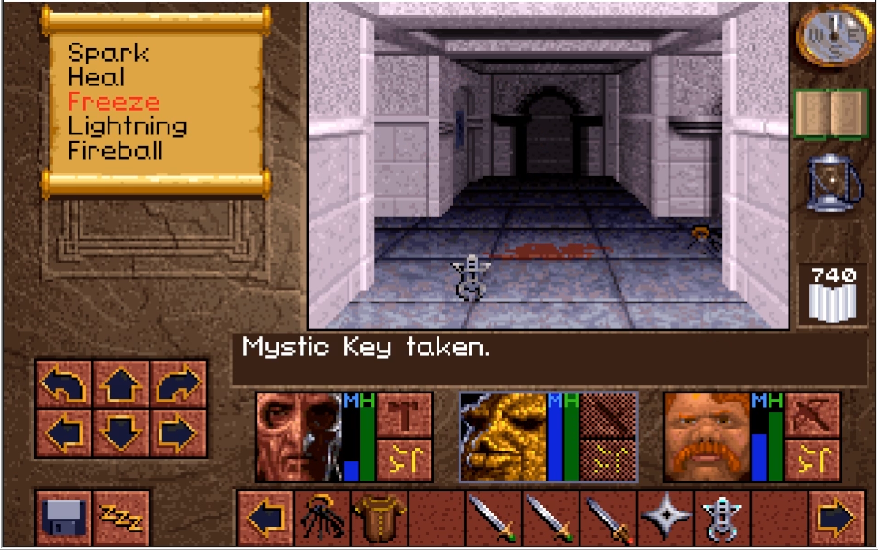
The main prize of this section of Level 2 is Mine Key 5. This is one of two keys we need to escape this Level.

Heading south now, we get our next clue message. Gee, I wonder what it could say?
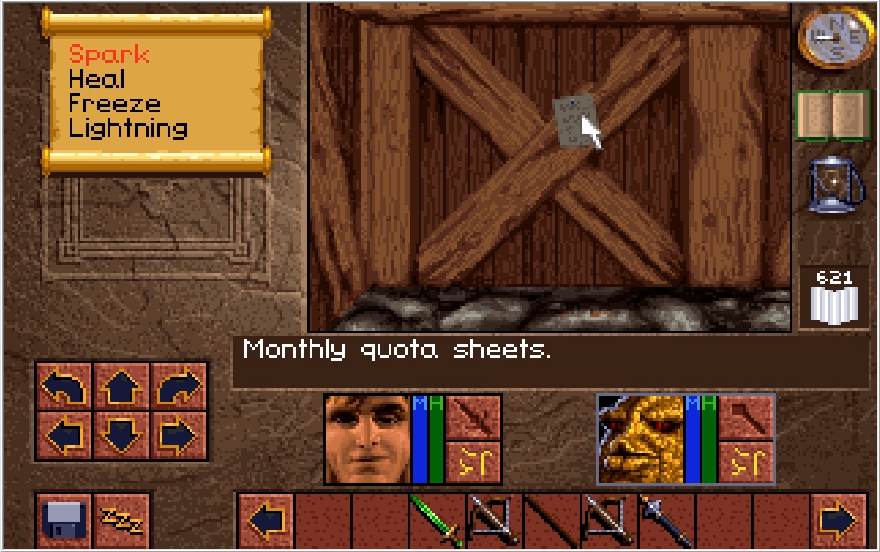
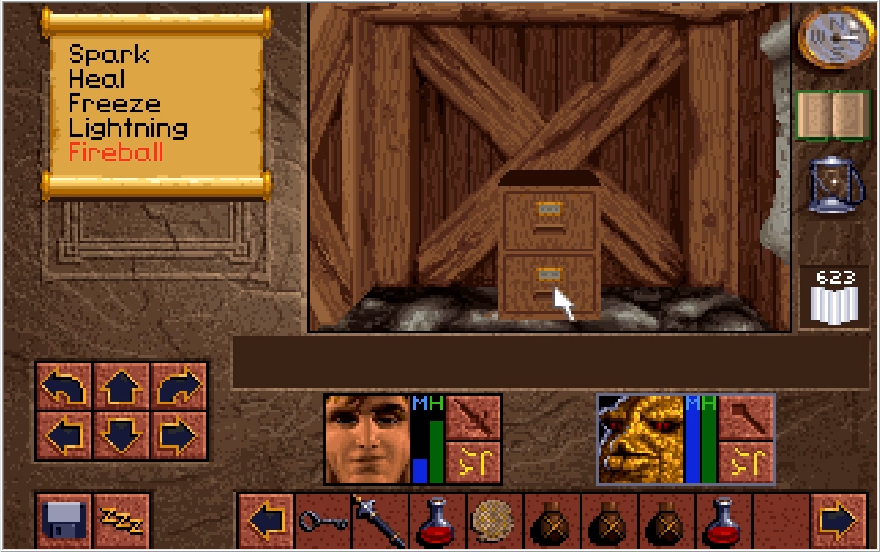
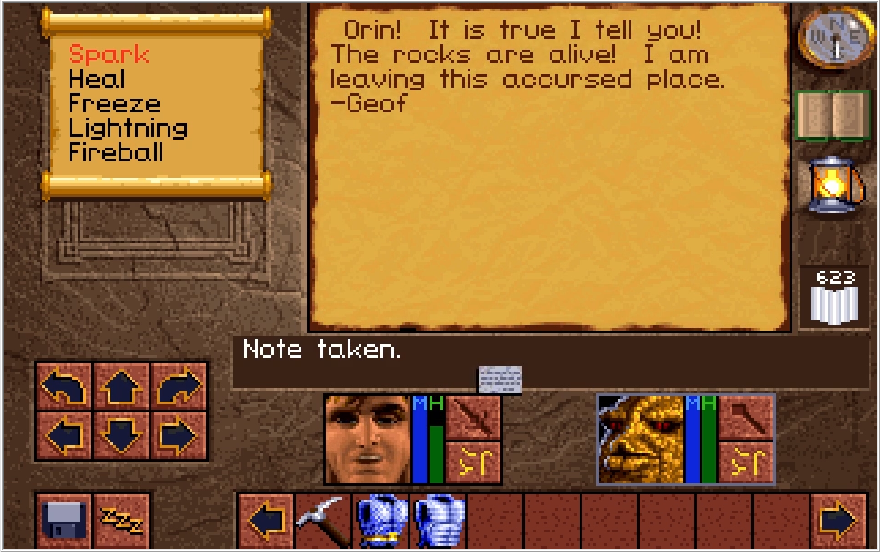
The switch to the left of this message leads to a dead end hall with some bones and a message. Very bizarrely, the message is just the living rocks warning from Geof. Why he wrote it twice and why it's here in a section where you can't run into the living rocks is a mystery.
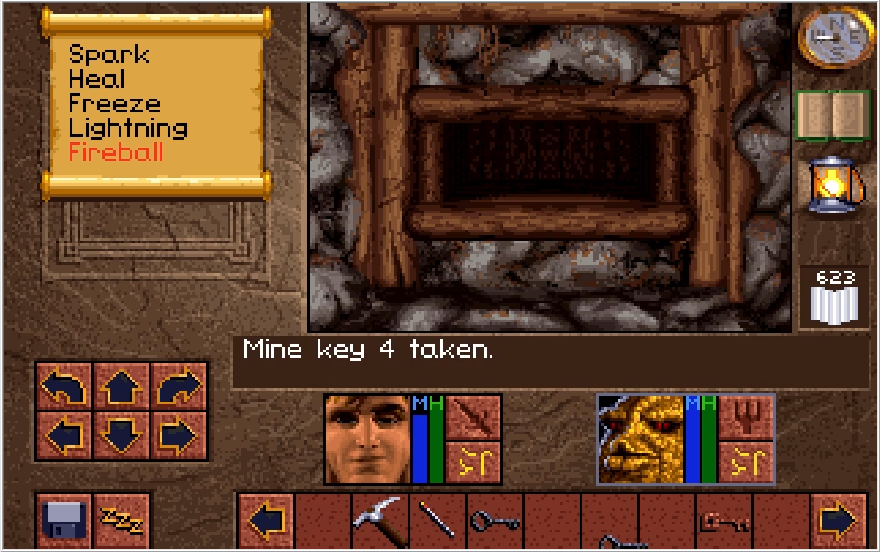
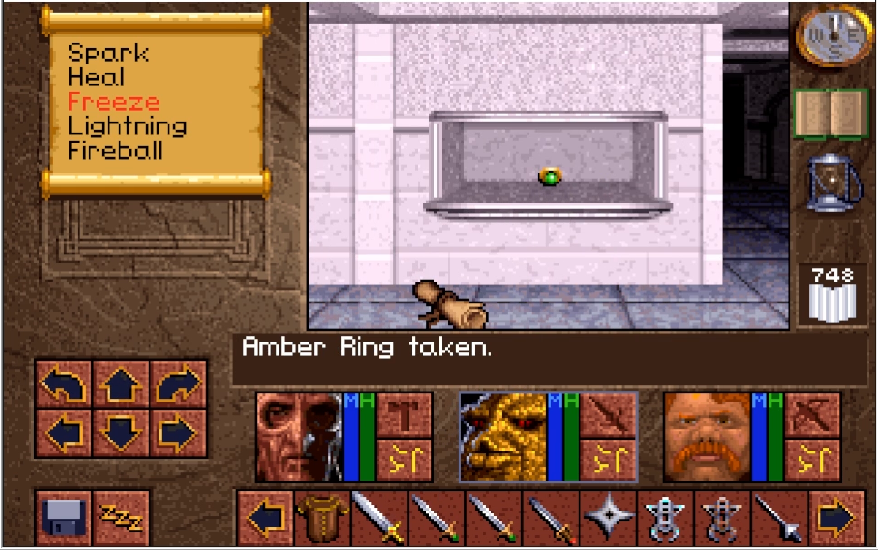
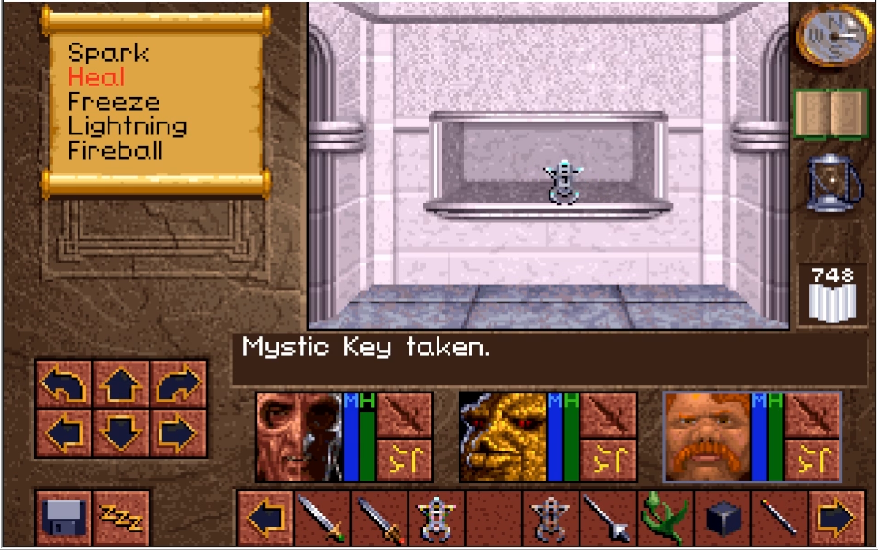
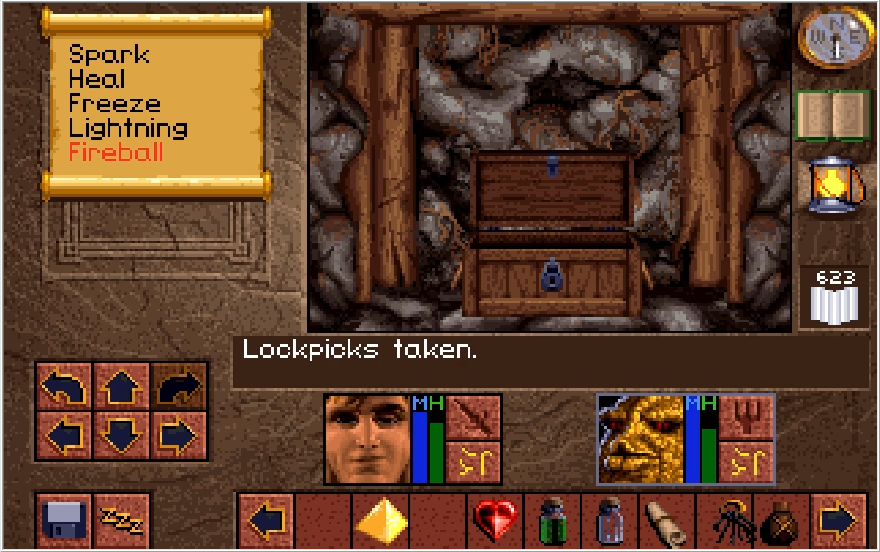
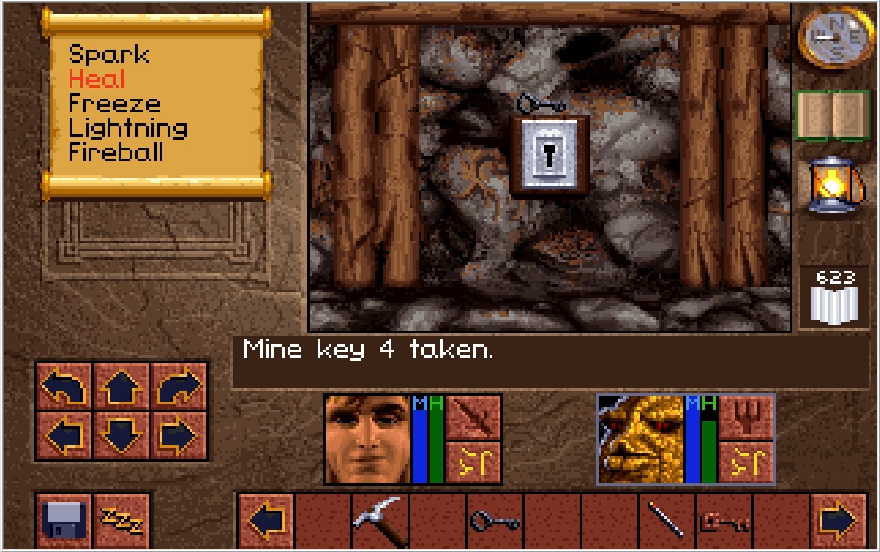
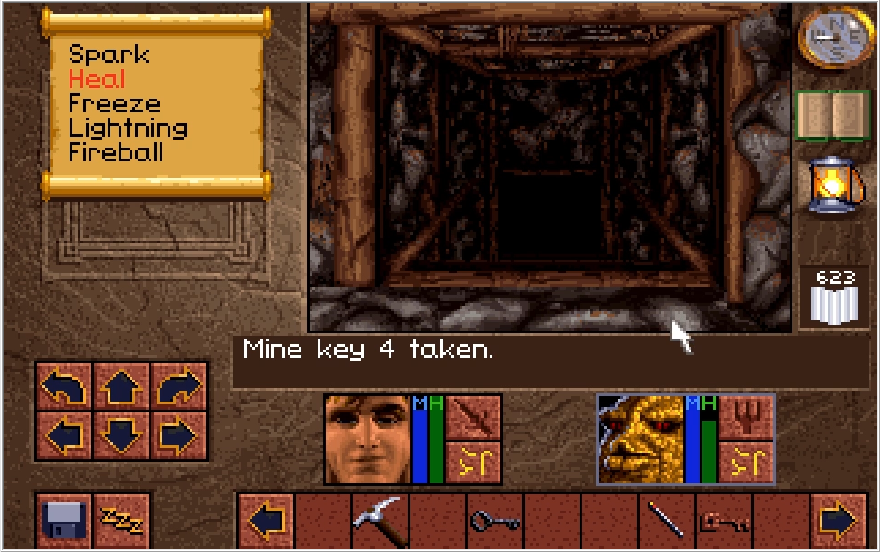
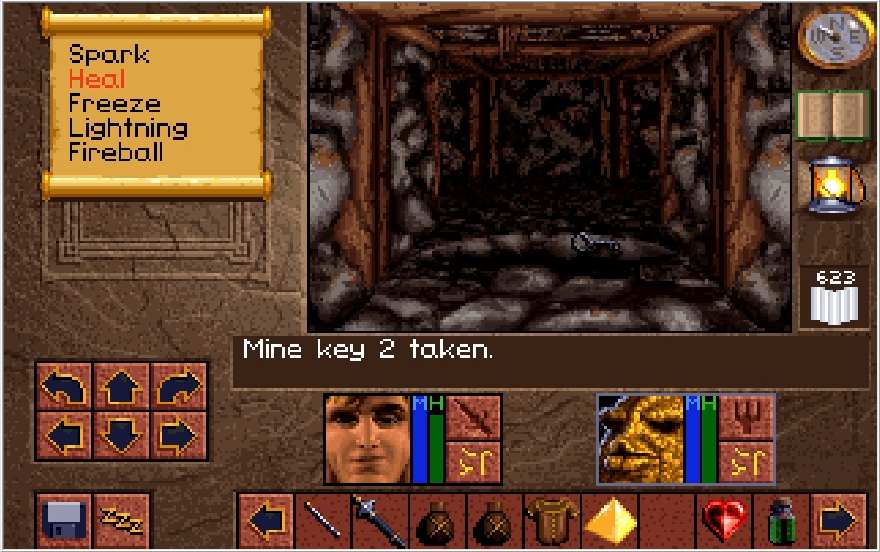
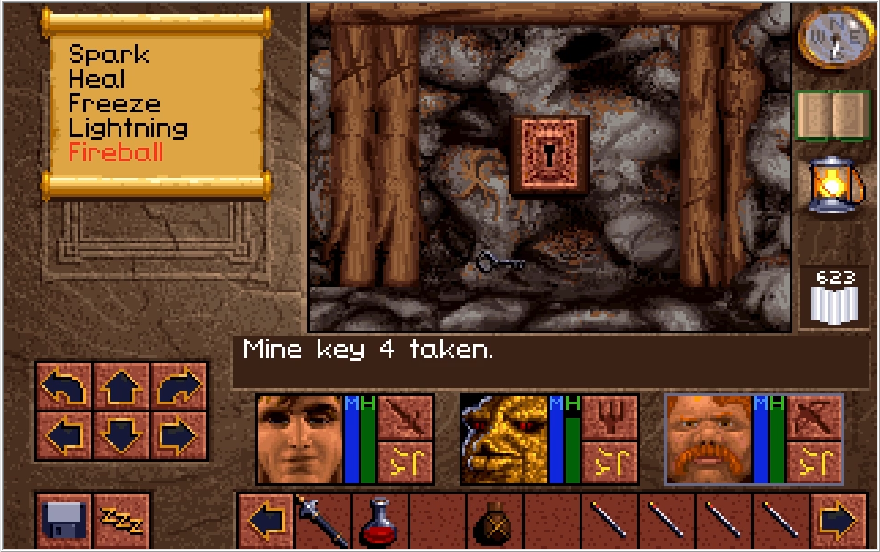
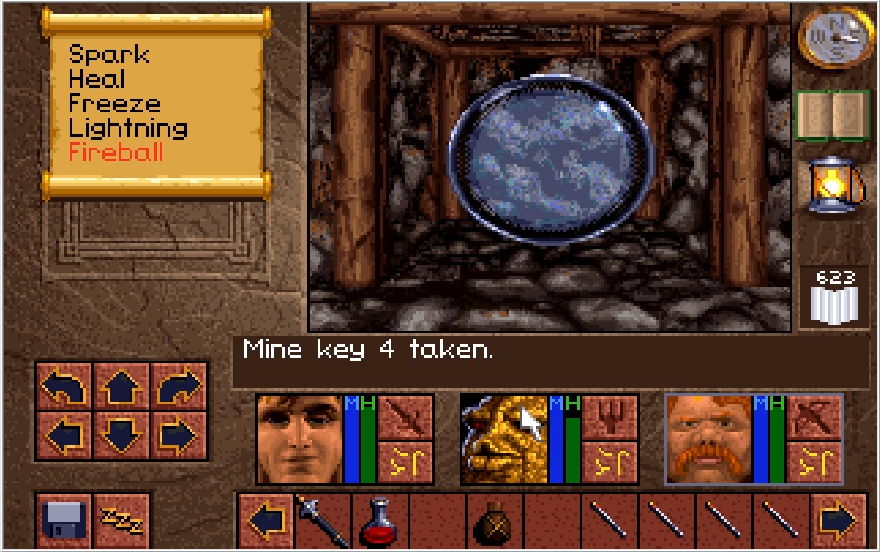
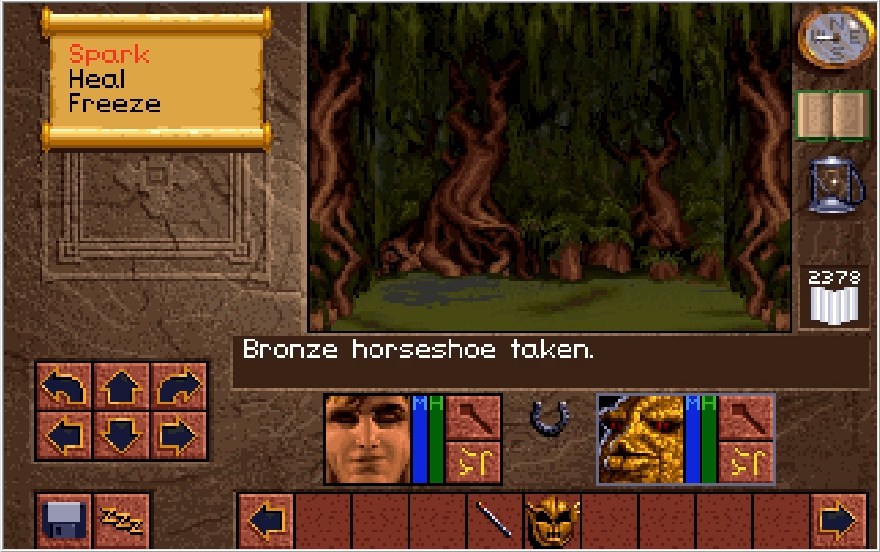
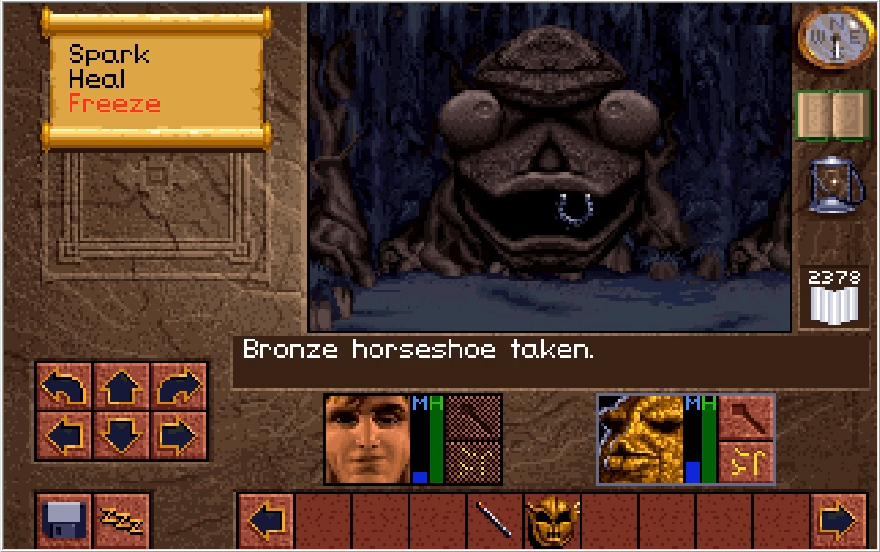
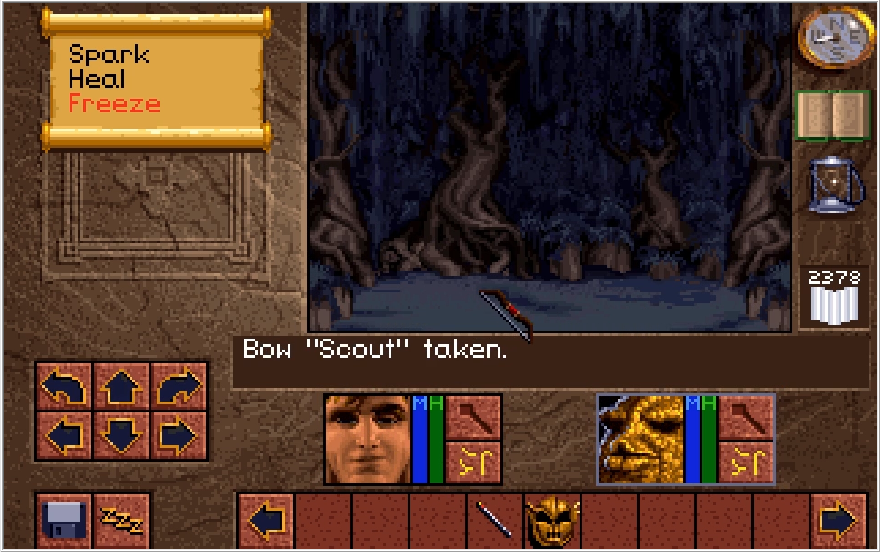
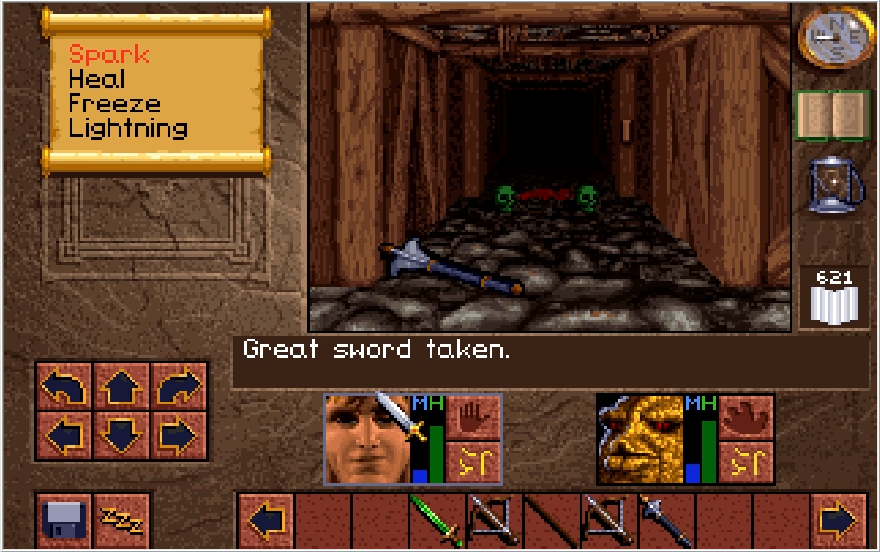
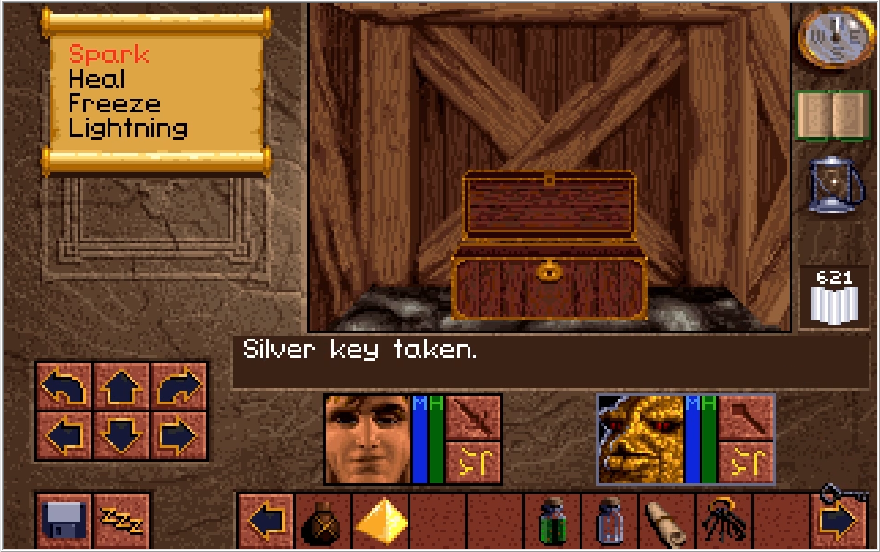
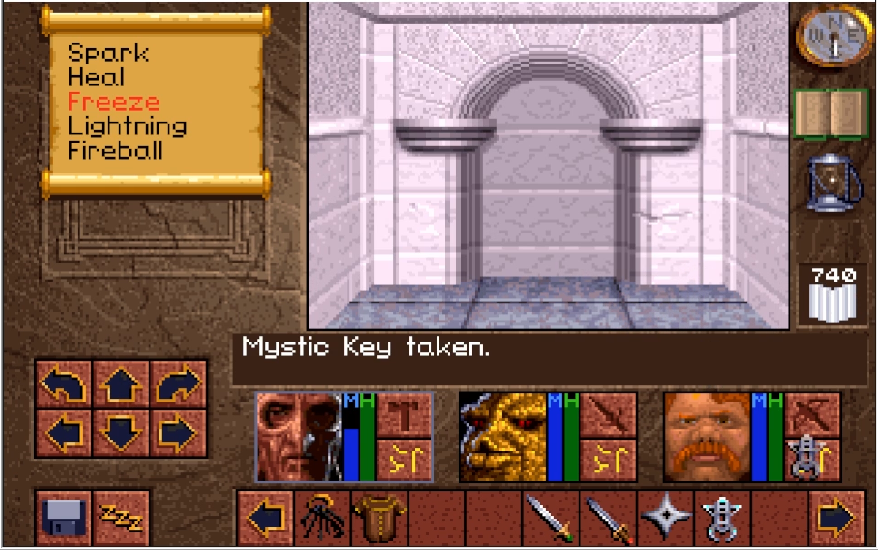
The switch to the right of the message, on the other hand, is important. This leads to a hall with a pressure plate. Weighing the plate down opens up a niche at the end of the hall with Mine Key 4. We can now escape Level 2, but there's still some things for us to check out.

Heading through the north wall, we get the final clue message.

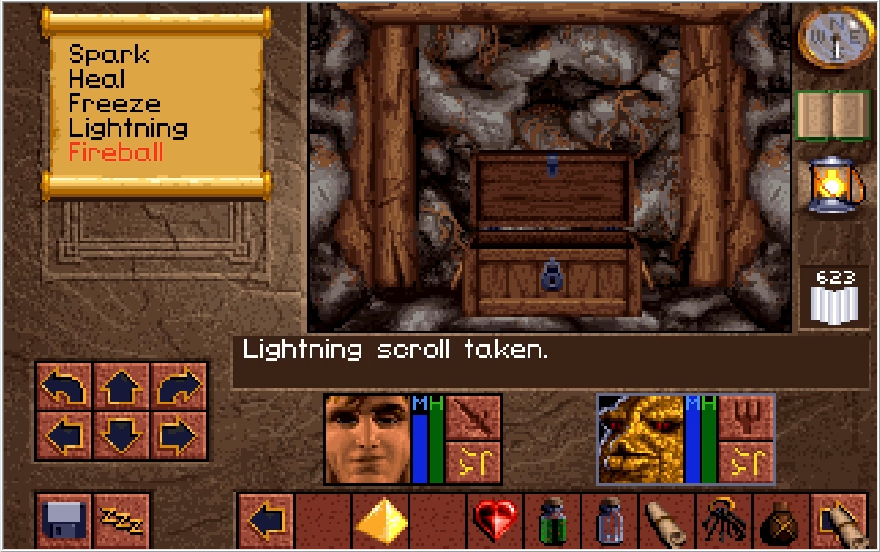
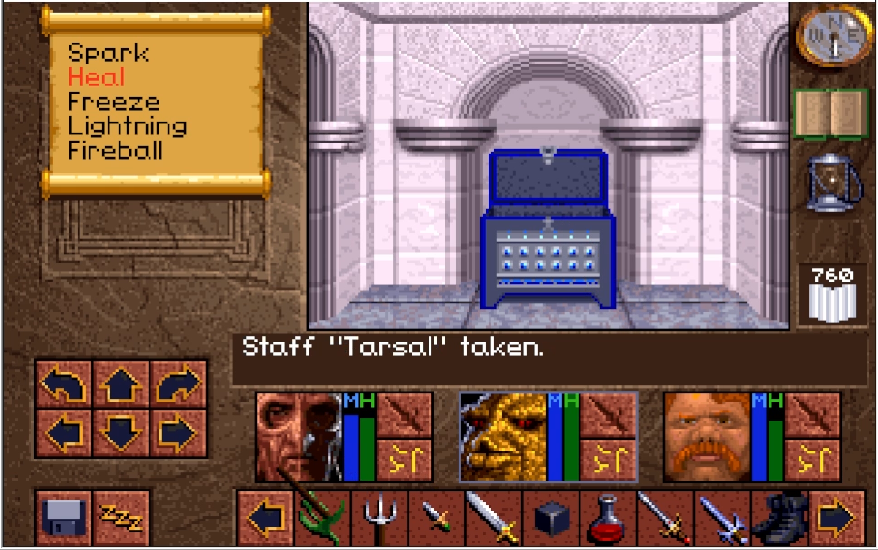
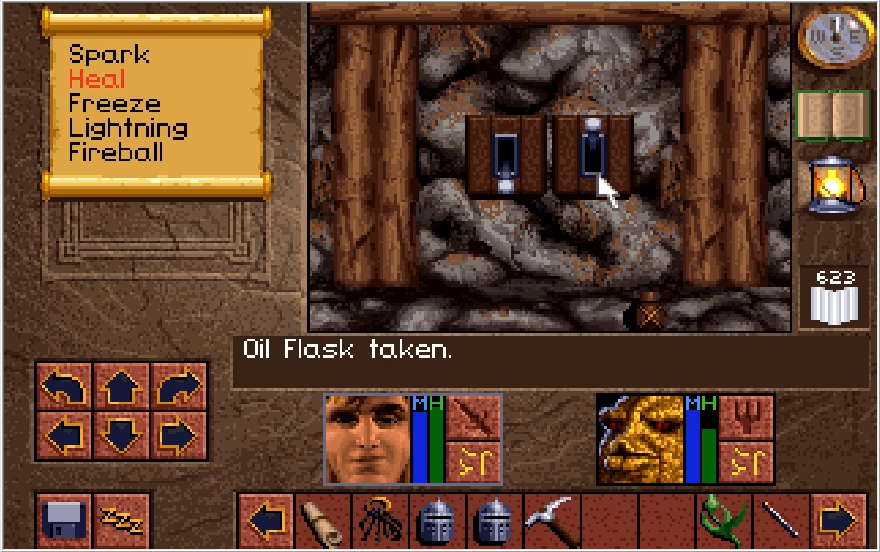
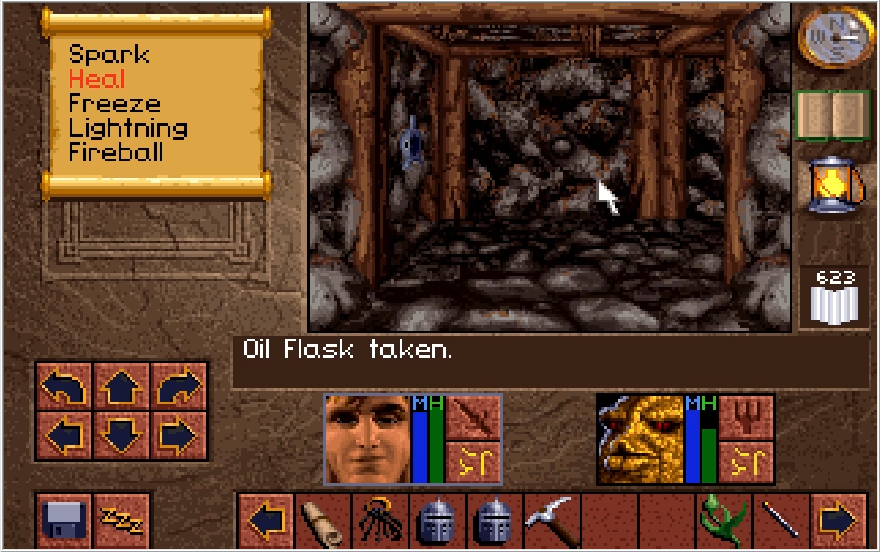
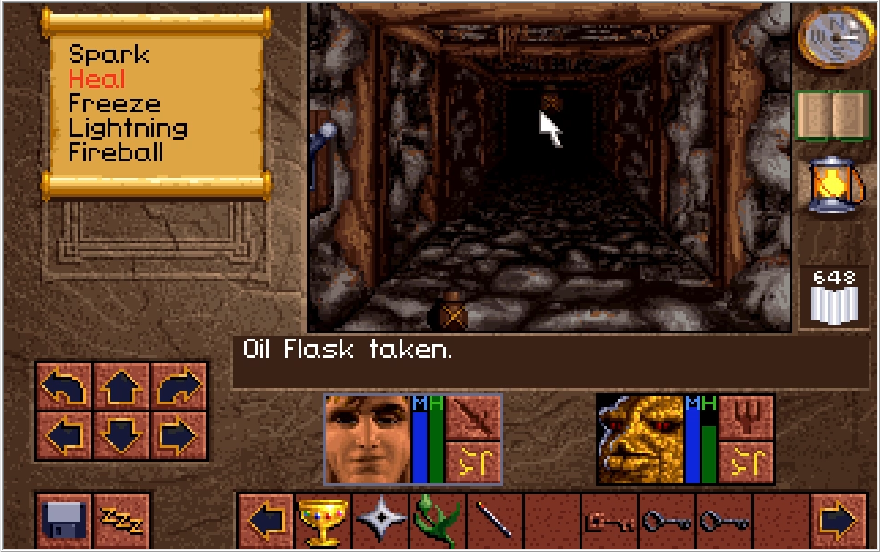
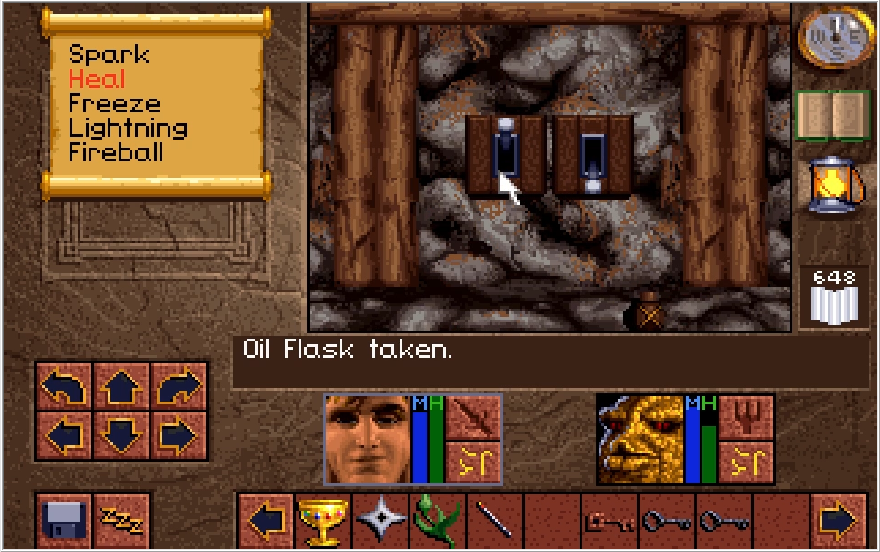
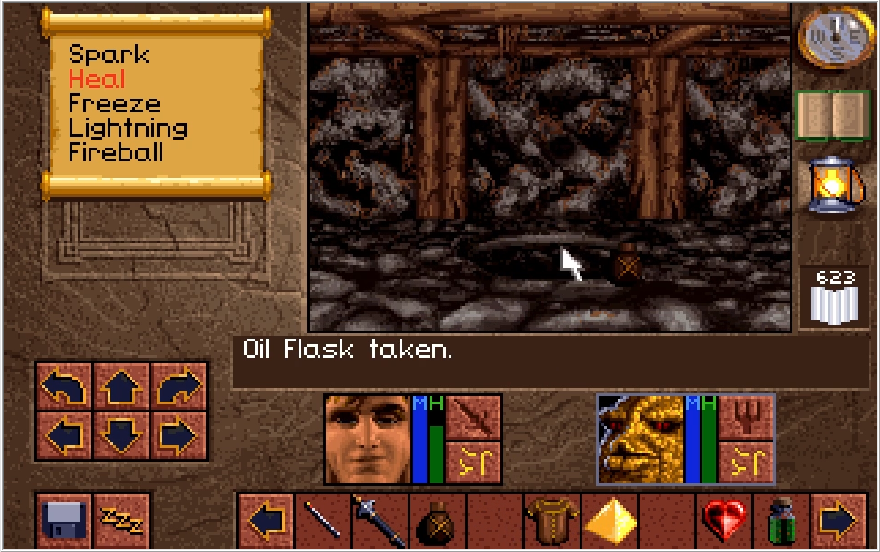
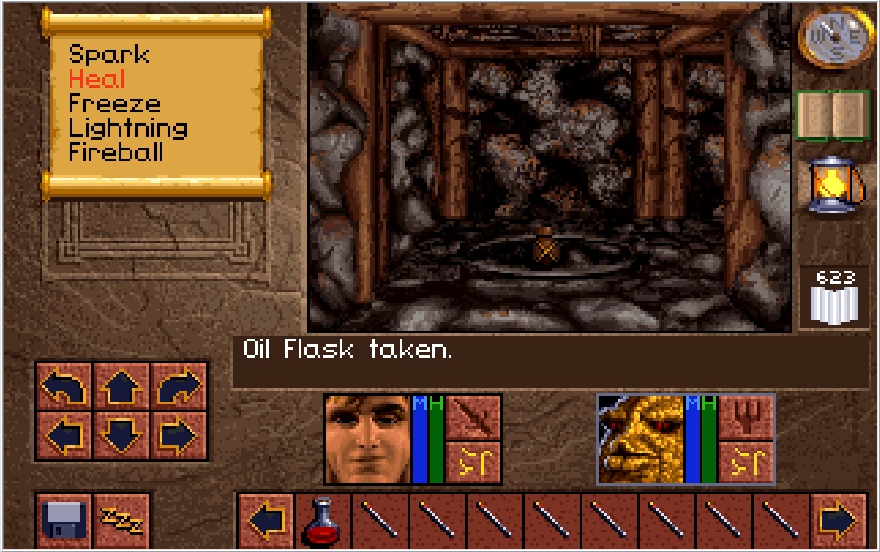
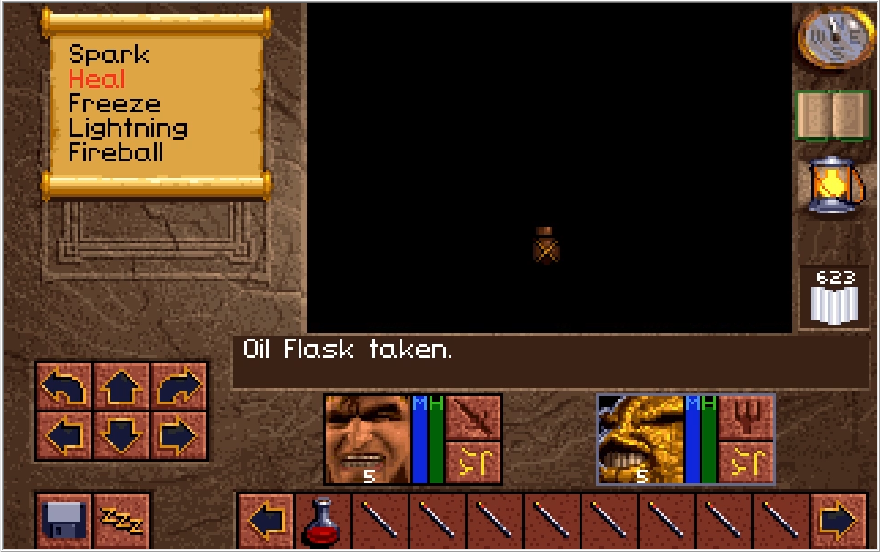
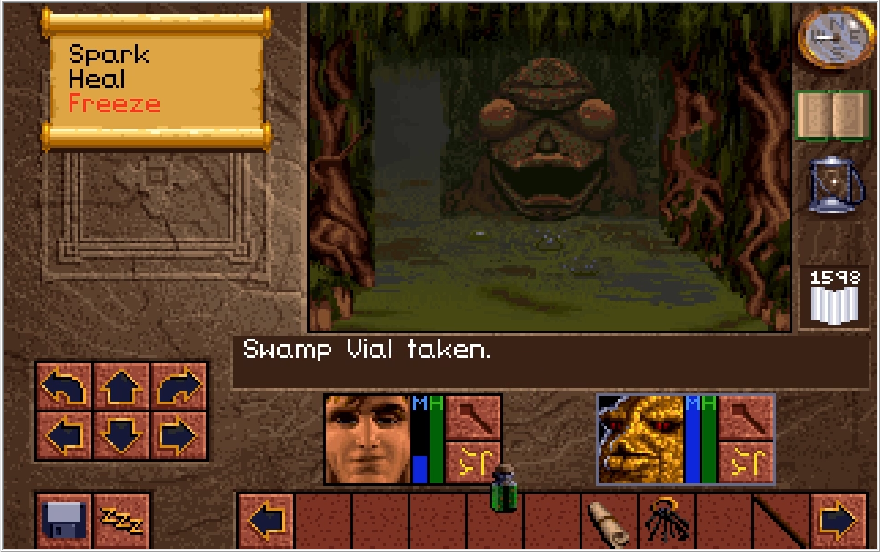
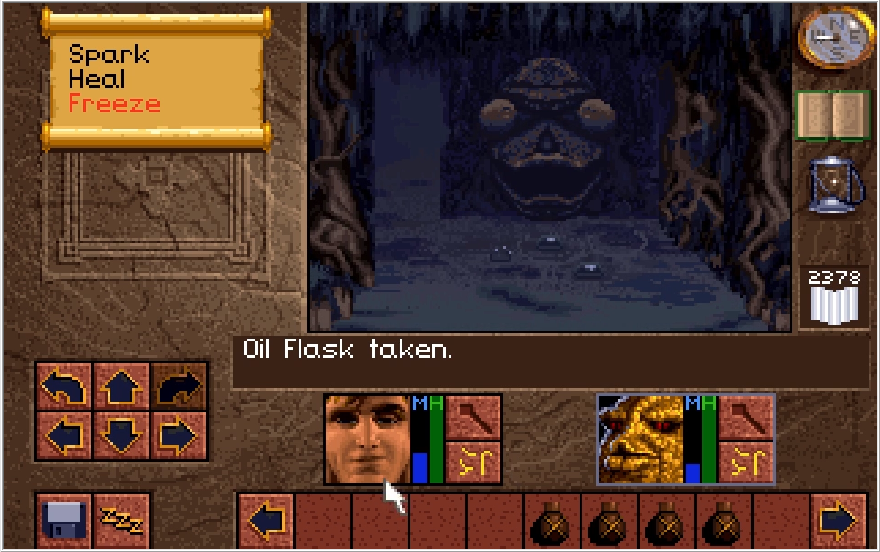
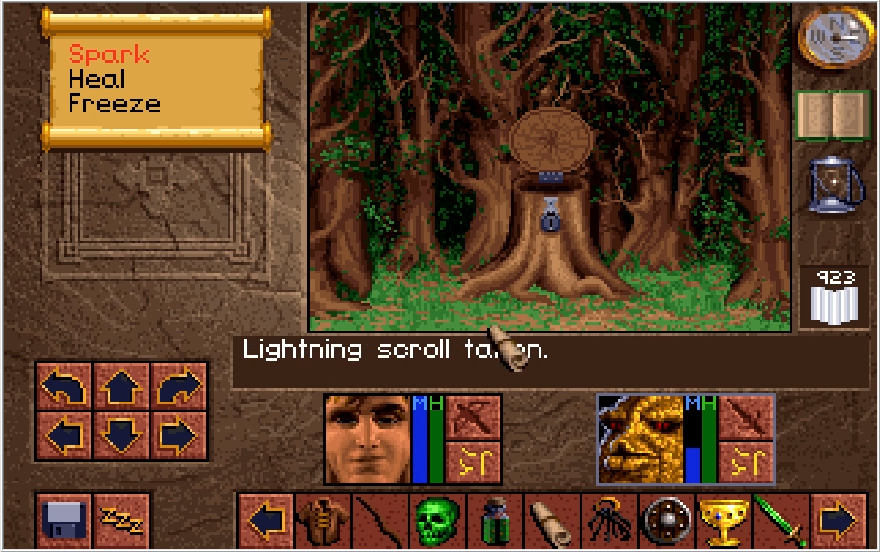
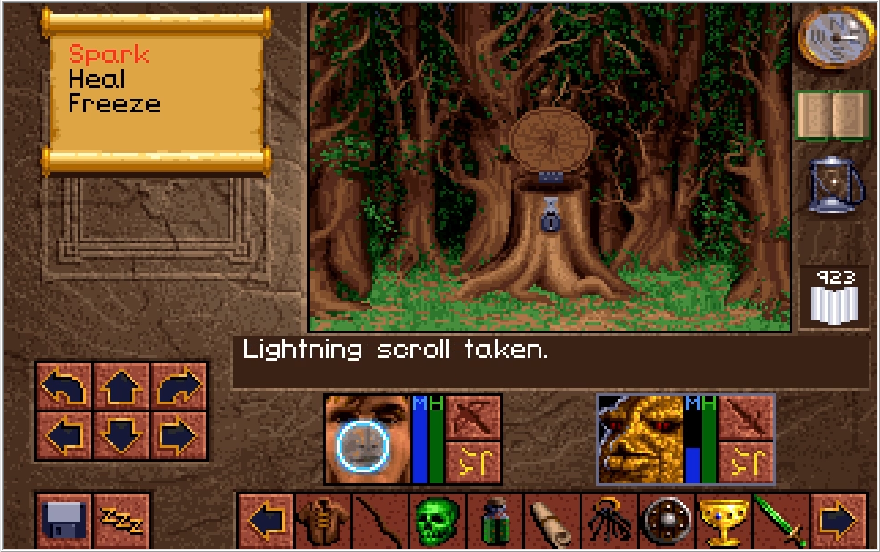
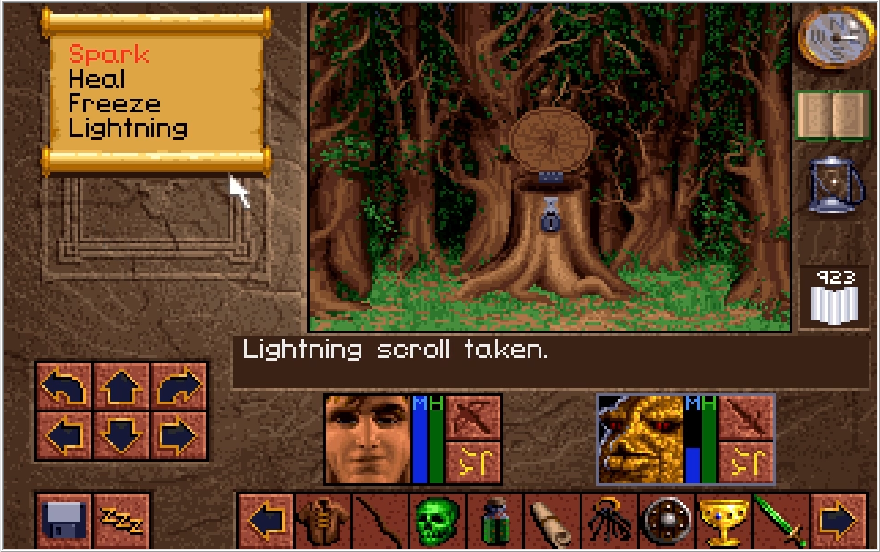
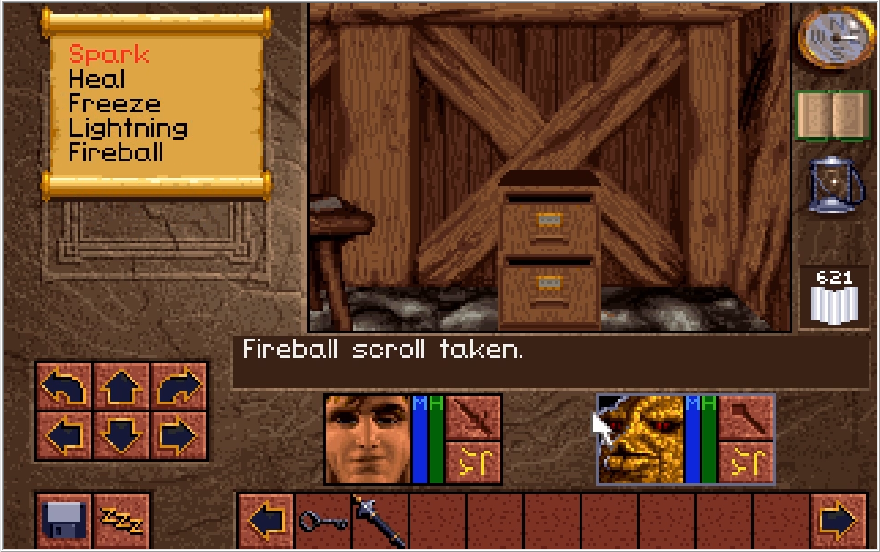
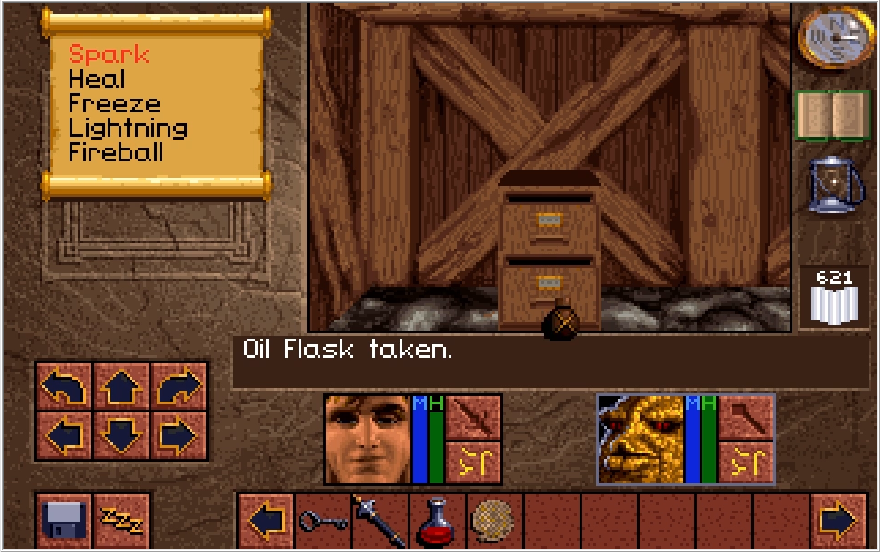
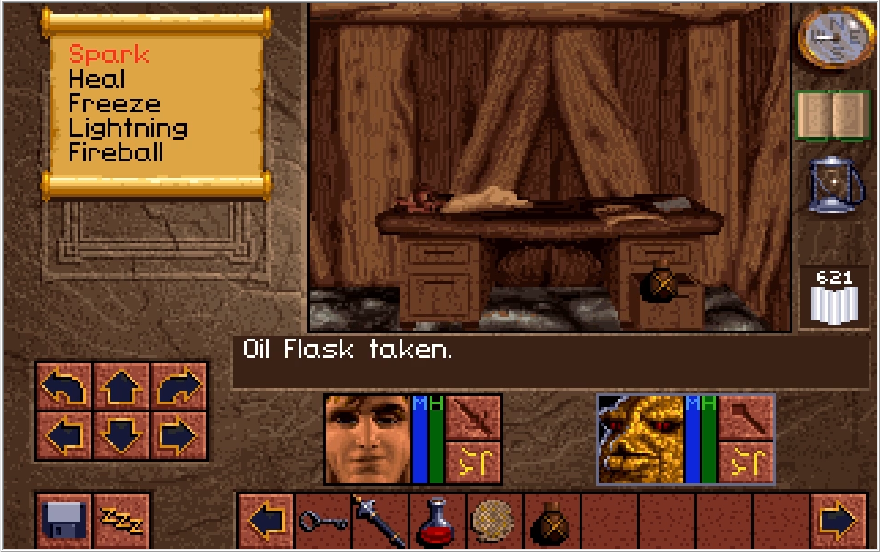
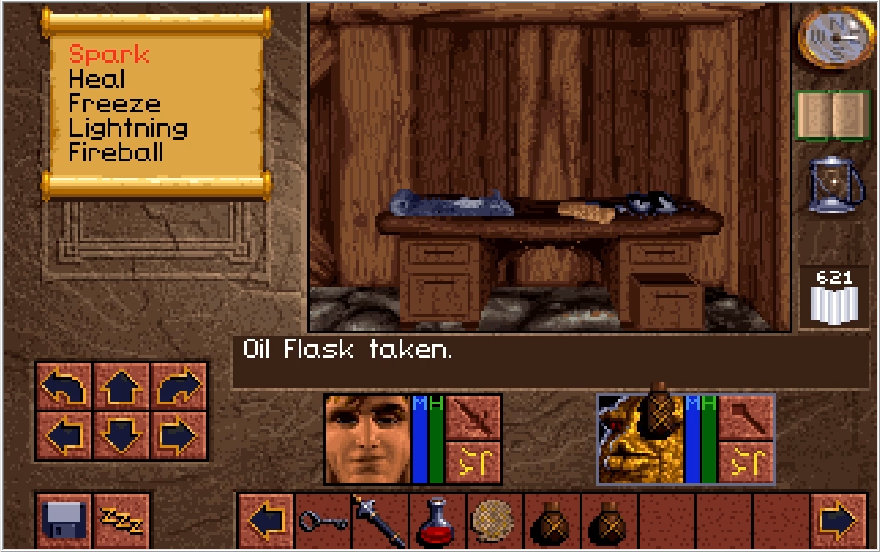
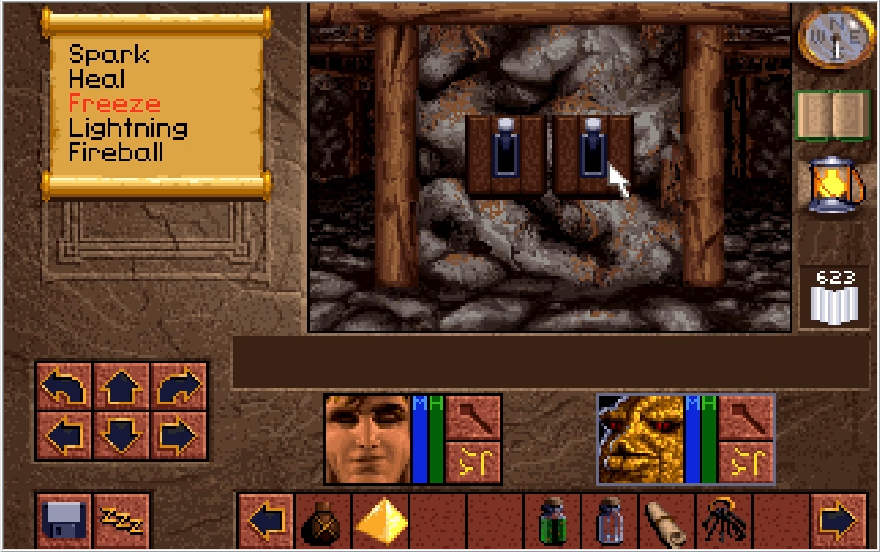
The switch to the right of this message leads to a chest with an oil flask and Lightning scroll in it. Y'know, just in case you didn't bother to collect this trash from Opinwood.
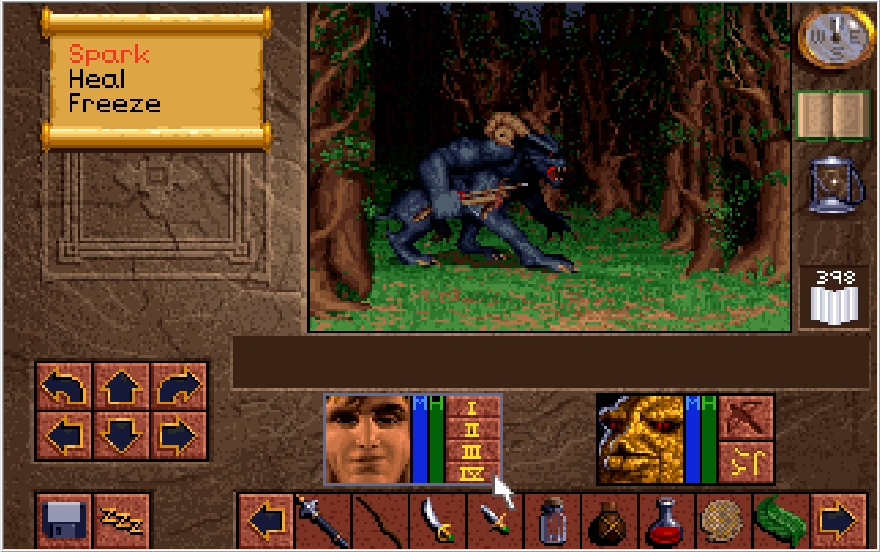
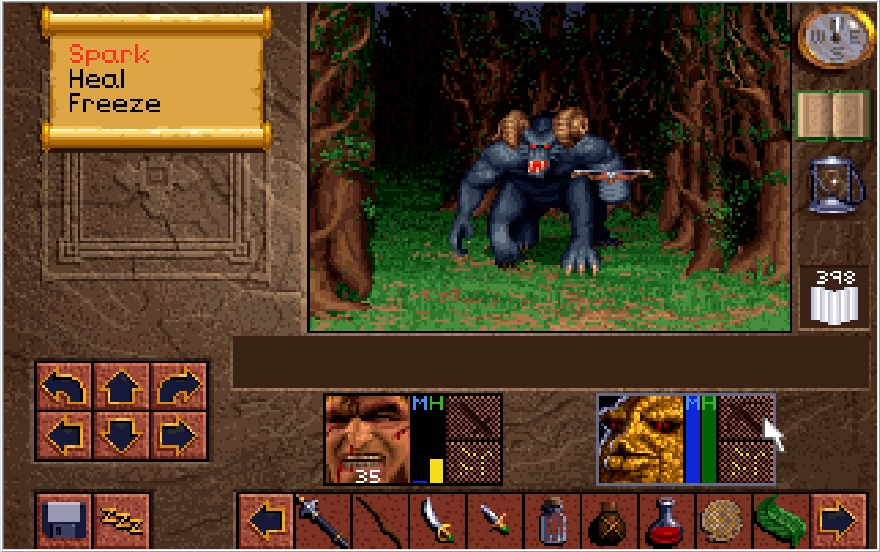
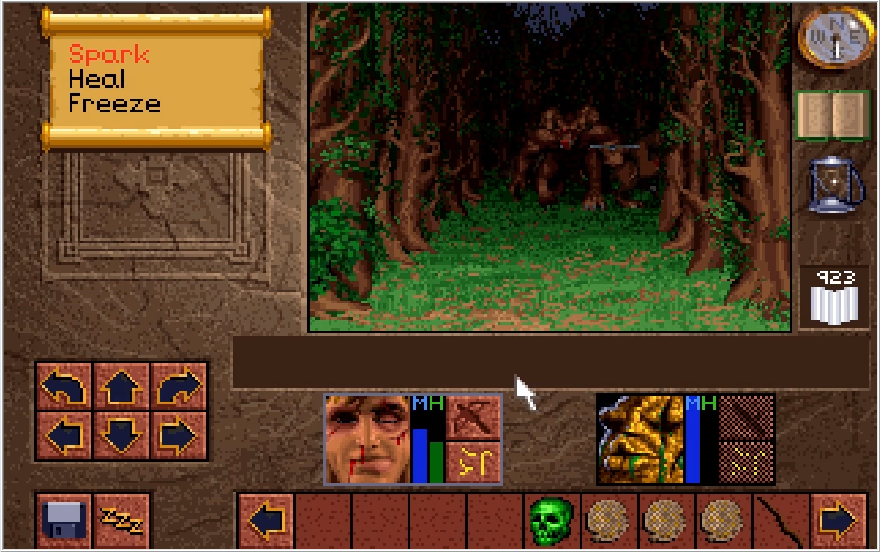
Opening up the switch on the left first leads me into a new enemy. These weird bug creatures also start swarming the floor once the gas pocket hall is opened. They're not too special, though occasionally they can blow through your protection and deal like 50 damage for some reason. They're also insanely durable, having around 150-200 HP on average.
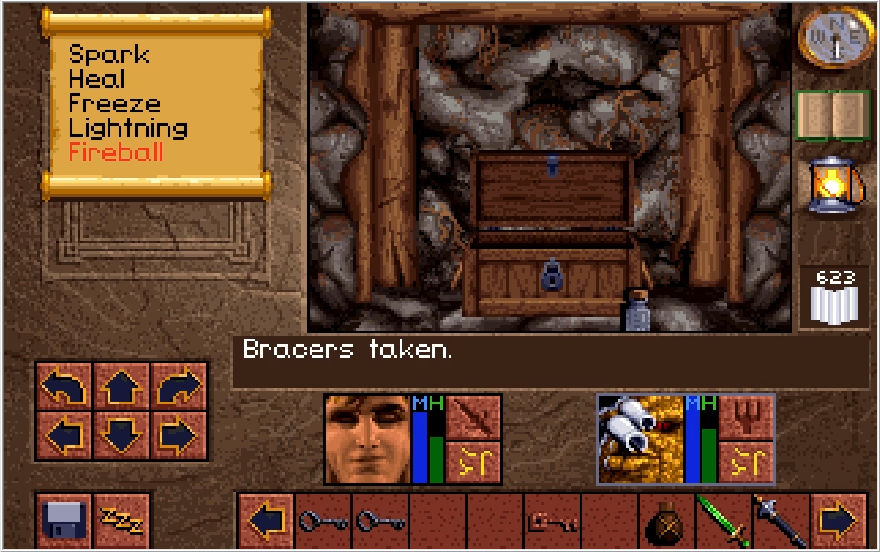
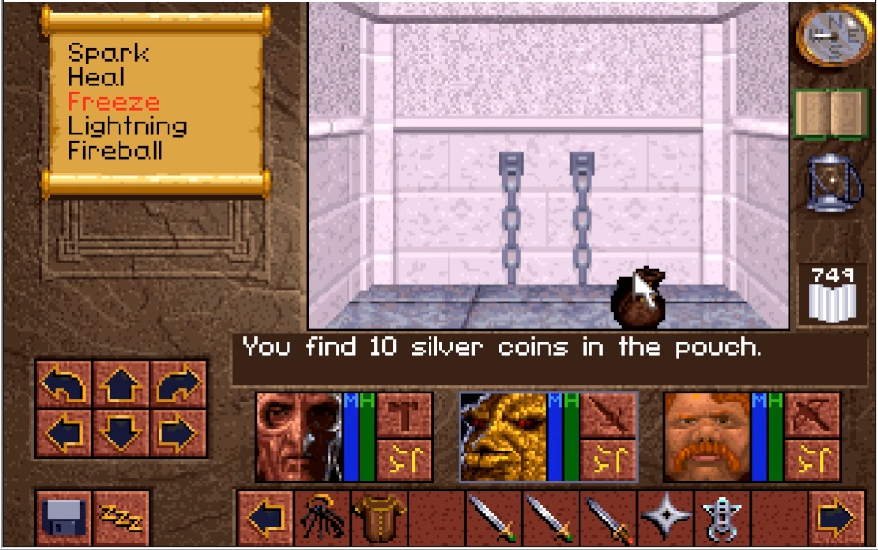
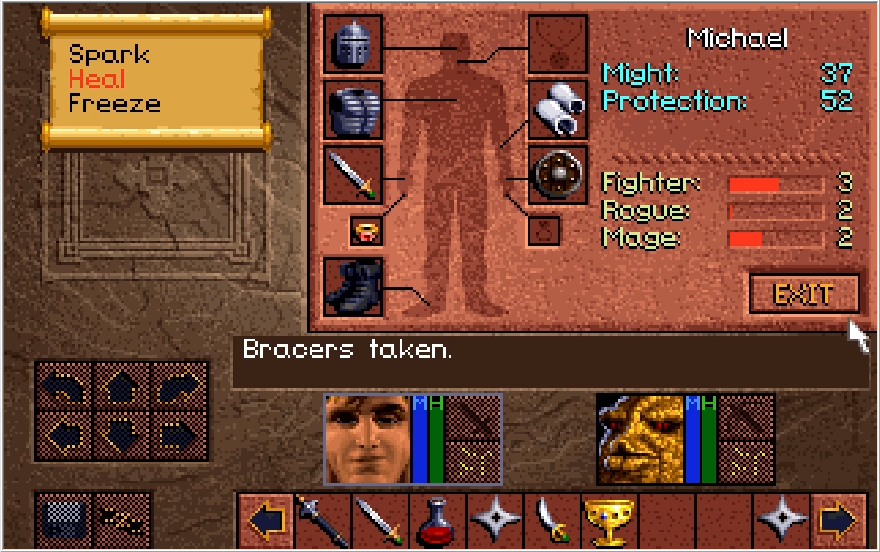
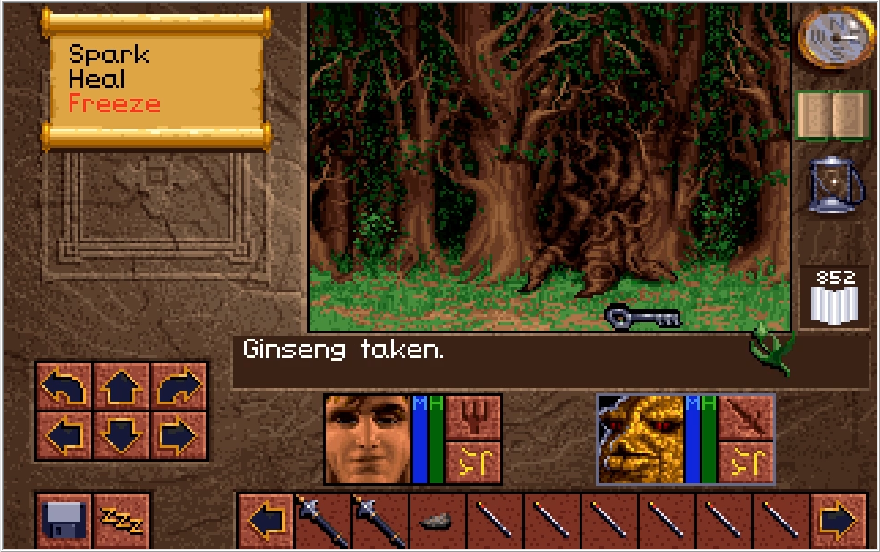
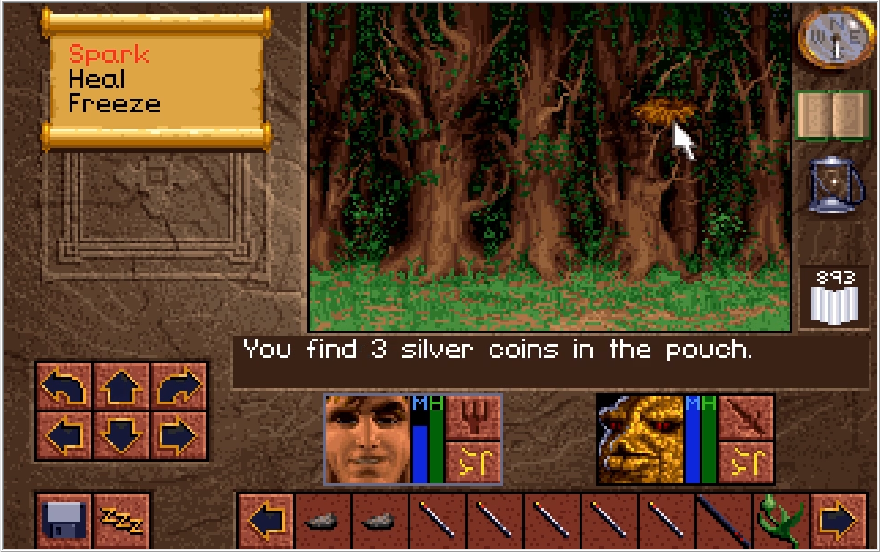
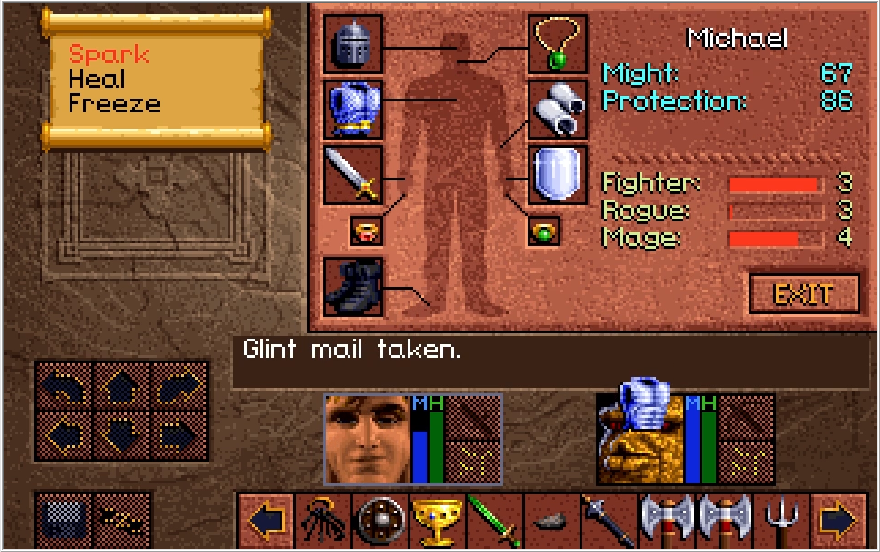
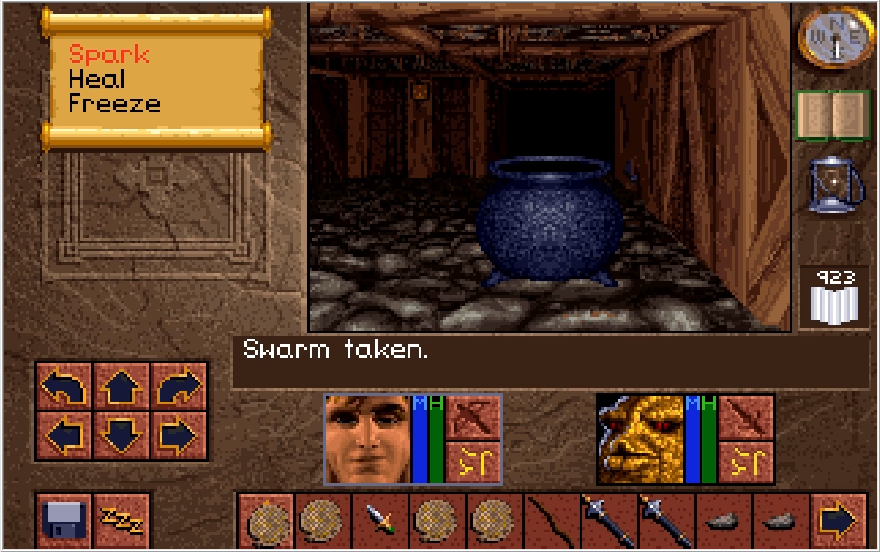
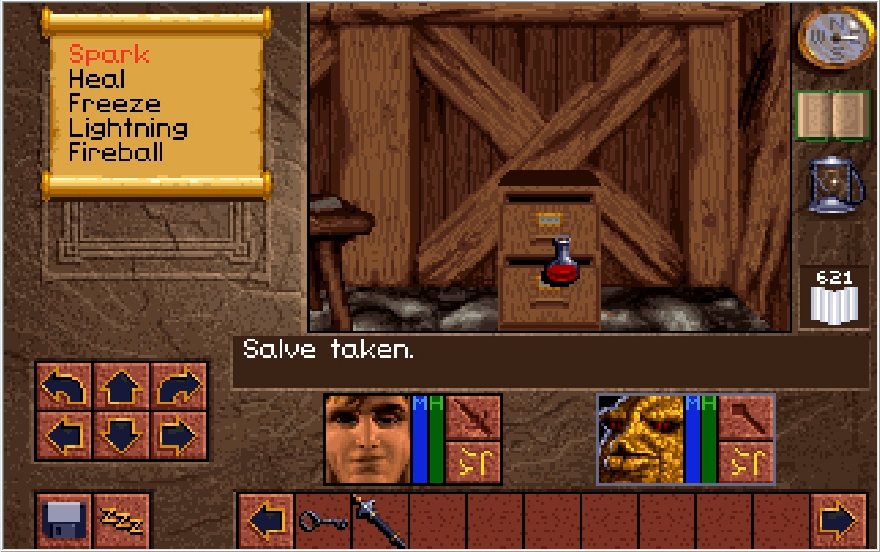
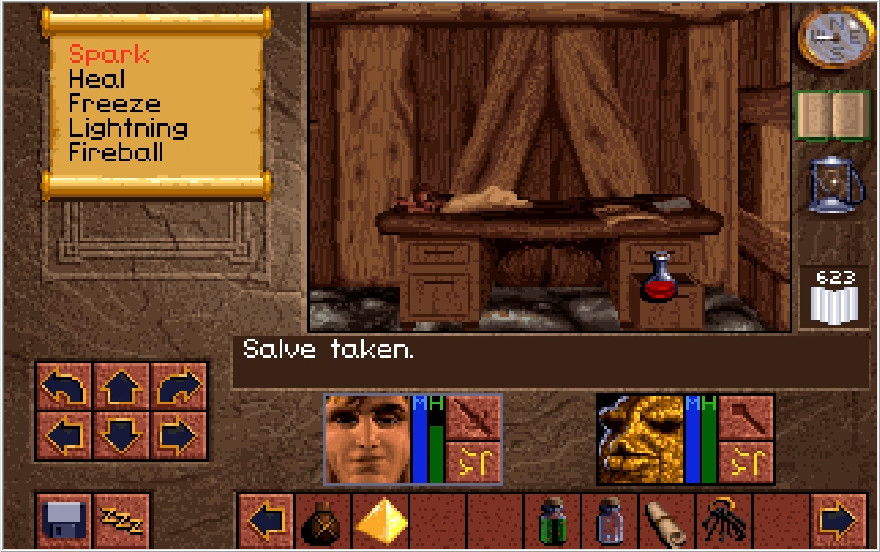
Among other things in this hall, we can find some treasure. These jellyfish do their damnedest to prevent me from looting this chest, to no avail. We score an oil flask, some Ginseng (which I just mindlessly used to heal Michael since I didn't really care for more money at this point), another useless empty flask, and some Bracers for Baccata.
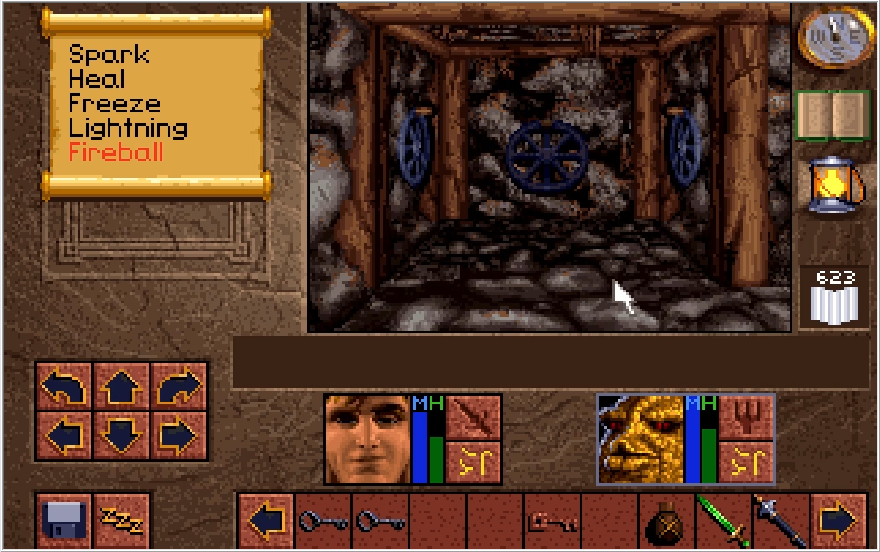
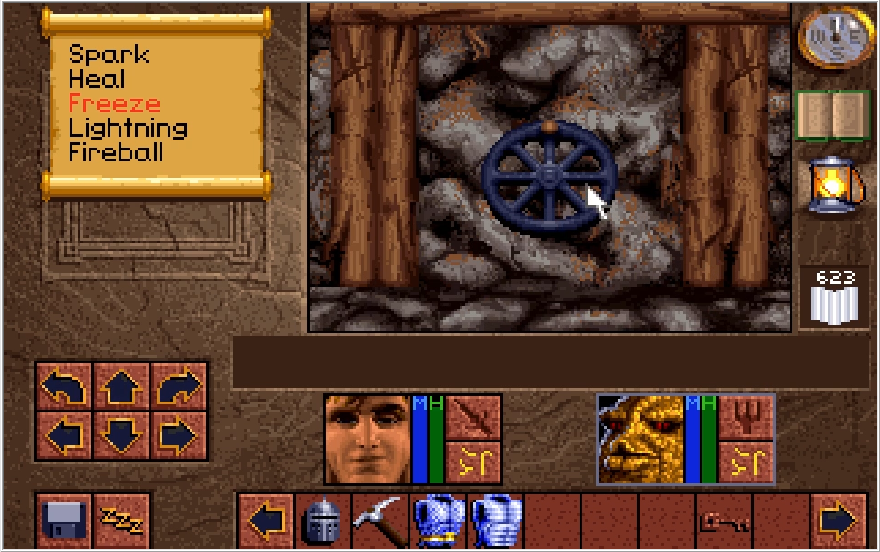
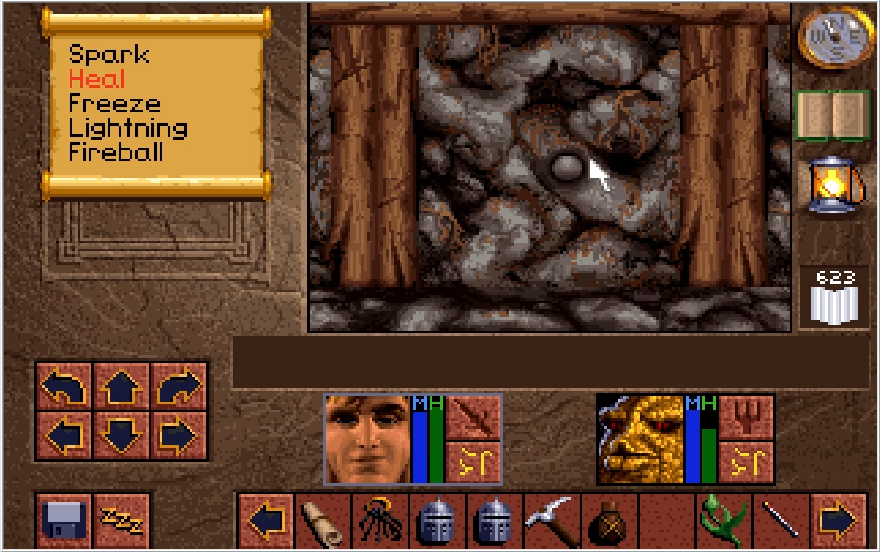
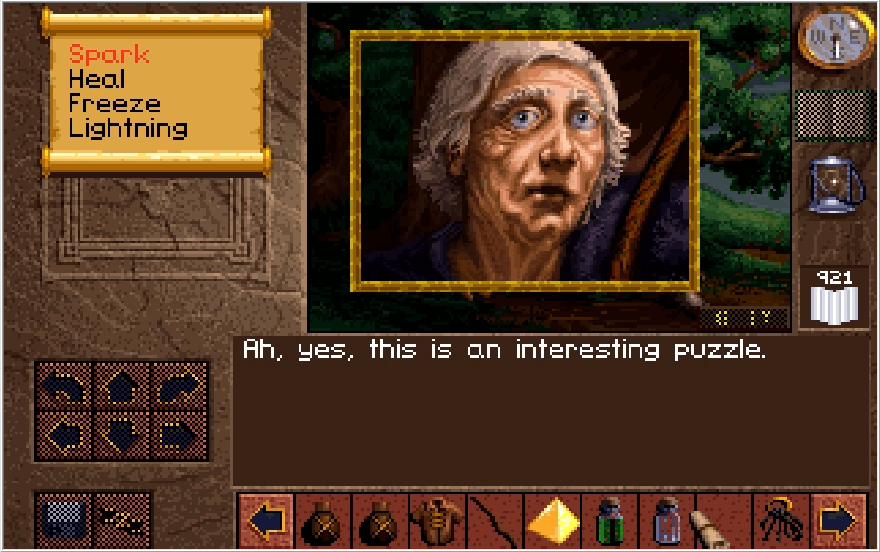
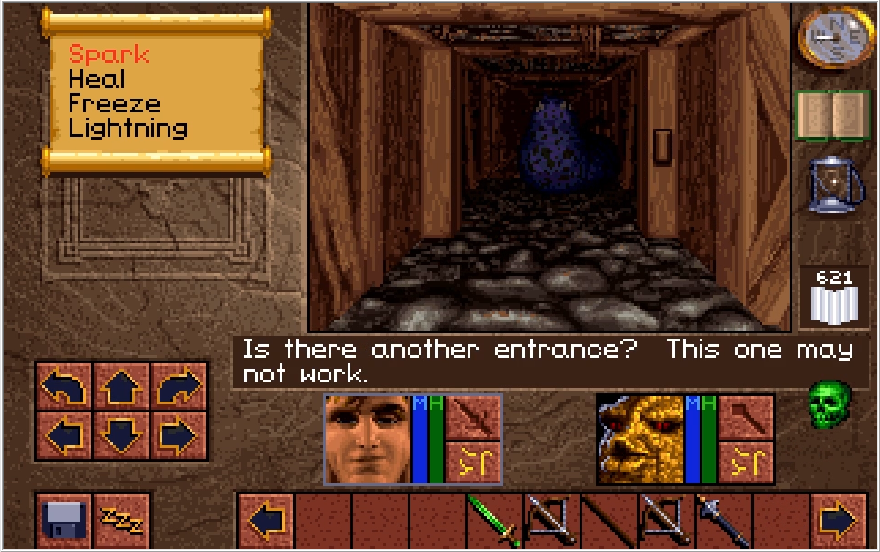
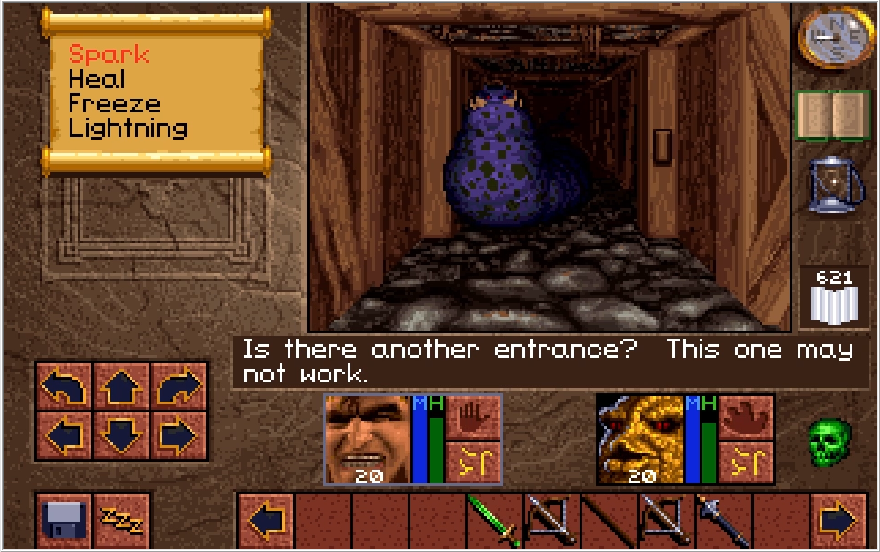
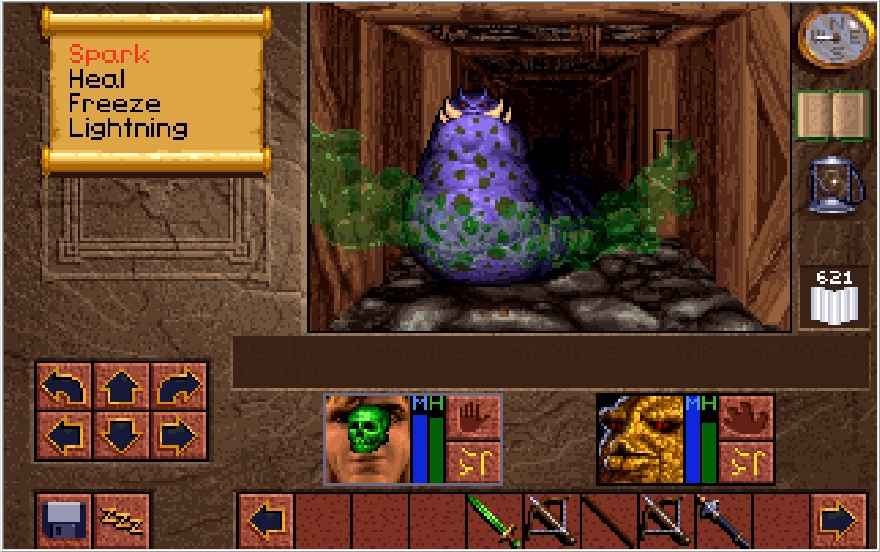
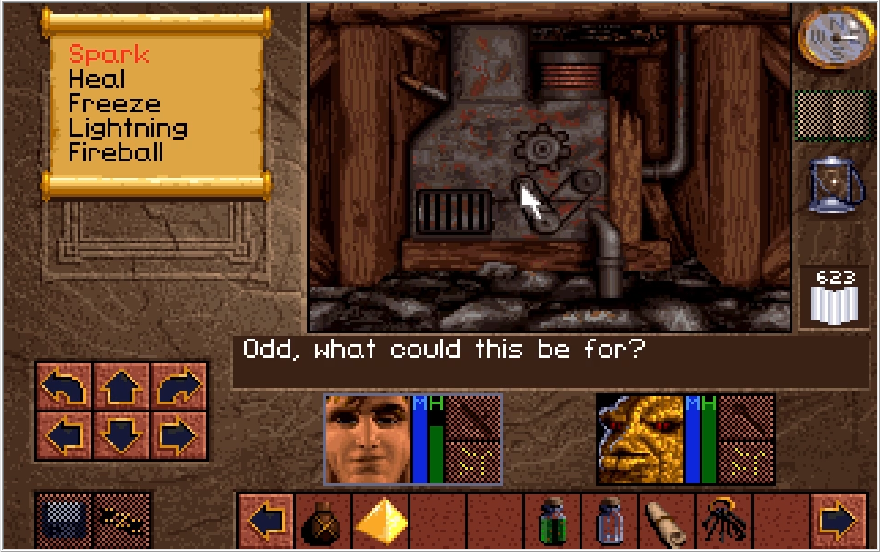
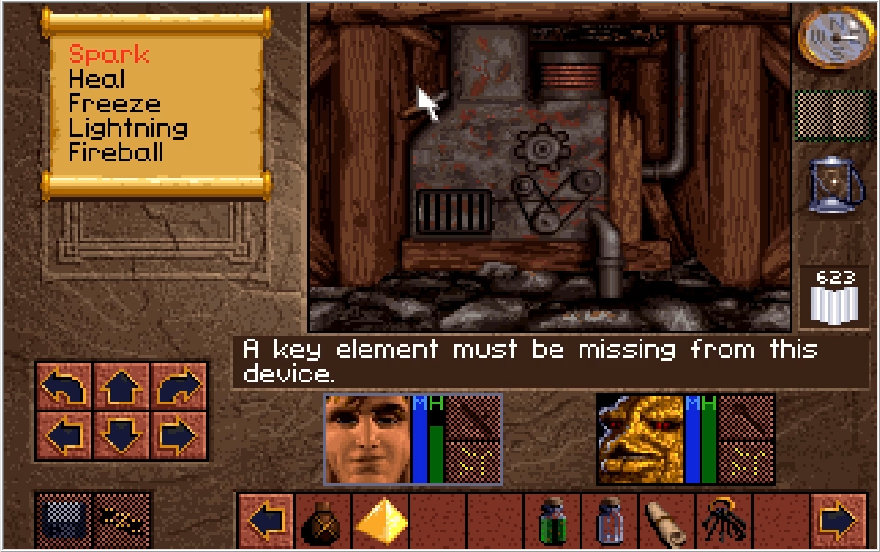
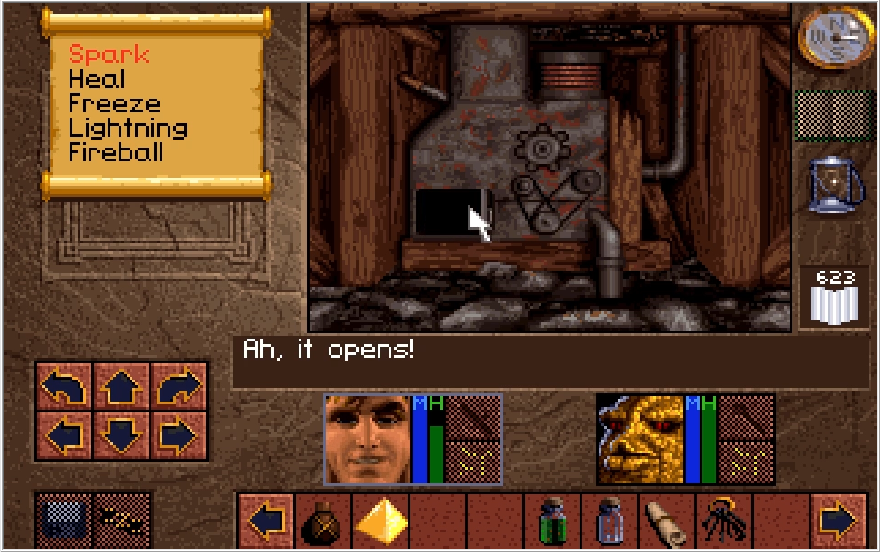
Working our way to the end of this area, we come across what looks like a projectile trap and 3 valves across from it. Have you solved the puzzle yet?
Left.
Right.
And retneC is what the clue messages spelled. Reversing Center was a nice attempt at obfuscation, but this is an all timer stock puzzle solution so again you probably could have just guessed the answer on this one. Naturally, if you make a mistake in turning the valves, the projectile trap fires at you.
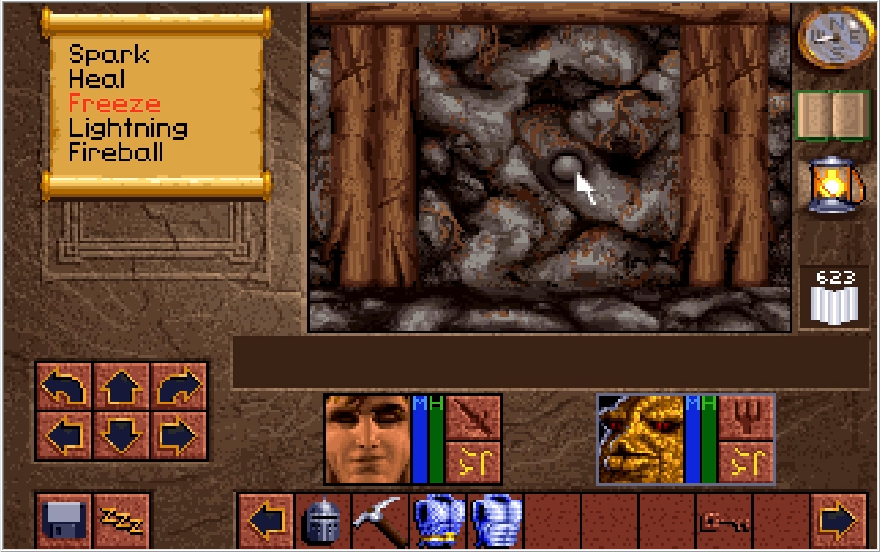
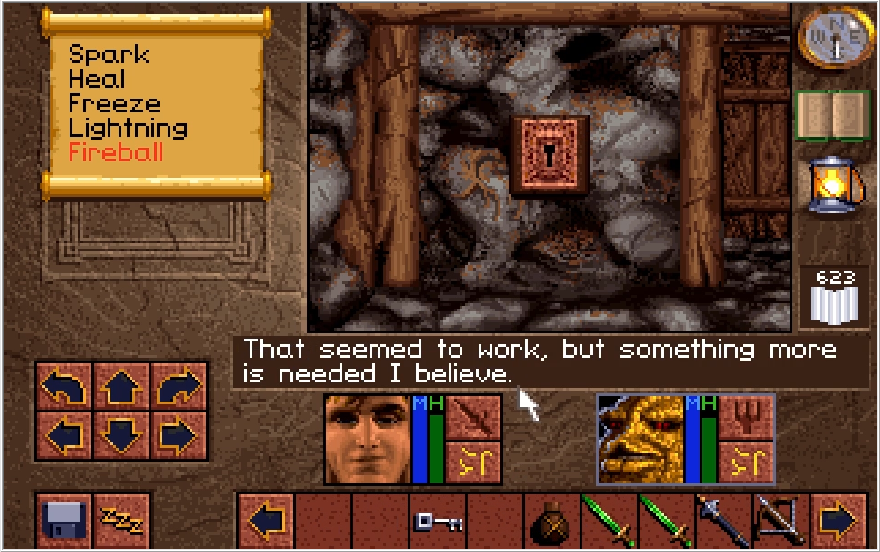
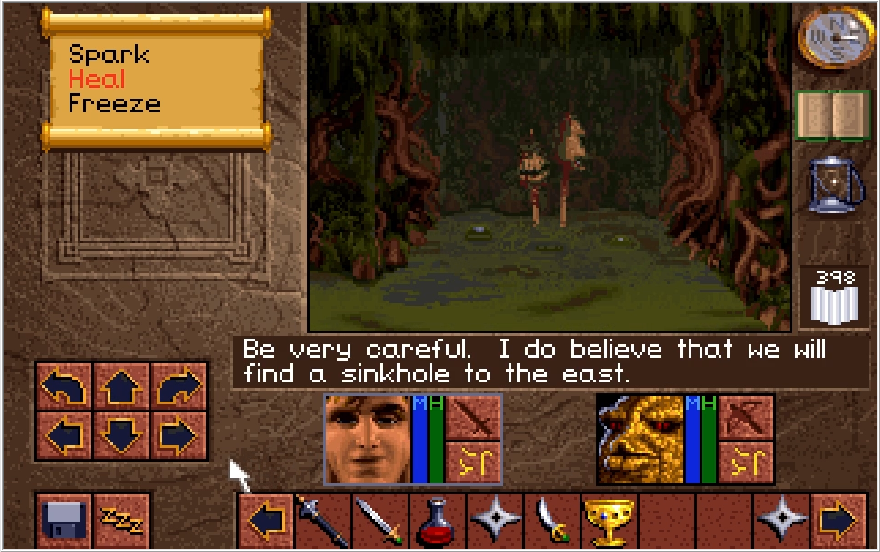
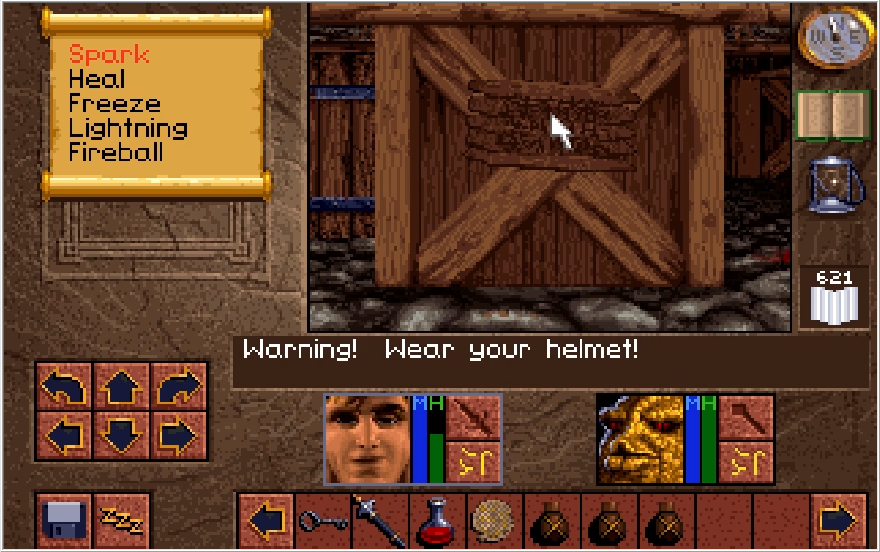
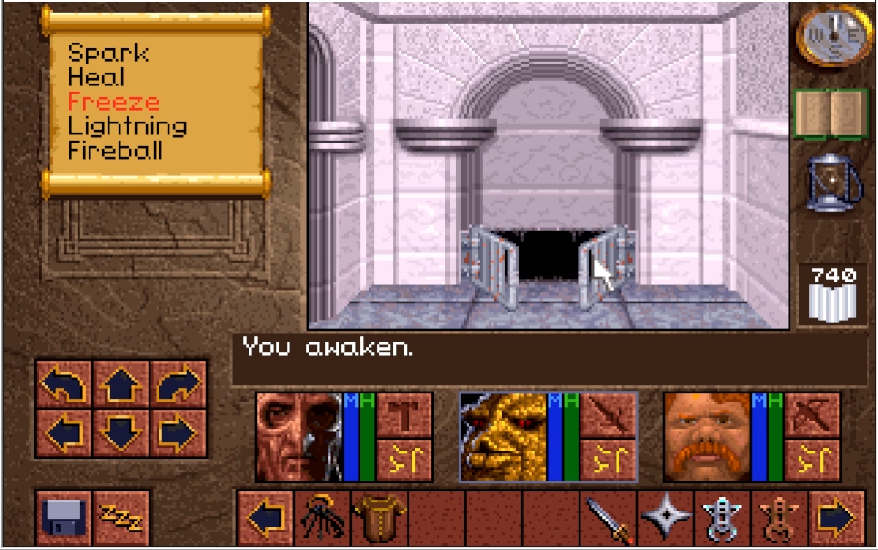
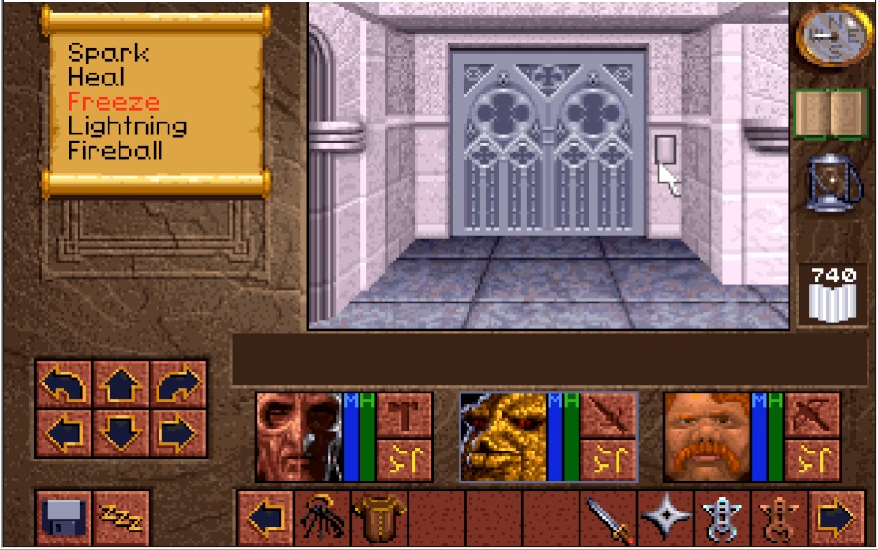
Moving on through, we find a door. Opening it and going into the hall, we find a switch on the wall. Slapping this one slams the door behind us, with no way currently to reopen it. It's important to note, BE VERY CAREFUL IN THIS AREA. Save before entering it. If you screw up and do things in the wrong order, you get locked in permanently. If you've only been using one save file and save while you're trapped in here, you have just rendered the game unwinnable.
In the center of this hall, we find a pressure plate in front of of two levers. Weight down the plate with a useless item and flip the right lever.
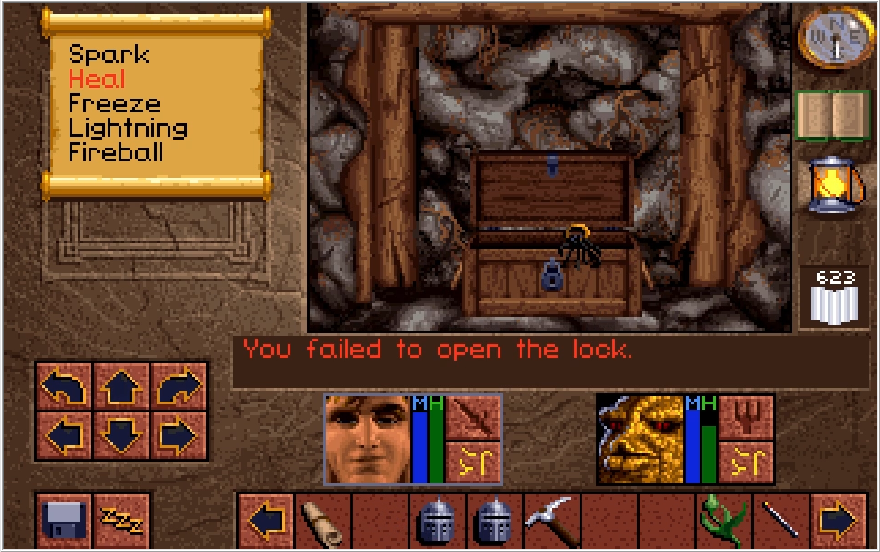
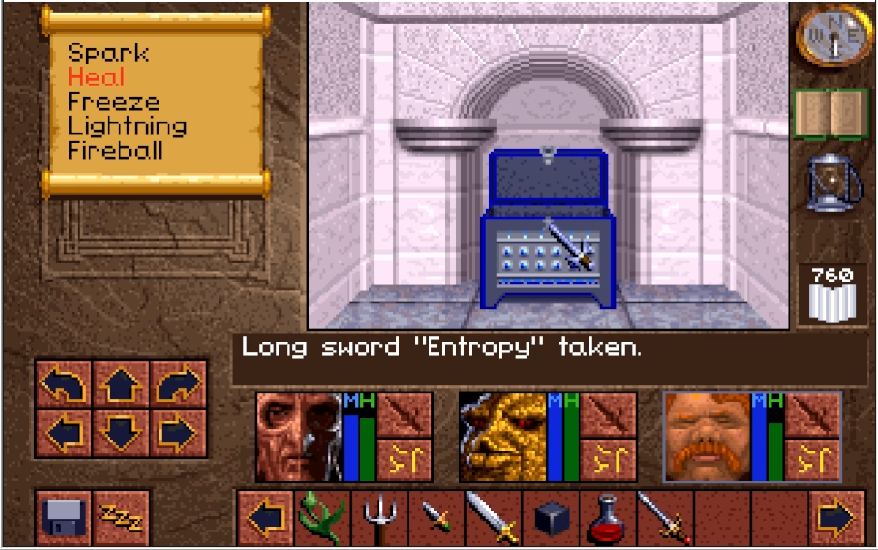
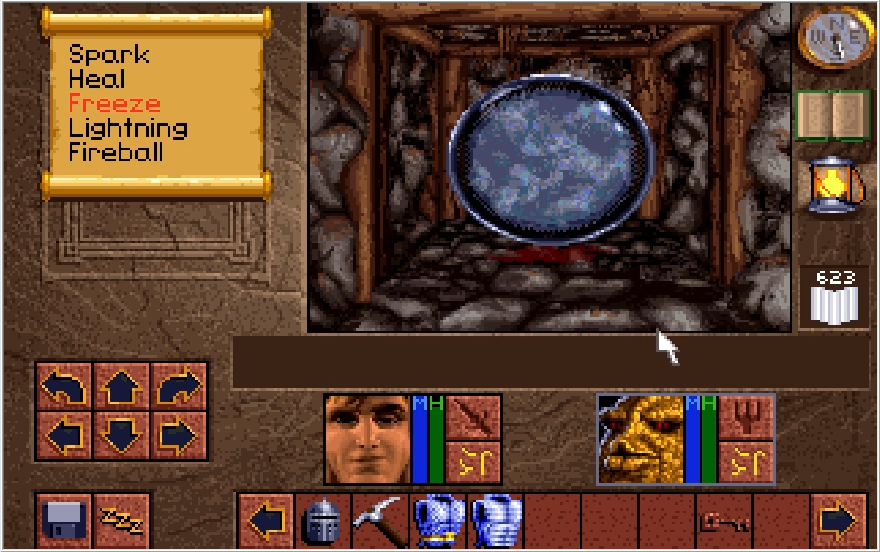
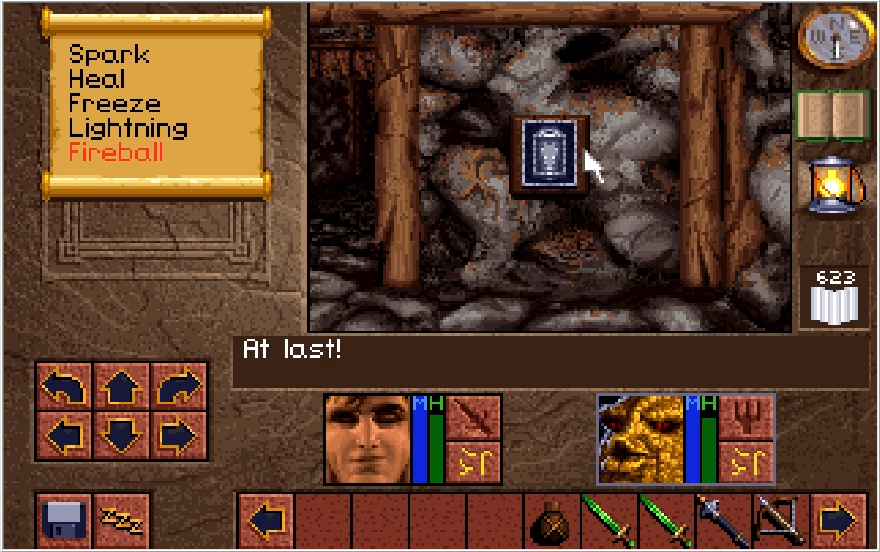
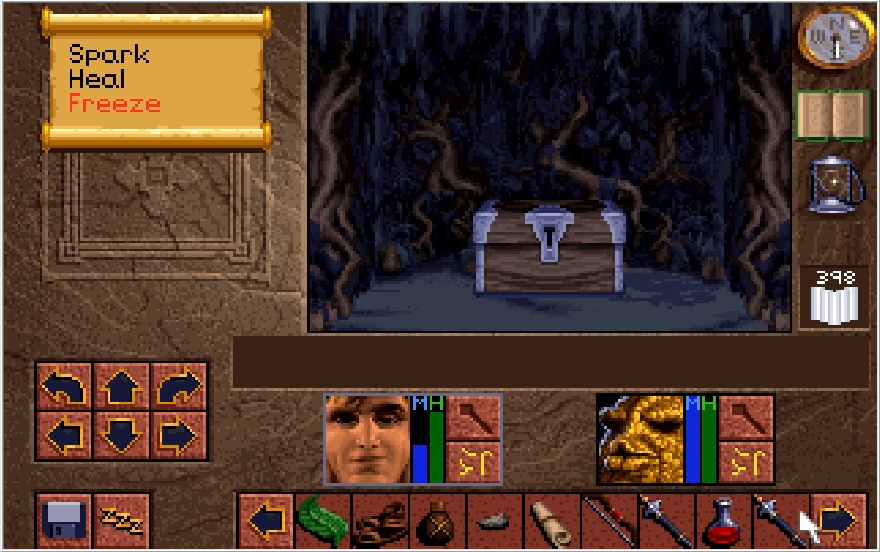
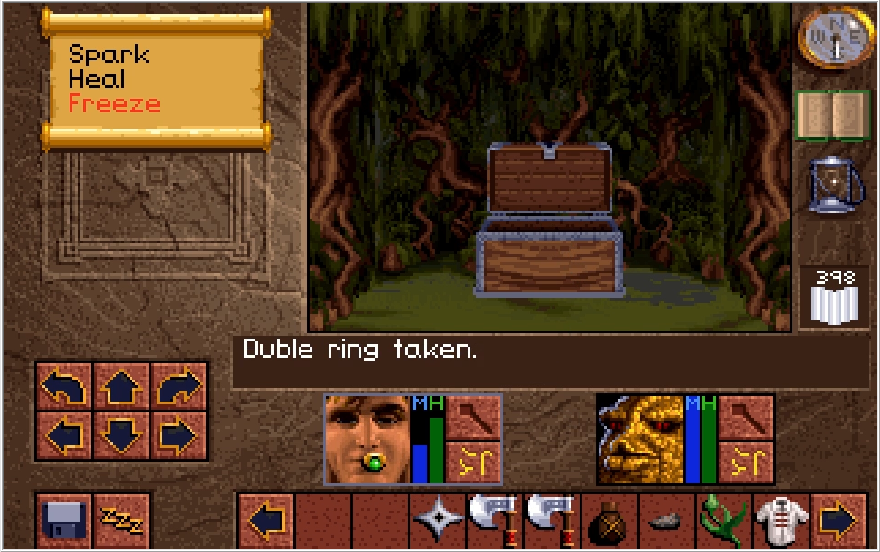
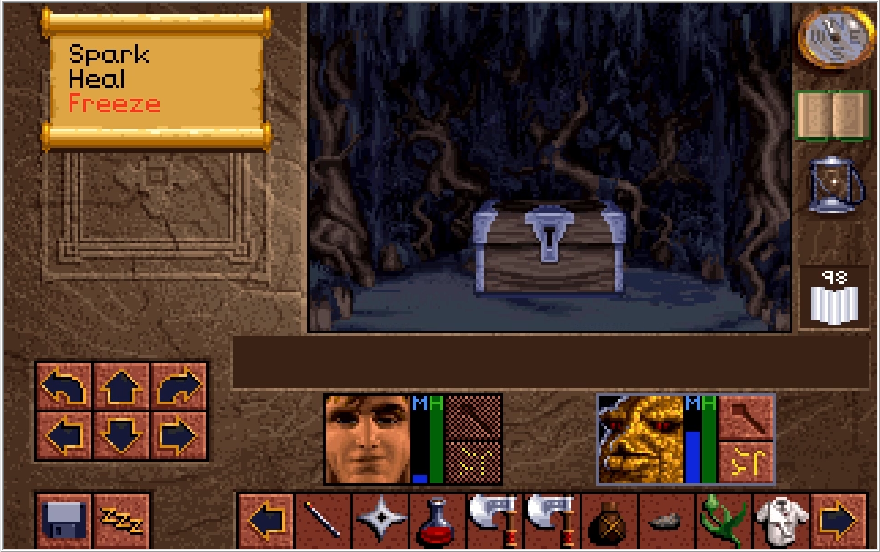
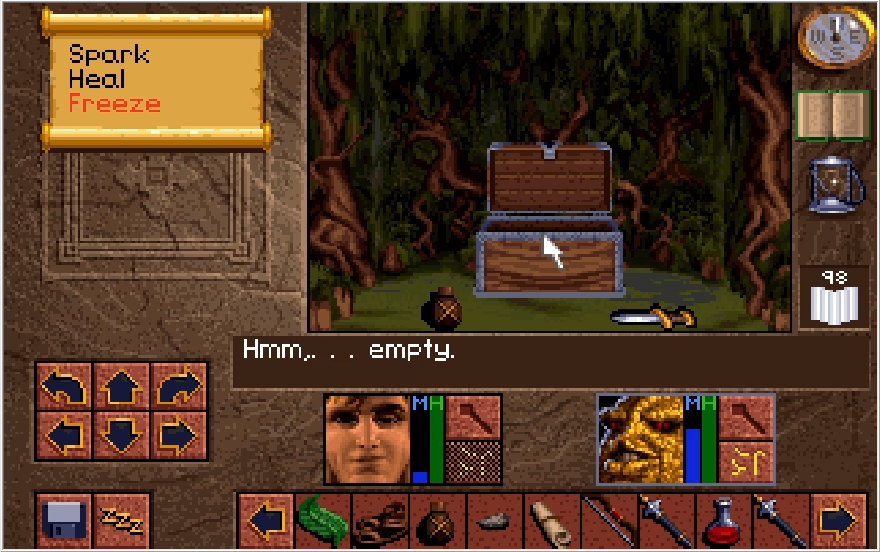
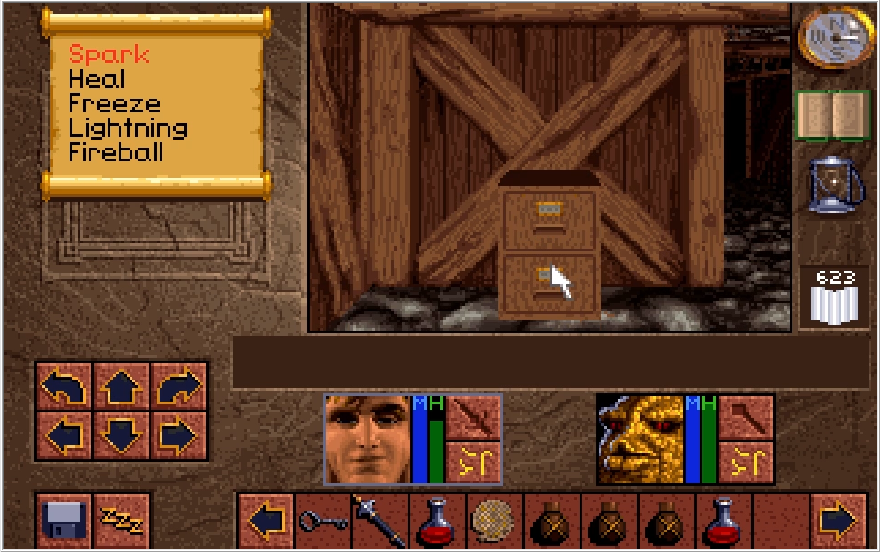
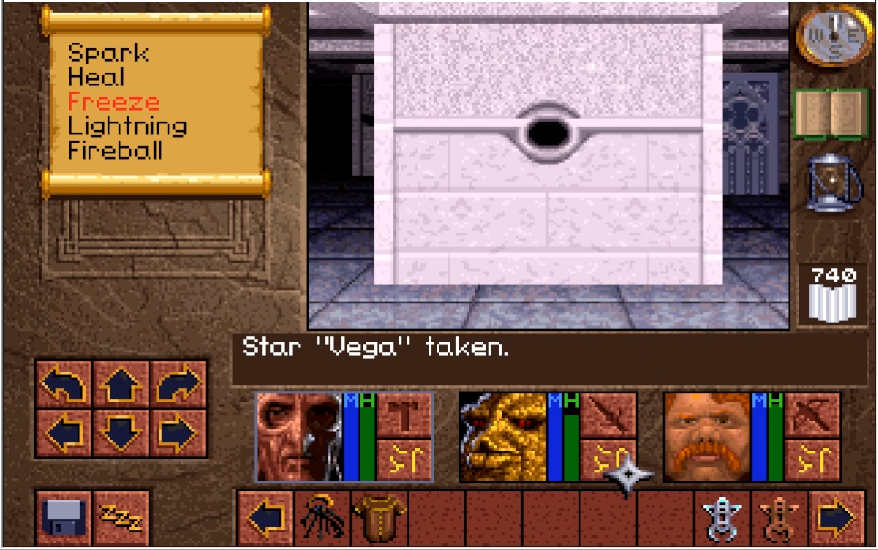
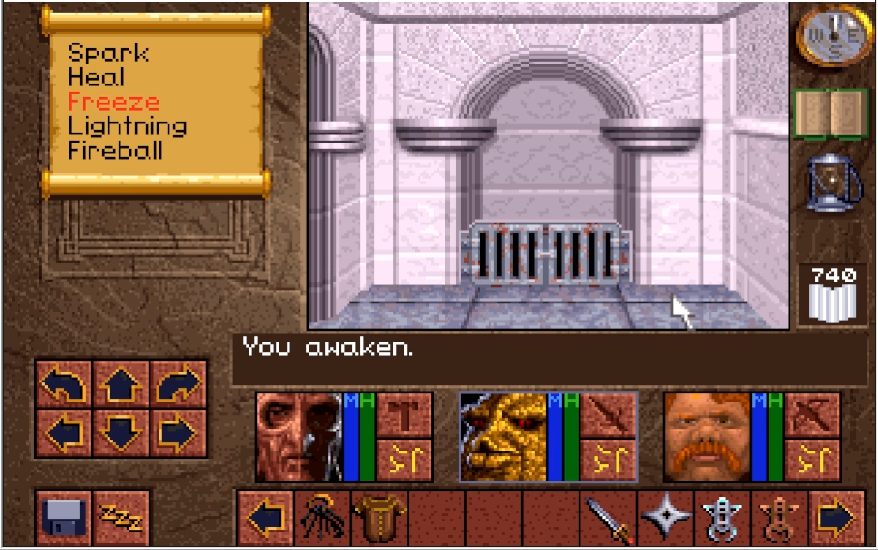
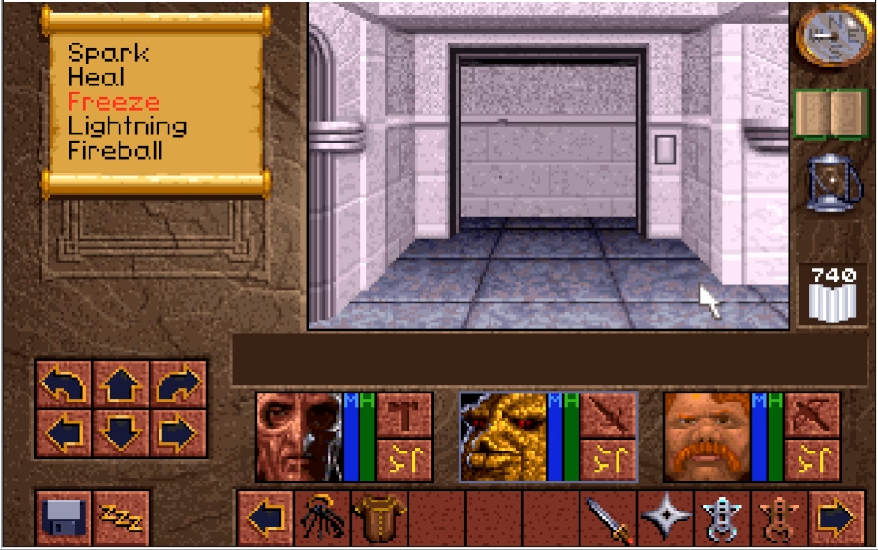
Doing so opens up the door at the end of the hall. This room contains a projectile trap, a wall switch which you absolutely do not want to press right now, and a chest.
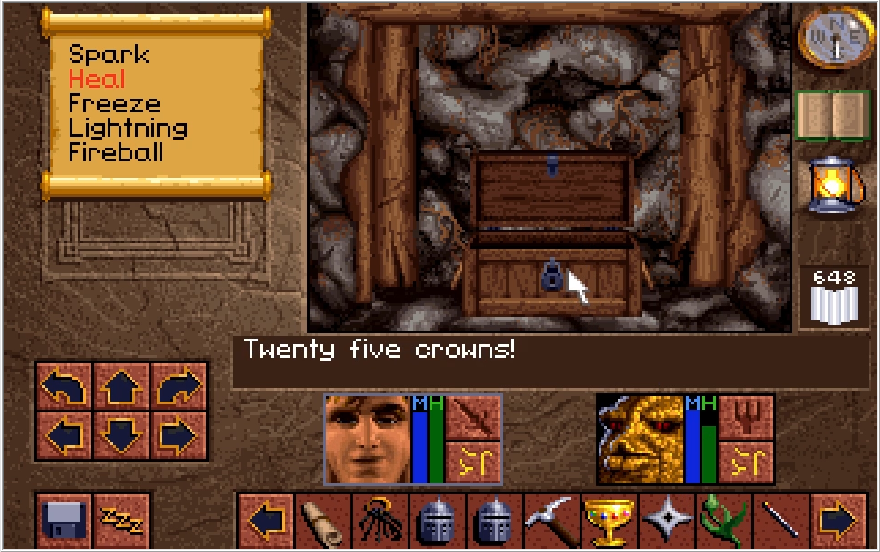
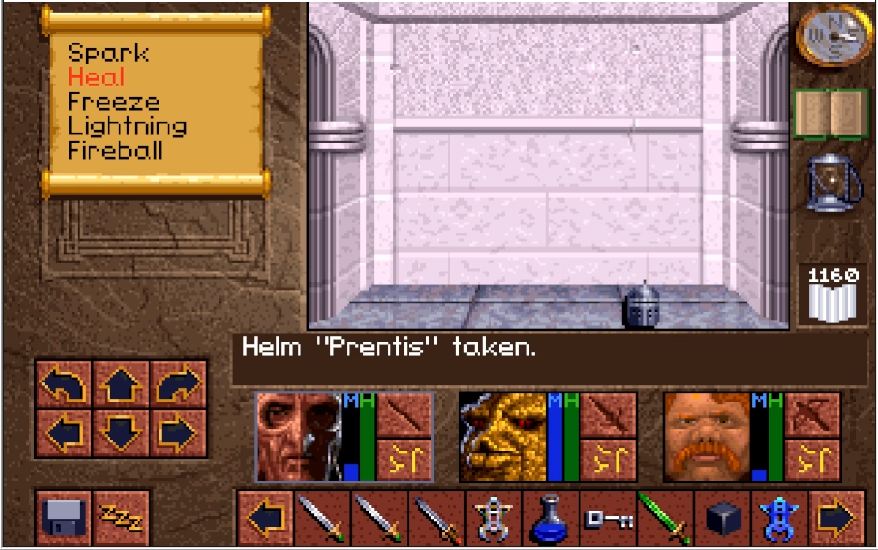
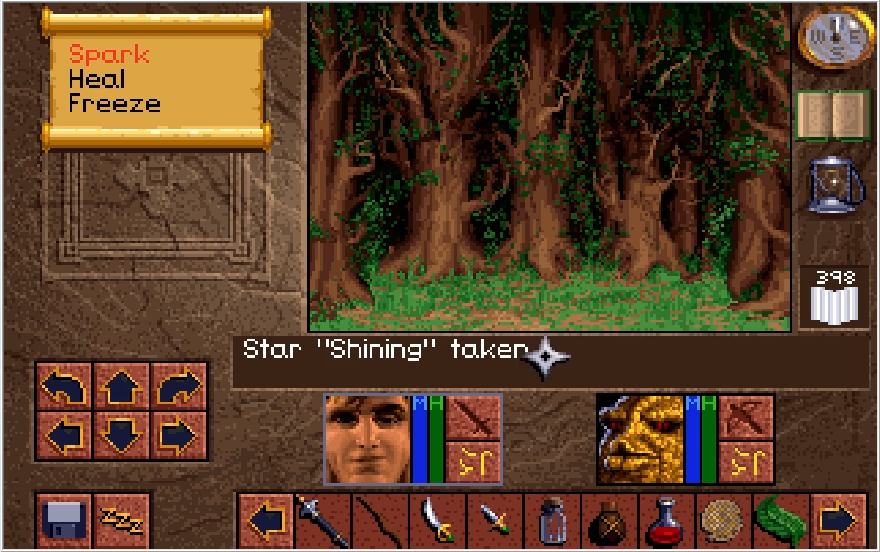
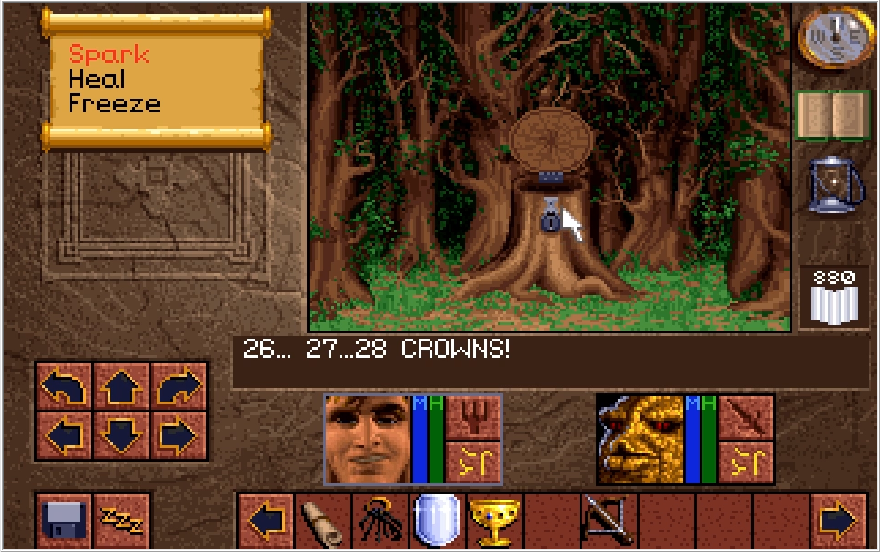
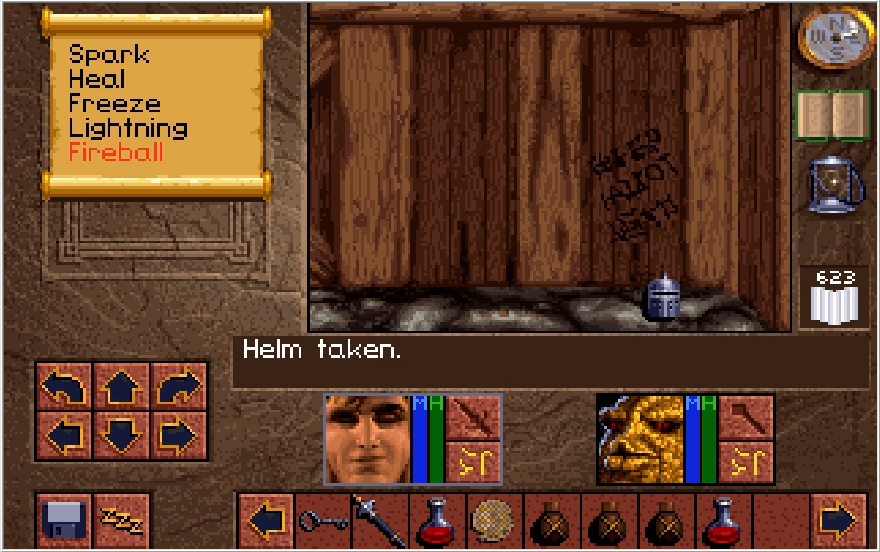
Inside the chest is a 4 gem Bezel cup, a Star "Shooting", 25 crowns....
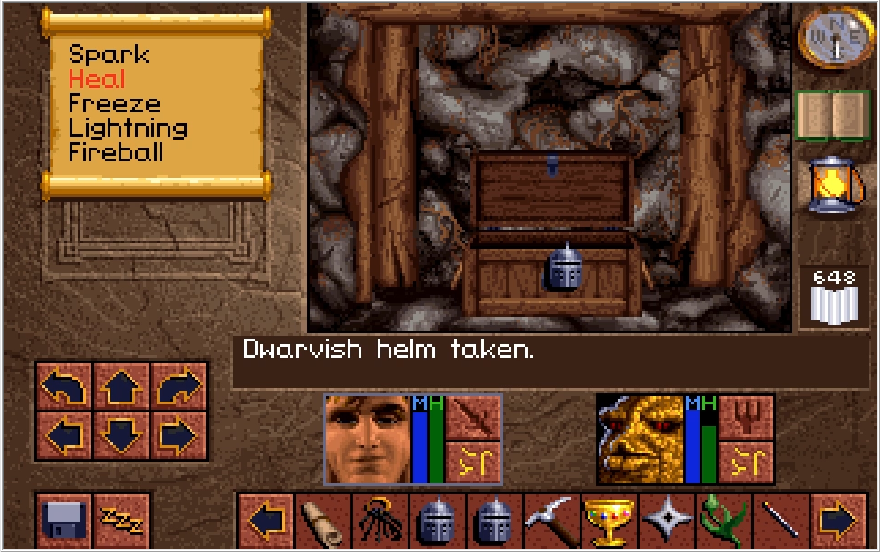
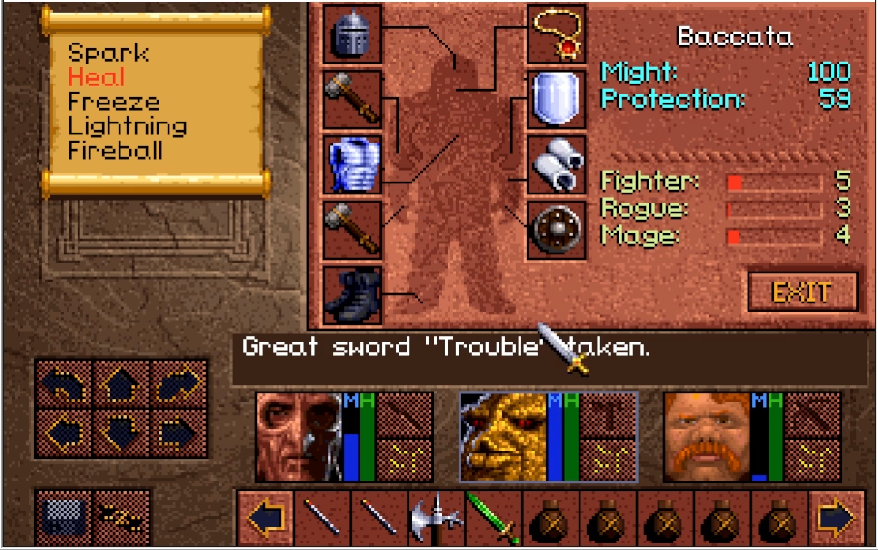
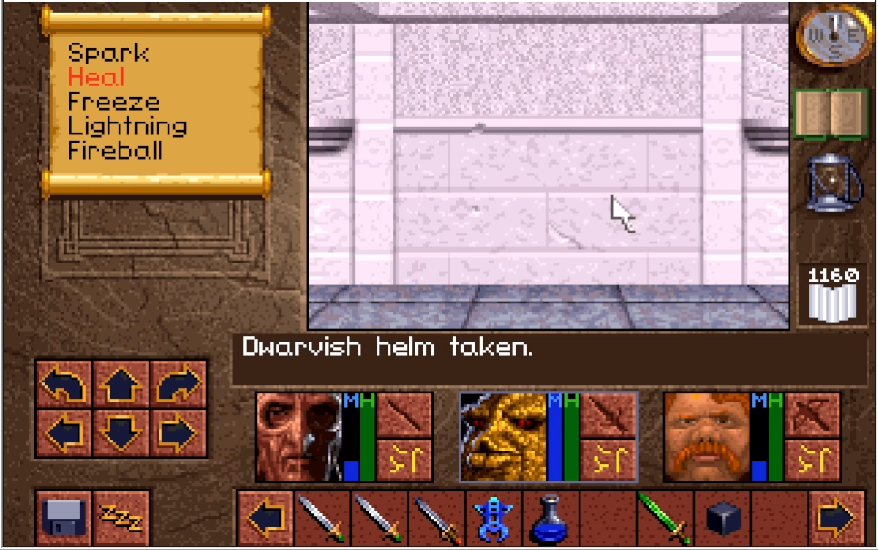
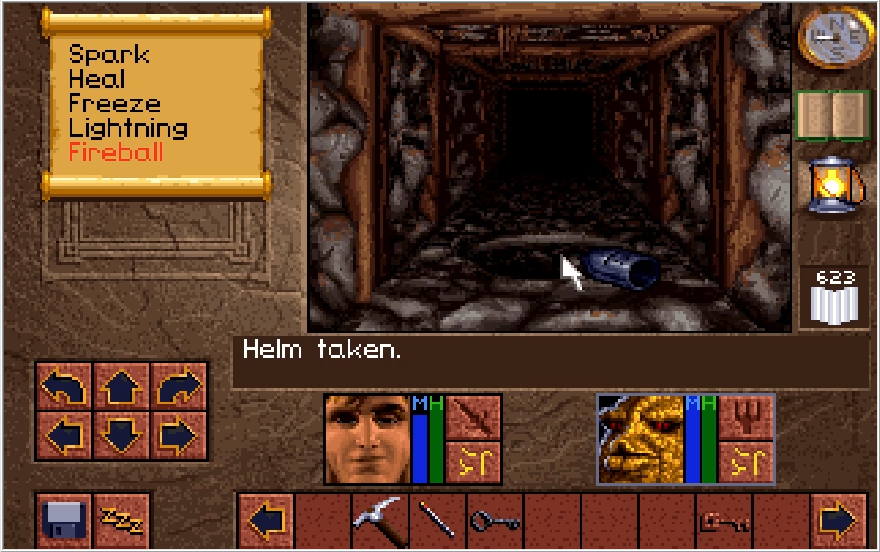
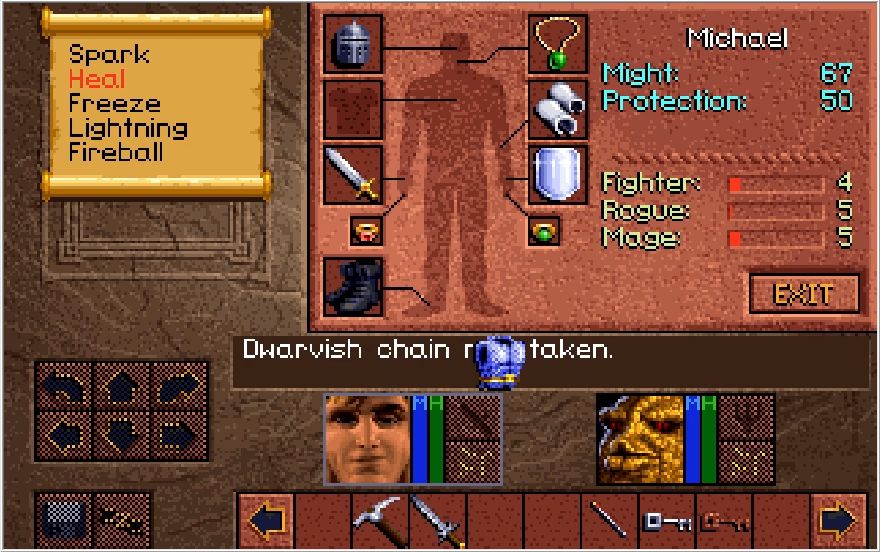
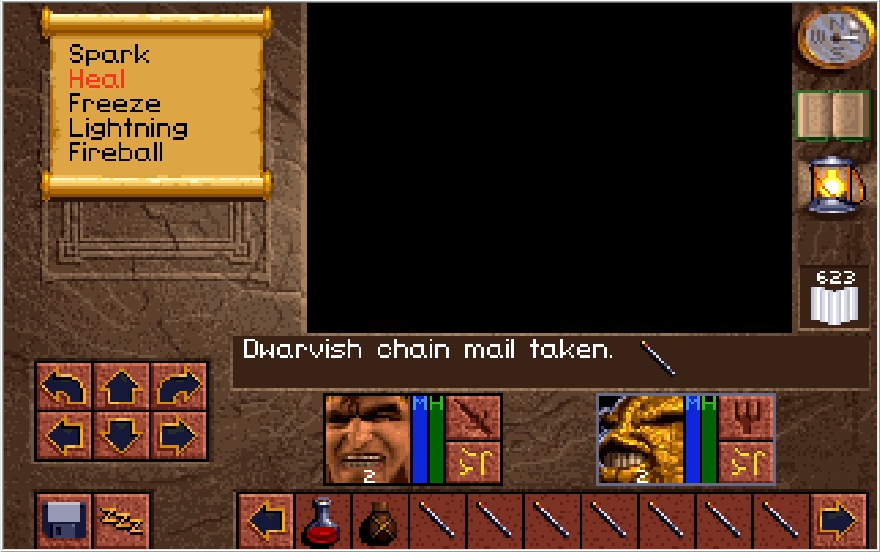
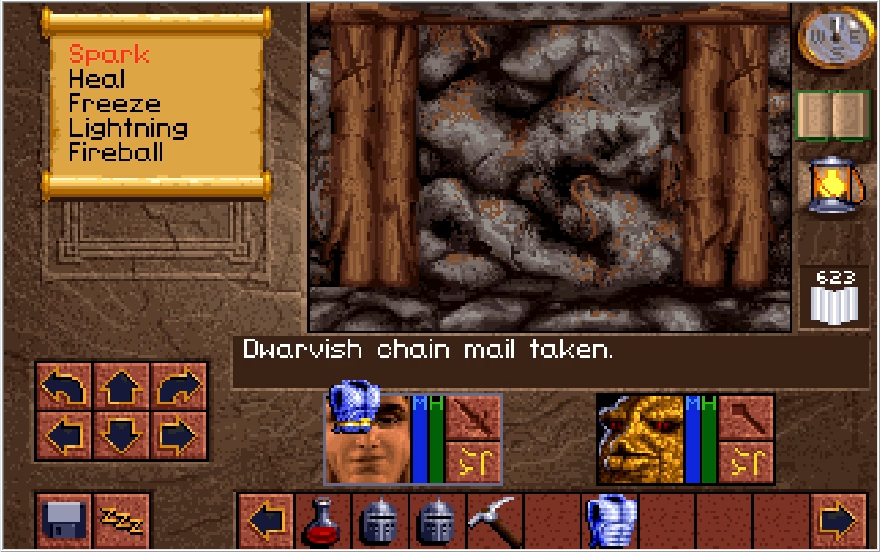
And a Dwarvish helm.
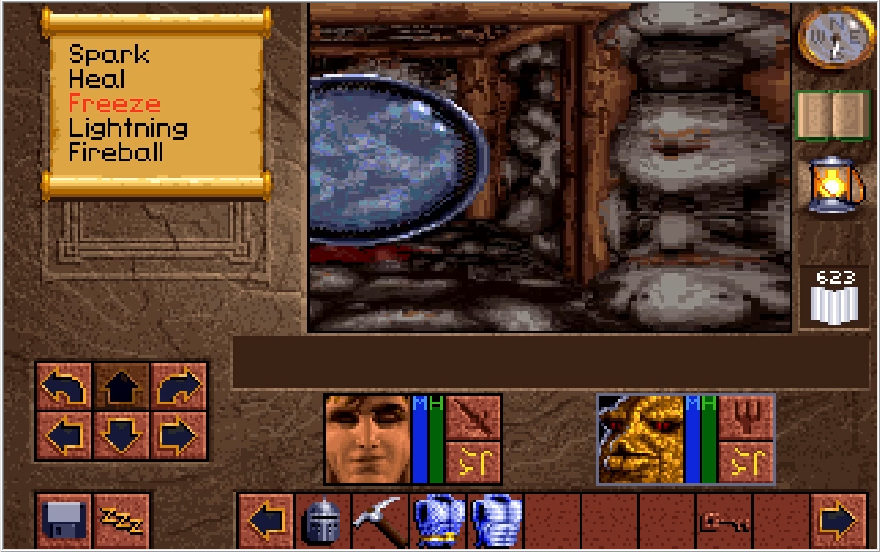
Back up to the pressure plate now, and hurl a useless item towards the wall switch. This will slap it in, activating the projectile trap and slamming the door shut. The door cannot be reopened once that switch is pressed, so you have no choice but to be shot to death if you're in the room when you press it.
Once that switch is pressed though, we can lower the right lever and raise the left one, which will reopen the door we entered from and allow us to escape.
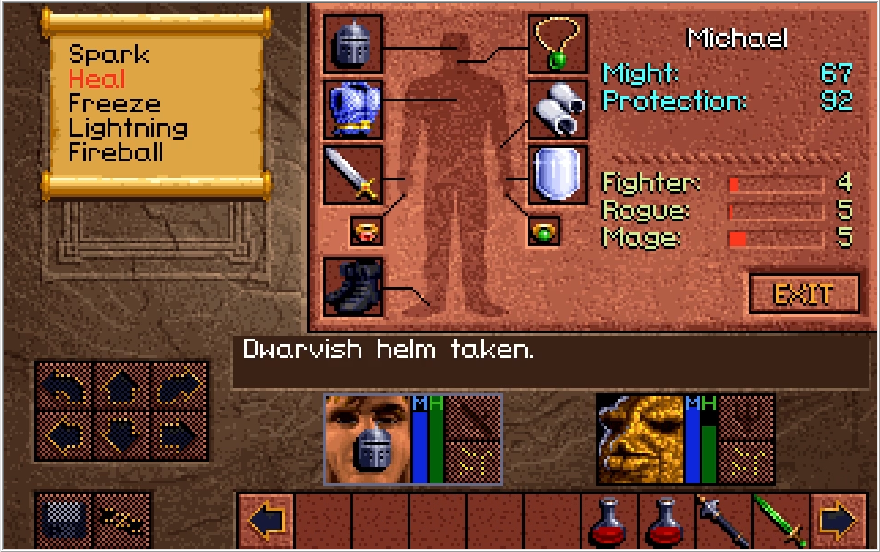
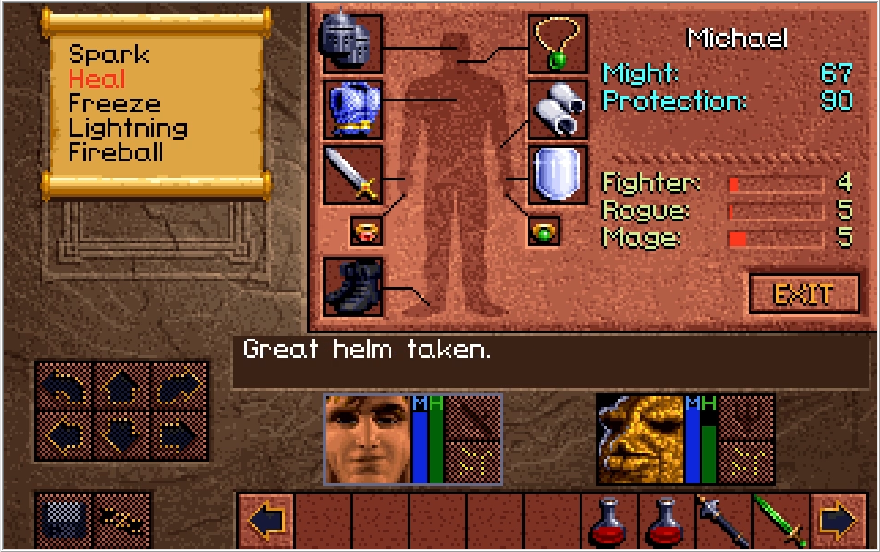
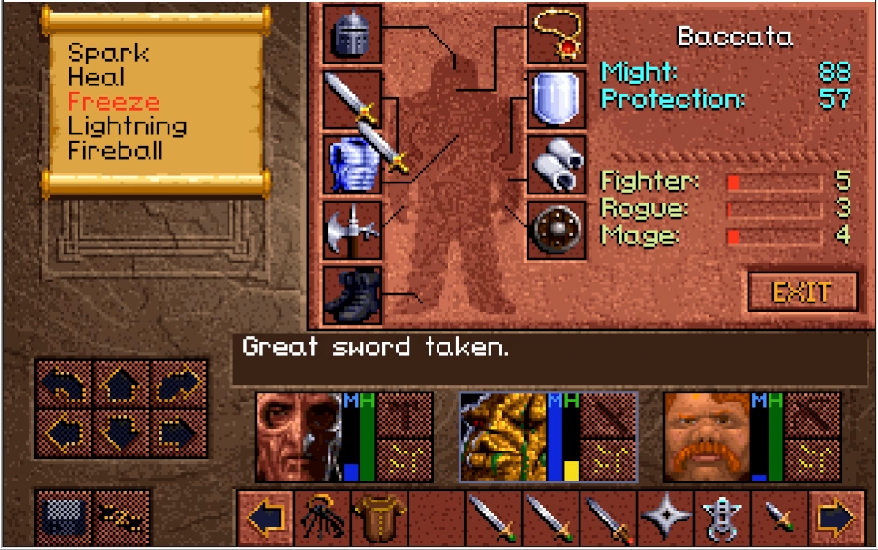
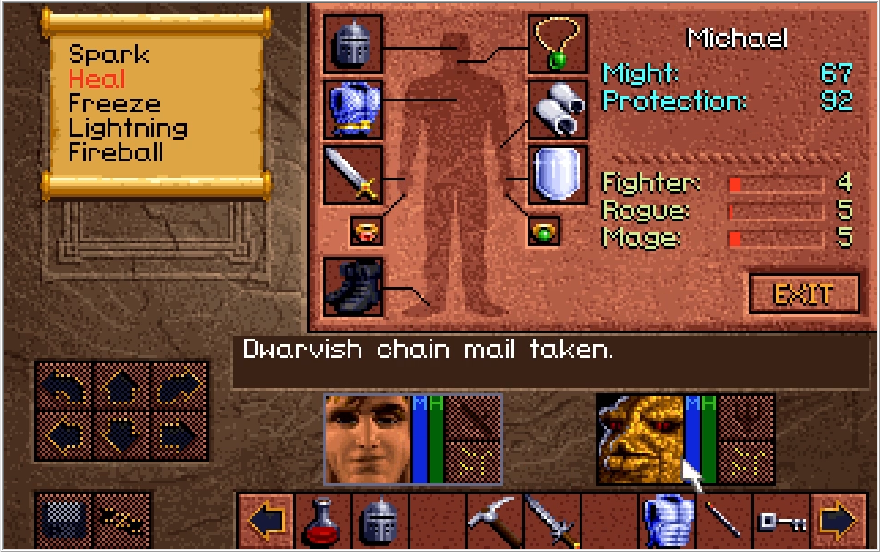
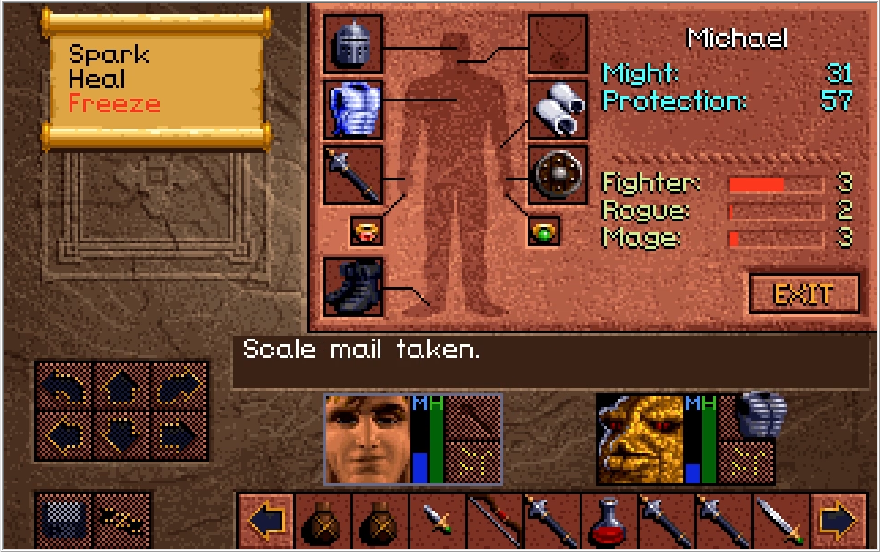
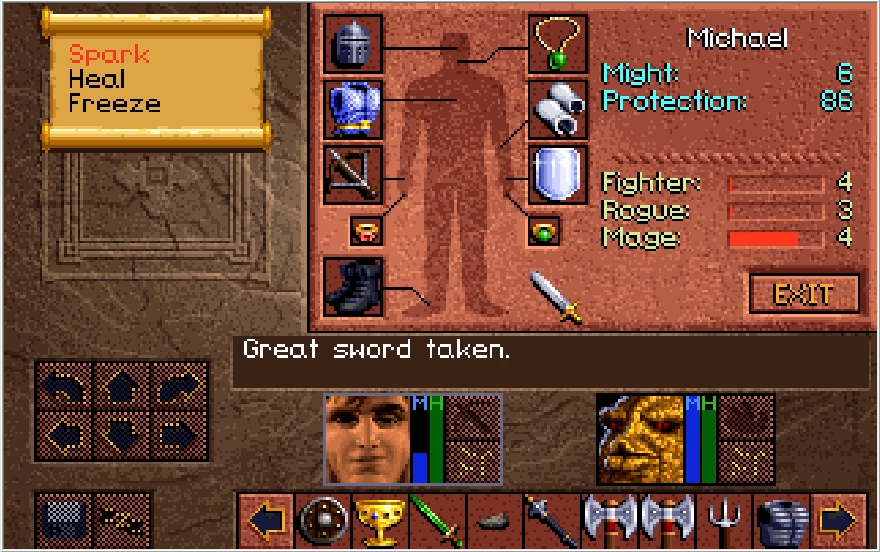
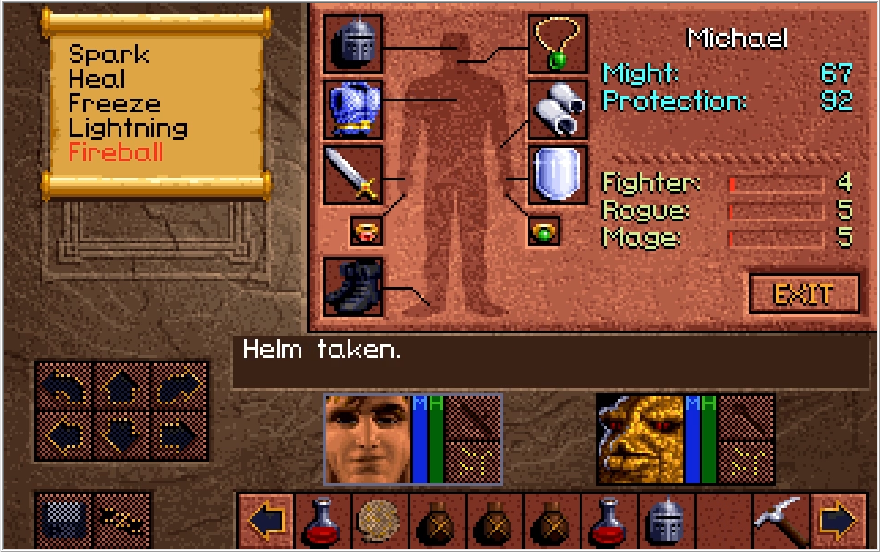
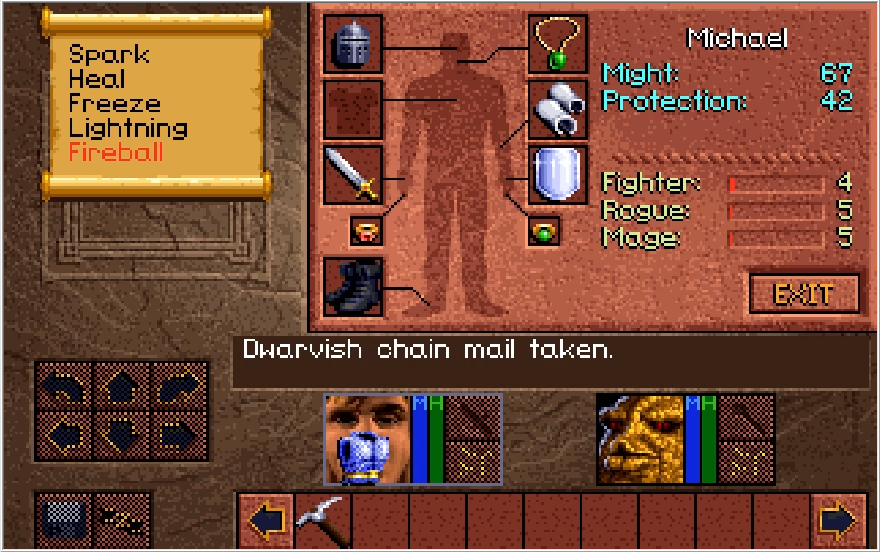
Going through all that, we find the Dwarvish helm we collected is worse than the Great Helm we got from Dwight. Swell. I actually did this in a separate file since I didn't feel like fumbling with the puzzle when I was first recording (I didn't know the solution off hand), so we don't actually keep our spoils from this.
Instead we just get to torch some jellyfish.

We've done everything we need to do on this level, so let's escape now.
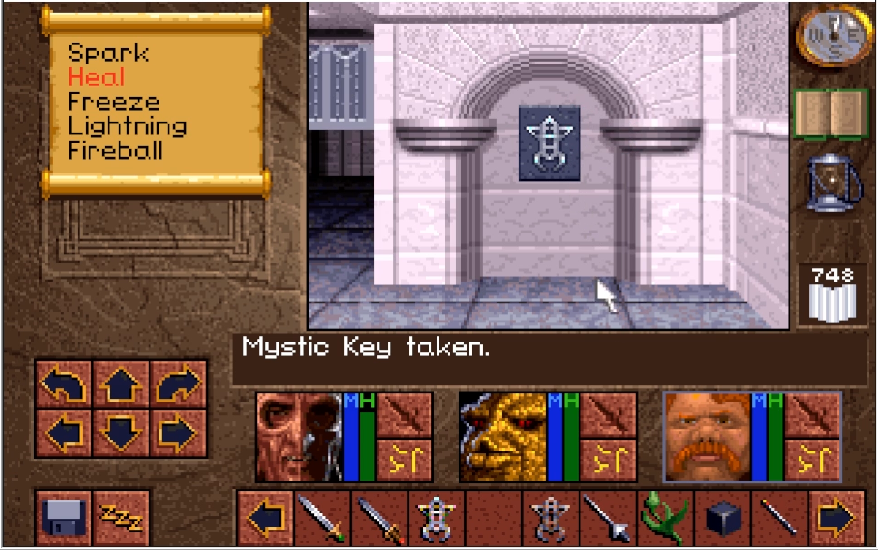
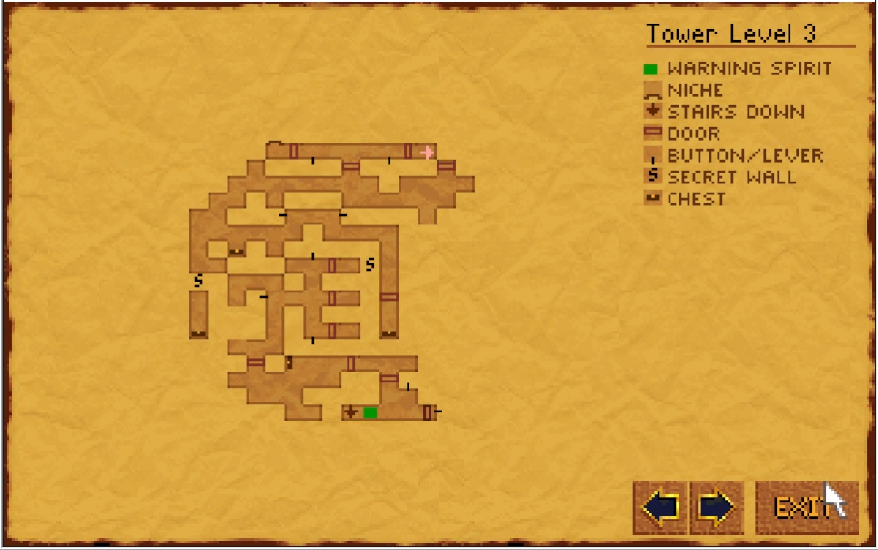
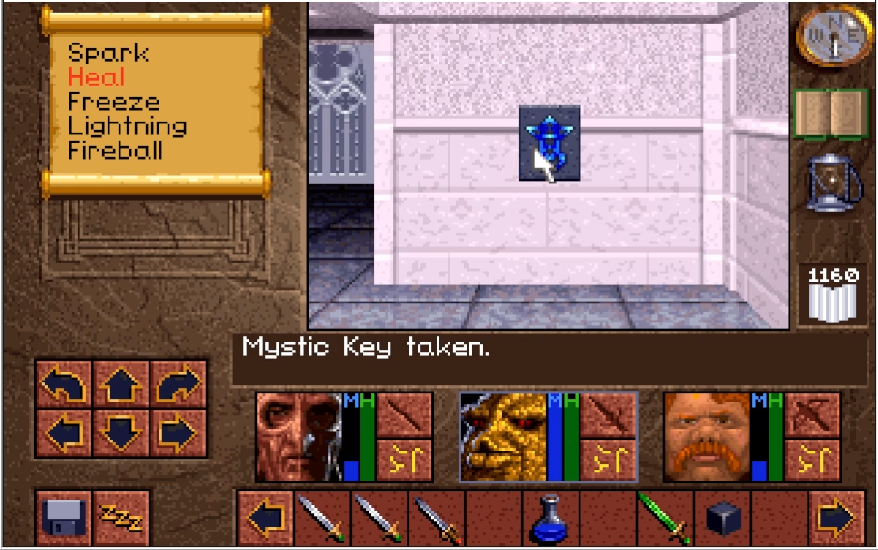
In the west hall, we can use Mine Key 4 on the lock here to open up the walls on both sides of it. The left hallway leads to a key item, while the right hall leads to stairs back up to Level 1.
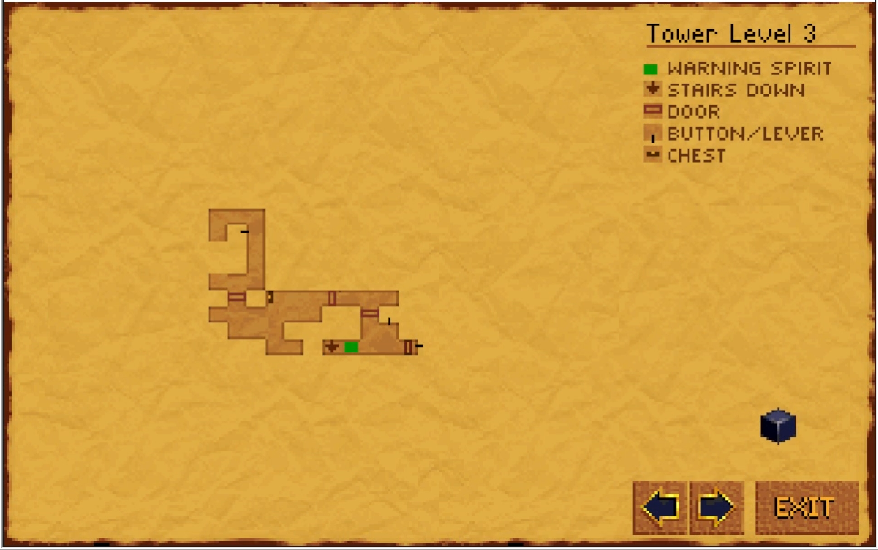
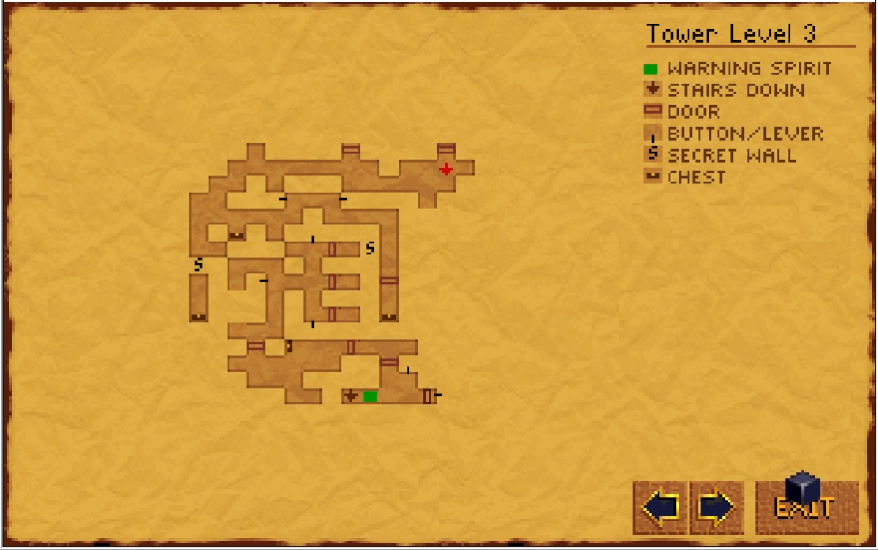
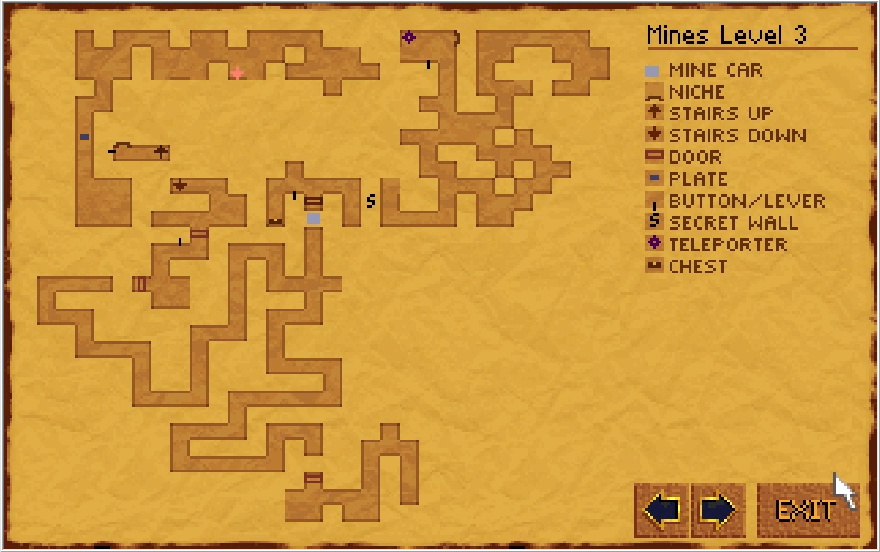
We can take these stairs down to Level 3 to collect the last key item we need, but there's a little bit we can explore past it. It's also worth noting that these stairs are inaccessible if you haven't turned on the water pump, we finally reached the payoff for doing that. The stairwell will be flooded without the pump on and your characters will be none too keen on taking a dip to see what's down the stairs.

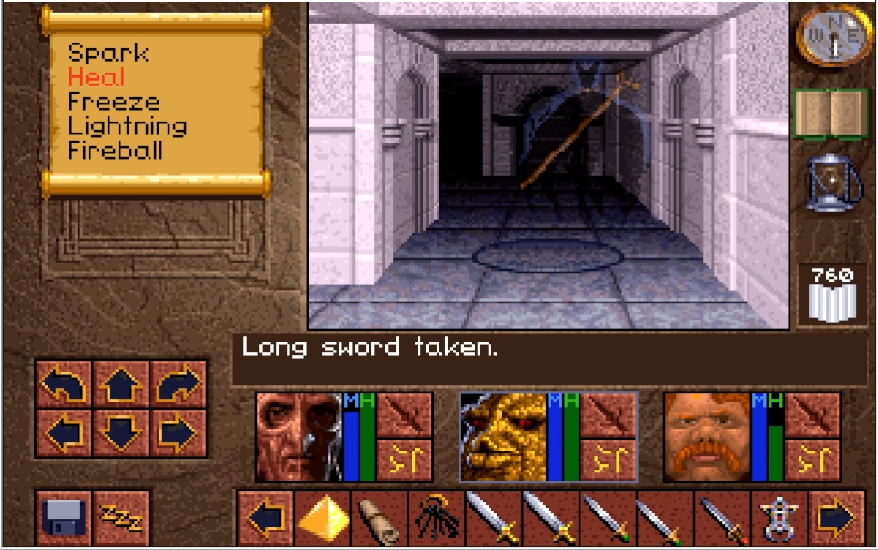
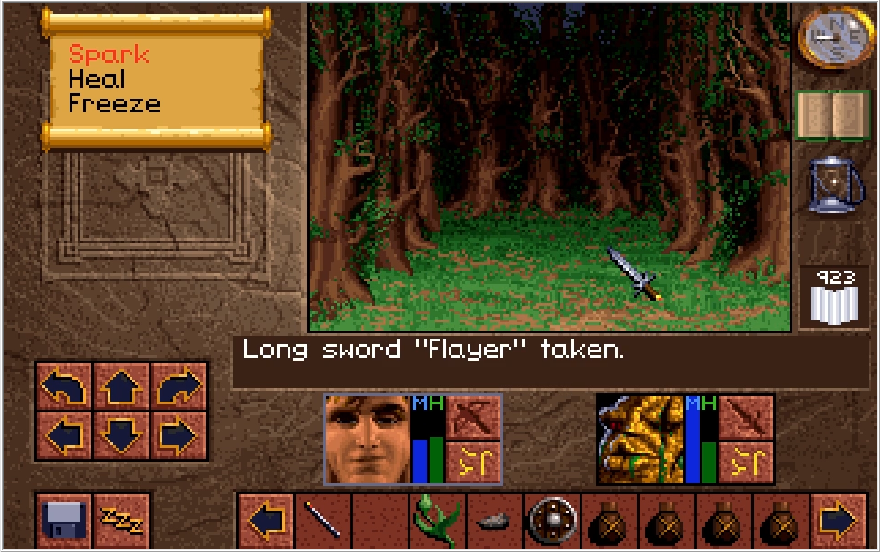
Not that there's anything that good save for some bugs and a Longsword Flayer.
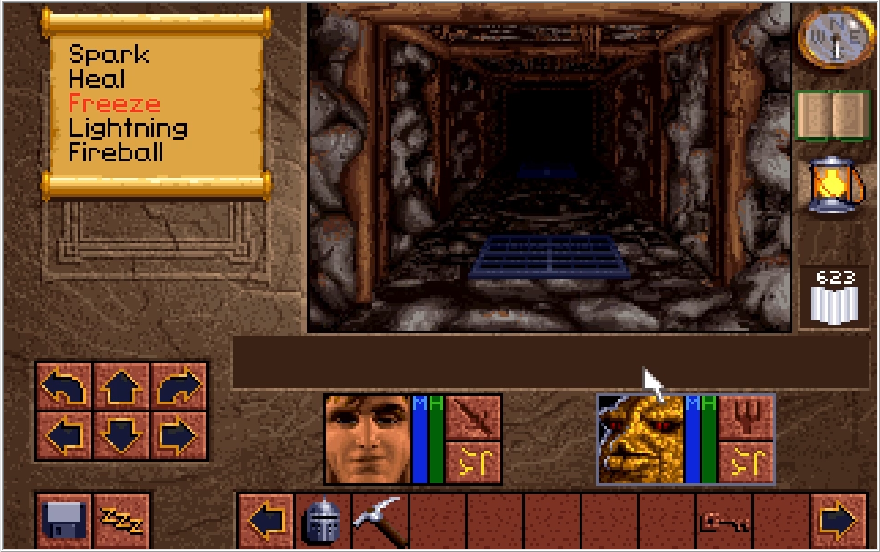
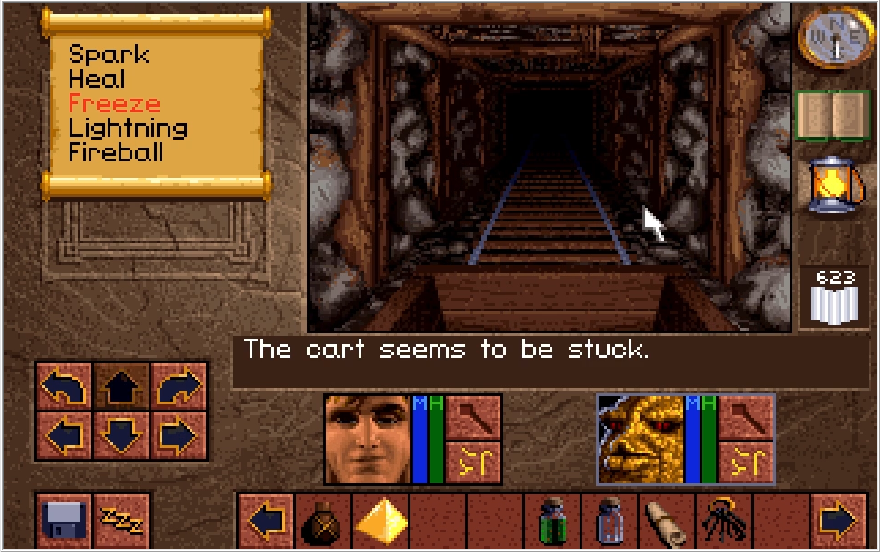
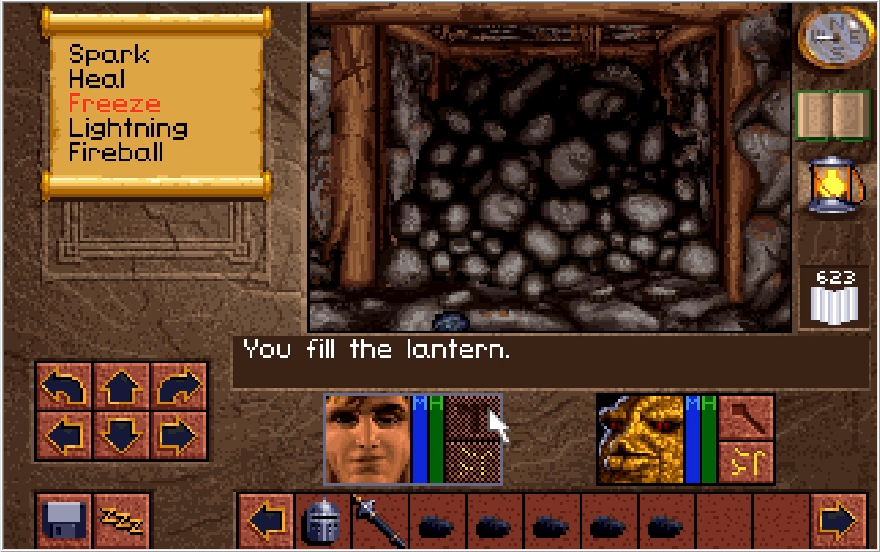
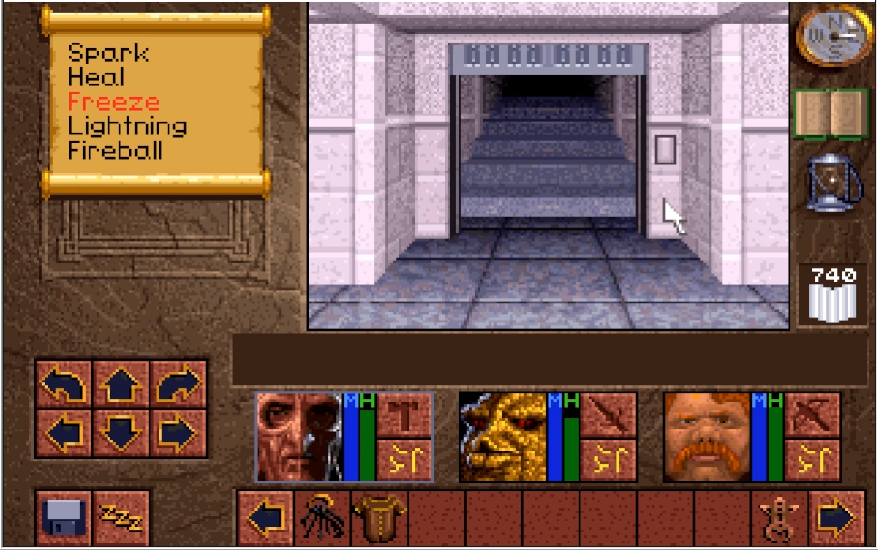
Taking the stairs down, we find ourselves in a short hallway with a Woah! tile right in front of us. This one is motion based, so any turn we make on it will result in a spin.
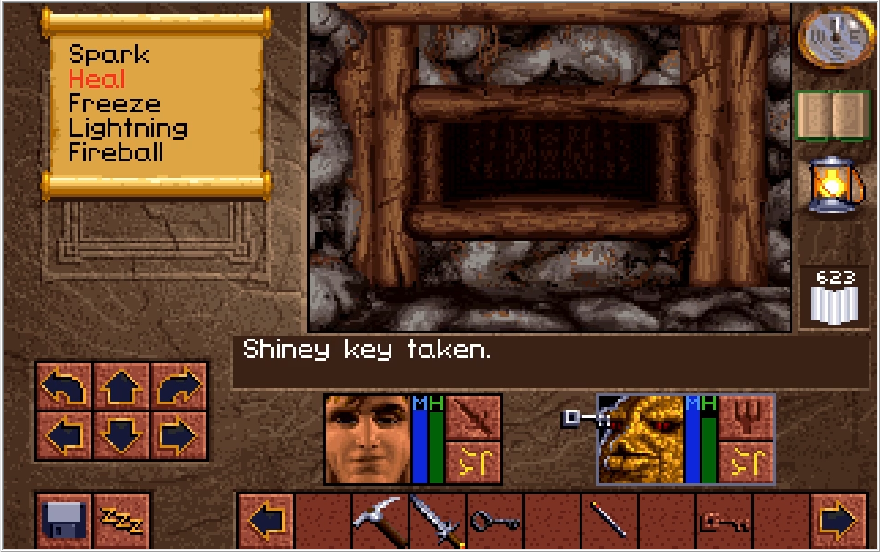
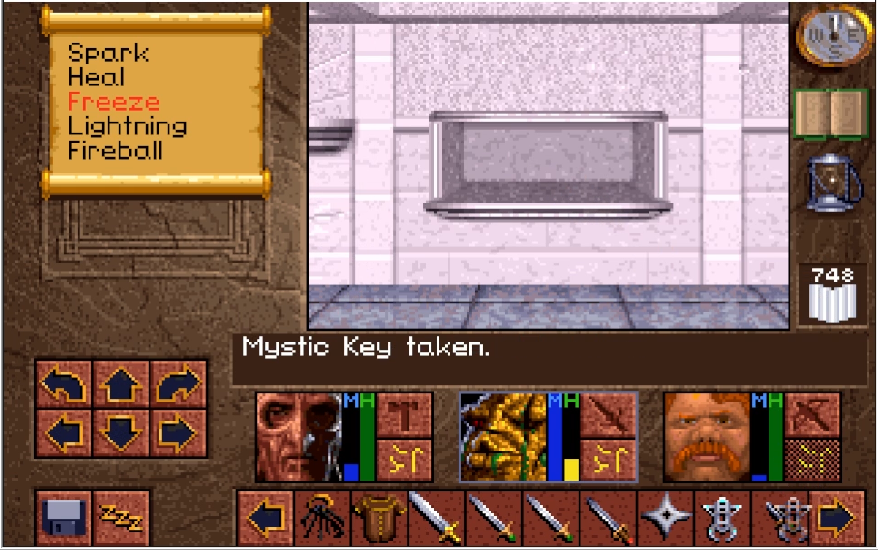
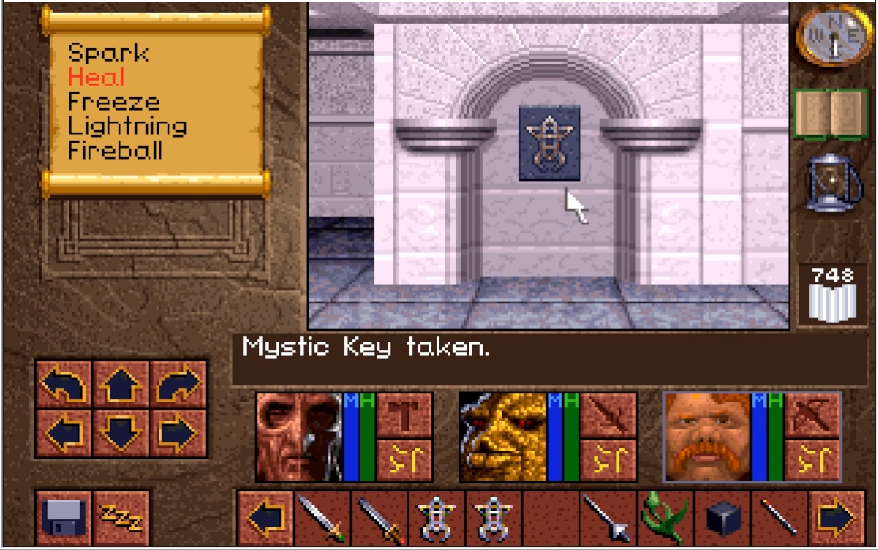
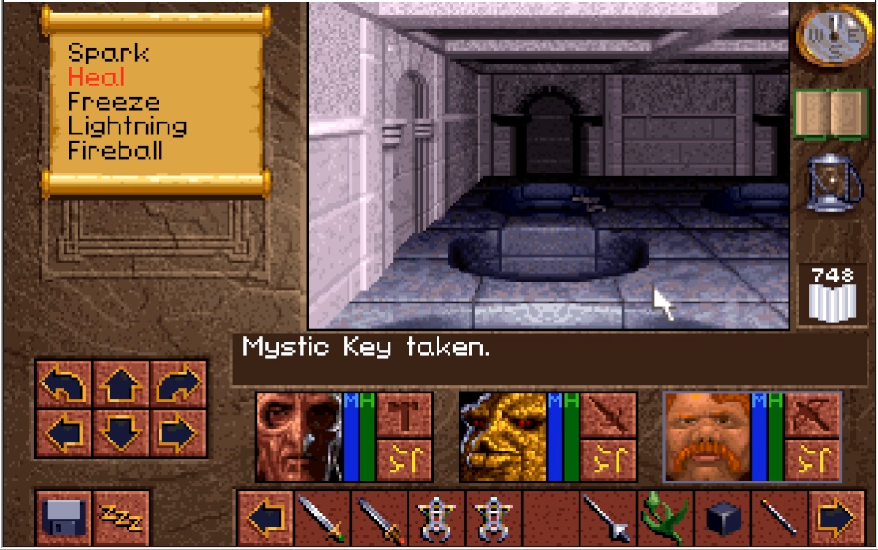
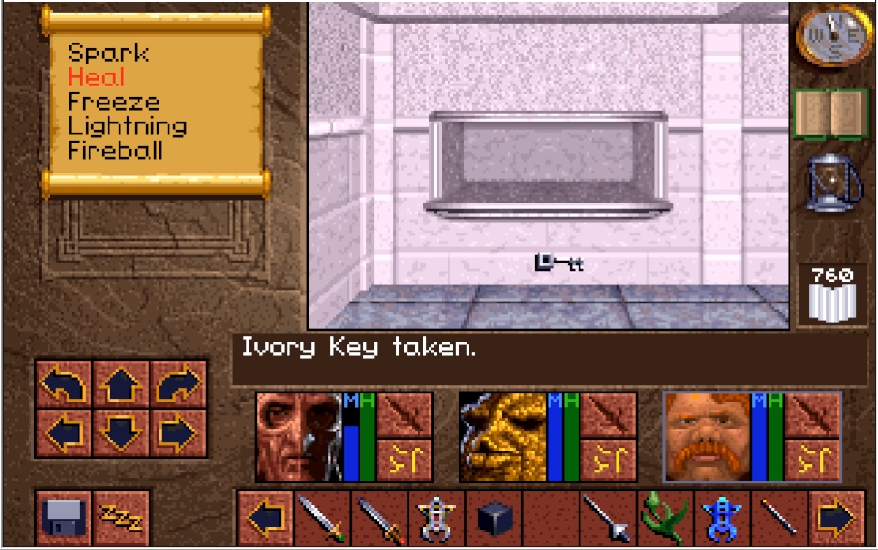
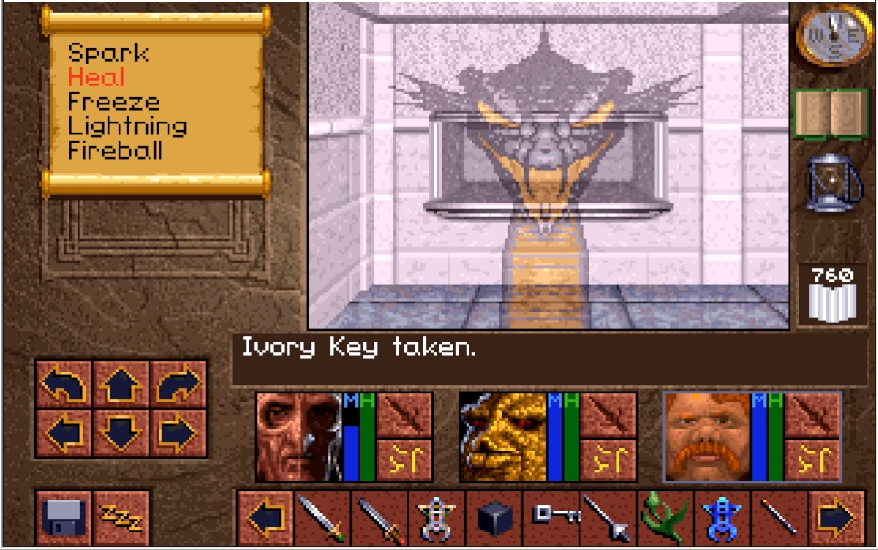
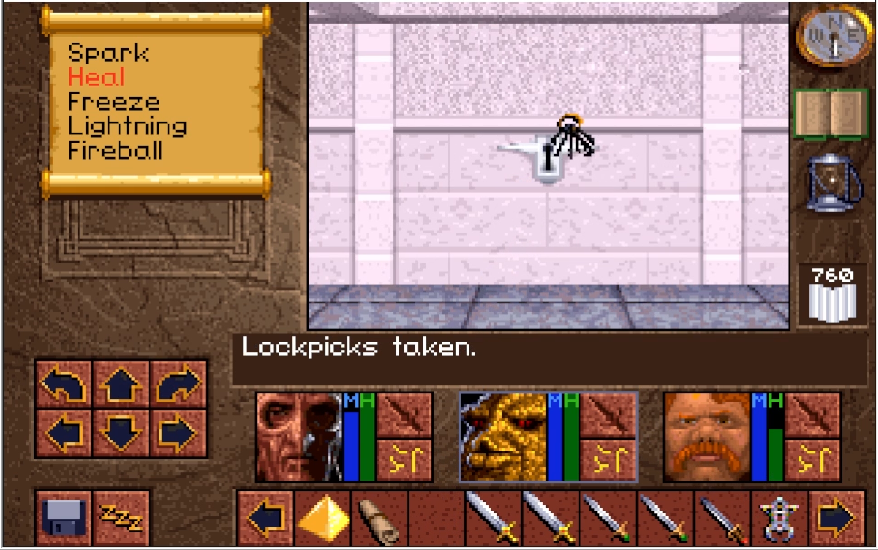
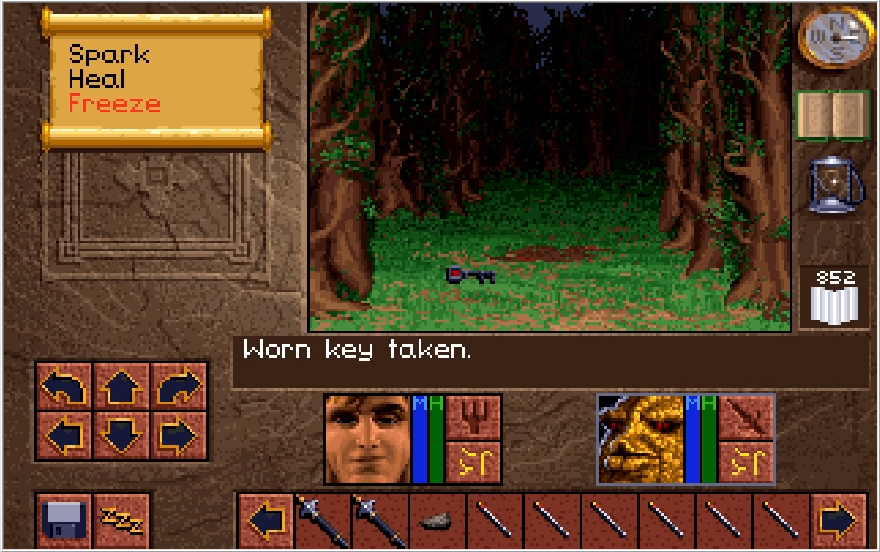
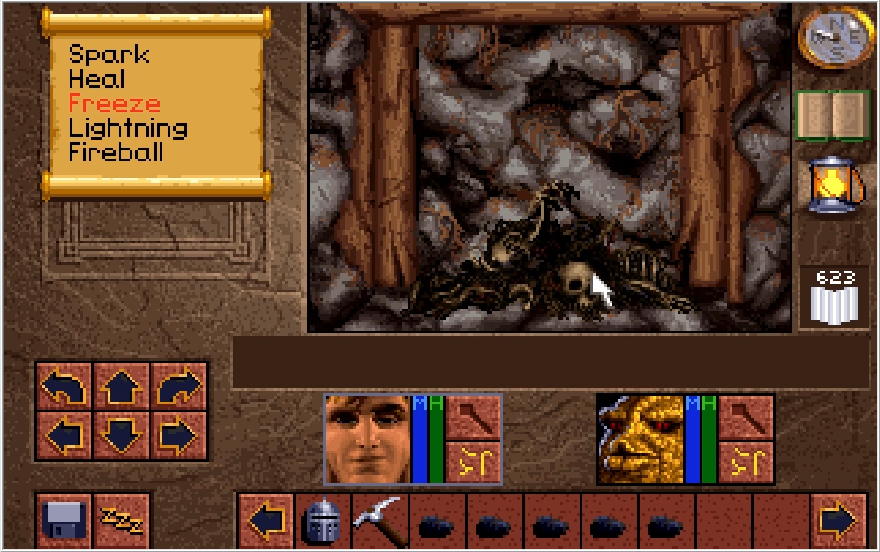
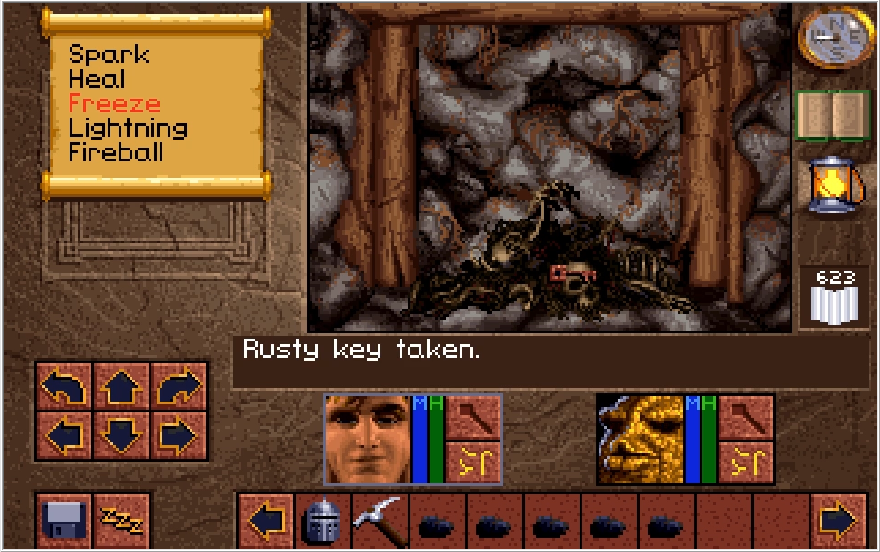
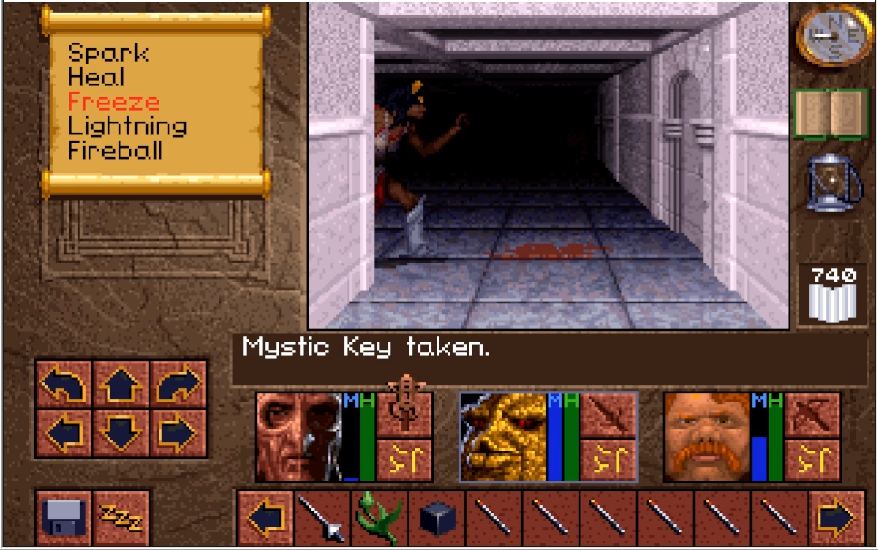
This one is not too hard to deal with though. Turn right twice to end up facing a switch. Hit the switch to open up a niche, and then turn left once to face the niche and collect the Shiney[sic] Key that lies within. This is the counterpart to the Rusty Key that we need to finish this dungeon.
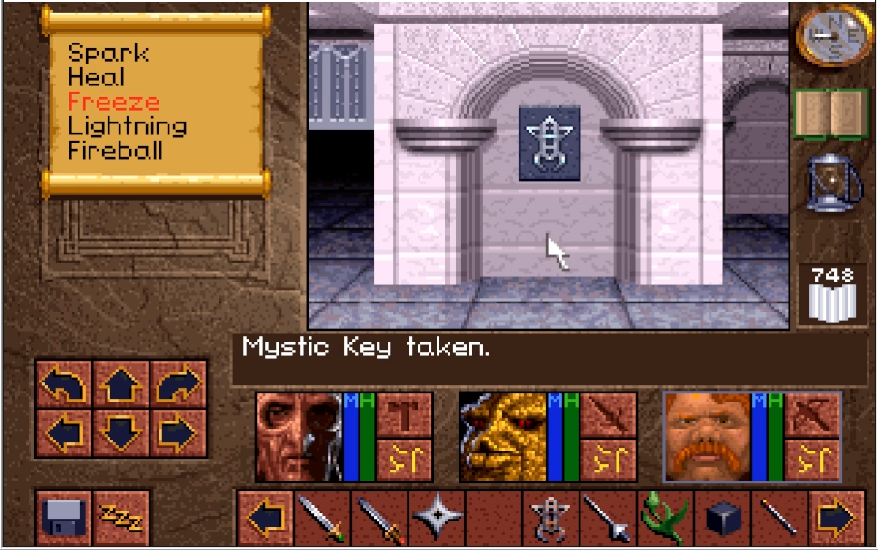
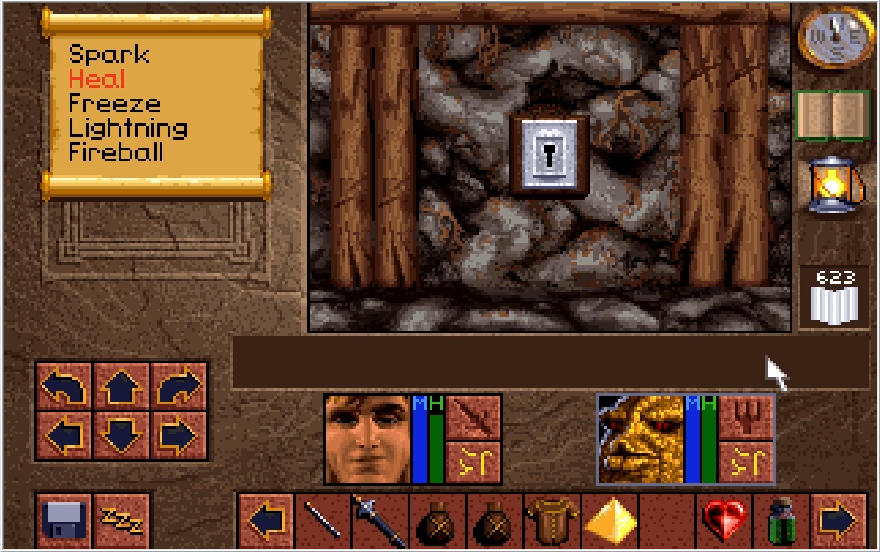
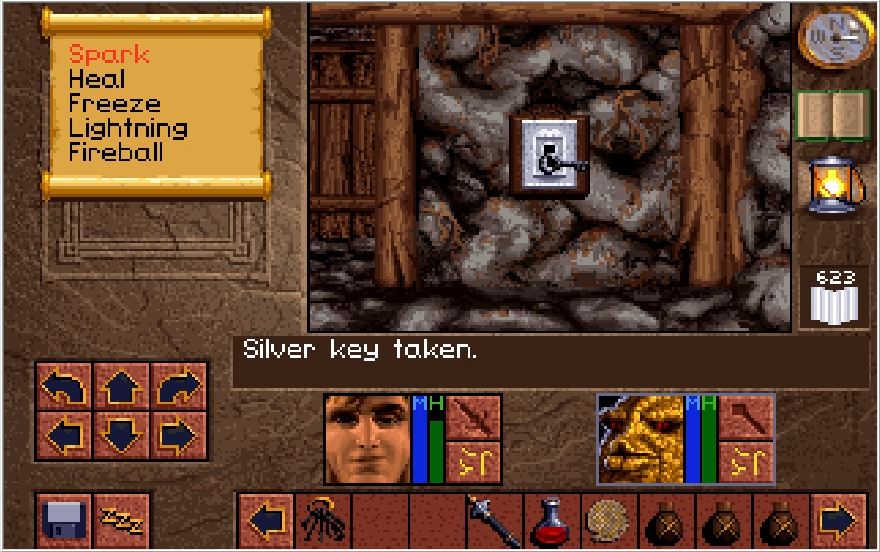
Returning to Level 2 and taking the hall to right of the Mine Key 4 lock puts us in front of yet another lock. This one takes Mine Key 5. Open it up, and we have access to a new section of Level 1.
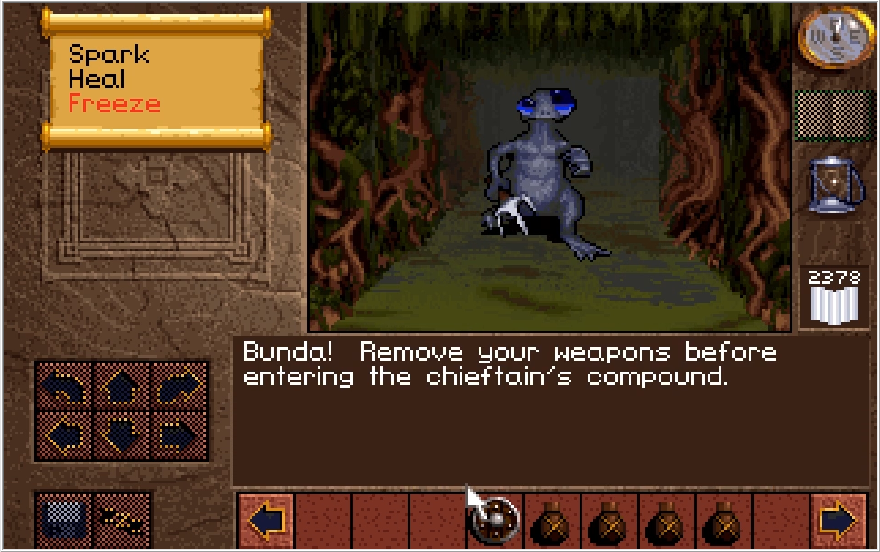
We find ourselves faced with yet another locked door, the lock for this one is directly to the left of it in that hallway. We're on Level 1 again and Metal Scavengers are lurking here, so be sure to strip off your armor.
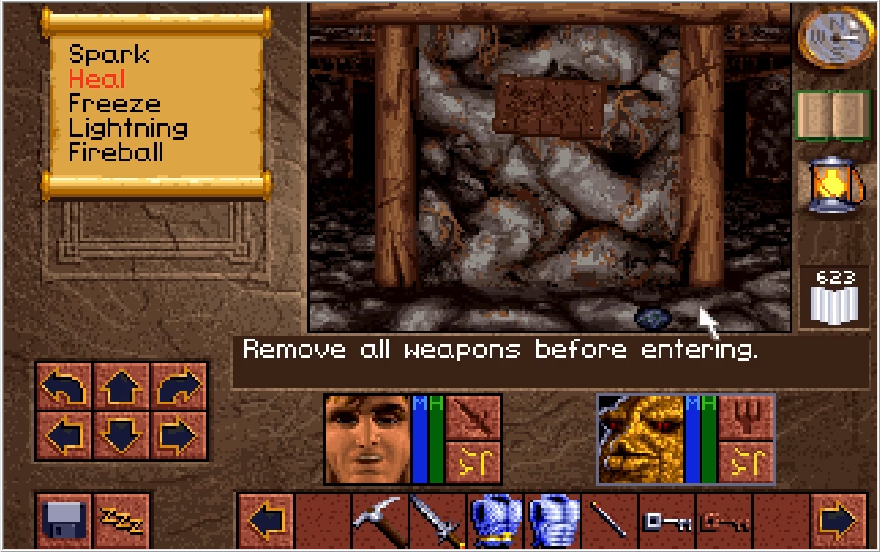
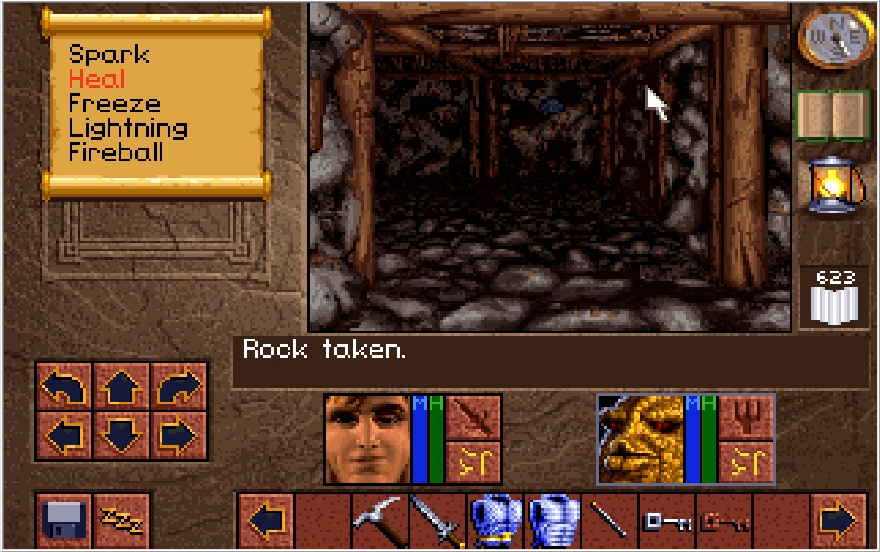
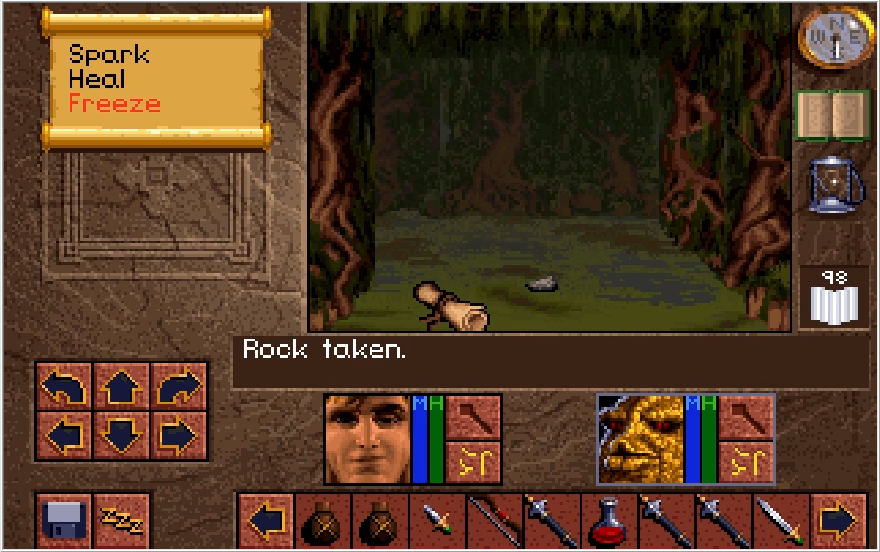
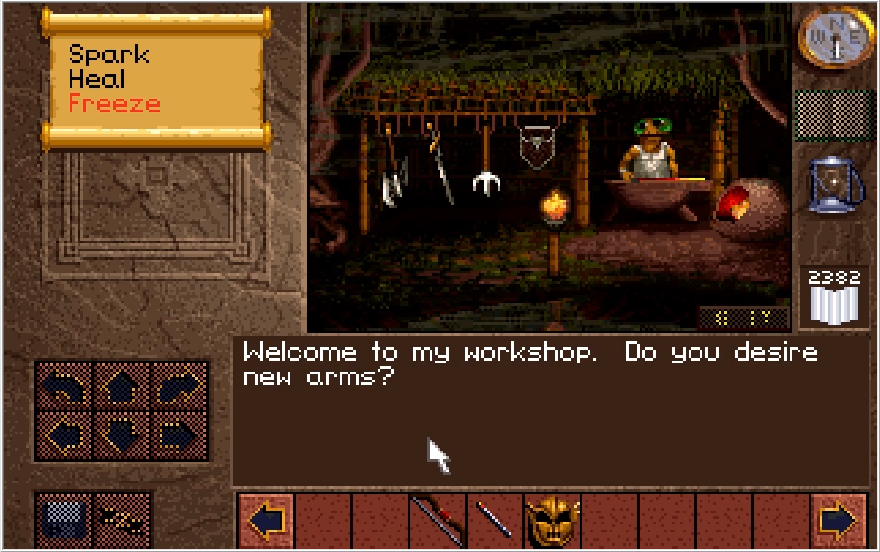
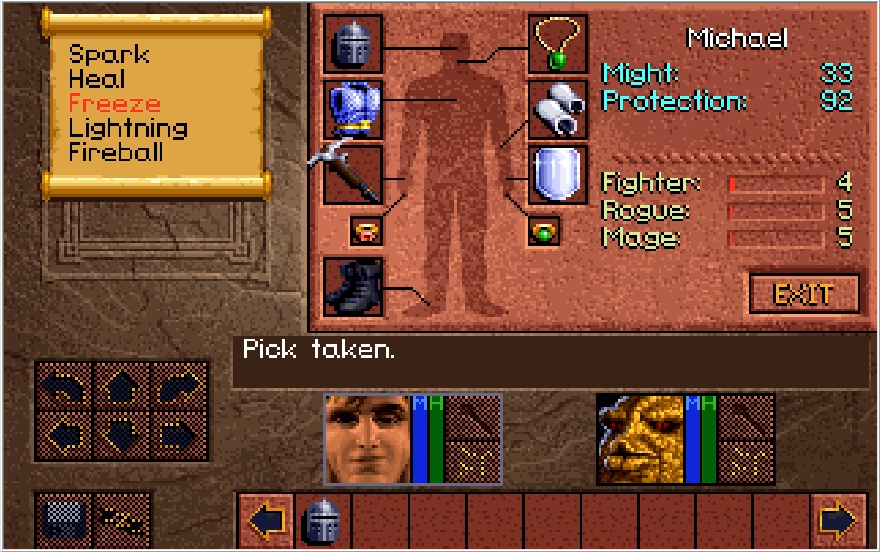
Here's a slightly unintuitive puzzle. You don't actually have to remove your weapons here, and in fact you need to do the opposite of what you'd expect. Pick up the rock in front of the sign (Technically a weapon) and either hurl it to the side or place it in your inventory. When you step away from the sign, you'll here the sound of rocks shifting in the distance. There's an invisible pressure plate in front of the sign, and by removing all weapons i.e. the rock, you take the pressure off of it and open up another section of Level 1. This is worth doing as it leads to a fantastic weapon.
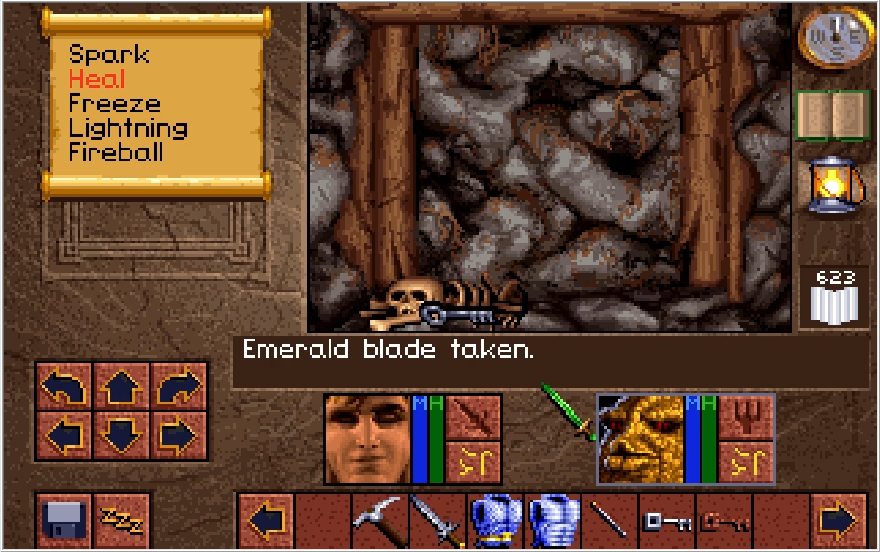
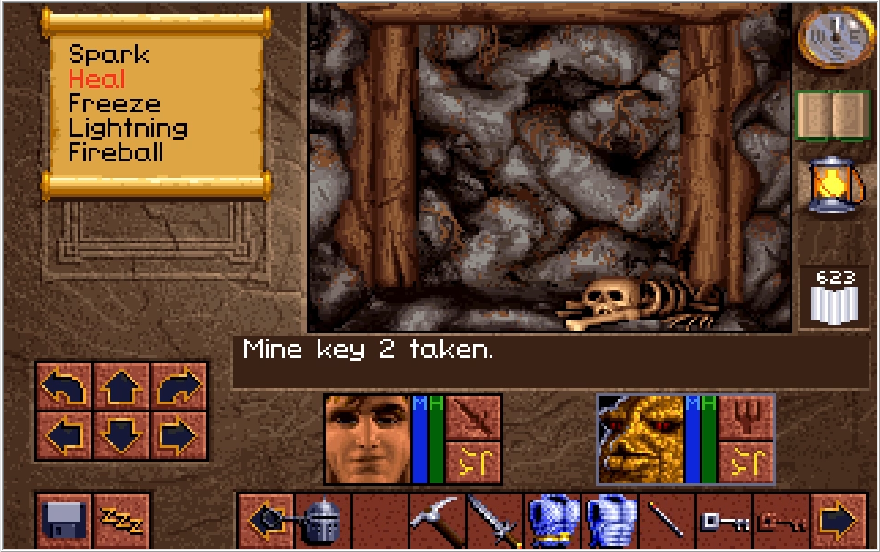
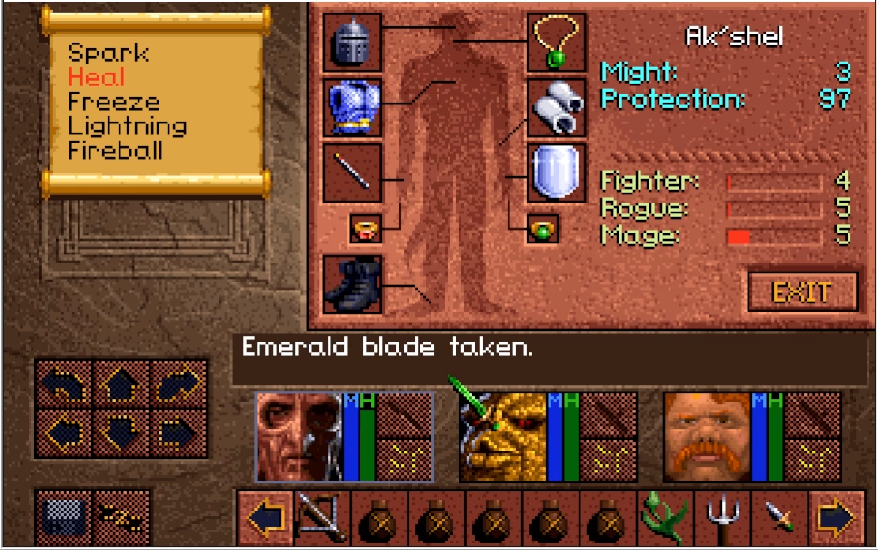
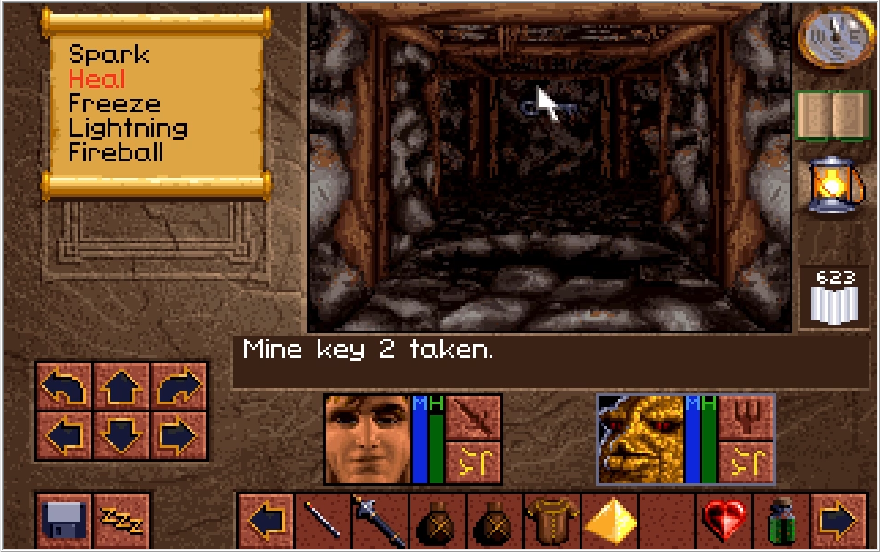
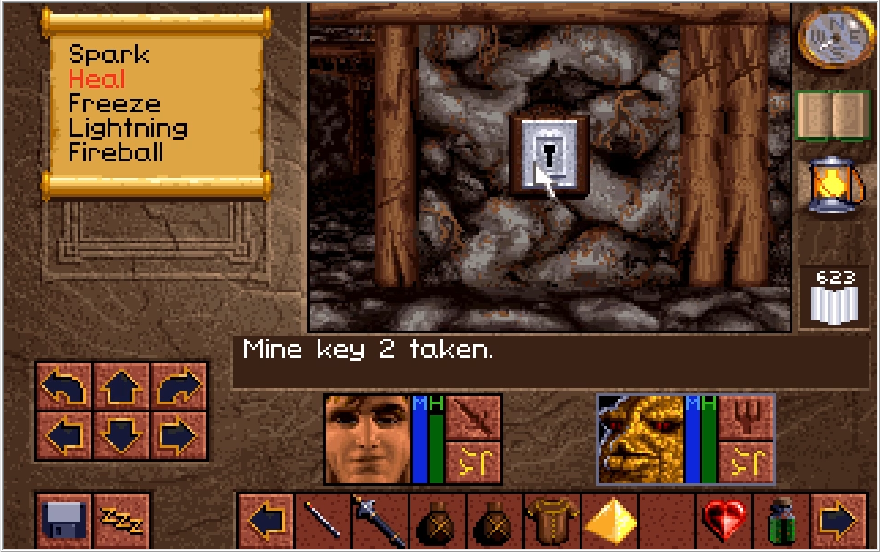
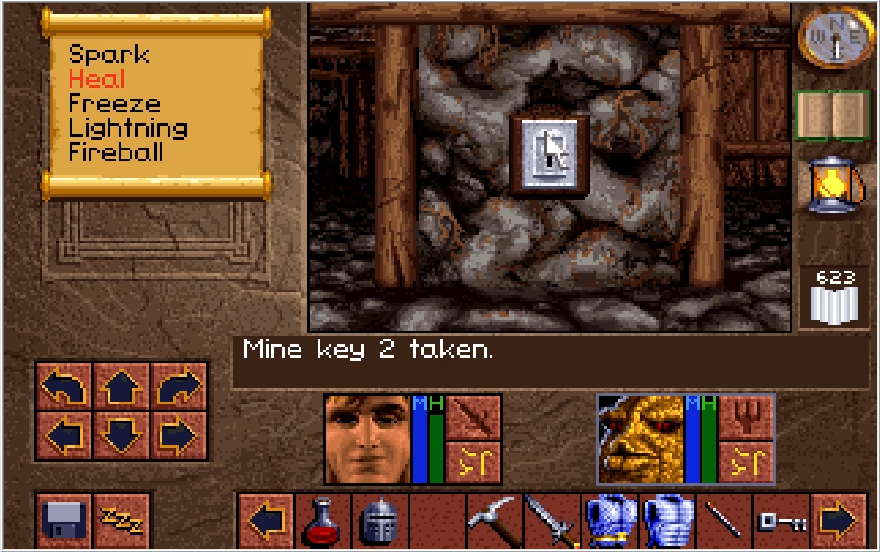
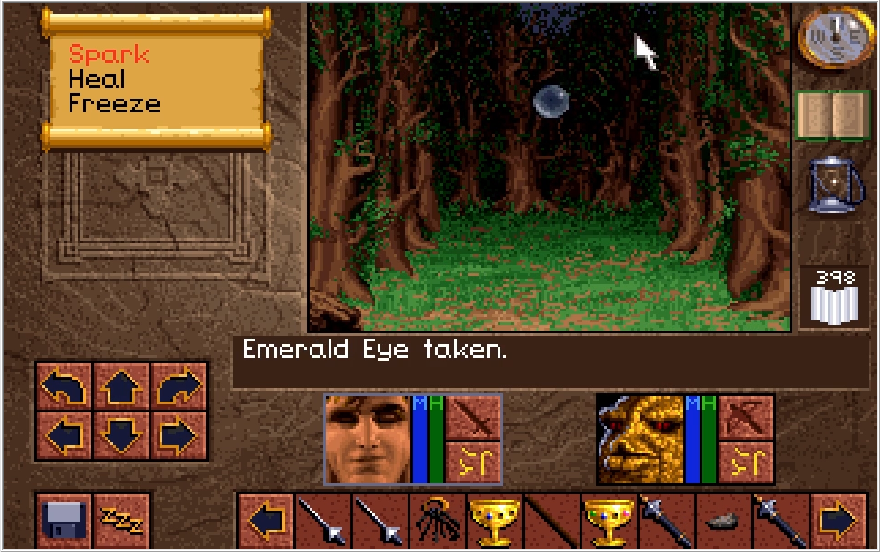
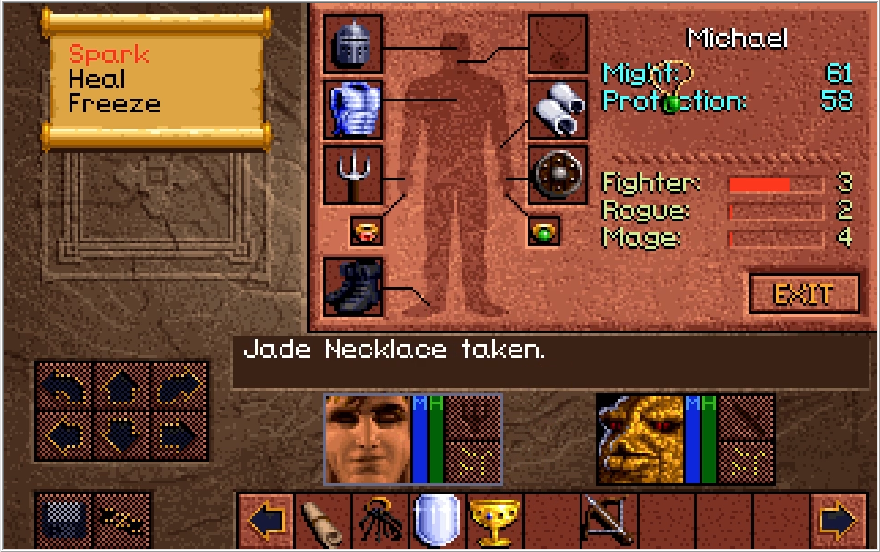
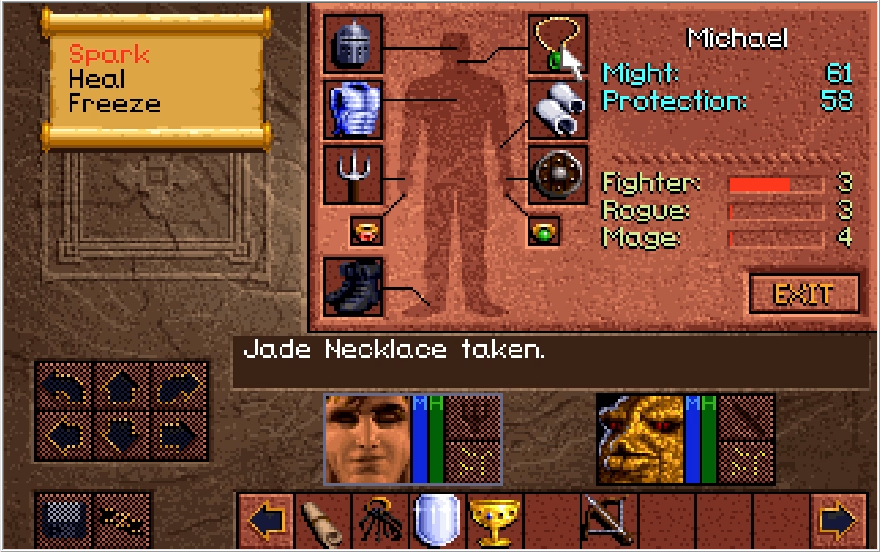
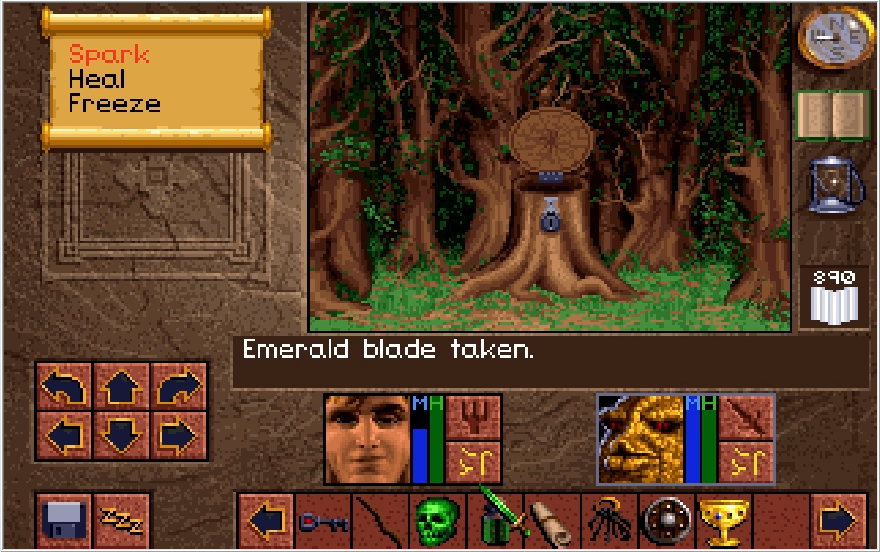
Aside from the occasional munchkin, there's actually very little in this section of Level 1. Head all the way East until you can't go any further, and then head north to find an alcove with a second Emerald Blade and Mine Key 2. Strangely, there is not a third Emerald Blade in the game, which is potentially unfortunate. Mine Key 2 is optional to collect and undesirable to use, but for the sake of completeness we'll grab it.
Now along the southern walls, there are tons of secret walls. None of them actually lead to anything though. This one on the East wall, however, does go somewhere.
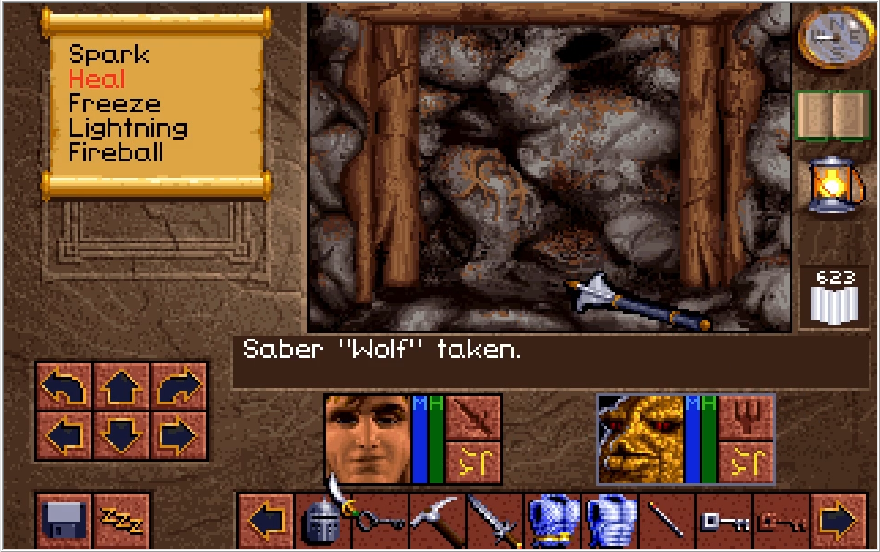
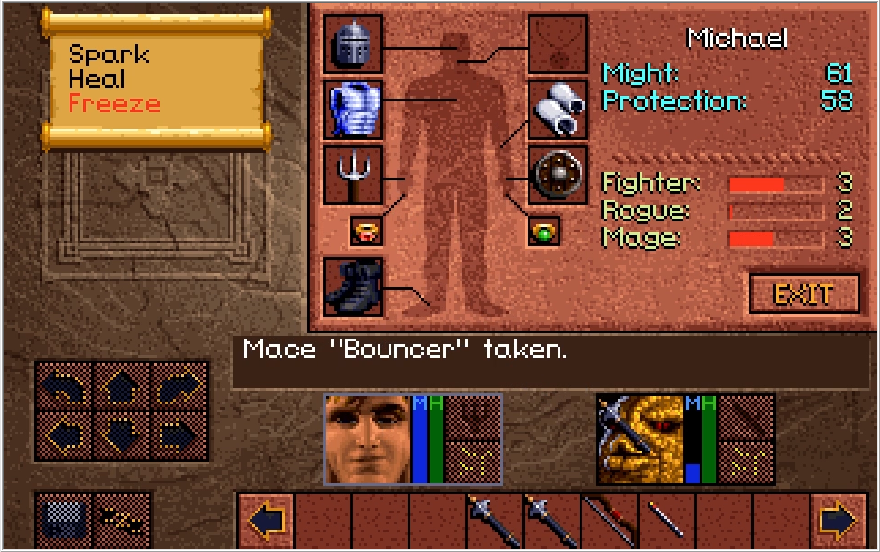
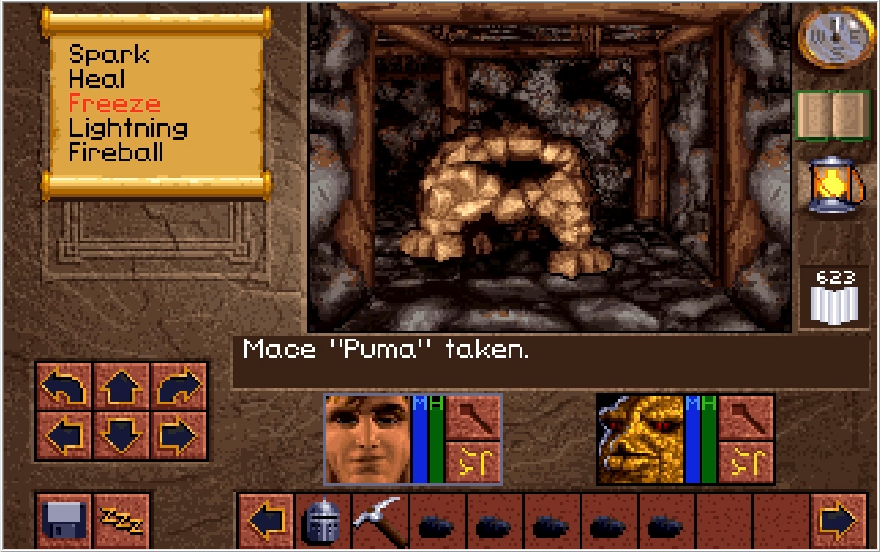
We want to head to the west from it though. These weapons are only accessible if you removed the rock from the remove weapons sign. The Saber Wolf is another junk named weapon, and the Mace is just another Mace Puma. Backing up one step, we actually just stepped past yet another secret wall. Like these weapons, you need to remove the rock in order open up the path to this.
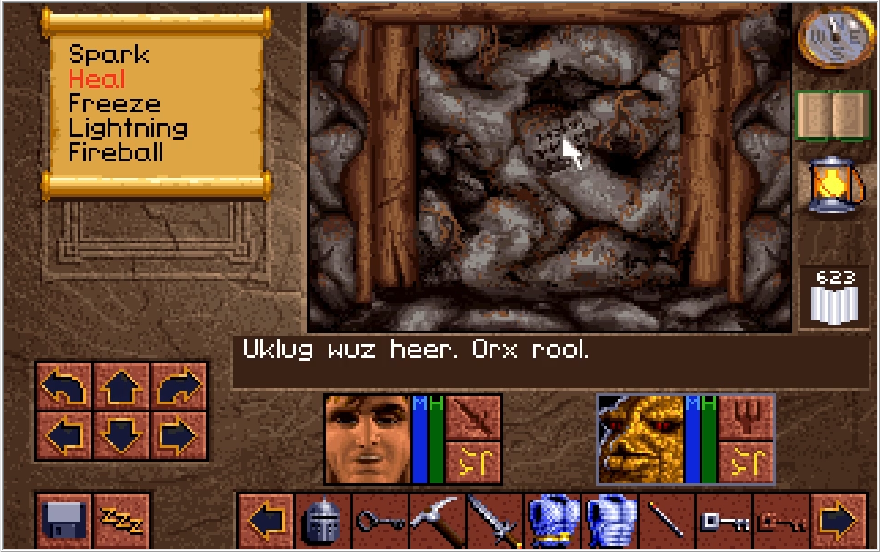
Inside this secret area, we find more munchkins to torch, and the memoirs of Uklug. Has it been spelled Orx the whole time, and the Orcs spelling is just a Gladstonian slur? The Lore of the Lands runs deep....
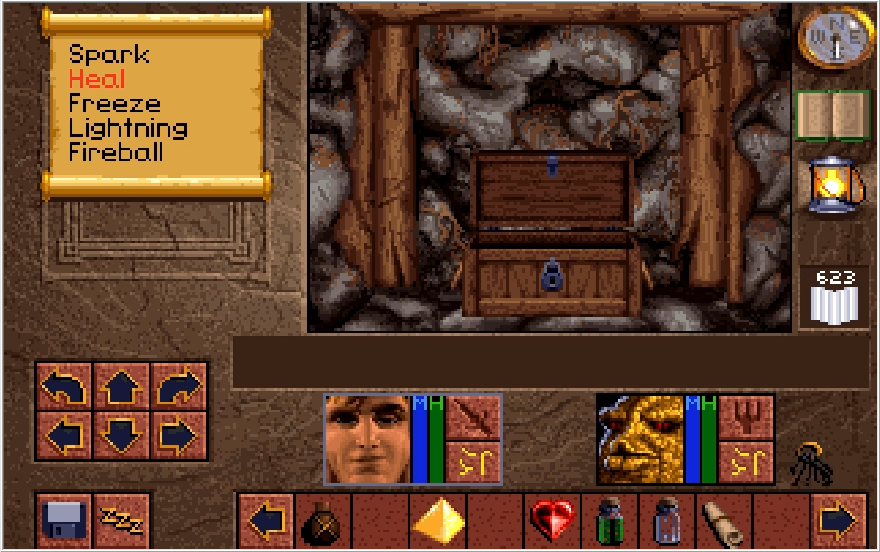
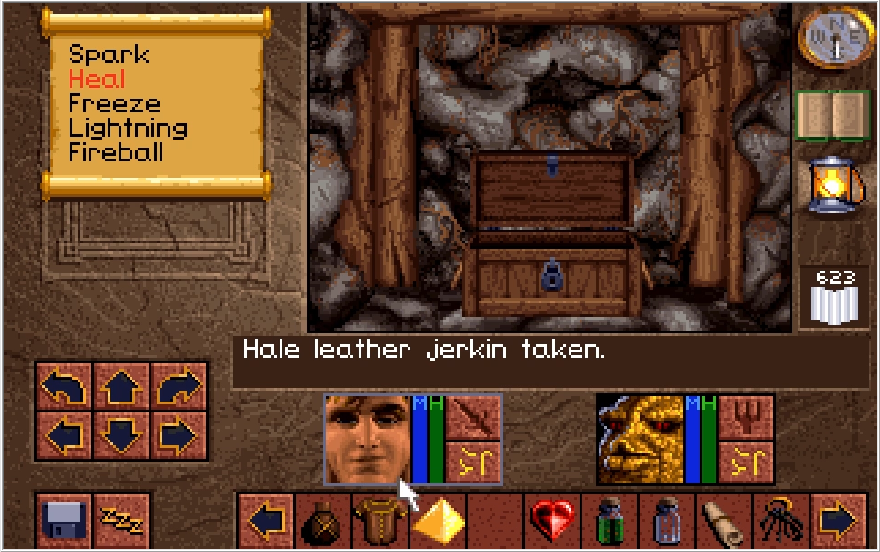
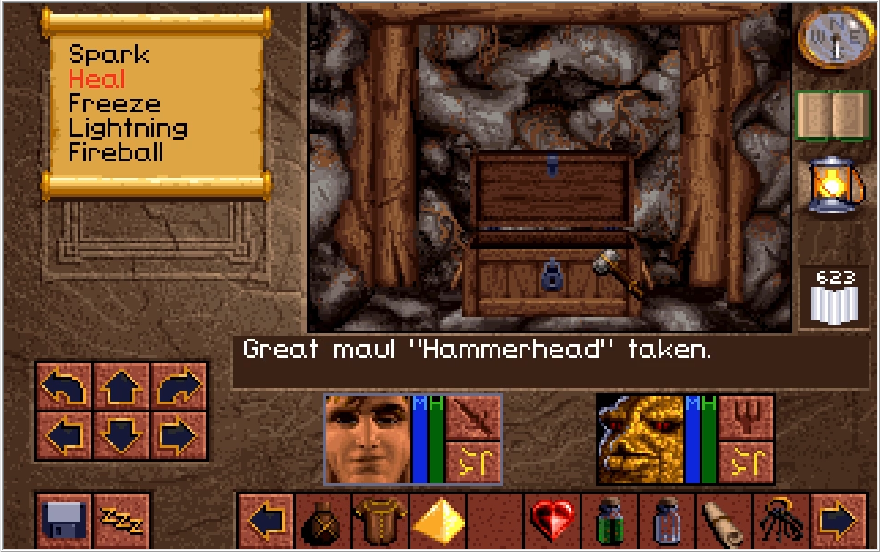
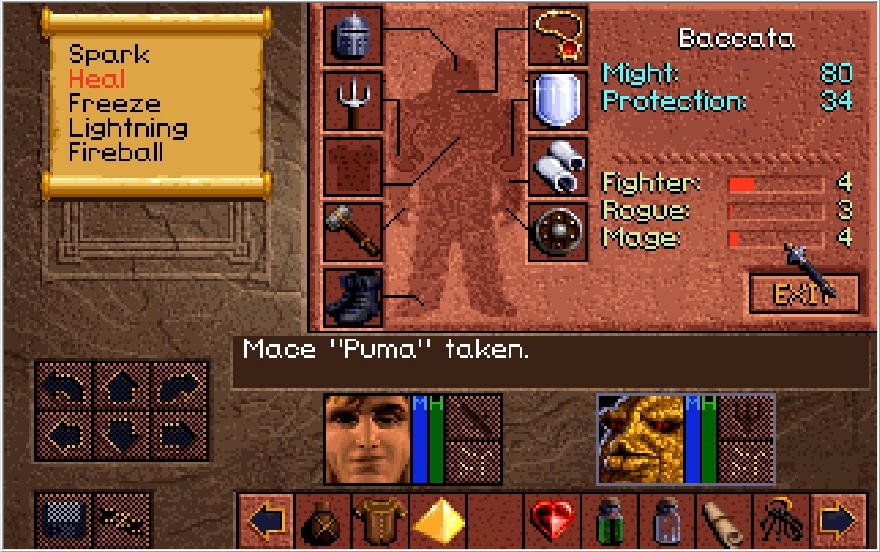
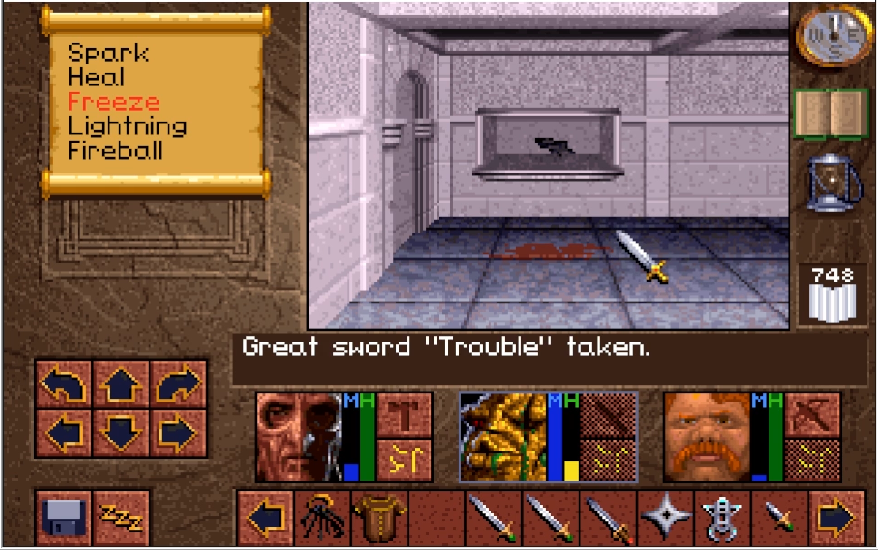
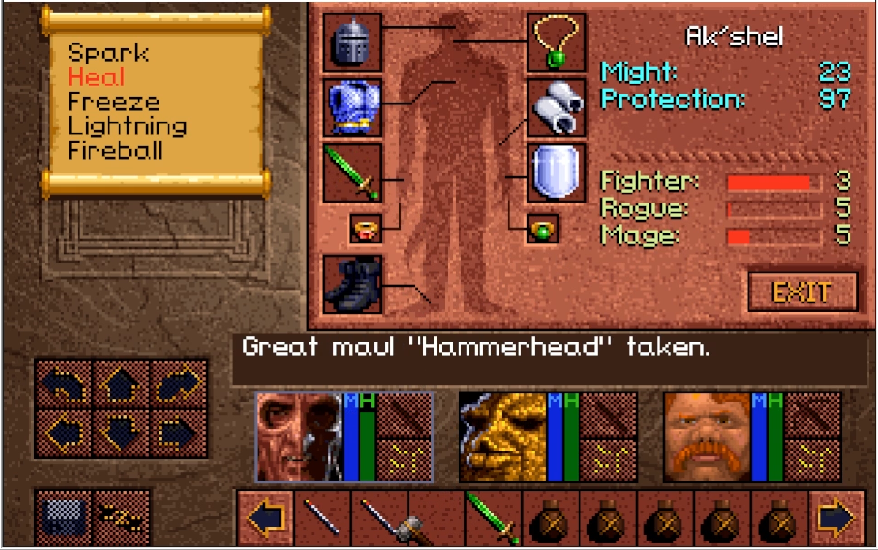
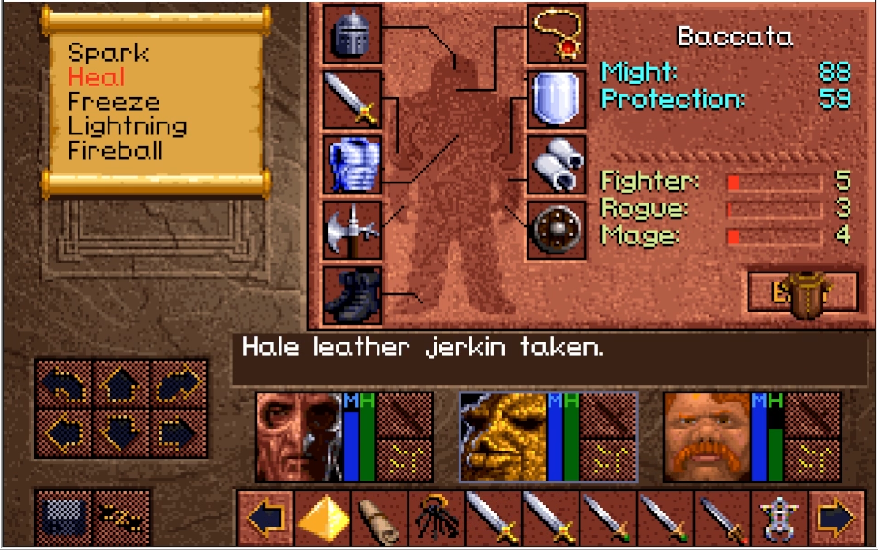
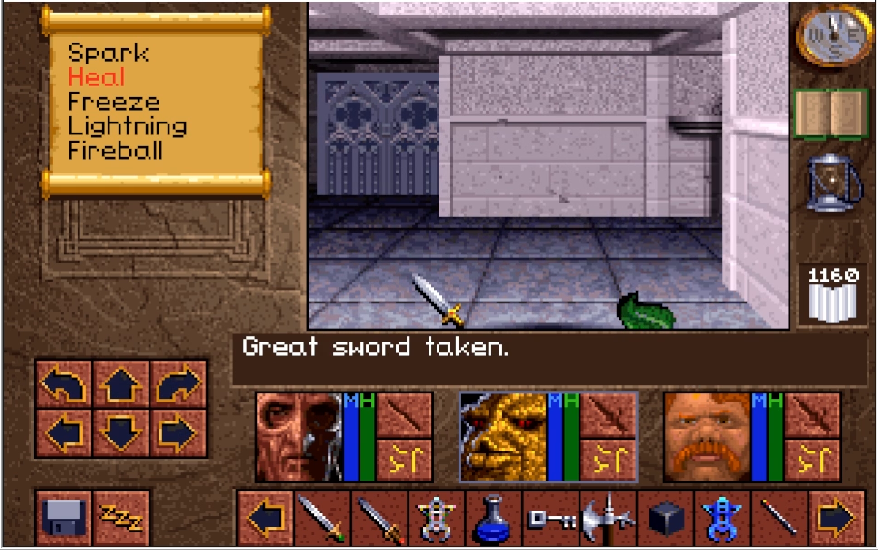
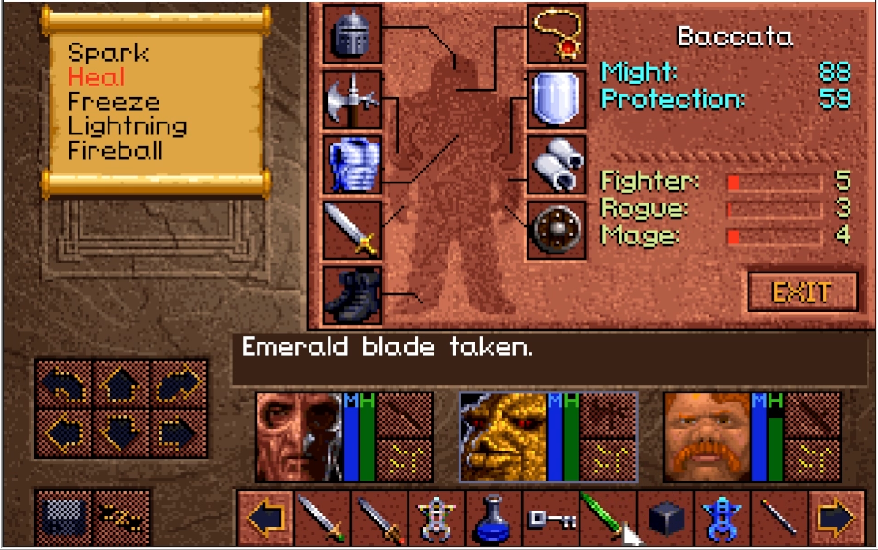
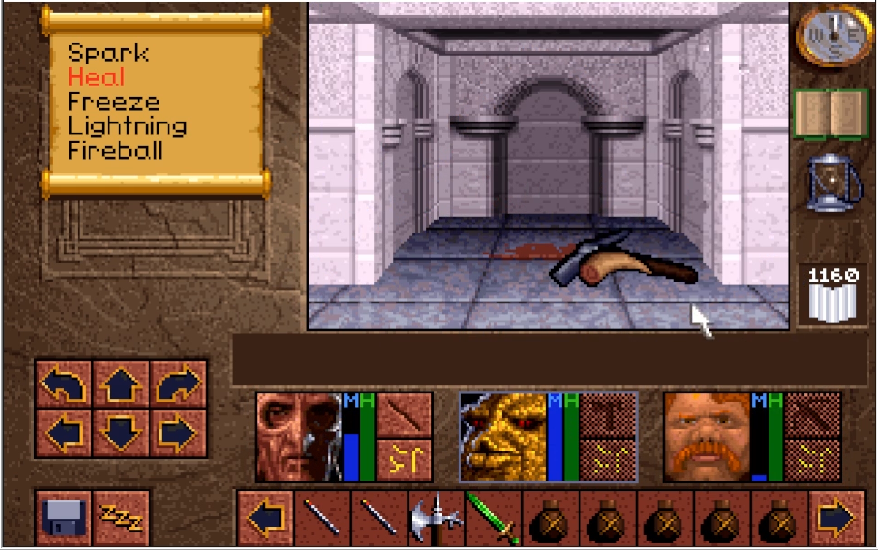
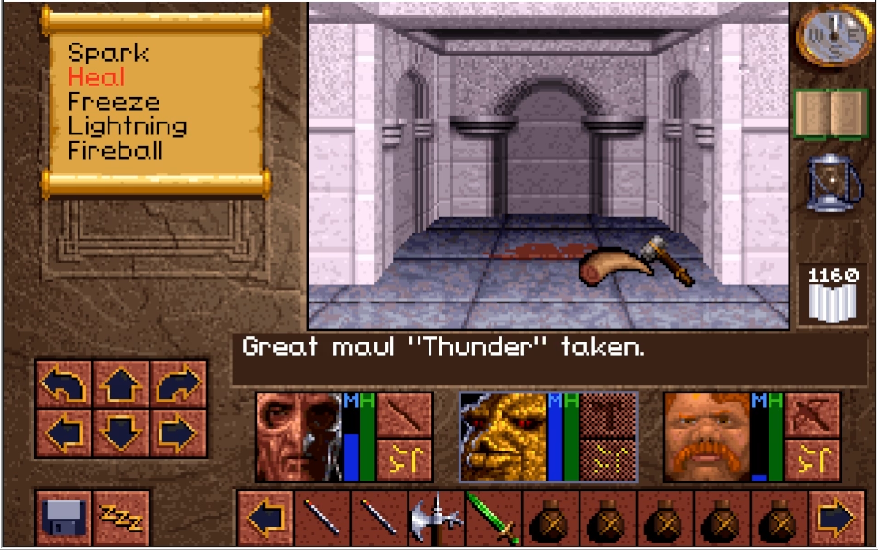
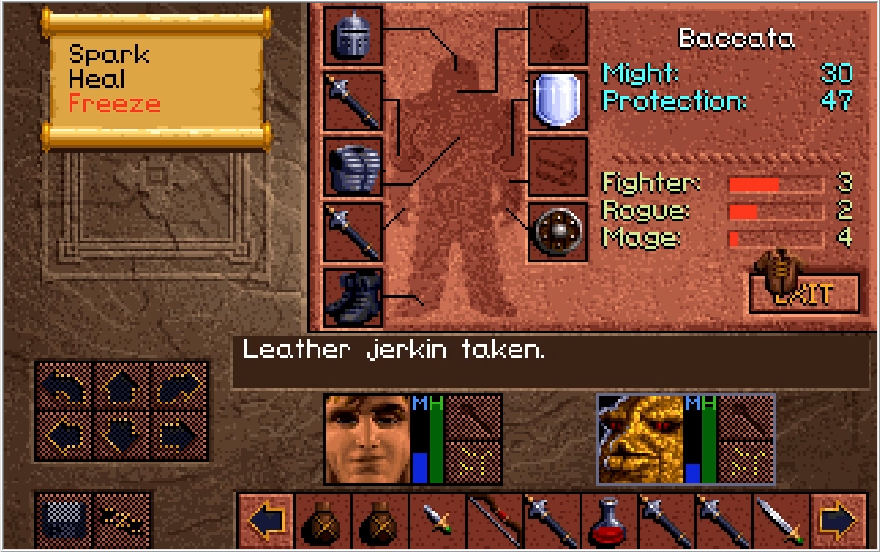
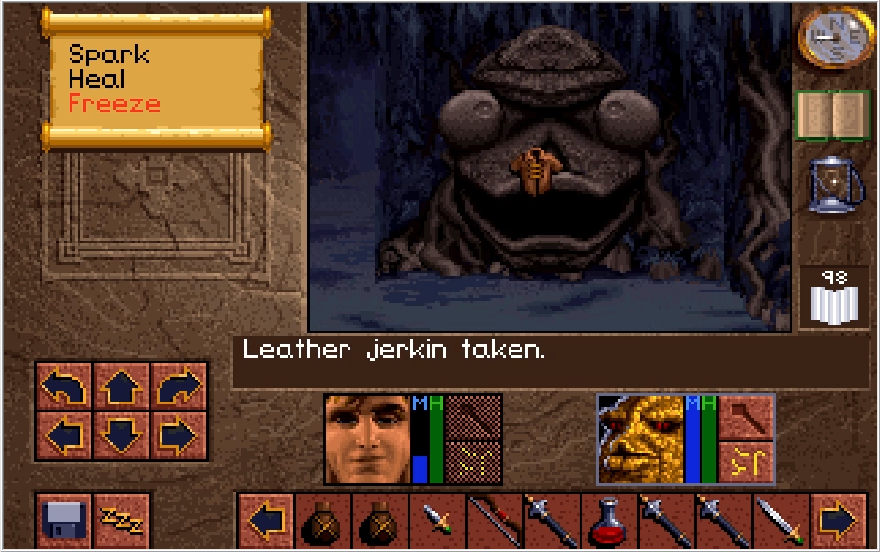
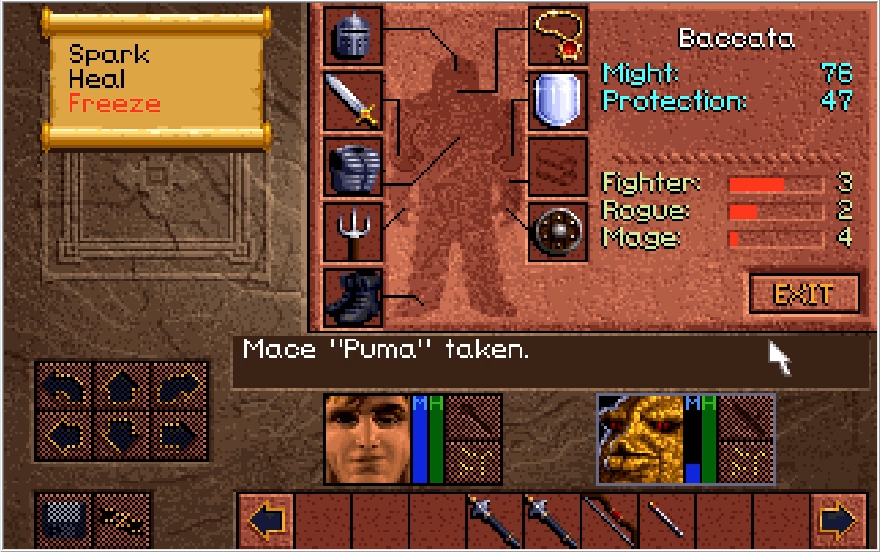
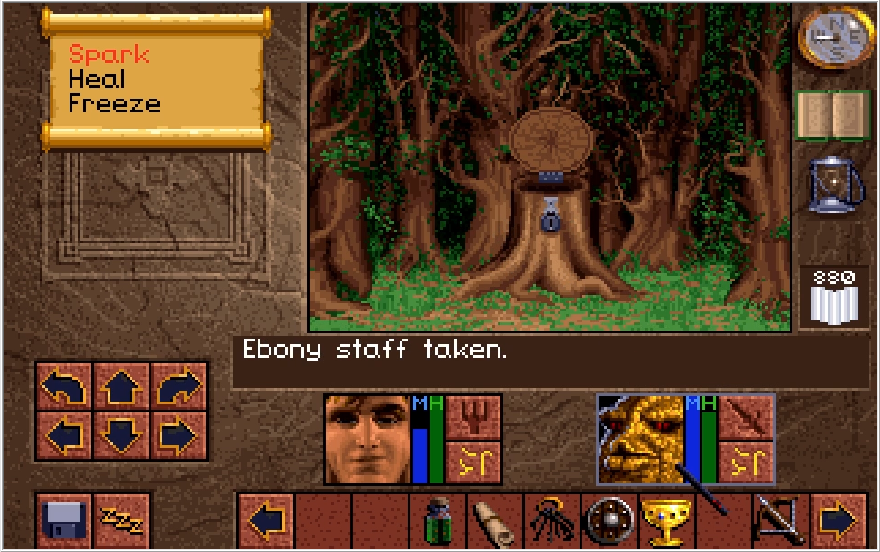
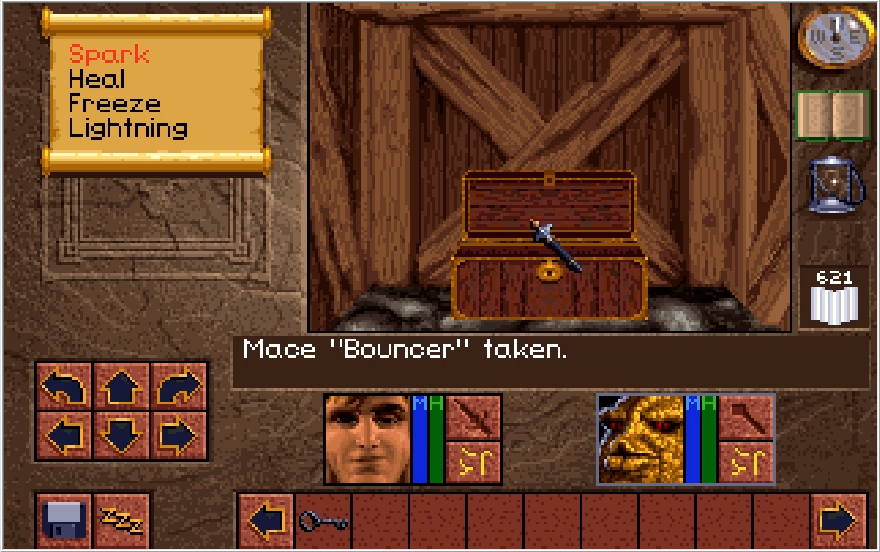
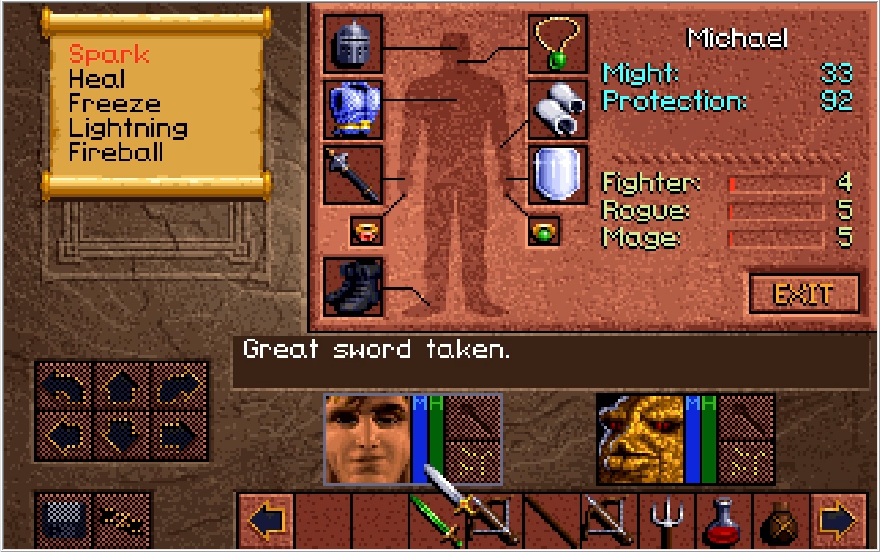
More importantly than that though, across from the graffiti is a chest with a useless Hale Leather Jerkin (just a slightly better leather jerkin) and the Great Maul Hammerhead! As you can see, it's a mighty weapon and a serious upgrade over a crappy Mace Puma. Well worth your time to pick up.
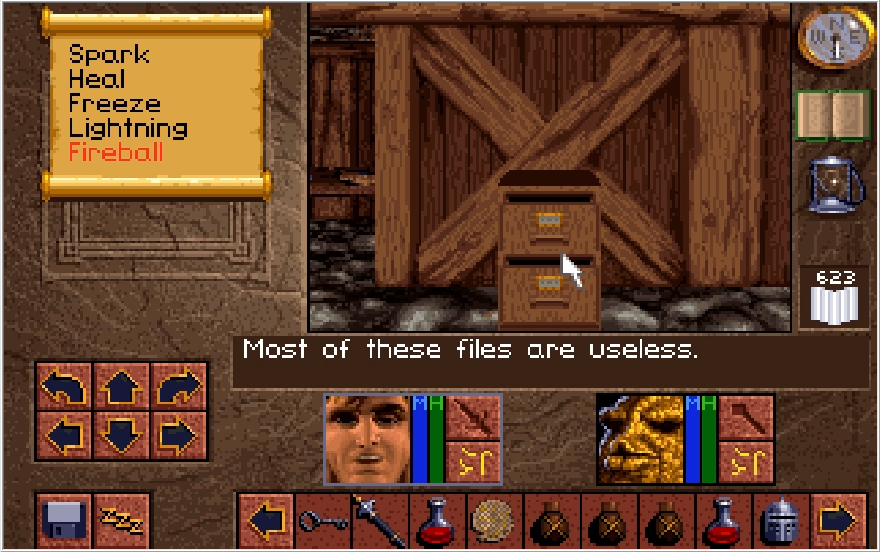
Incidentally, one of the rare items you can get from the cabinets on the office level is a nameless Great Maul. I have only ever gotten that once, on my first refresher playthrough as Ak'shel. How it gets crammed into a file cabinet or desk drawer is anyone's guess.
Returning to the secret wall in the east, we're actually faced with two choices on how to proceed. Our first option is to take a roundabout but safe way back to Level 4 by going through this secret wall. The other option is to use the Mine Key 2 we got to open up that door we passed by and take a direct but more dangerous route to Level 4. In my opinion, you should just ignore the Mine Key 2 door and go through the East Wall since it only takes you slightly out of your way, but we'll cover both for this LP. Cause I like ya a lot. Now don't take that too serious!
Heading through the east wall, we find a lock right next to where we enter. Strangely, the wall seals itself once we step through it, trapping us here! Even more strangely, we can pop the lock with the Mine Key 2 we have. Which is pretty pointless on its own since we can't open the other lock at the Level 1 stairs if we use the key here.
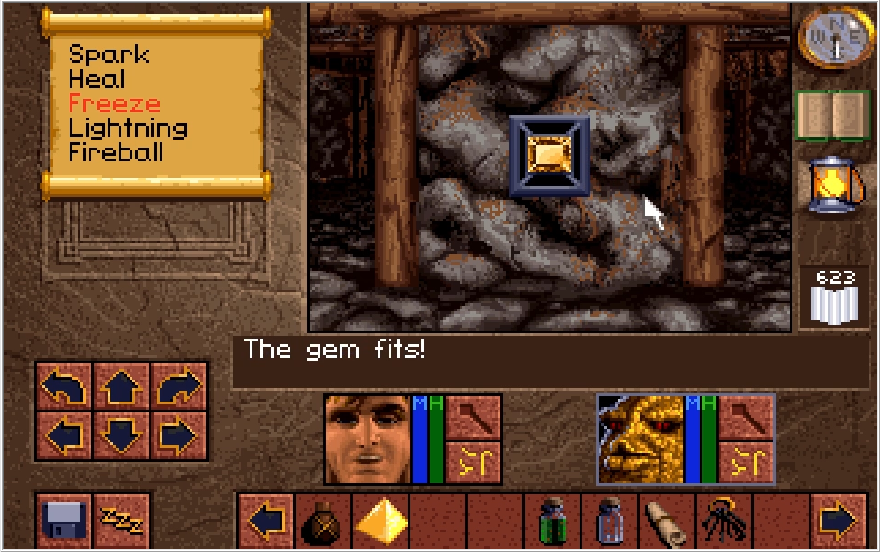
Wrapping around the hall we've found ourselves in, we can find two paths that are both blocked by pits. Now we can just jump into either pit to move on, but let's go over the intended puzzle here. The middle path has a valve next to it, and turning this one seals the middle pit.

Stepping into the middle path, we find an alcove with another Mine Key 2 in it, but taking it causes the pit to reopen! Putting the key back won't get rid of the pit. You'll never guess what you're supposed to do here because it is unbelievably stupid.
For whatever reason, throwing the Mine Key 2 to other side of the pit seals both the middle path pit and the pit in the path at the end of this hall. How the hell you're supposed to figure this out is beyond me, and indeed most comments I've seen about this seem to think this is an impossible puzzle.
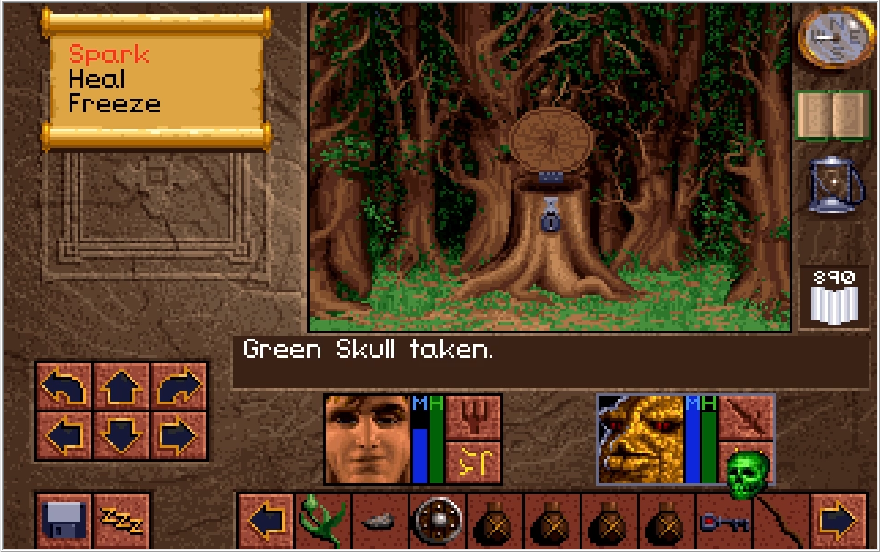
We can use the Mine Key 2 to escape from here, but going to the path at the end of the hall will allow us to obtain Mine Key 3. As far as I'm aware, this key does literally nothing. Since most people have never solved the puzzle to get this key, it's also commonly believed you can only obtain it by no-clipping to it.
Aside from the useless key, this path also has a valve in it. Turning it reopens the pit that you just closed, and trying to turn it back will reveal that the valve is stuck and you have no choice but to throw yourself into the pit now, rendering this whole section pointless. I kind of respect the troll, honestly.
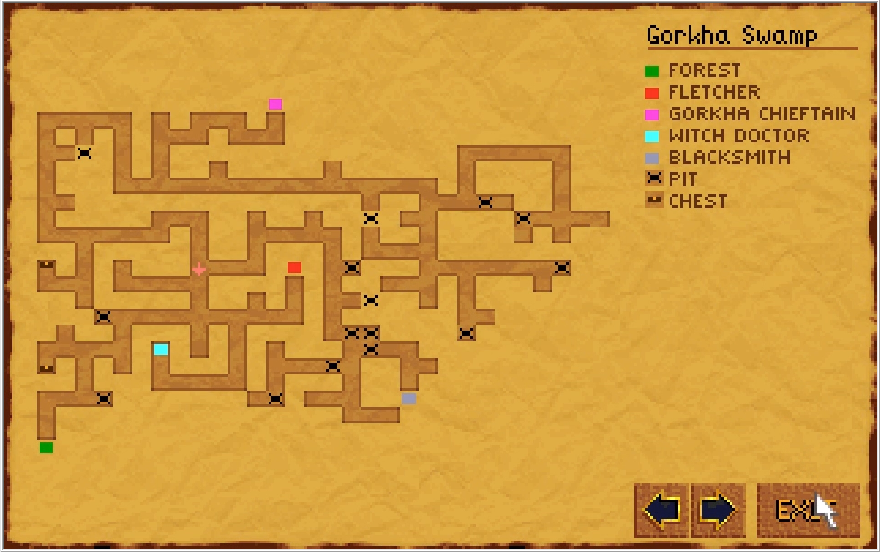
We find ourselves in another sequestered section of Level 2. This room has little in it, just a bug, a switch and a pressure plate. Weighing down the plate and hitting the switch reveals a teleporter.
Stepping through the teleporter drops us back at the entrance stairs of the Office level. At this point, we can work our way back to Level 4 and finish up this dungeon. As said previously, you can just skip the asinine puzzle for Mine Key 2 and immediately dive into a pit to reach this point. This is not a very interesting route to take though, let's see what the alternative is.
Popping the other Mine Key 2 lock by the Level 1 staircase reveals a lonely room with a single valve in it. Before turning this valve, be absolutely sure to re-armor yourself and get your Fireball wands at the ready.

Turning the valve immediately opens a pit and dumps our sorry asses into yet another sequestered portion of Level 2.
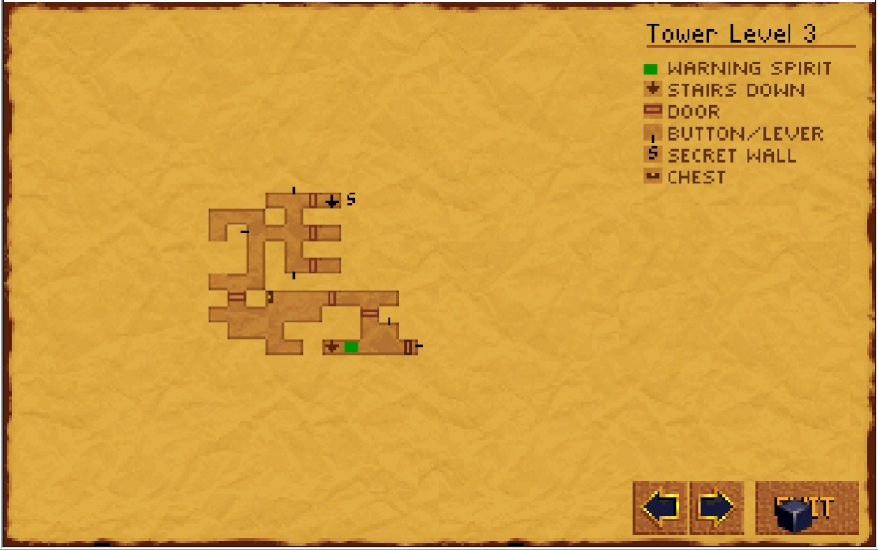
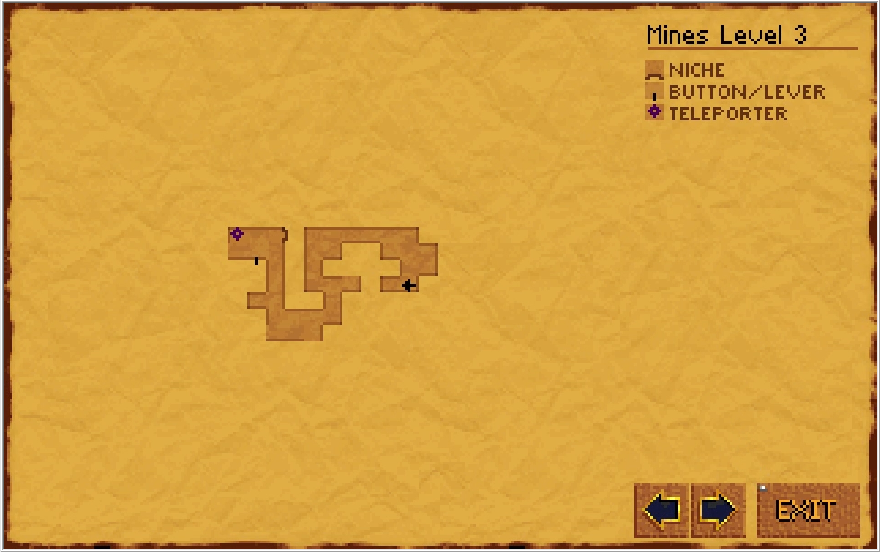
And once again, it's another small hall with some kind of switch to hit in order to open a pit. In this case, we have a pressure plate that gets flanked by pits when weighed down. Just drop something on it to open the pits and take another tumble, this time into Level 3.
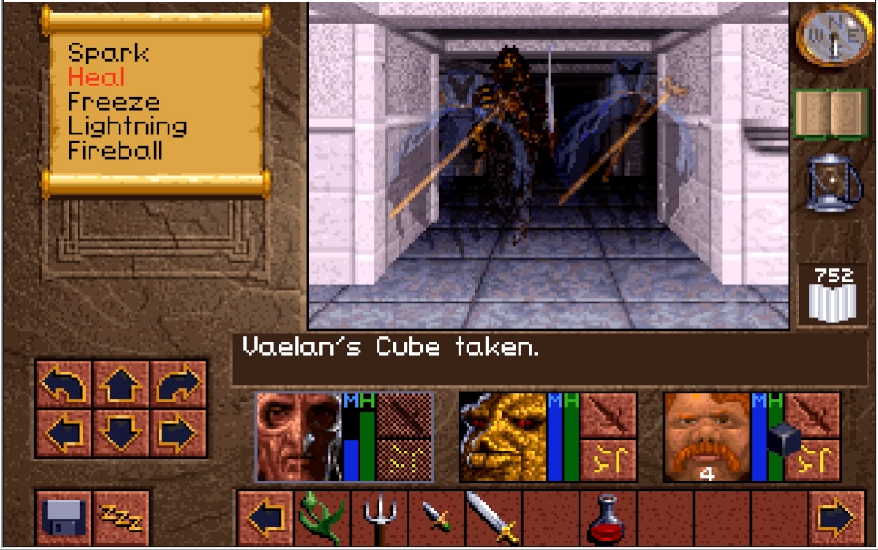
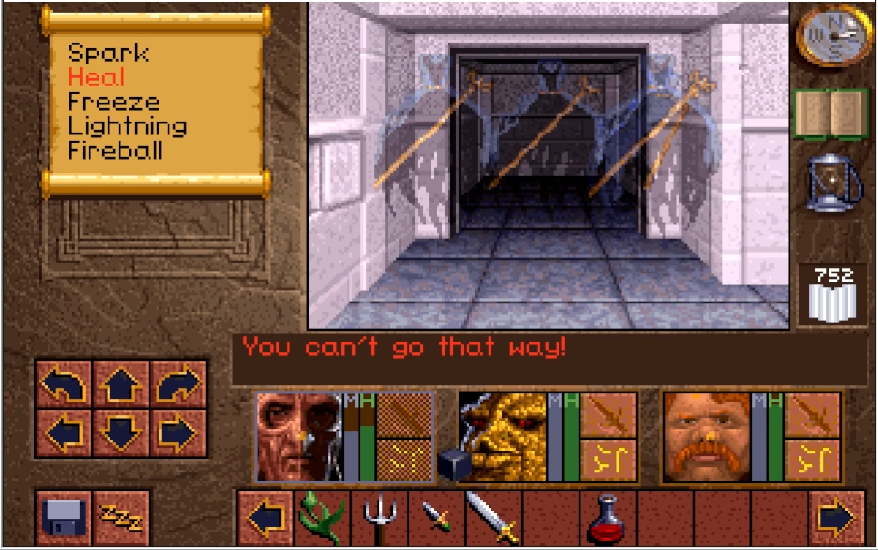
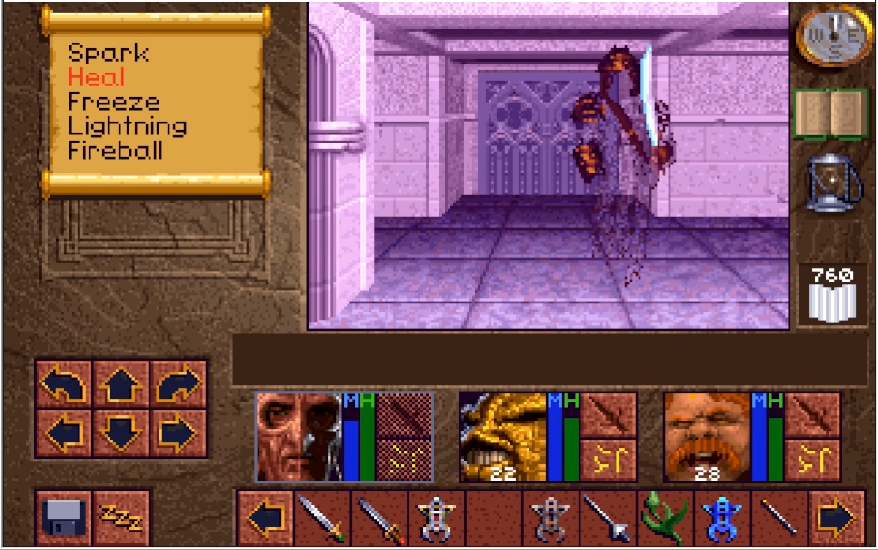
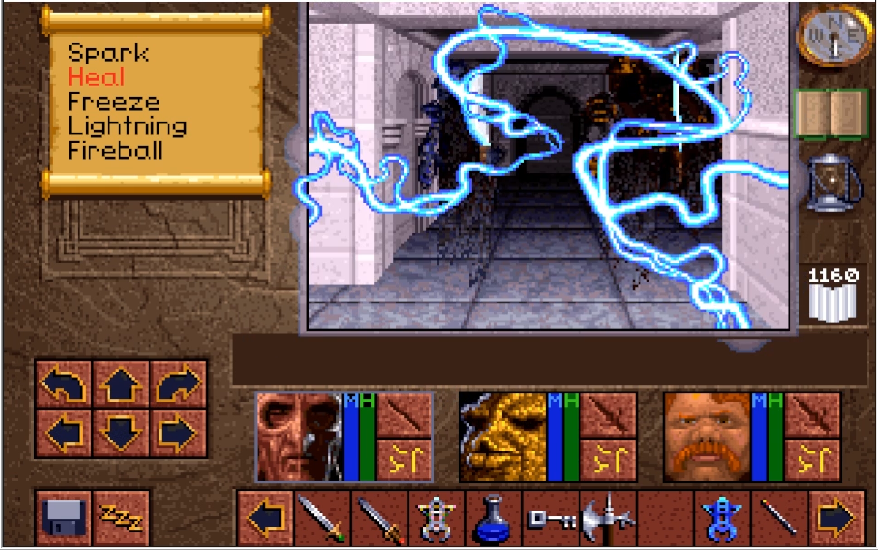
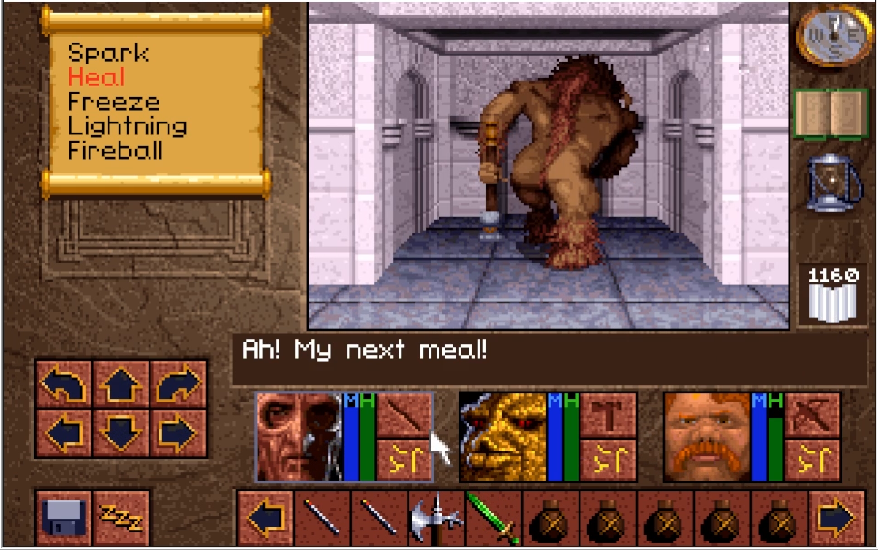
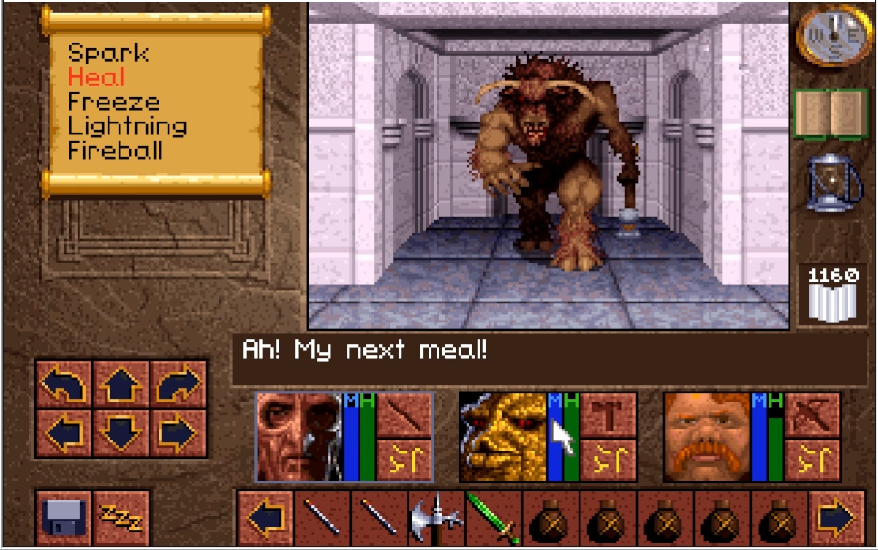
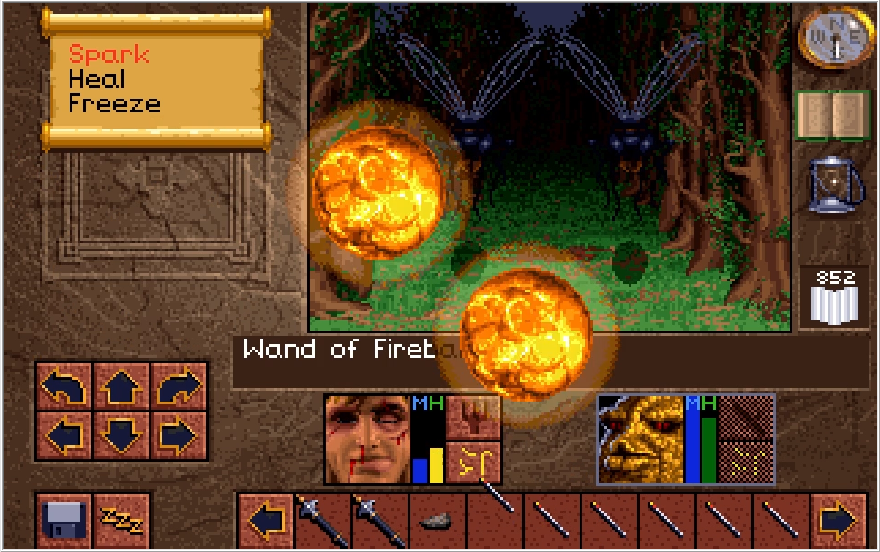
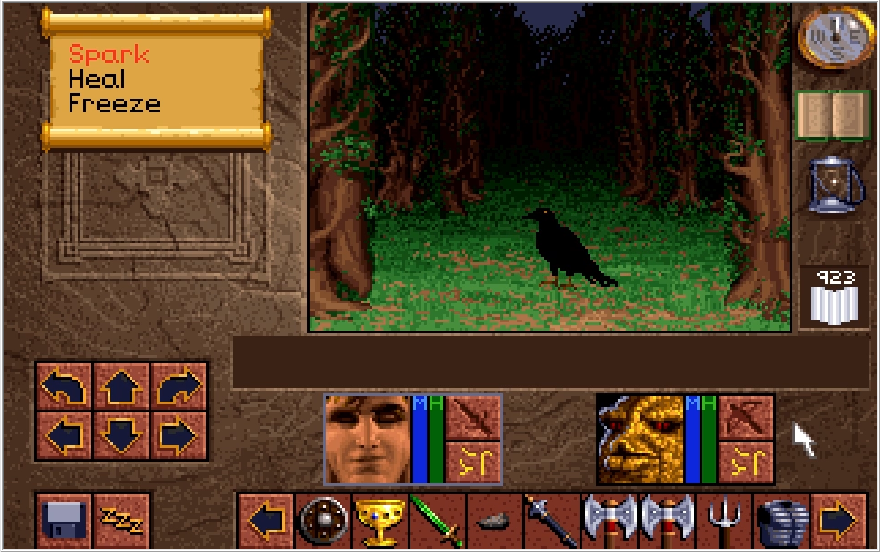
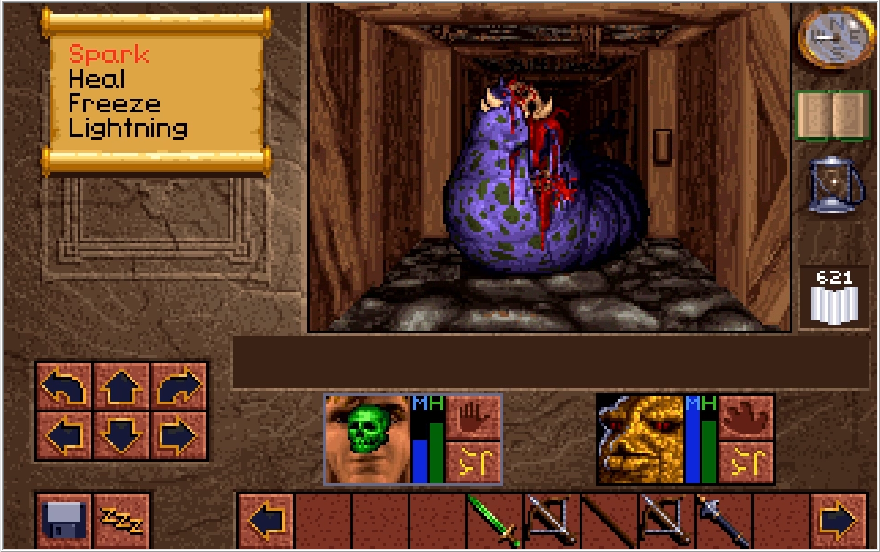
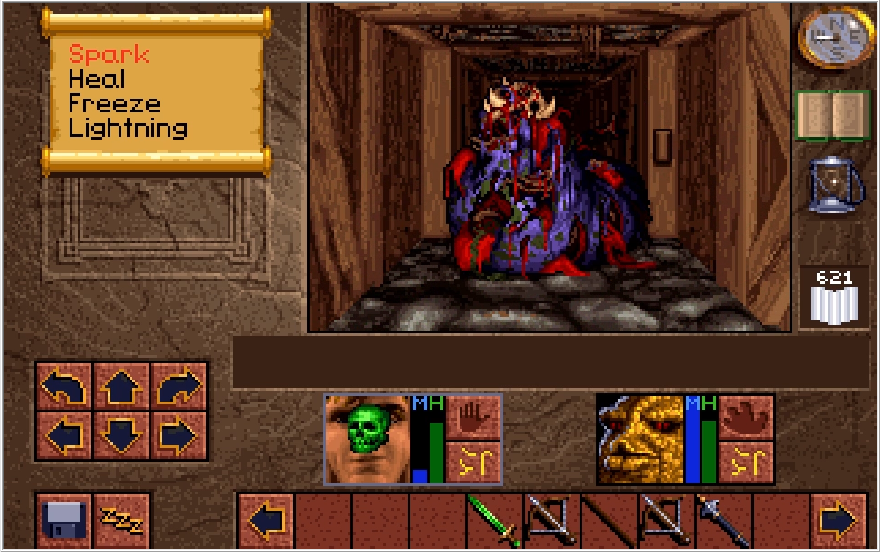
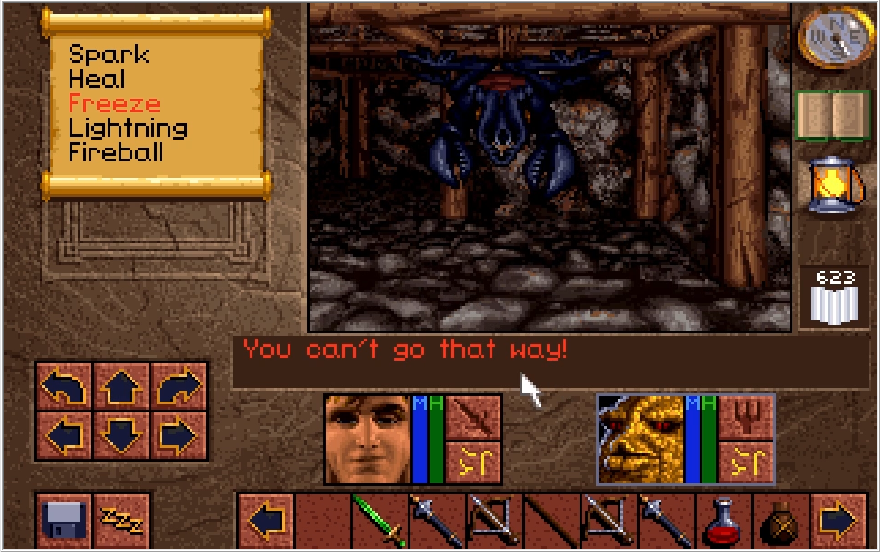
You do not even get a chance to process what's happening before you find yourself getting mauled from almost all sides by Avian worms (These were the distant roars from earlier). These flying enlarged tape worms are serious fuckers, they are incredibly evasive and highly resistant to weapon damage. They do have low HP, but your conventional attacks against them are so weak it hardly matters. Their numbers are also tremendous, and there is only one other situation in this game where you will find yourself getting aggressed on by more enemies than this at once. They don't hit too hard, but because there are so many of them and they are so hard to kill normally, you will quickly find yourself being devoured if you come into this unprepared. Fortunately, I did come prepared!
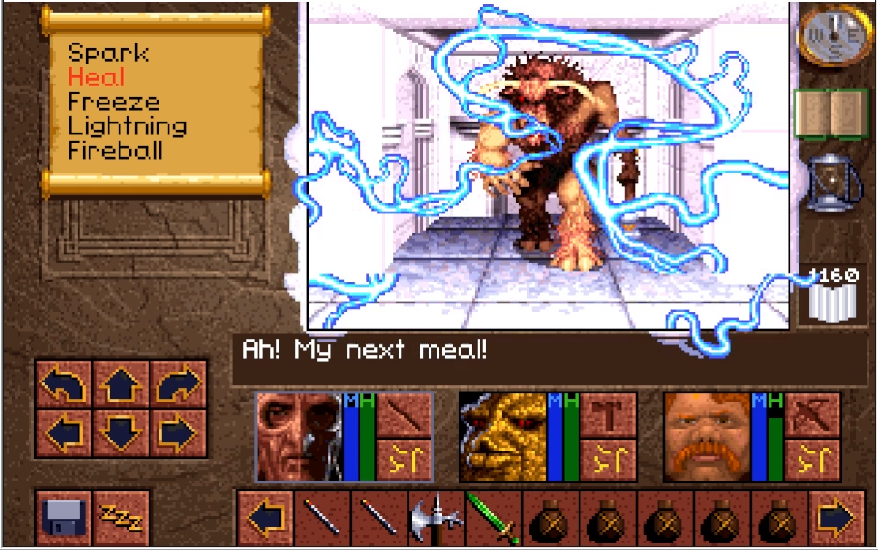
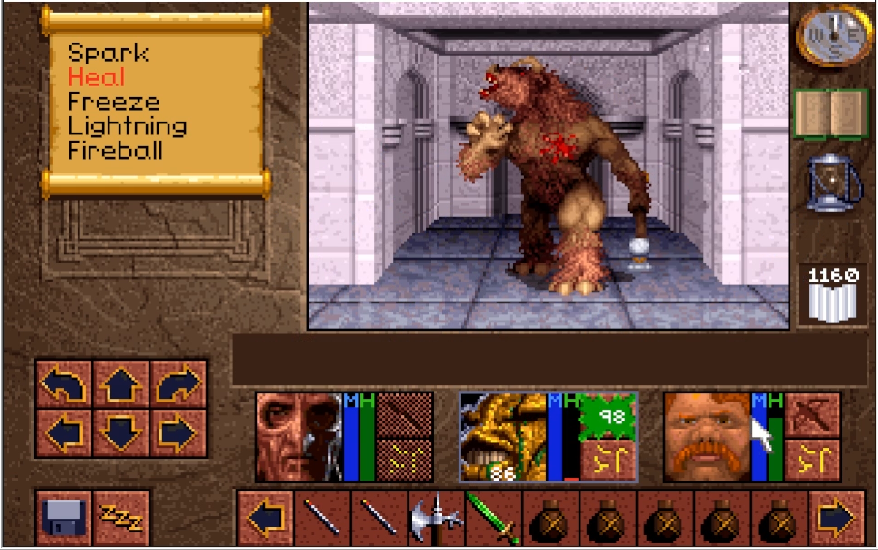
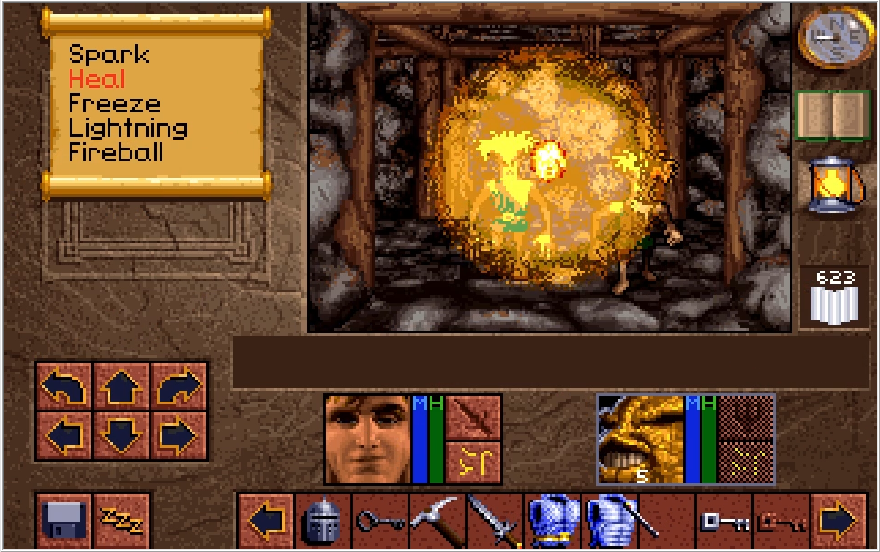
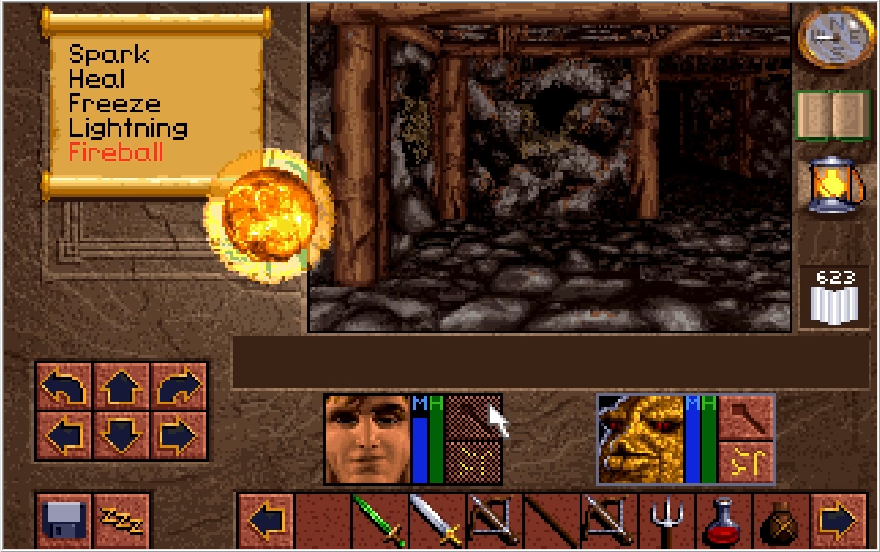
Michael proceeds to unload with with the Fireballs, torching over a dozen worms in the process. That ate up two whole wands and most of a third, but if you don't do that this section is almost unbeatable on anything but Wimpy mode. This is the big reason why you should skip this path, especially if you don't have Fireball wands.
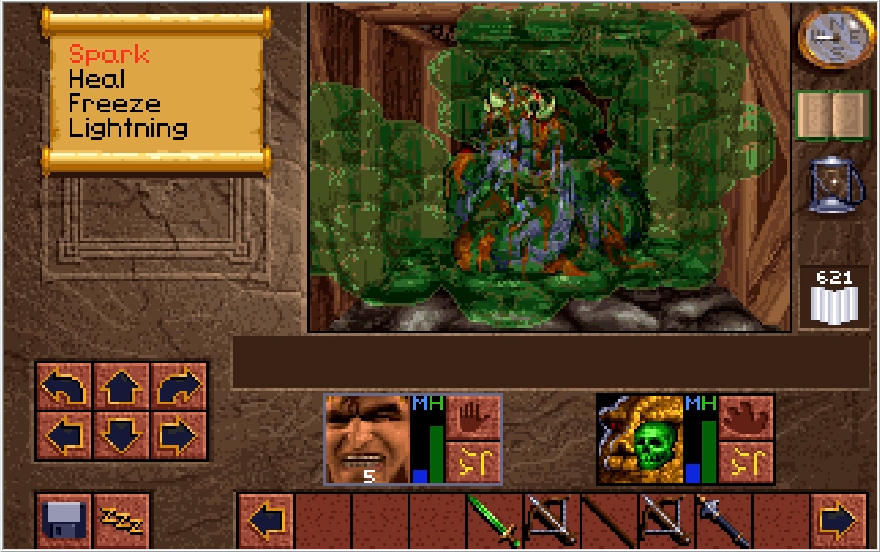
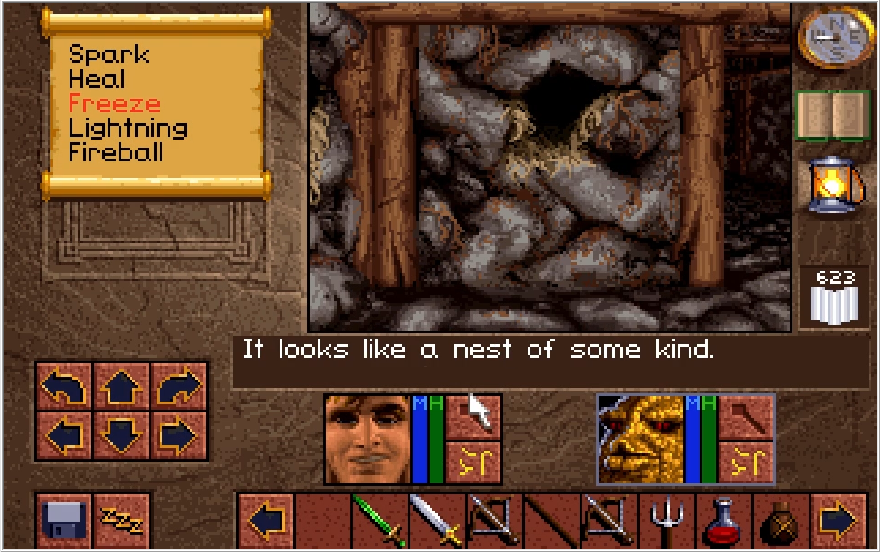
We aren't out of the woods yet though, remember that nest from Update 12? Well this section of Level 3 has them too, and they will endlessly spit out Avian Worms unless you torch them. Blast this one, and we get a moment to catch our breath finally.

There's only the one nest in this section of Level 3, and thankfully it's sealed off from the rest of Level 3 until we hit this switch. Taking the time to rest, we can now hit the switch and move onto the next part of the Avian Worm den.
As a nice little wake up call, a projectile trap awaits us in the newly opened hall. Thankfully it doesn't hurt us too much.
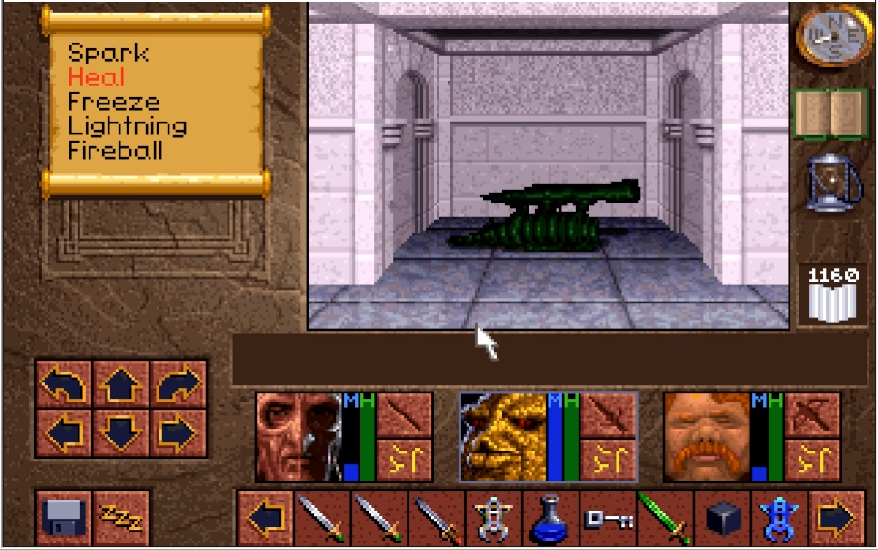
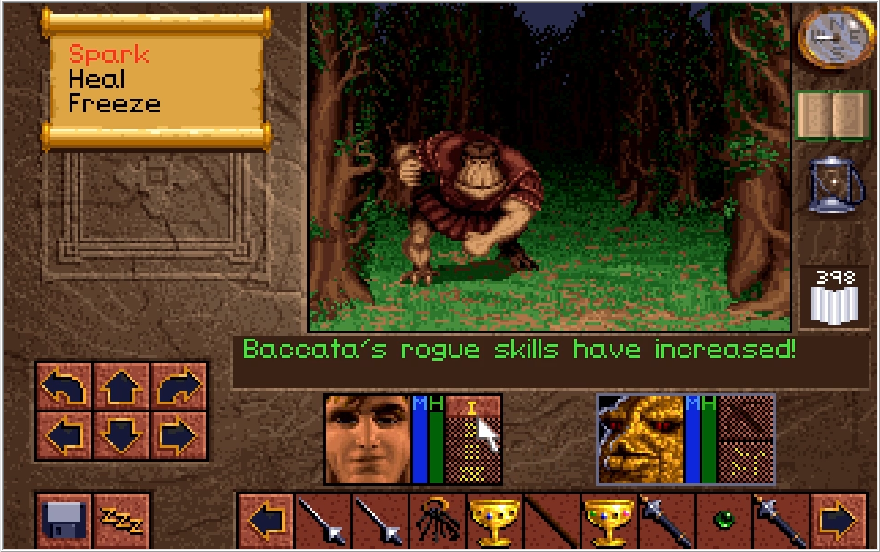
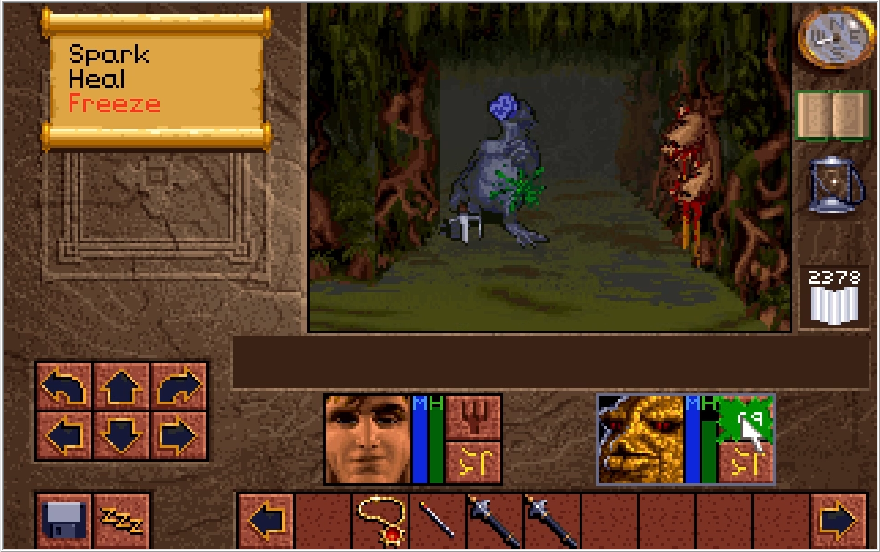
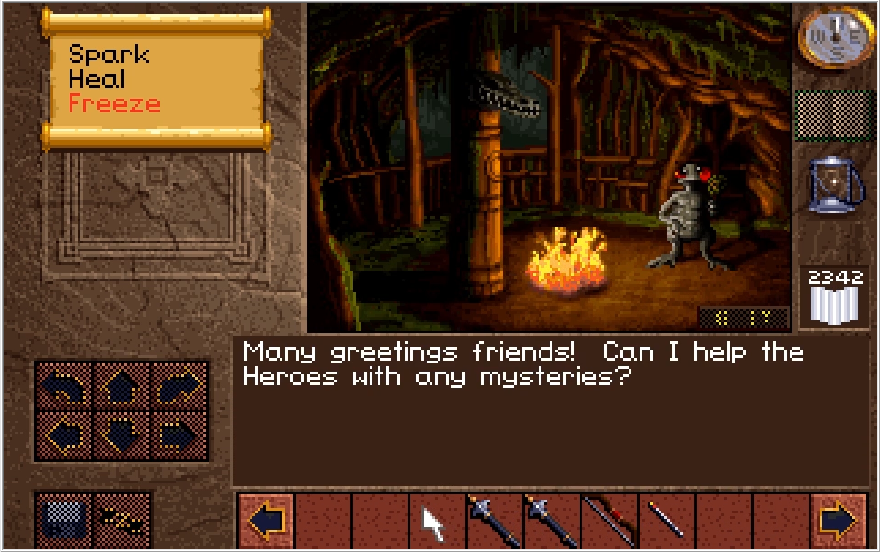
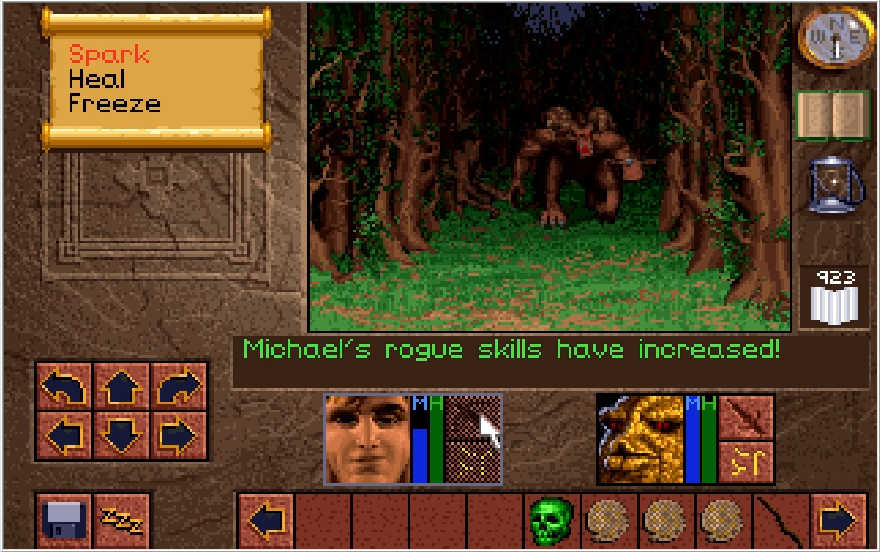
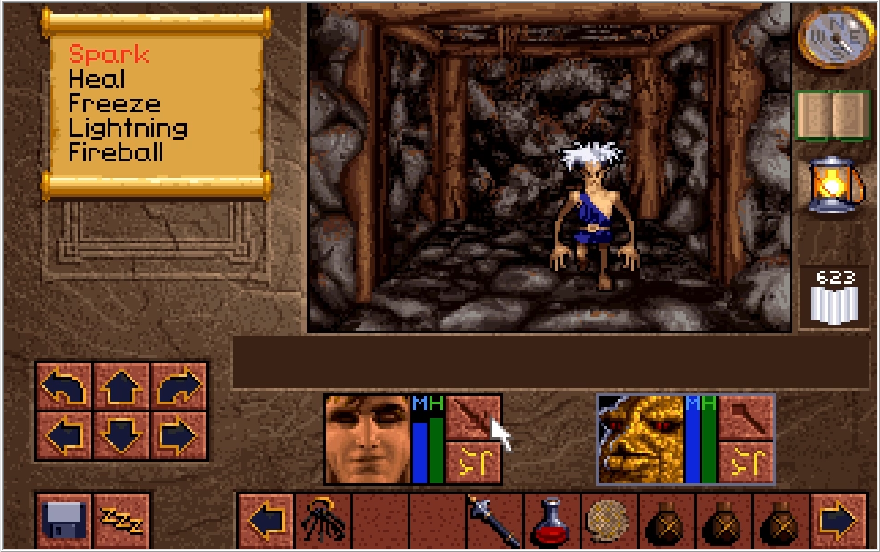
Moving forward a little bit, it seems a living rock has gotten lost in this section. Baccata makes quick work of him with his brand new Great Maul.
There's a fork in the path in the Northwest. Continuing west leads to an extra Pick. The reason for that is because of a weakened wall on the east path. If you came into this area without the Pick from before, you would be trapped at this point. They were surprisingly conscientious of all the ways the player might get softlocked in this dungeon, which makes the goof with the Sapphire Eye path in the Draracle's Cave stand out all the more.
Moving on, we blast through what feels like hundreds of worms and blow apart another nest. Hopefully that makes things a little less hectic here!
Working our way around the Avian Worm den, we find a secret switch that opens up a connecting path back to the Level 3 Teleporter room! Not that we care to use that at the moment, we need to make our way back to Level 4. Do note that if you didn't torch all the Avian Worm nests, they will proceed to absolutely flood level 3 of the mines. This really doesn't matter though, we can escape the mines without returning to Level 3.
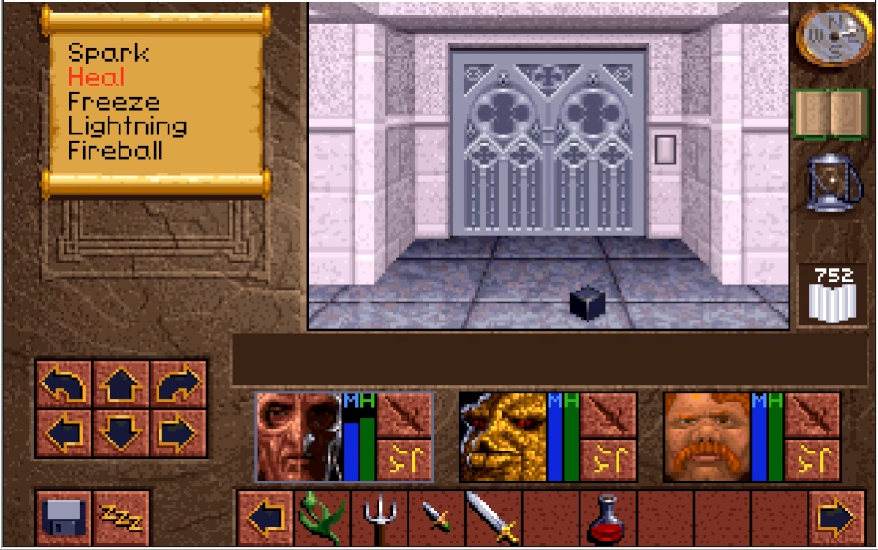
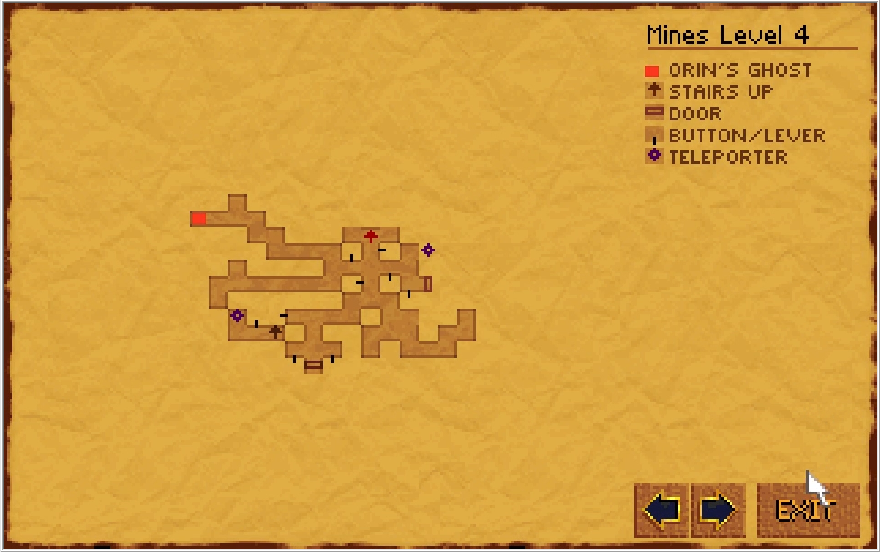
Returning to Level 4 and using our Rusty and Shiney[sic] keys to pop that door we passed up before open, we are rewarded with an endlessly firing projectile trap when we step forward.
In front of the trap is a door and a motion based Woah! tile. We just need to make one left turn when standing on the tile to be put face-to-face with door. Stepping into winding hallway #314, we travel to the end and reach our final destination of the Urbish Mines!

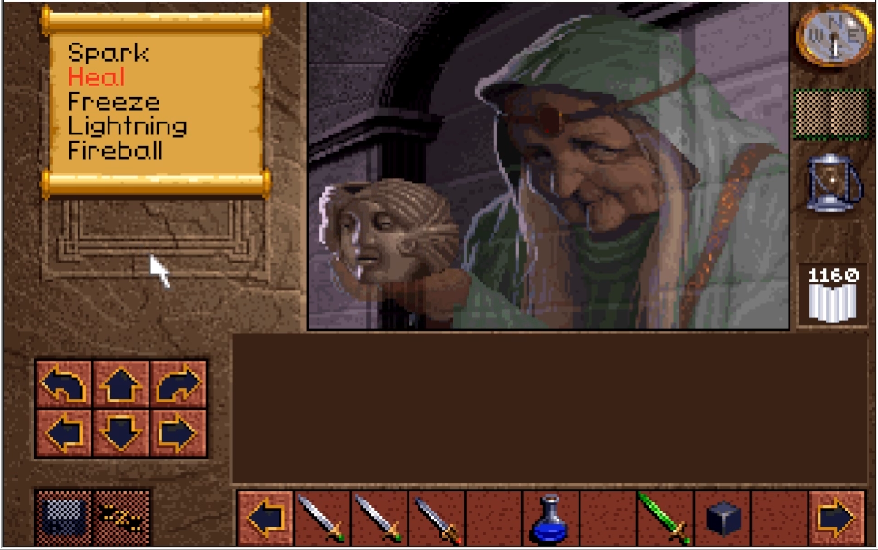
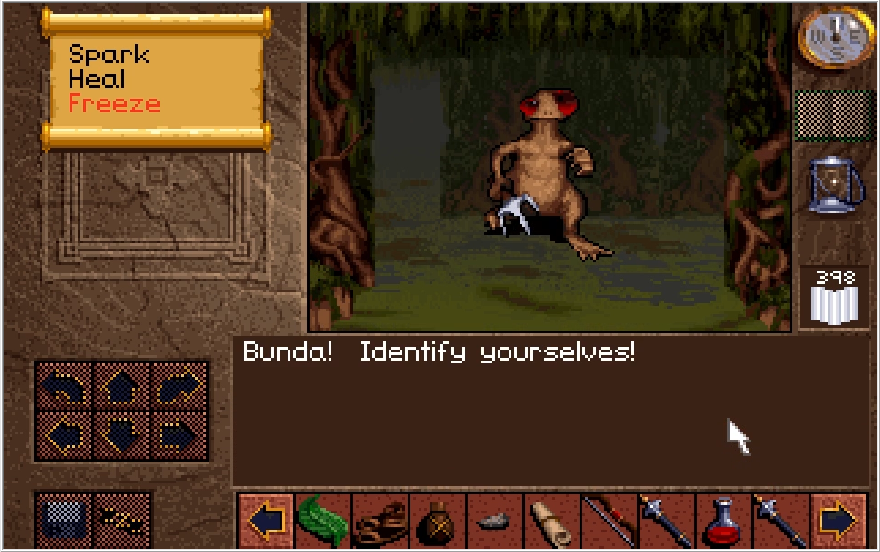
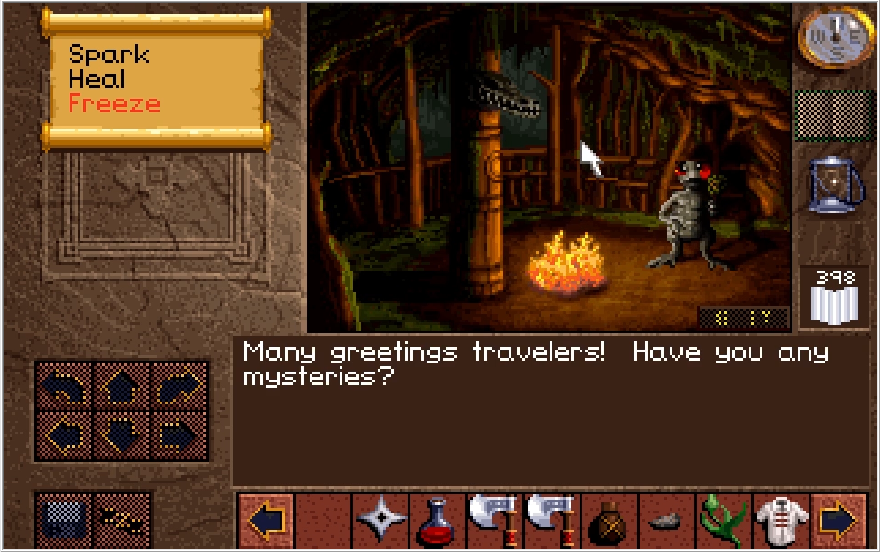
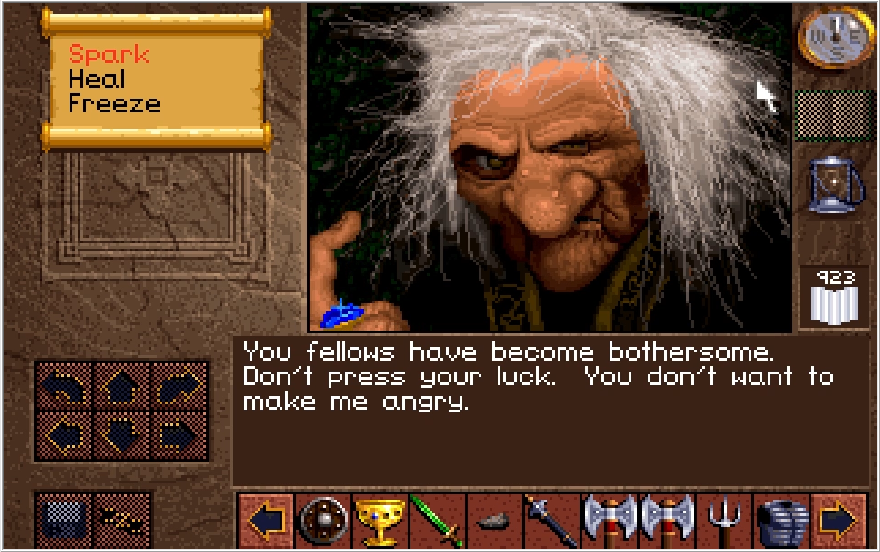
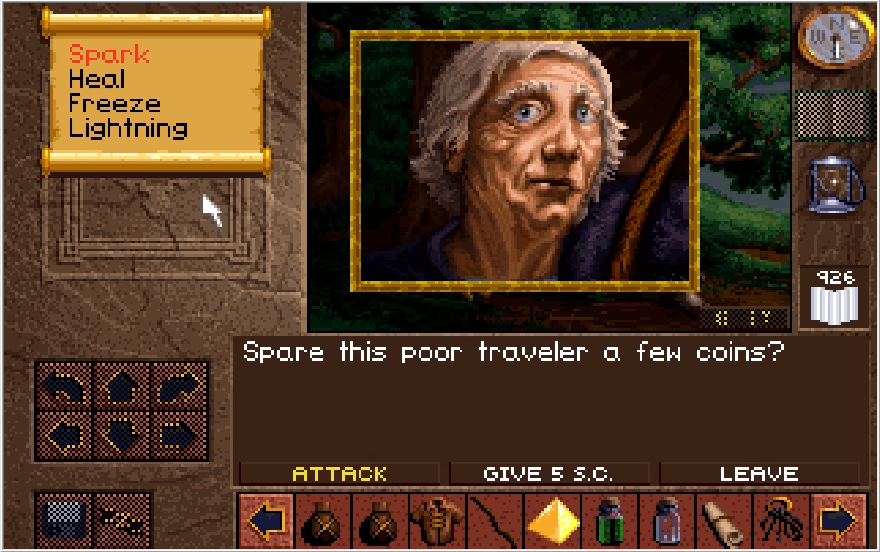
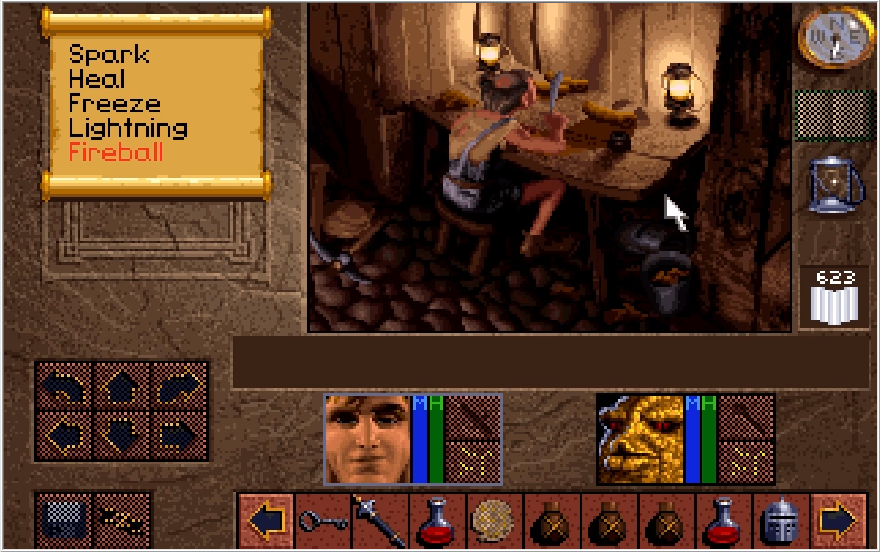
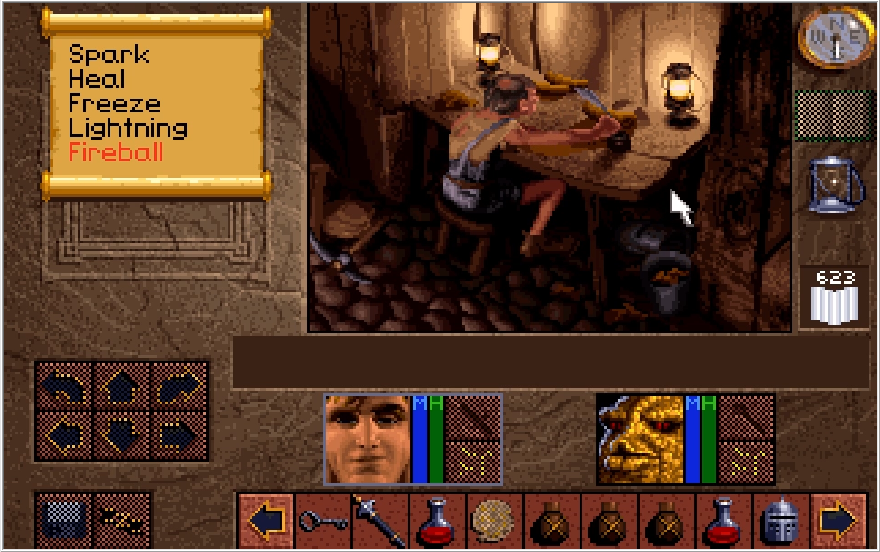
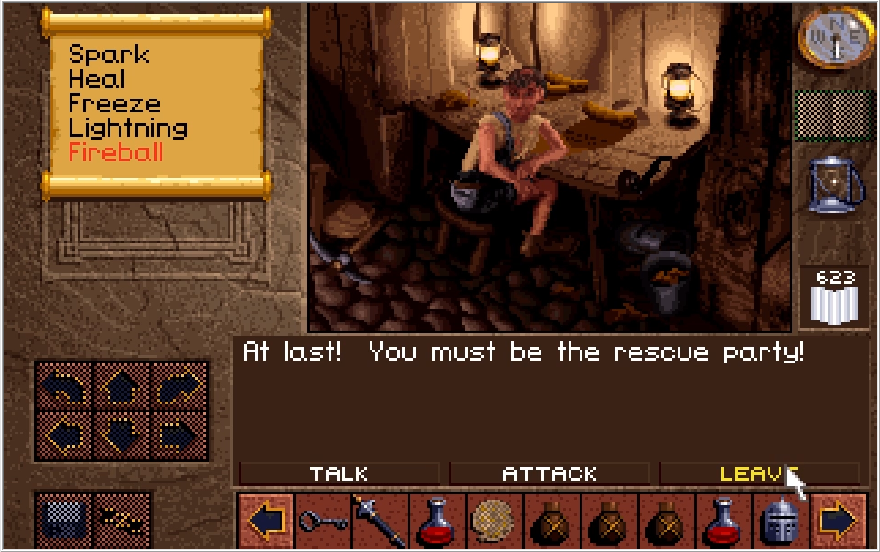
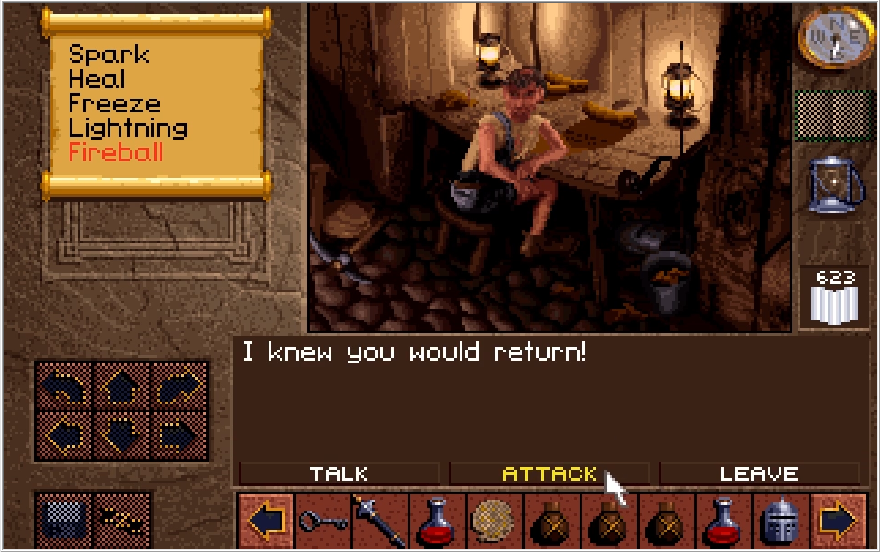
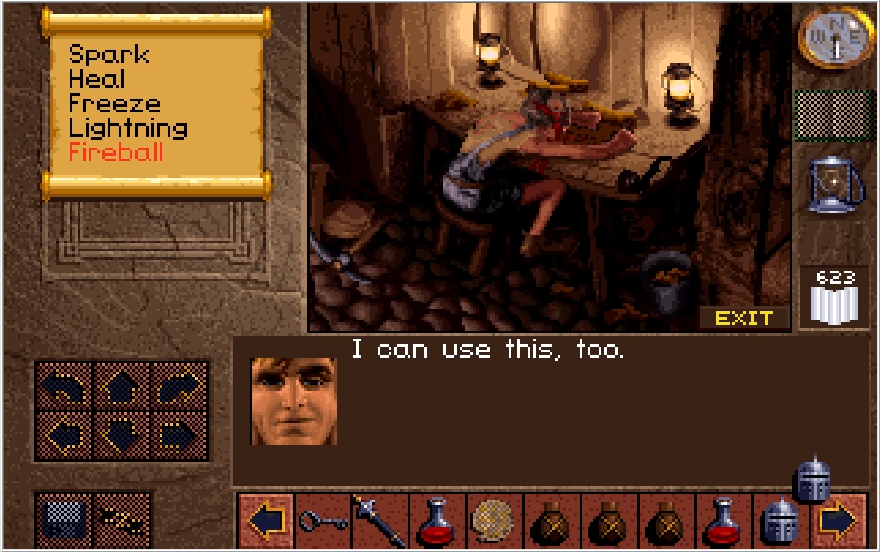
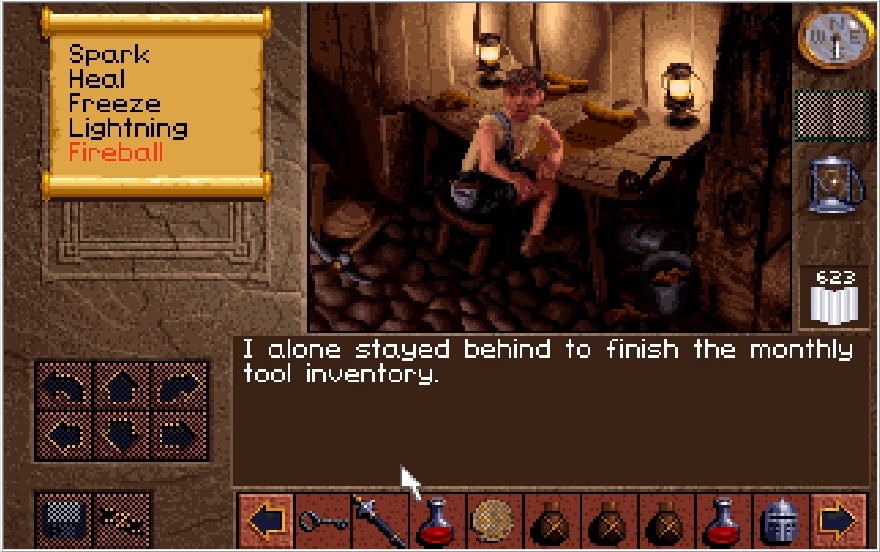
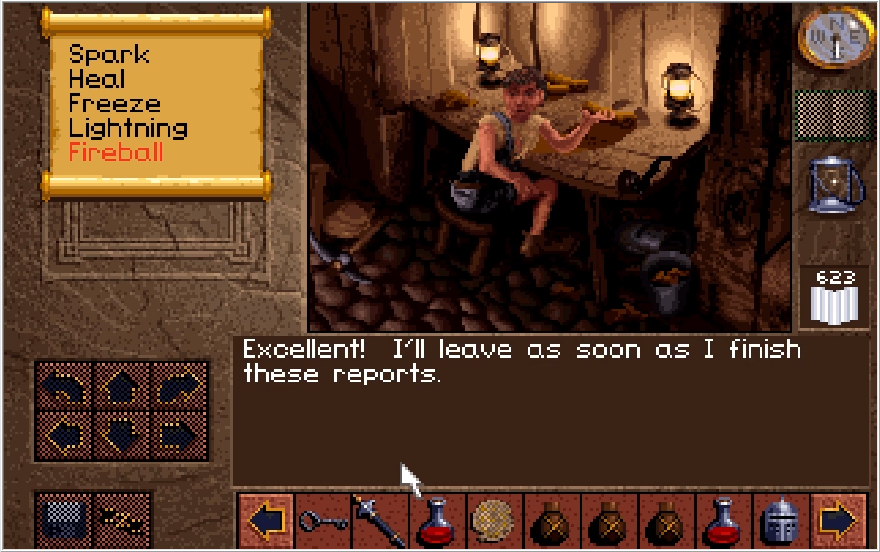
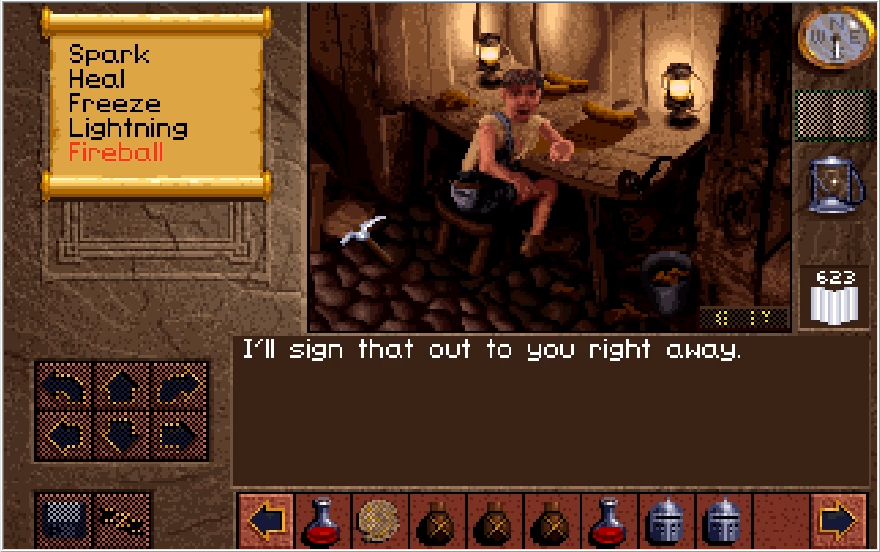
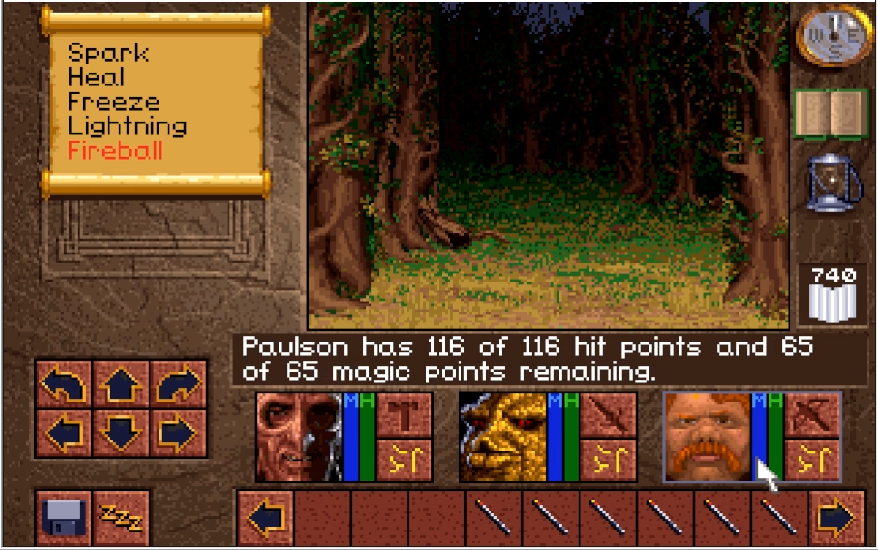
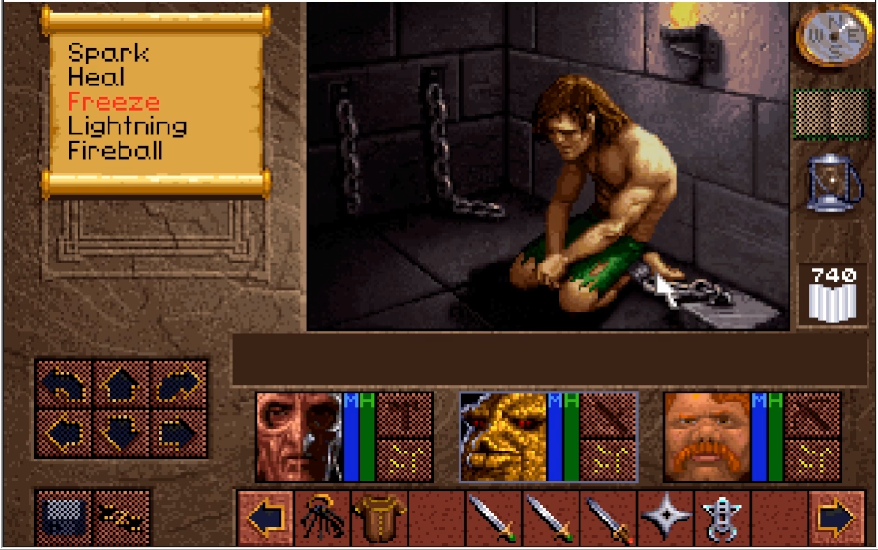
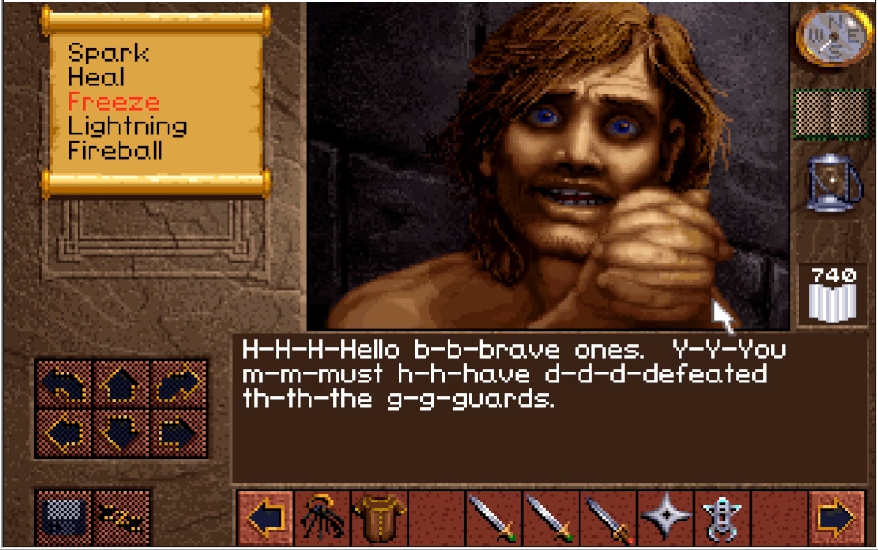
It's Paulson, he's okay! I assume he means Lost as in dead, and not lost as in "lost in these confusing ass mines" which is also an equally valid interpretation.

:
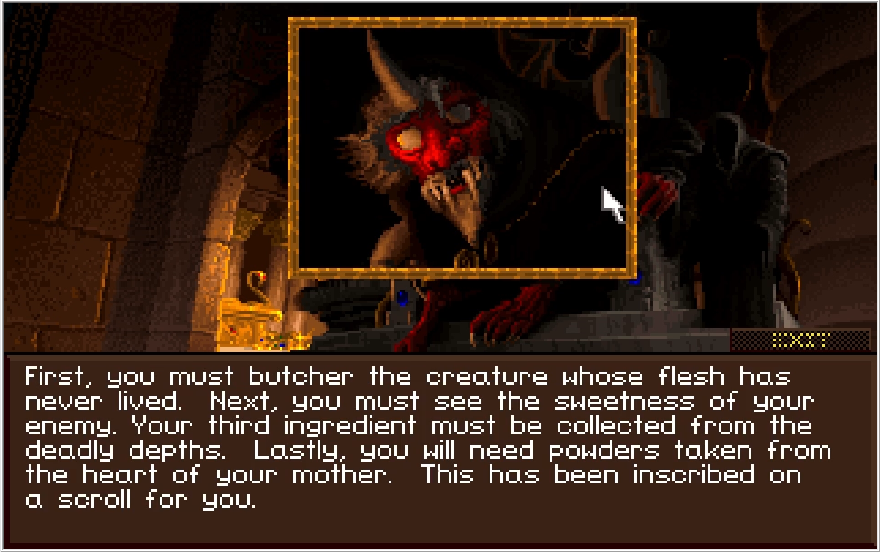
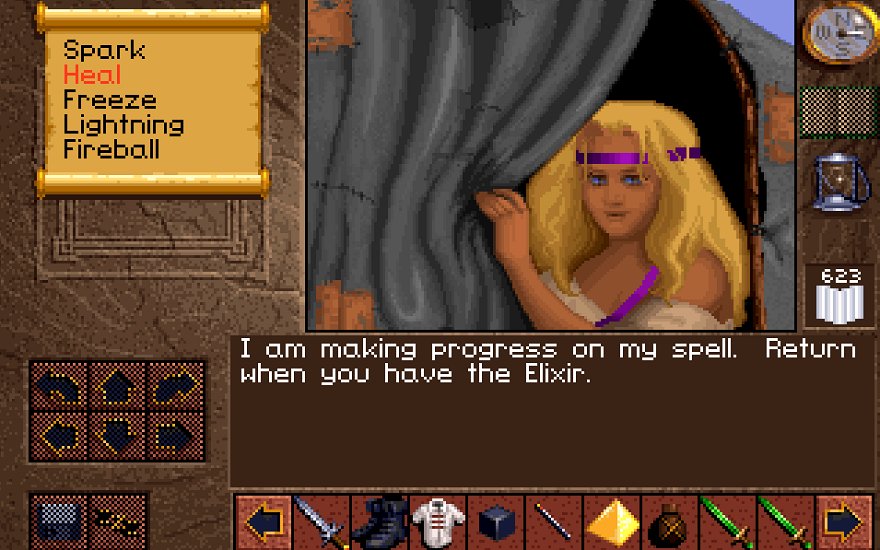
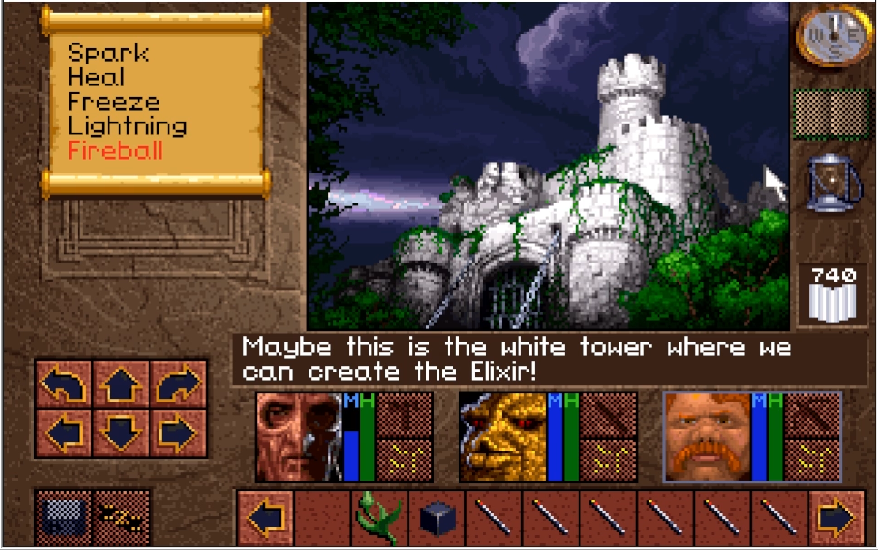
"We have discovered a recipe for the Elixir! We need the keys so that we may apply it to King Richard."
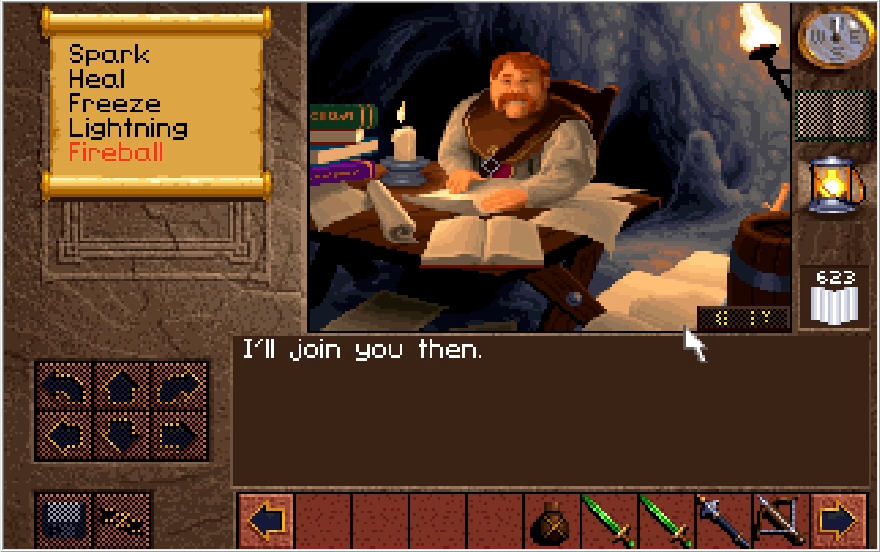

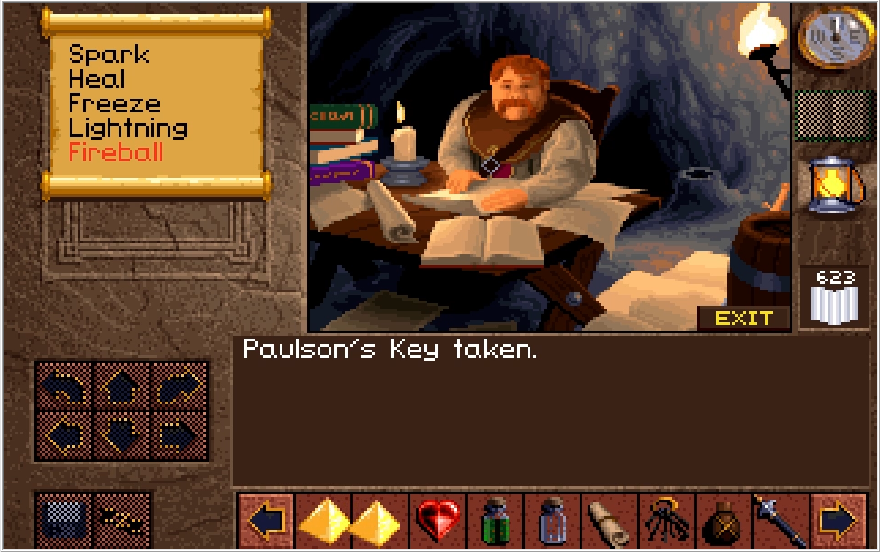
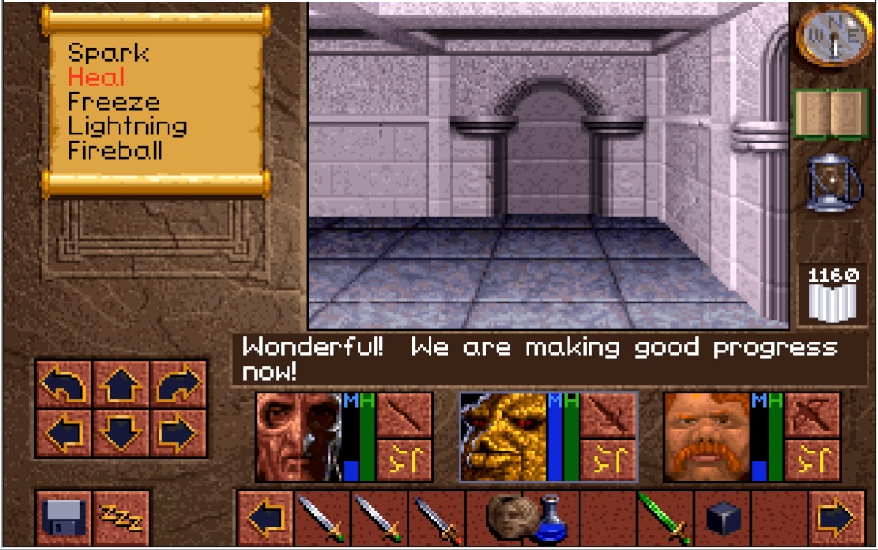
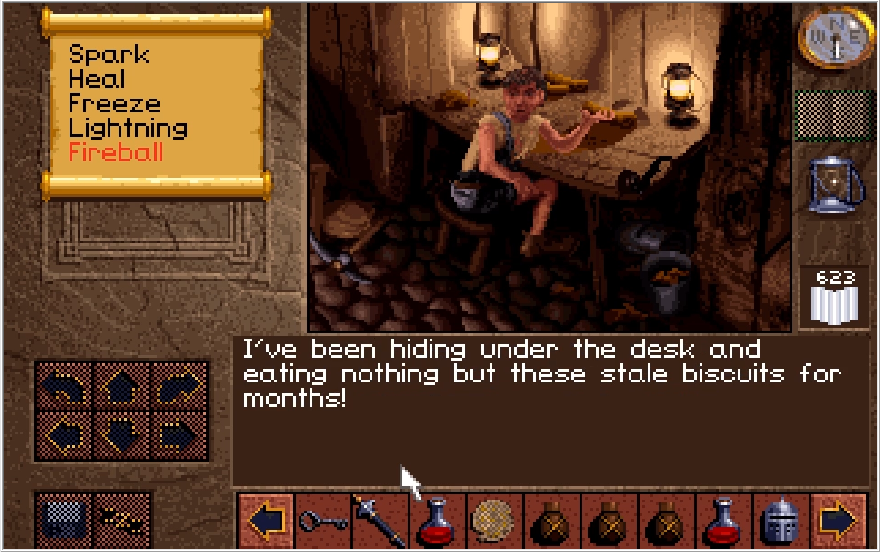
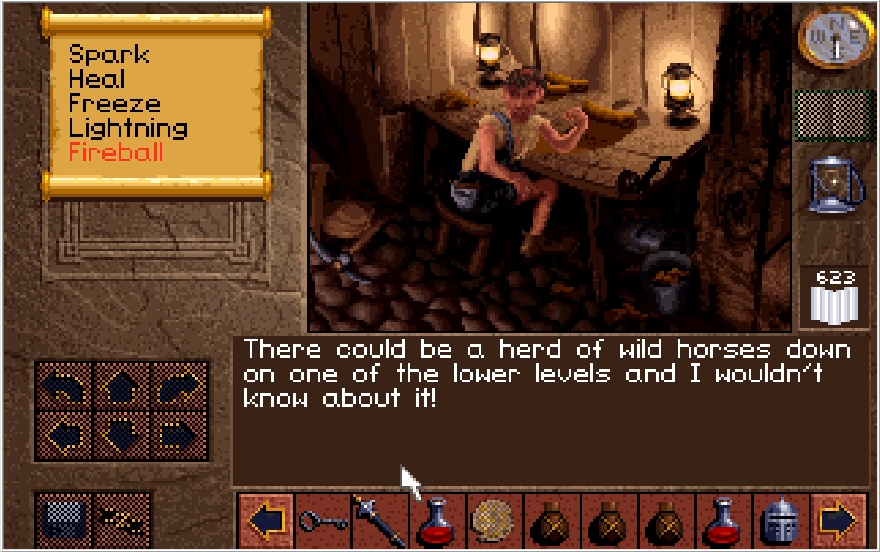
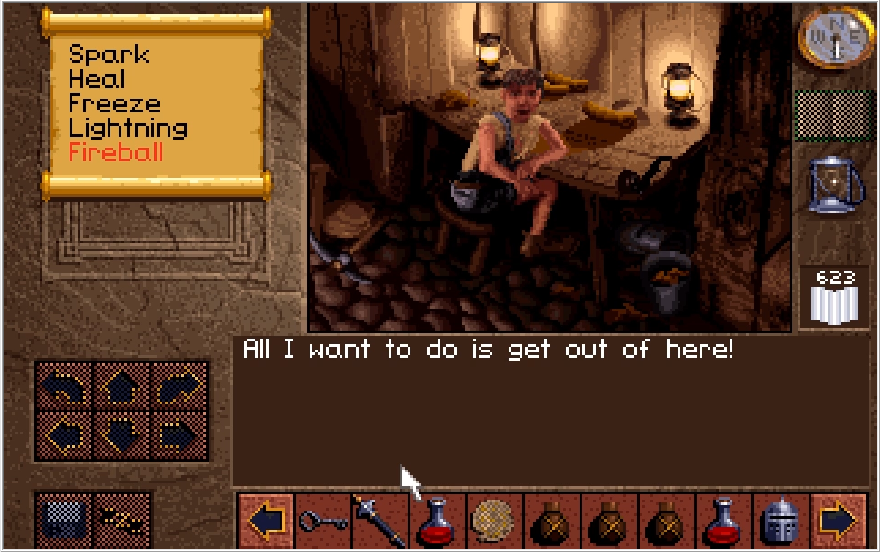
Paulson reveals his key to us, giving us a fine addition to our collection. Oh and he joins our party I guess. There's a variety of flavor text in this room, though it is all very to the point and uninteresting. For the sake of the LP though,
When clicking on the papers around the room,

:
"Ancient Maps."
When clicking on the books on his desk,
:
"Studies of gemlore and excavation."
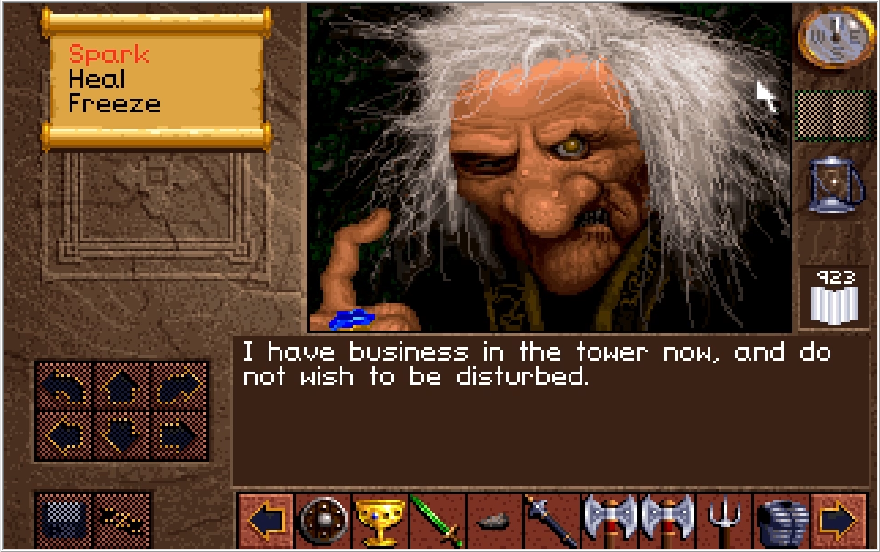
Paulson seemingly did not learn anything about the Mines or the Nether Mask, or if he did he never bothers to tell us.
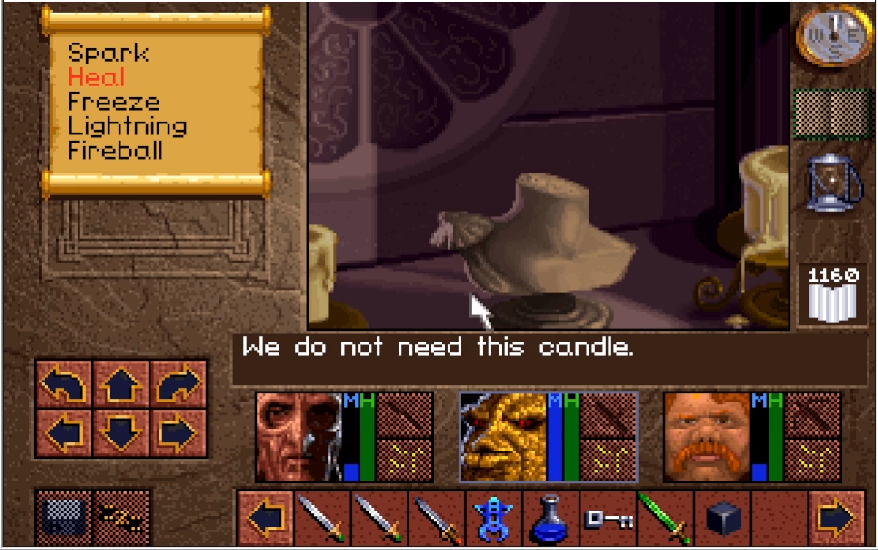
When clicking on his candle,
:
"It burns slowly.
When clicking the torch,
:
Torches aren't much good."
Torch industry is reeling from the invention of lanterns. Sad to see the old ways flicker and die.
When clicking on the barrel,
:
"Yvelian Brew."
So for the past couple hours out of universe and past few days in, Paulson has just been reading non-fiction and getting absolutely plastered. We're playing a dungeon crawler and Paulson has been playing a cozy RPG. Bastard.
When clicking on Paulson himself,
:
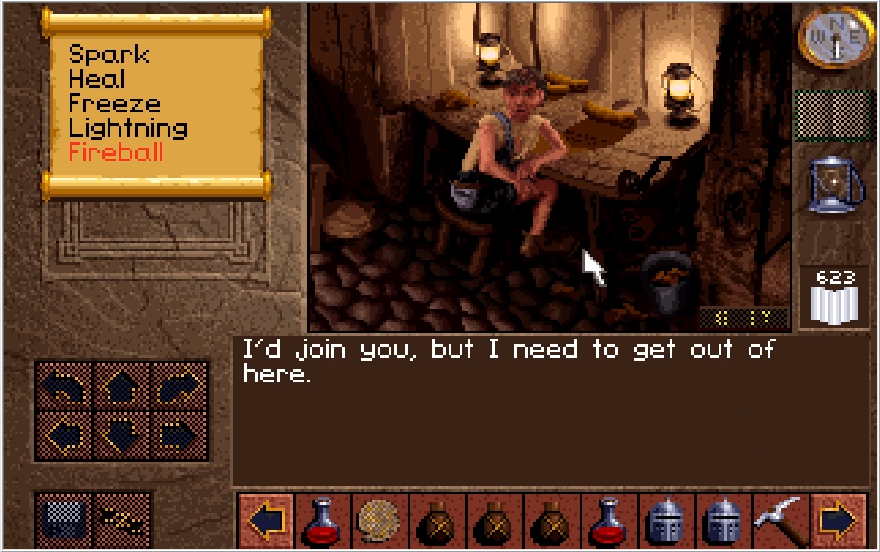
"We should leave."
I agree.
:
"We're off to save good King Richard."
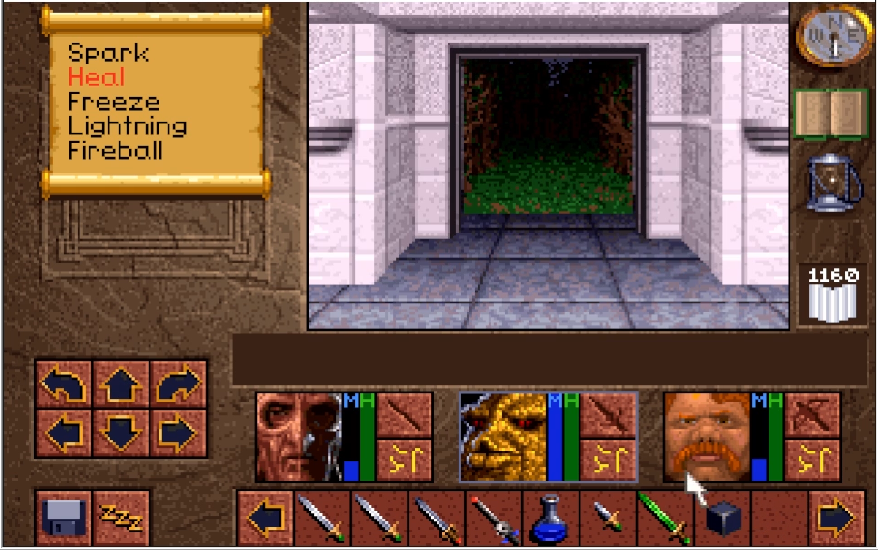
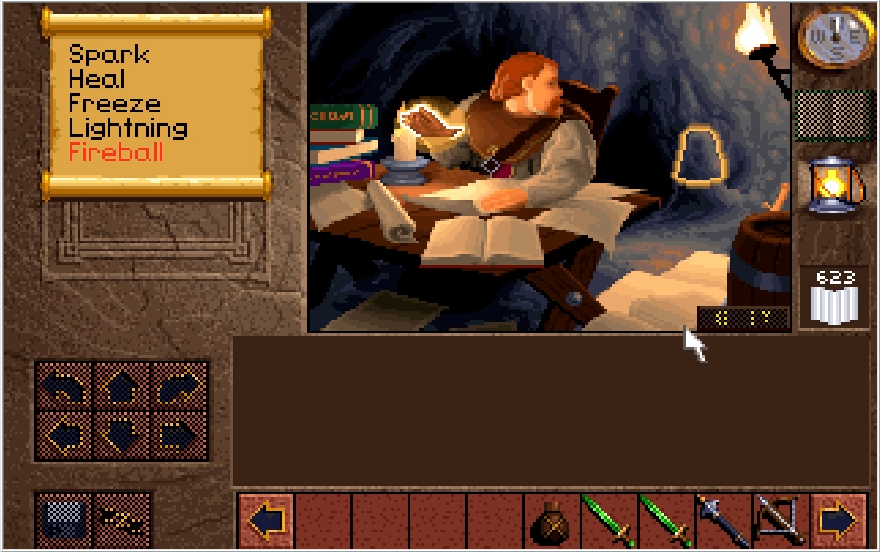
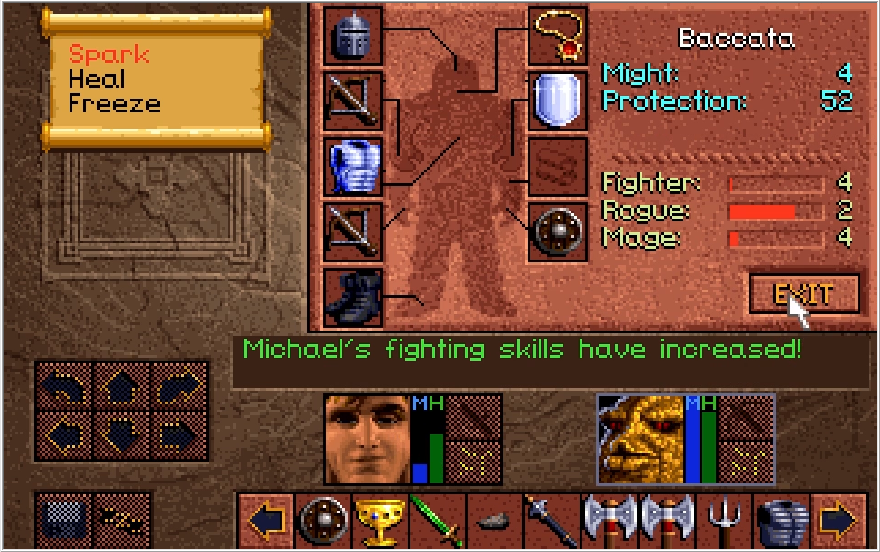
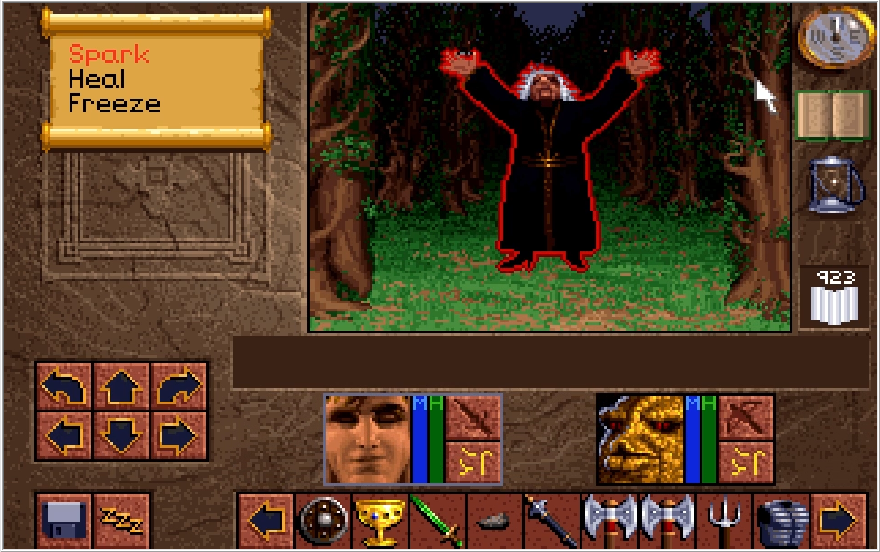
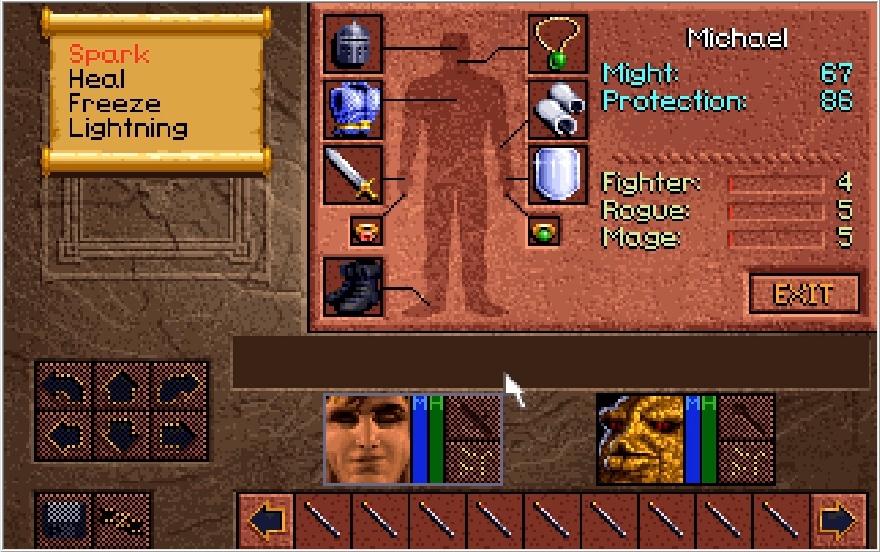
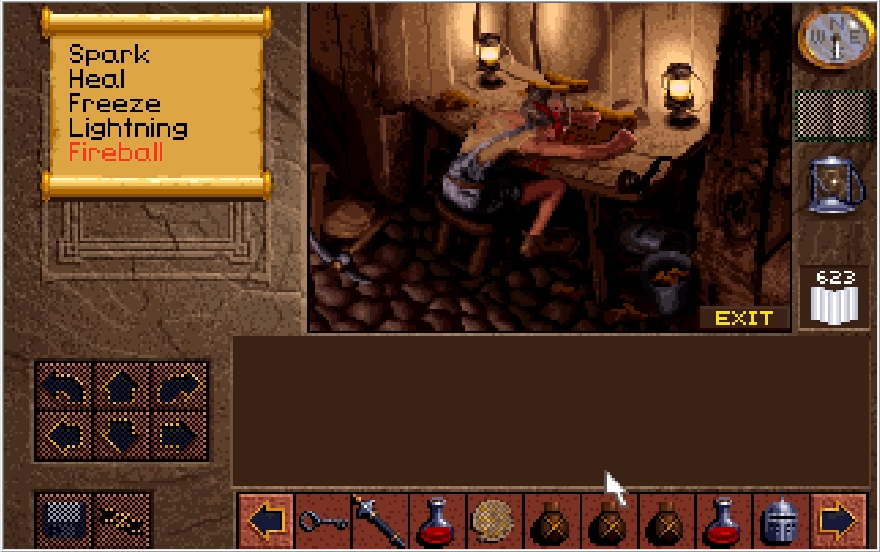
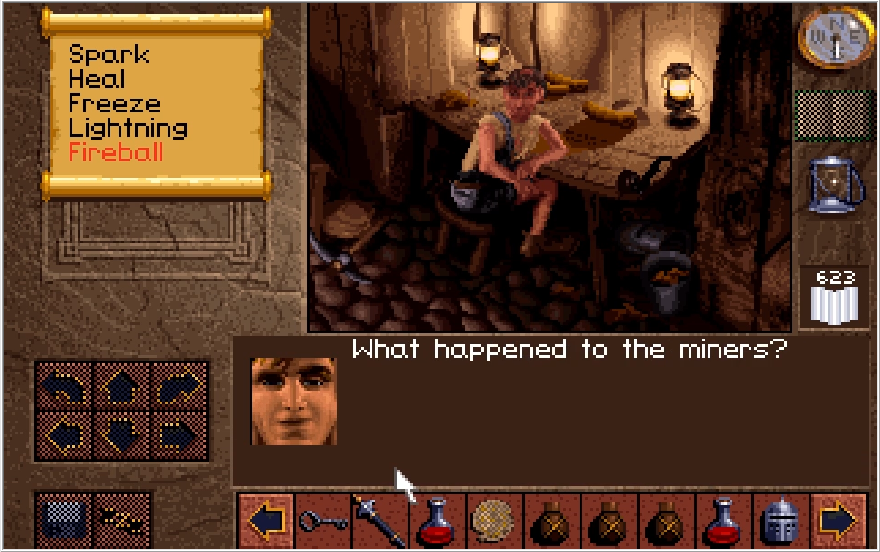
Much like Baccata was before, Paulson is delighted to be in our party. Paulson looks like a schlubby middle aged Ron Weasley after 2 divorces. We'll go over his stats in a minute, but suffice to say Paulson doesn't light the world on fire.
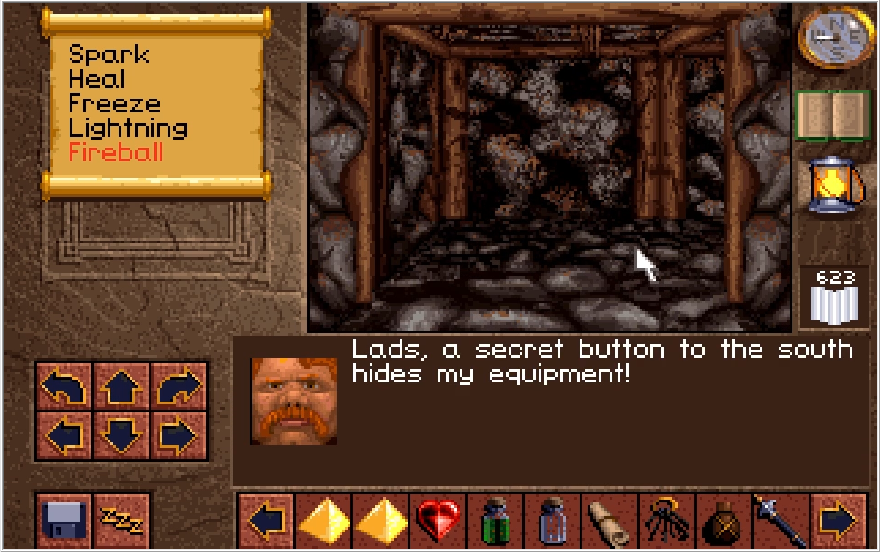
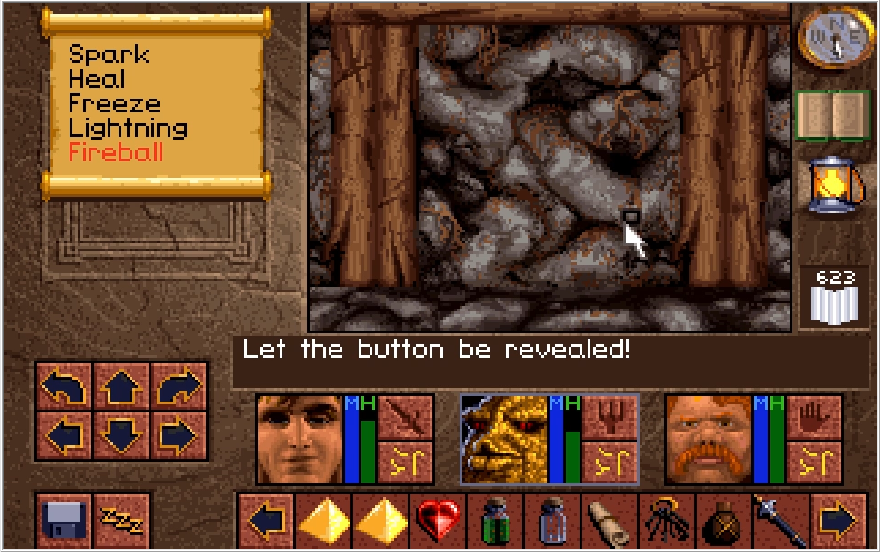
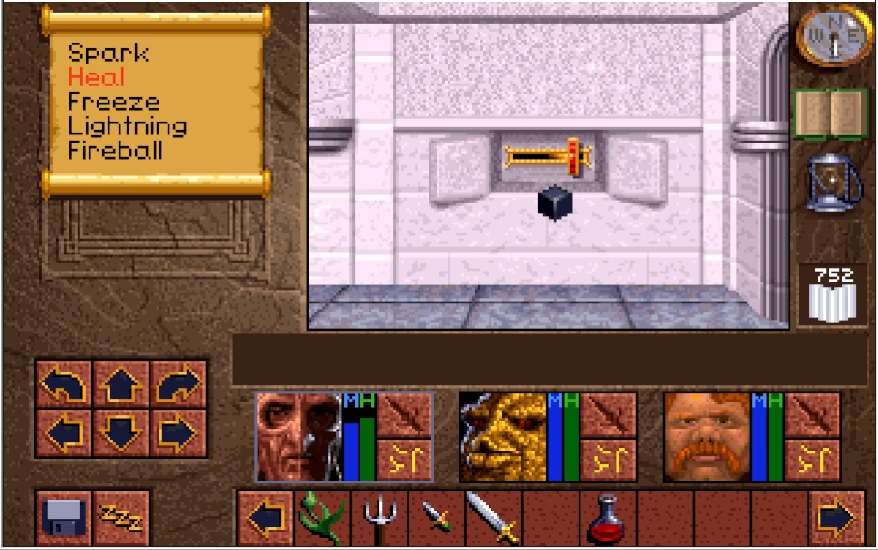
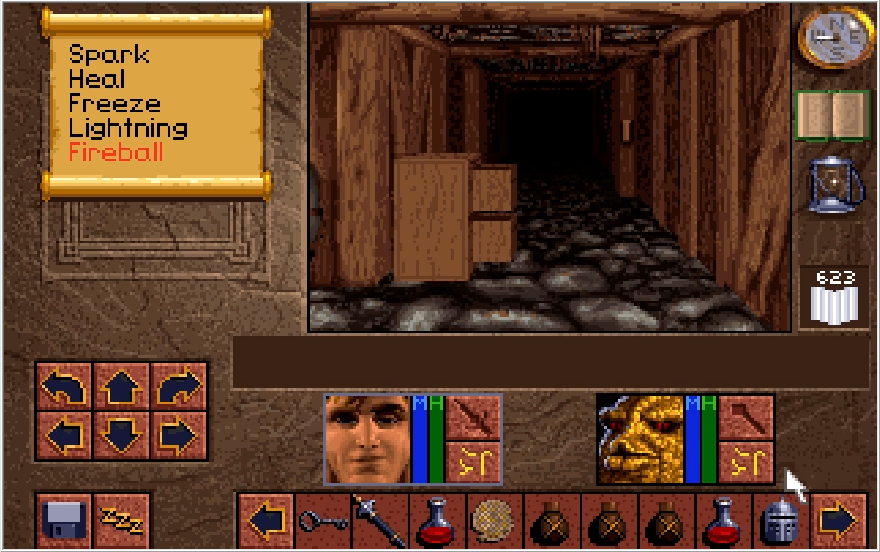
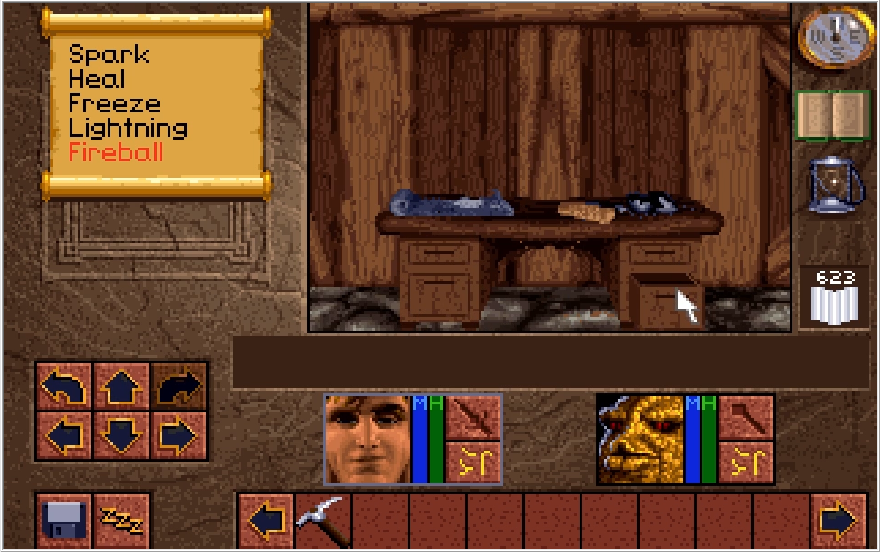
Taking a few steps out from Paulson's man cave, he'll shout out a secret button and reveal it for us.
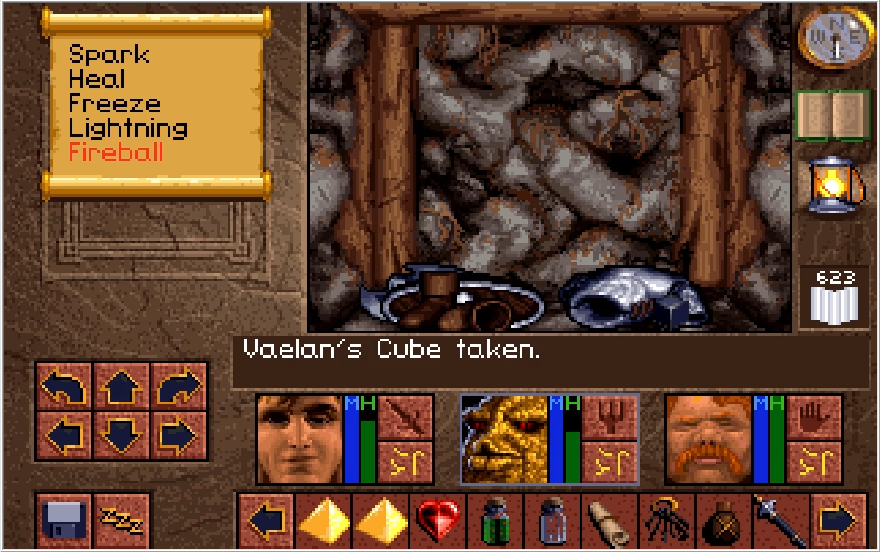
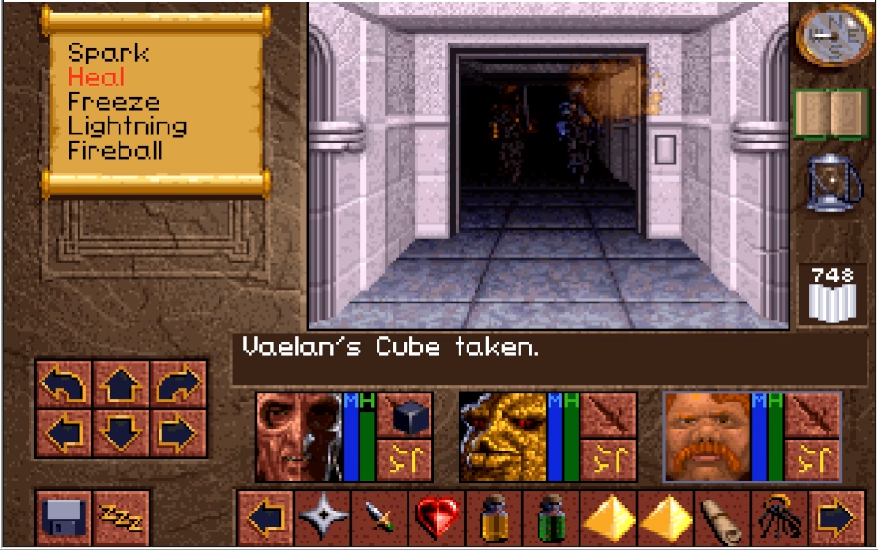
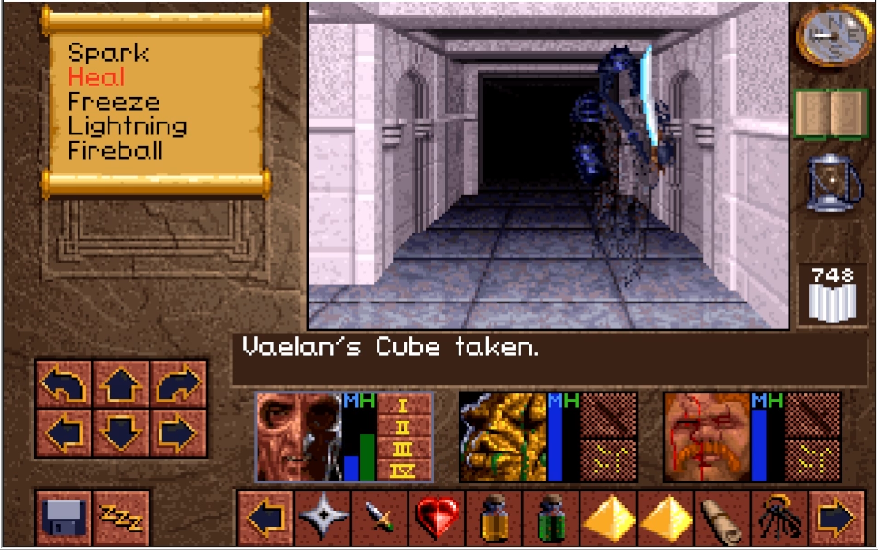
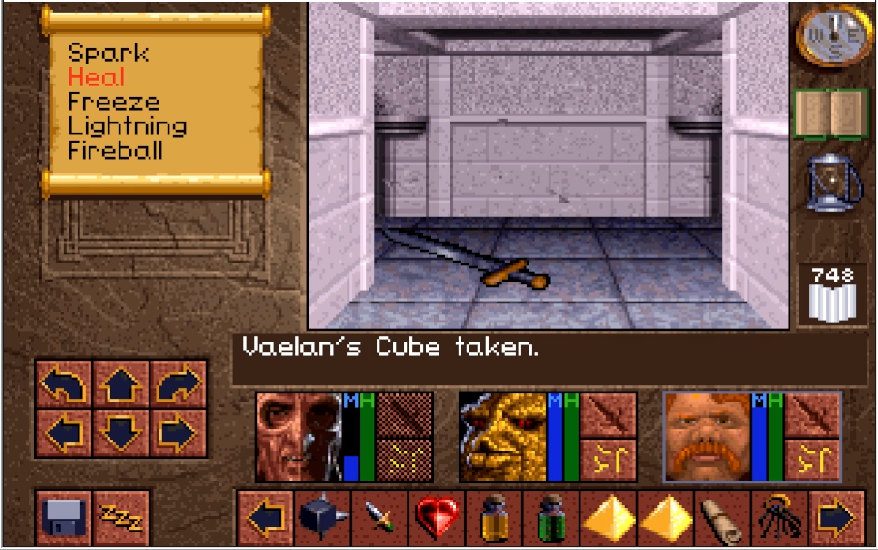
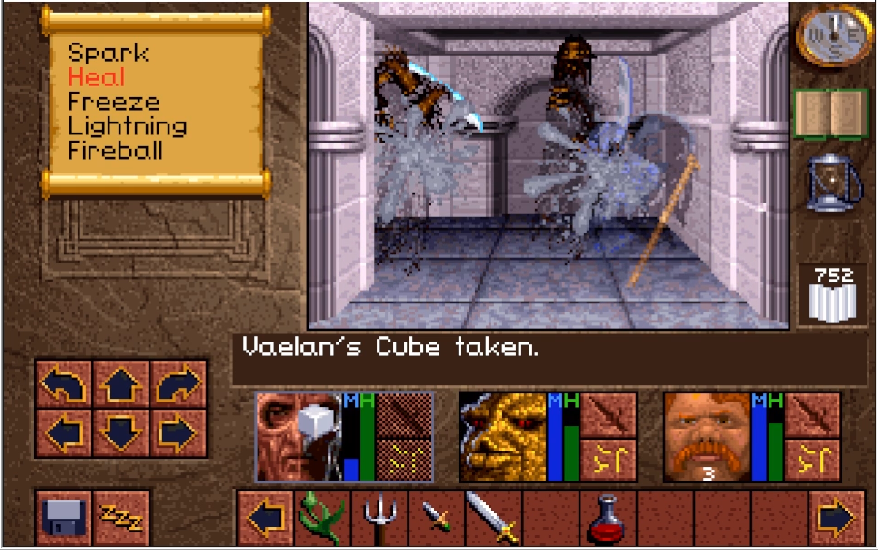
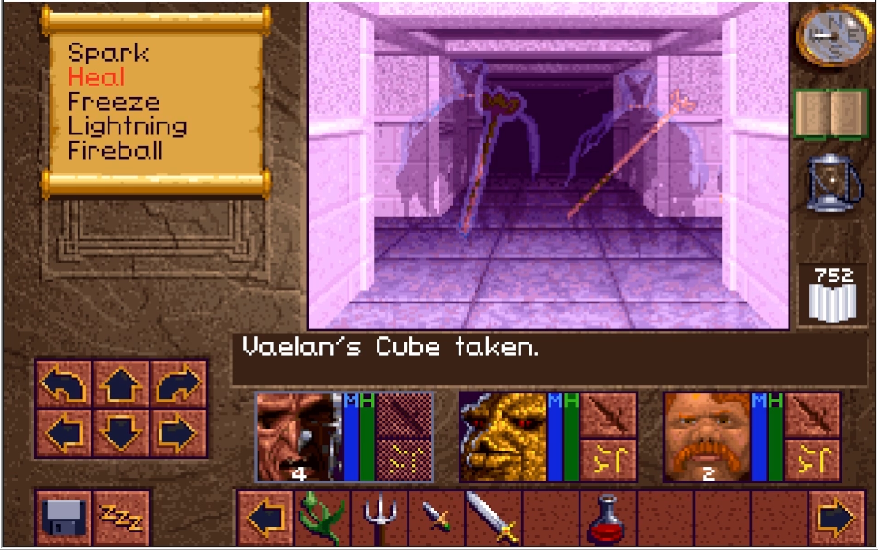
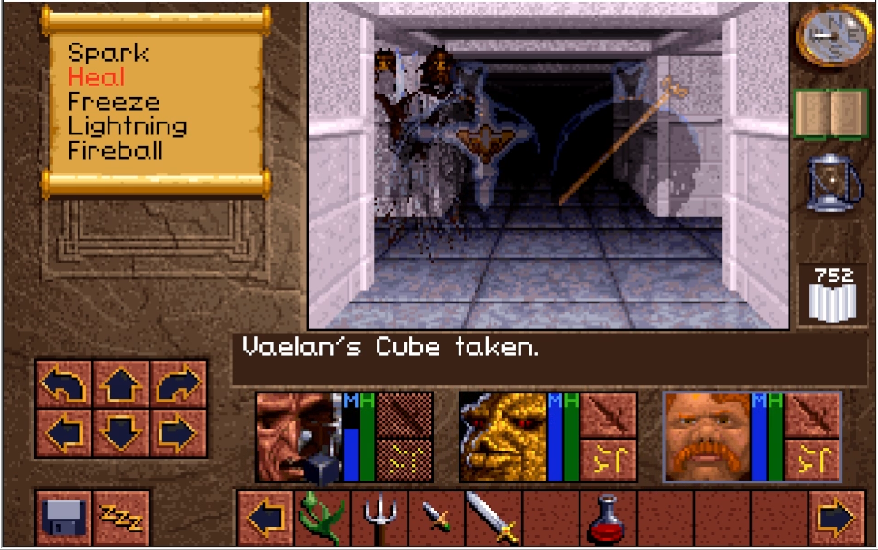
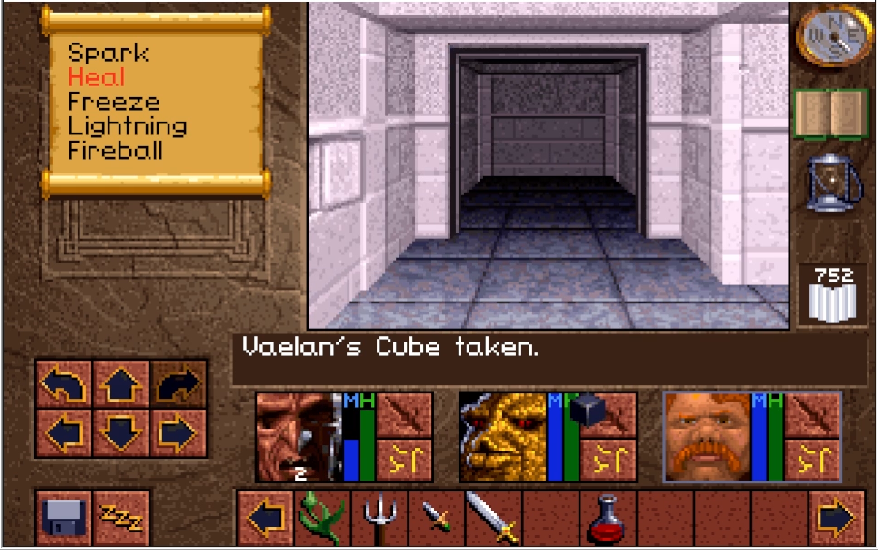
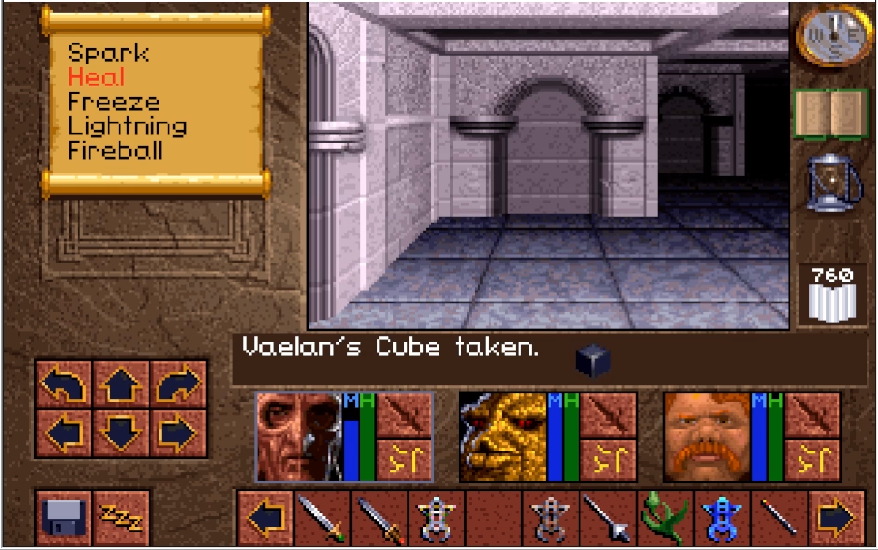
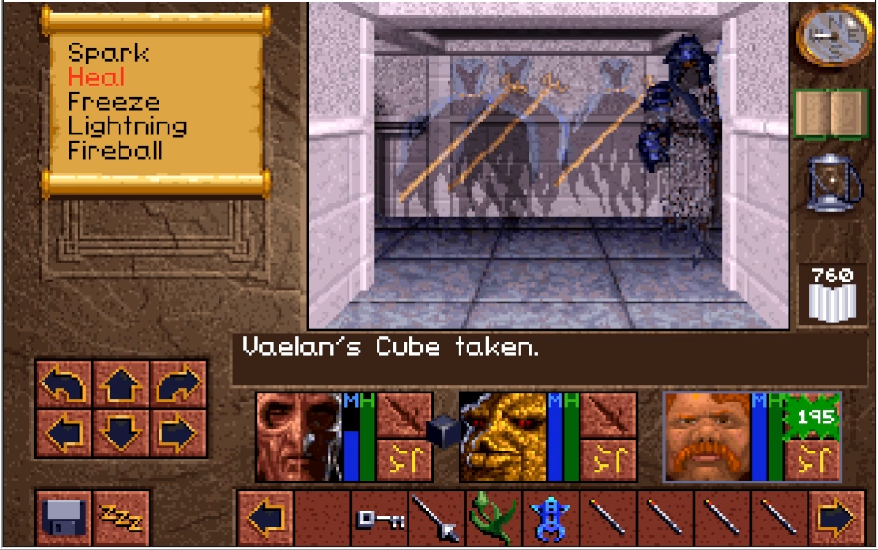
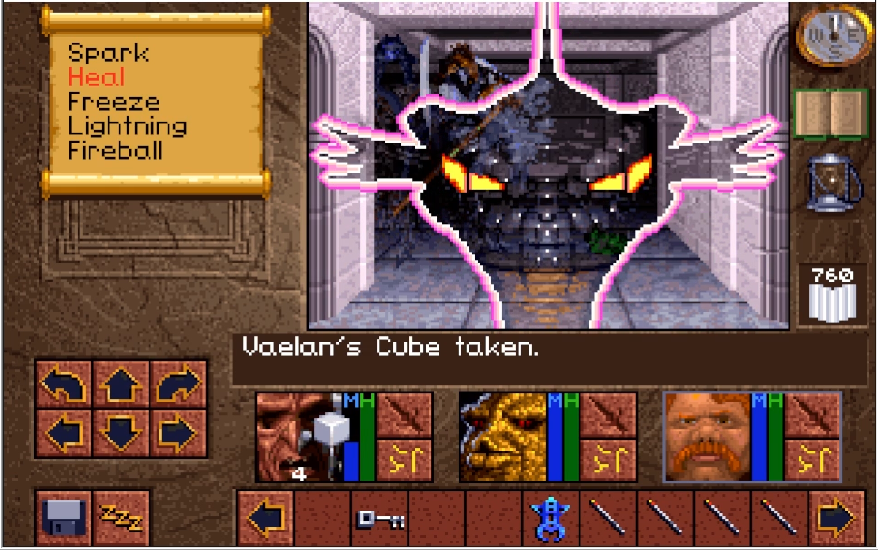
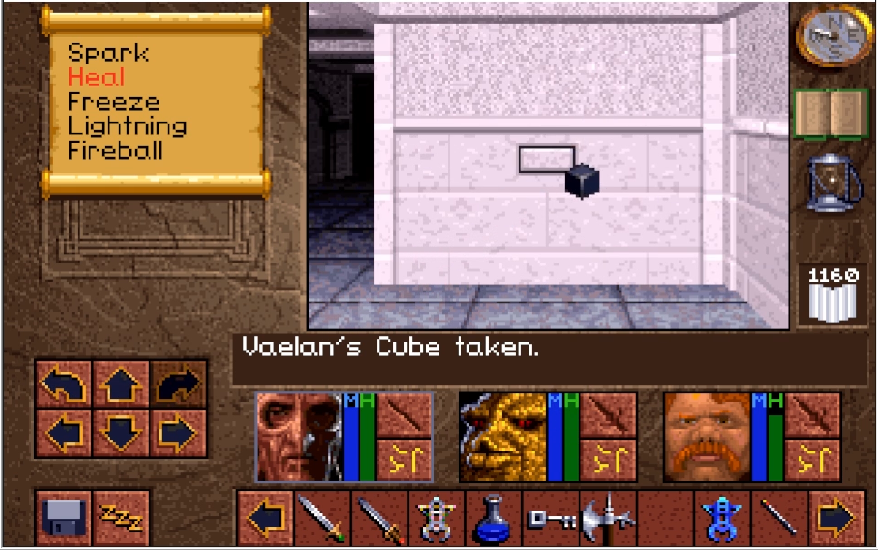
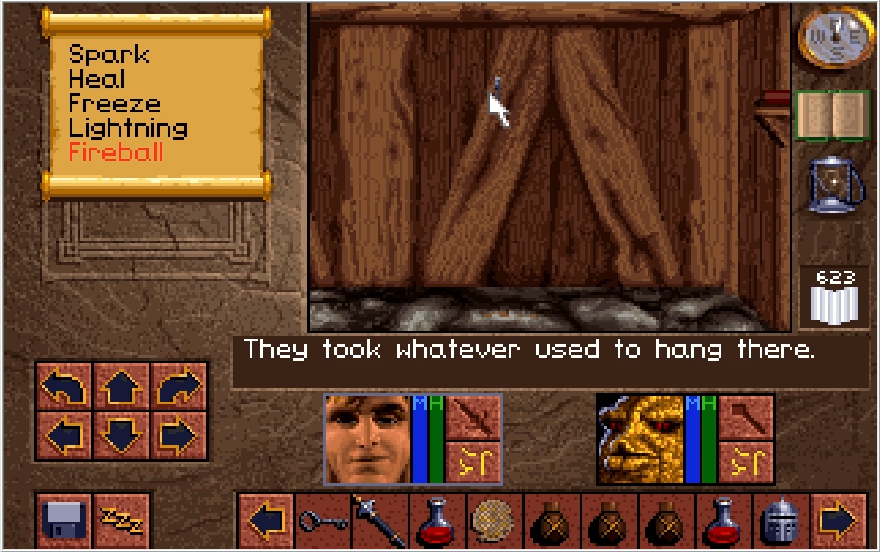
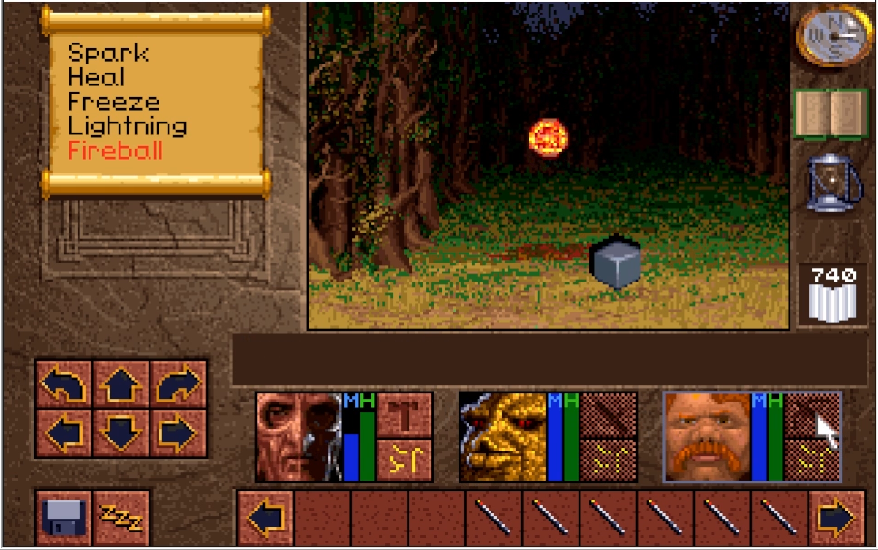
All his shit is just haphazardly thrown on the ground here. Have some care for your wares, my dude. The most notable thing here is the Vaelan's Cube. This is the item we need to break Scotia's barrier, though I don't know if anything in the game tells you that. It's worth noting that if you come here and get Paulson without talking to Dawn, the cube will not be here. Instead, you'll get it from Dawn when visiting Droek's wagon, to make absolutely sure you meet with her before progressing the game.
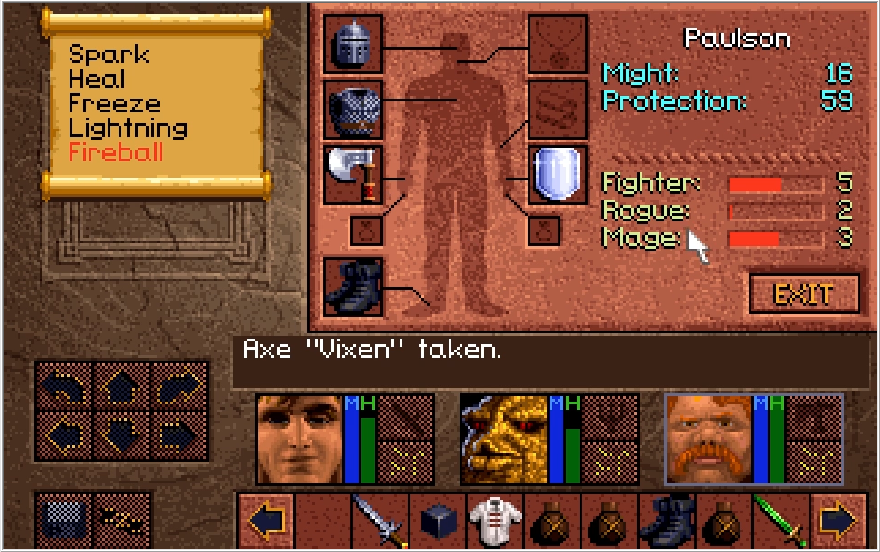
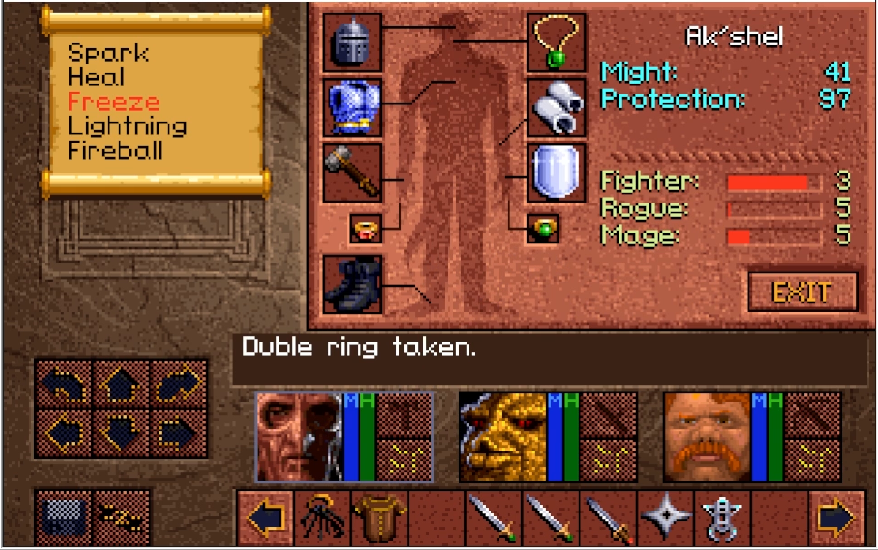
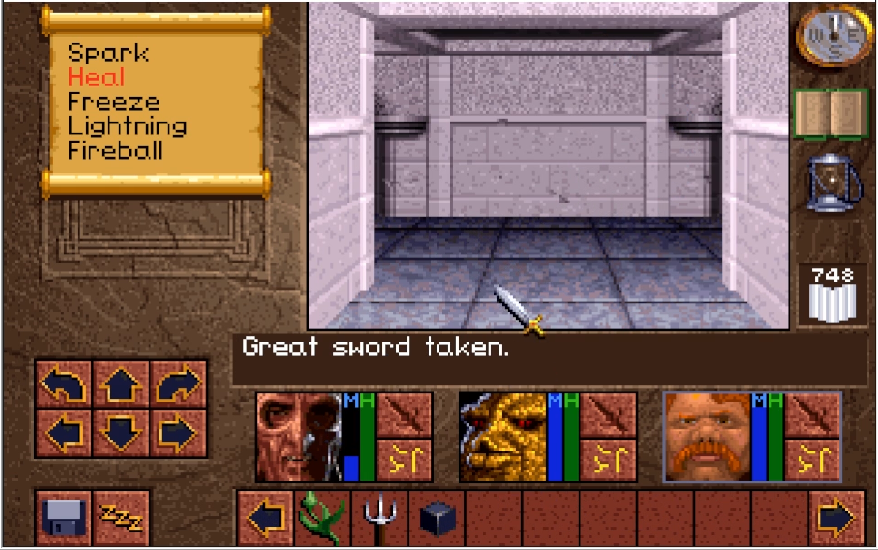
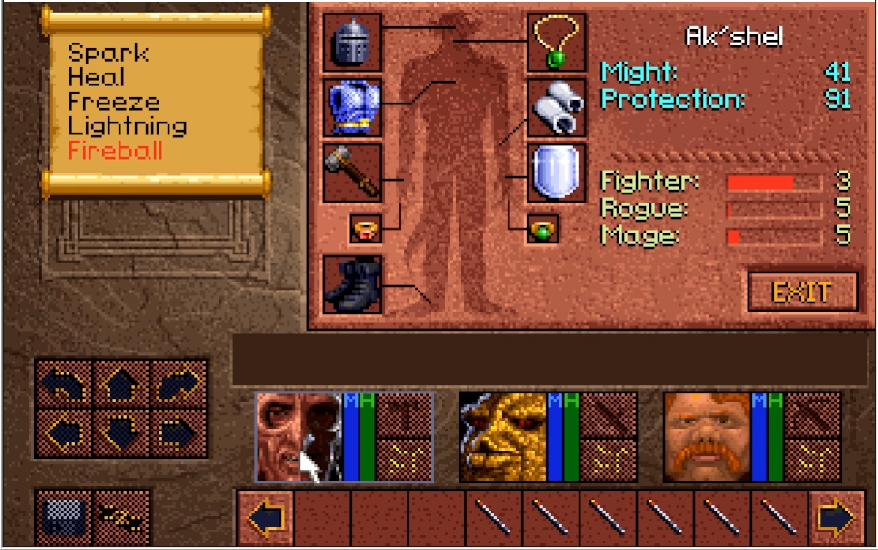
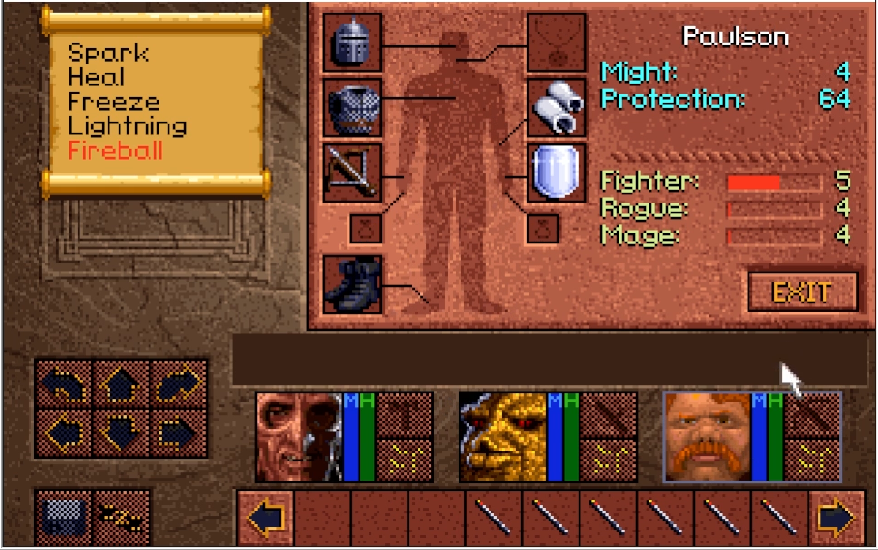
Paulson's gear is mostly good armor but with an absolutely horrible weapon. How he got here wielding this piece of shit is beyond me. Hell, how he got past the Lahrkon is also a mystery. He's rogue level 2, so maybe his ninja skills are on point. Oh yeah speaking of his stats,
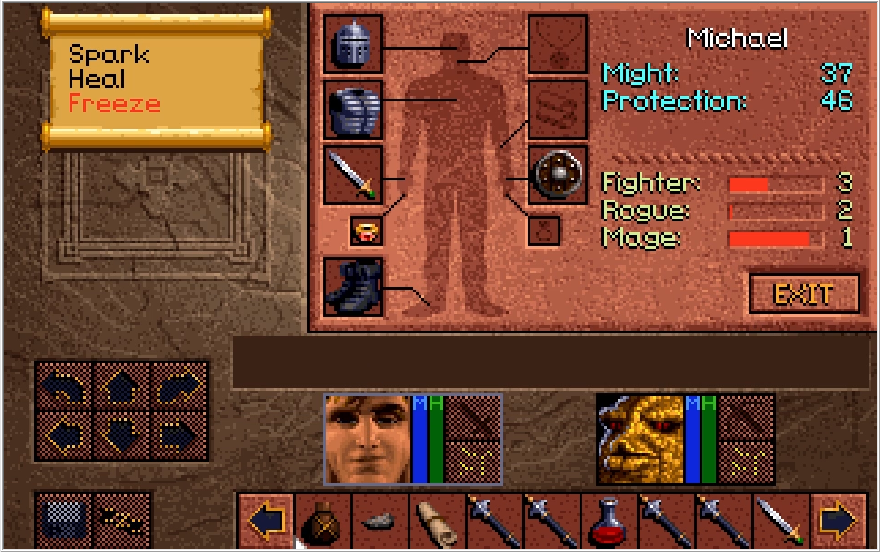
Paulson's Final Stats
HP ~123
MP ~86
Might 60
Protection 90
His starting HP is 105 and his starting MP is 45. Paulson has only a marginally better Might modifier than Ak'shel and Kieran, though he seems to be more accurate than them. Being at Fighter Level 5 actually works against him, since he is so weak he gets barely any Fighter exp, and he's not liable to reach 6 before the game is over save for one possible situation. He's a decent enough Mage though if you haven't been working on your protagonist. 45 MP isn't much, but he needs just one level up to use Heal 4, and his Might modifier is technically better than Baccata's (remember Baccata's huge Might comes from the fact he wields two weapons, his actual modifier is the lowest in the game), so his spells deal relatively better damage. His protection modifier is awful though, worst in the game next to Kieran. Paulson is a very appealing target to enemies due to this, and most fights going forward will see him eating shit constantly. He also starts at Rogue 2, so he can get to 4 relatively quick with the CBV if you haven't been working on your Rogue skills thus far. Since we're light on good weapons and his physical attacks suck anyway, it's sensible to just slap the CBV on him regardless.
It's rare to have Late Character Syndrome pop up in a game where the max party size is 3 and the last guy who joins you does so at the game's halfway point, but Paulson manages this feat. It's like if in Dragon Quest 2, the Prince of Cannock was the last character to join and he didn't do so until you got the ship and collected 3 crests. Oh yeah we've just finished Act 2 and are halfway done with the game. Get ready to say goodbye to Michael.
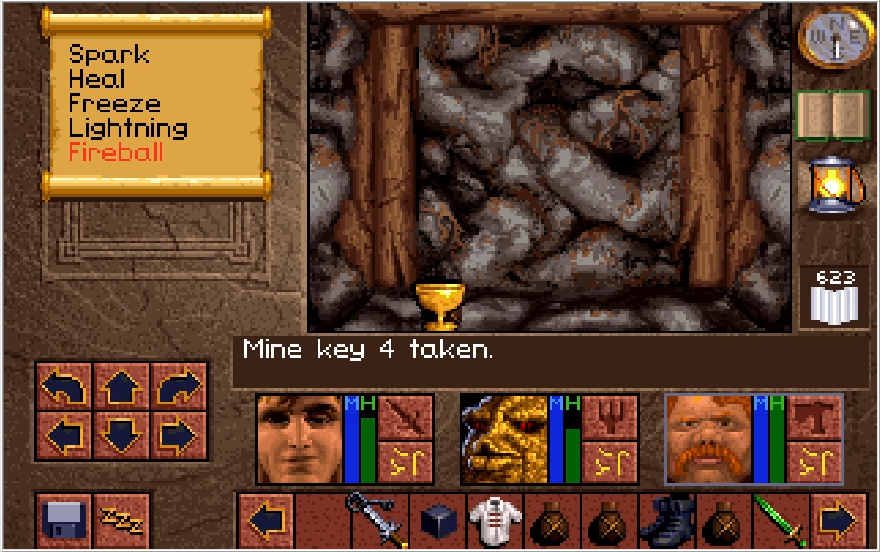
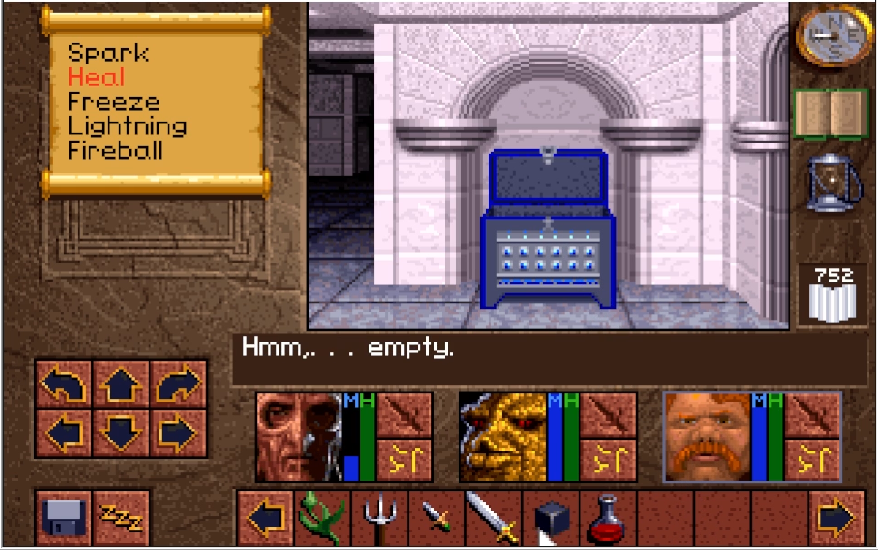
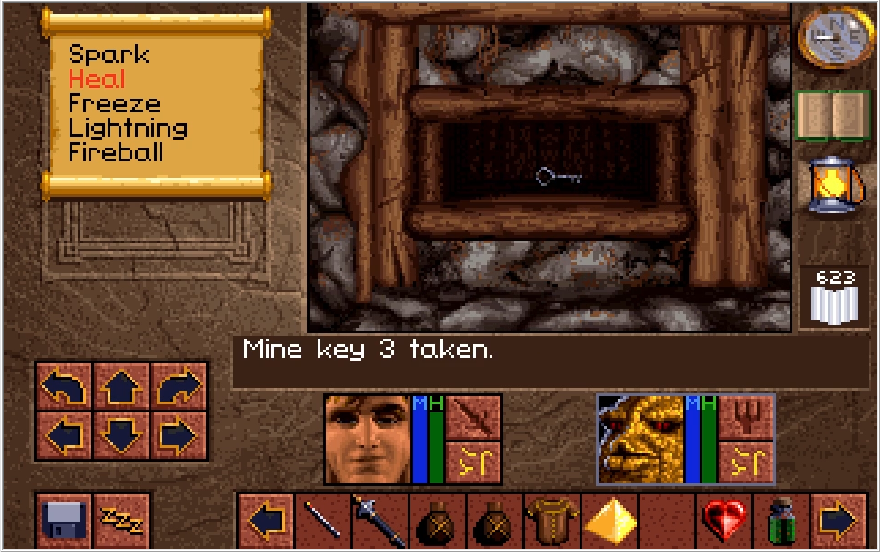
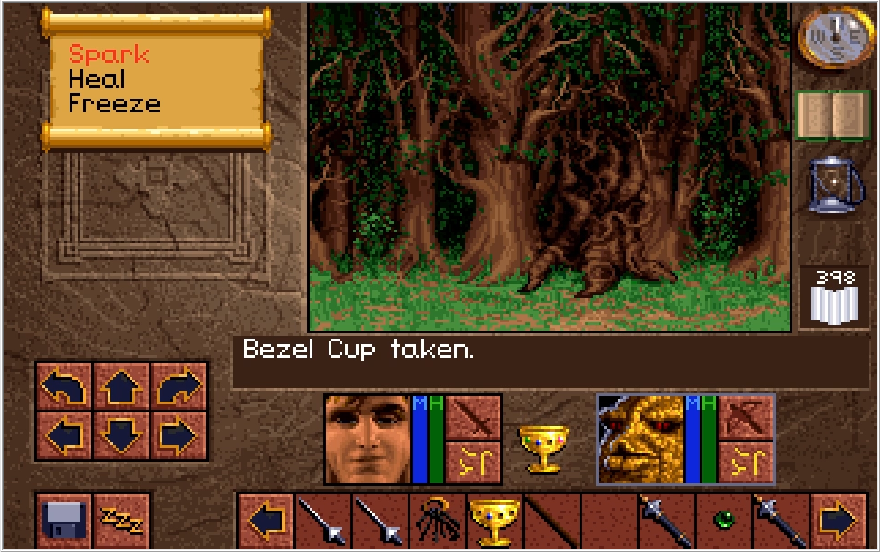
Aside from all that, there's also a 4 gem Bezel cup here and another Mine Key 4.
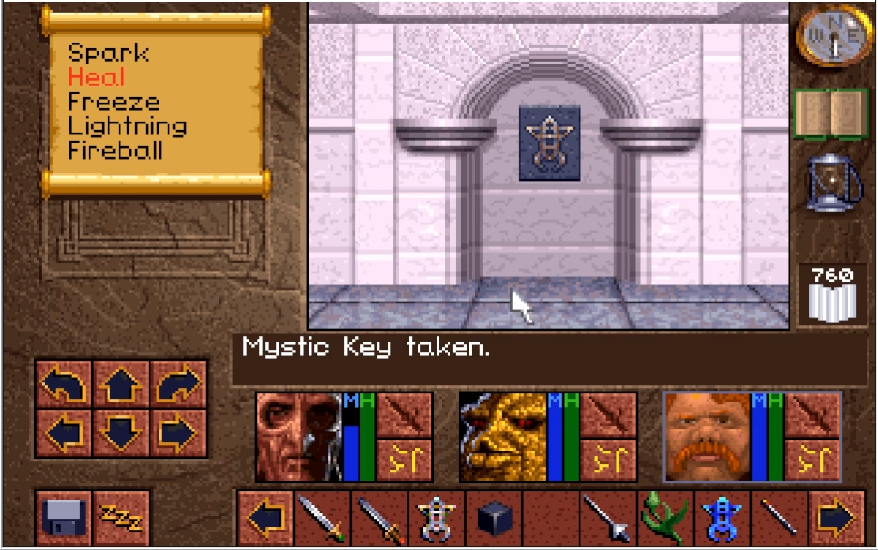
This key actually goes to the lock we passed up way back when we first explored Level 4. The one by the teleporter at the 4-way intersection.
The room it leads to... has even more teleporters! This one right in front of us just teleports you one step backwards, placing you right in front of it again. Not the biggest troll, that honor goes to,
This southern teleporter. This one dumps you back at the secret wall chamber on Level 2, ensuring a longer trip back to the Mines' entrance. The teleporter we actually want to take is,
The northern one, which sends us back to the Office entrance stairs! Now we can get the hell out of here.
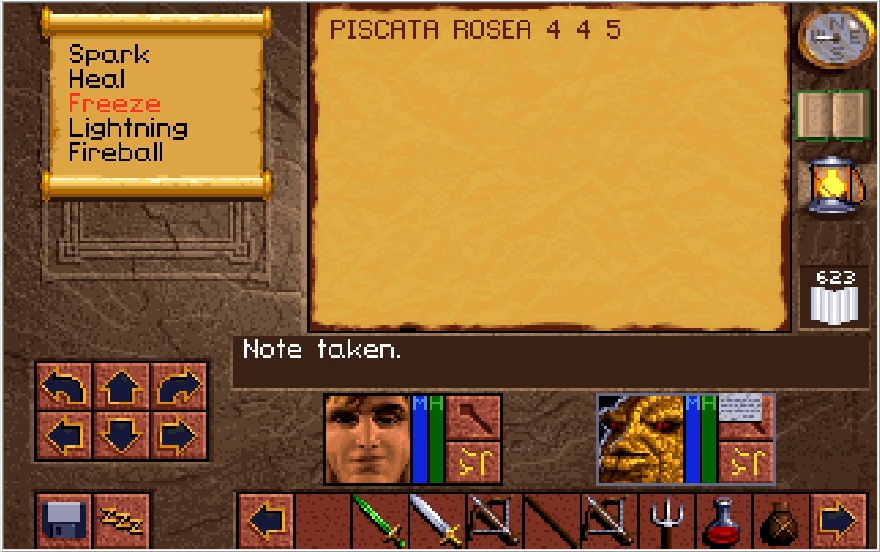
Incidentally, this is what I think the Piscata Rosea note was alluding to before. Mine Keys 4 and 5 actually do something necessary or useful, while 2 and 3 either are actively unhelpful or do literally nothing, being red herrings. Whether or not that's just a coincidence is for you to decide and internally roast me for if you think I'm being stupid.
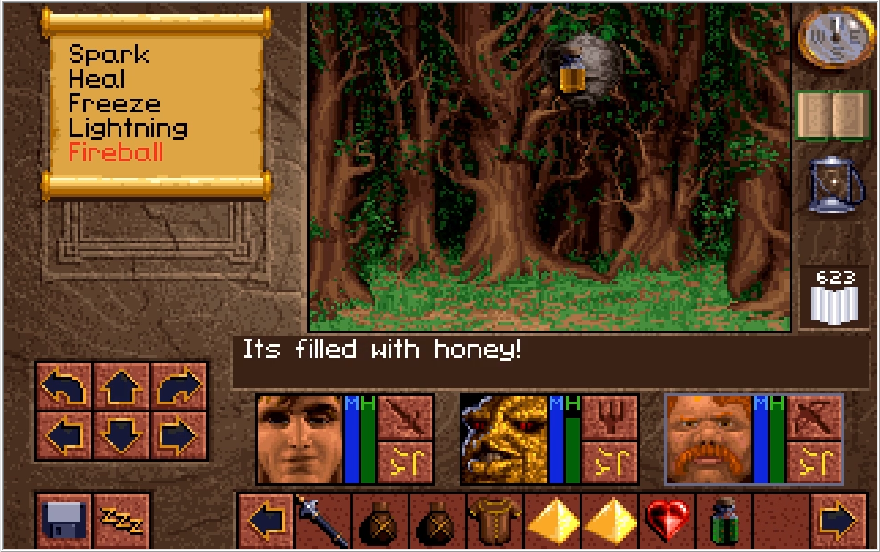
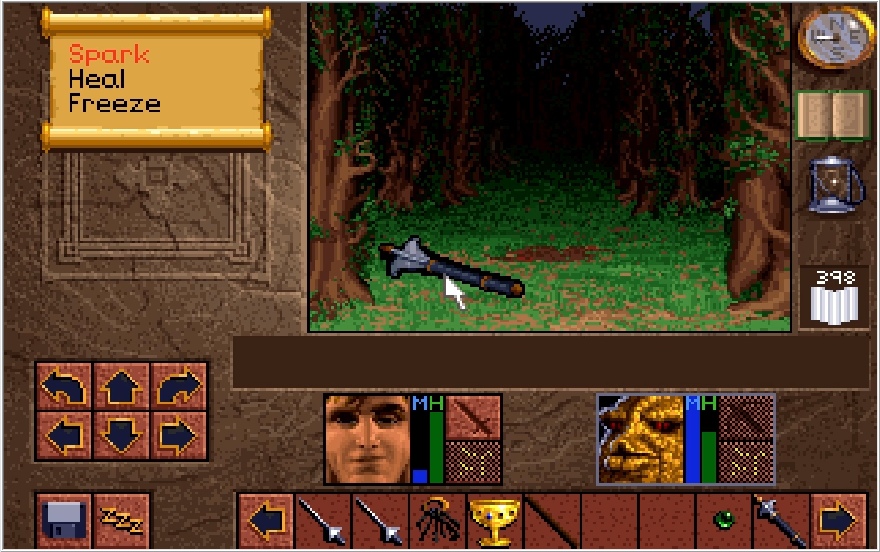
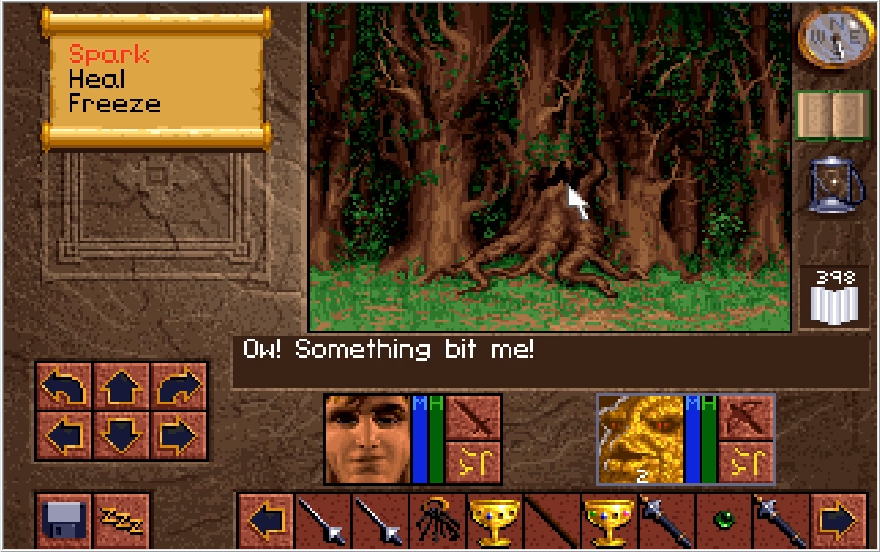
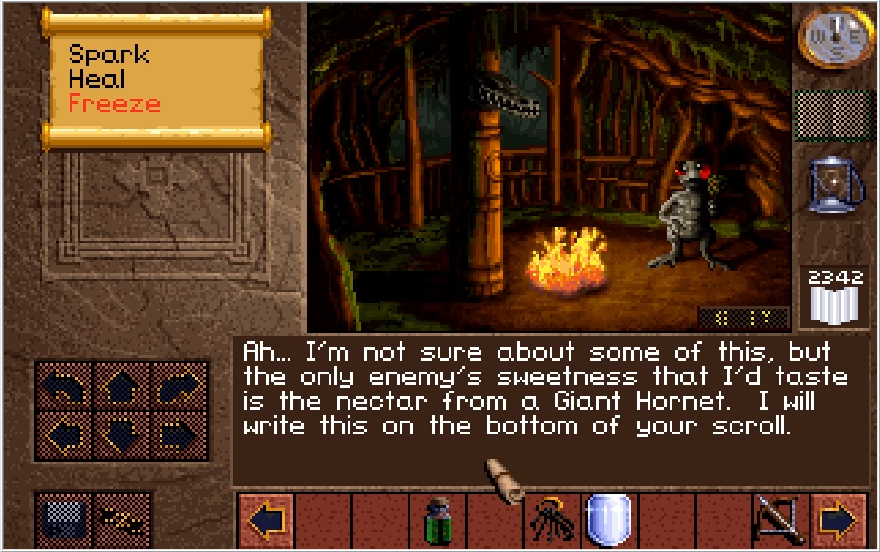
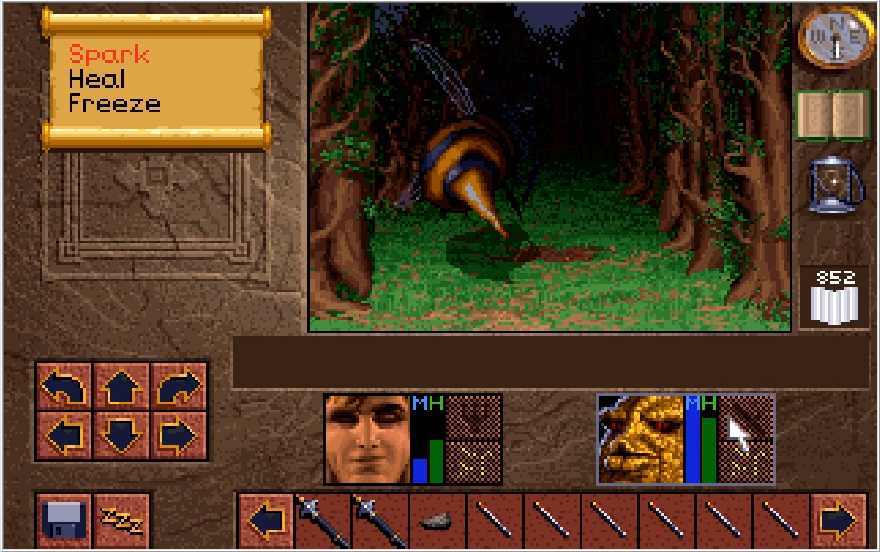
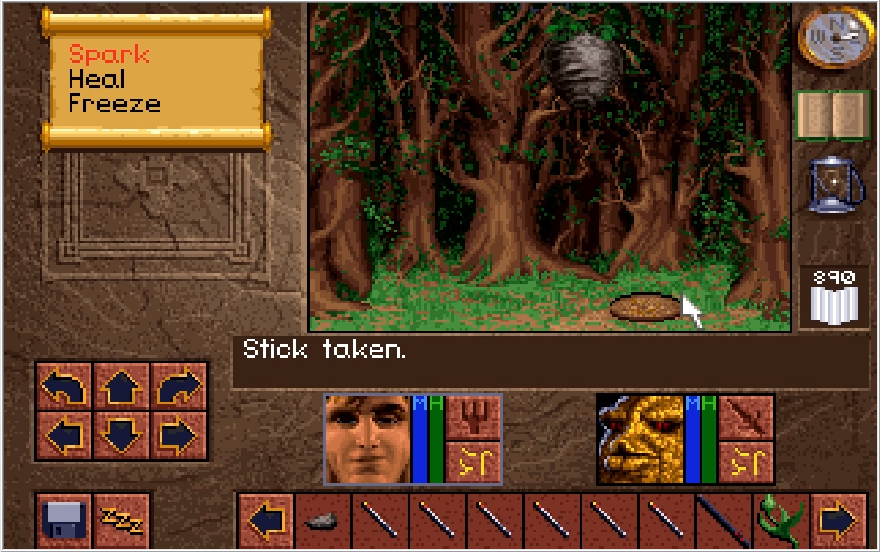
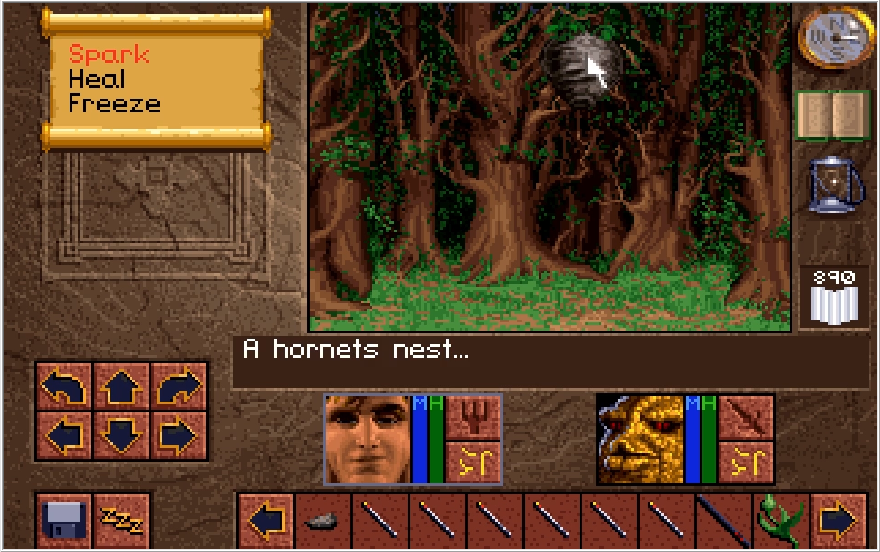
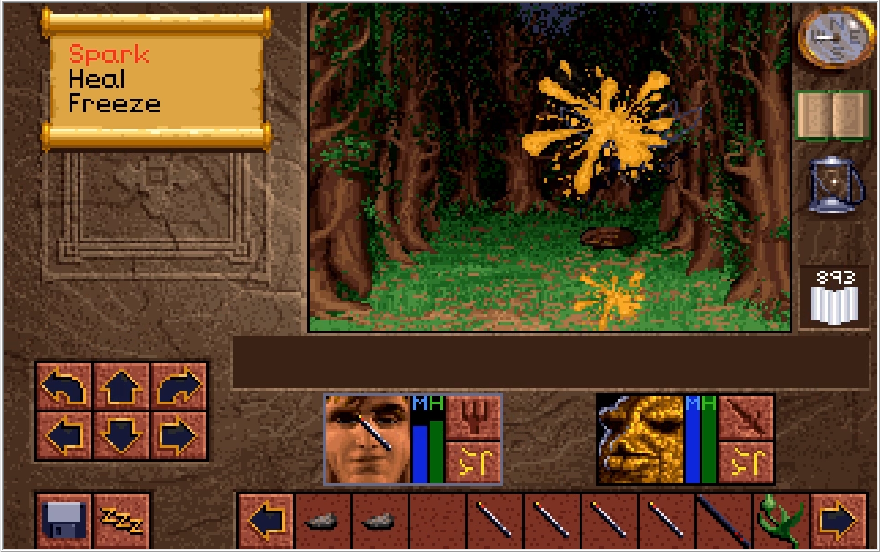
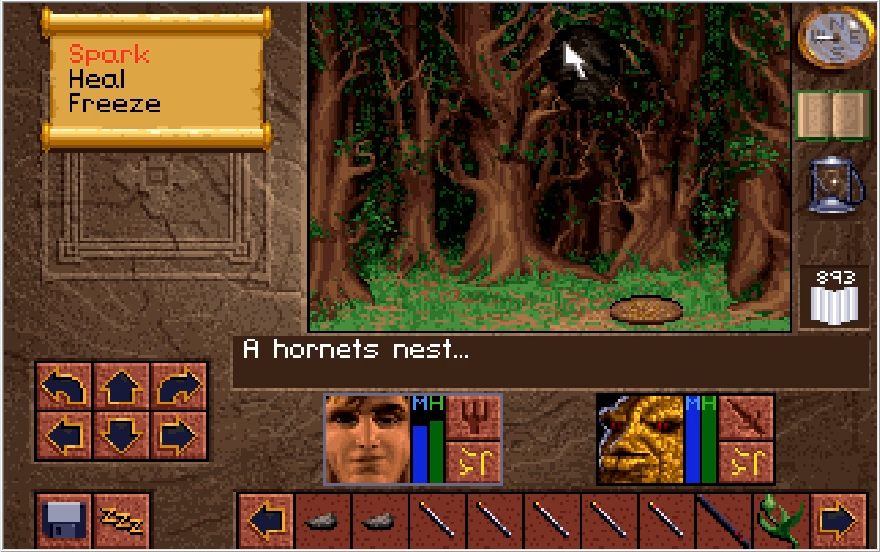
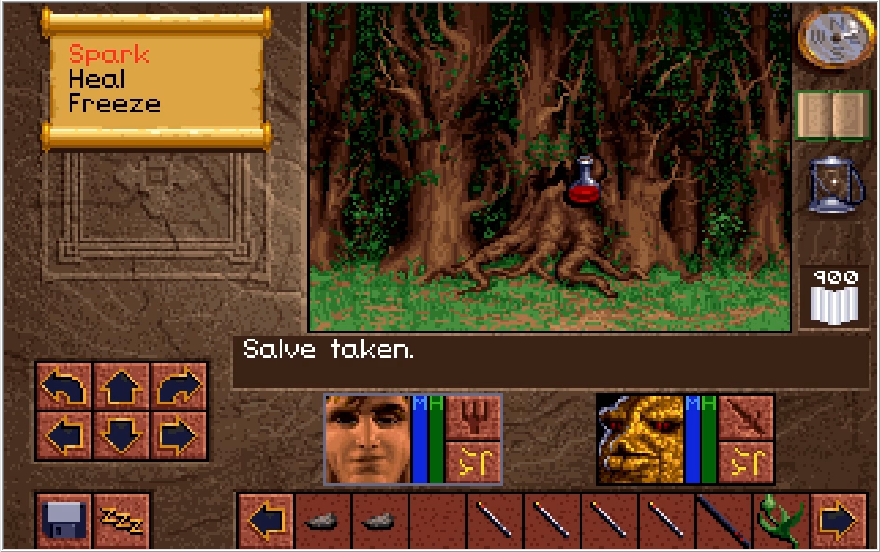
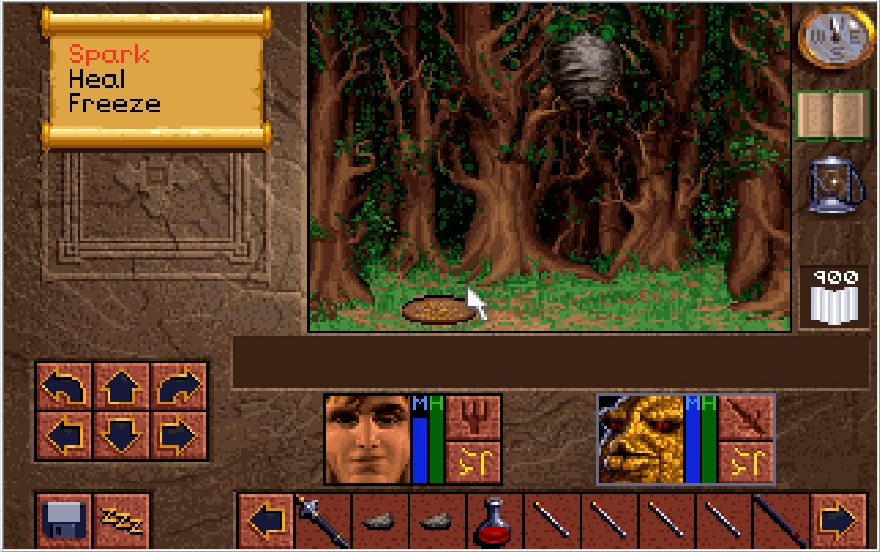
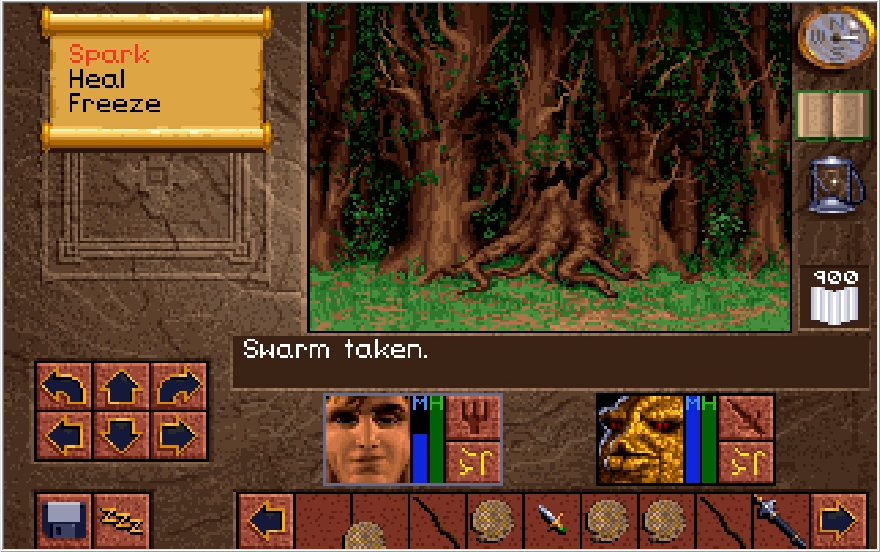
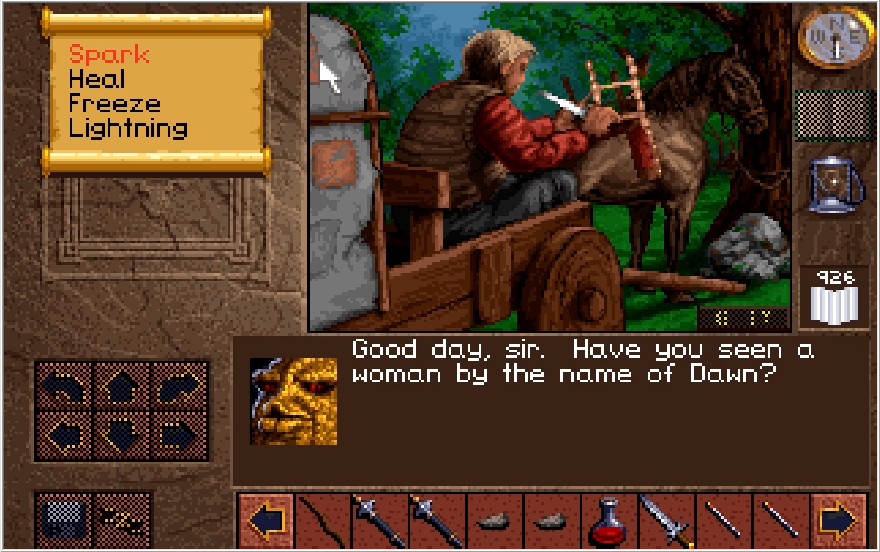
Making our way back to Upper Opinwood, we now can get some Honey. Incidentally, the honey can actually be used on your characters for some funny reactions.
Apparently it's just a tad too sweet. Who'd have thought gulping honey directly from a hornet's nest would not be very appetizing?
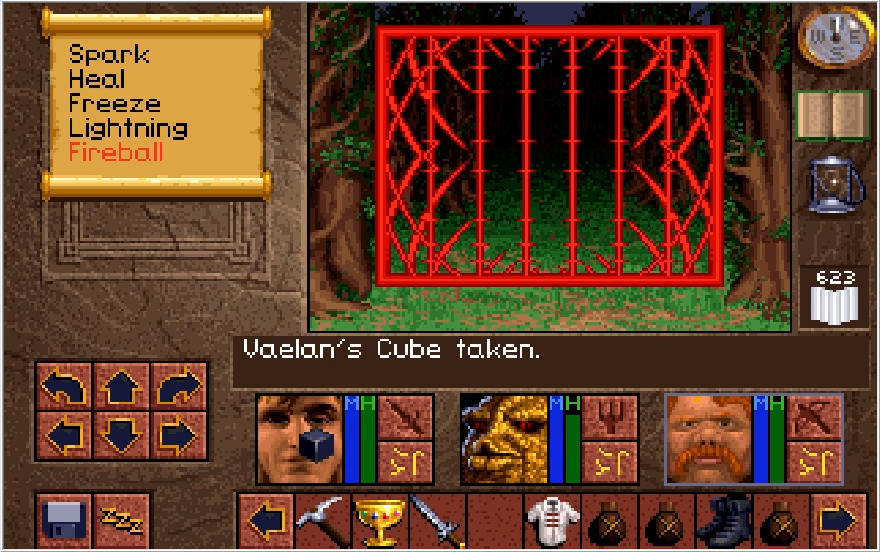
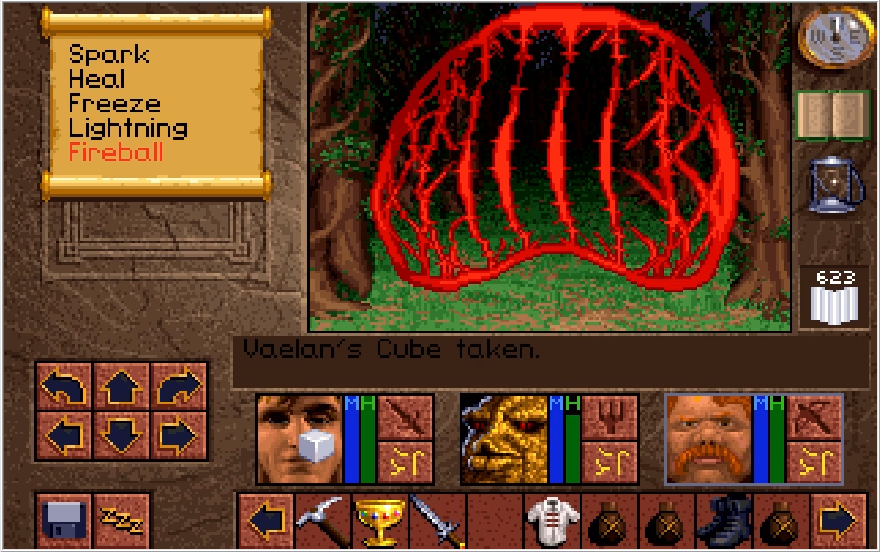
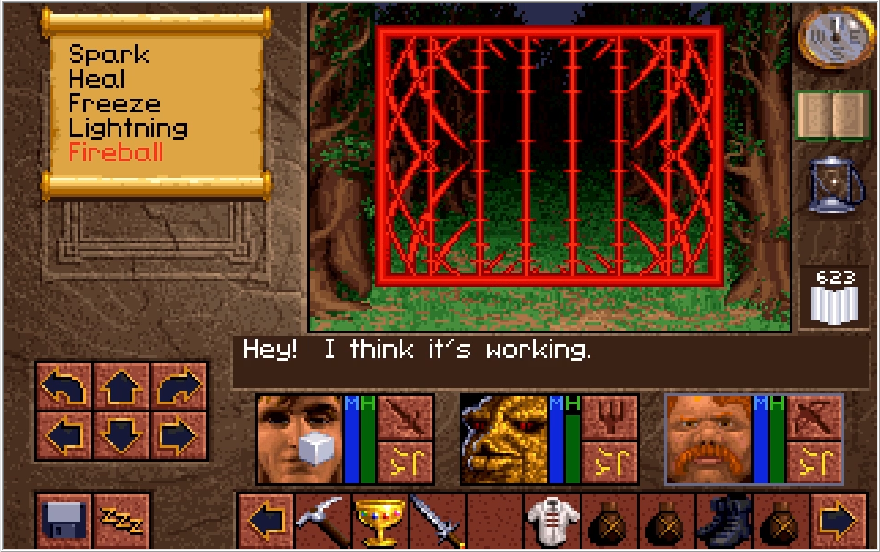
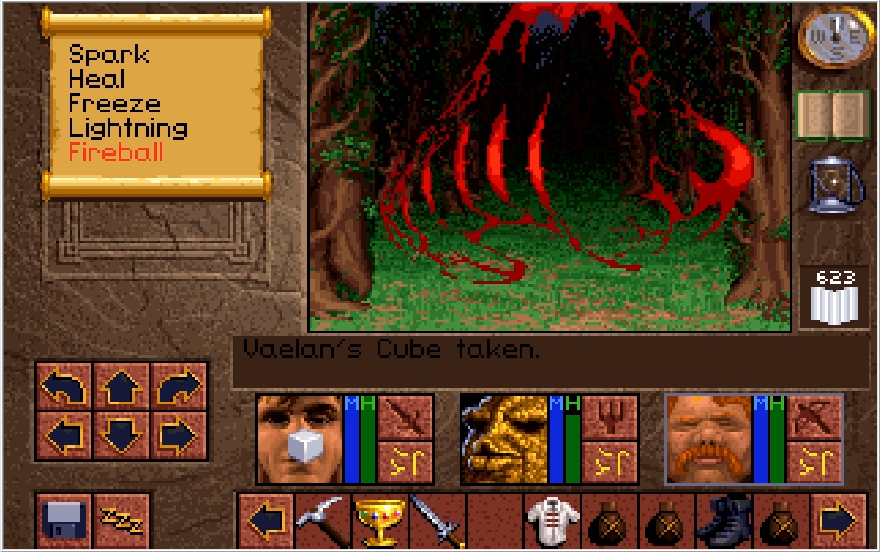
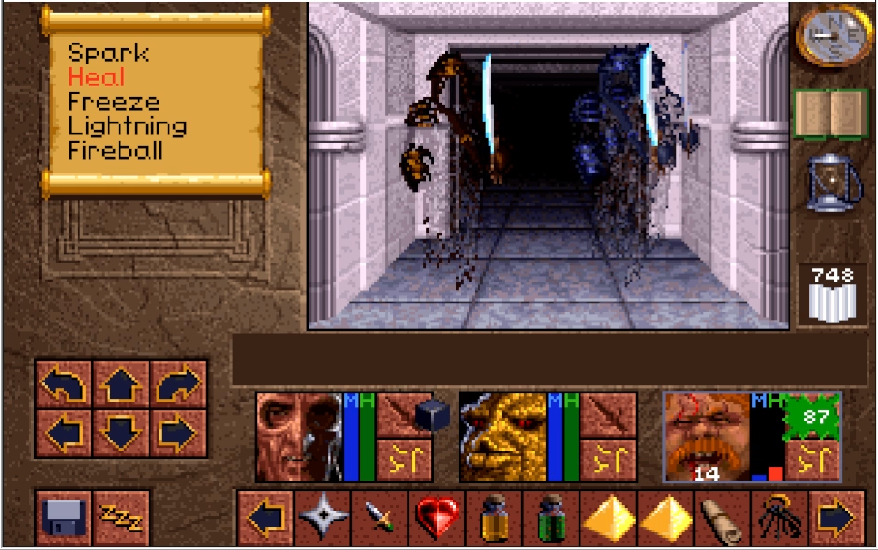
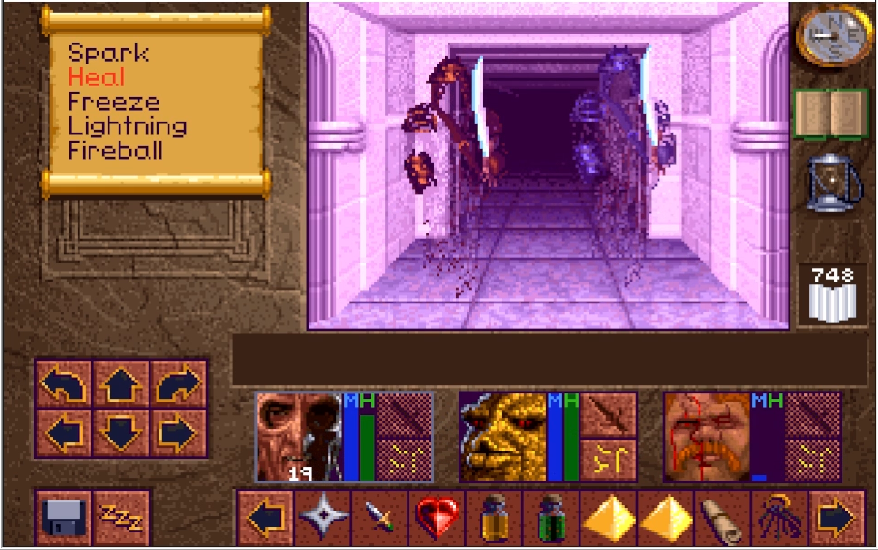
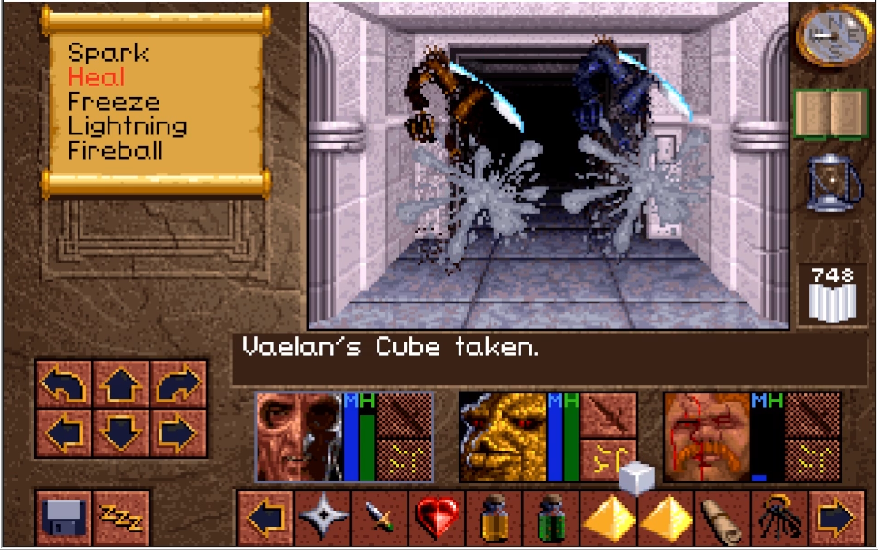
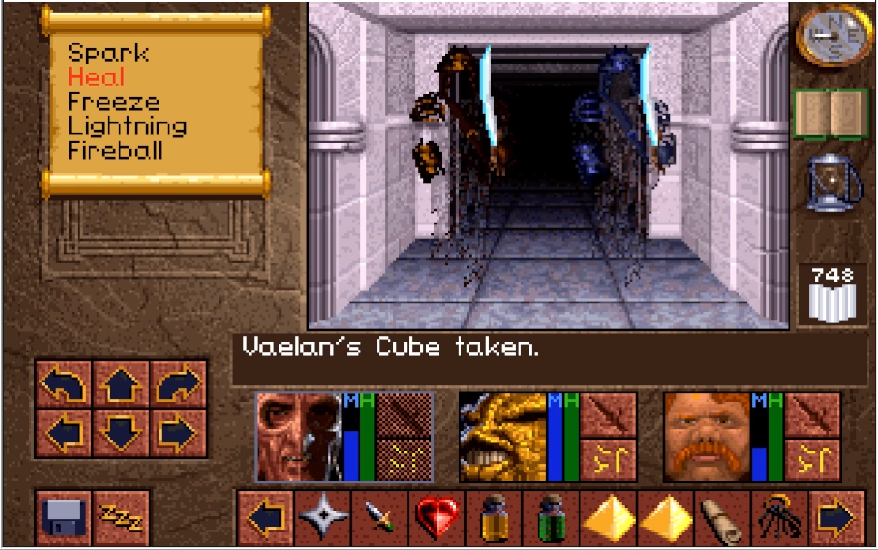
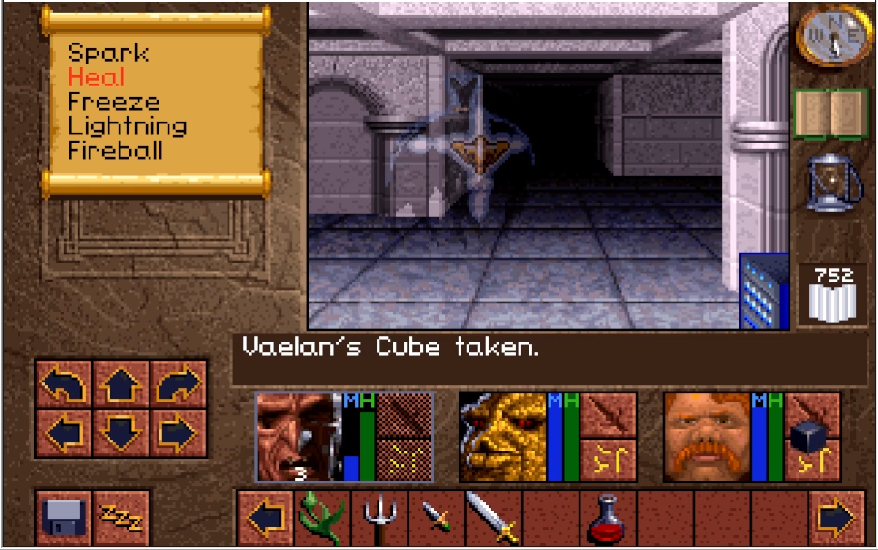
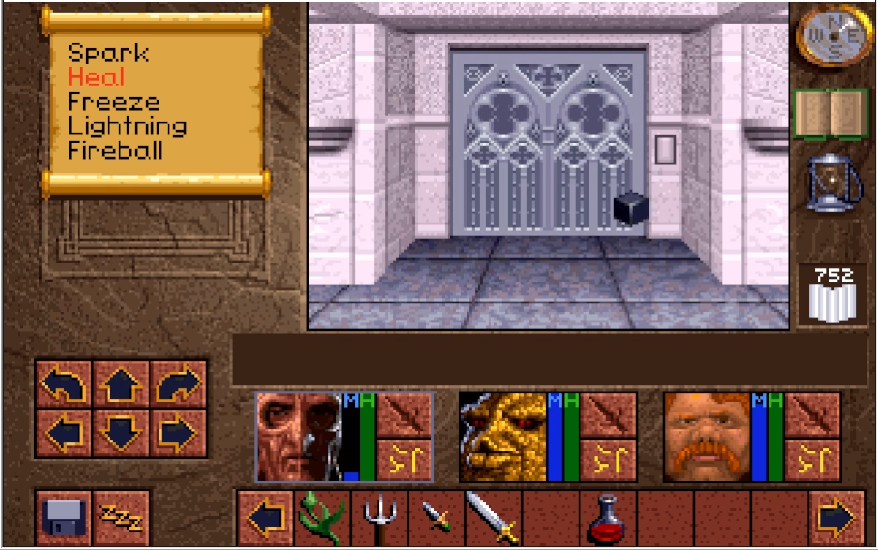
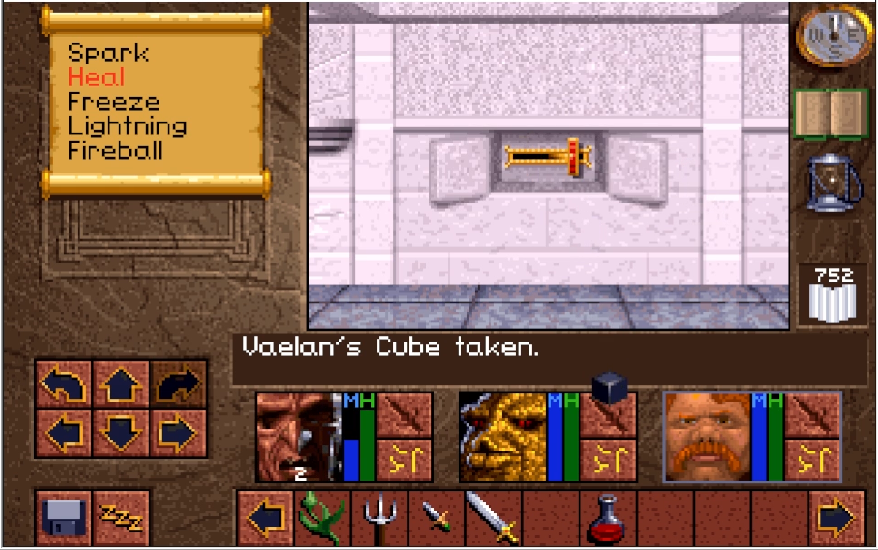
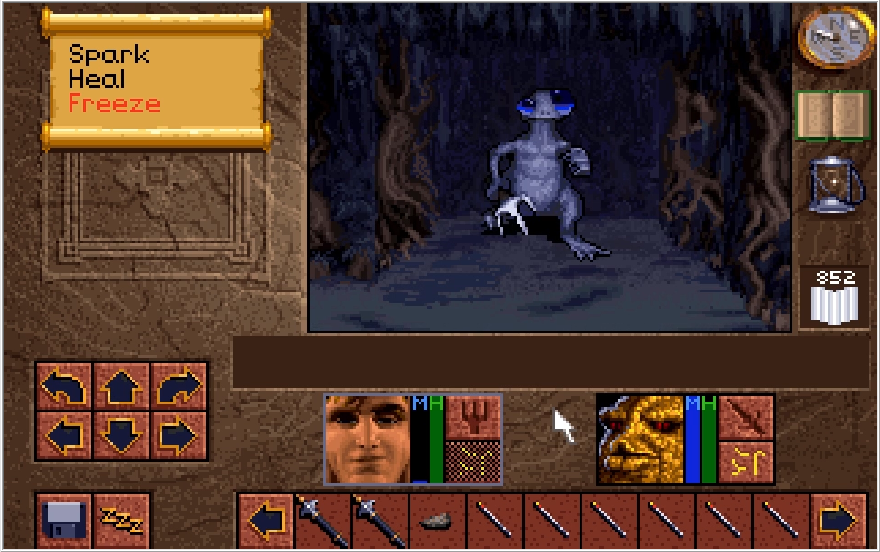
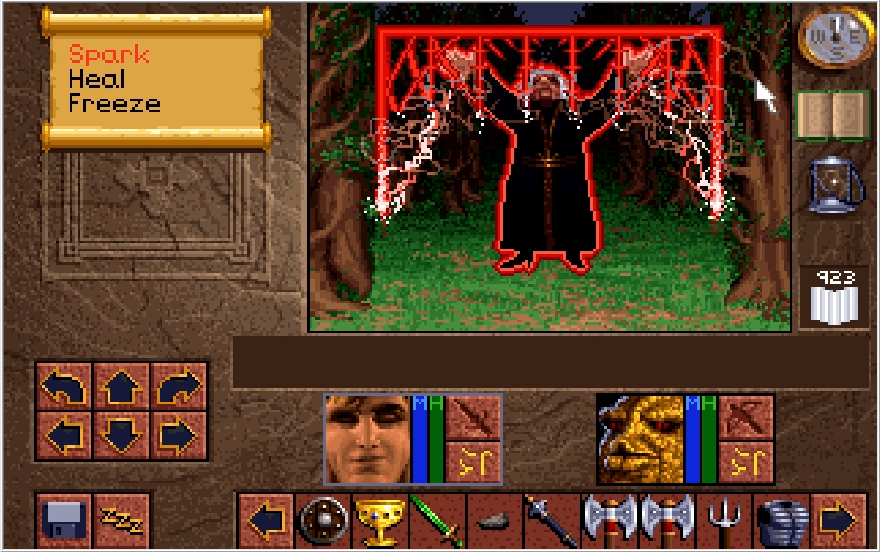
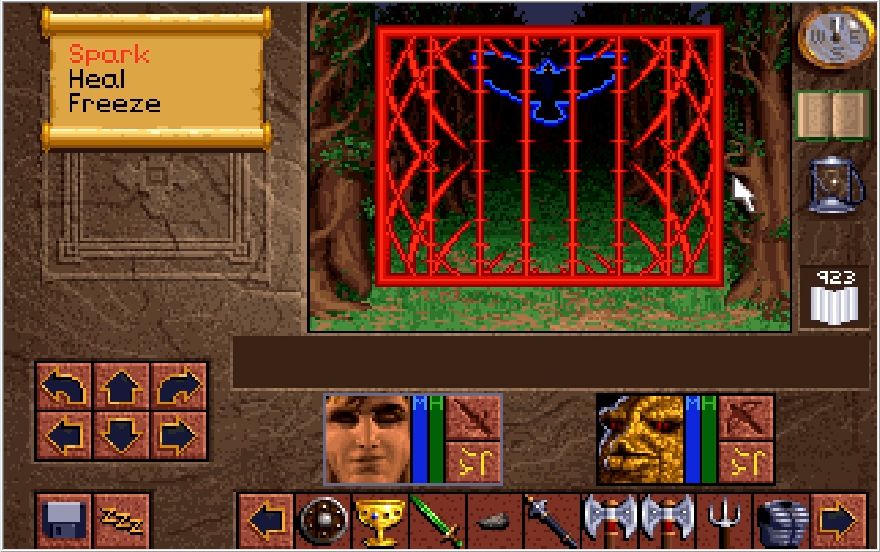
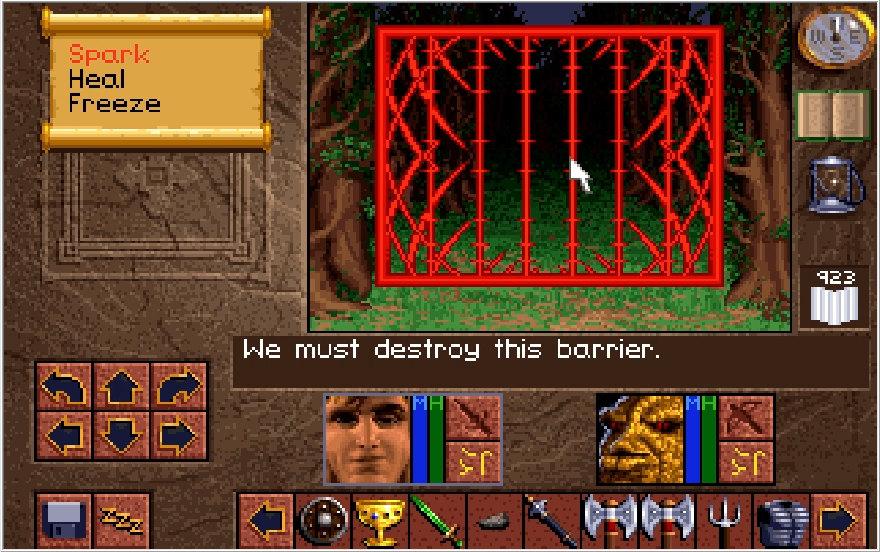
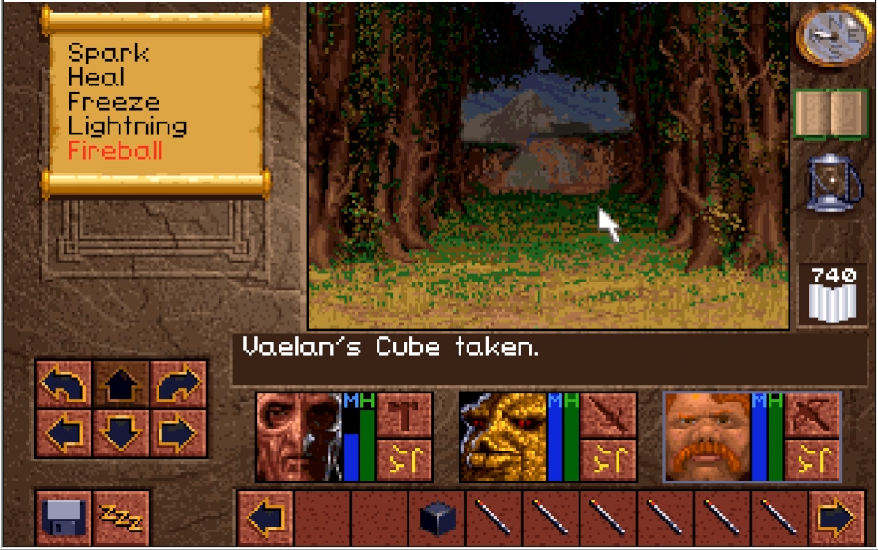
Returning to Scotia's barrier and blasting it with Vaelan's Cube repeatedly will shatter the barrier! Unfortunately, the cube is destroyed in the process as well. I hope we can get a new one...
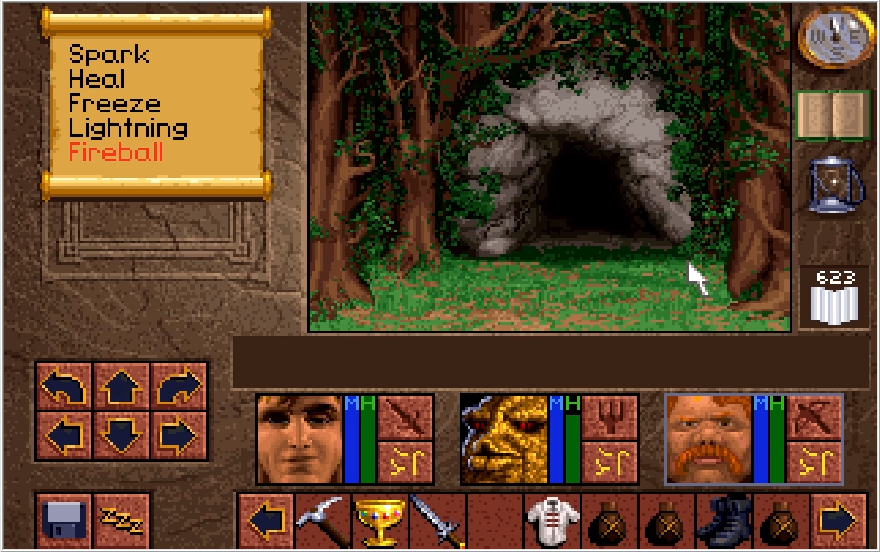
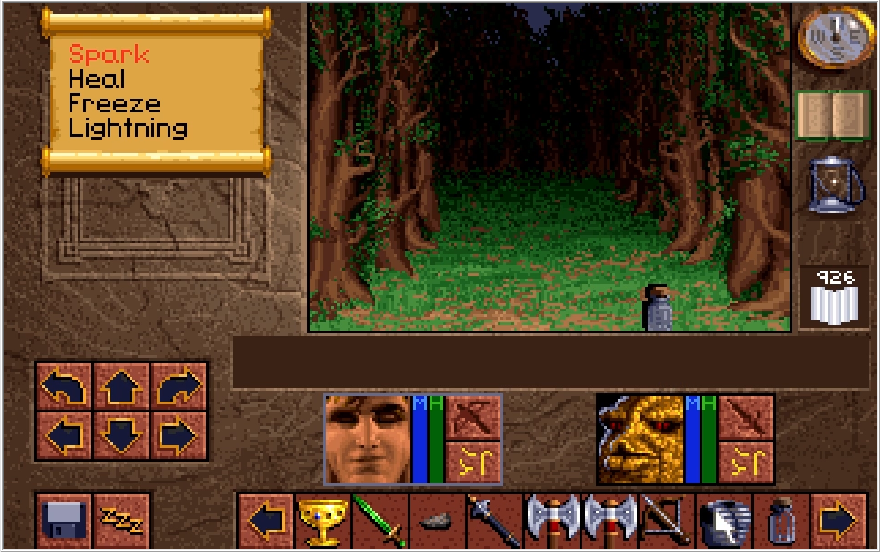
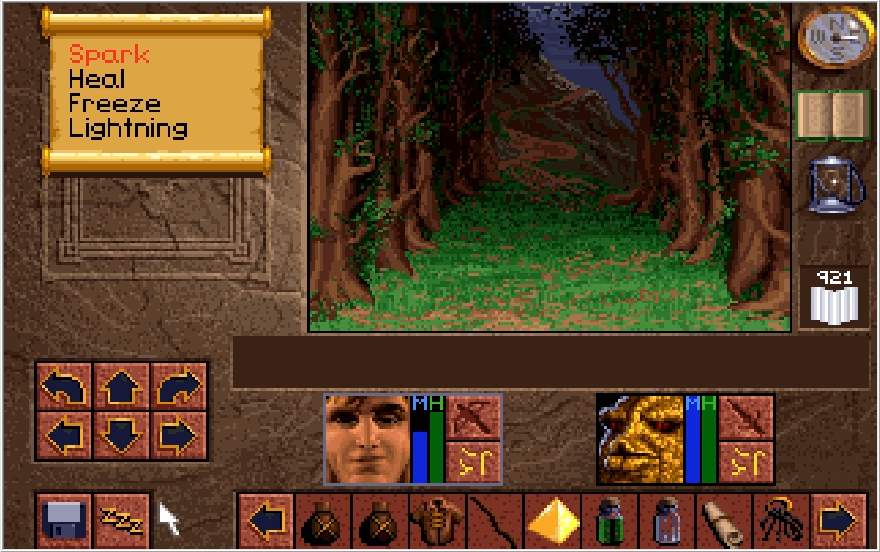
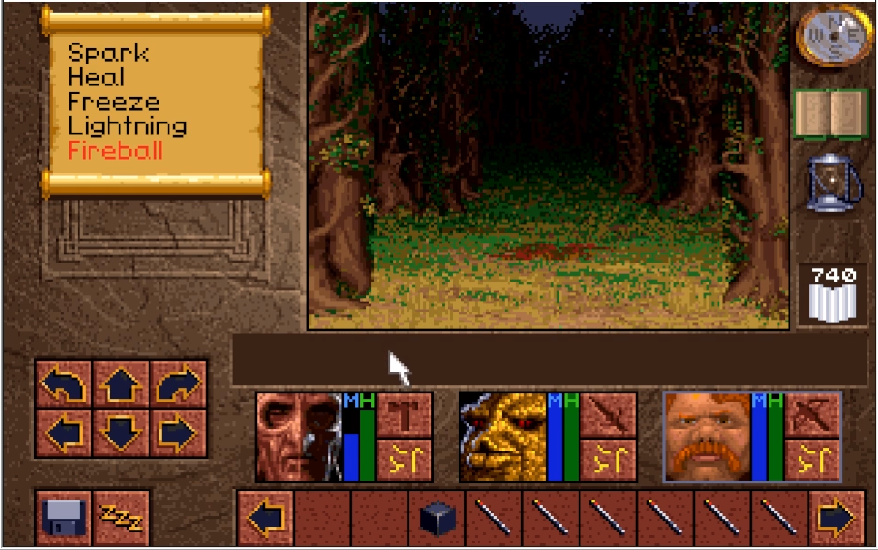
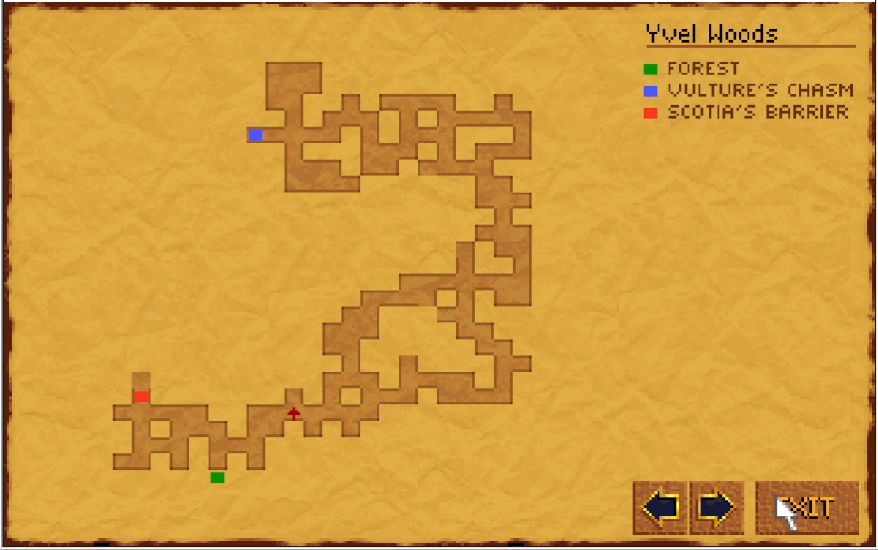
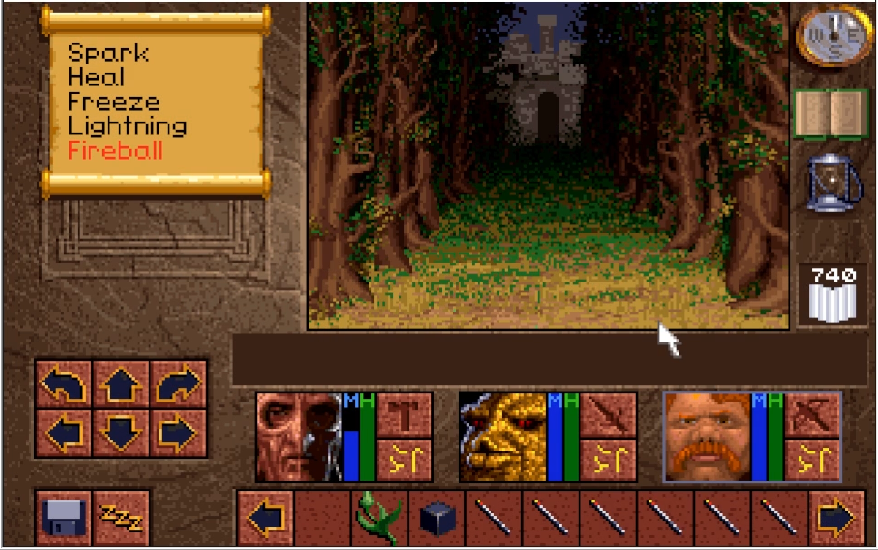
Heading west from the barrier, we come across a cave that connects directly to Yvel woods! This is the staging ground for Act 3 of Lands of Lore, and when we return Ak'shel will be carrying to torch going forward. Hope to see you then!


 .
.


 : "I assure you, my craftsmanship exceeds my aim."
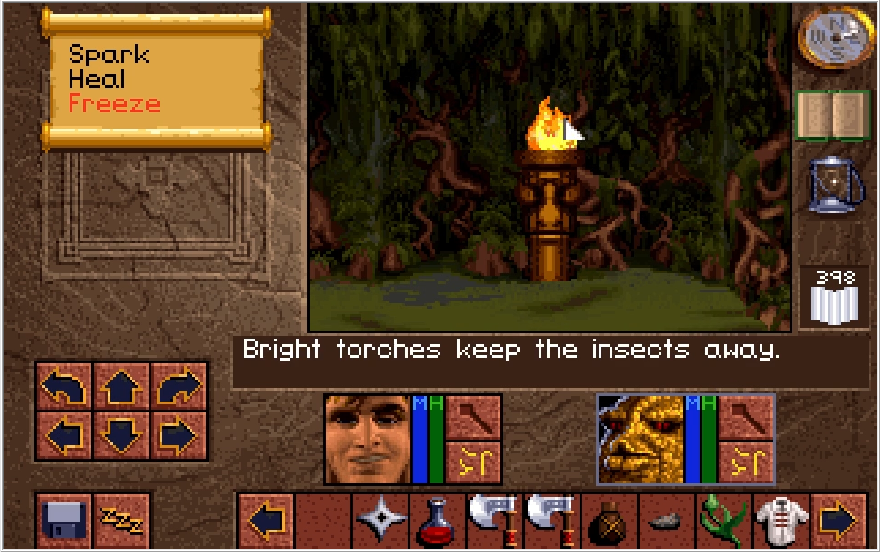
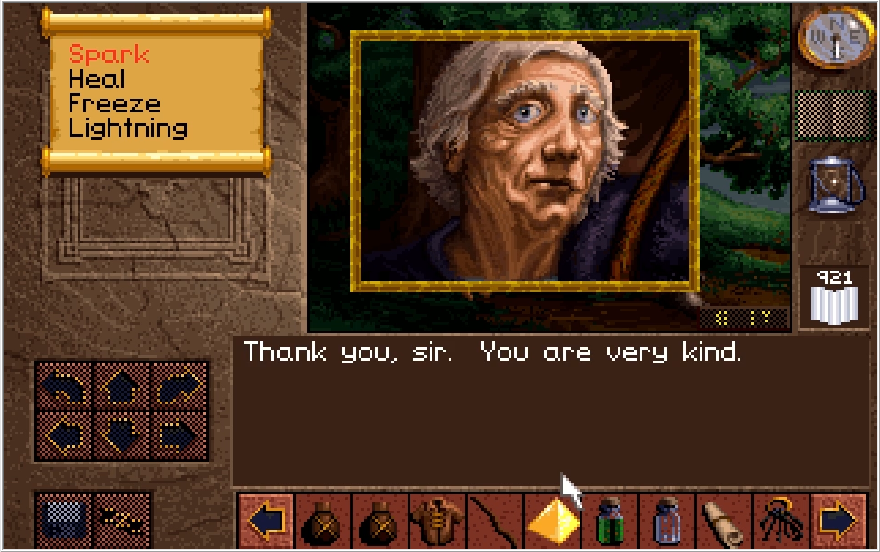
 : "Show me your riddle, and I will identify it for a small fee. Say, 100 crowns?"
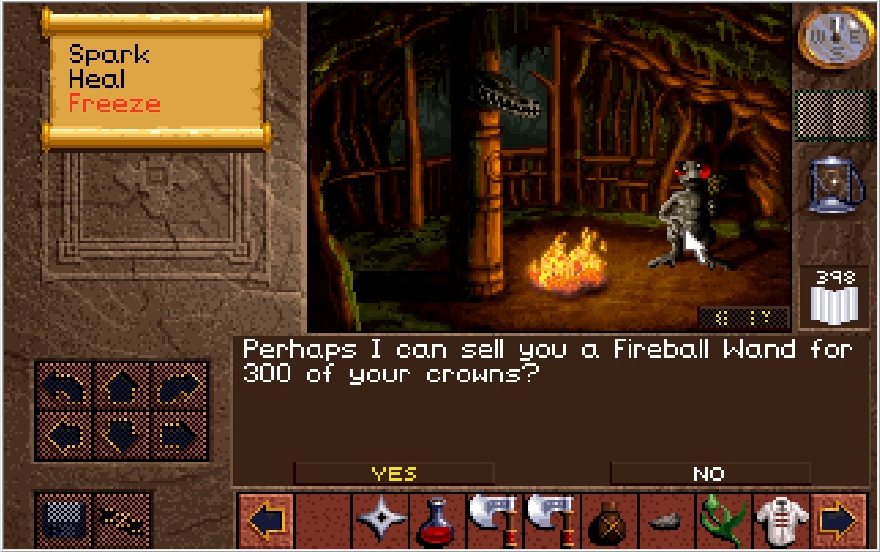


 : "They serve because they adore me."


 : "You have attacked my people! I will not trade with you."
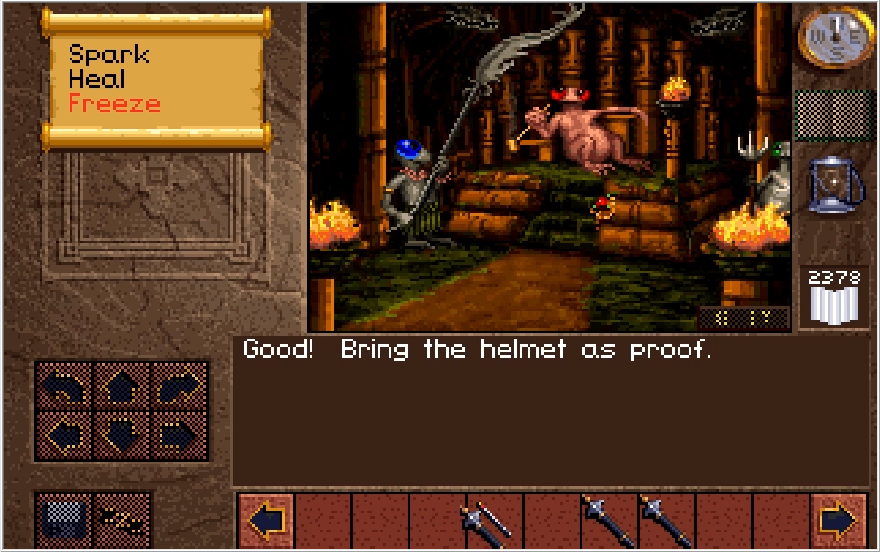


 : "I have plenty, thank you."


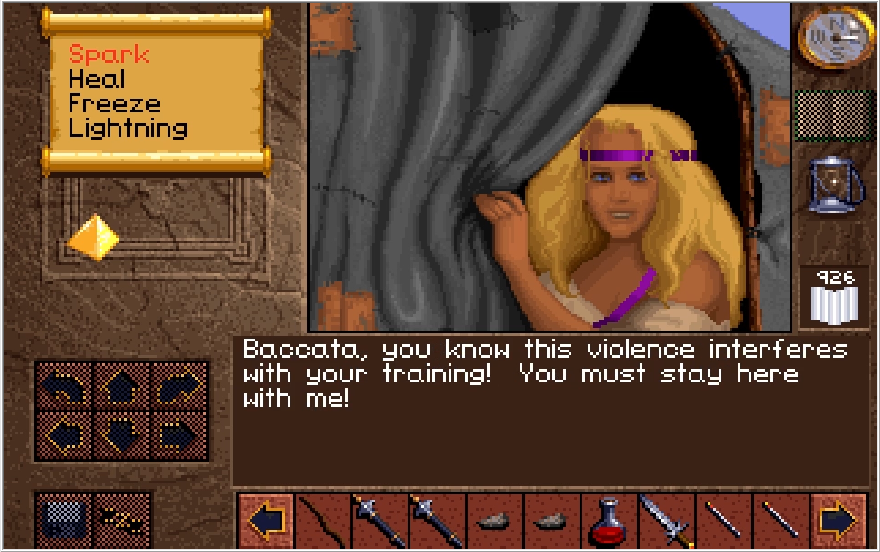
 : "Be that as it may, you are, at this moment, Gladstone's best hope. Take my key to Richard's casket. It, along with its three counterparts, will allow you access in order that you may apply the Elixir to poor Richard."


 : "Why are you in here?"